Mitre saw storage rails
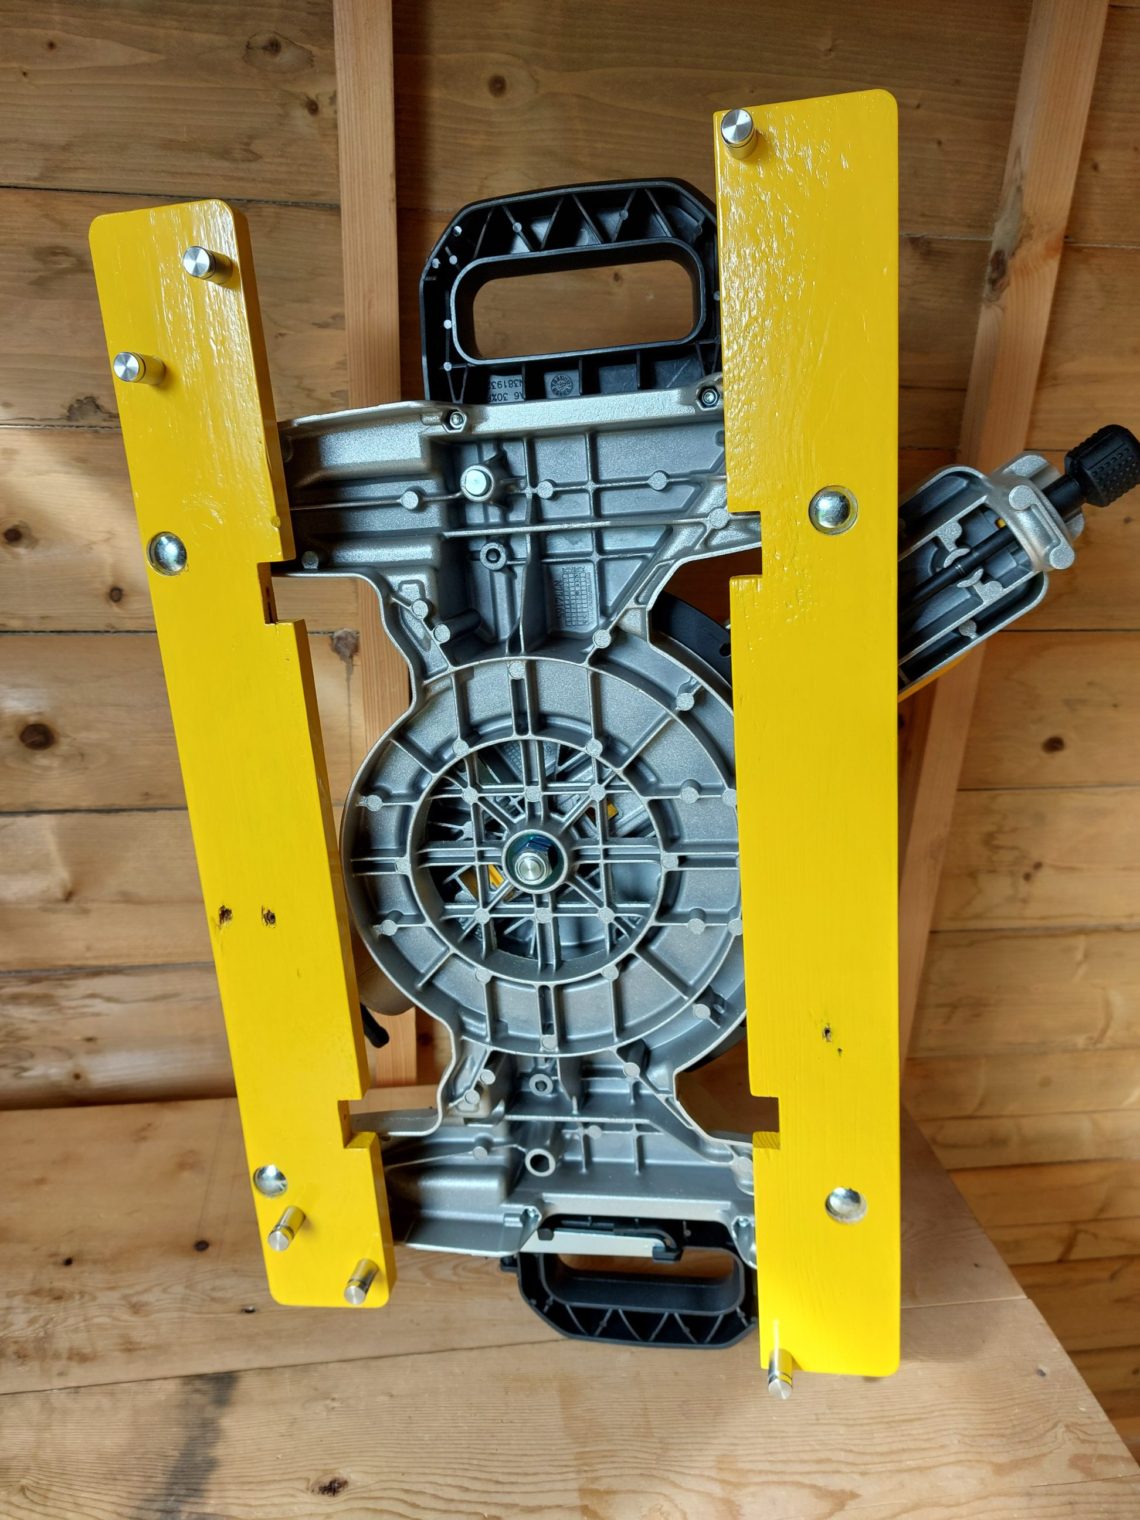
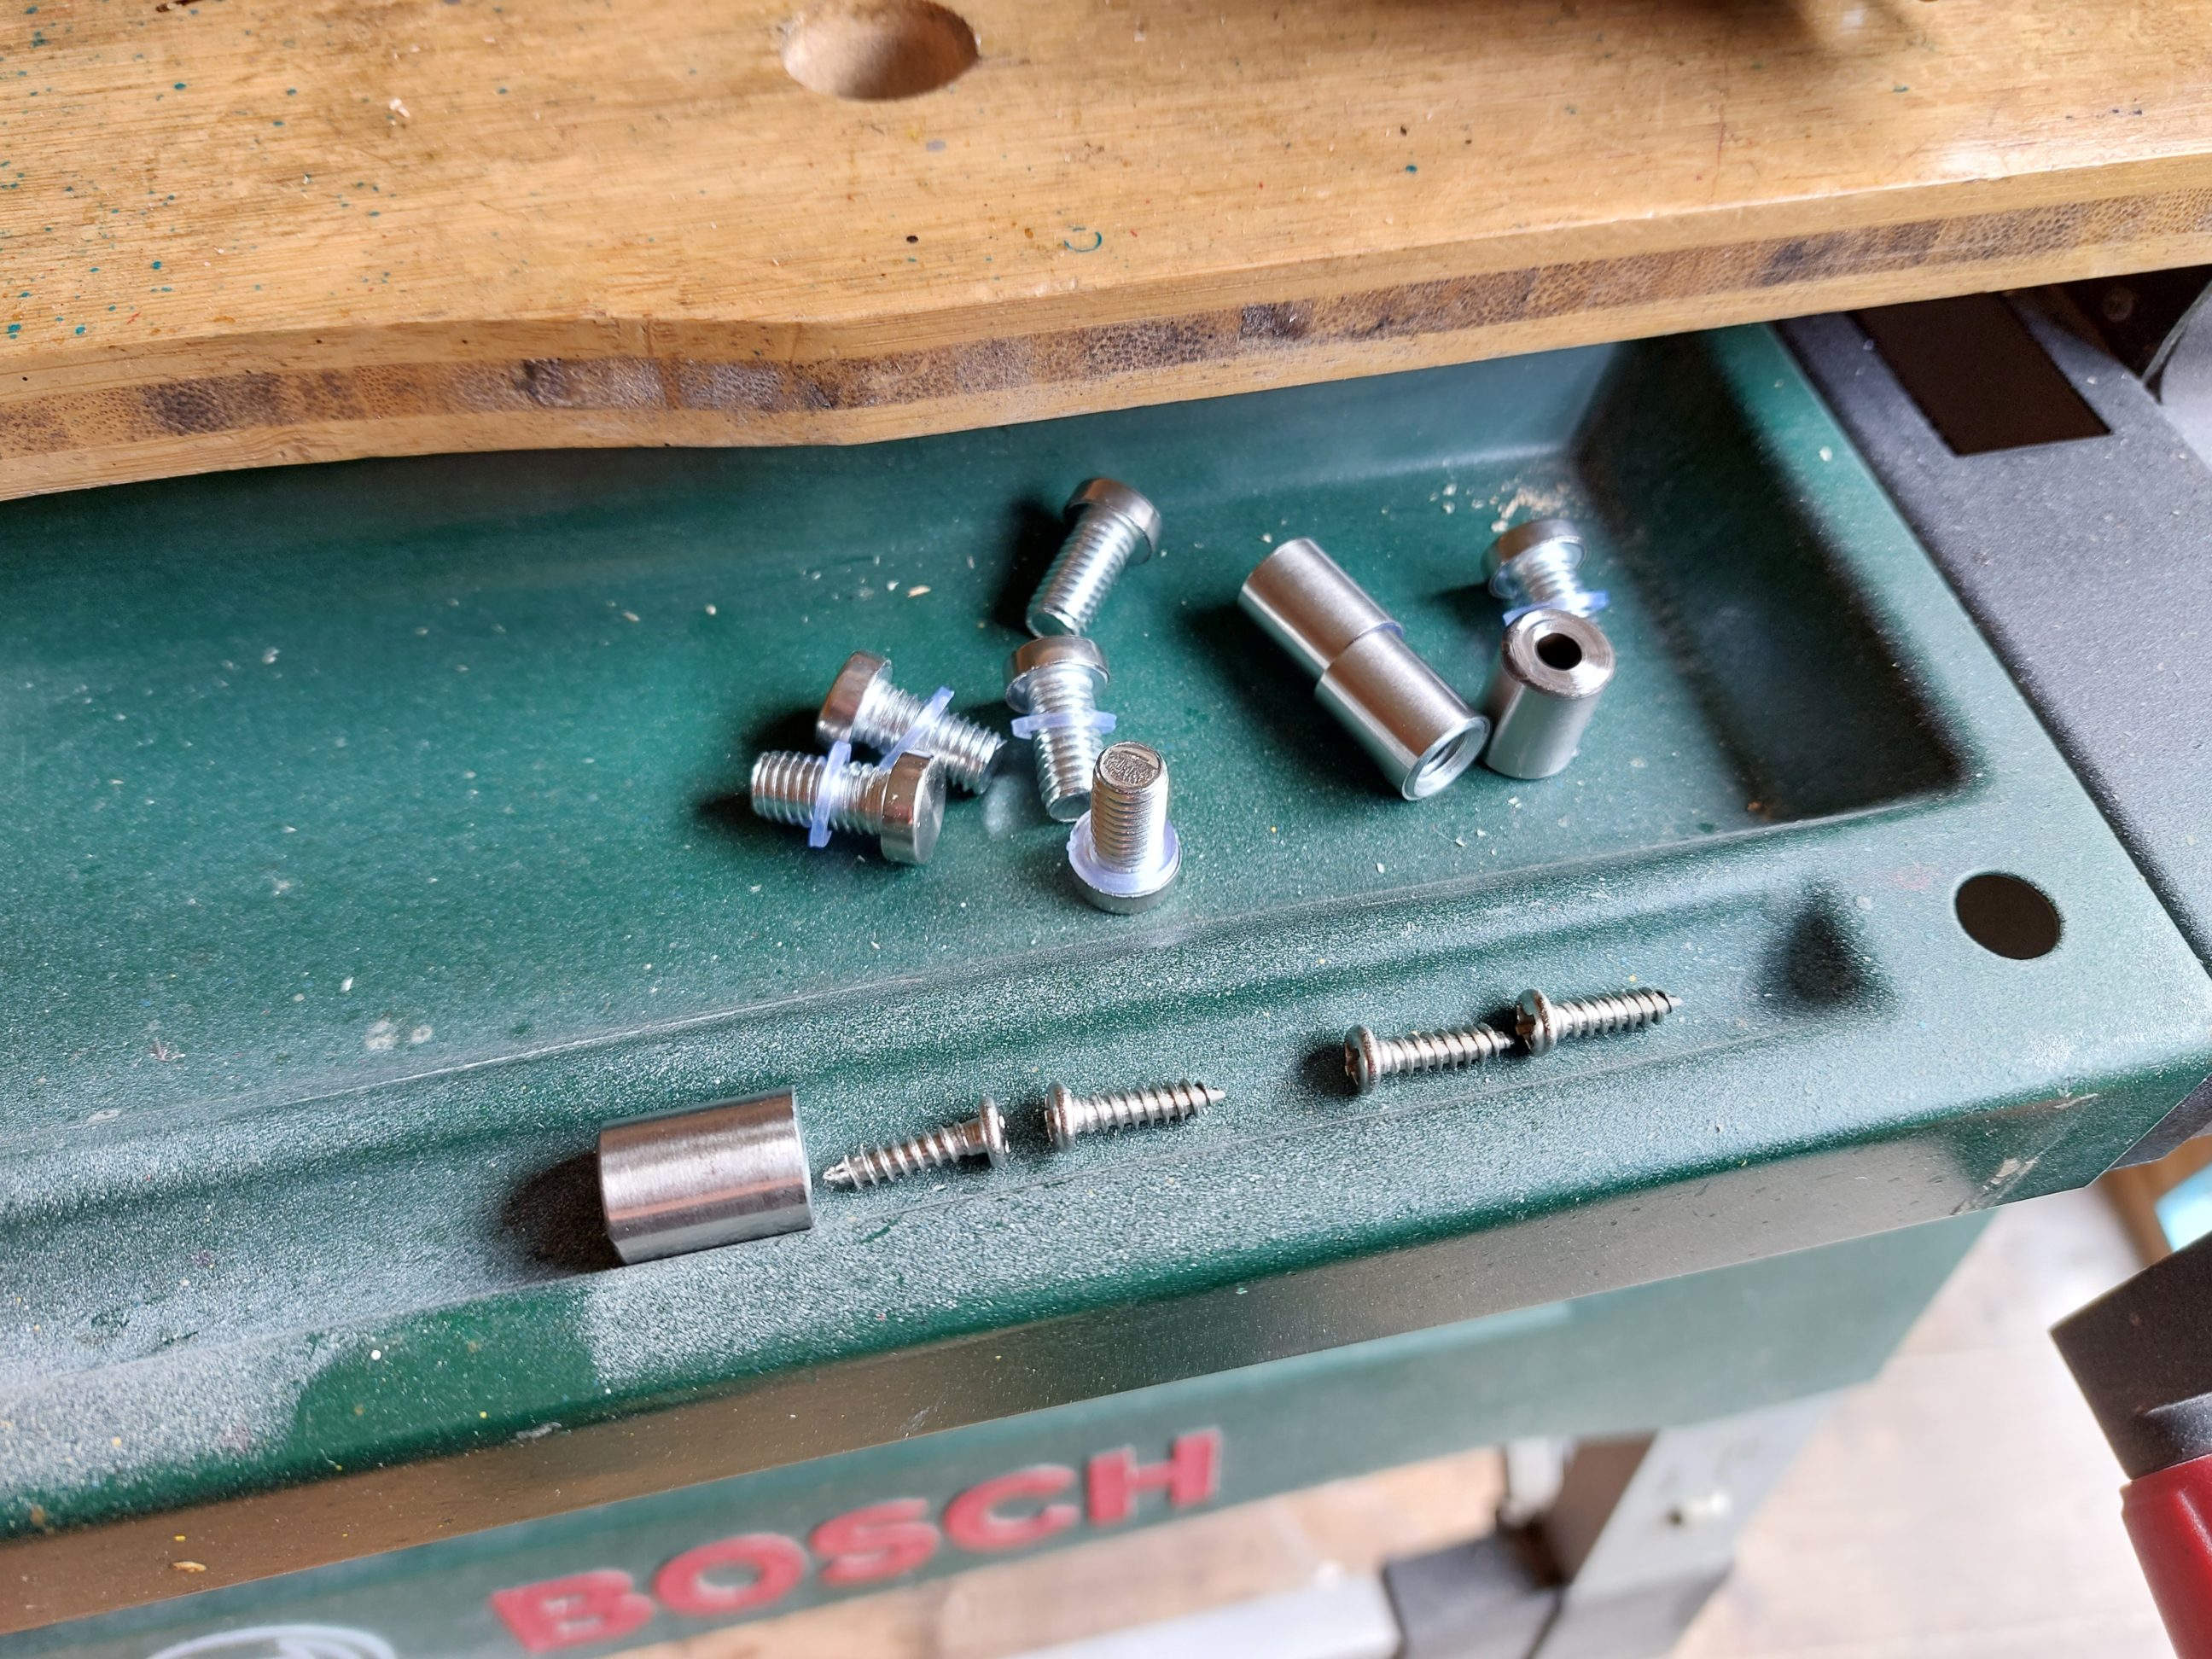
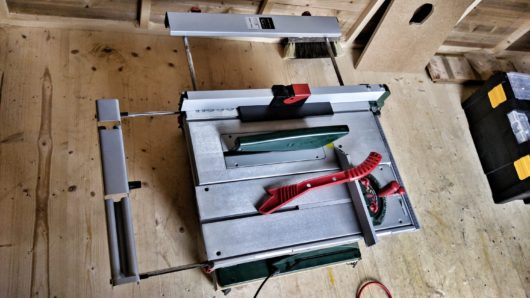
Due to my limited storage space, these two saws – table and new mitre saw – must be stacked when stored. That way I can squeeze out the most space possible and thanks to the rails, both saws stay securely in place, one on top of the other, even if knocked accidentally, they won’t fall. To make the rails, I reused a couple of old pallet boards from a disassembled towel rack (that explains the notches cut in them), additionally, I used a couple of bolts, wing nuts and advertisement wall fixings. The leftovers of yellow paint I used were in the matching colour and also all the hardware suited well the look of the saws. I tried to use what I had on hand and save time on going to a shop.


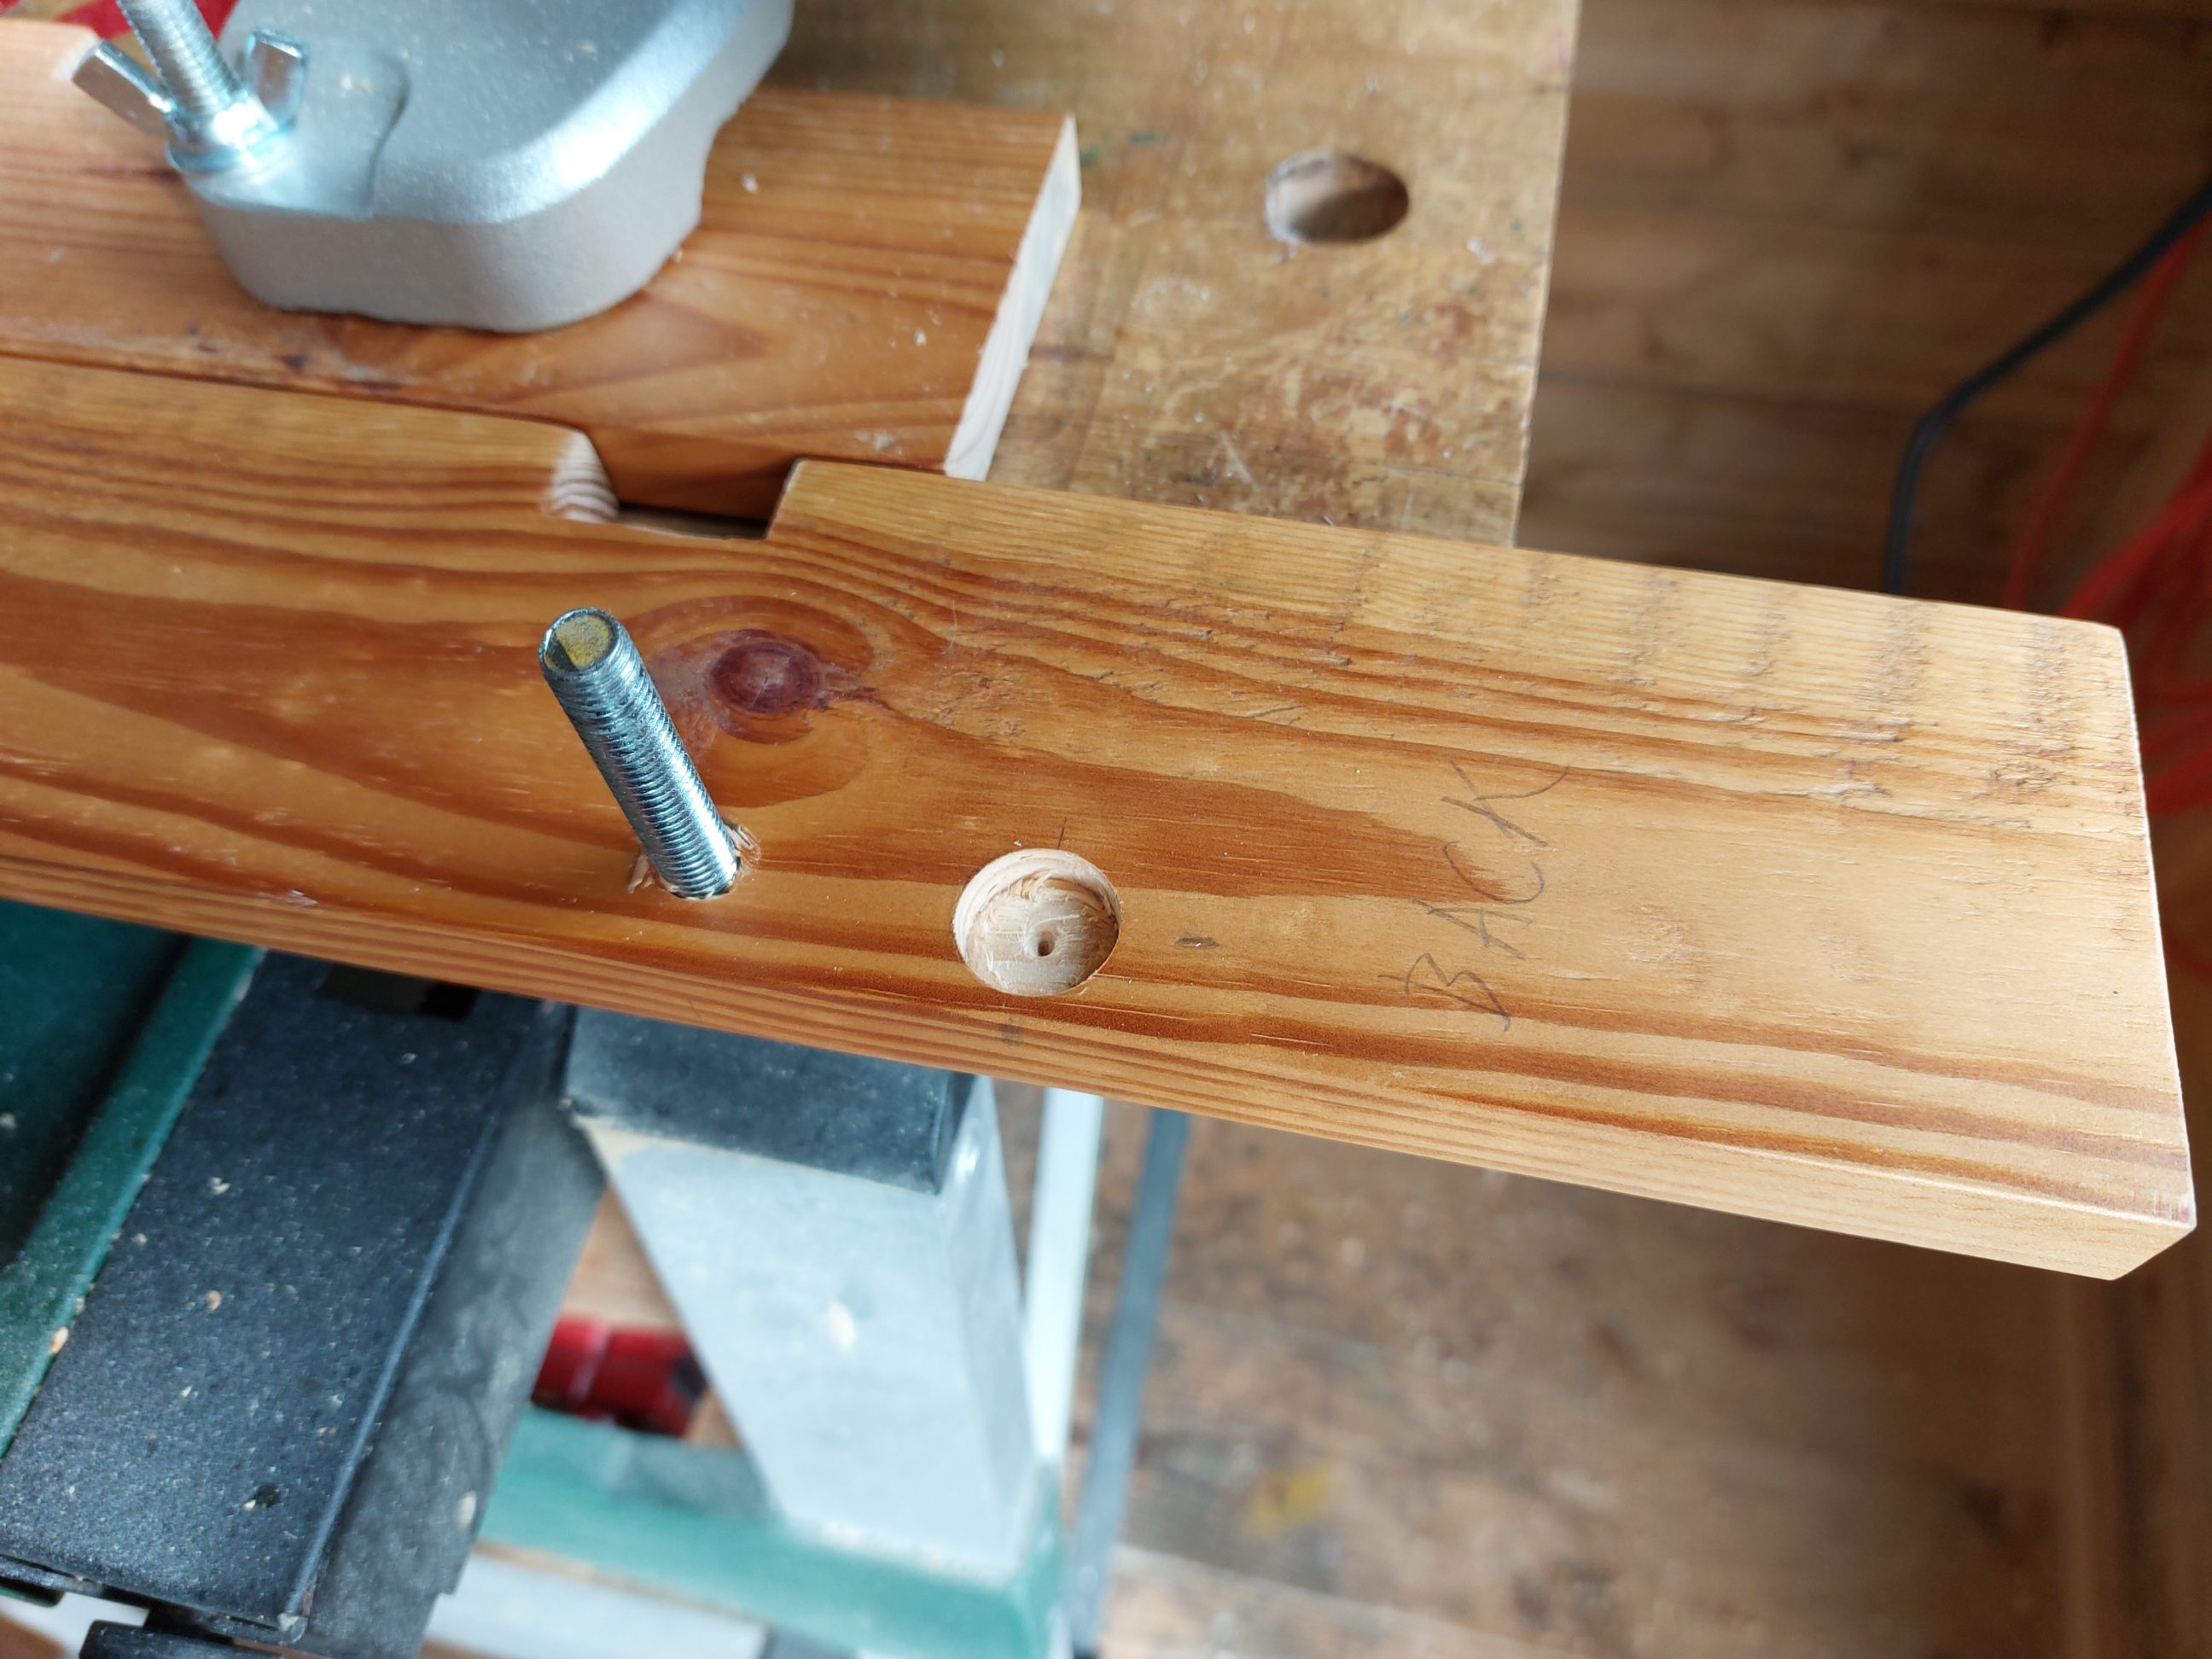
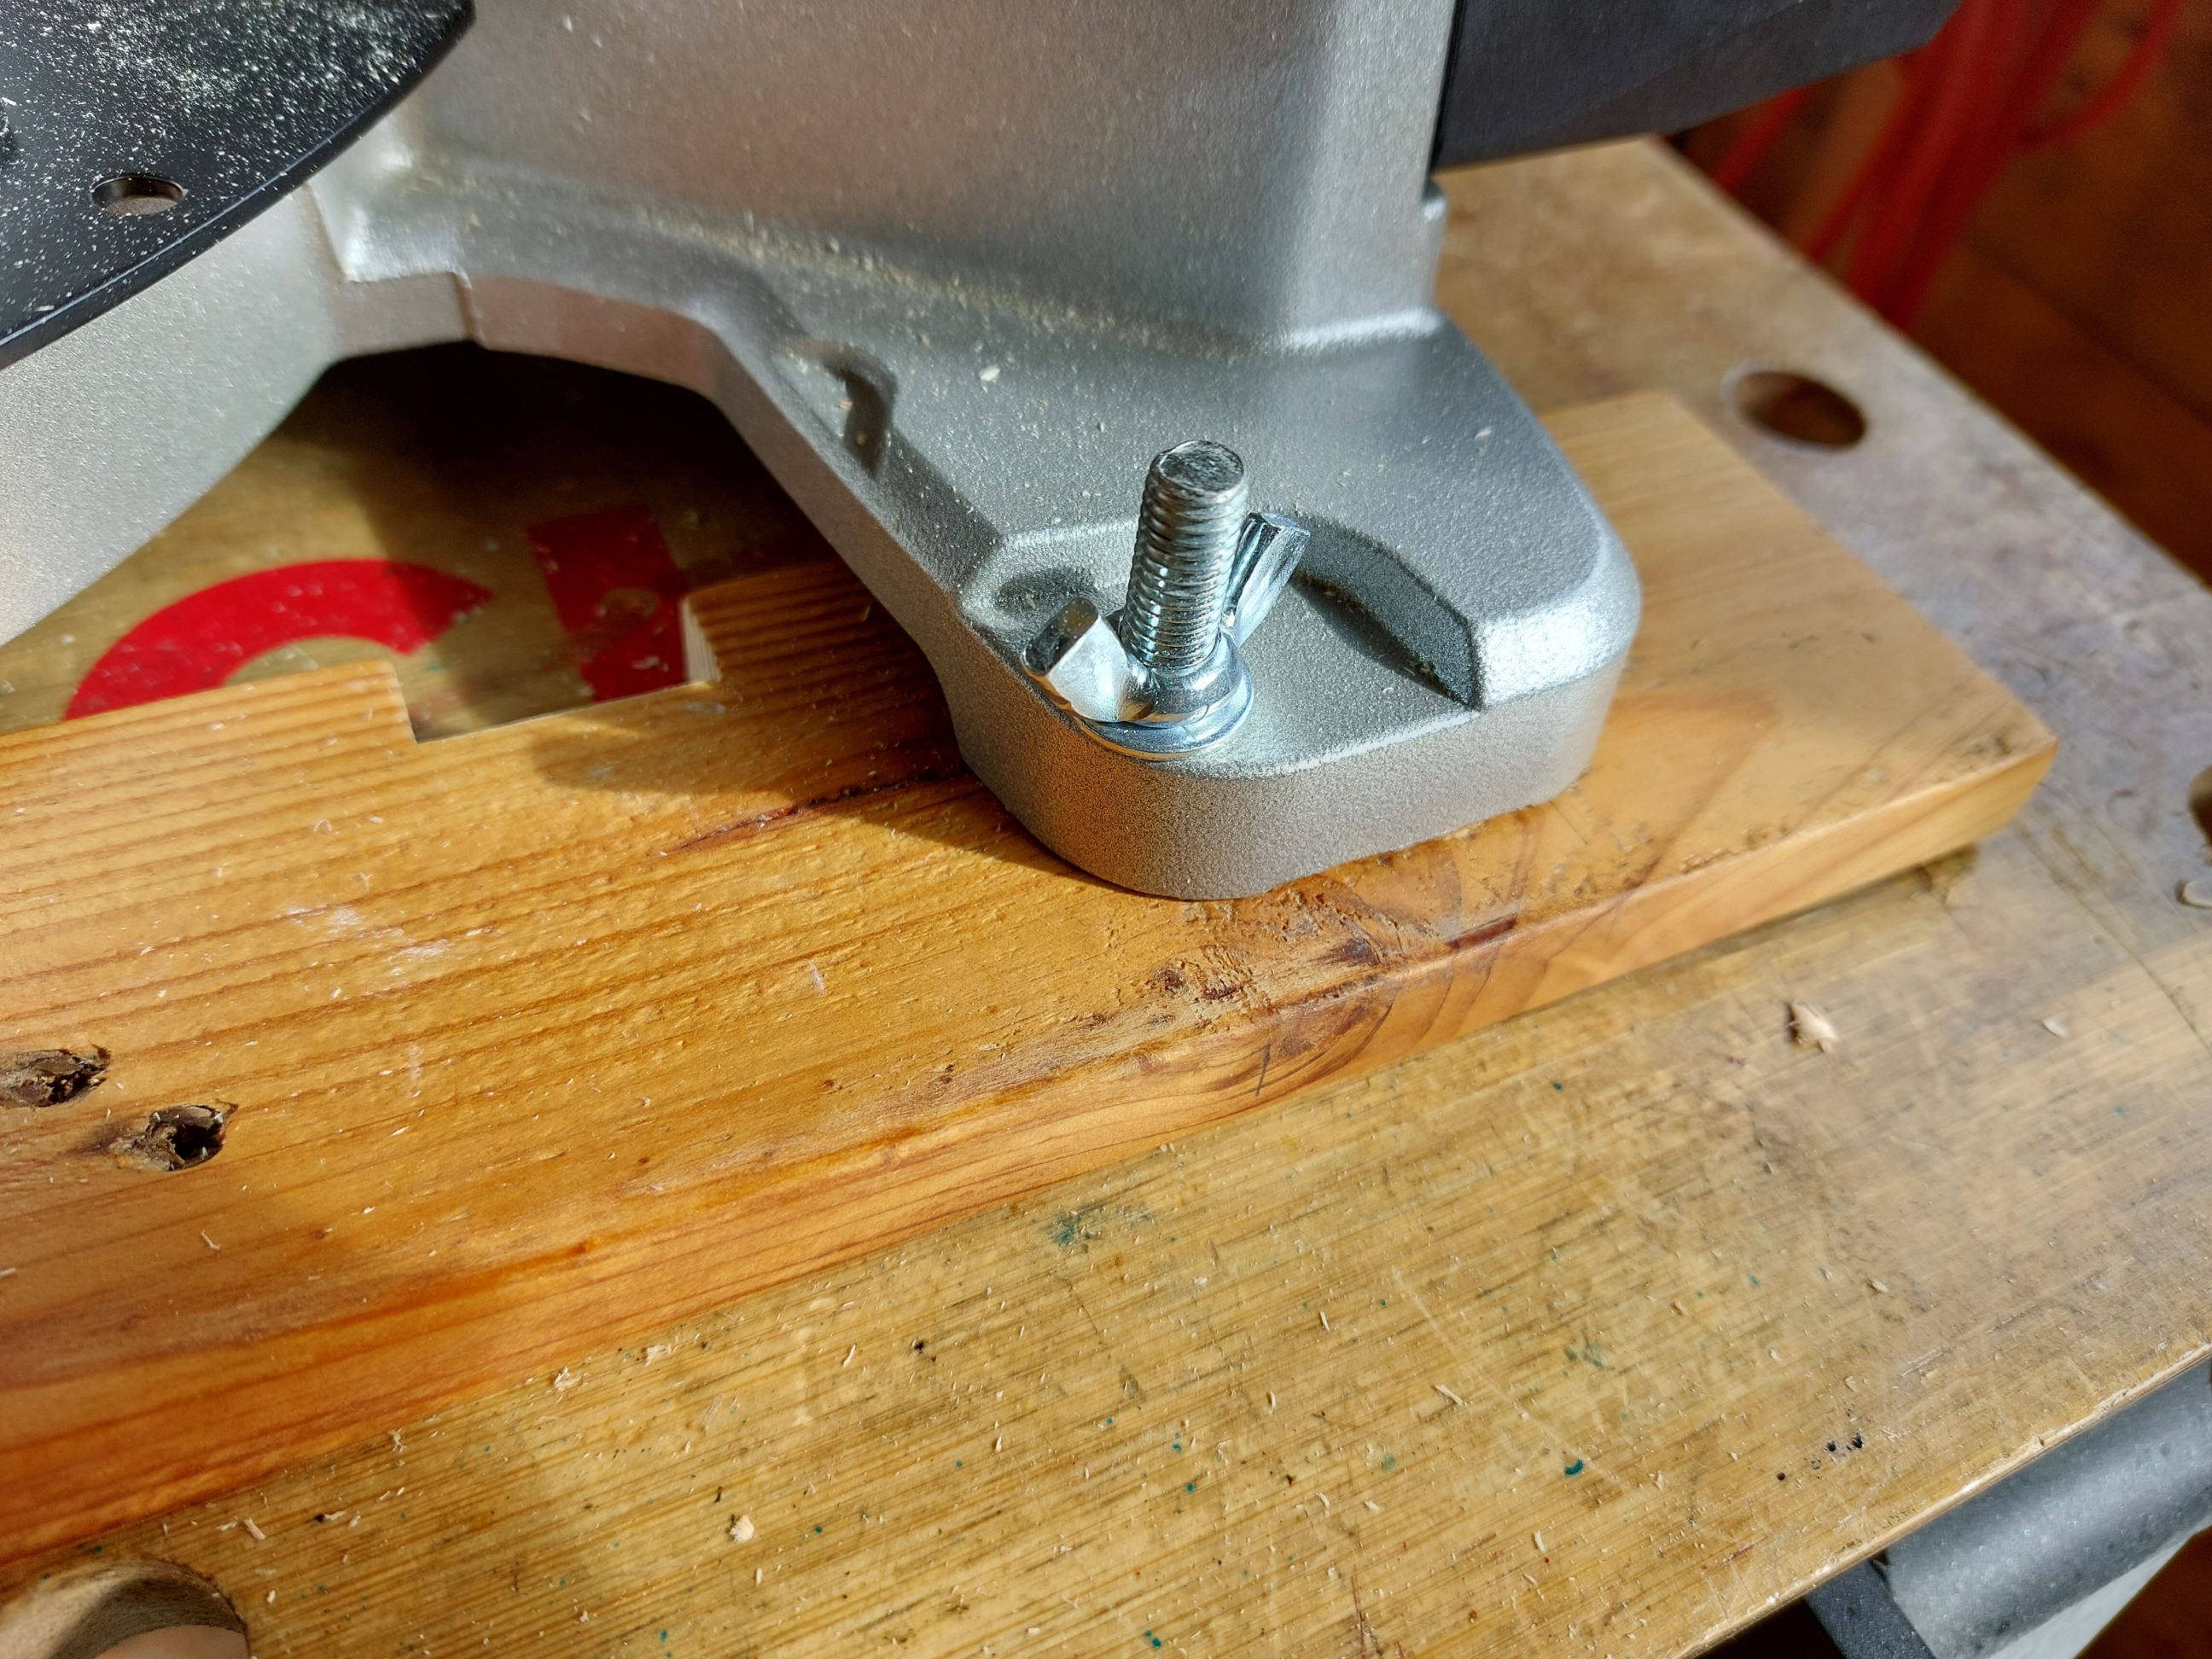
I started by cutting the old uprights to length and with a Forstner bit, I drilled the nests for the rubber feet of the mitre saw. That way, when clamped firmly to the rails, the feet would never be squashed. The next step was drilling out the other set of holes – counterbored ones for the mounting bolts with round mushroom heads. That extra step of sinking them below the rails’ surface gave them a professional look, but also allowed the square necks of the carriage bolts to nest easier in the wood. I temporarily put everything together, stacked the saws and marked the drilling points for the pins.


Once it all was tested for fit, I decided to round over some of the sharp corners, not only giving them a better look but also making them safer for other objects in the storage room and preventing chipping out when accidentally knocked. I had to clamp those narrow boards firmly to the routing templates which were designed for rather bigger workpieces and the brass pins were too far apart, not providing enough support for the workpiece edges. A quick sanding was followed by applying two coats of leftover canary yellow paint.


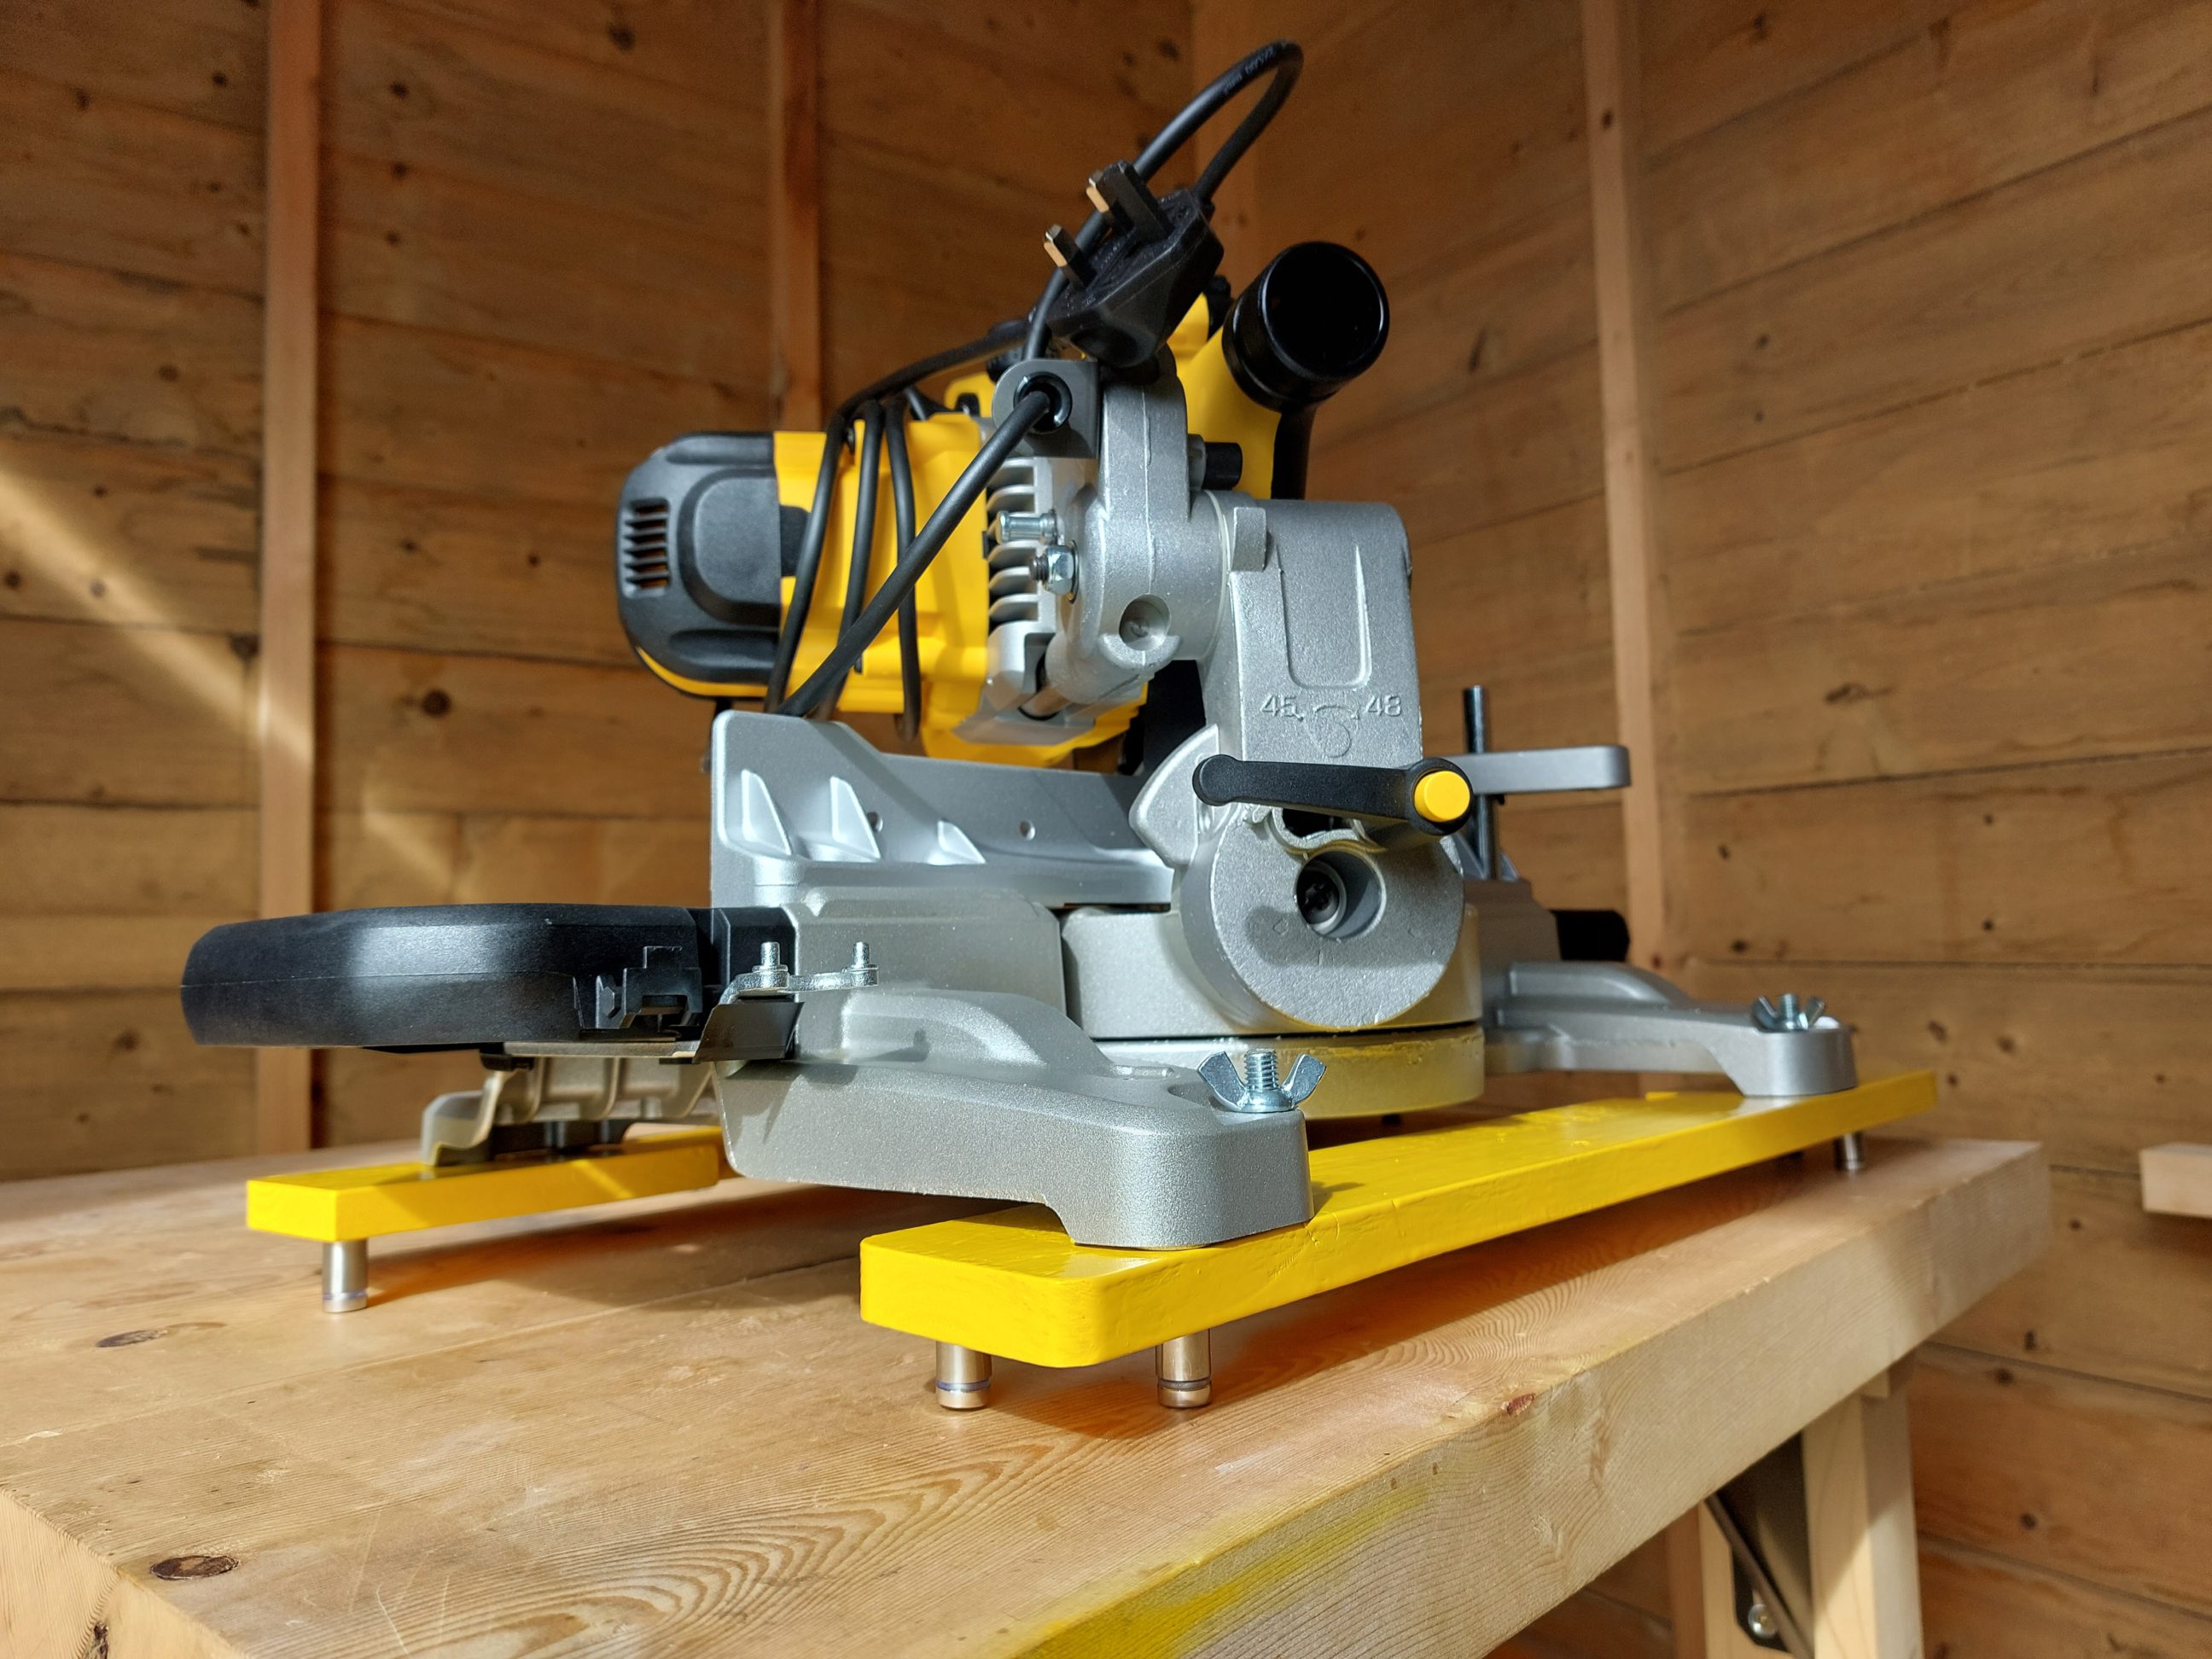

The paint dried for good 4 – 5 days, just like the label said. It had to harden properly to withstand the clamping pressure coming from the carriage bolts and the weight of the mitre saw. Eventually, it was ready for the final assembly – just a quick installation of the pins. The wiggle room I allowed in the construction was about 5 mm, big enough for fast repositing and not too loose at the same time. When the saws are stacked, there’s no need to check if they have actually nested properly, the feedback is clear. When in place, the upper saw can be only moved a bit in each direction, whether back, forth, left or right.


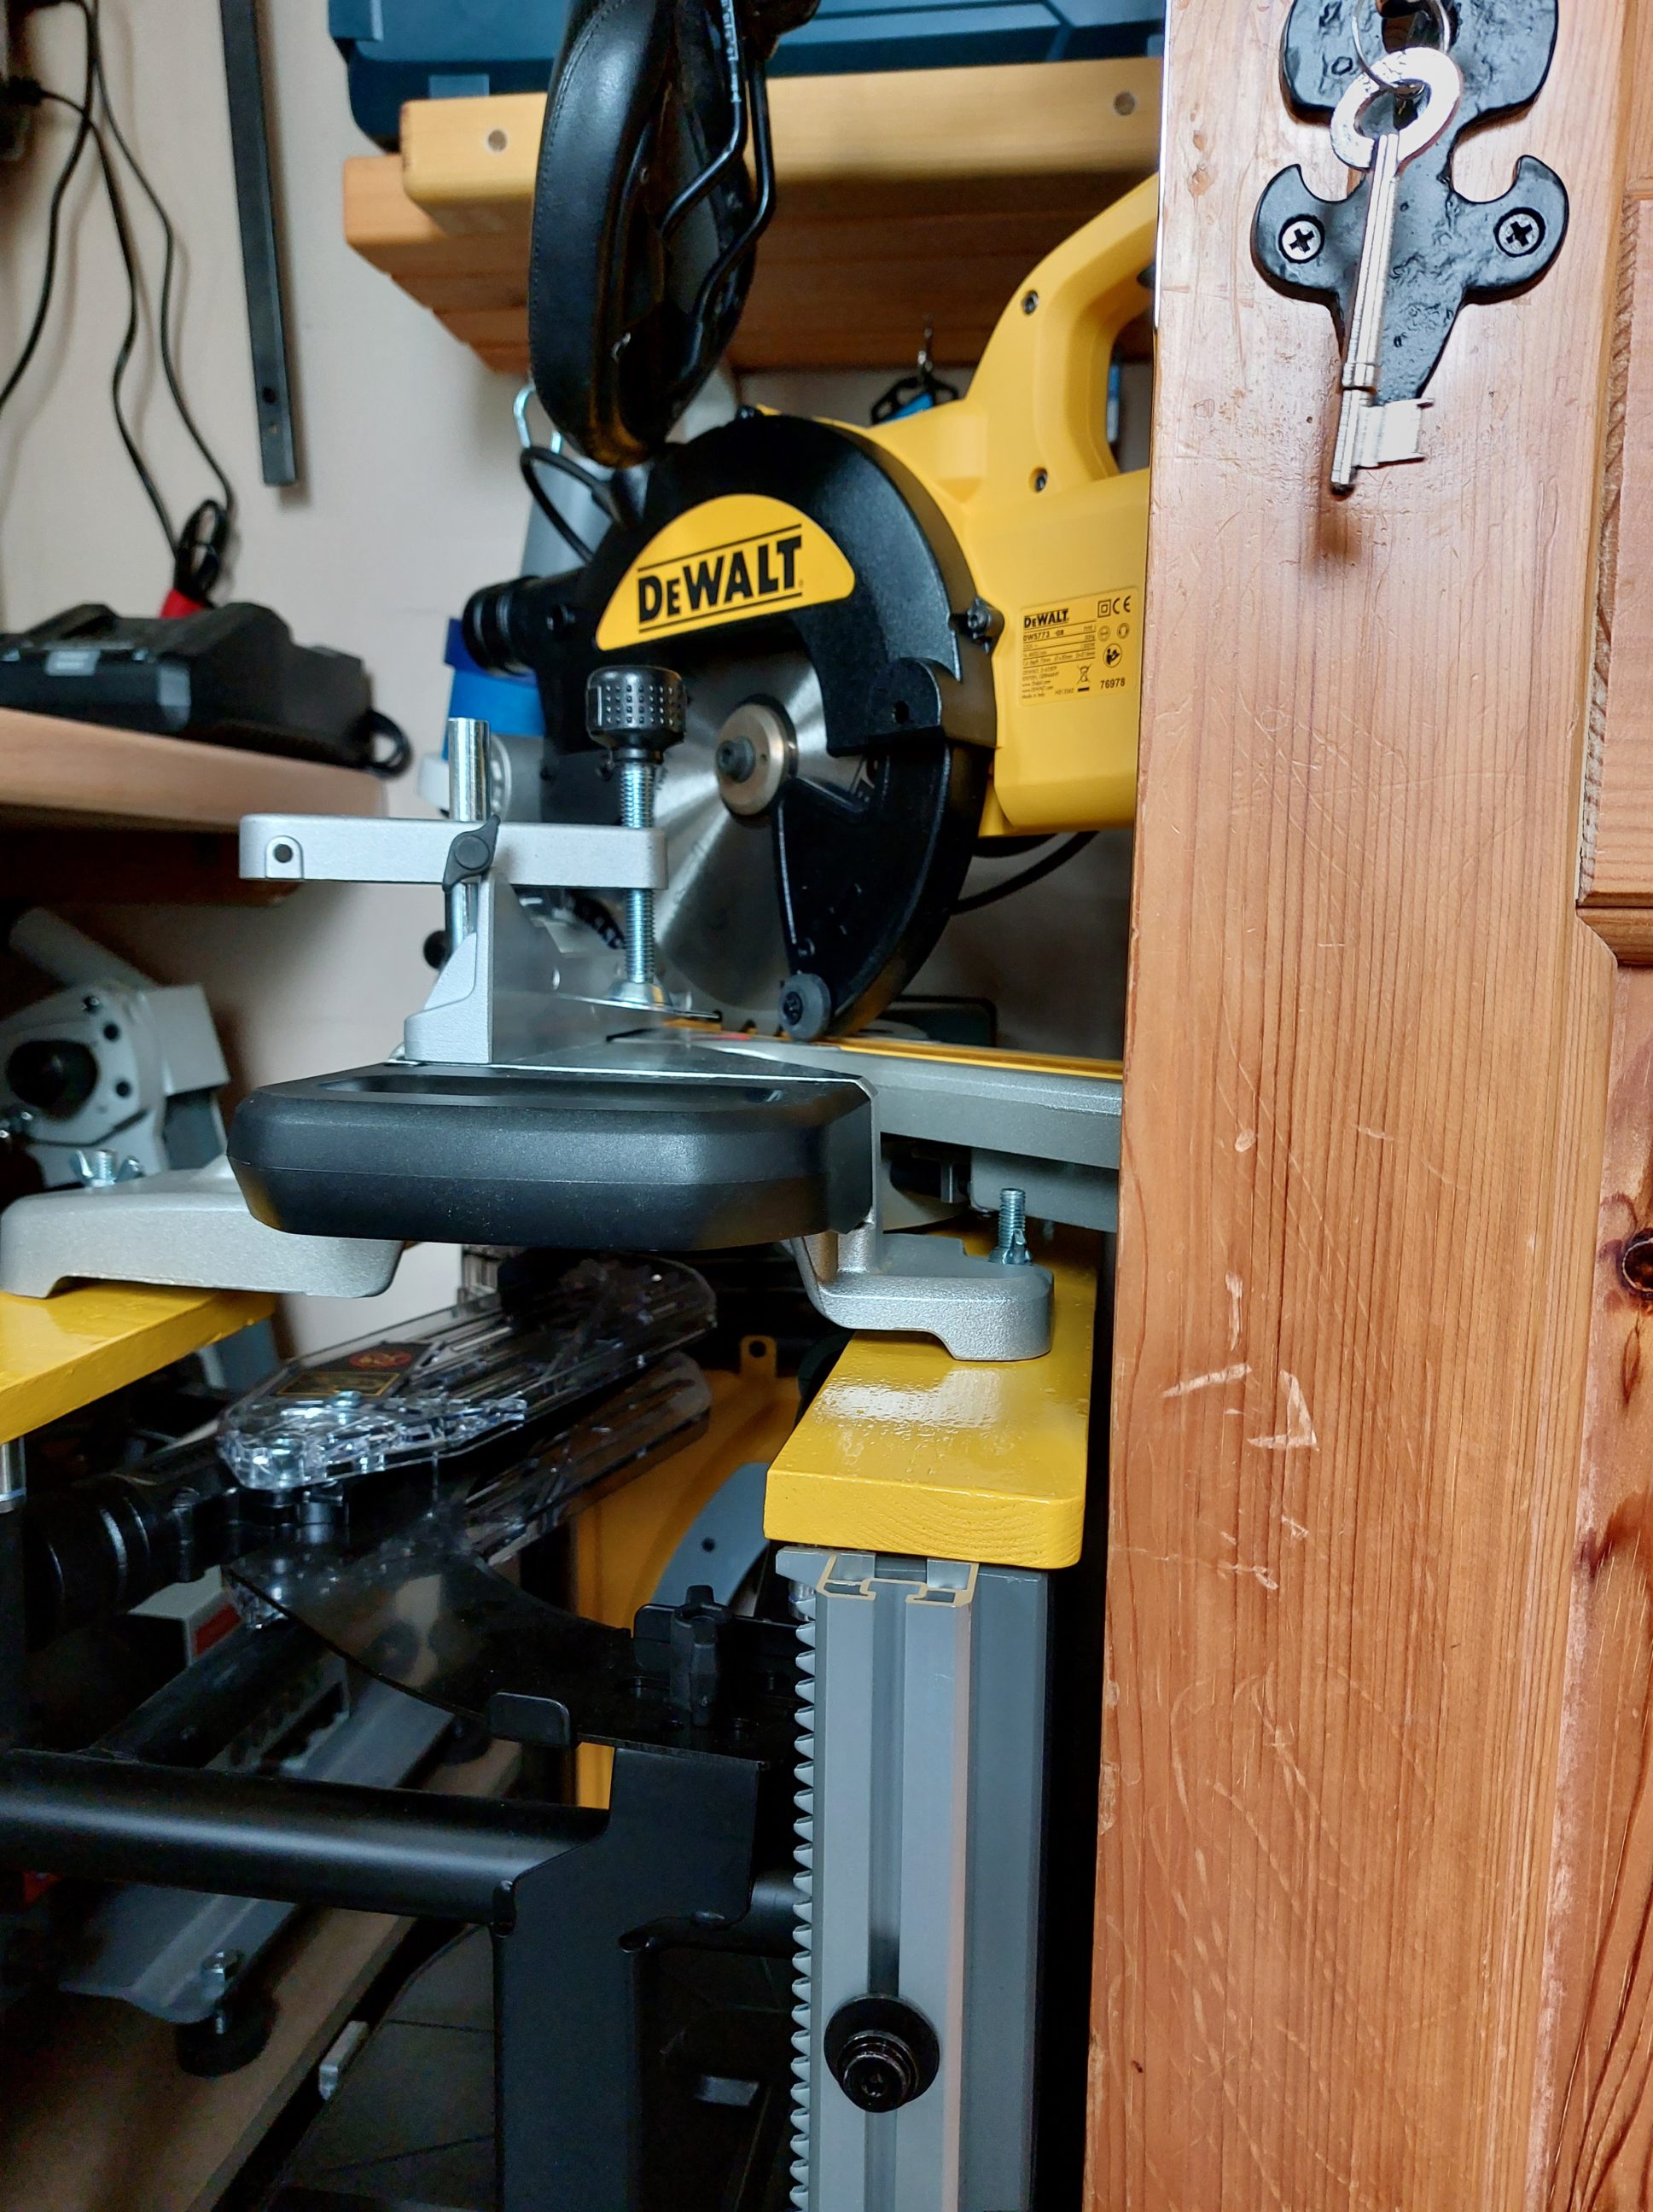
I moved both saws into their storage spot, just between the other appliances, tools and my bicycle. The amount of remaining empty space is minimum from either side. Even when the door is open, there’s just a tiny gap of clearance. Thanks to the rounded corners, the rails shouldn’t do any damage to the door or the washing machine, when moved around with the saw or when the washing machine itself wanders during spinning. Every storage room is different, this is mine – I did what I could to maximise the storage space, minimise the waste and made it safe for all these tools, appliances, walls and wooden trim.


You May Also Like

X-mas tools, edition 2018
X-mas tools, edition 2017
