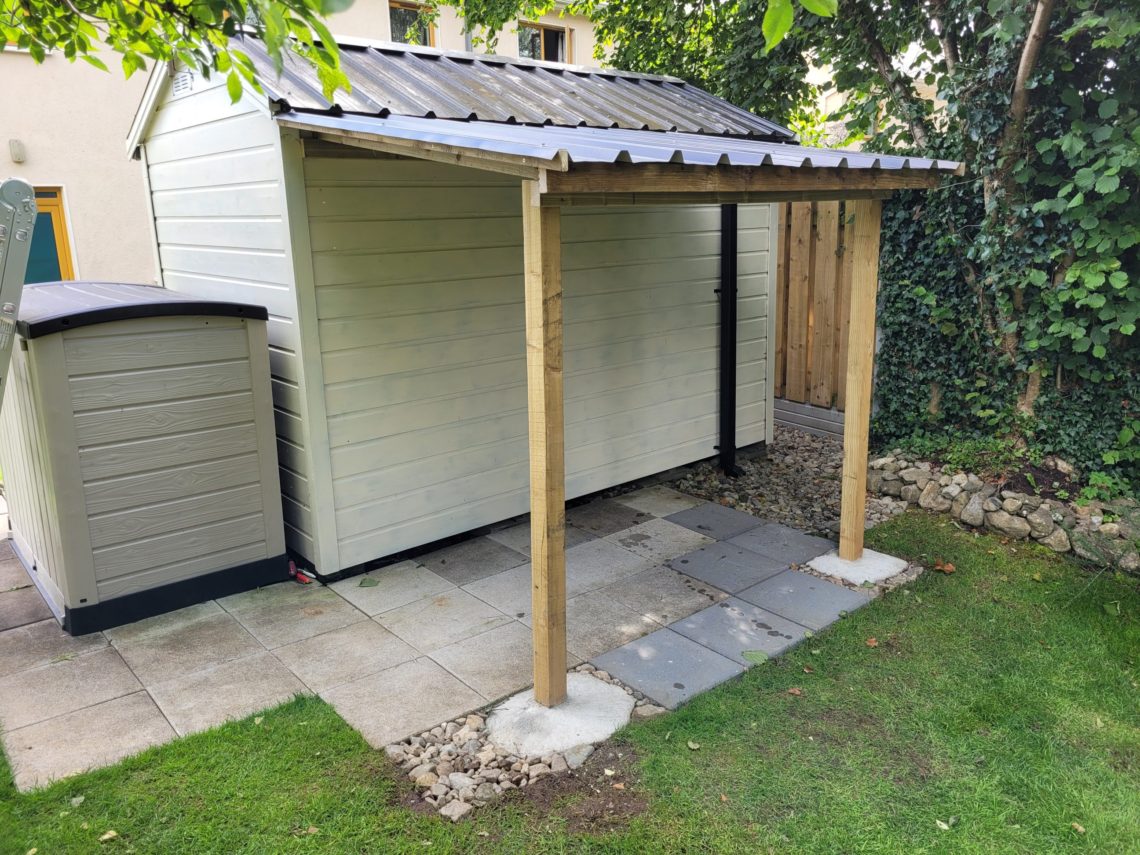
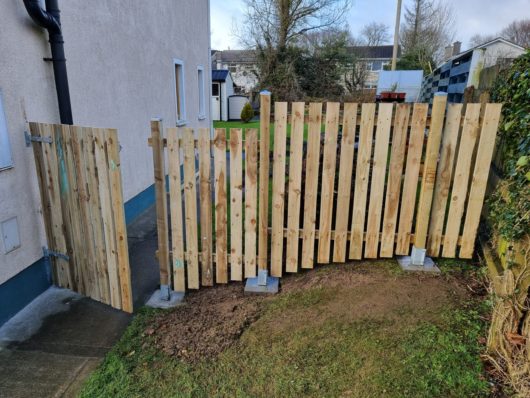
Lean-to roof
Probably the biggest project I’ve ever undertaken, both in terms of dimensions and cost. I had to acquire new skills and familiarise myself with new terminology, but fortunately, I already had most of the necessary tools in my workshop. I was aware that constructing a sturdy frame could pose a challenge, but it had to be done correctly. It needed to strike a balance between solidity and visual lightness, complementing the shed it was going to be attached to. Maintaining visual consistency between the existing structure and the new addition was one of the key objectives. Additionally, the lean-to had to be capable of supporting my weight during the installation process, which was the only time it would bear such a load – given the infrequency of snowfall in Ireland. However, it would primarily need to withstand various destructive forces such as high winds, rain, and the test of time. Therefore, the entire construction had to be robustly built, resistant to lifting and tearing apart. To begin, I embarked on a process of self-education to determine the desired appearance and functionality of the structure, ensuring it would meet all the established goals for a functional and safe construction. At a certain point, I started feeling more confident about the job as I delved into the intricacies of roof construction. I identified the necessary components: a ledger, rafters, purlins, eave trims, a fascia board, and a post plate to be attached to two posts, along with roofing sheets, tek and regular wood screws, corner braces, and a few bags of concrete mix.
Even before I began the actual construction, there were a few preliminary tasks I needed to complete. First, I had to shorten the main roof gutter. Additionally, I trimmed the eave and cleaned the corner trim, which had been cut at an angle to accommodate the gutter’s end cap. Fortunately, my new oscillating tool made these tasks easy, as it was perfect for making plunge cuts. I used the same tool to cut the patch to the appropriate size. Once cut, I glued the patch in place, sanded it flush, and then secured it with nails. Finally, I filled all the gaps with a multi-purpose exterior filler. The finished result looked fantastic and only required a touch of paint to complete the job.


Next, I dug two holes in the ground, each measuring about 1 1/2 feet deep and 1 foot wide. At the base of each hole, I positioned a layer of stones to facilitate the flow of concrete underneath the posts and provide a comprehensive seal from all sides. Each post was secured plumb and in line with the other. I only used clamps in that step, avoiding the use of nails or screws to save the timber from unnecessary pitting. The posts were secured with the pointed ends facing upward, maximizing the bonding area at the bottom and creating a slope at the top to divert rainwater in case of changing weather conditions in the following days. I wanted to prevent the end grain of the posts from absorbing moisture until the roof was installed. Next, I mixed the concrete in a wheelbarrow and poured it into the holes. I used two 25 kg bags of concrete for each hole, which were also packed with stones to increase the volume of the concrete for free and add weight to the structure.


On the following day, I removed the clamps but decided to postpone any further construction work to ensure the concrete had sufficient time to harden. I didn’t want to waste time waiting, and even though it was raining for a couple of next days, I took the opportunity to clean the area and expand the paving. Where it was possible, I used slabs and everywhere else – stones. That combination of building materials matched well with the rest of the paving.

I cut the ledger to the correct length and securely attached it to the shed. To prevent any splitting, I had to predrill holes precisely in the middle of each stud. That’s why I fixed the ledger from the inside. This particular step required assistance since it wasn’t a task I could manage alone. I asked for help to push the ledger tightly against the wall while I secured it with screws from the opposite side. Although I could use a right-angle attachment to drive screws in, I couldn’t pre-drill all the holes from the inside due to the shelves I had built a few years earlier obstructing the drill’s path. However, I persevered and managed to pre-drill all three holes accurately, whether from the inside or outside of the shed, successfully fixing the ledger to the wall. As an additional measure, I used two shorter screws positioned closer to the edges of the ledger, strategically placed between the studs.


Even before securing the ledger, I encountered a minor challenge when I realised that the shape of the existing sheets installed on the shed didn’t match the new ones. The valleys and peaks of the sheets didn’t align, making it impossible for them to interlock seamlessly. As a solution, I fixed the ledger 30 mm lower than initially planned to accommodate the height of the new sheets. Although this adjustment reduced the headroom, I had no other option to make it work. Continuing with the task, I cut the plate to match the exact length of the ledger, clamped it to the posts, and predrilled holes before securing it with large screws. For the slope, I chose a gradient of 8º.


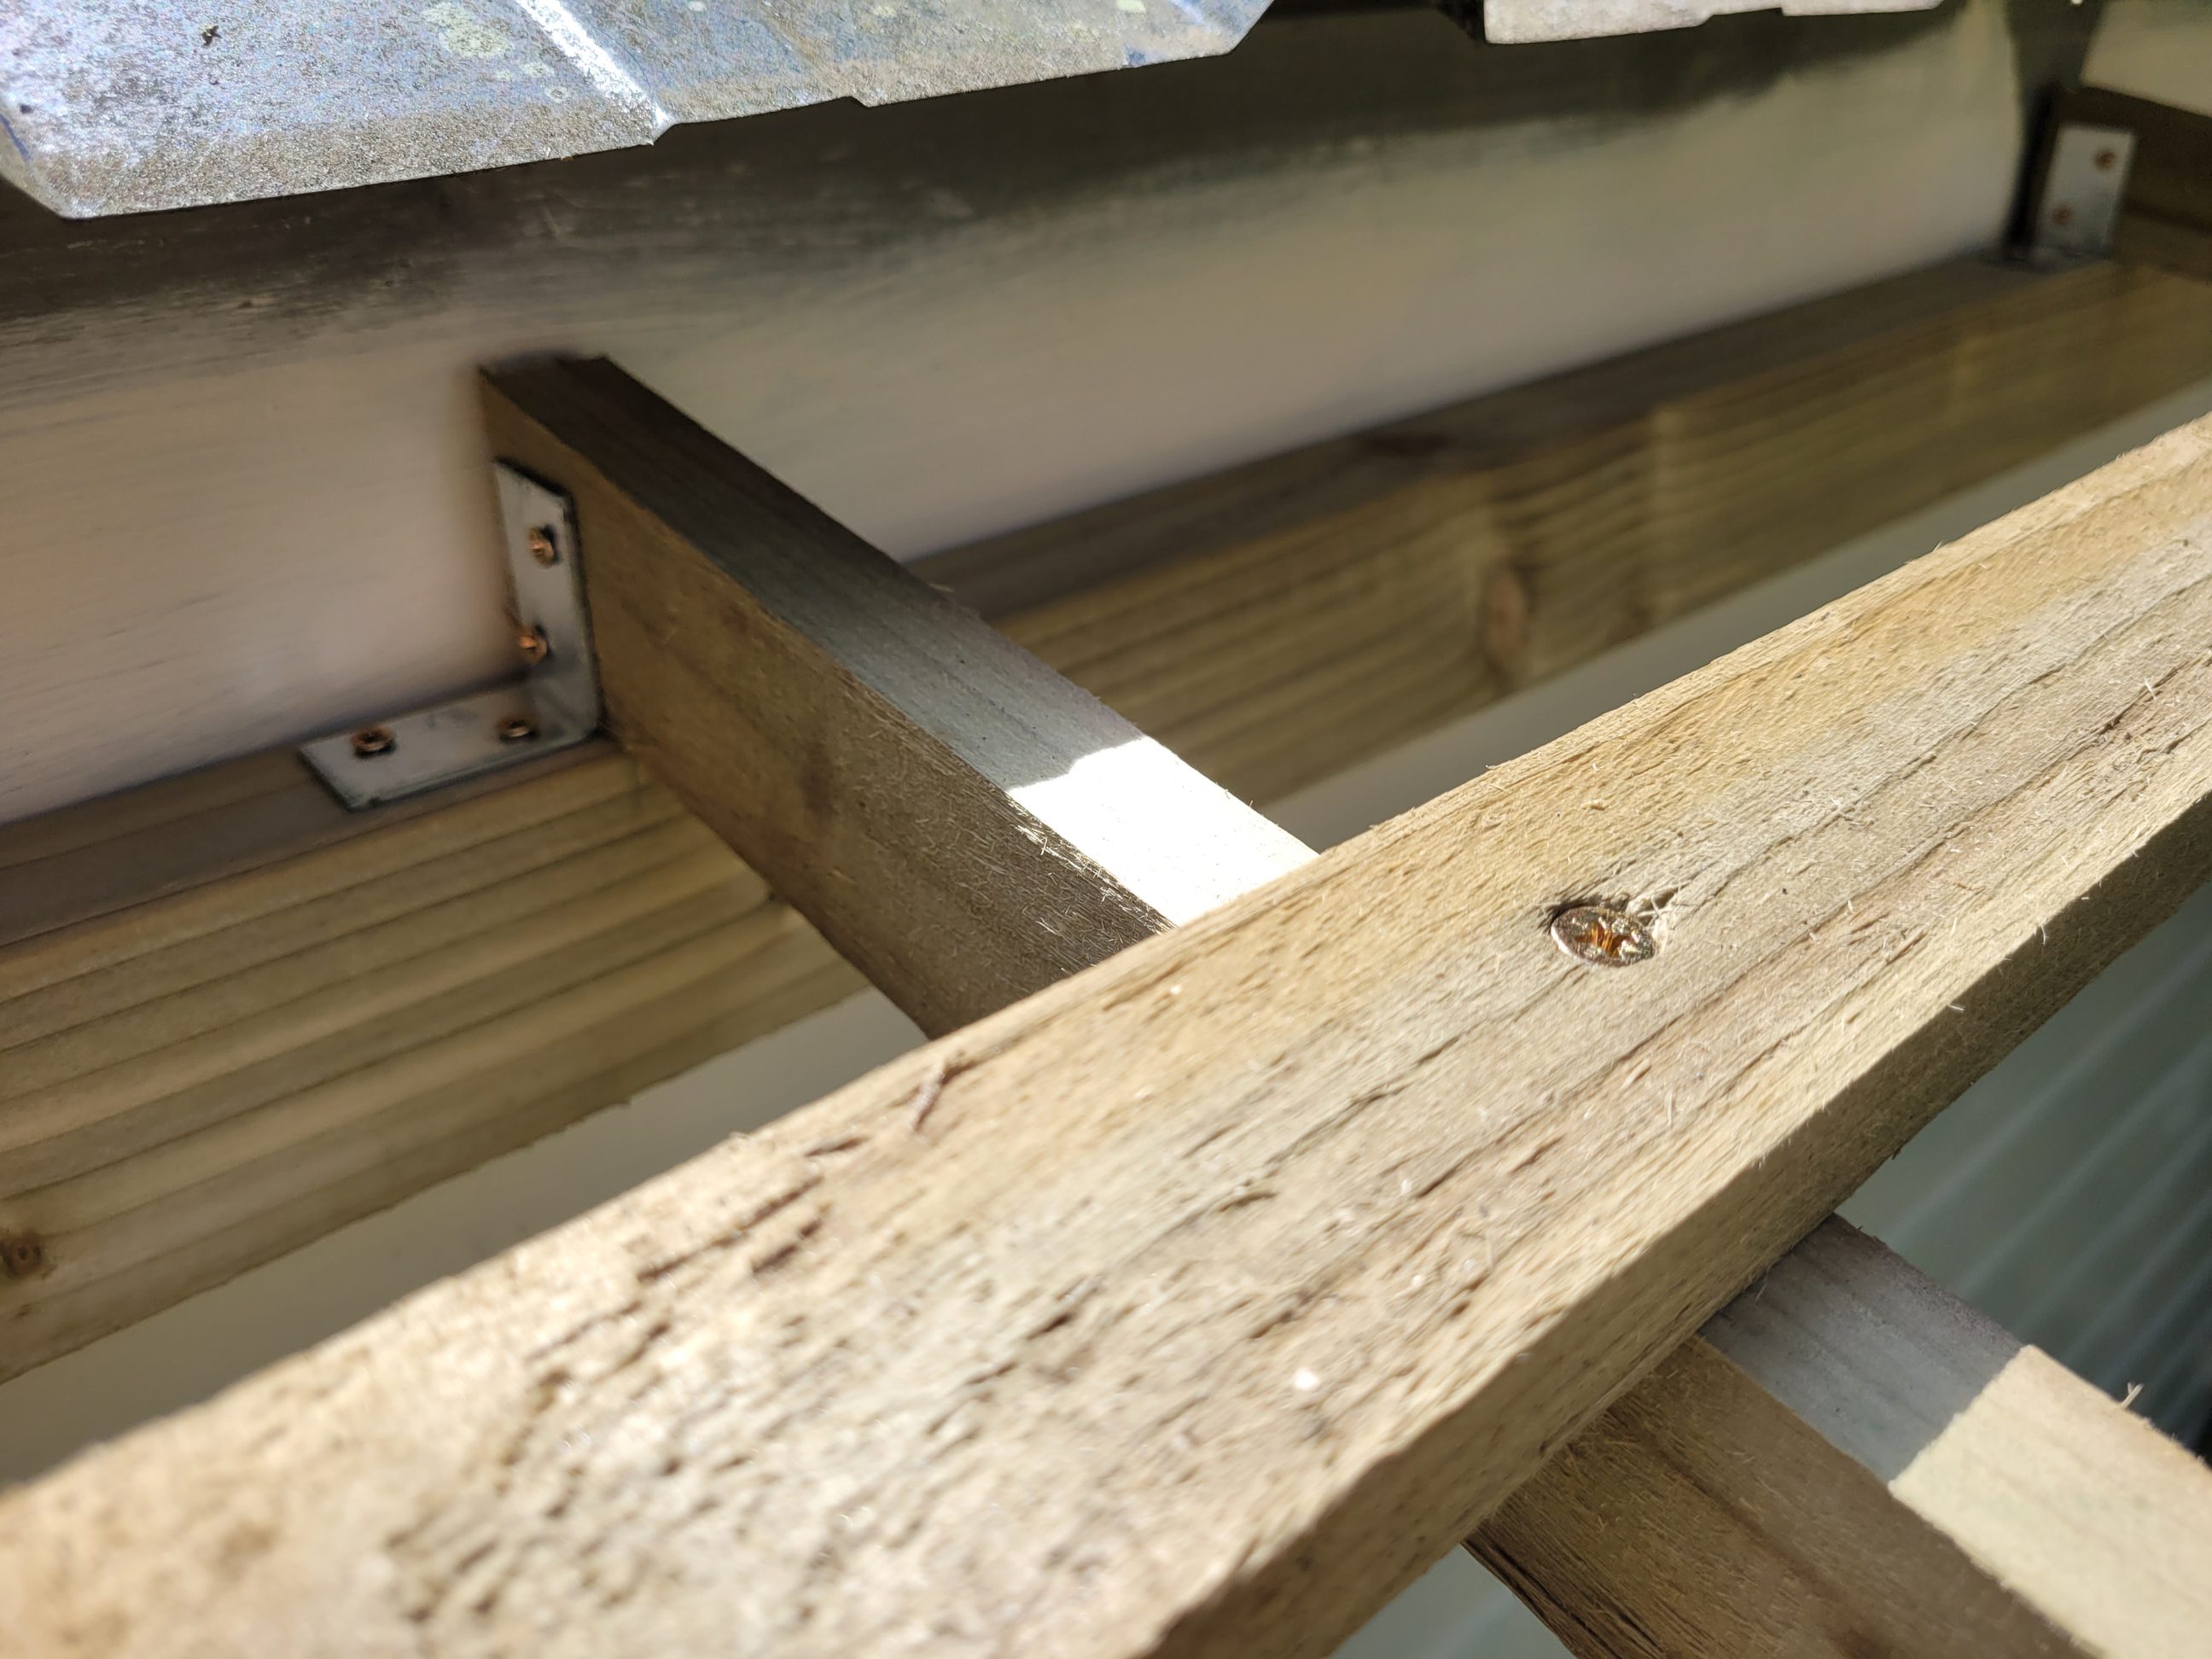
Using a pull saw, I carefully cut off the posts flush with the plate. I followed a specific sequence for fixing the plate before cutting the posts for two reasons. First, it resulted in a sturdier and more resistant structure due to the presence of three separate timber pieces instead of one. This setup minimized vibrations and reduced the chance of damaging the still-hardening concrete base. Additionally, it was much easier to make precise cuts with a hand saw when the plate served as a guide and provided support. After completing this step, my next task involved cutting 4 rafters to the appropriate length and angling them at 8º on both ends. I spaced the rafters evenly and took extra care to ensure the entire shape remained square by double-checking the diagonals. To secure each rafter, I utilized two corner braces, which I either purchased or crafted in the workshop.


To figure out the length of the purlins, I placed two 2x1s in the most distant peaks of the roof, measured the distance and cut all 4 pieces to length. Each purlin was fixed with a single screw at each intersection with the rafters. All the steps needed different screws and tools, either a small 12-volt screwdriver or an 18-volt impact driver, However, for the next phase, I exclusively used a smaller tool with the clutch set to a specific value.
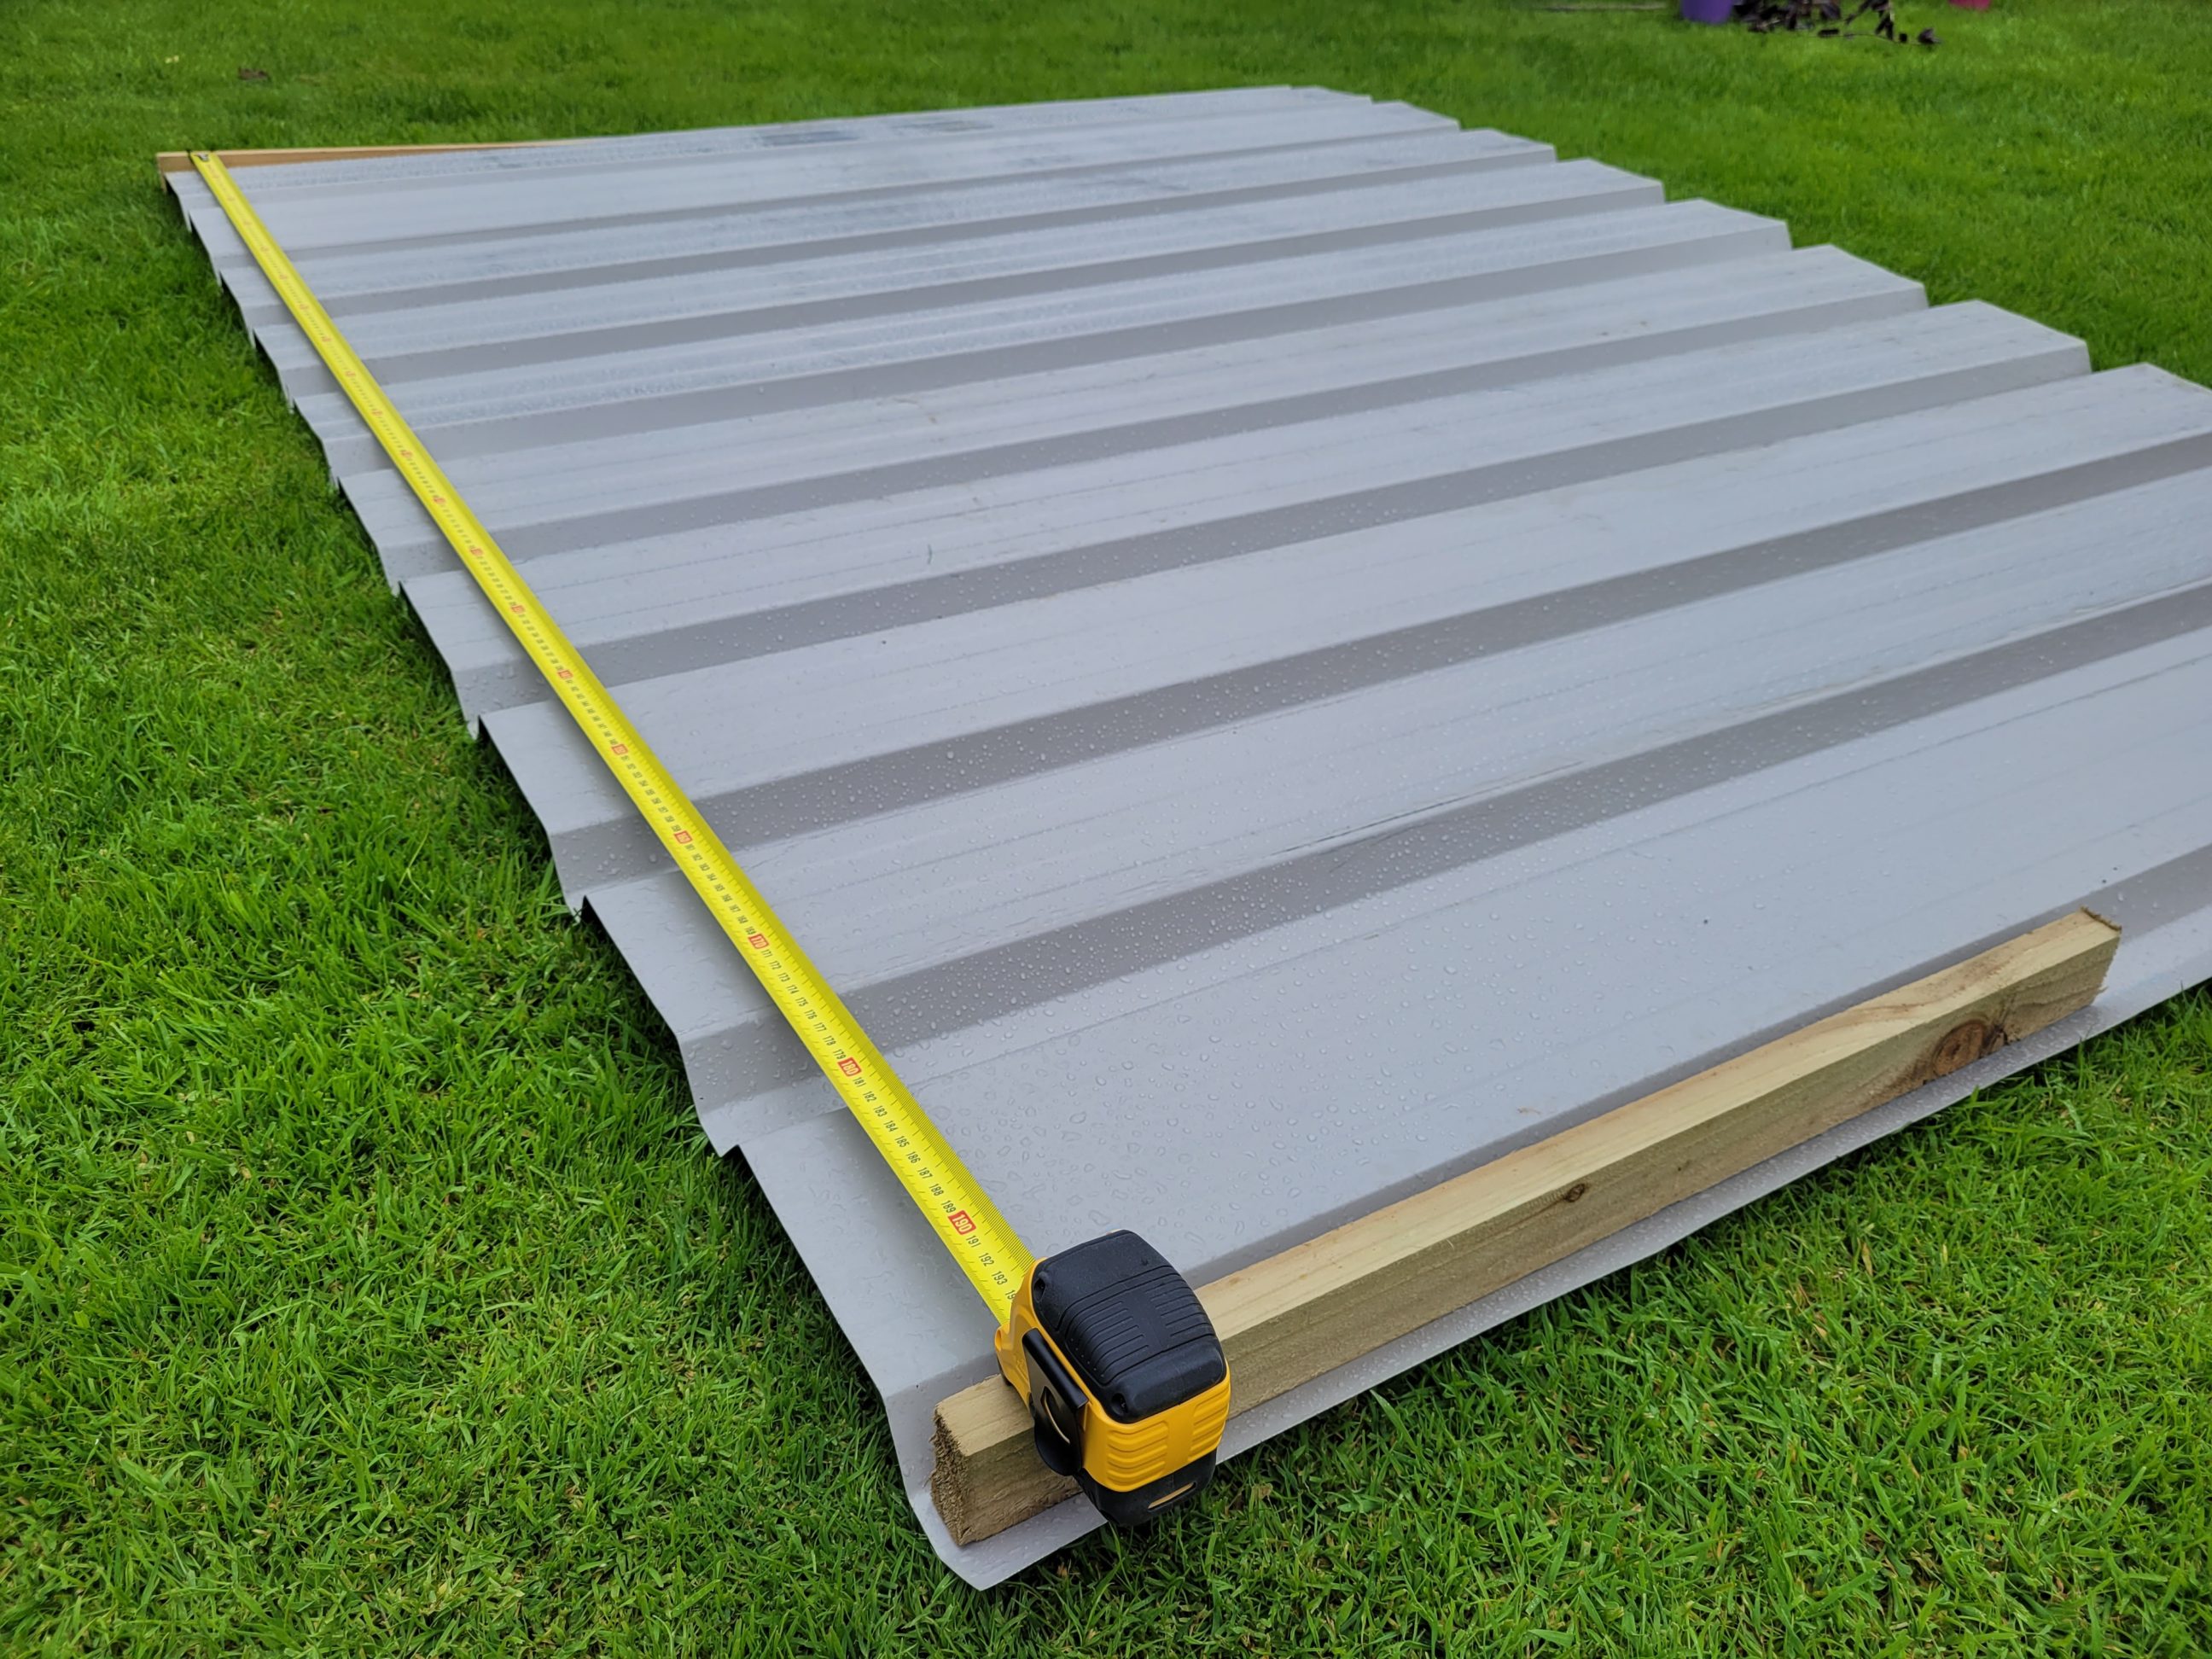


Setting the clutch of that particular tool to 15 ensured that the entire process was foolproof. Interestingly, I initially harboured concerns and fears about using metal roofing sheets and tek screws, mainly because I had never worked with them before. However, my actual experience turned out to be the complete opposite of my worries. The entire process was remarkably straightforward, repeatable, predictable, and, as previously mentioned, foolproof. To secure each roofing sheet, I used multiple spots and connected them together in the middle using the same tek screws. Although shorter screws are typically employed for this task, the ones I had on hand proved to be equally effective. Subsequently, I cut the eaves to a length slightly longer than the roofing sheets, creating a safety feature to prevent potential head injuries and to match the appearance of the existing ones in the main shed building. Later on, I realised that the sheets could have been flipped around and installed with the shorter overhang placed outside the roof, which would look better, but what was done couldn’t be undone. Once the eaves were fixed to the purlins, I secured the edges of the roofing sheets to them driving several tek screws from the top. As mentioned earlier, all the tek screws were affixed using the same tool and clutch settings. It was truly an easy and hassle-free process.


To complete the frame, I cut the fascia board to the appropriate length using the only piece of pressure-treated timber I had available that day – a decking board. This step allowed me to prepare the lean-to for the subsequent guttering process. That very day, once the lean-to was finished, it faced its first test when it encountered some rain, which acted as a baptism of fire for the new roof. As planned, it withstood the rain without any issues.


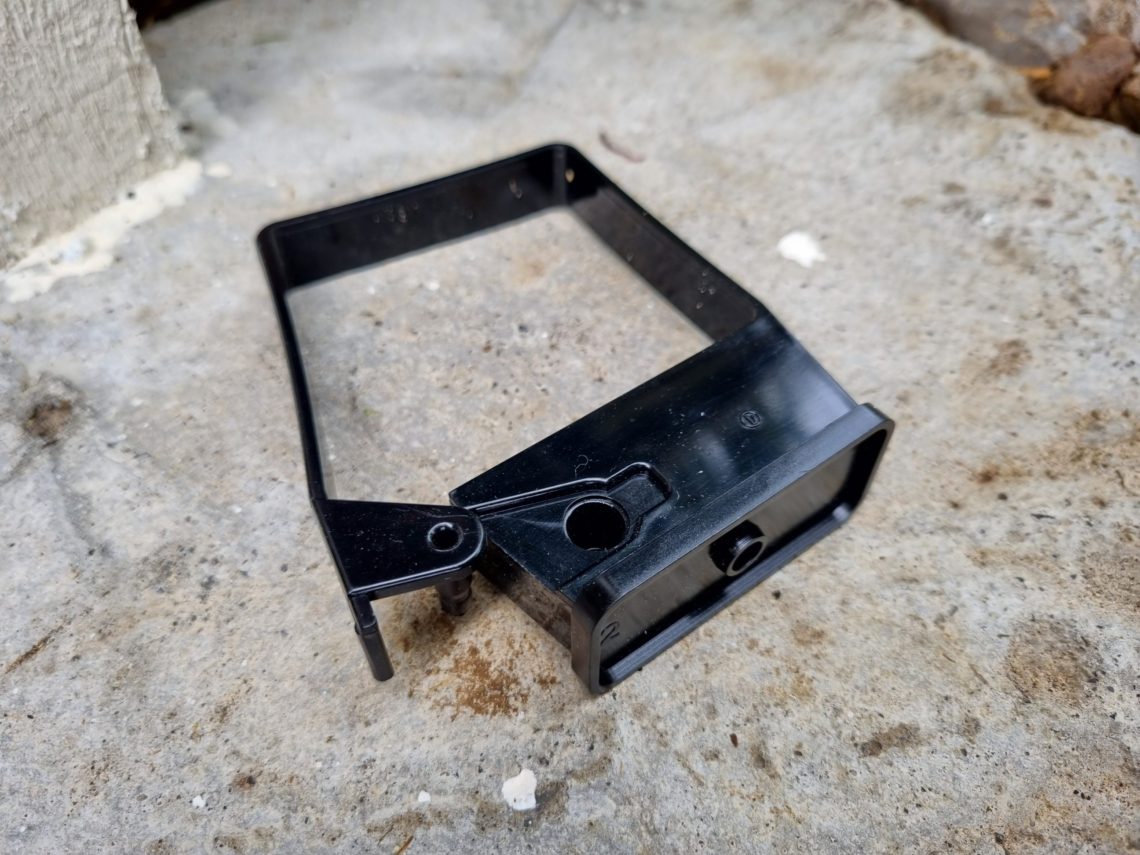
At that point, I could consider the project done, but in the following days, I improved it even further. The sharp corners of the roofing sheets were cut off at an angle, I lightly sanded the posts and applied 2 coats of paint. The last step, which was installing the gutters, due to the price of the materials could be considered optional – the total cost of the project rapidly raised by 50%! I could reuse the old piece of gutter, luckily for me, but unfortunately paid through the nose for everything else, including the pair of fancy downpipe clips, which weren’t available locally. Those clips were specially designed for use with narrow posts and any other brackets wouldn’t work. To finish off the project, I capped the downpipe with a shoe and placed it in between my large planter and 2 smaller flower pots, to eliminate the risk of being accidentally kicked and damaged. As soon as possible I began using my new lean-to roof to store garden tools and firewood, I moved all of them in and finally got everything organised and secured.


One Comment
Pingback: