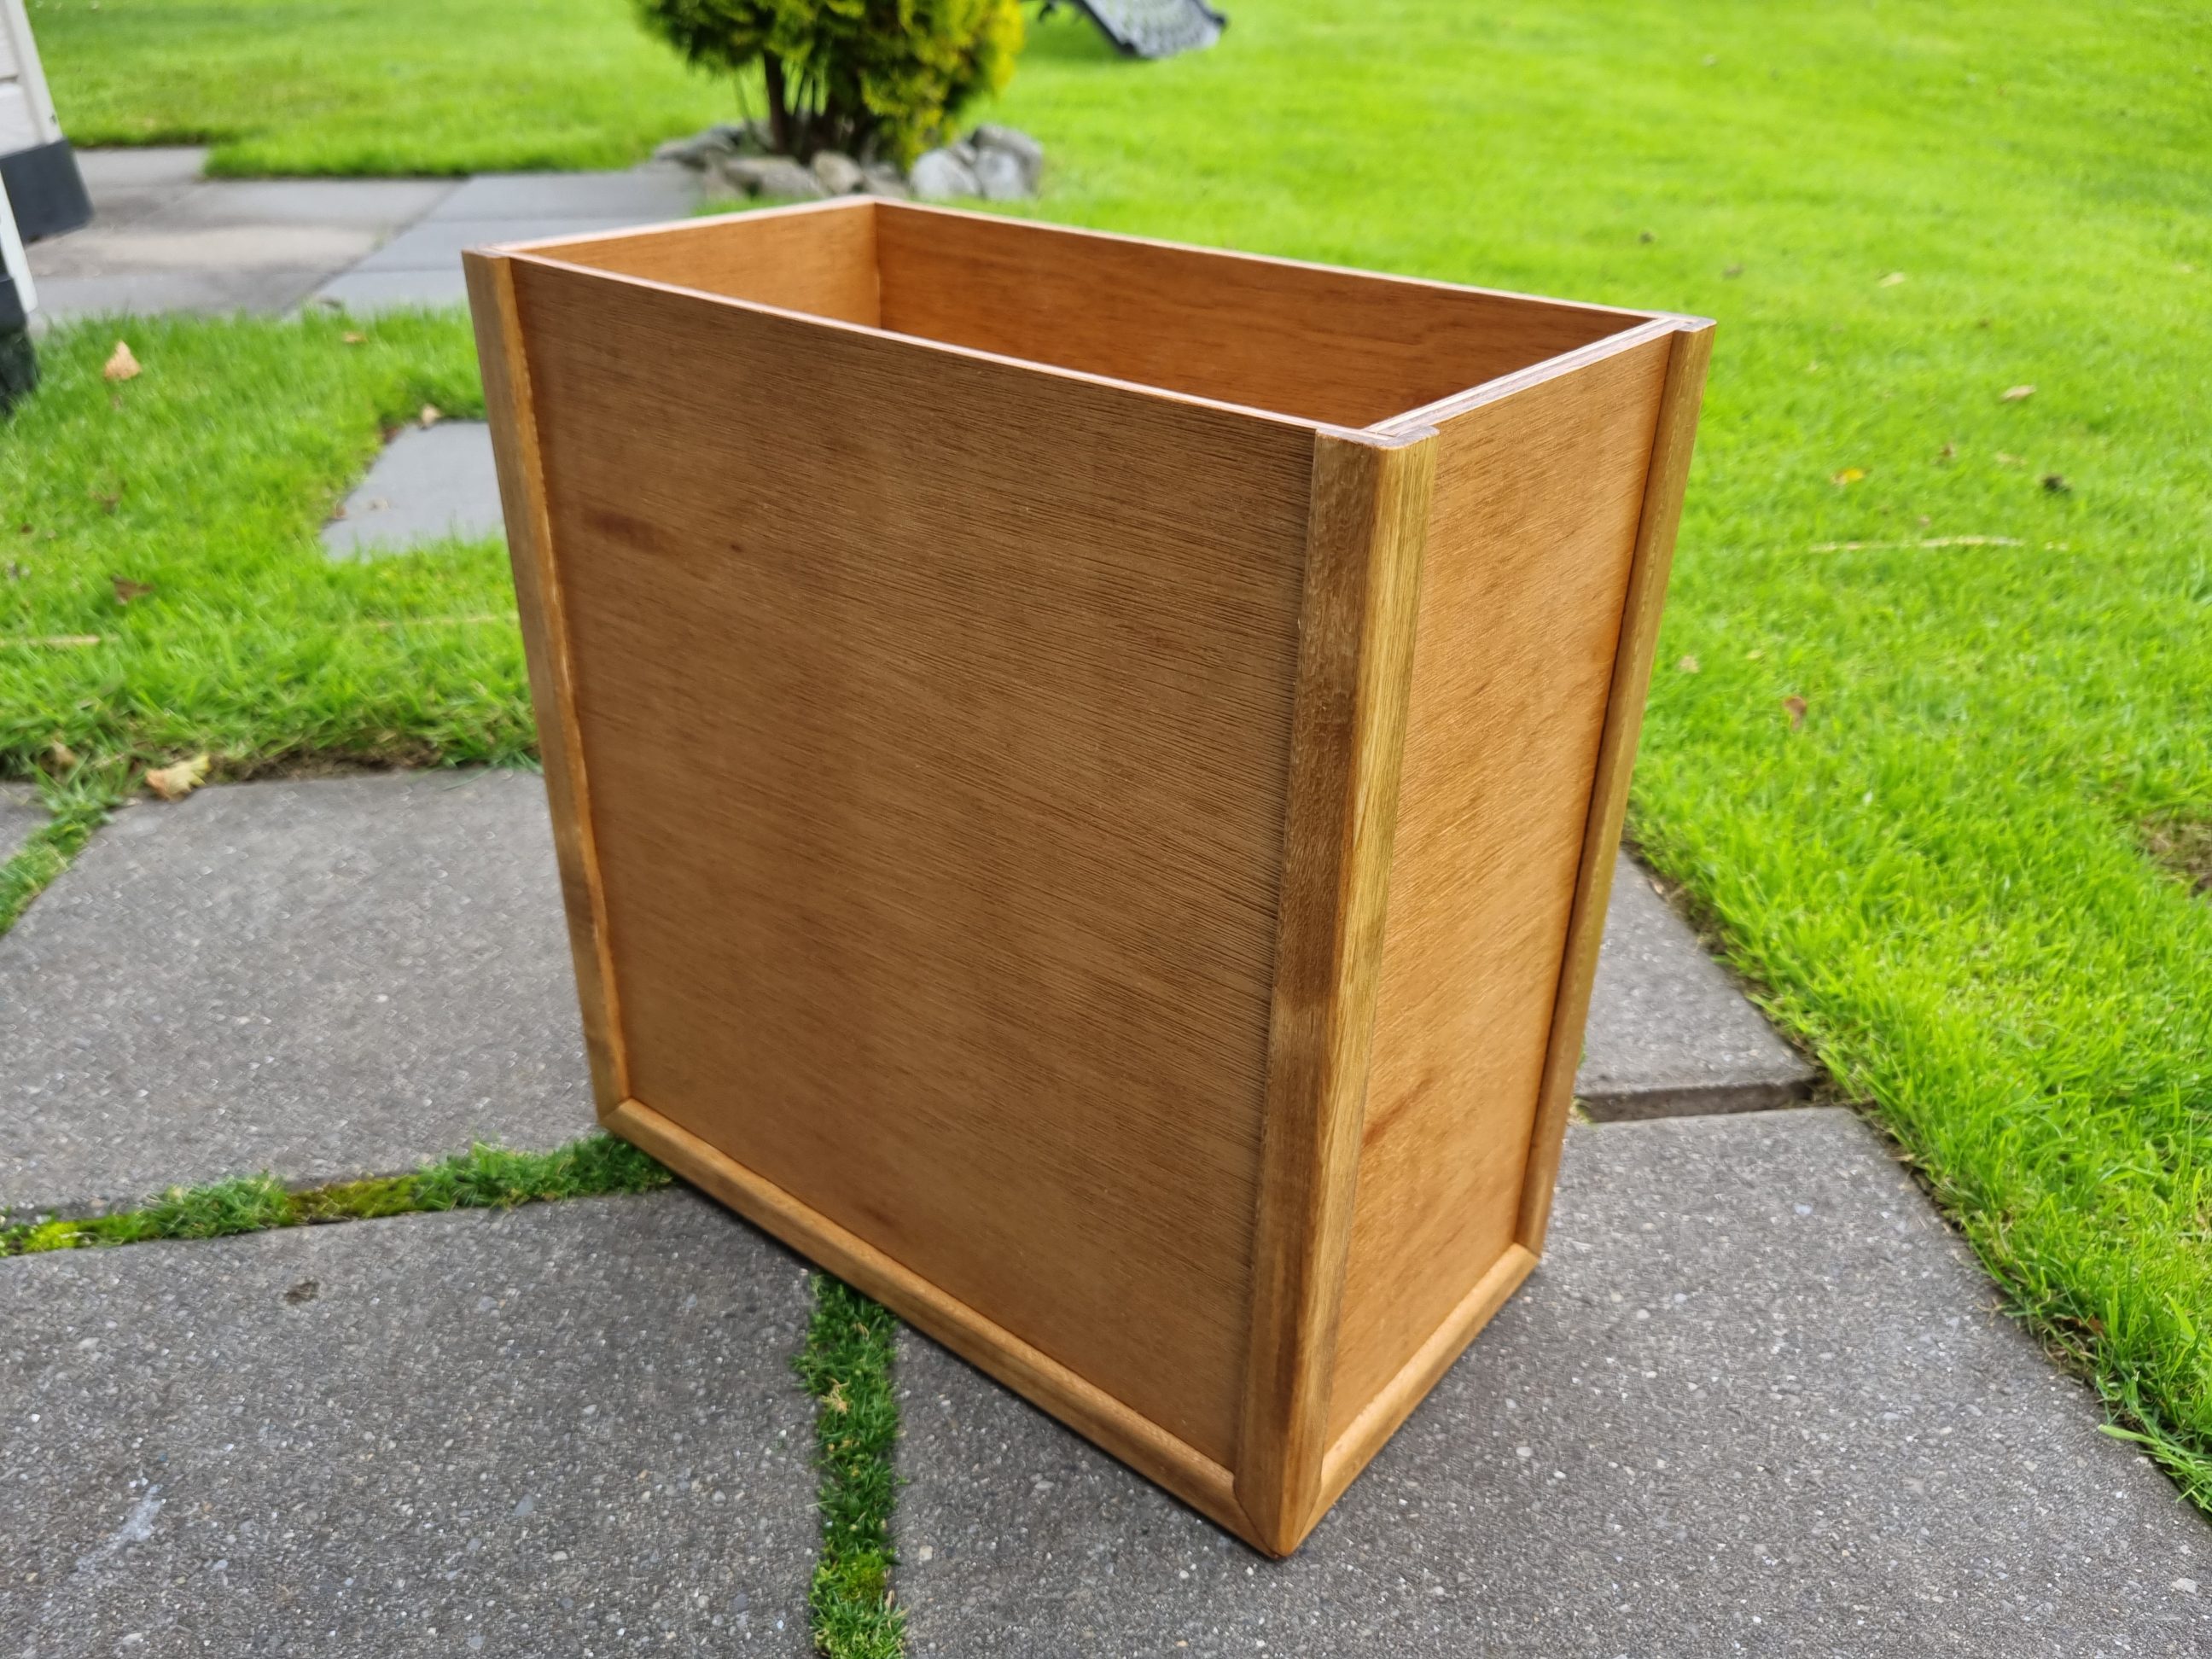
Plywood box with moulding-covered edges
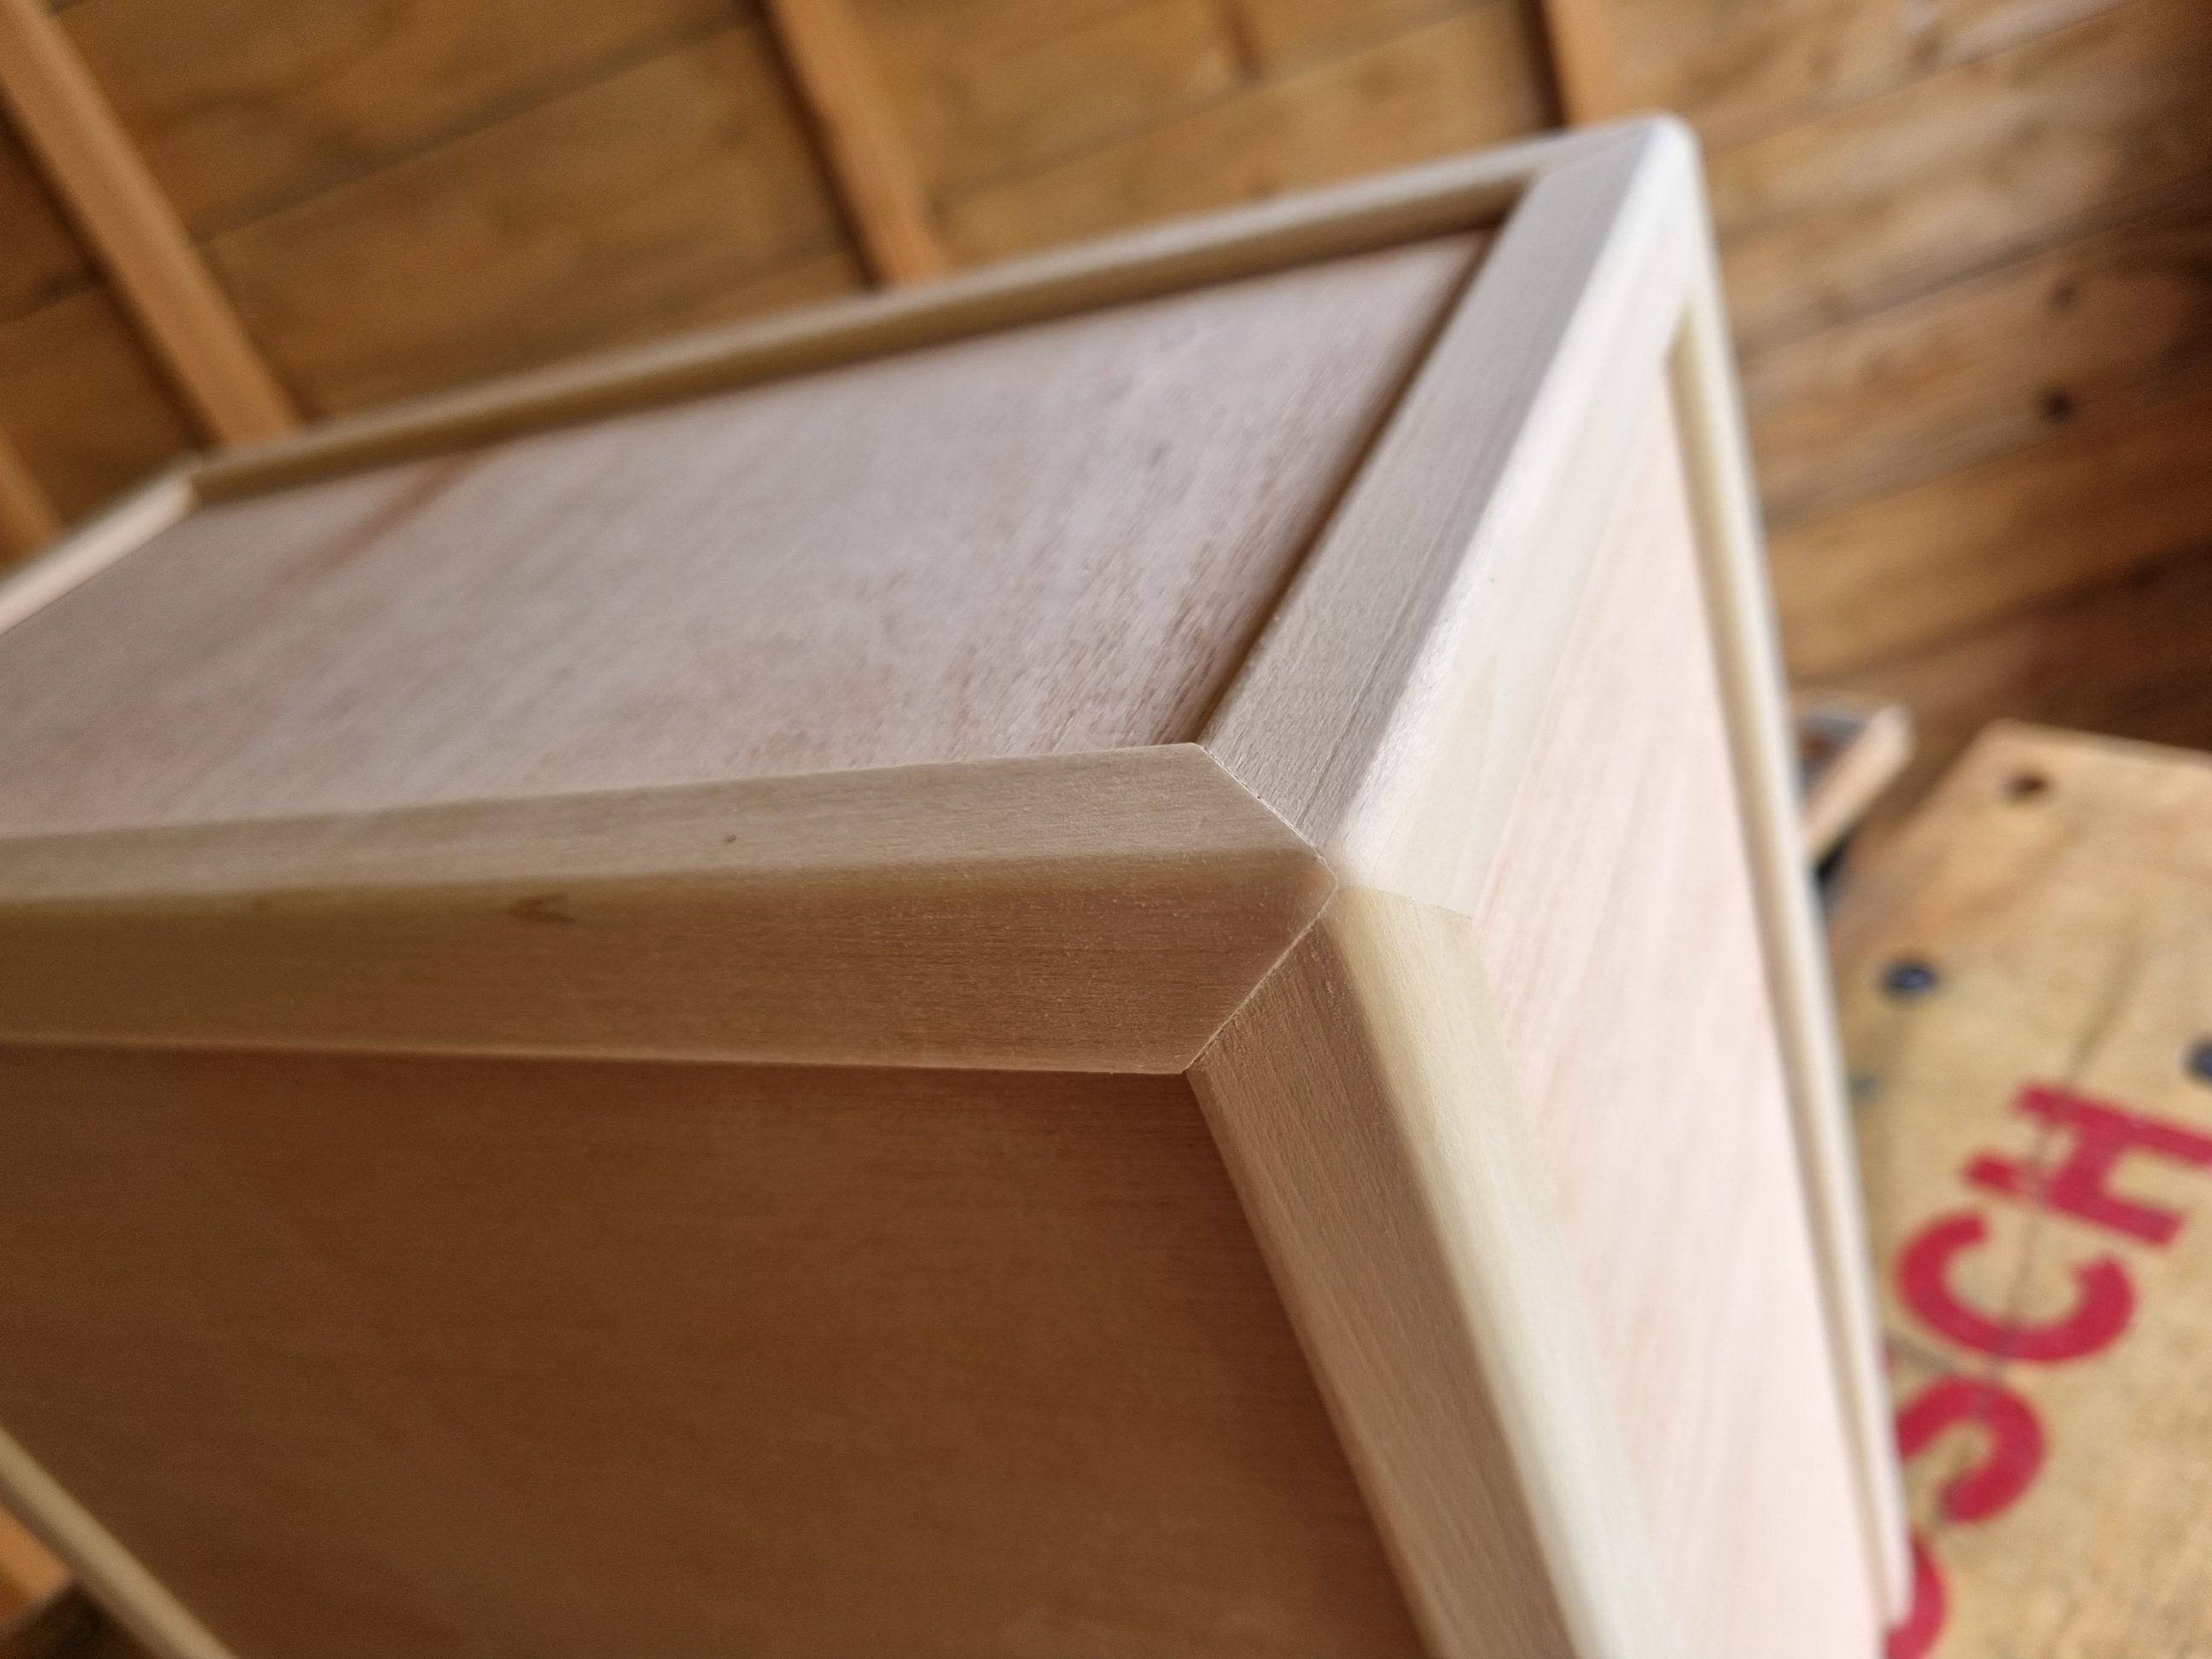
The body of the box was crafted from five plywood panels, simply butt-joined and secured with glue and nails. This approach proved to be both quick and effective, providing ample strength for its intended purpose. To enhance the aesthetic appeal and user-friendliness of the box, I covered the sharp corners and exposed plywood edges with tasteful mouldings. The time I saved by simplifying the plywood body construction was redirected towards experimenting with novel techniques for addressing a common issue with cheap plywood – its often imperfect and void-ridden edges. While numerous methods remained unexplored for future projects, I opted for an L-shaped hardwood moulding in this project. With a box small like this one it was all about precision and accuracy, everything had to be either square or cut at an angle of 45º precisely.


First I had to make a simple box – I used what I had on hand – 10 and 5 mm plywood scraps. They were actually even thinner than advertised on the label – 9 and 4 mm which was perfectly fine with me (~3/8 and 3/16″). The bottom and the side walls were cut to the same size, using a thicker plywood sheet. To simplify the assembly process, I employed small clamps to hold the walls upright. Then, I applied a fine bead of glue and secured the components with a few pin nails. That step was followed by cutting the thinner walls to size and fixing them to the rest exactly the same way – glue and nails. I made sure all the nails sat just below the surface, using a nail set. While the glue was drying, I removed the label using a heat gun first and then wiped off the residue with white spirit.


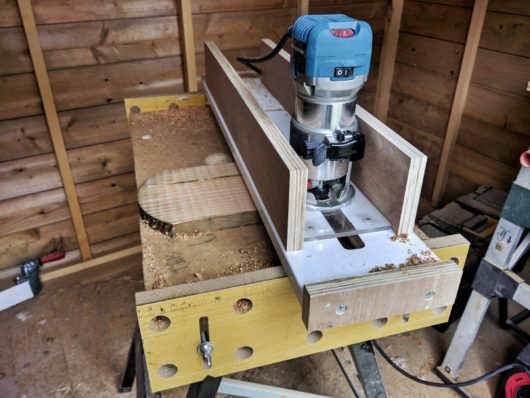
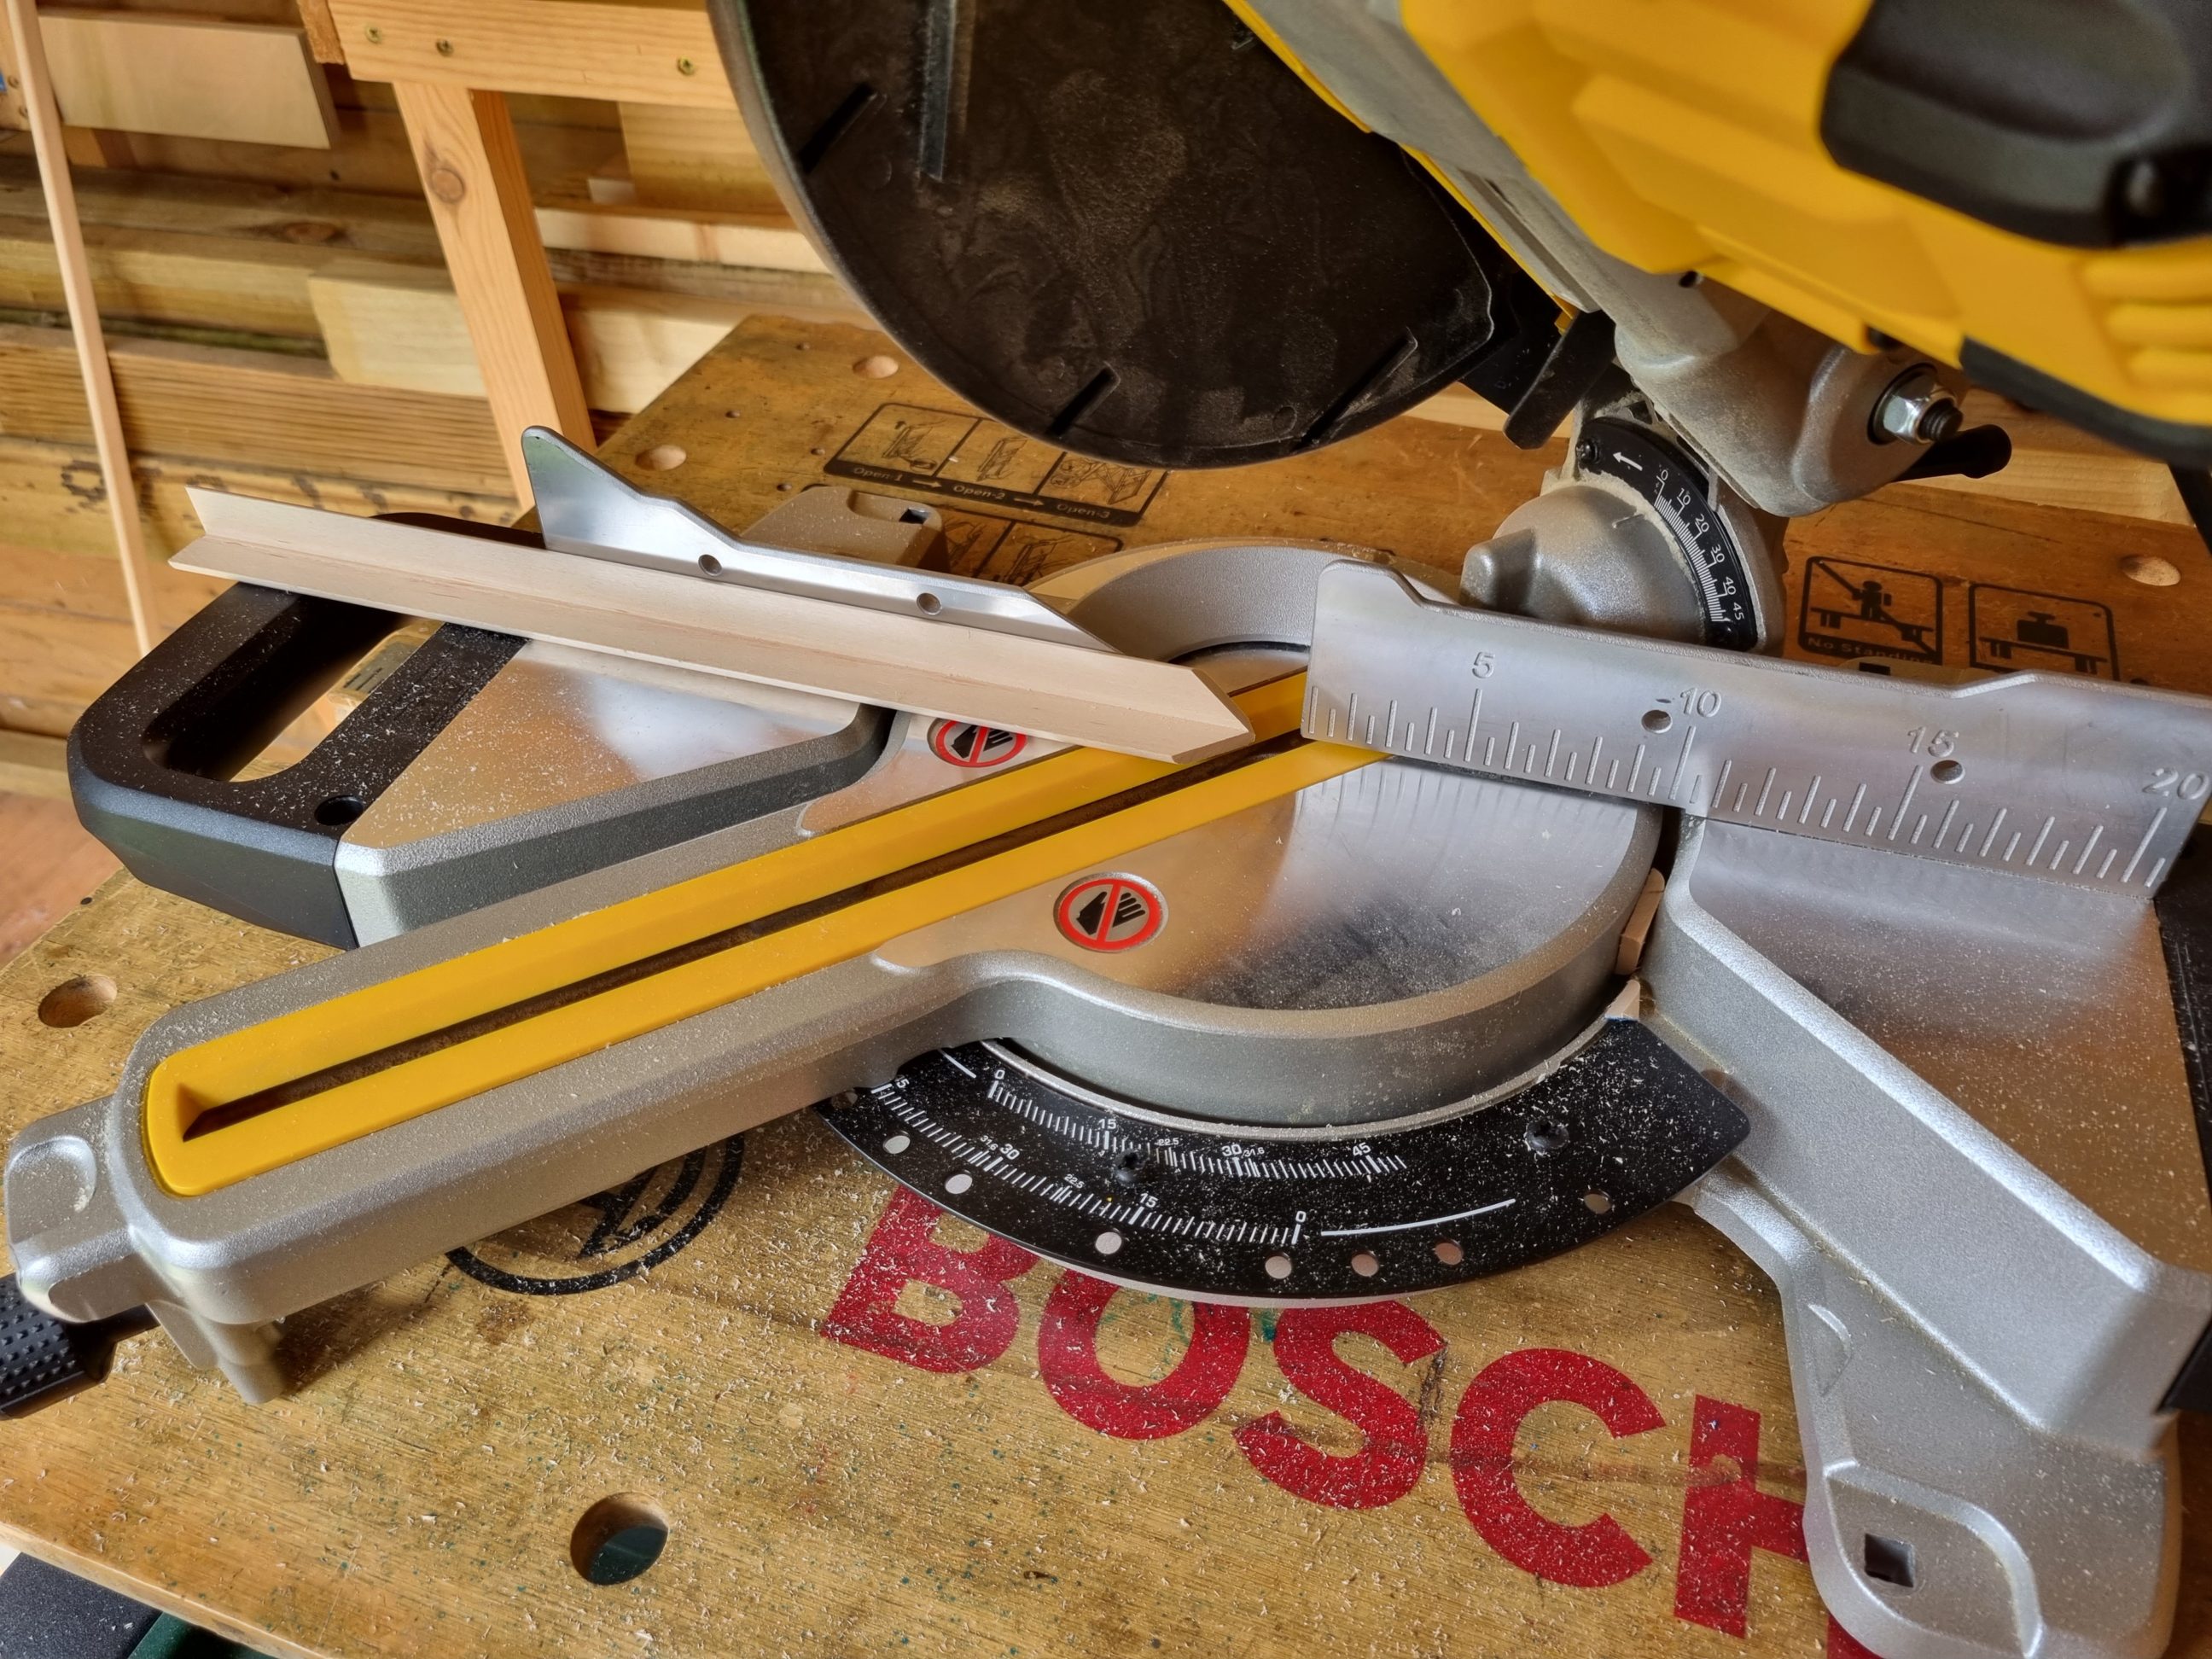
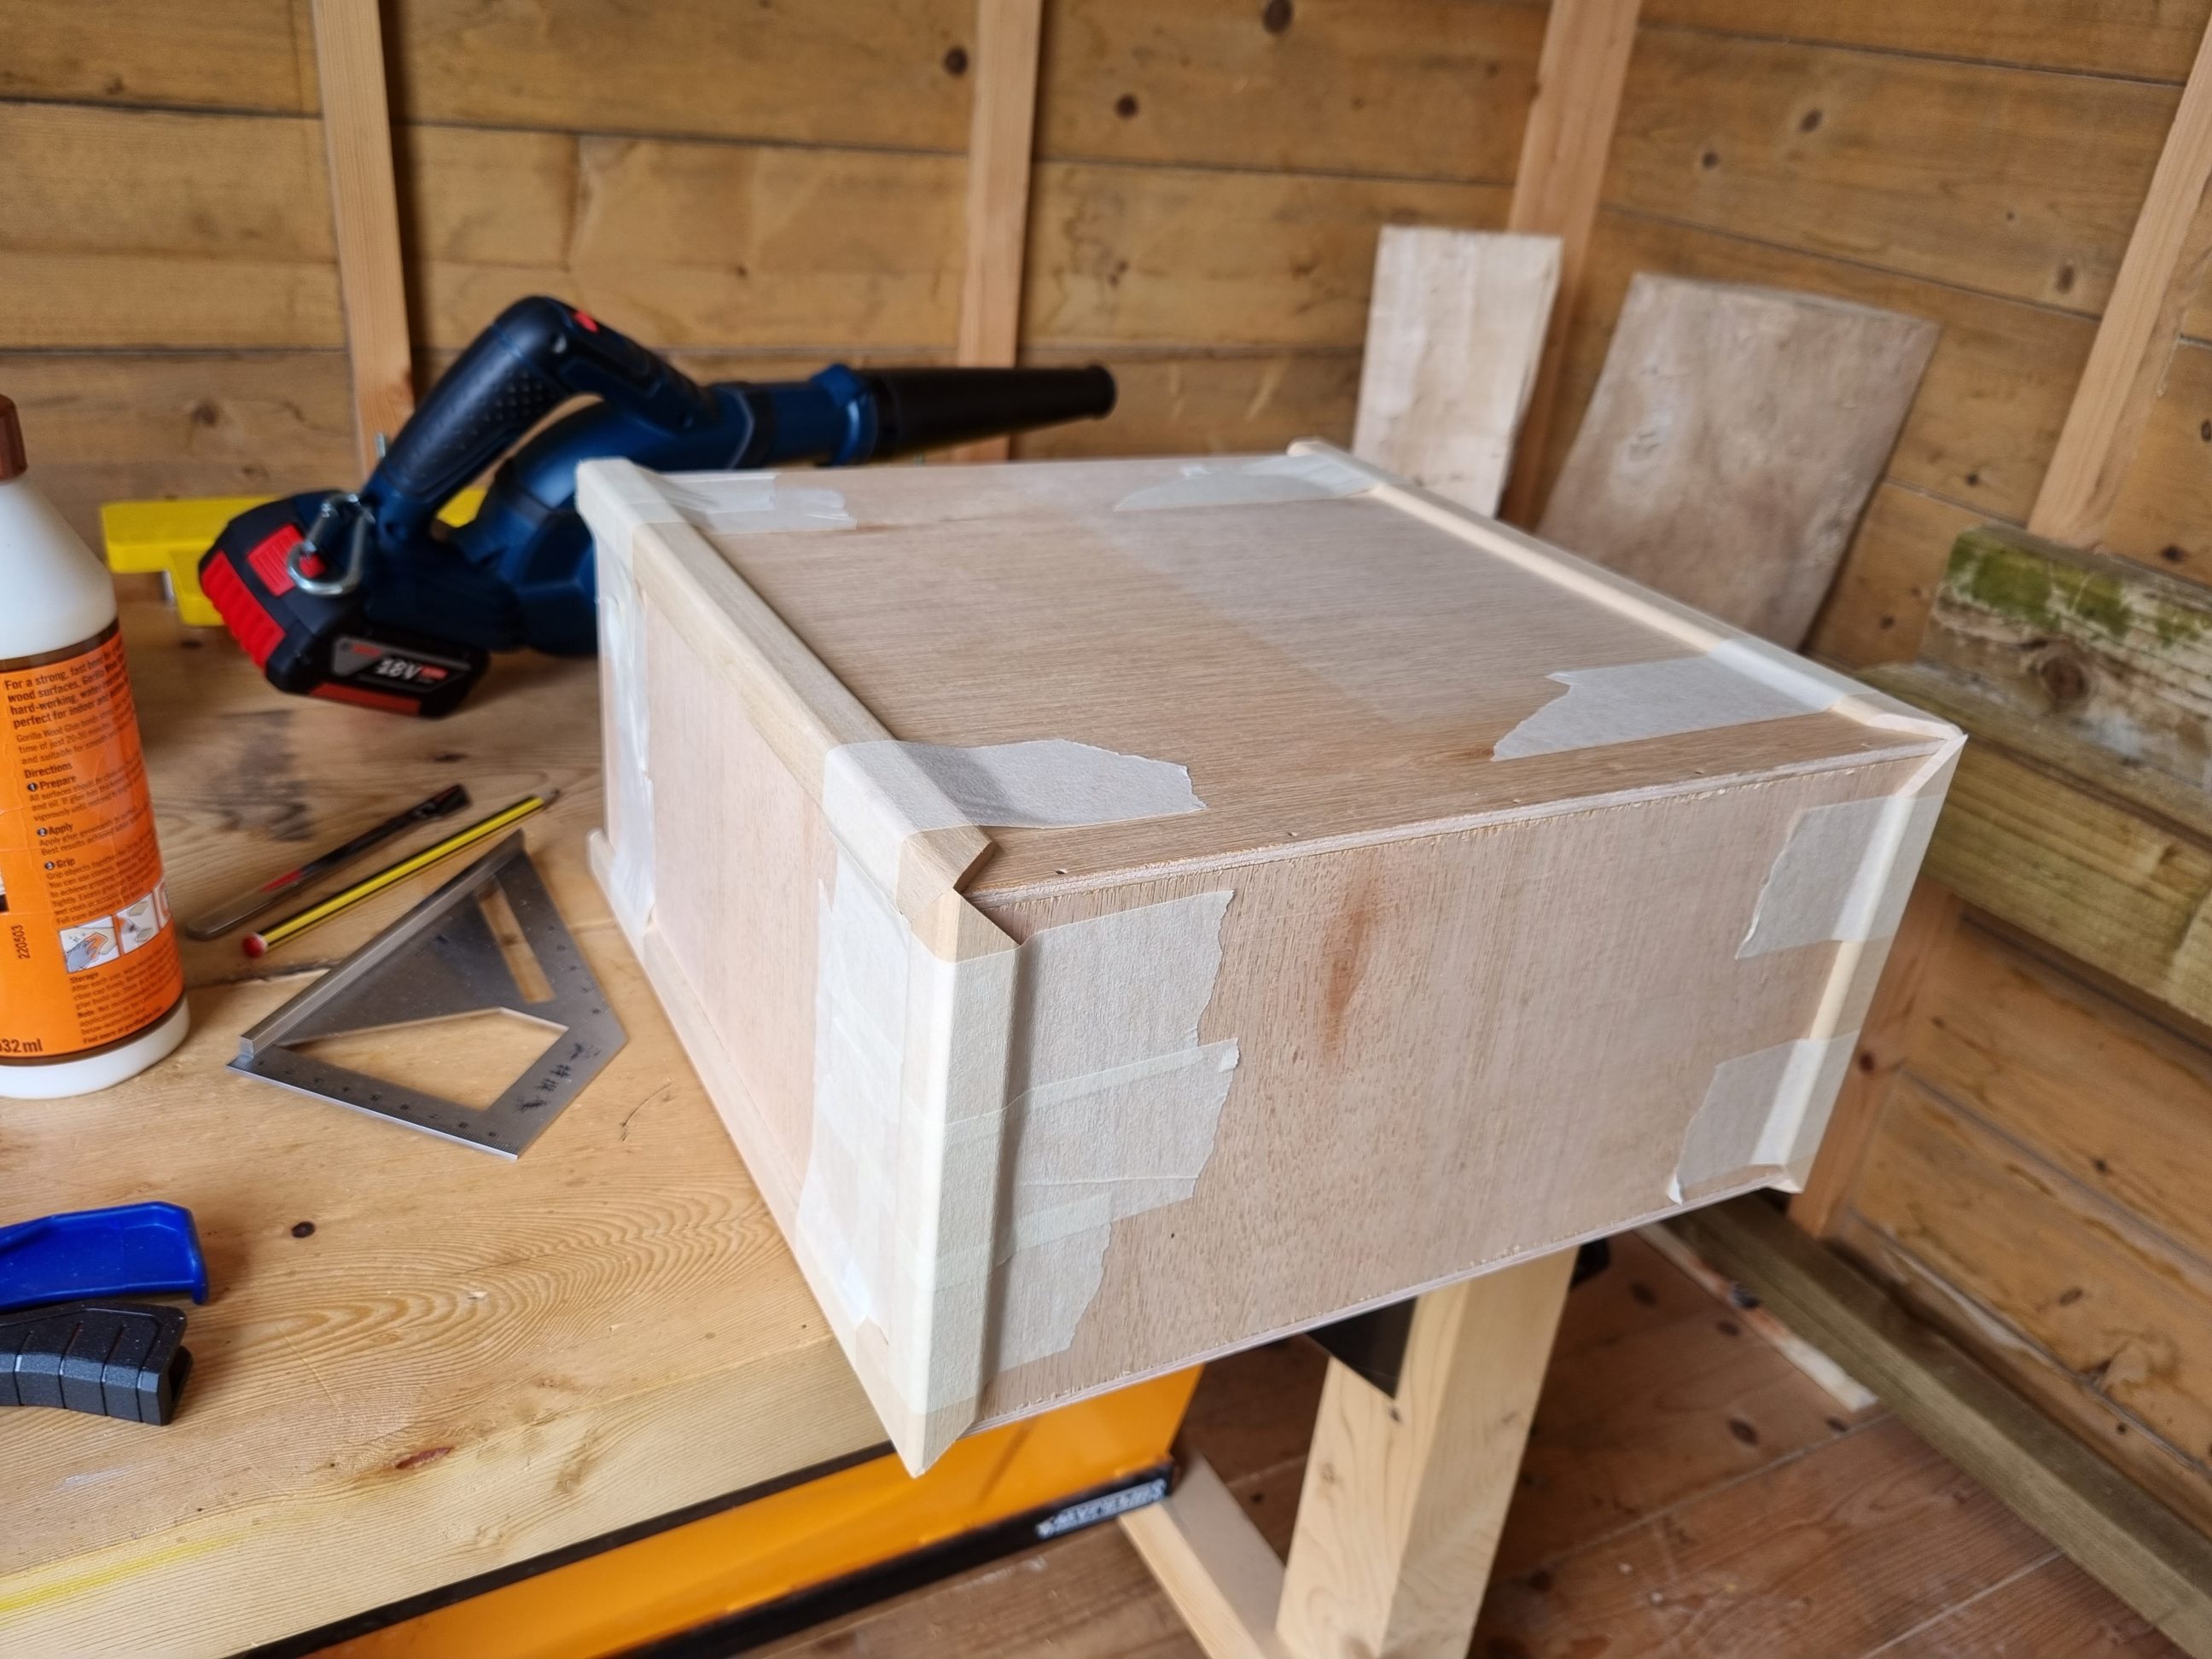
The moulding I got was a hardwood one, just like the plywood – consistency first. The simplest way to cover all the edges was to cut all the moulding pieces at a 45º angle on both ends, on both planes. For that task, I installed a brand new negative hook saw blade in my mitre saw. I cut the upright pieces first, then the side ones and lastly the front and the back ones. It was an easy step, the saw was used with the arm on the left or on the right-hand side, and the workpieces were cut flat (with the bottom down) or upside-down (with the bottom up). The trim was glued to the box and clamped with painter’s tape. It was left to dry for about 30 minutes.


Using my flush-cut saw, I trimmed off the upright pieces and sanded the box. Sharp bottom corners were also shaped with sandpaper to match the moulding profile. This not only enhanced user safety but also reduced the likelihood of damage.


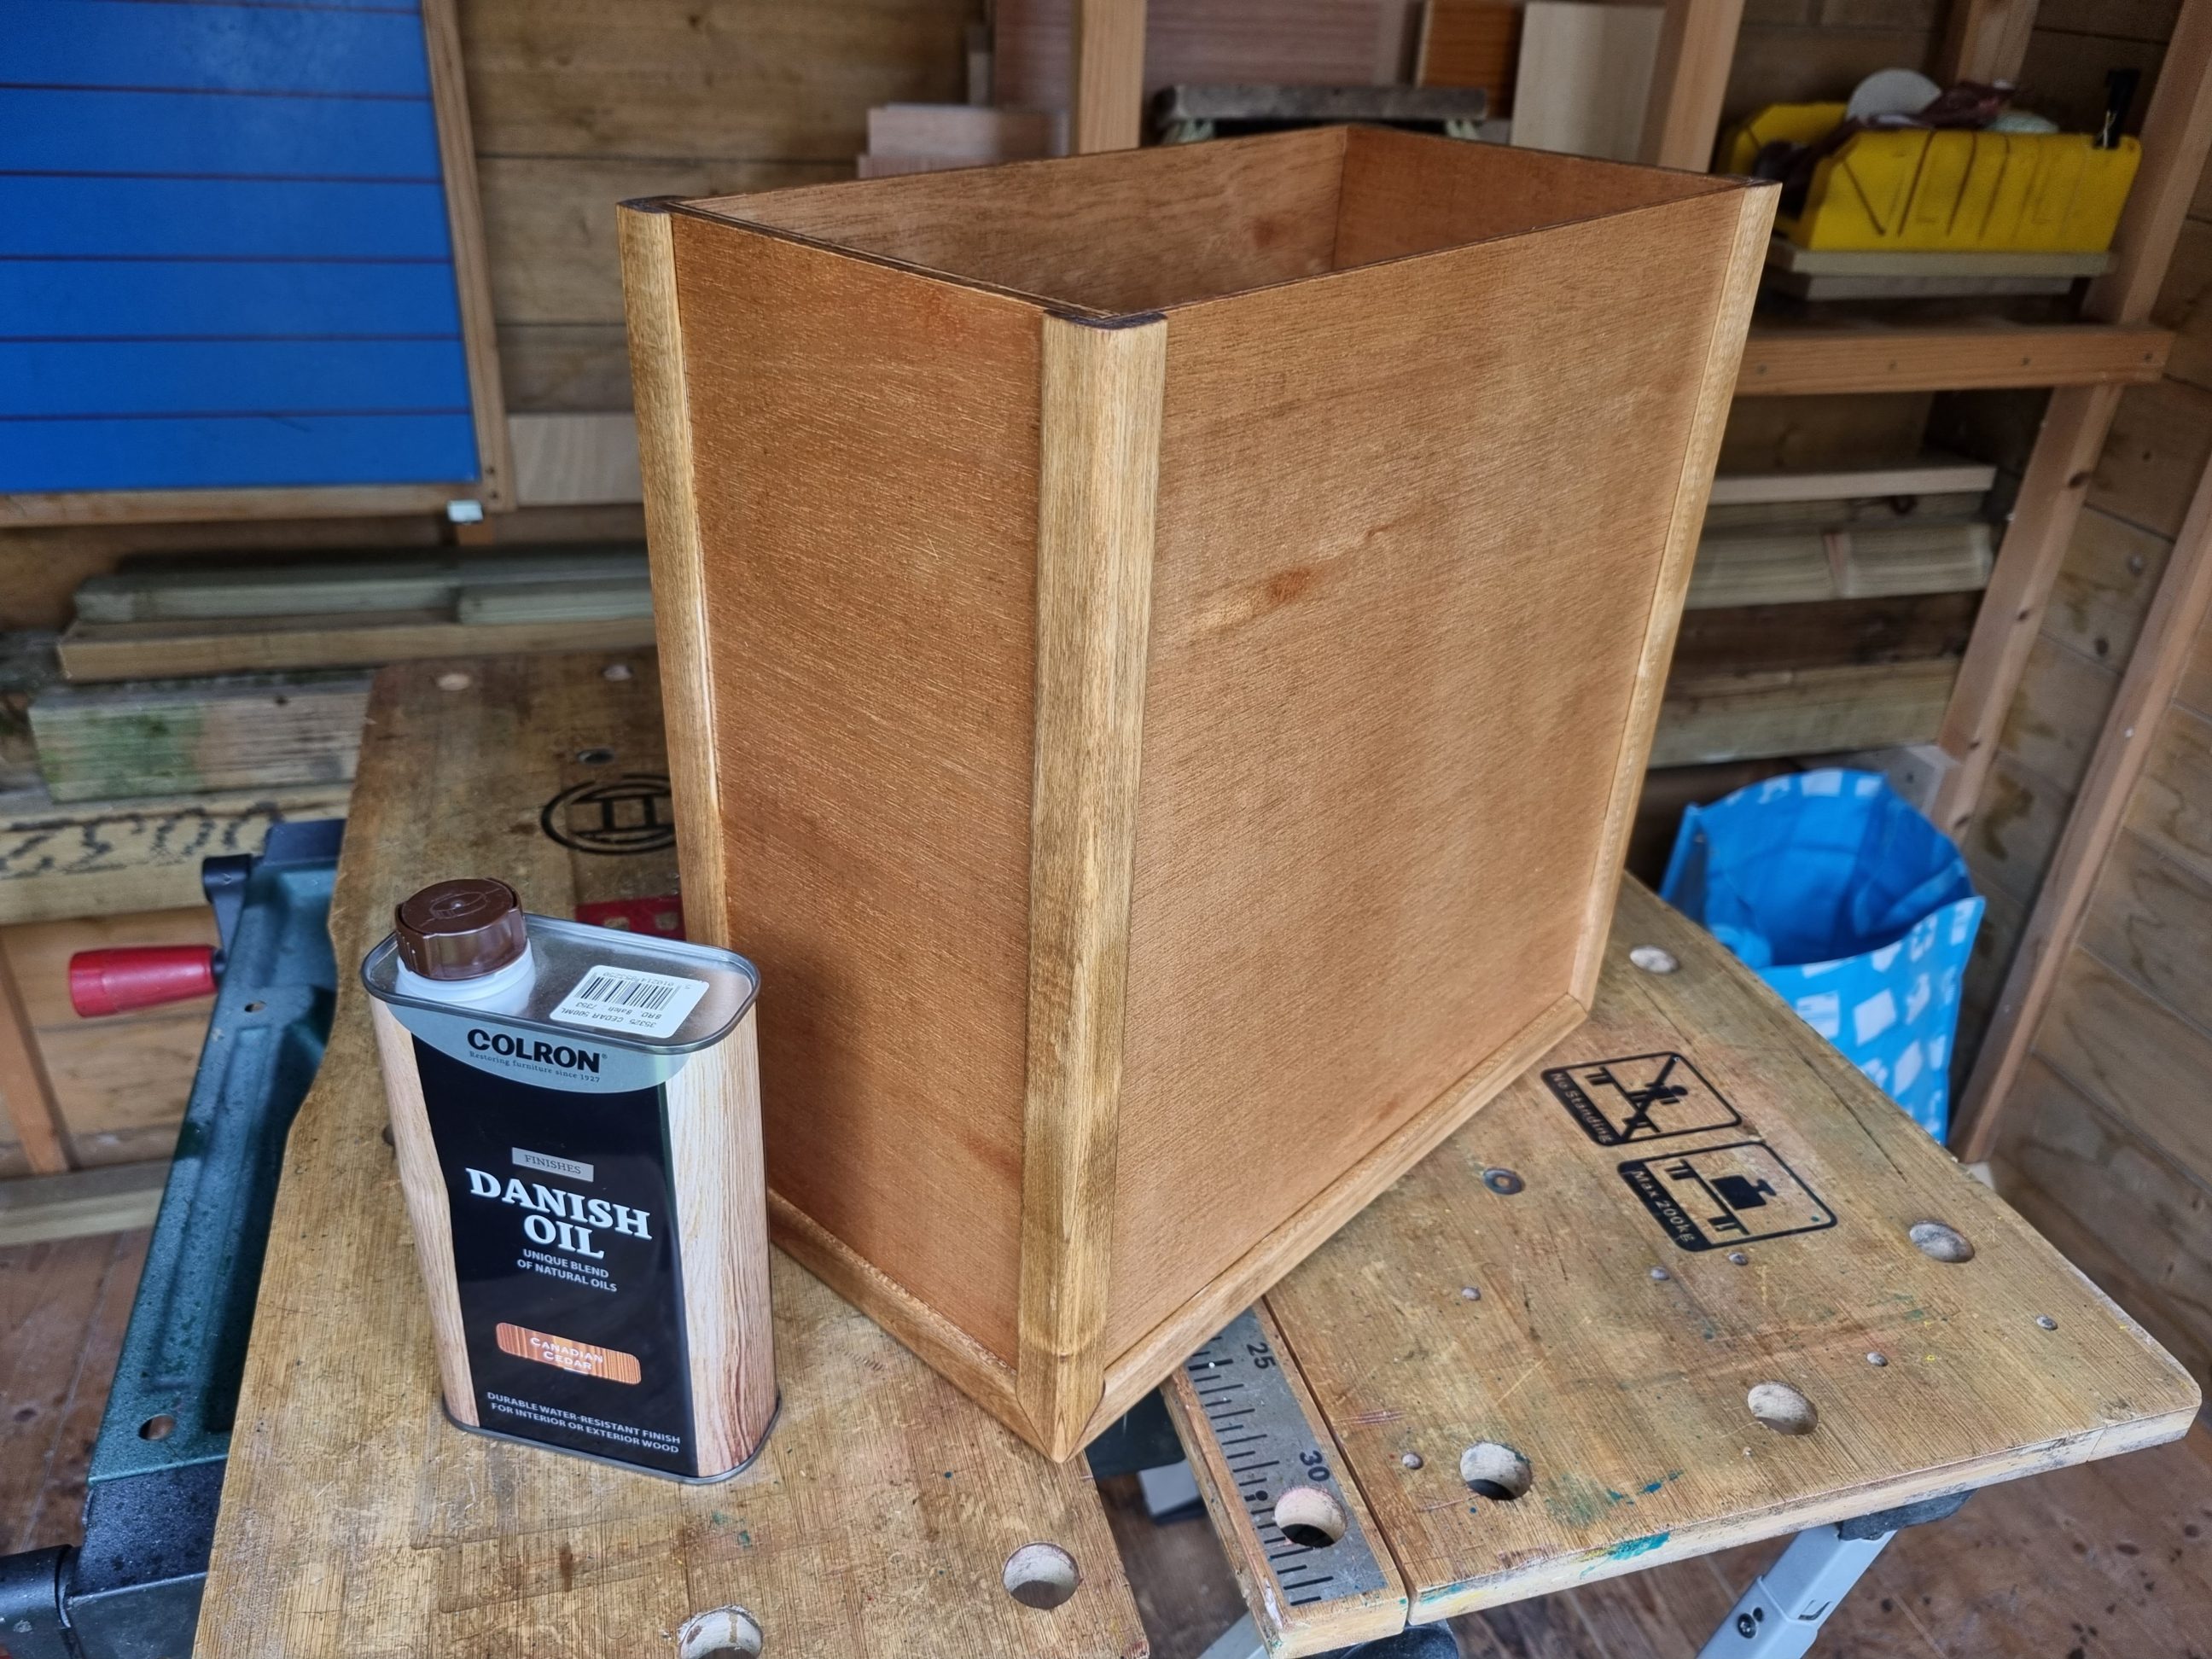
I needed a light-duty finish for the box, or no finish at all. After careful consideration, I opted for Danish oil, specifically a cedar variant. It turned out that it was exactly what the box needed. Especially the end grain of the upright pieces and the plywood edges looked much better after the finish was applied, their colours popped up and turned from dull to black. Also, the box dried quickly and only a single coat was required for that application. While the box was touch-dry the following day, an unusual occurrence was its lingering odour over the subsequent week, strange.


The smell, however, didn’t stop me from using the box the very next day. I needed it to serve its purpose and have things organised. This project was both swift and gratifying, offering me the opportunity to experiment with novel box-building approaches and acquire new skills along the way. The box was custom-sized for storing certain items in a place where every inch of space mattered. It had to be built fast and I think I managed that – it didn’t take much time to make this one, just a few afternoons.