Coffee filter holder
A simple and quick project, put together using scrap materials and finished with leftover paint. Thanks to the good weather, both the glue and paint dried quickly, speeding up the project’s completion. This fast turnaround offered a nice change from my usual more complex tasks. I was lucky to find a plywood sheet on the offcut shelf that was a perfect fit for the box, which meant less waste and less work. All the pieces were glued together with the better side facing inward, and the outside was given a bit of wood filler before being painted. I used the leftover offcuts I had on hand and applied finishes I already had in stock, which reduced the project’s cost and saved me a trip to the local hardware store.
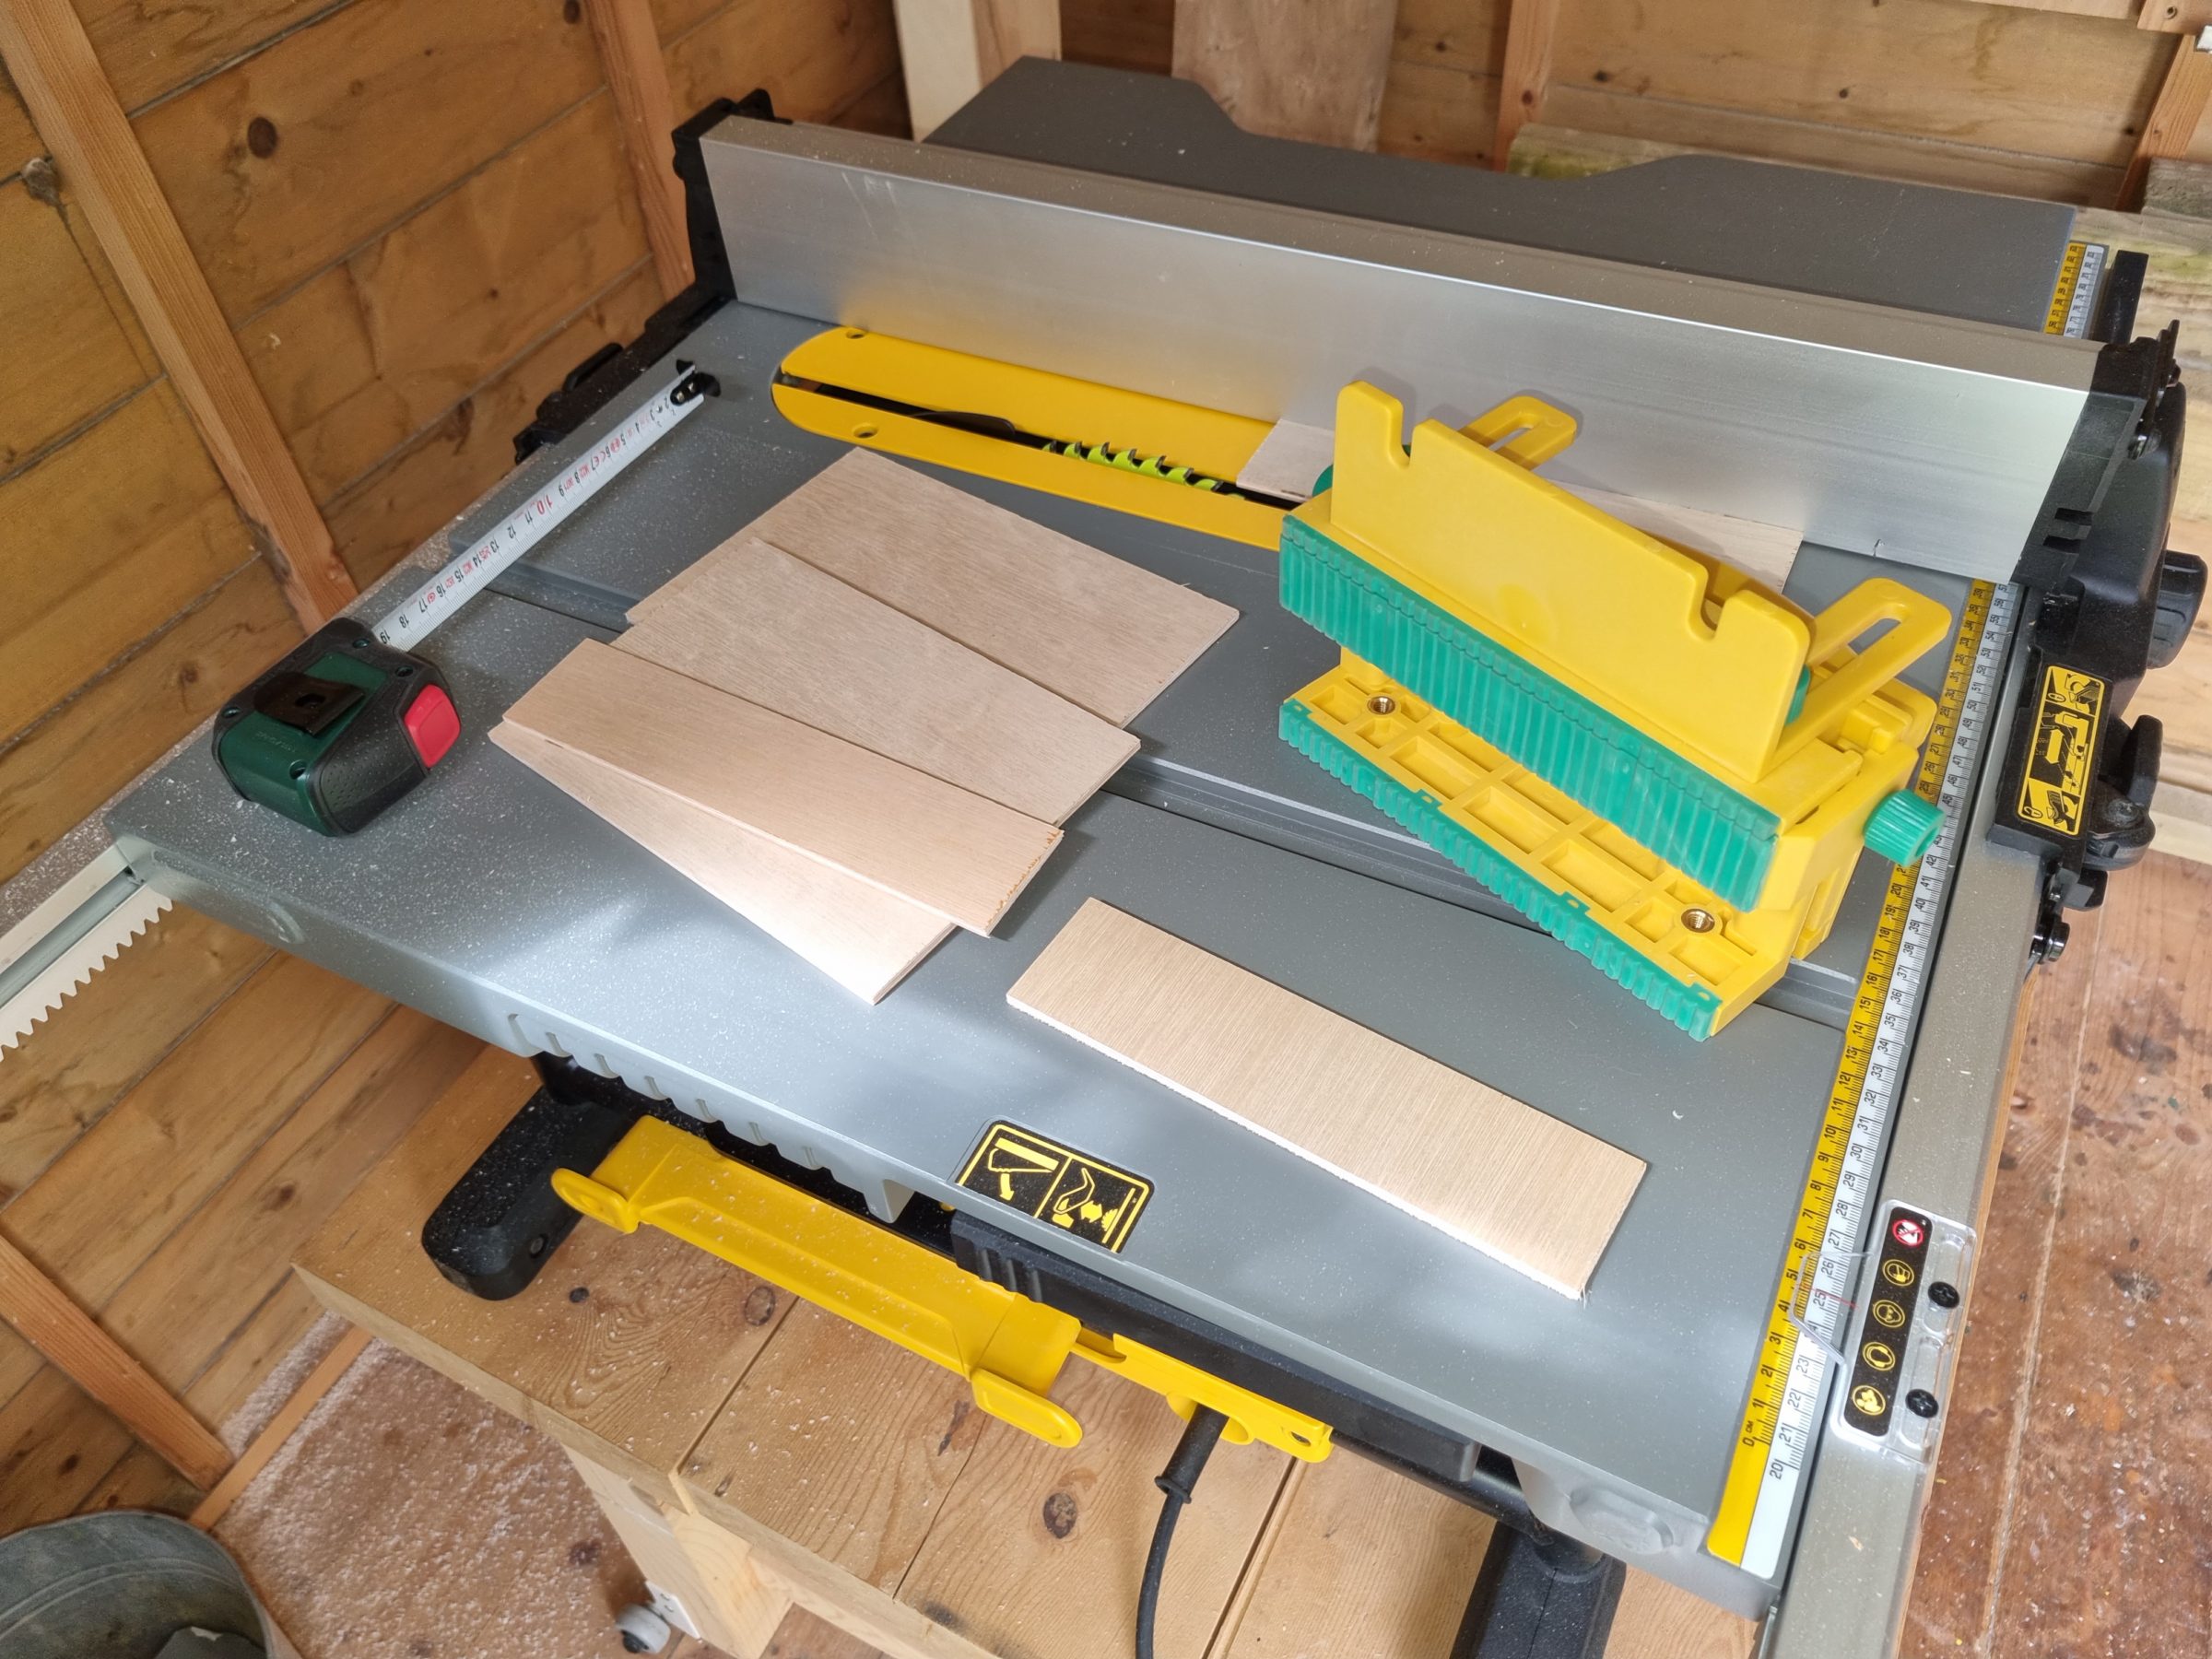

I started by cutting the plywood pieces to the required width and length. Even though the blade I used was new and sharp, I still encountered some tear-out. However, I managed to consistently have one good side and one less favourable side, which allowed me to make the most out of the available scraps. The box was assembled in sections, and I let each section dry and bond for about 15 minutes. Due to the external temperature, the thickness of the glue bead, and the properties of the glue itself, this short duration was completely suitable and allowed me to proceed with the work efficiently.


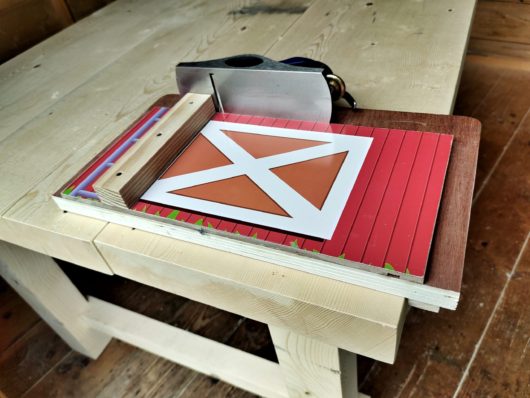
The bad side (the outside) was covered with wood filler and sanded prior to paint. I used an old bathroom towel to cover up the workbench but also to stop the spray paint from getting inside the box. I applied 3 coats of paint and let it dry overnight.


While the paint had dried sufficiently for handling the following day, it still retained a slight gummy texture, making it prone to scratching when moved across the sander’s table. To address this, I had to hold the workpiece freehand in the air without direct support from the table or any other fixture. I connected my shop vac to the sander and proceeded to flatten the front while also sanding out a pair of notches on both sides, all with a single setup and on the same #120 belt. These notches not only made it easier to pull out the coffee filters but also transformed the appearance of the simple box into a purpose-built item. By breaking the squareness of the box, the notches added both a practical aspect and an intentional design element.
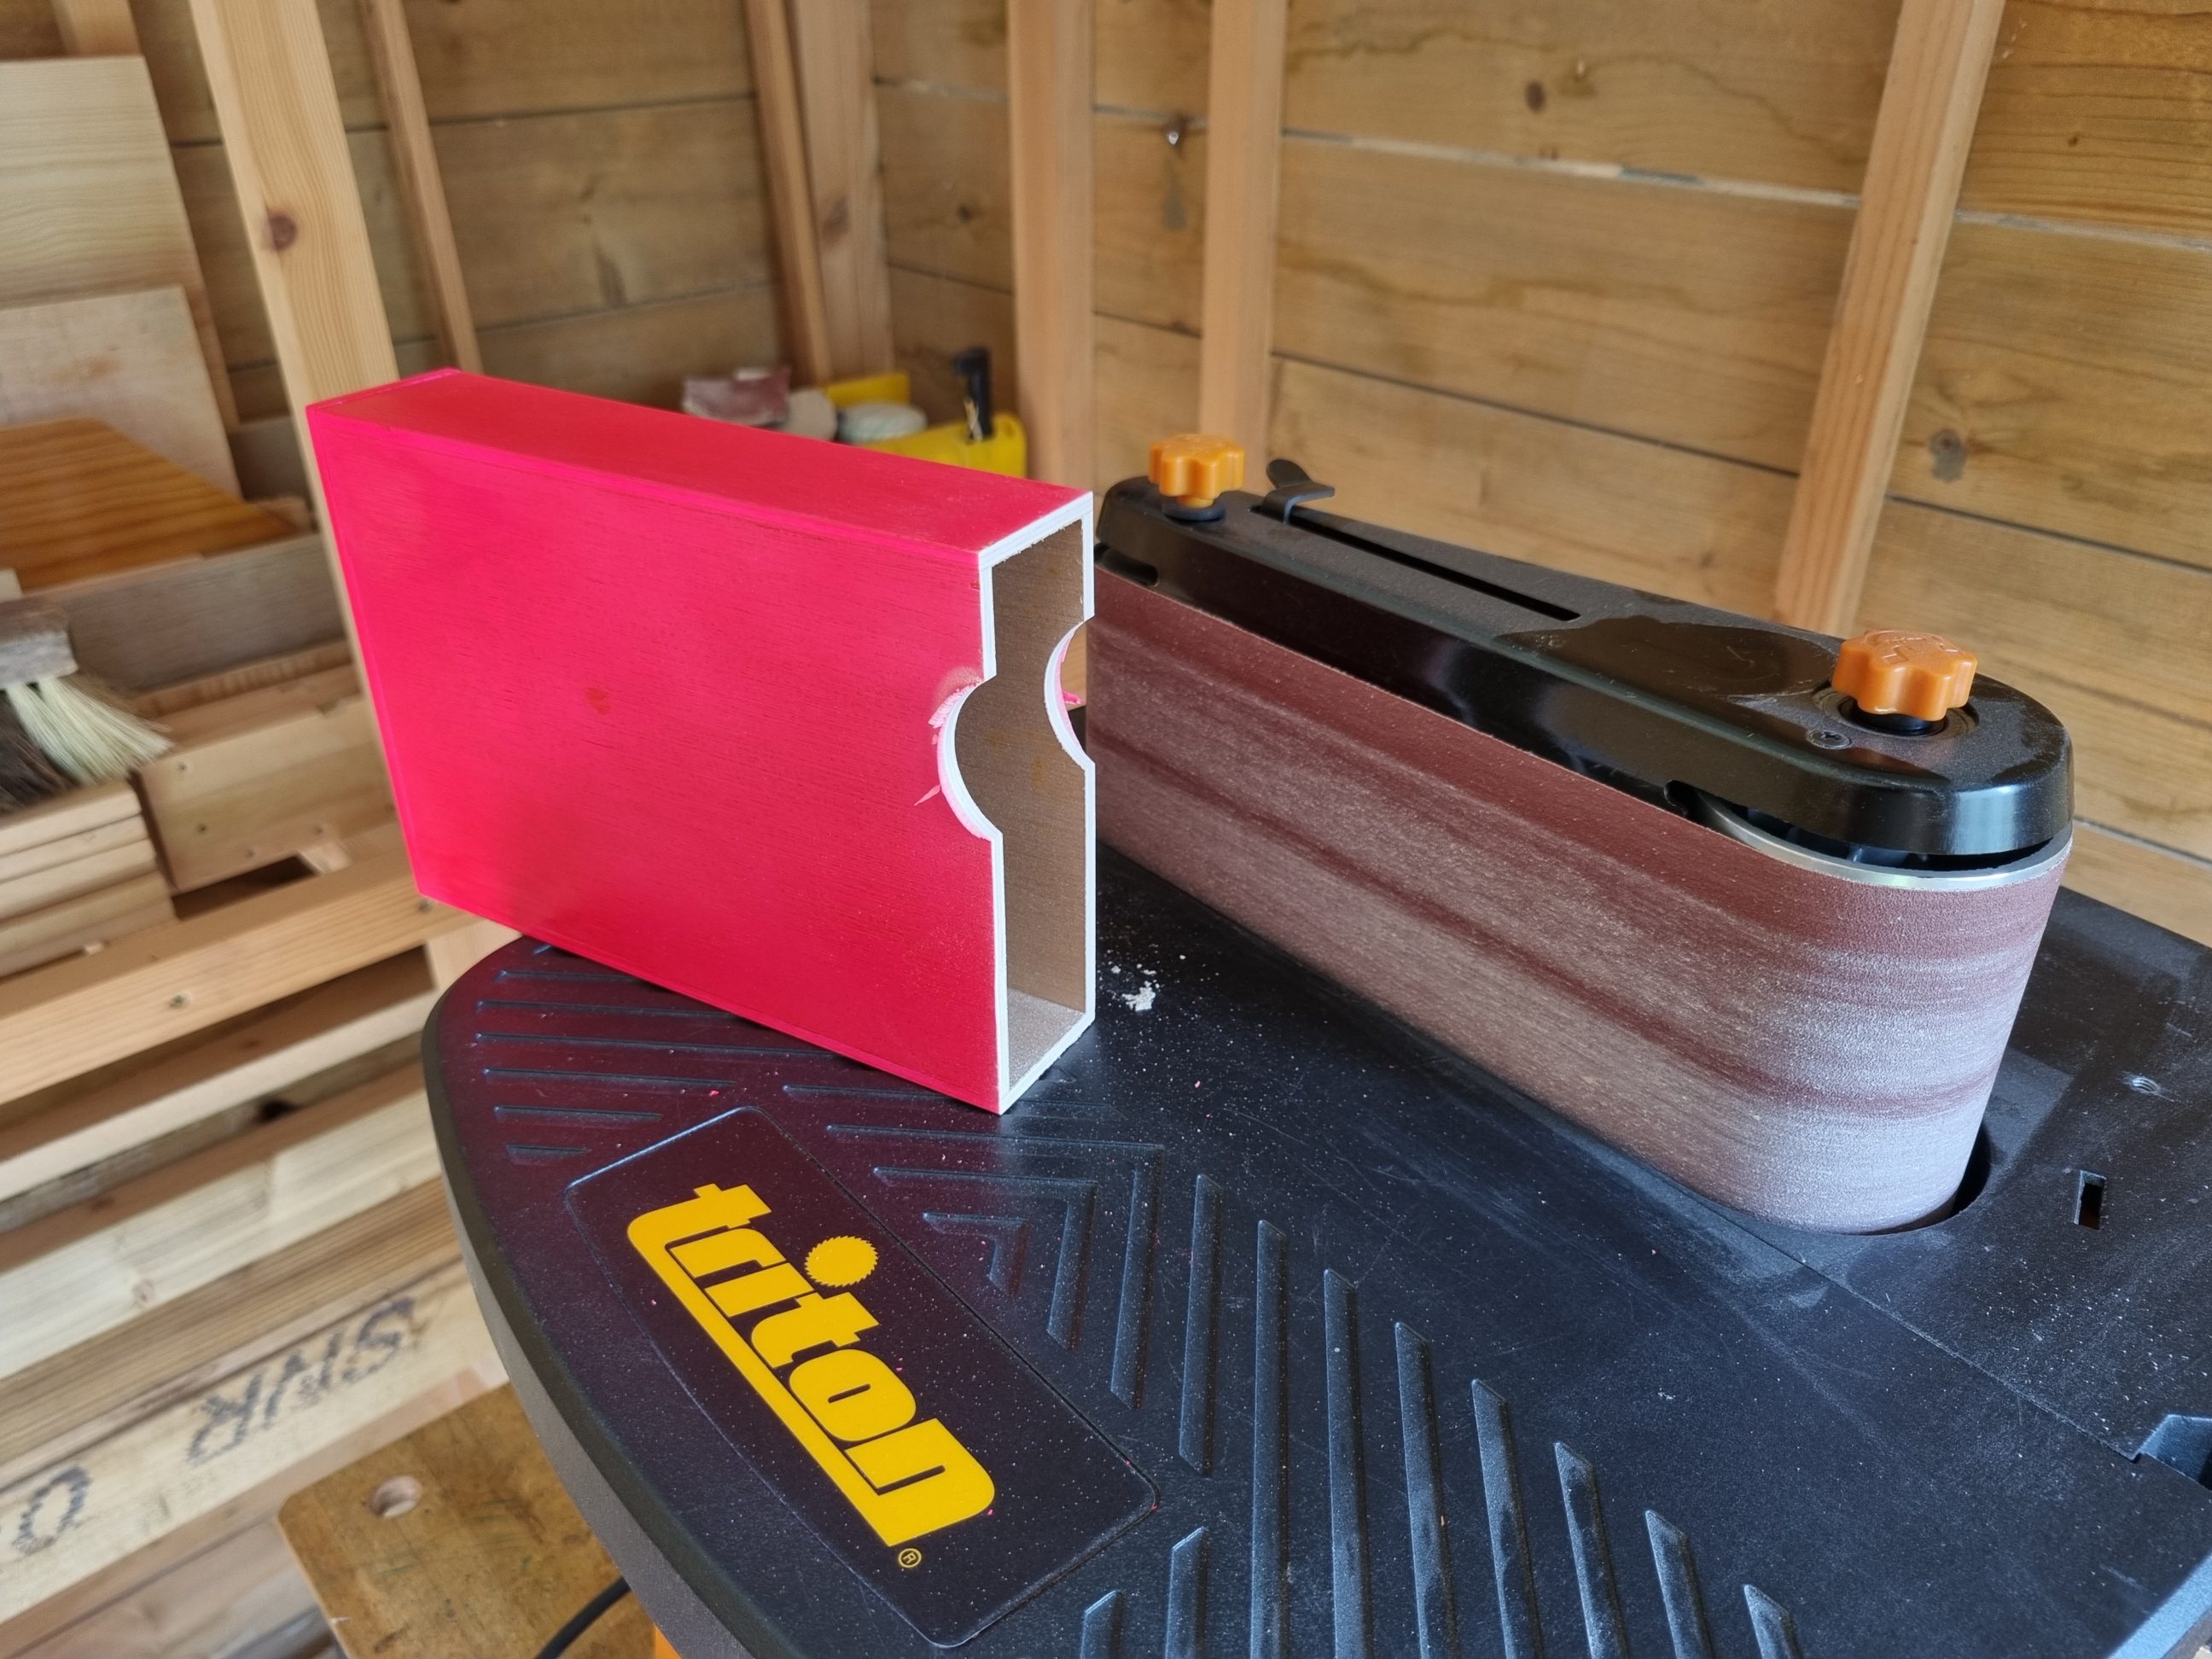
Using a folded piece of sandpaper, I smoothed out all the sharp edges that had formed after sanding with the belt sander, leaving the holder ready for use. The walls of the holder were designed to be as thin as possible, utilising the 4 mm plywood which was the thinnest suitable for the project. This thickness provided the necessary sturdiness for creating robust glue joints, while also maintaining a pleasingly slim profile that avoids excess bulkiness. The plywood itself features elegant white and red stripes, devoid of any voids or imperfections. Its exposed edges harmoniously match the colour of the walls. The internal dimensions of the box are reduced maximally to accept 100 coffee filters #4 and there are no unnecessary gaps on either side. The holder mirrors the size of the cardboard packaging the filters originally came in but with the added durability of thin plywood. In contrast to the disposable cardboard box, the plywood holder offers reusability and can be conveniently stored both vertically and horizontally. Its structural integrity enables it to support the weight of a coffee jar placed atop without any noticeable flex. This secure design also ensures that the holder can be stored upright in a cabinet corner without any risk of toppling over.