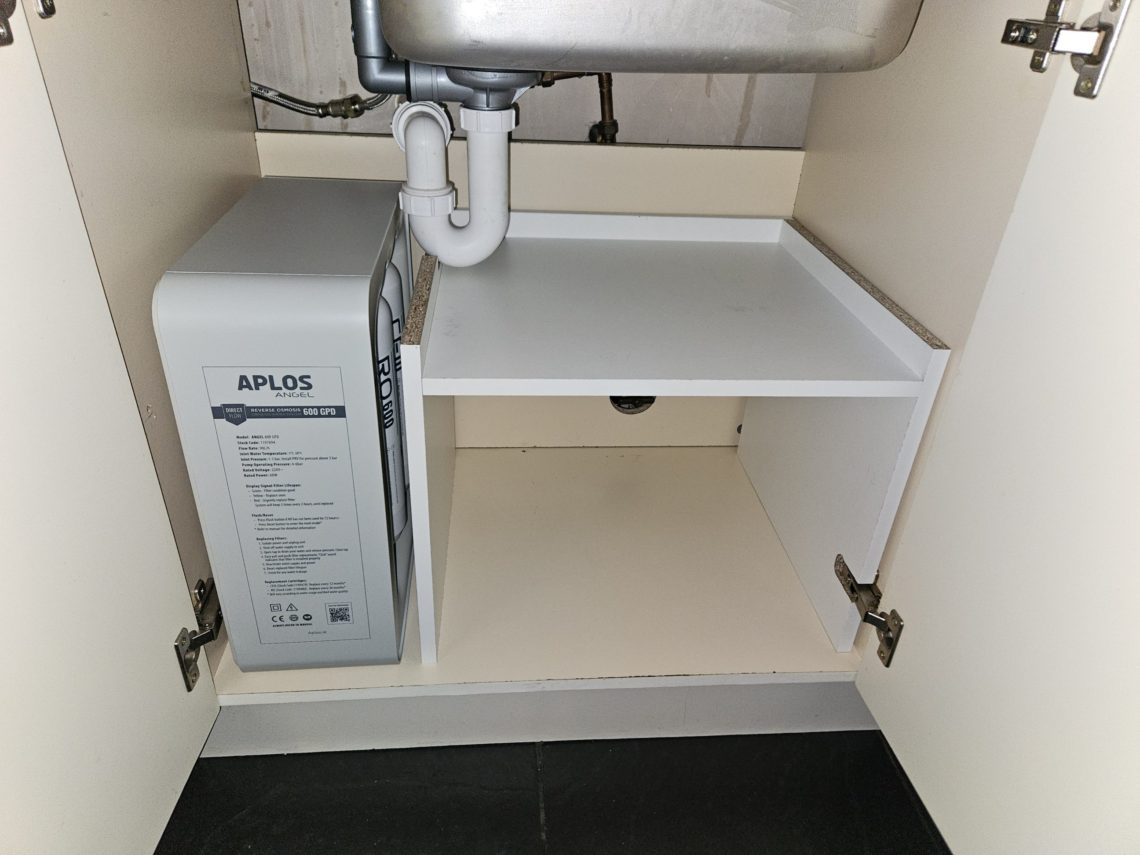
Under sink shelf: quick, low-cost and custom-sized
MFC (melamine-faced chipboard) was the material of choice – it was the cheapest sheet available and happened to be ideally sized for the job. Not only did that mean less cutting, but it also kept waste to a minimum. No finishing was required either. All of these factors saved a lot of time, which was crucial, as the project needed to be completed ASAP. Why the rush? Easter Sunday was the next day, and the storage had to be sorted by Saturday. While not an exact match to the kitchen cabinets, the white tone of the MFC suited the project well.
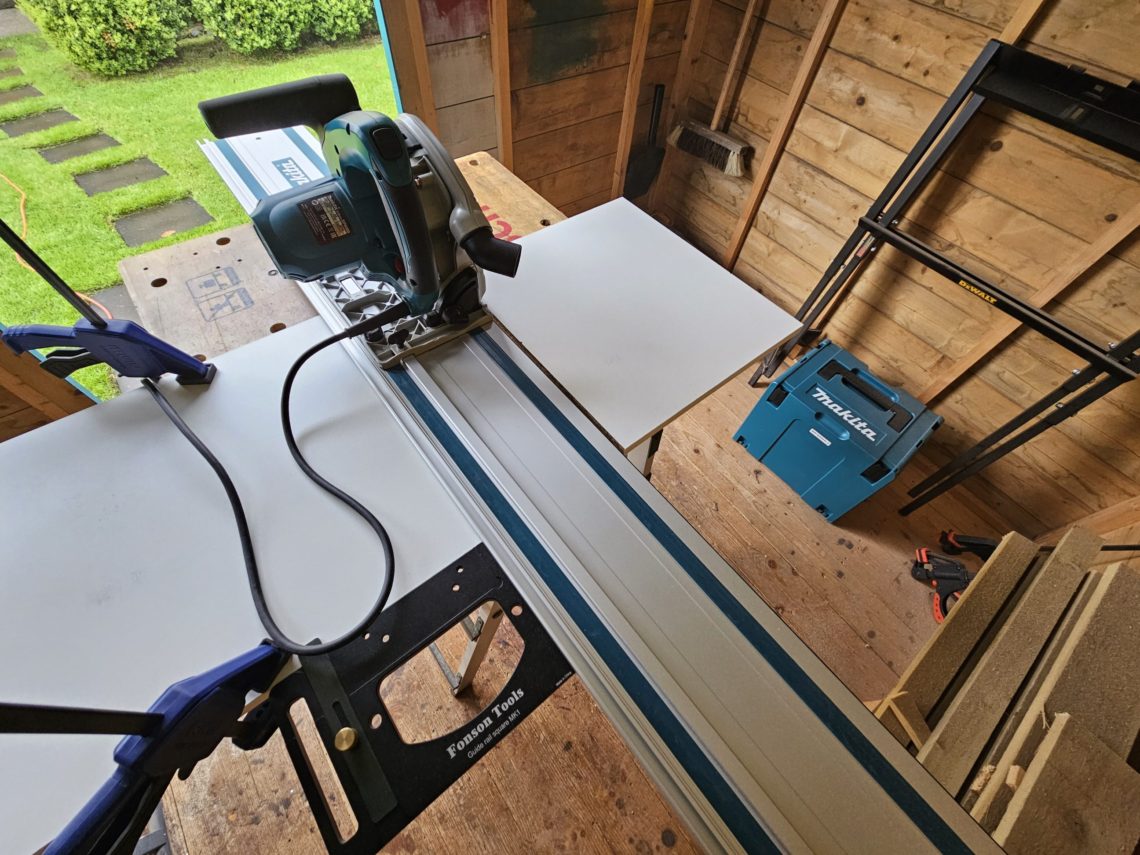
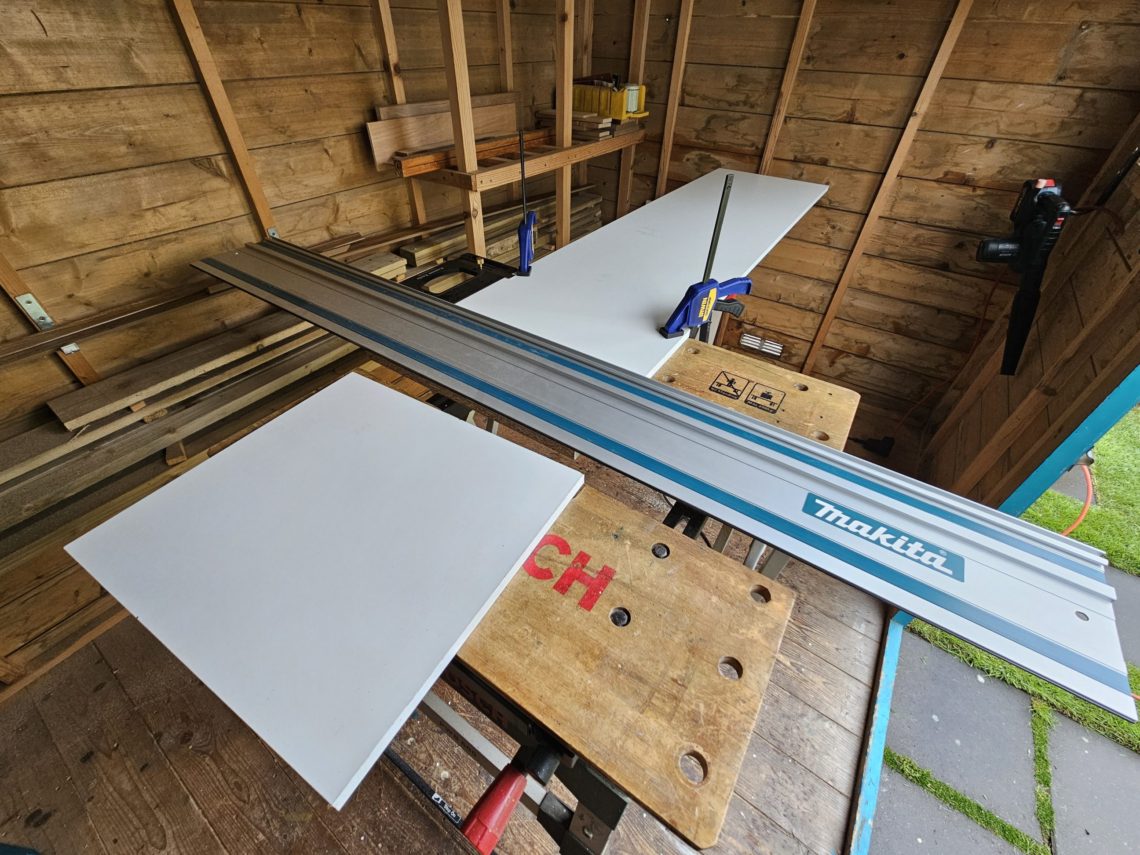
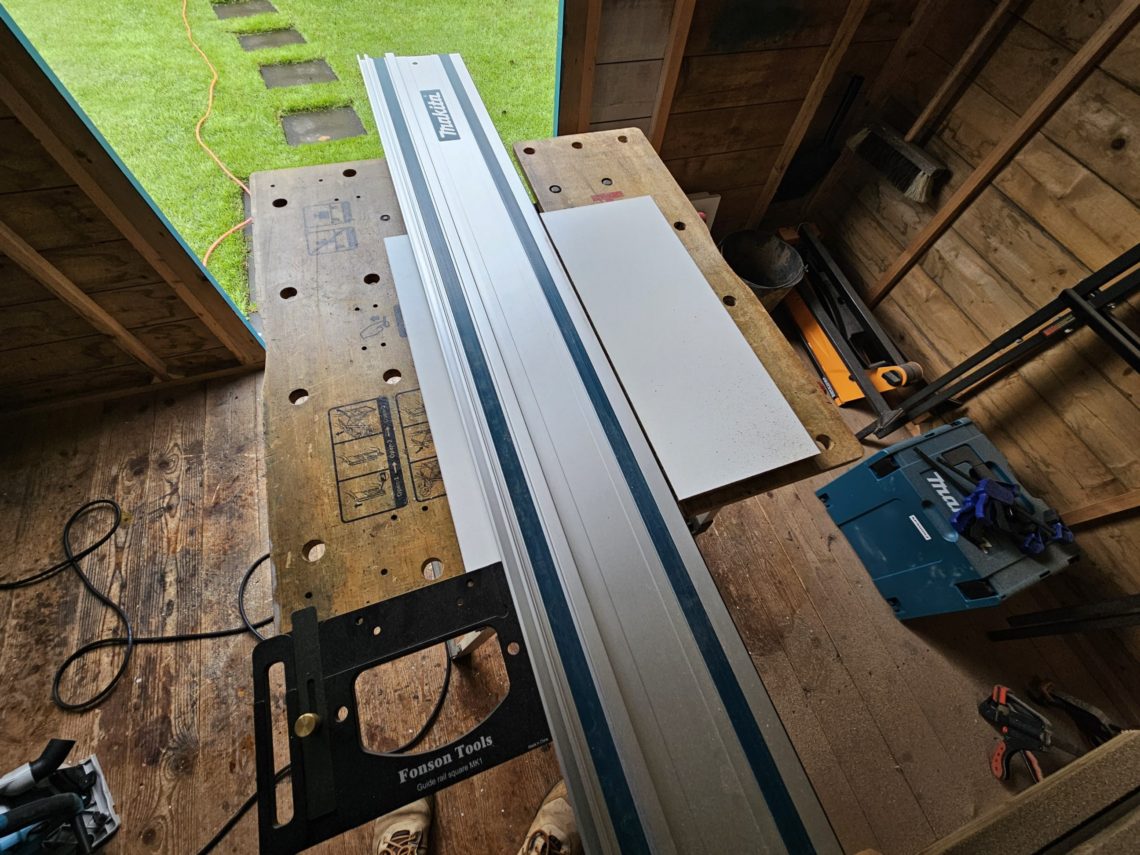
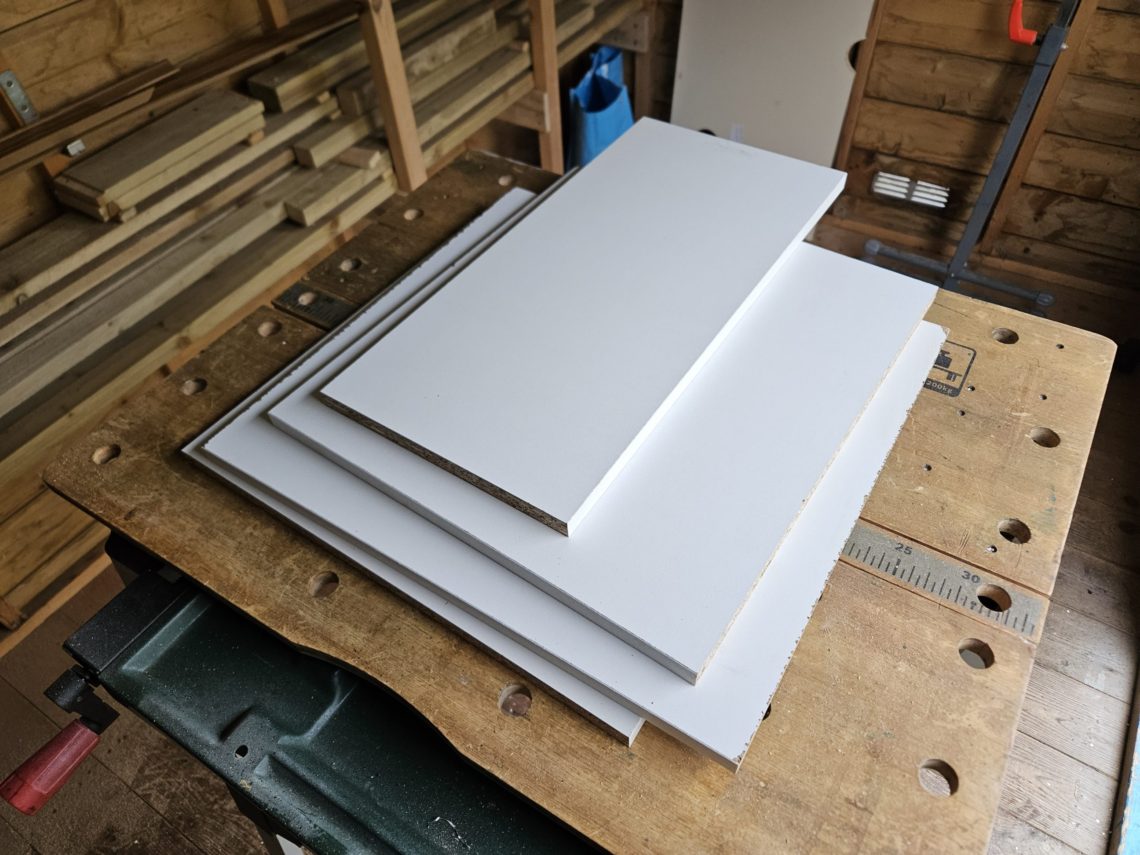
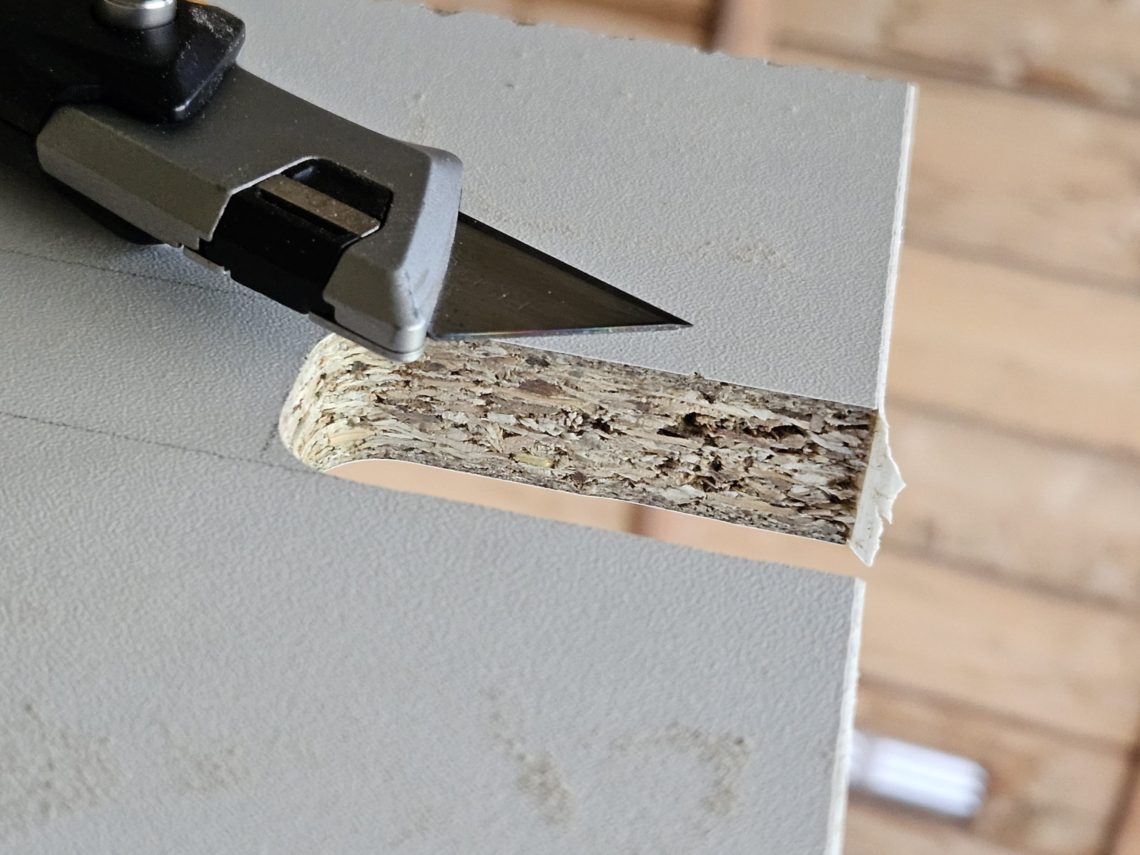
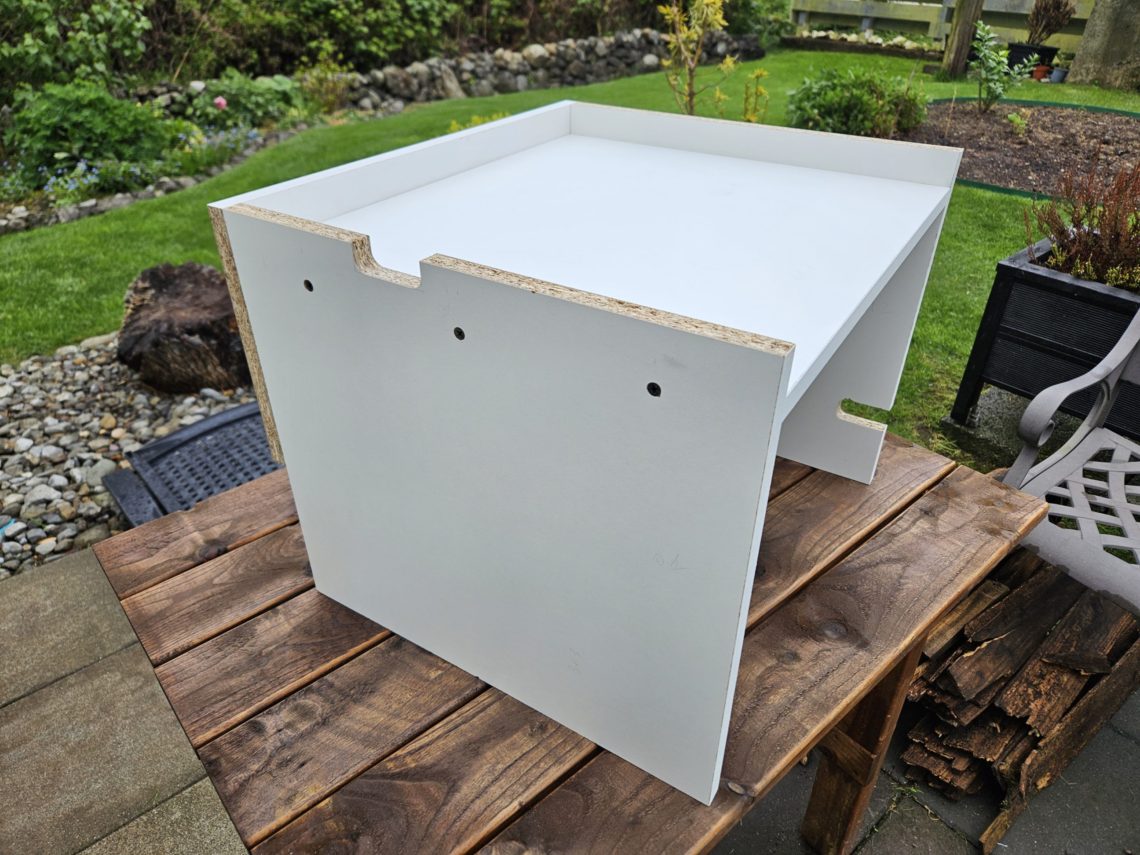
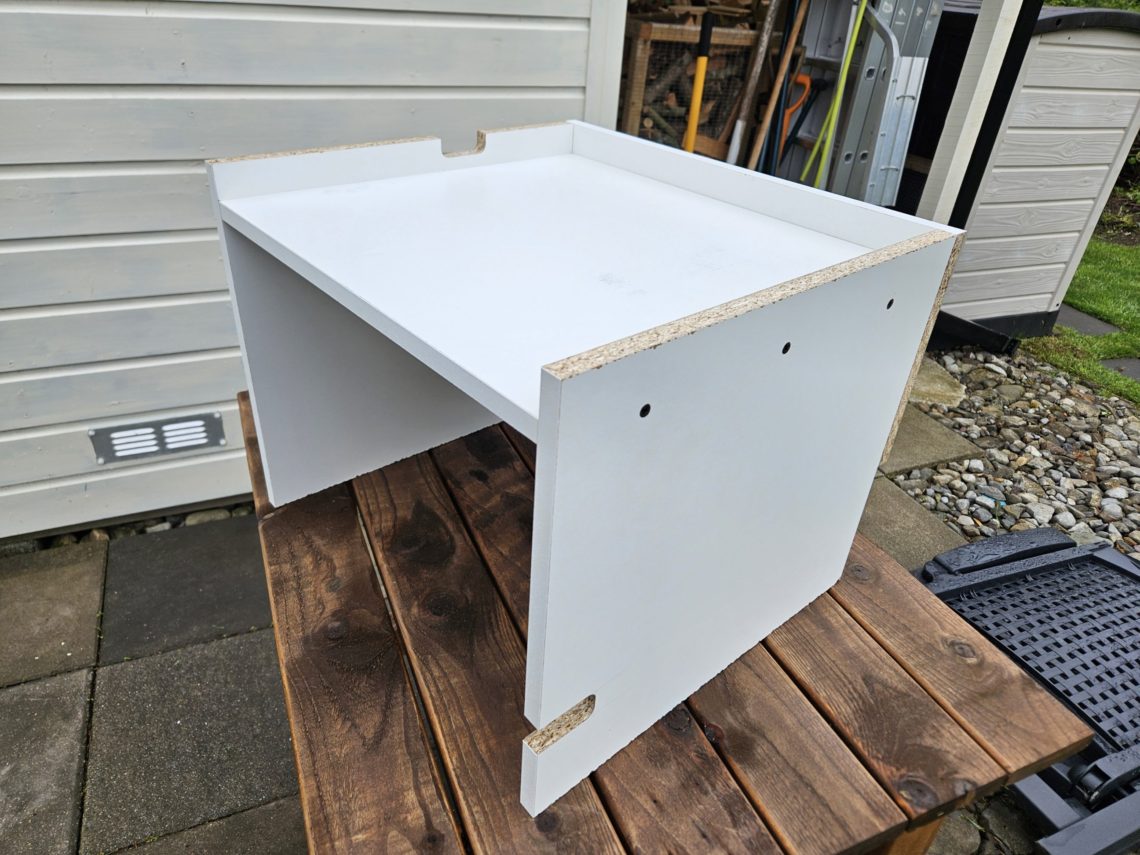
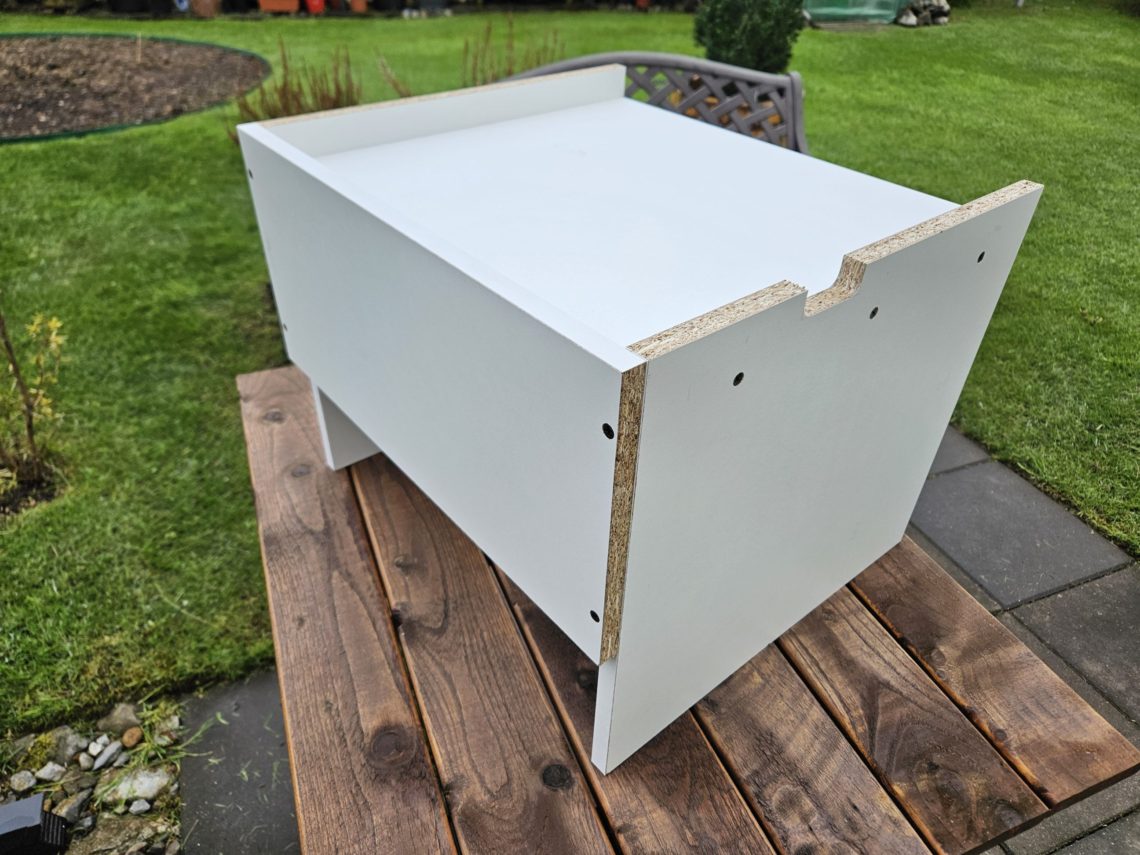
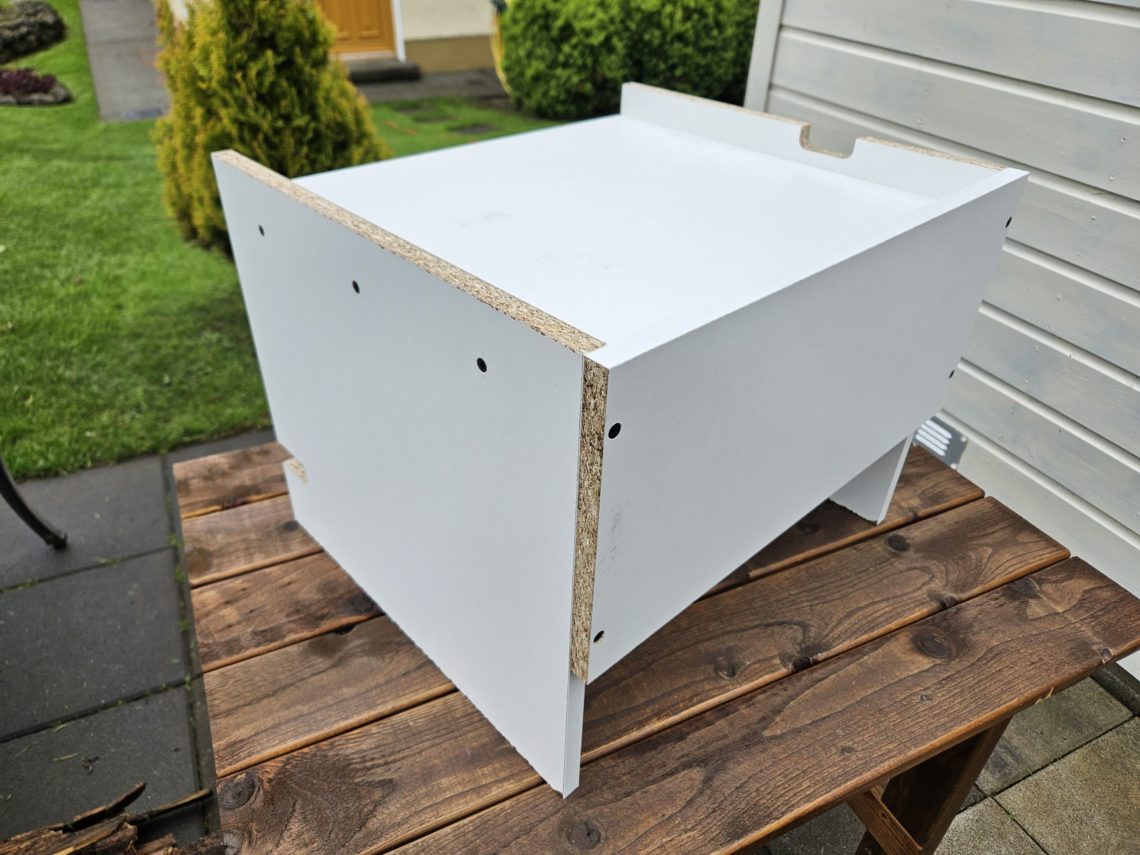
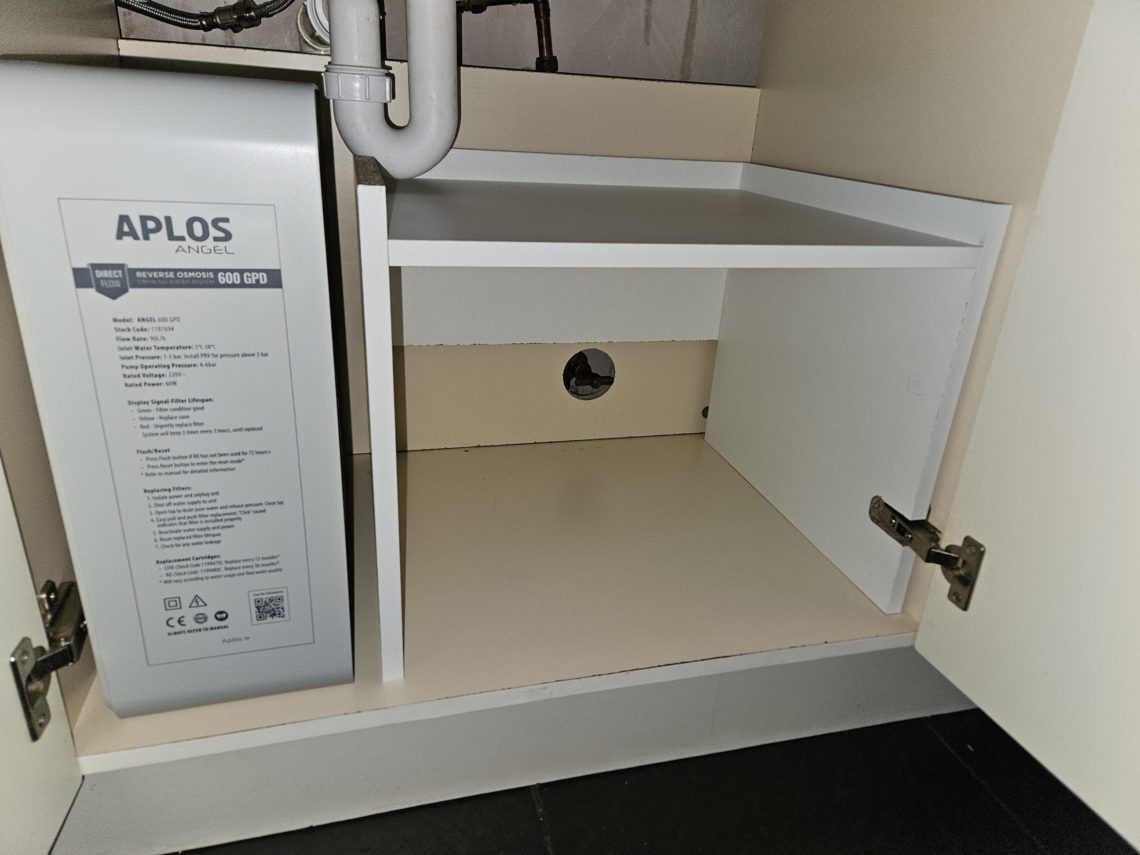
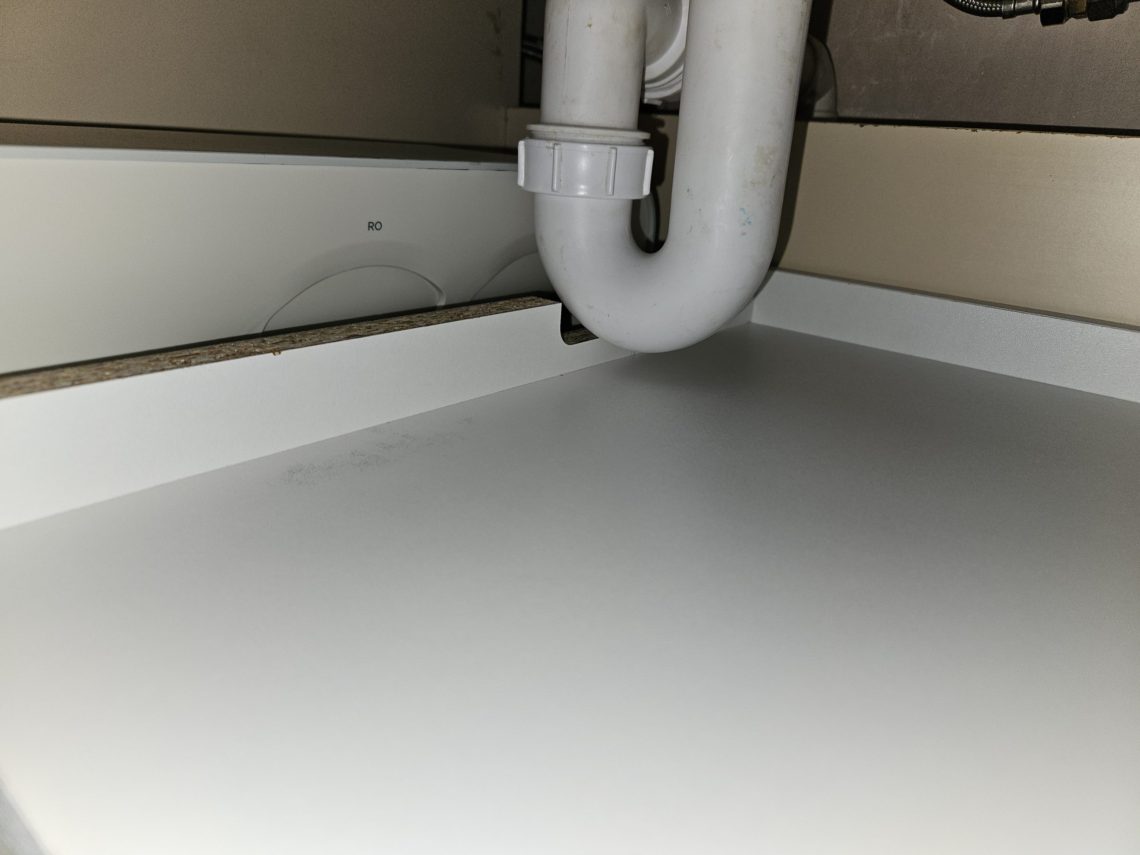
To make the shelf, I had to cut two sides, a top, and a back brace. The first three were simply cut from the 400 mm sheet (15 3/4 inches), while the brace was cut first to length, then to width. That was necessary to allow access to the main valve, which is located under the kitchen sink in every house in Ireland. A track saw with a rail and square was used for the cuts. This sped up the process significantly and ensured everything was precisely cut at a 90º angle. If there had been no tear-out on the edges, edge banding might have been an option. Unfortunately, the edges weren’t perfect. Still, they were good enough for this project, which would be hidden inside a cabinet and mostly covered with kitchen accessories. The imperfect edges were oriented toward the back and sides, where they wouldn’t be visible.
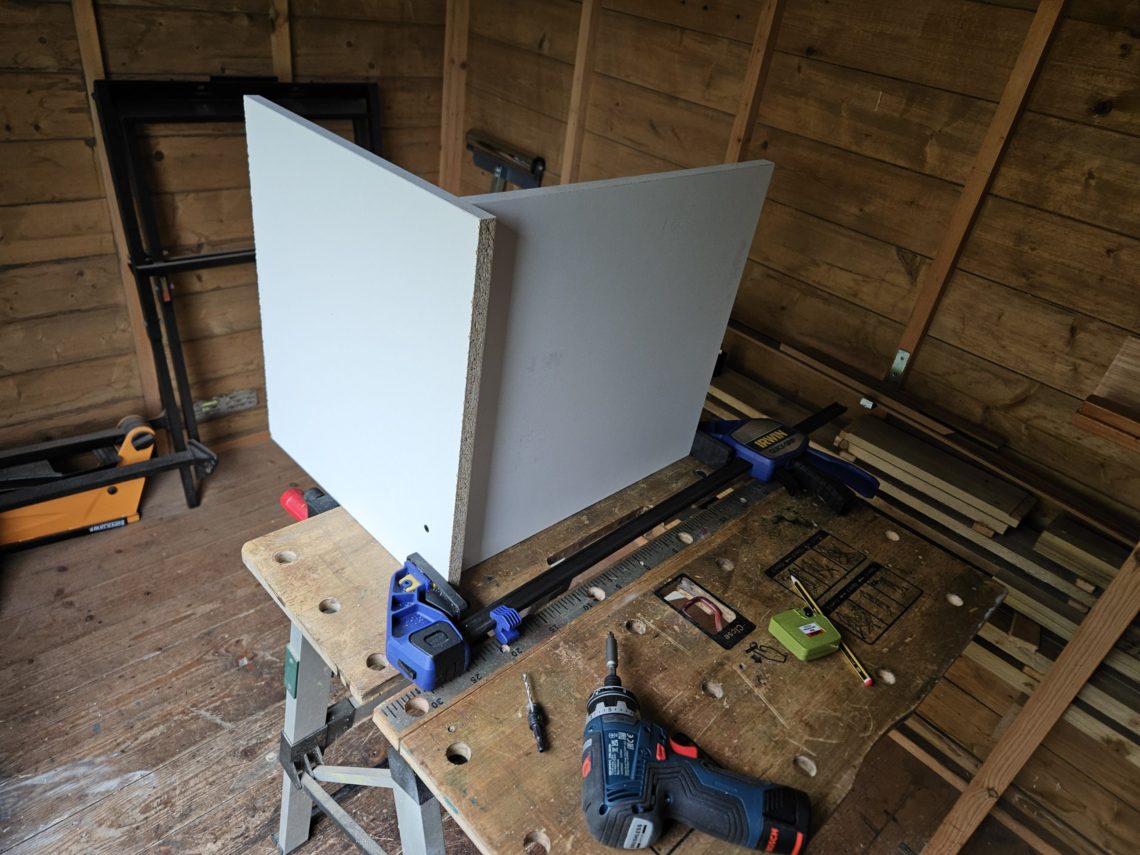
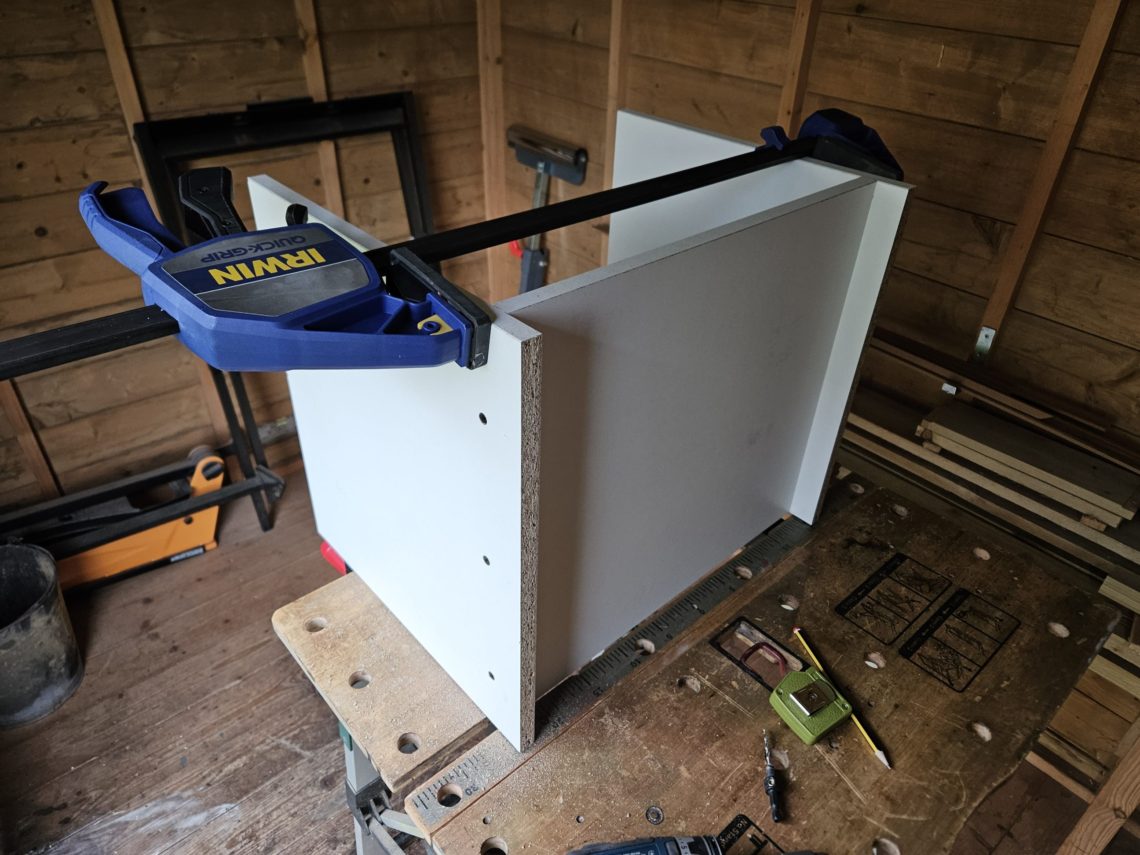
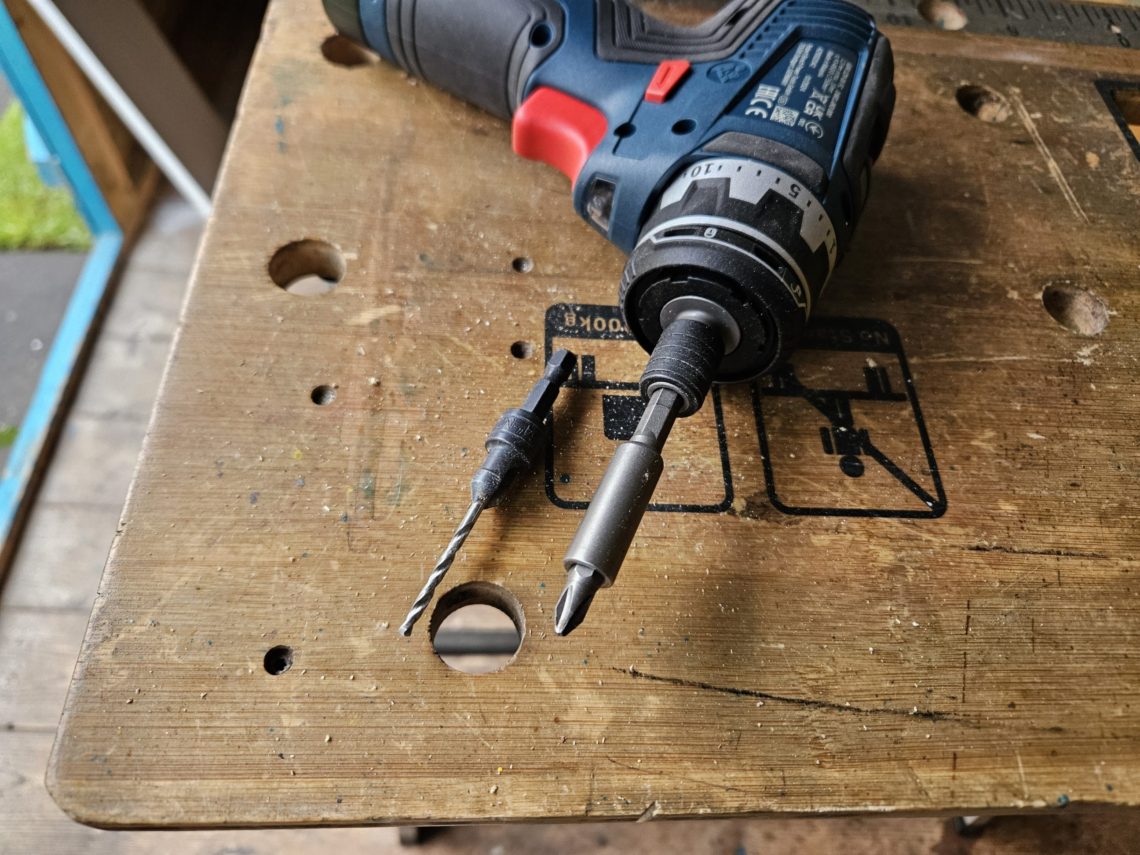
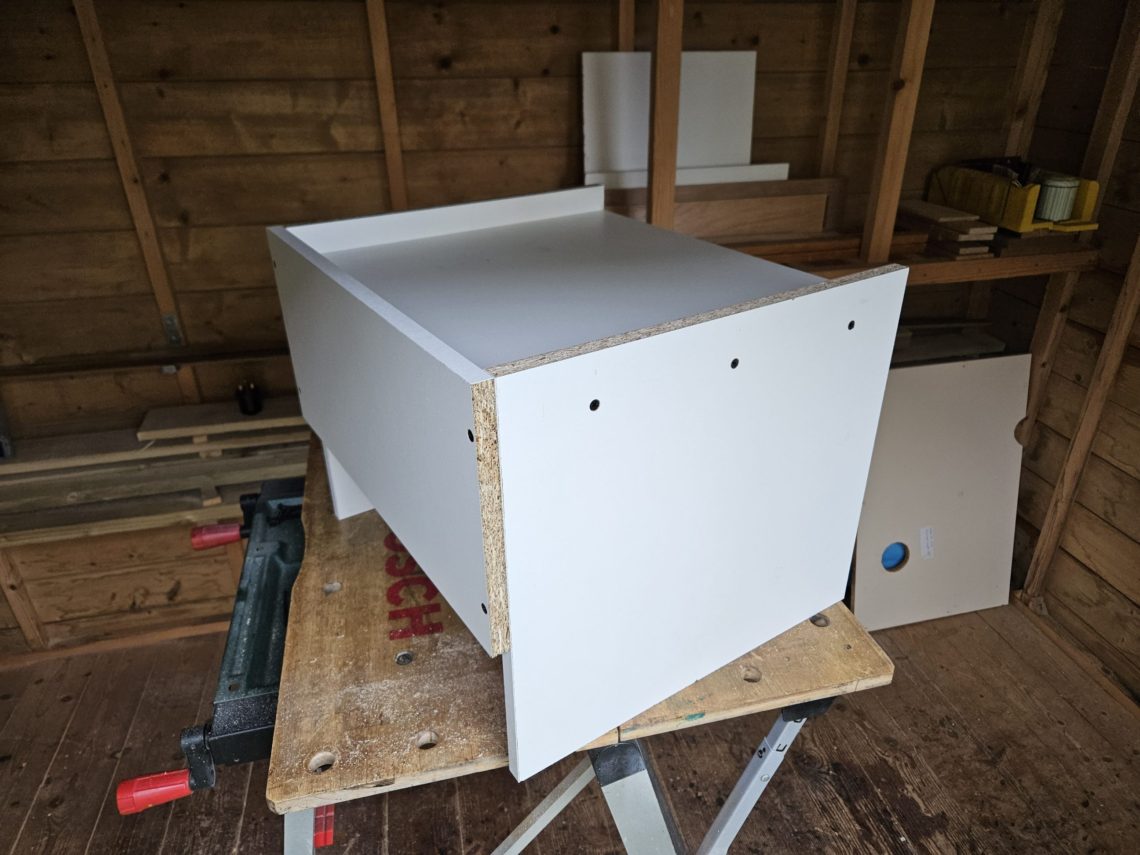
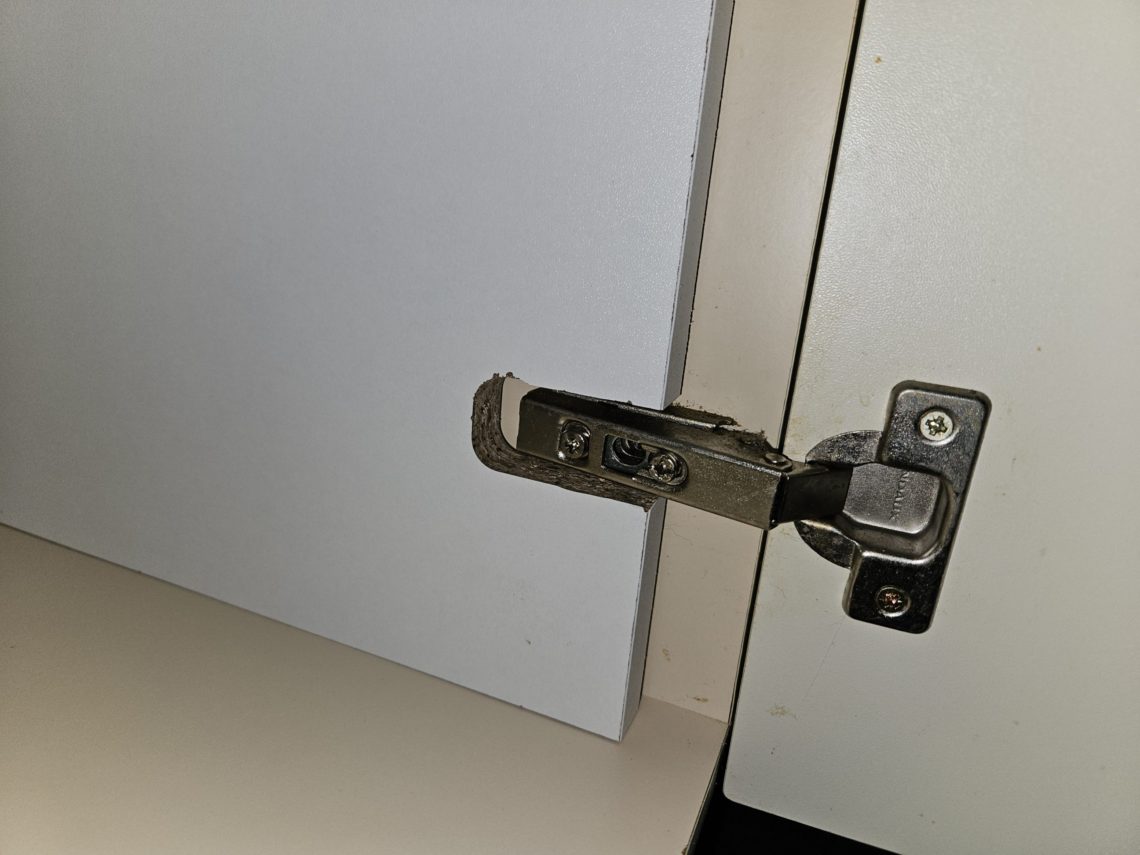
Using a 12-volt drill, a countersink bit, and a clamp, the sides were assembled to the top, followed by attaching the back. To keep costs down, drywall screws were used – their dark colour also provided a nice contrast against the white melamine. All holes were predrilled to prevent splitting, which is essential when working with chipboard. Once the shelf was assembled, a test fit revealed two areas that needed to be cut out: one for the waste pipe and another for the hinge. Since these were quick-release hinges, the cutout had to be enlarged slightly to allow finger access. That way, I had good access to the main valve and could take off the door without removing the shelf from the cabinet.
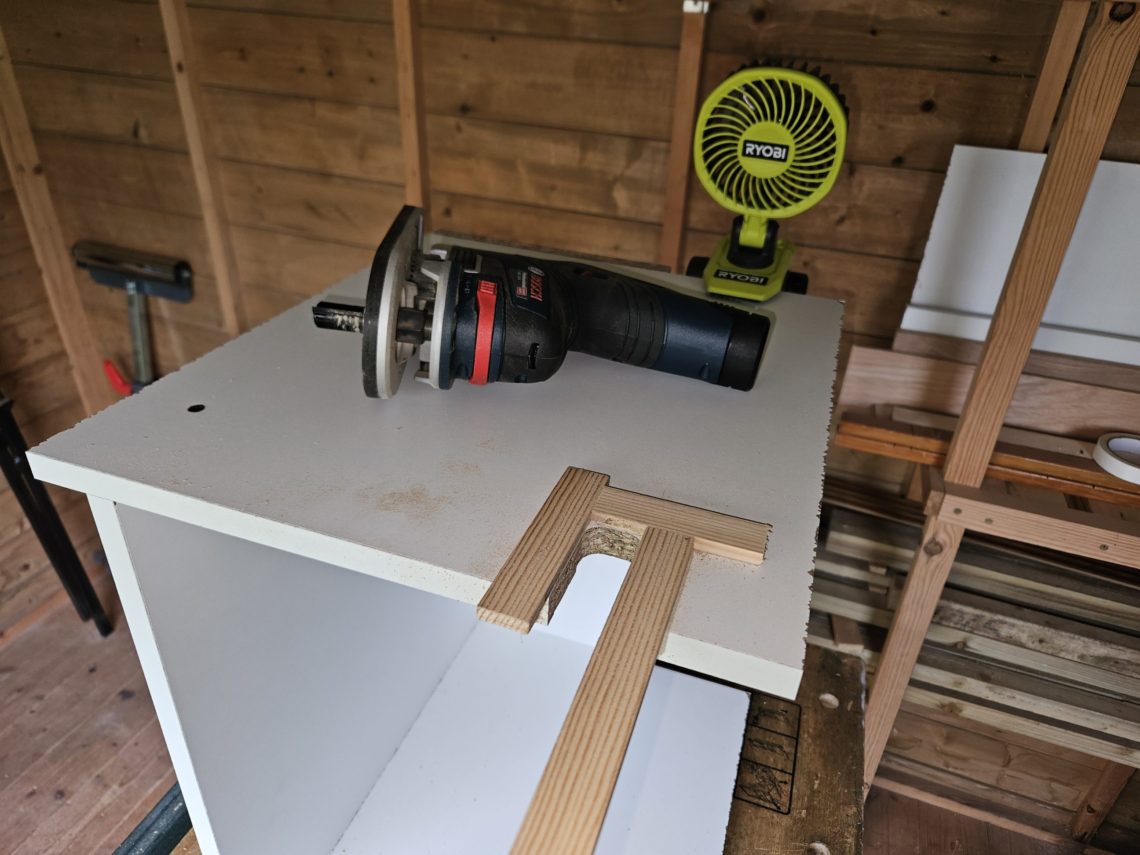
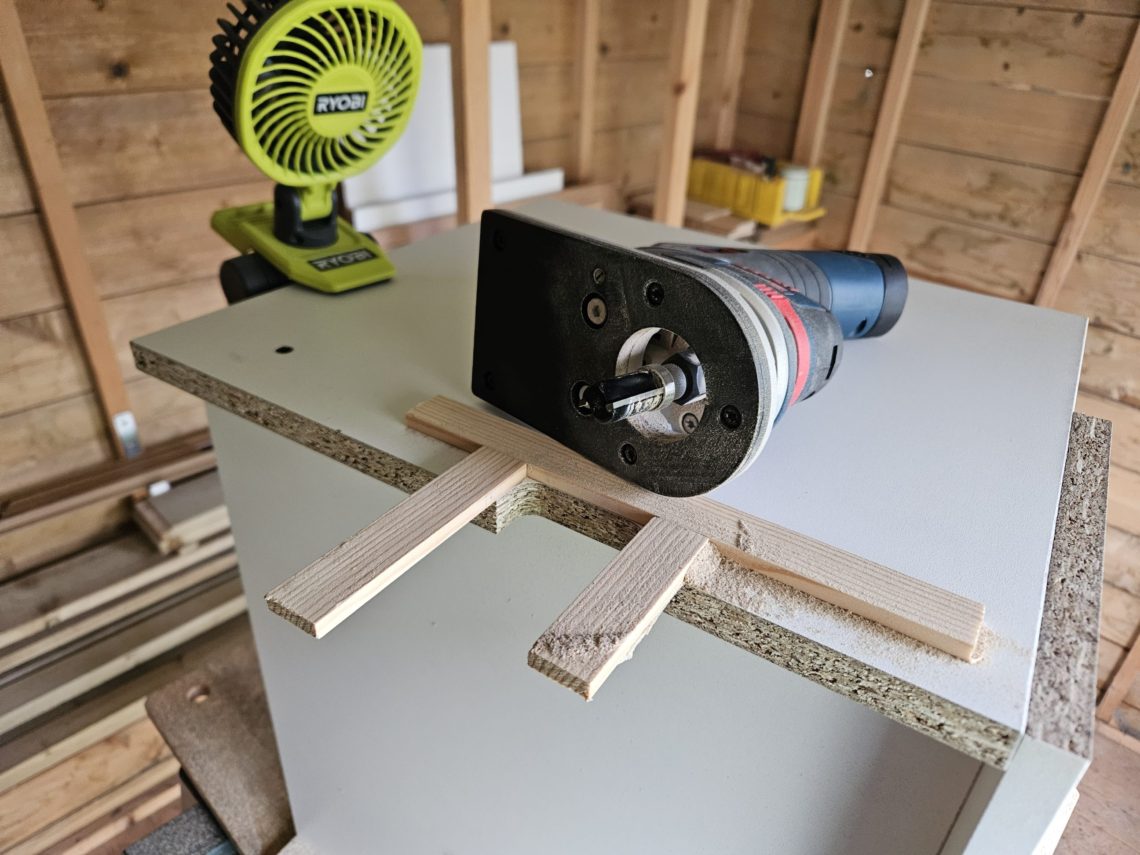
Even though the project had to be completed quickly, and a jigsaw could’ve been used to cut the notches, I chose my compact cordless router instead. The resulting cut lines were crisp on both sides, adding a touch of professionalism to the build. I used a fairly large router bit with a top-mounted bearing, guided by three short slats fixed to the workpiece with double-sided tape. A small fan helped blow dust out of the shed, making the environment safer and more pleasant to work in, while also improving visibility during routing.
The shelf edges didn’t require any sanding – they weren’t sharp. After cleaning the shelf, I placed it under the sink. It fit like a glove and was ready to use straight away. It was Saturday evening, the day before Easter, and the shelving was done. The shelf could, in theory, have been built using dowels, with all edges neatly finished with edge banding, but that wasn’t the goal that time. For a project like this, MFC board and screws in a contrasting colour were perfectly sufficient. It looks great when the cabinet doors are open, makes efficient use of the available space, is easy to remove, and didn’t cost a fortune. I used 16 mm material instead of the standard 19 mm (5/8″ instead of 3/4″) to maximise space and avoid building ginormous and bulky shelving. To remove the shelf, it has to be shifted to the left, pulled forward, and then tilted slightly upward at the front. Everything works perfectly and is fully custom-sized. I’m very happy with this quick project – it serves its purpose well, was built in an afternoon, and didn’t break the bank.


You May Also Like
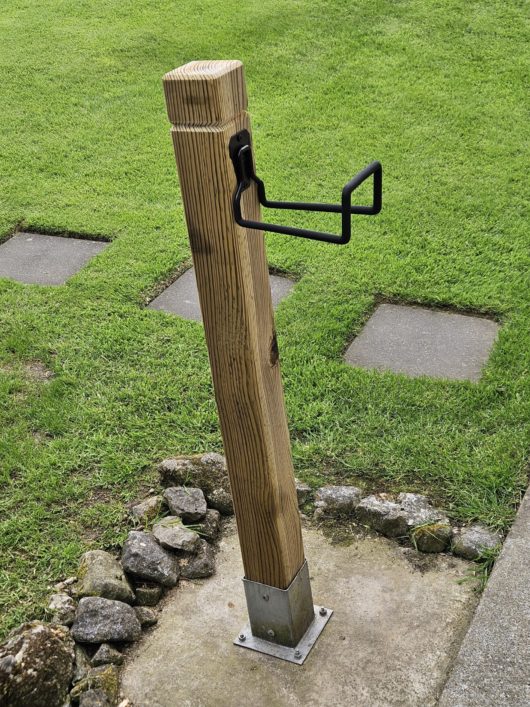
Economical approach to making a garden hose stand
Stringer-to-skirting transition blocks