Economical approach to making a garden hose stand
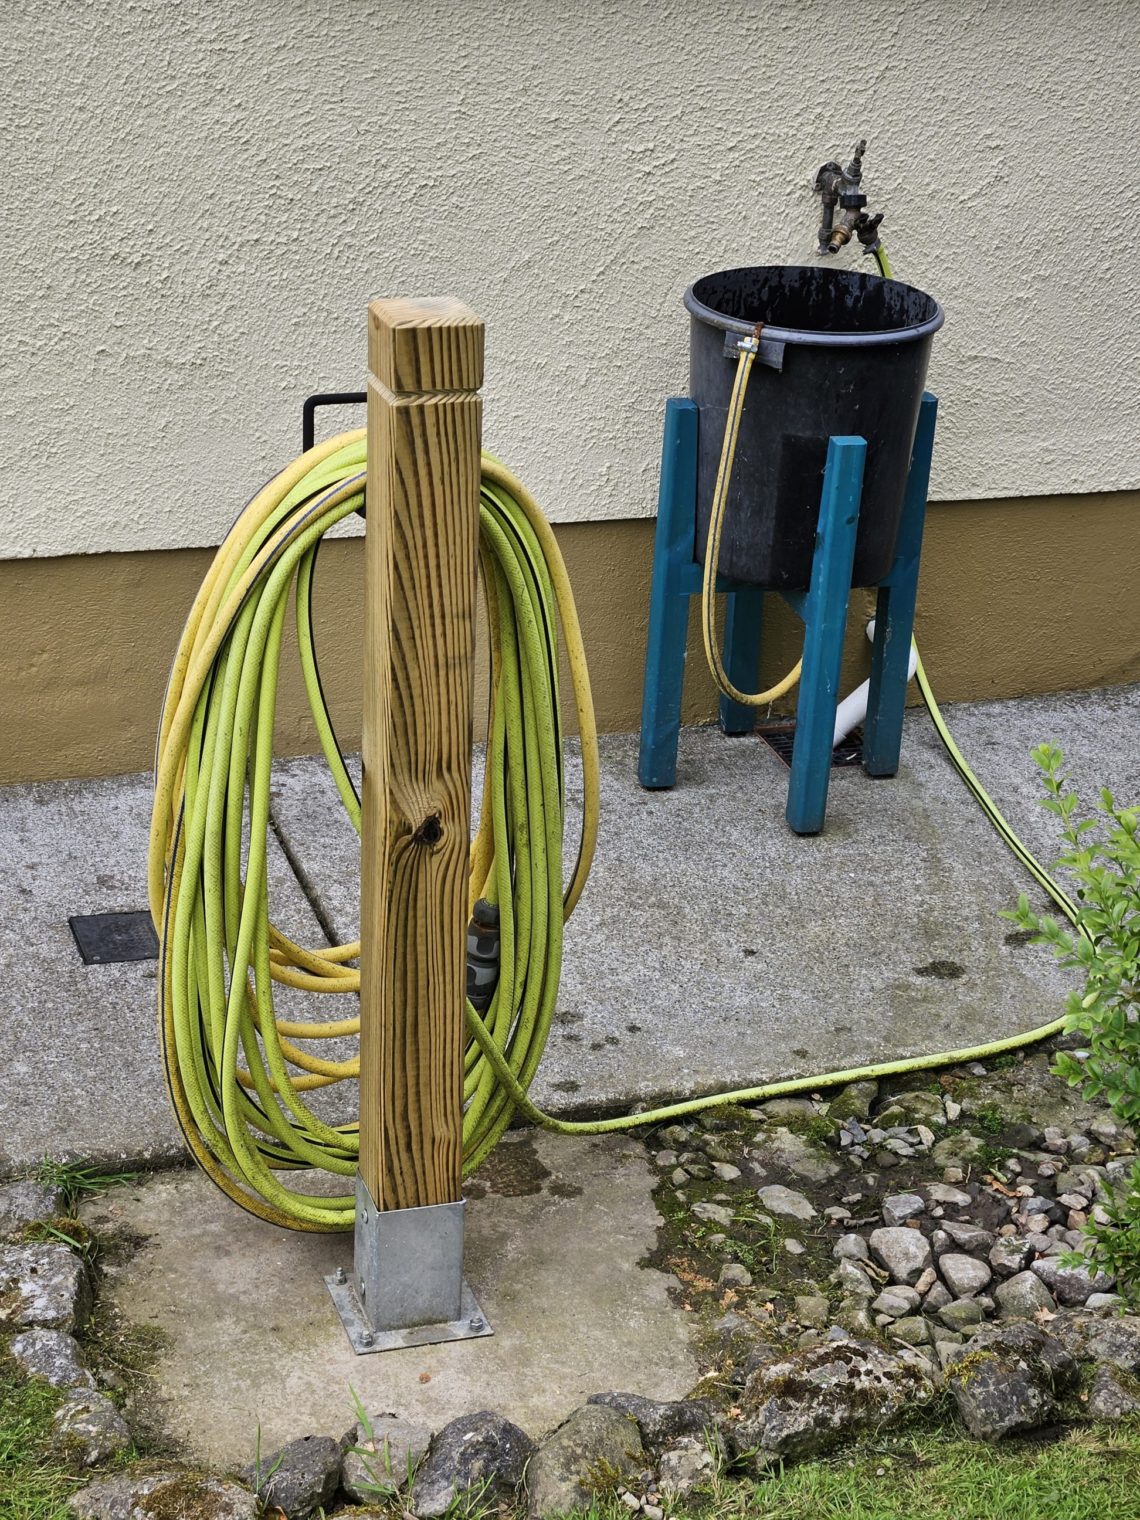
Let’s define “economical” first, to quickly explain what it meant to me. “Not wasteful” in terms of time, money and energy, that was what I thought about describing my approach to making the version 2 of that stand. The time required to build this one was reduced to a minimum, same with energy, and the cost was also kept low. I used a good quality pressure-treated 4×4 (90×90 mm), planed and chamfered, metal hook that only required a quick fixing and an easy to apply finish. The time and the energy I saved on making this one were used for removing the old one from the bracket, though. That was because of the rainy weather and the fact that the old post had absorbed a lot of moisture thanks to a few consecutive weeks of rain.
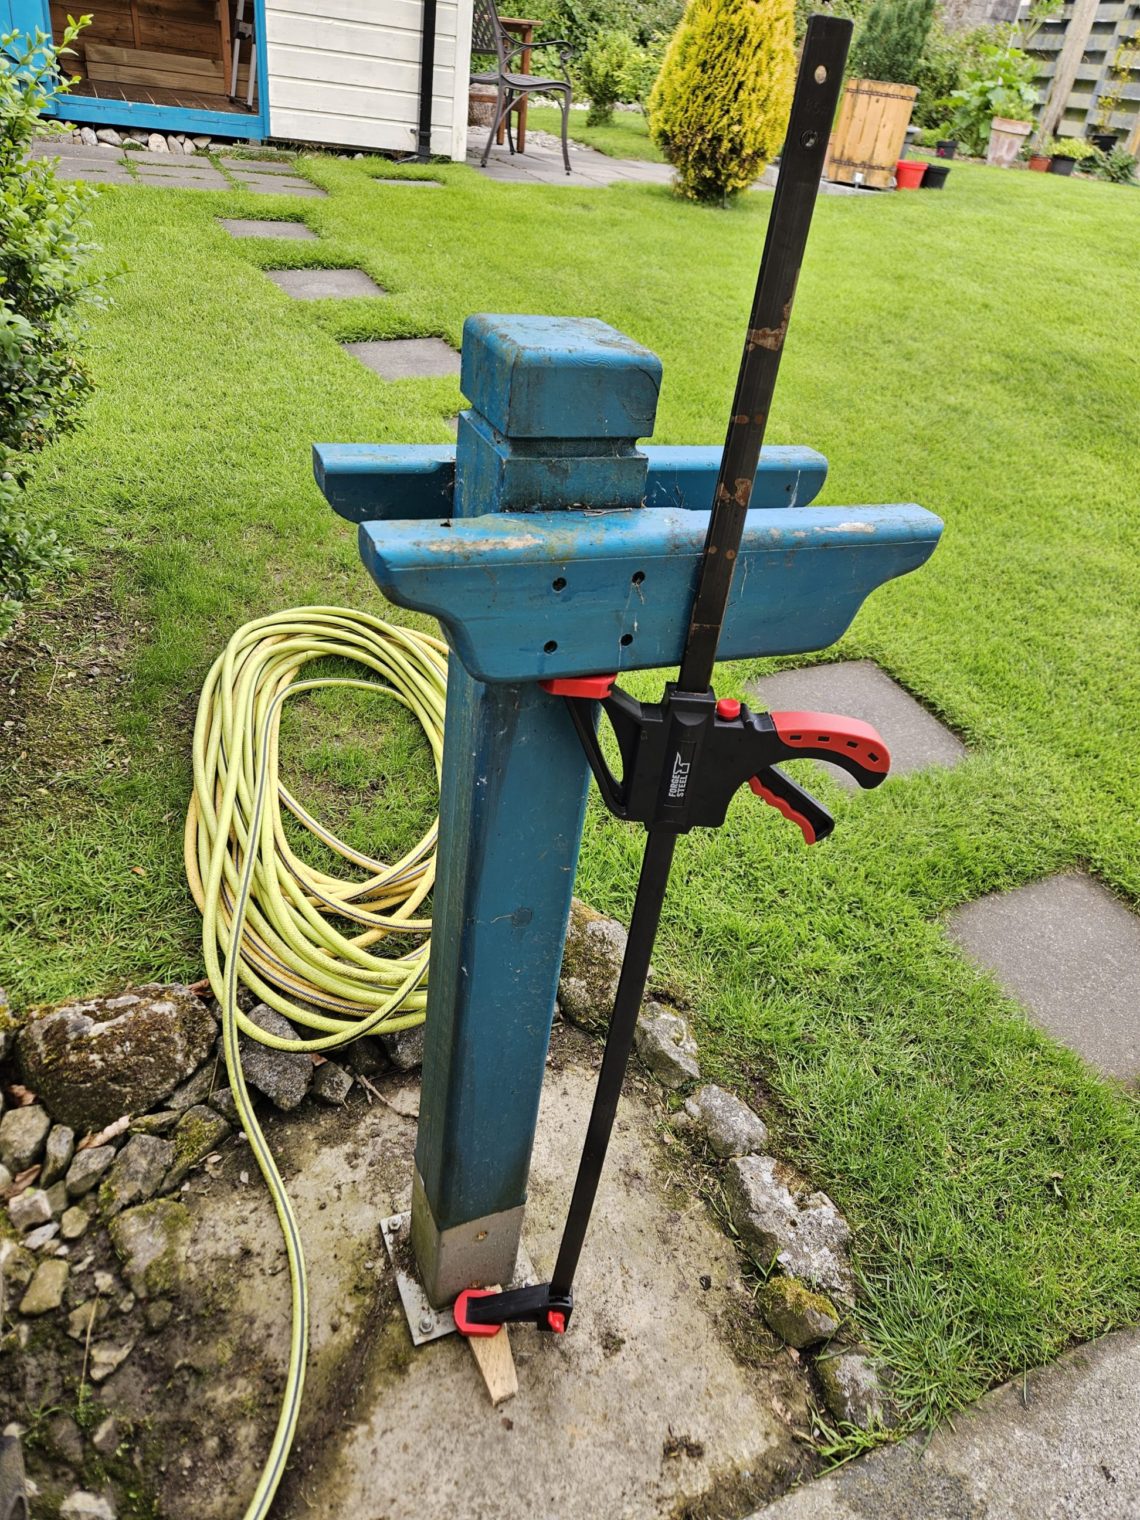
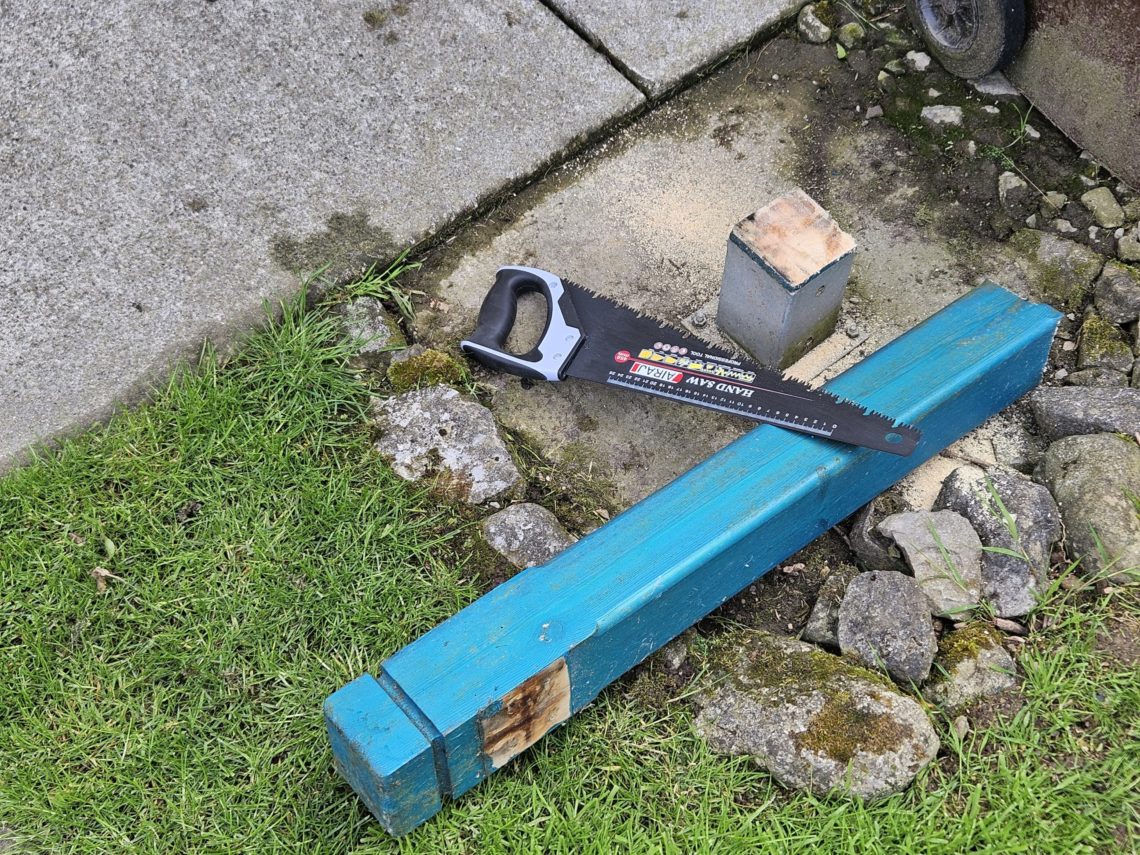
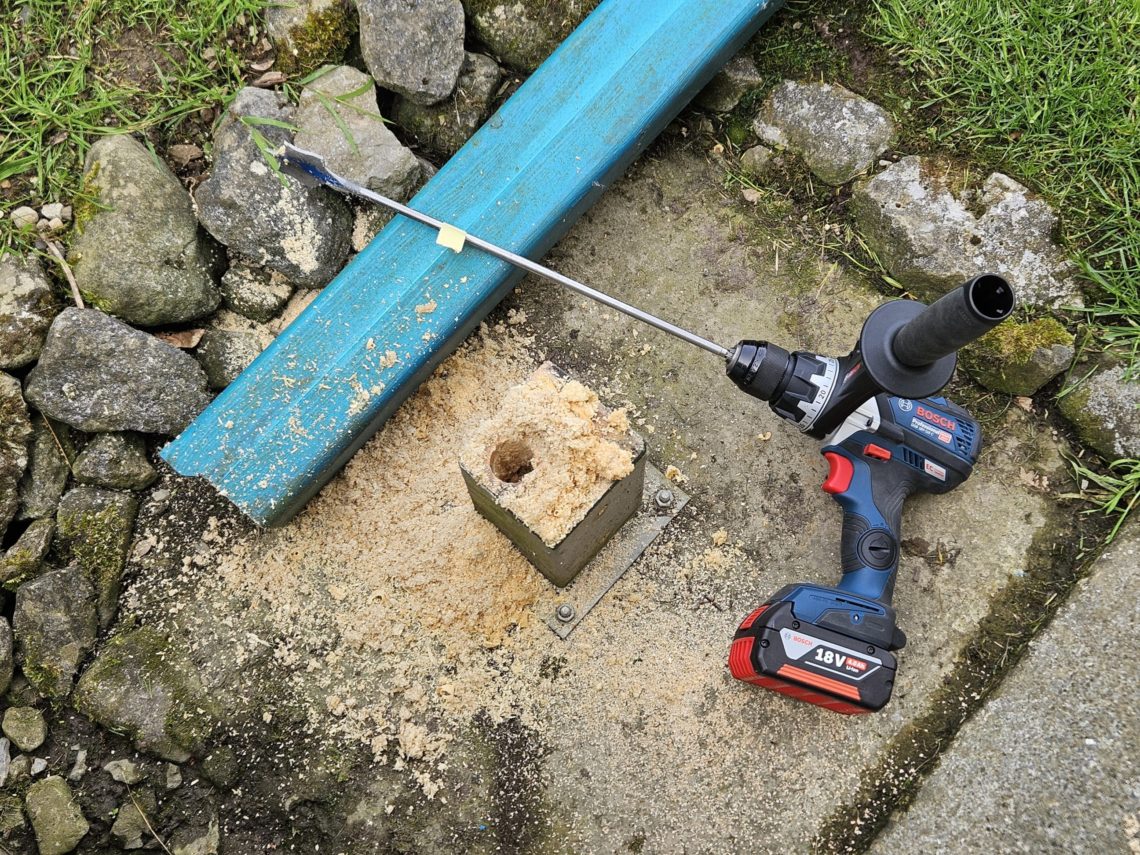
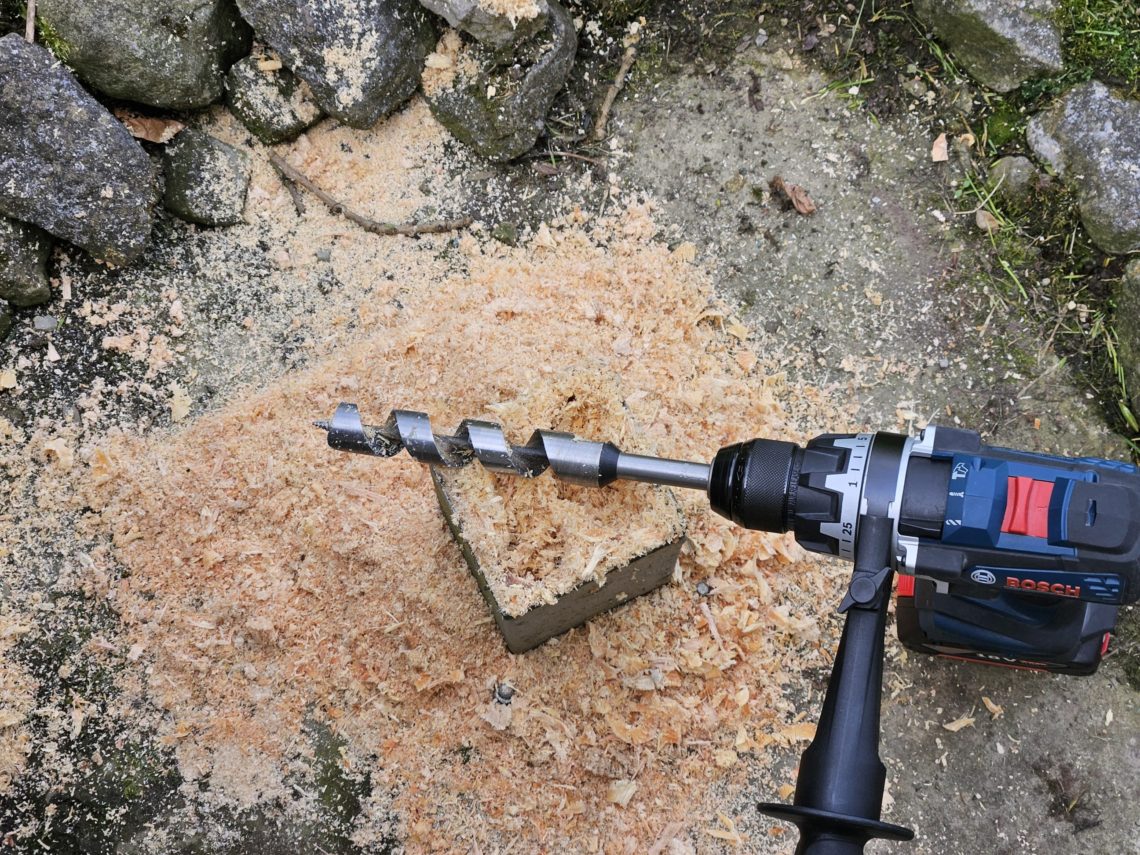
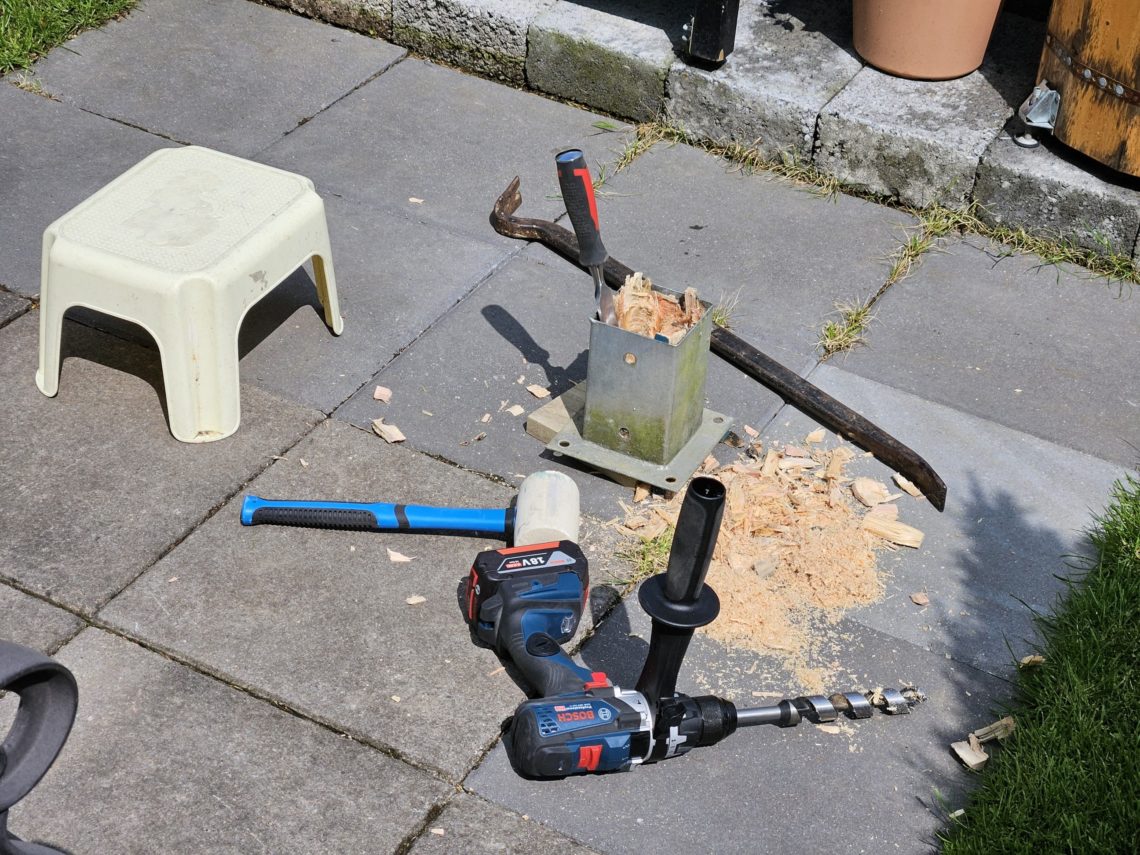
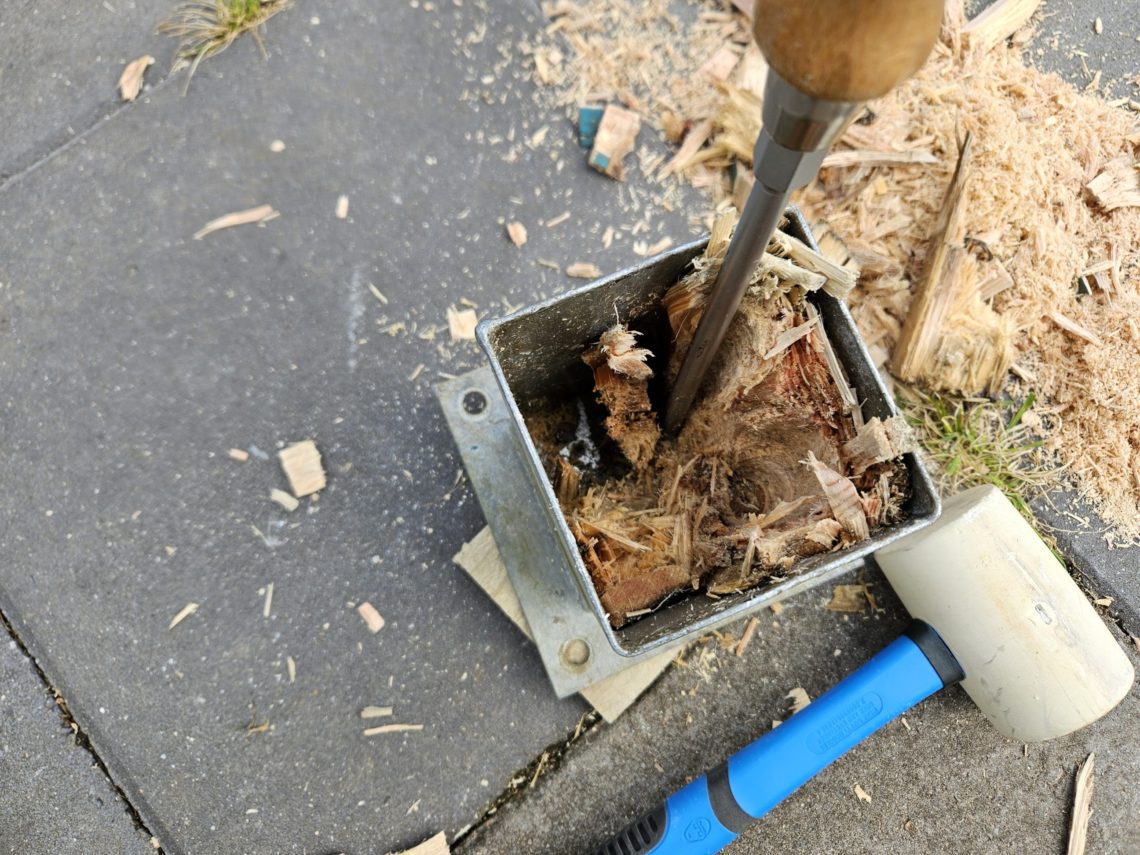
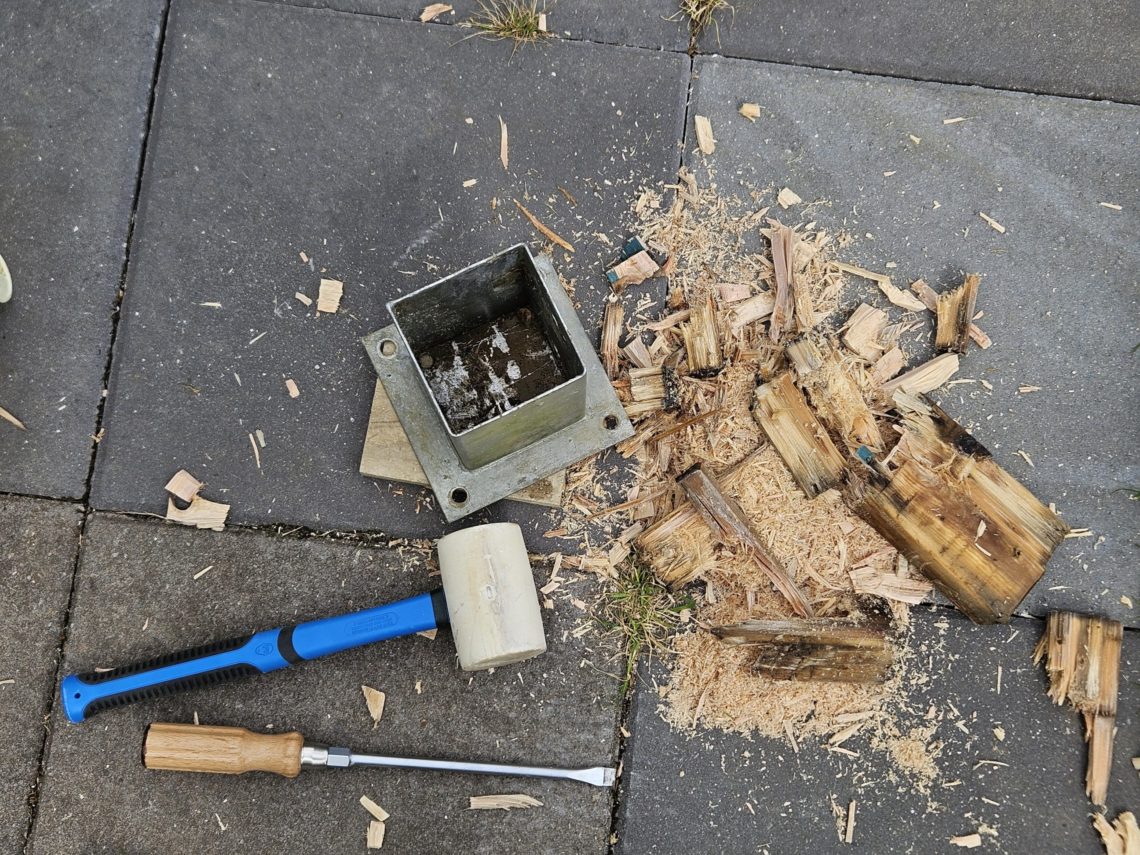
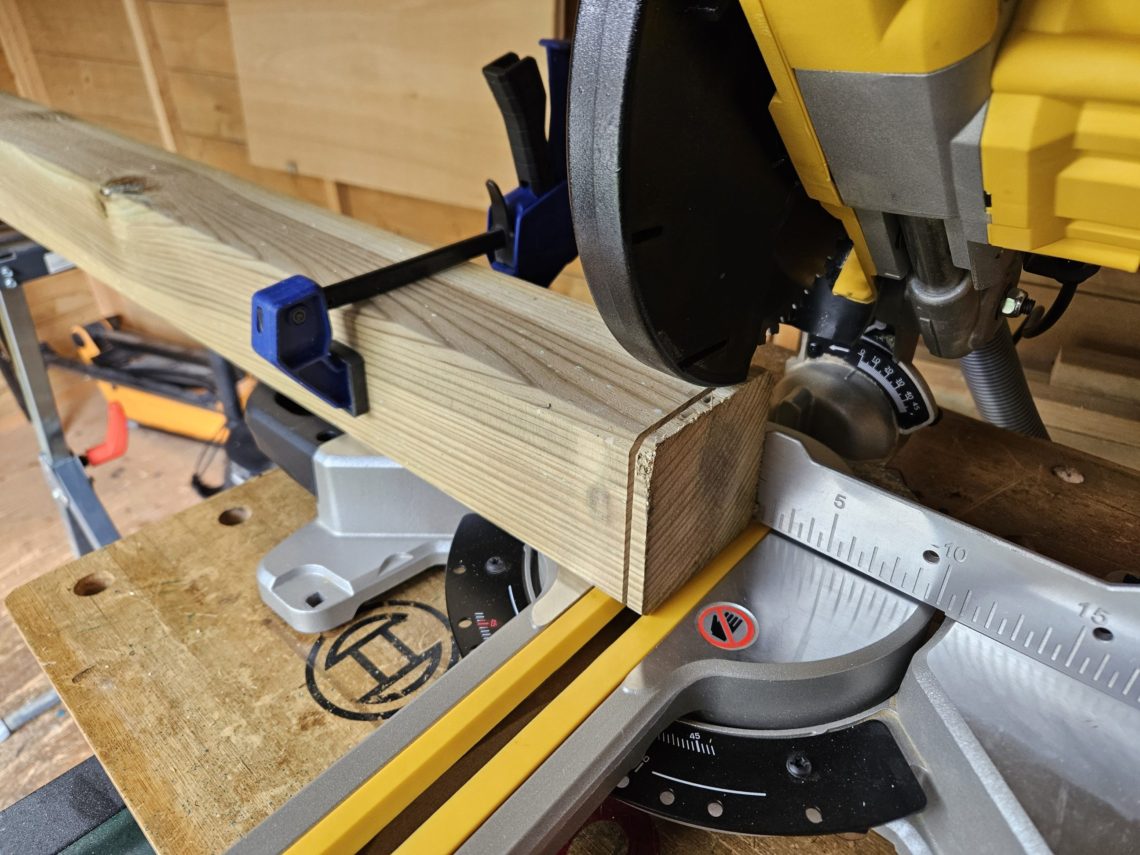
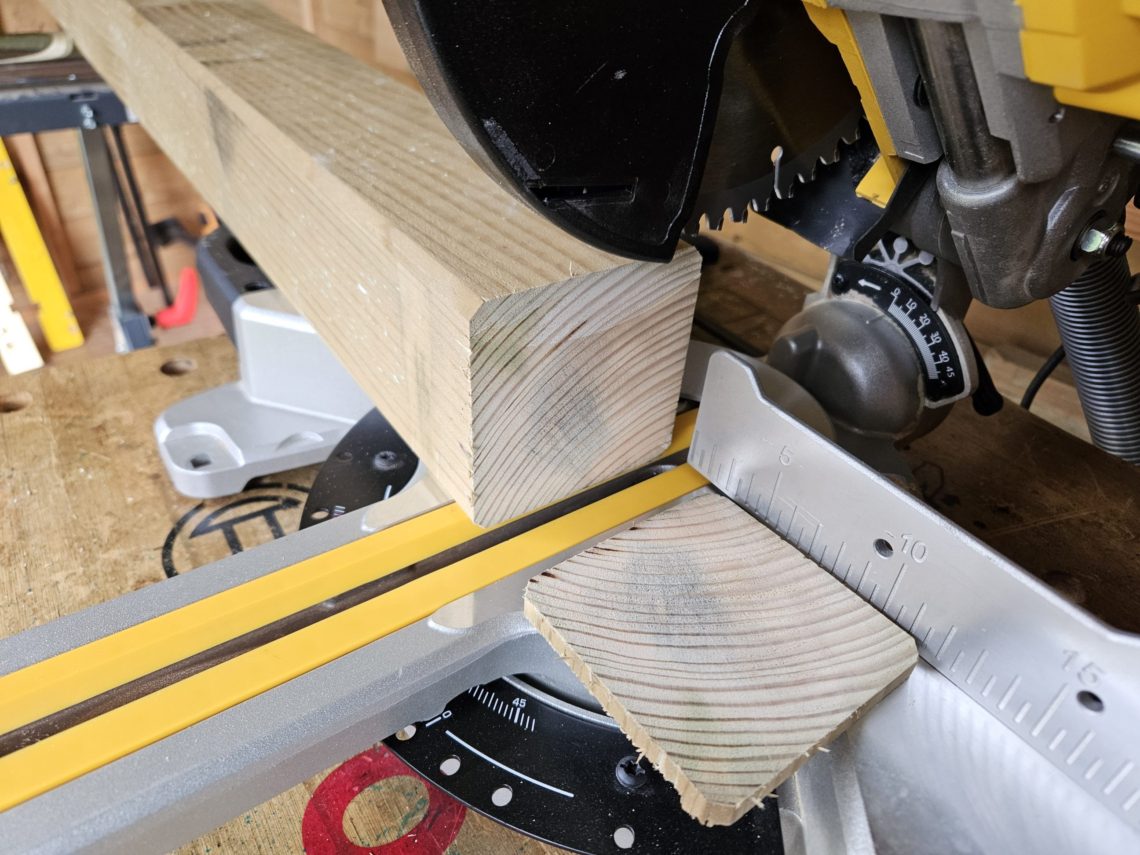
I first tried to pull the whole thing out from the bracket using a spreader clamp, but it didn’t succeed. I cut it off, removed some of the material with 2 different drill bits, tried to pull the rest out, but still – no luck. Unscrewing the whole bracket from the footpath seemed to be inevitable. Finally, with a chisel, a long screwdriver and a couple of other tools I managed to remove all the wood. The last fit was just too tight and combined with moisture made the post swollen and stuck. As soon as I solved that out, I moved onto the cutting the new post to length. Both my table saw and the mitre saw weren’t a 100% capable to cut it in one pass, but I managed to cut it in 3 passes with quite good results, i.e. the cut was clean enough for an outdoor project. As that post was already chamfered, I continued that look for both the top and the decorative groove.
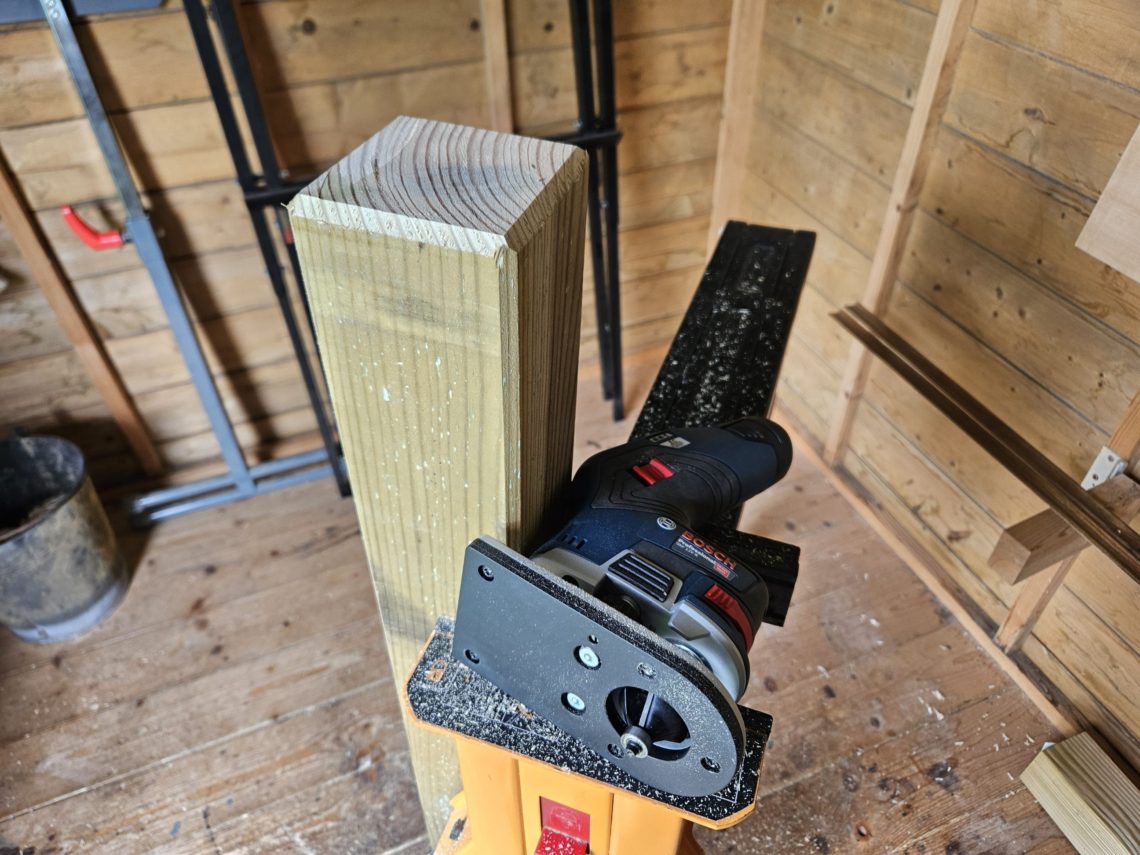

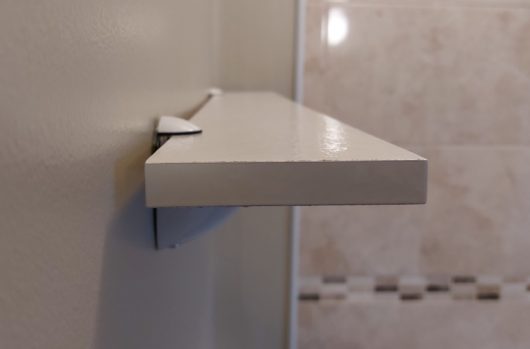
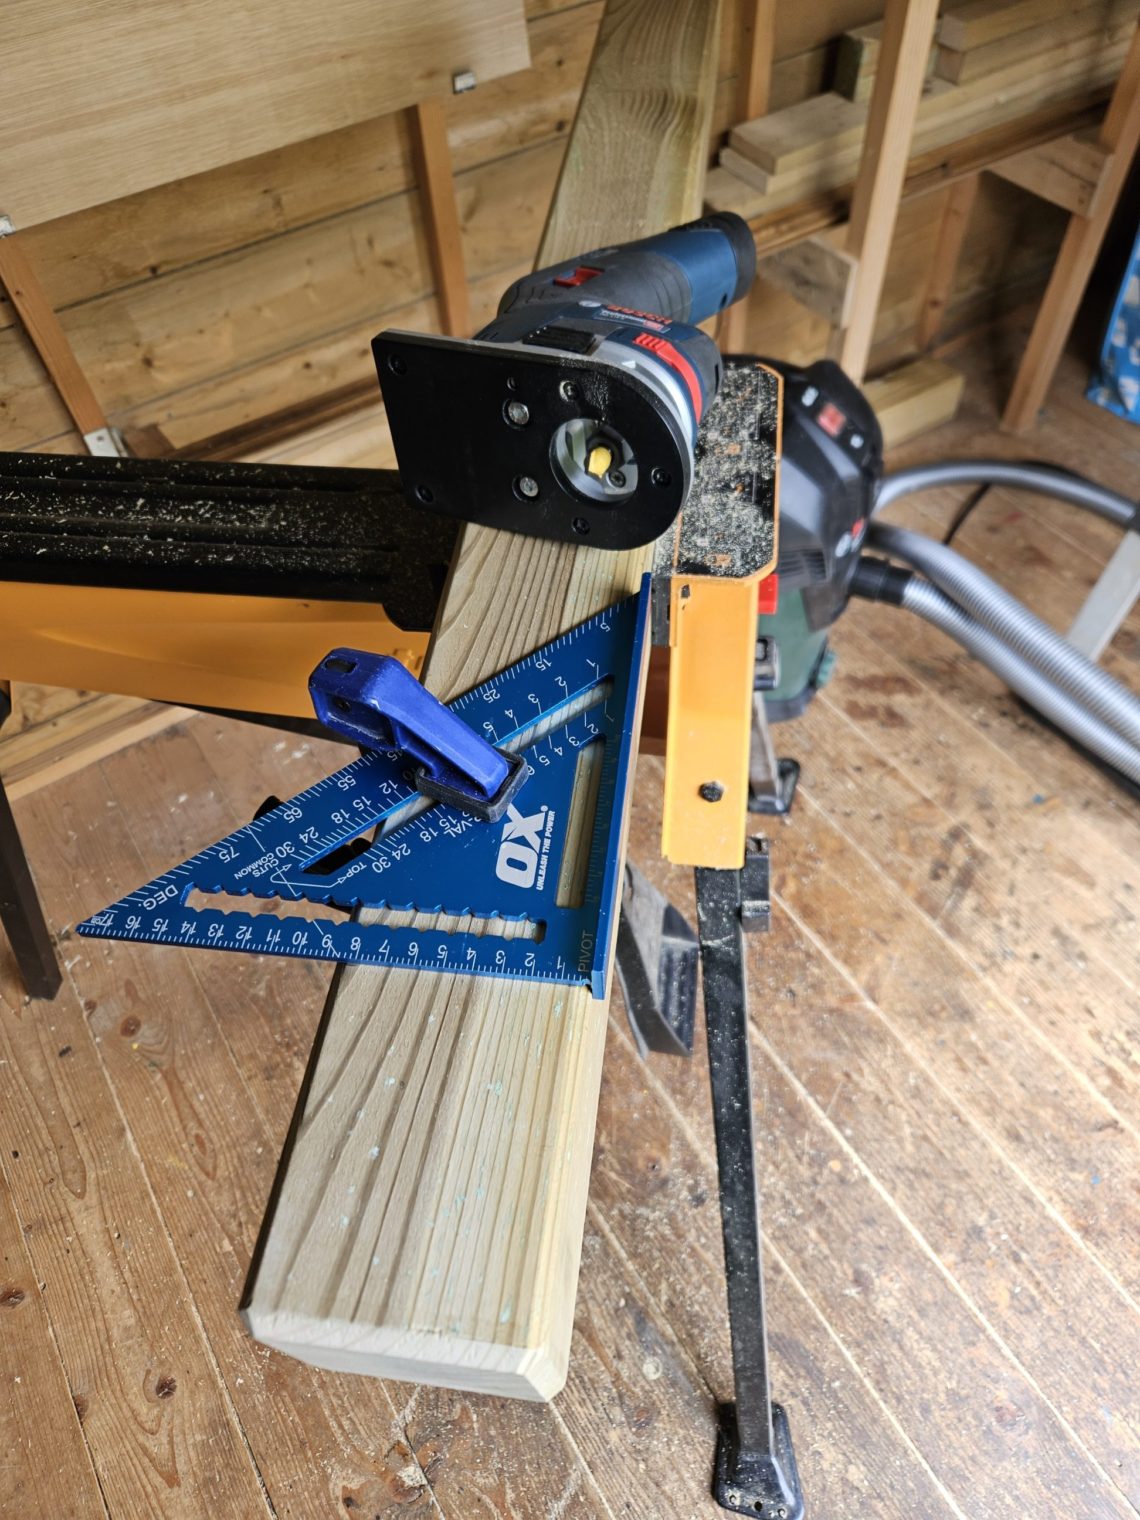
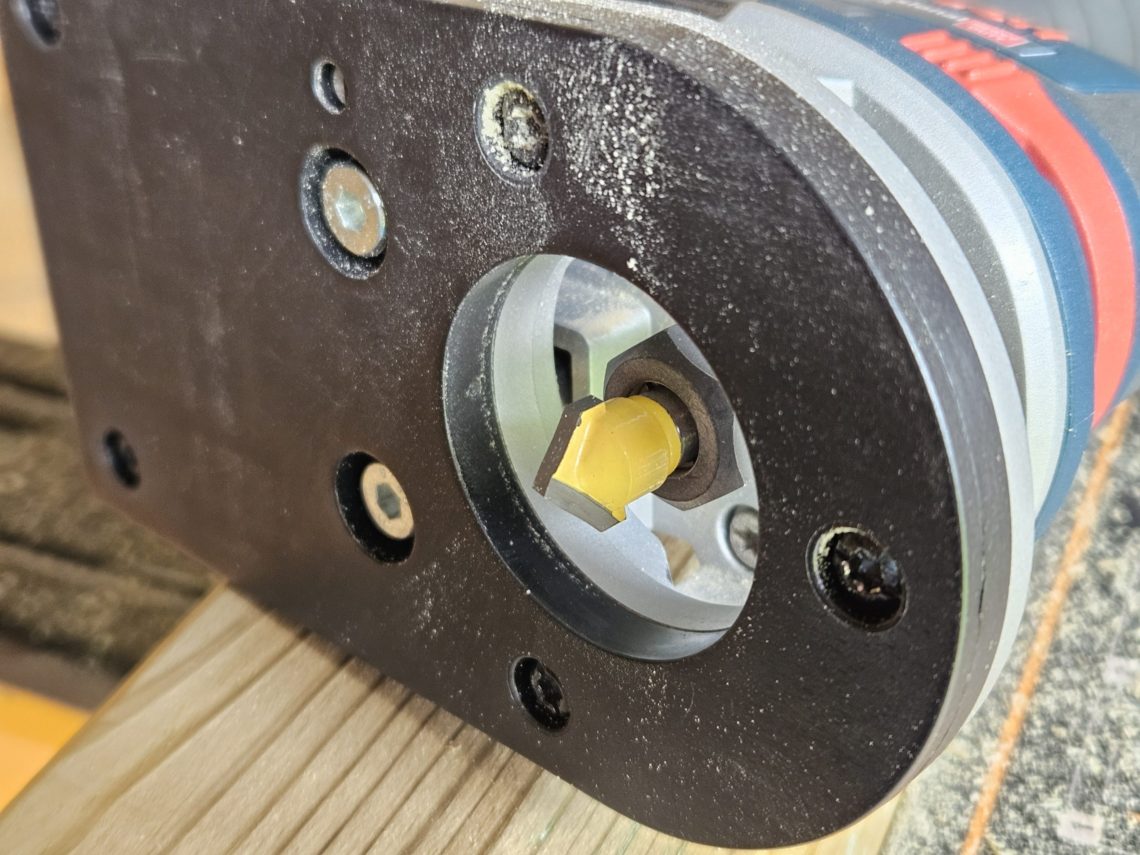
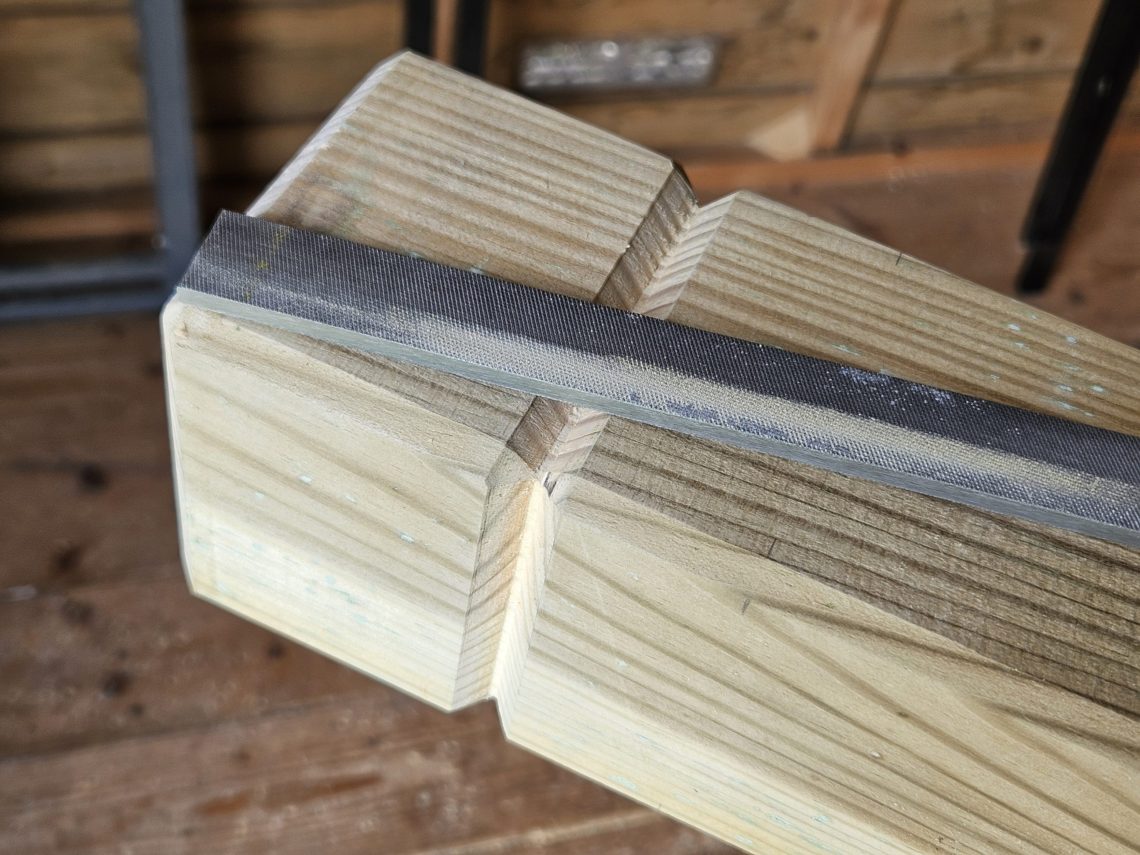
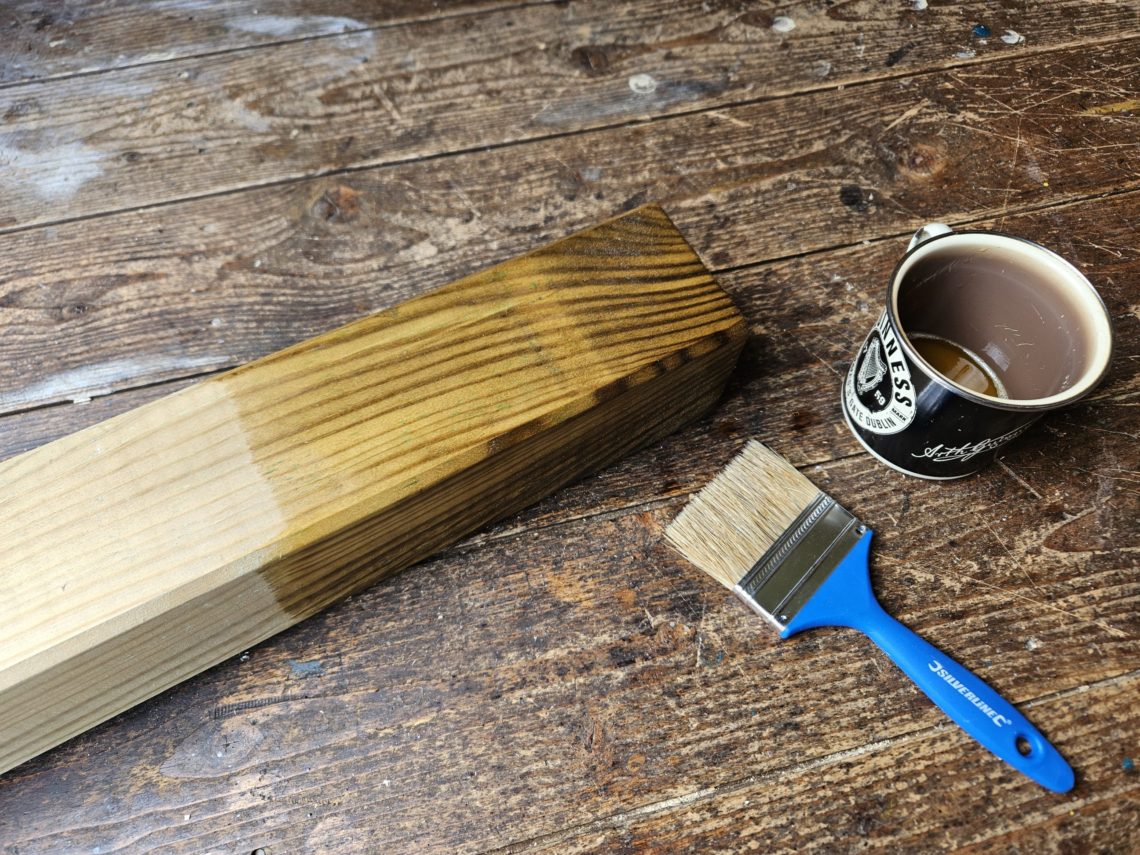
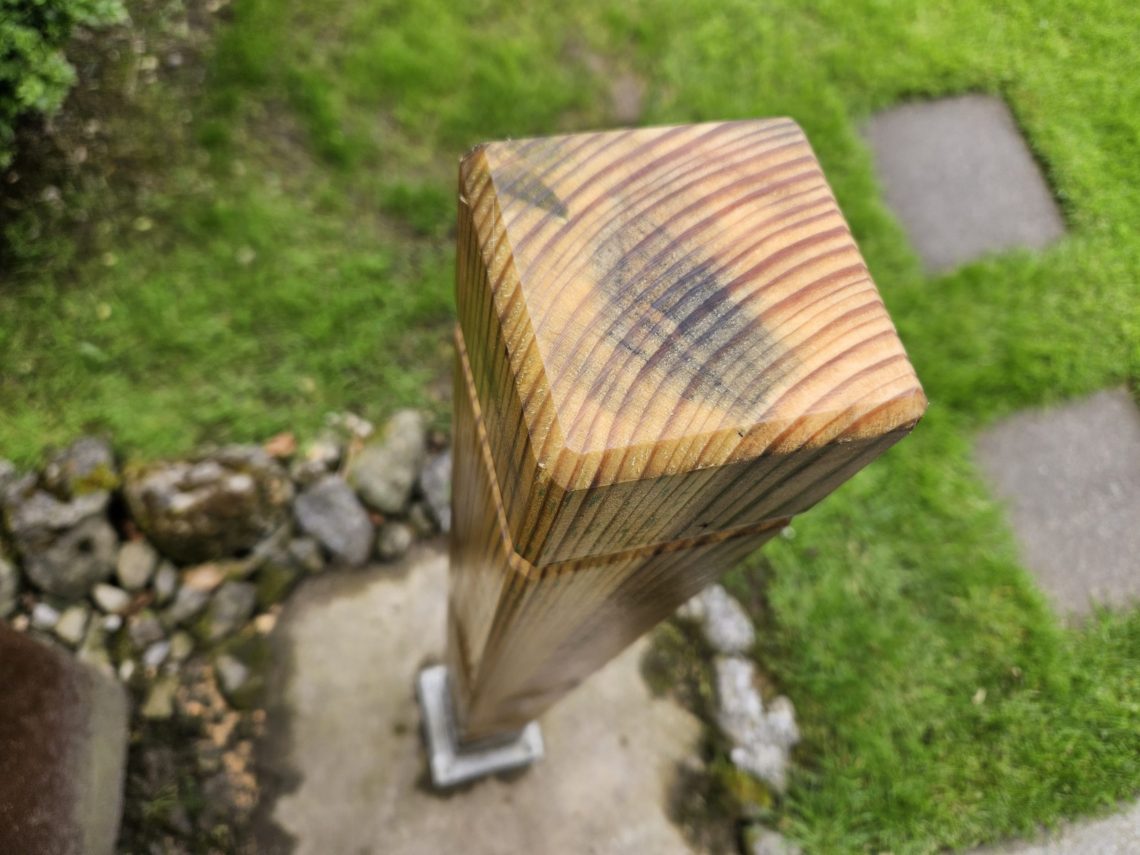
All 4 edges and 4 little corners were chamfered with the same chamfering bit. Next, I cut the decorative groove, using a V-groove bit and the router was guided by the clamped speed square. The corners were also ground down with a file. I quickly sanded the post by hand and it was ready for the oil. I applied a heavy coat of my DIYed linseed oil mix to the bottom of my new post, before I attached it to the bracket.

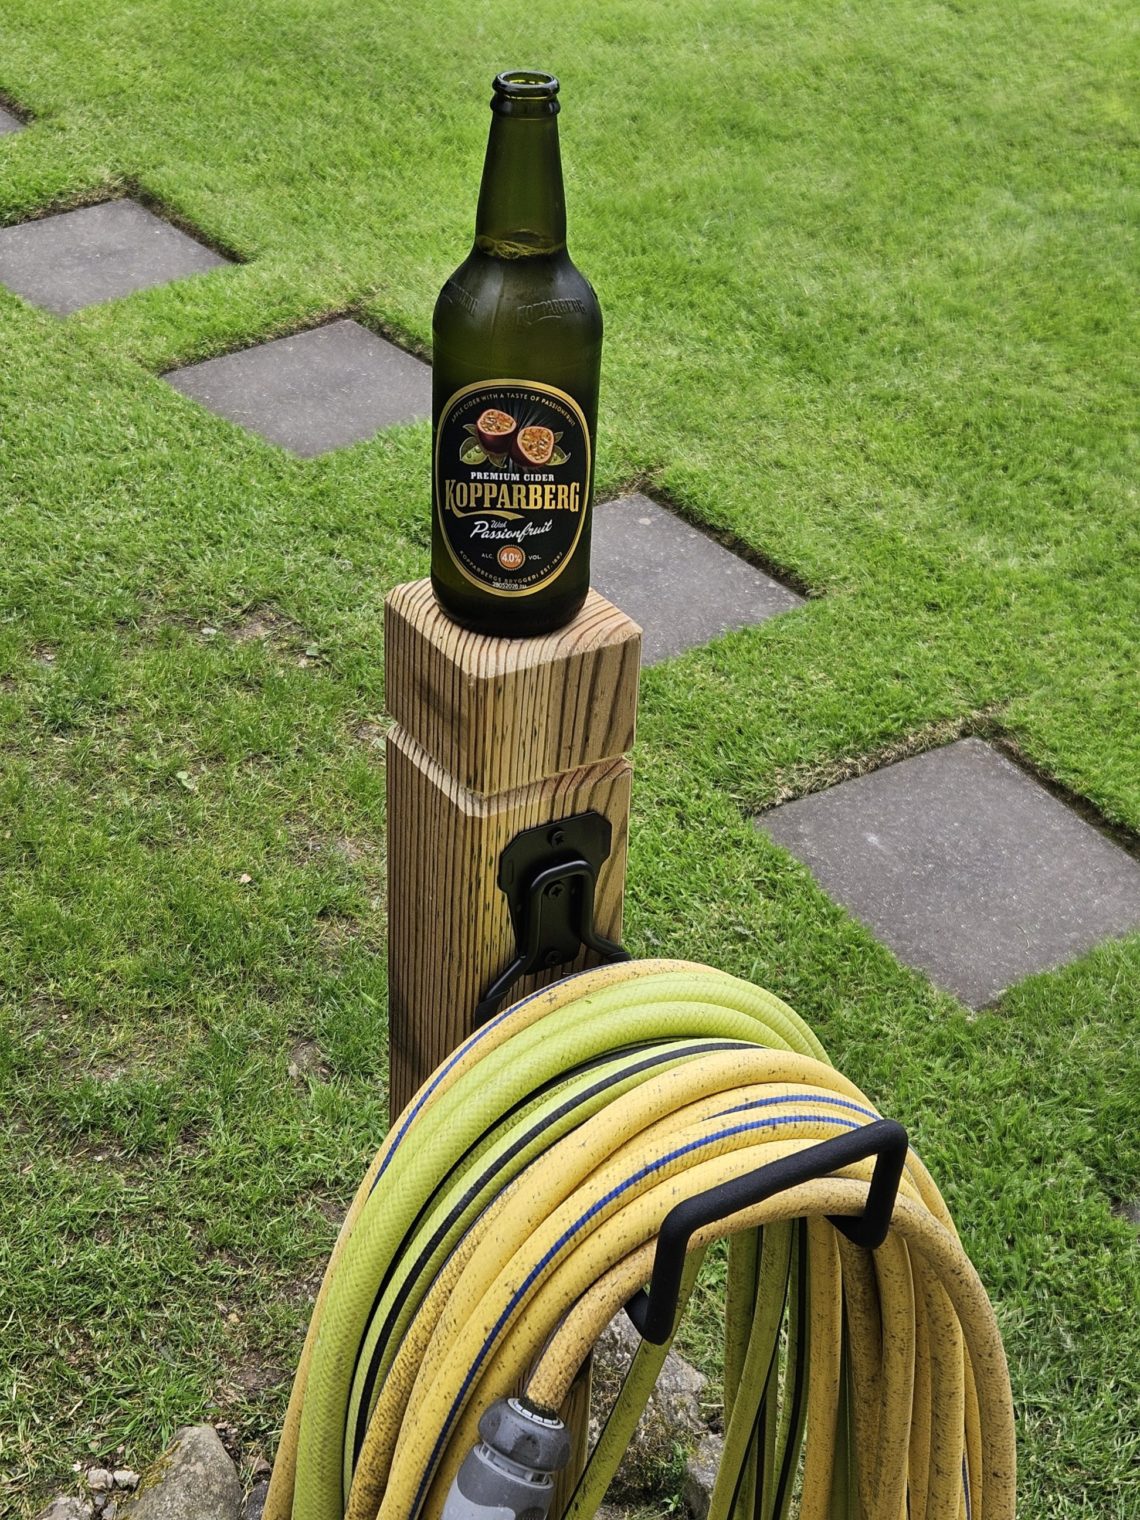
Next, it was just a matter of applying the oil to the remaining part of the post. It only required 1 coat, with a few extra drops on both ends. I left the post top flat, as I am going to use it for placing hot and cold drinks, as well as other items. It would repeal more water if it was pointed, but it wouldn’t work with mugs and cans. The top part has been designed to combine functionality, durability and longevity. I am almost 100% sure that if I left it pointed, I’d regret that decision sooner or later. Replacing that post in the future shouldn’t be a big problem and in the meantime I could use its top for temporarily holding other items.
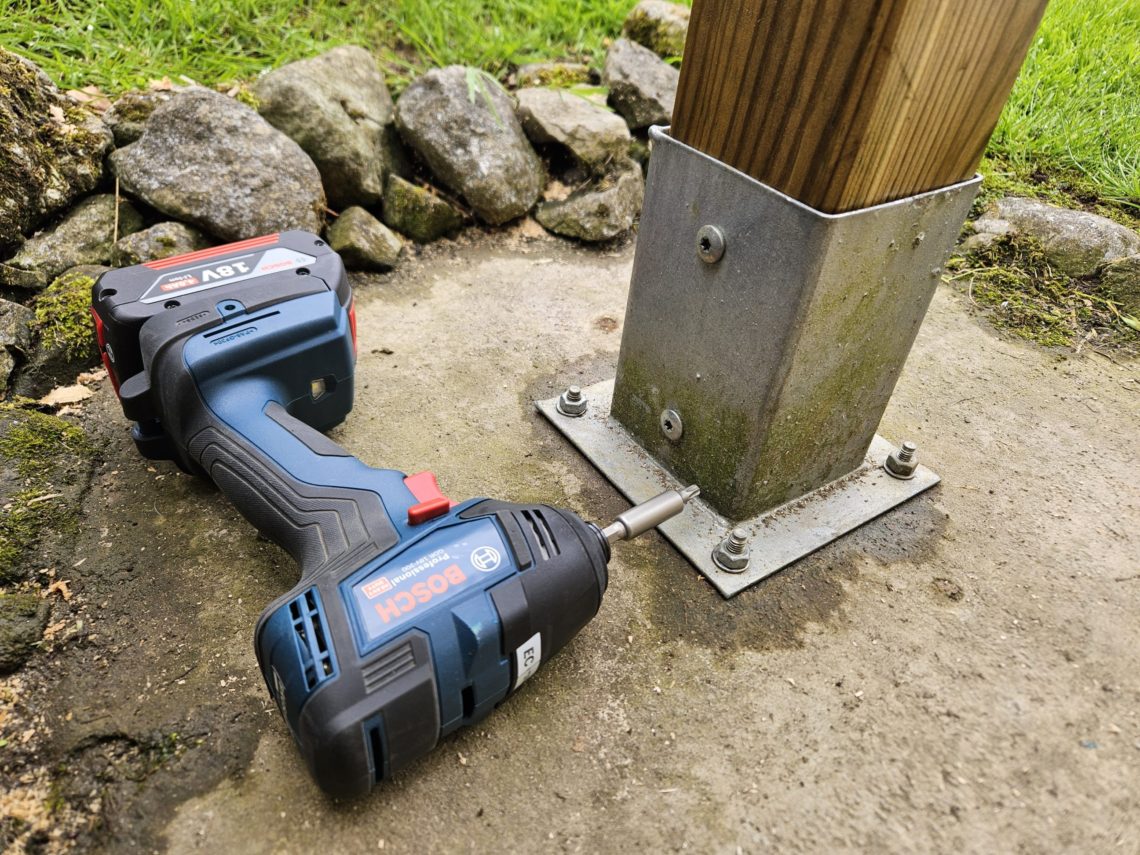
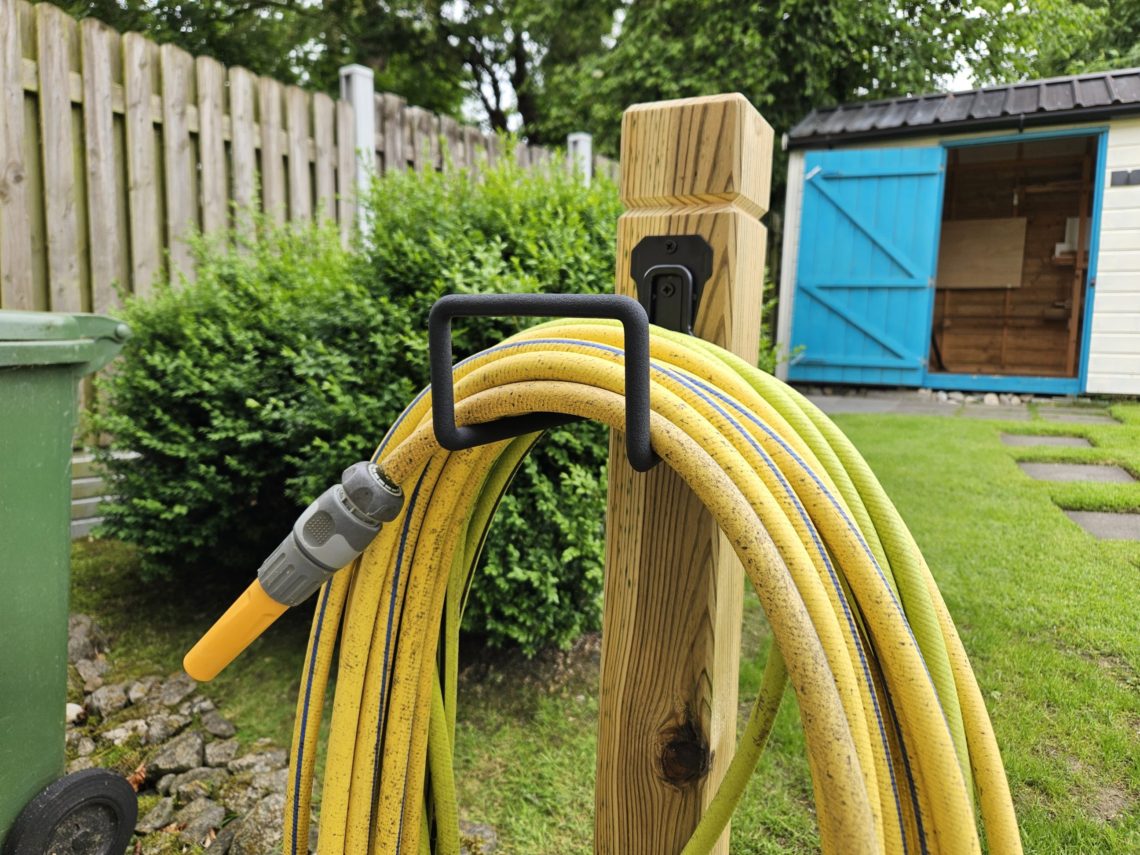
When the metal hook came in the post, I mounted it straight away. I used an extra long bit holder to easily drive 3 screws and at a 90º angle. The screws they provided were PZ2 and they looked corrosion-resistant. They were not regular drywall screws with PH2 head, which surprised me in a good way. The hook was well welded together, and the rubber wasn’t loose.
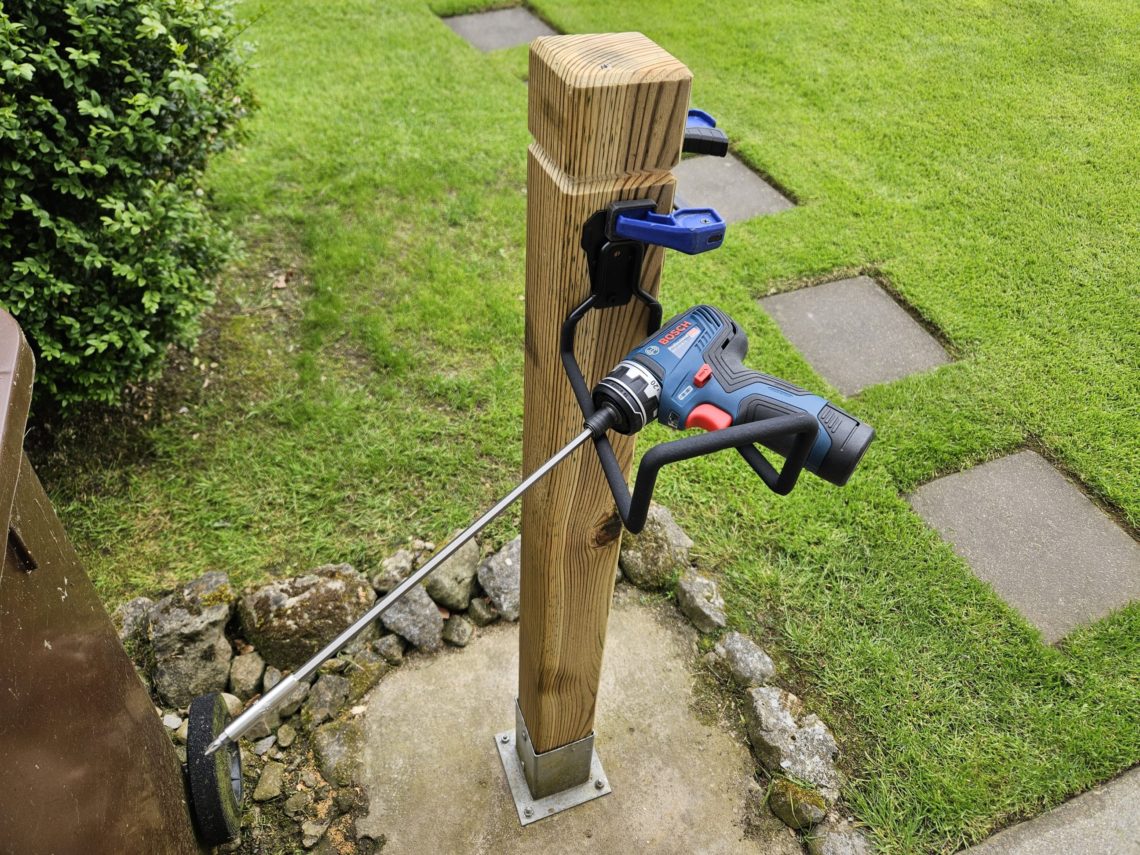
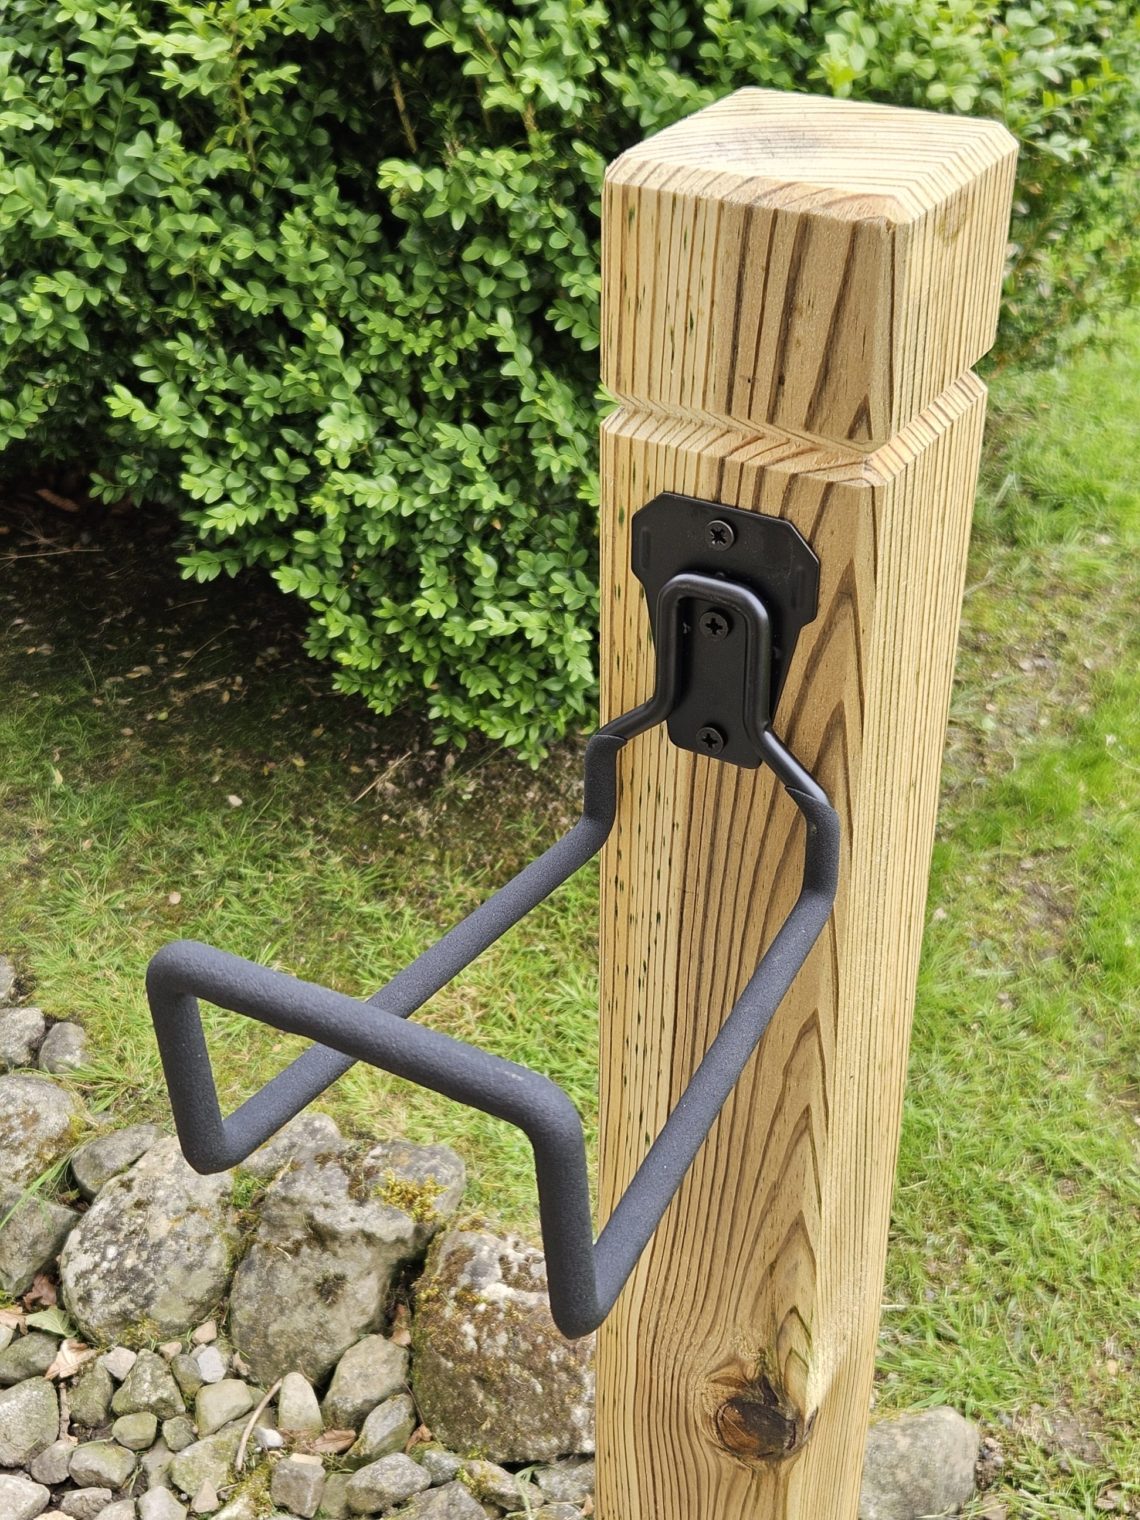
The hook held the heavy garden hose with no problems whatsoever – it didn’t flex. The rubber coating shouldn’t wear too quickly either. Unlike the old stand, this one holds the hose only on front of the post but the hose will never slip off thanks to the frontal bend. Putting the hose back has become a lot less frustrating job – all thanks to the new hook. This was supposed to be a quick and inexpensive garden hose stand and I think I achieved all the objectives. It came out neatly and looks expensive. Apart from the initial step, which was the removal of the old post from the base, the whole project was completed fast, with very little effort and the materials were reasonably priced. I think the new stand doesn’t look as bulky as the old one and better fits the house, fence and other structures I’ve built in the garden. Recently, I became a big fan of natural look of the wood, and has been avoiding paint if possible. The new stand surely looks more modern than the old one and probably will be easier to maintain with linseed oil if need be.