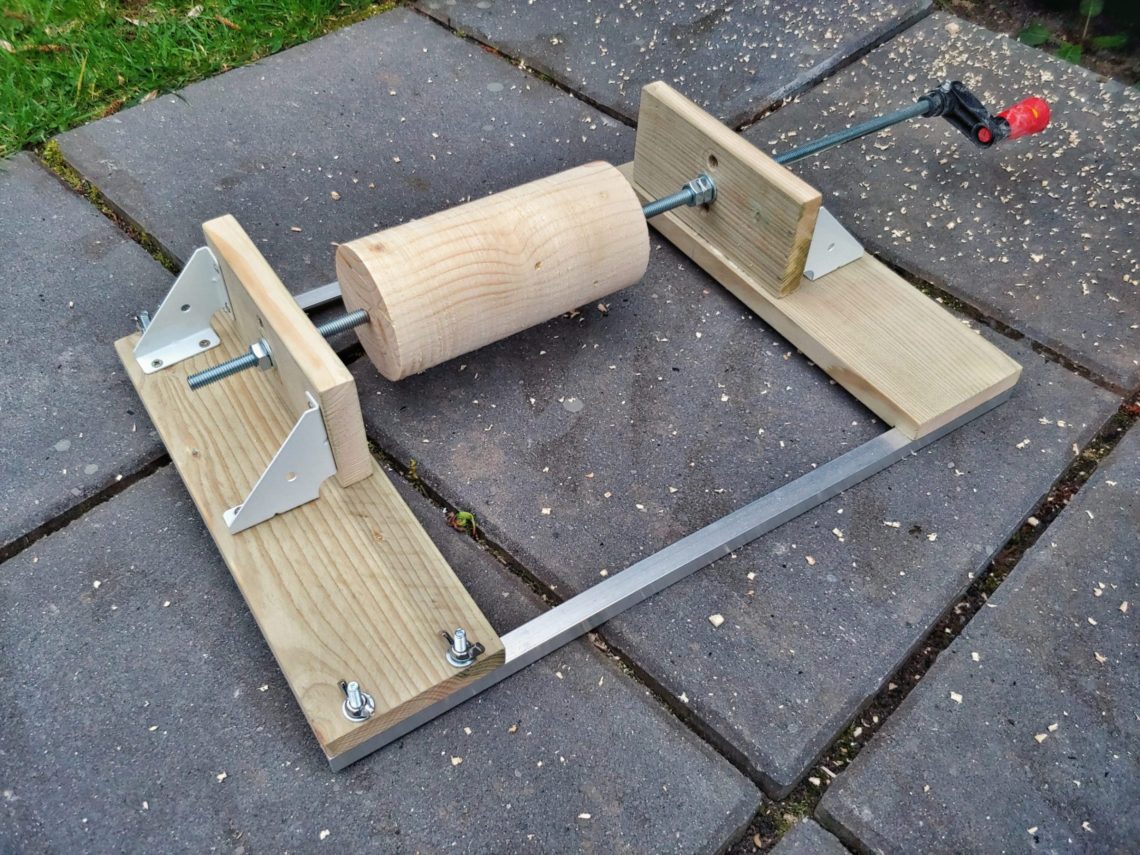
Router turning jig
Buying a lathe is not very expensive, but it takes space to store. That was the reason to build that jig. It’s easy to store, and it uses my router tabletop. The square log pictured below was another reason that I built this jig.
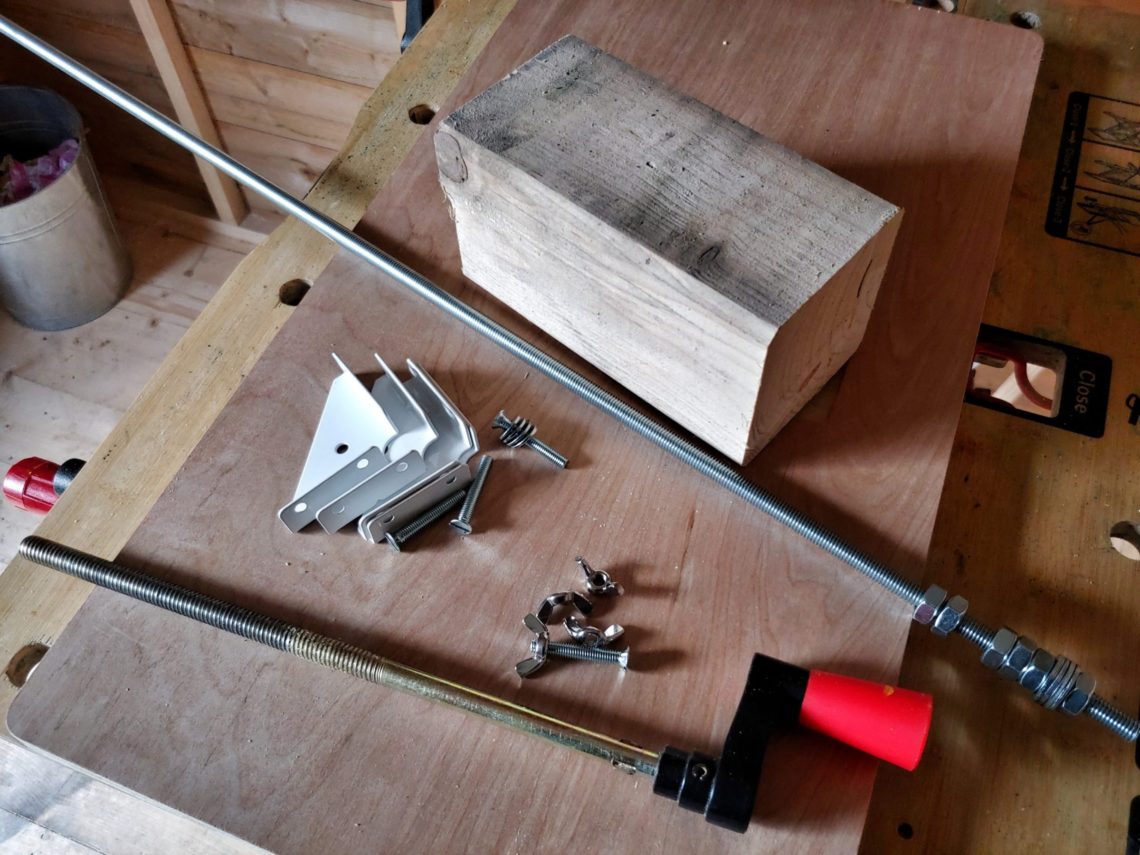
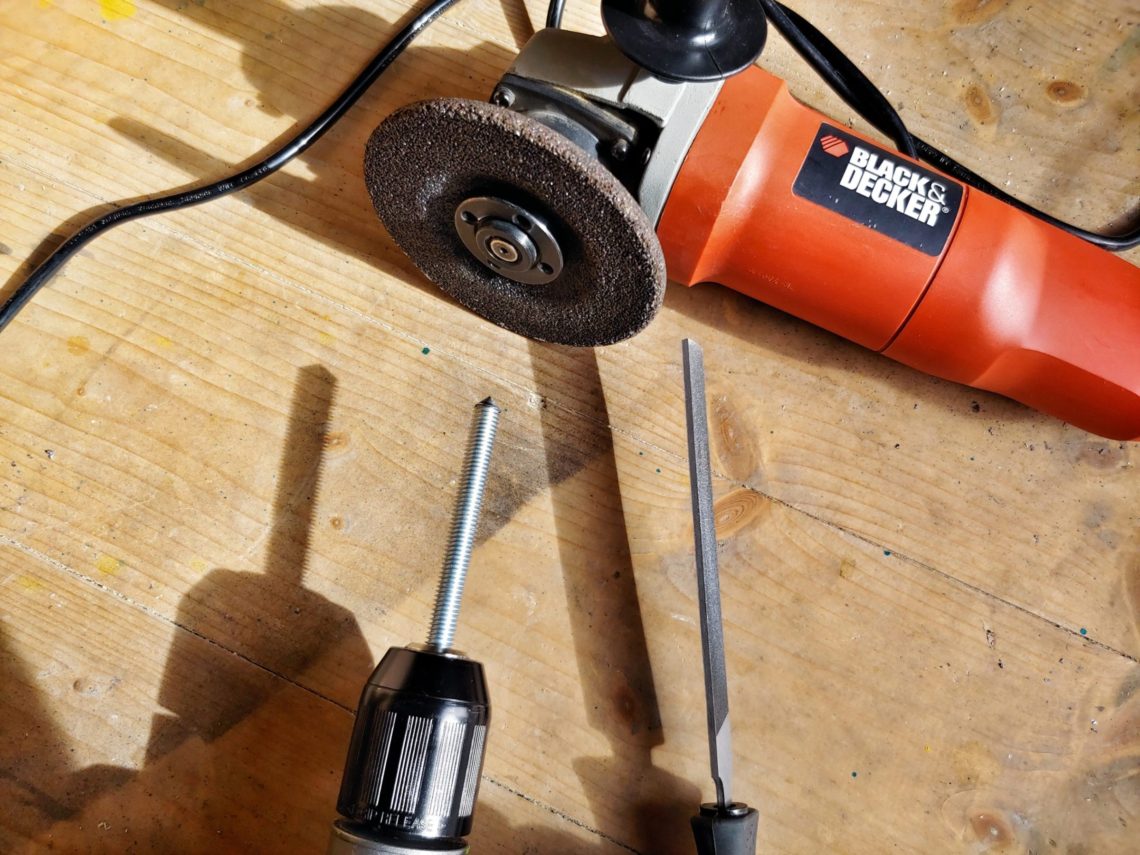
I started with the metal elements. Cutting to length, drilling holes and countersinking them. 2 types of screws were used as this jig is fixed on one side and can be adjusted on the other side in the future. Larger screws had too big heads for this project, so I resized them down with some grinding. And that was the rails. Then one of the pushing rods was cut to length and pointed with a combination of 2 tools – an angle grinder and a drill (the same combination for the larger bolt heads) – I used them 2 simultaneously.


Using an old strap hinge I built the locking block. I drilled the hole with the 8.5 mm drill bit provided with my set, and then I cut the thread with the 10 mm tap.


I then prepared the wood which was a scrap, pressure-treated fence leftovers, I cut it to length and width and sanded it down with my orbital sander. I also cut dadoes for the aluminium profiles and used my self-centering drill bit to drill the holes.

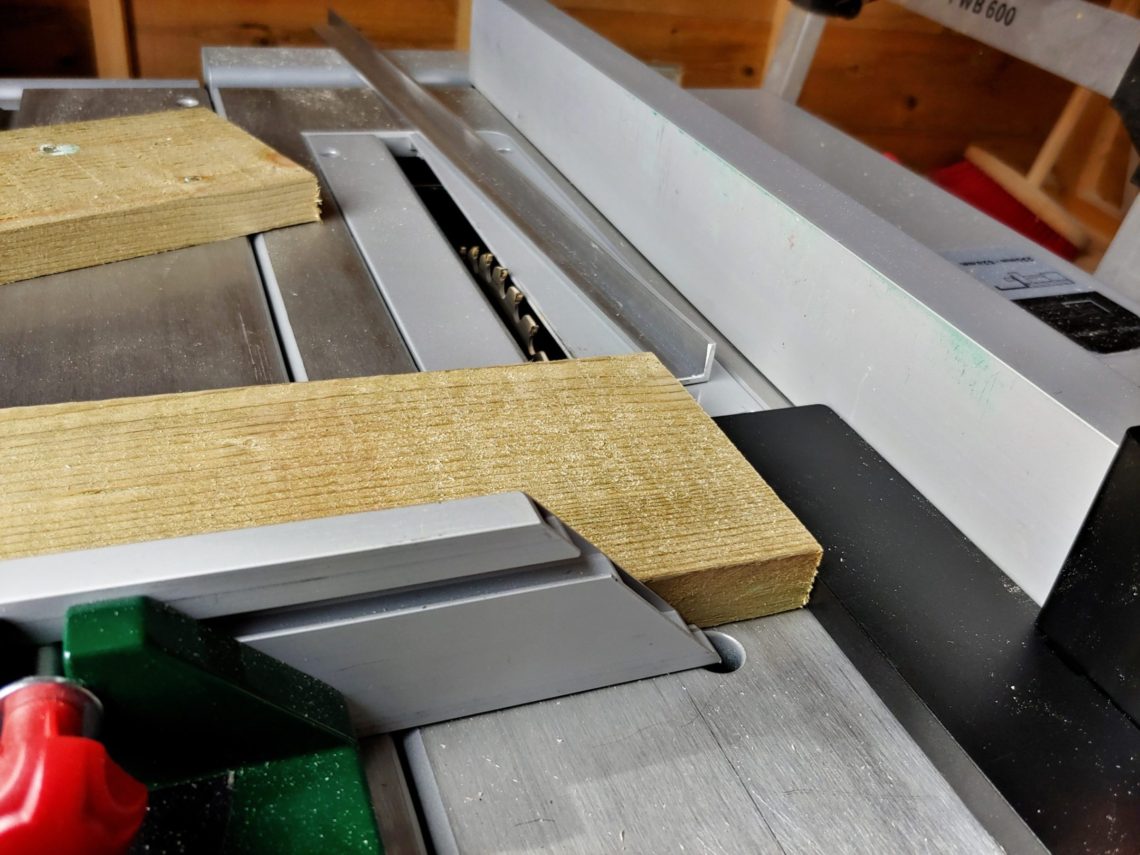


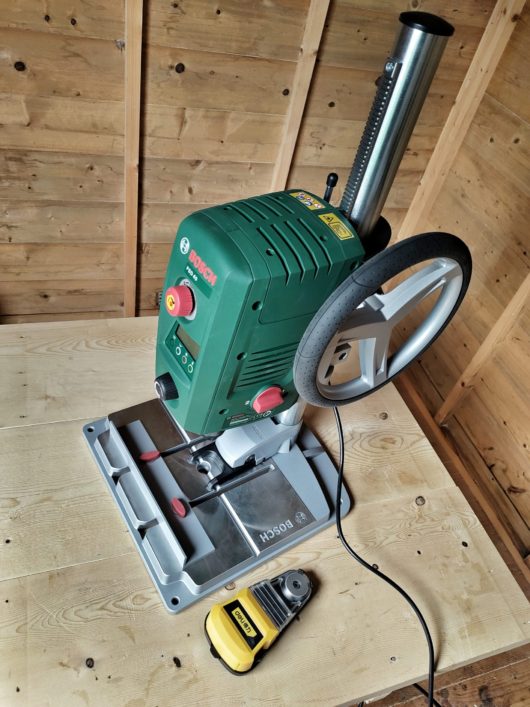
Using my new magnetic bit holder I then assembled the rest. I first used the upper holes for the rods, but I had to switch to the middle ones. It’s an easy and quick switch.


During turning, I had to reinforce the handle and change the layout of the nuts but the progress I got was impressive. It showed that the jig had to be cleaned from time to time to keep the rails on the tabletop surface and not floating on the dust.


After cleaning, I took 1 more pass to finish the surface. It still needs some sanding, but the jig works!


The jig itself works pretty well! It’s fairly inexpensive to build and quite suitable for my needs. It’s also safe to use – there is some kickback from the router but nothing too powerful that I can’t handle.
