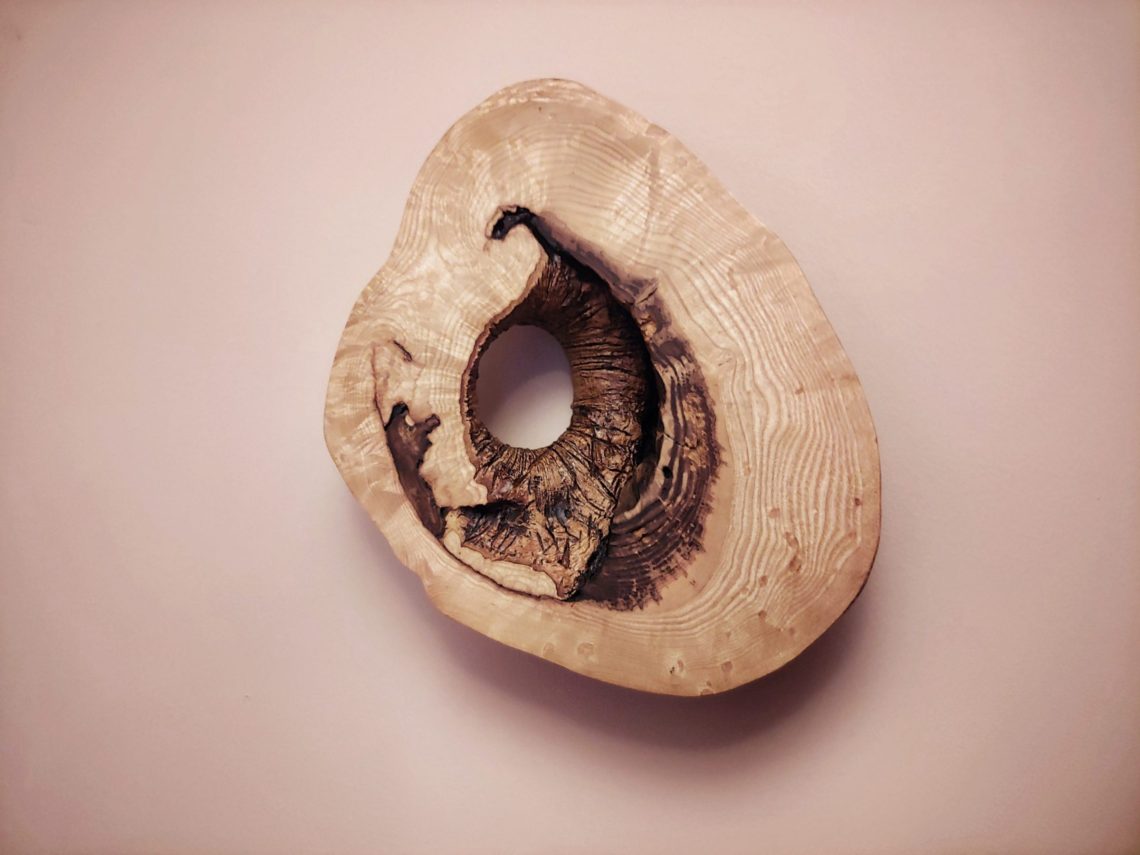
Tree hollow art
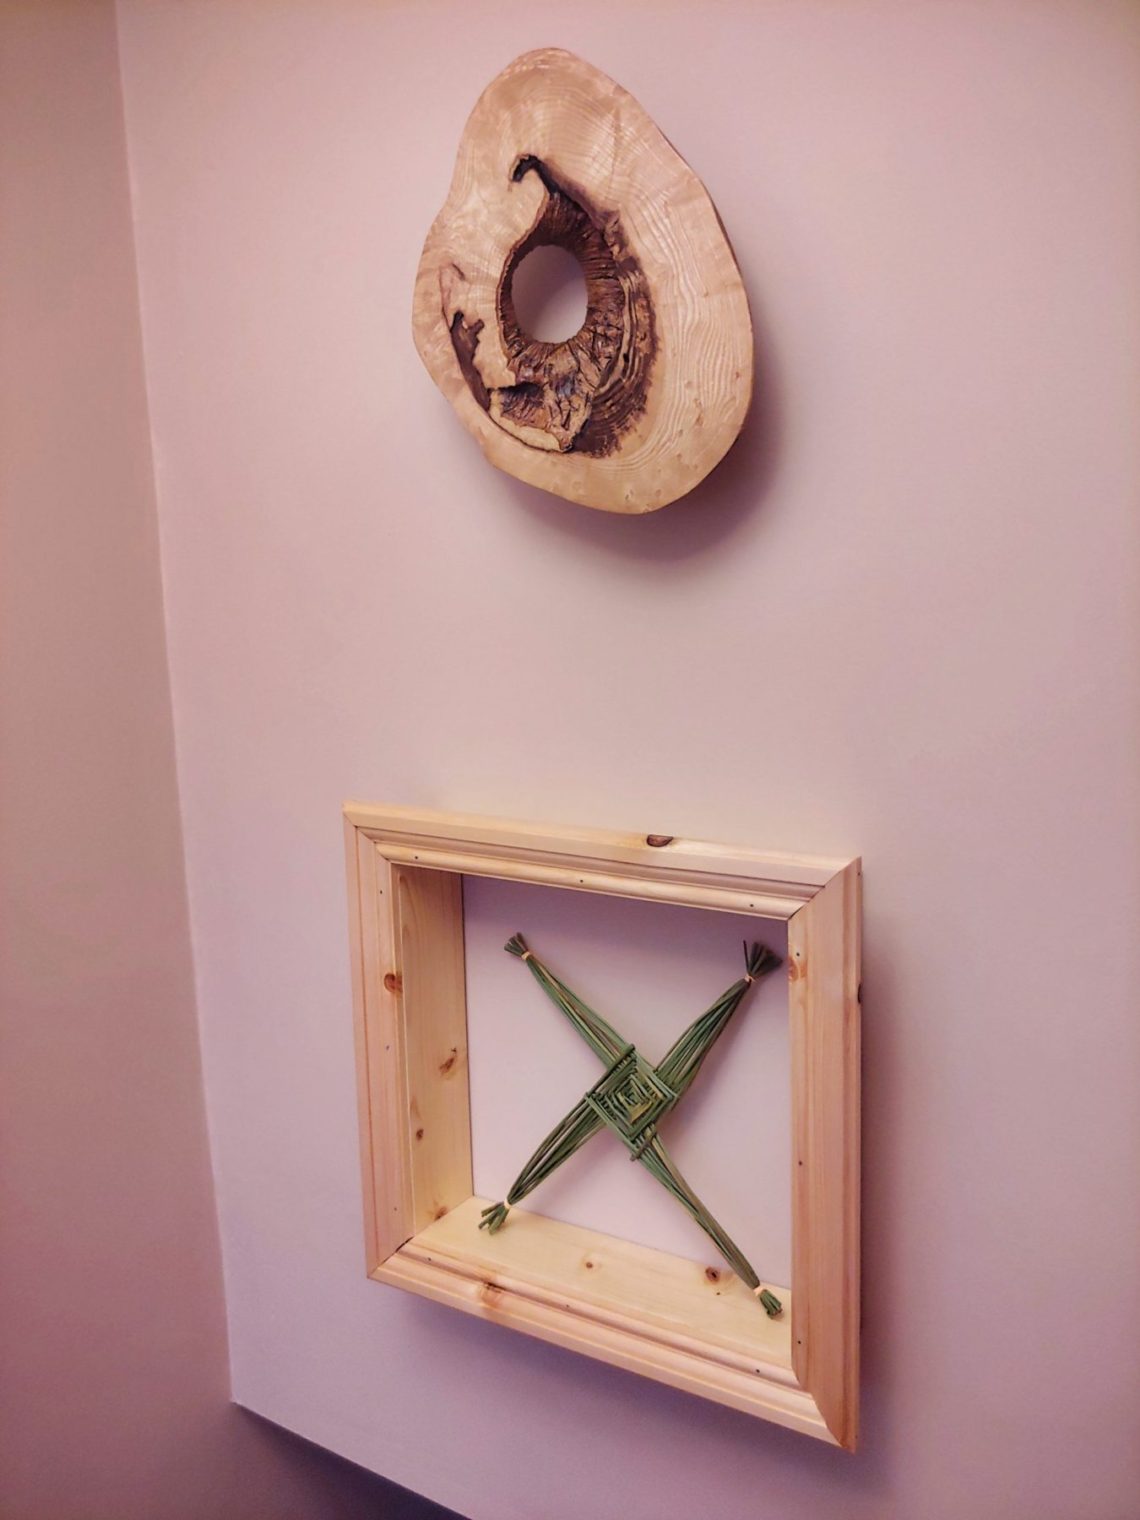
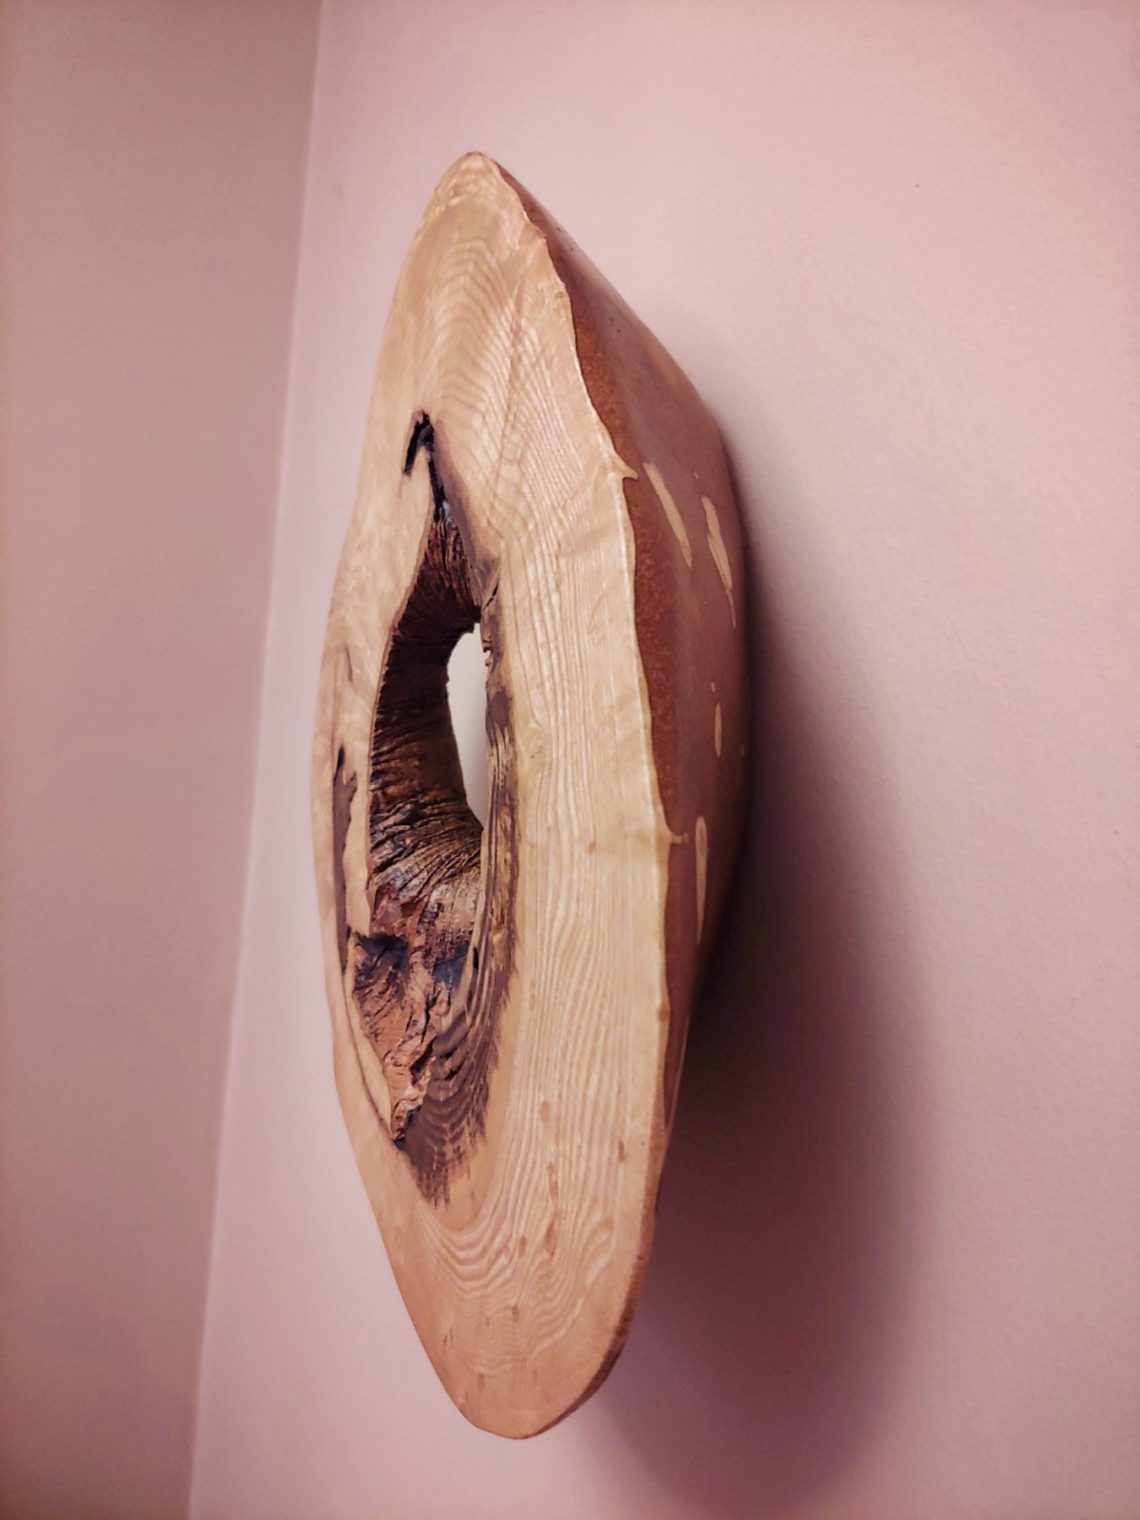
This wood comes from the tree I cut down over 1 year ago. I saved this piece from burning in a fireplace because I had that vision, straight away when I saw it first – a wall art. But just until now, the front side was the one originally facing out the tree. That made sense to me but when I cleaned the piece for further processing I realised it looked like … an arse.
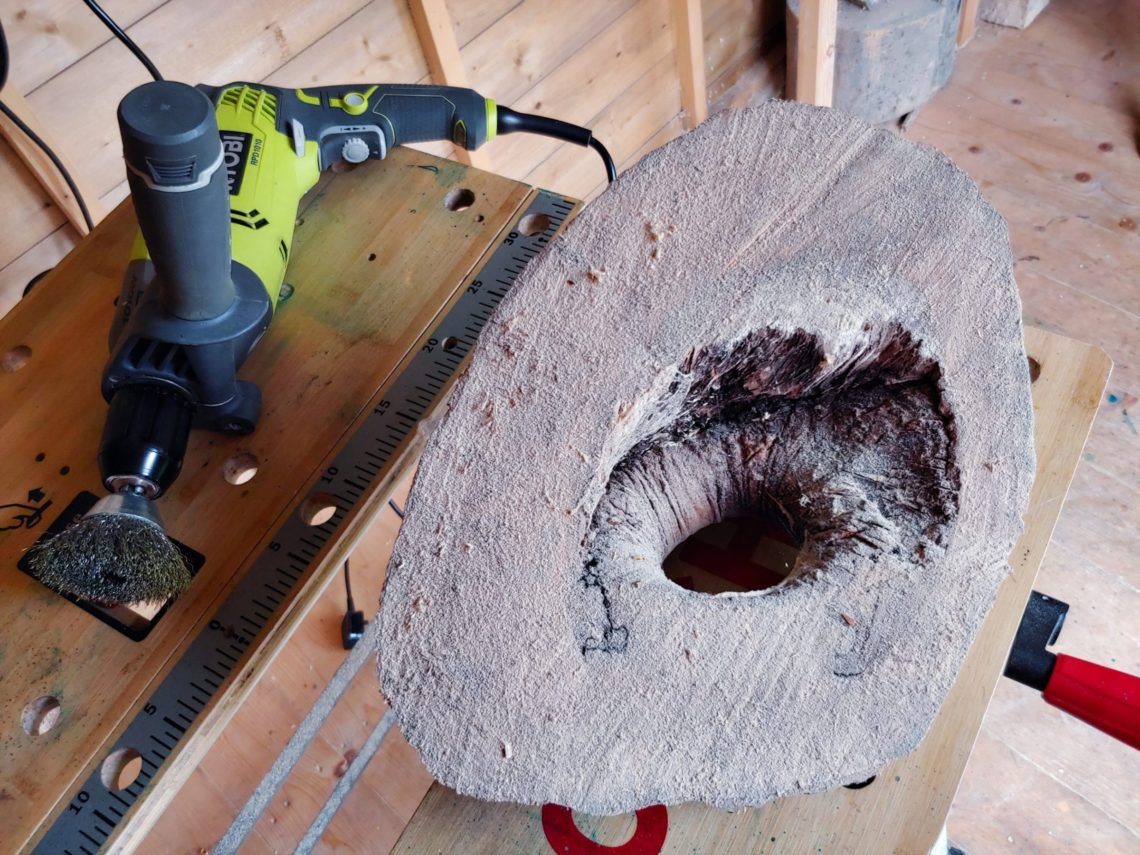
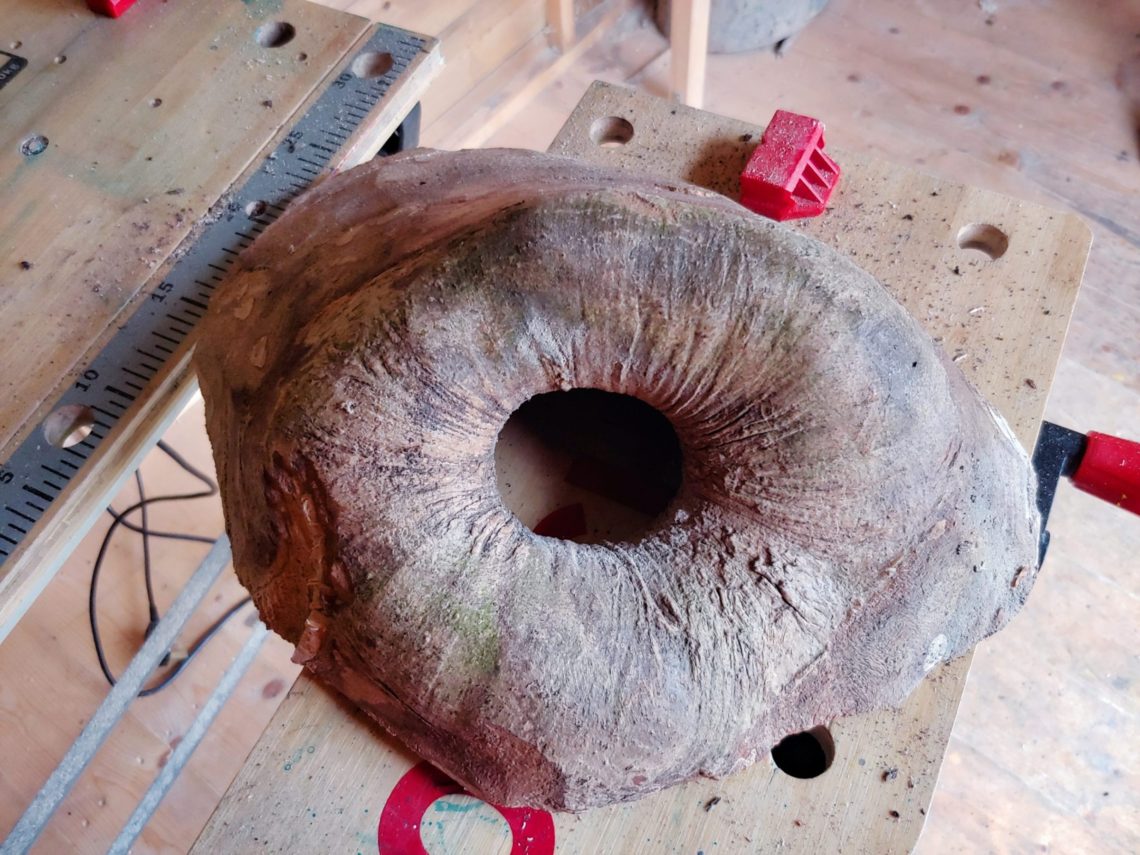
So the vision changed. I had to flatten both the front and the back, just a little, to nail a picture hanger. I clamped the piece down to my workbench and set my router flattening jig.
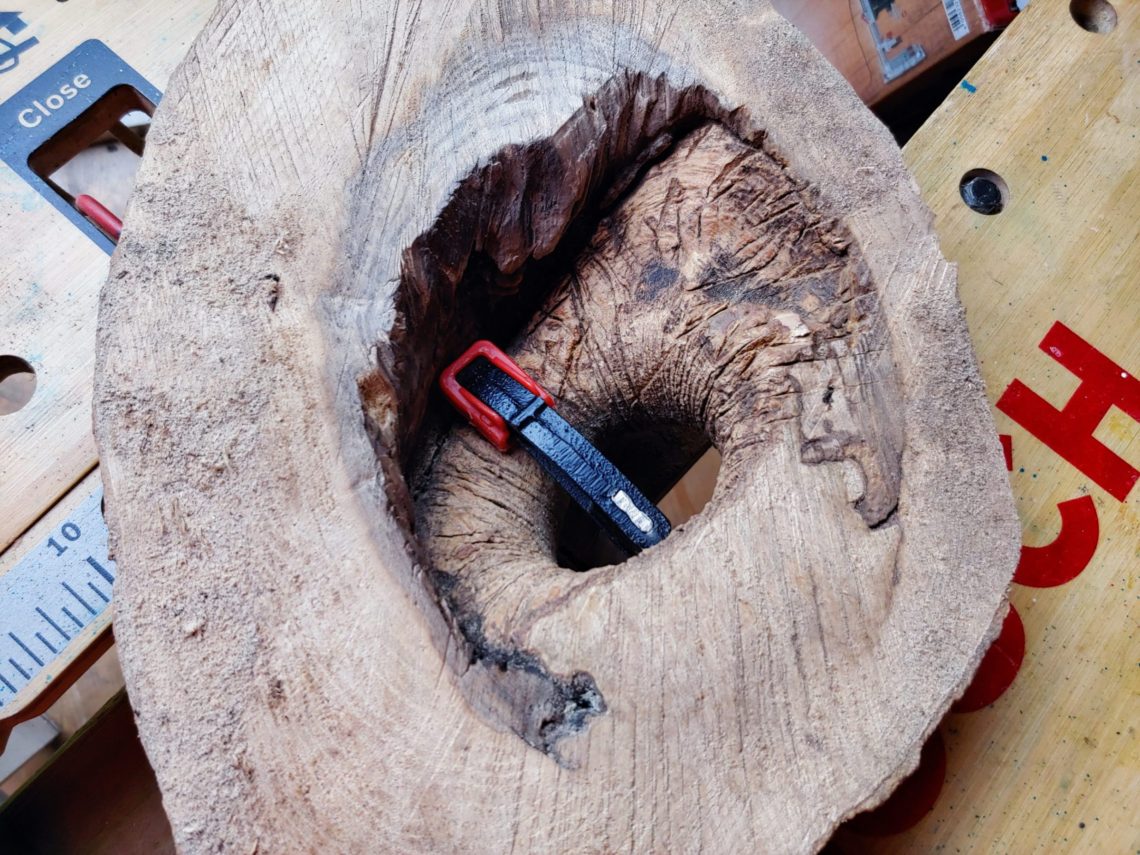
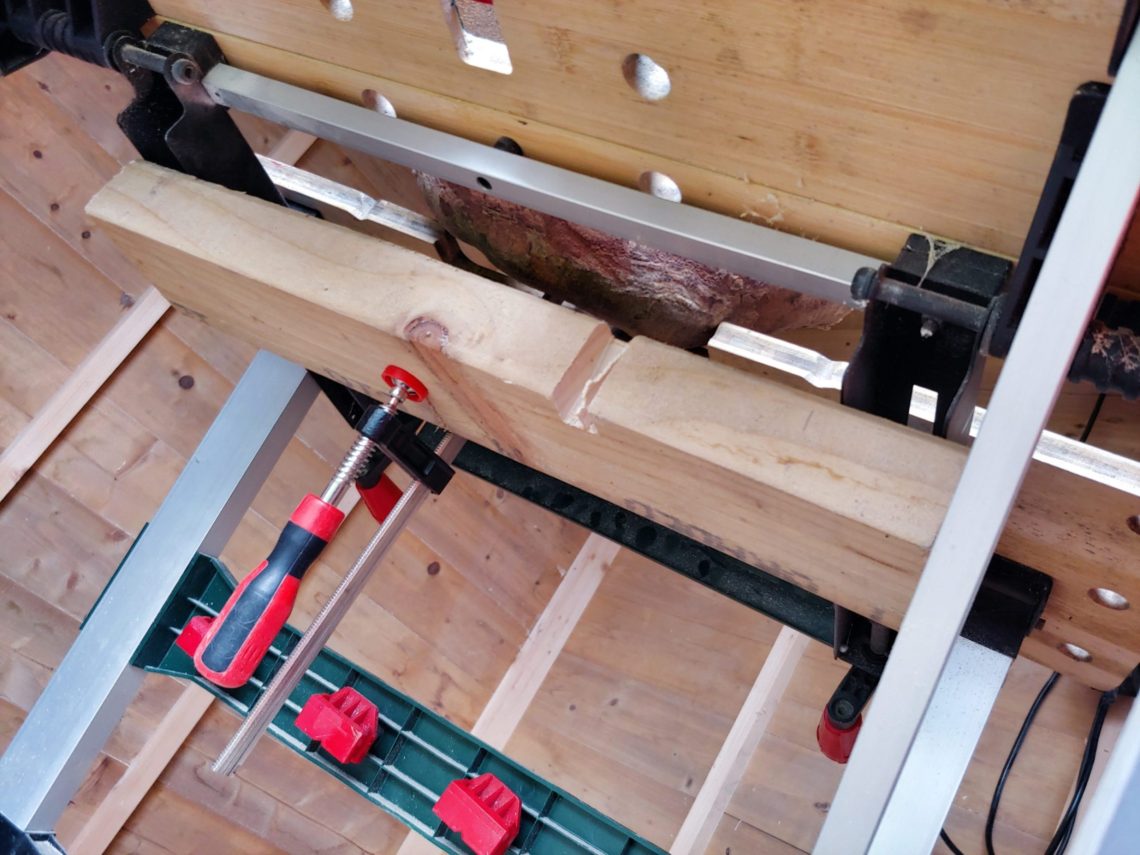
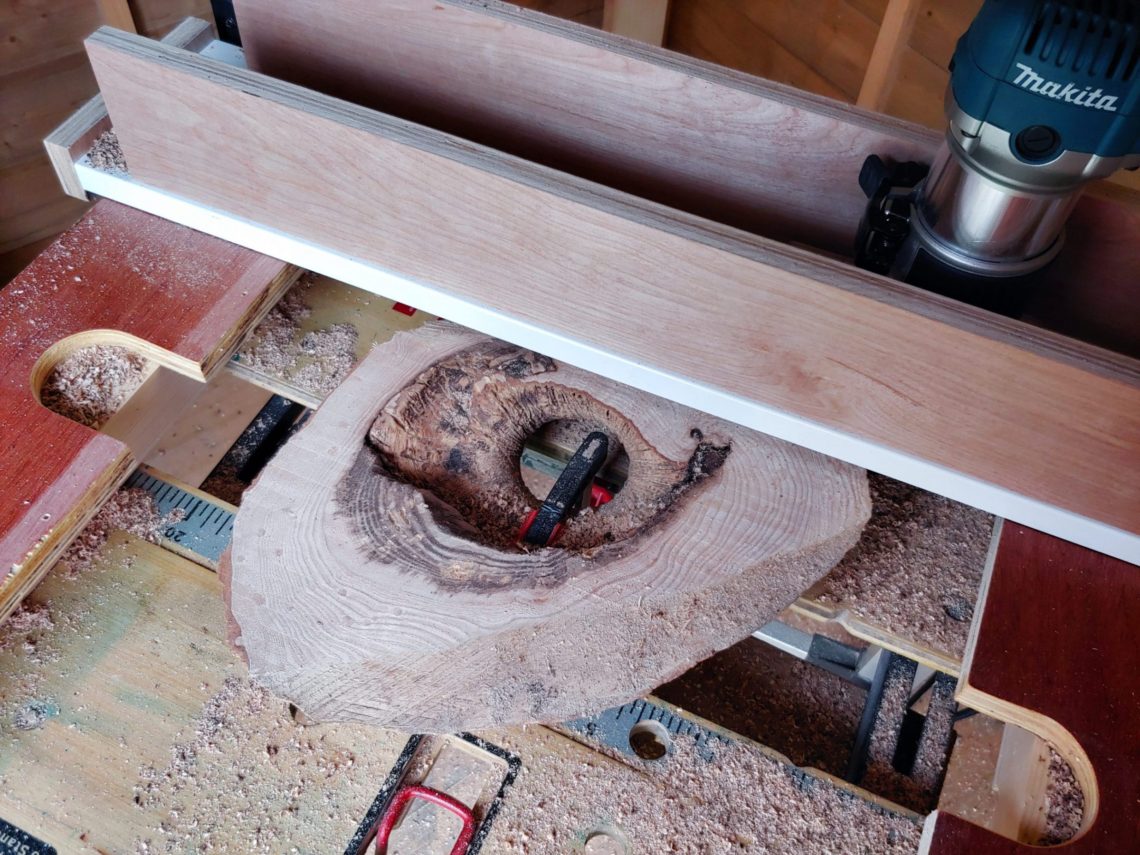
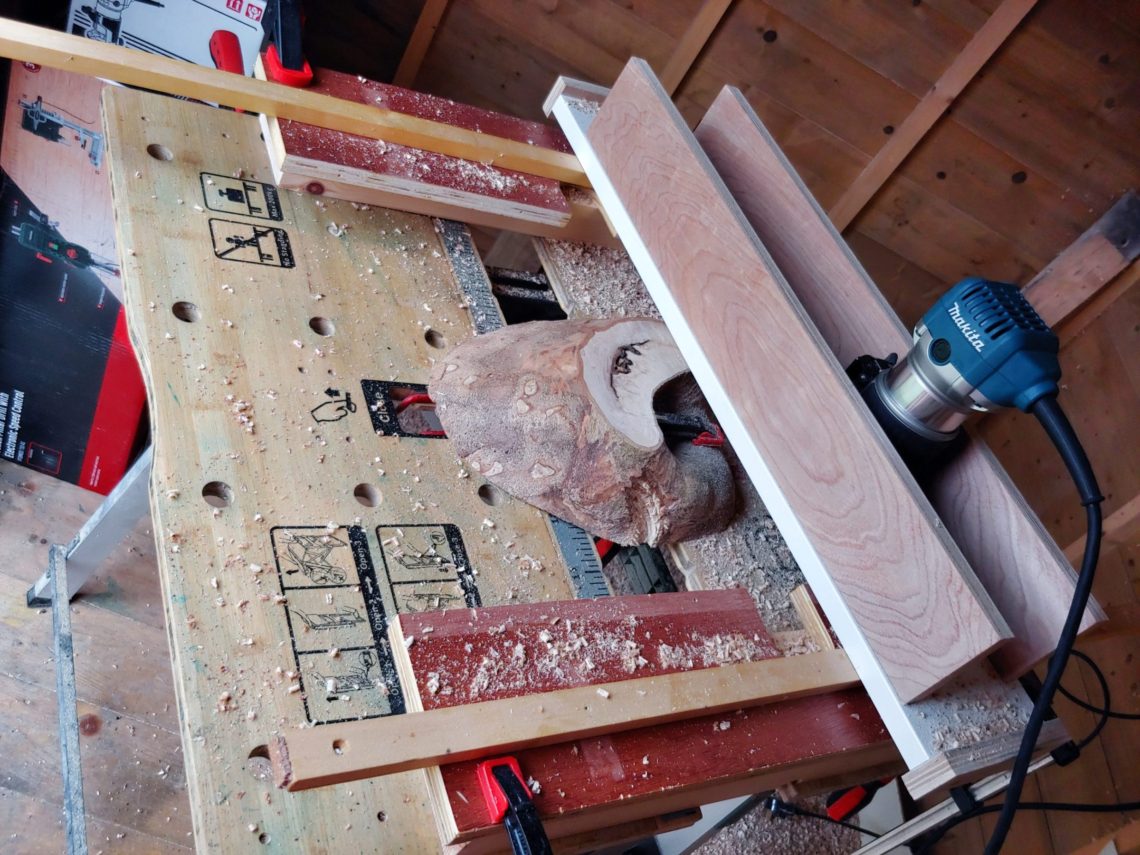
I had to sweep the floor before brushing the piece. No dust collection is used in my shed-shop 🙂
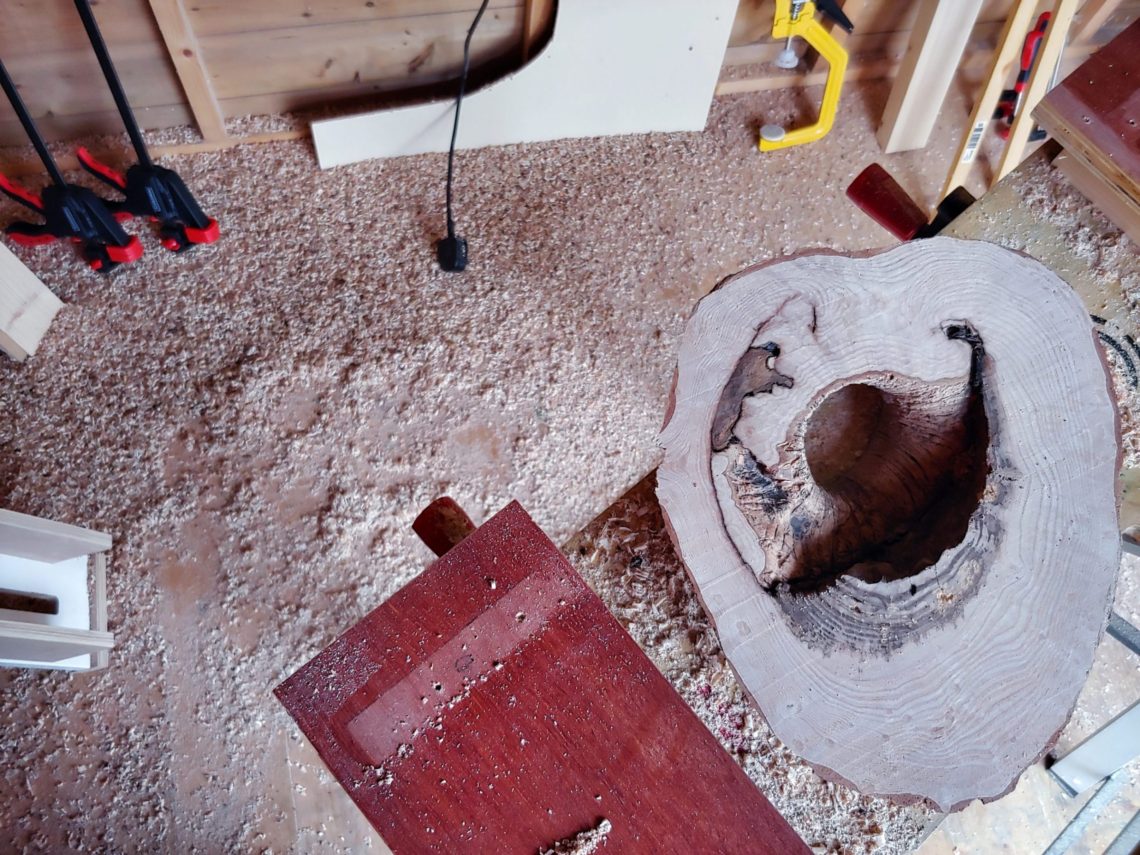
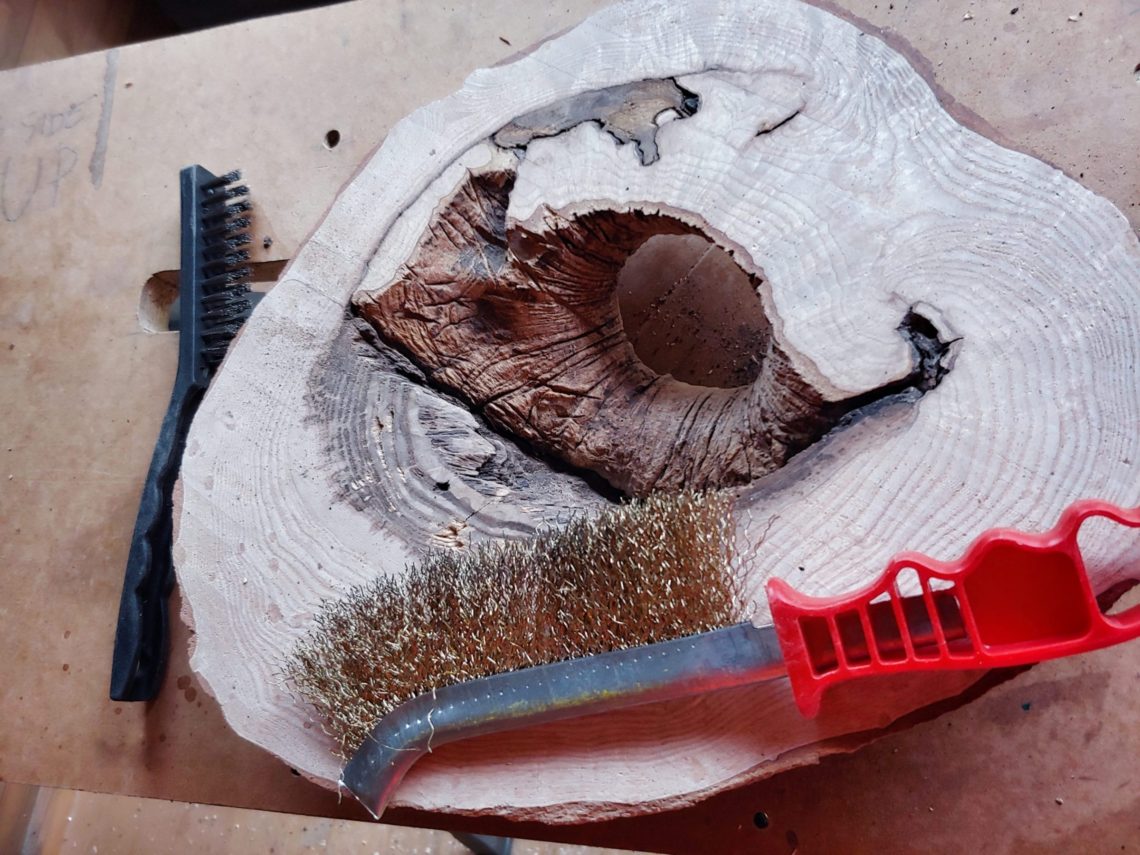
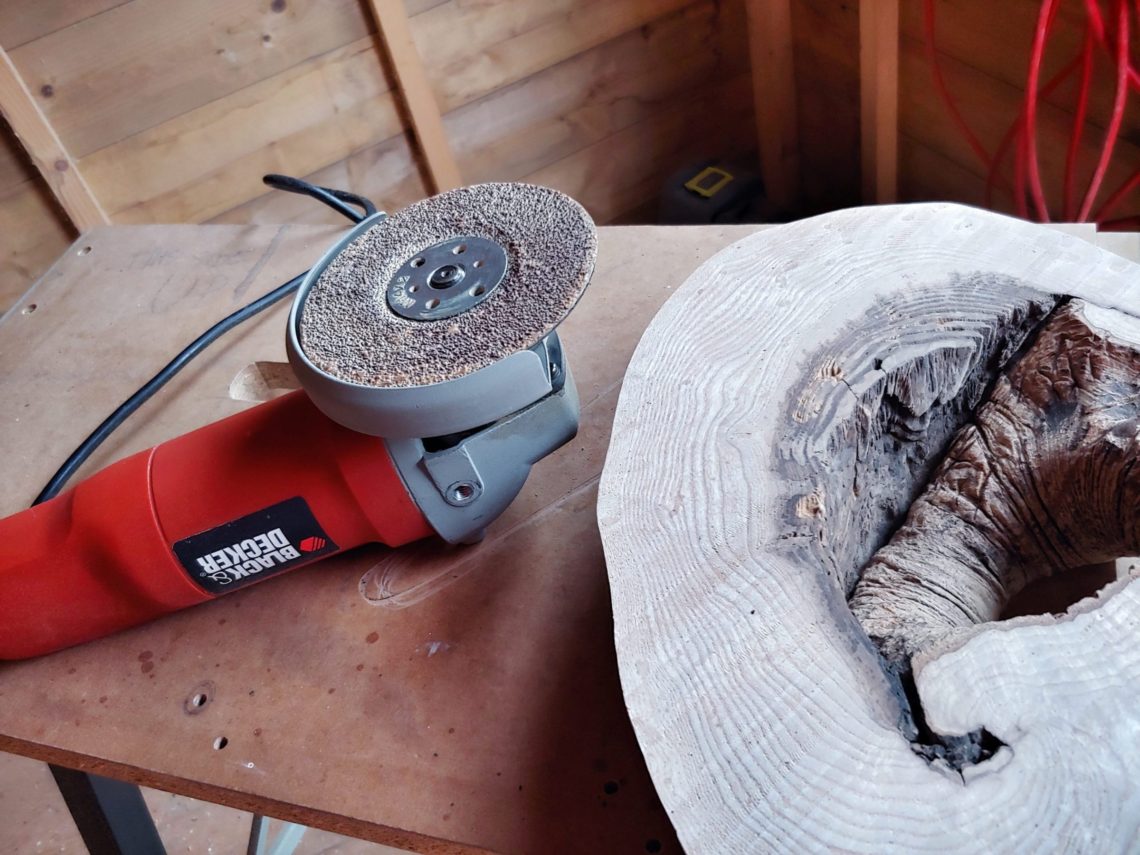
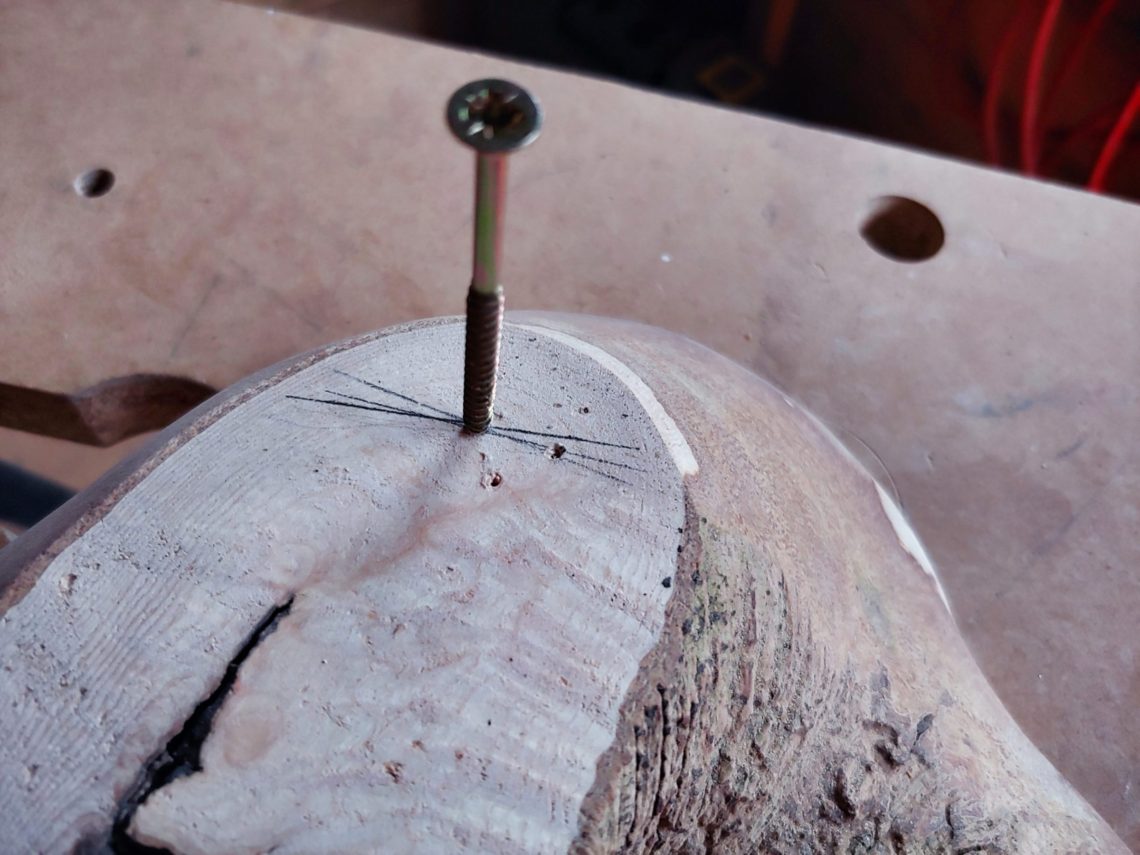
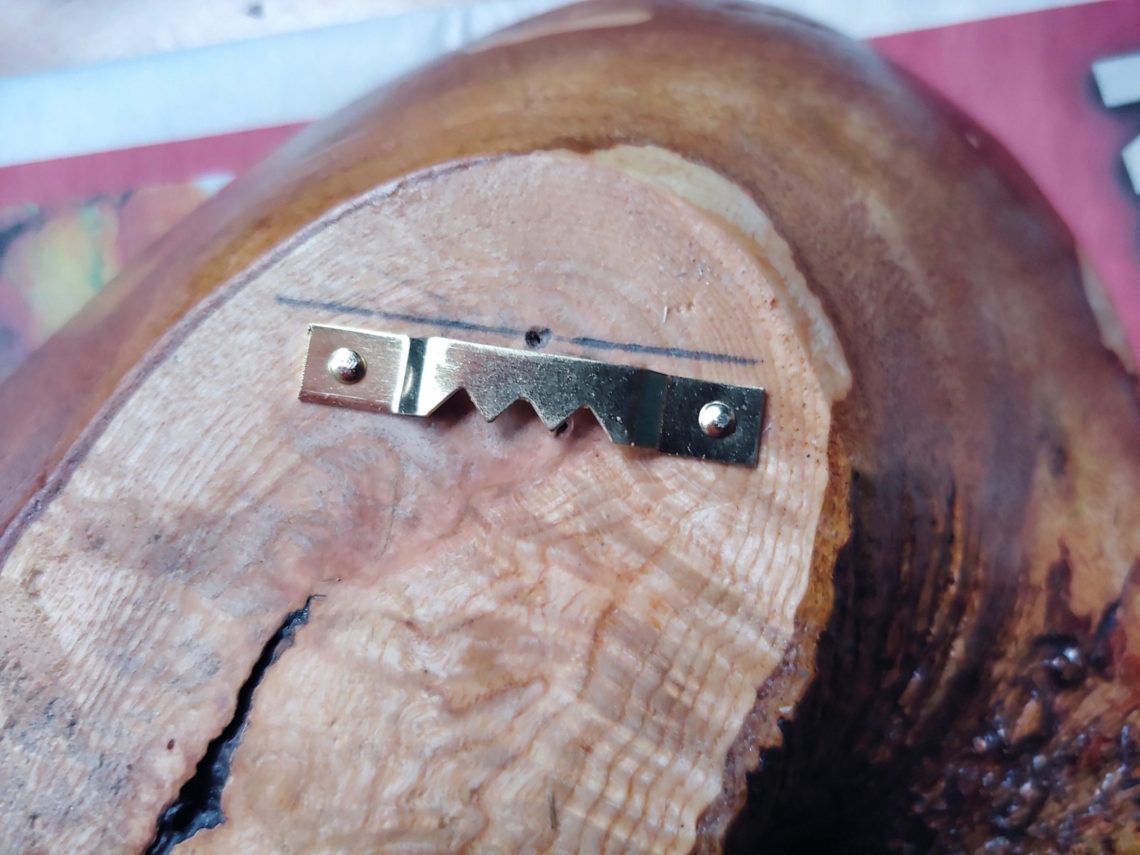
To clean it from the outside I used my angle grinder and my orbital sander. Next, I found the hanging point and the hanger position/level. It’s easy to find the centre line for irregular-shaped objects like this one, using only a screw or a nail and gravity.
I couldn’t decide which finish to choose. Wax would be the most natural for a project like this, but just in case there is any life inside the piece I chose a very thin varnish and used a small brush to reach everywhere and kill everything.
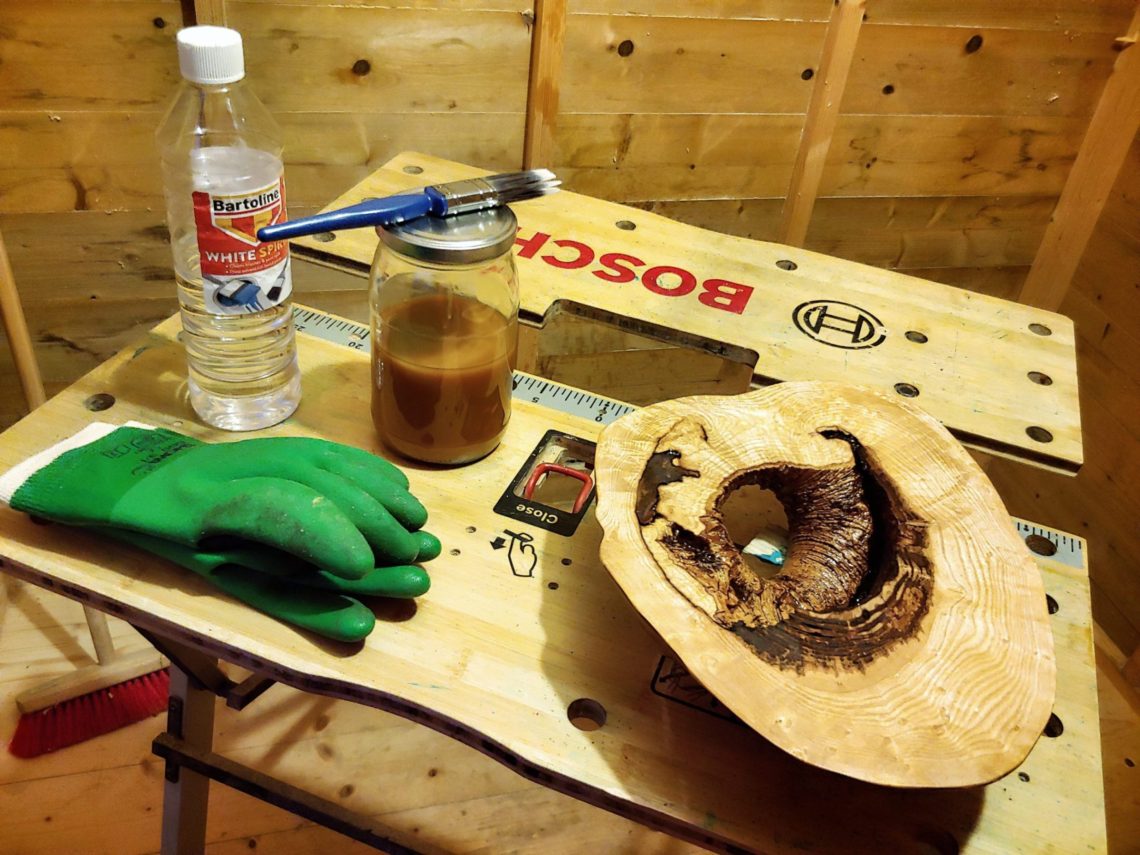
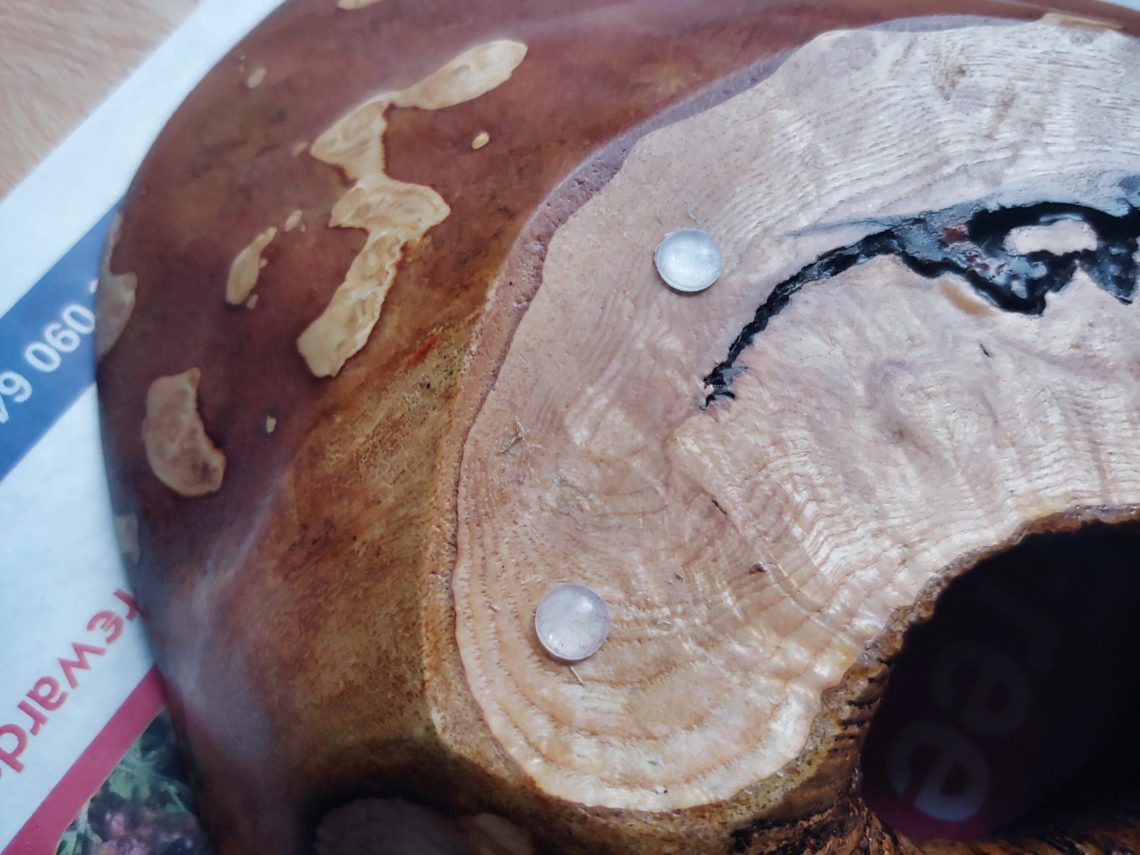
I applied a couple of layers and then buffed it with wax and steel wool. I nailed the picture hanger, stuck a couple of rubber feet bumpers and prepared the wall.

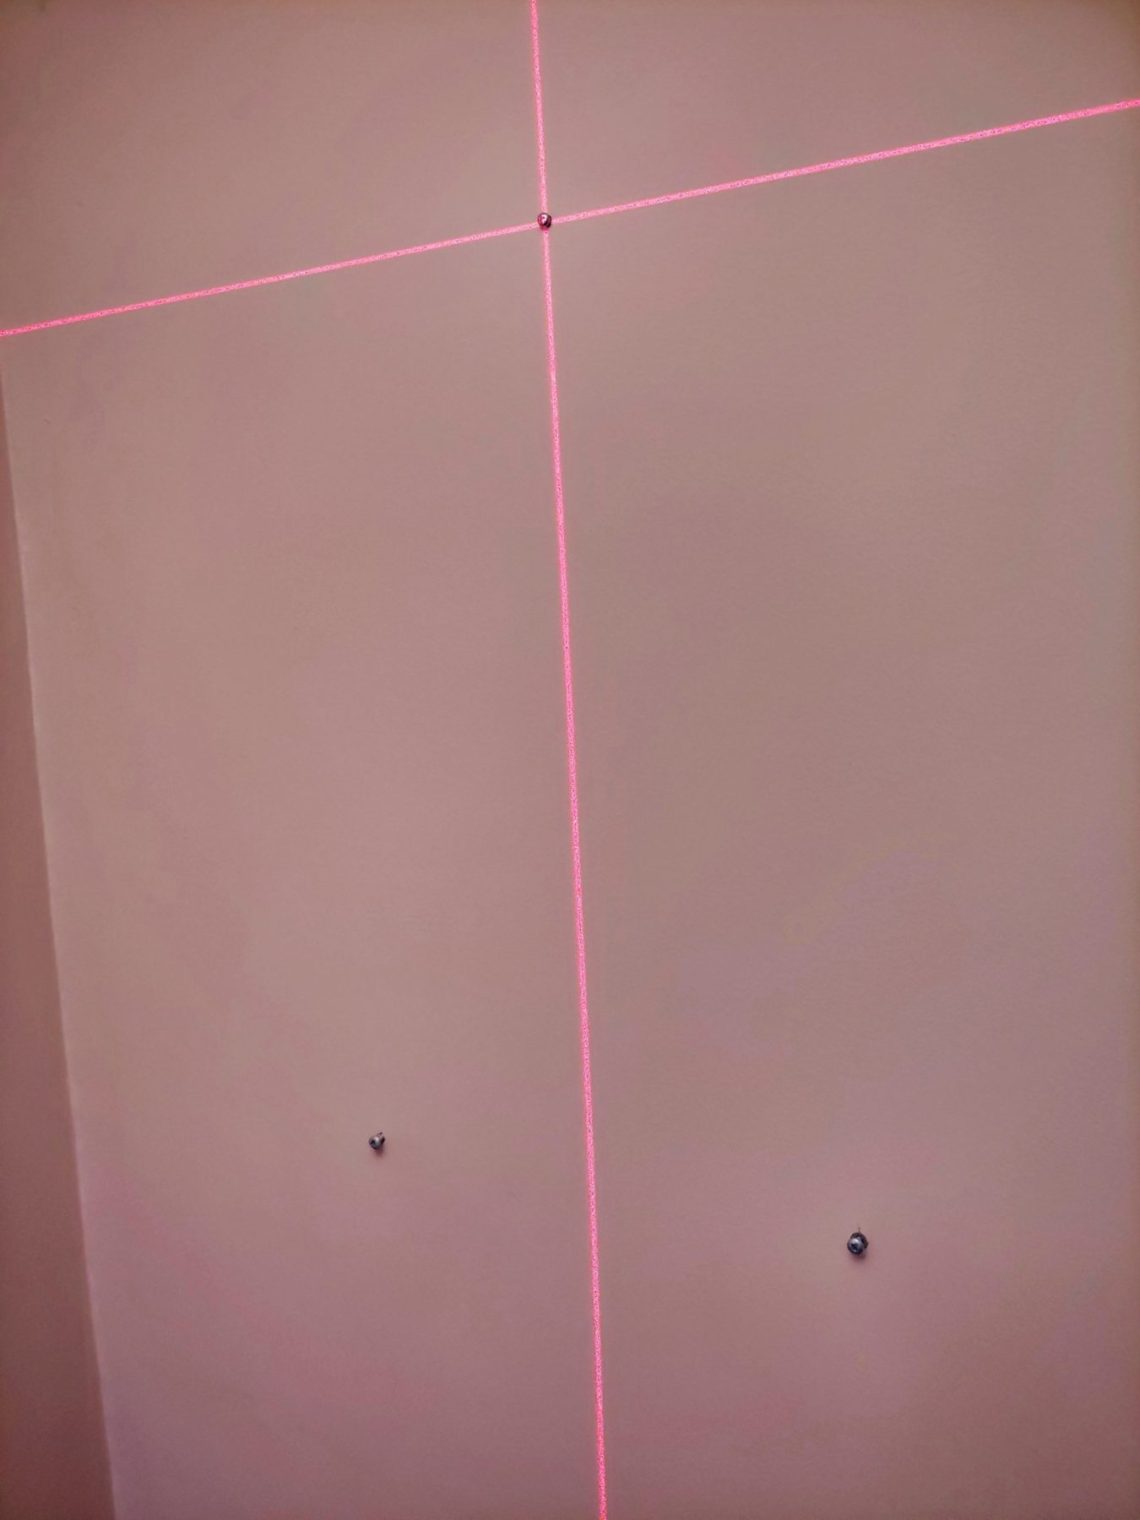
It’s placed above the display frame shelf I made earlier, exactly in the middle. My laser level is an amazing tool, even for projects where you don’t need to find a level, just to draw some lines.
