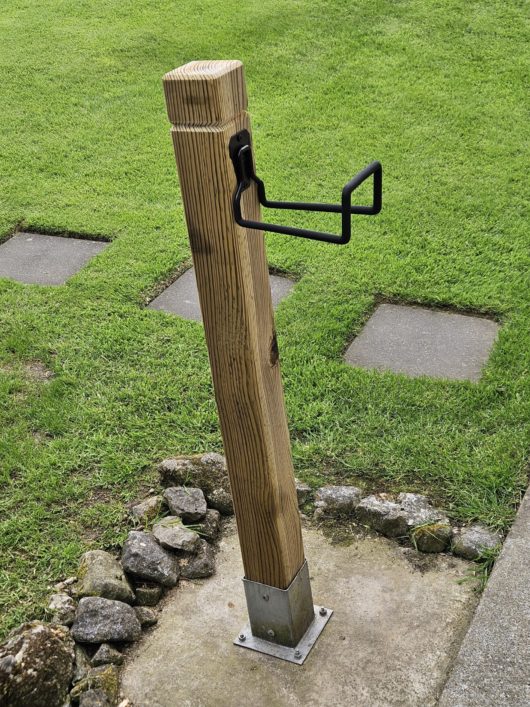
Decorative garden post
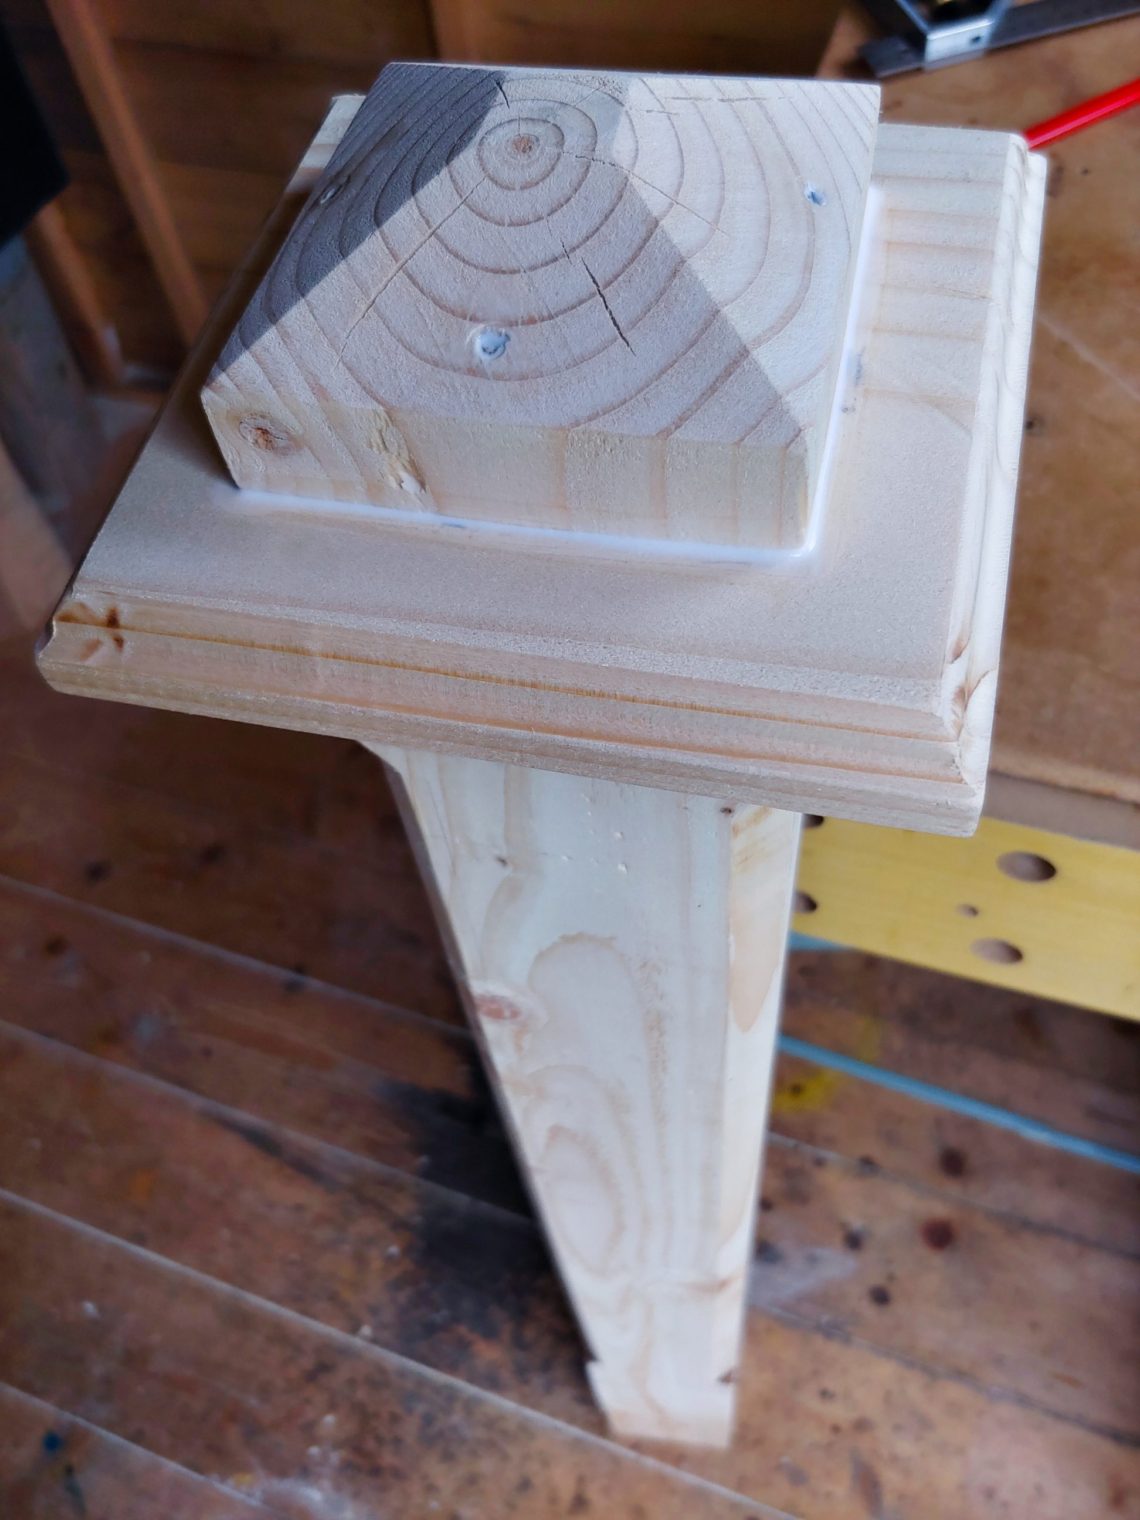
It’s made of 3 parts joined together with glue and nails. There were a couple of reasons I built it that way, without using mouldings cut at 45º and without chamfering the biggest, main element at its top. If I used the most obvious approach the post would be shorter by a couple of inches (~70 mm). My build was fast and easy. It was also safe – the biggest part was too big and heavy to be cut over my table saw, the mitre gauge fence was too weak to hold it square at all times. That’s why I cut similar timber to a pyramid shape and not the big one.
I started by sanding the timber. It was reasonably smooth after 3 or 4 minutes. I marked the bottom part that would be underground and chamfered the edges with my router.

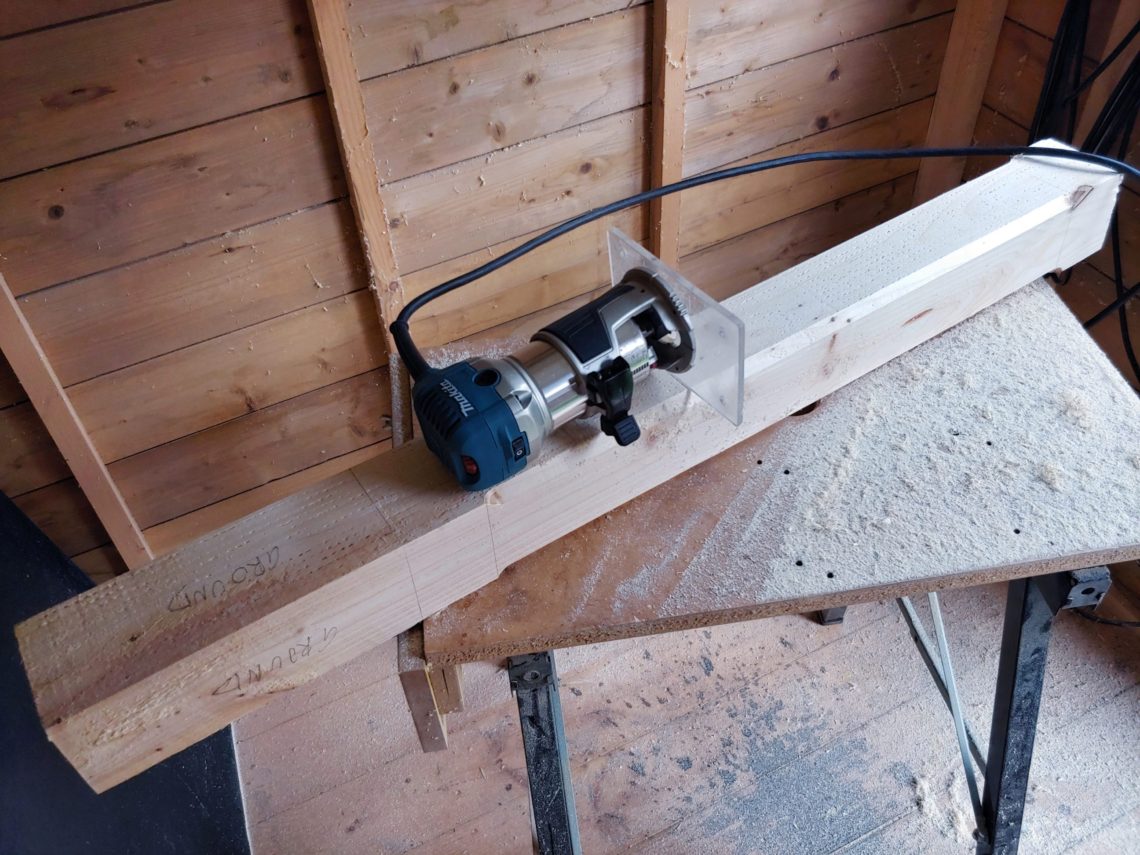

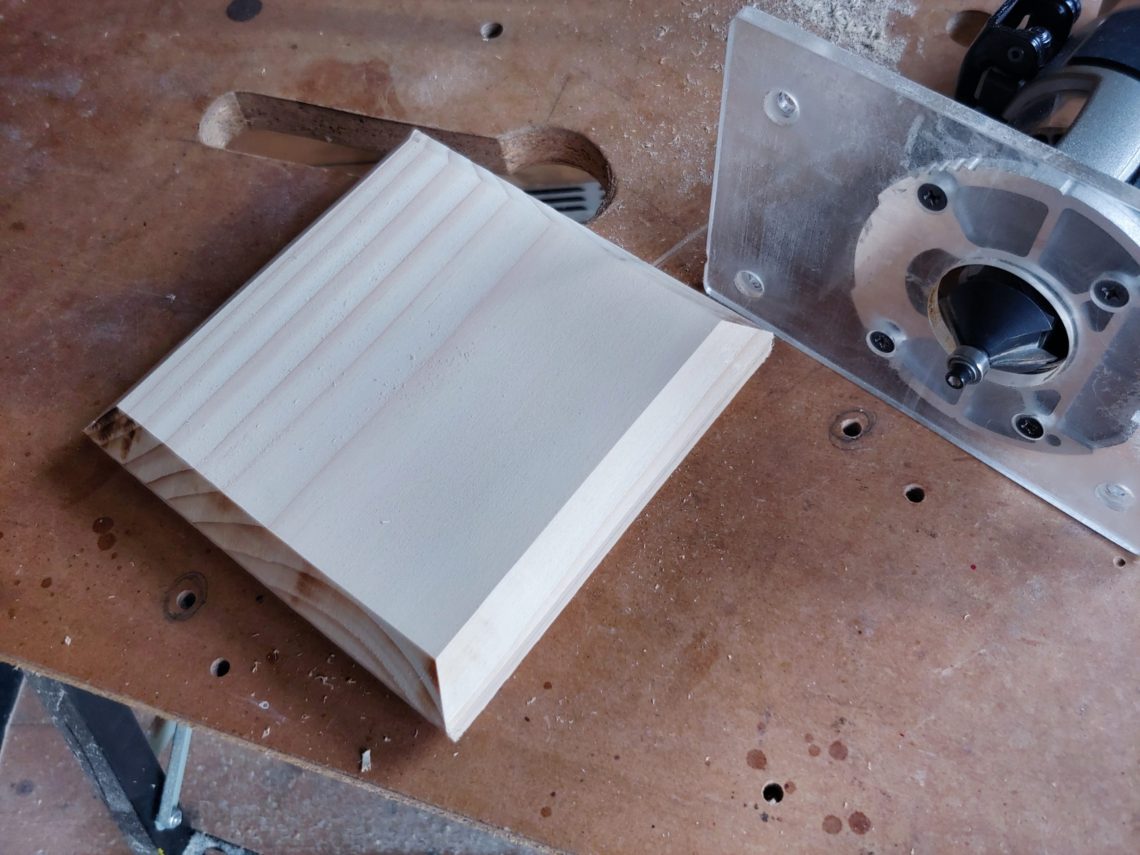
The transition block, or if I may call it a fake moulding, was cut with 2 different router bits.

Next, I worked with my table saw. I tilted the blade to 30º, cut the peak to shape and then cut off what I needed. Safe and quick.


Sanding didn’t take long. Using glue and nails I attached the middle block to the post.


To prevent the wood from splitting, I used flat nails to fix the pyramidal top.

I painted the post red (partially) and once it was dry I used black spray paint to cover the top and the bottom. To make the top visually bigger I painted black the peak, the middle part and a stripe below them. That gave me something I might call a cap. It looked like a big project but actually, it was very quick and simple to do.


I dug a hole in the ground and put the post in. I placed stones around the post and packed them down. I checked the sides of the post with a level (my combination square has a built-in spirit level) to ensure it stayed straight.


I topped it up with soil and my job was done. Three wooden parts, joined with nails and glue, everything covered with just one coat of paint and simply dug into the ground. I believe the post will be decorated in the future with some white symbols, like butterflies.


