Toilet sign
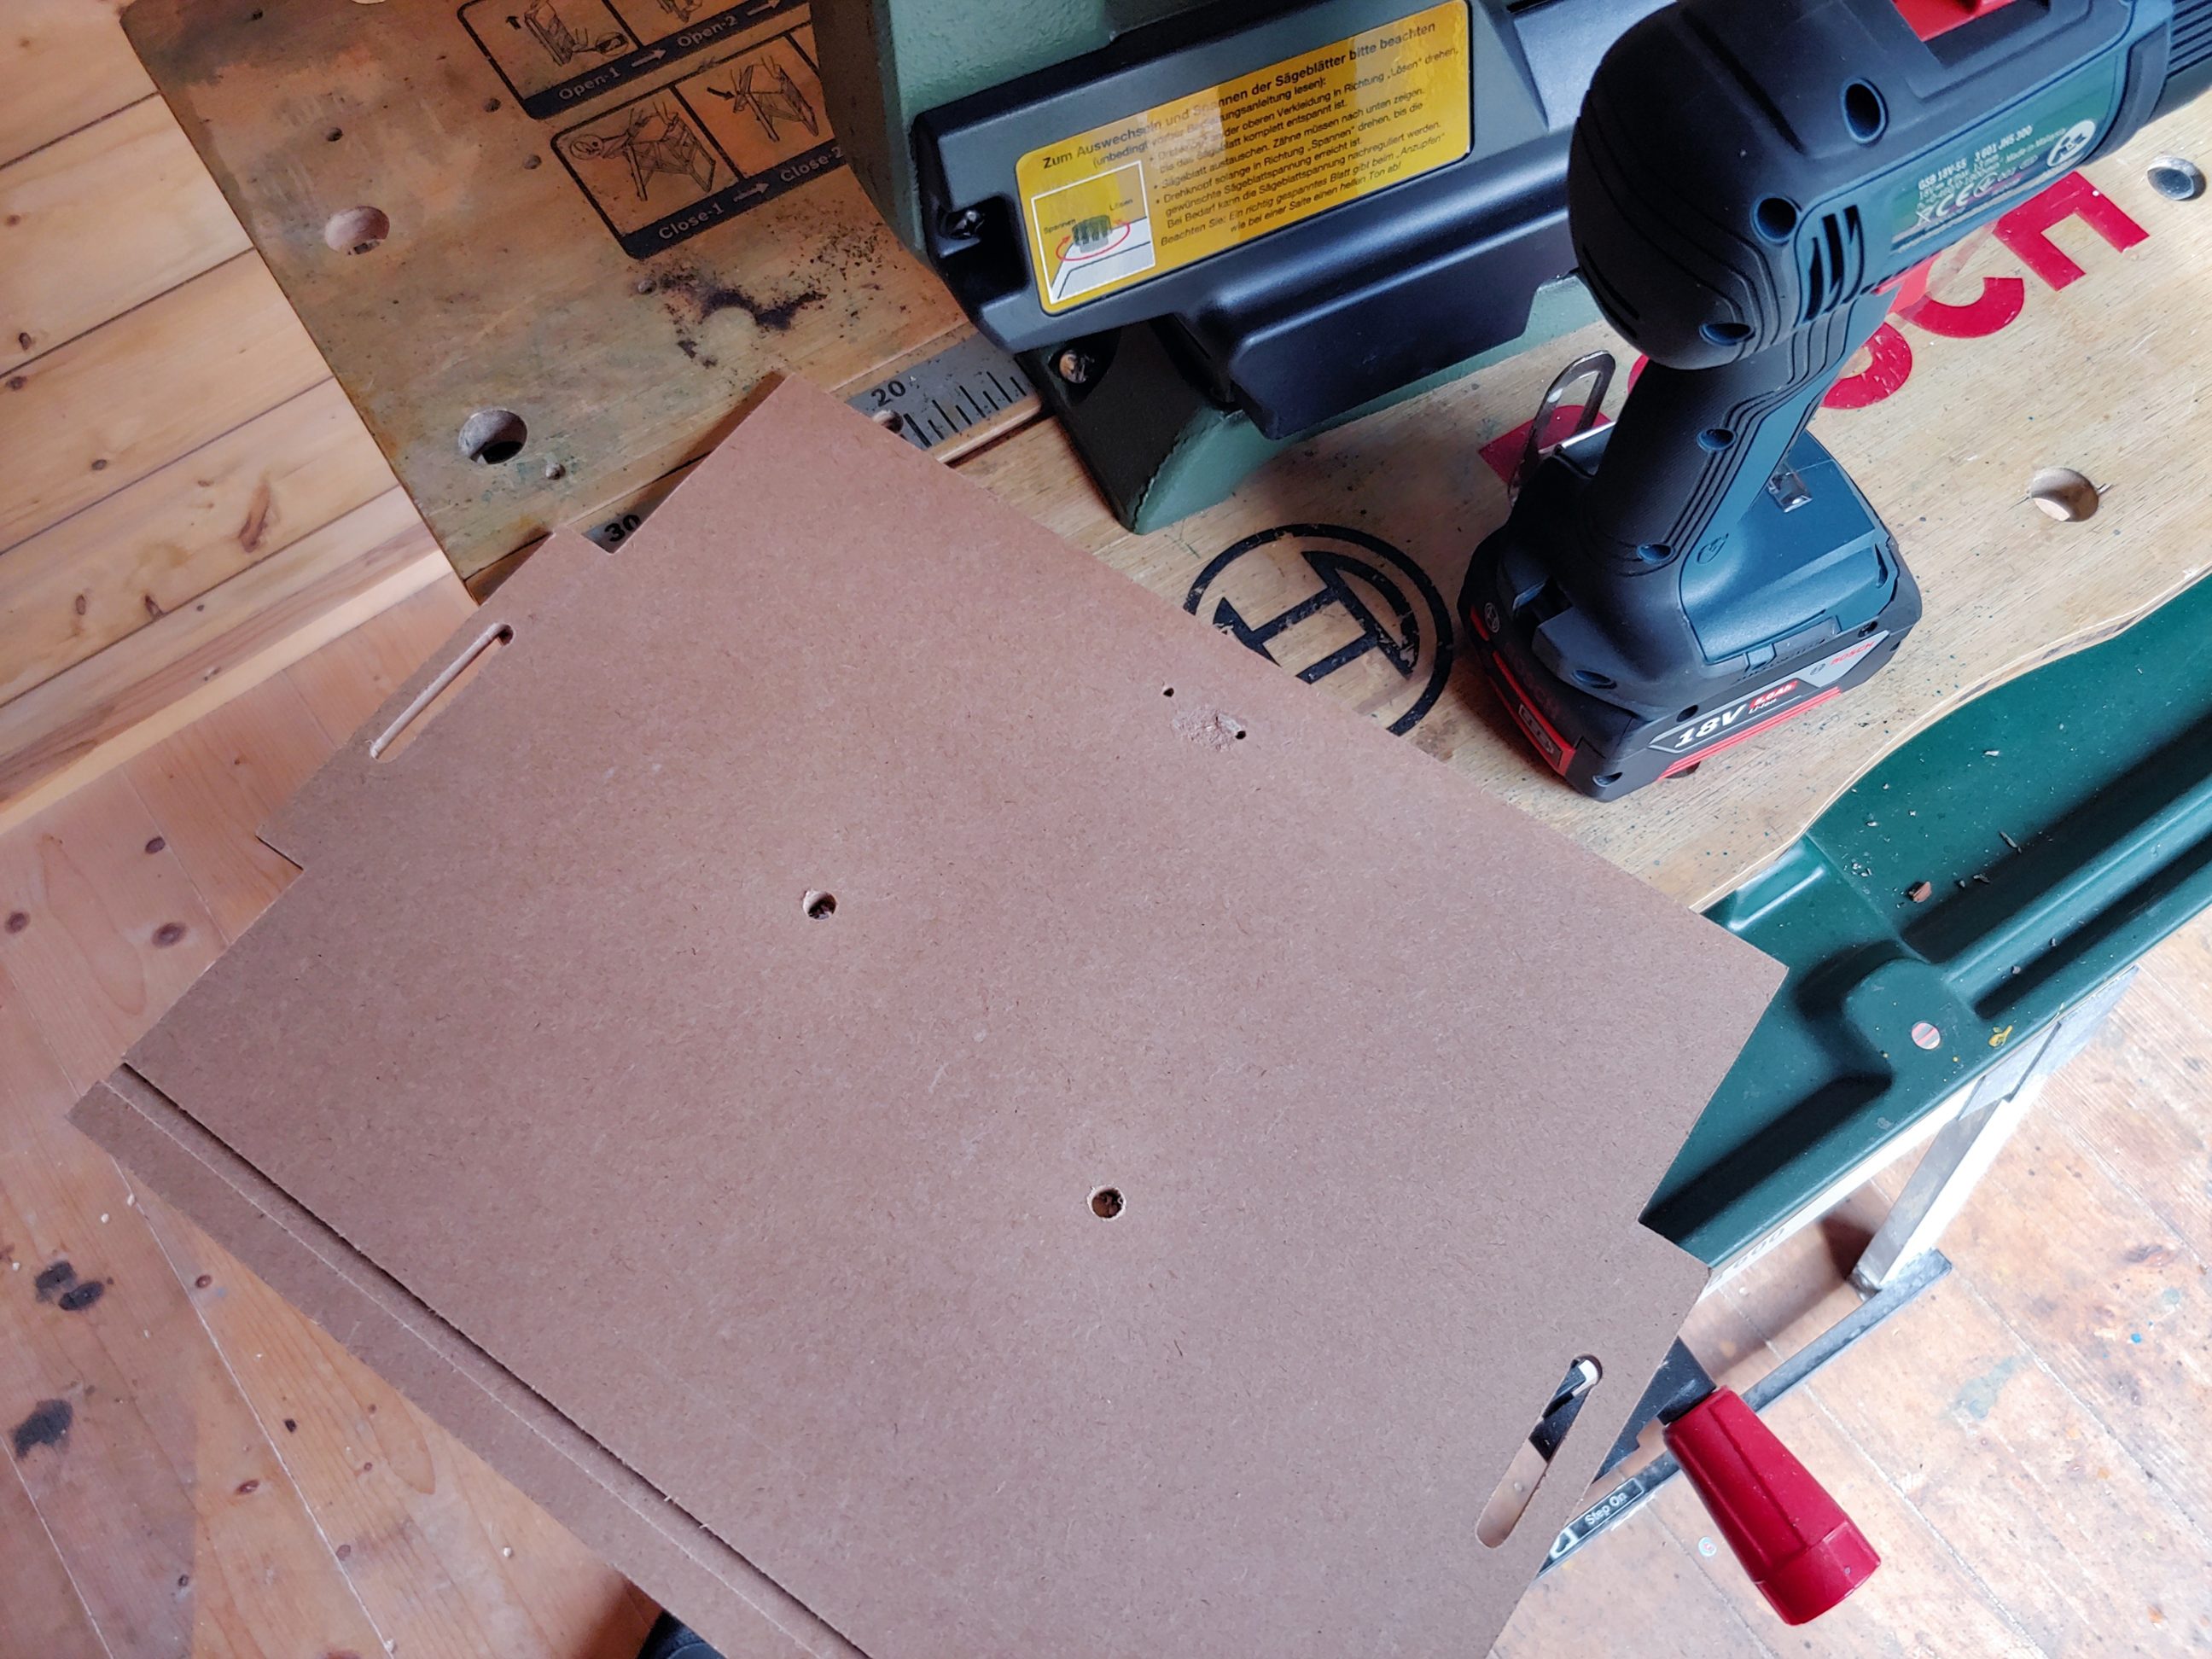
Using a scroll saw was never easy for me. I find it complicated and tricky, but I don’t give up and do some practising from time to time. MDF scraps seem to be the best for this purpose. I printed out a template and fixed it on the board with contact adhesive. It’s always easy to peel it off after use. Following the line, on my scroll saw, was the most challenging part. I have already learned that drilling holes for the blade has to be done from the other side, just to keep the backside flat and easy to move over the scroll saw table.


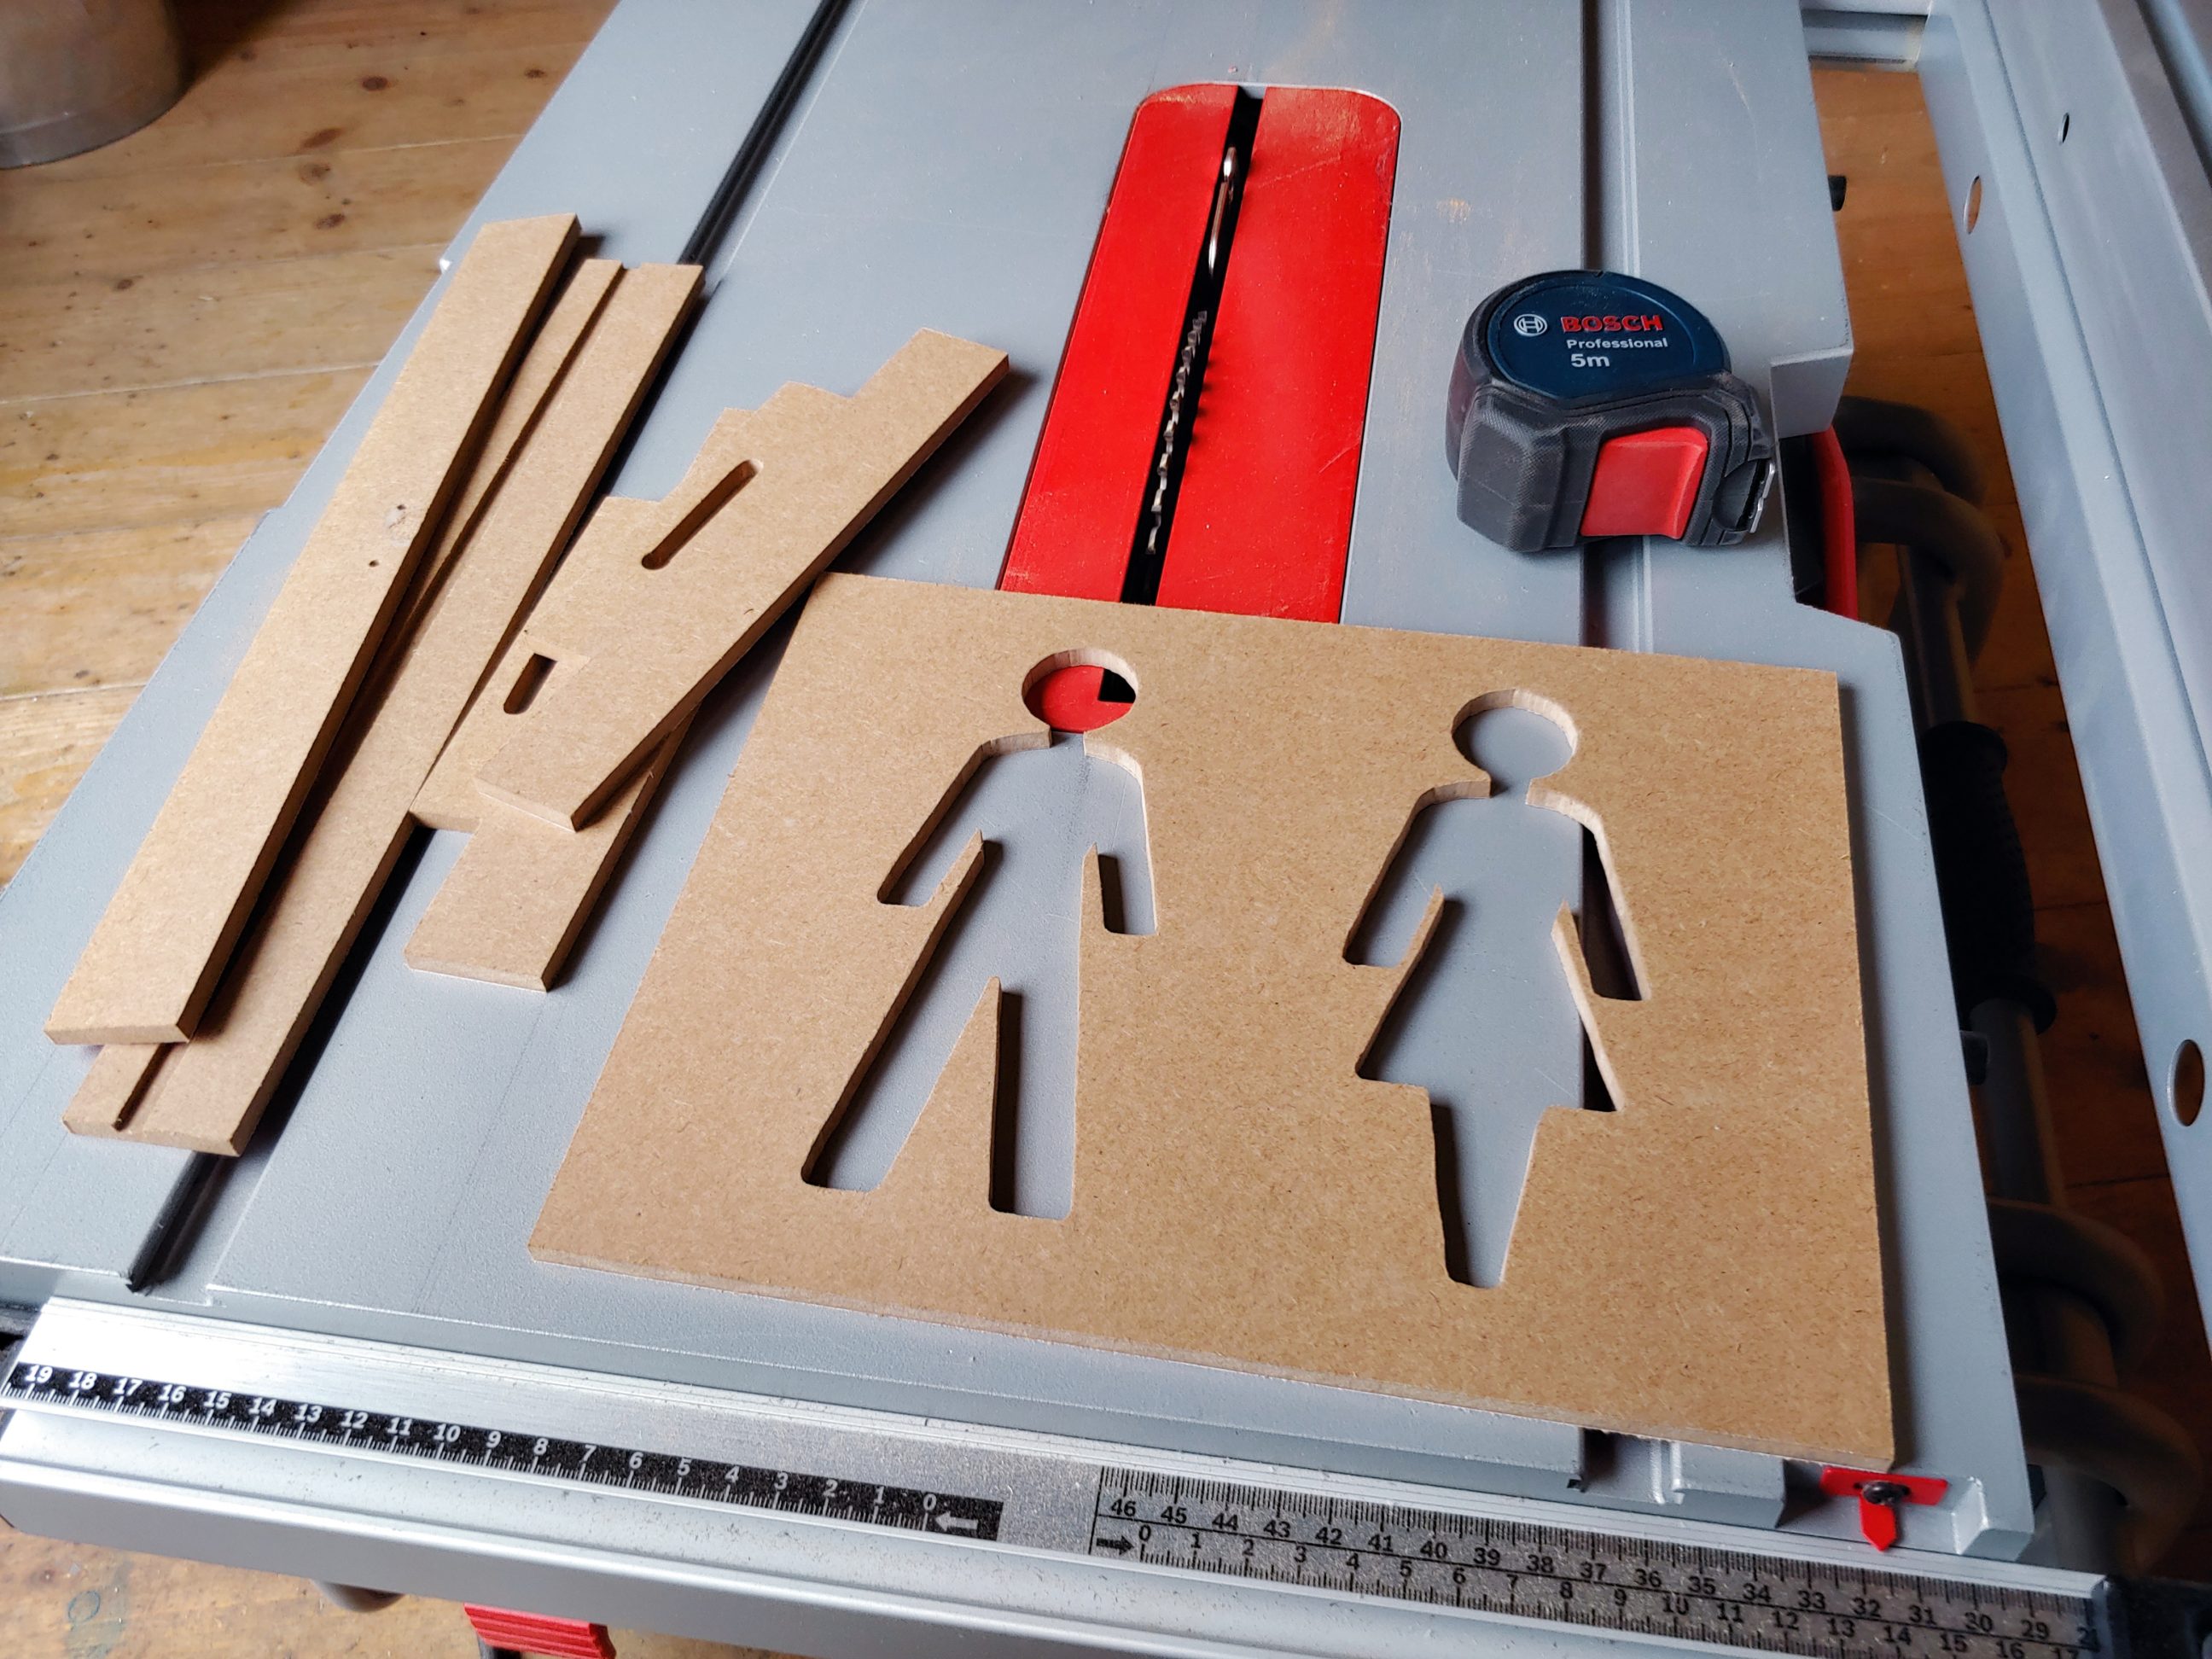
Next, I used all the tricks I knew and cut out these 2 silhouettes. I didn’t cut the dividing line out as it was too small for the pinned blade, it wouldn’t go through holes. Also, it would look too commercial, like any other sign.


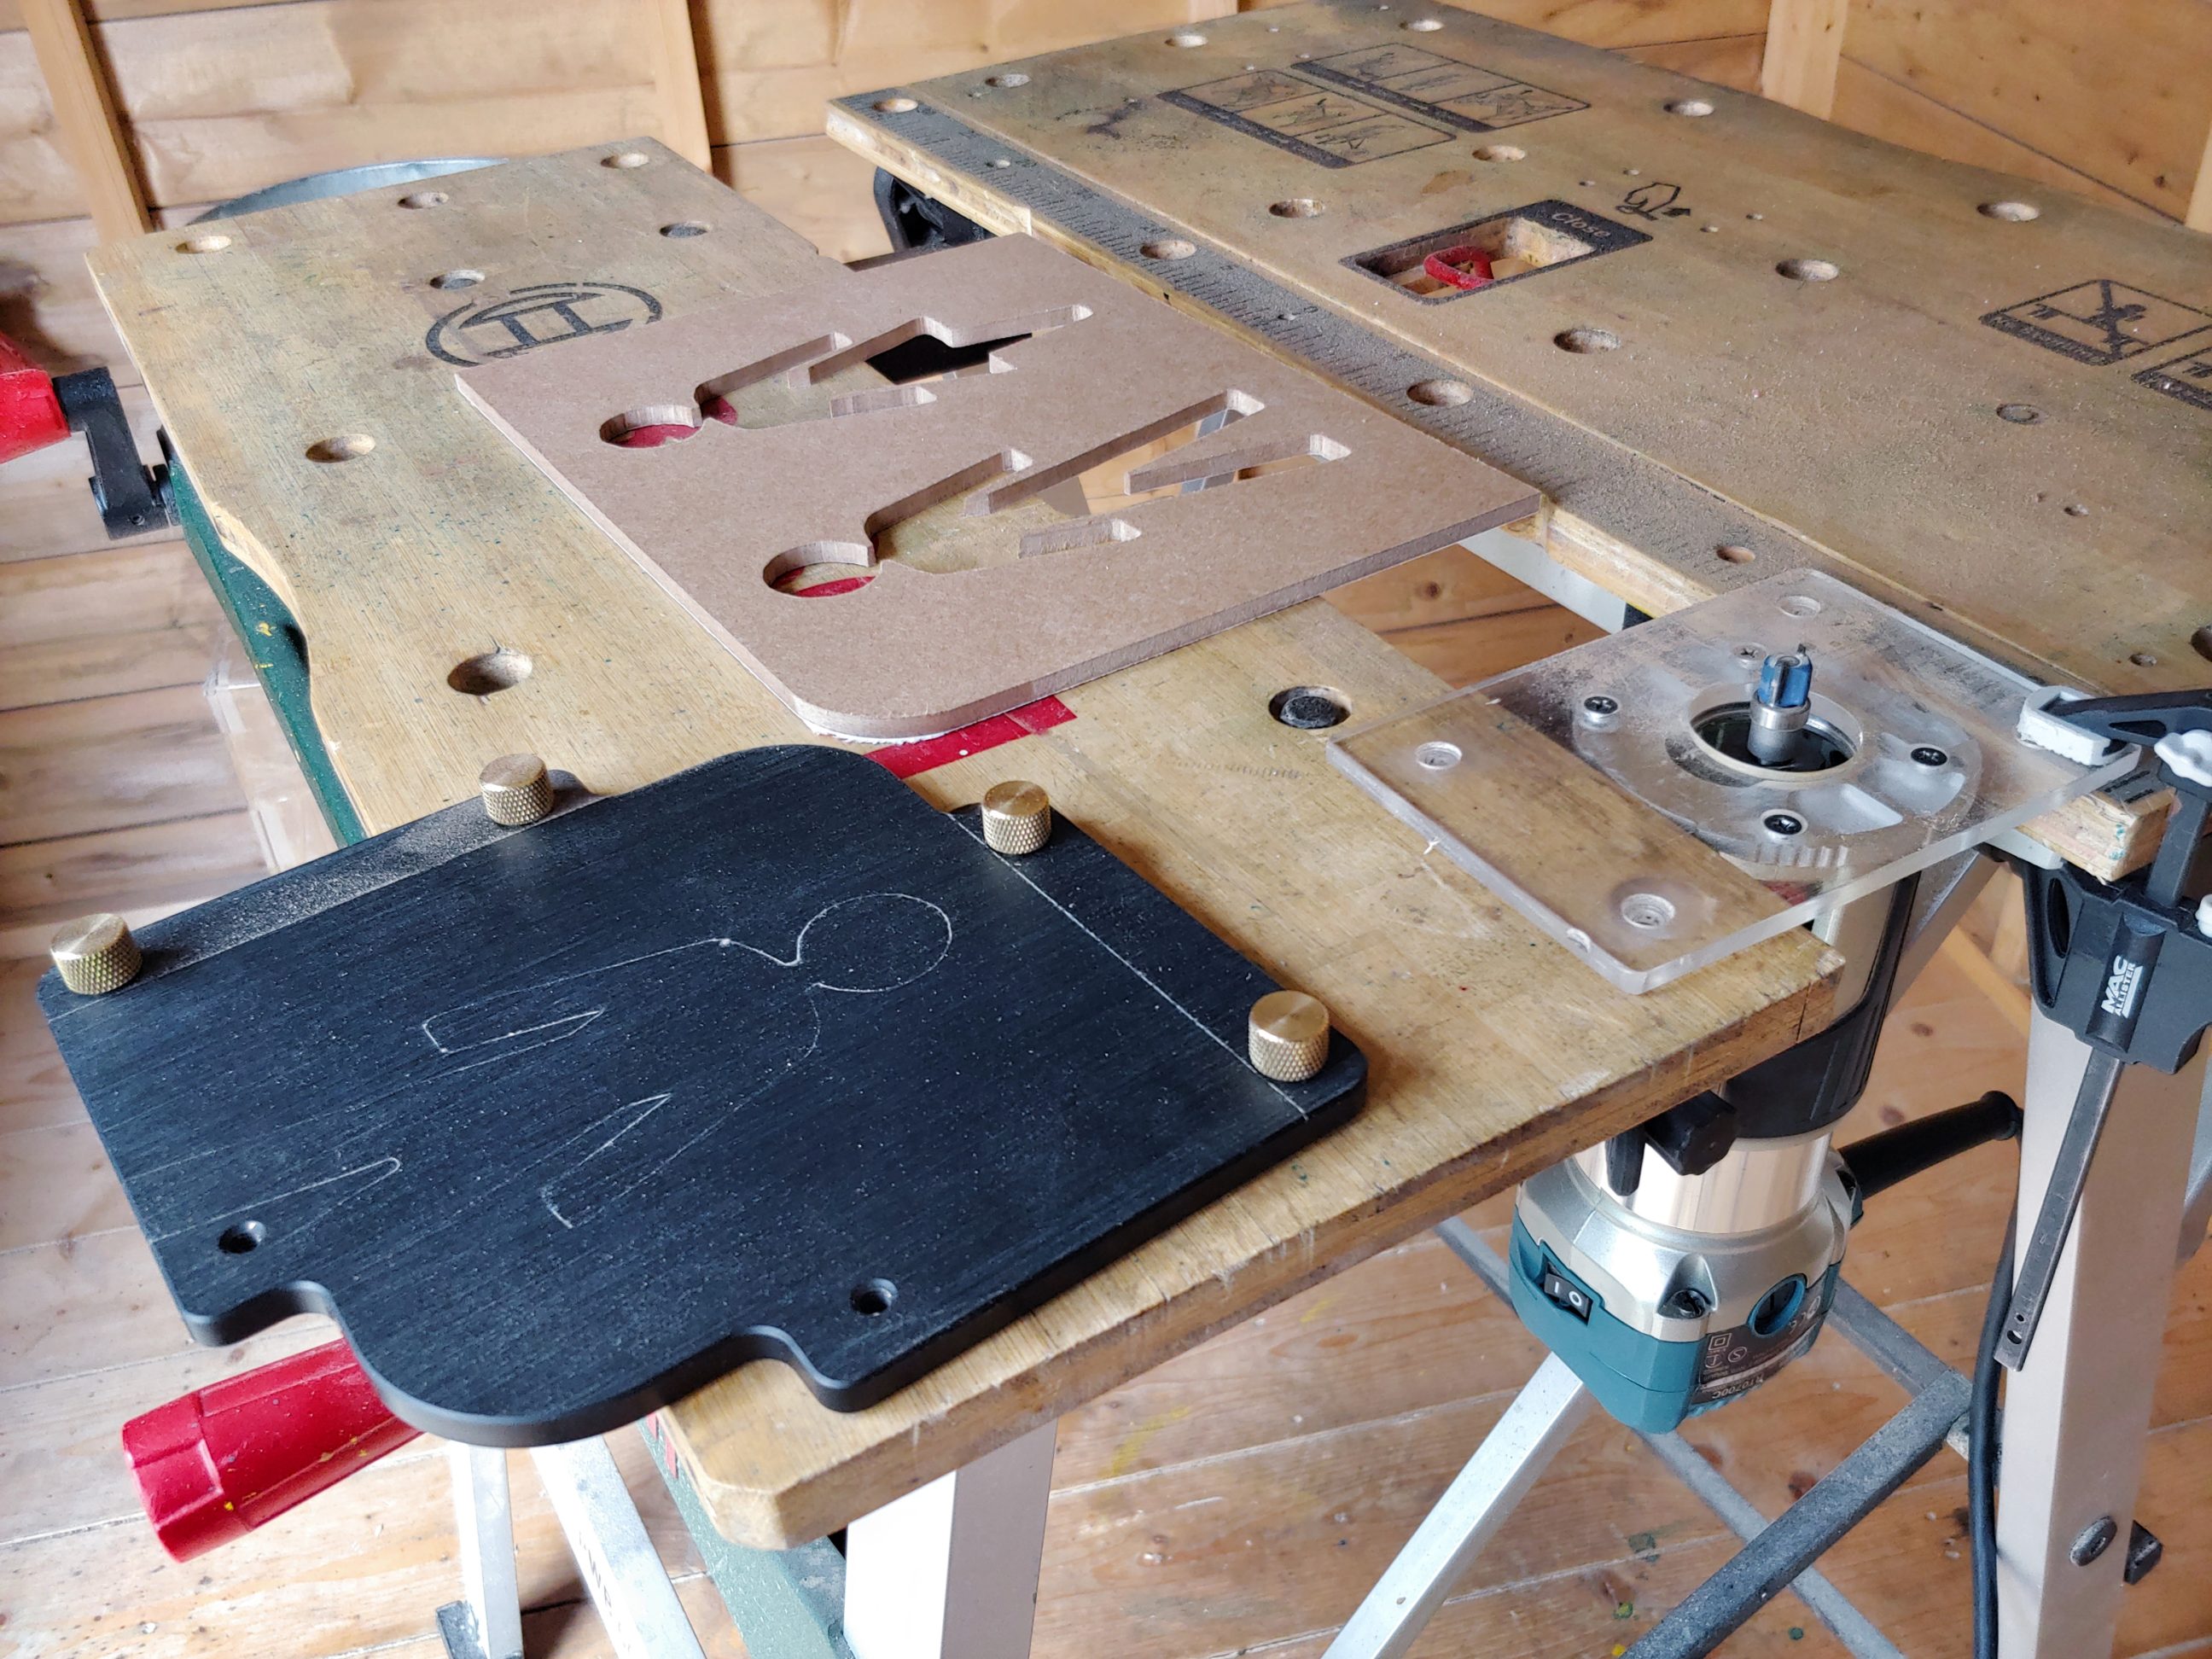
I smoothed out the inner edges with small files and sandpaper and moved onto the table saw to trim the sign to size. I wanted nicely rounded corners and I used templates and a router to get a perfect and consistent look. I know from my experience that it usually works better if the speed dial is set to medium as the MDF tends to burn with higher RPM’s.

Applying paint was the next step and it took me 2 days. Day 1 – I applied 2 coats on the very absorbent edges and a single coat on the front face. Day 2 – light sanding and a final coat of paint, this time applied with a roller. Additionally, I sprayed on 2 coats of clear, glossy lacquer, when the paint dried to the touch.


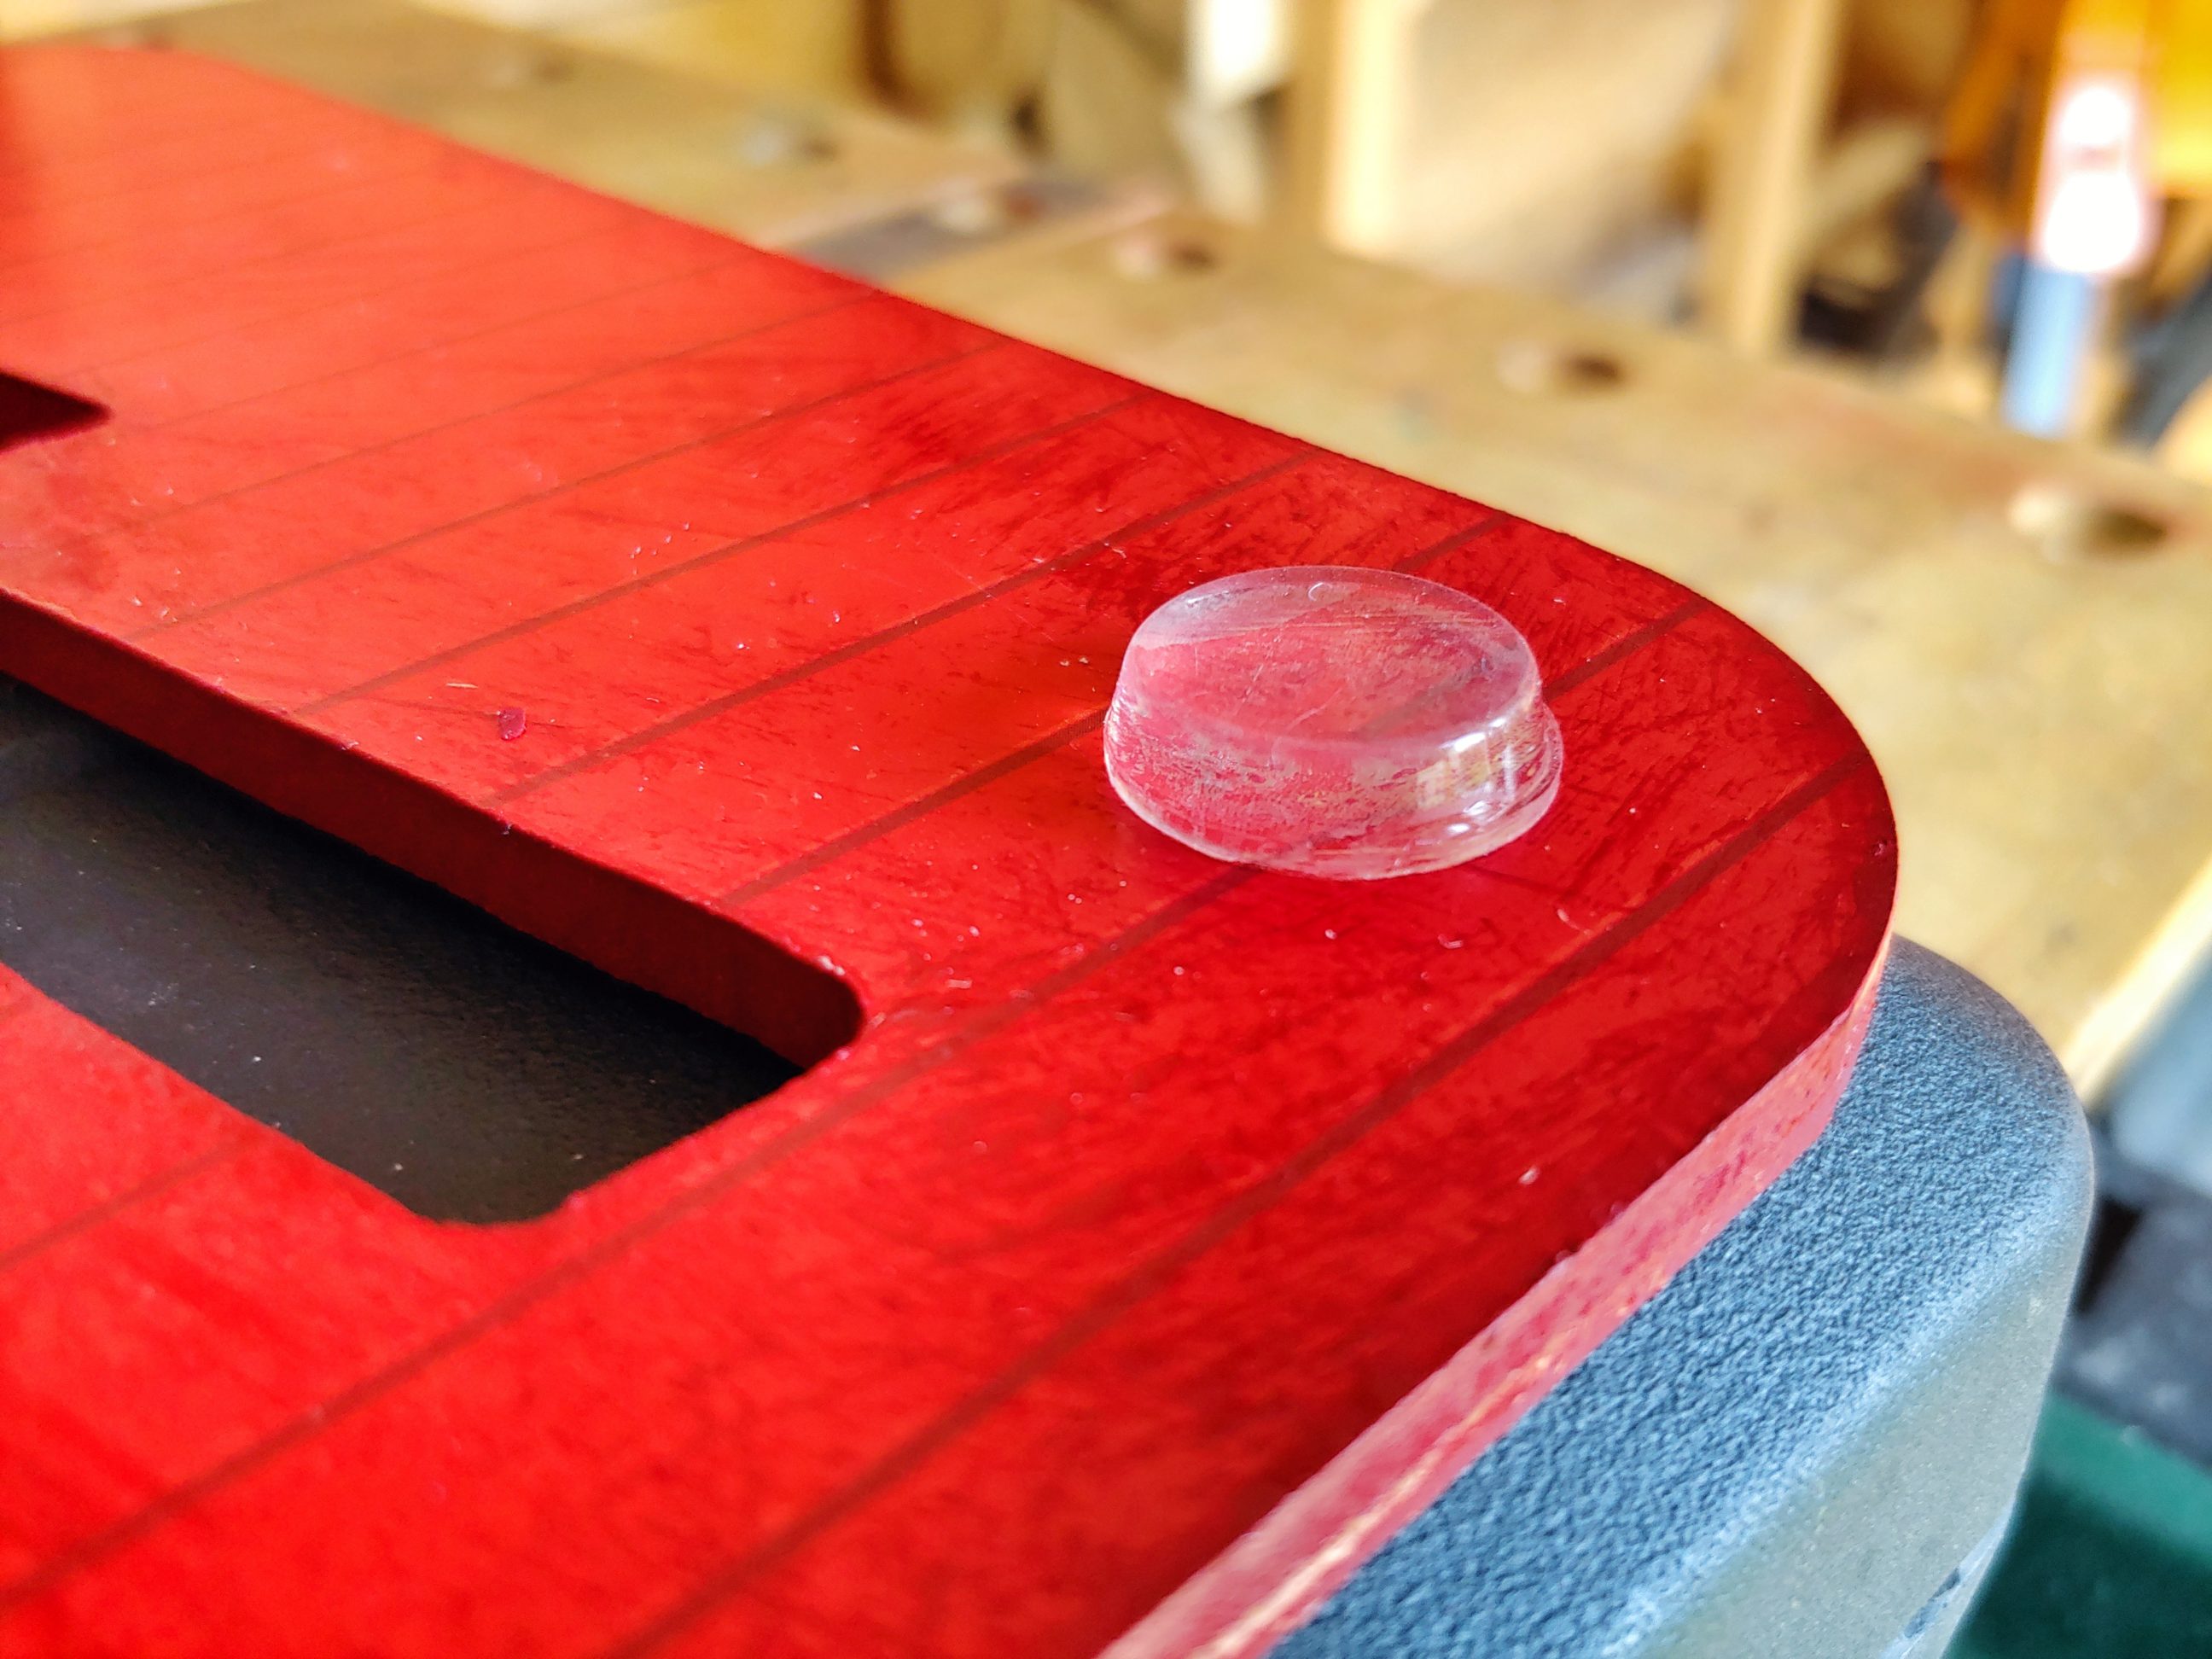
Next, I glued on a picture hanger, using hot glue, and fixed rubber bumpers. That way the toilet sign was finished and ready to go. A quite simple project, using a single piece of material, maybe a little challenging with the scrolling – at least for me. Plus, finishing took a few days, as the paint had to dry before sanding. Anyways, I’m happy with the results and as always, I learned something and had some good time making it.