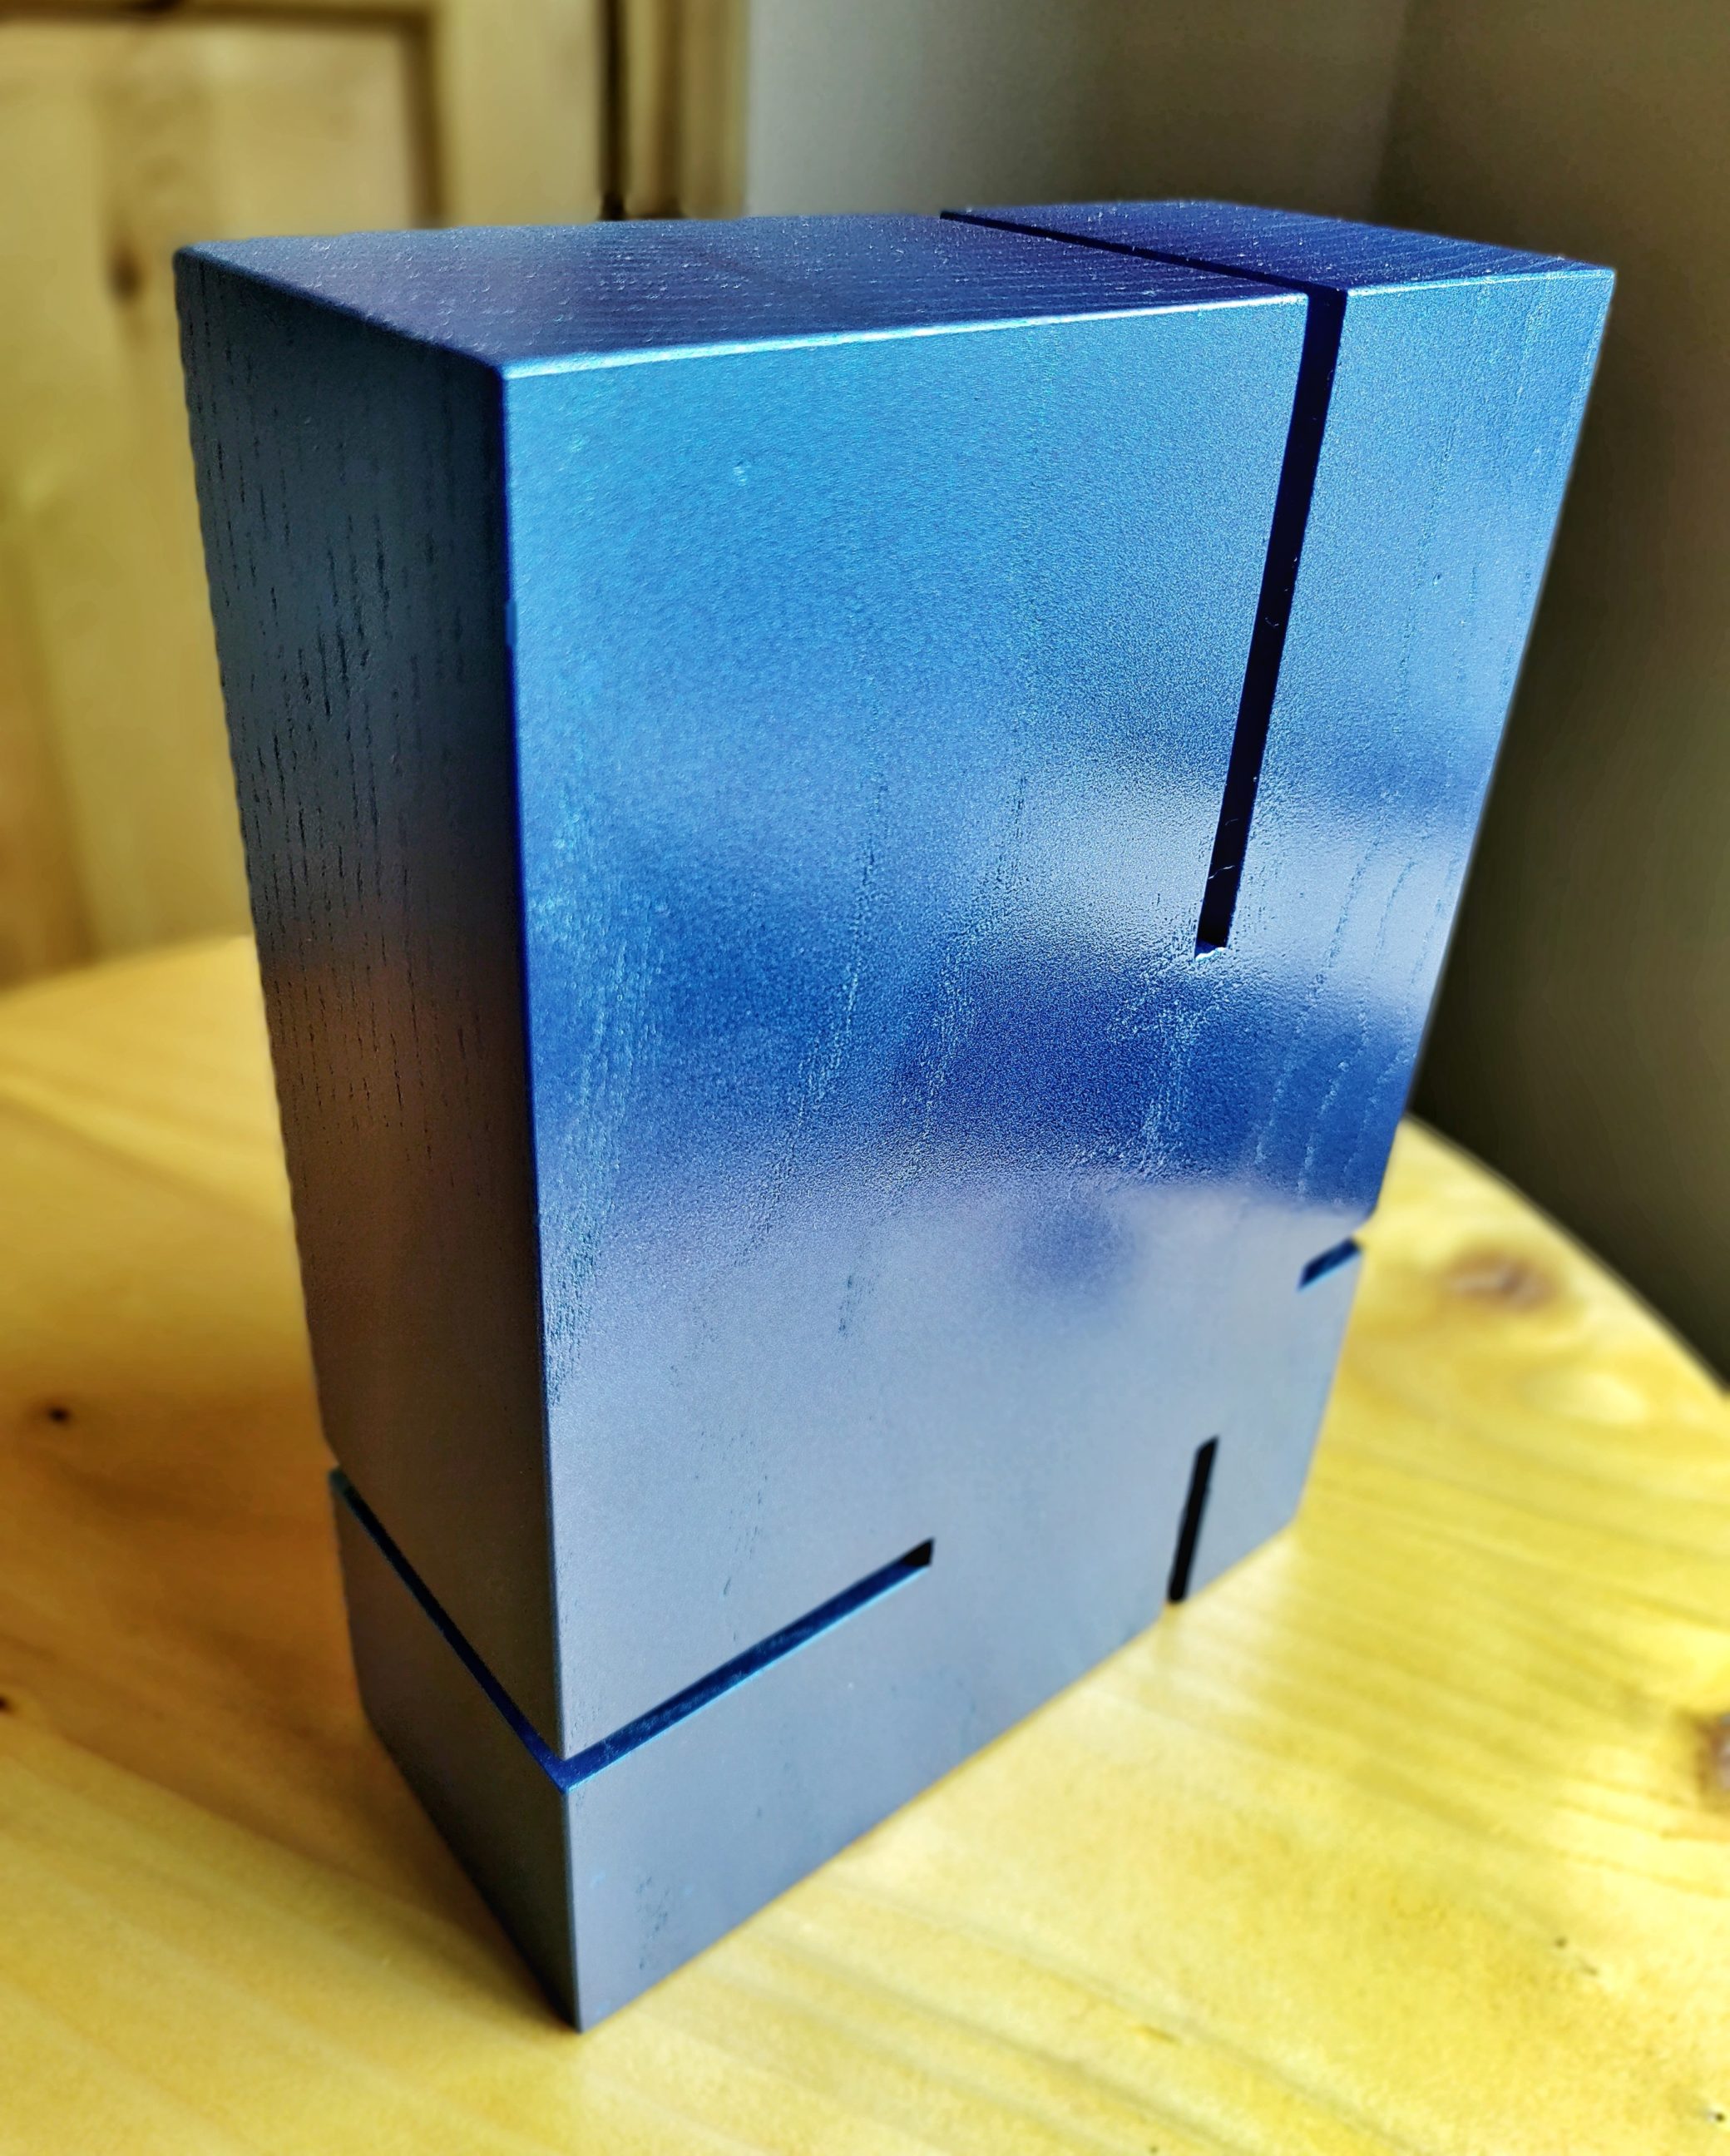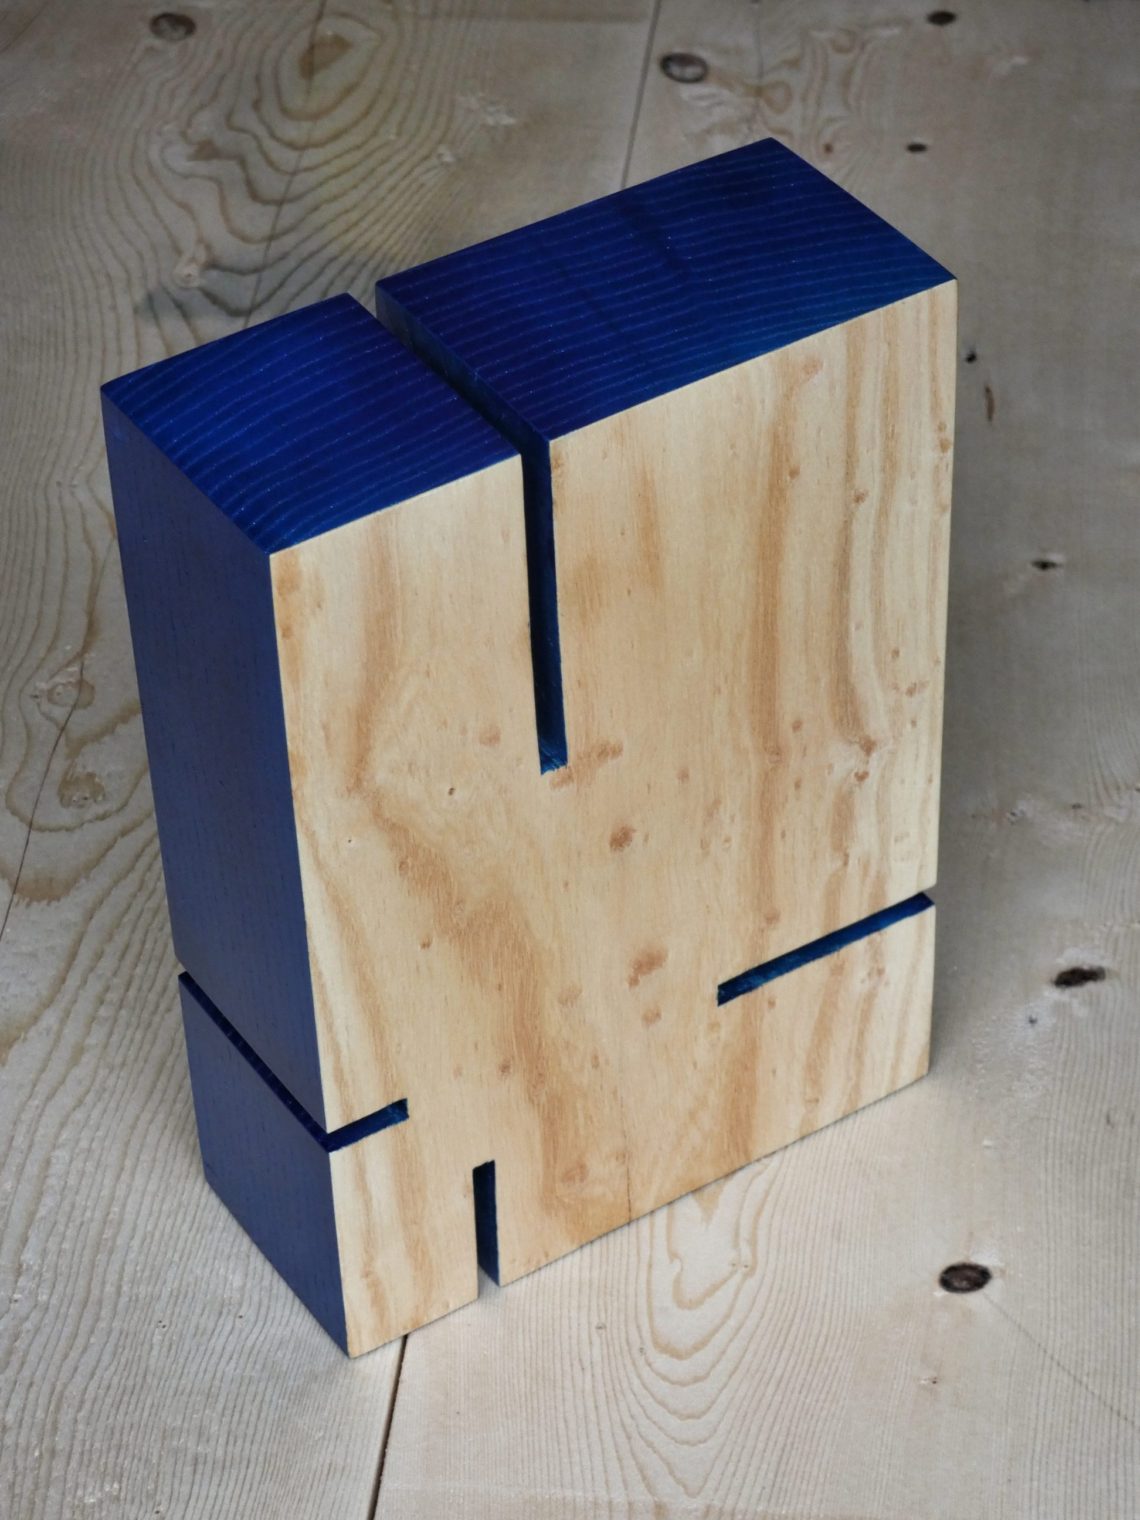
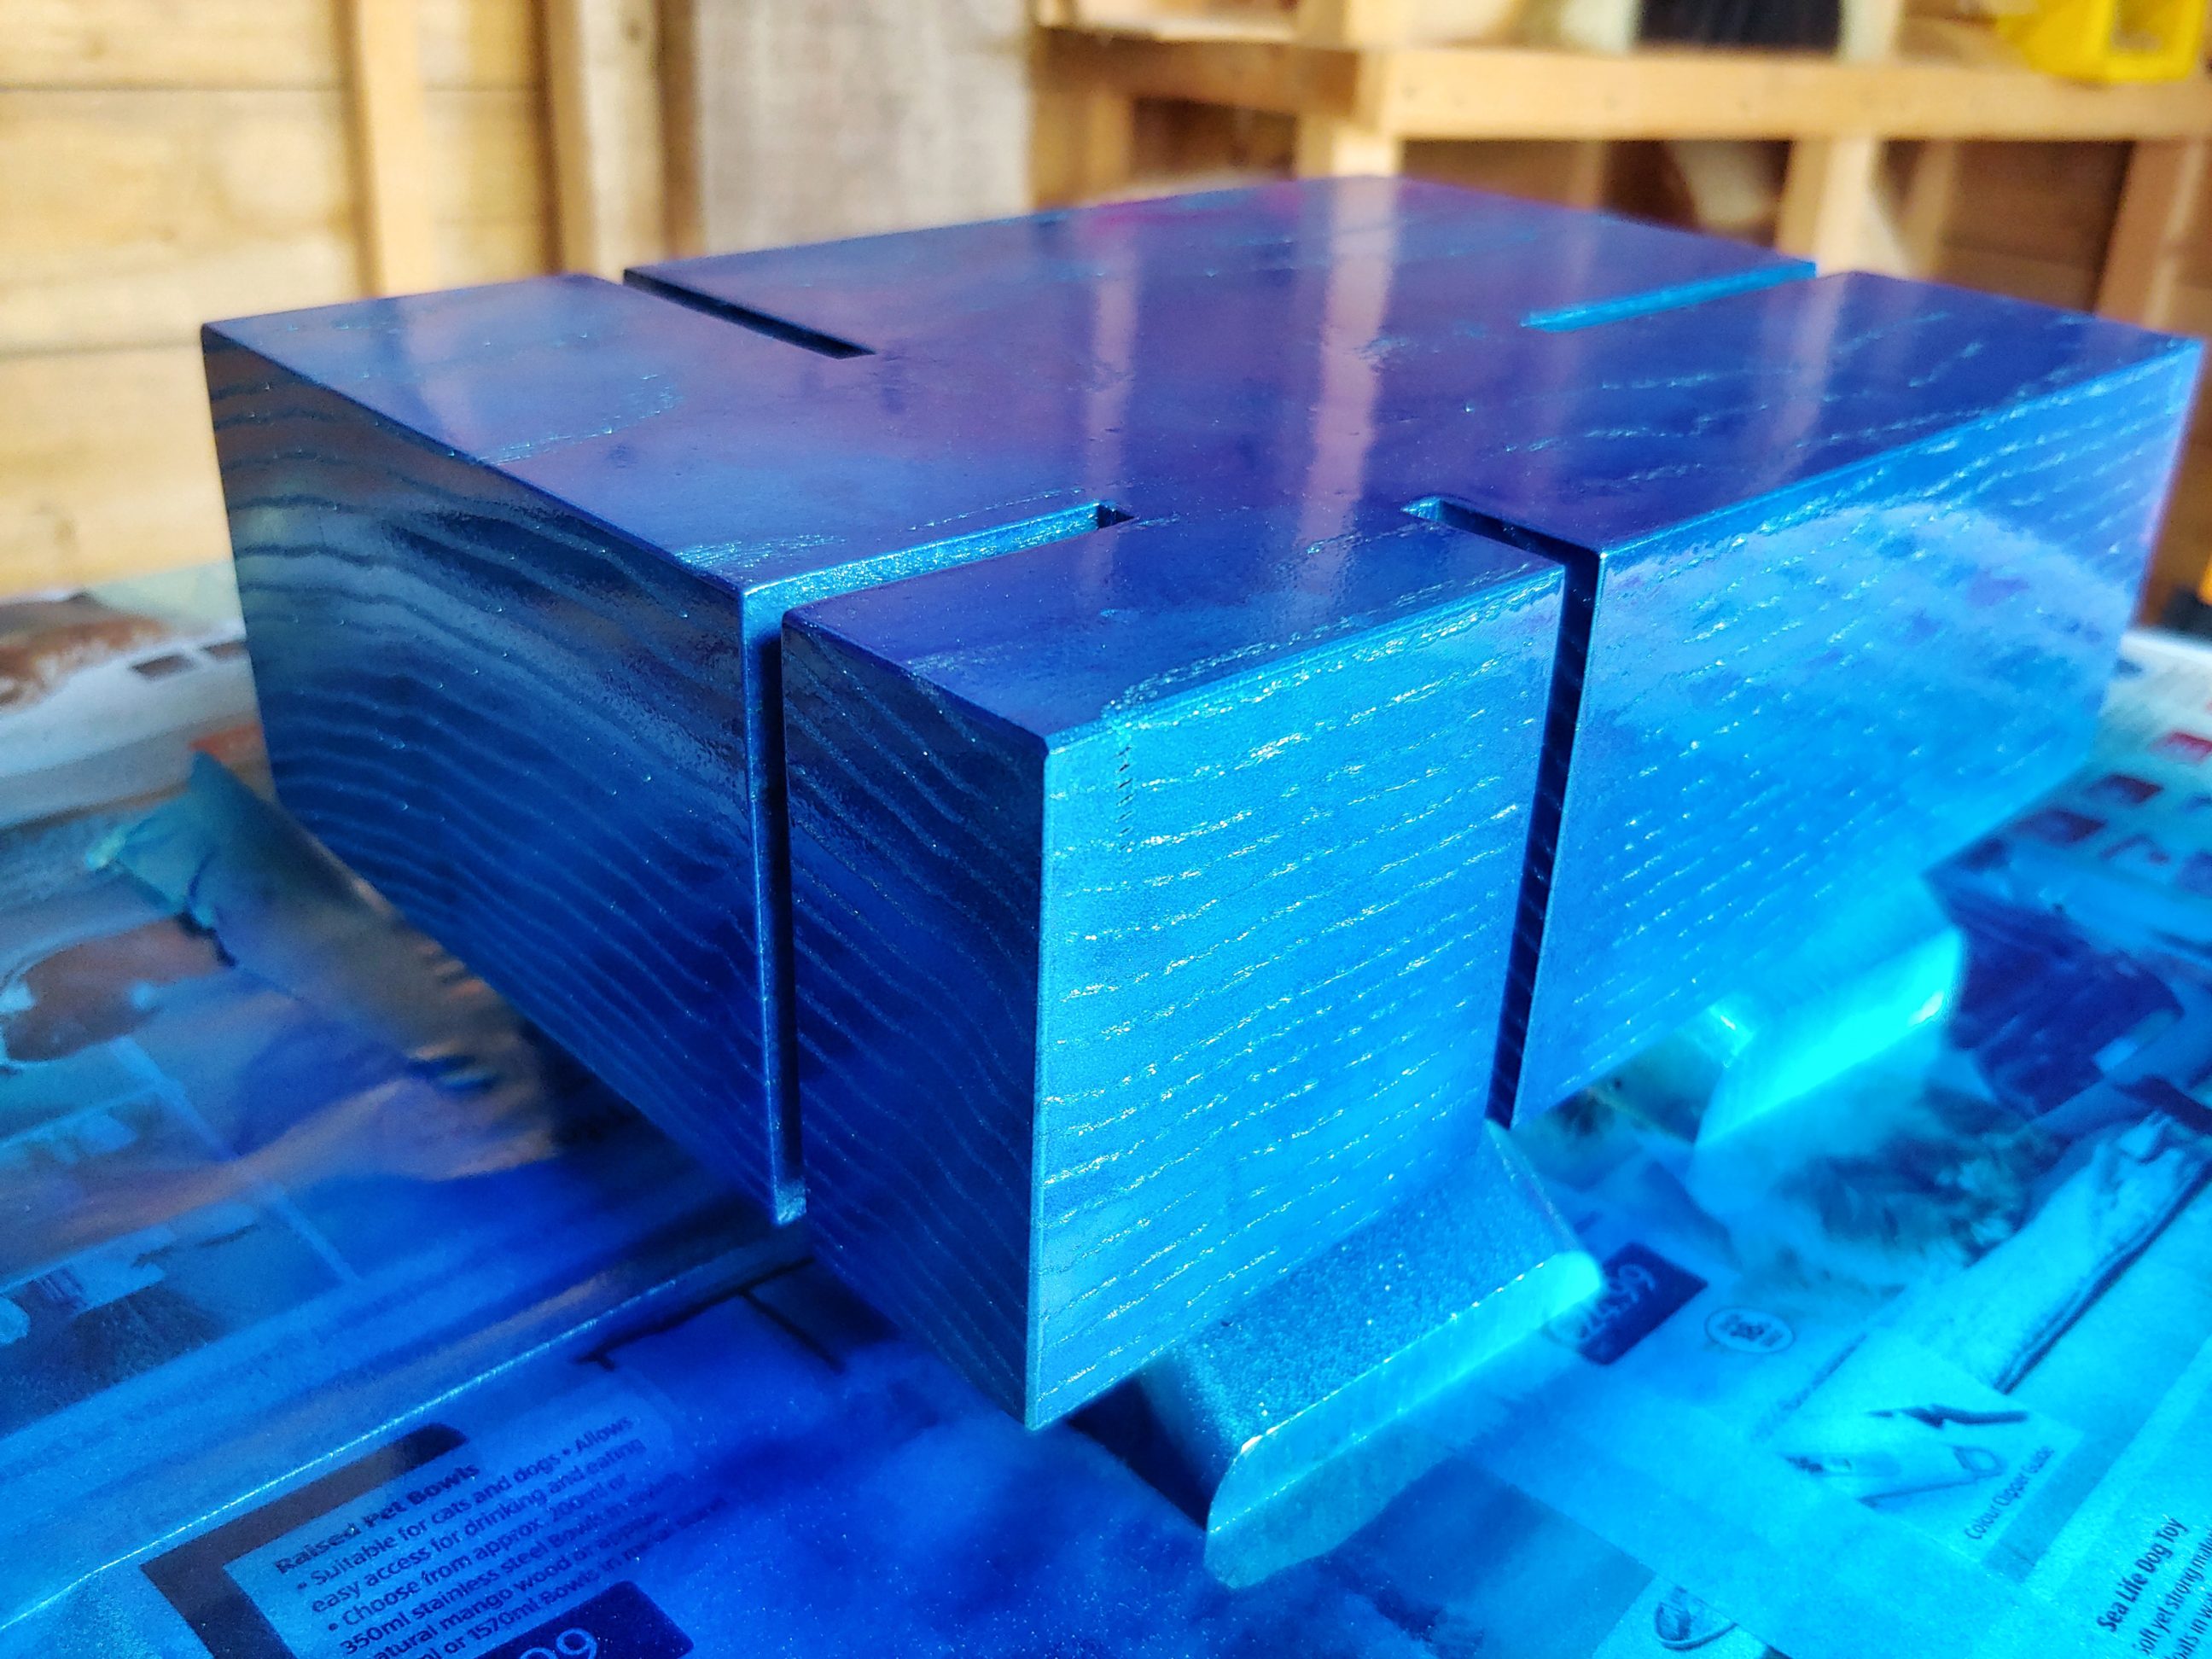
2-4-6-8 block
It’s a replica of a project I viewed recently in an online art gallery, the original one was made of concrete, and it was quite expensive to buy. I used different materials and also painted all 4 sides and the back. The way I see this piece of art determined the name I made up for my clone, the notches I cut were 2, 4, 6 and 8 cm long. My version is made of ash wood, and it’s already served as a simple mobile tray. I removed castors and gave it a second if not the 3rd, life. Even during the last assembly, some screws snapped, and I had to drive additional ones in other places to secure the castors. It happened again during the disassembly, they snapped and stayed inside the timber. I had to extract all the metal from the workpiece before further processing. I used an 8 mm drill bit and removed screws I could clearly see. Next, I checked all the holes with my metal detector and luckily there was no metal left inside. Once the workpiece was metal-free, I could cut out the shape on my table saw.


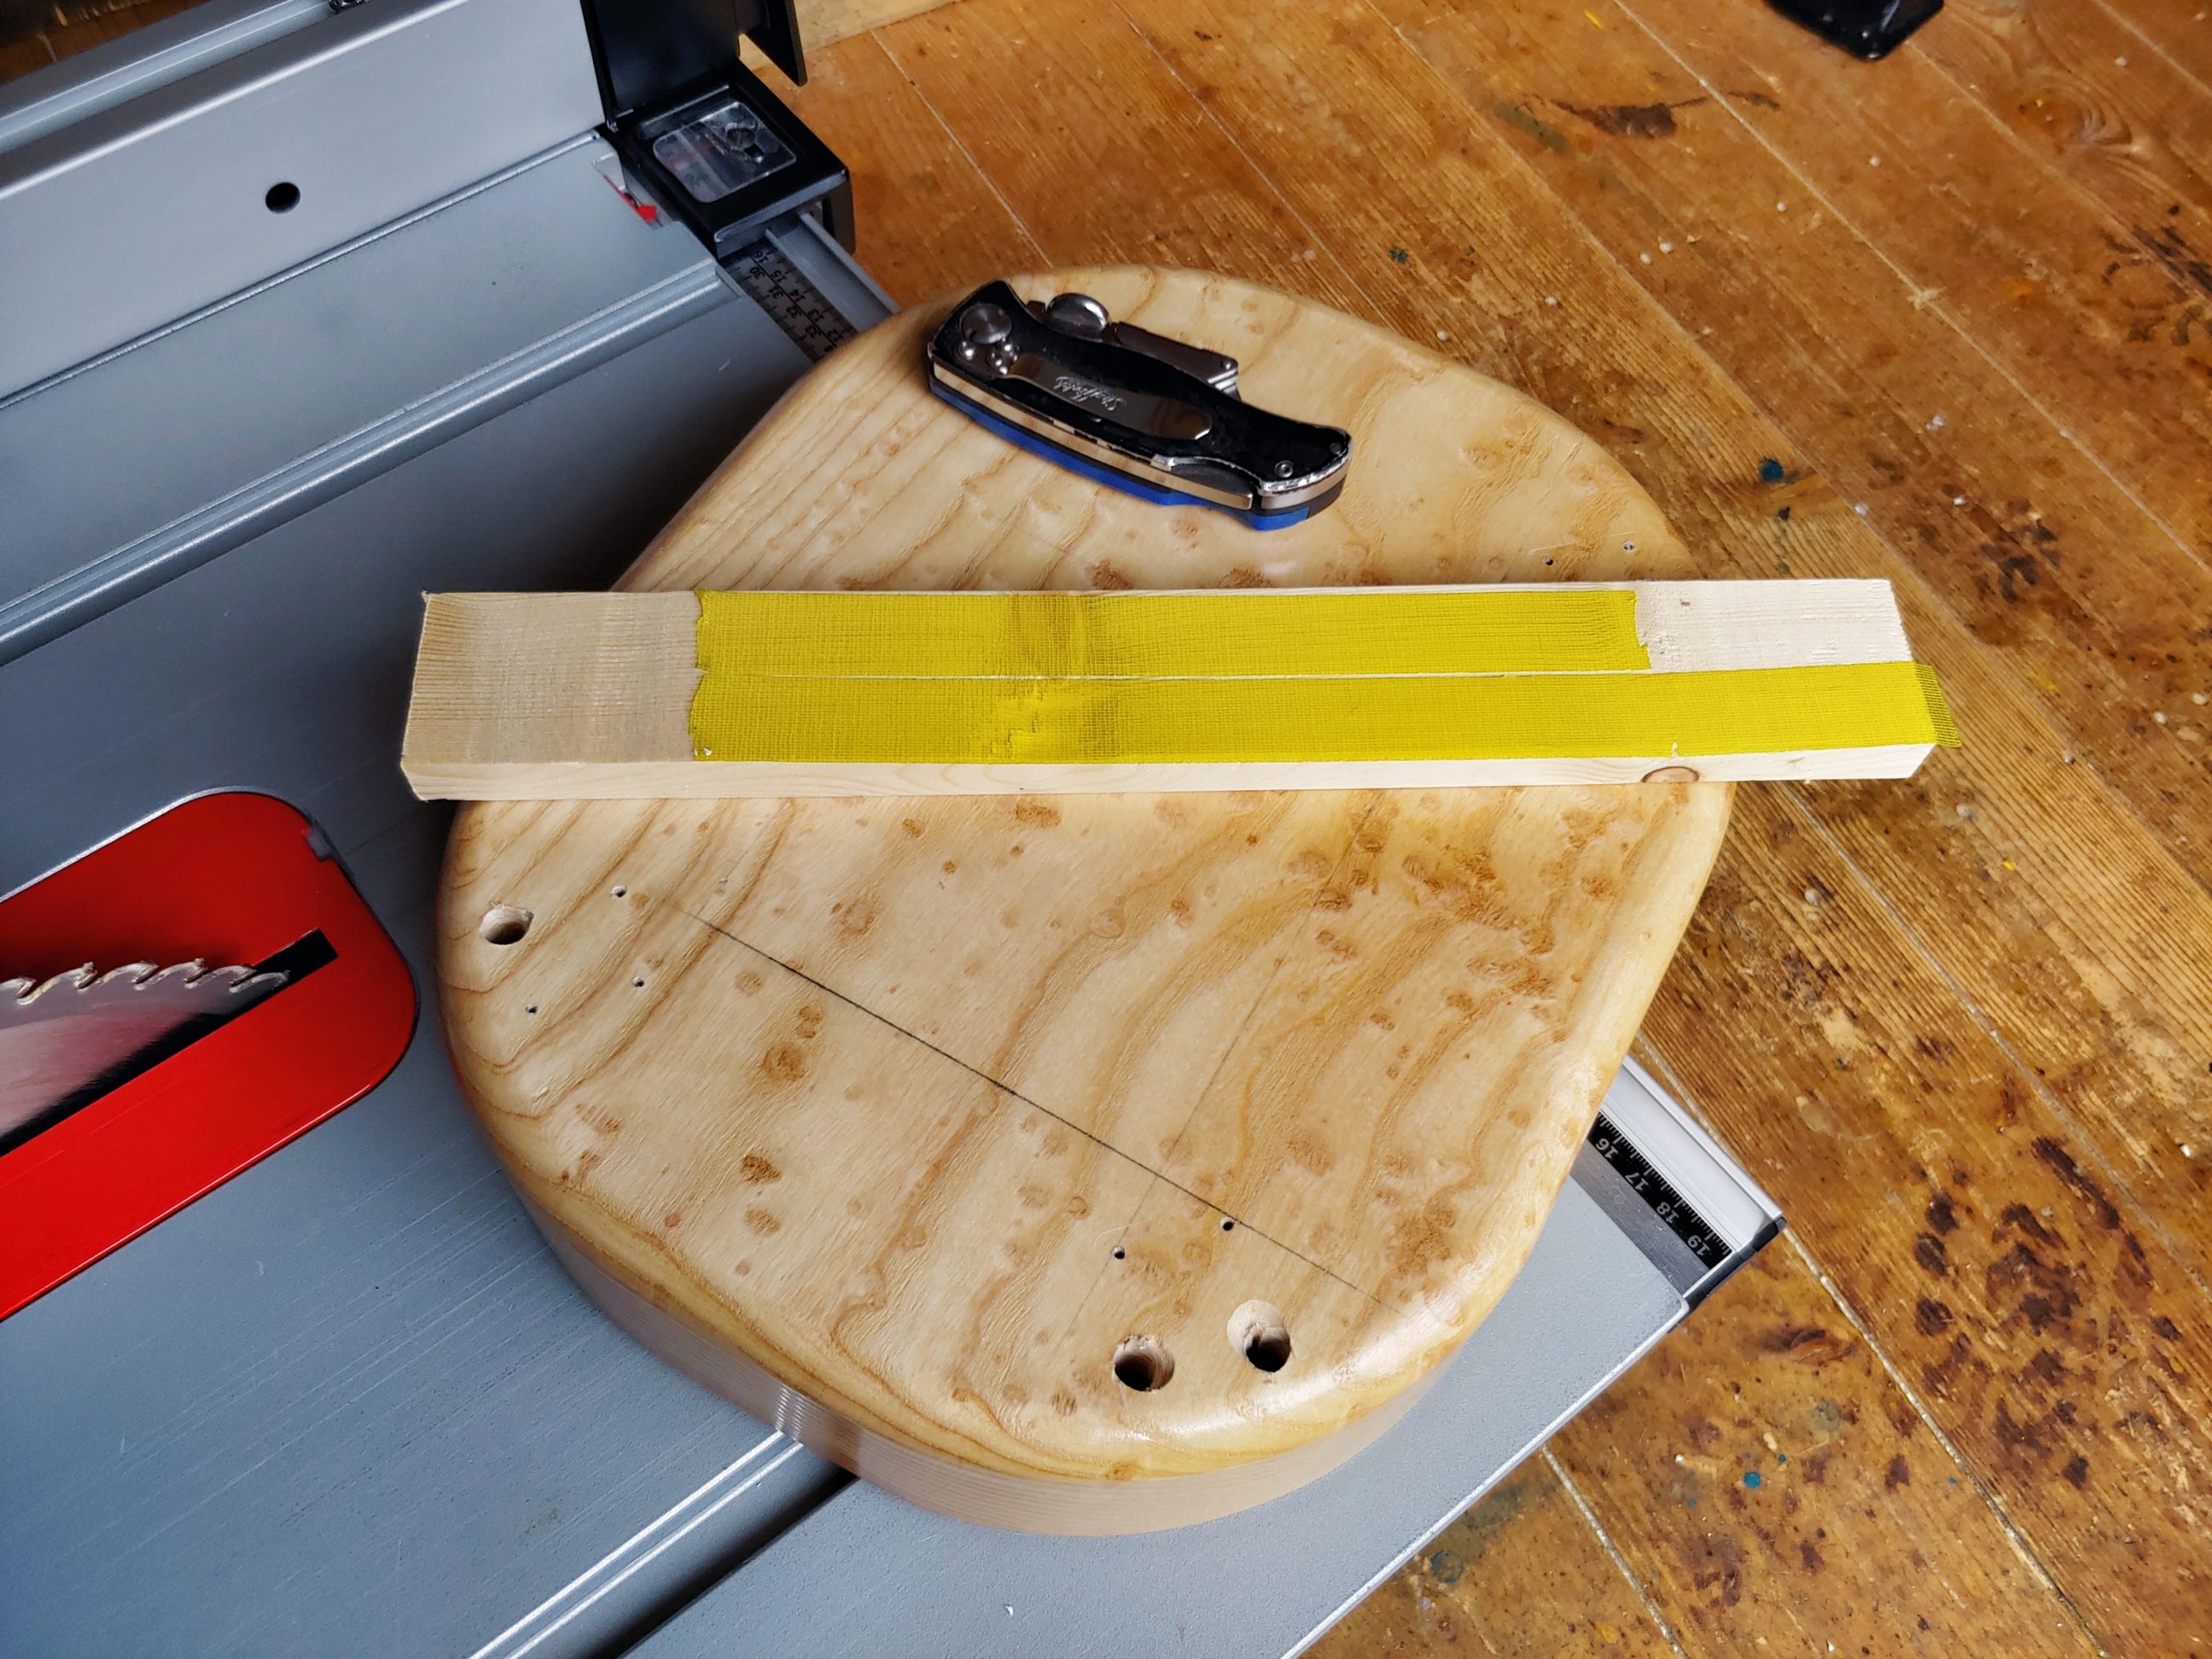
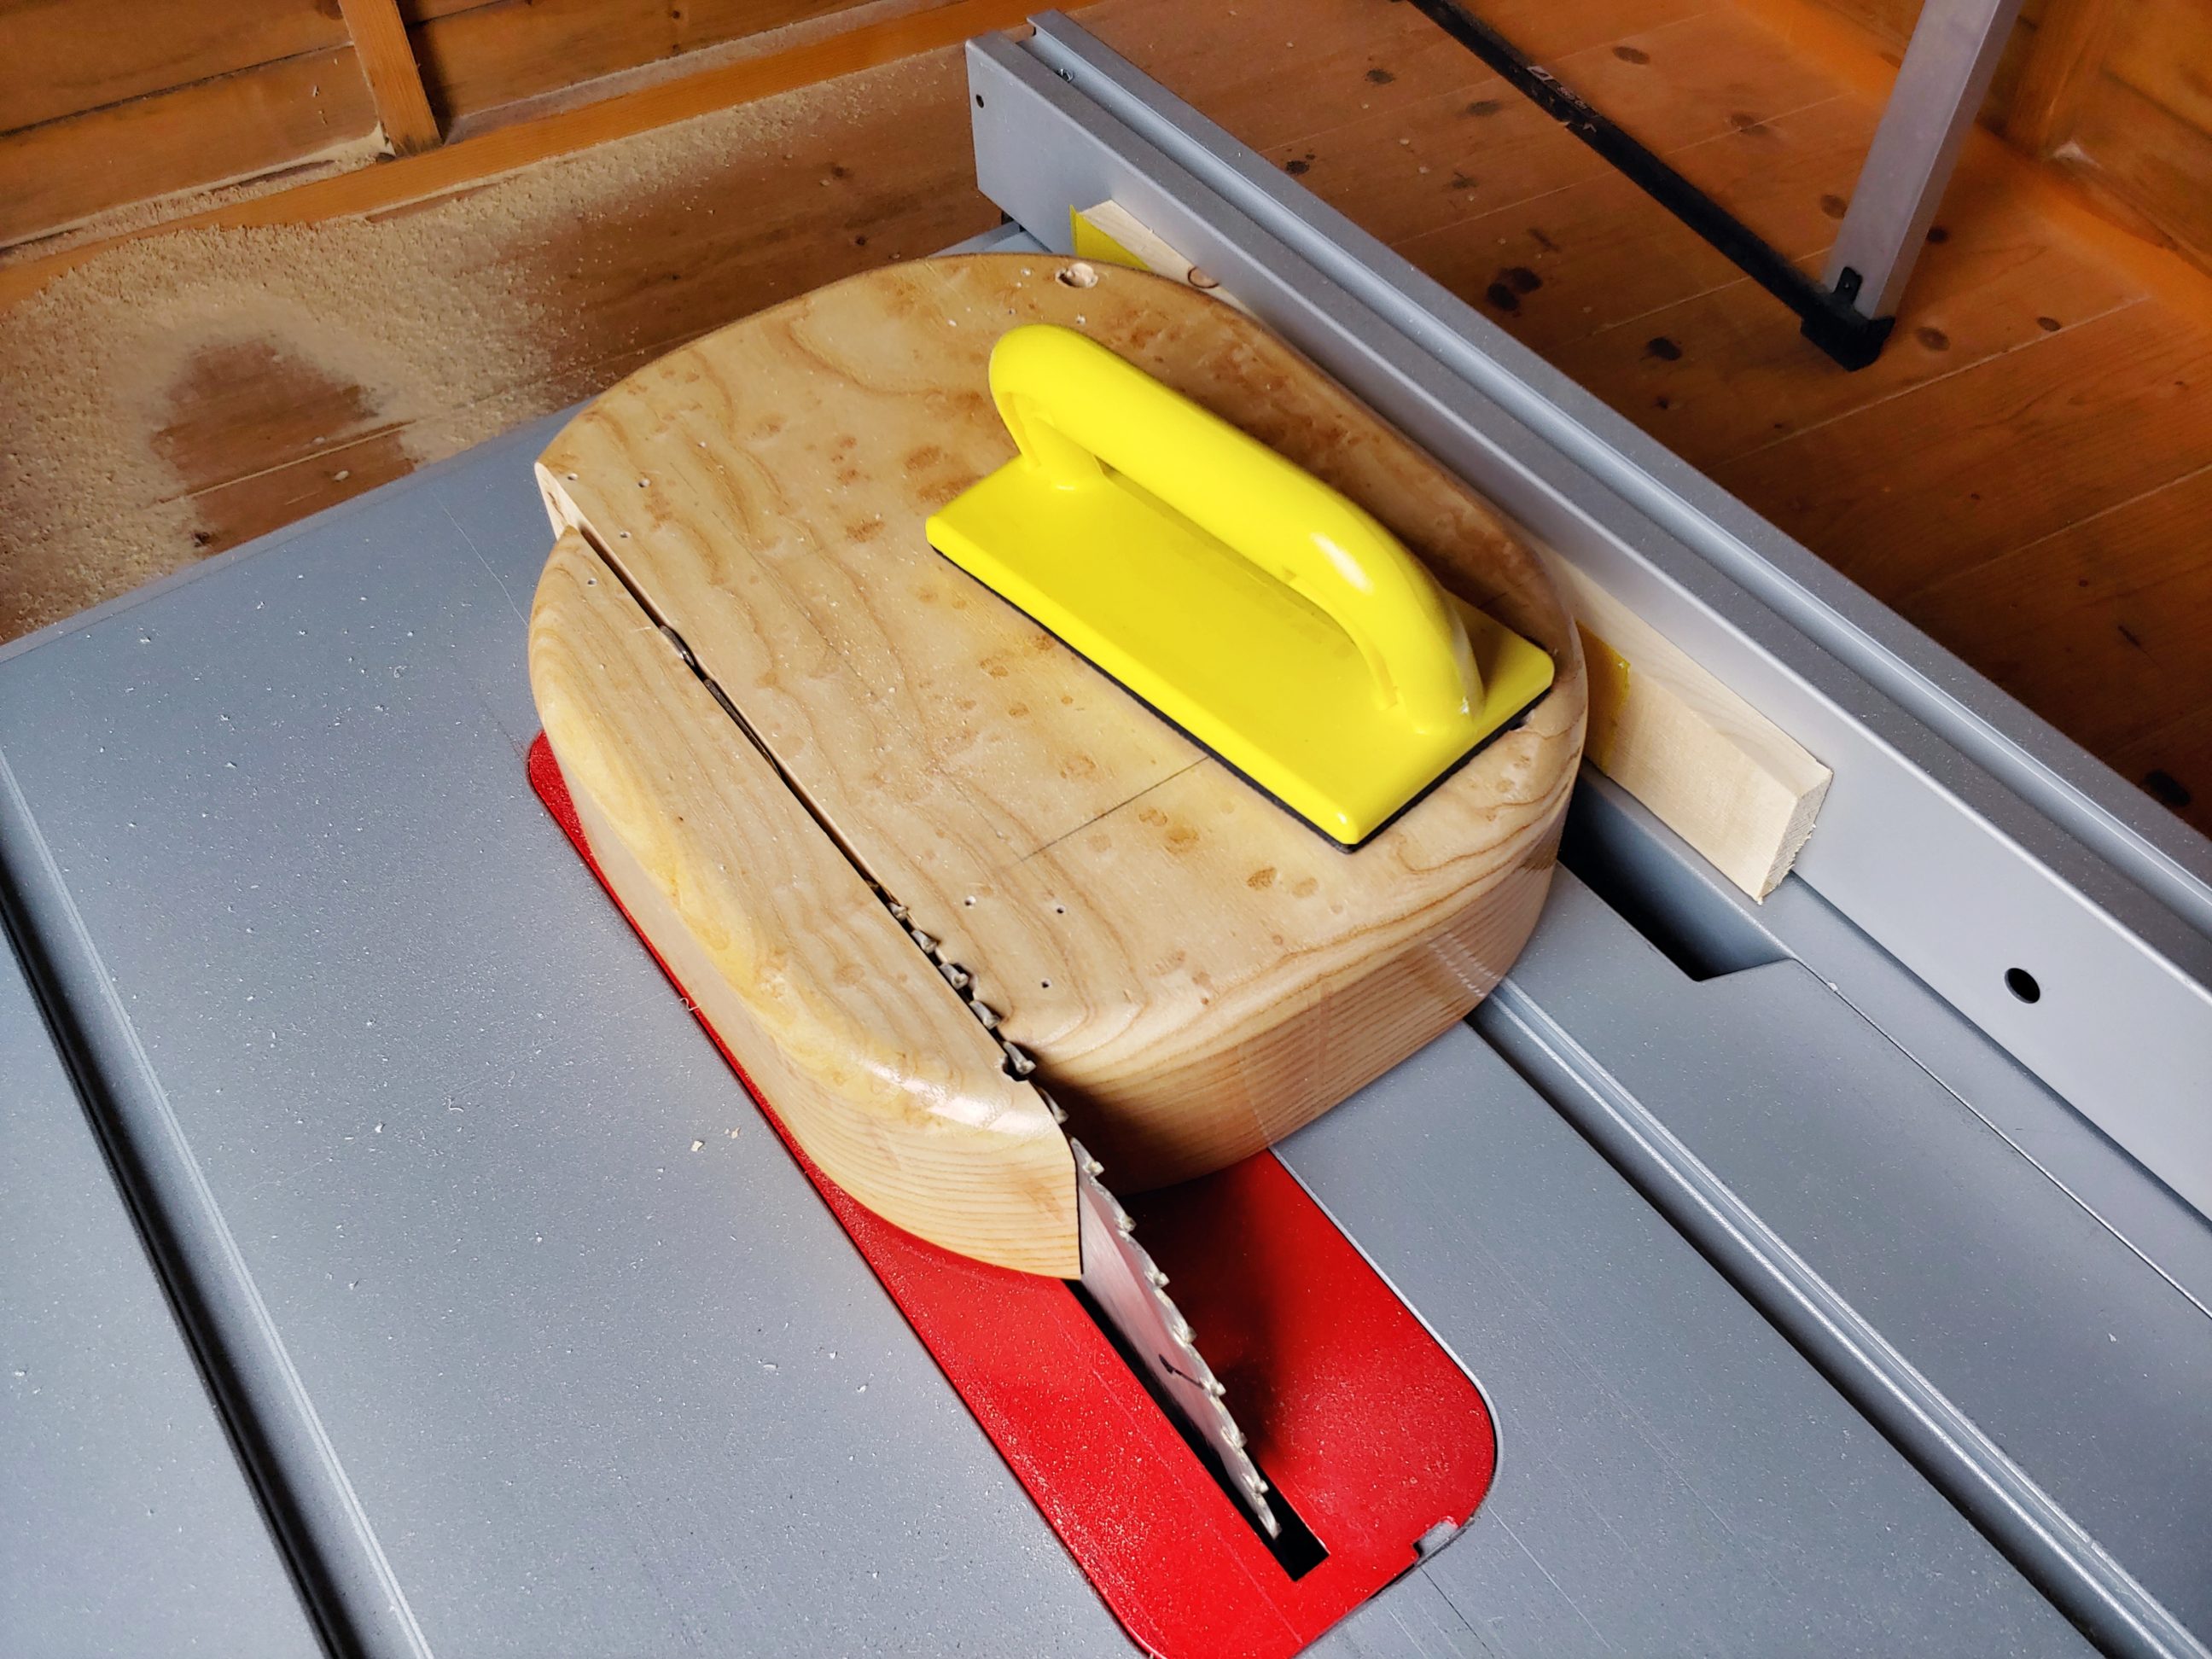
I attached a straight edge to the block and cut off the first side. It was nice and flat and could be used against the fence to cut the opposite one. I completed the task using a mitre gauge and finished with a nice, square piece of solid wood.
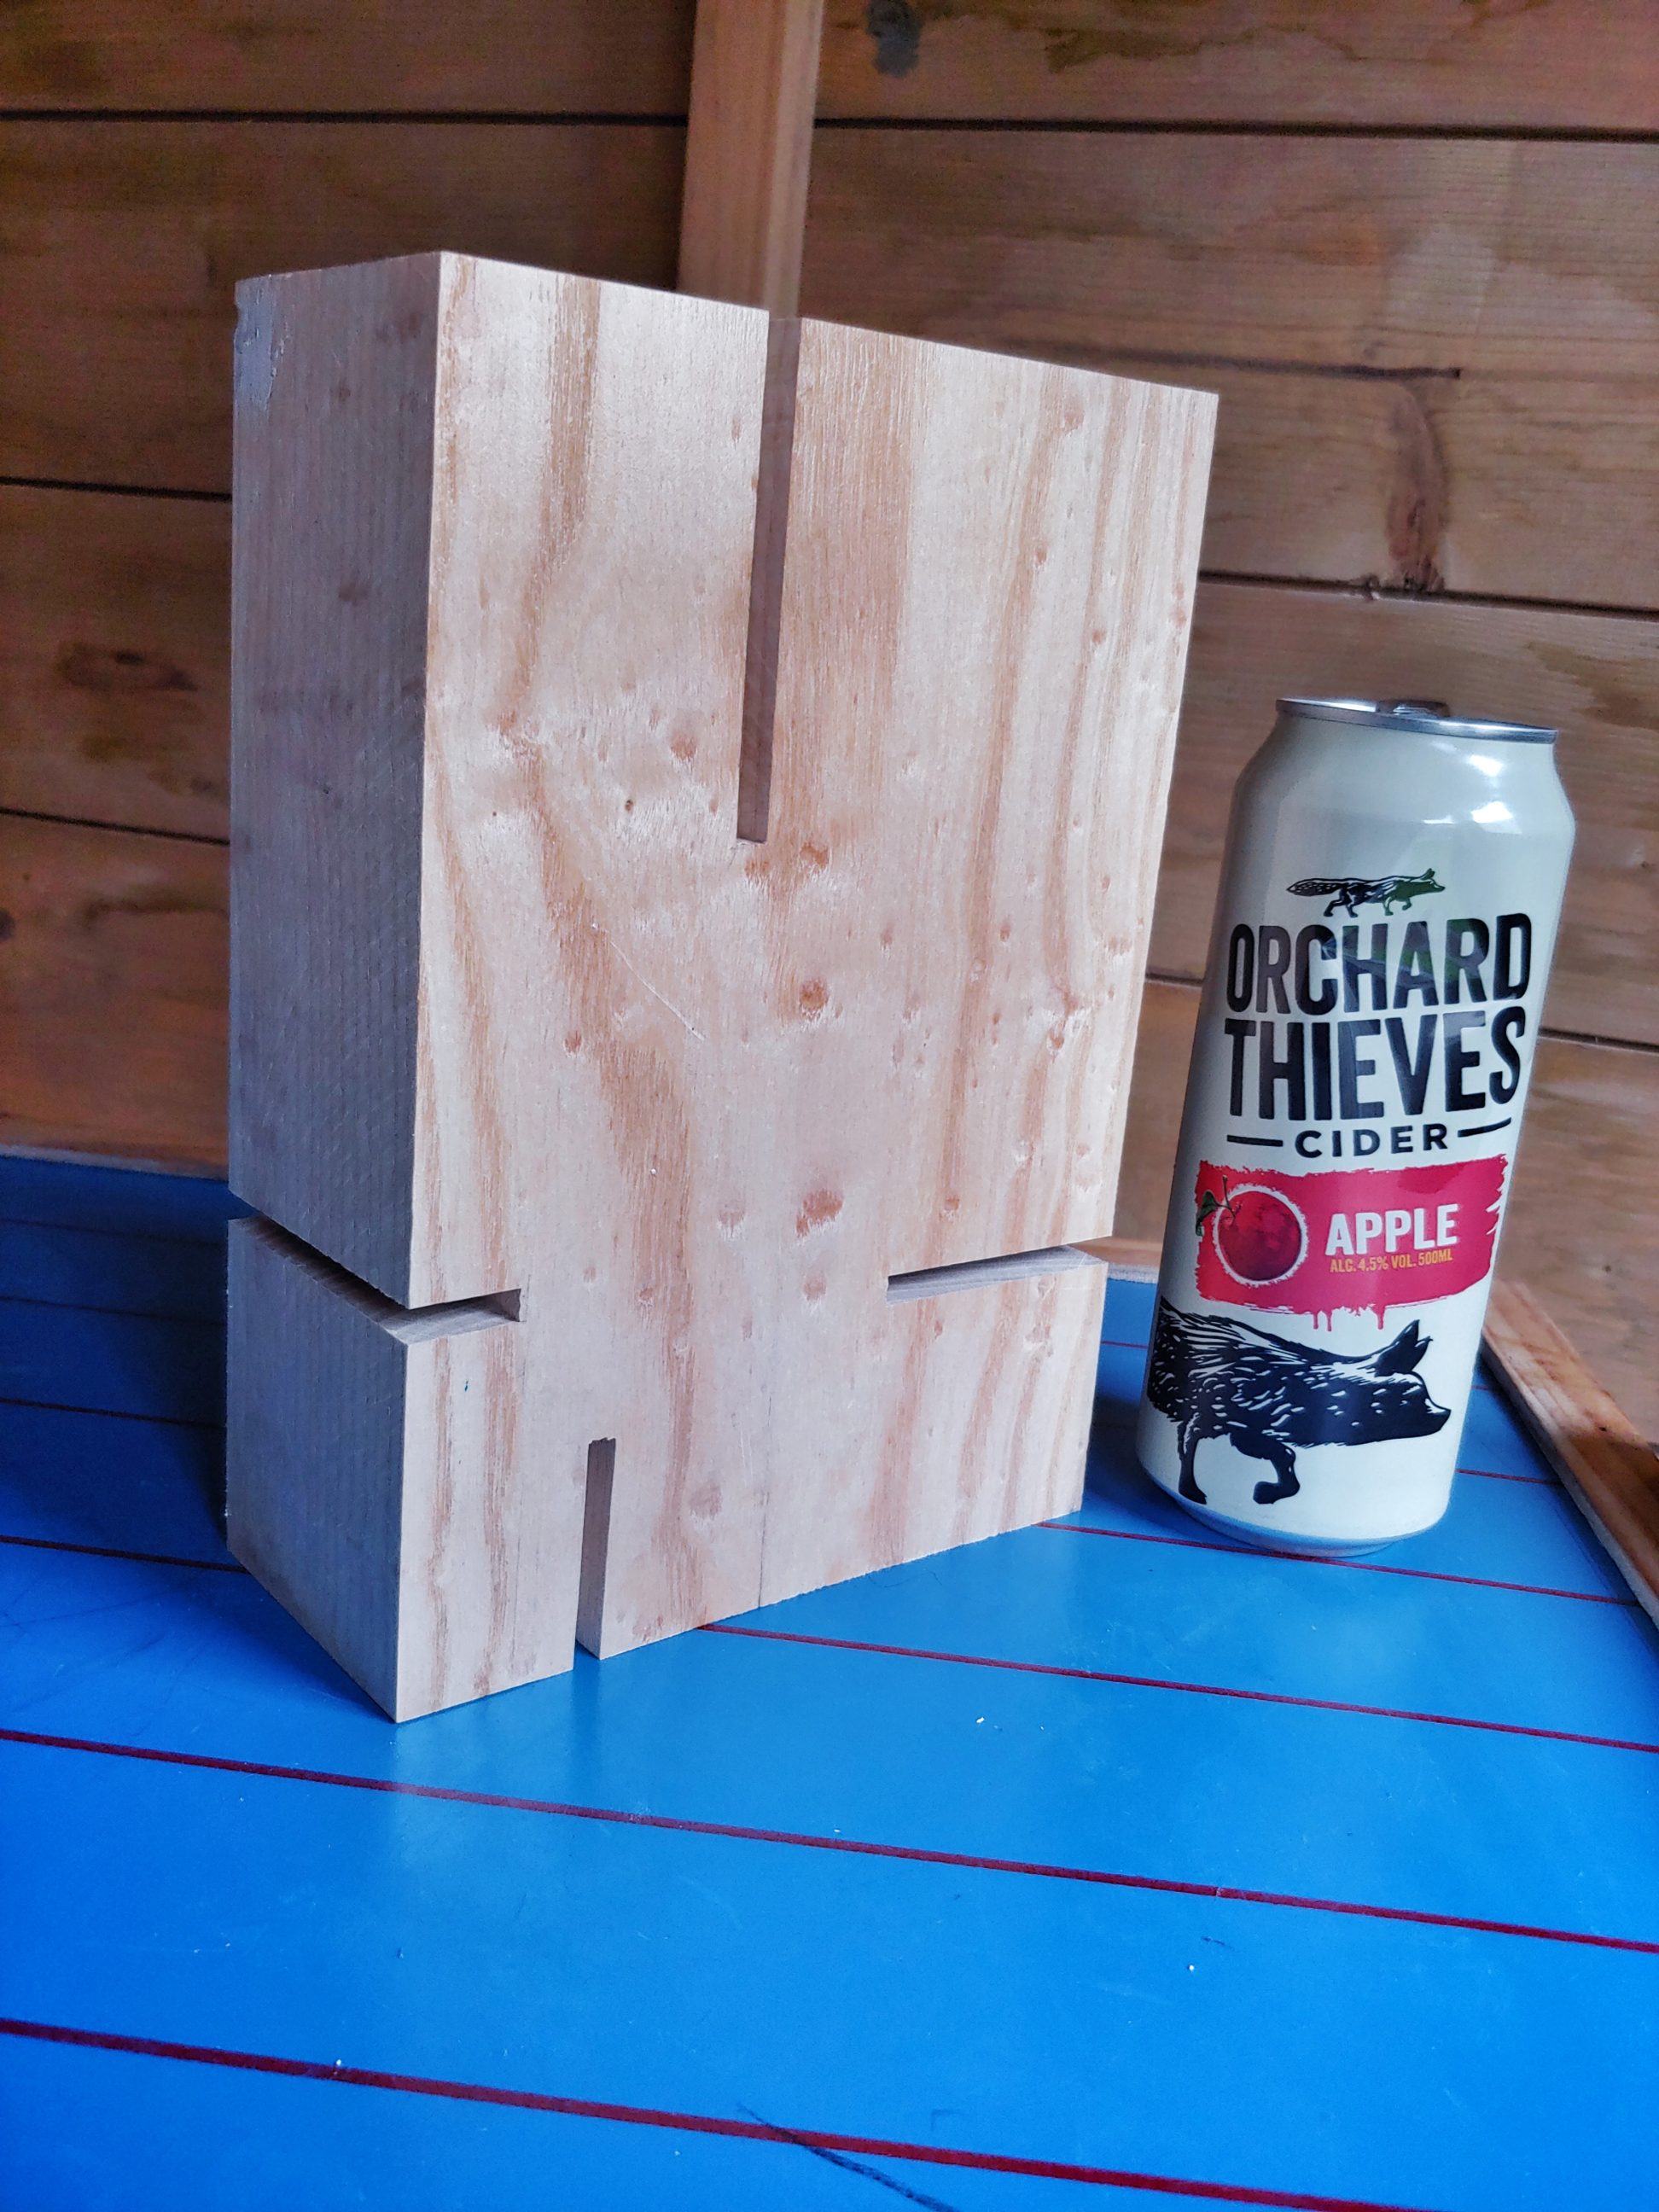
It was very hard for the blade to cut all four notches. Sawdust behind my table saw turned from white to grey, due to black particles of burnt wood. I let the blade do the job, and wasn’t pushing too hard, but each notch had to be cut in 2 passes, i.e. it was twice as thick as the saw blade kerf.


Eventually I had it done, and I could use wood filler to mask all the imperfections at the back of the workpiece. I let it dry overnight and the next day I started with sanding.


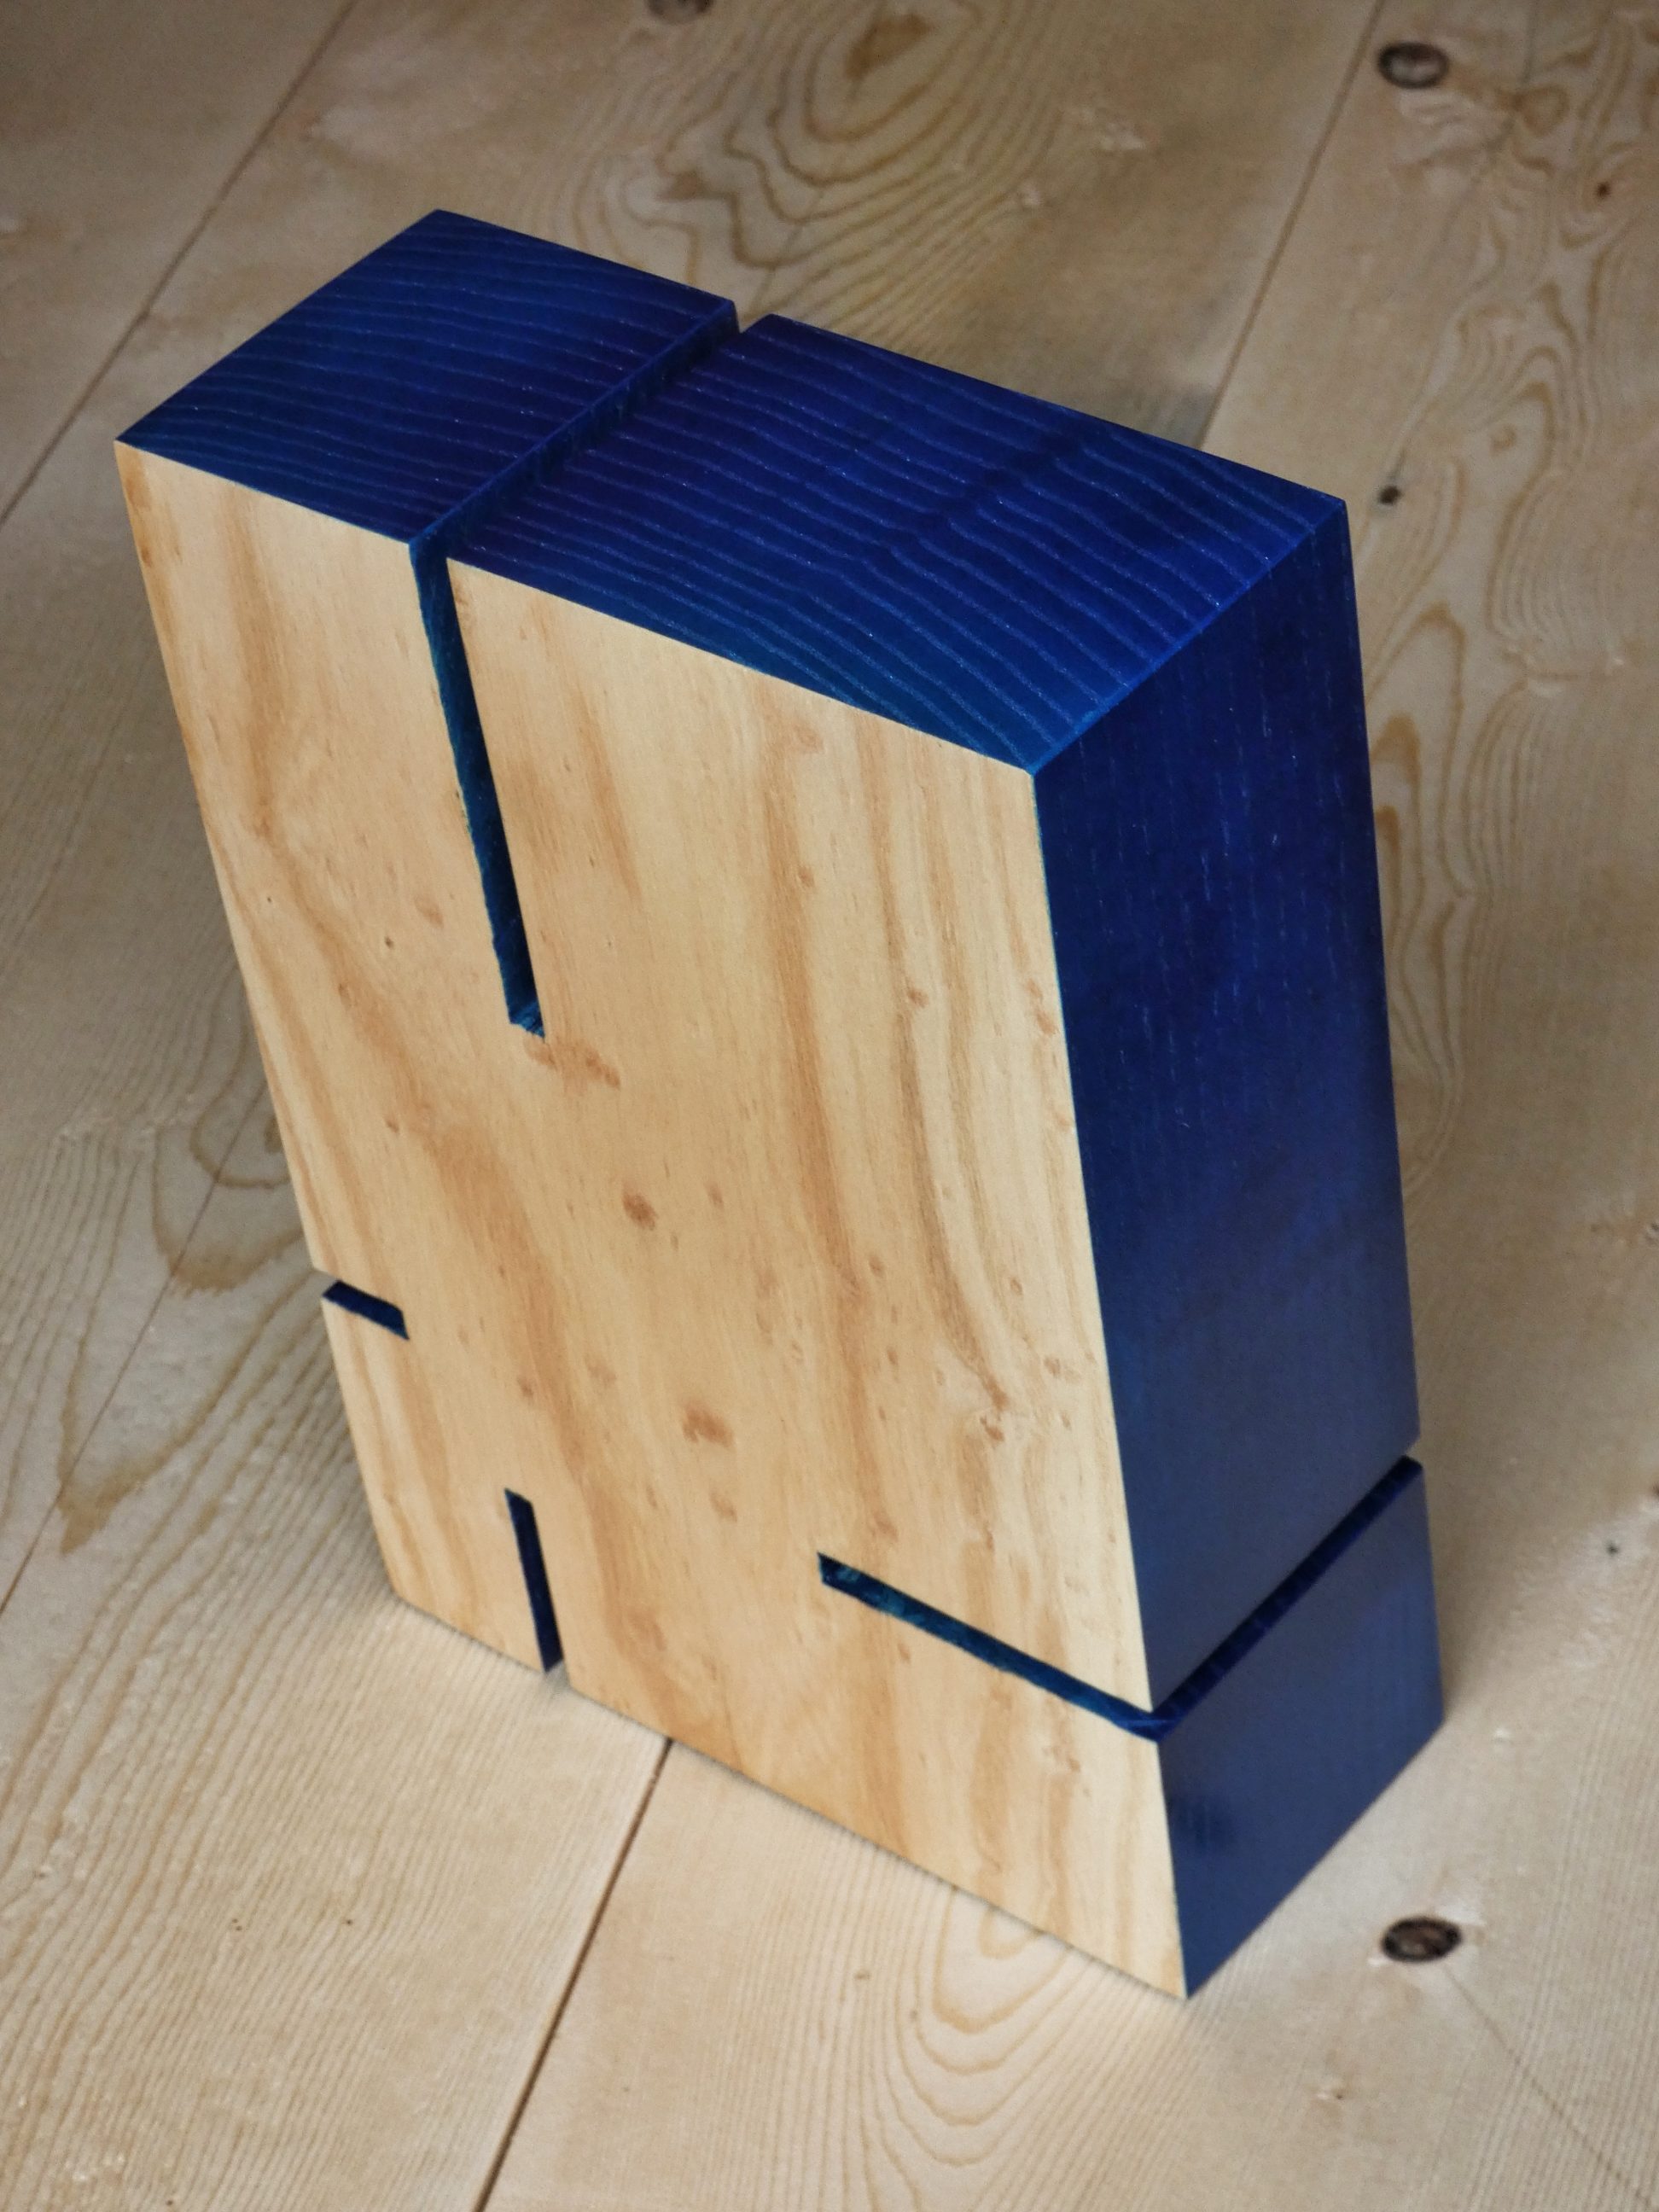
I used my orbital sander and finished all the sharp edges with a sanding block. Next, I applied spray paint to the sides and the back of the block. The front was covered with painter’s tape to make it easy for me in the next step, which was a light sanding. That, however, had to wait for approximately 2 weeks for the paint to dry fully.


During the last sanding, the piece had to rest on its back, the paint had to withstand the pressure being made during the sanding and also not being sticky for dust particles. After sanding, I cleaned all the sides with a cloth and I applied spray lacquer to the front, and also to the sides, just to protect them from scratching – that block will stand on one of these sides, so they have to be scratch resistant. Lacquer is a good choice because its layers are hard.


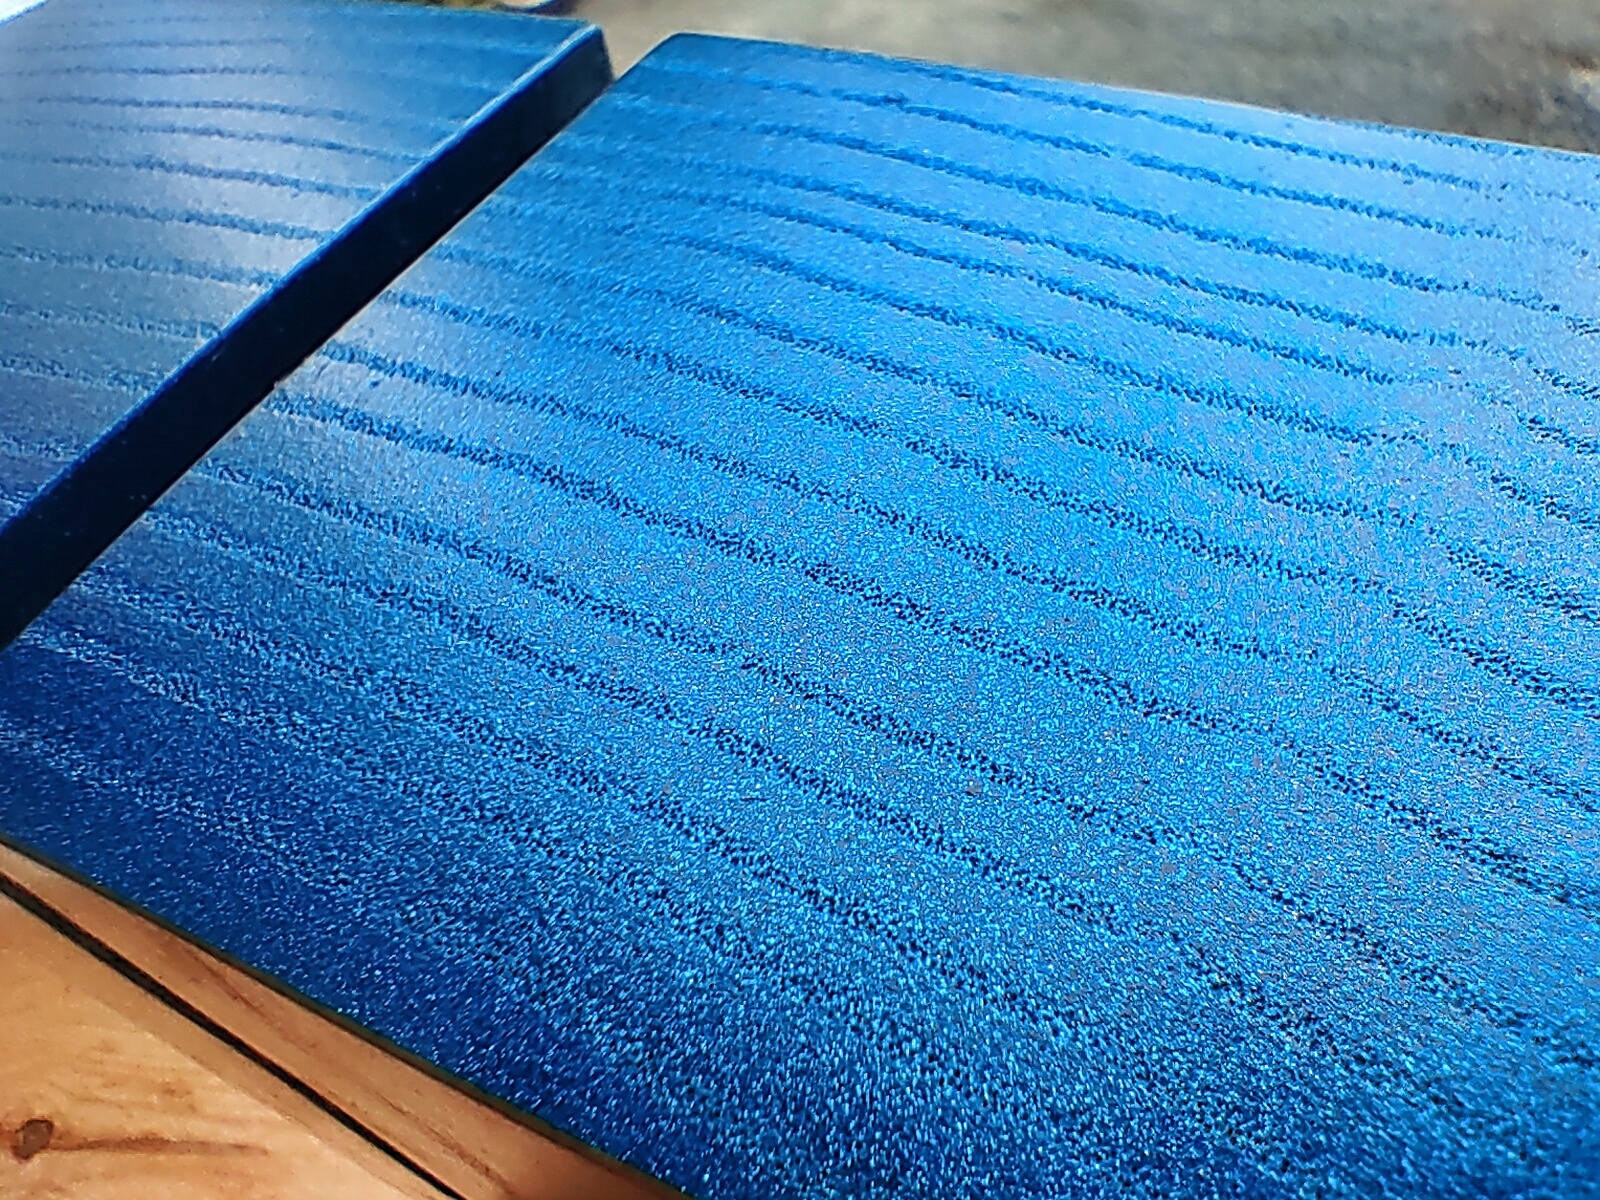
I applied 3 or 4 coats of lacquer and on the very next day, the block could be proudly displayed on the shelf. I like its beautiful colours and the wood grain that shows in the front and surprisingly on the sides too. Of course, I like the original design as well, it inspired me to make this one. Now I have my own version, slightly different, but very special to me.