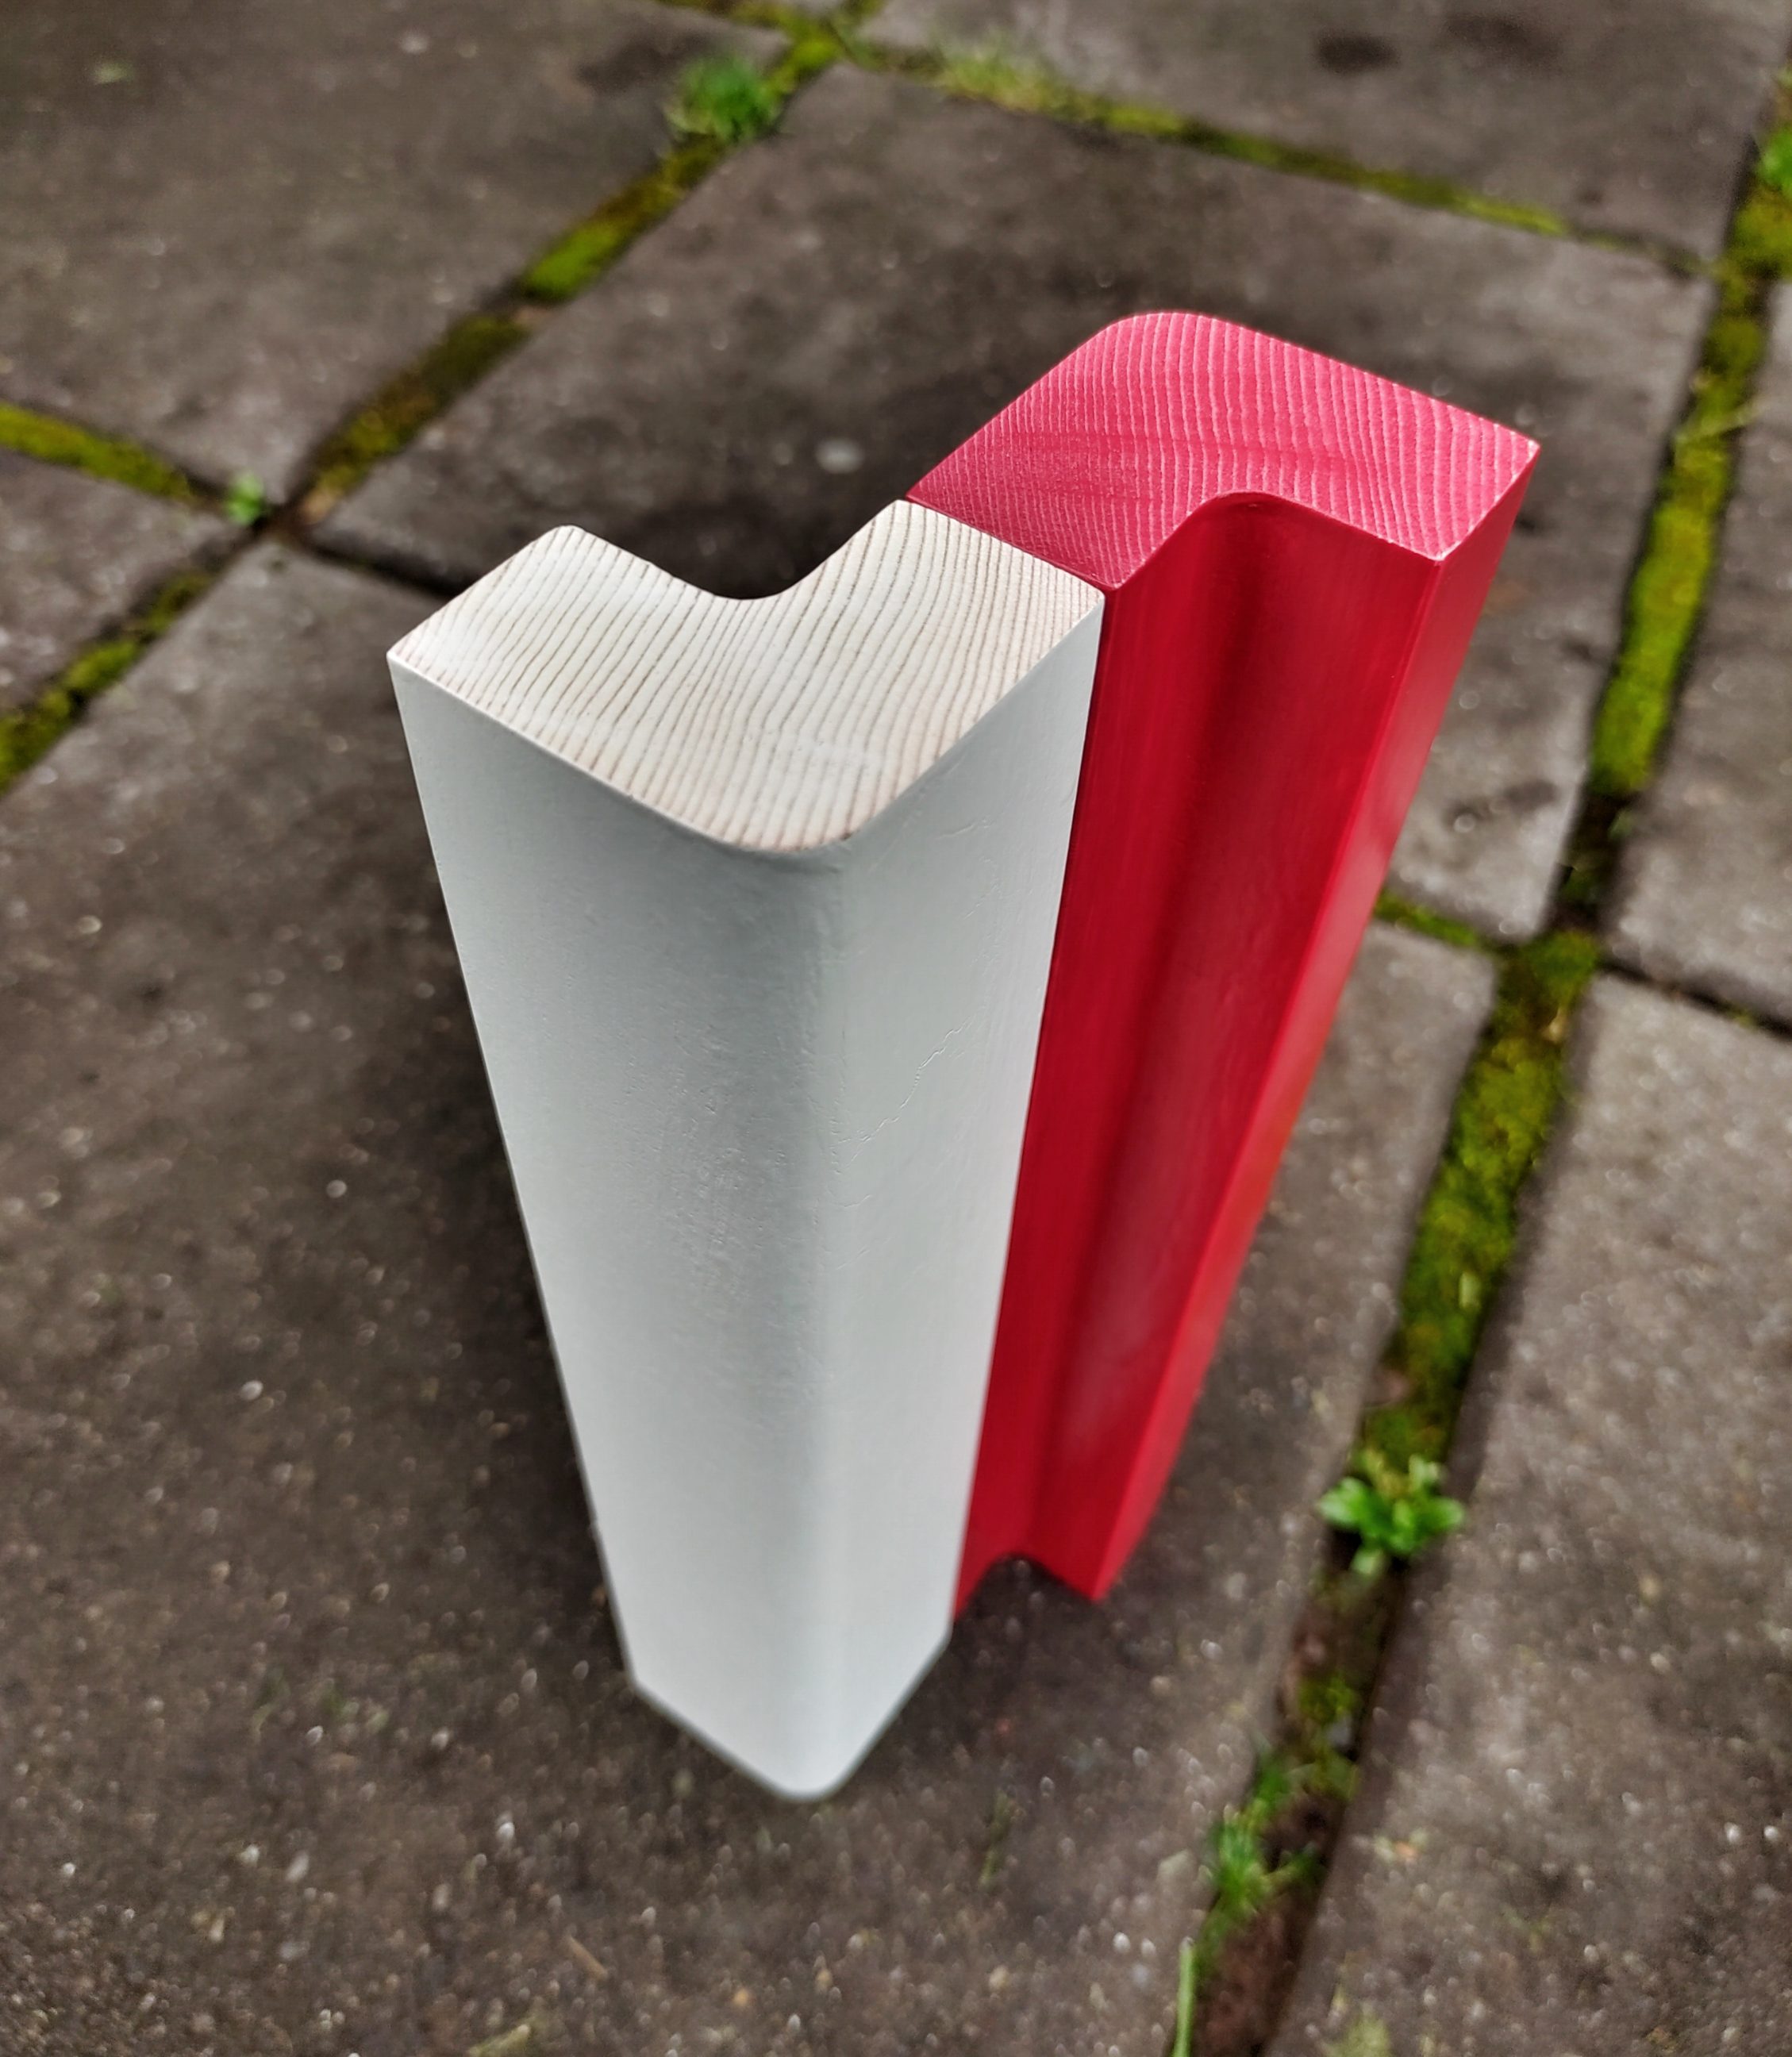
Wooden Polish flag
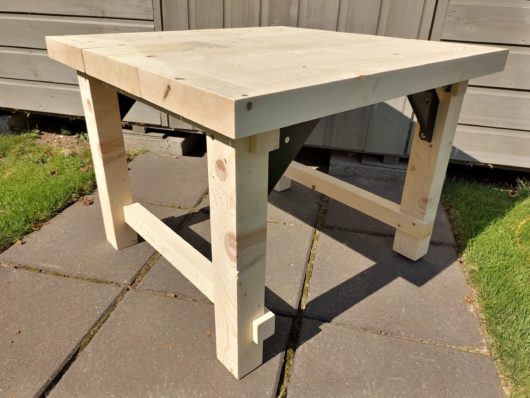
Earlier that summer I made a set of oversized mouldings, that could be used in many applications. Due to their size and shape, they could find some use as structural elements, for example, legs, corner connectors etc. or as decorative mouldings. They were strong, straight and thick, also the grain was almost knot-free. All they needed was a thorough sanding, getting rid of saw marks and other imperfections left by a router. I took one of these mouldings and decided to make some art – something decorative and patriotic. Now that it’s finished, it looks like a white and red decorative vane for non-Polish people but I call it a Polish flag.


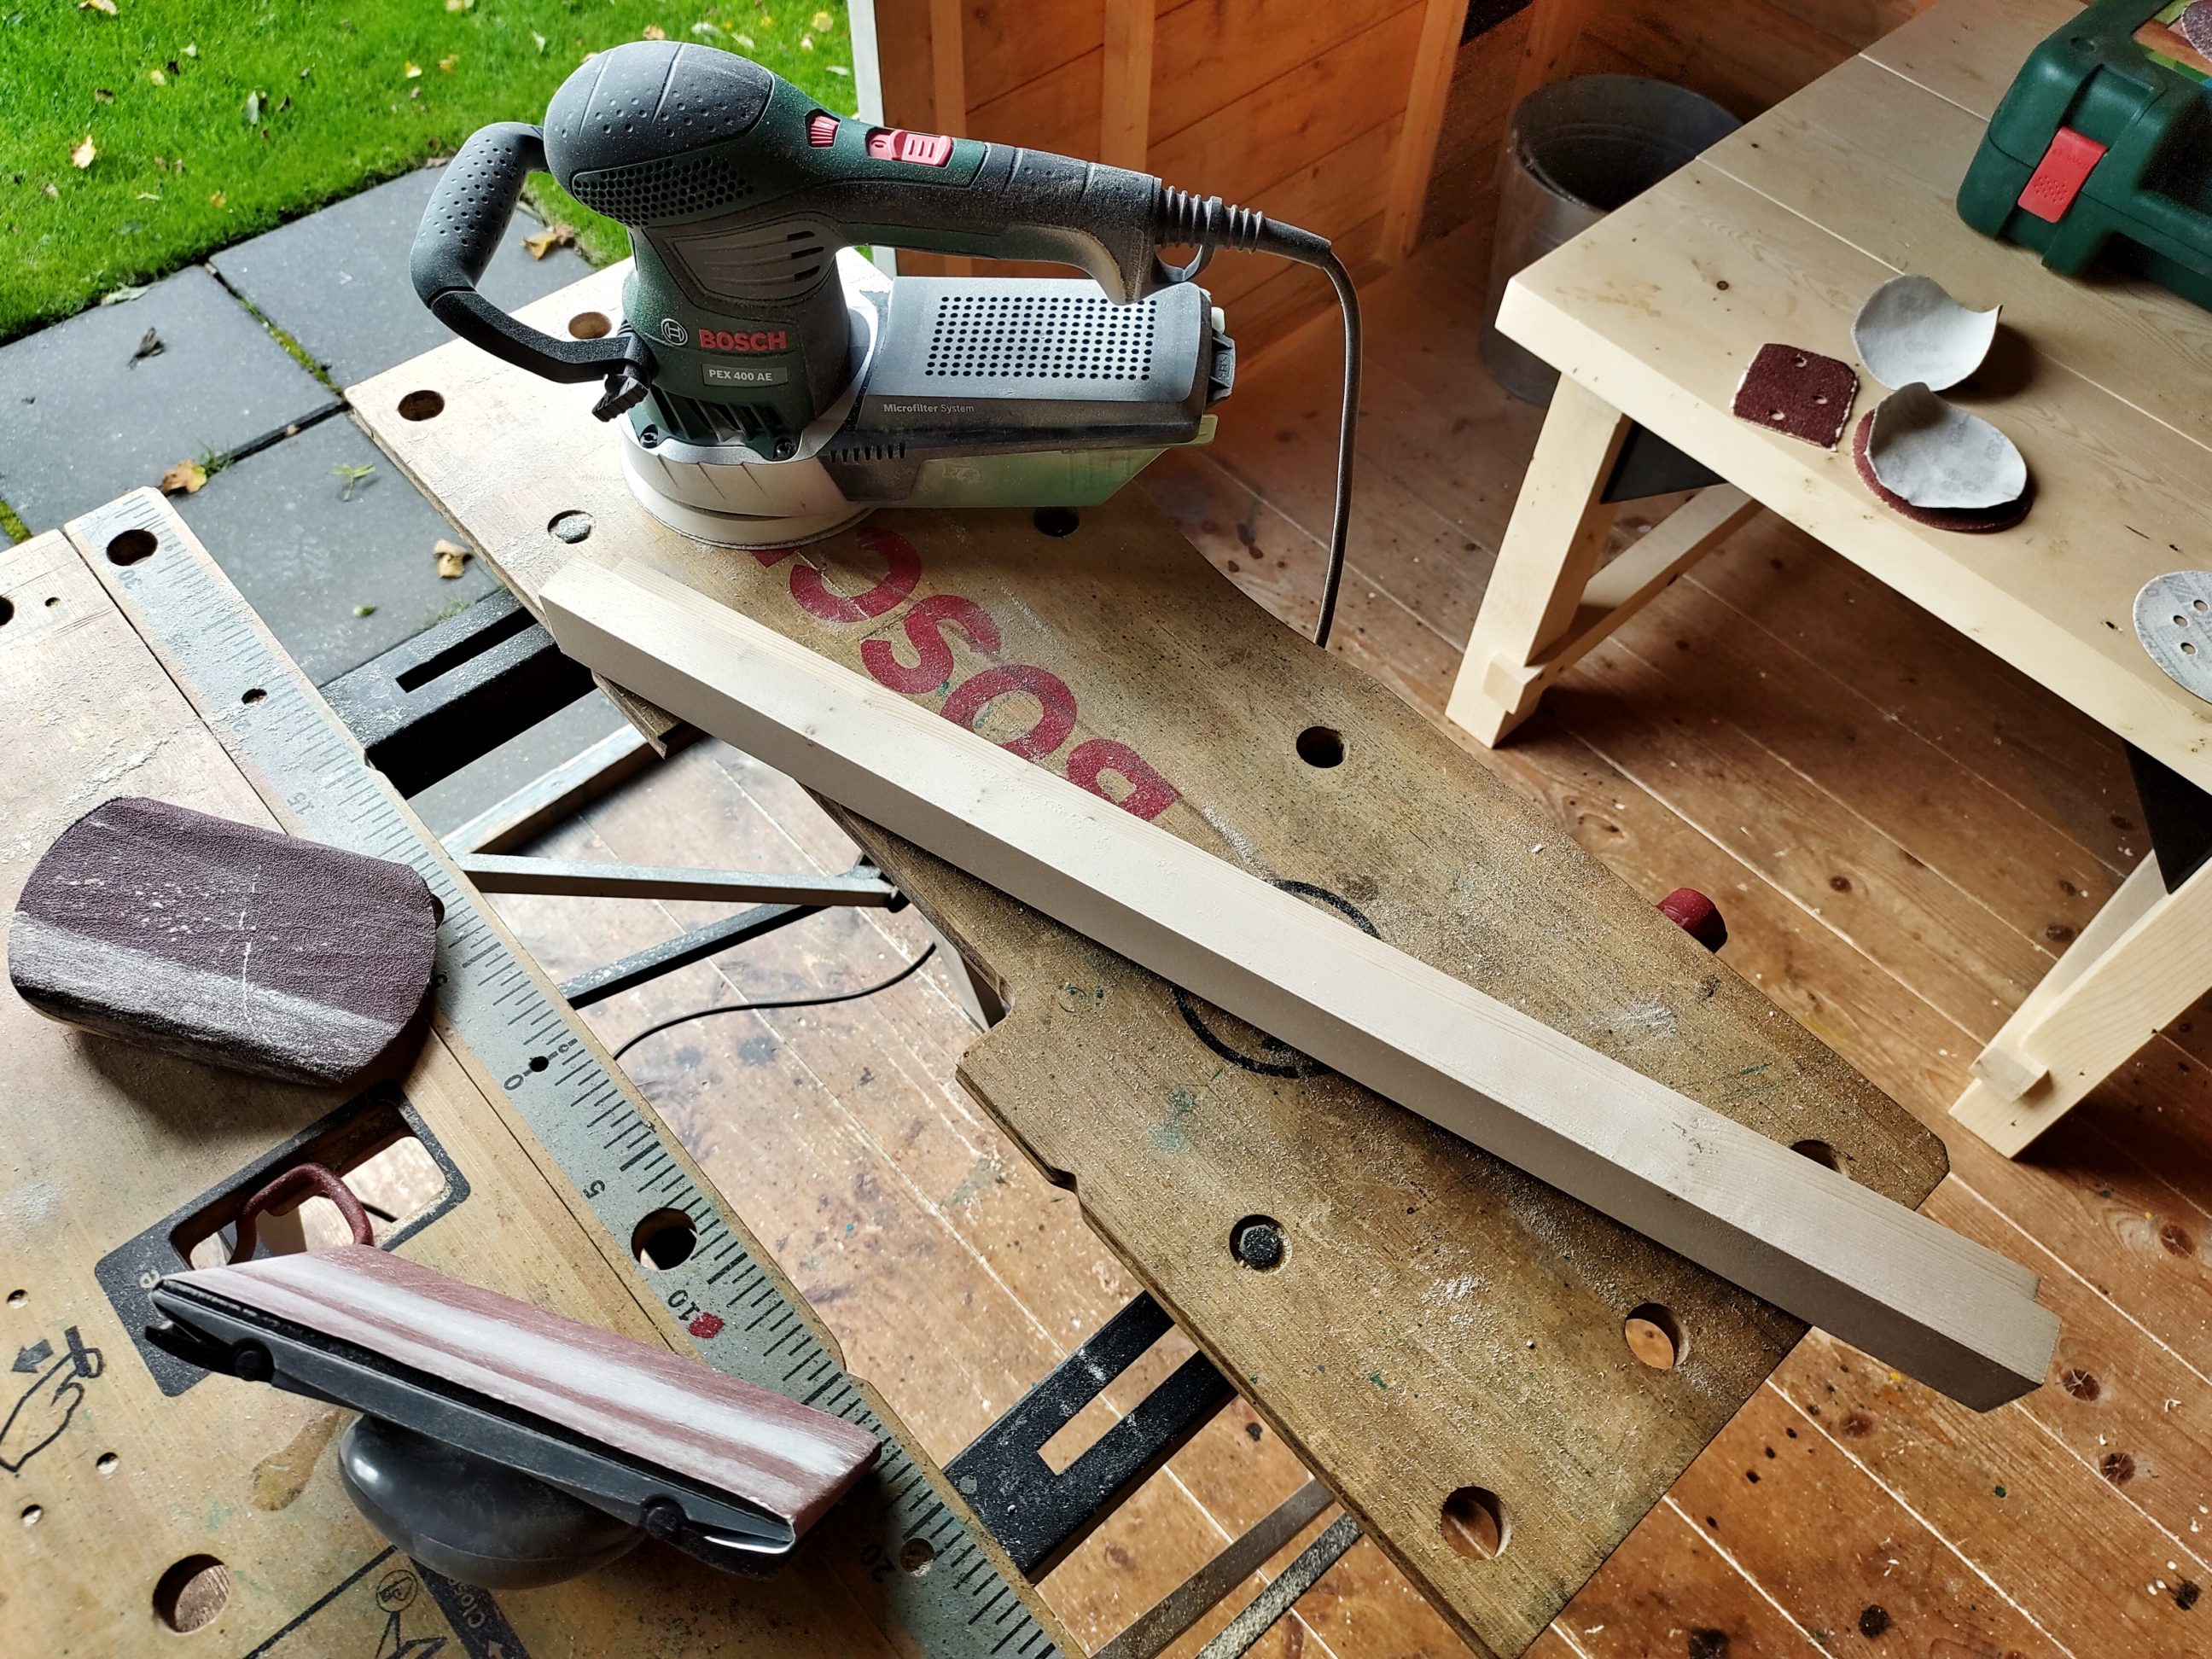
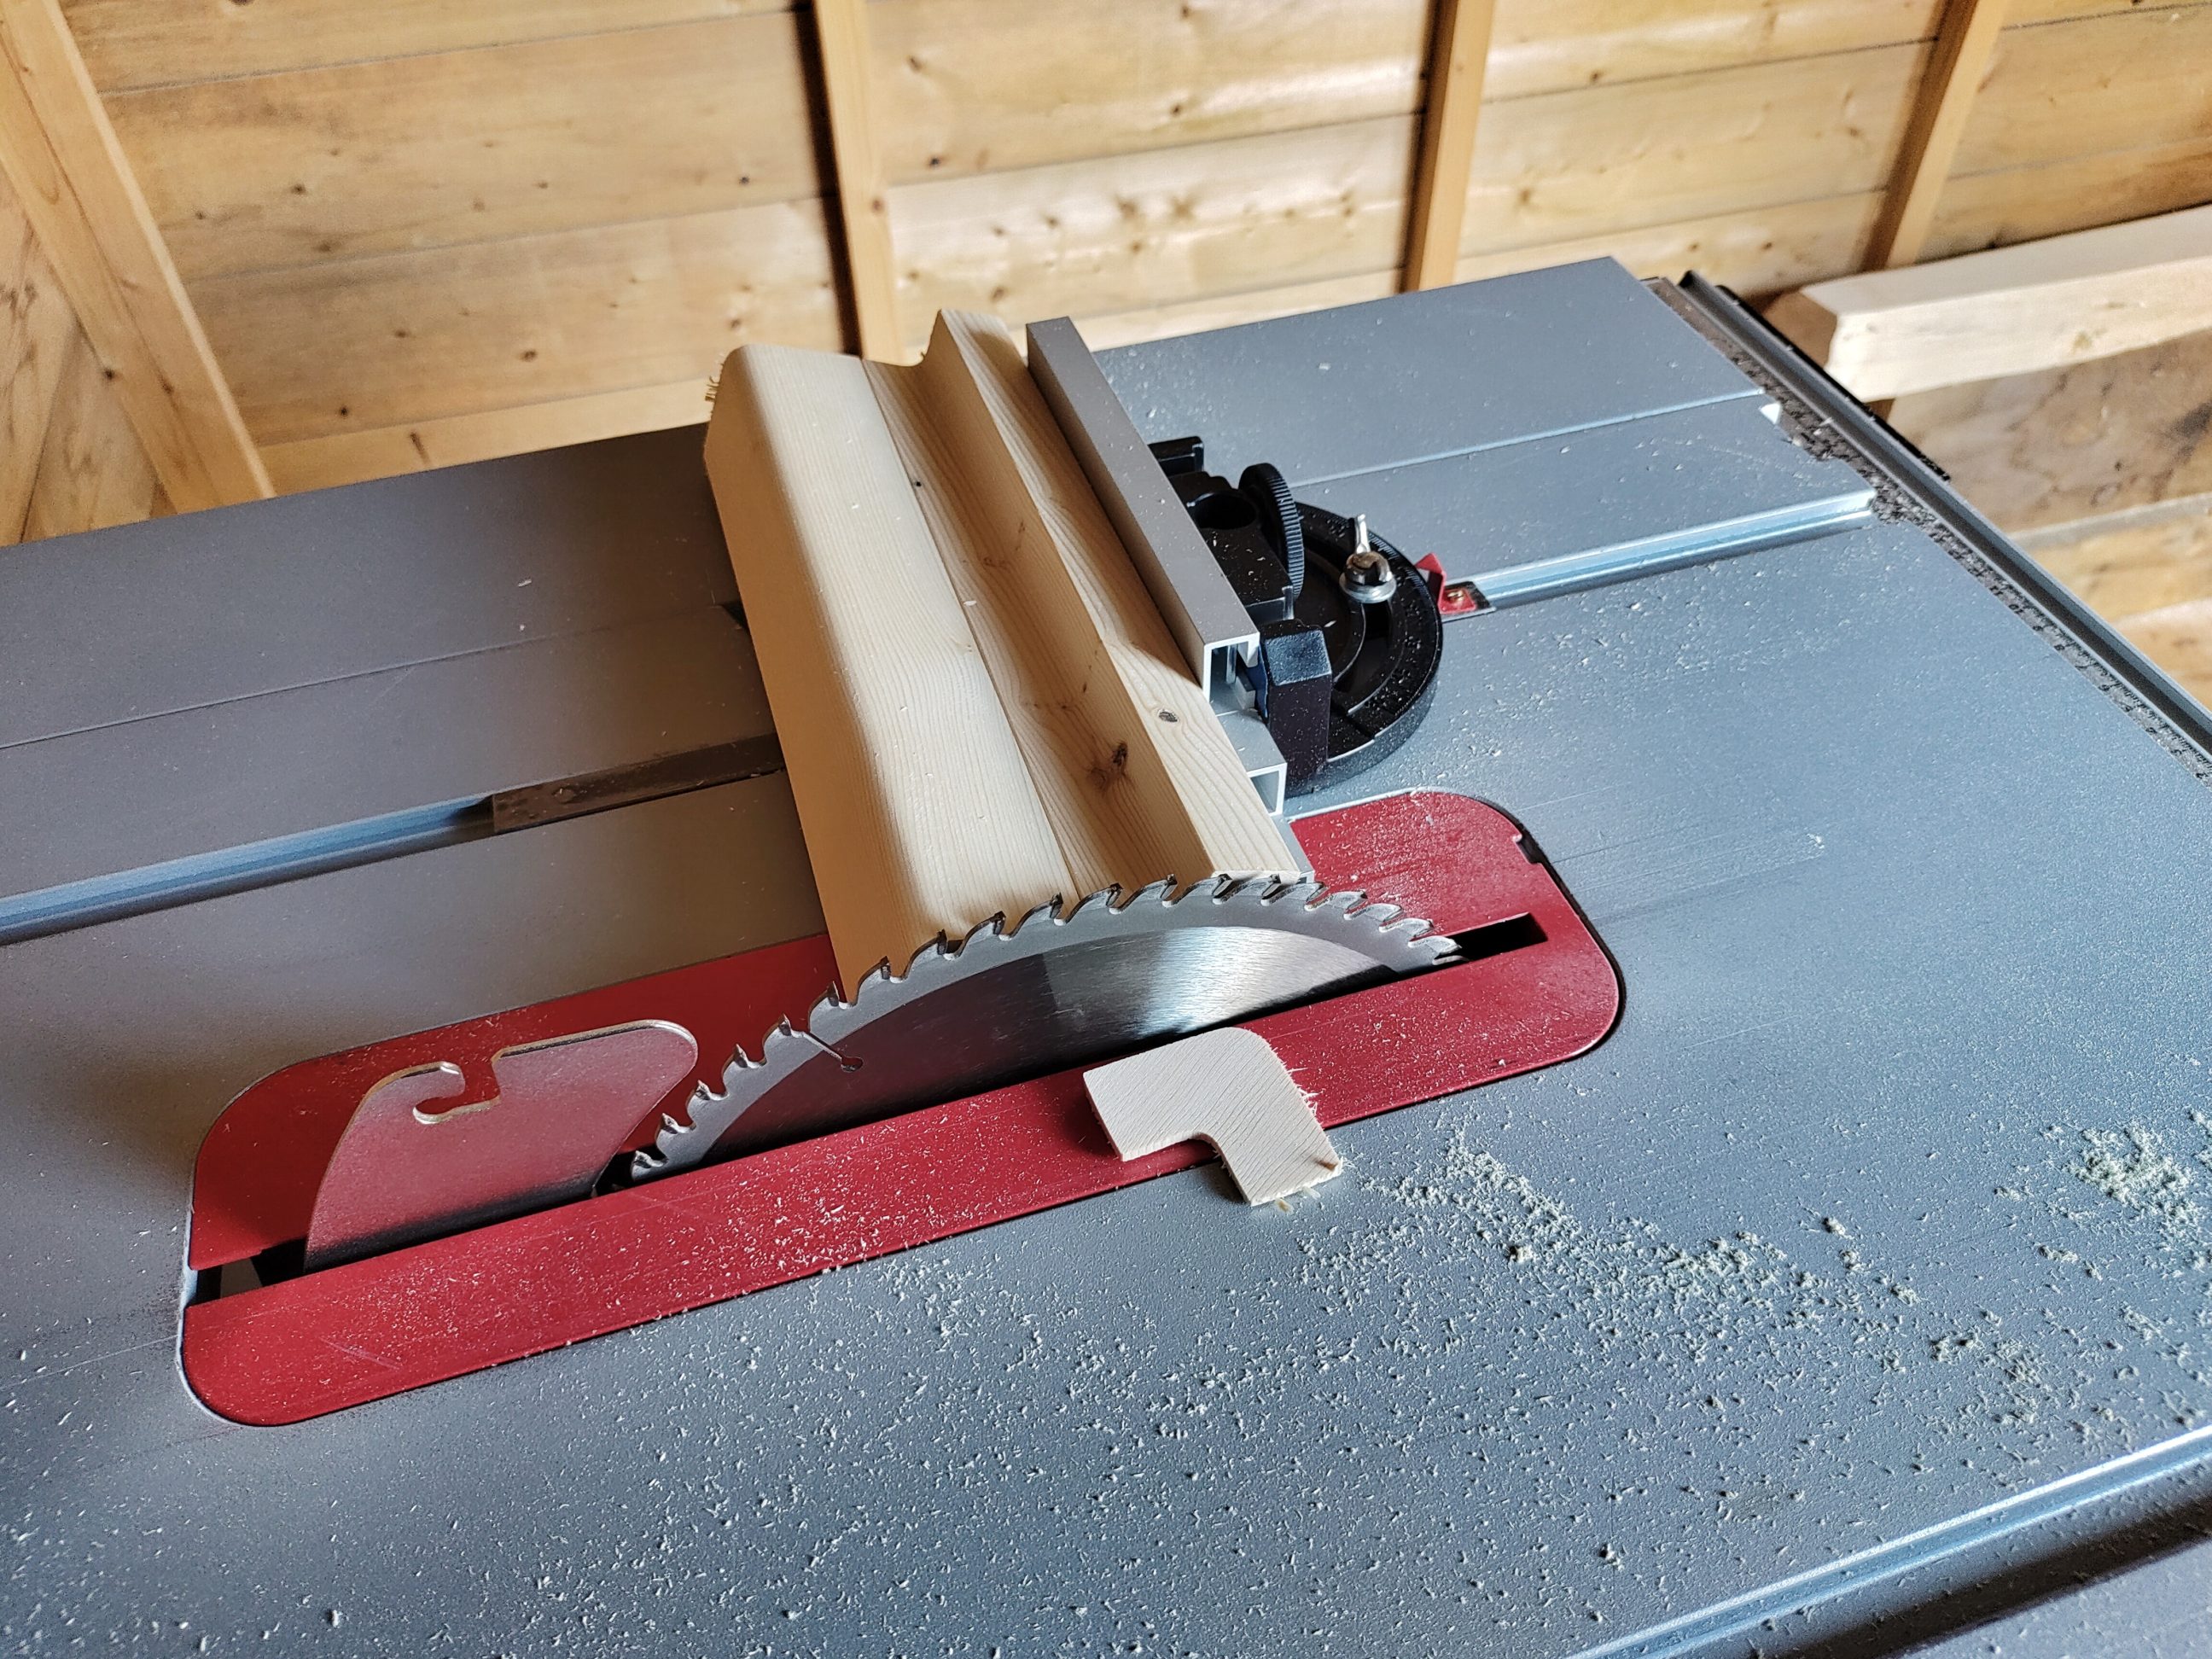
I sanded one of those mouldings nice and smooth up to 240 grit. Once I was happy with the surface, I cut it roughly in half using a hand saw.

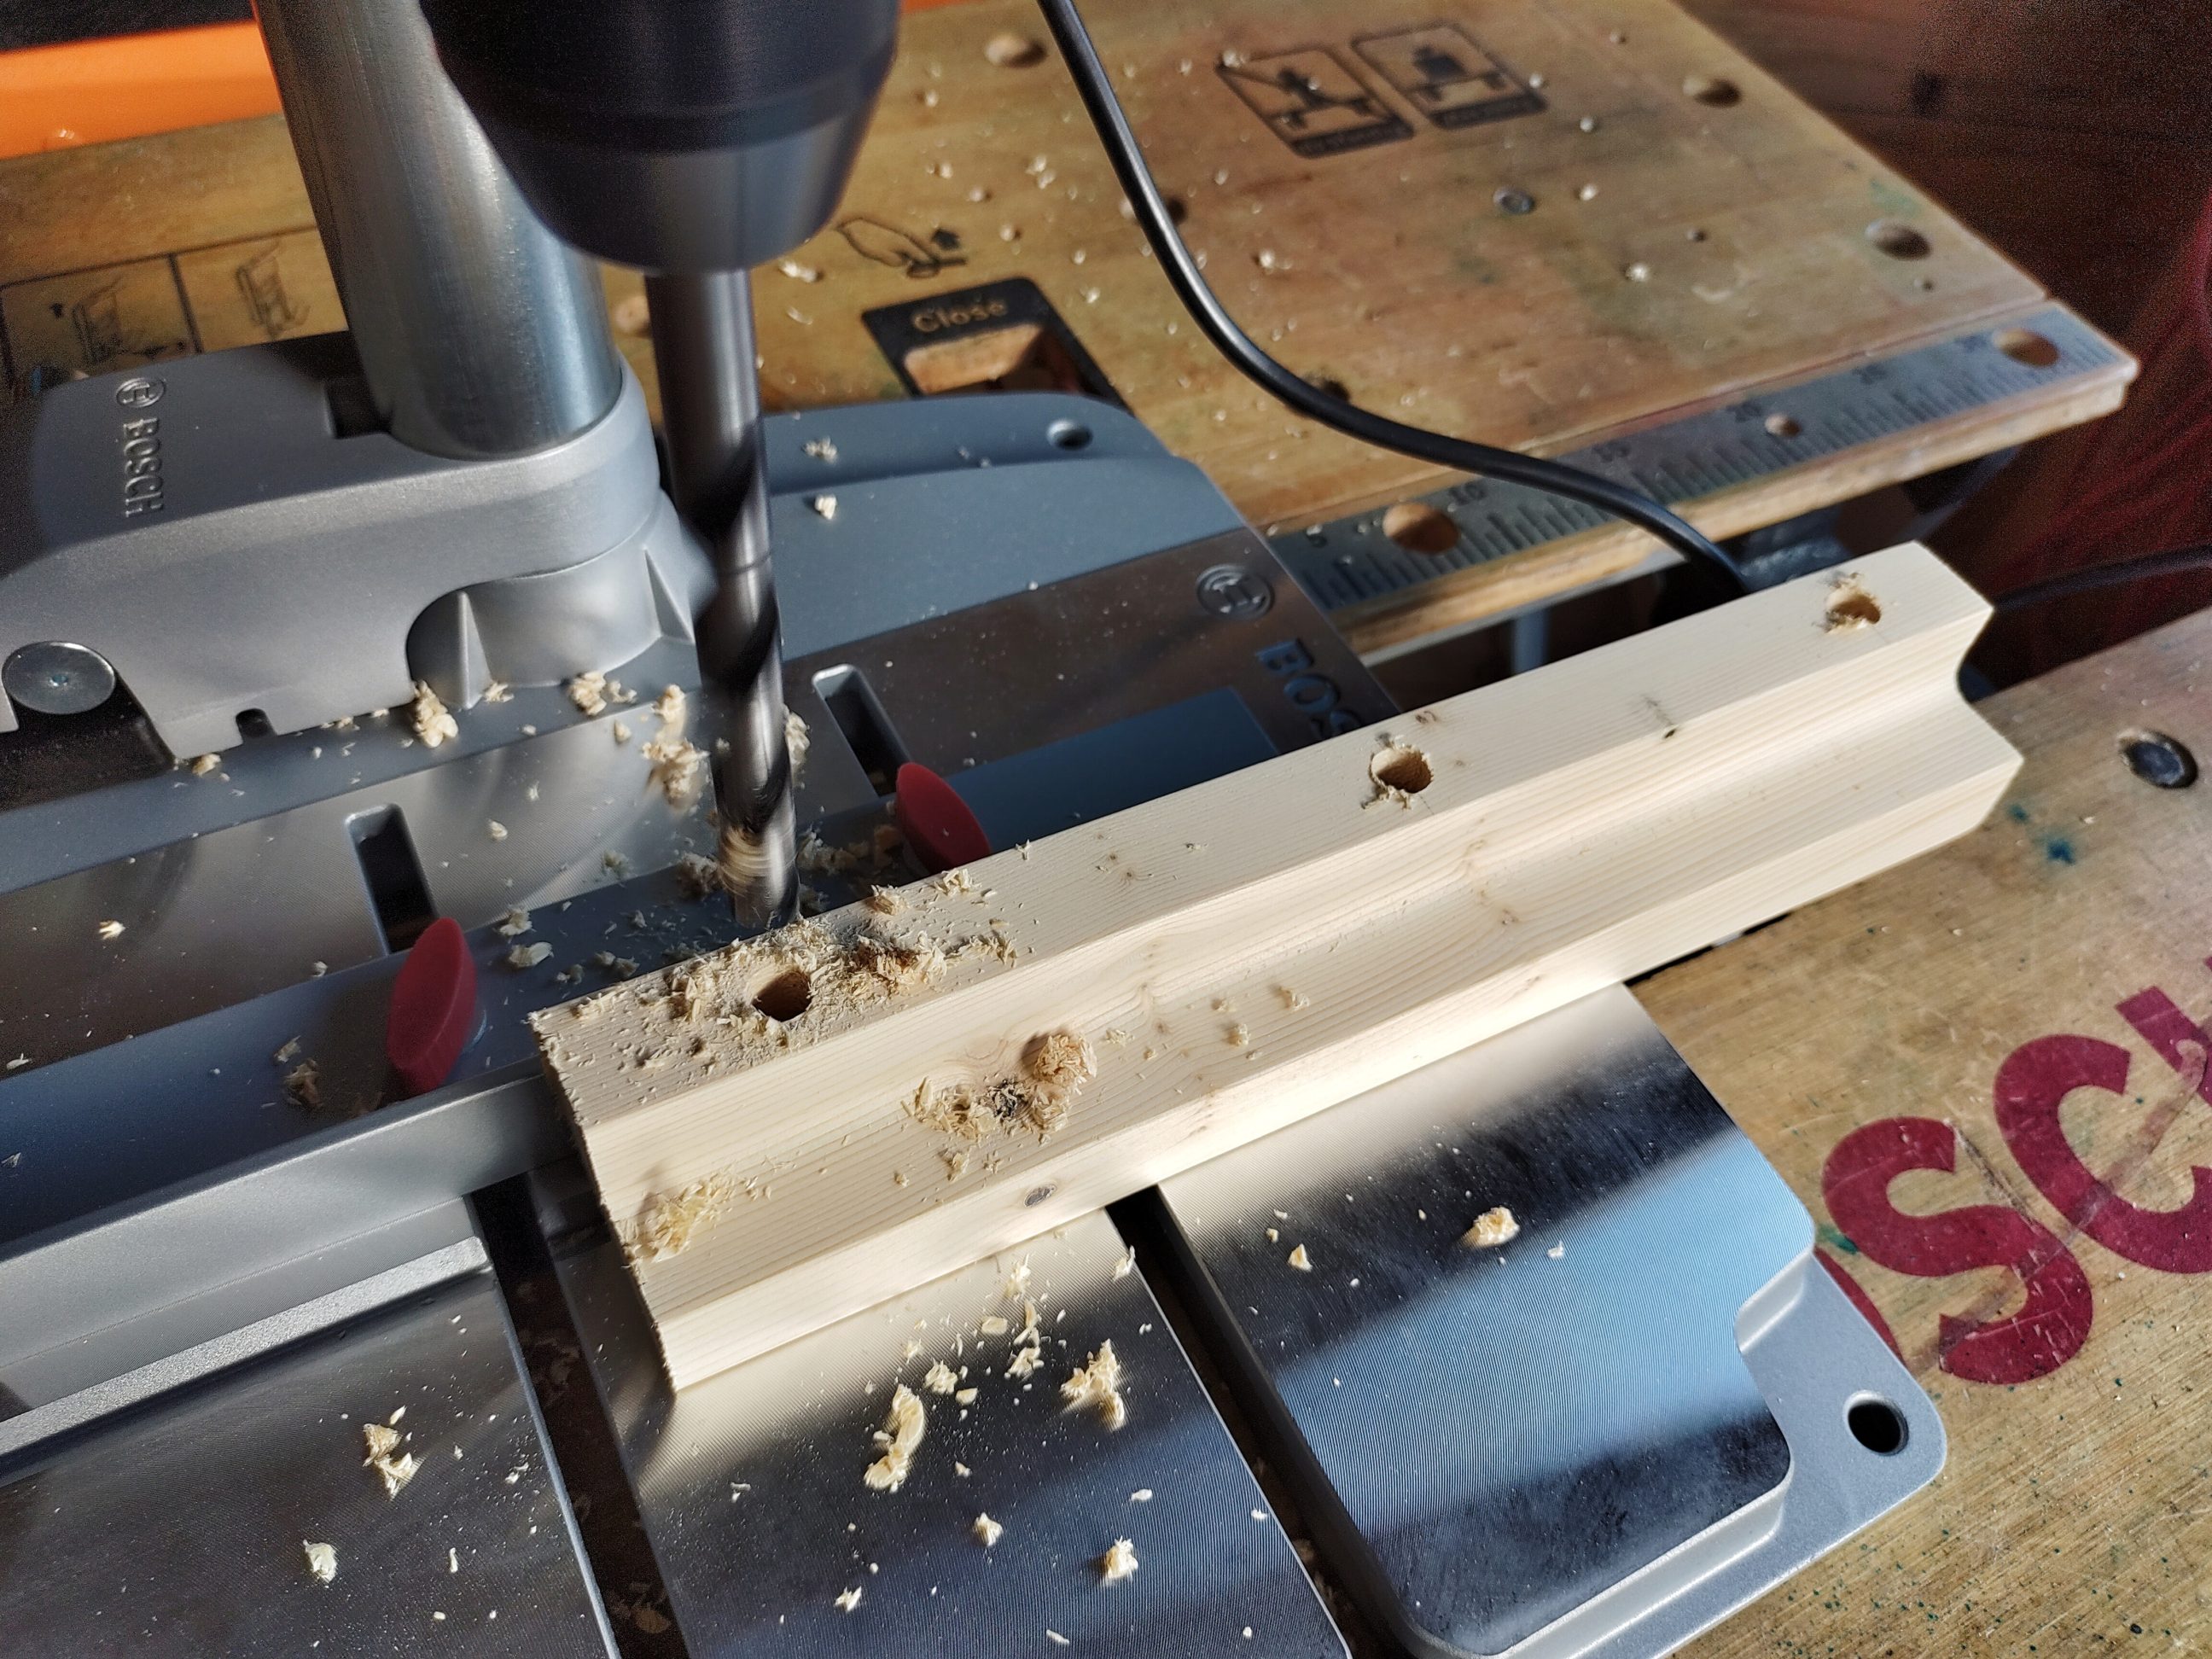
I marked drilling points and using my drill press I drilled 10 mm holes for the dowels. Both sides were connected and cut to size in the next step.

After that, I eased all the edges with sandpaper and made a simple rack, using double-sided tape to firmly hold both halves in place for the next couple of days. Coat 1 had to dry overnight before light sanding, then was coat 2 and within the next 4 hours a clear coat of spray lacquer.


When the paint dried, which took a few days, I applied glue to the dowel holes and put everything together. There was no need for any clamps as the assembly was very tight and self-clamping. After a couple of days, some bubbles developed on the top and the bottom, the end-grain ends. Probably some trapped moisture had to make its way out and leave the wood. That was unexpected and honestly, I didn’t know what to do with that?


So it turned into an unexpected experiment, I had to remove the bubbles by sanding. I made sure the paint was completely dry by simply postponing any works by another week or two. Not too aggressively, but just enough, I sanded both ends to flatten the bubbles and to expose the grain. The paint had soaked into the wood and the colour remained, luckily for me. Once that step was done, I buffed the sides with steel wool and wax, I also waxed both ends, to give them a nice sheen.


I was happy with the results and I learned something new, which is always appreciated. I didn’t expect that both ends would have such a long way to go from start to finish, but I liked their final look!