Custom L-Boxx glide tray for streamlined tool access
Over the years, my collection of L-Boxxes and Bosch tools has steadily grown. Although storage itself wasn’t an issue, the process of retrieving the right tool became increasingly time-consuming. On top of that, the repetitive bending wasn’t doing my spine any favours – safety and health should always come first. After all, we need to take care of ourselves because no one else will. A basic tray on castors seemed like the perfect solution – simple to build and cost-effective. With most of the materials already on hand and all the necessary tools, I was able to start construction immediately. The sooner I completed it, the better for both tool handling and spinal health.
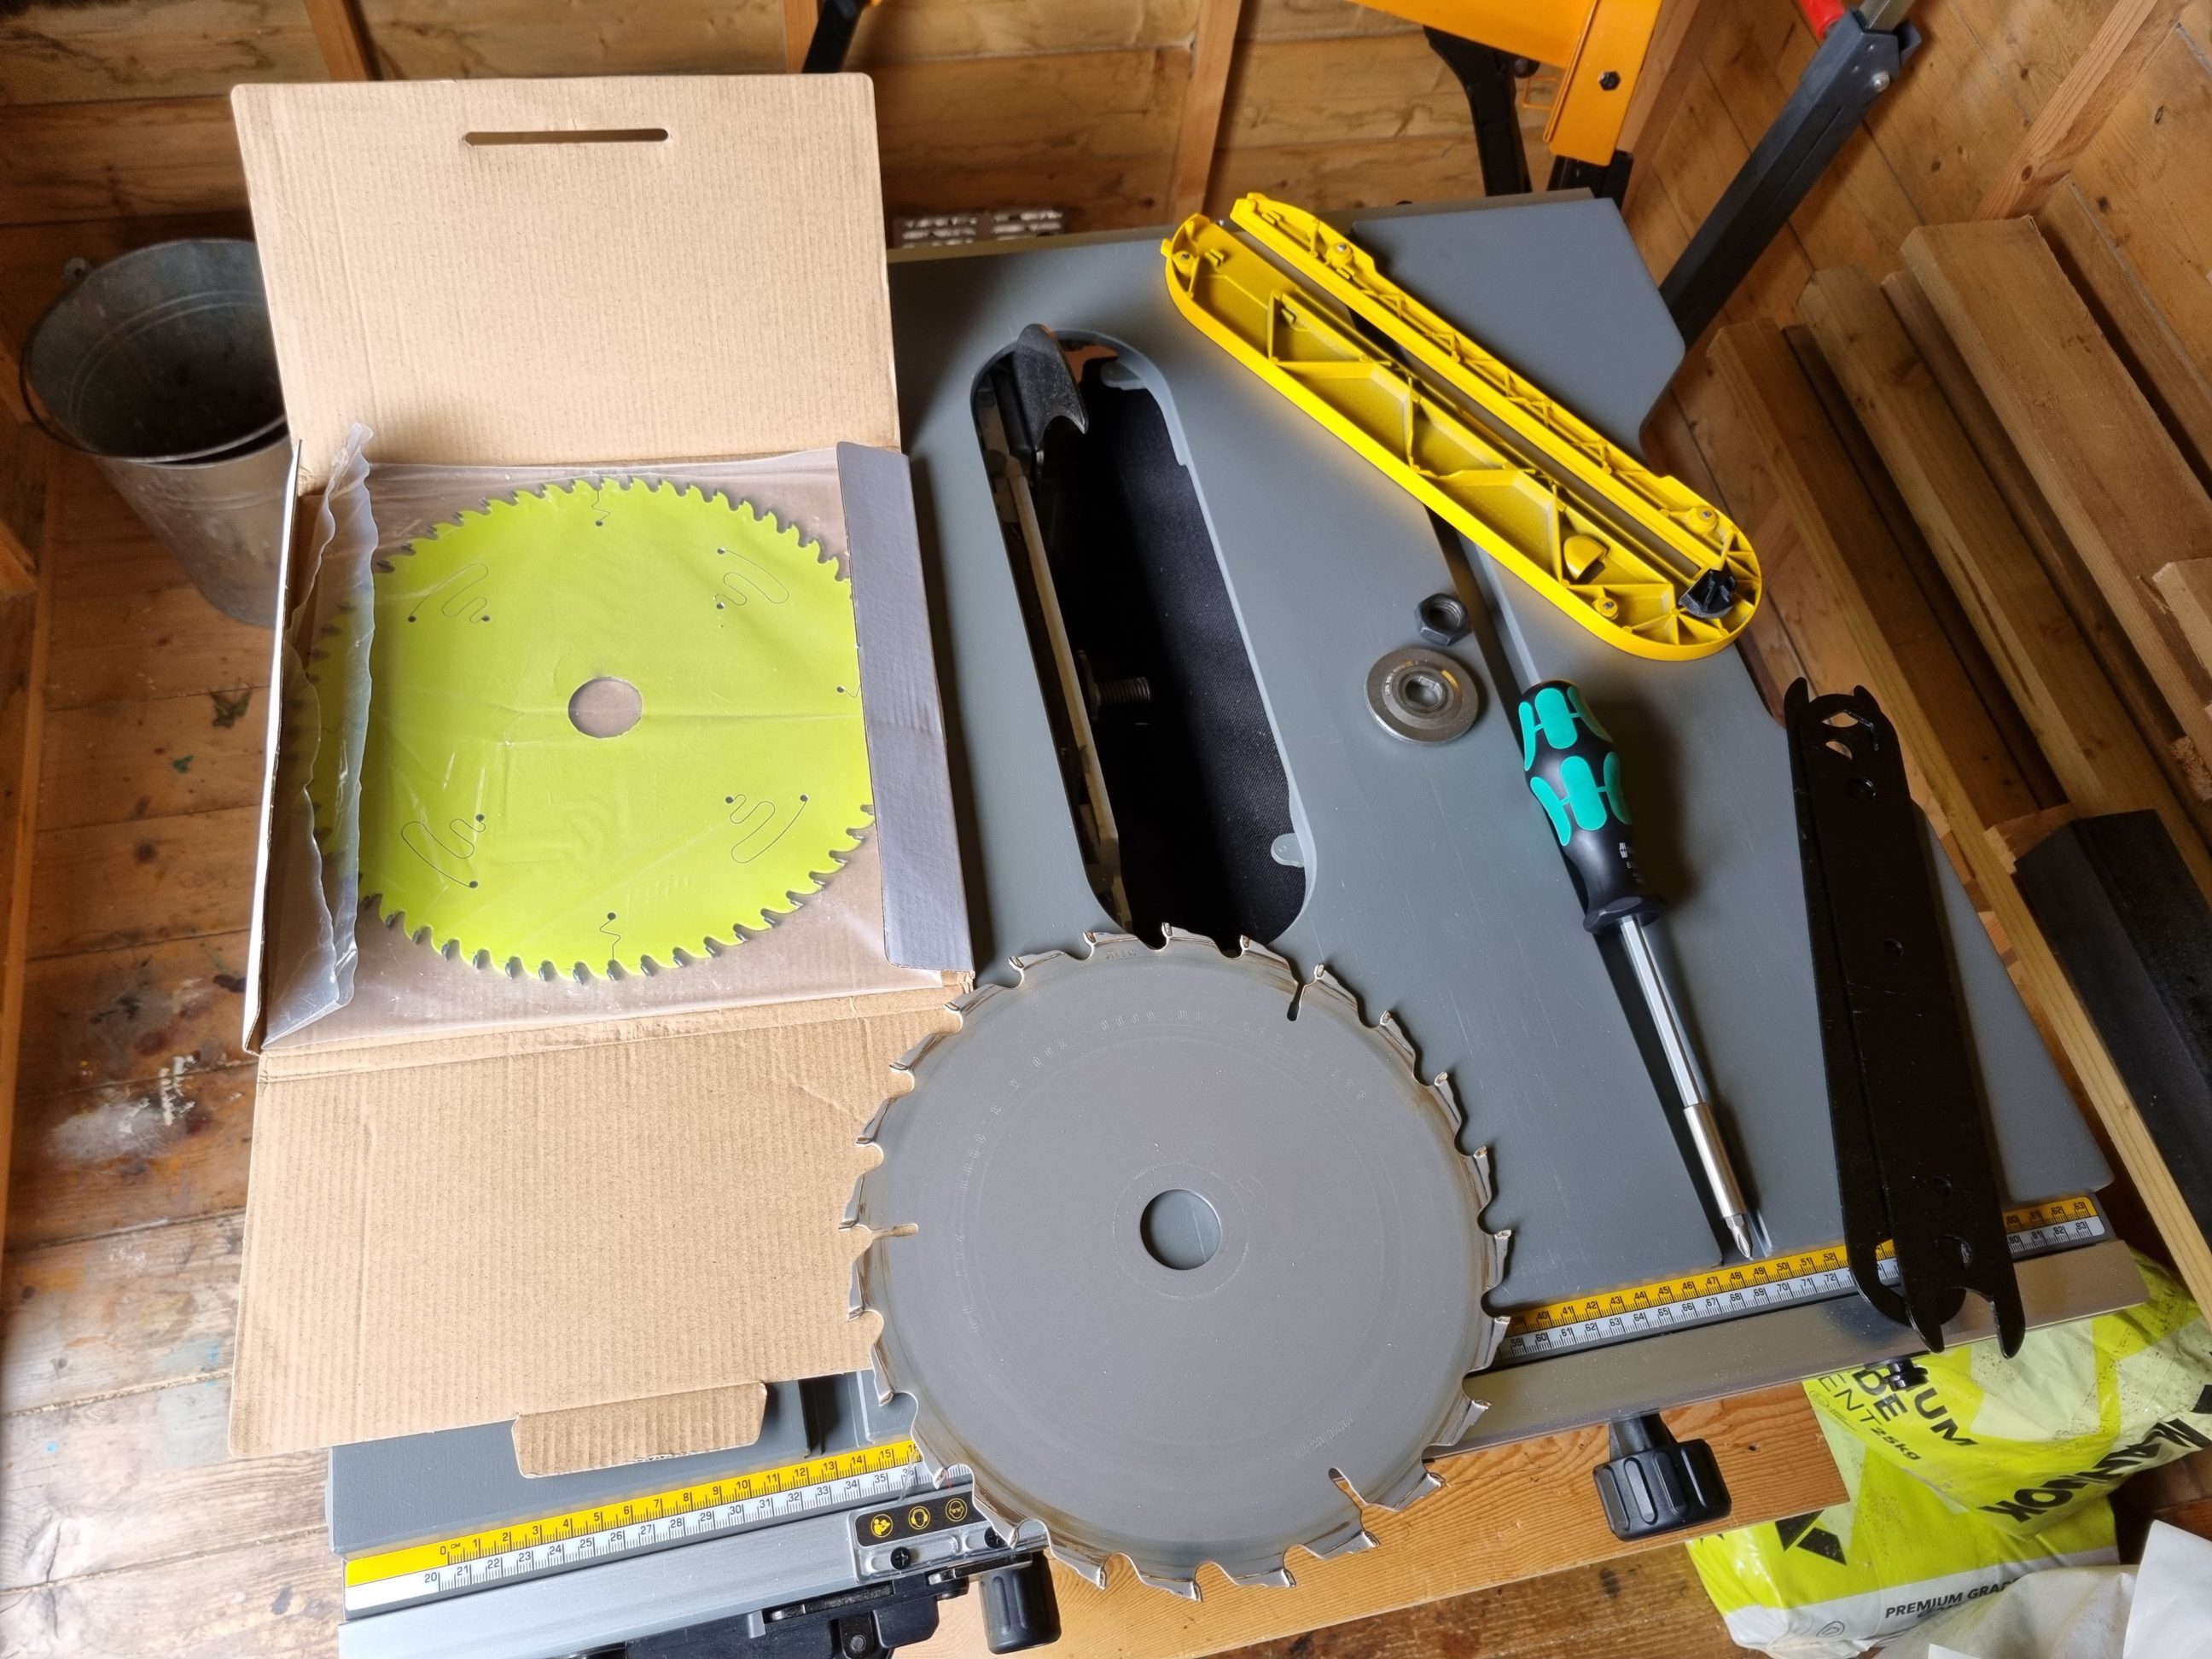
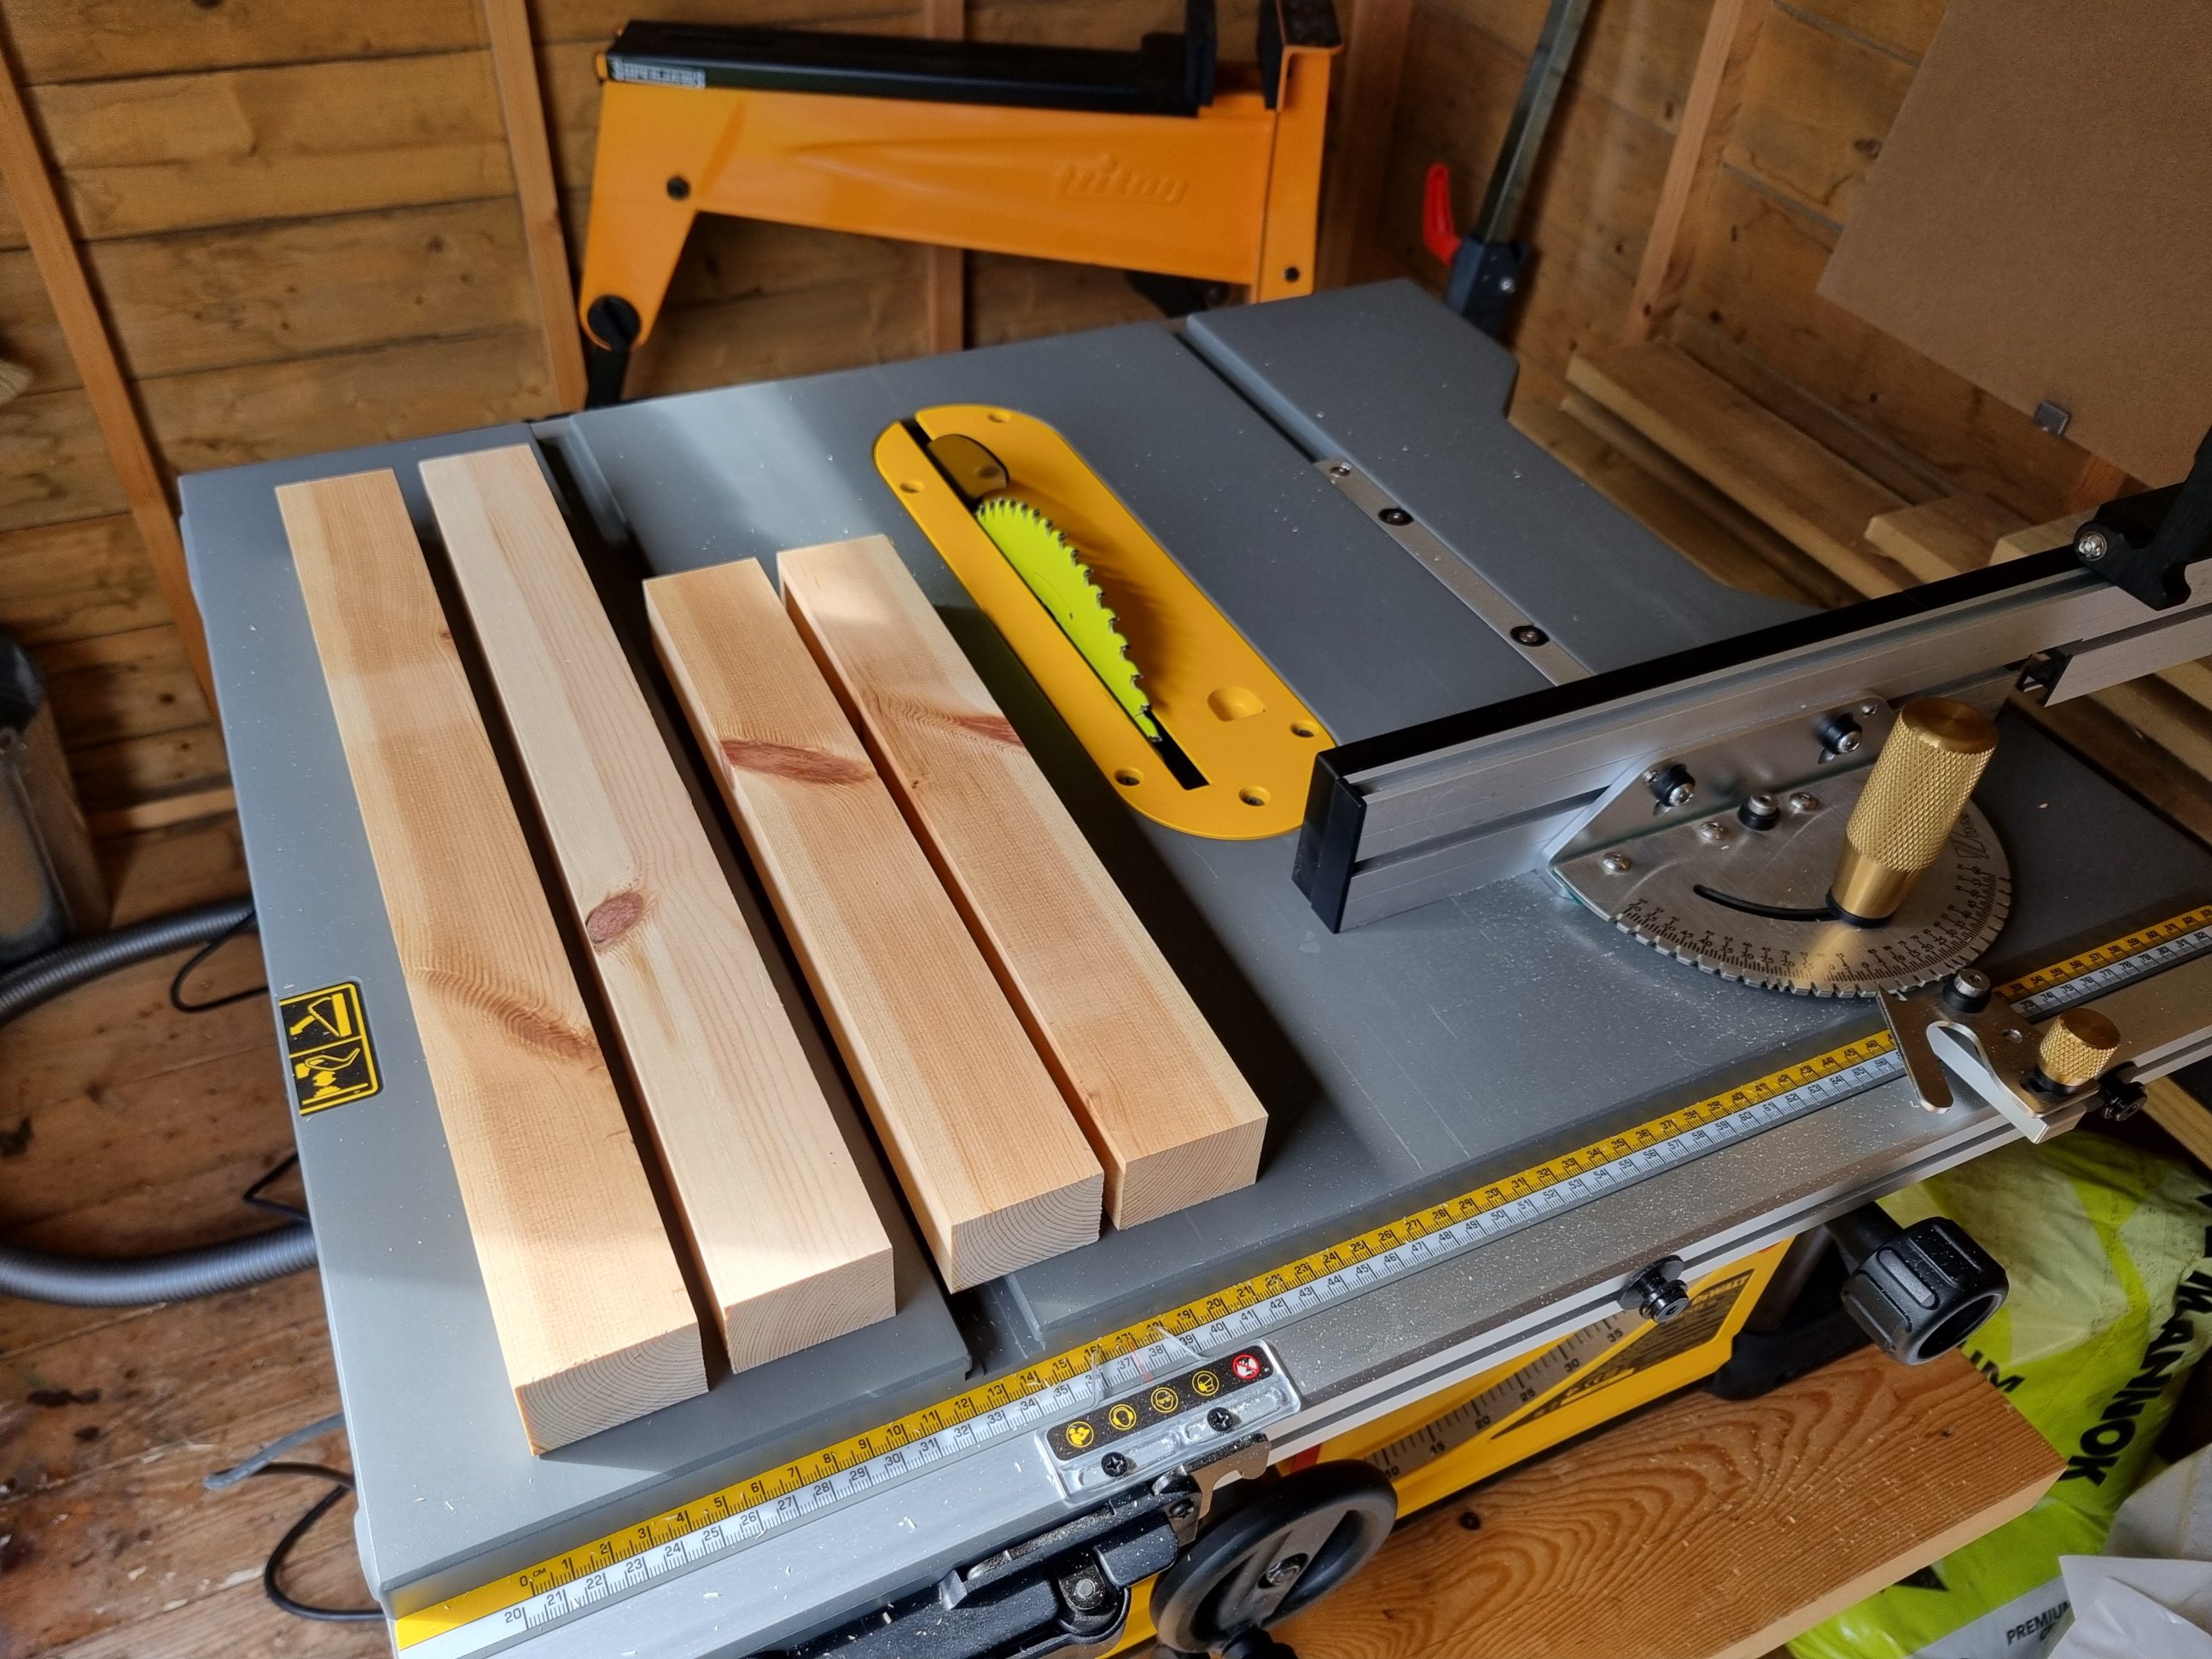
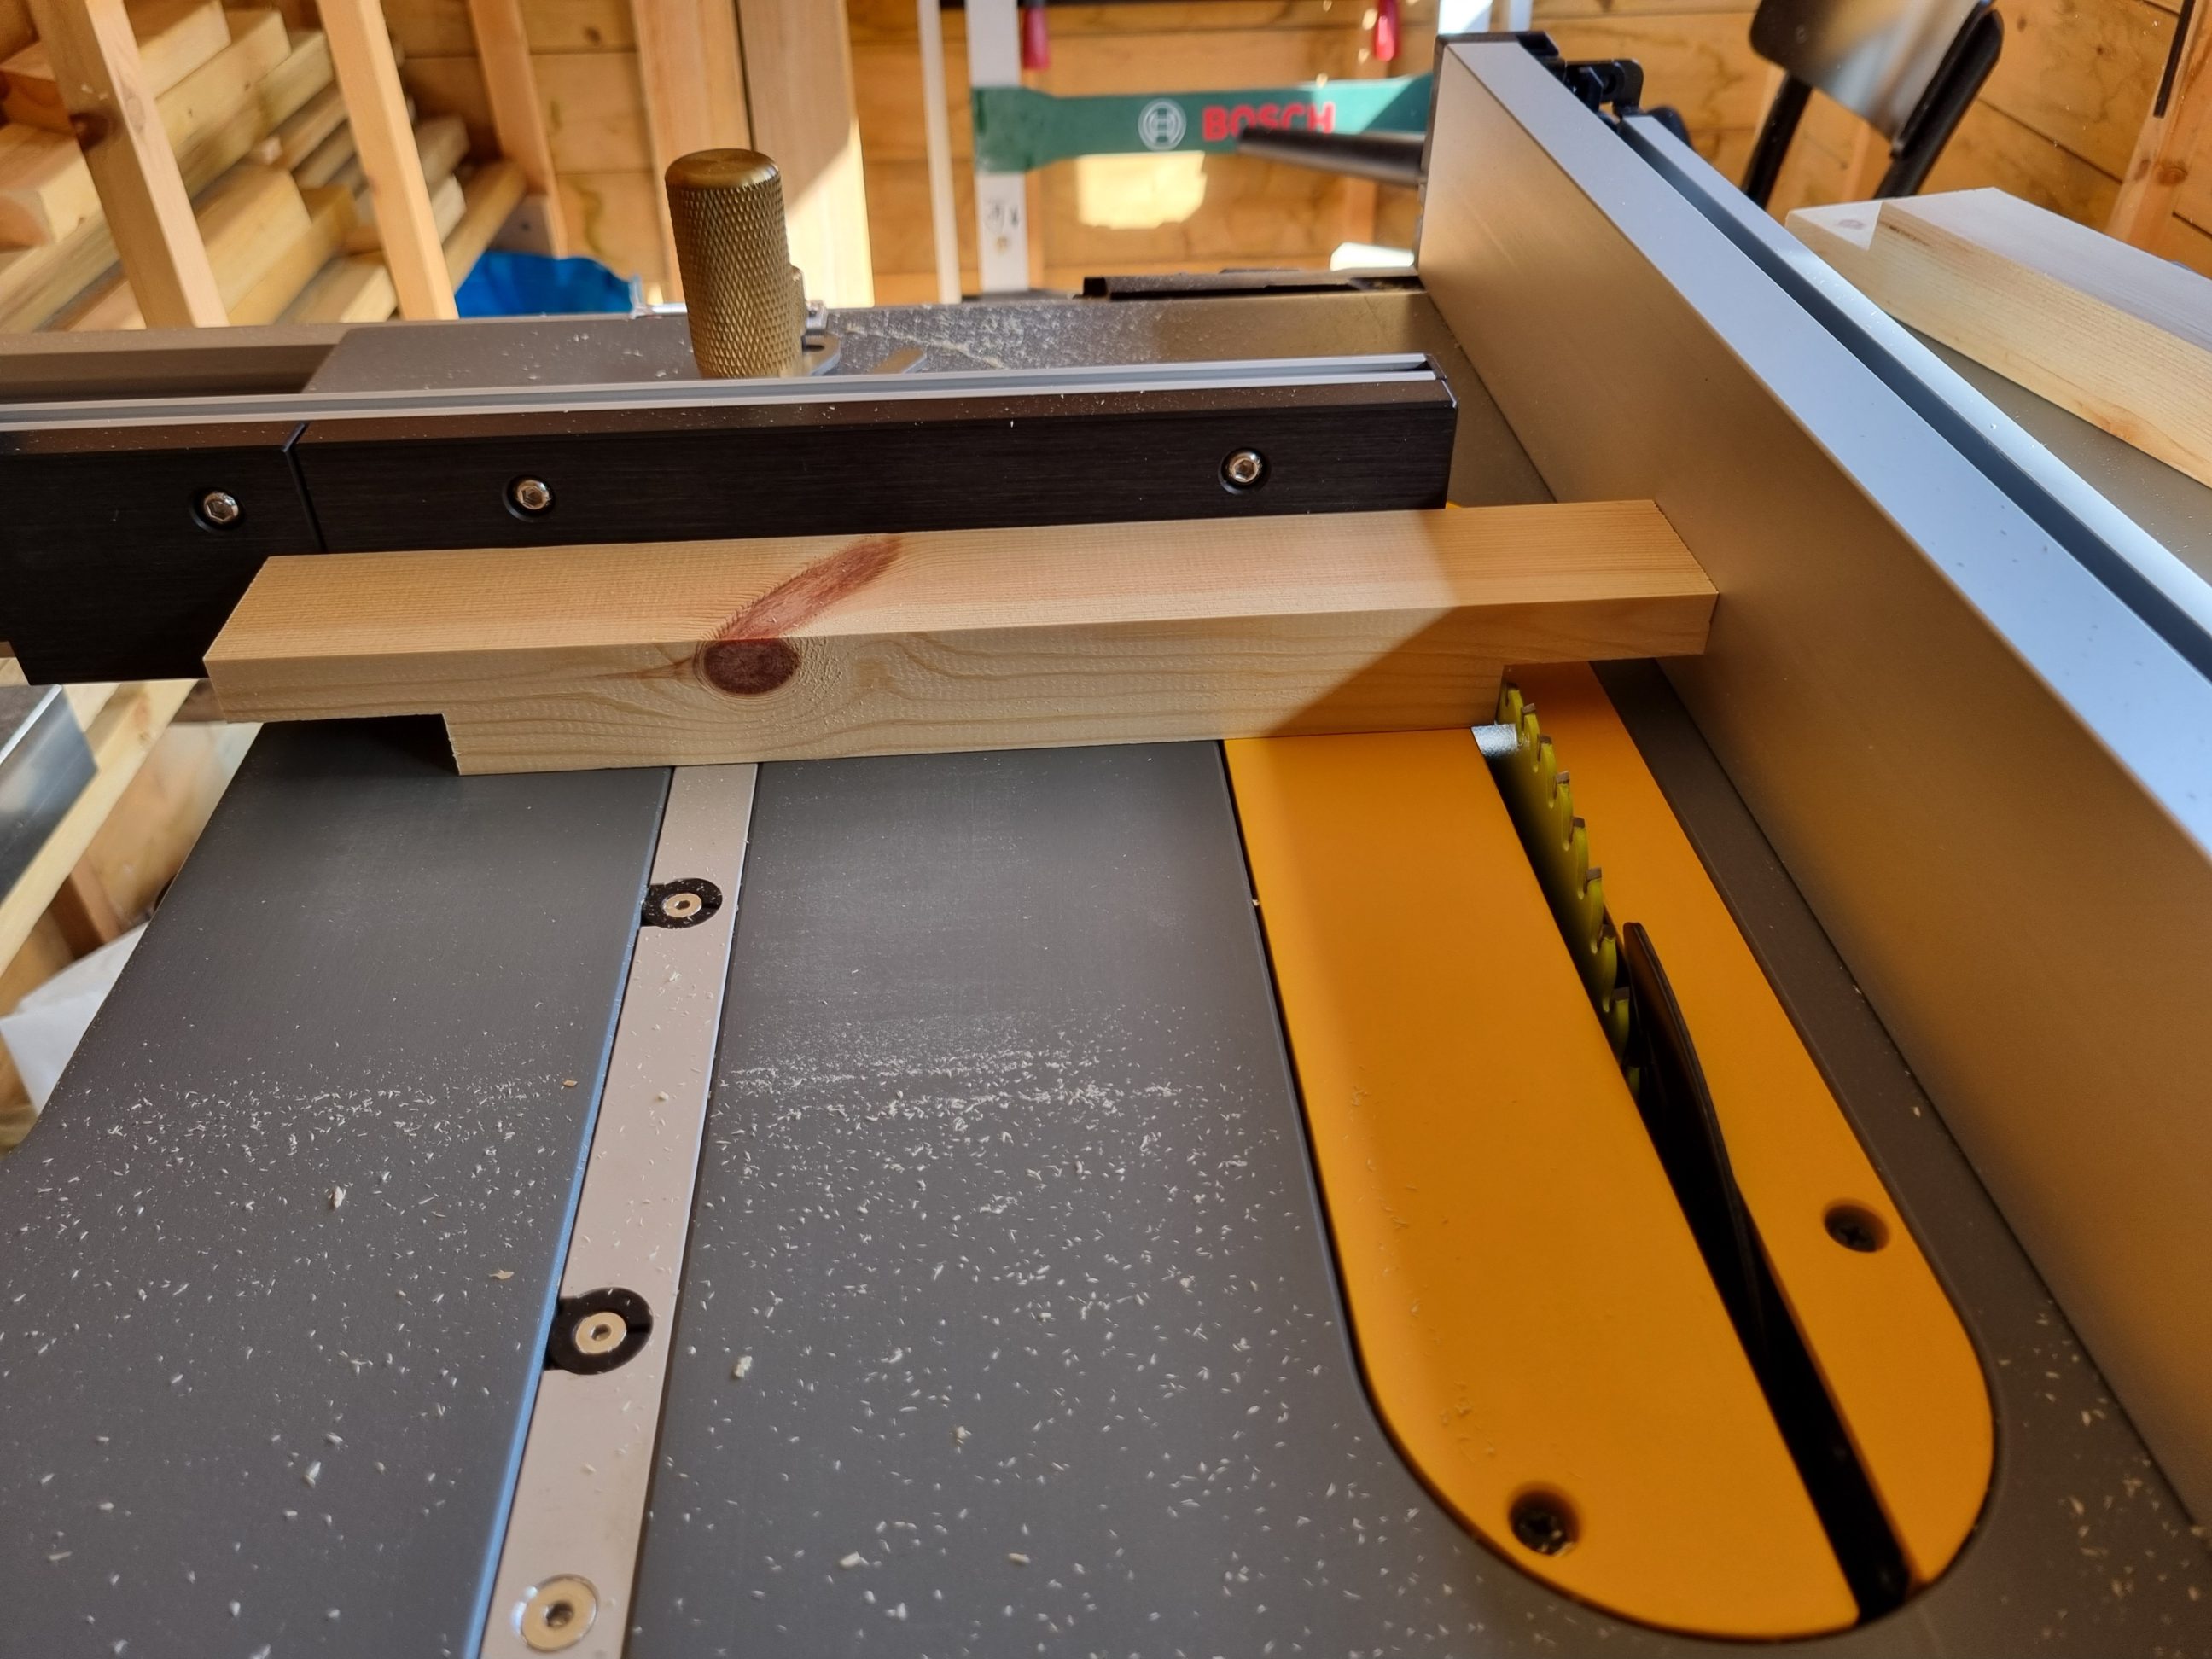
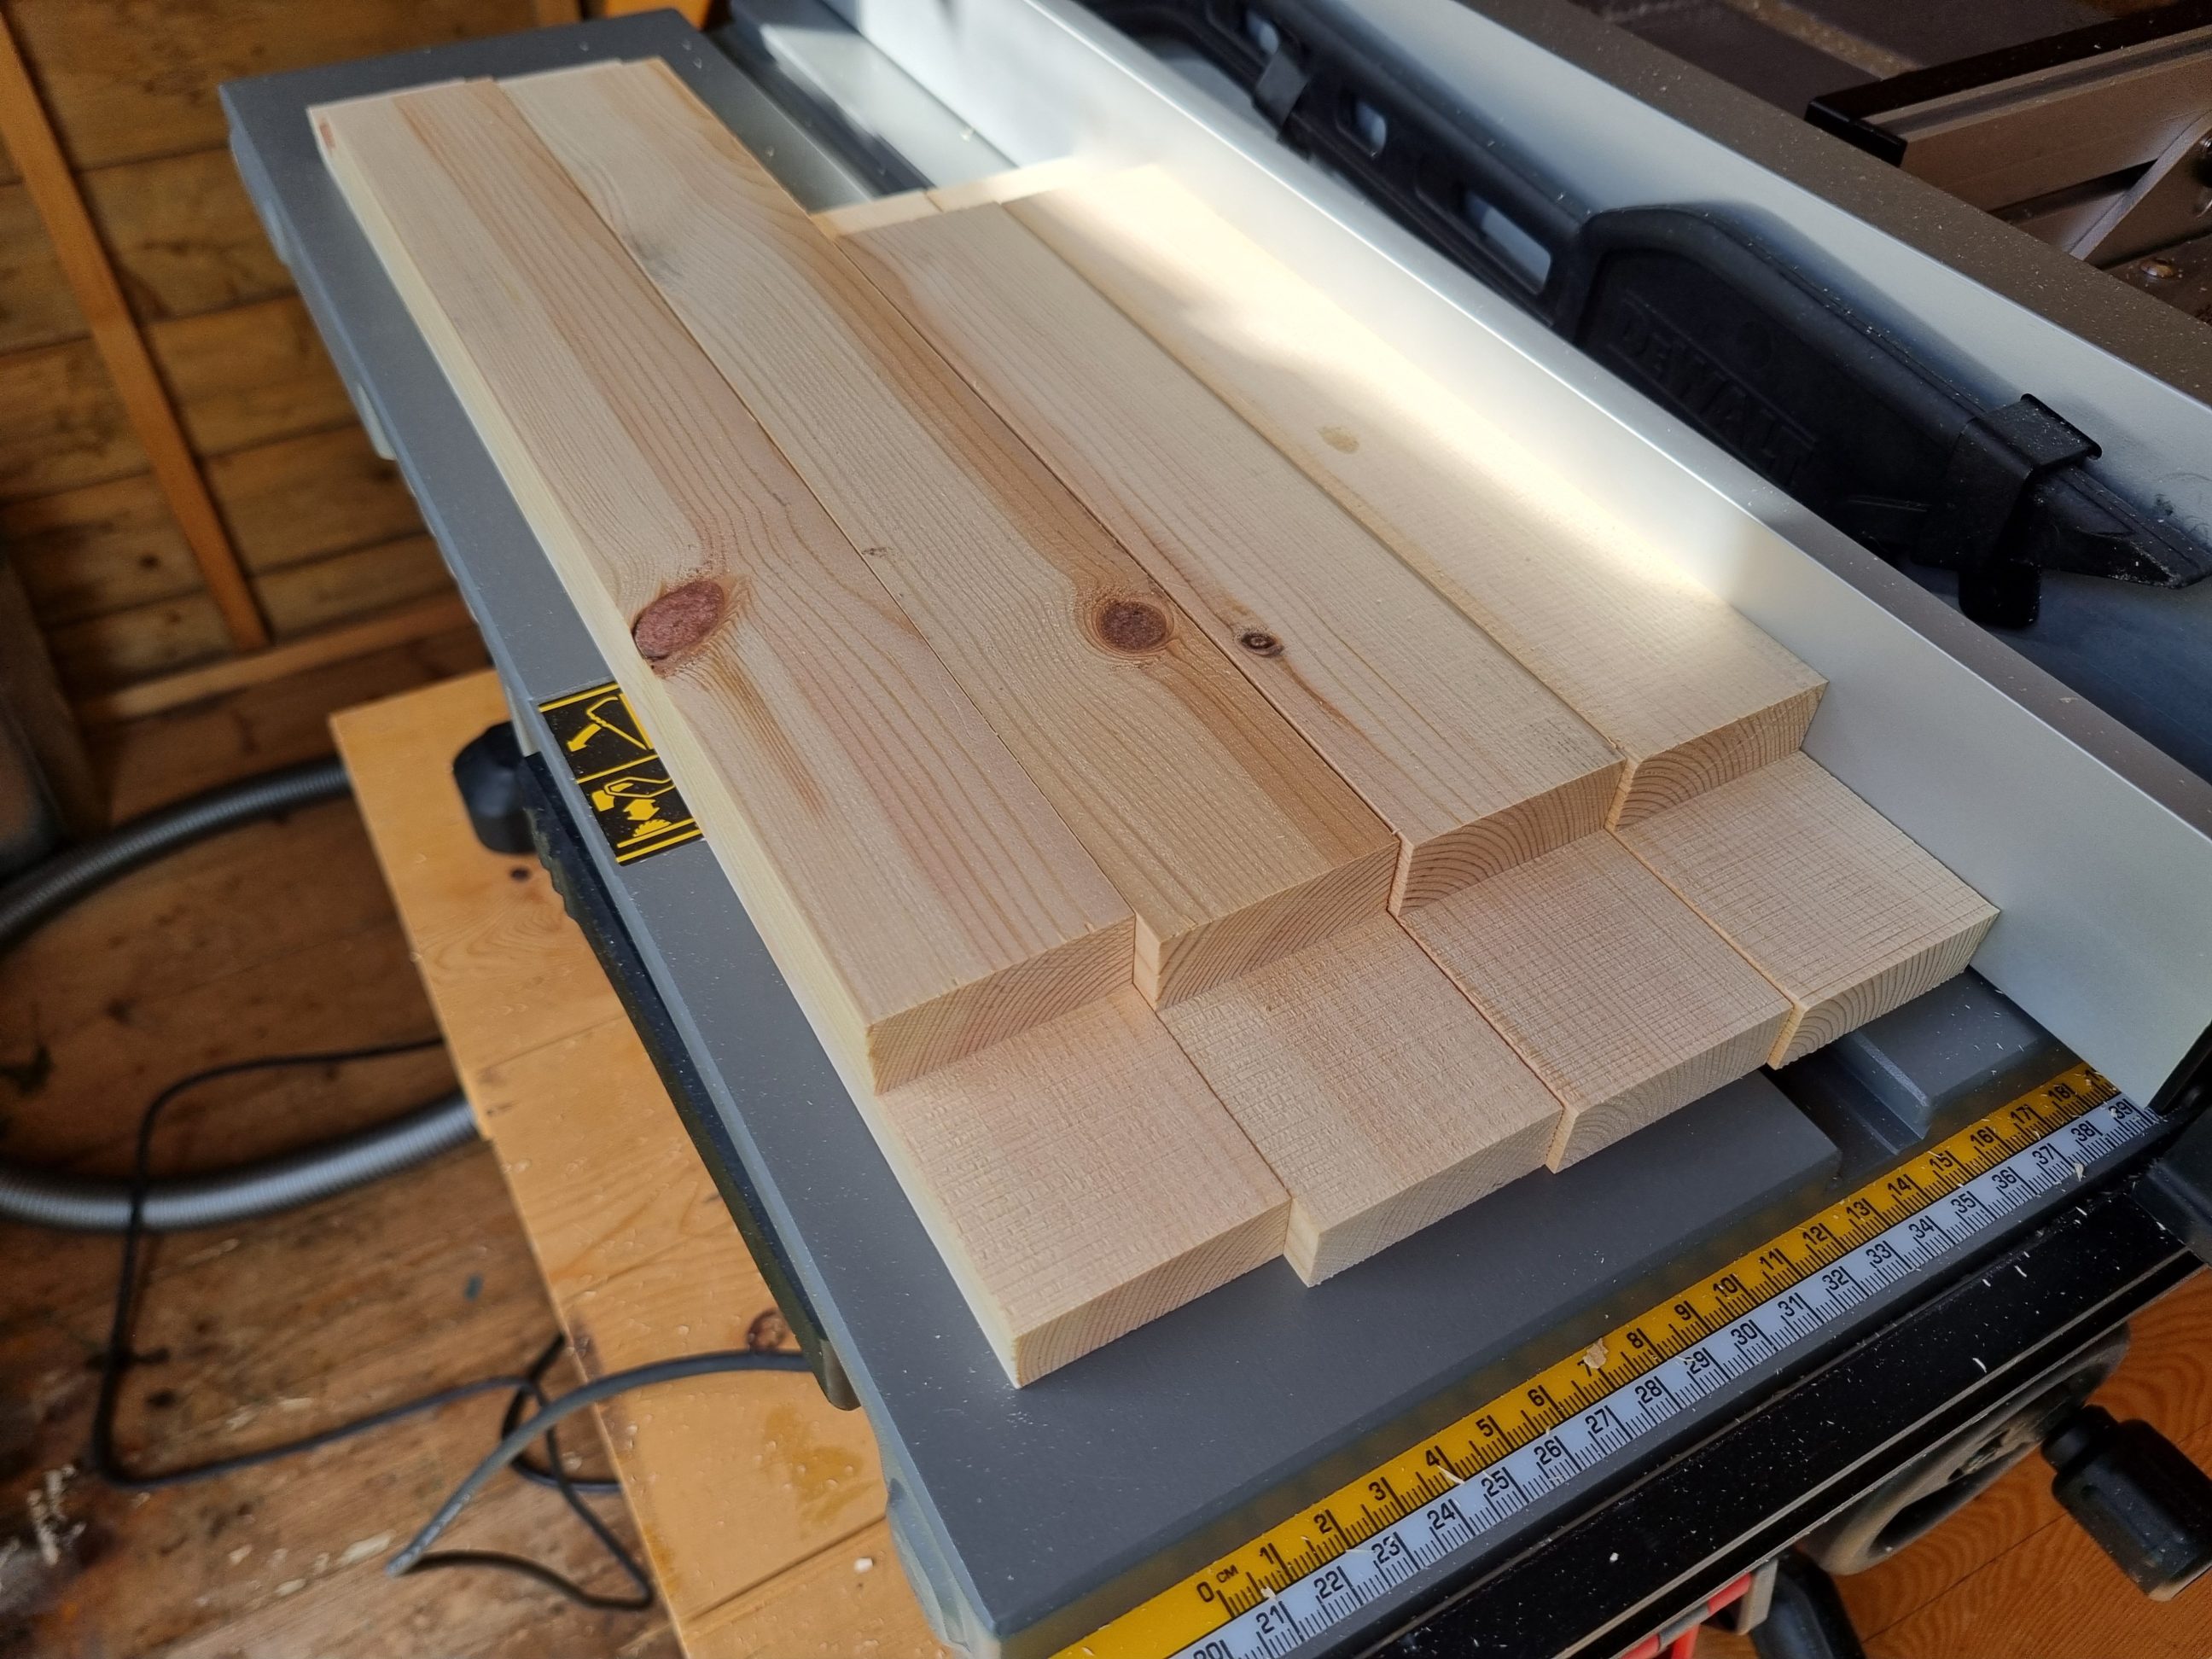
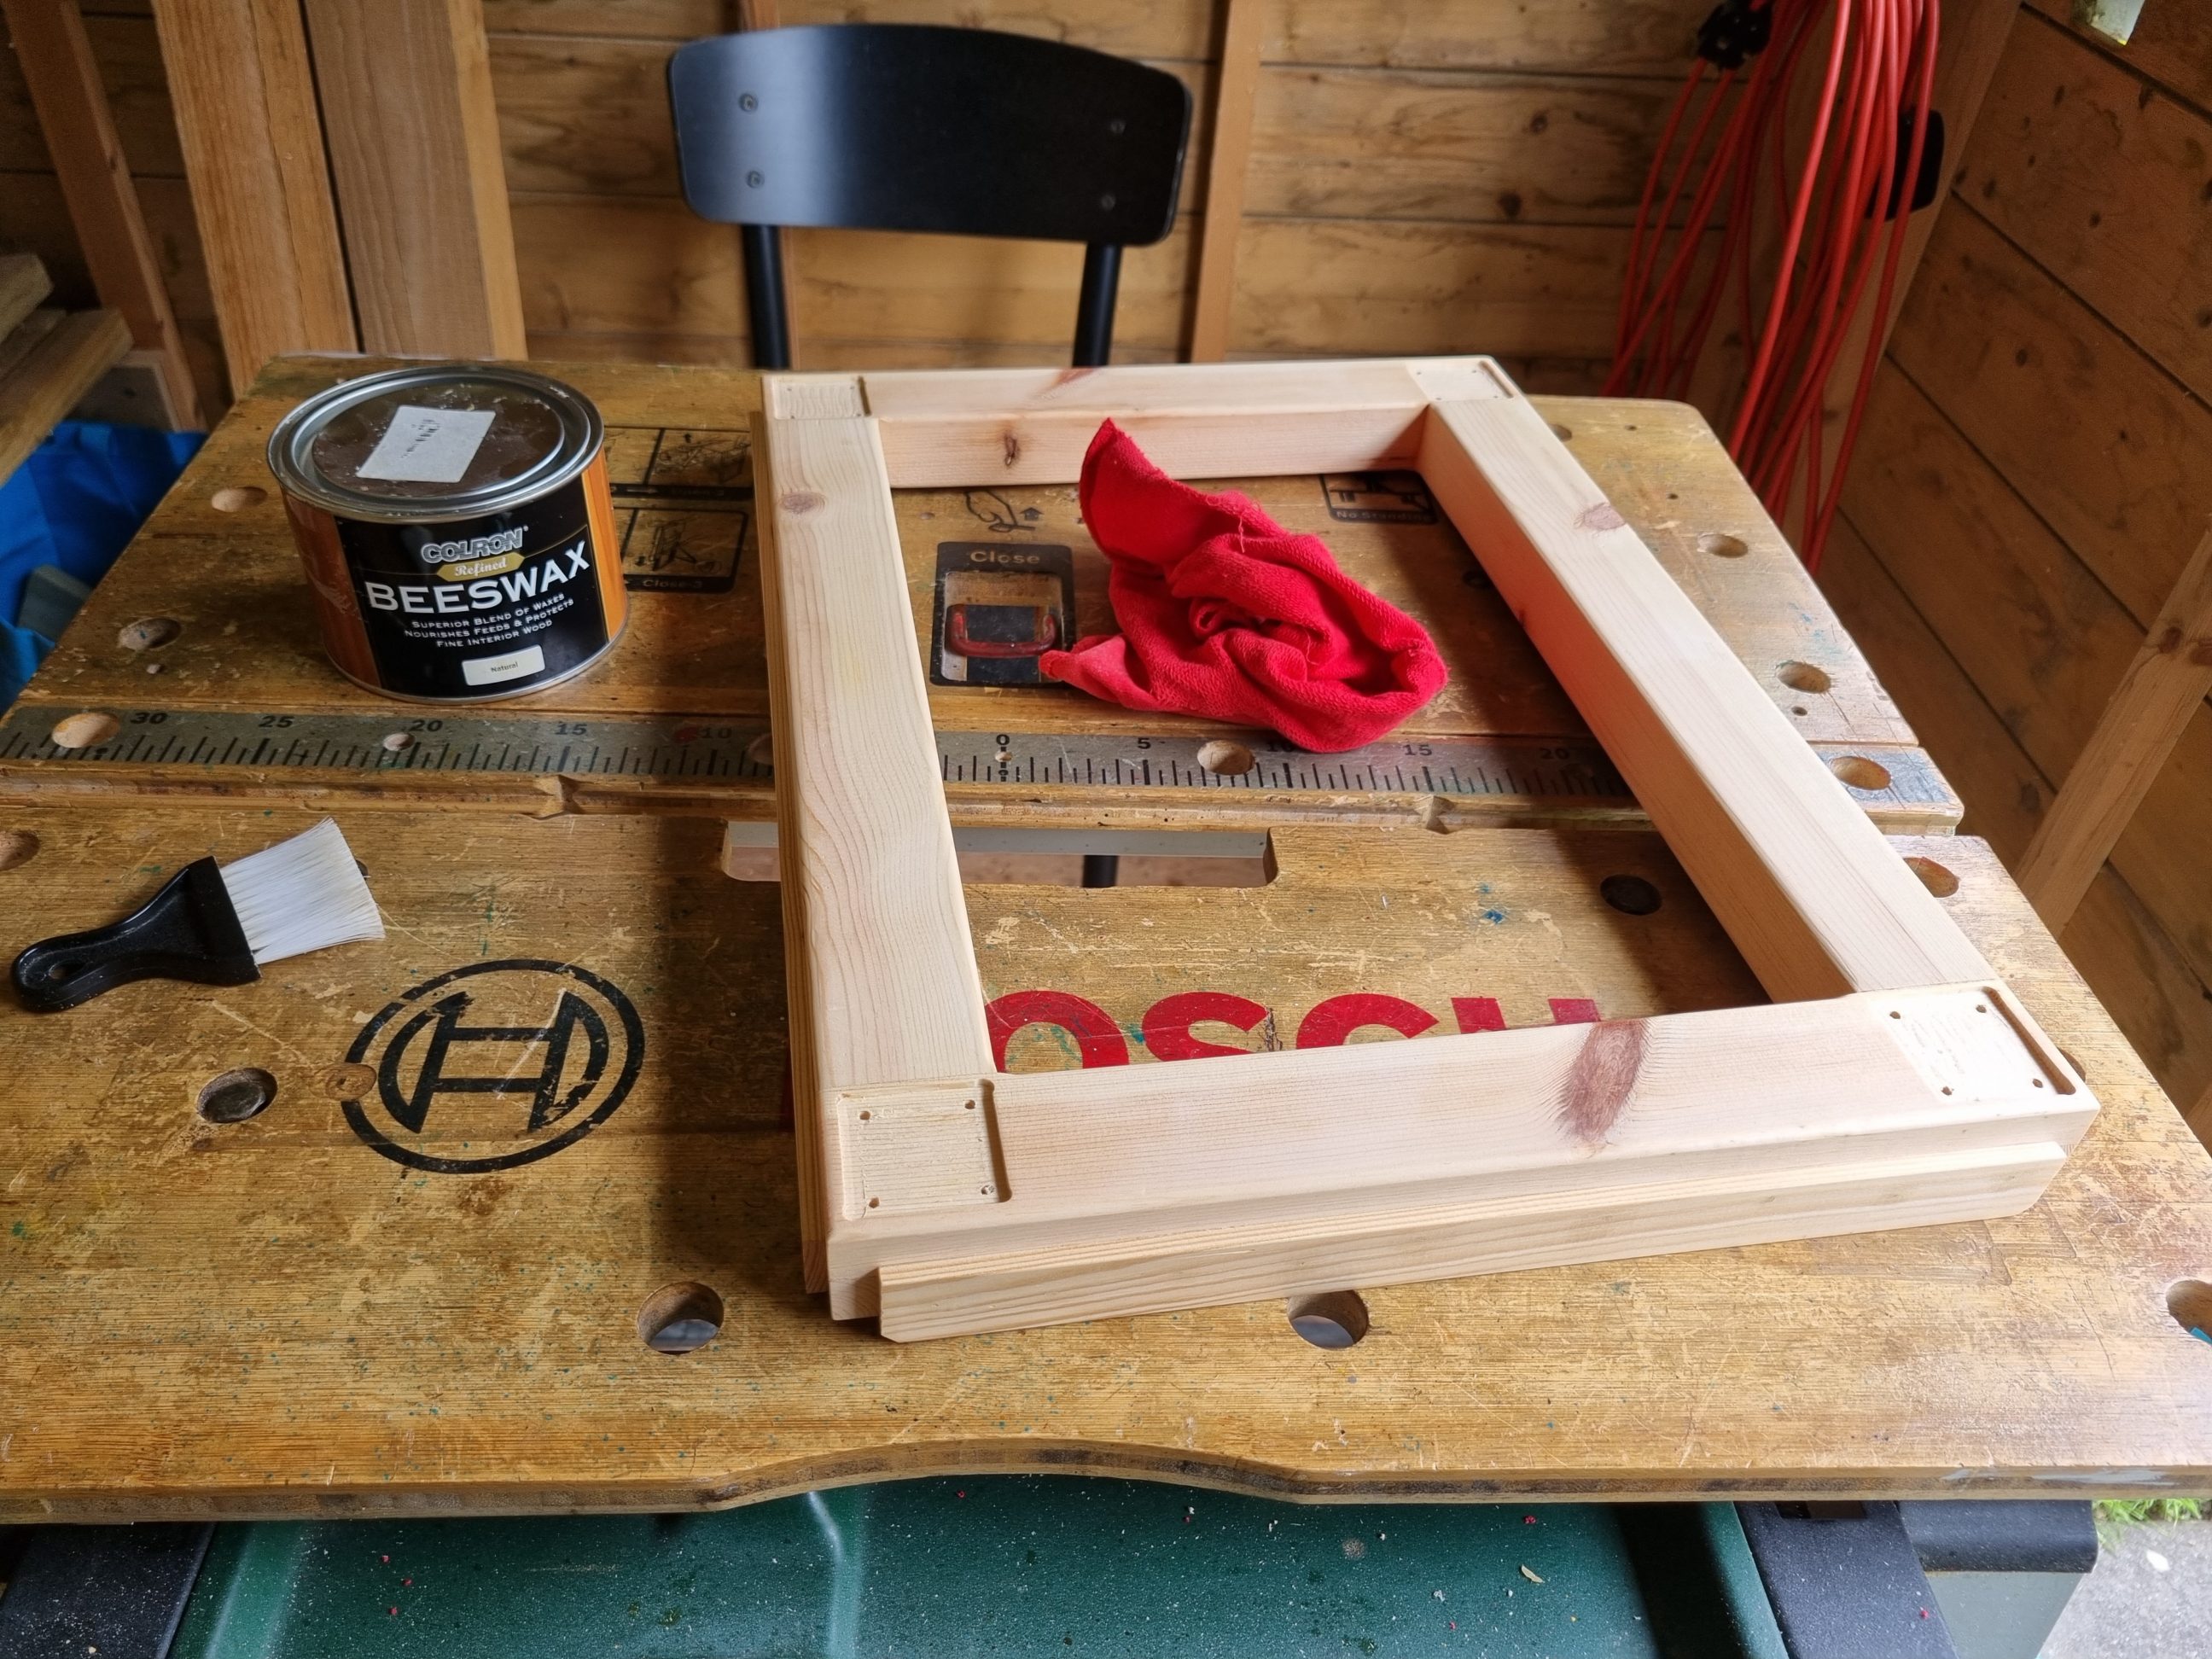
I started by trimming all four frame pieces to the desired length using a fine-tooth blade on my table saw. Next, I cut half-lap joints with the same blade, using the fence as a stop block. This repetitive cutting process was quick and efficient, saving me time compared to swapping out the blade for a dado stack (I think they’re called grooving blades here in Ireland). The precision of the cuts ensured that the joints self-aligned perfectly when it came time to glue the frame together.
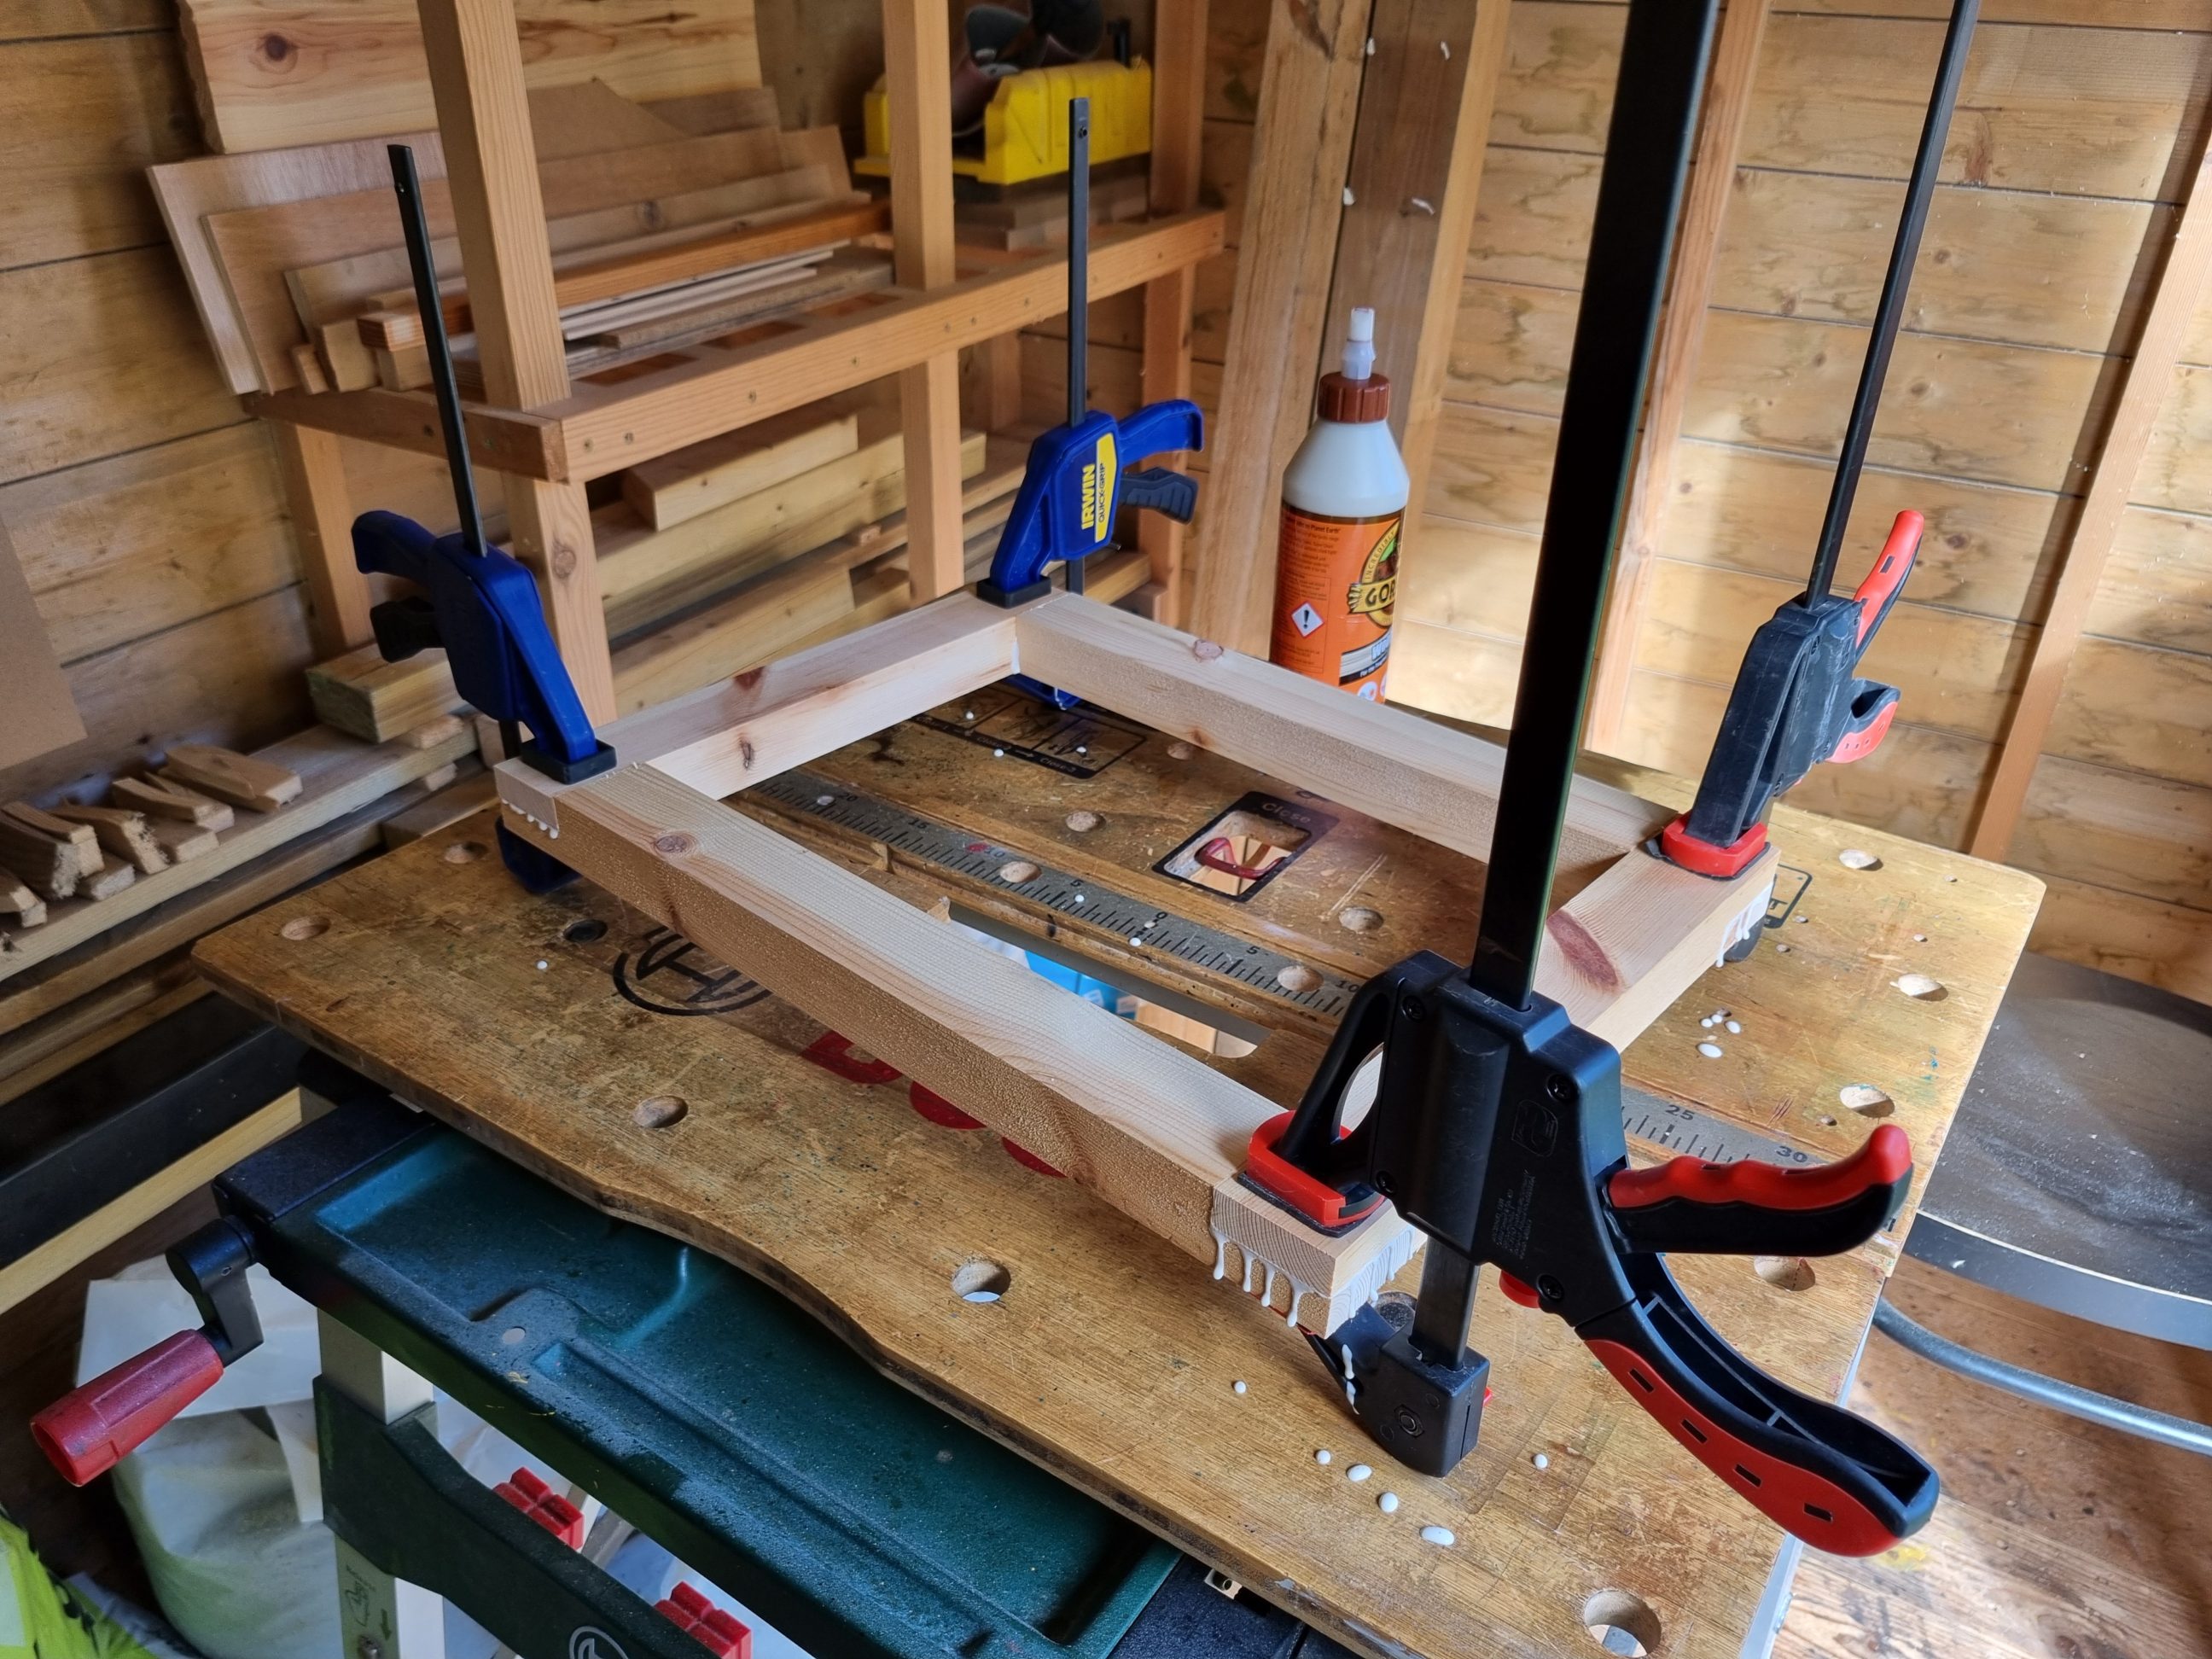
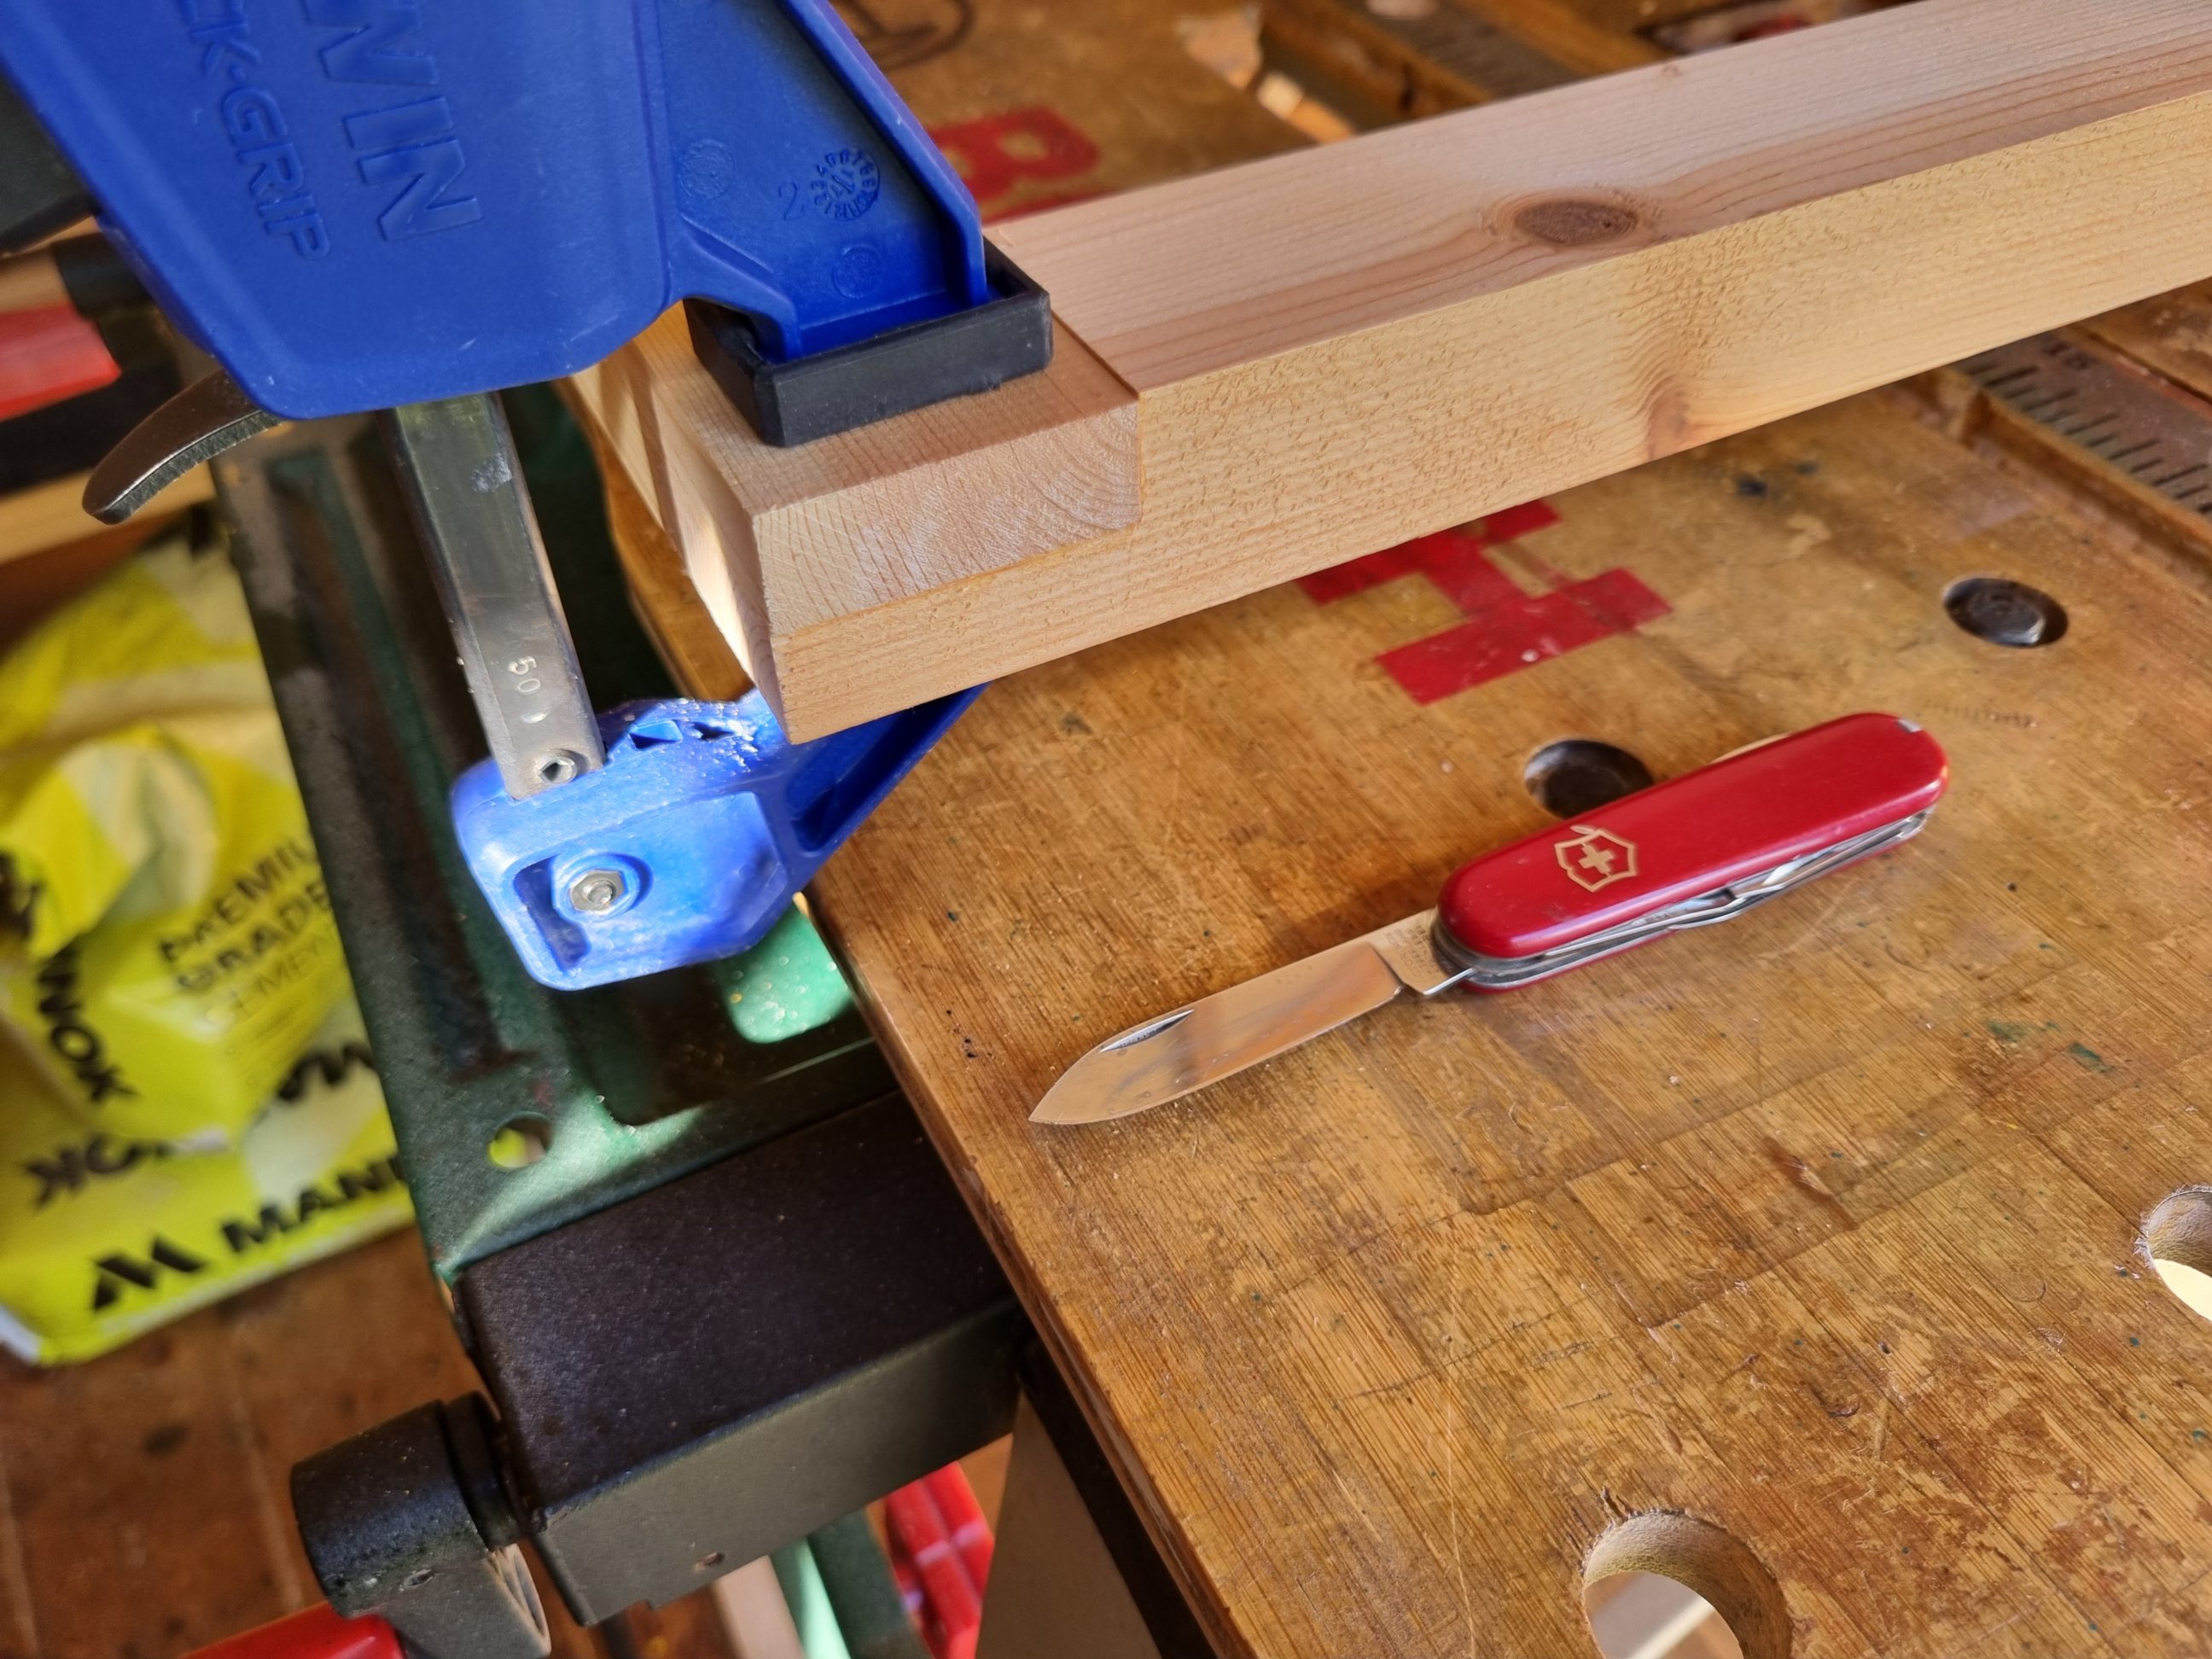
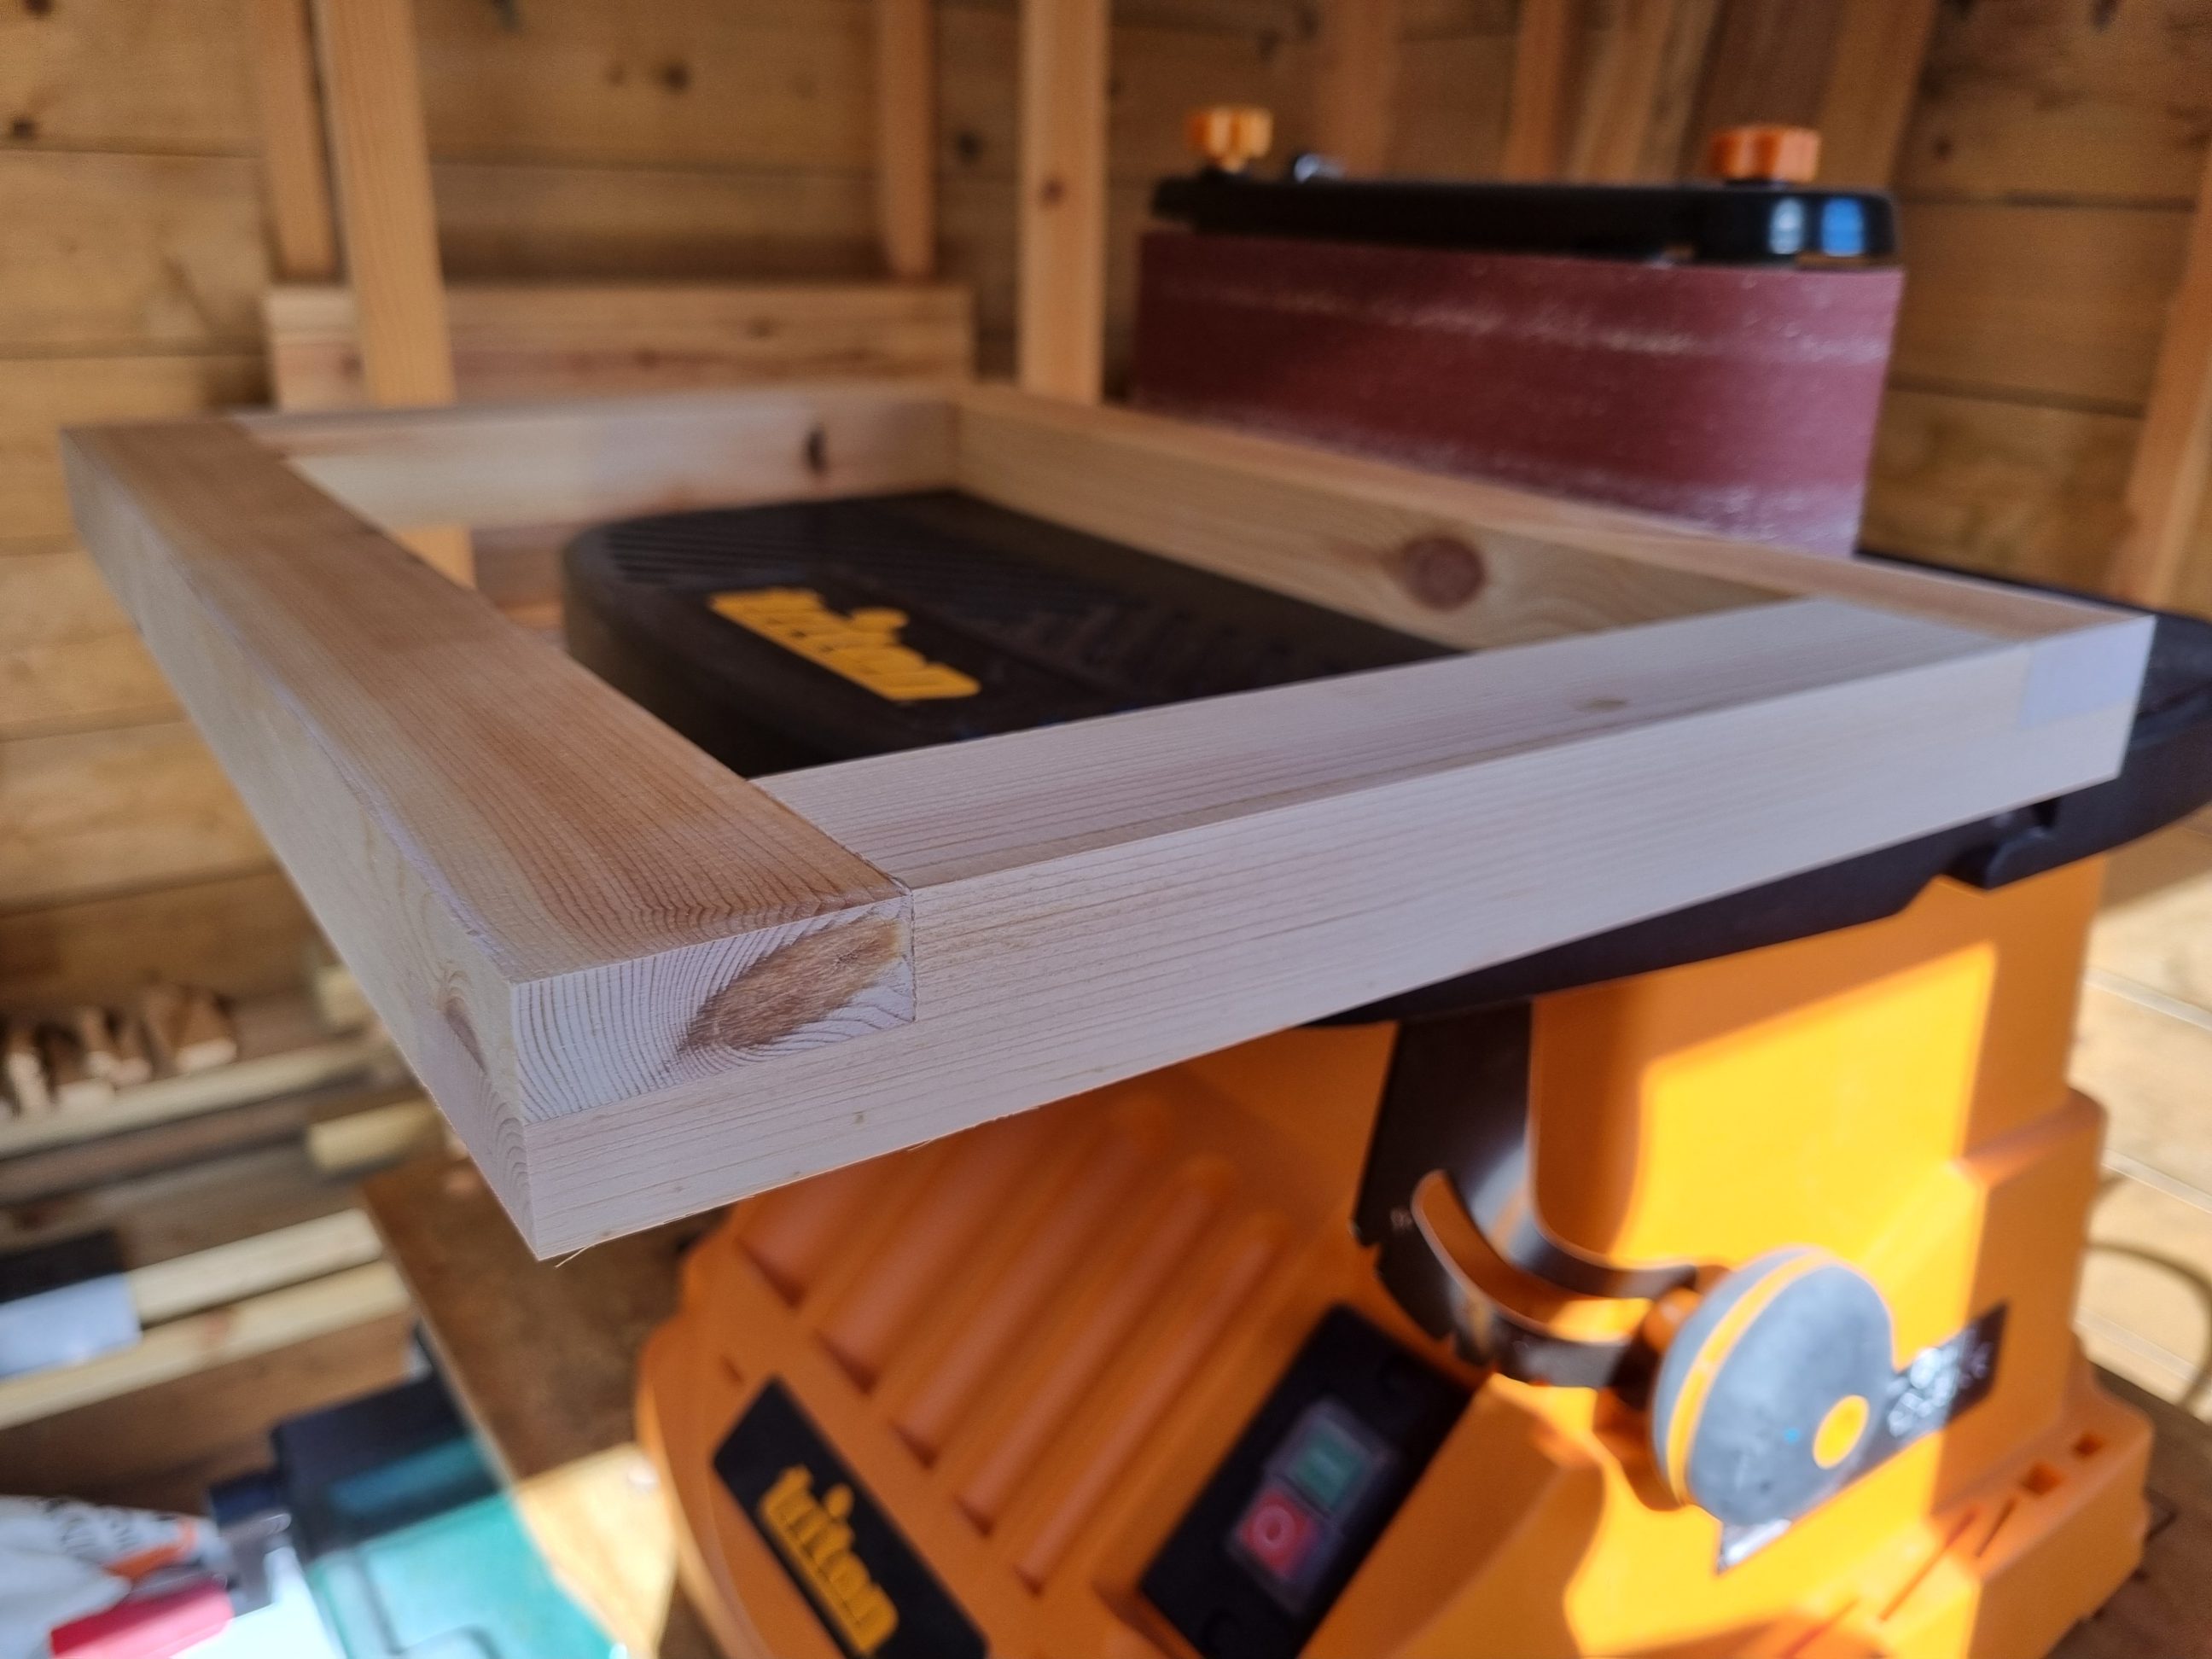
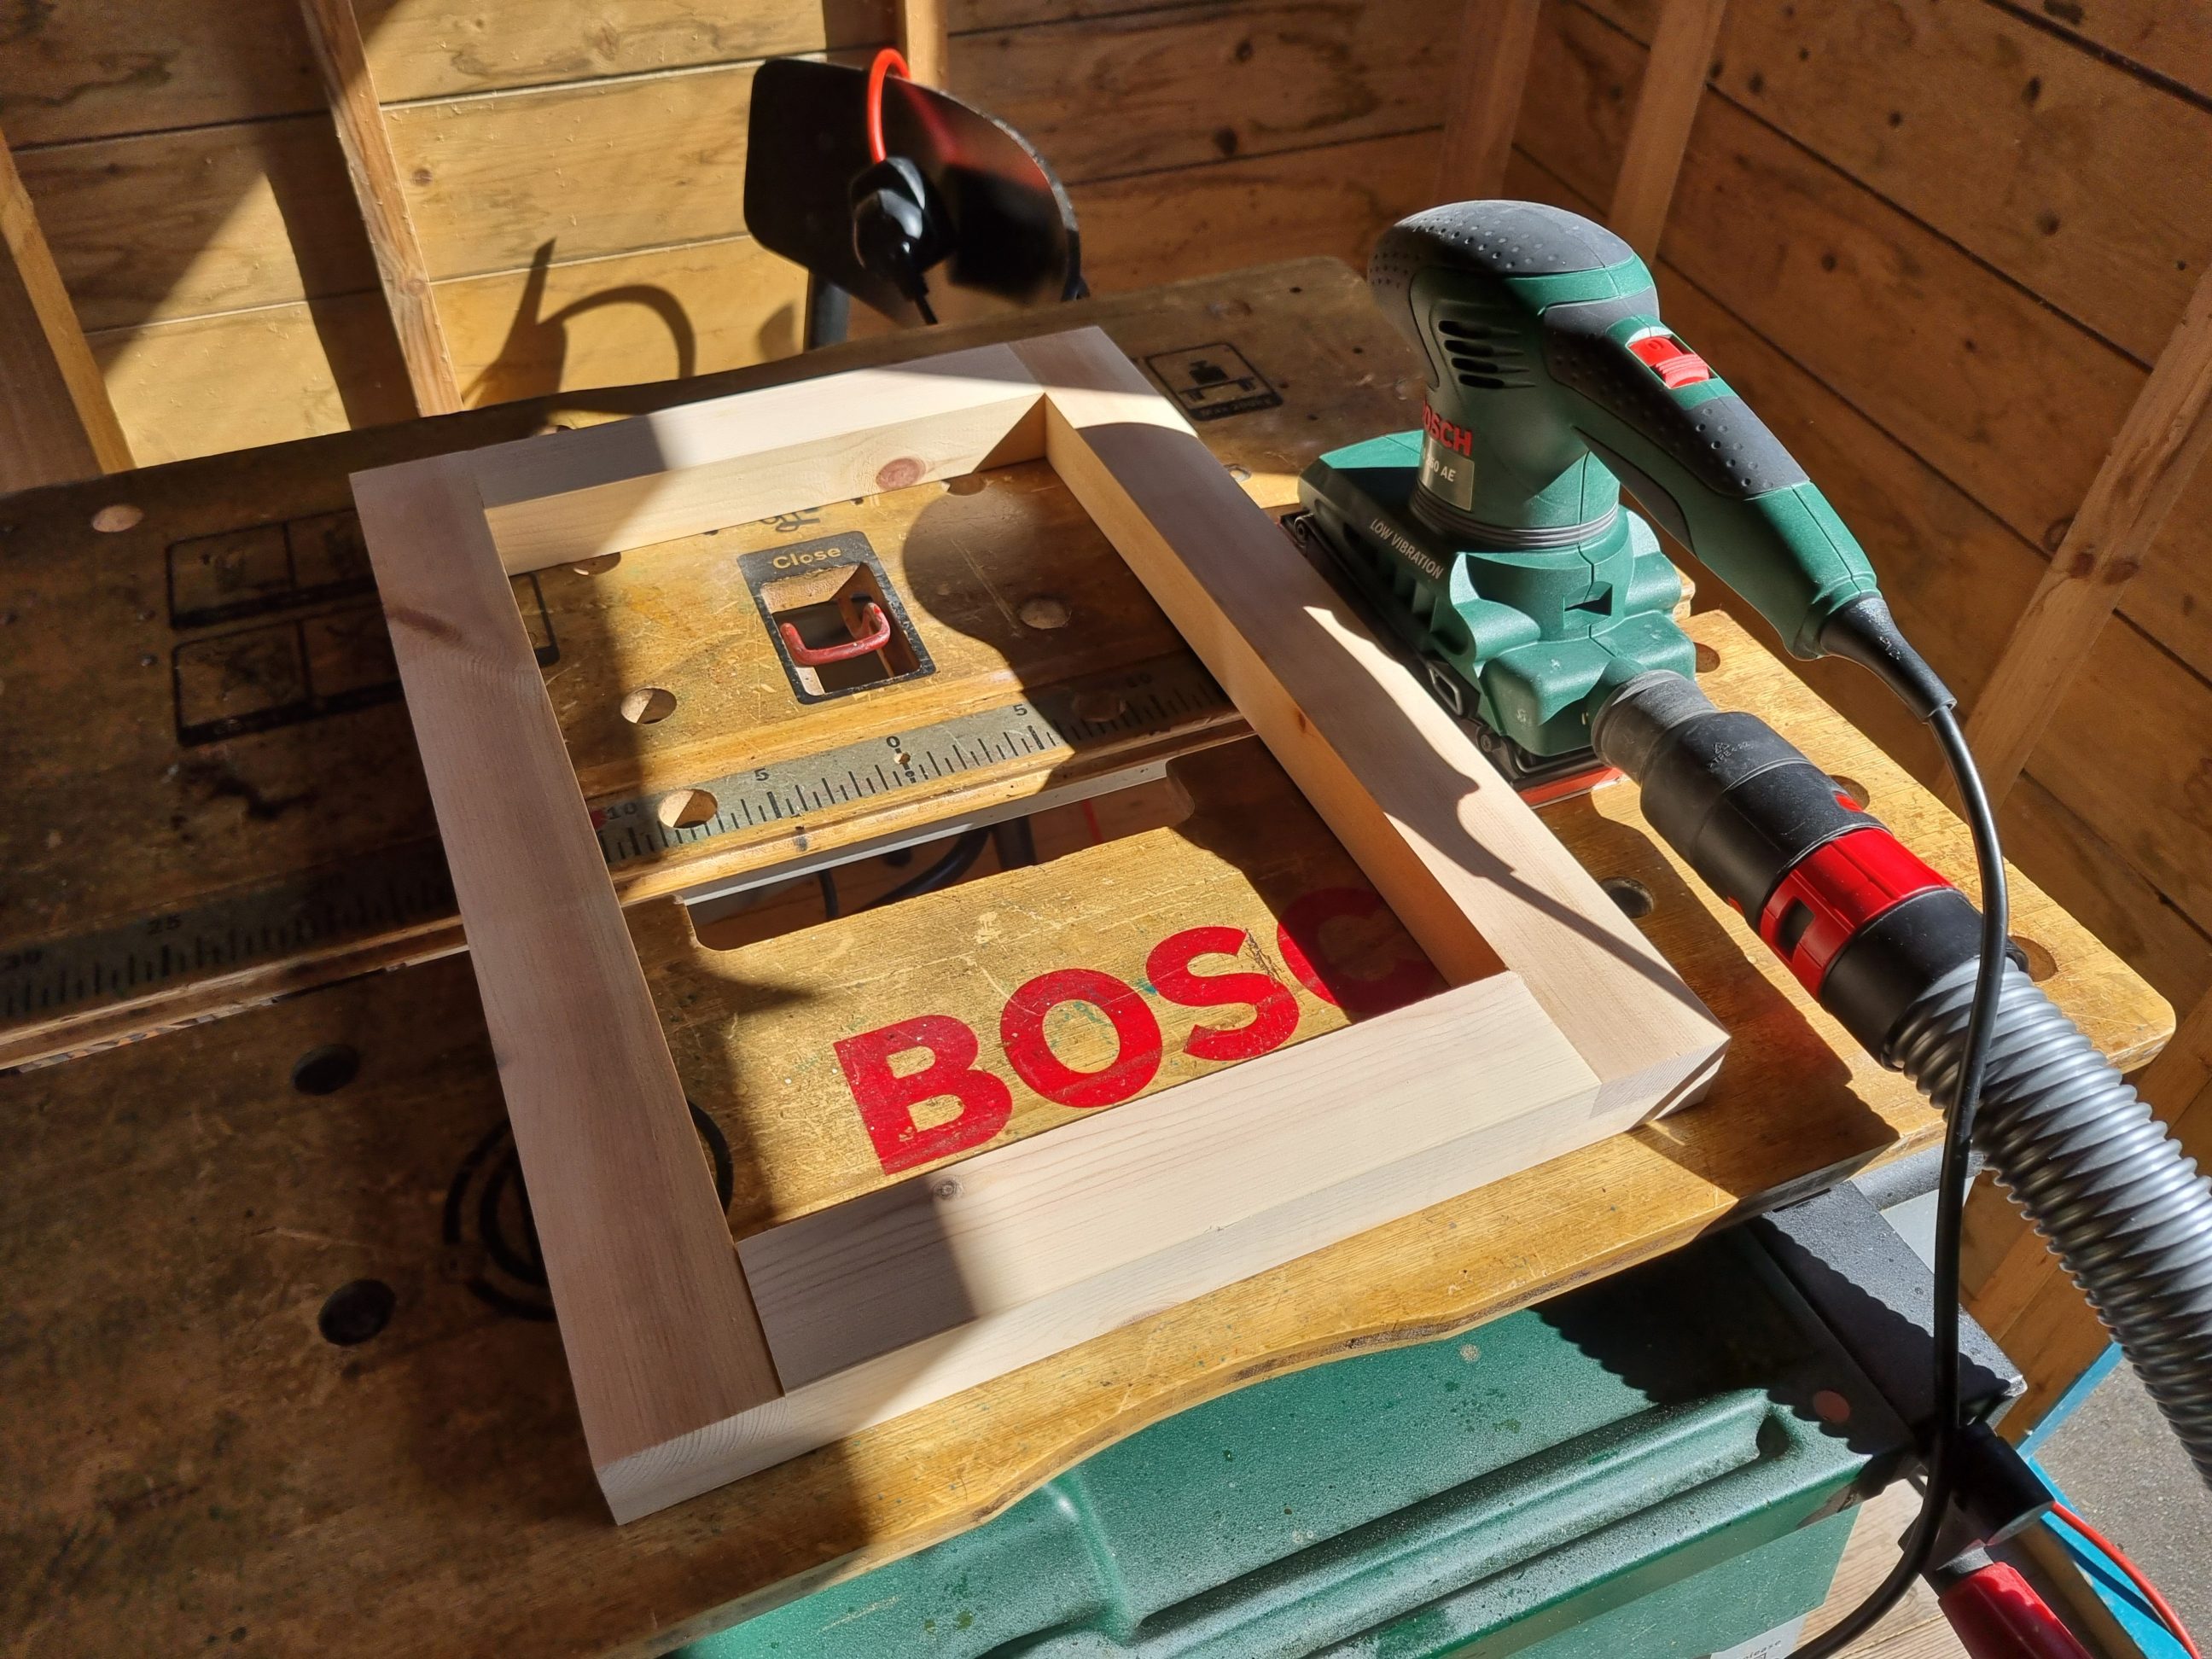
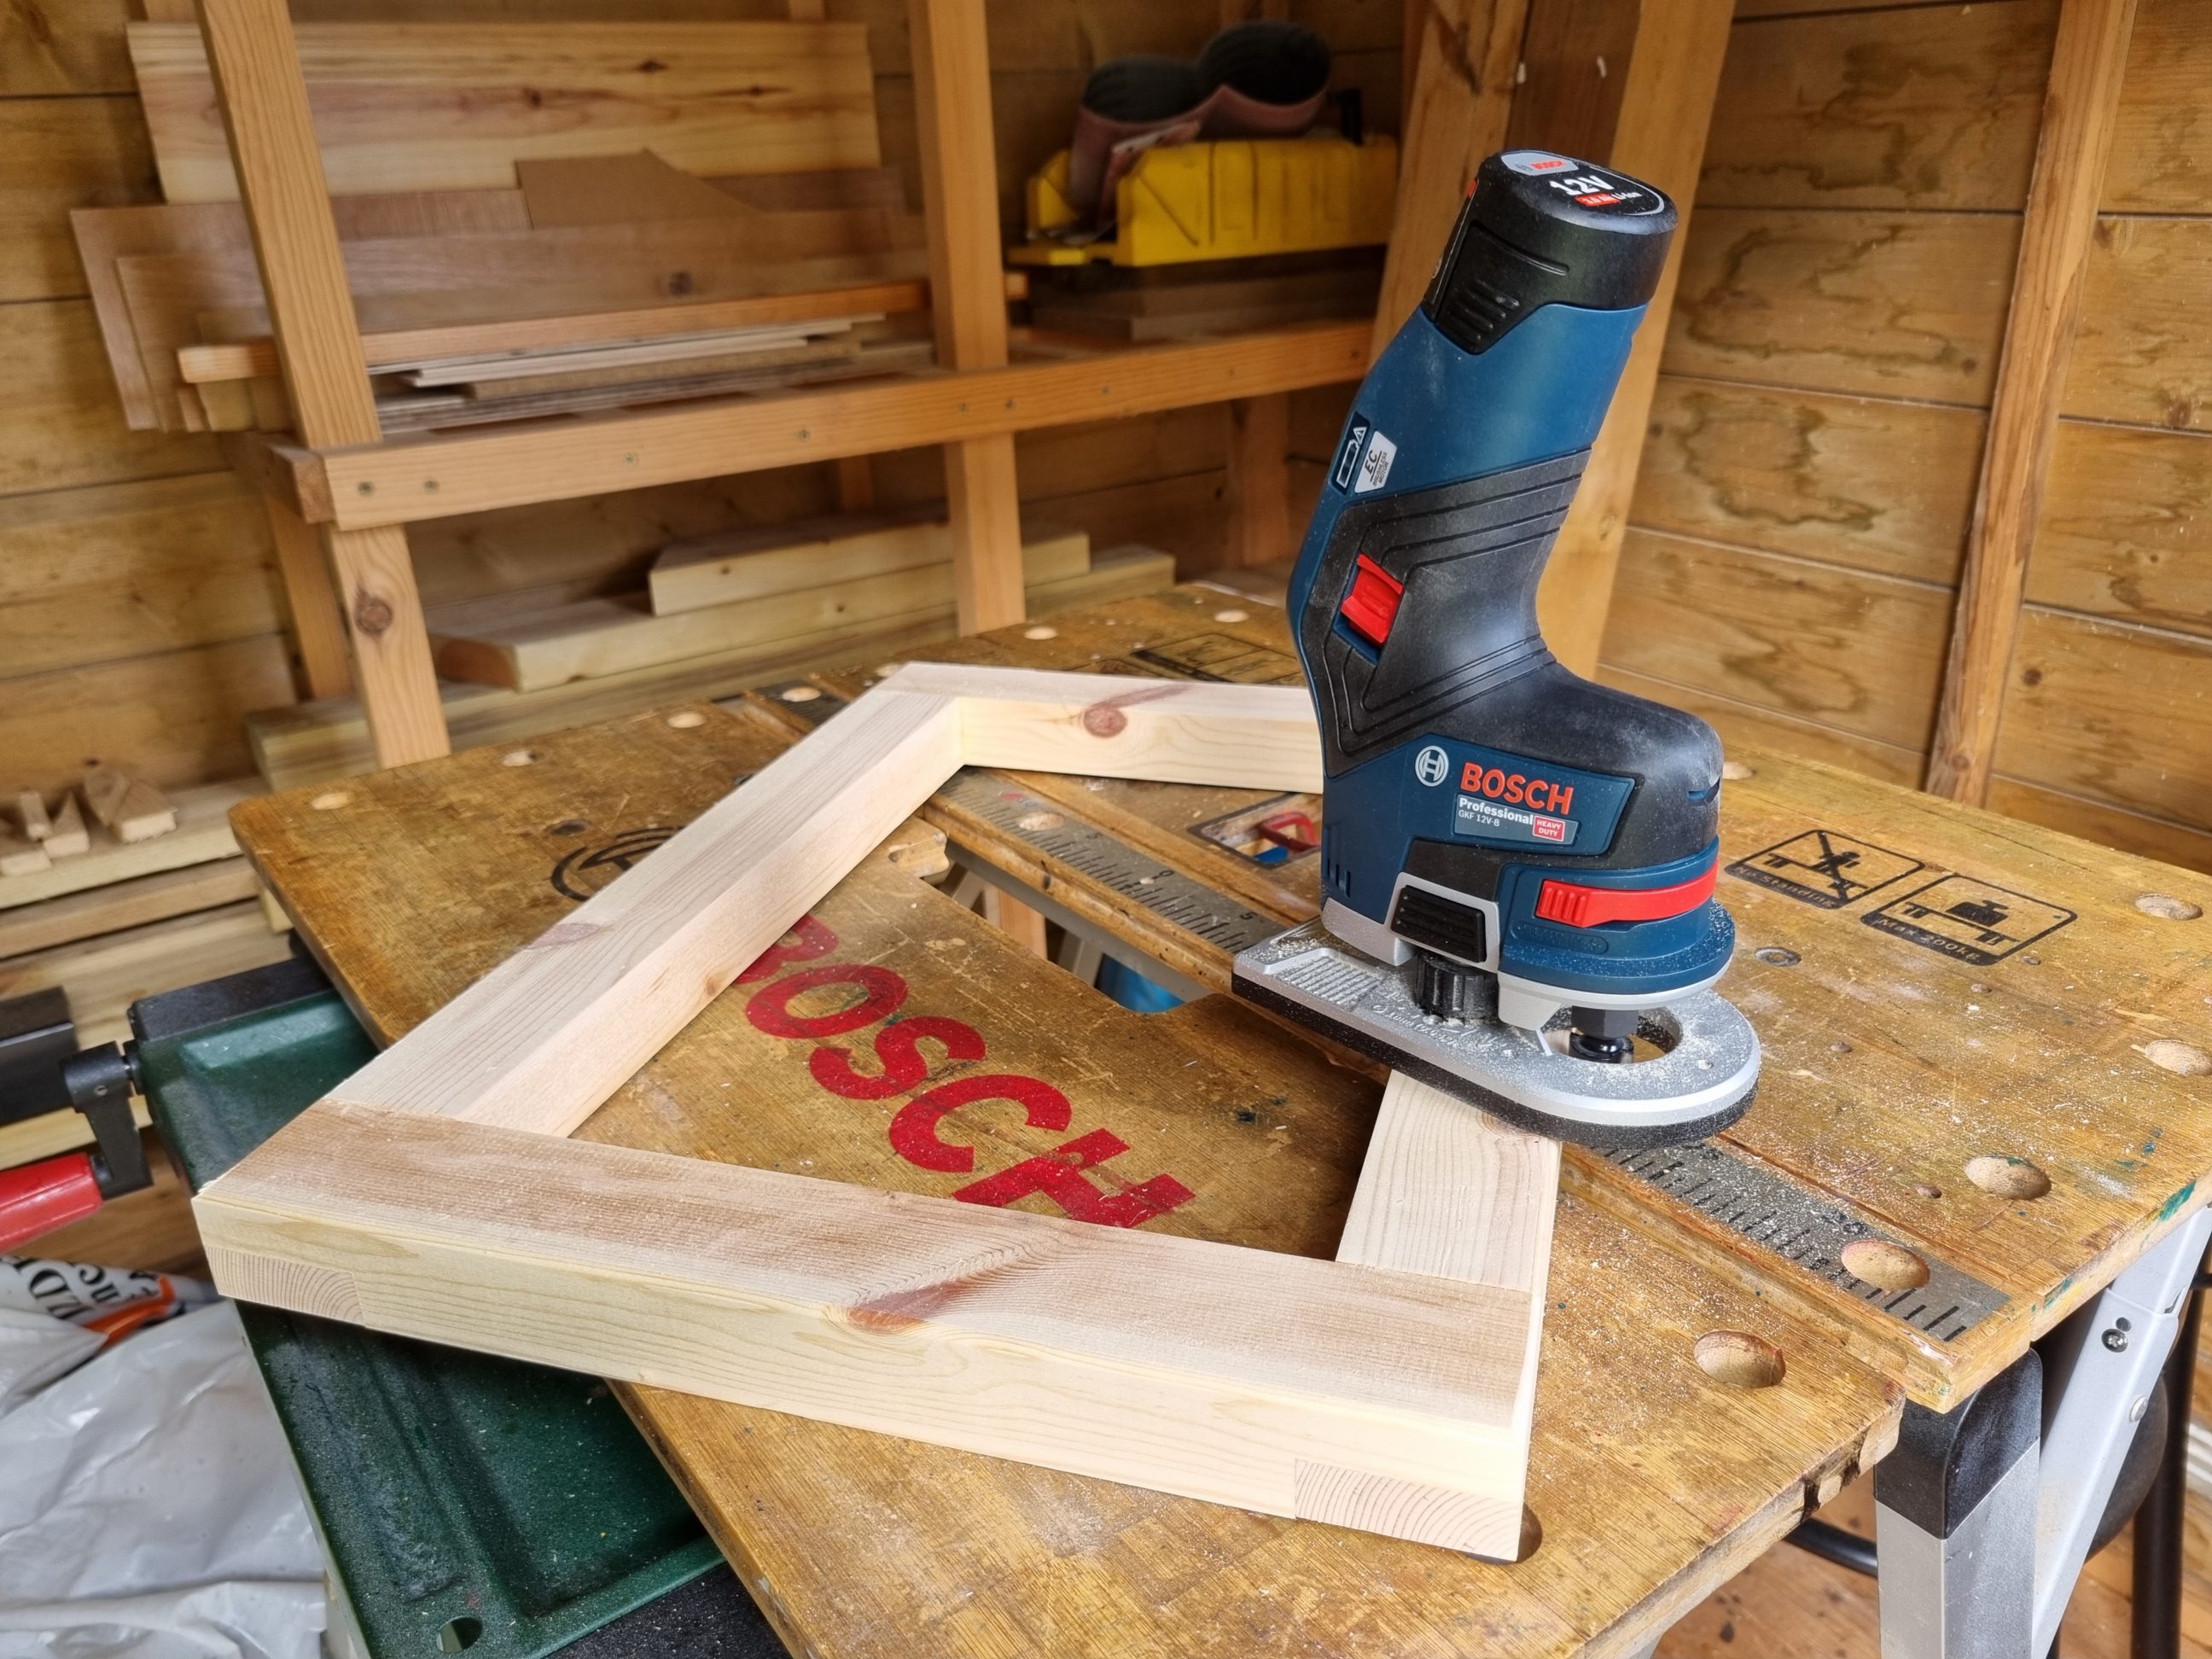
After letting the glue dry for 10 minutes, I scraped off the excess with my favourite pocket knife. It’s usually easier to remove the gummy, semi-hardened glue this way, rather than smearing the wet glue with a damp cloth. I left the tray clamped overnight to ensure the glue bond was fully cured. The following day, I sanded all the edges with my oscillating sander and the surfaces with my finishing sander. Using my 12-volt router and a 3 mm bit, I rounded all the edges, except for the upper outside ones.
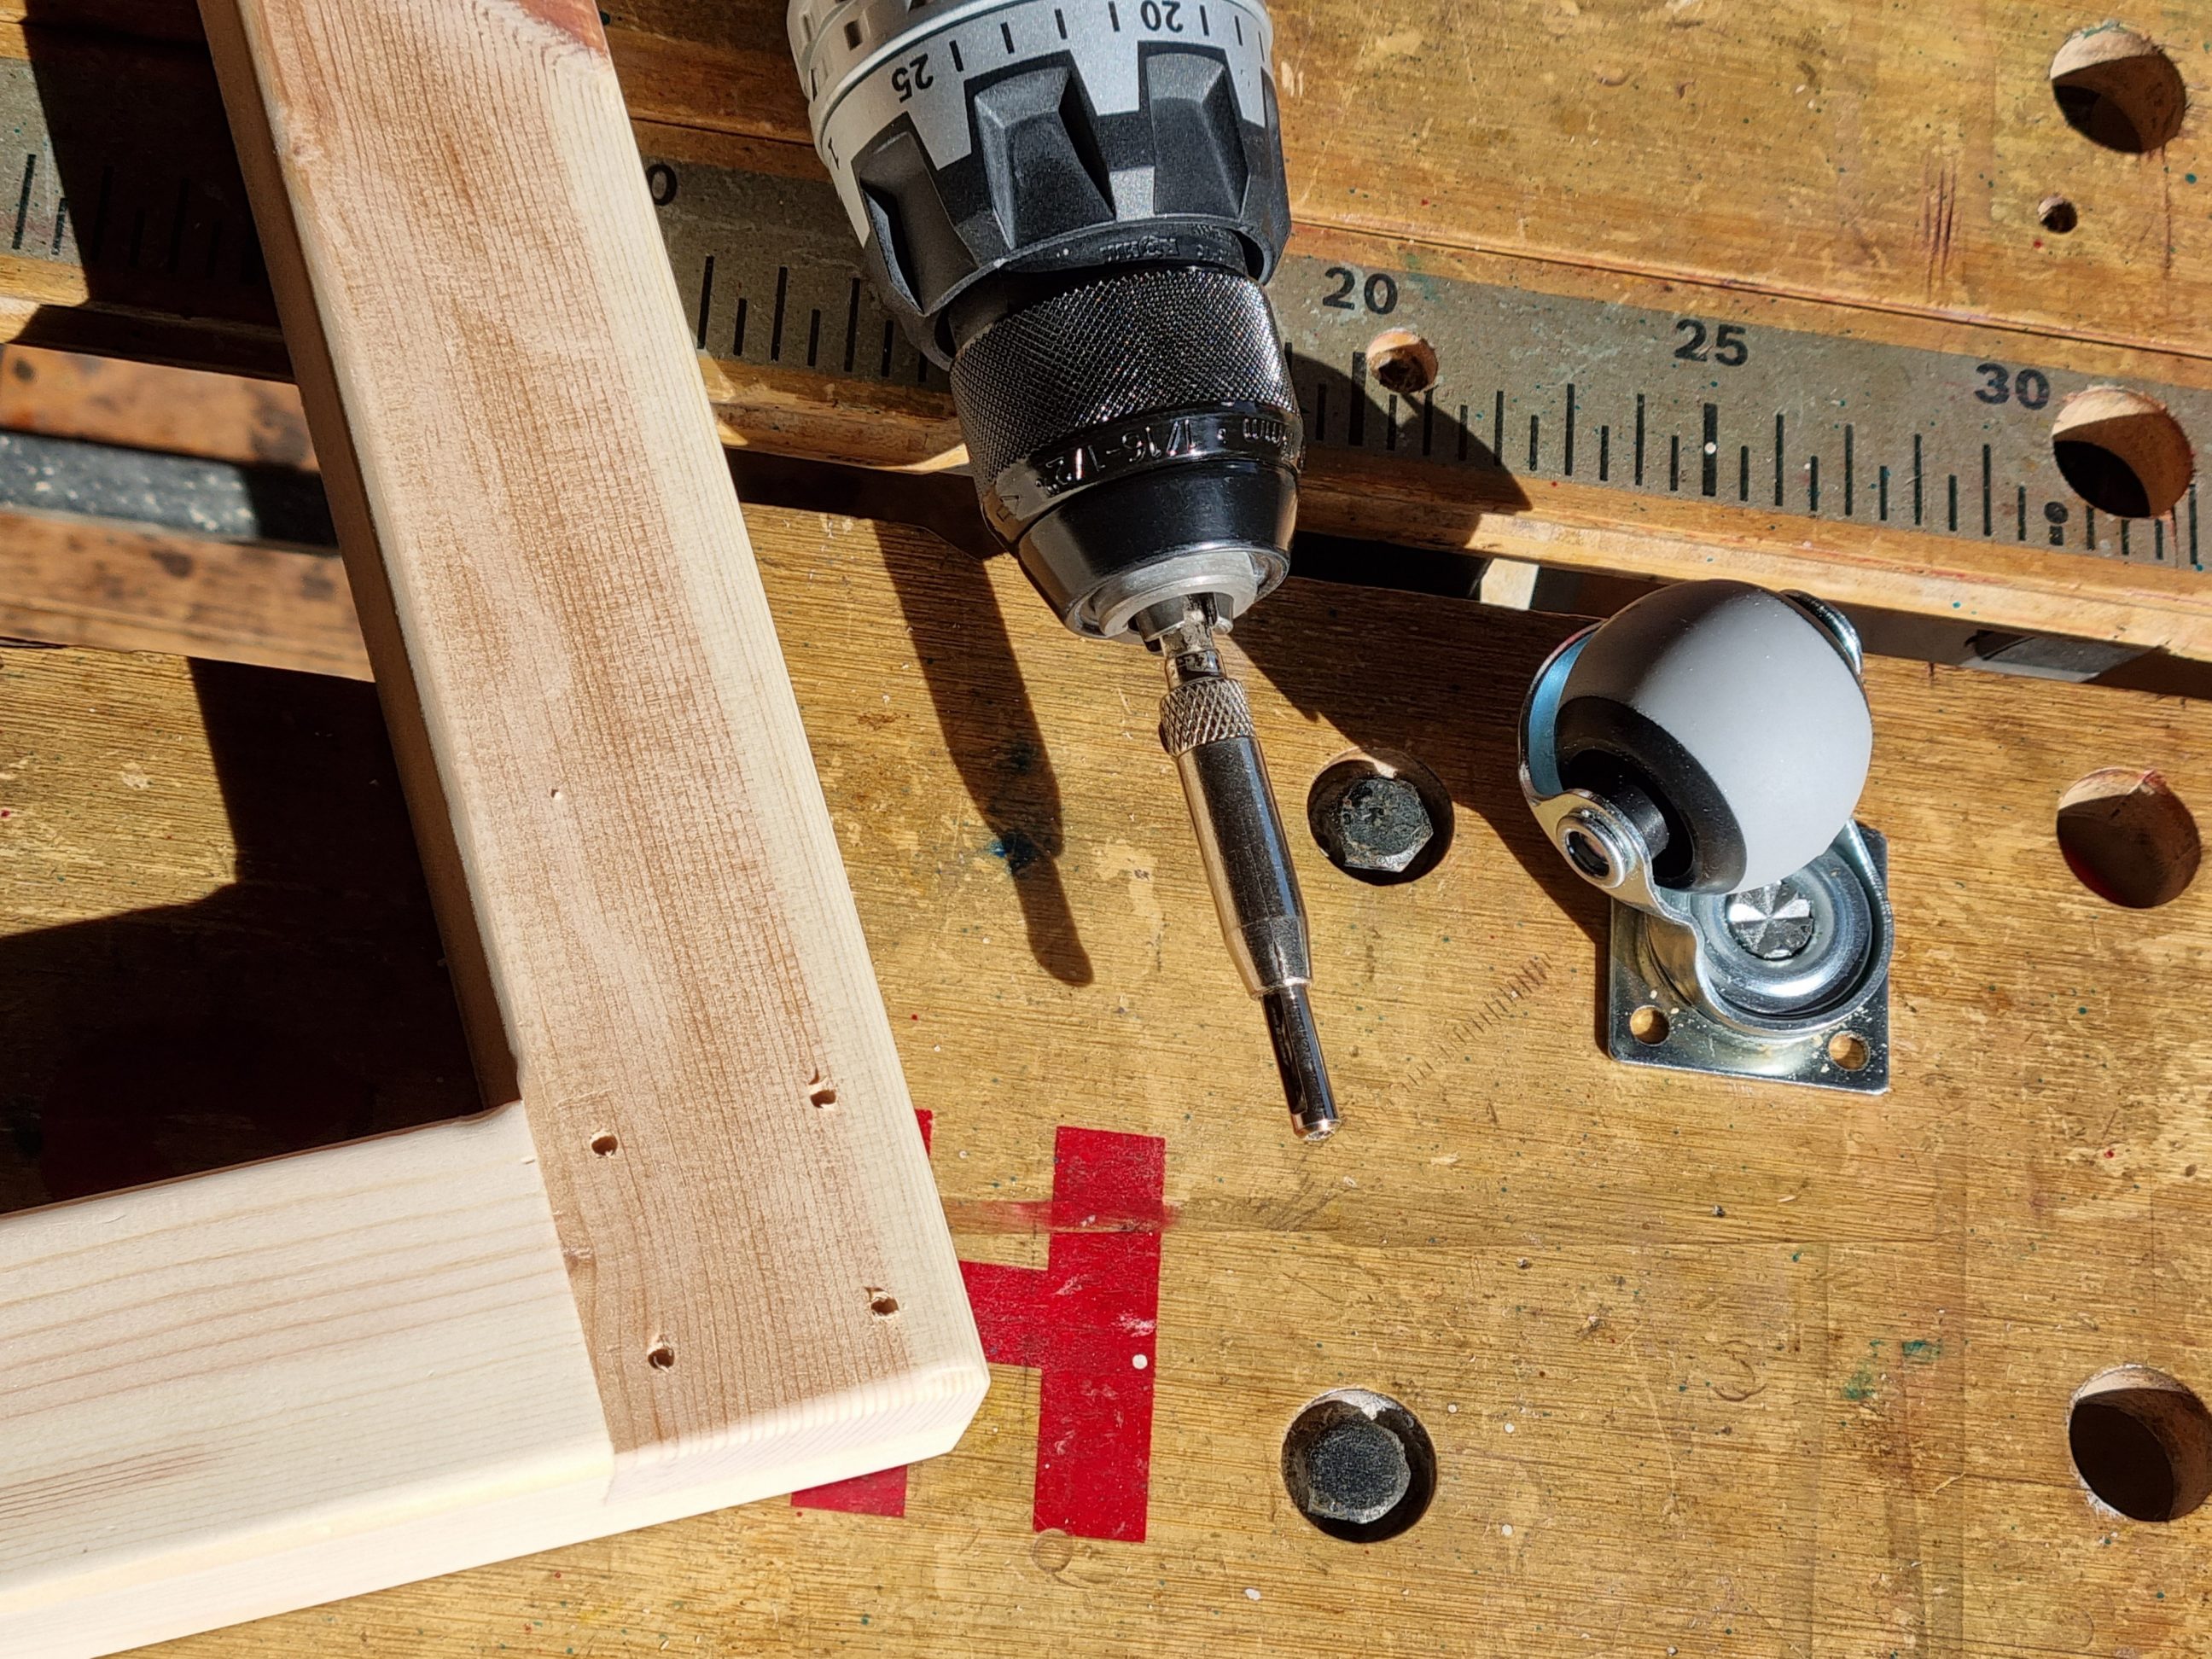
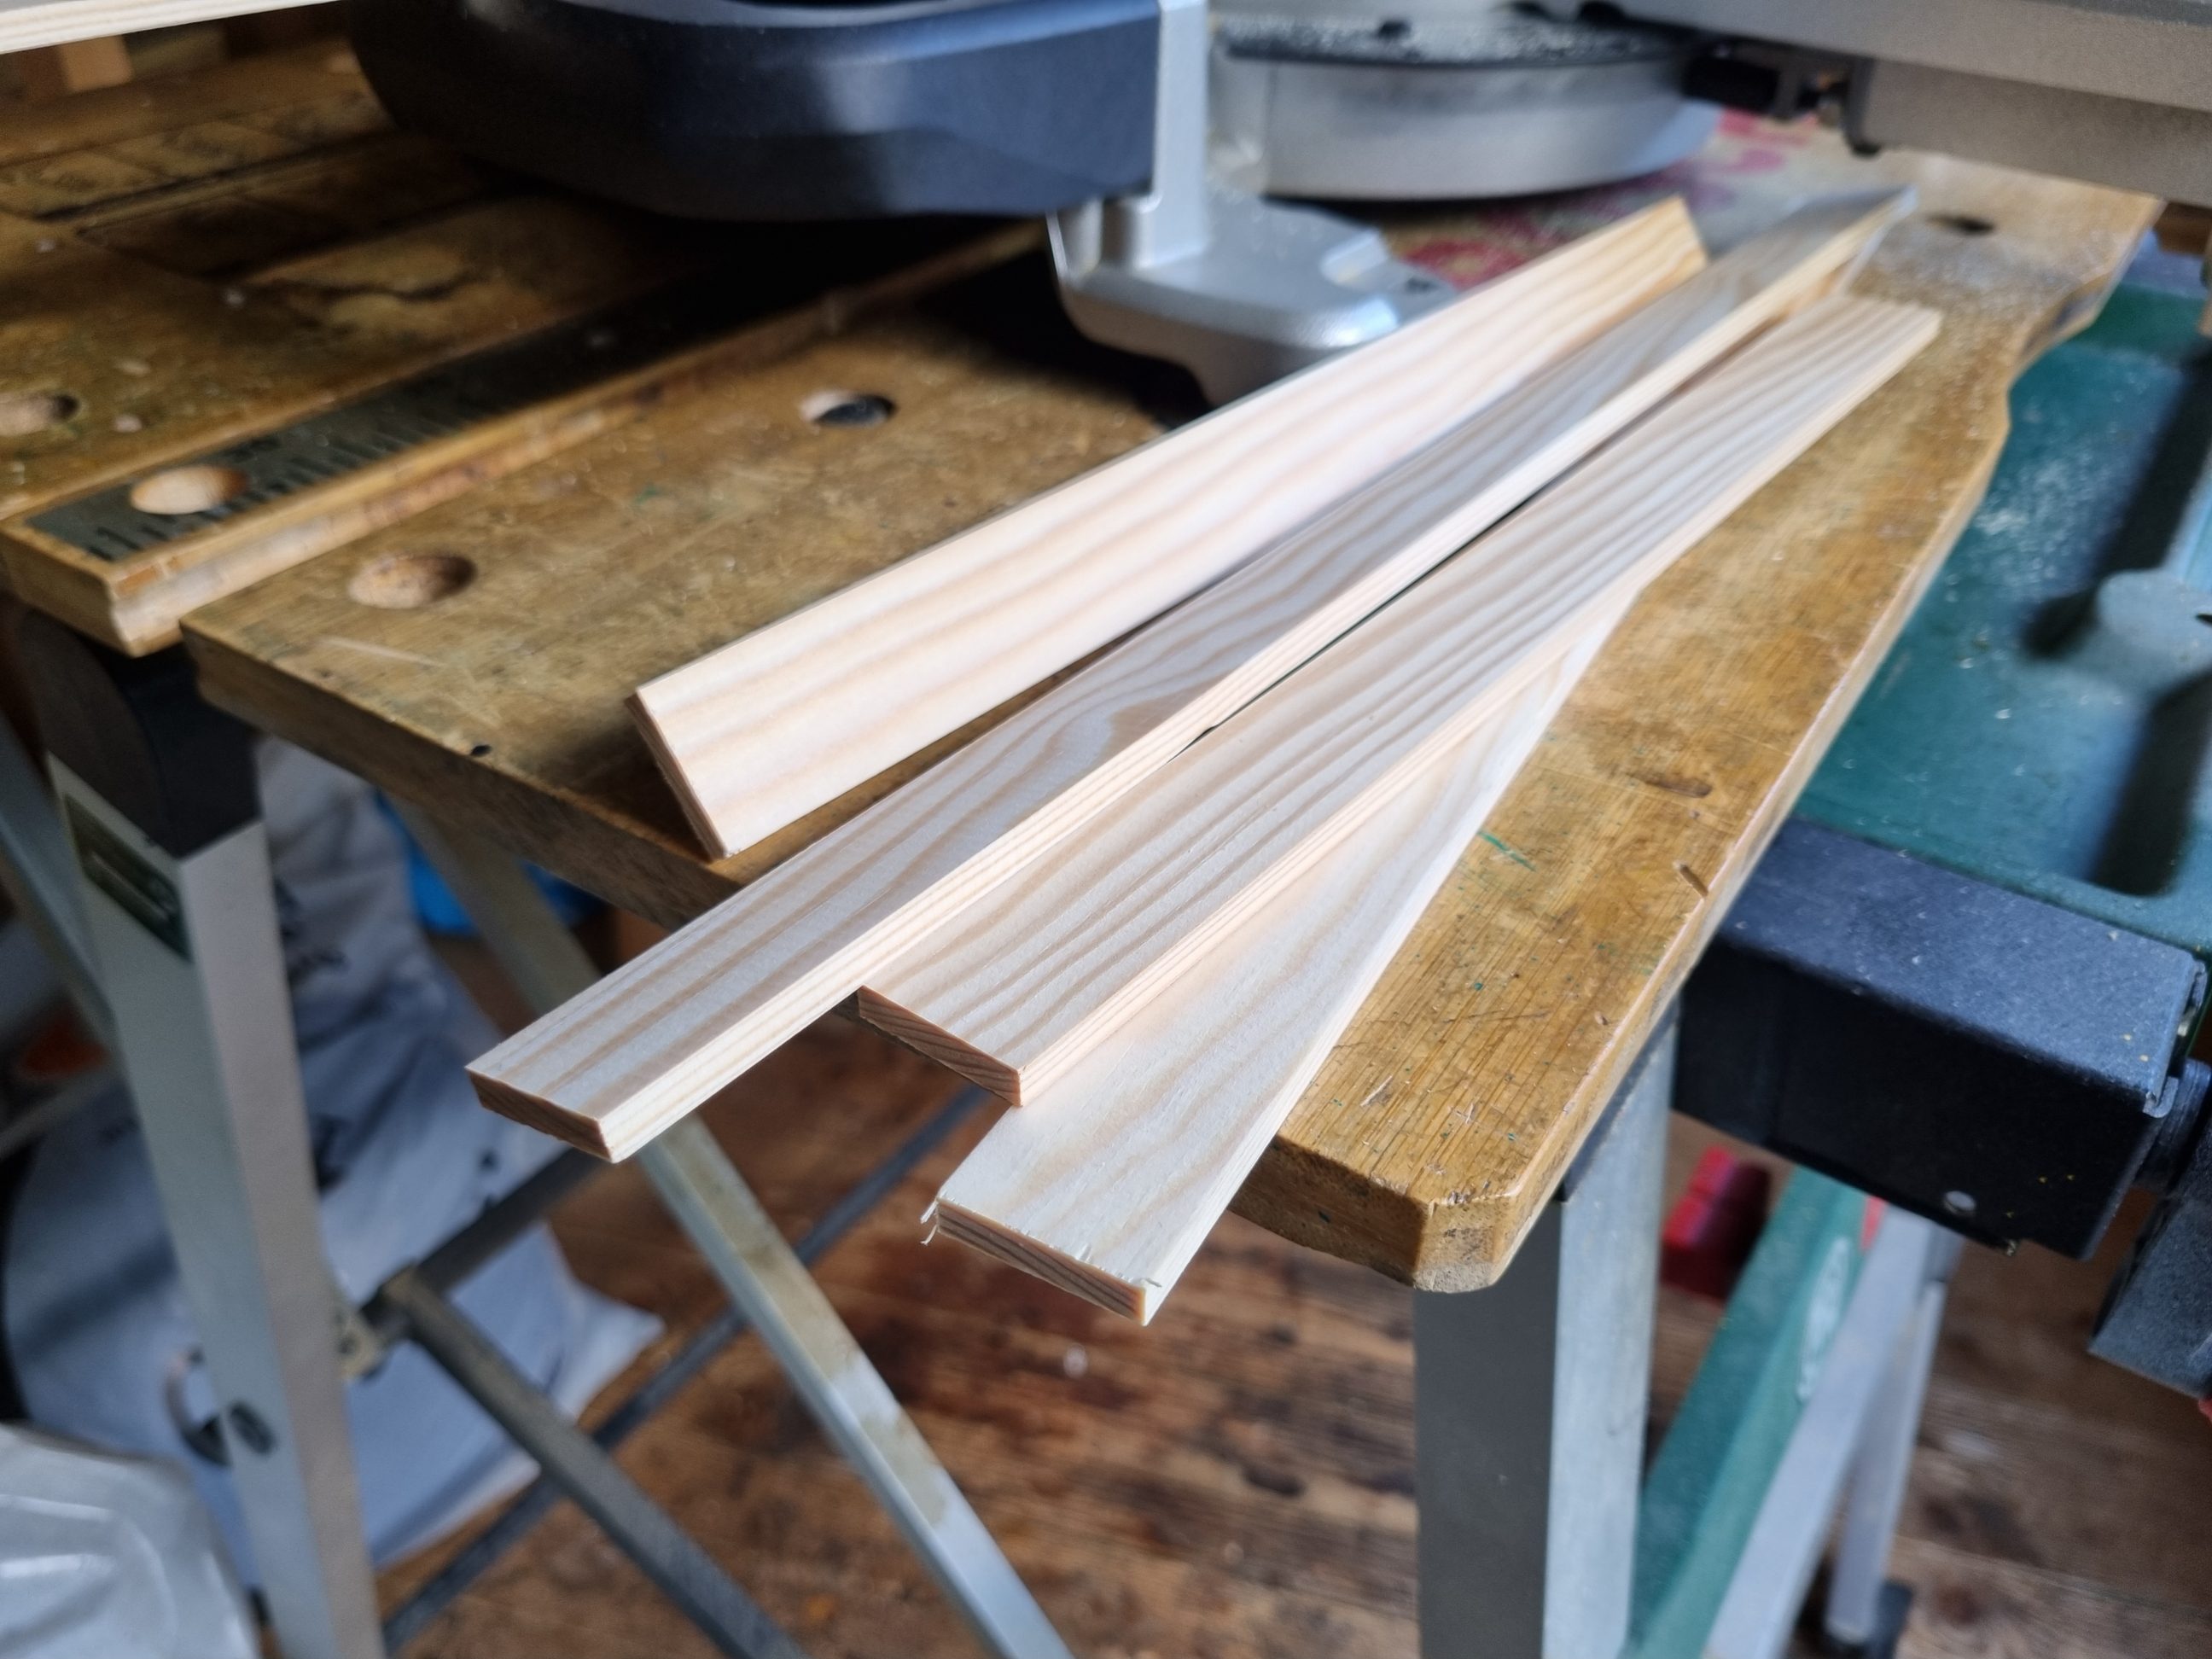
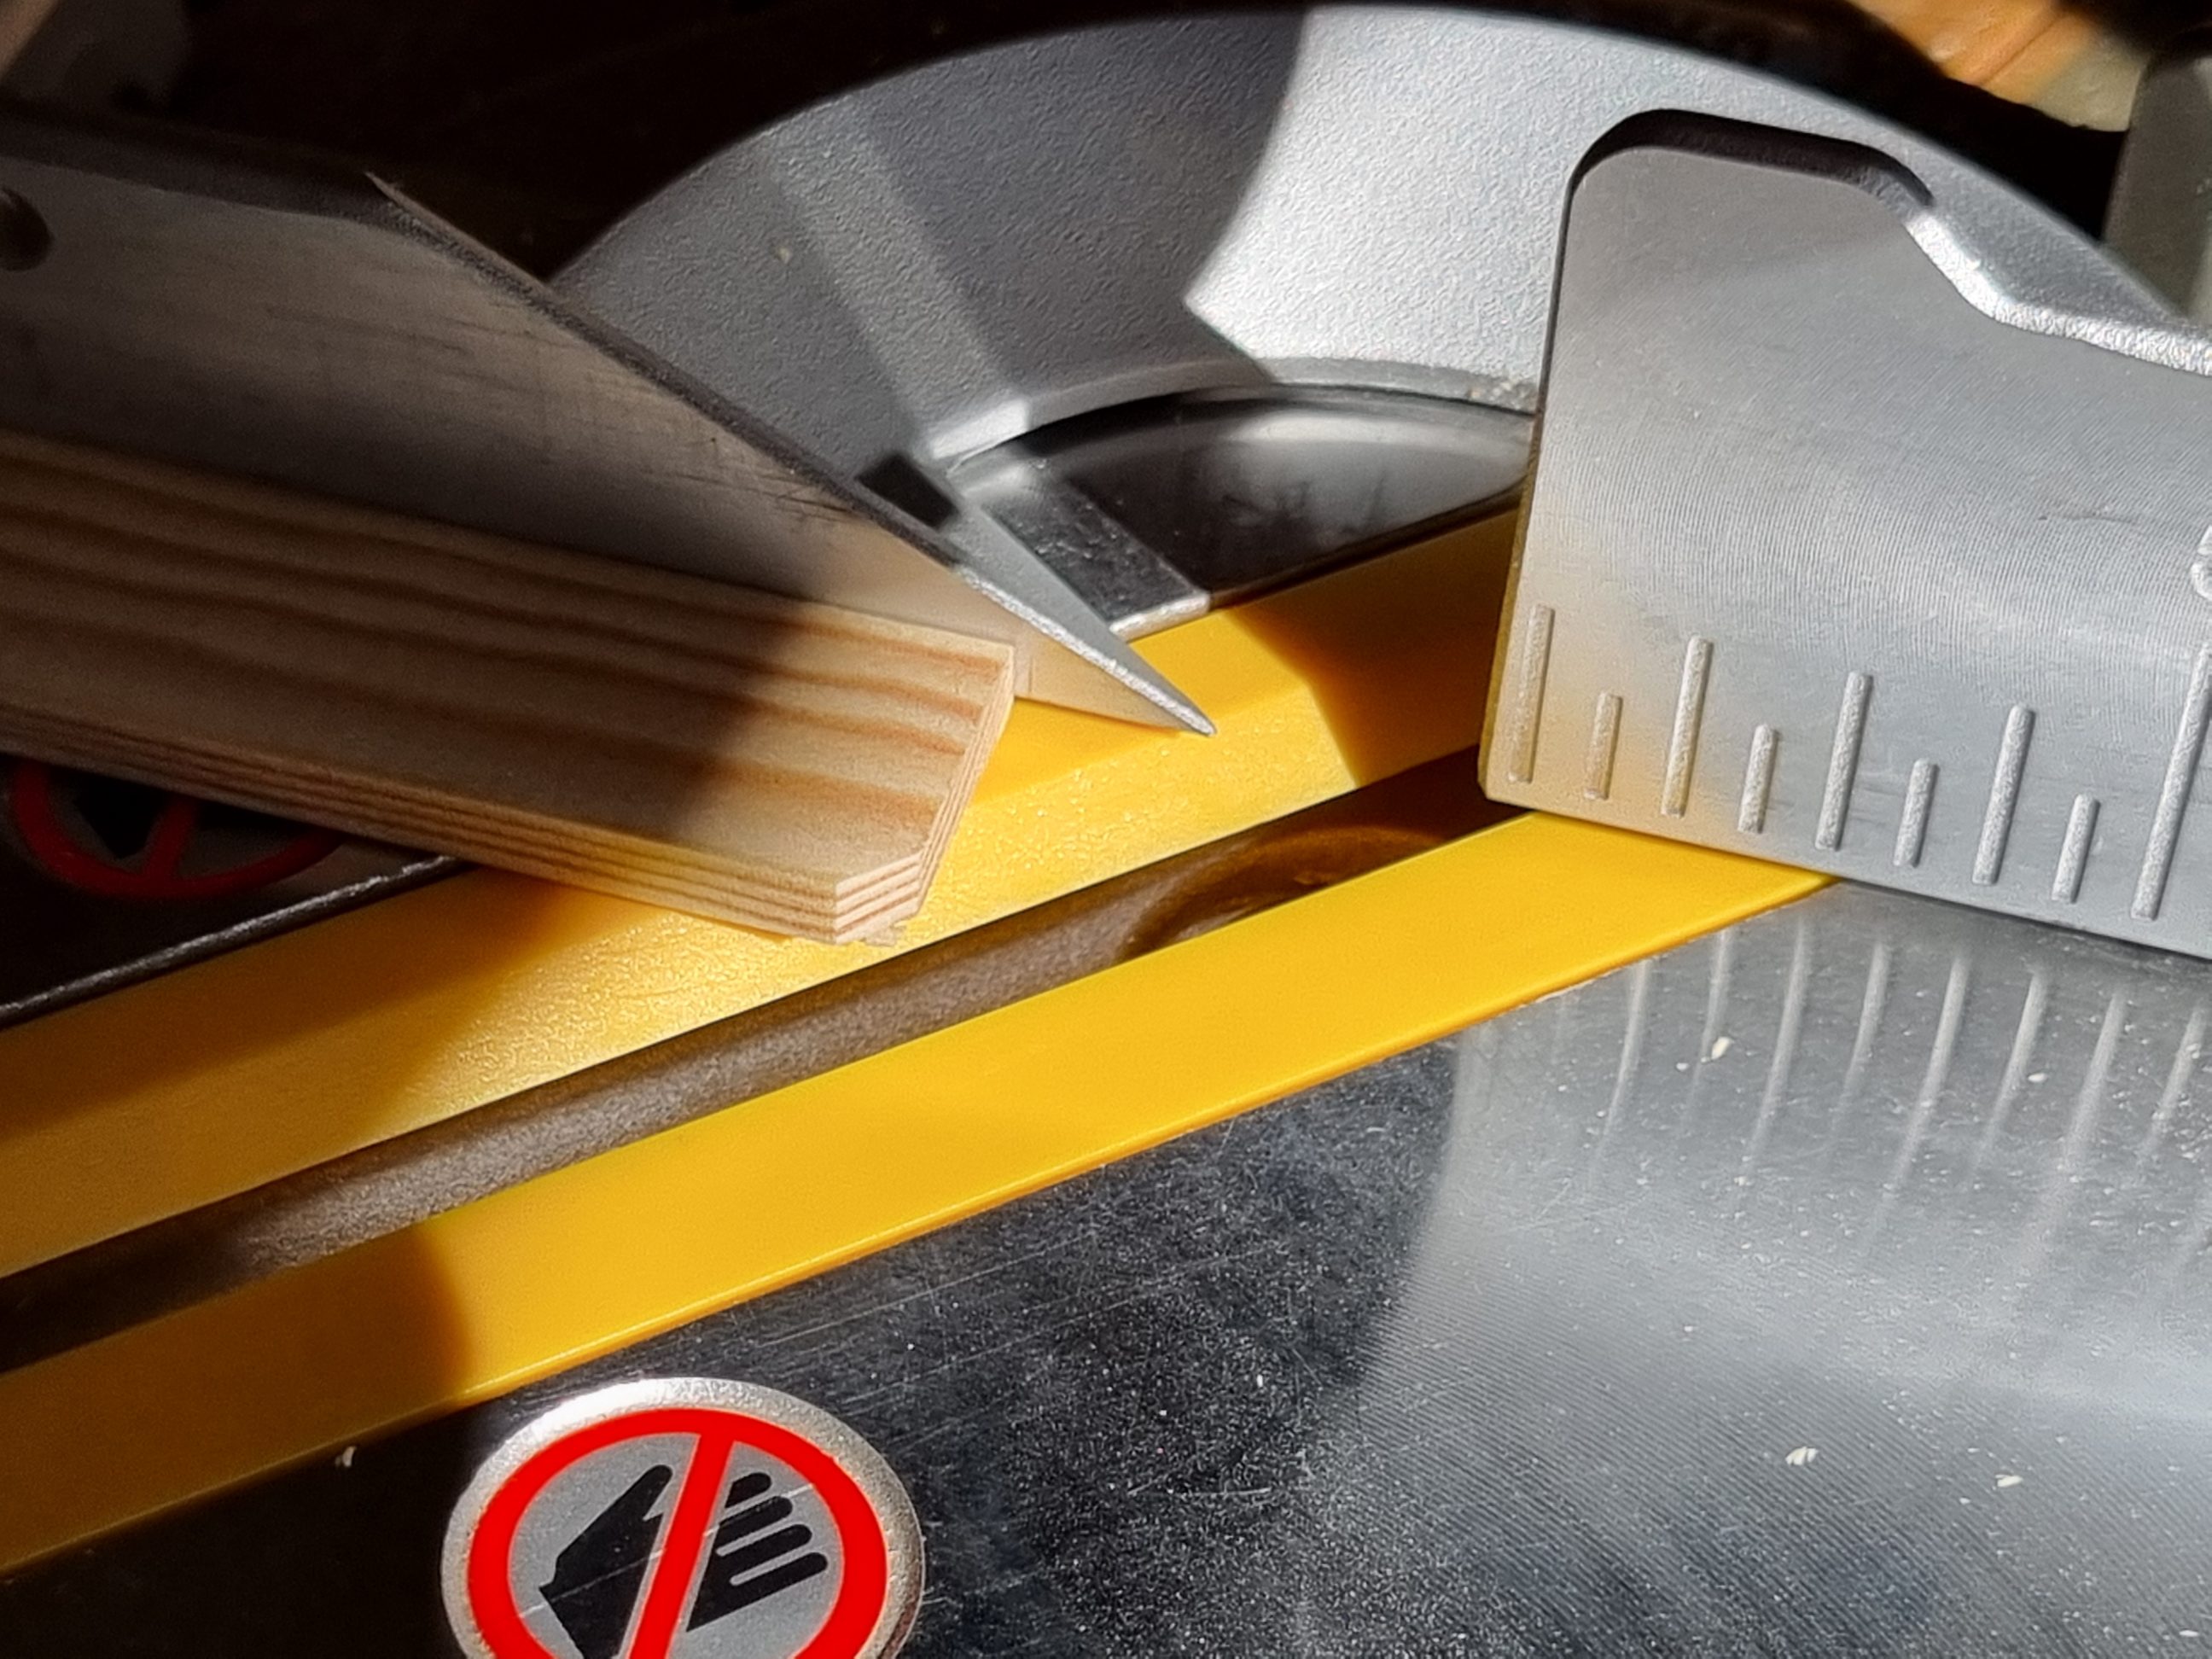
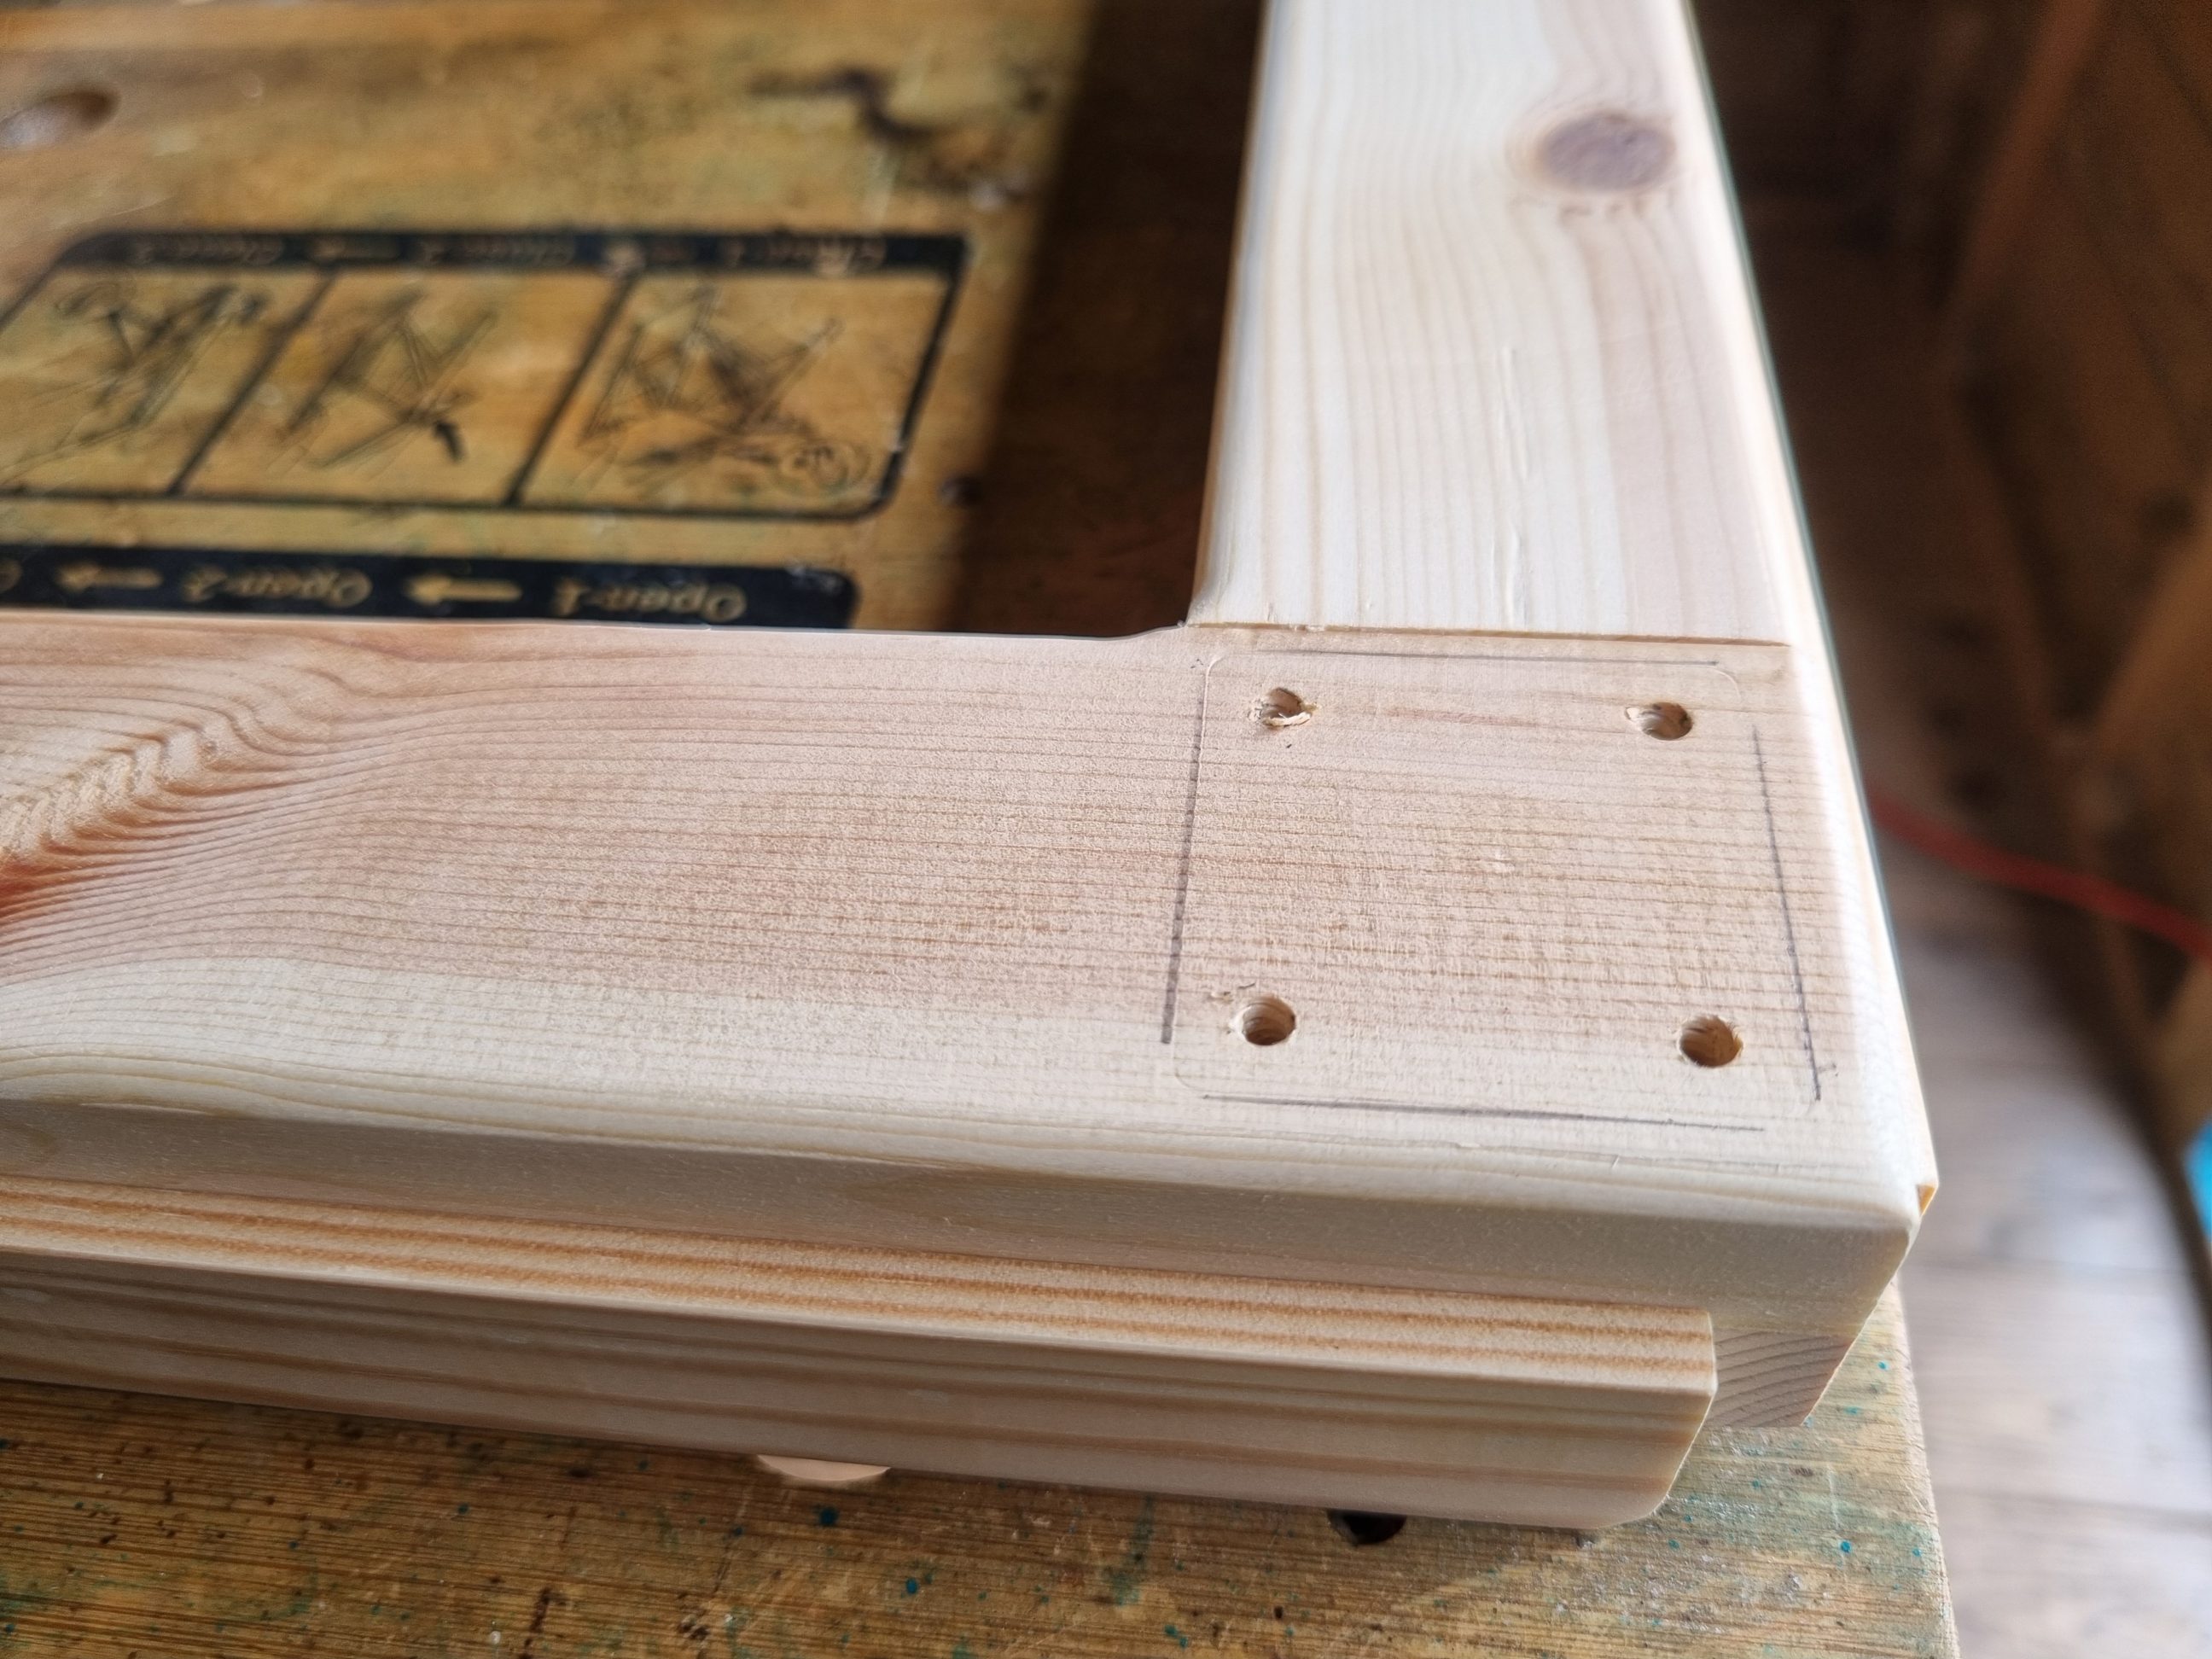
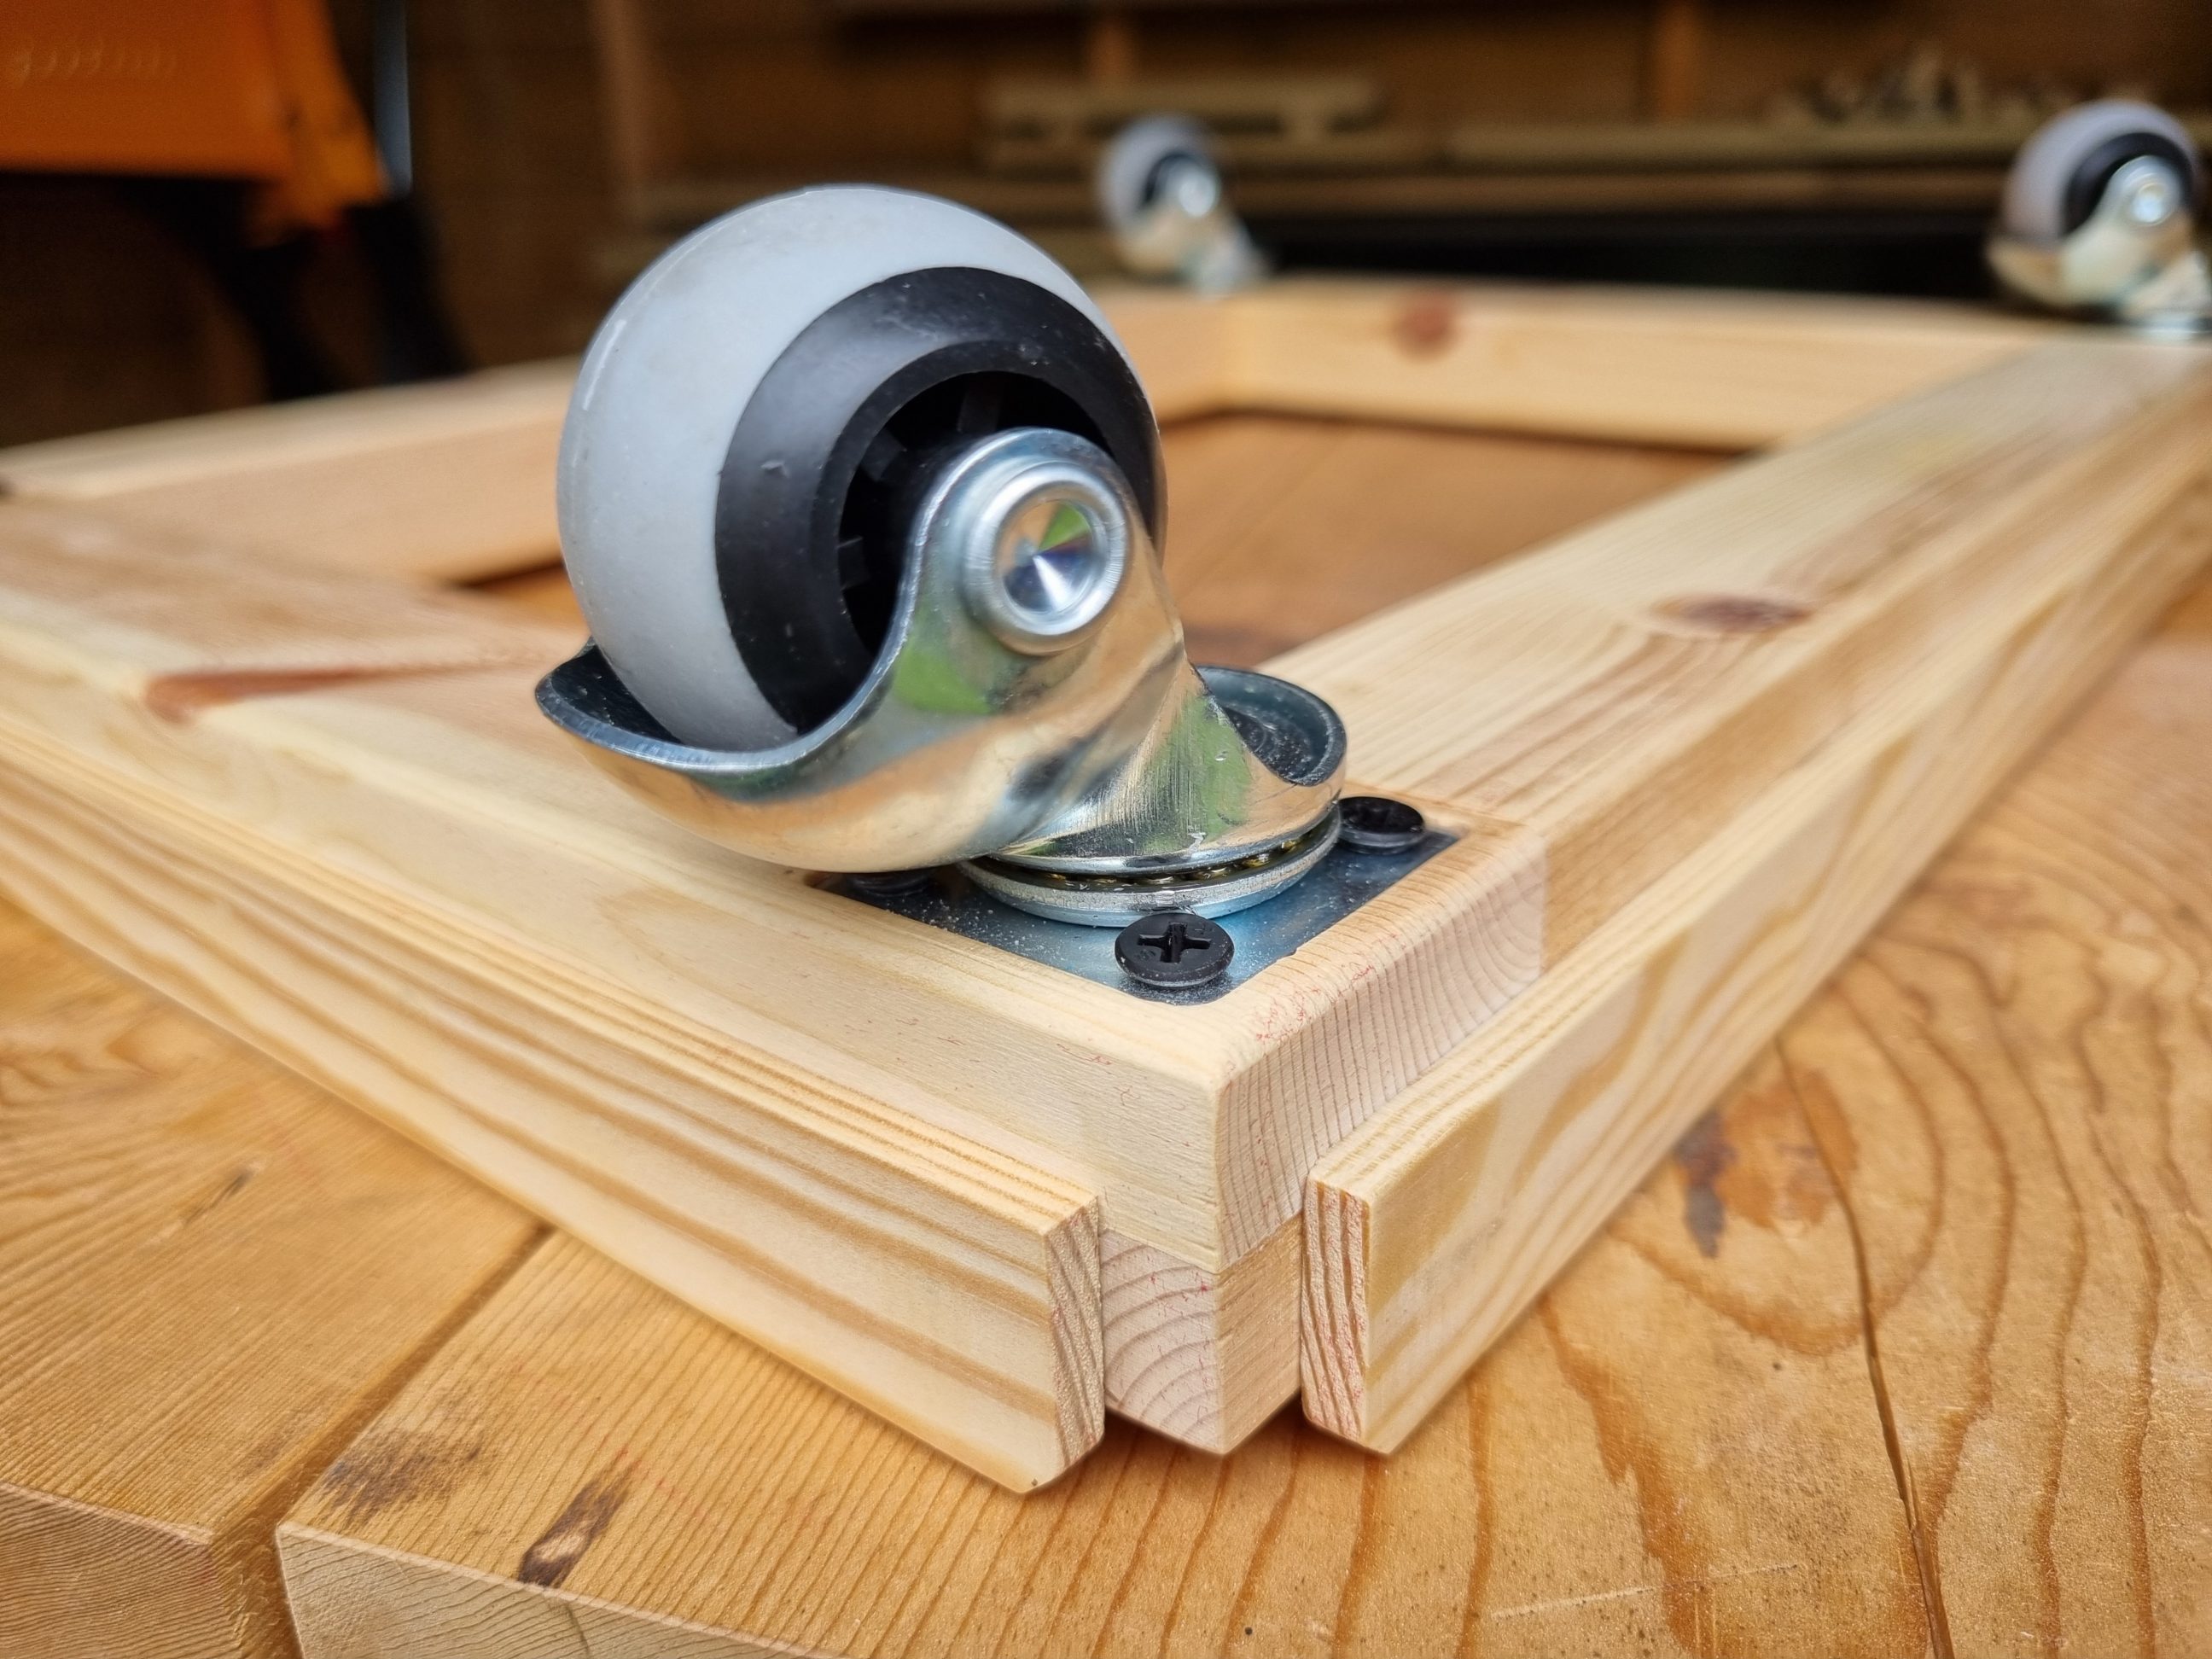
To temporarily mount the castors, I predrilled holes to minimise the risk of splitting at the corners. I used drywall screws, as they seemed sufficient for a workshop tray. The castors were removed later to route out the mortises and apply the finish. To keep my L-Boxxes secure on the tray, I needed to add some sort of lip or rim. Ideally, I would have used aluminium profiles, but since I only had pine mouldings on hand, they worked just as well. I cut the mouldings to size on my mitre saw and trimmed the top corners at a 45º angle. By aligning each piece with a simple pencil mark on the fence, I ensured that all corners were identical. It’s worth noting that I specifically selected moulding with the correct grain orientation to reduce the risk of breakage upon impact with a box. While mouldings are typically cut correctly, I’ve occasionally seen pieces with growth rings perpendicular to the surface. For this project, it was crucial to use mouldings with growth rings parallel, or at a very shallow angle to the face.
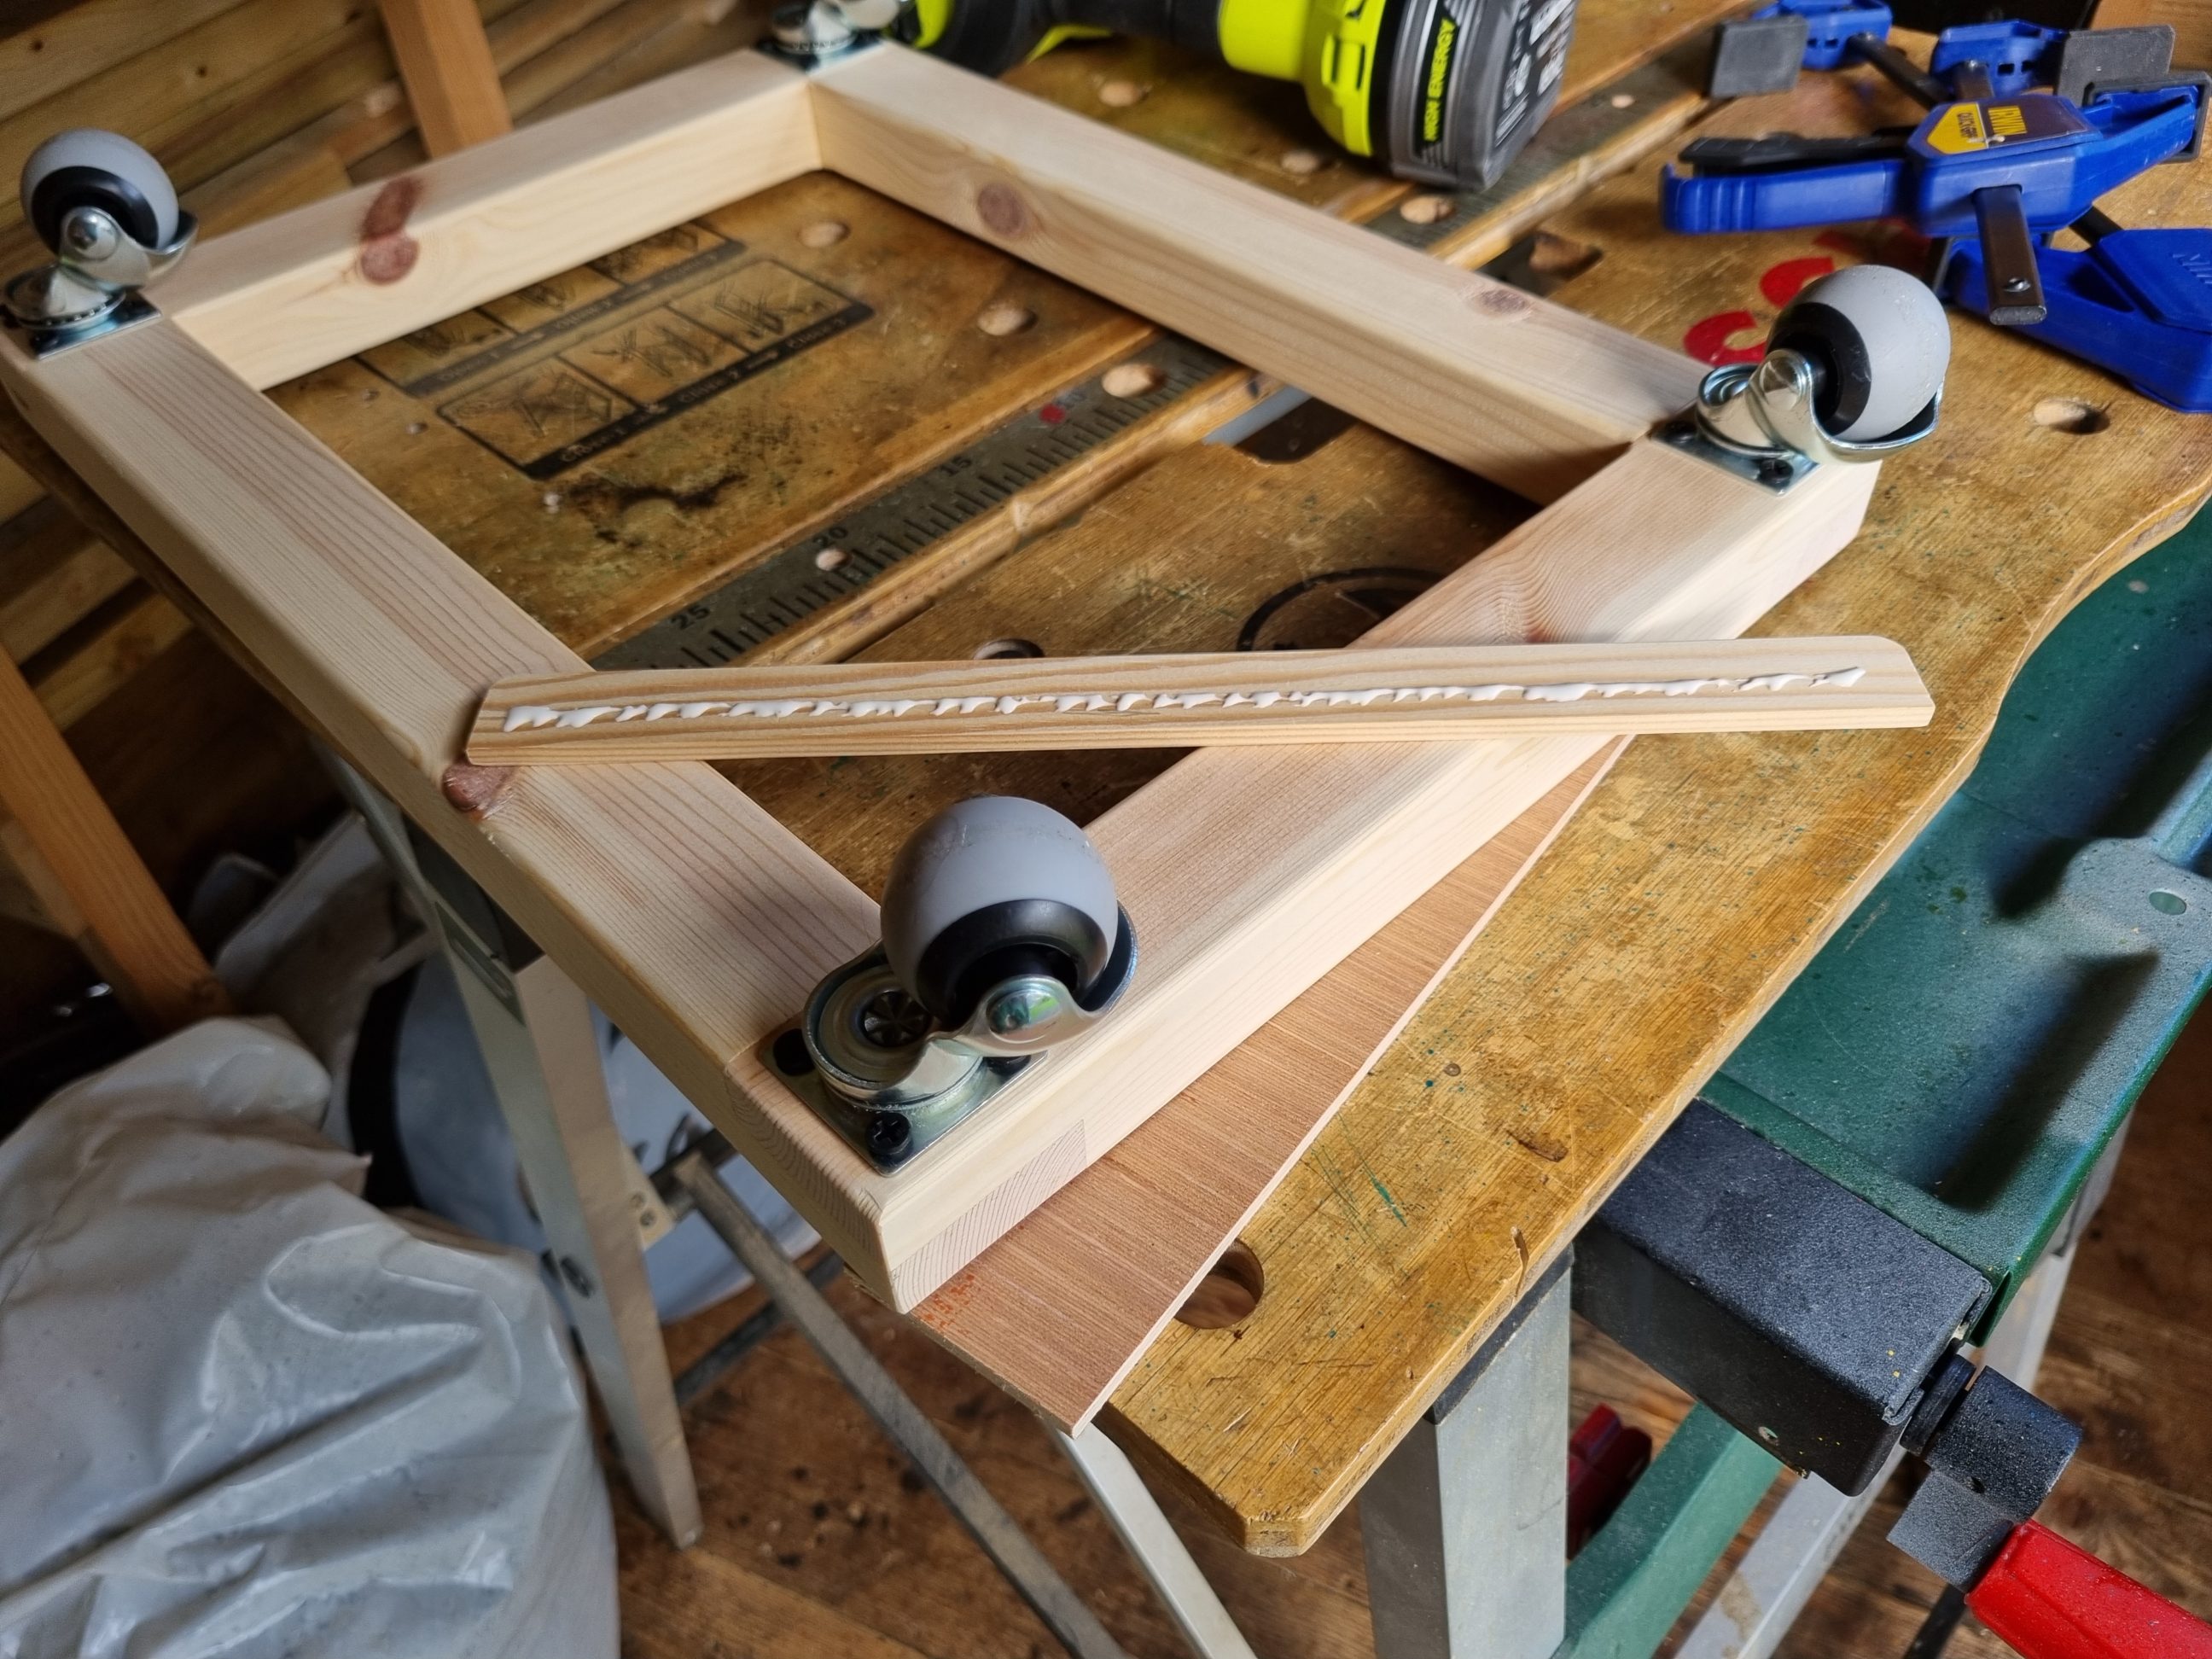
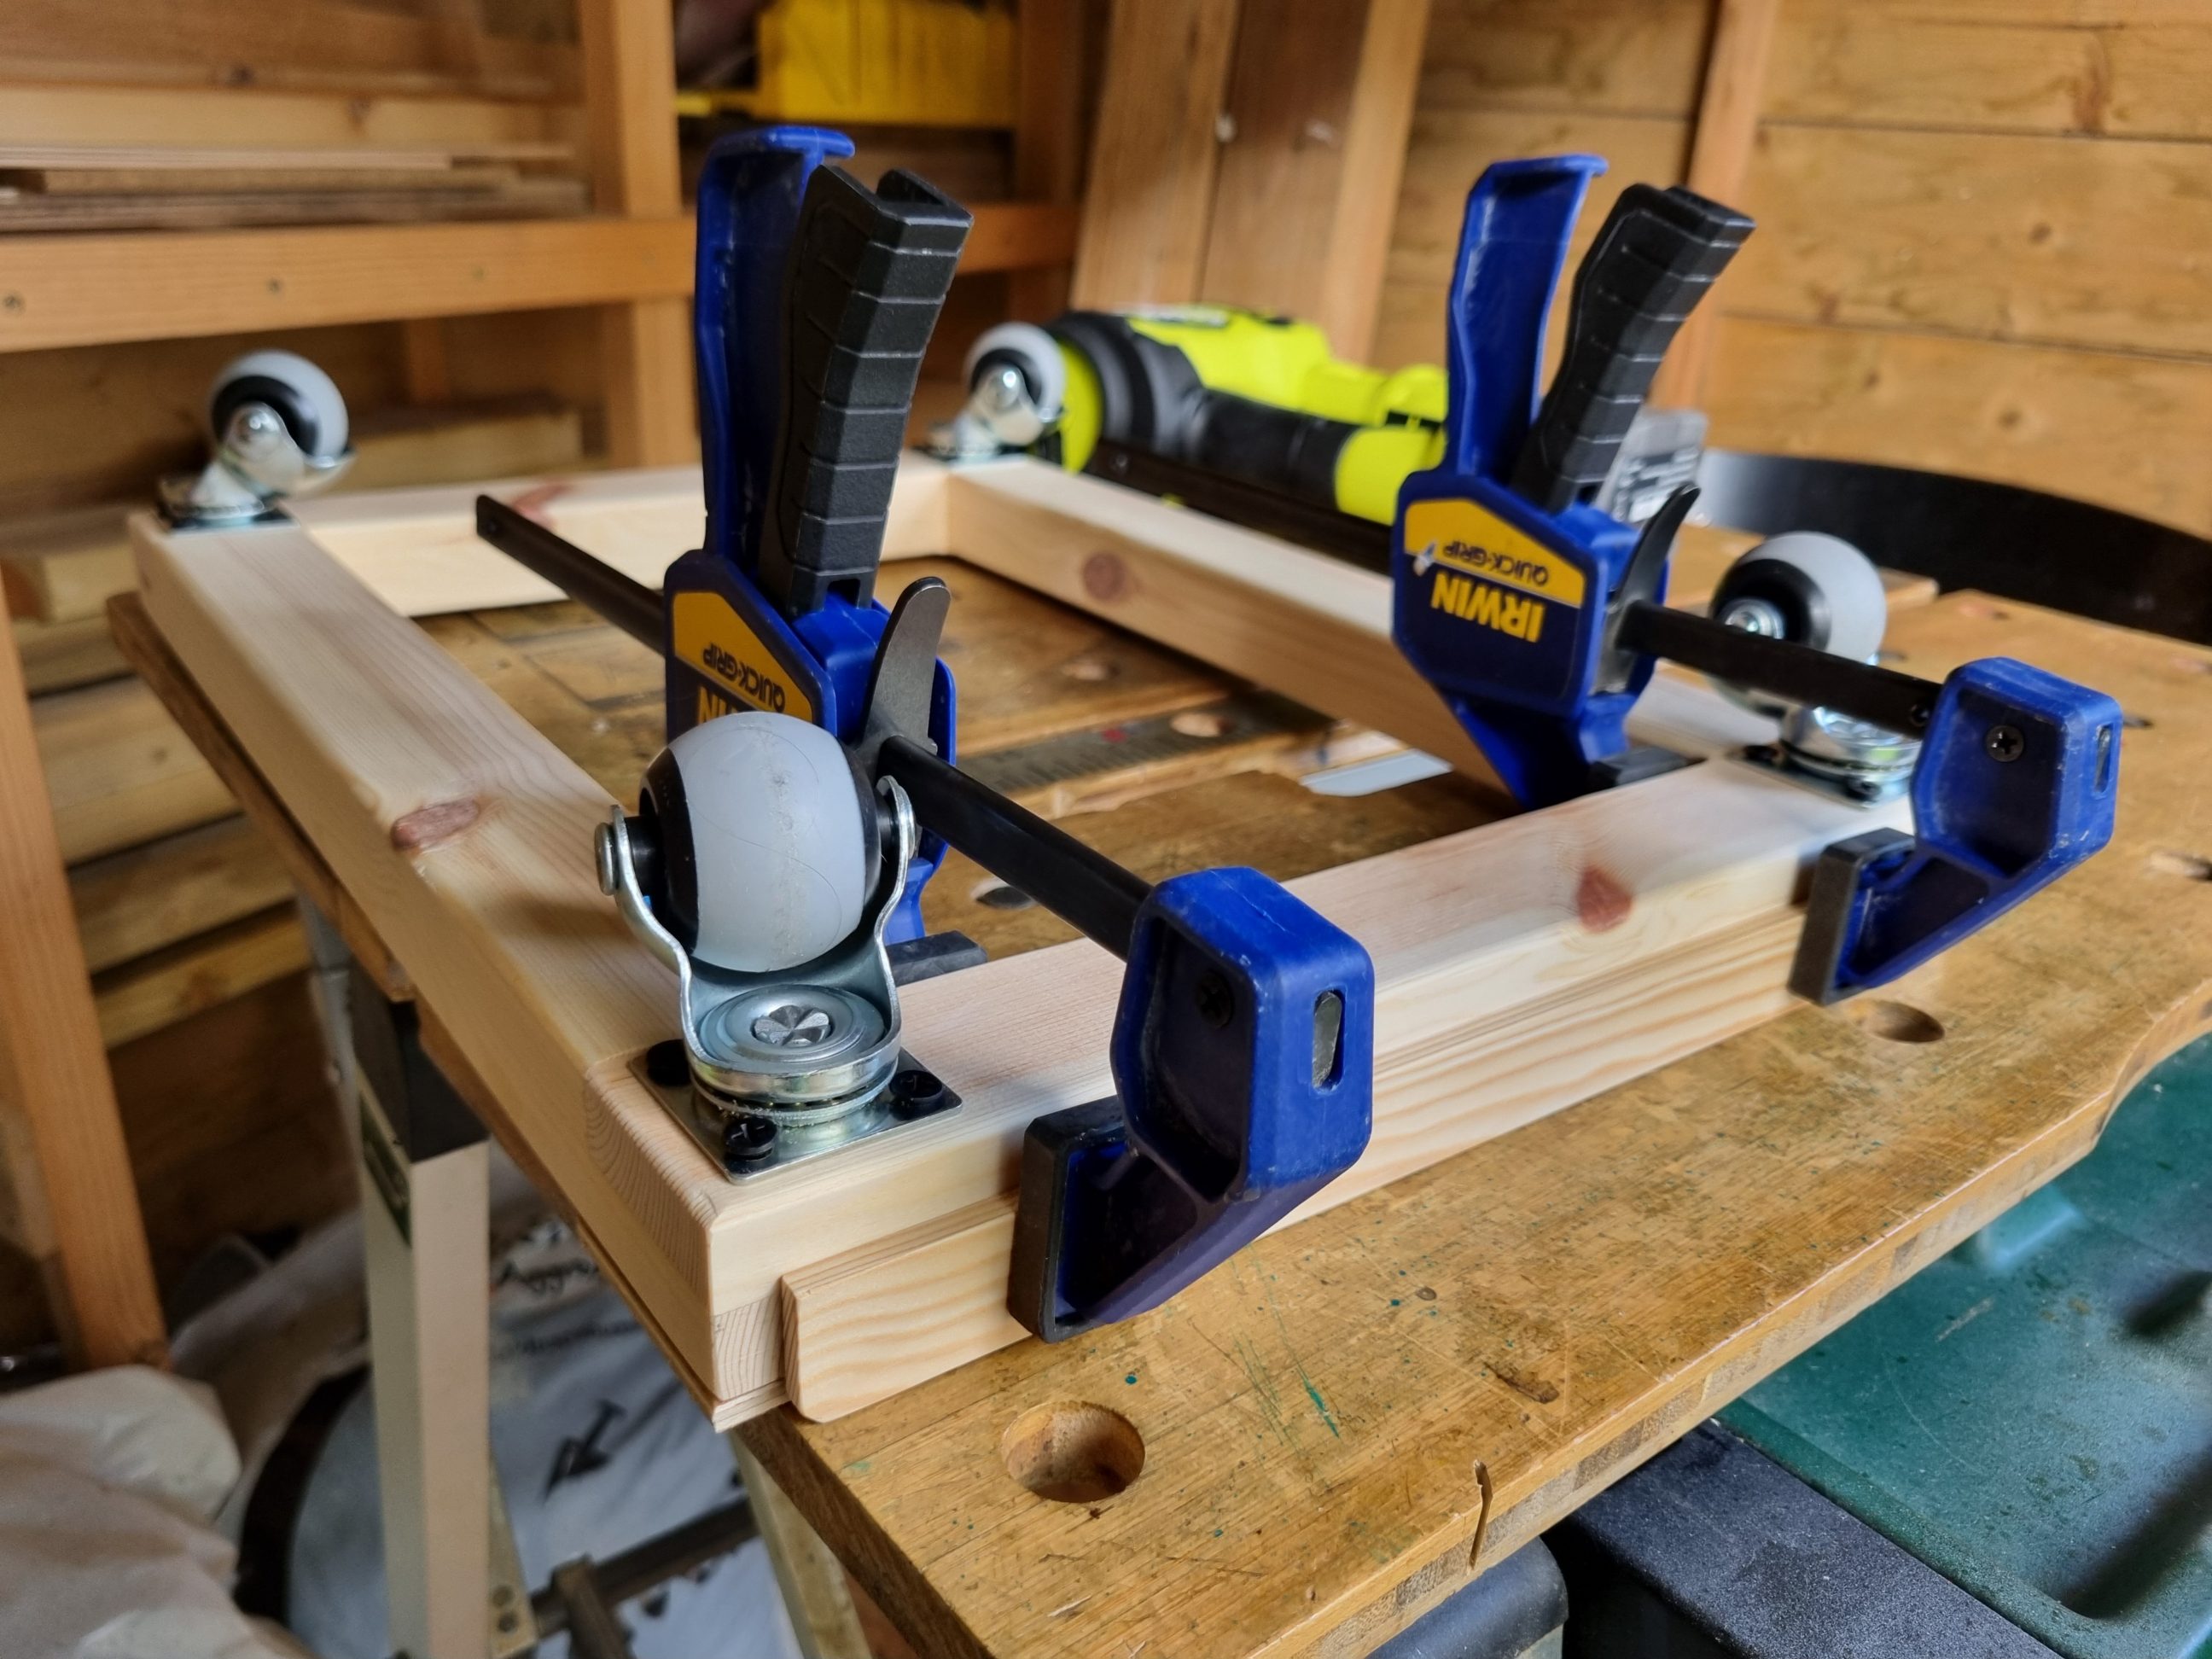
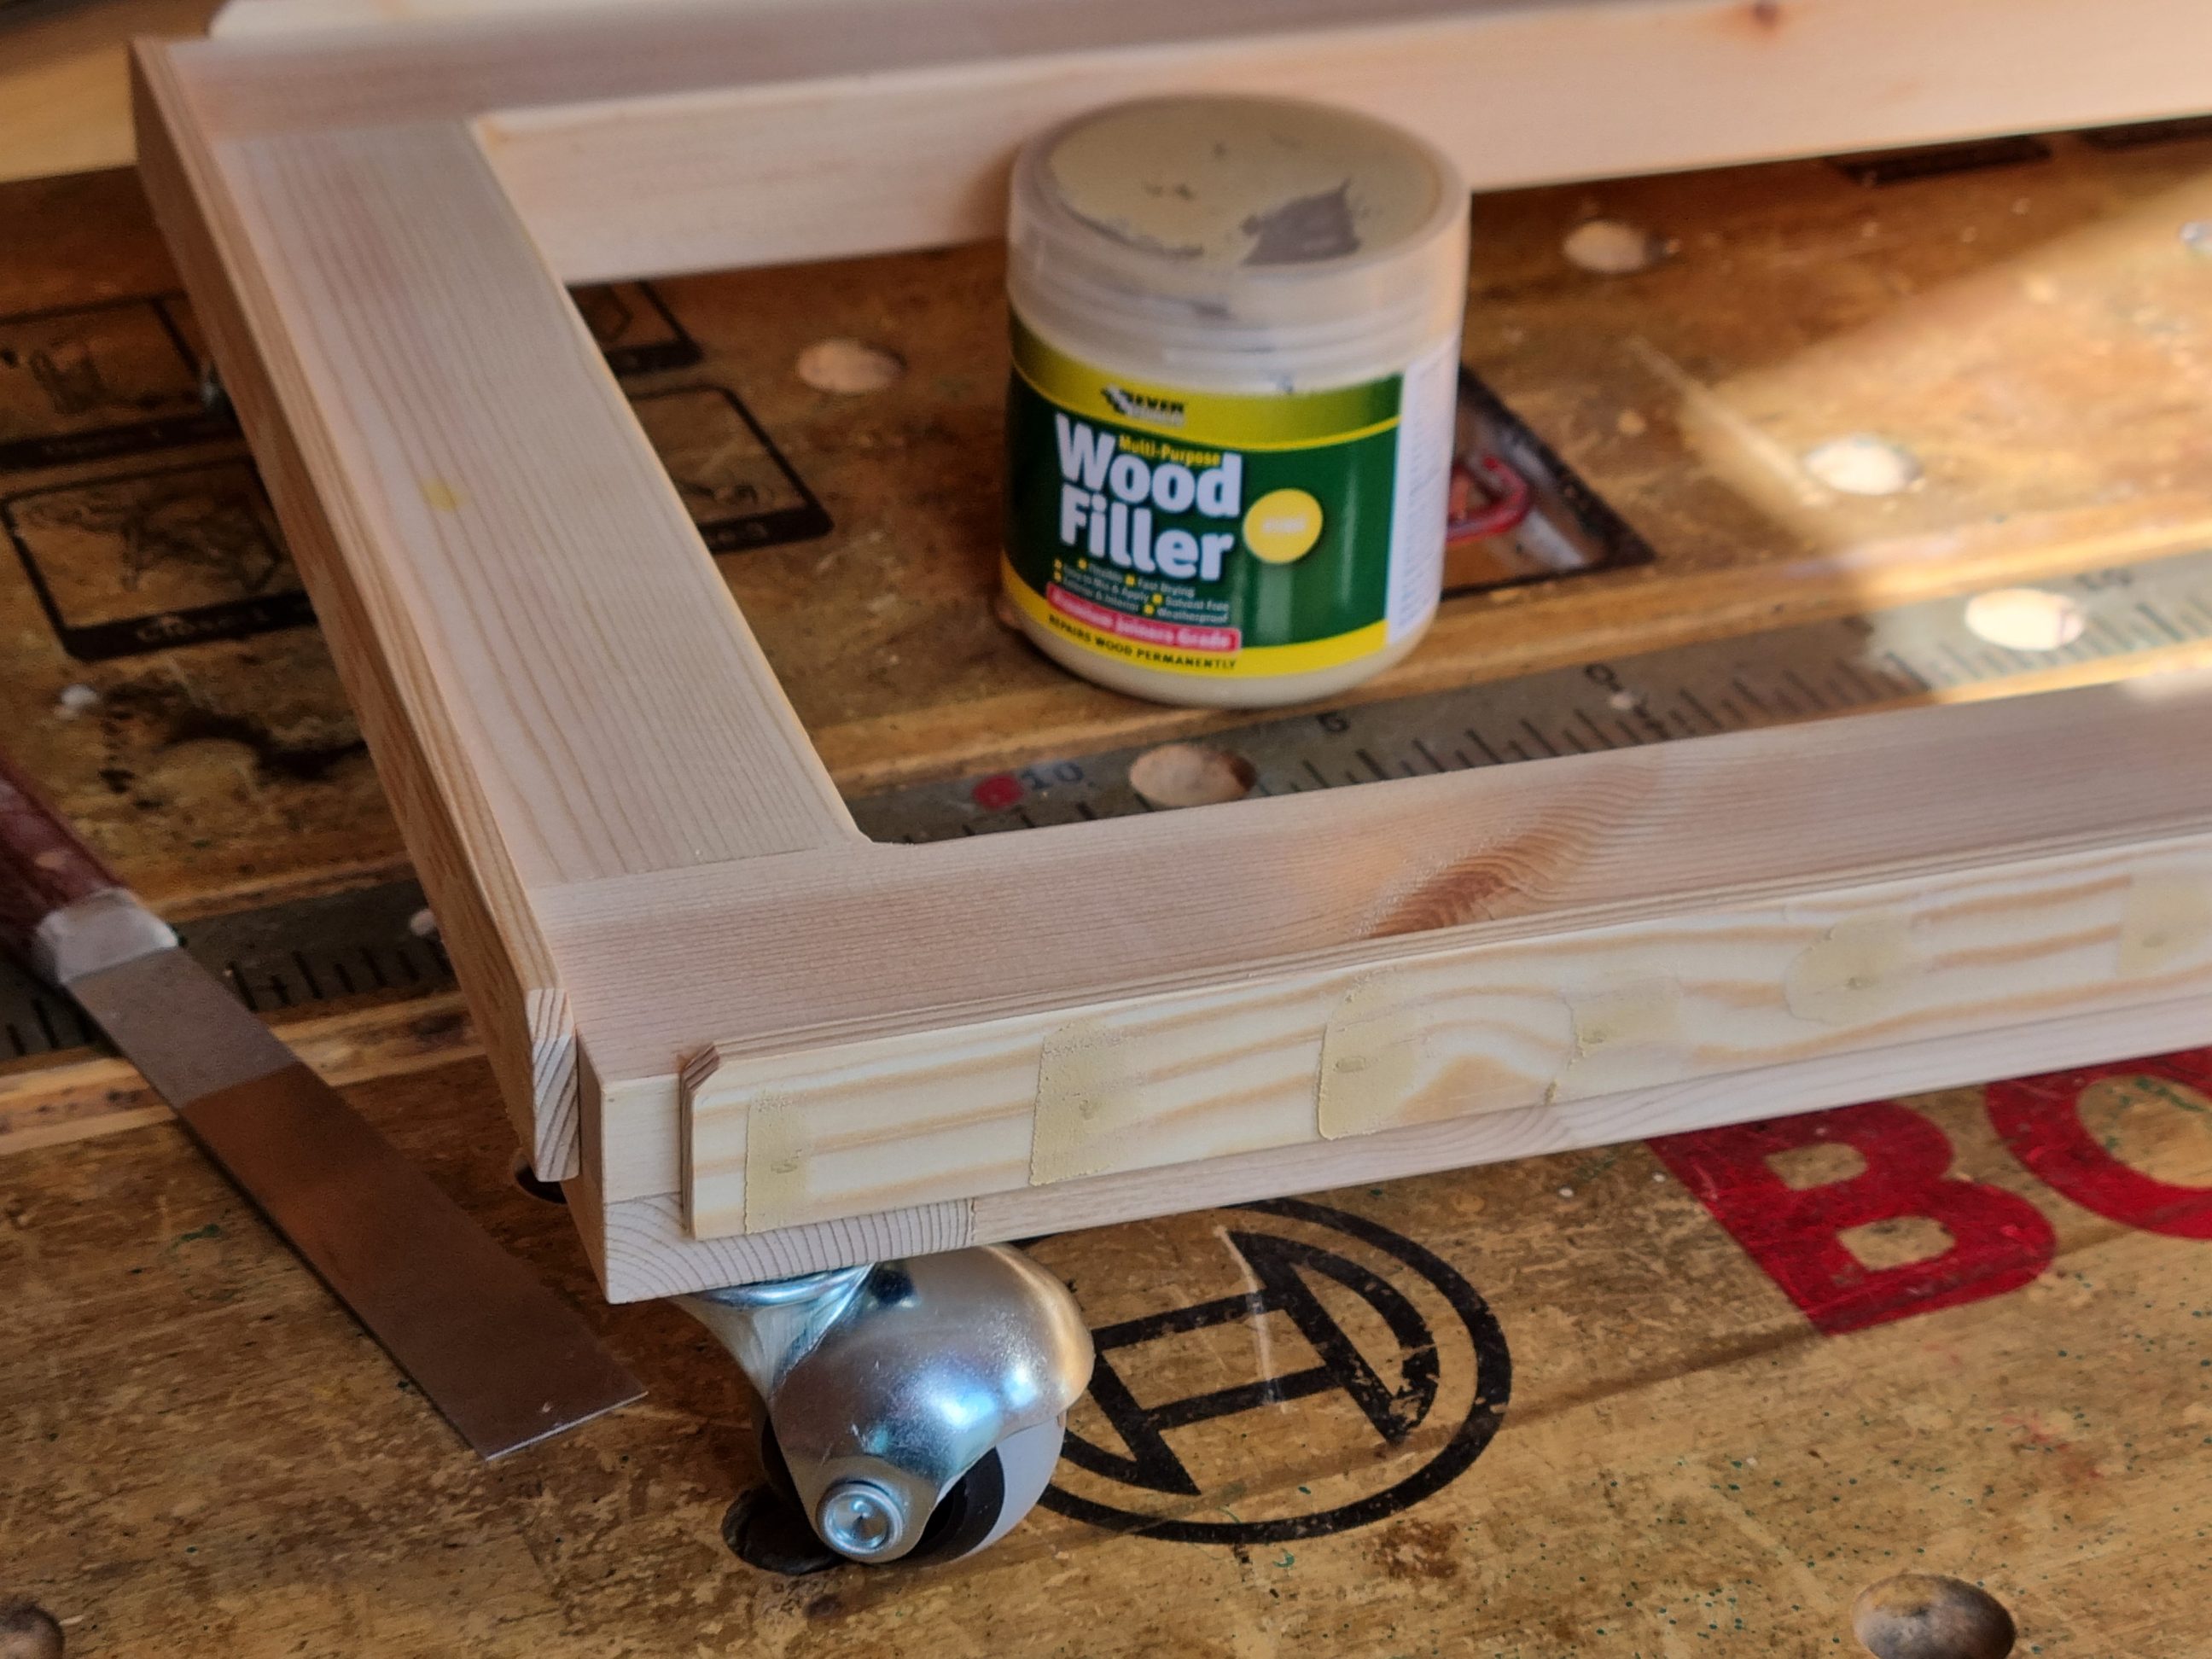
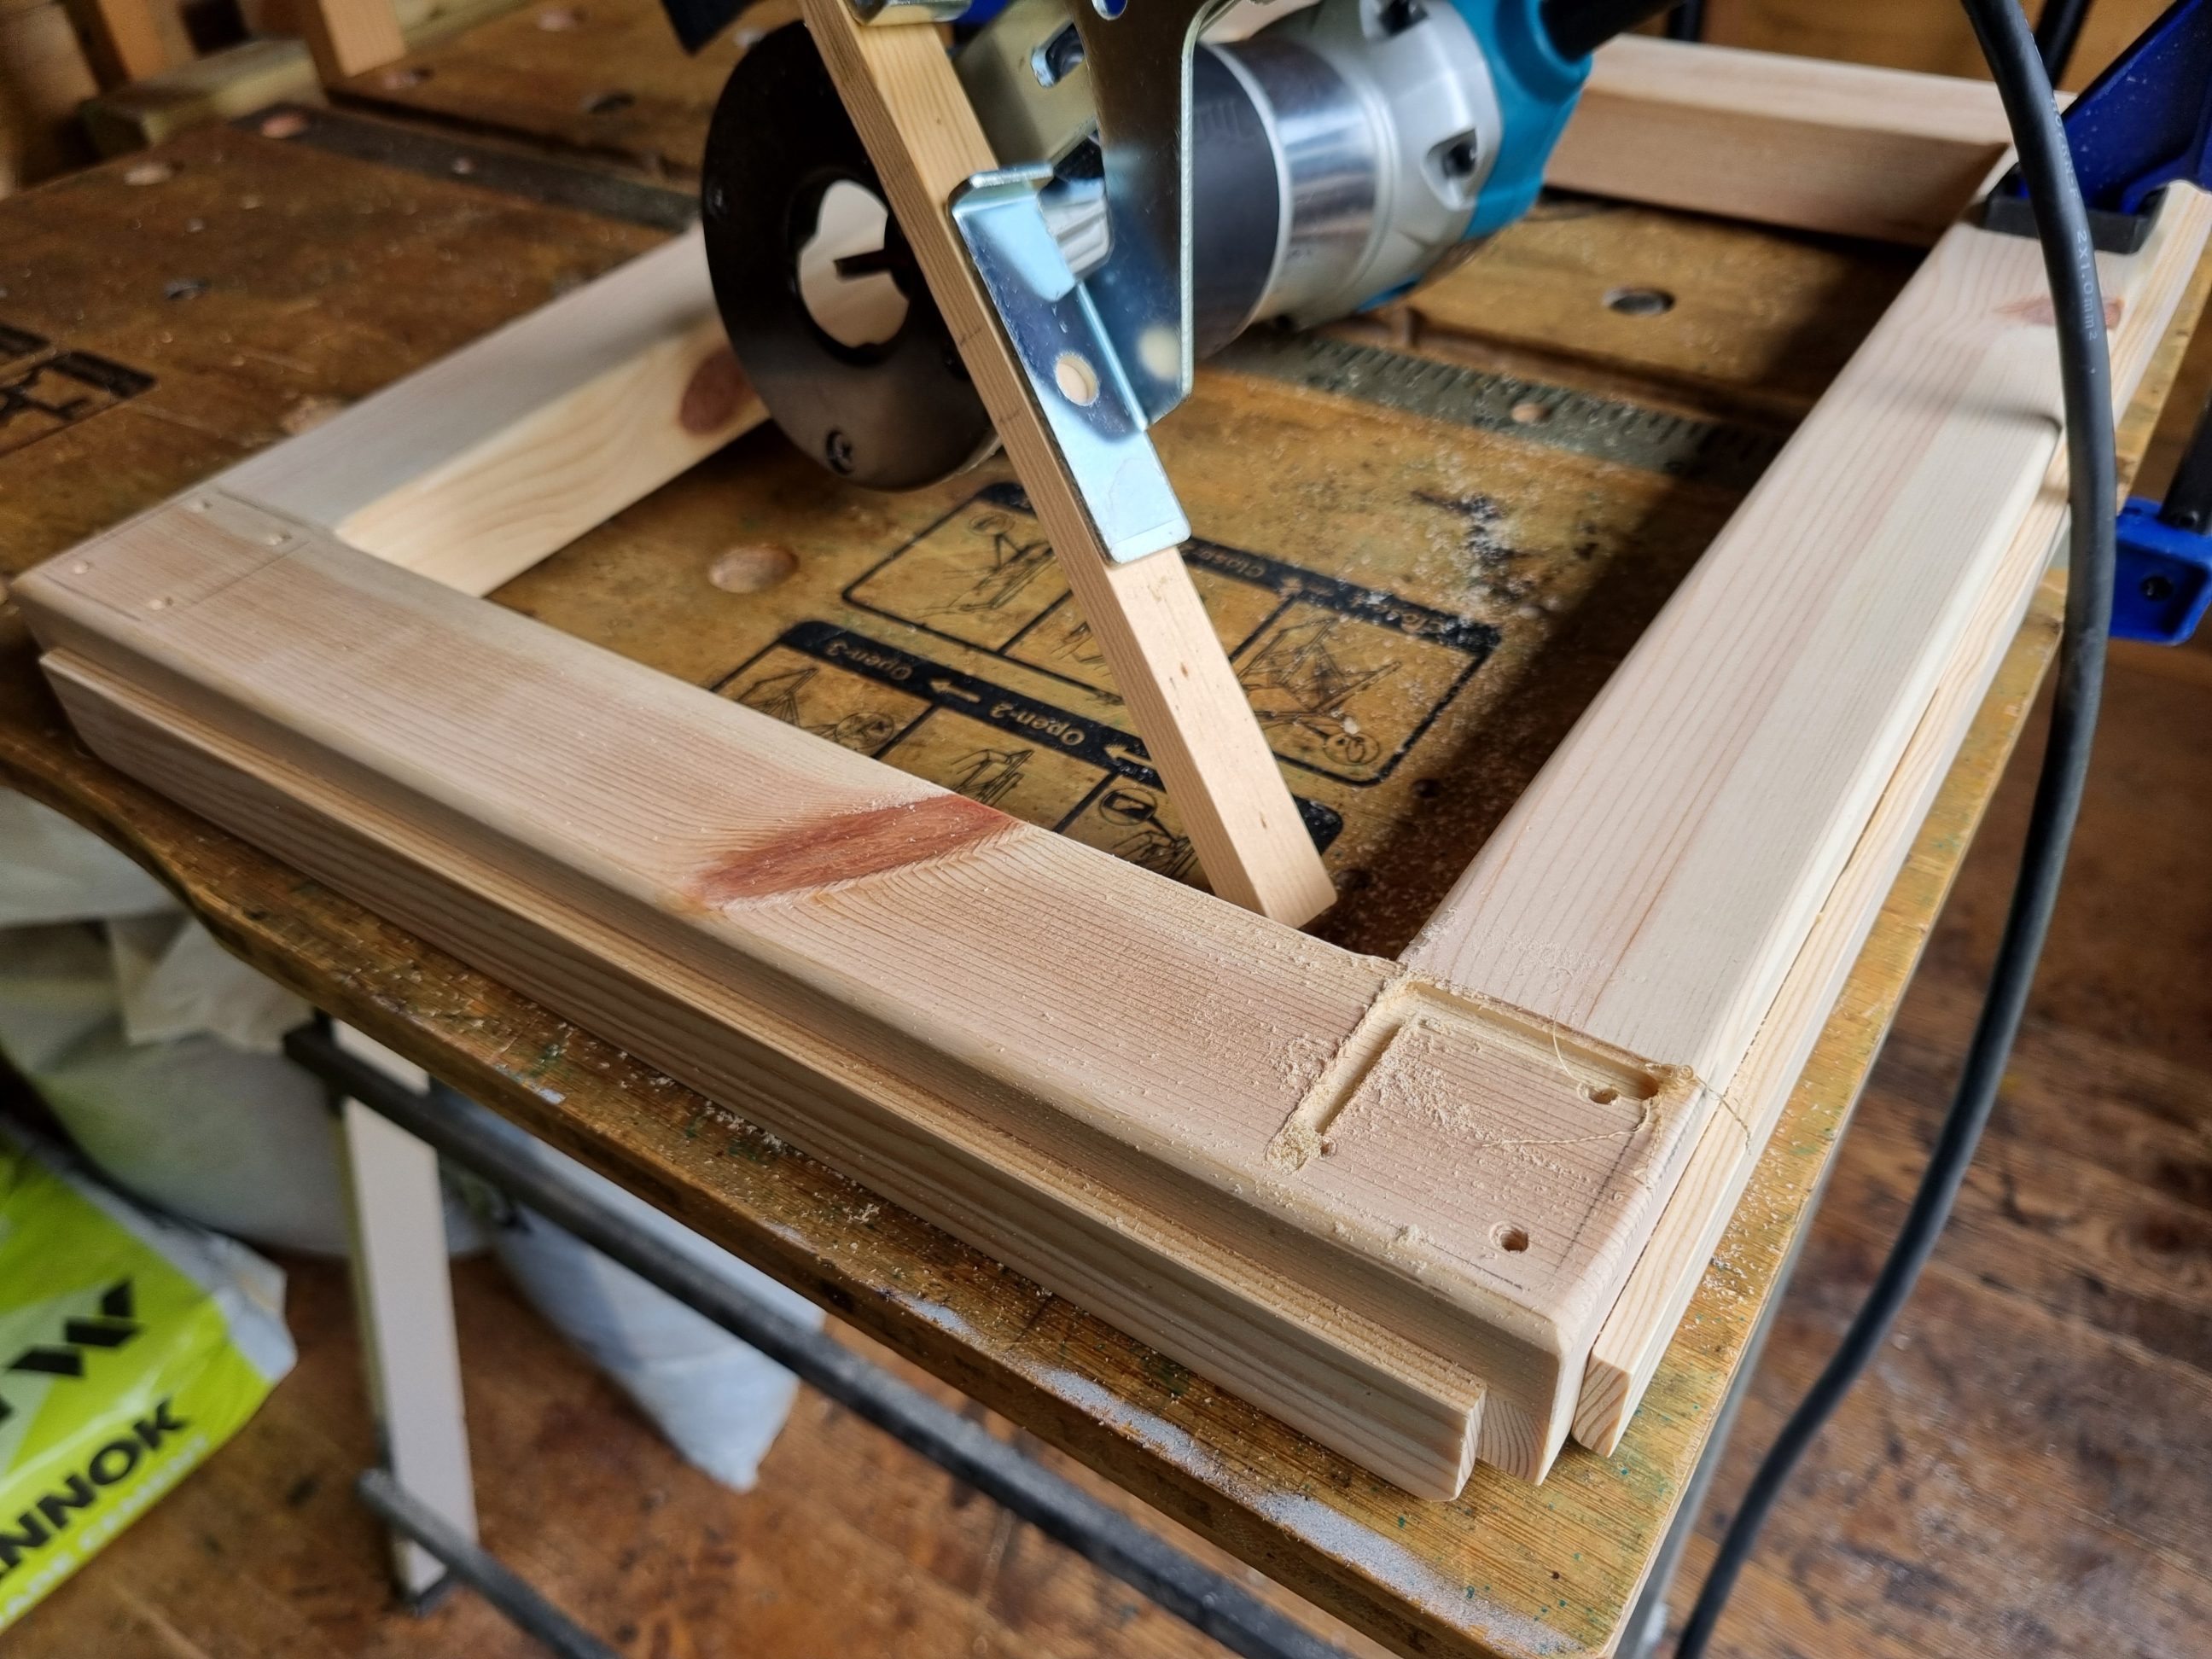
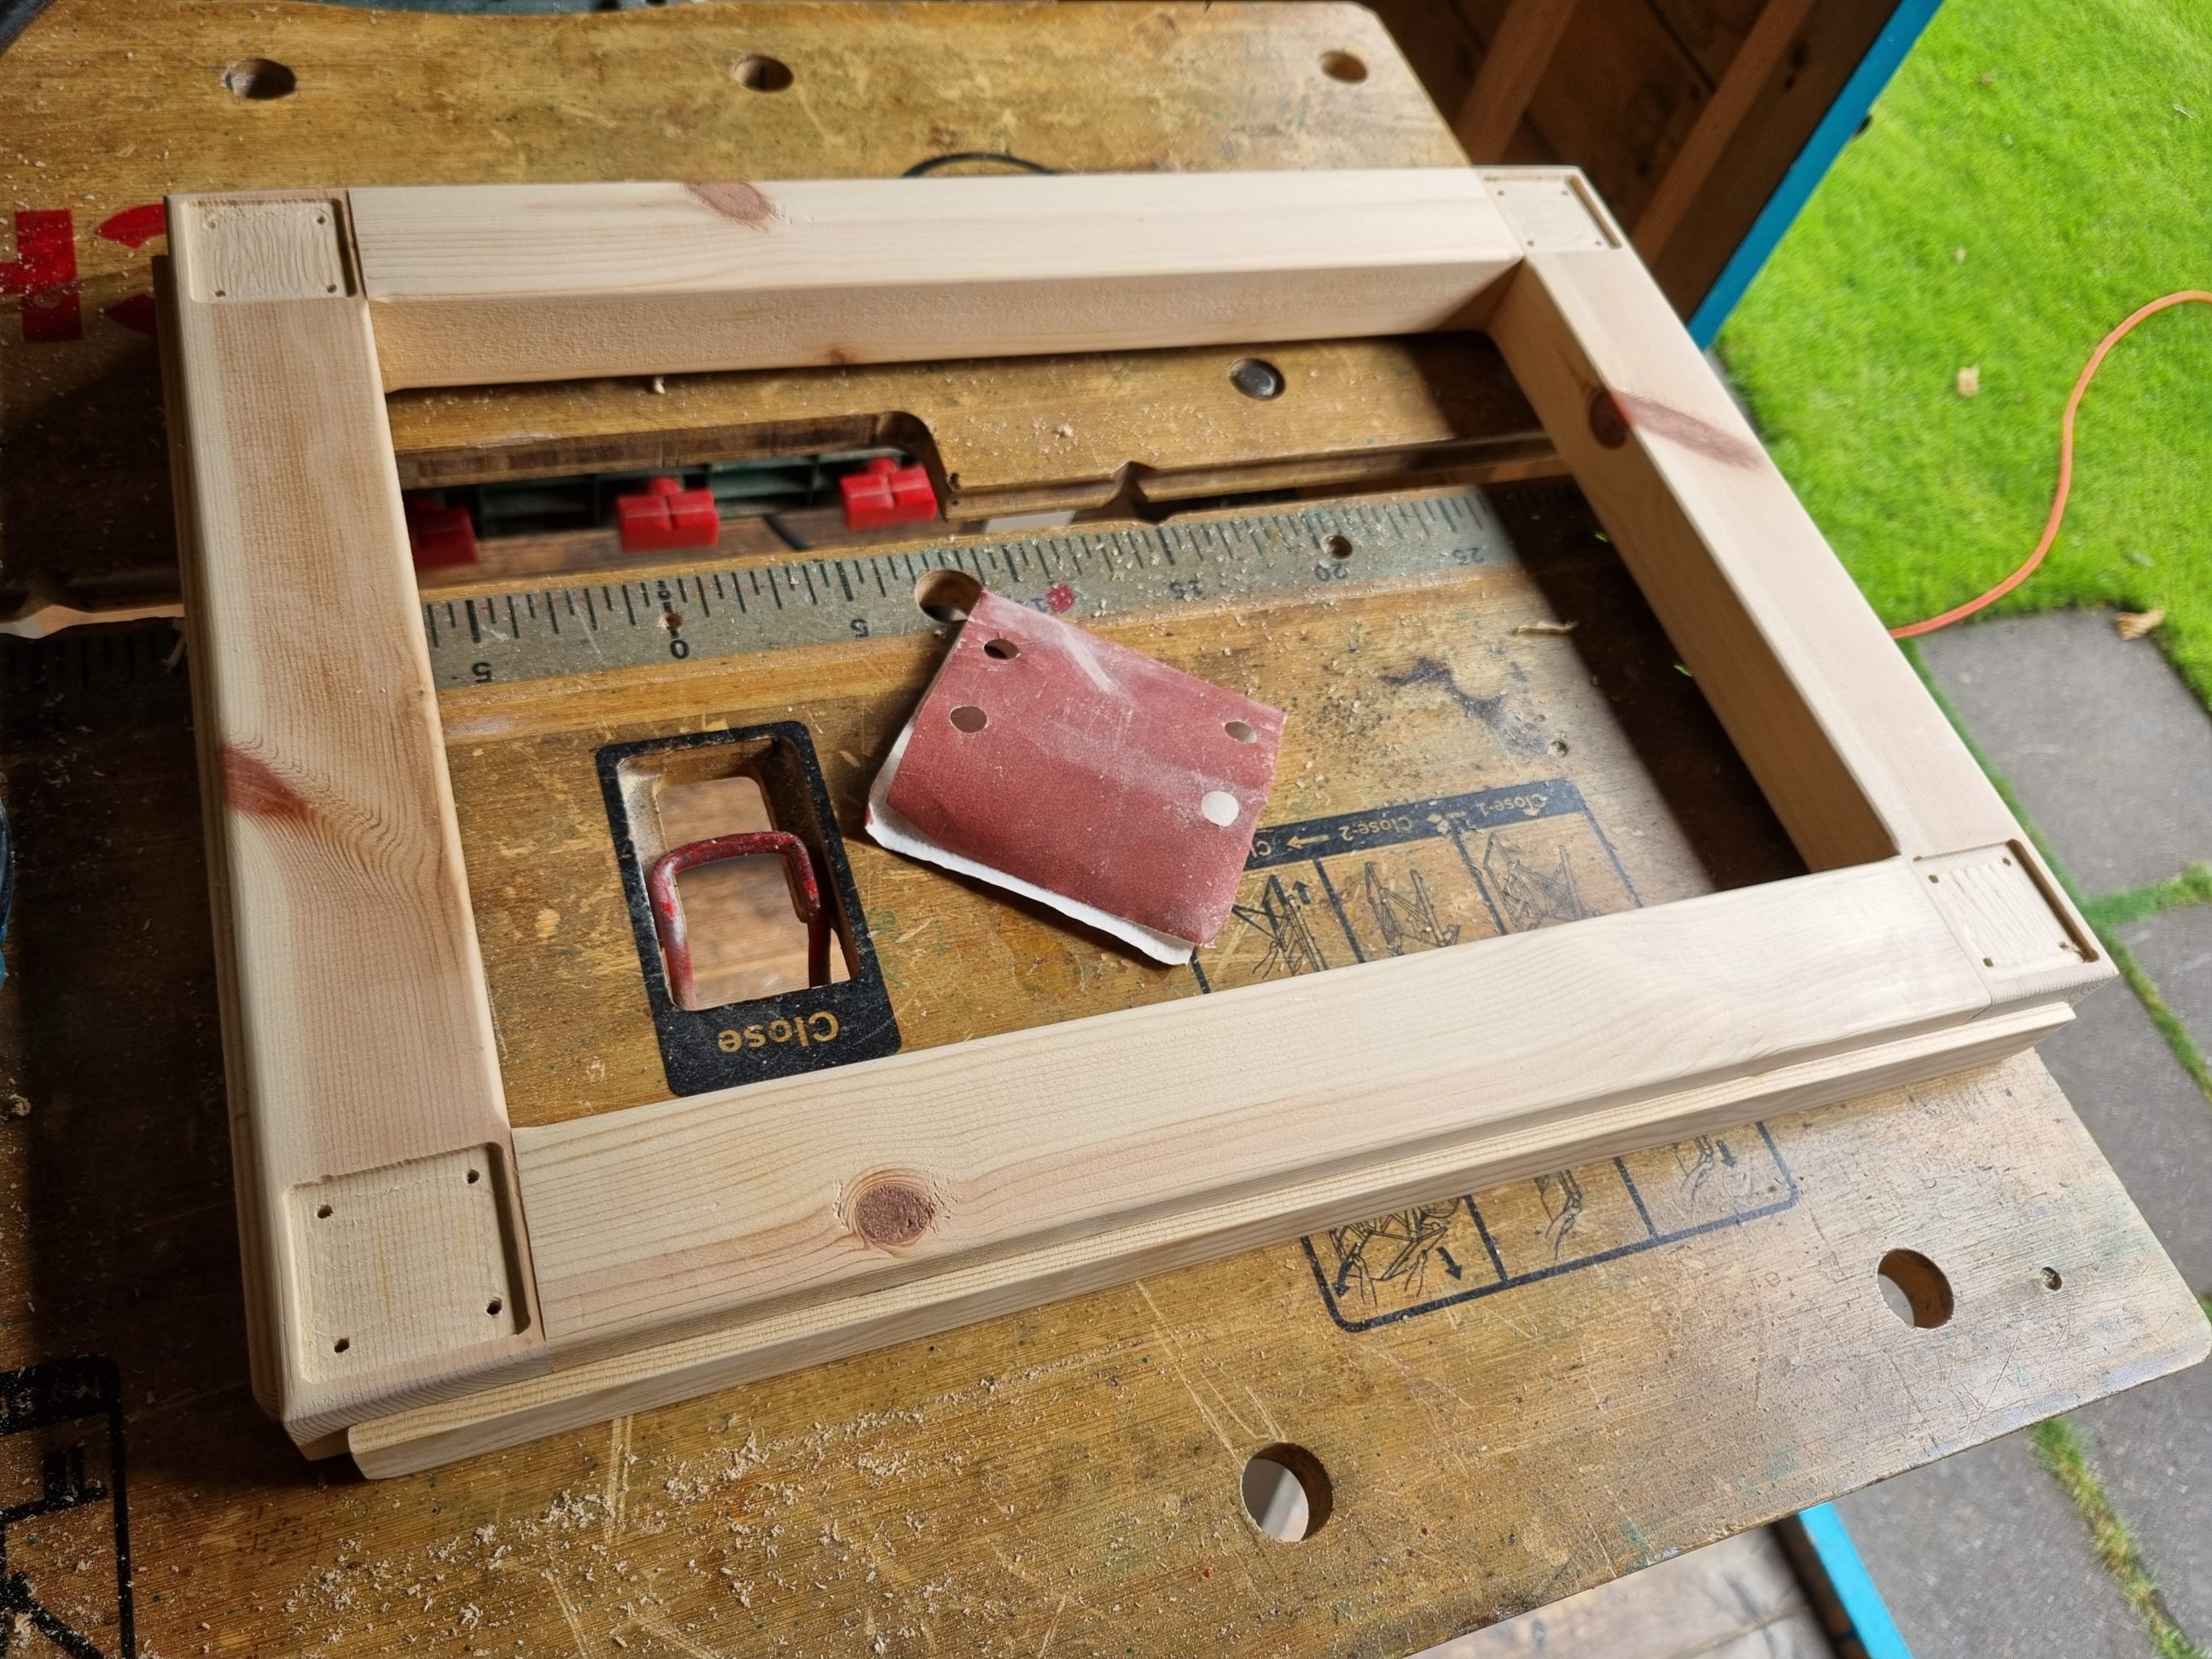
After a quick sanding, I glued and nailed all the trim pieces to the frame. To ensure consistent alignment, I used a spacer underneath the frame and occasionally a few clamps. Once the trim was in place, I filled the nail holes with wood filler and sanded everything smooth. The next day, I removed the castors and attached an edge guide to my router. While routing the mortises wasn’t strictly necessary for this project, it did help reduce the height of the tray by a few millimetres. Plus, it added a touch of complexity to what might have otherwise felt like an overly simple project.


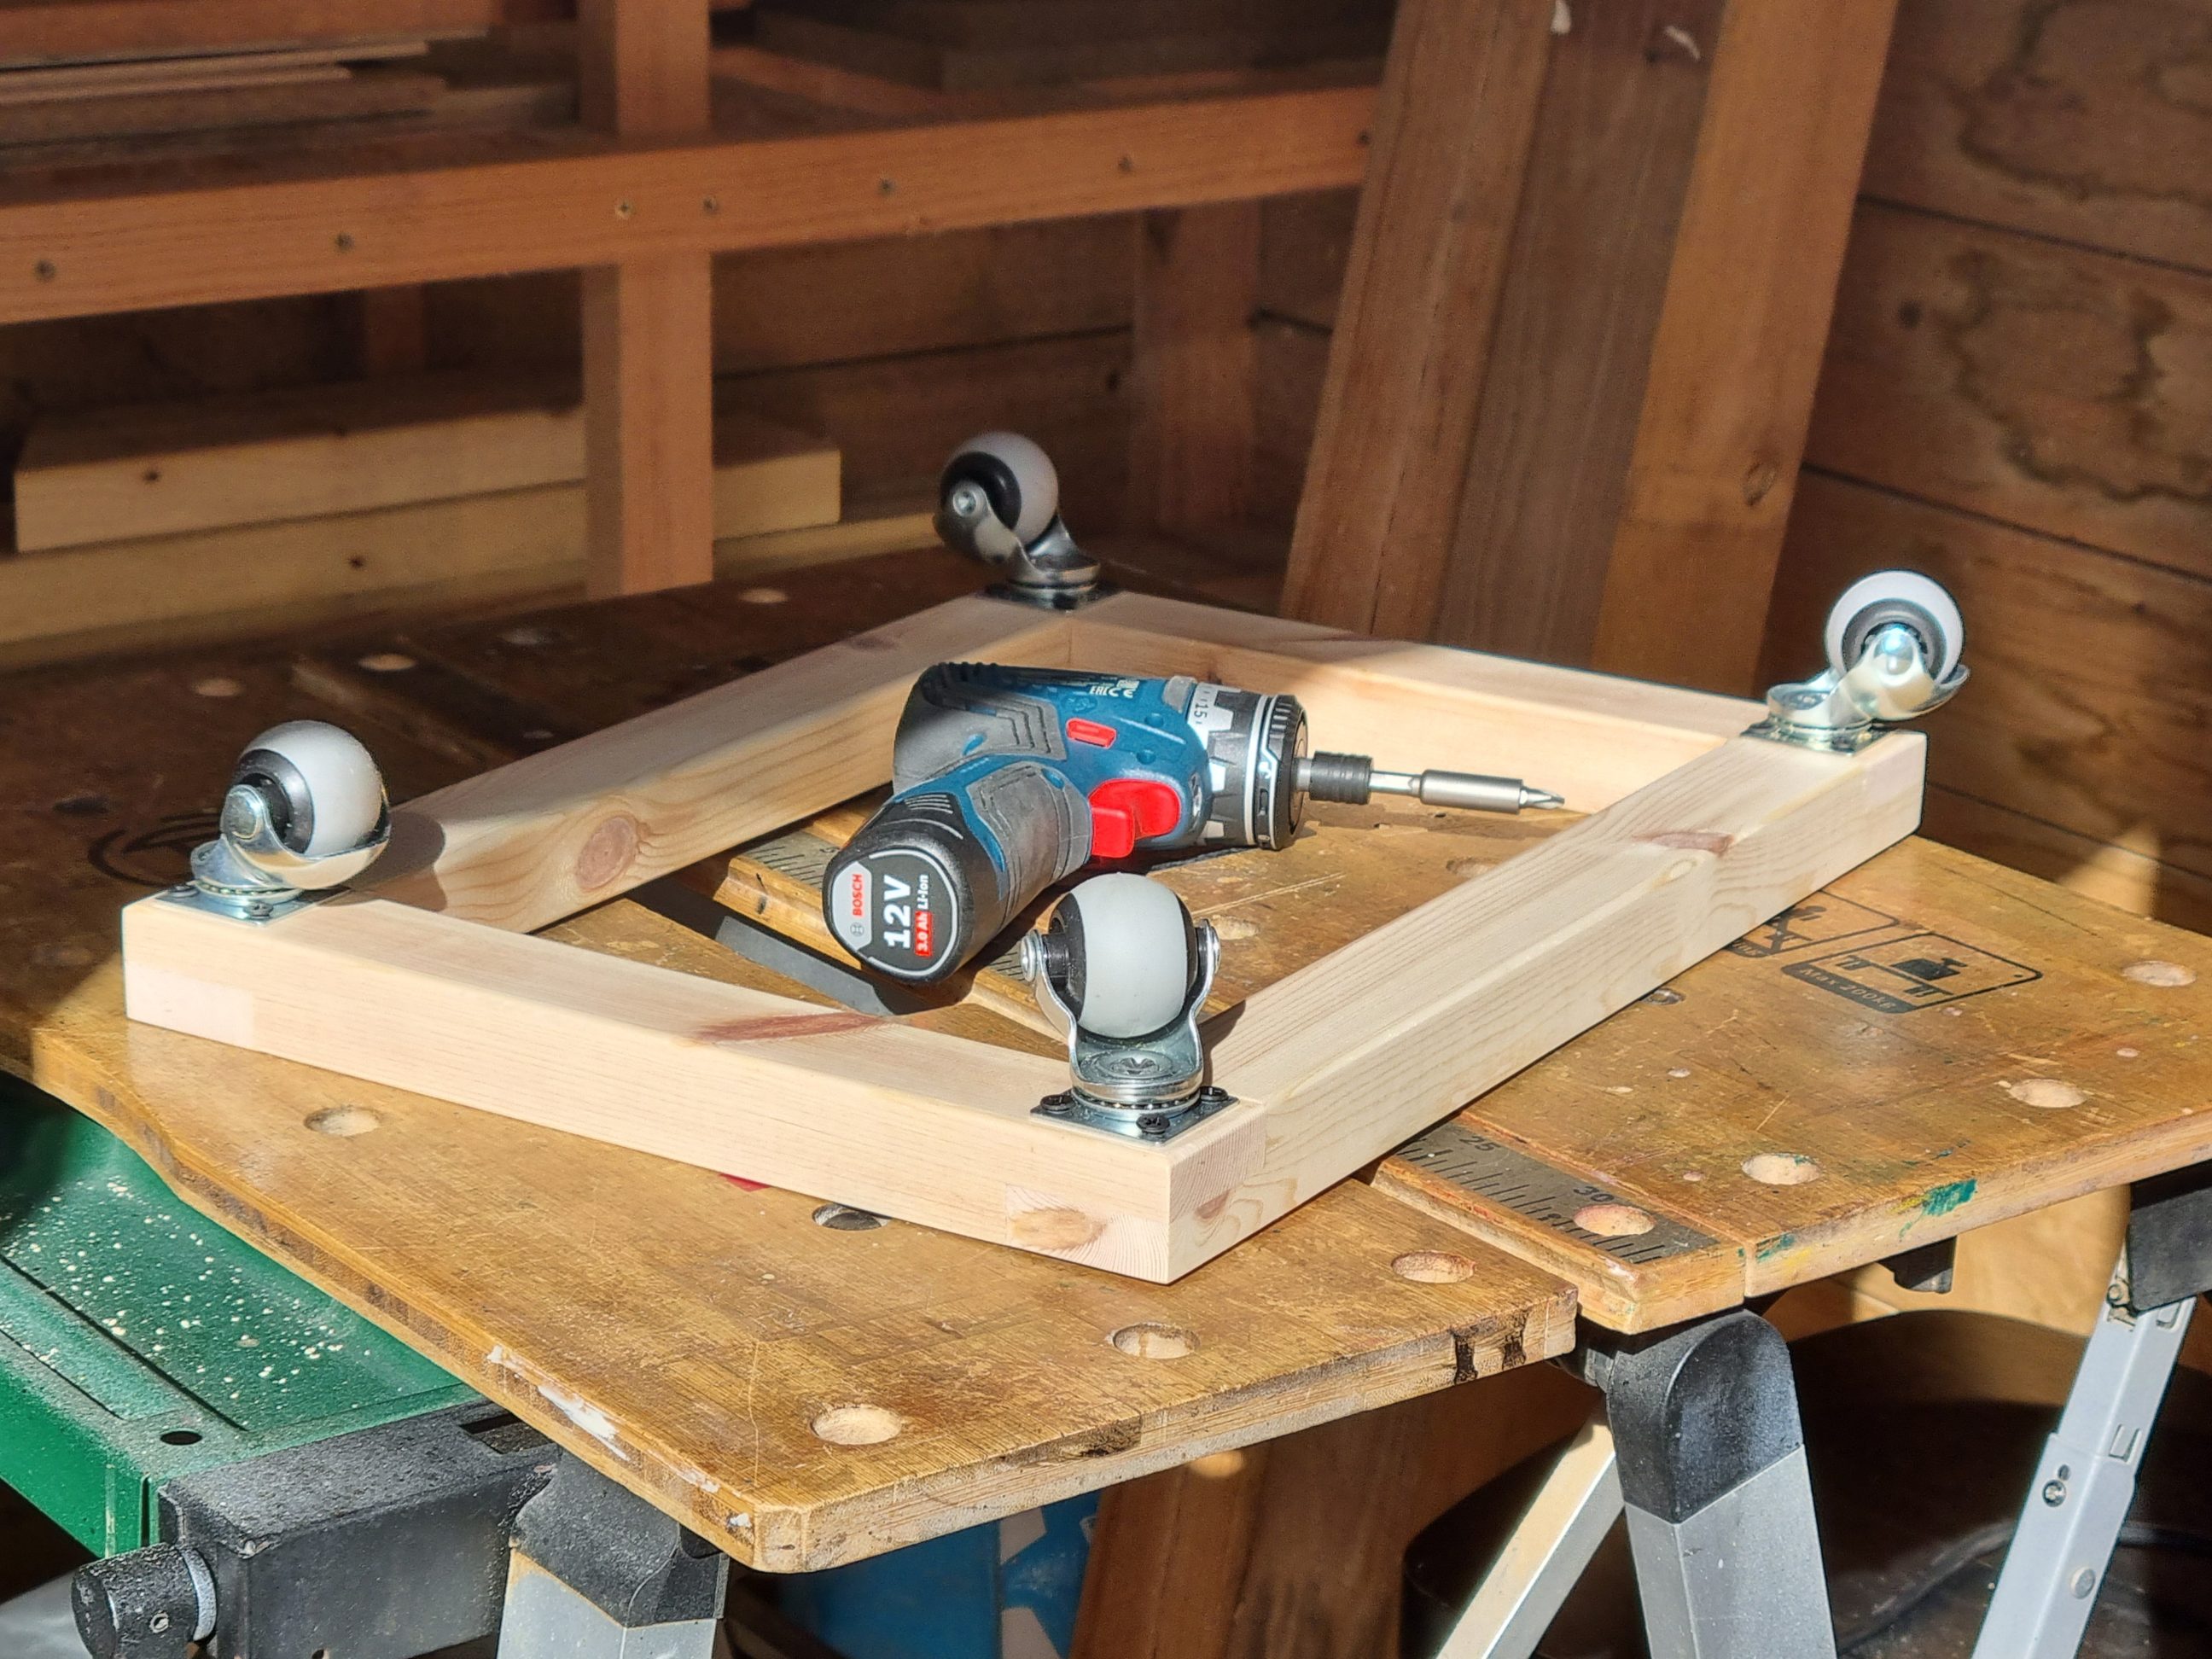
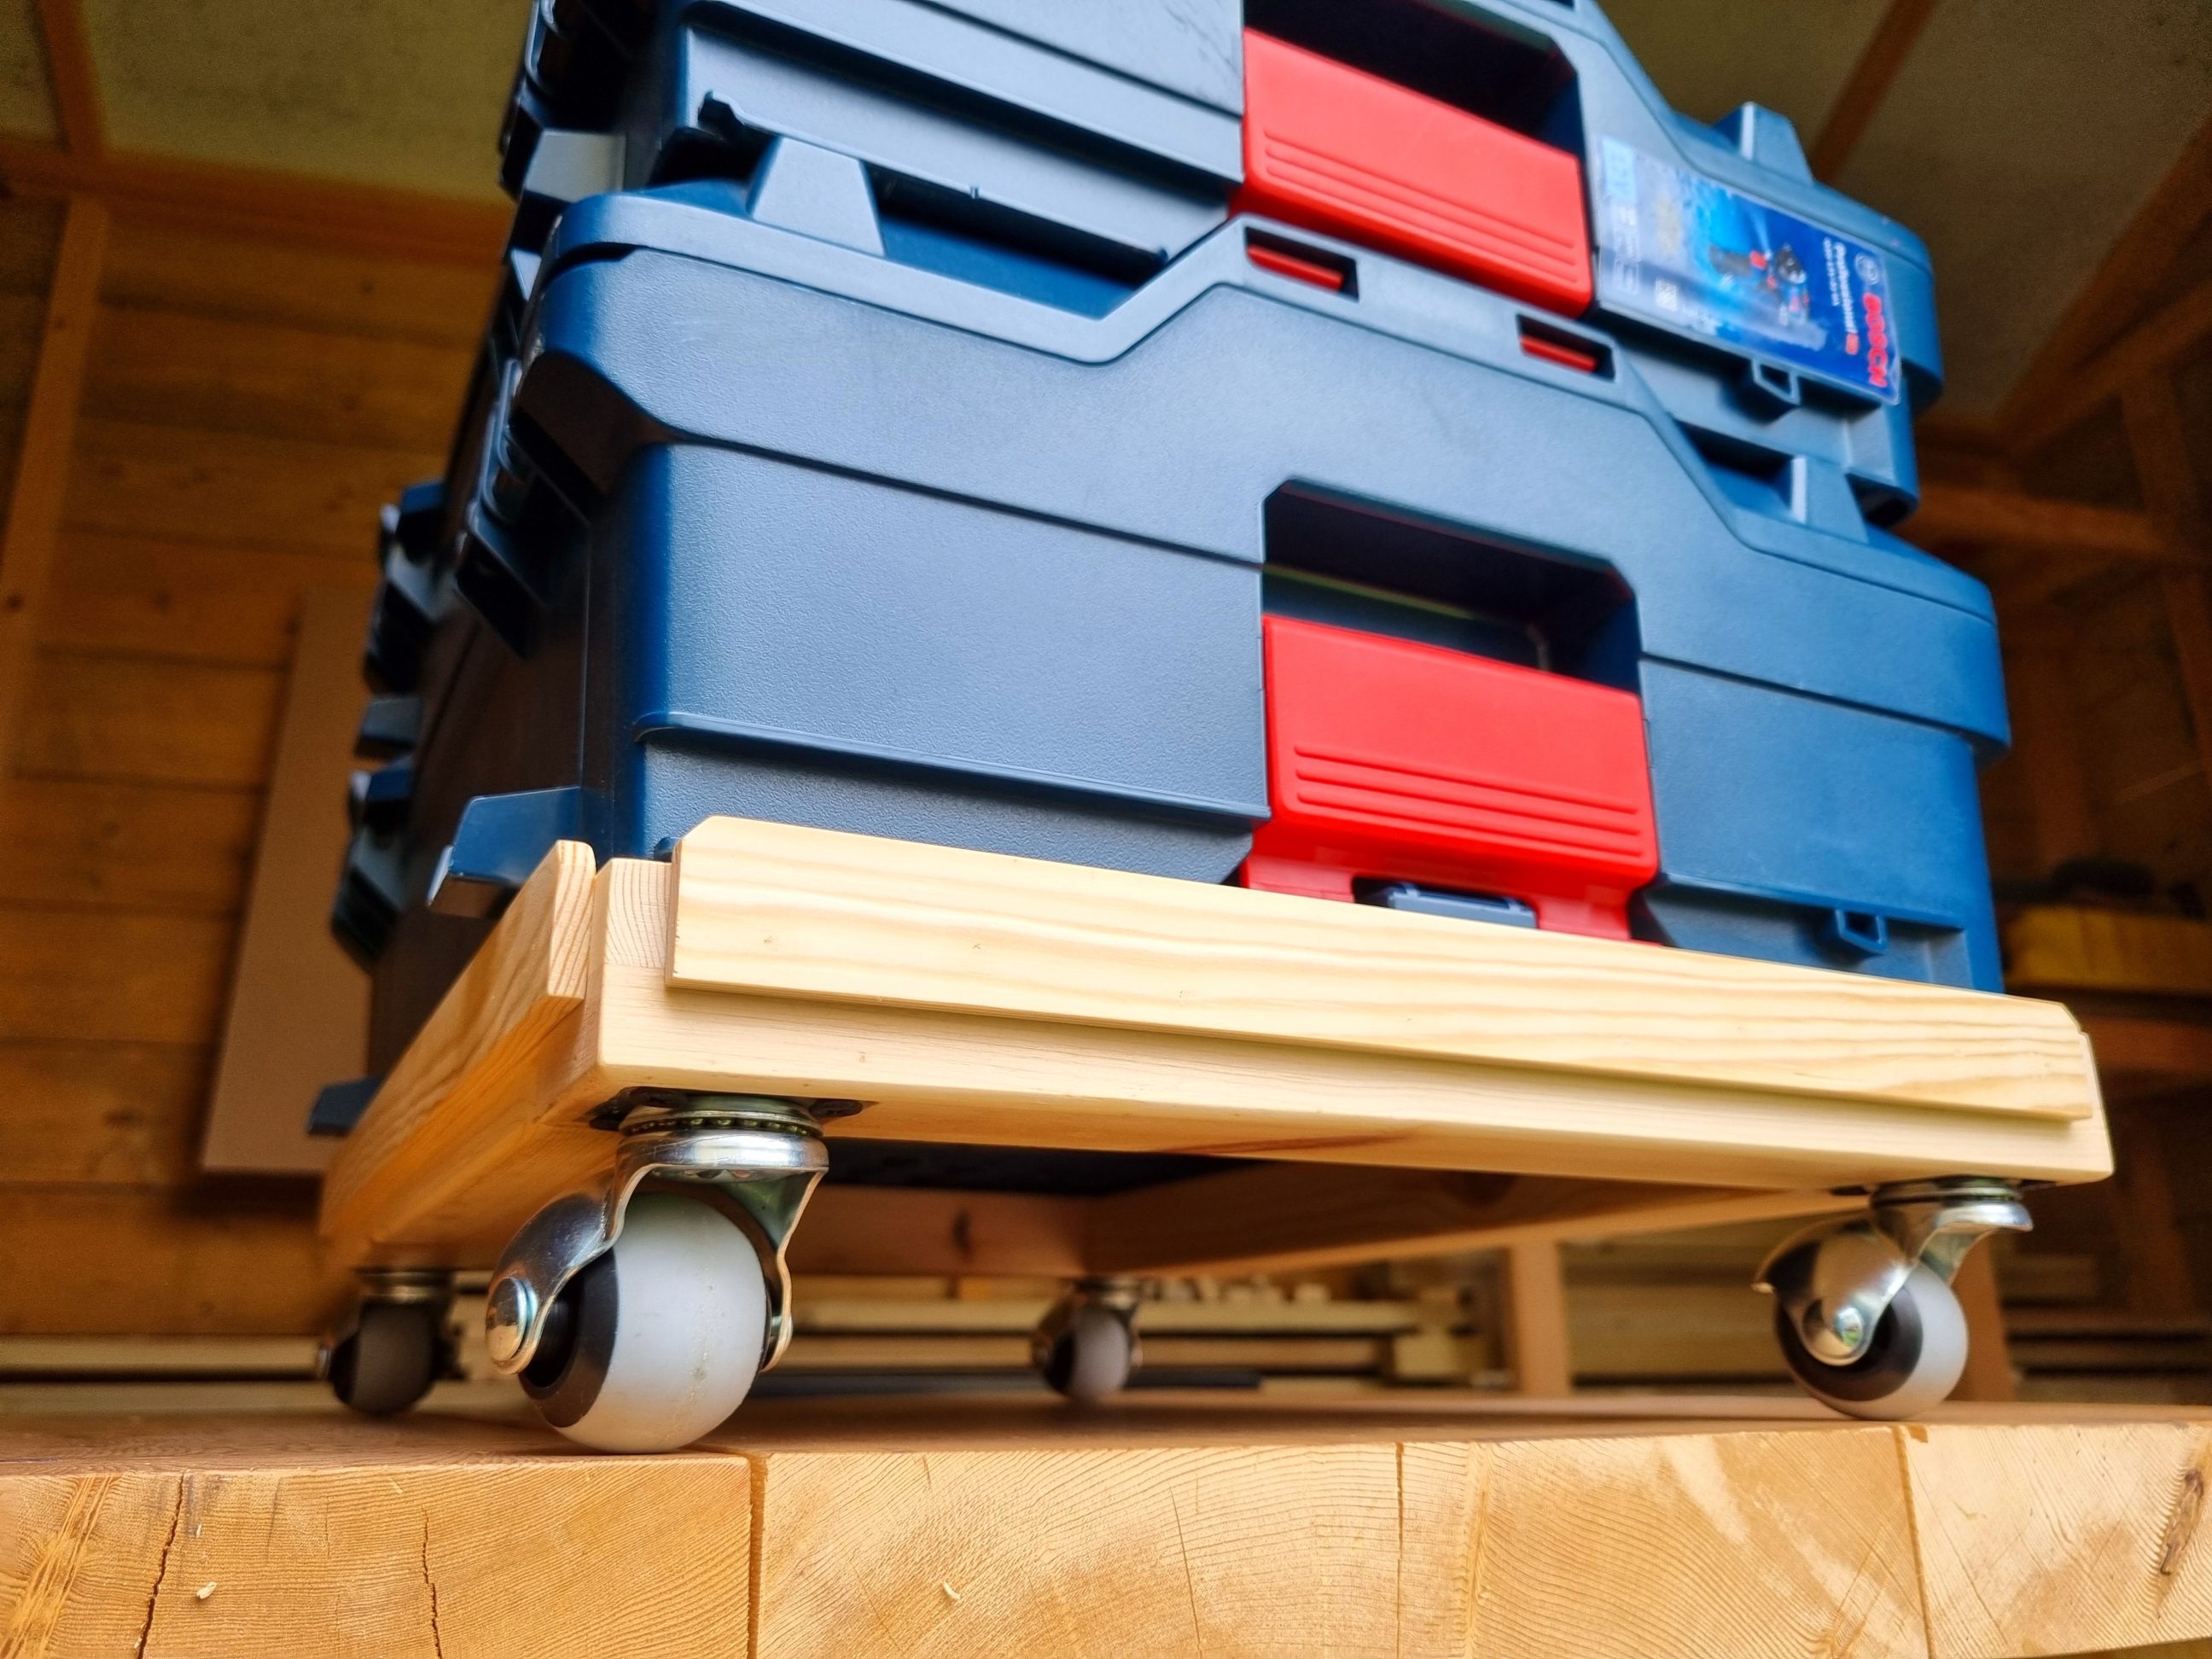
Once the mortises were cut, I gave the tray a quick sanding and applied a coat of beeswax. As usual, I used a nylon brush to remove any wax crumbs trapped in the tight corners. The only remaining task was to screw in the castors, this time setting the clutch on my 12-volt driver slightly higher for better clamping.
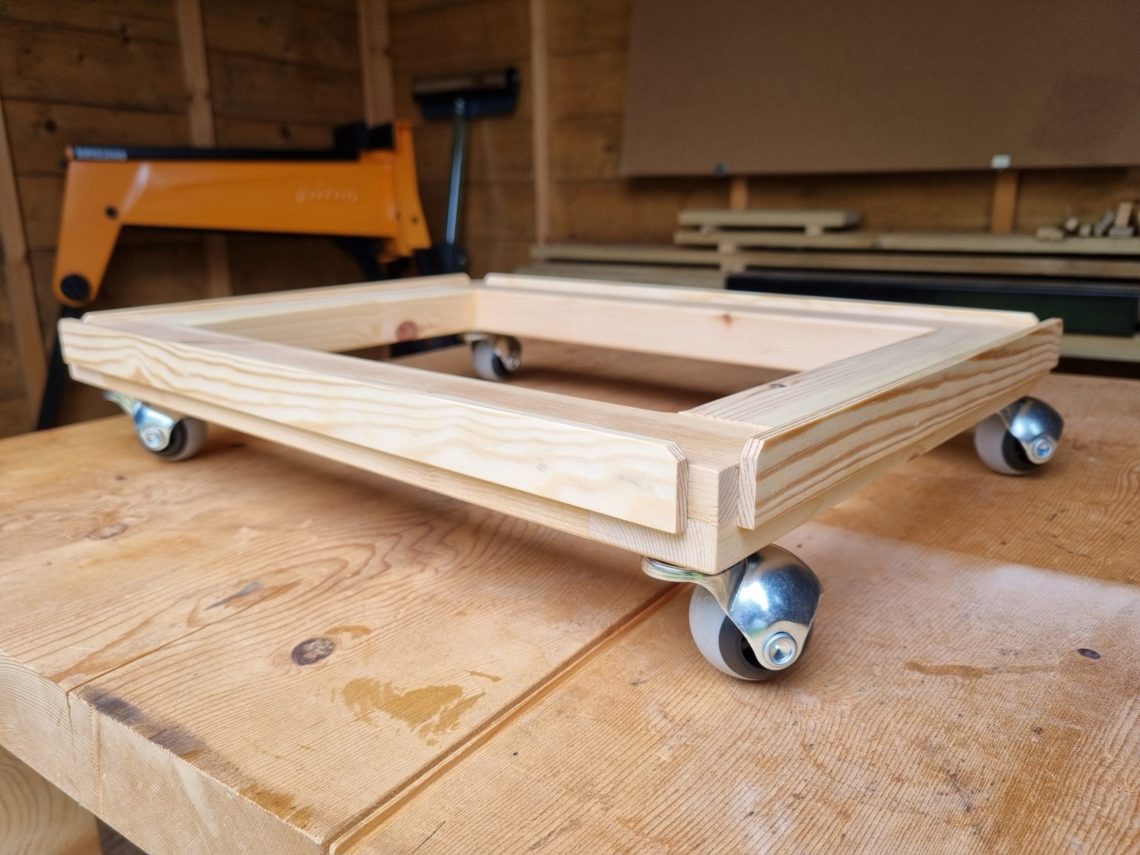
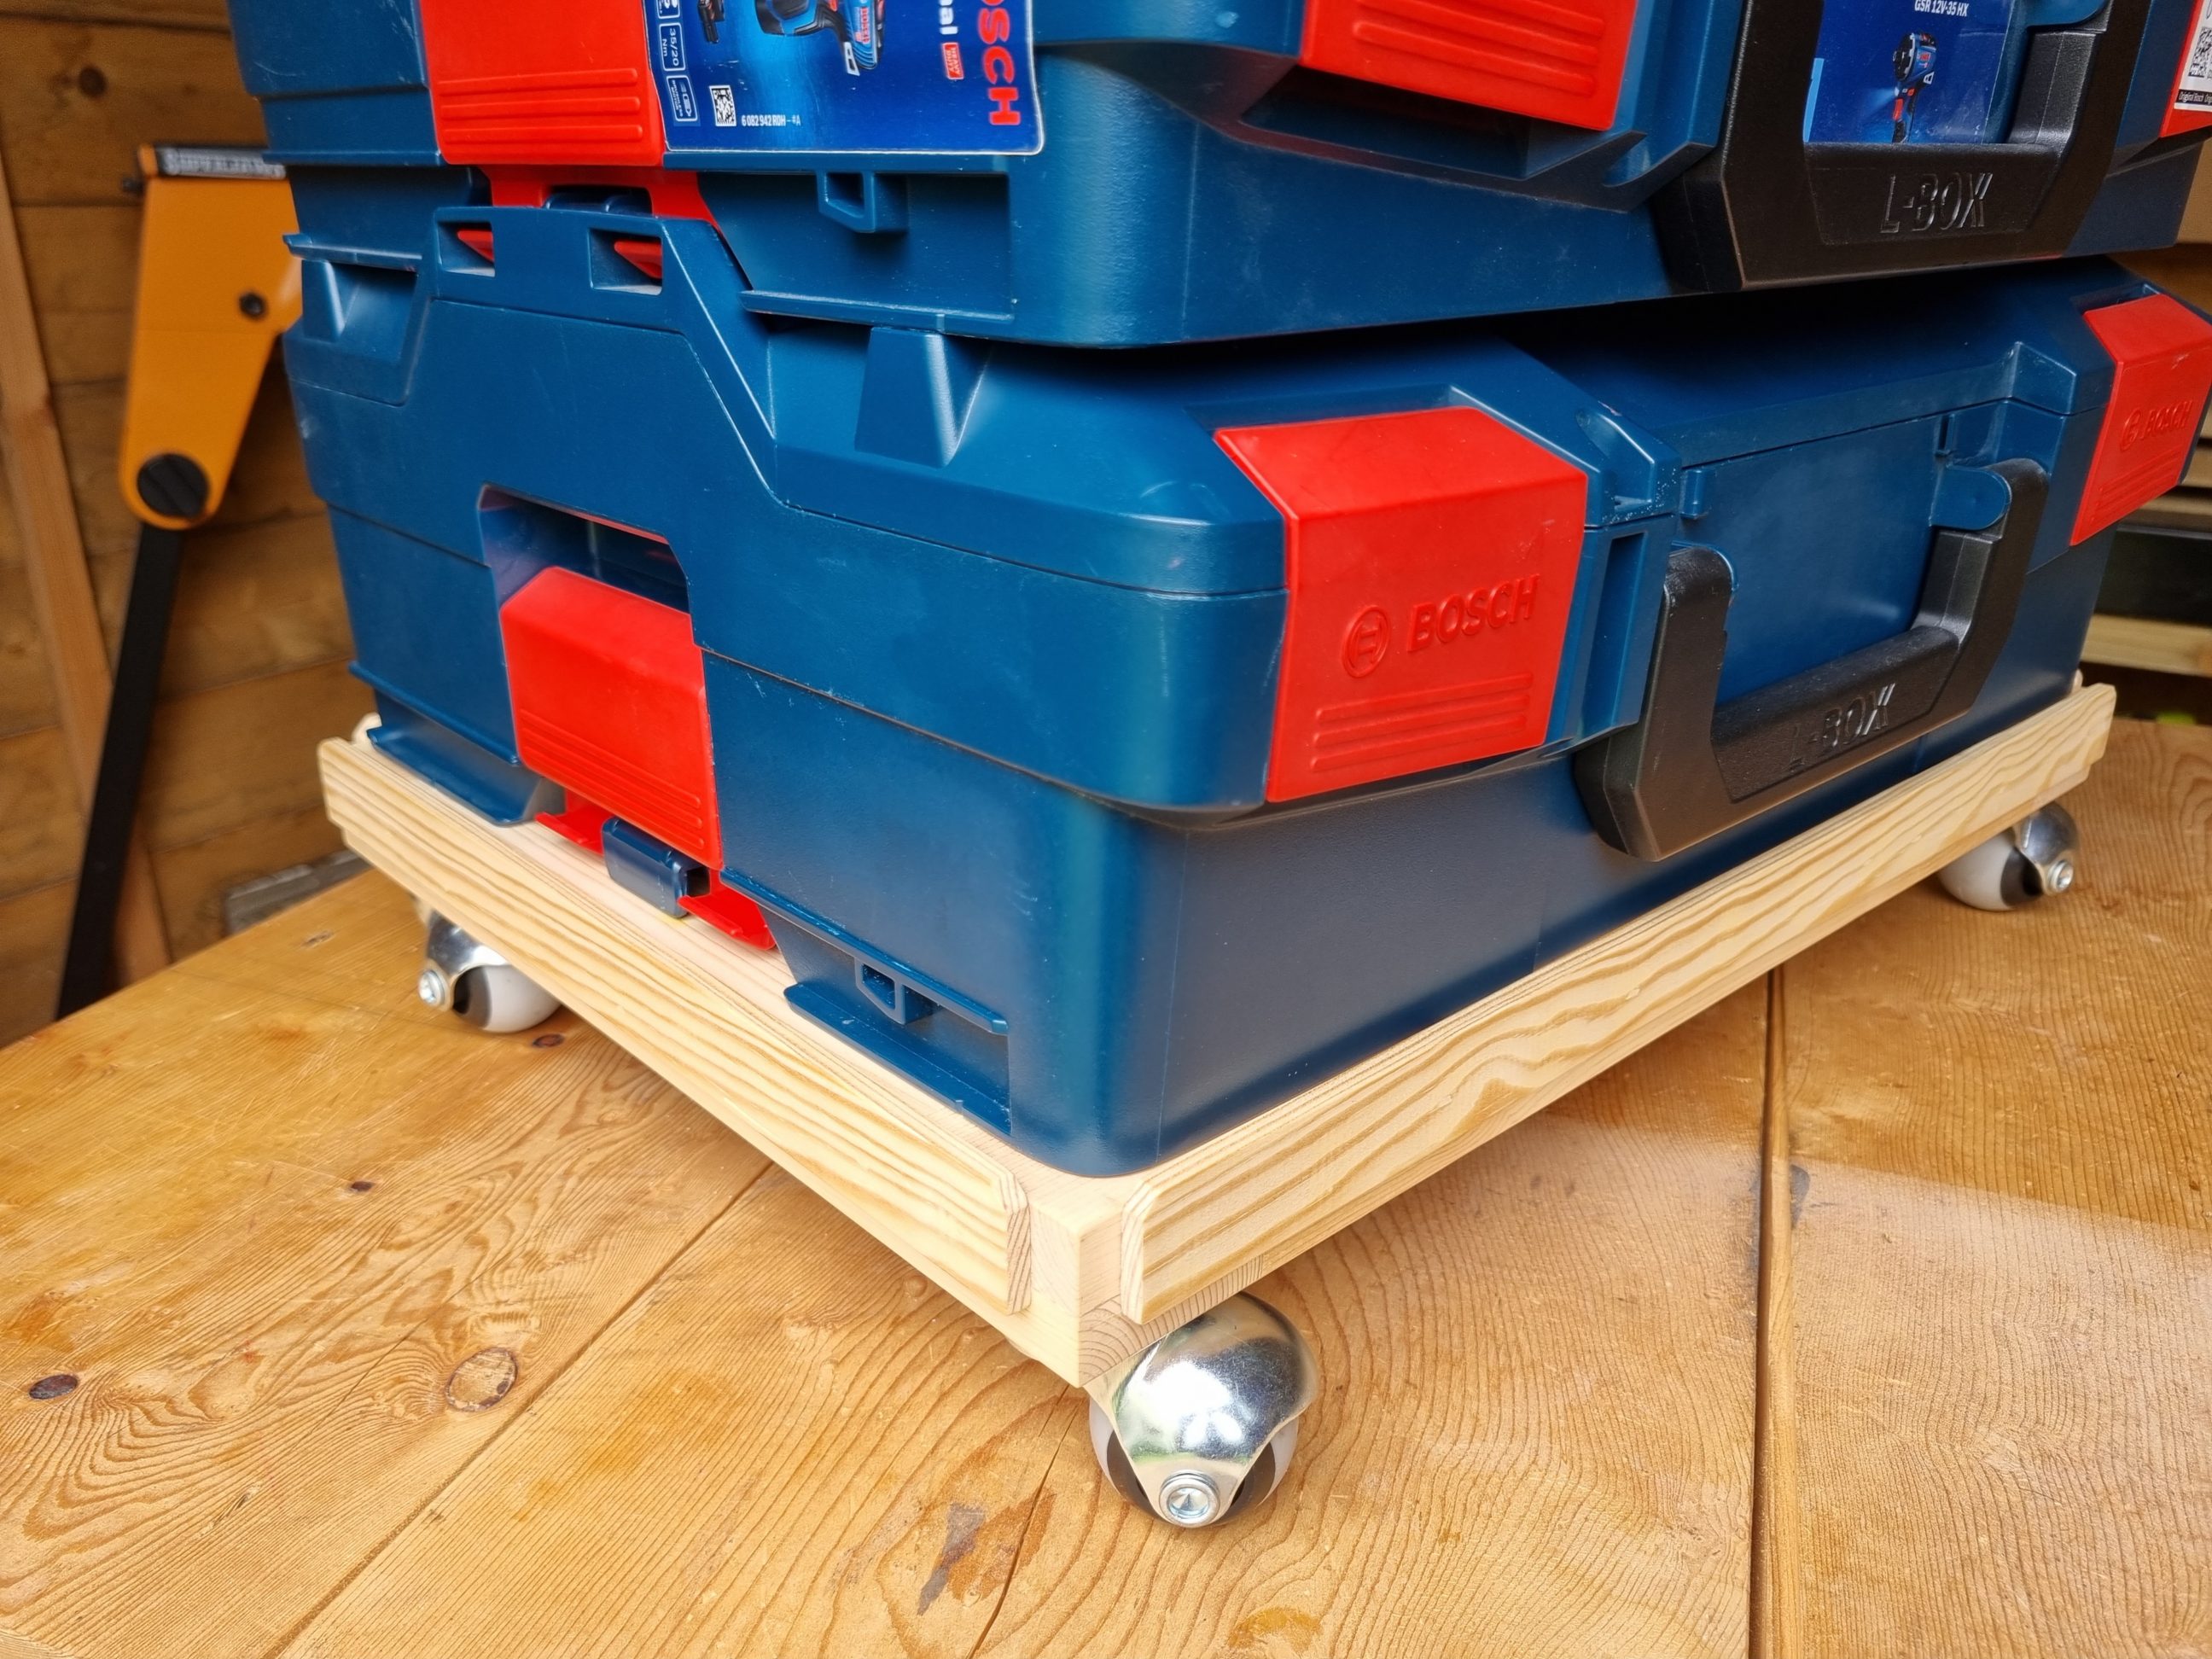
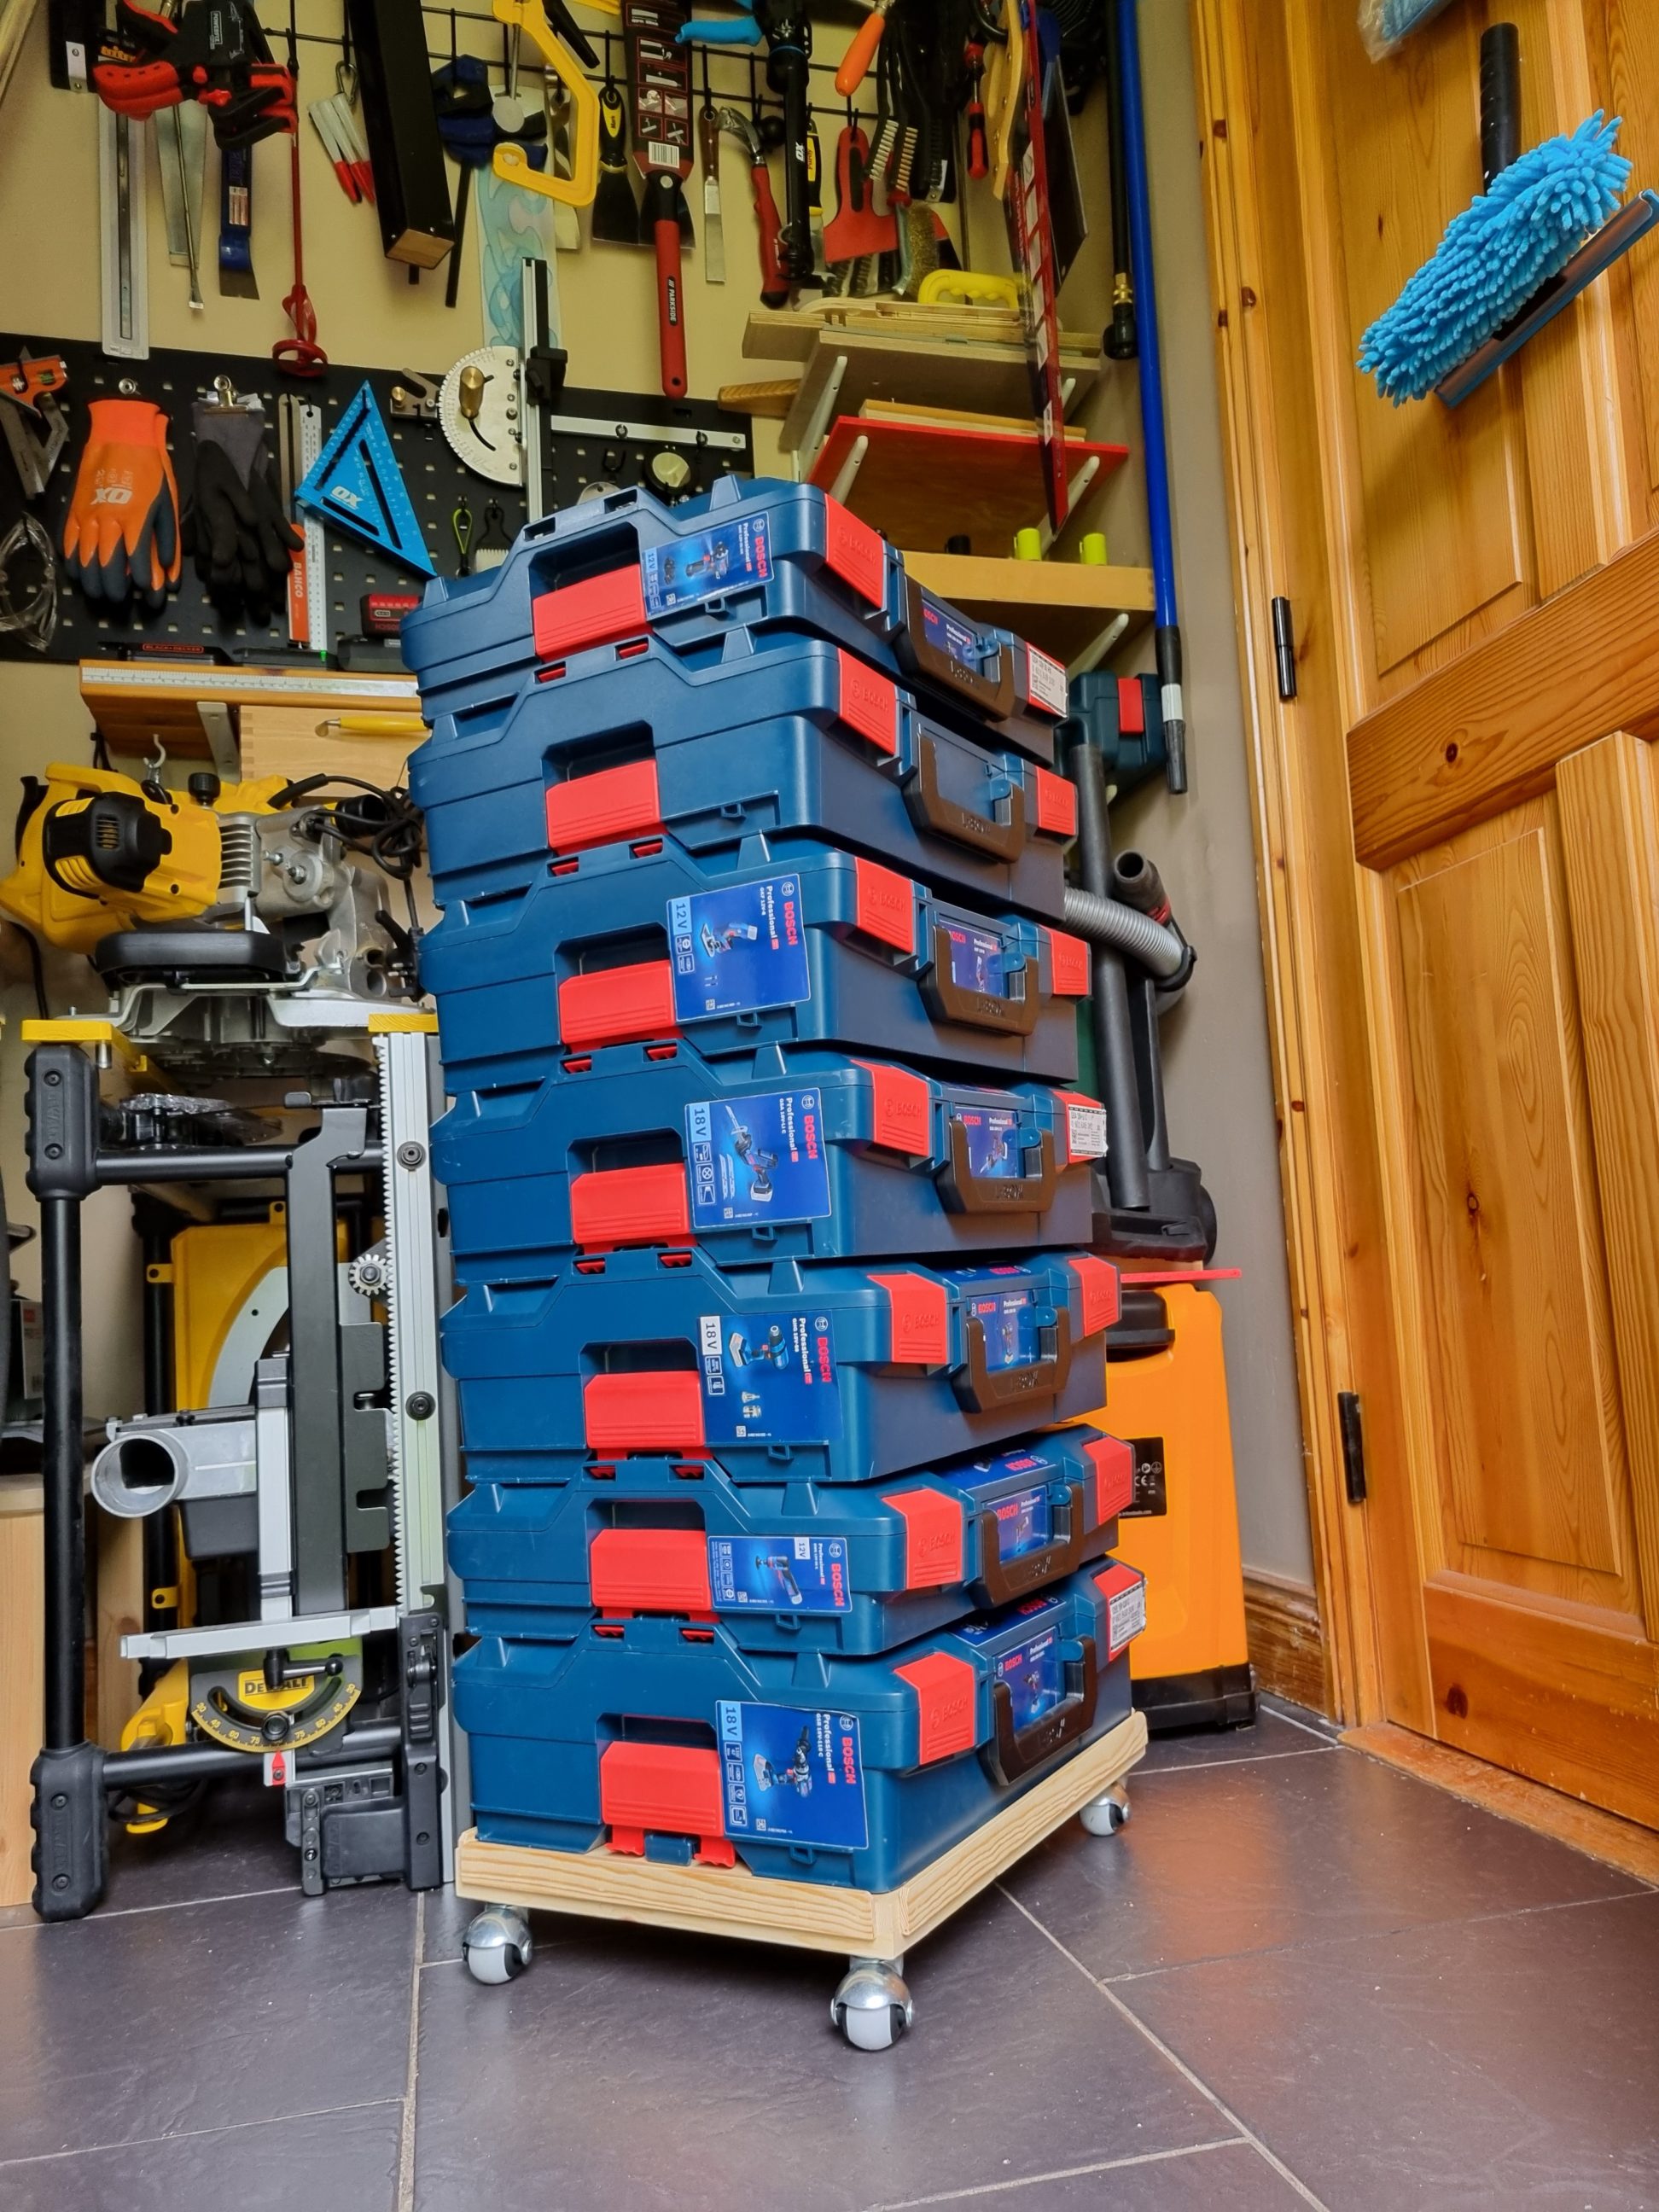
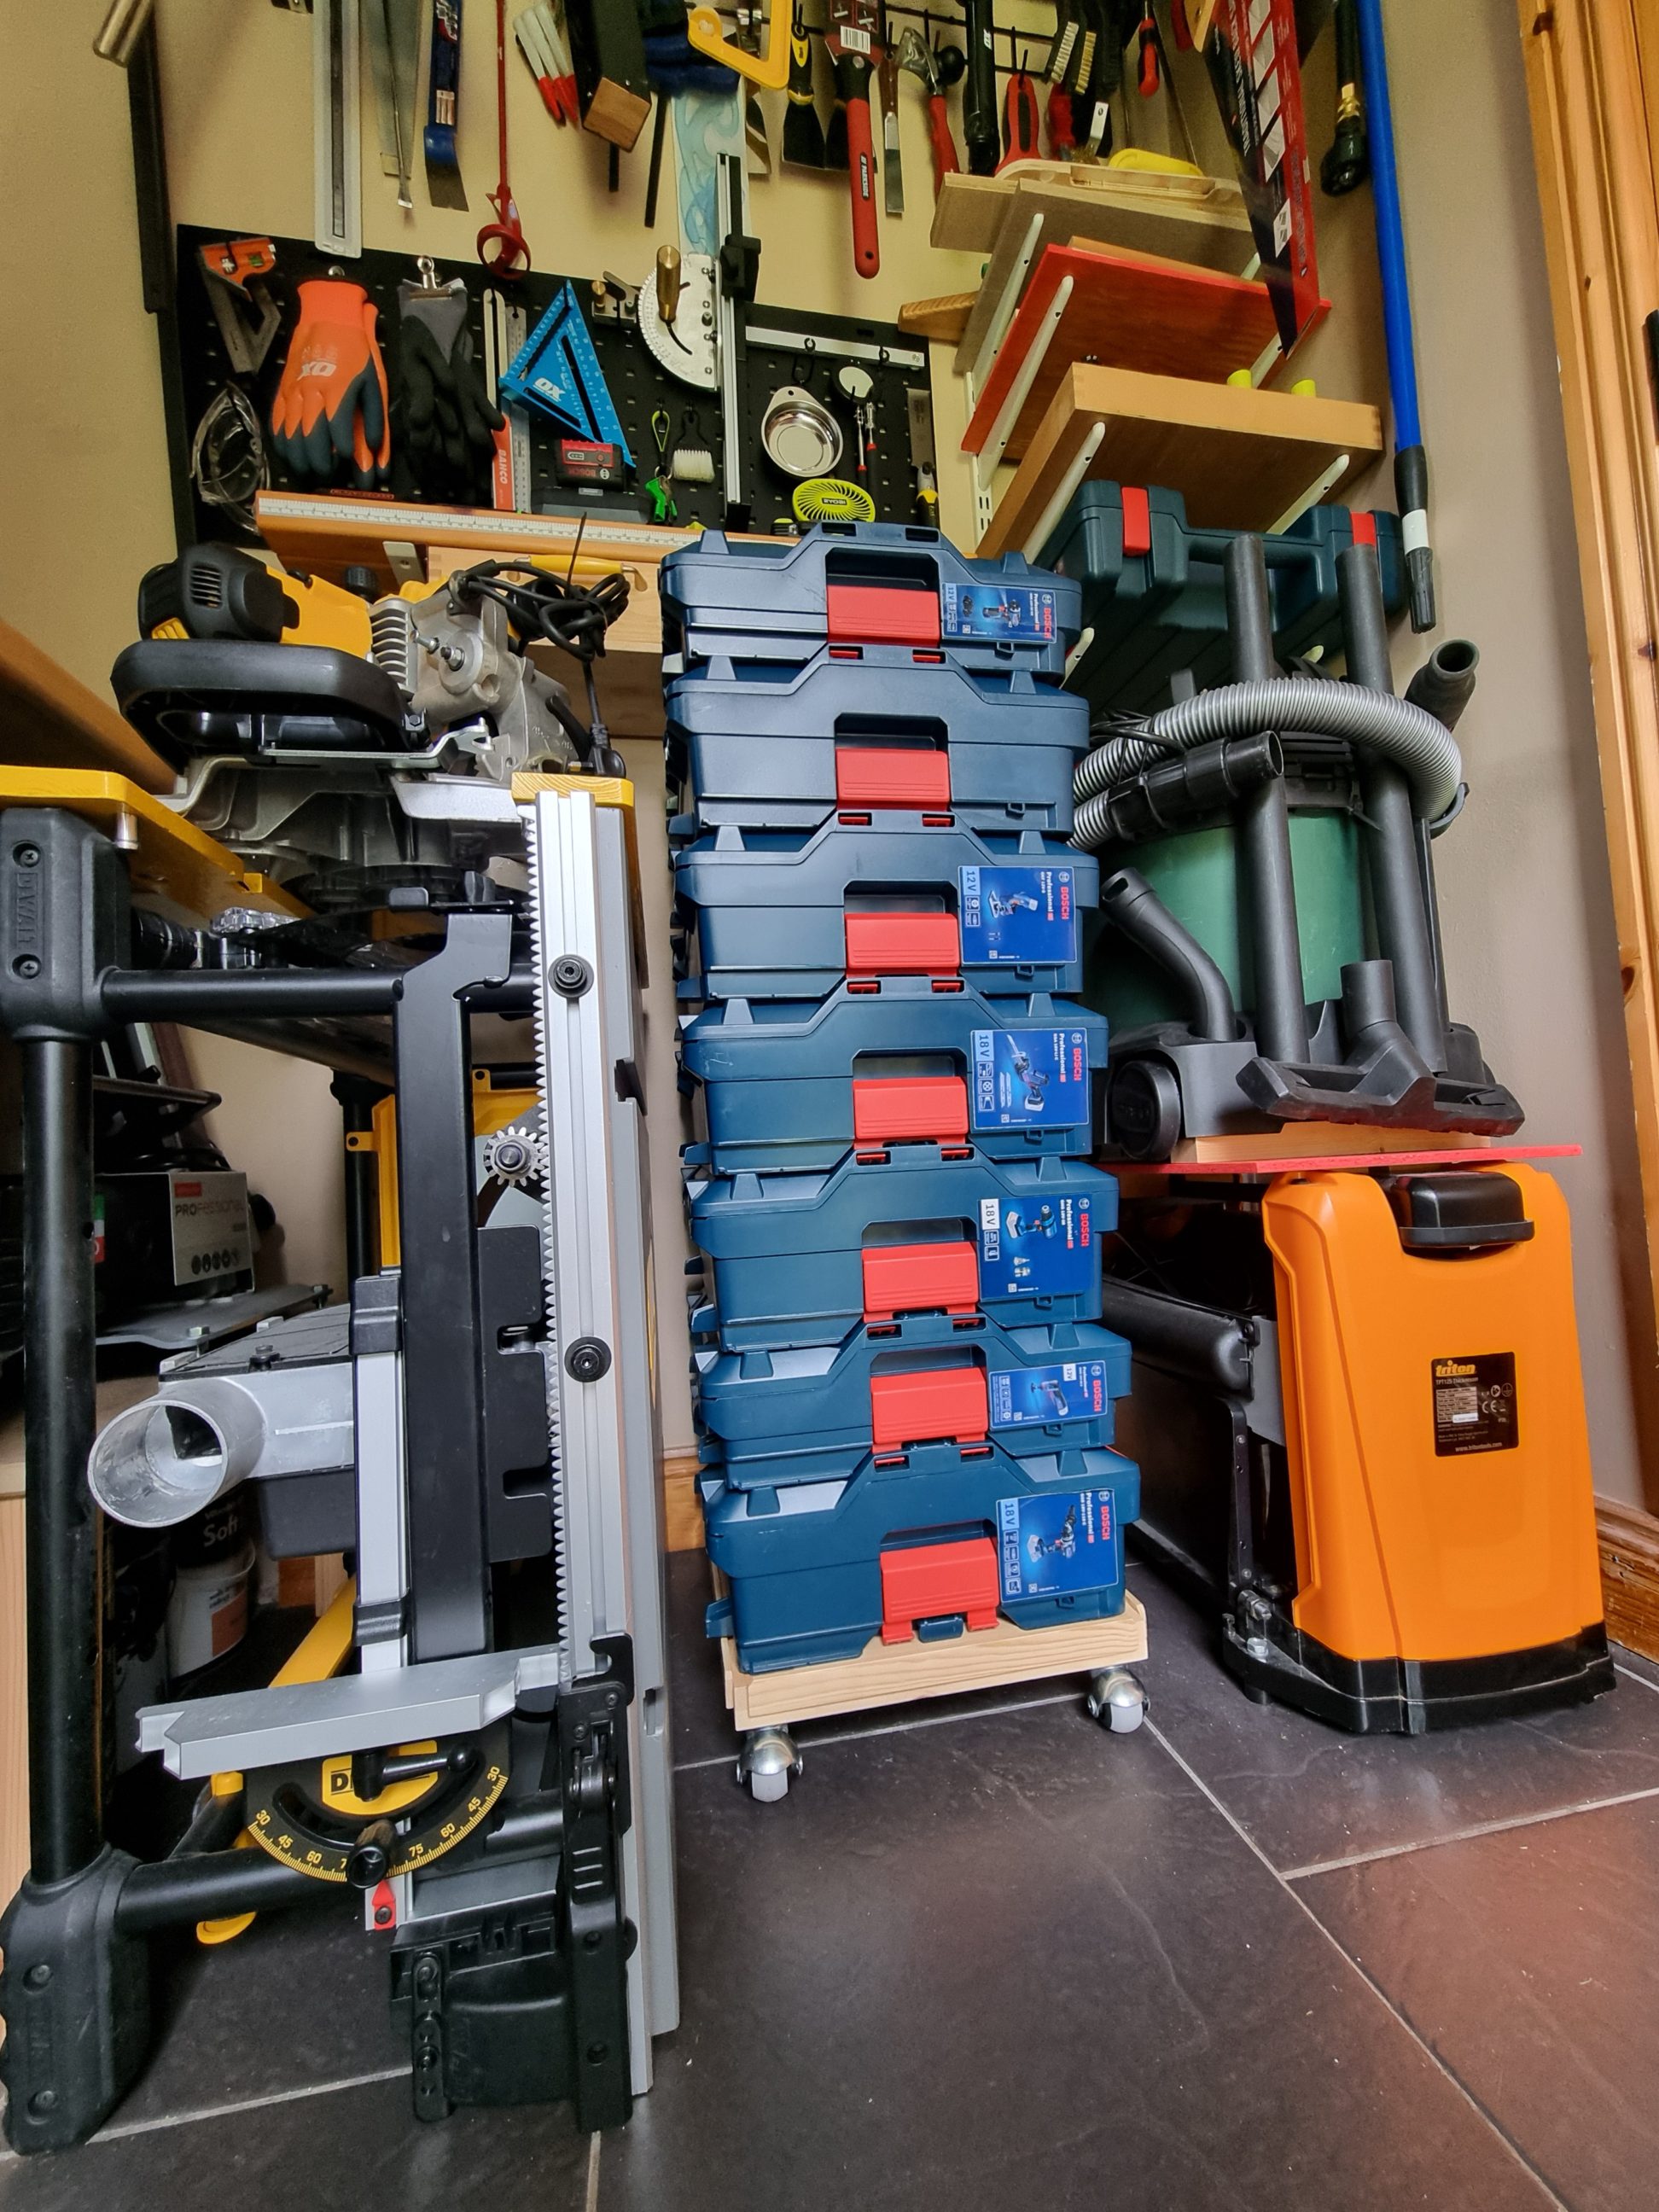
The tray was ready for use, and it immediately made pulling out the interlocked L-Boxxes much easier. I could now effortlessly retrieve the one I needed from the stack. Proper handling is crucial for the spine, and the click mechanism on these boxes can sometimes get stuck. Instead of awkwardly pulling them out at an angle and risking a bump on the head from the shelf, I could now comfortably select the right box for the job. The tray effectively solved all these issues at once.
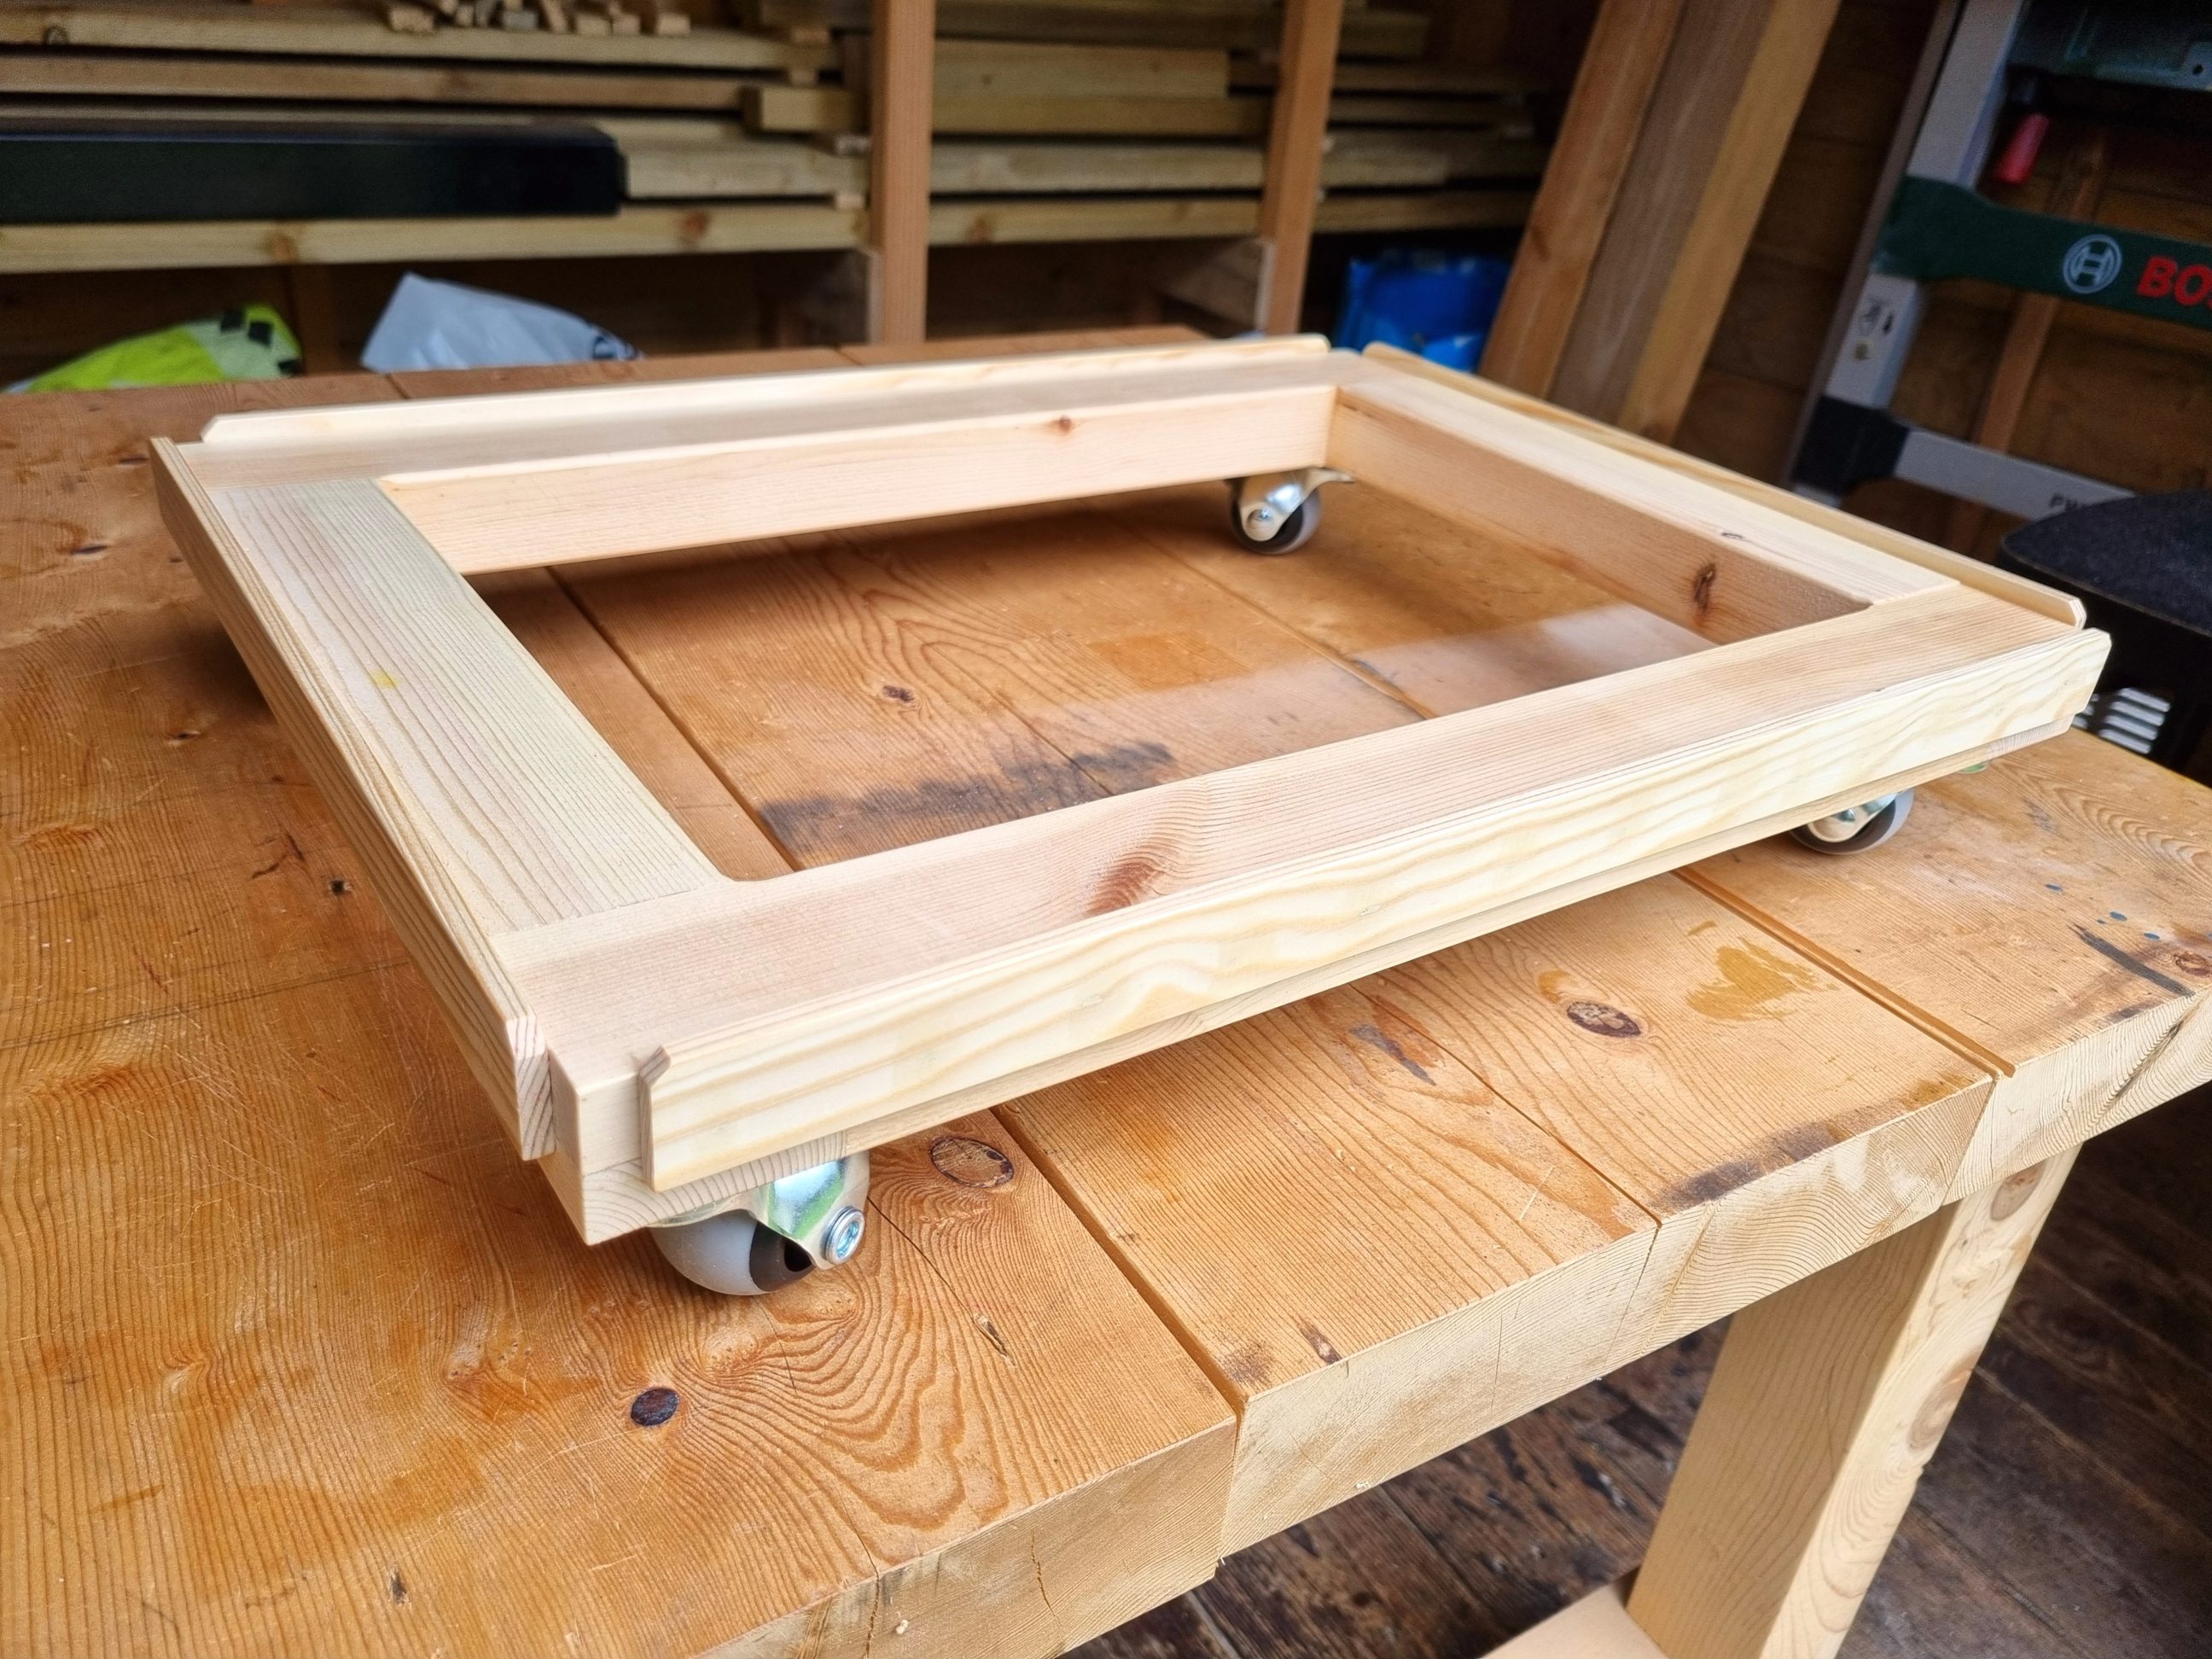
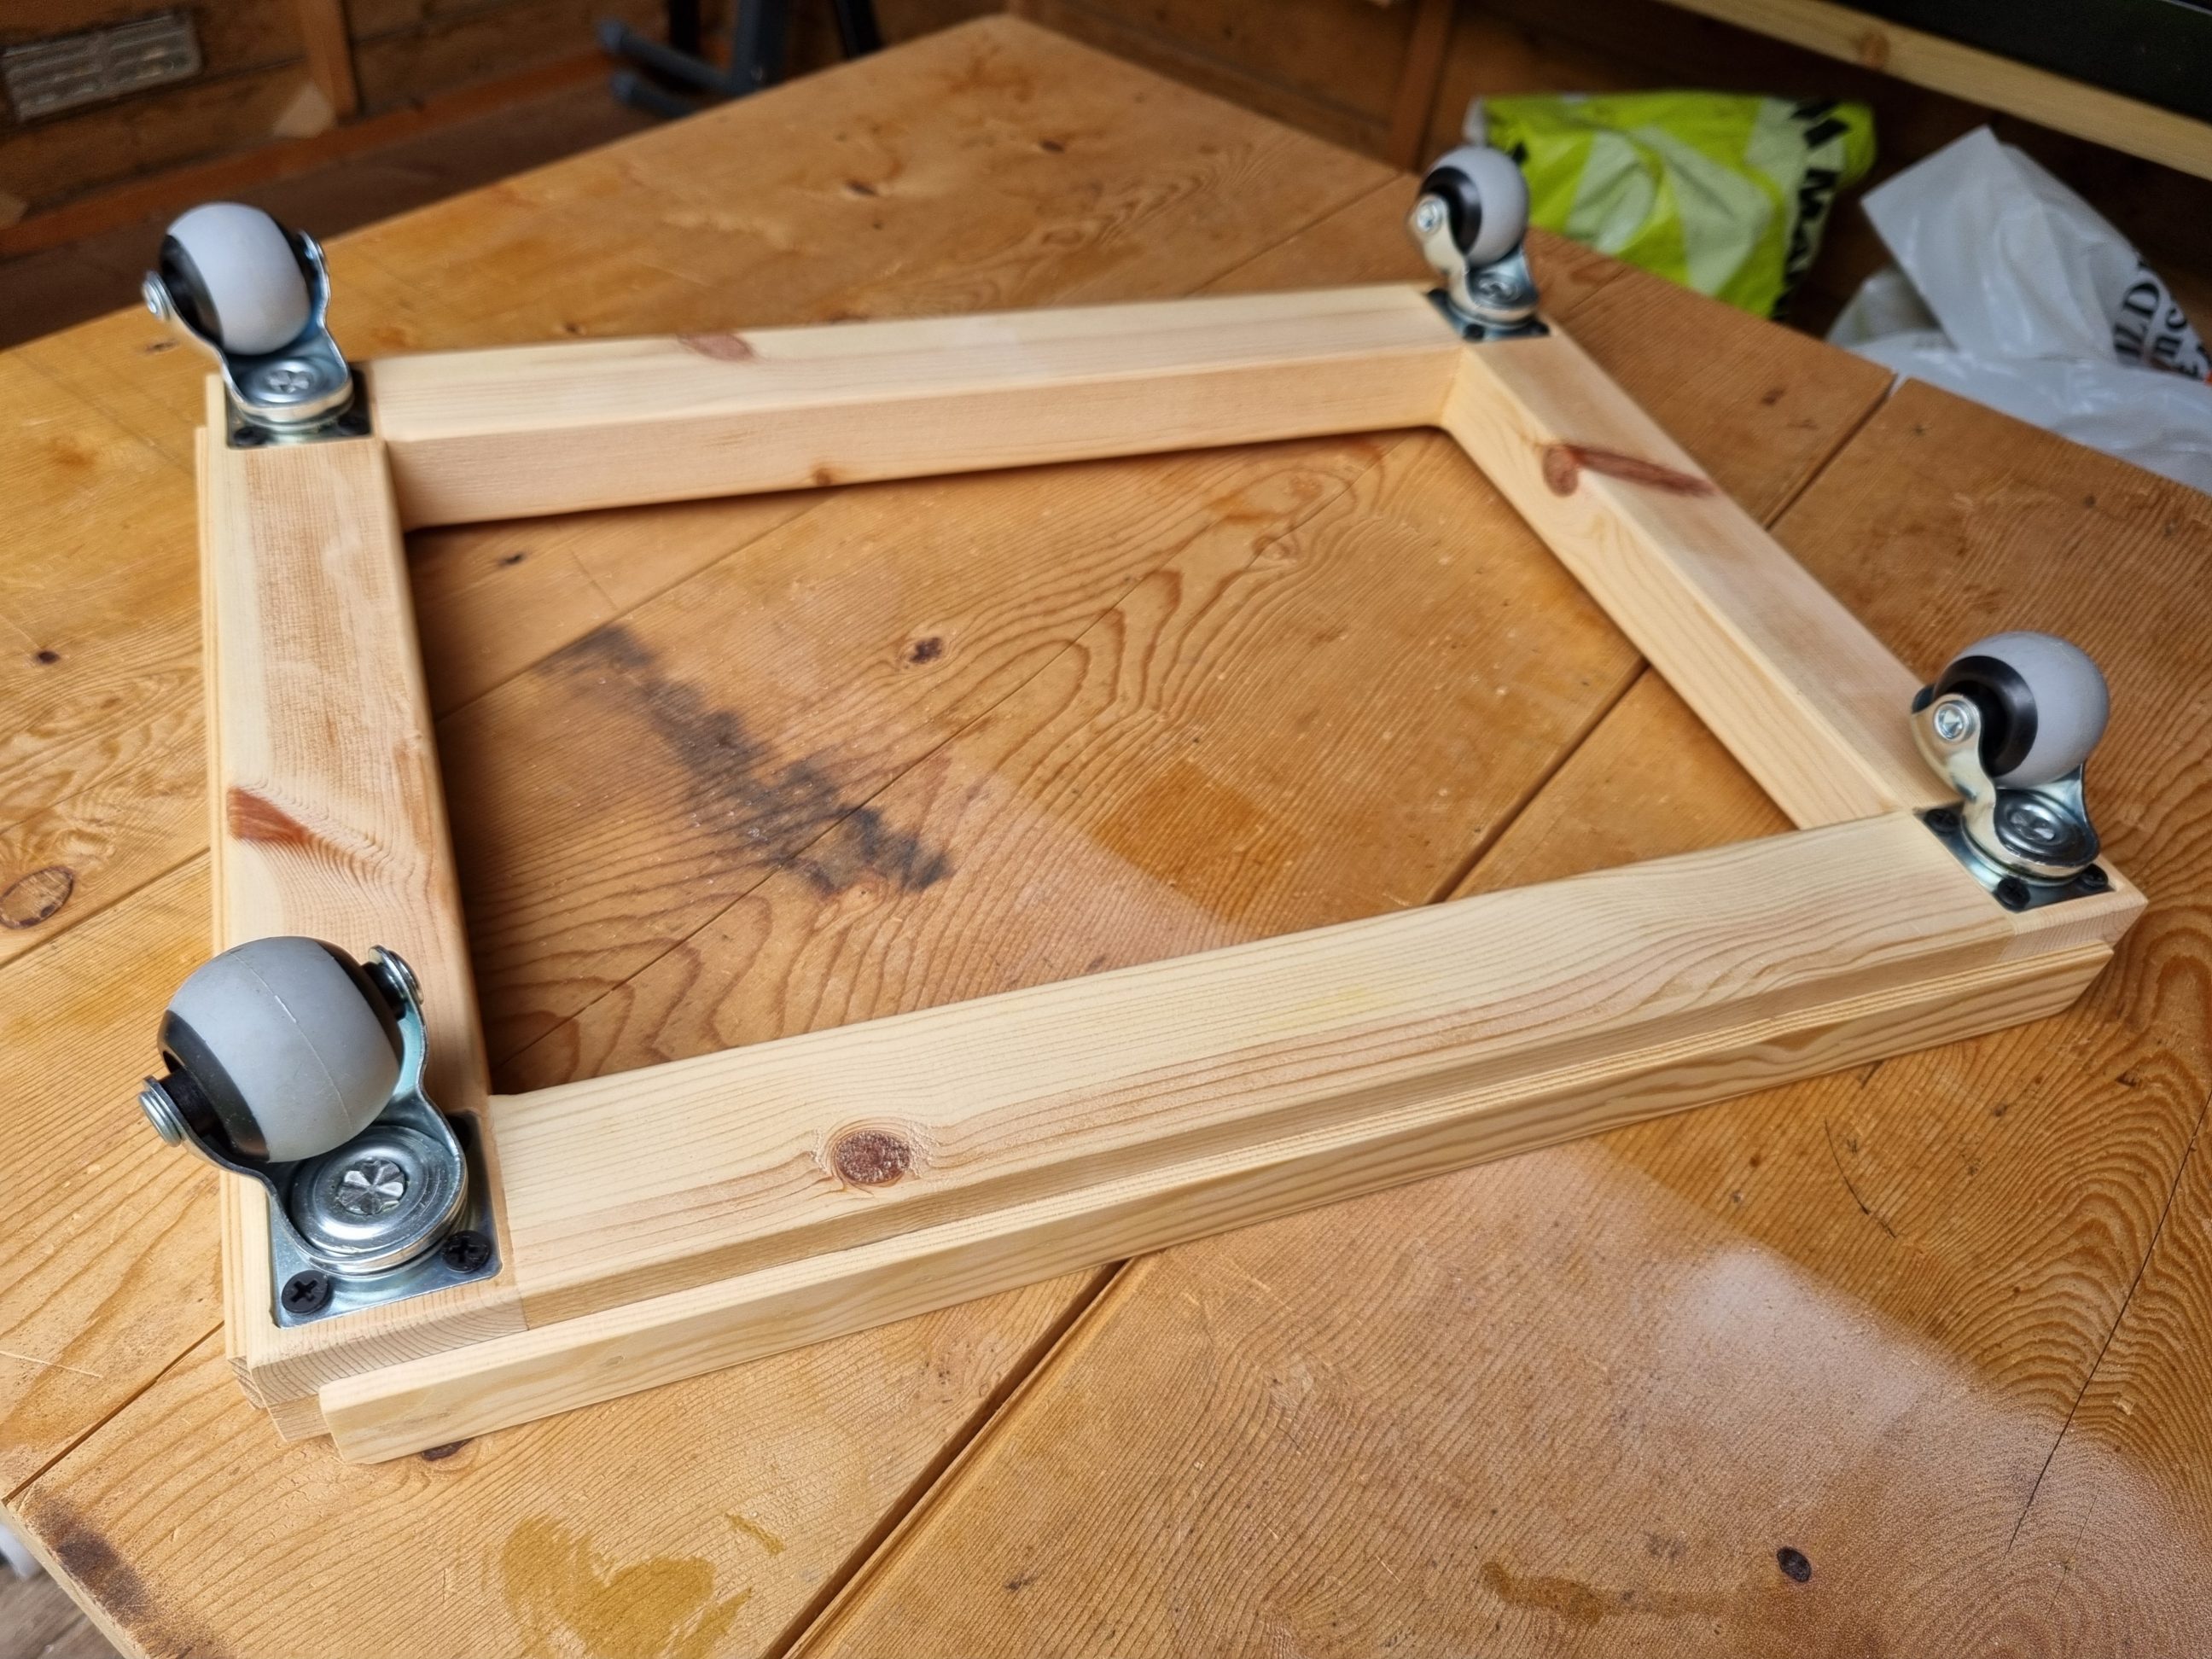
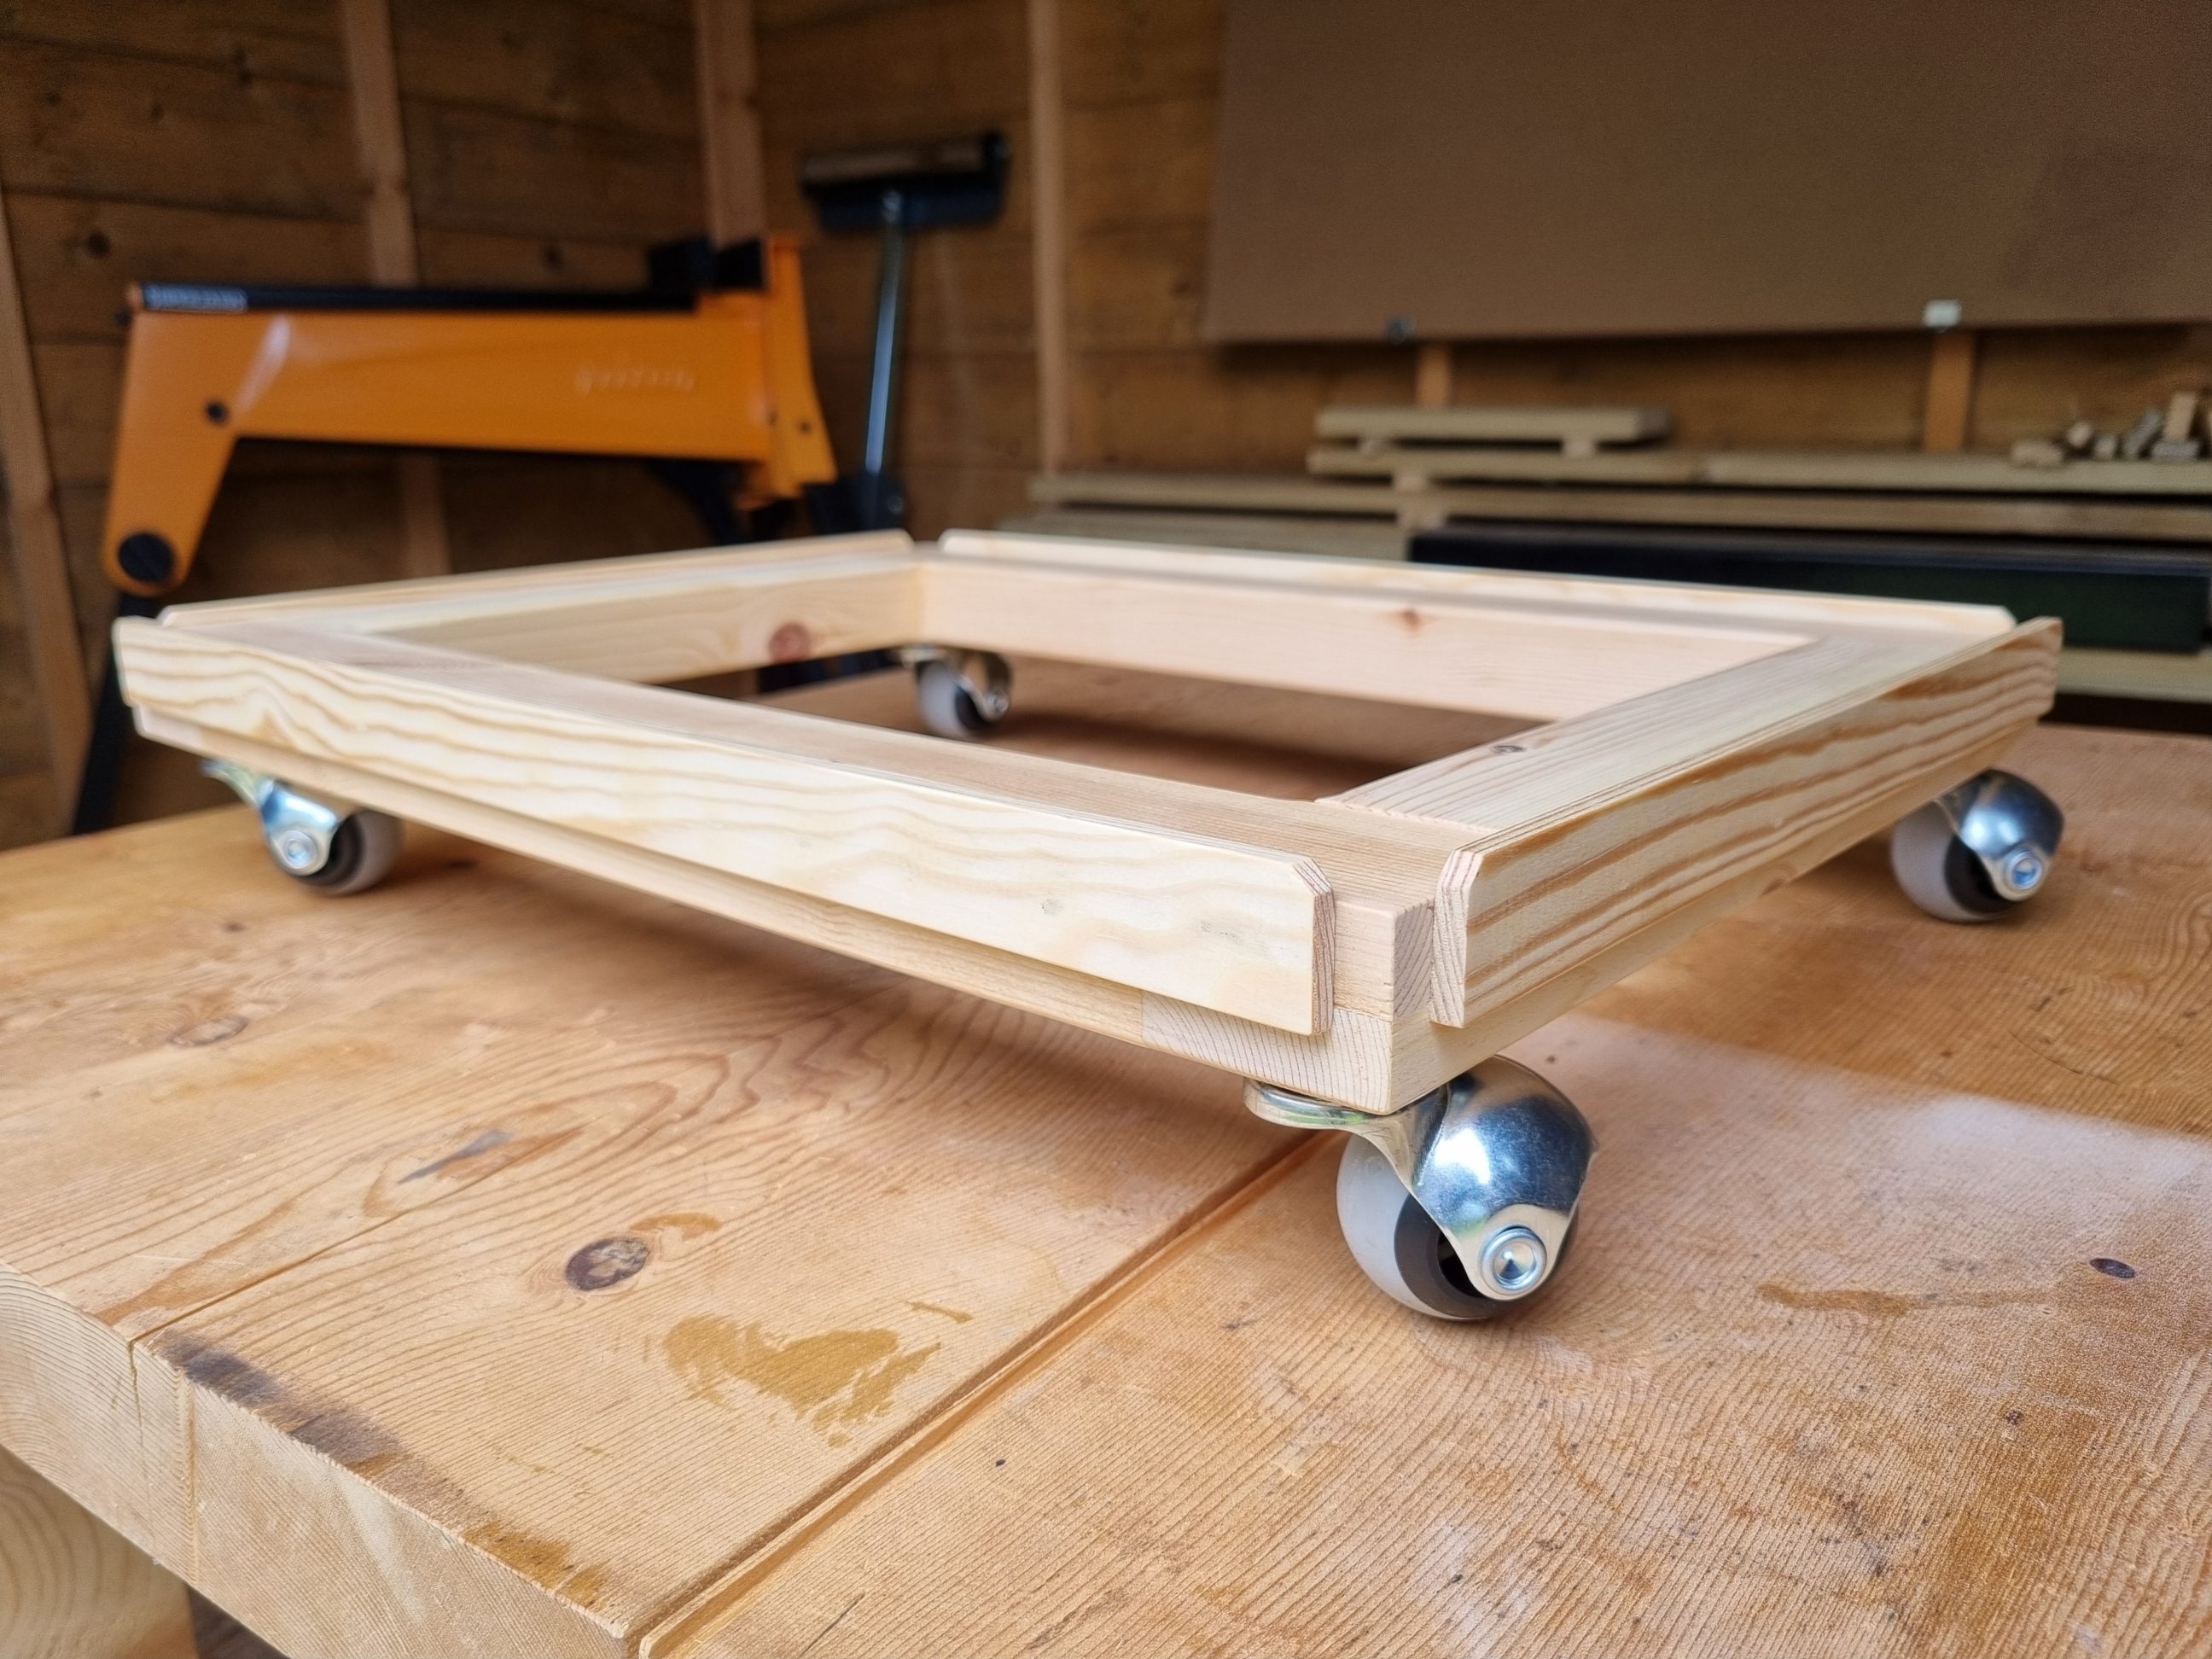
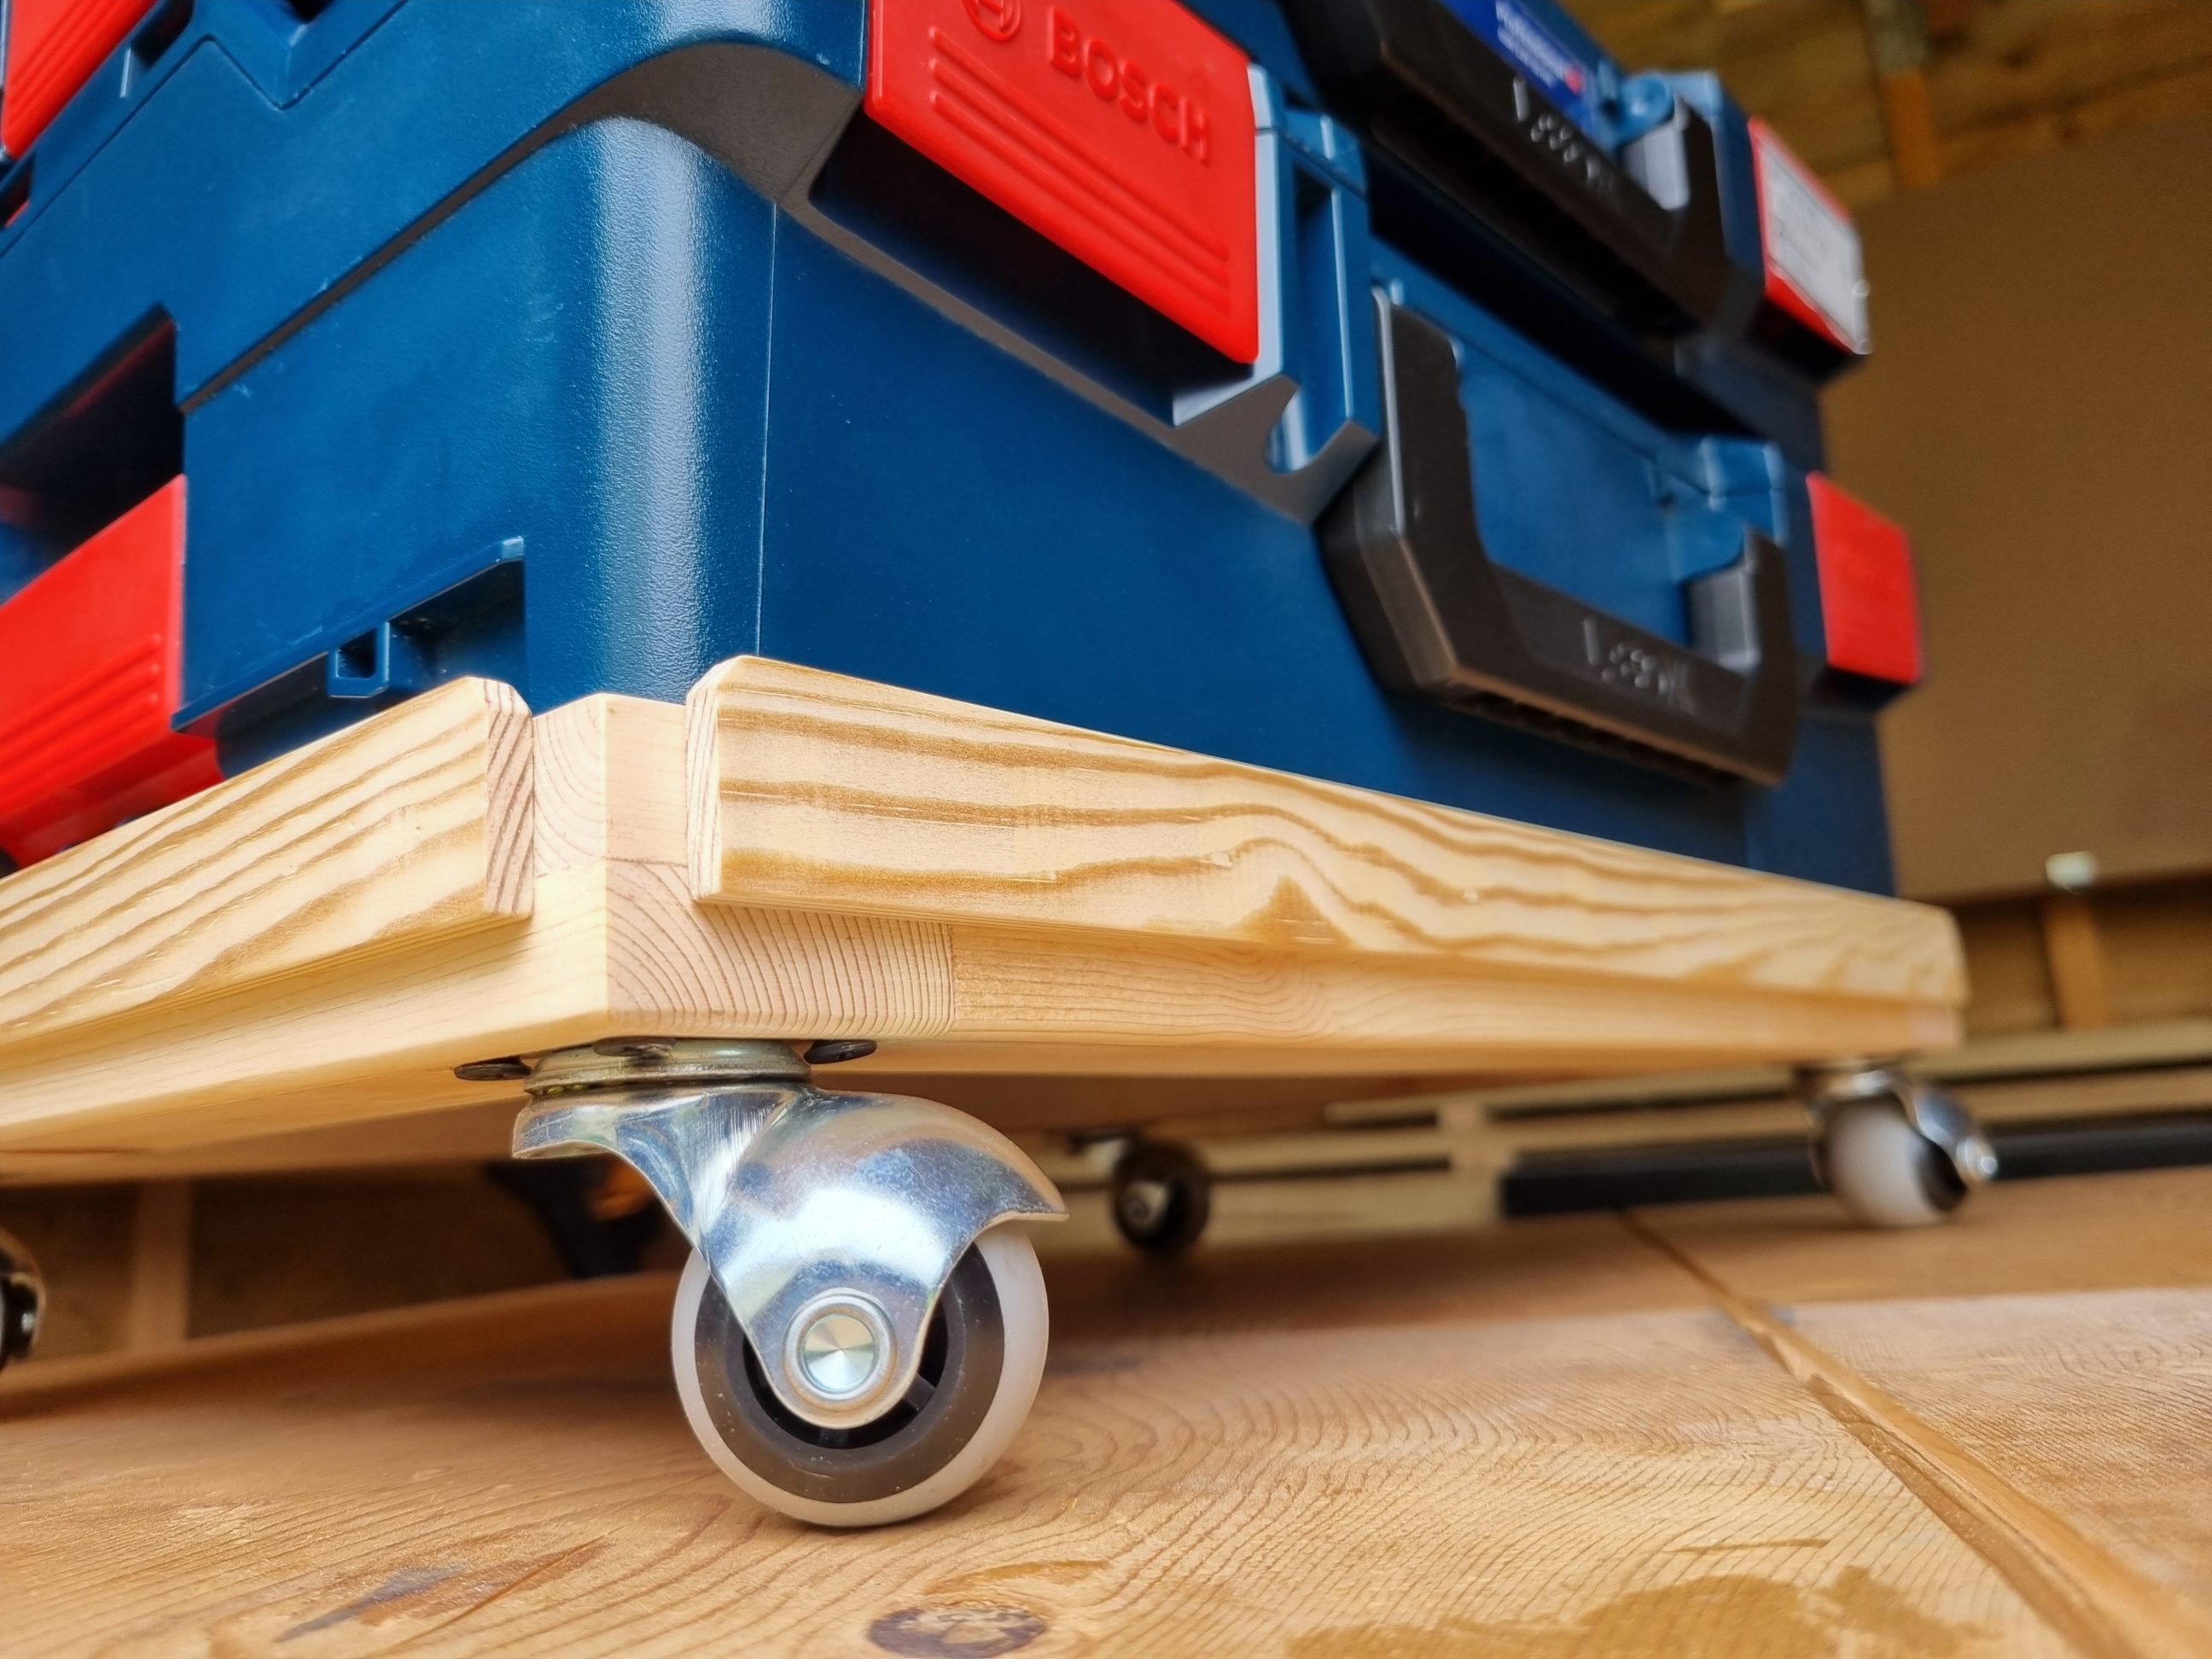
The tray might seem bulky when it’s empty, but once loaded with boxes, its proportions and construction immediately feel just right. It’s designed to hold far more than just seven boxes, leaving room for my collection to grow. The boxes sit perfectly in the tray, with a small margin around the rim providing some wiggle room. Ideally, a gap of about 5-6 mm (less than 2/8″) works best – a tighter fit could damage the rim when replacing the boxes. The slick finish allows the boxes to shift slightly from side to side or front to back, depending on how they’re pushed or pulled, or how even the floor is. The rim, however, always keeps them securely in place and on the tray. I’m confident the rim won’t fail – it’s properly fixed and extremely sturdy.


You May Also Like

X-mas tools, edition 2018
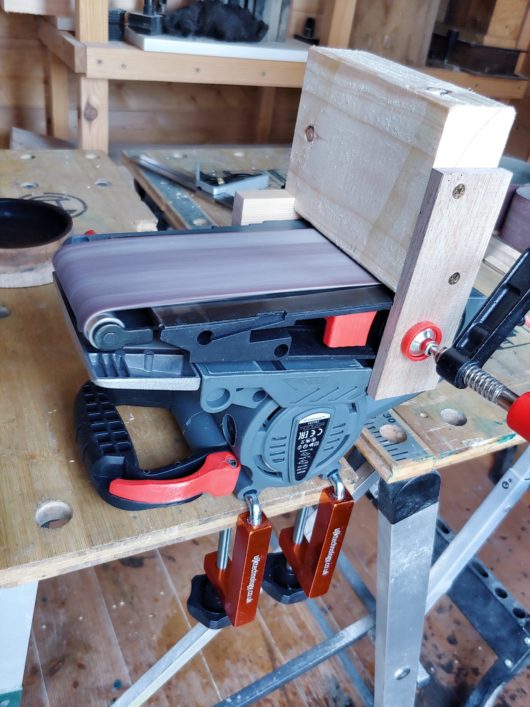
Horizontal belt sanding station
