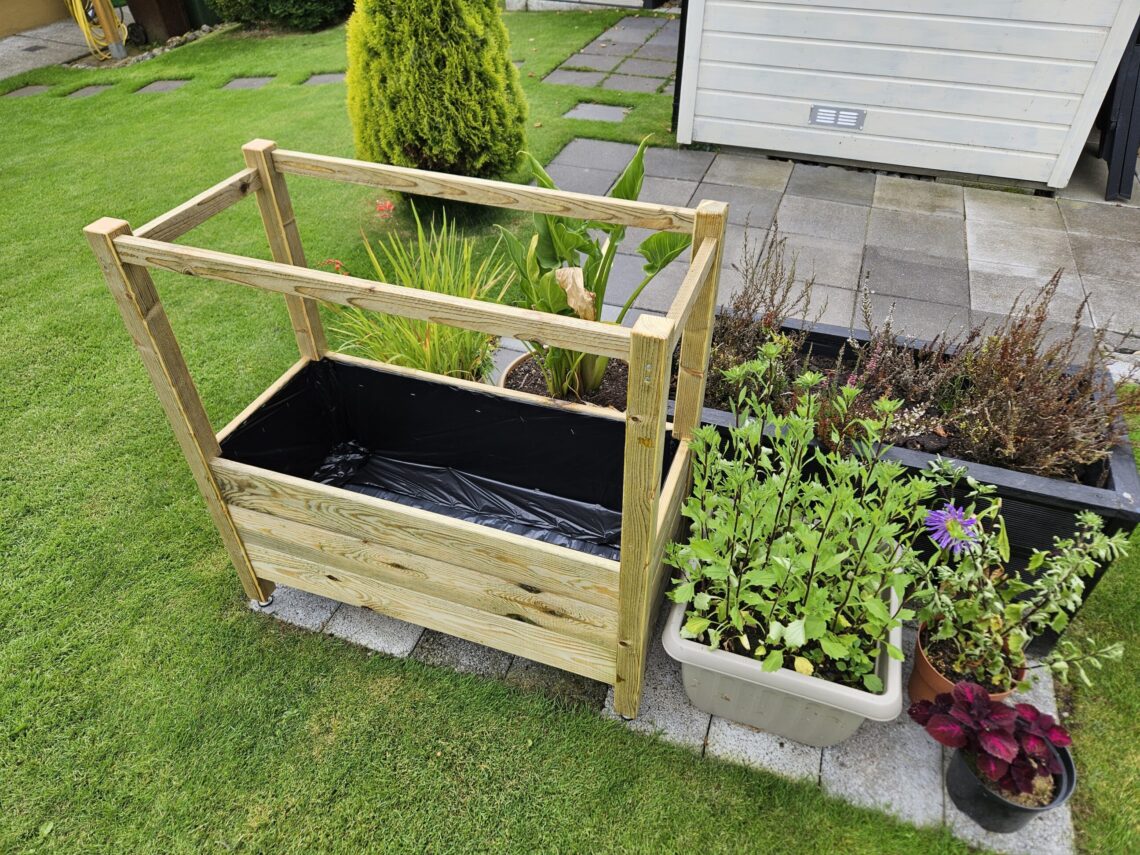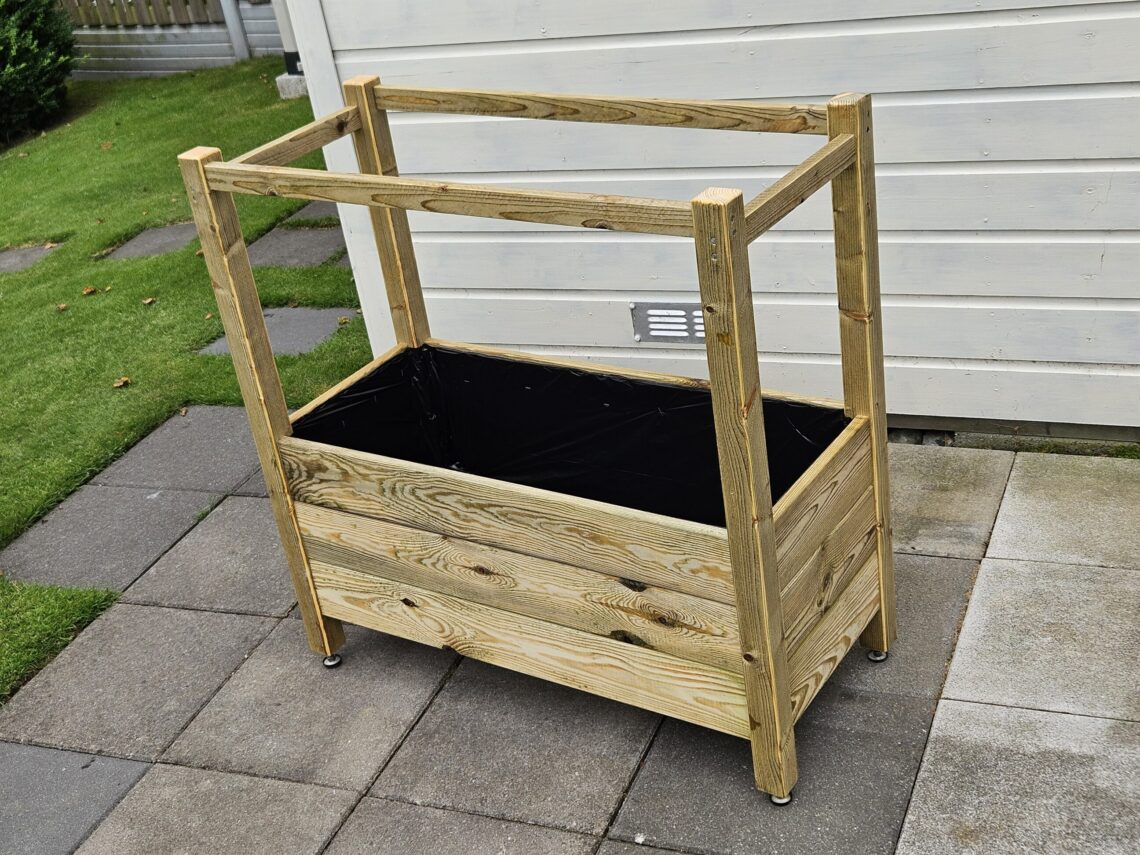
GrowGuard – a rail-supported planter
Tall plants tend to lean out of planters, and some need extra support for their long stems. A rail, a fence, or any other box-like structure can do the job – anything that helps keep the plants upright. This isn’t just for aesthetic reasons, it also allows better access for a lawnmower and makes it easier to get closer with its handle. Unsupported plants not only look untidy, but they also risk being damaged by wind or by accidental contact with the mower. Heavy rain is usually the first culprit, softening the soil and destabilising the roots, and then the wind can push the plants out of plumb and shape. A simple structure can prevent all that, keeping the plants secure while still giving them room to grow. Building a custom planter seemed like the most practical solution, especially when standard options didn’t fit the space or height I needed. It’s a small investment of time and effort that pays off in both convenience and the long-term health of the plants.
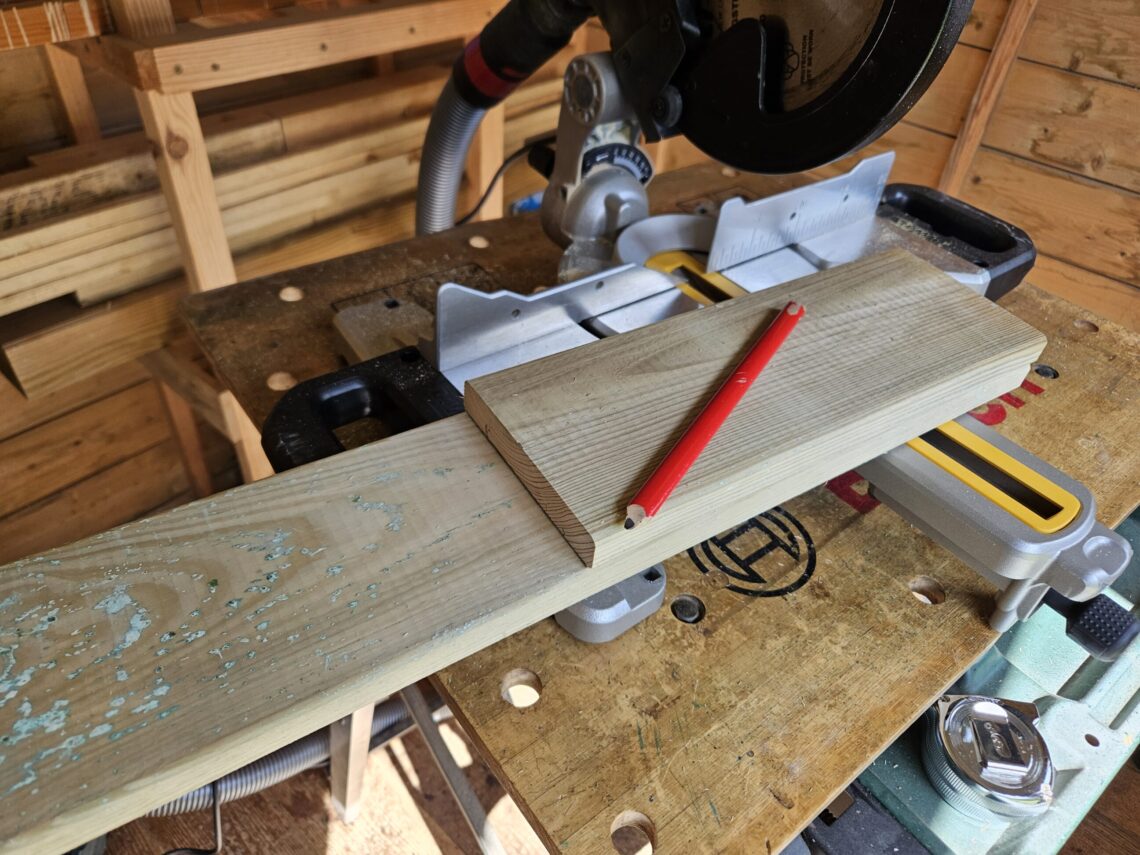
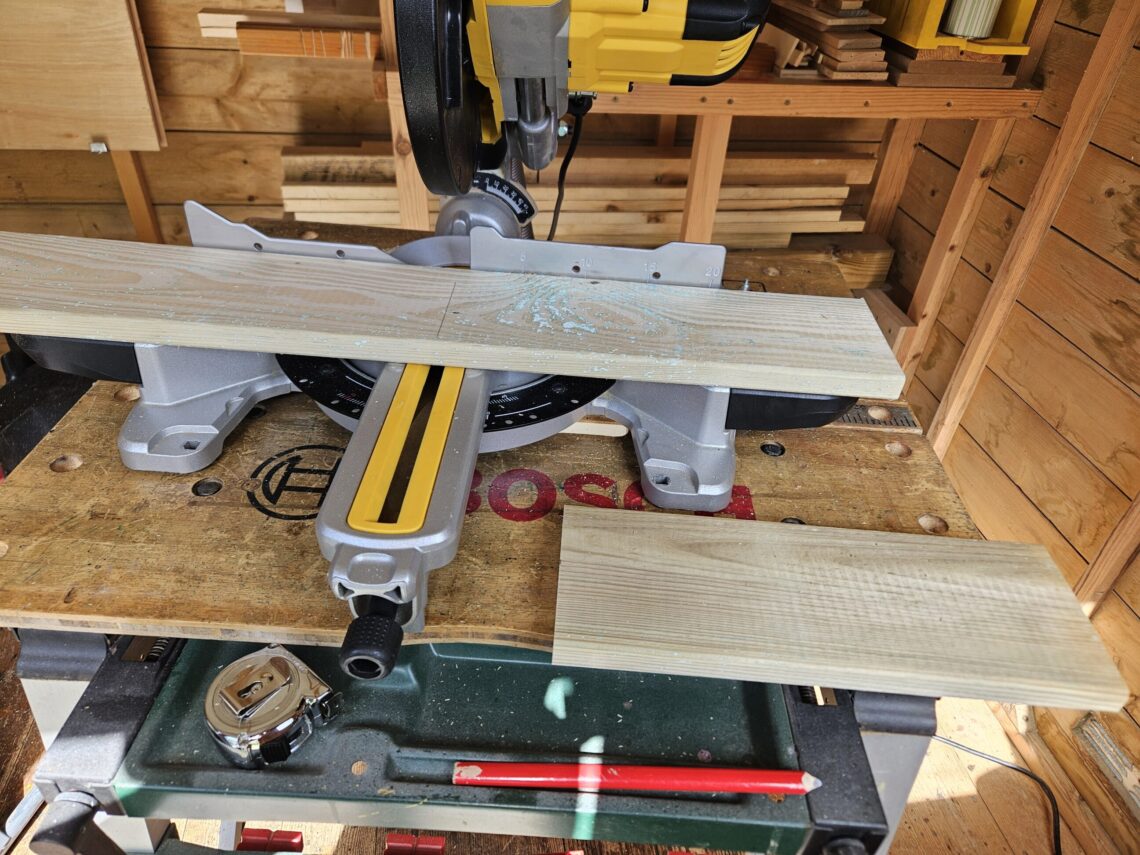
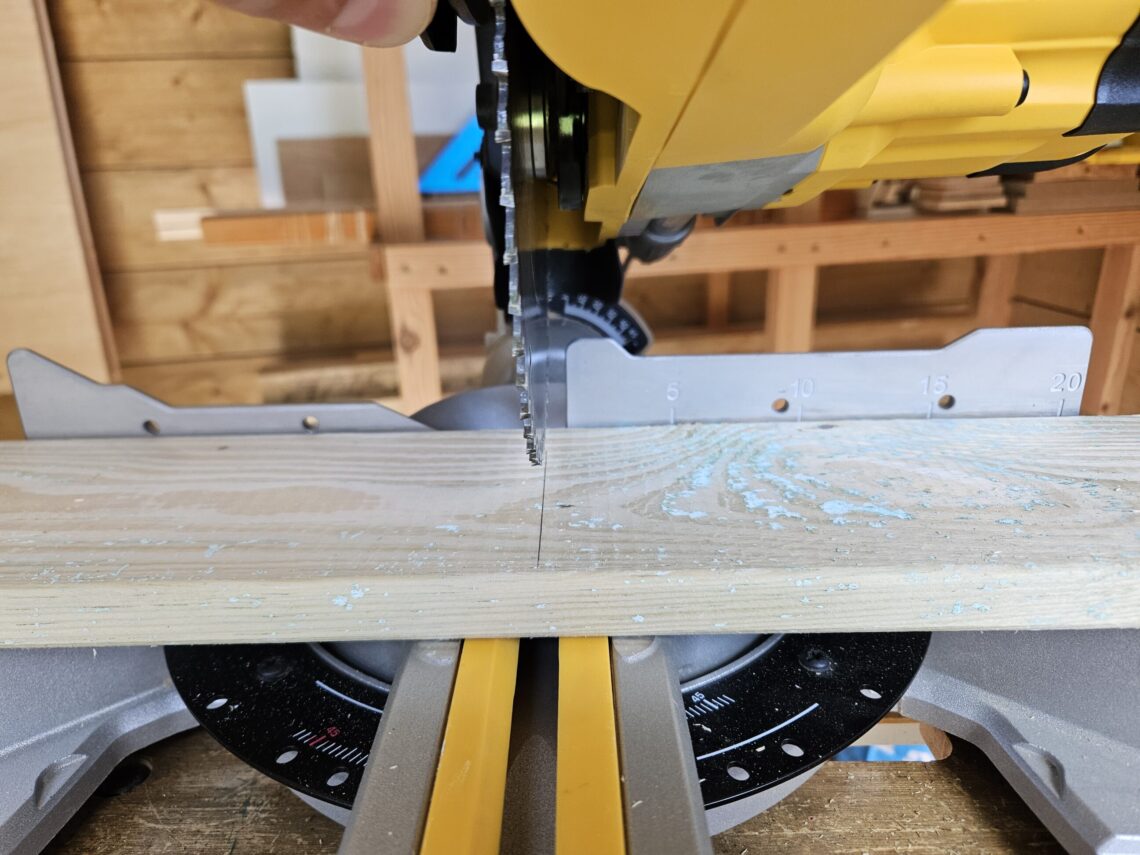
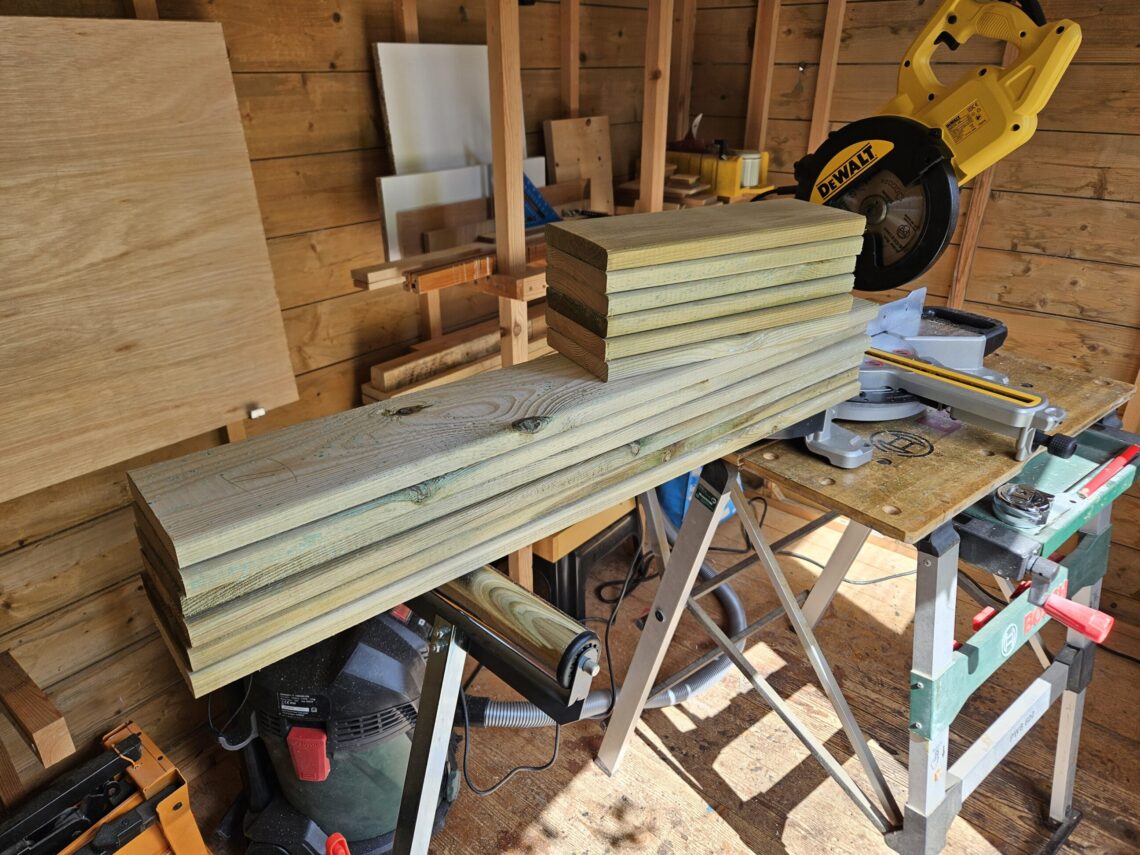
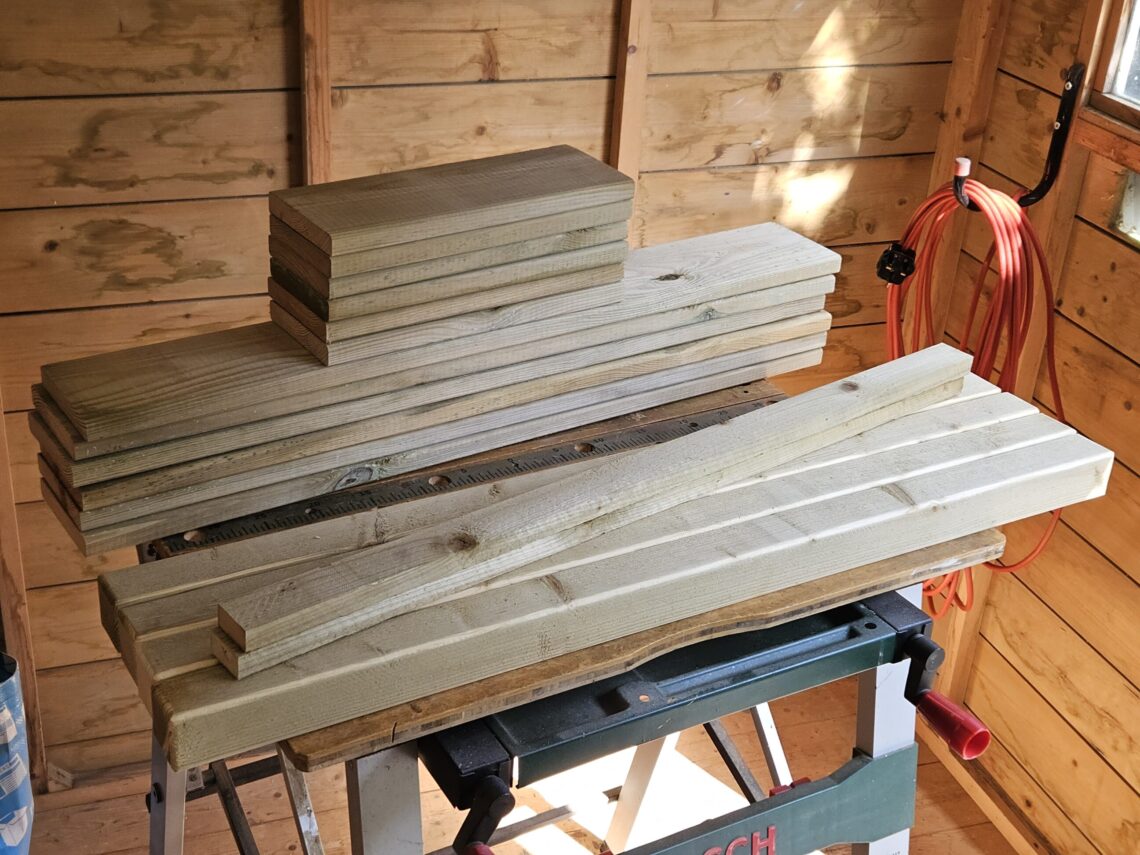
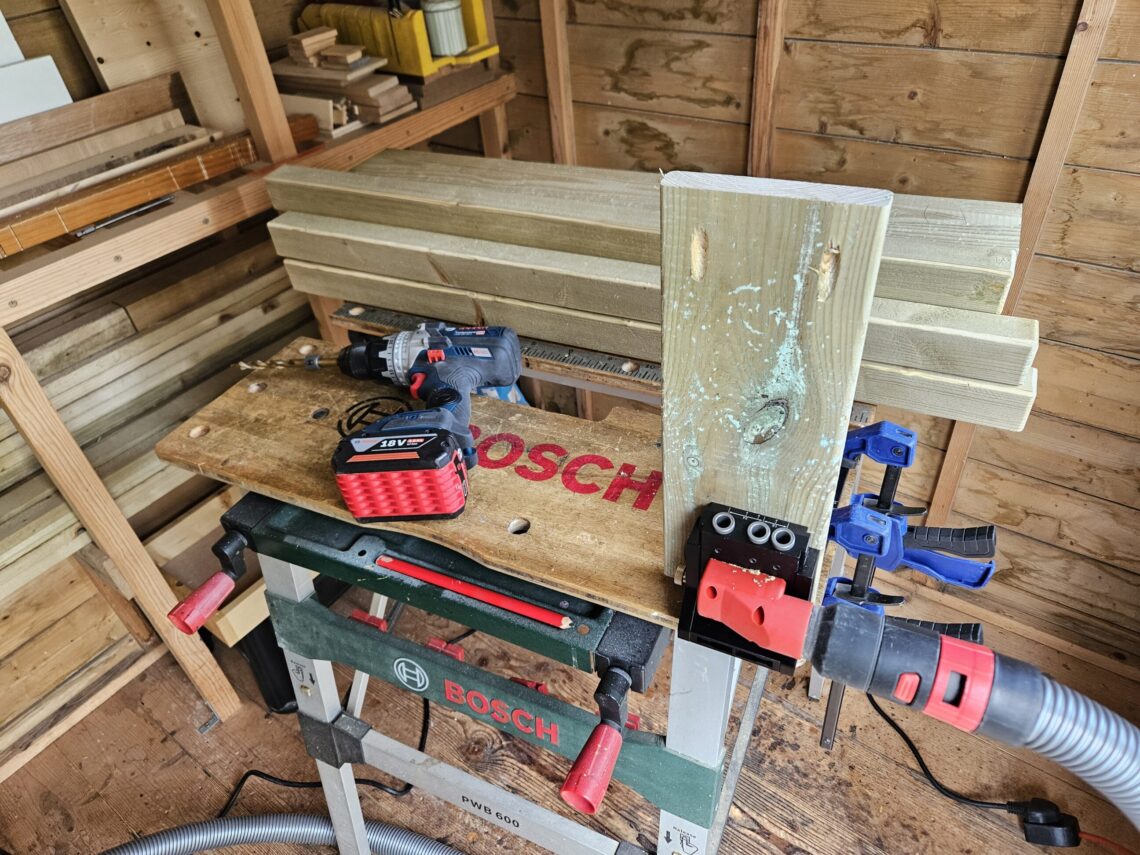
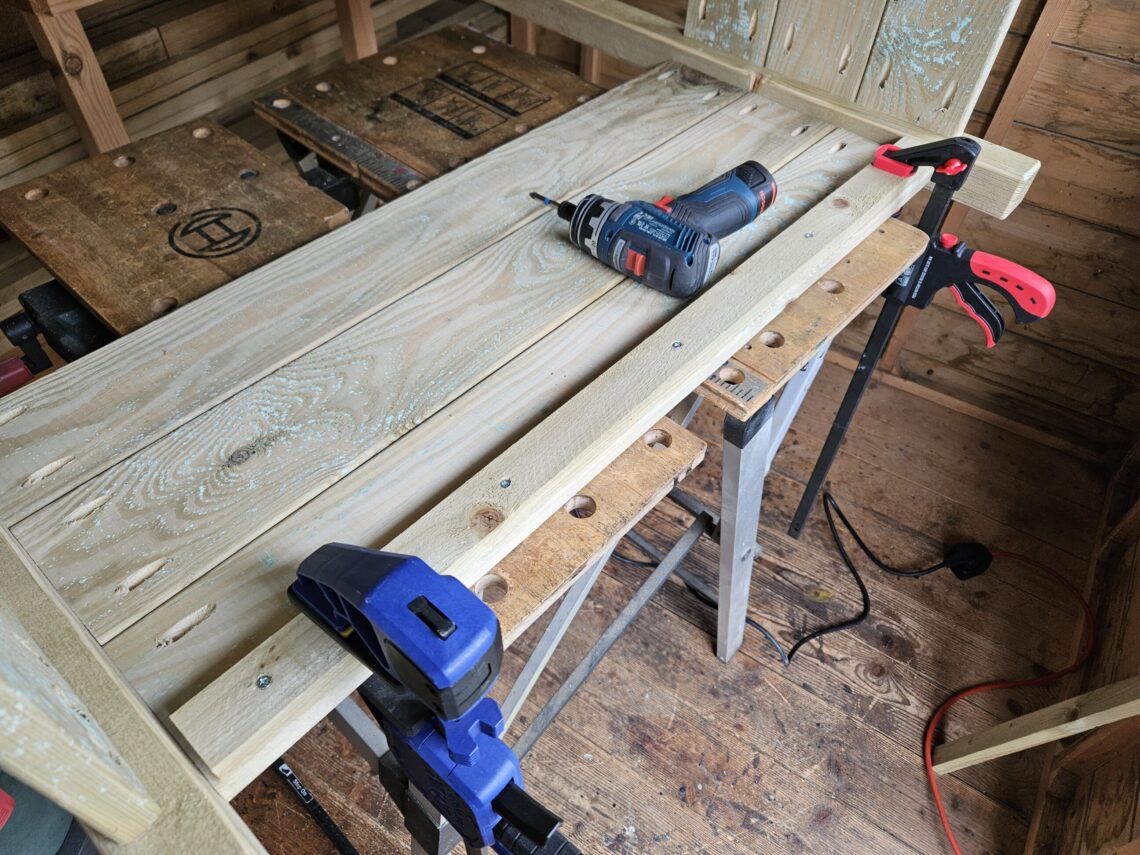
I only had 4 boards on hand and needed to make the most of them, which meant using every inch wisely. I double-checked my cut list to be sure it was correct. From the first two boards, I cut three short pieces and one long; from the next two, I cut two long pieces. That way, waste was reduced to an absolute minimum. A stop block on my mitre saw would have been helpful for making repetitive cuts, but I came up with another method that worked just fine. After cutting the first piece – whether long or short – I traced it onto the remaining part of the board and carefully aligned the blade with the pencil mark. All I had to do was cut on the waste side, making sure the entire width of the pencil line was included in the cut. I repeated this process each time by lowering the blade and sighting directly down the blade. It was a simple process, but it required keeping two things in mind: always using the same first piece for tracing, and always aligning the blade with the correct side of the pencil line. The results were more than satisfying – I ended up with a set of boards ready for pocket-hole joinery.
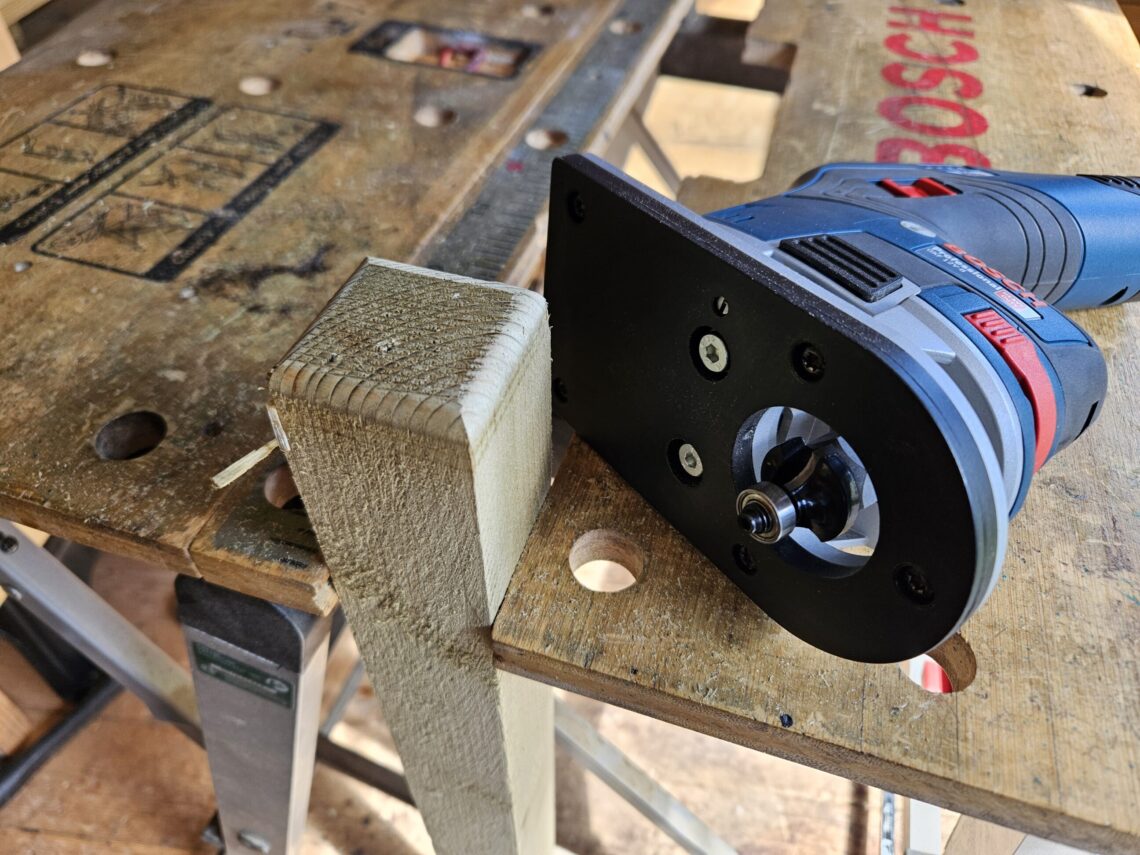
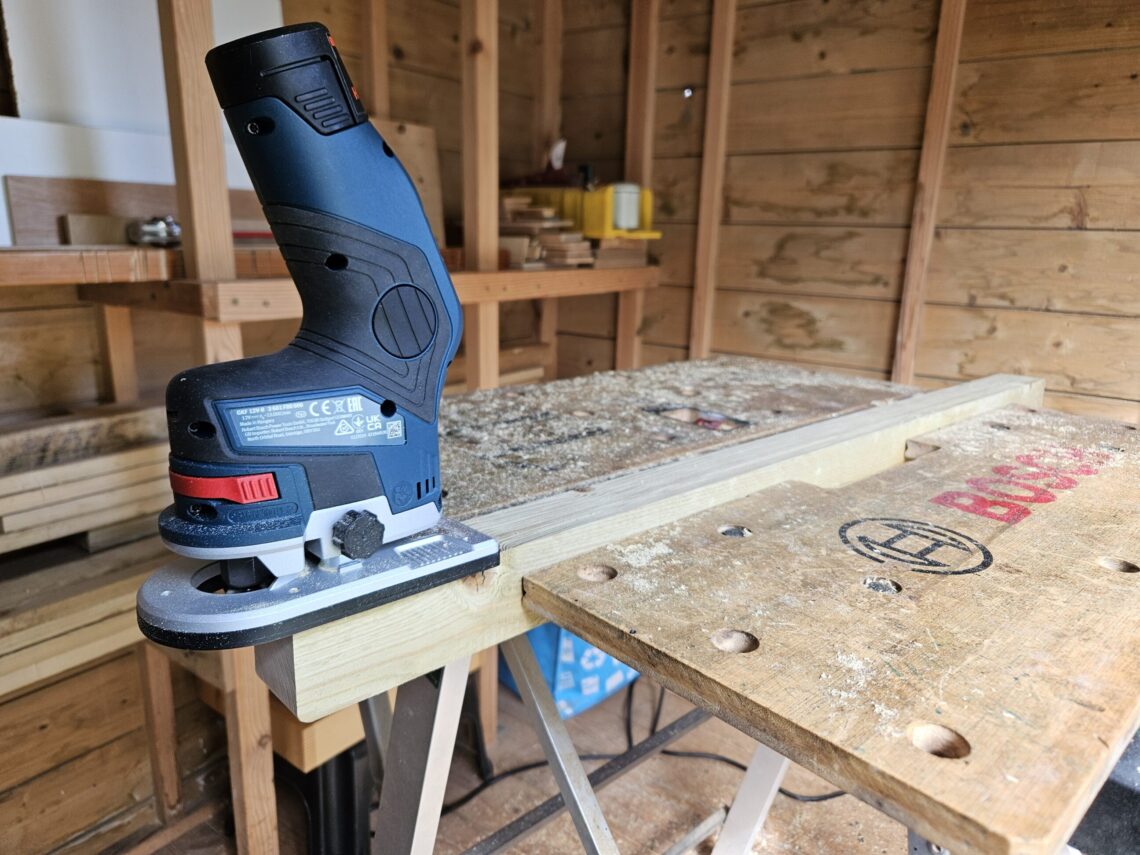

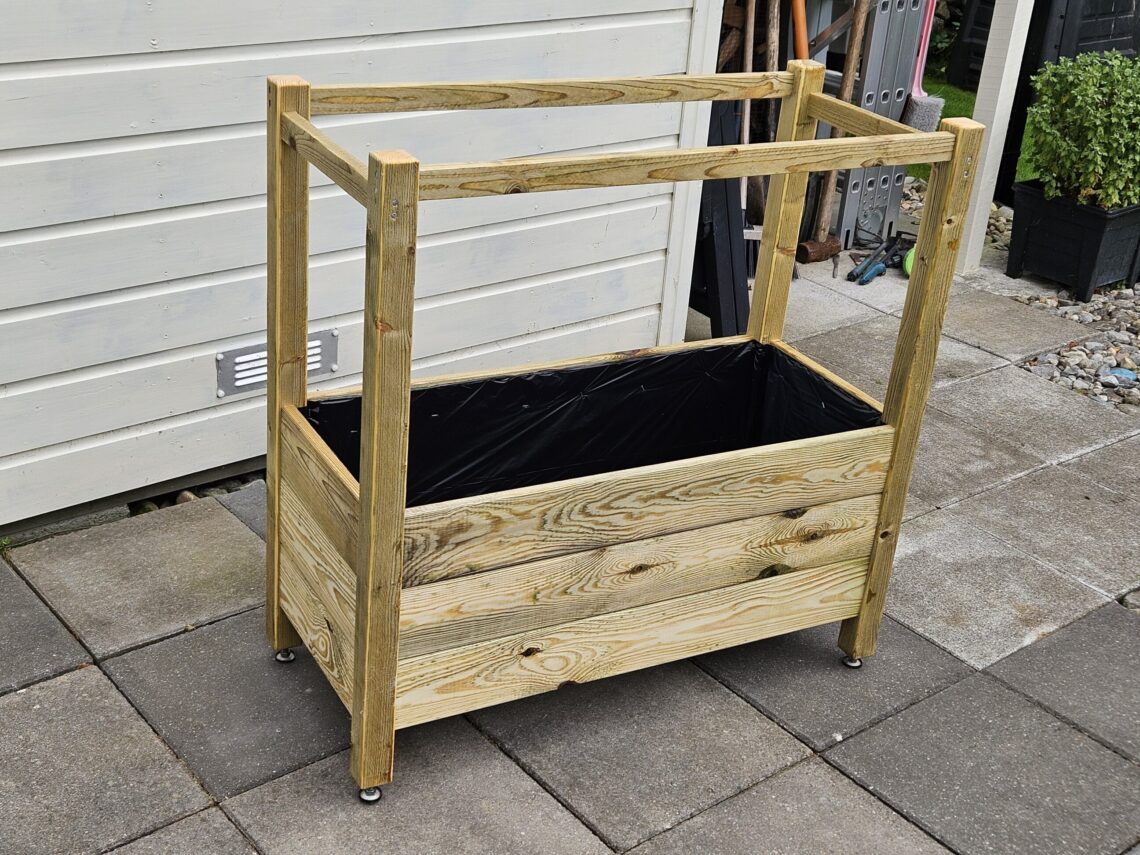
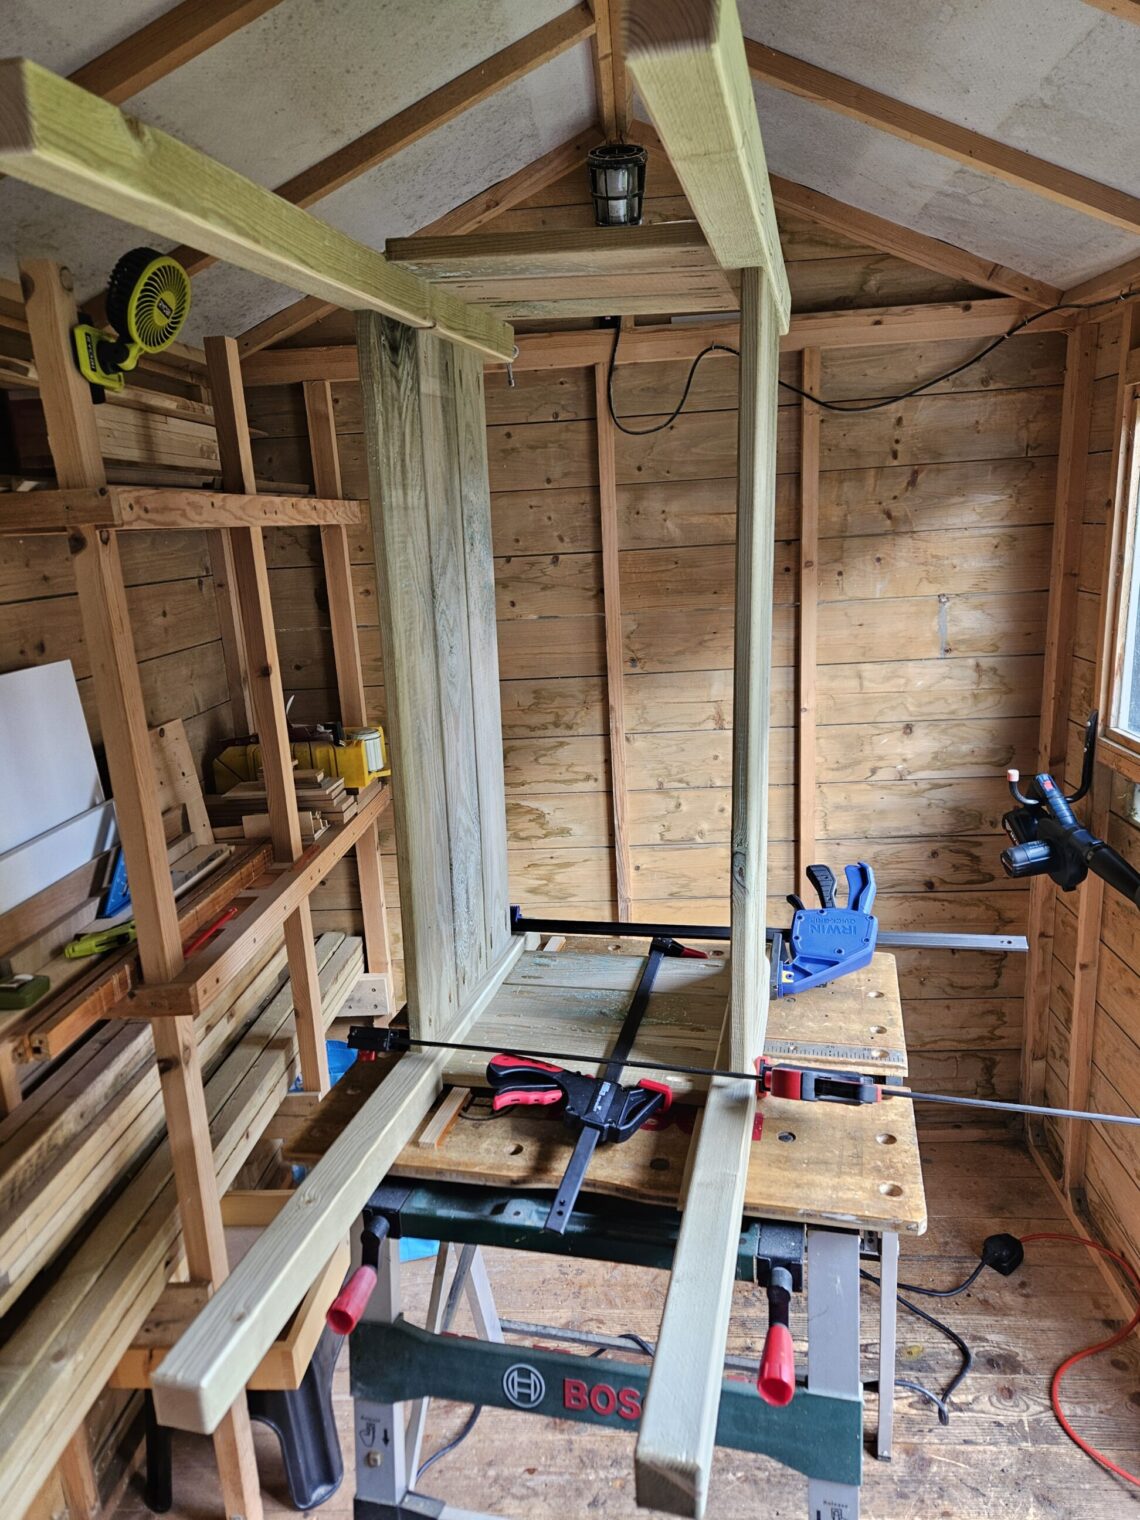
I also cut the legs to length and the bottom supporting rails in the same way. The legs were rounded over on all sides, including both the top and bottom. At first, I clamped a leg in an upright position and used the router that way, but it wasn’t the best method for minimising tear-out. What worked much better was clamping the workpiece horizontally and rounding the ends first – one side and then the other – before proceeding to route along the longer edges.
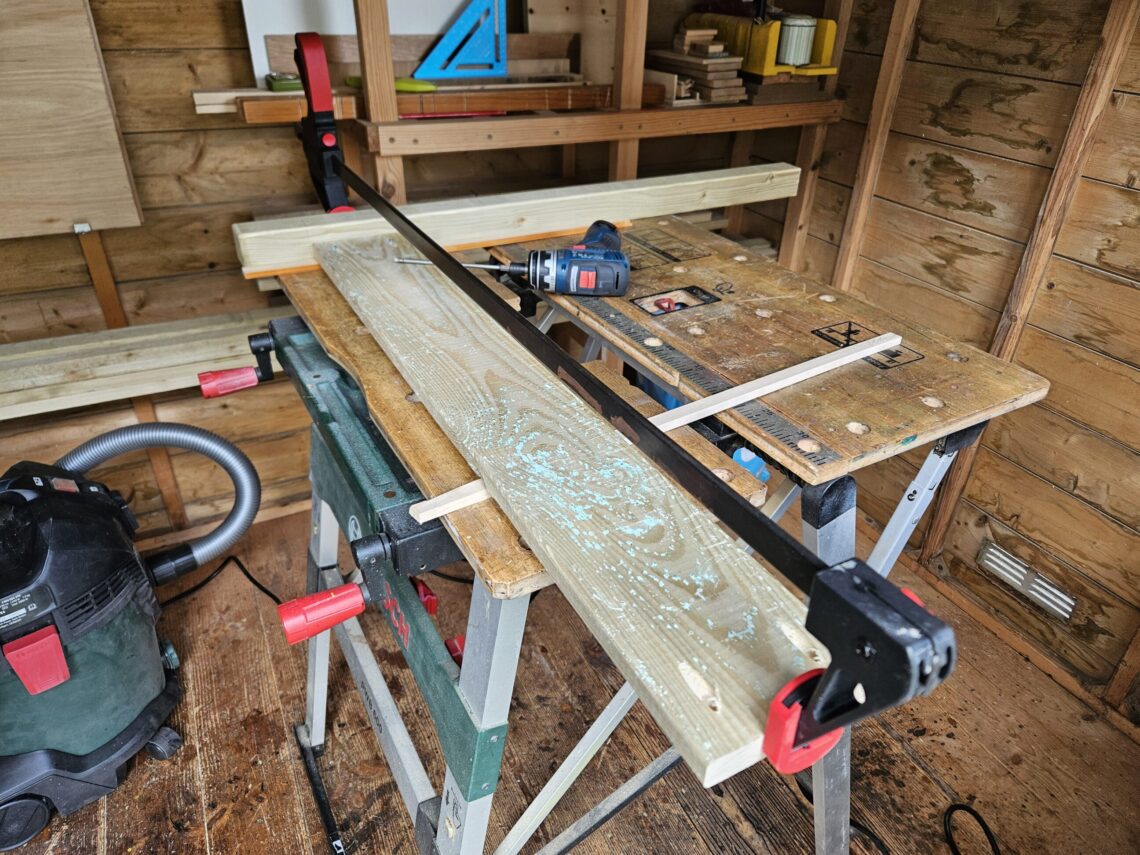
Once I set up my pocket hole jig and connected the shop vac, it was just a matter of drilling two pocket holes on each end of every board. Dust extraction is essential in this situation: not only are the holes drilled much cleaner, but the suction also helps pull the board securely against the jig. With all the holes drilled, I began assembly. First, I joined the longer sides; then the shorter ones were fixed in place, forming two L-shaped structures. These were finally screwed together, and the bottom received its supporting rails.
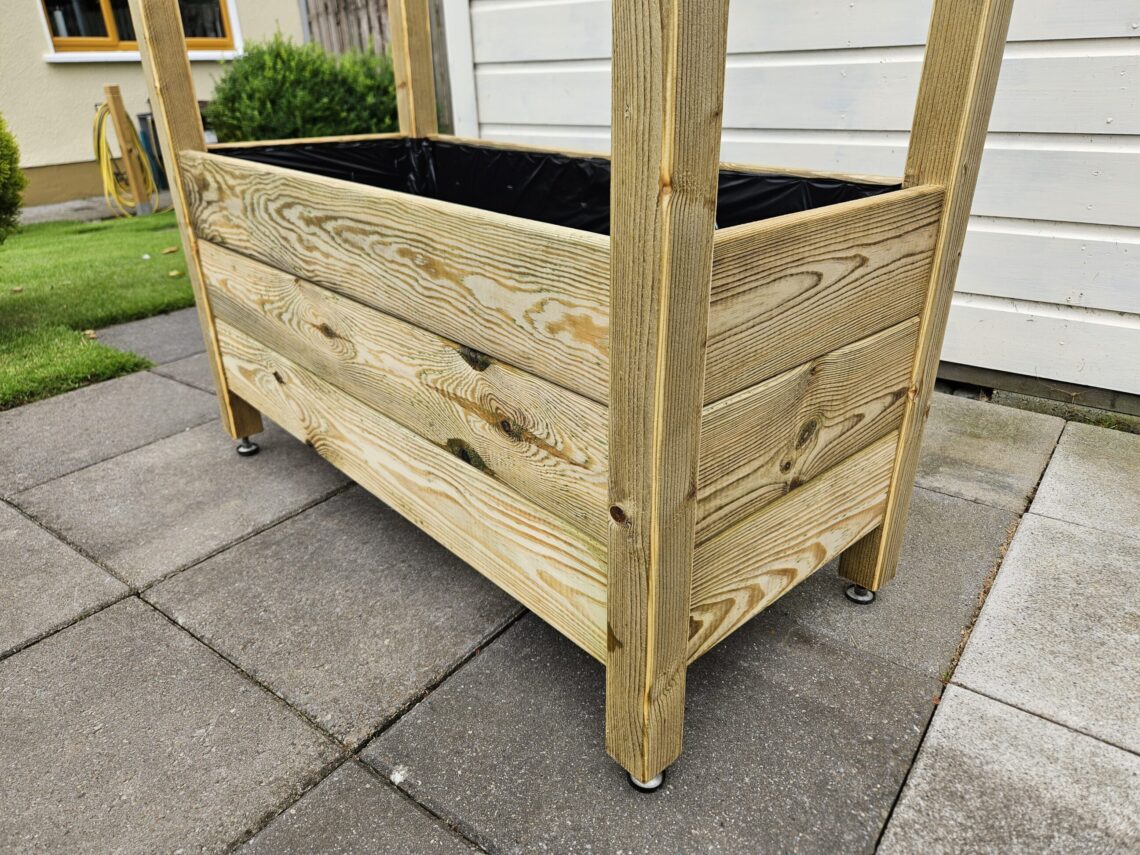
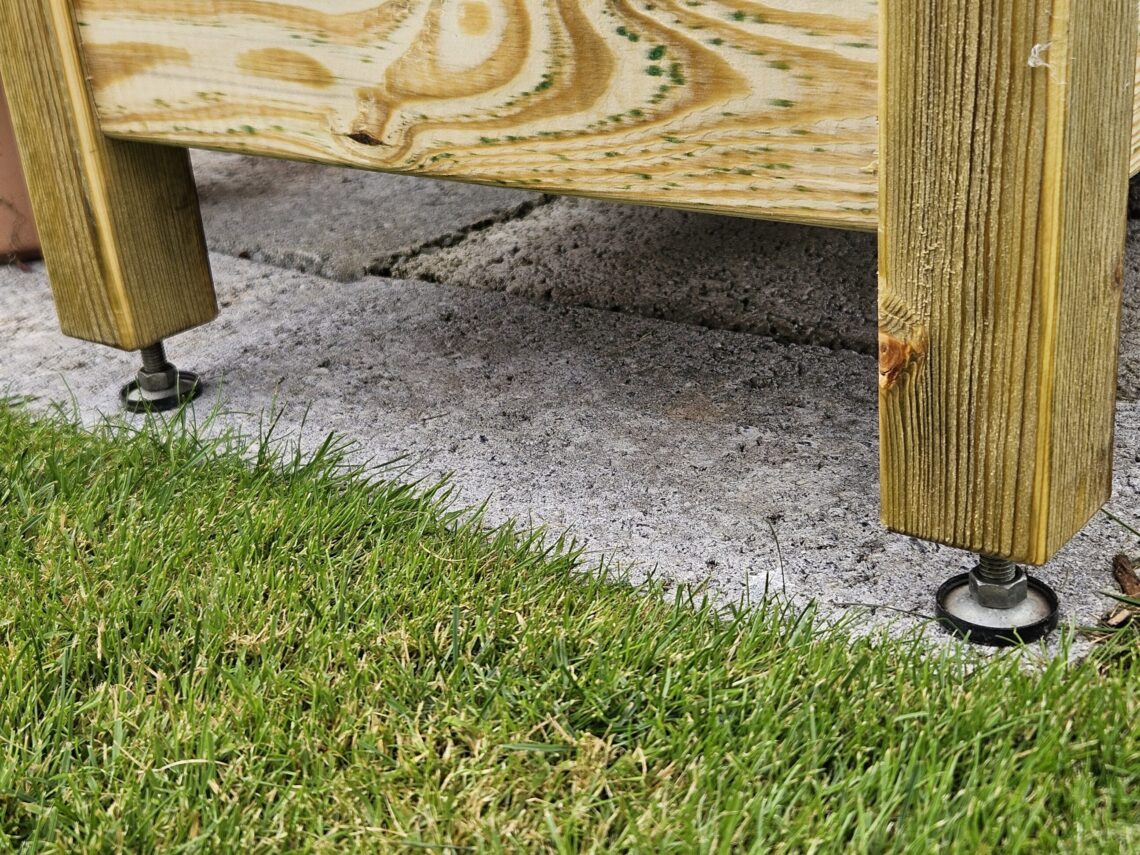
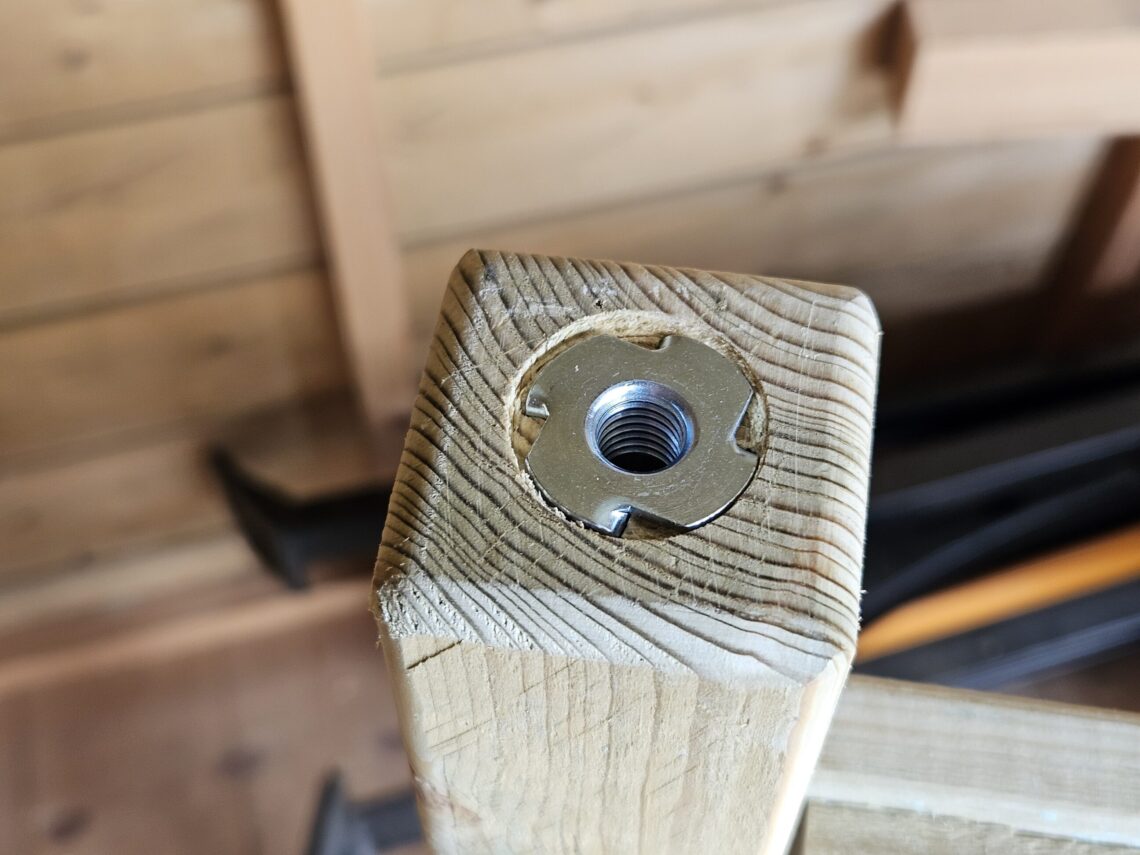
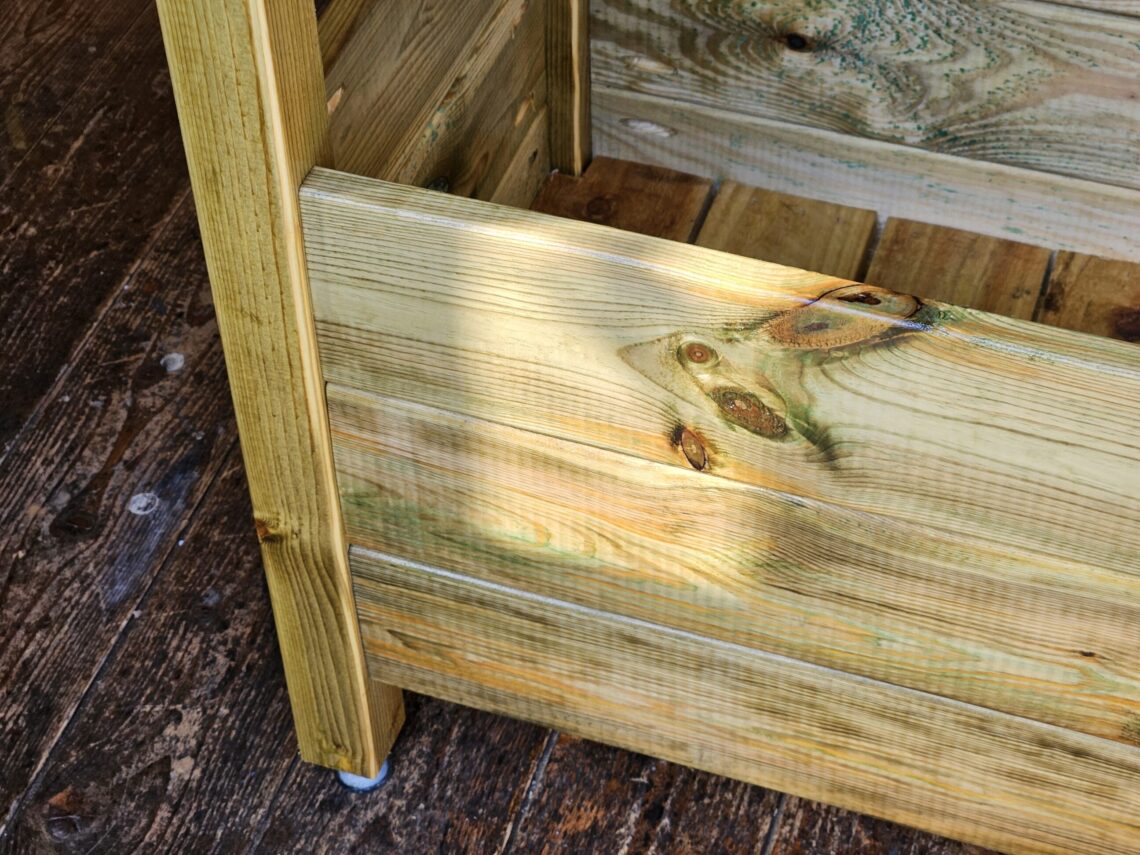
The planter was fitted with adjustable feet. I reused the old ones but installed new T-nuts. To drill the holes, I used three bits: a 25 mm Forstner bit, a 12 mm spade bit, and finally a 12 mm HSS bit to deepen the holes. I wanted the T-nuts to sit in mortises, both to improve water drainage and for a cleaner look. The spade bit was used to drill in the exact centre of the freshly made mortises – the Forstner bit conveniently left small central indentations. Finally, the HSS bit allowed for quick material removal, drilling in a sleeve left by the spade bit. Quite a complex approach to drilling simple holes, I must say.


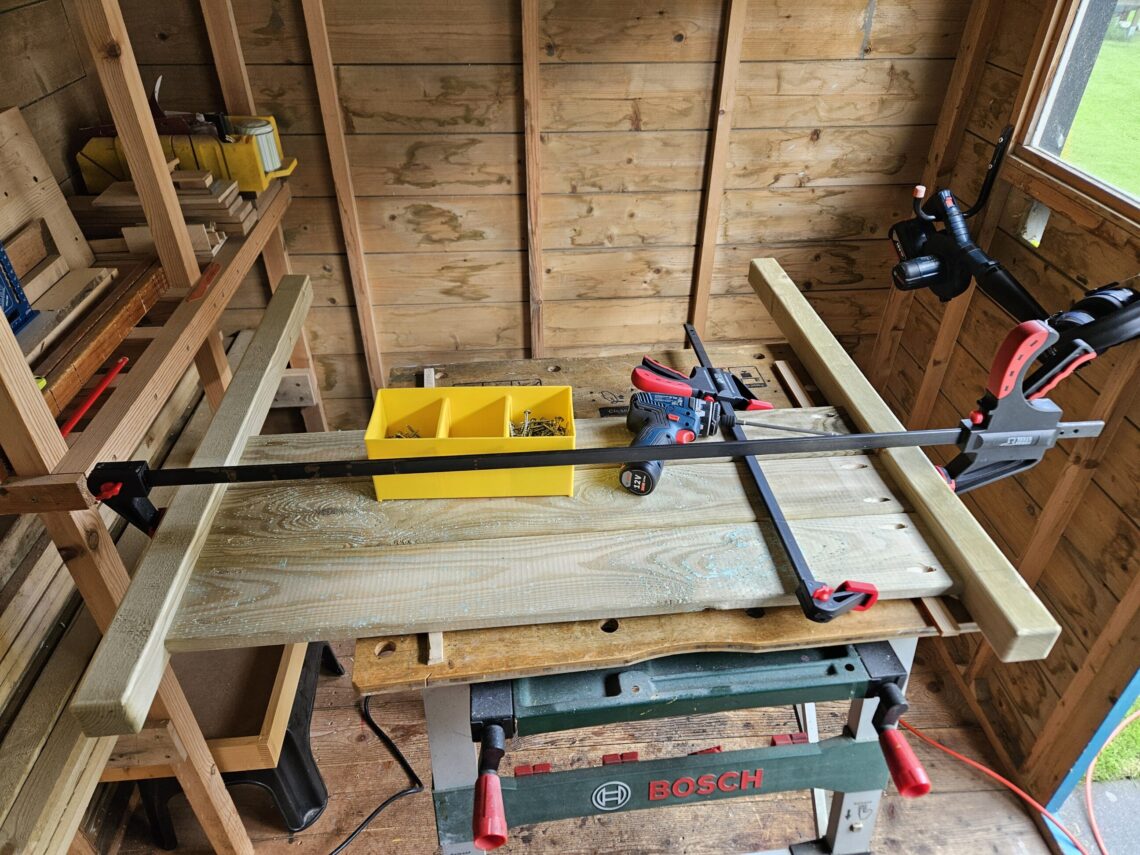
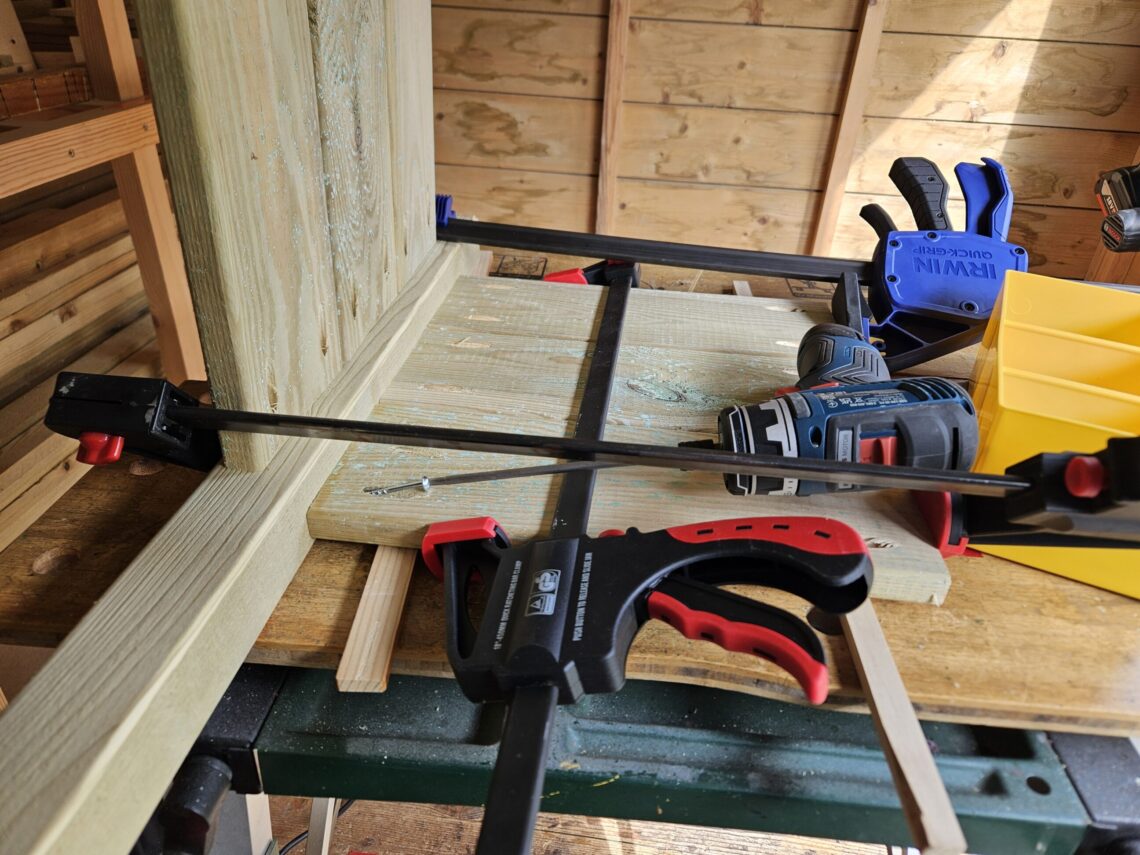
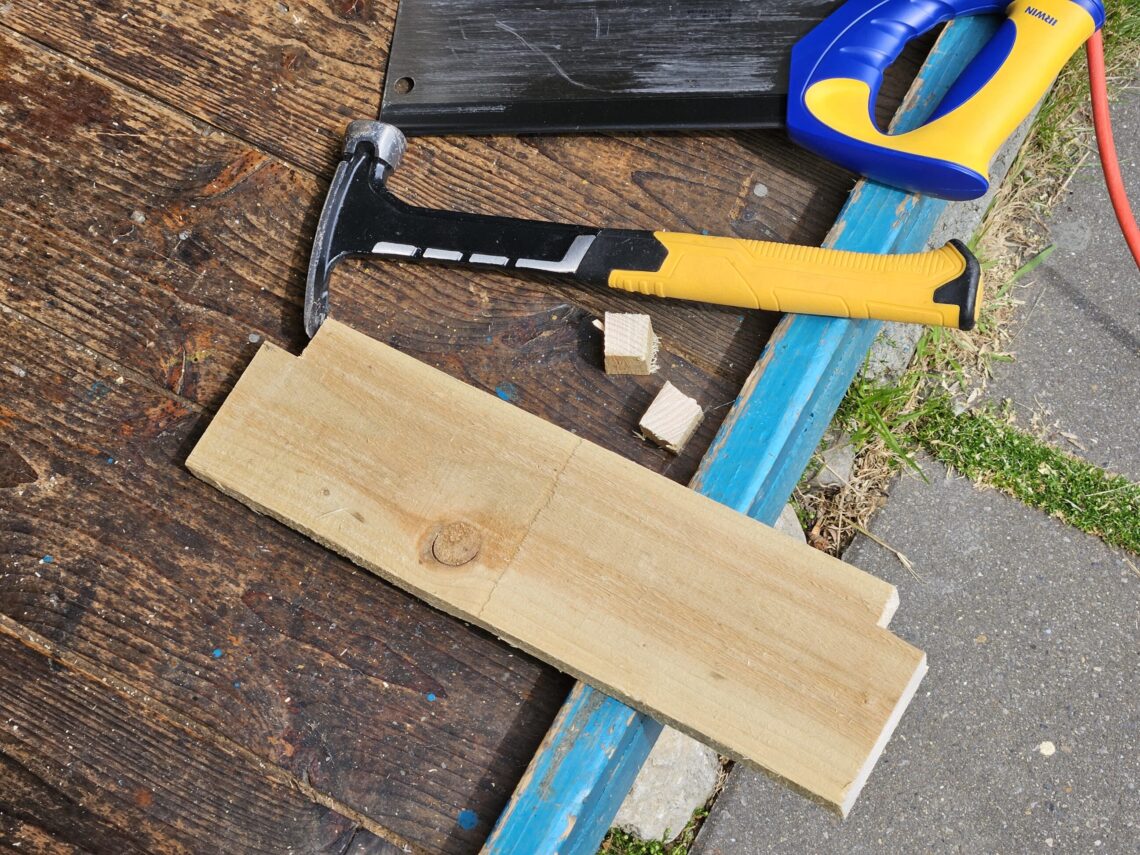
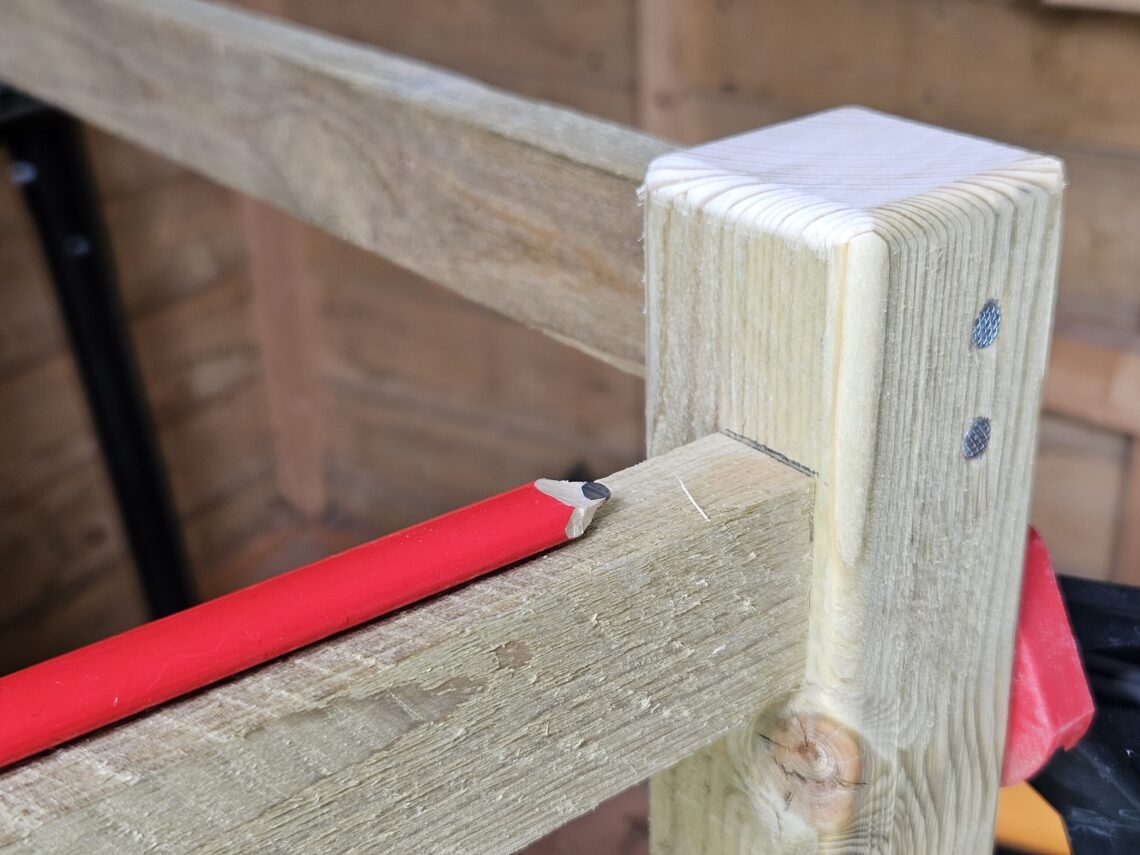
Before cutting the bottom slats, I first made sure the planter was square. A diagonal clamp brought it perfectly into alignment, and I could then proceed with cutting the first two slats – the outer ones with the corners removed (done with a hammer). The fit was supposed to be tight against the longer sides, to help retain the squareness of my planter in case the brad nails fail. The nails were long enough for the job, but I wasn’t sure about their properties, specifically, whether they were stainless.
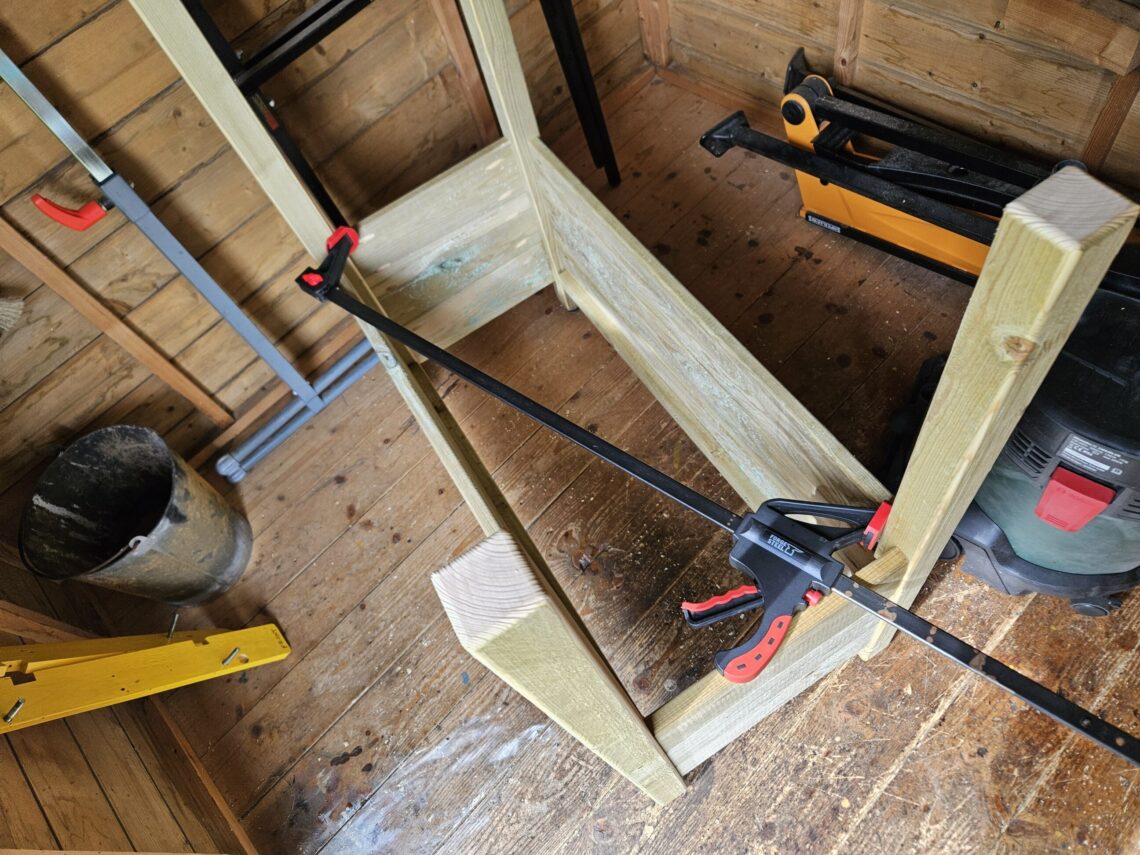

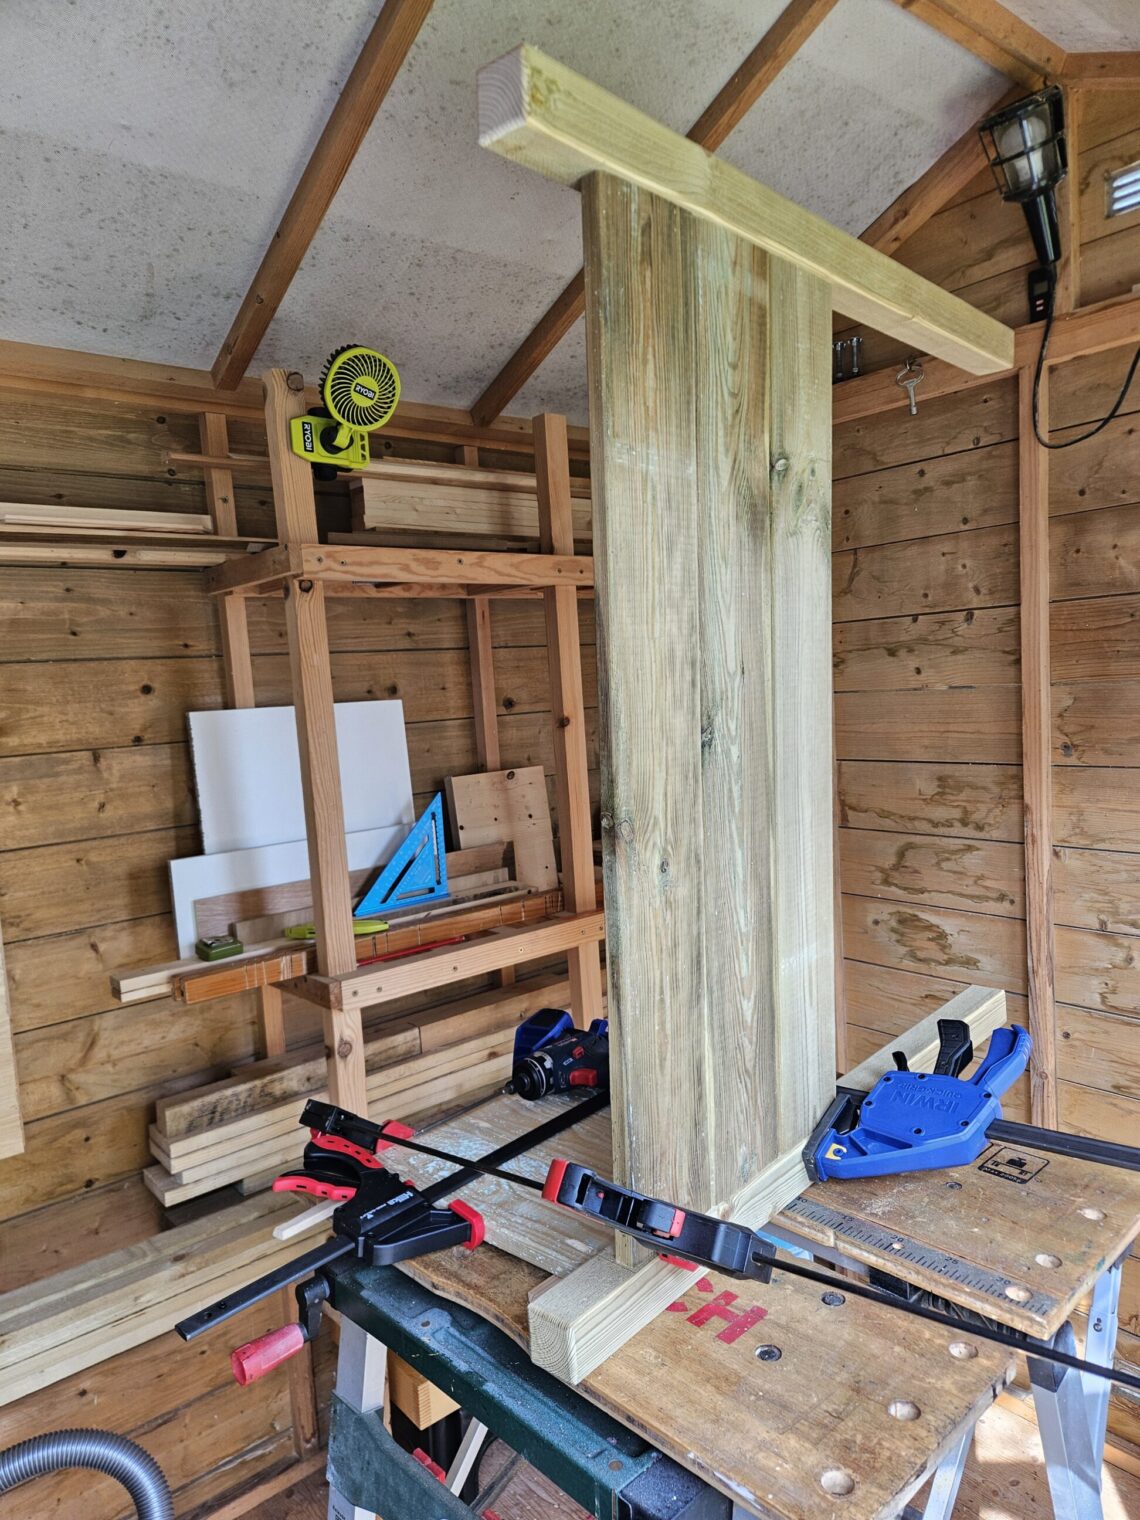
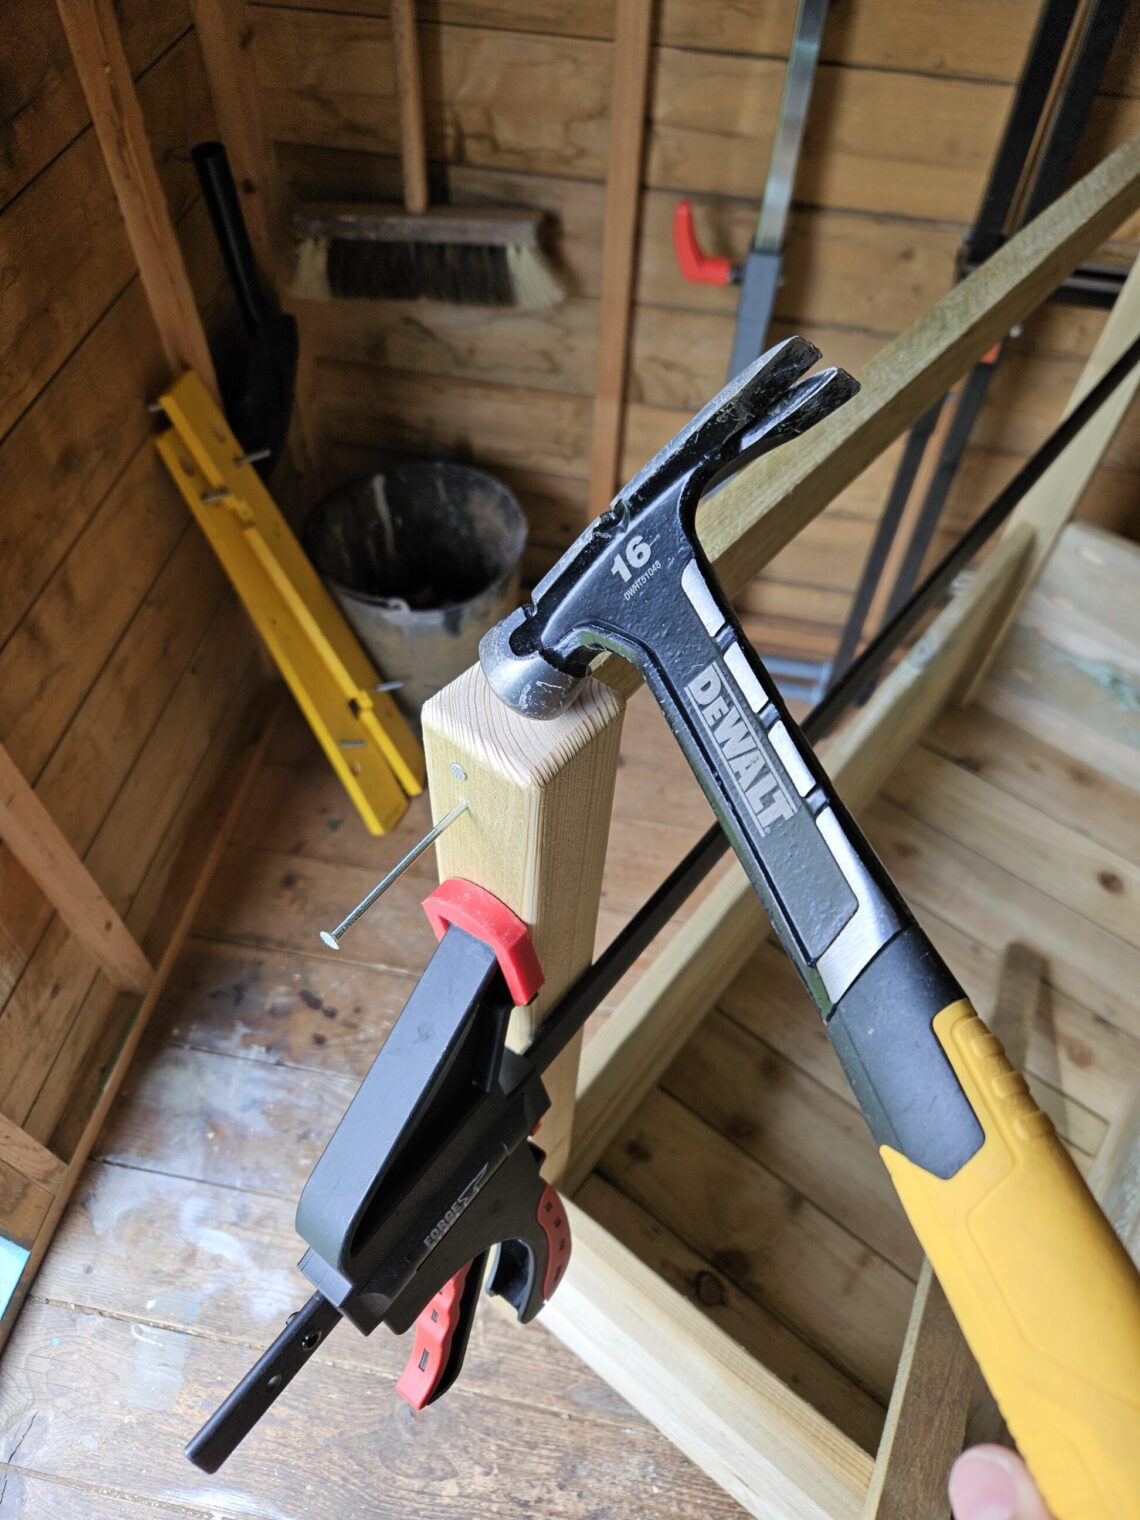
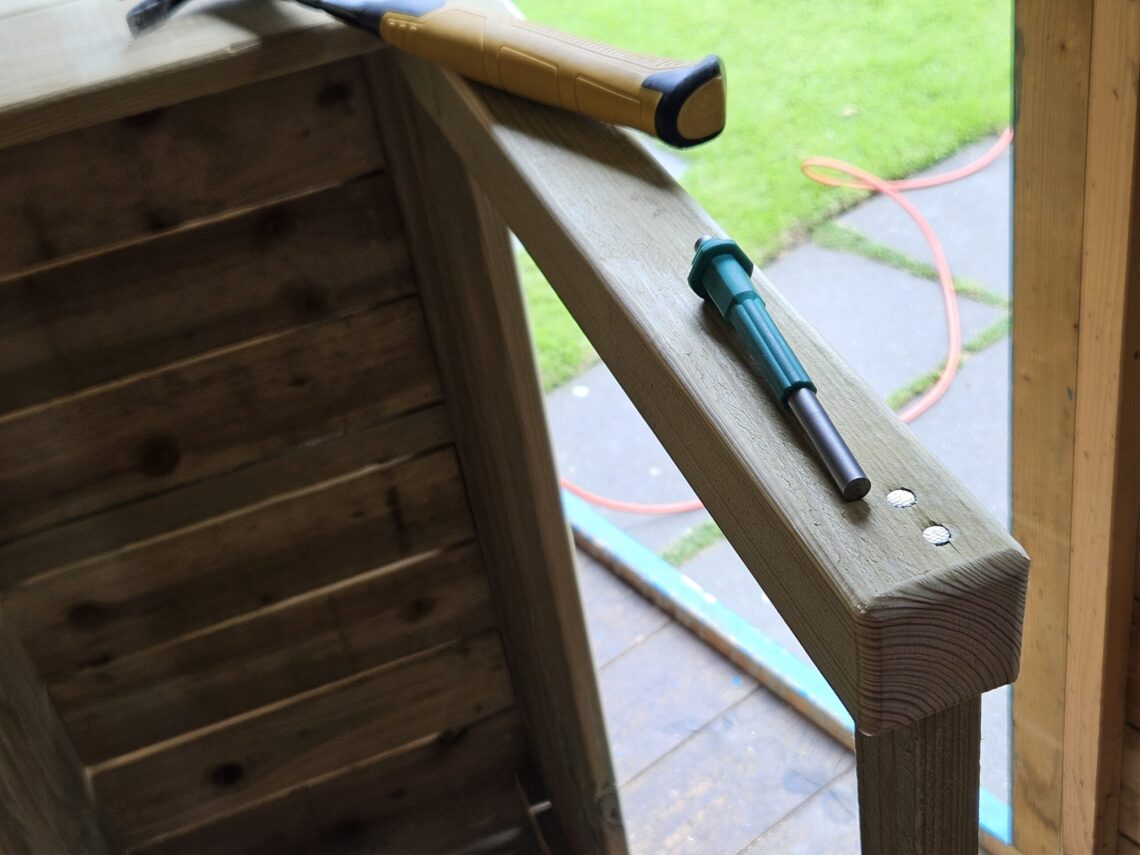
Up to this point, all the fixings had been concealed – whether screws or nails. For the upper rails, however, I didn’t want to use pocket holes, as a single screw wouldn’t prevent the rails from spinning. With no better option at hand, I decided to use nails. In time, as they rust, they’ll give the planter a rustic, old-school look. I predrilled each hole to prevent splitting and marked the position of every rail with a pencil to check whether they shifted during pounding. If they did move, I could realign them in the process. I must admit, though, that the nails spoiled the clean look of the planter, but there really wasn’t a suitable alternative at the time. Maybe next time I’ll design something better – perhaps counterbored screws finished with flush-cut plugs, or even a more sophisticated solution.


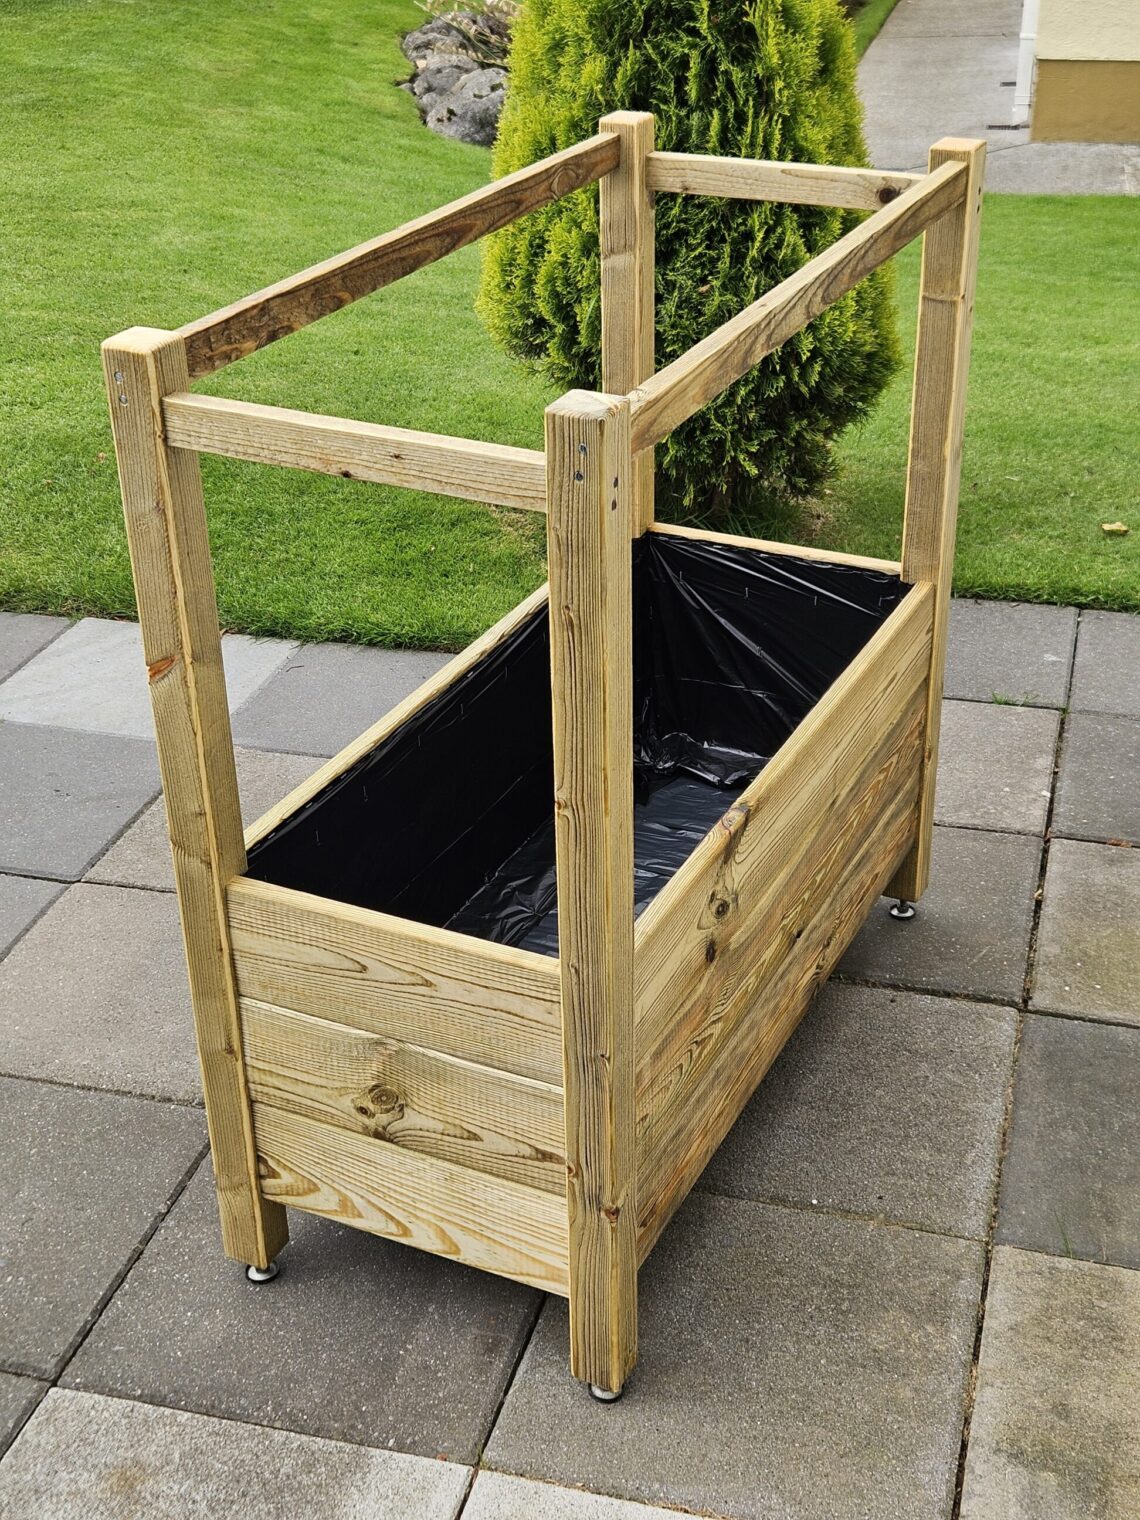
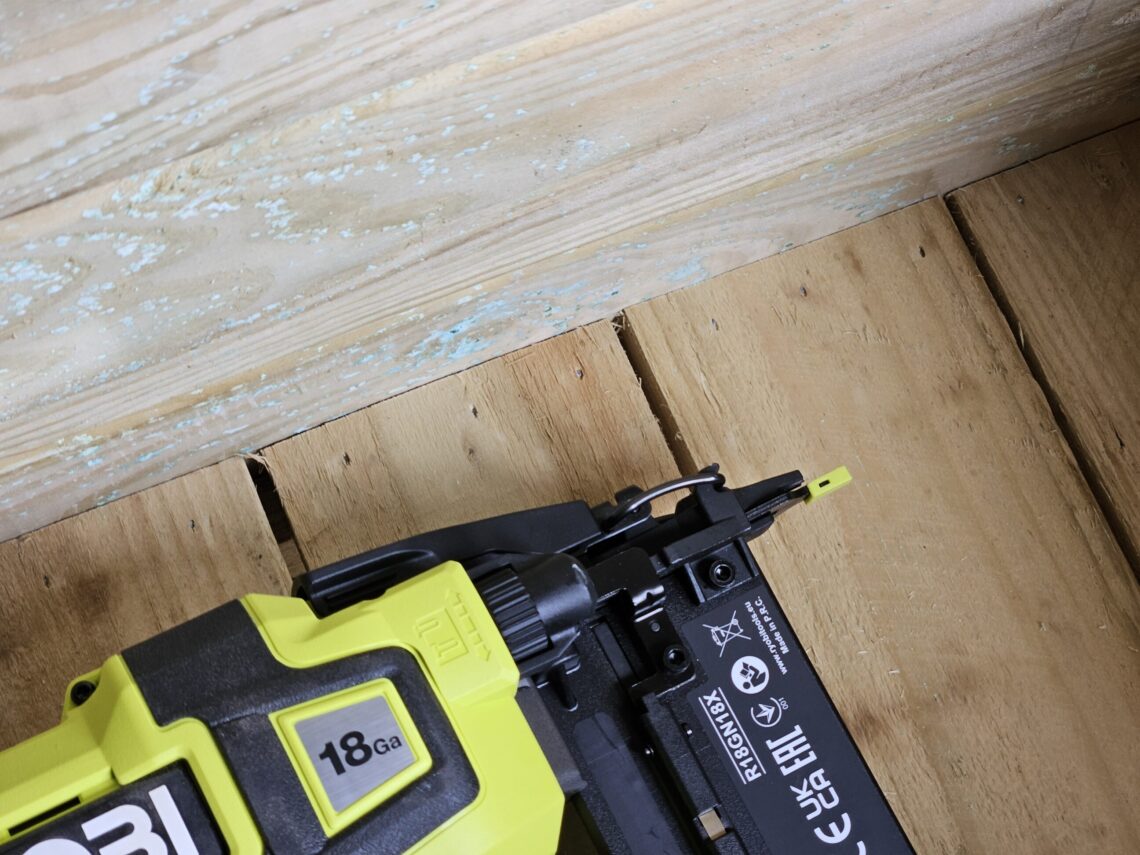
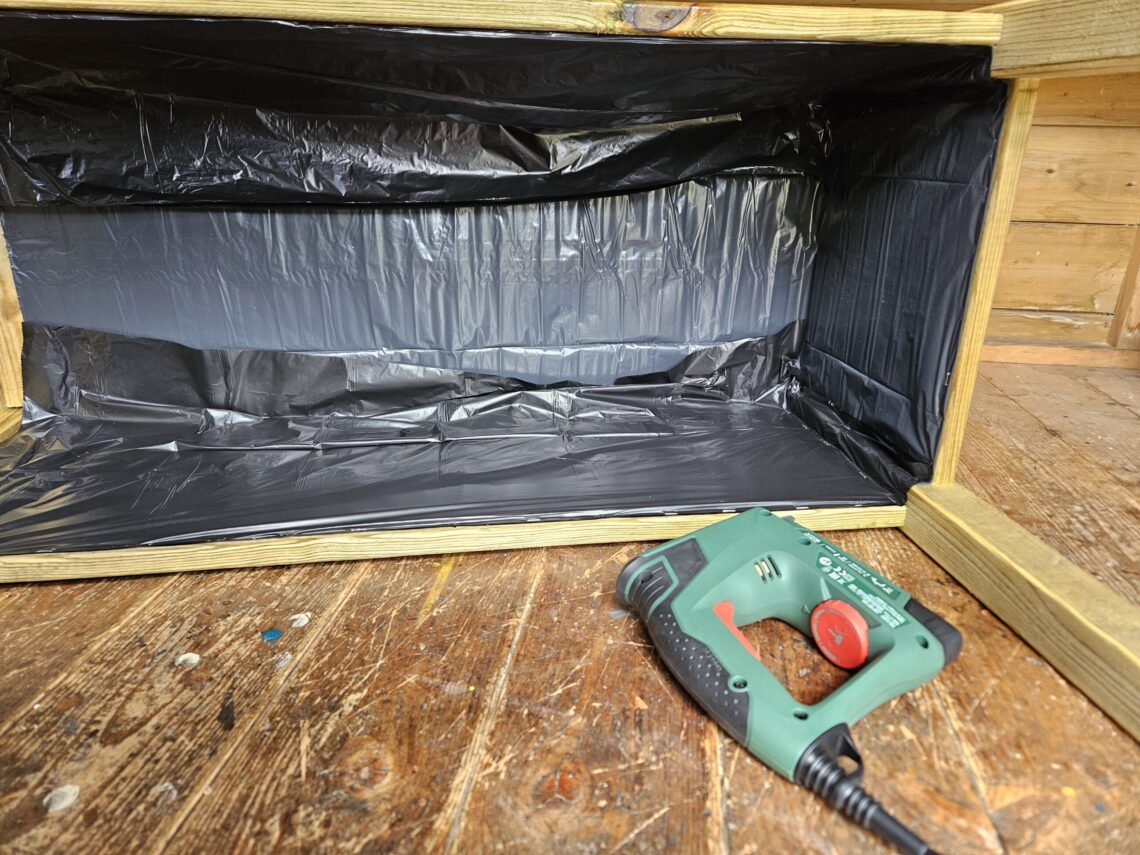
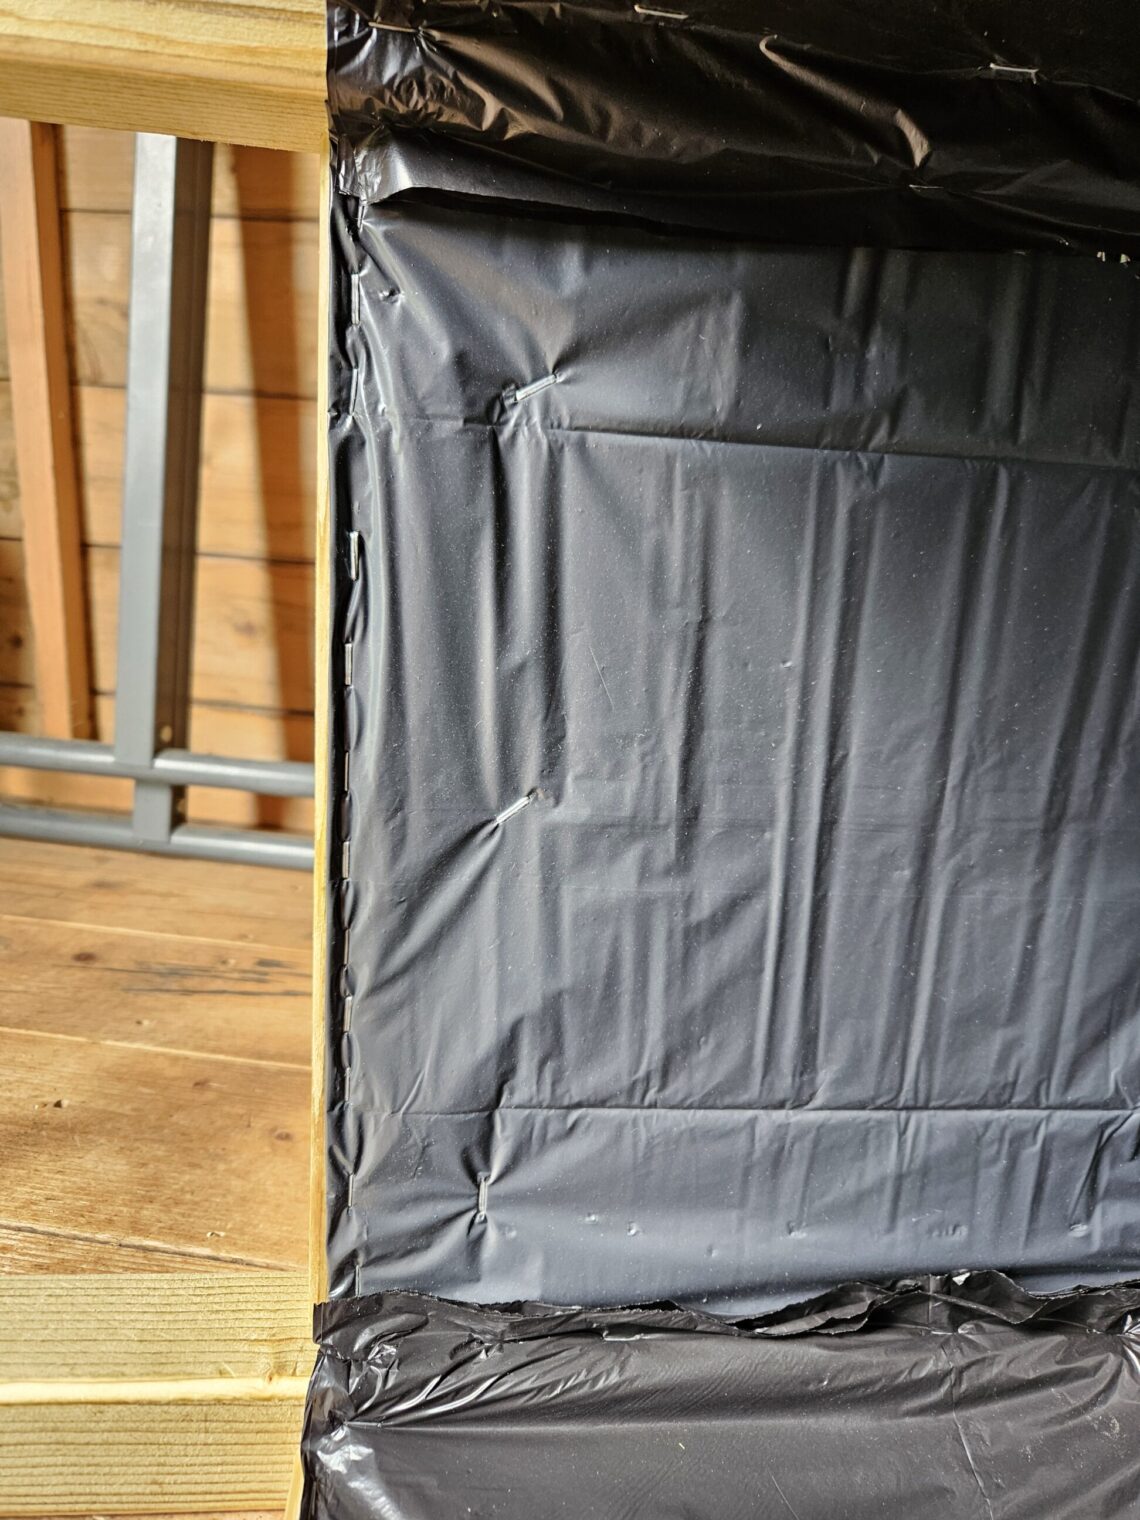
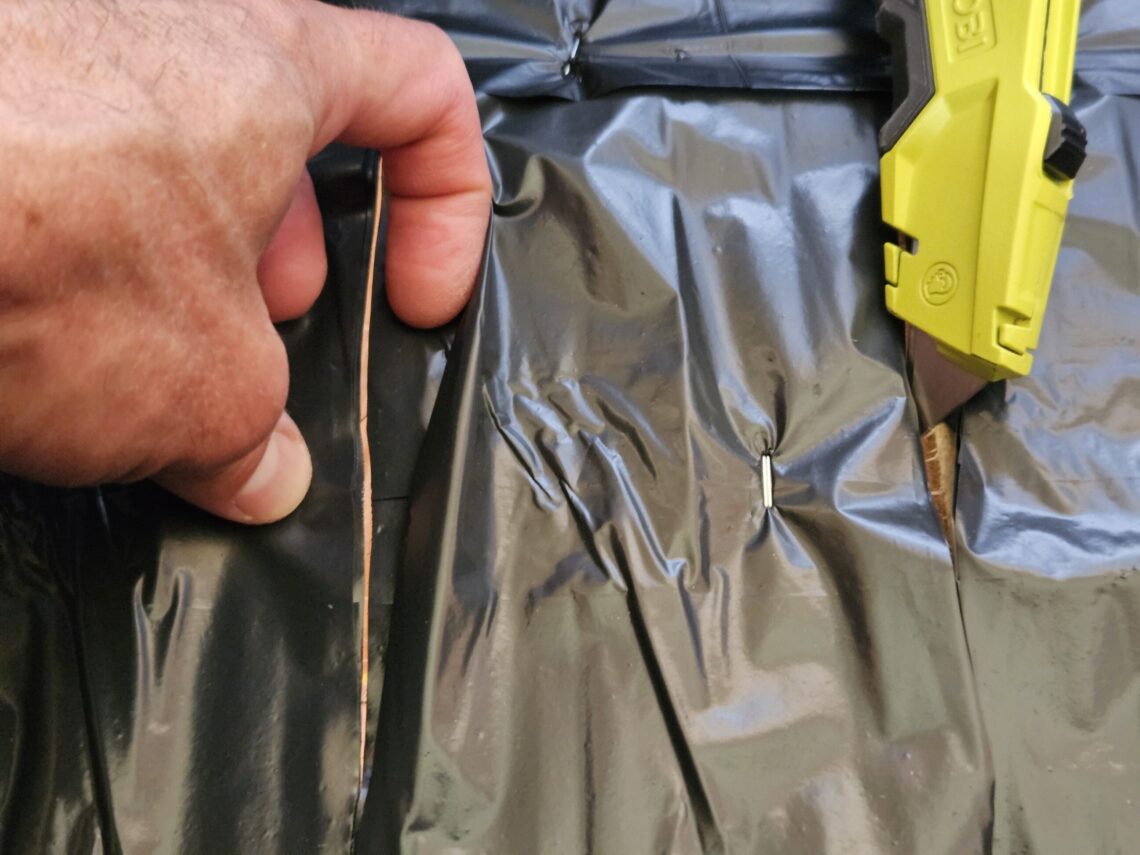
I sanded the planter, eased the edges of the top rails, and applied a heavy coat of my homemade linseed oil treatment. After drying overnight, the planter was ready for the lining installation. My stapler can fire either a single staple or two in duo-tac mode, and I used both interchangeably to fasten 4 trash bags to the walls and bottom. Once the planter was fully lined, I cut several slits through the bottom, aligned with the gaps between the slats, to allow excess water to drain out. The last step for me was moving it outside and adjusting the levelling feet – filling it with soil and compost wasn’t my job. Setting it level was important due to its height; even a small deviation from plumb became more noticeable at the top.

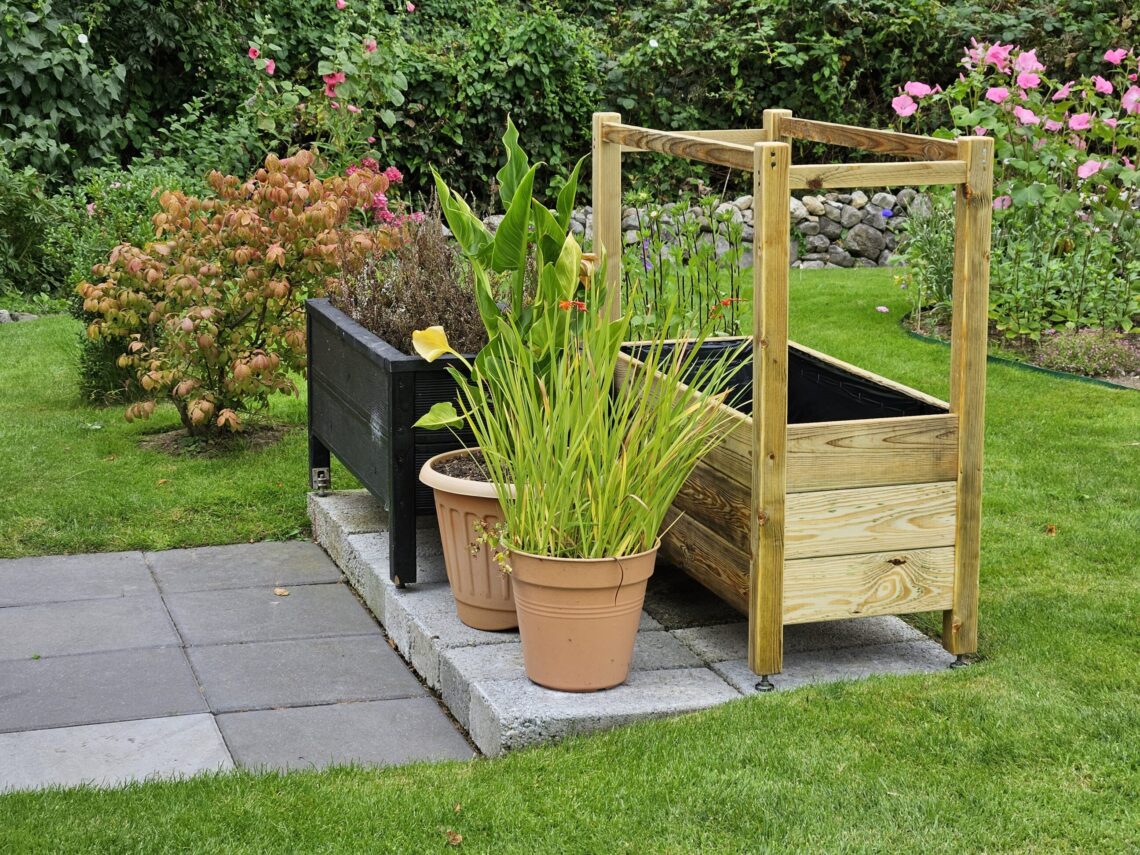
It looked quite nice in the garden and blended in seamlessly. Its width was perfect for placing it on concrete blocks measuring 440 mm (just over 17 ¼ inches), which also served as the starting point for my cut list. The rest was simply about minimising waste and making the most of the material I had. Nowadays, projects like this are becoming increasingly expensive due to the cost of materials, hardware, and finishes. However, if you need something custom-sized, you really have no choice but to make it yourself. I expect this planter to last at least five years, helping me get better access with my lawnmower and protecting the plants from heavy wind and other hazards. It was built specifically for lilies, which suffer a lot from wind and rain. This combination can soften the soil too much, preventing the roots from gripping the ground properly and causing the plants to lean. That problem affects many plants in my garden, and this planter is my solution for the lilies. I hope it will serve well – fingers crossed.