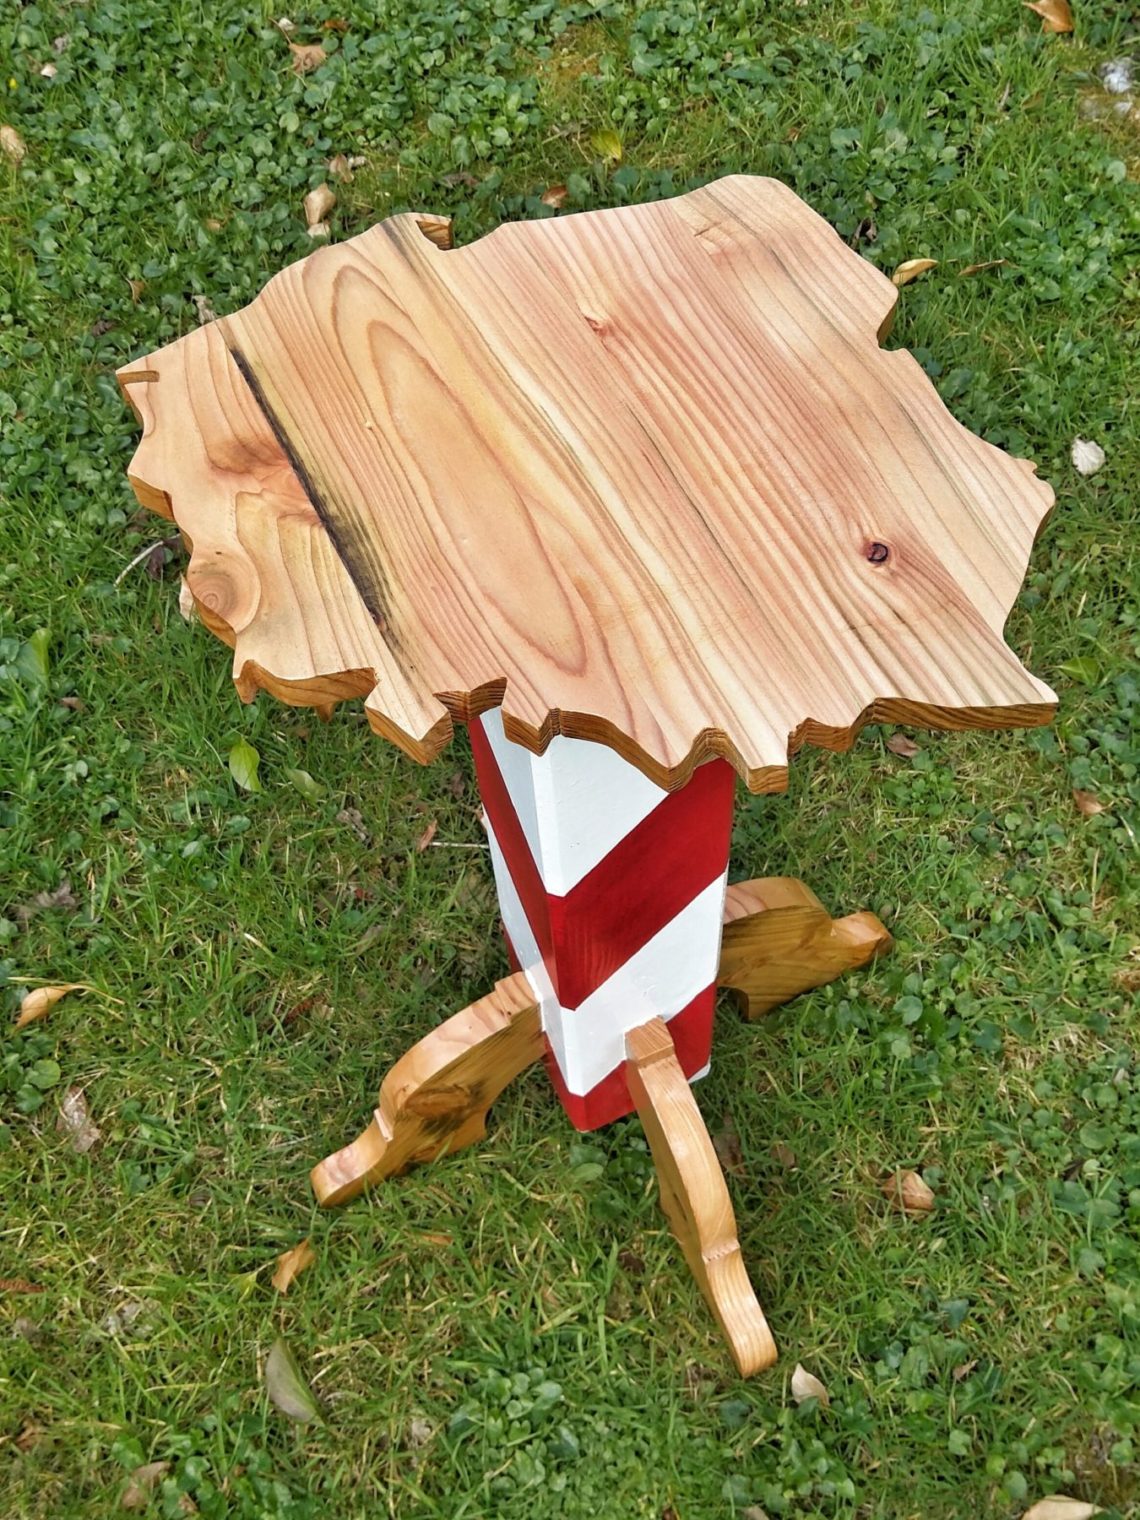
Border post pedestal table
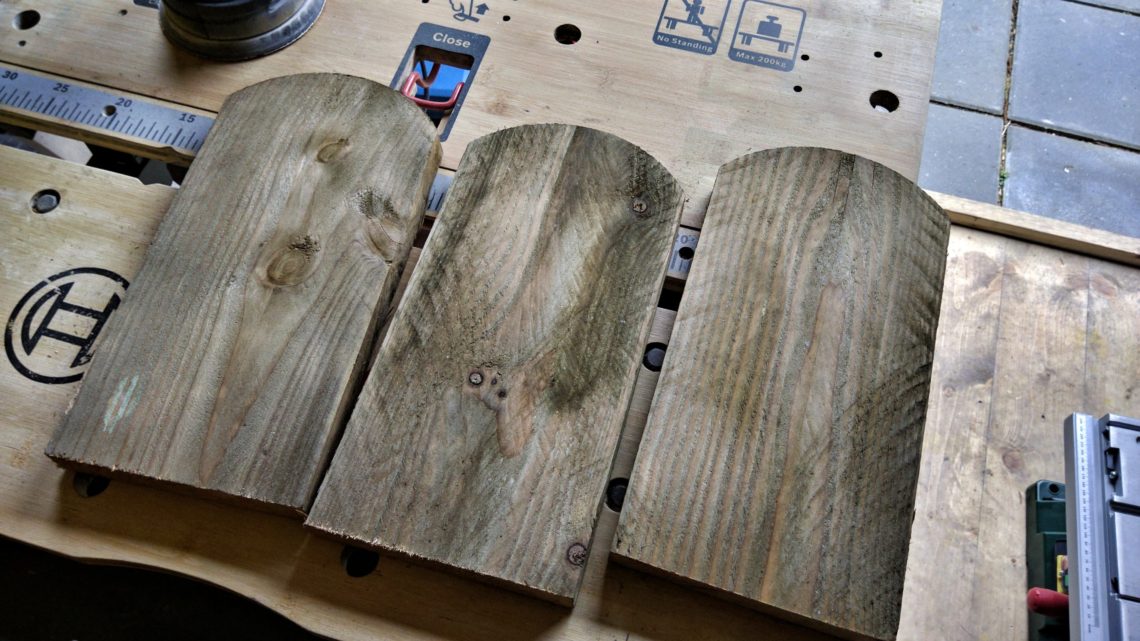
I built a fence last year and saved some offcuts. A pencil and a jigsaw helped to get the form out.
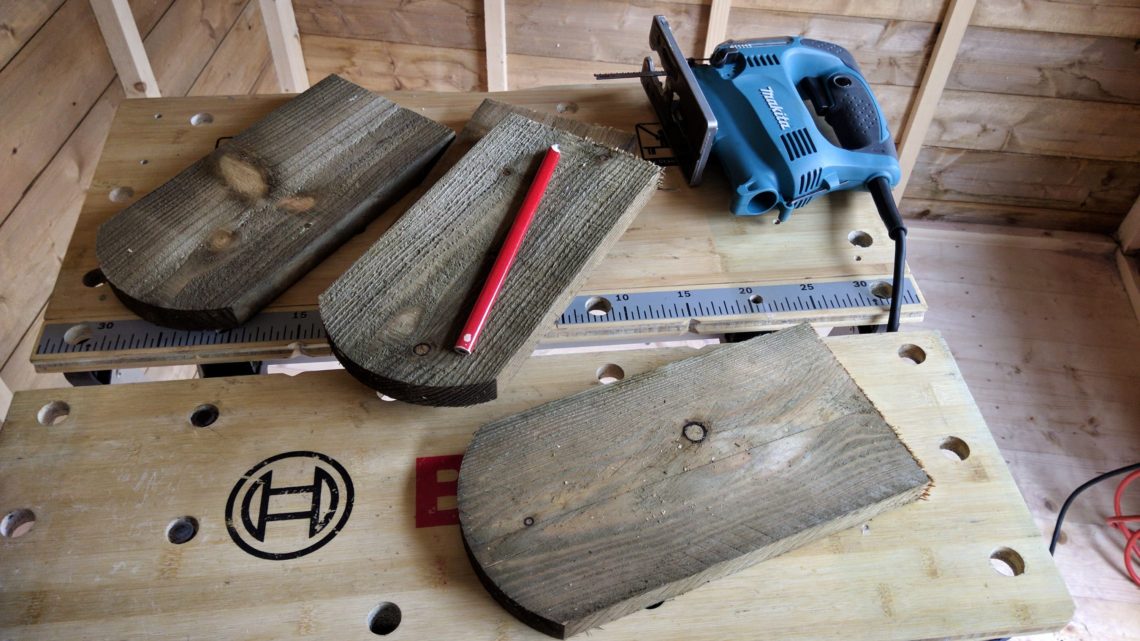
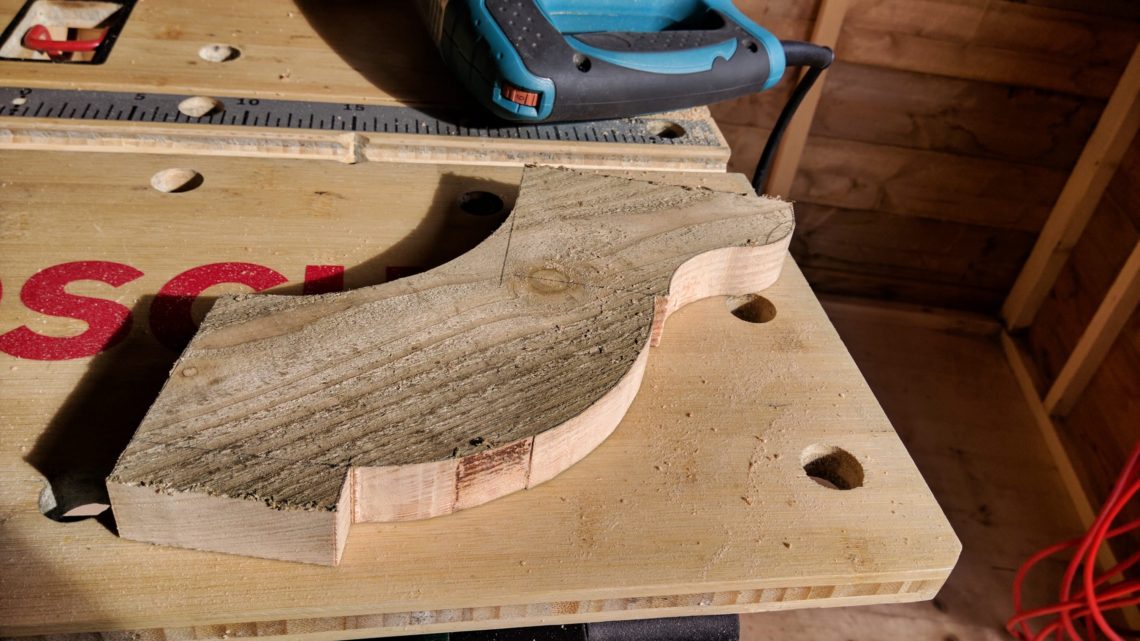

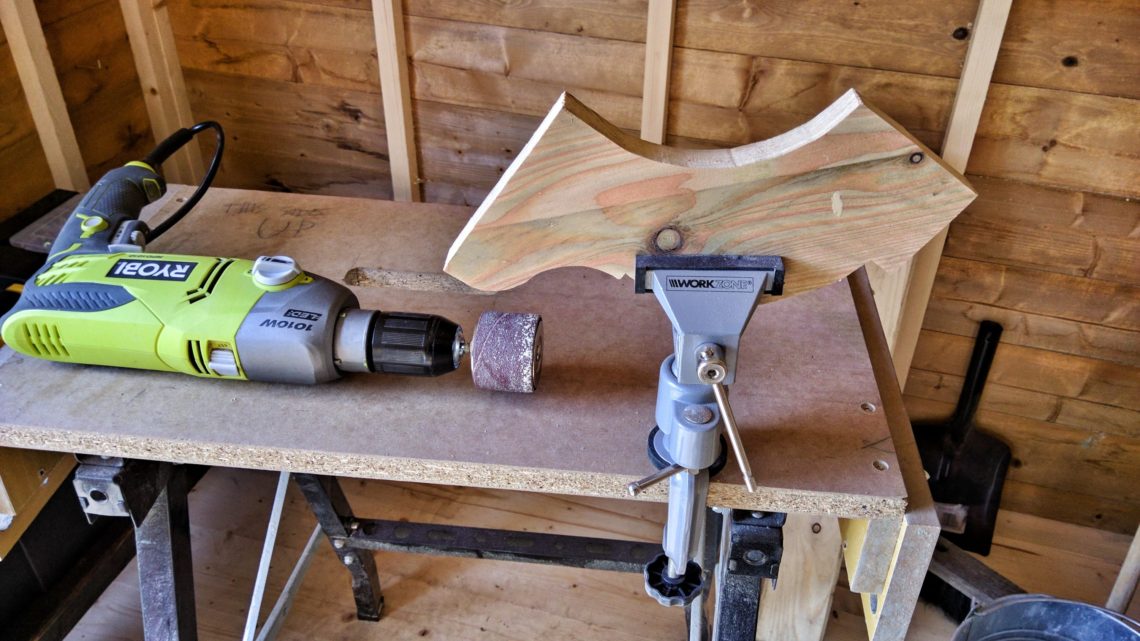
A few different types of sanding had to be used for these curved lines.

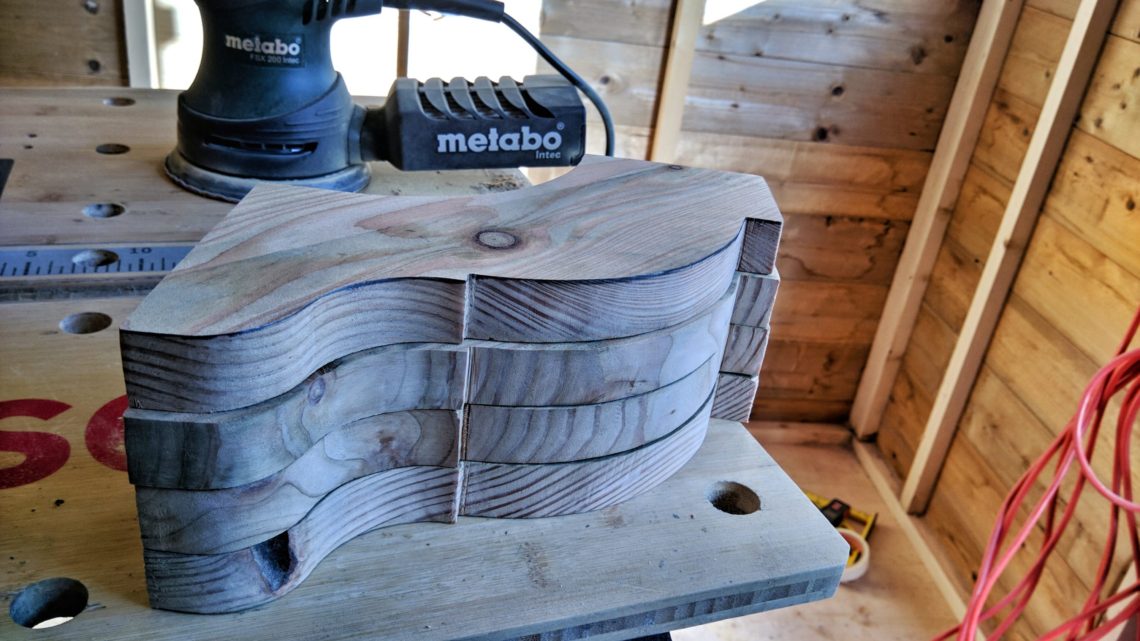
Some edges had to be square and the best tool to use was my table saw. My combination square resolved any doubts. Please be square! Yes, they are!
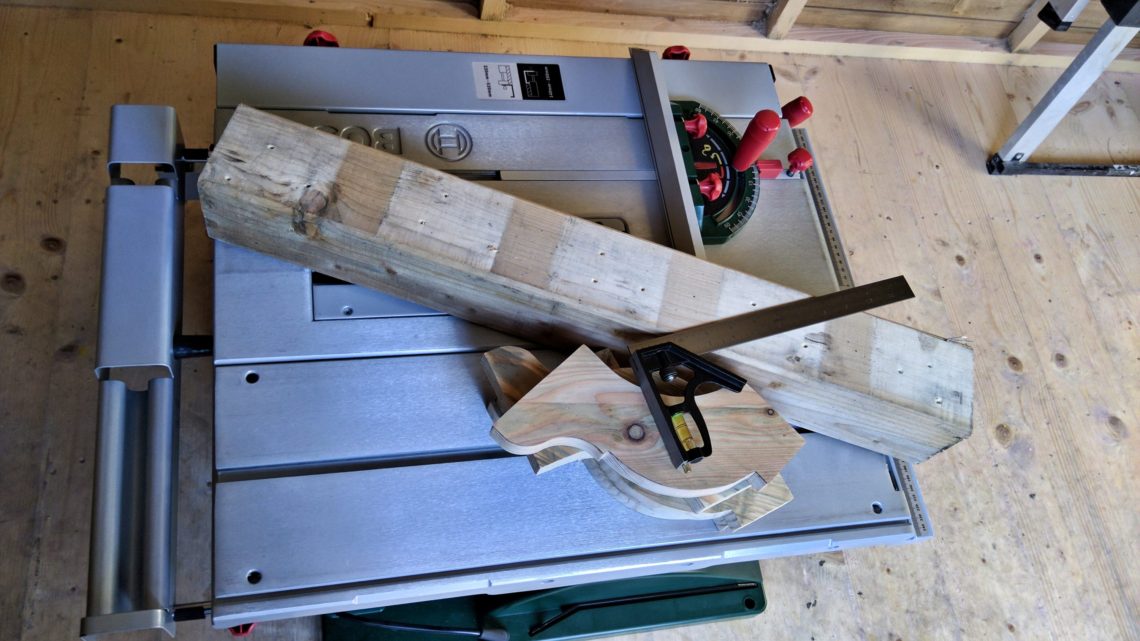
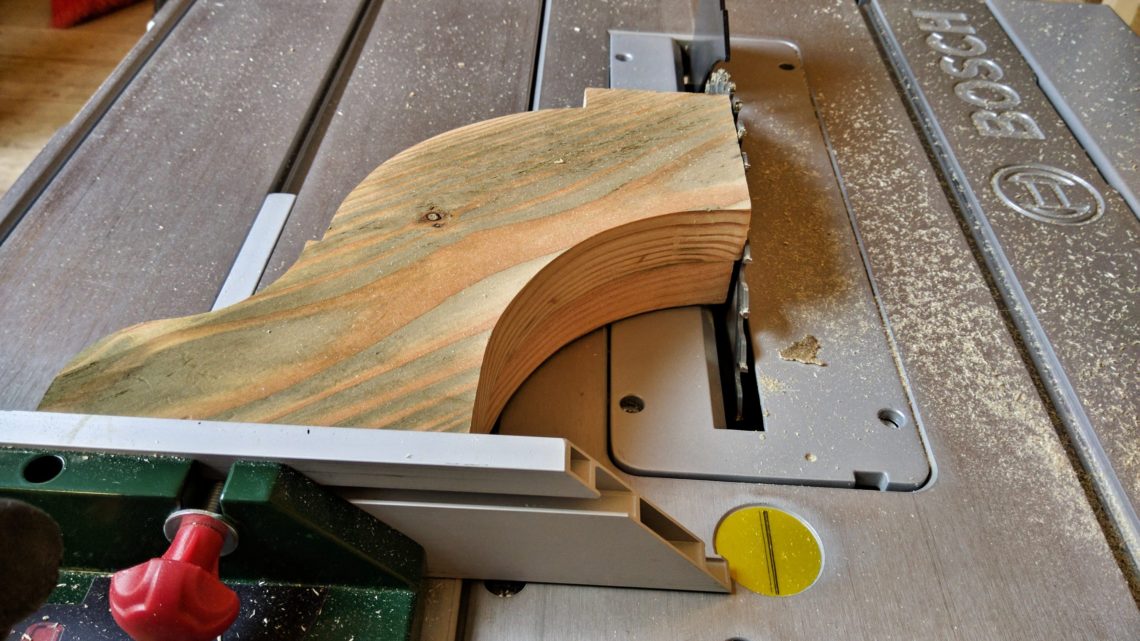

Now I’m wondering to use them in a different orientation, which would involve trimming one end a little. Here are the before and after (they’re shorter by 1 inch):
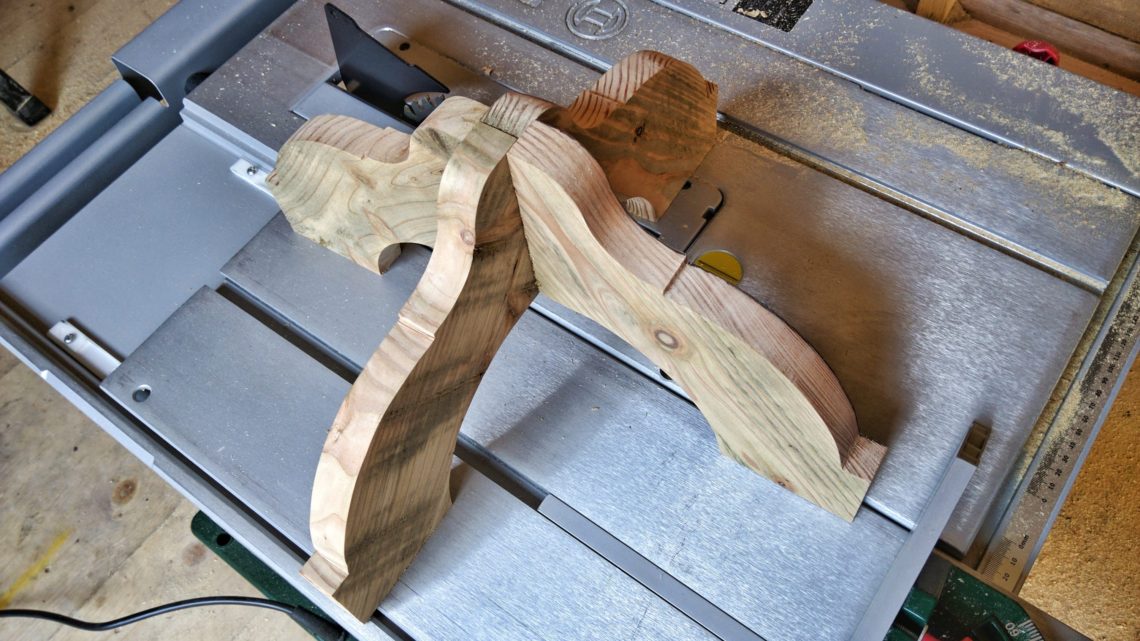

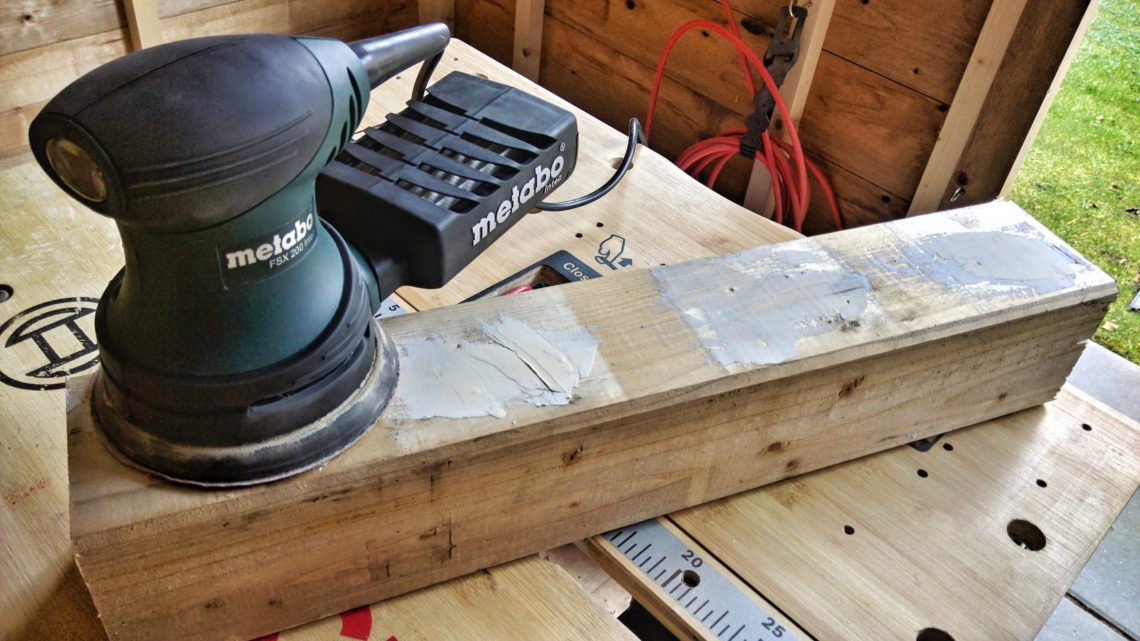
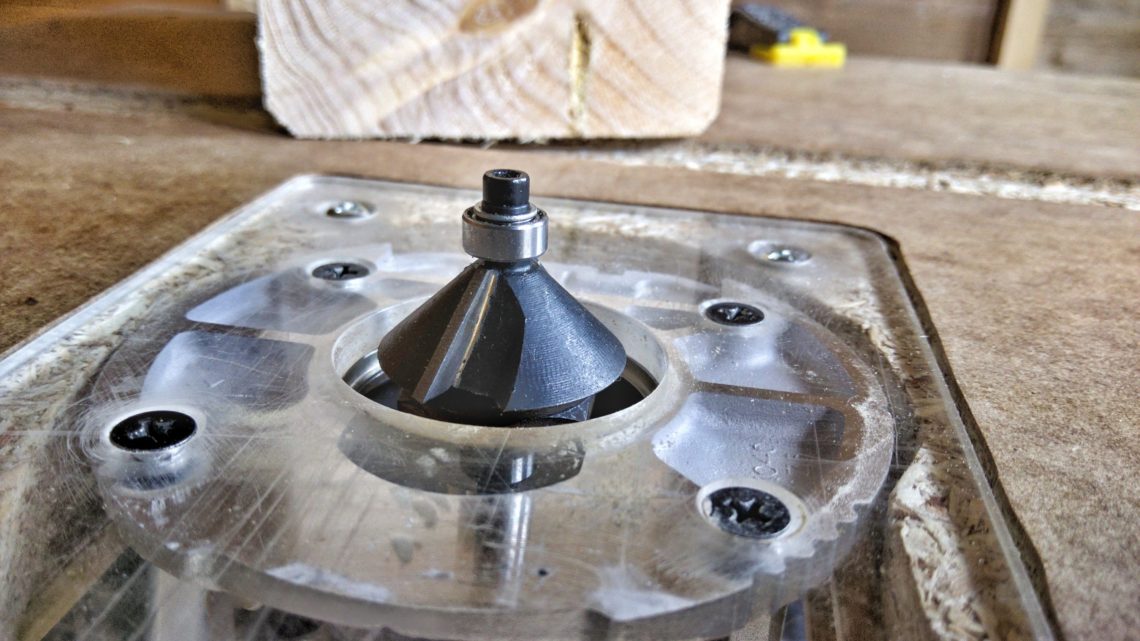
Wood filler + sanding, then making nice-looking edges on a router table.

The tabletop will be supported and reinforced by 4 struts.


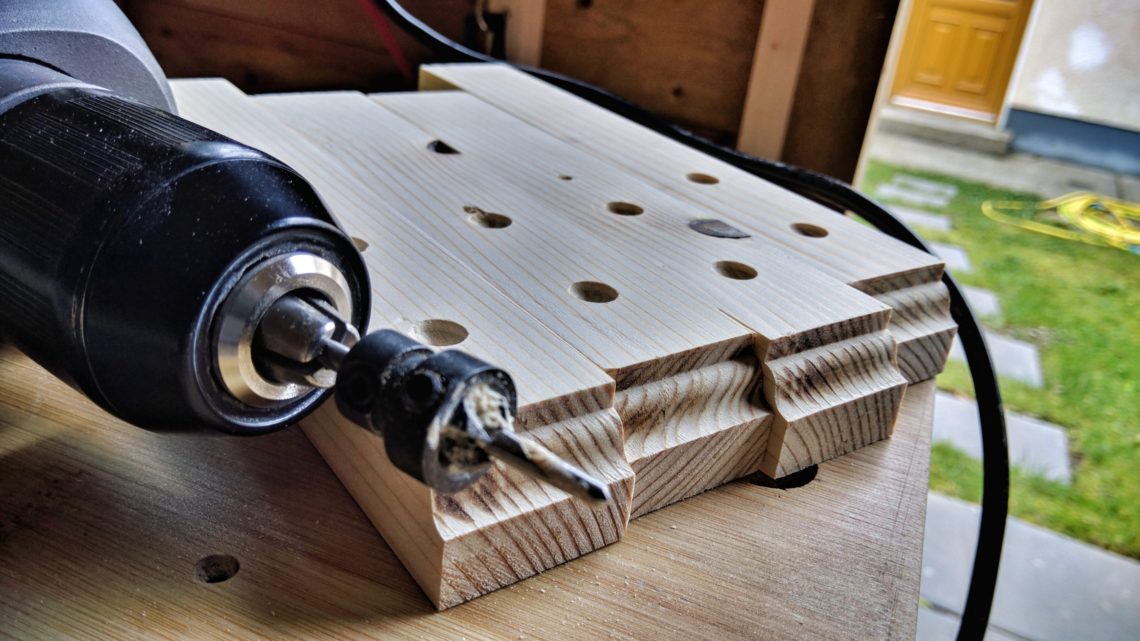
In the meantime, I cut some material for the tabletop.
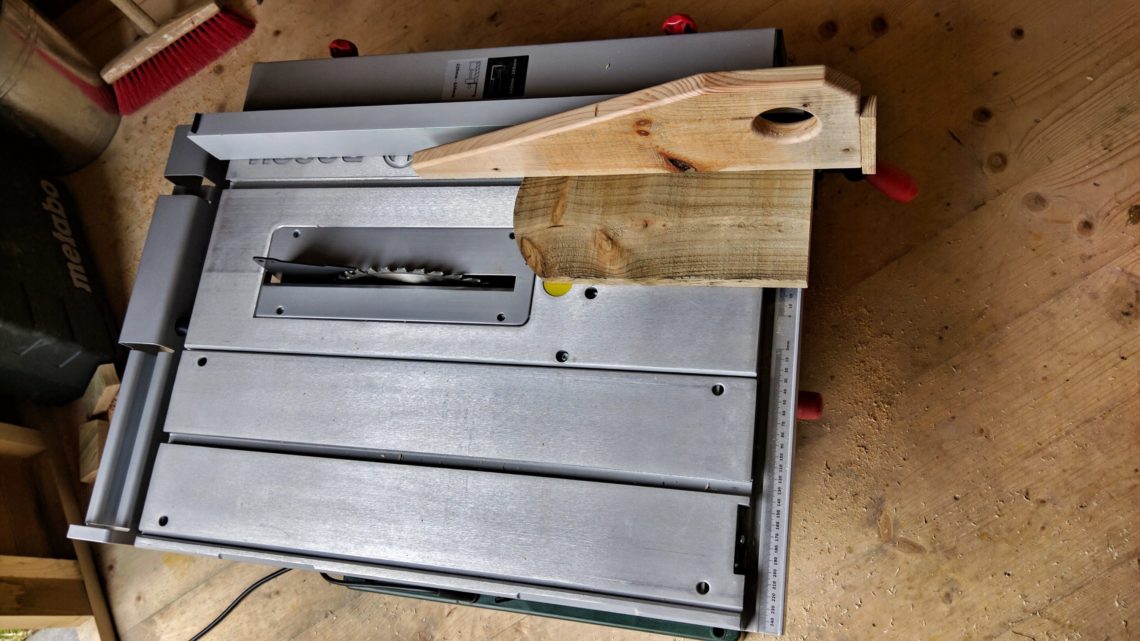
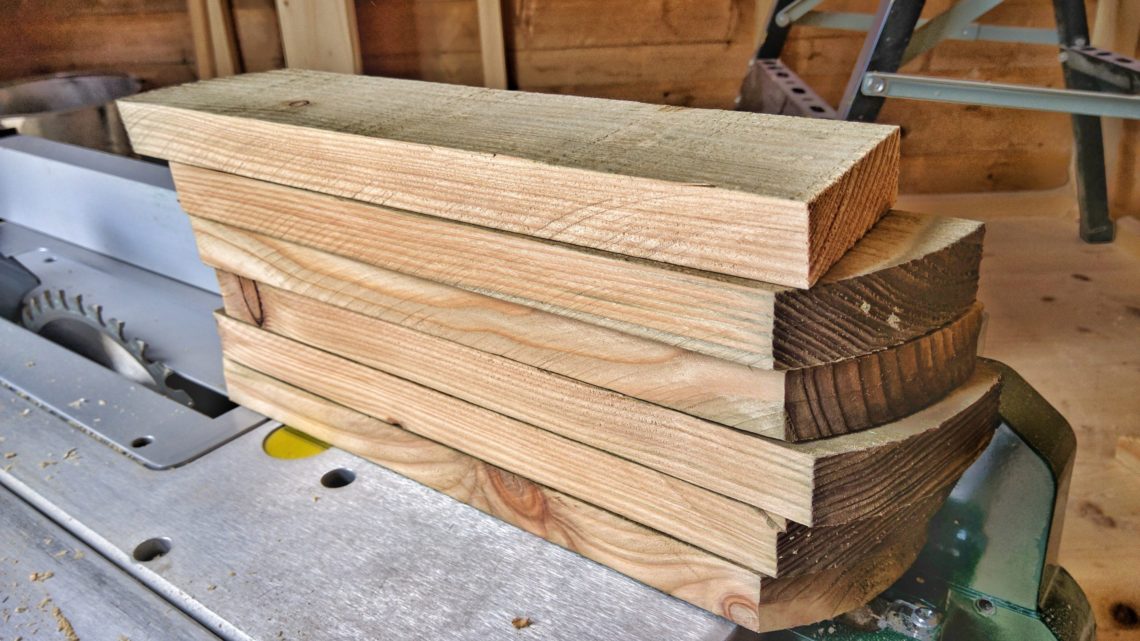

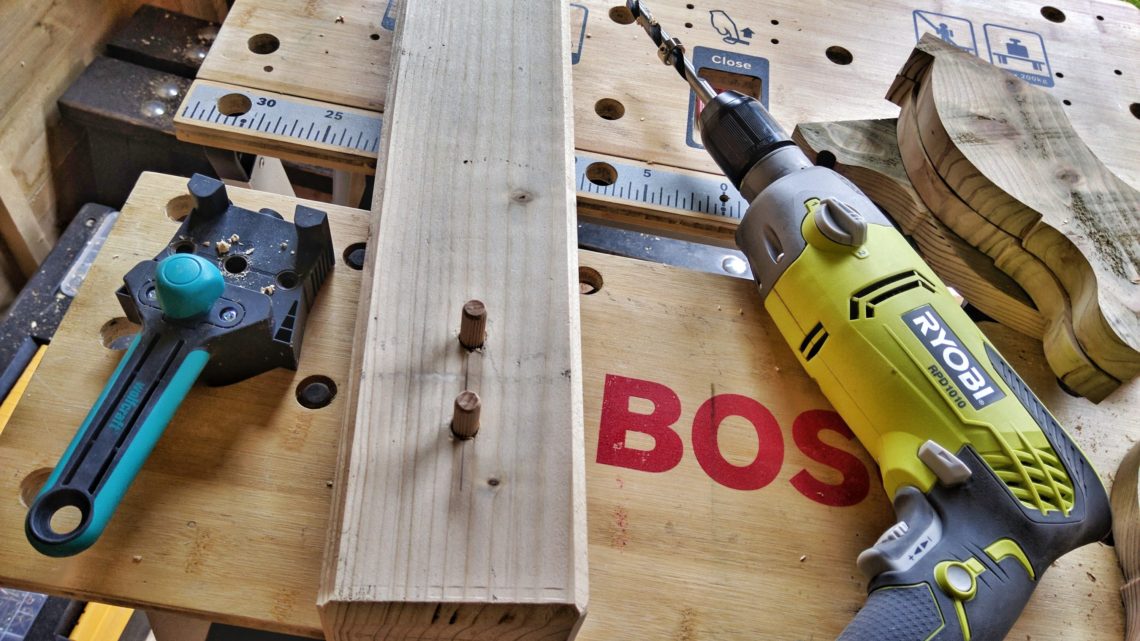
Preparing for the dowels and some sanding again.

Glueing and clamping – the leg. Excess glue was removed with a scraper after 1.5 hours, this technique is much better than wiping off the glue straight away.
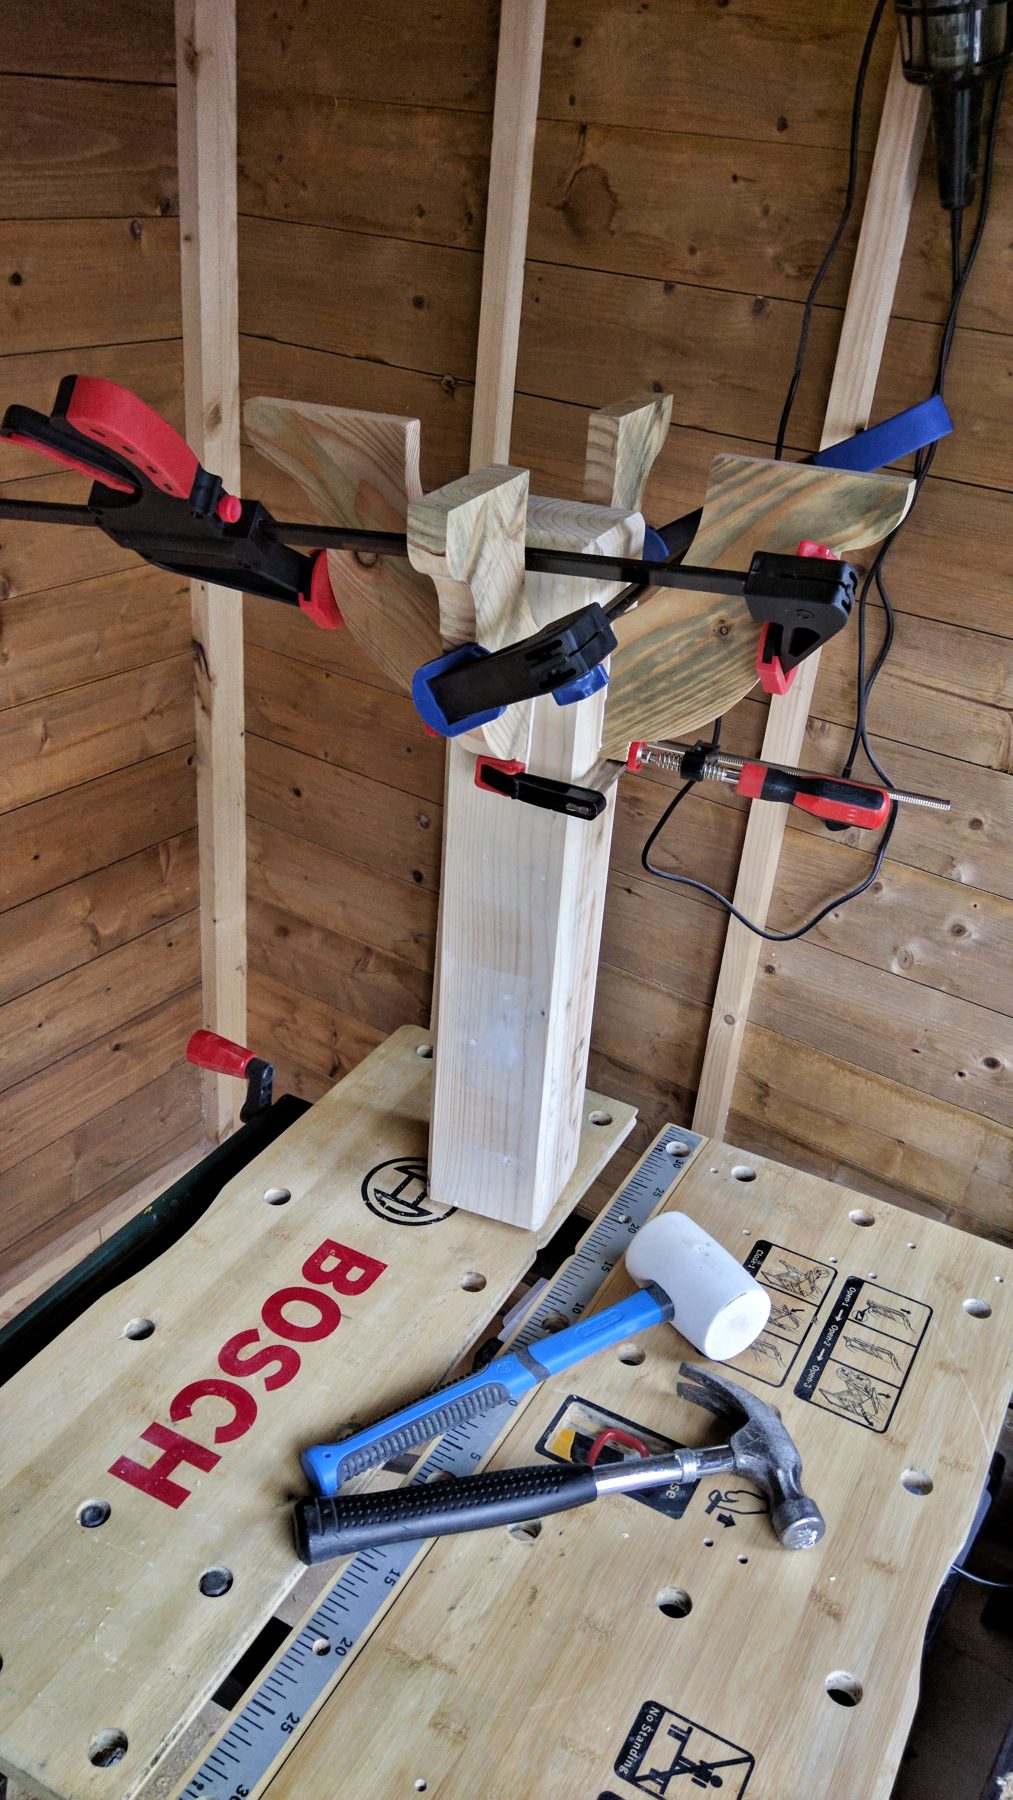

Glueing and clamping – the tabletop. I’m using my car battery to keep it flat.


First I had to check if the pattern was the right size. Luckily, it was. I had to flatten the board using my DIYed budget thickness sander for the very first time. It worked OK, but the amount of dust was just enormous!


Once the board was ready I cut the shape with my jigsaw, did some sanding and used small rasps to finish the edges.


Finding the centre. Gravity, no escaping. I’ve used this method many times and it had always worked.
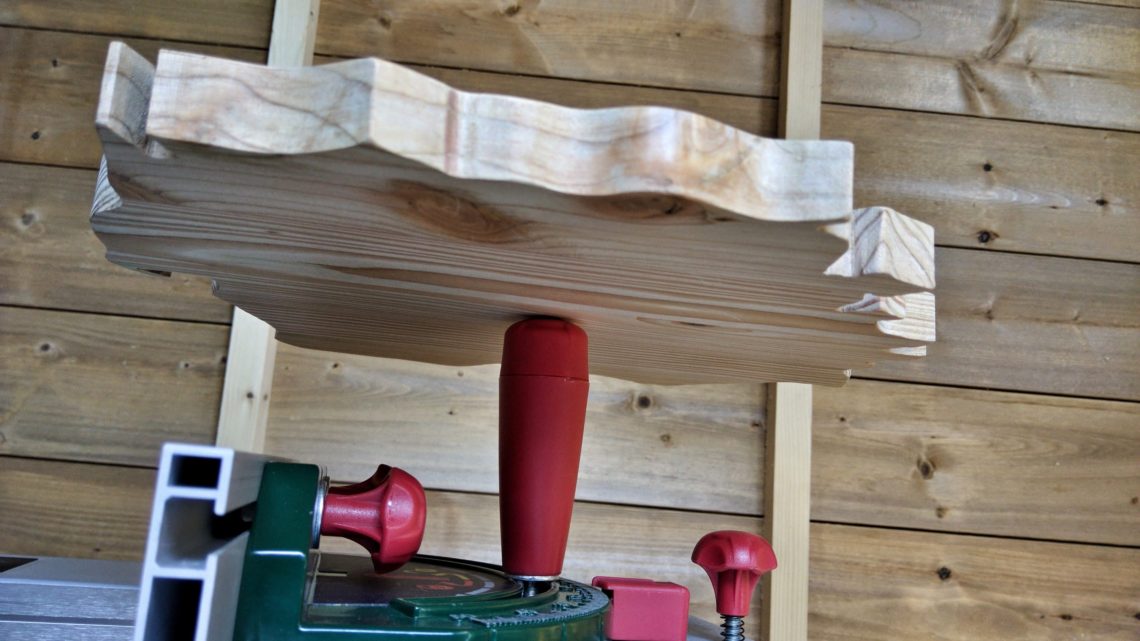

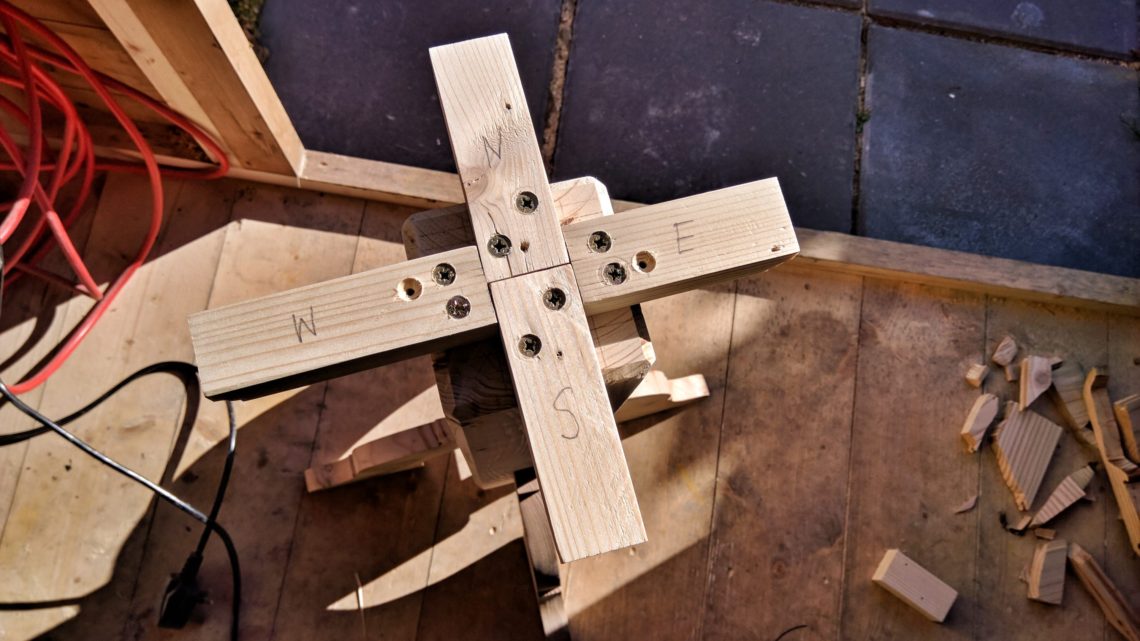
Tabletop support was next. Accidentally I drilled 2 holes in the wrong place, but fortunately, that mistake couldn’t be seen from the bottom. I always take my time to find the right screws and the right screwdriver bit for the task.

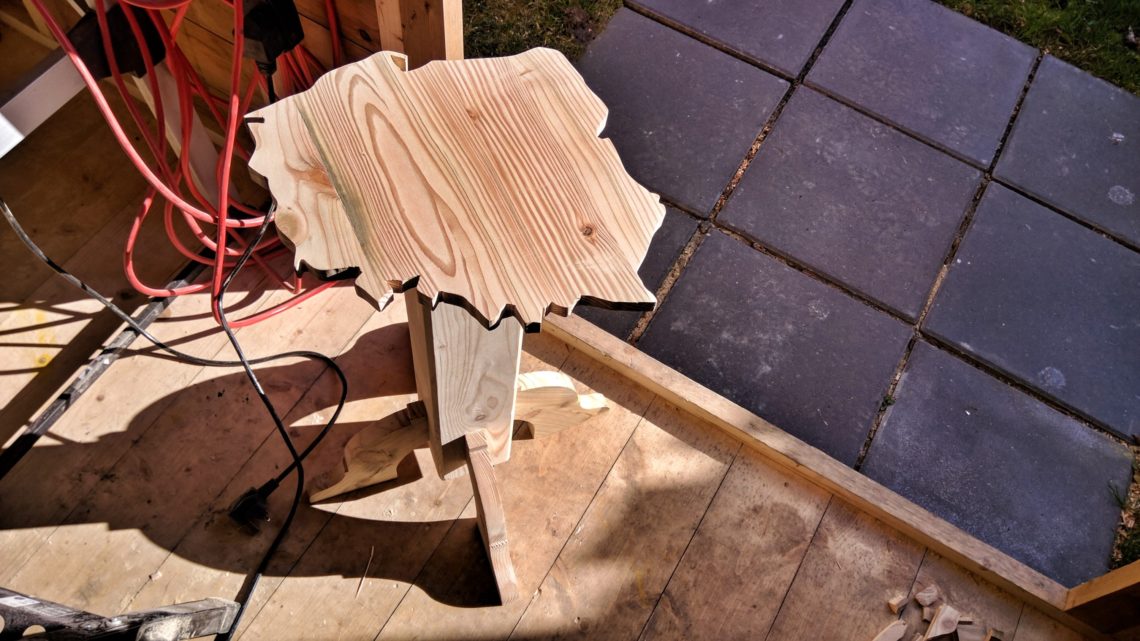

I love the smell of lacquer in the morning 🙂 The colours reveal!
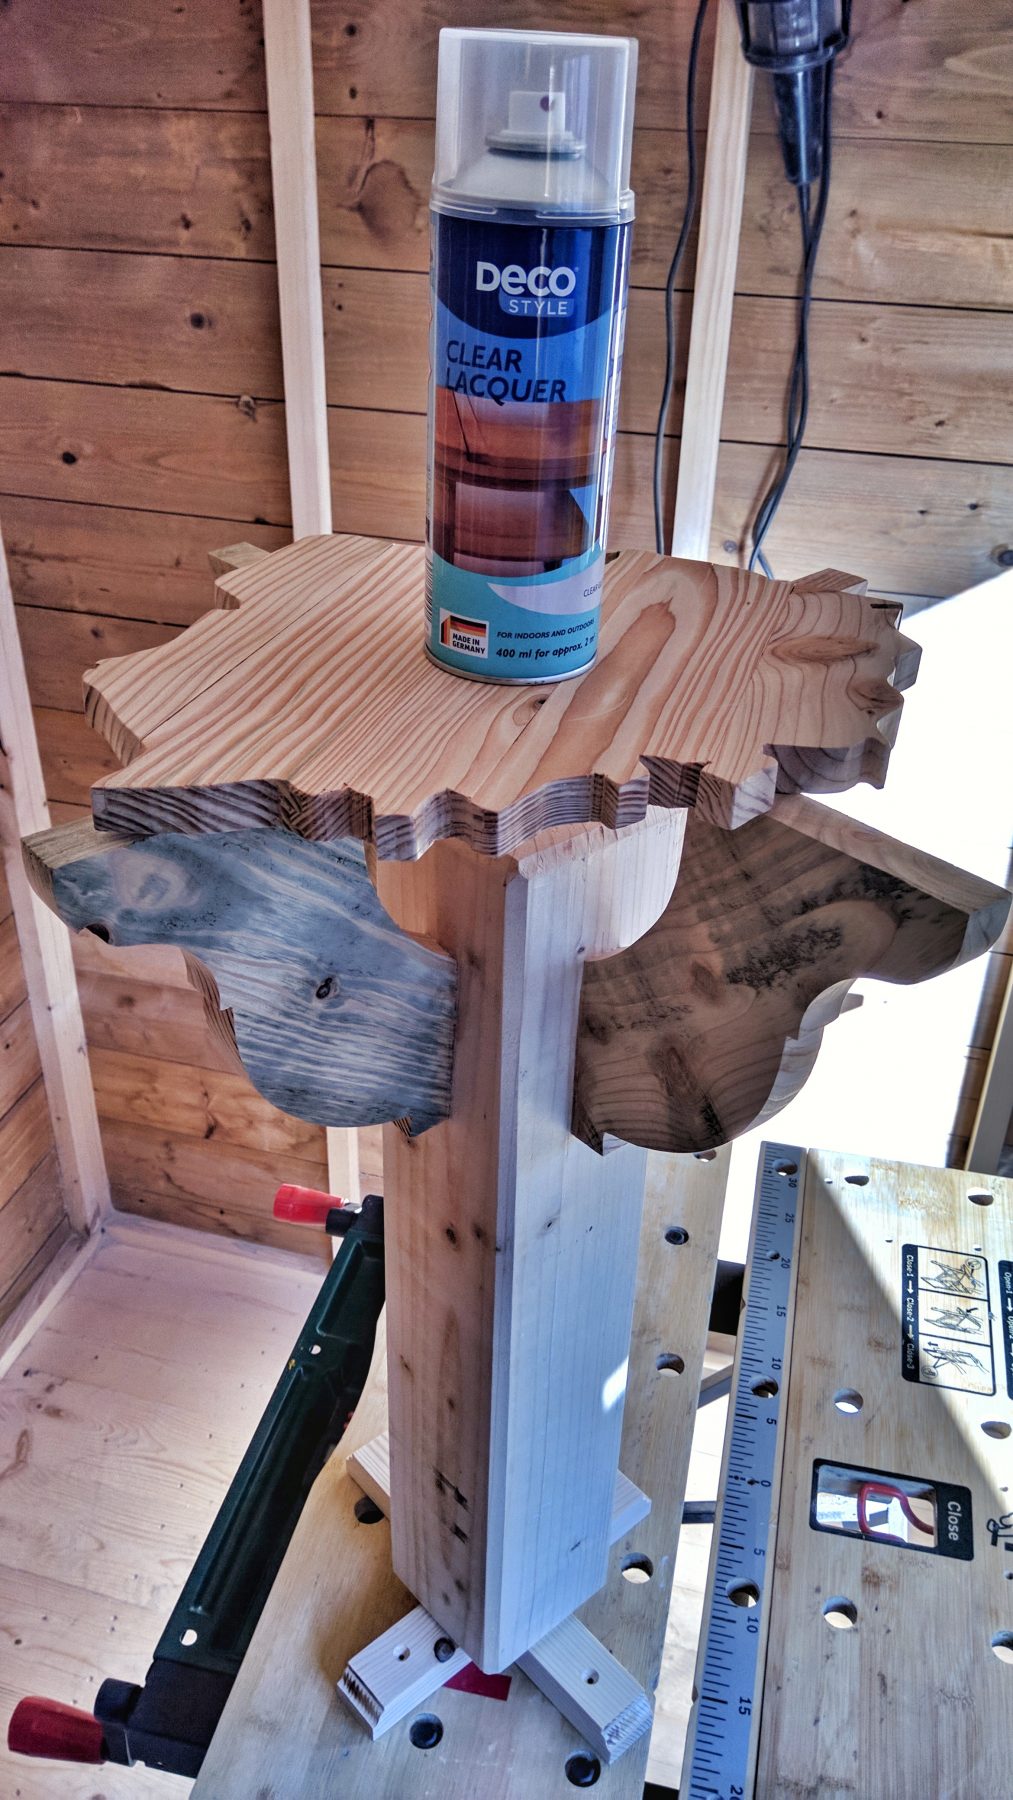


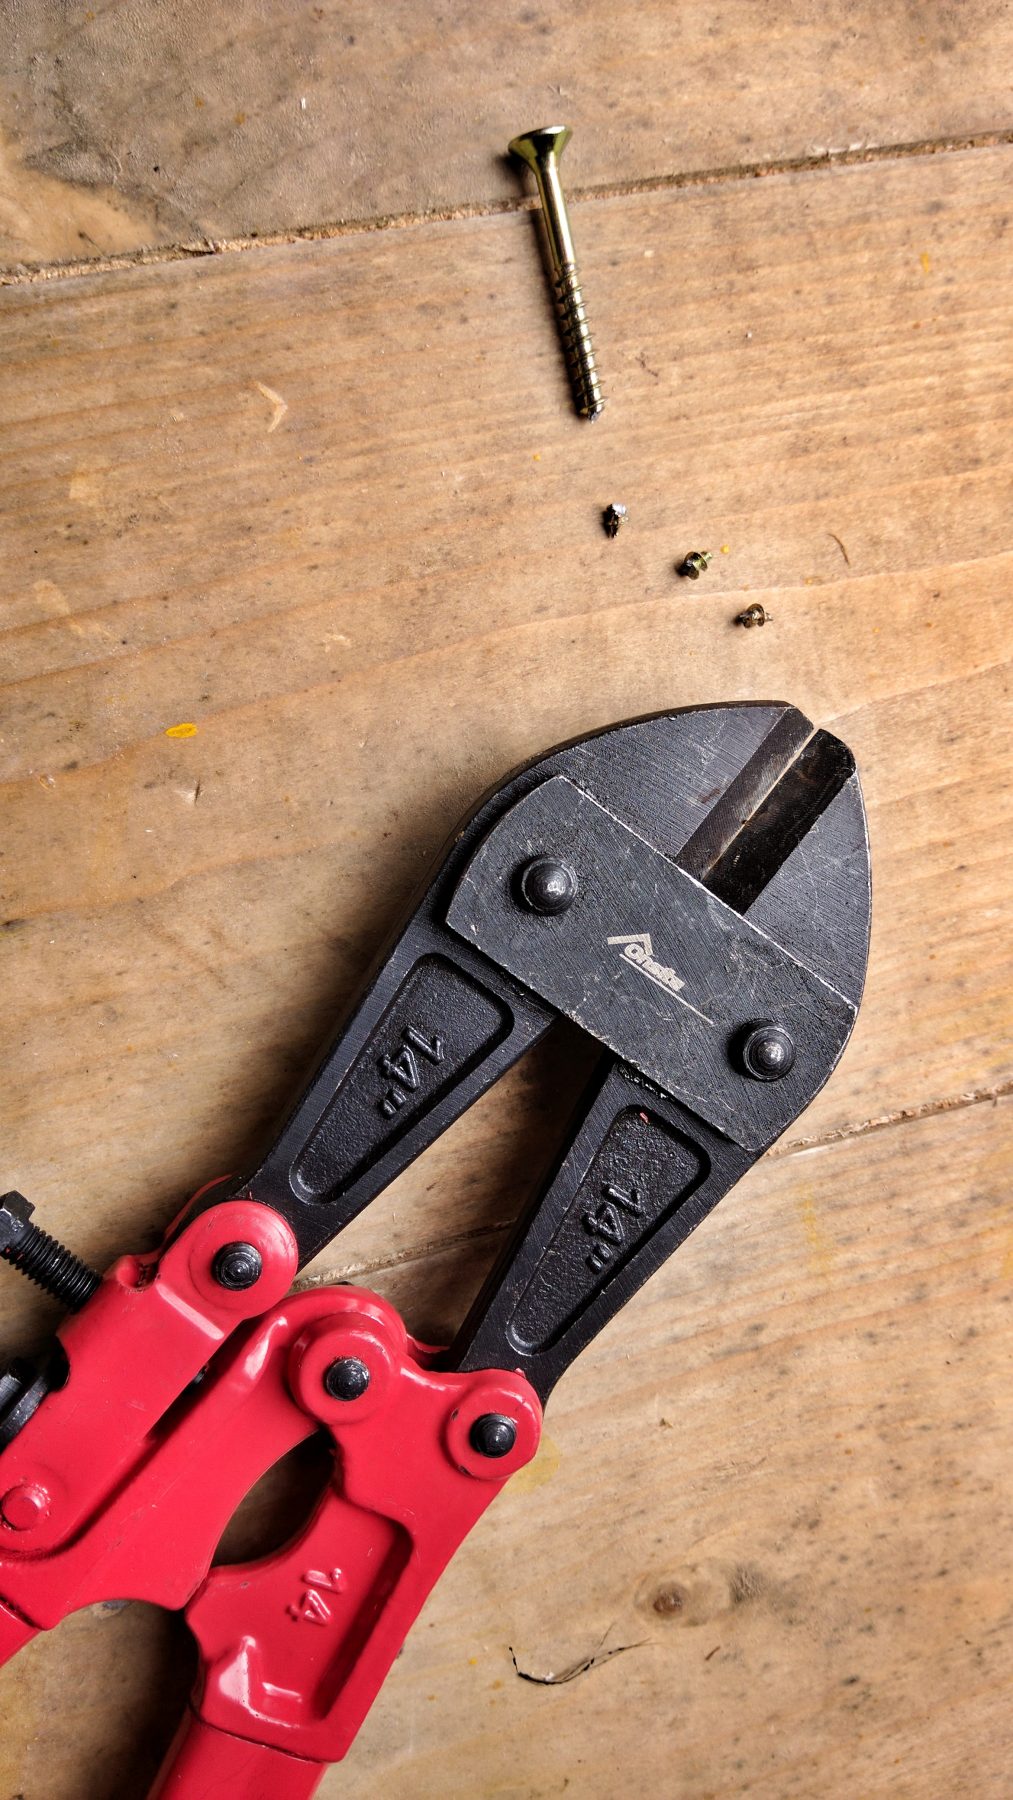
It was hard to choose the right screws for that job, eventually, I picked slightly too long screws and cut them off. The trick was to drive them in before cutting, but not all way down, to cut the thread.

Spray lacquer was a perfect choice for all of these hard-to-reach places, but now, with the tabletop attached, there was no access to the top part of the post. Just a tiny gap, not big enough for a paintbrush. The only option was to paint both ends with spray lacquer, so they could have the same finish.

Once the tabletop and 4 leg supports were painted I moved to the next step. The width of the leg determined the width of each stripe and equalled 3 3/4″ (~95 mm). 2 layers of white and 1 layer of red paint. I didn’t use masking tape, but I used a paint can opener to spread the paint into these tiny corners. My 1″ paintbrush was just too big.

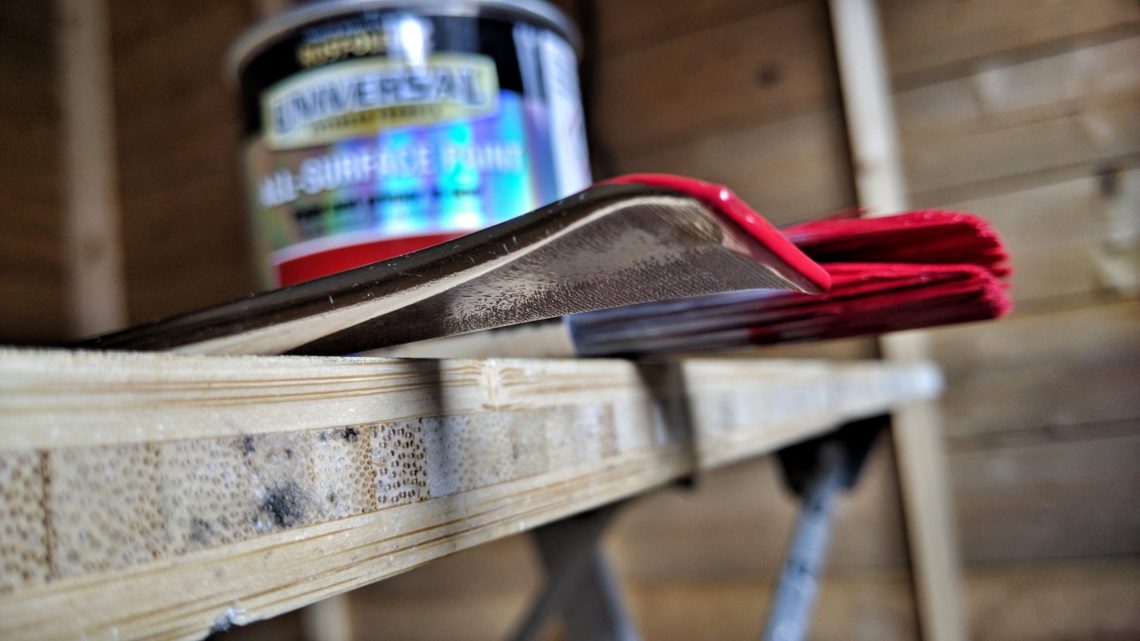
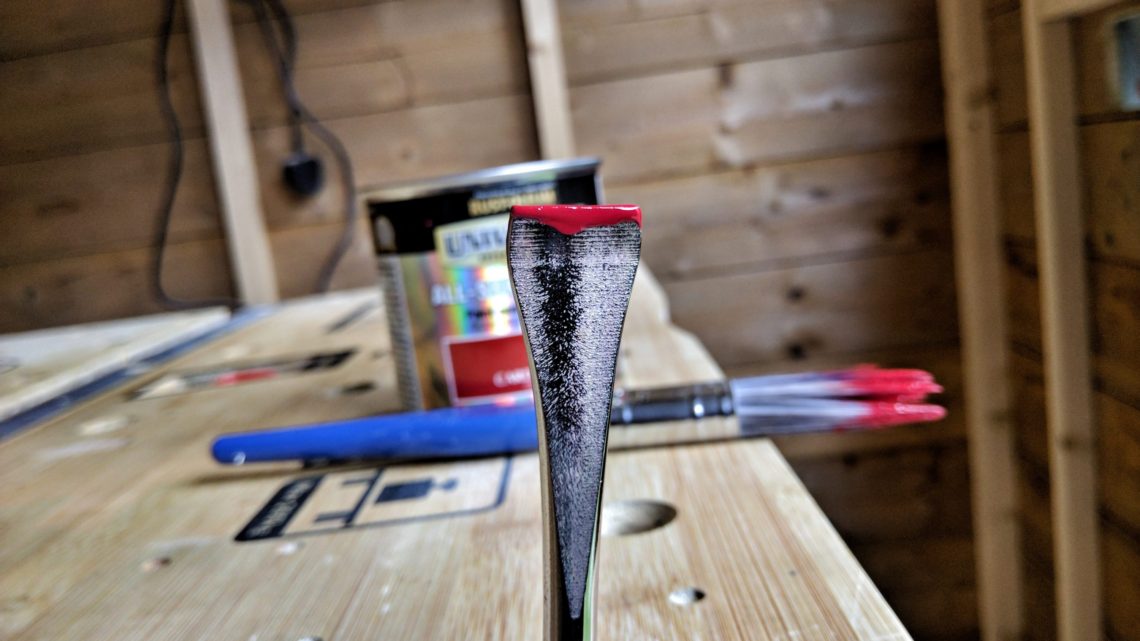
I’m very happy with how this came out! These 2 pictures show how the white and red zigzag is going up and down.


3 Comments
Ag
Wow! Interesting. Looks very nice!
rolandrolson
Looks Polish!
Pingback: