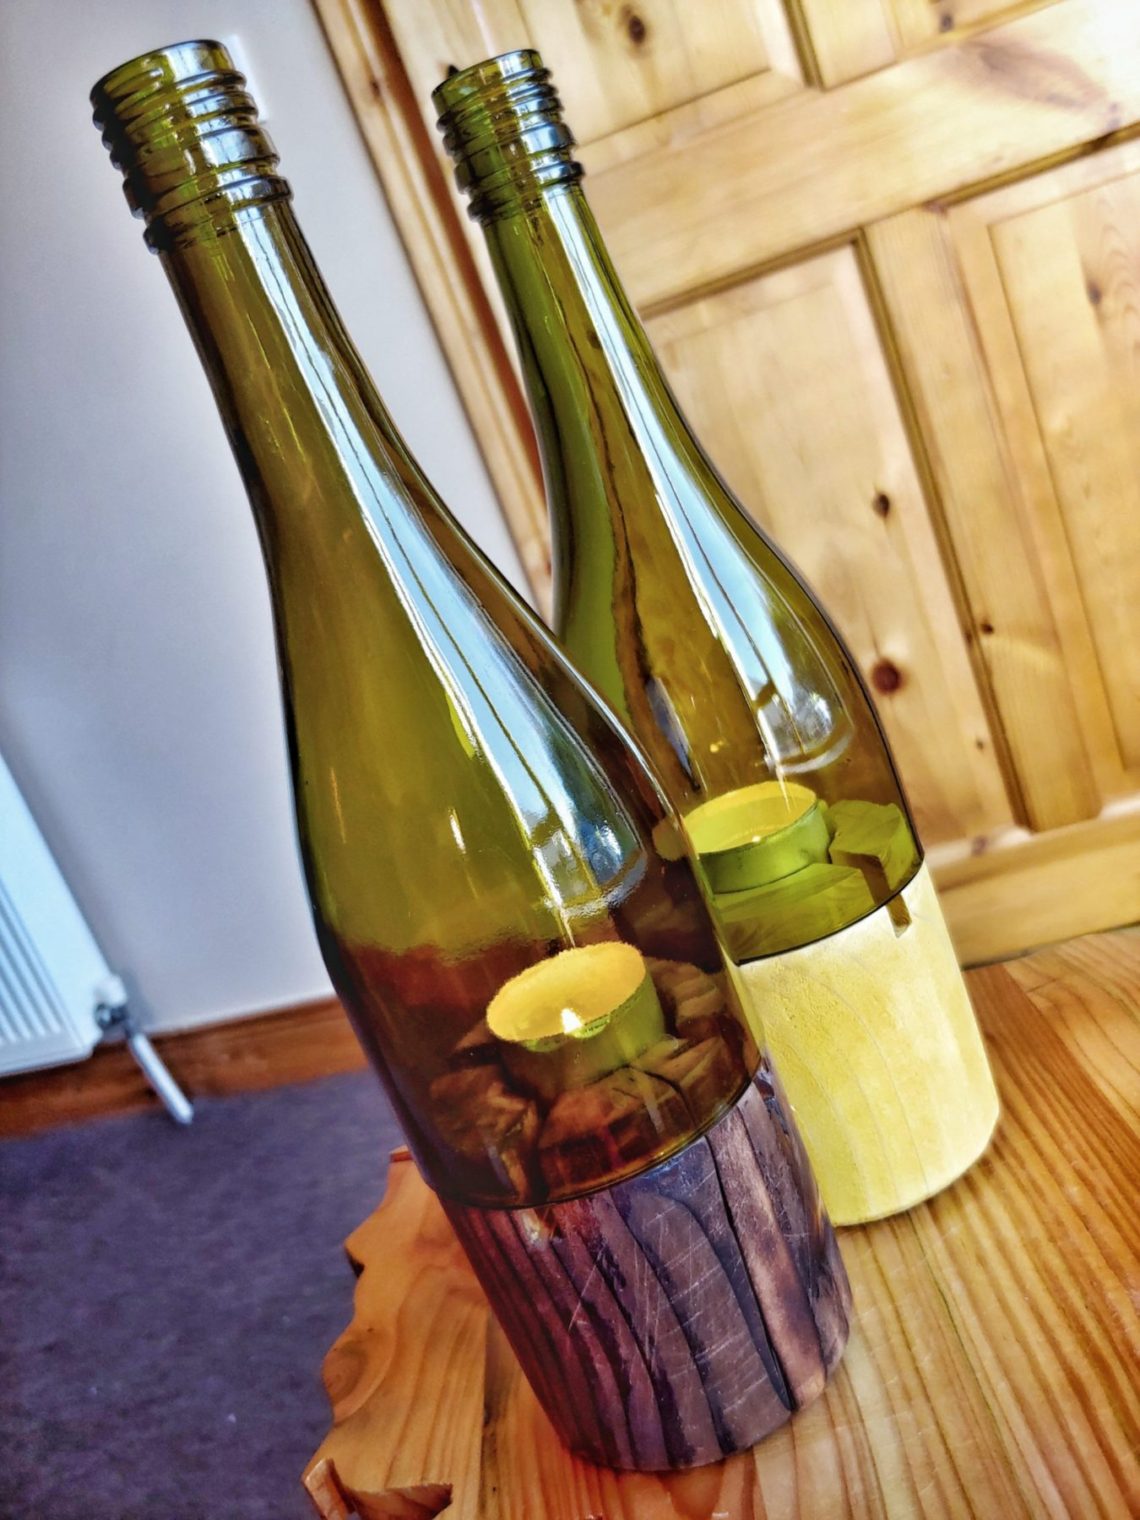
Cylindrical tealight holders
A quite simple project that involved turning an old balustrade post, cracked and riddled and cutting wine bottles. I used my recently built router turning jig to turn one cylinder, slightly bigger in diameter as that was reduced later on by sanding.


I noticed that there is actually no need to rotate the piece all the time, and what worked was to route it all the way through, from one end to another and then rotate it clockwise a little bit, do the pass and so on. That didn’t apply to the recesses at both ends. Once it was done I drilled holes and used a flush-cut router bit to mask little mistakes.

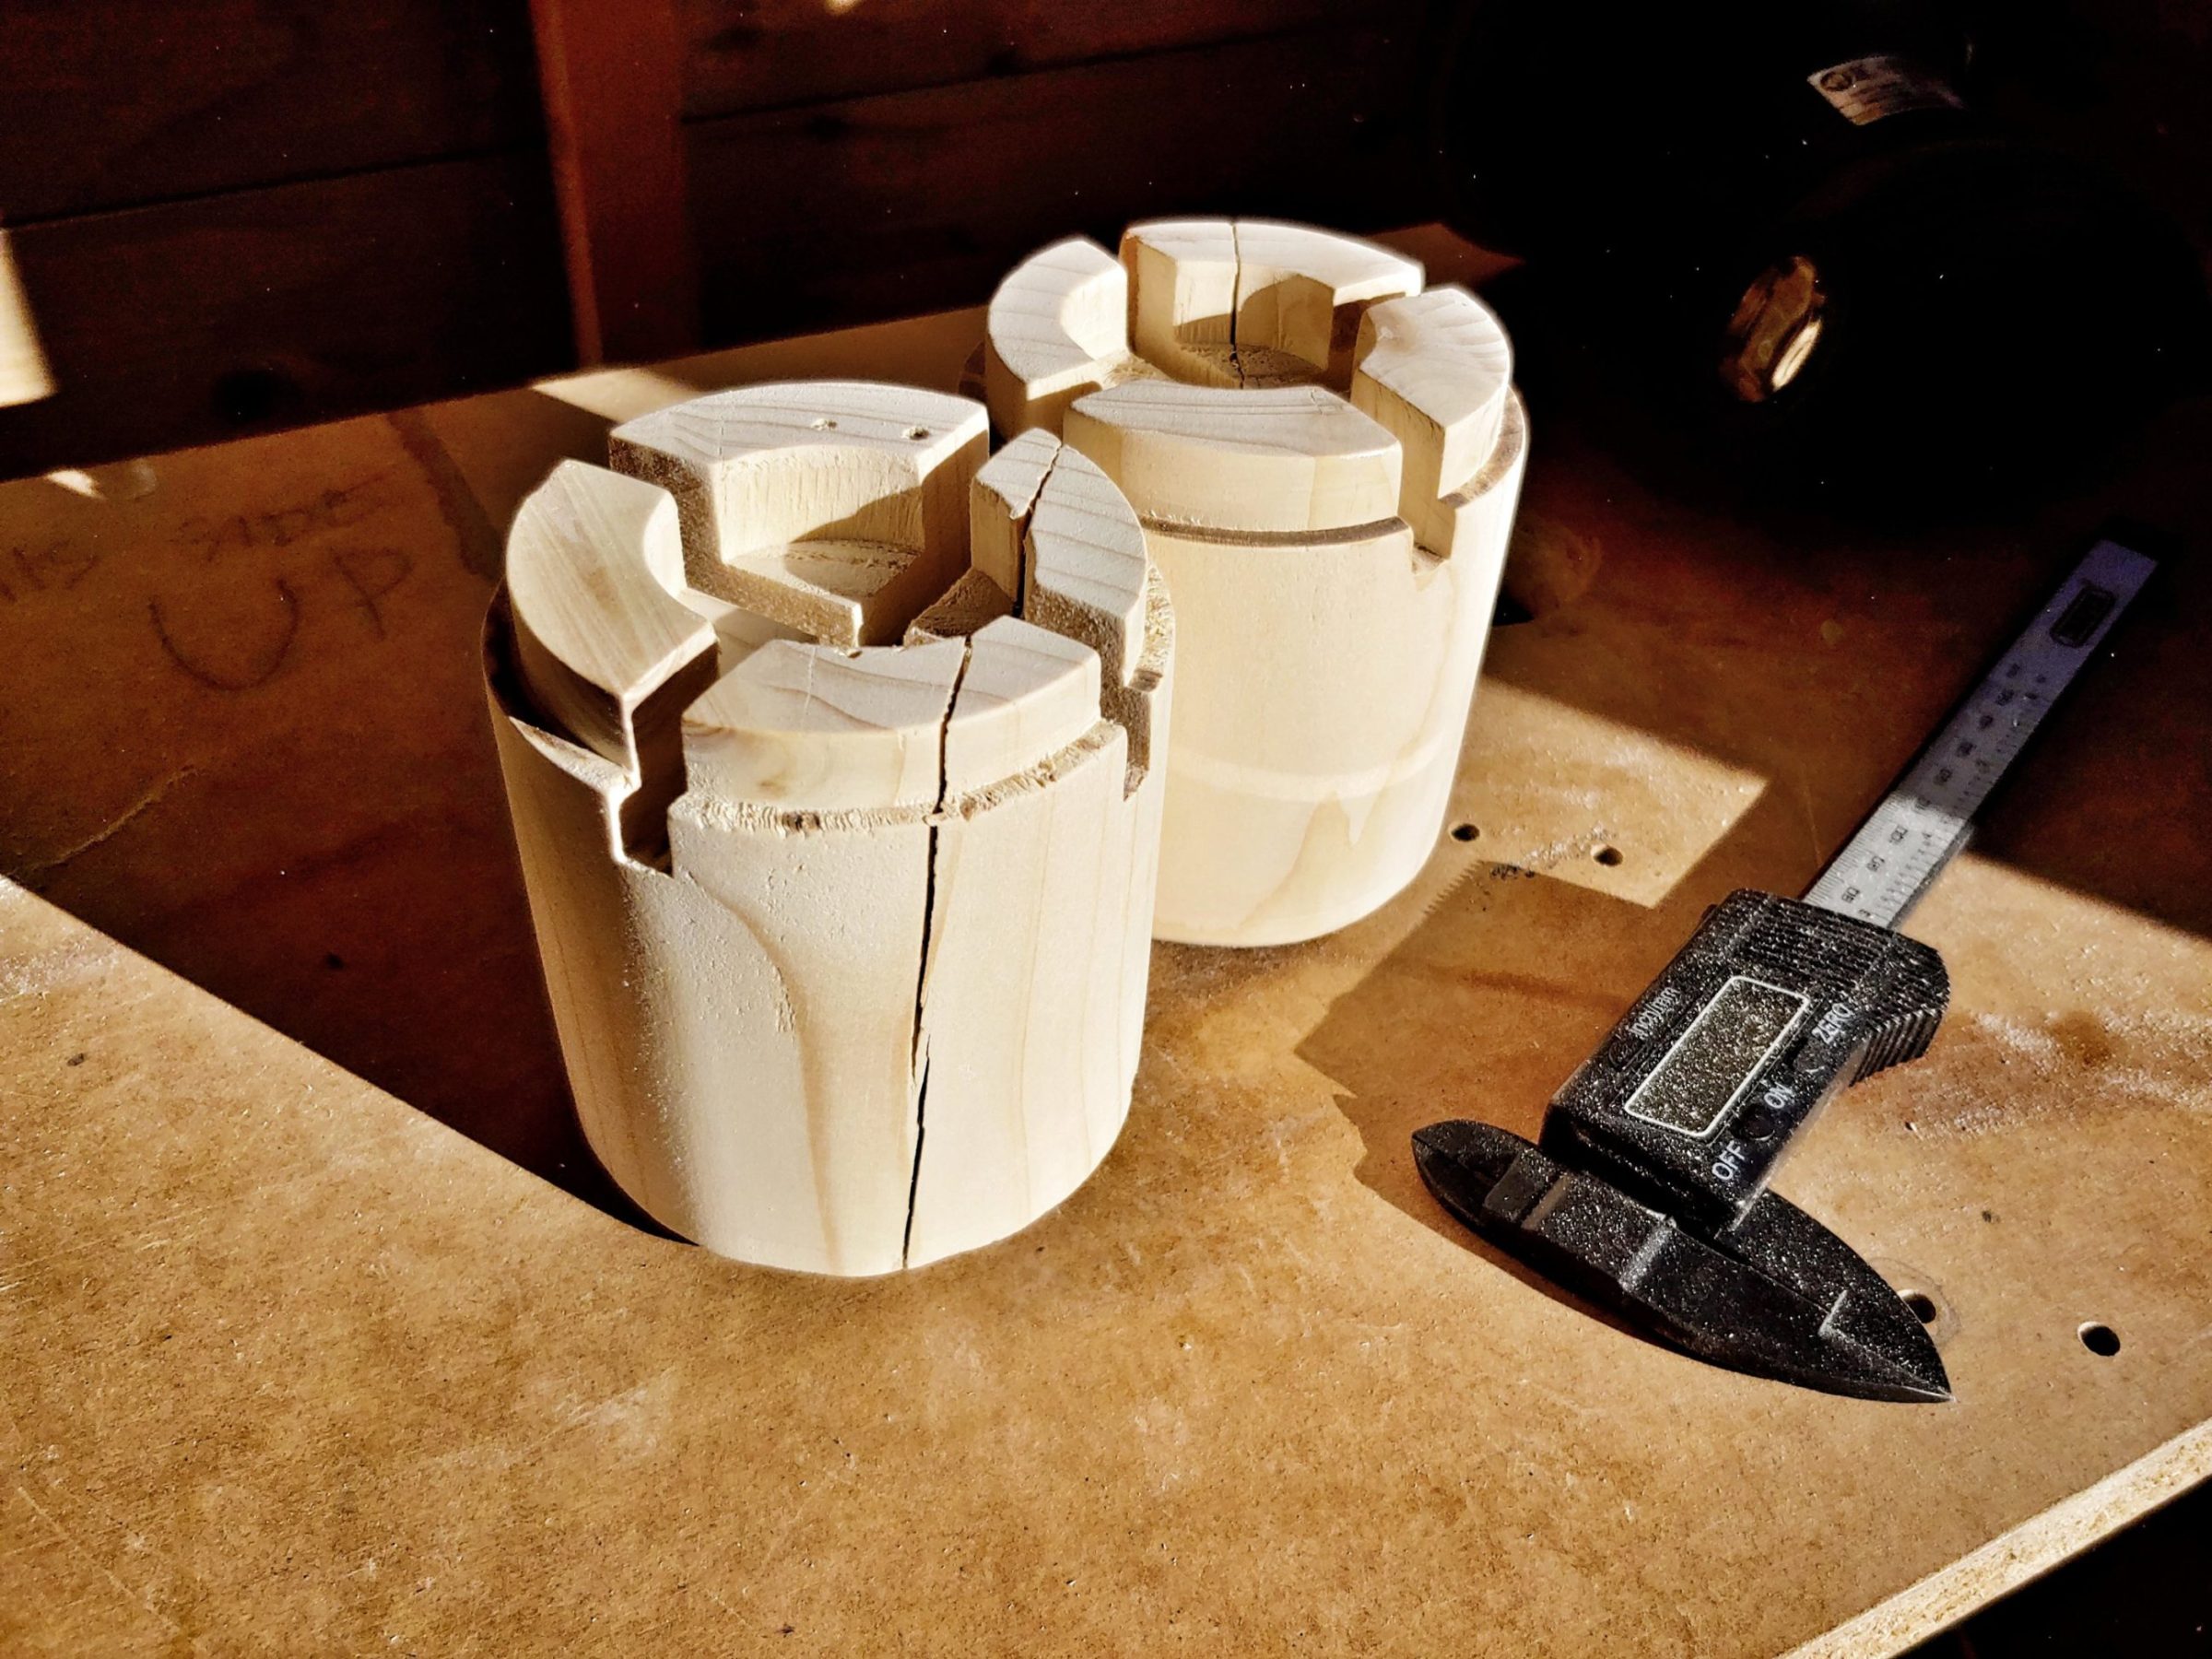
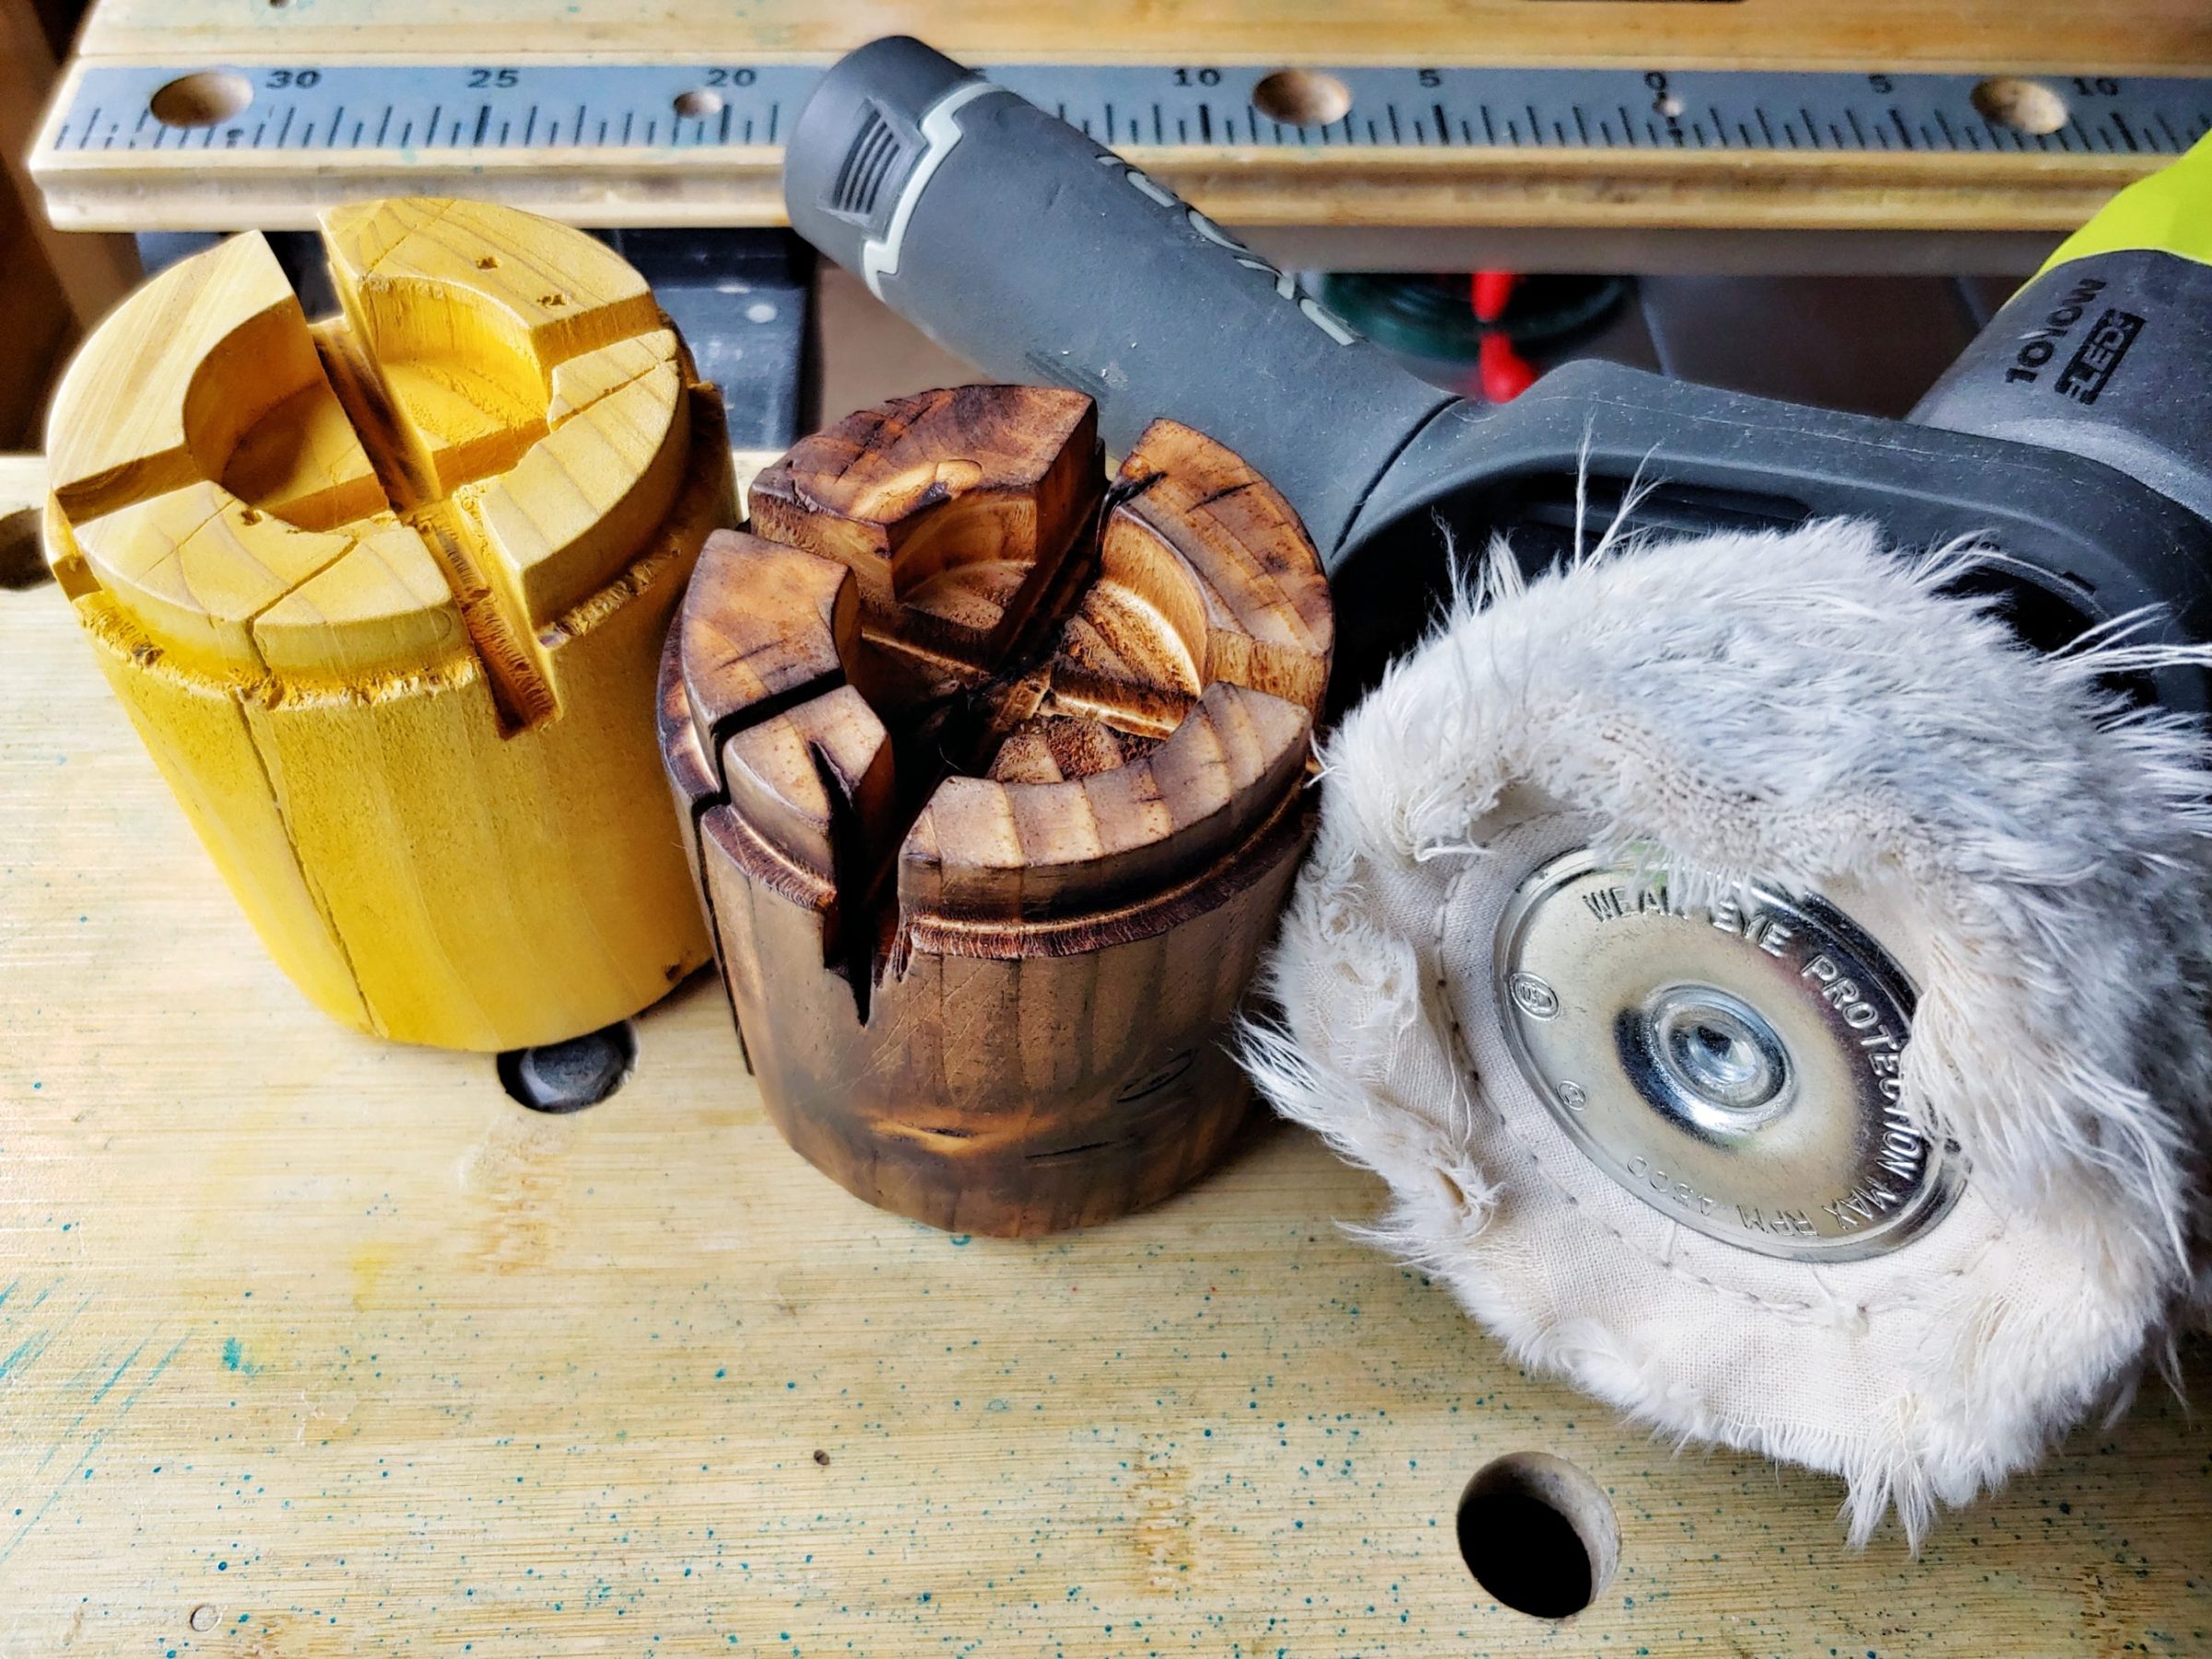
Using a mitre gauge sacrificial fence and my table saw I cut some vents and using the same fence I split the piece in half. Sanding was followed by cutting chamfers and checking diameters with my calliper.


One piece was finished with wood oil and the other with semi shou sugi ban technique. I used my heat gun and it took ages to burn the wood. The wire brush left some scratches and the crack in the wood got even bigger. But that’s OK – after I waxed the piece I filled up the crack with wood glue, repeating that action a couple of times as the glue was sinking in leaving room for the new application. I covered the other end with some painter’s tape so that could stop the glue from leaking out.


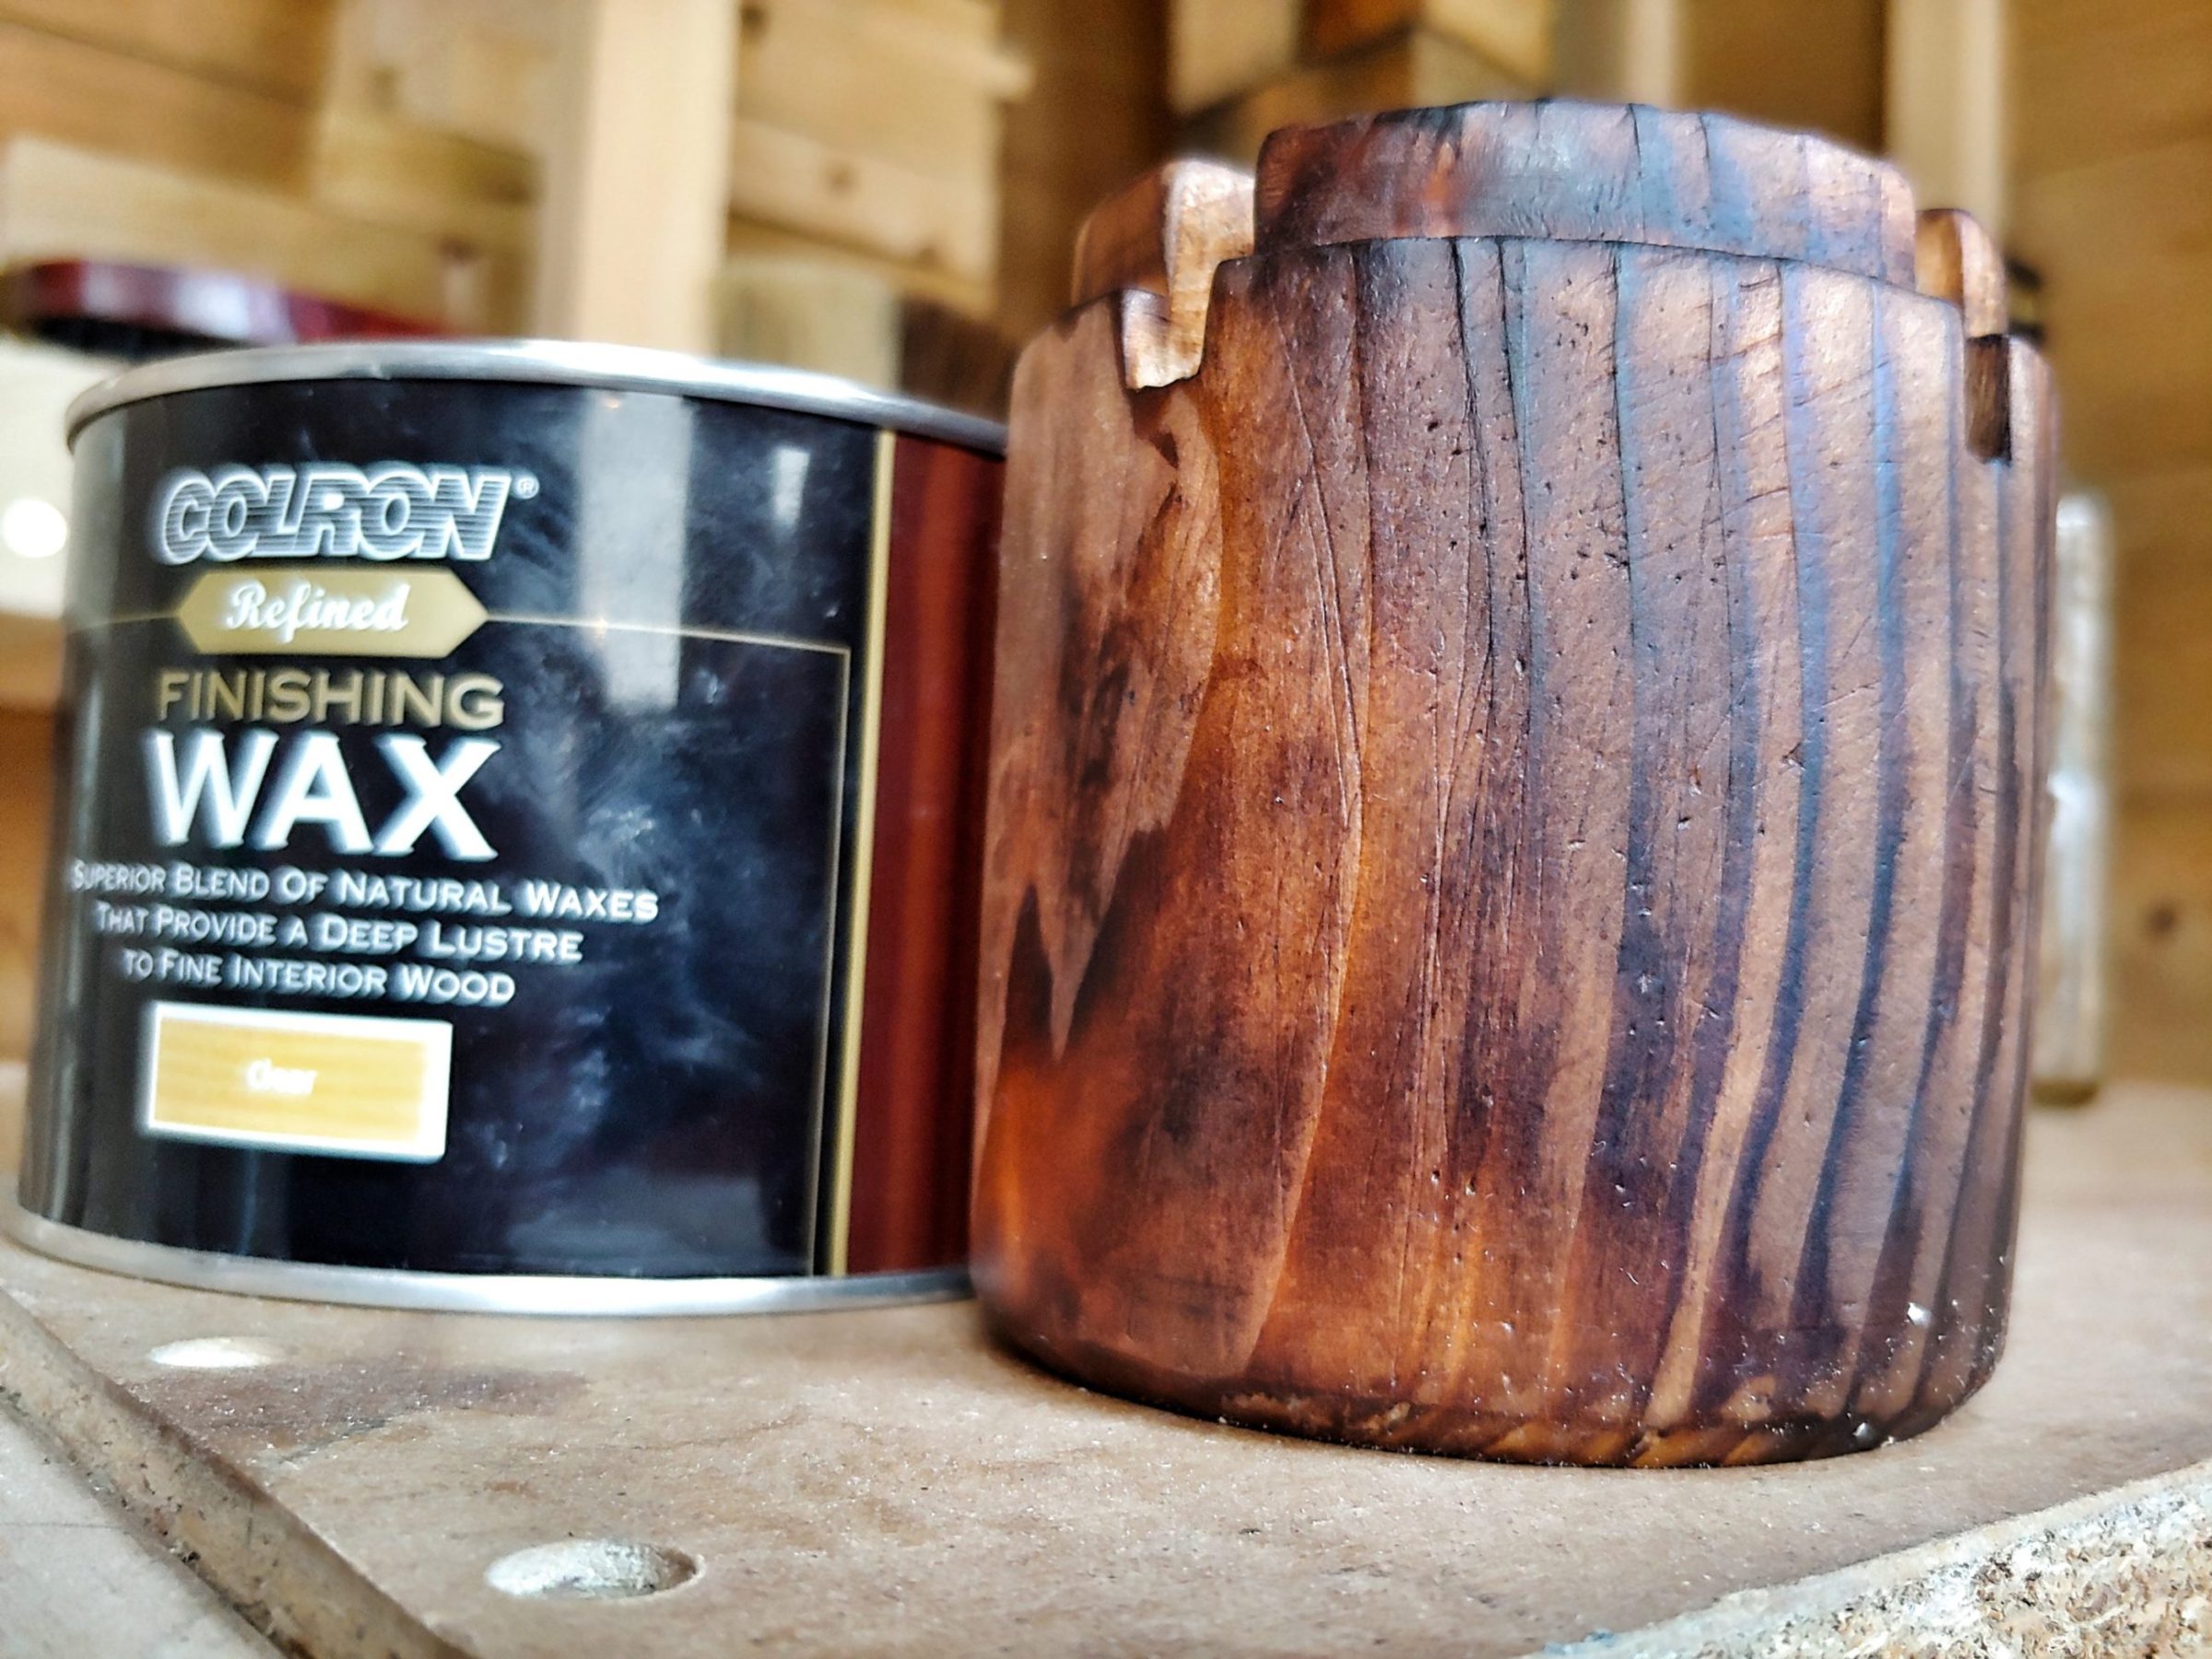
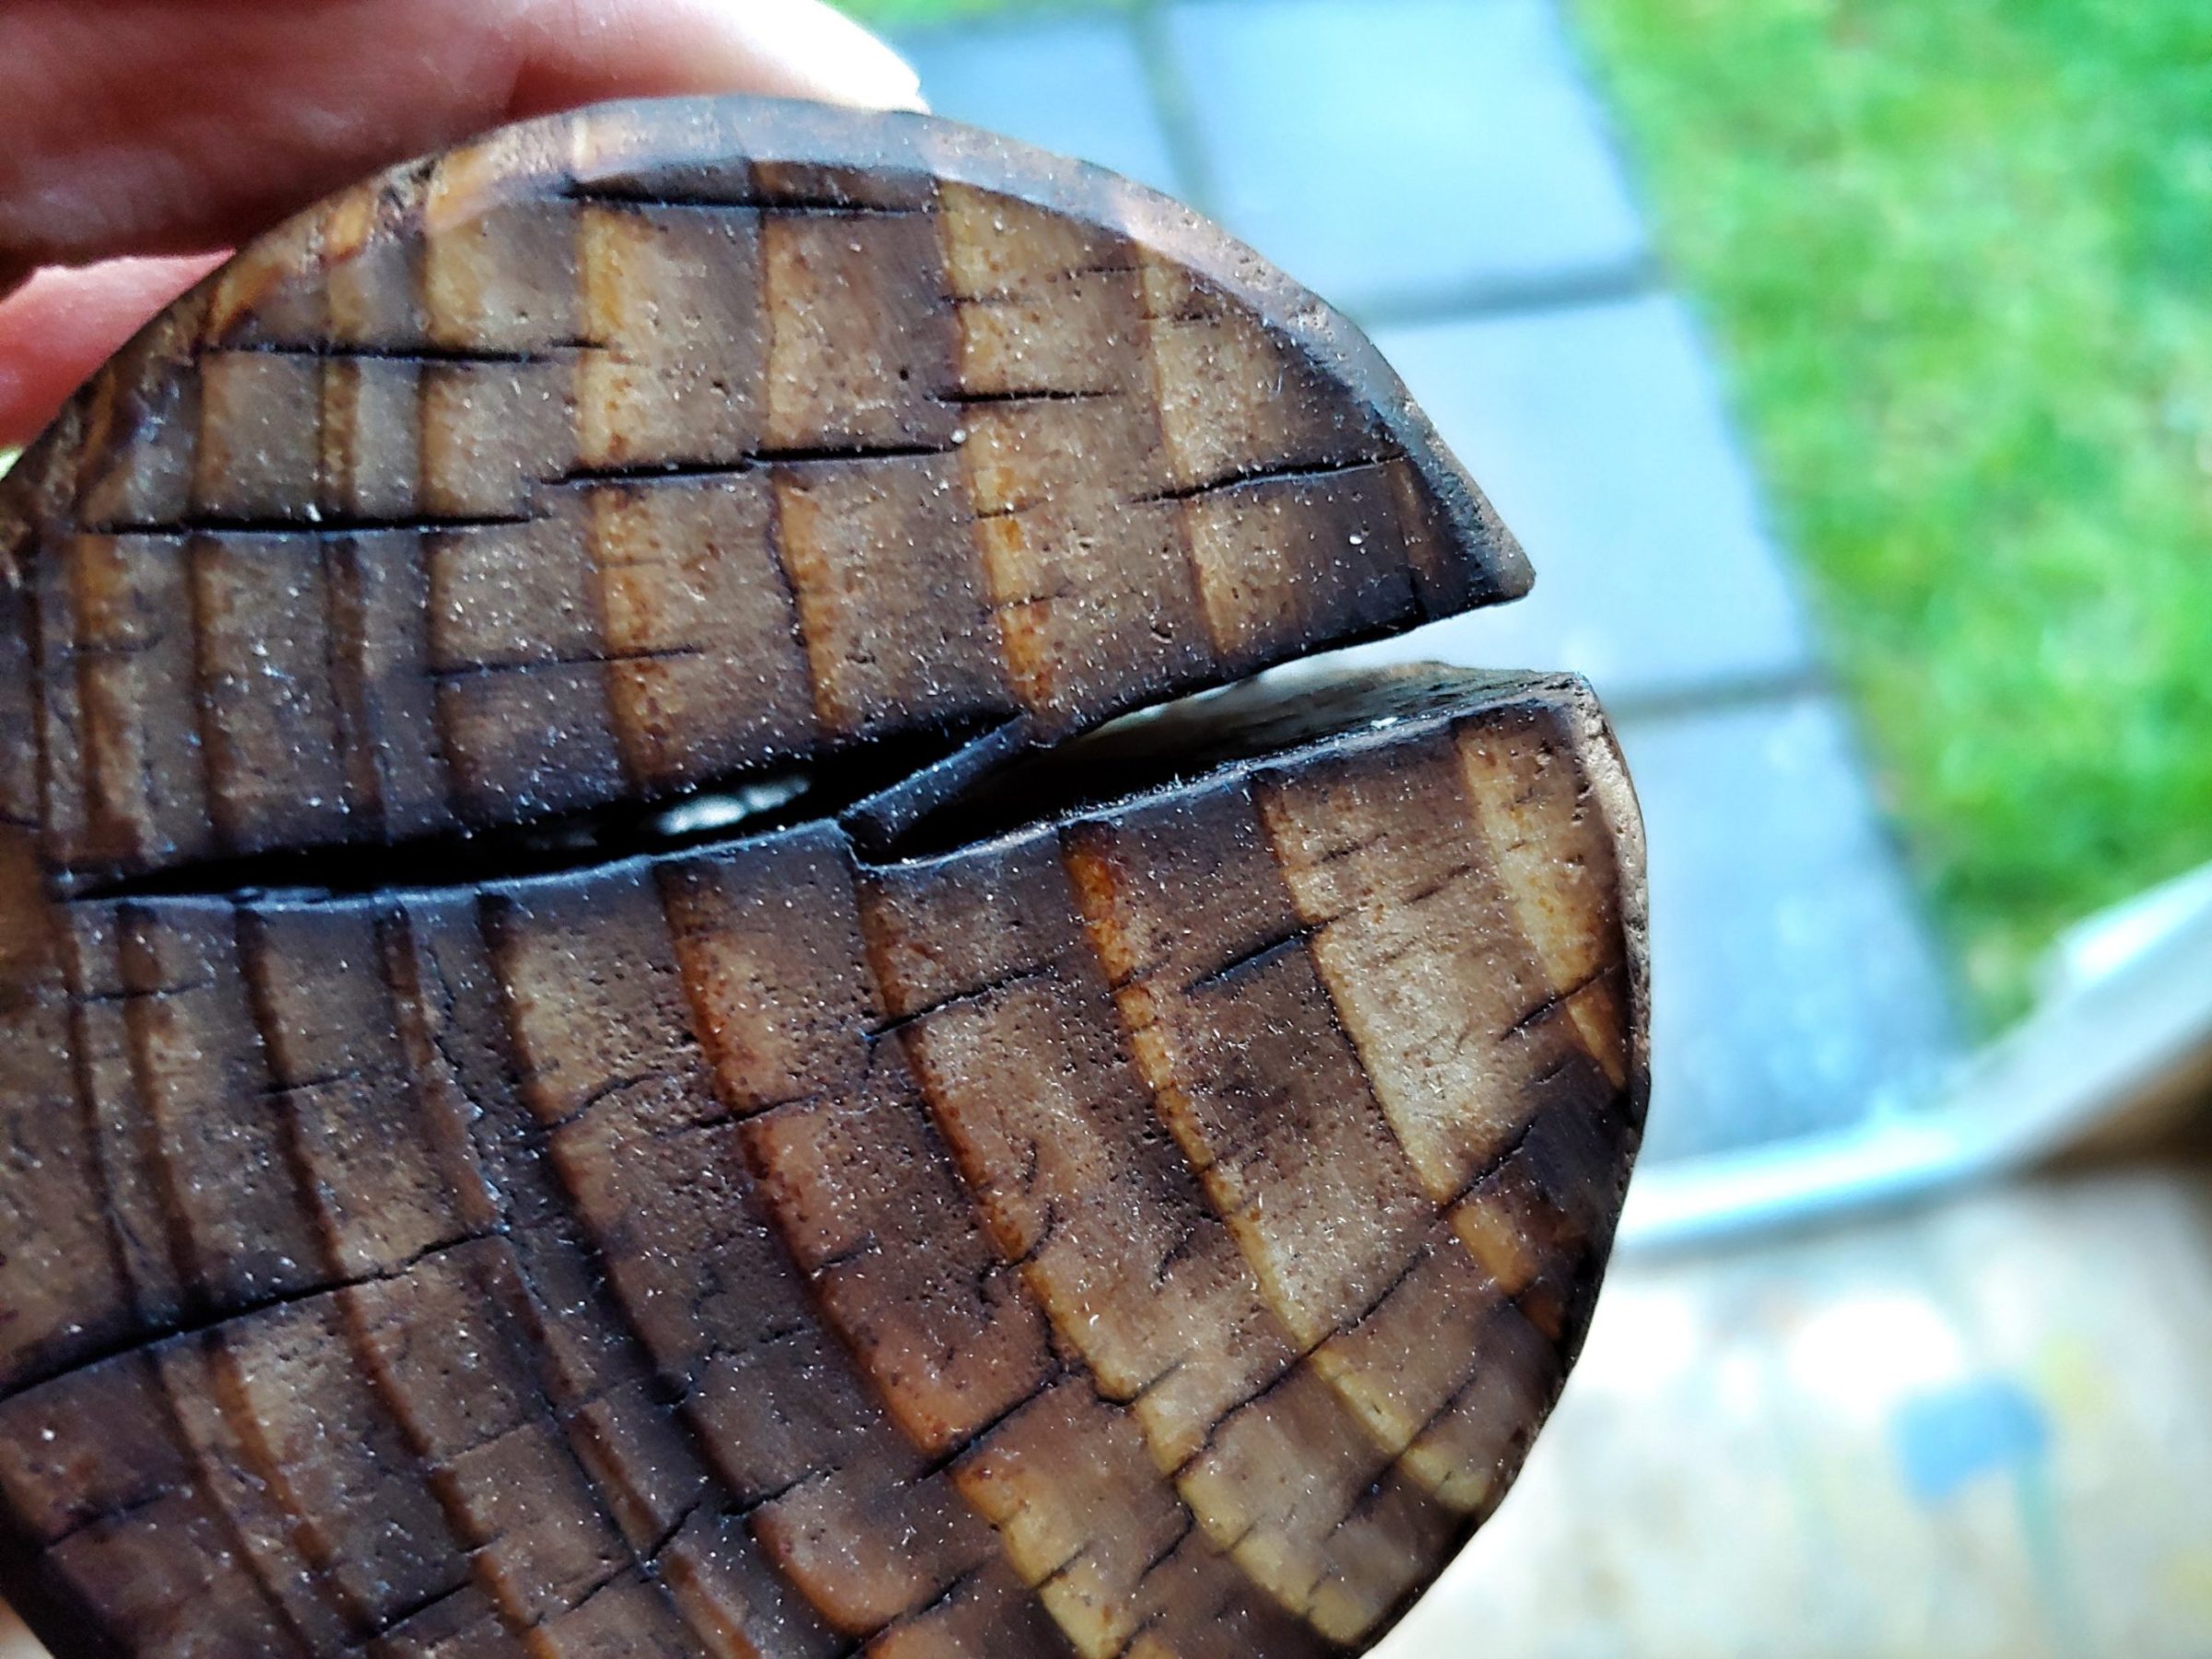
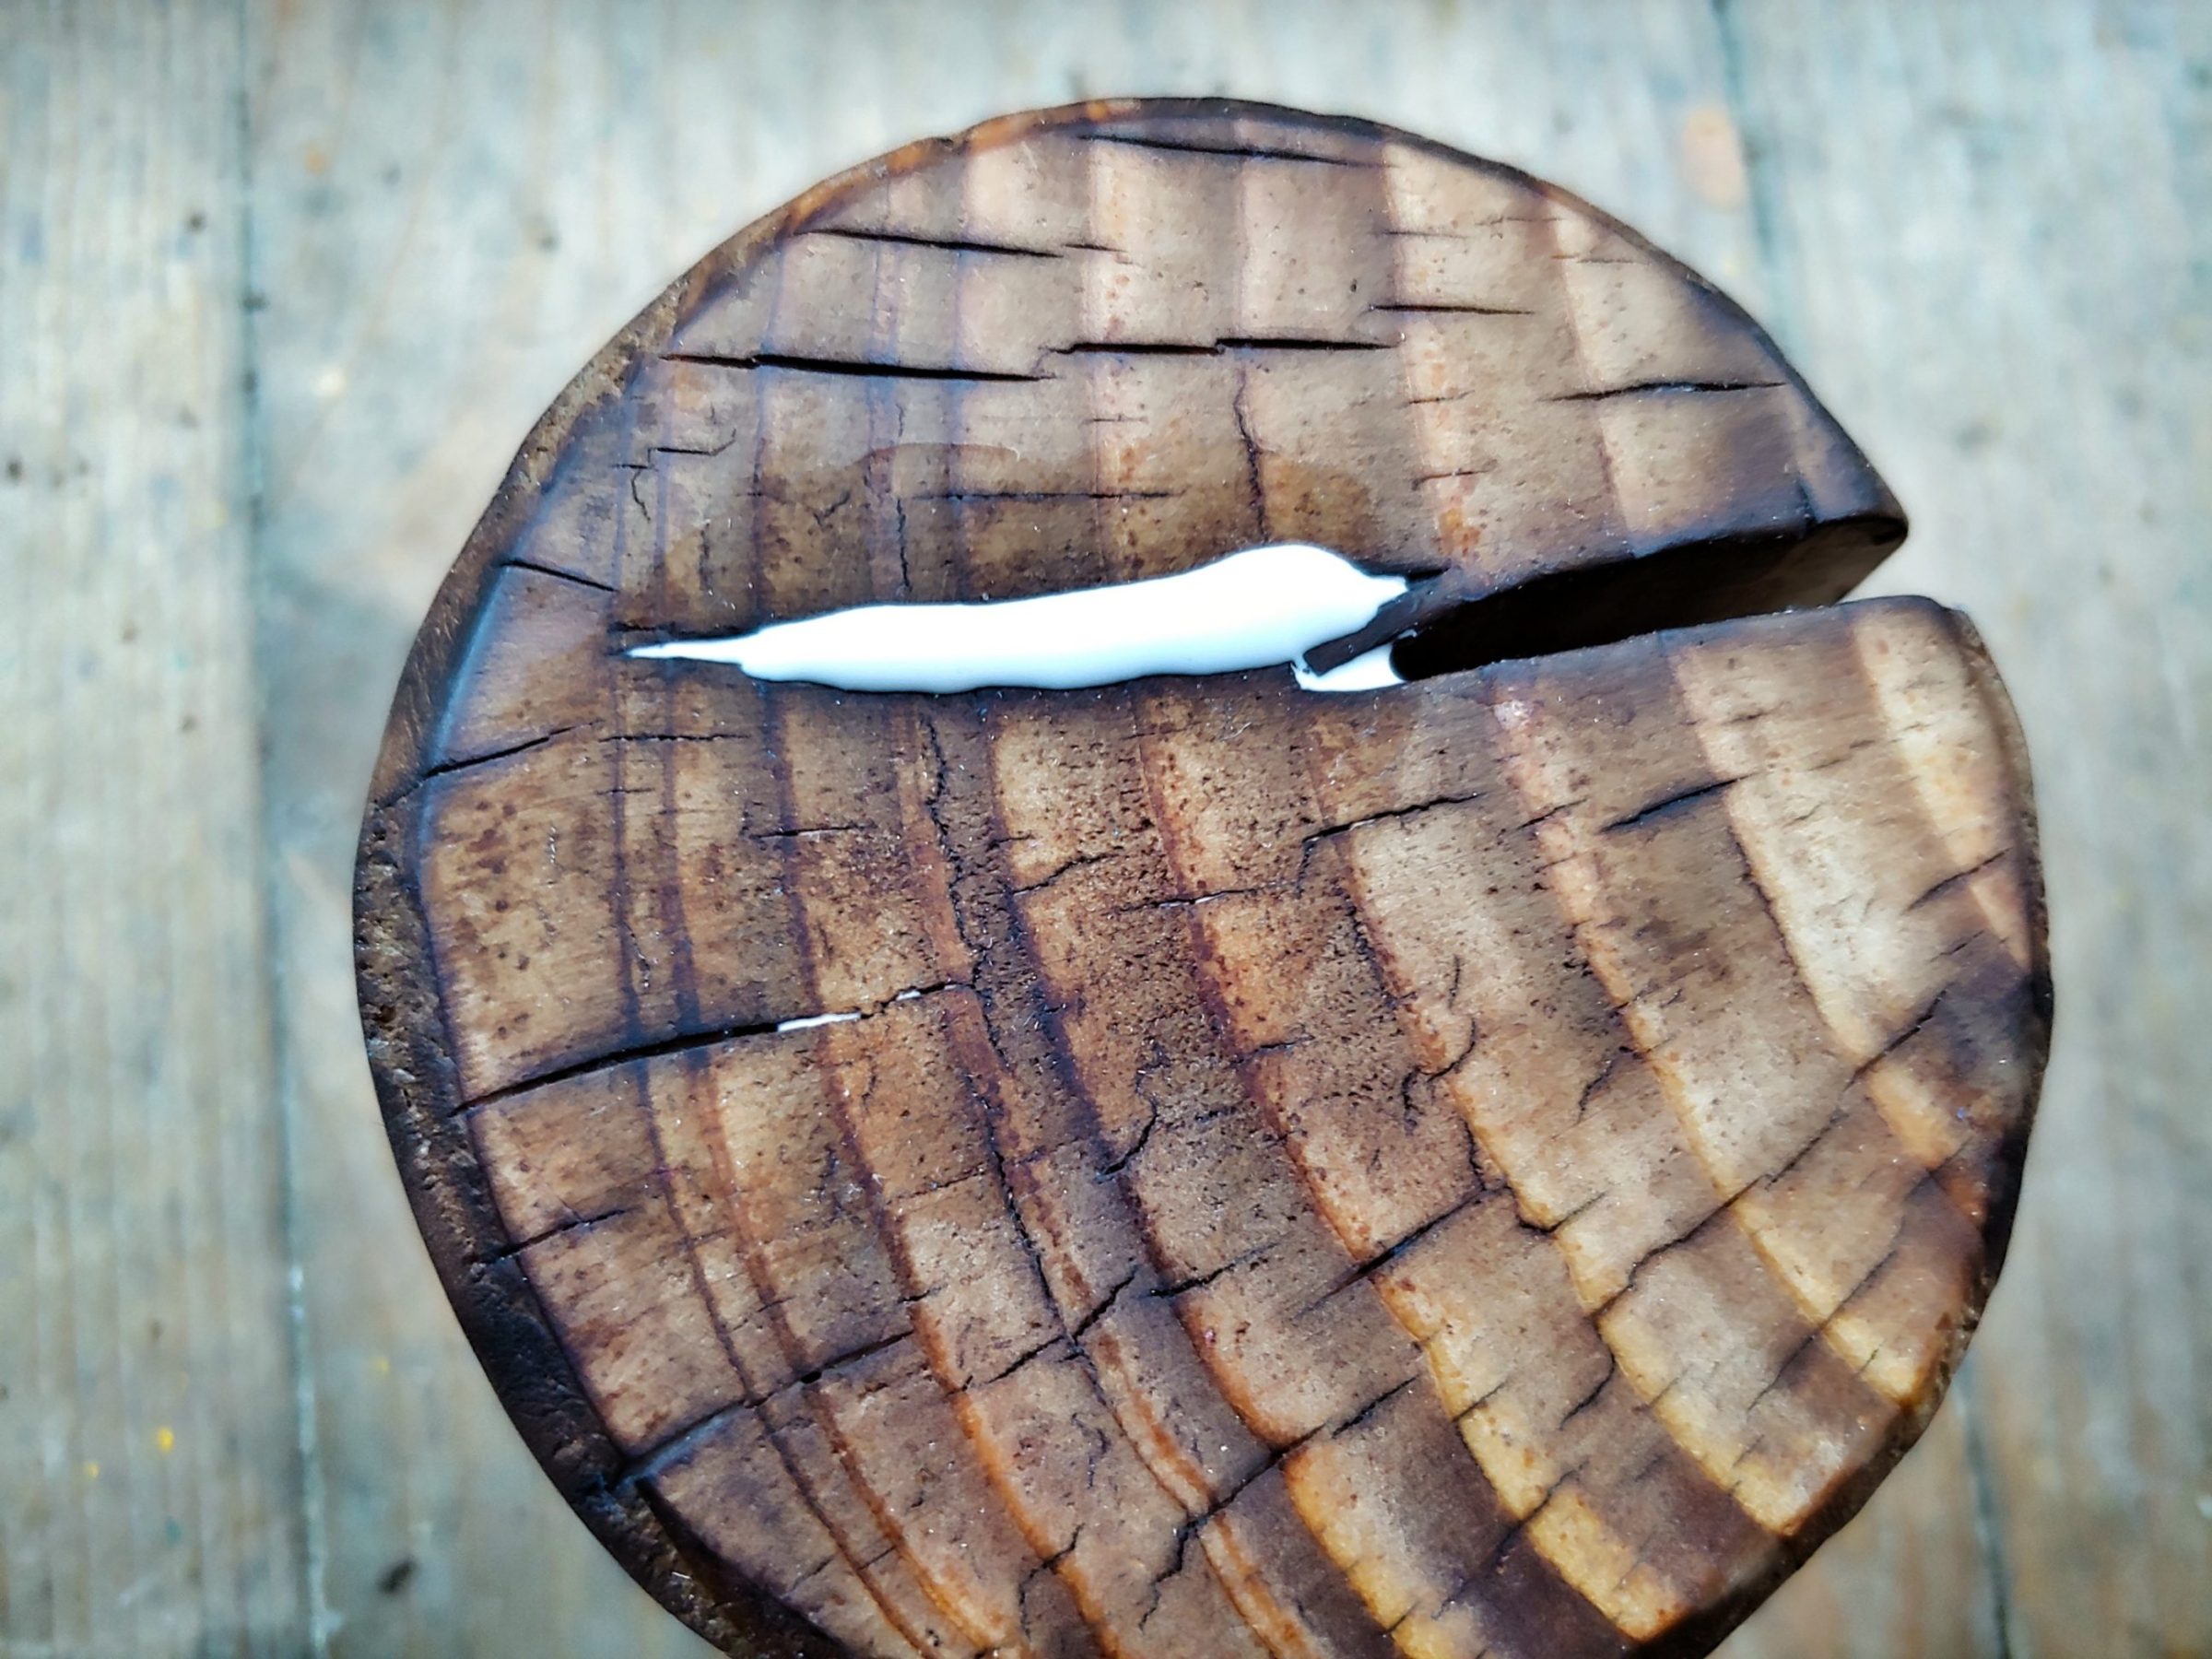

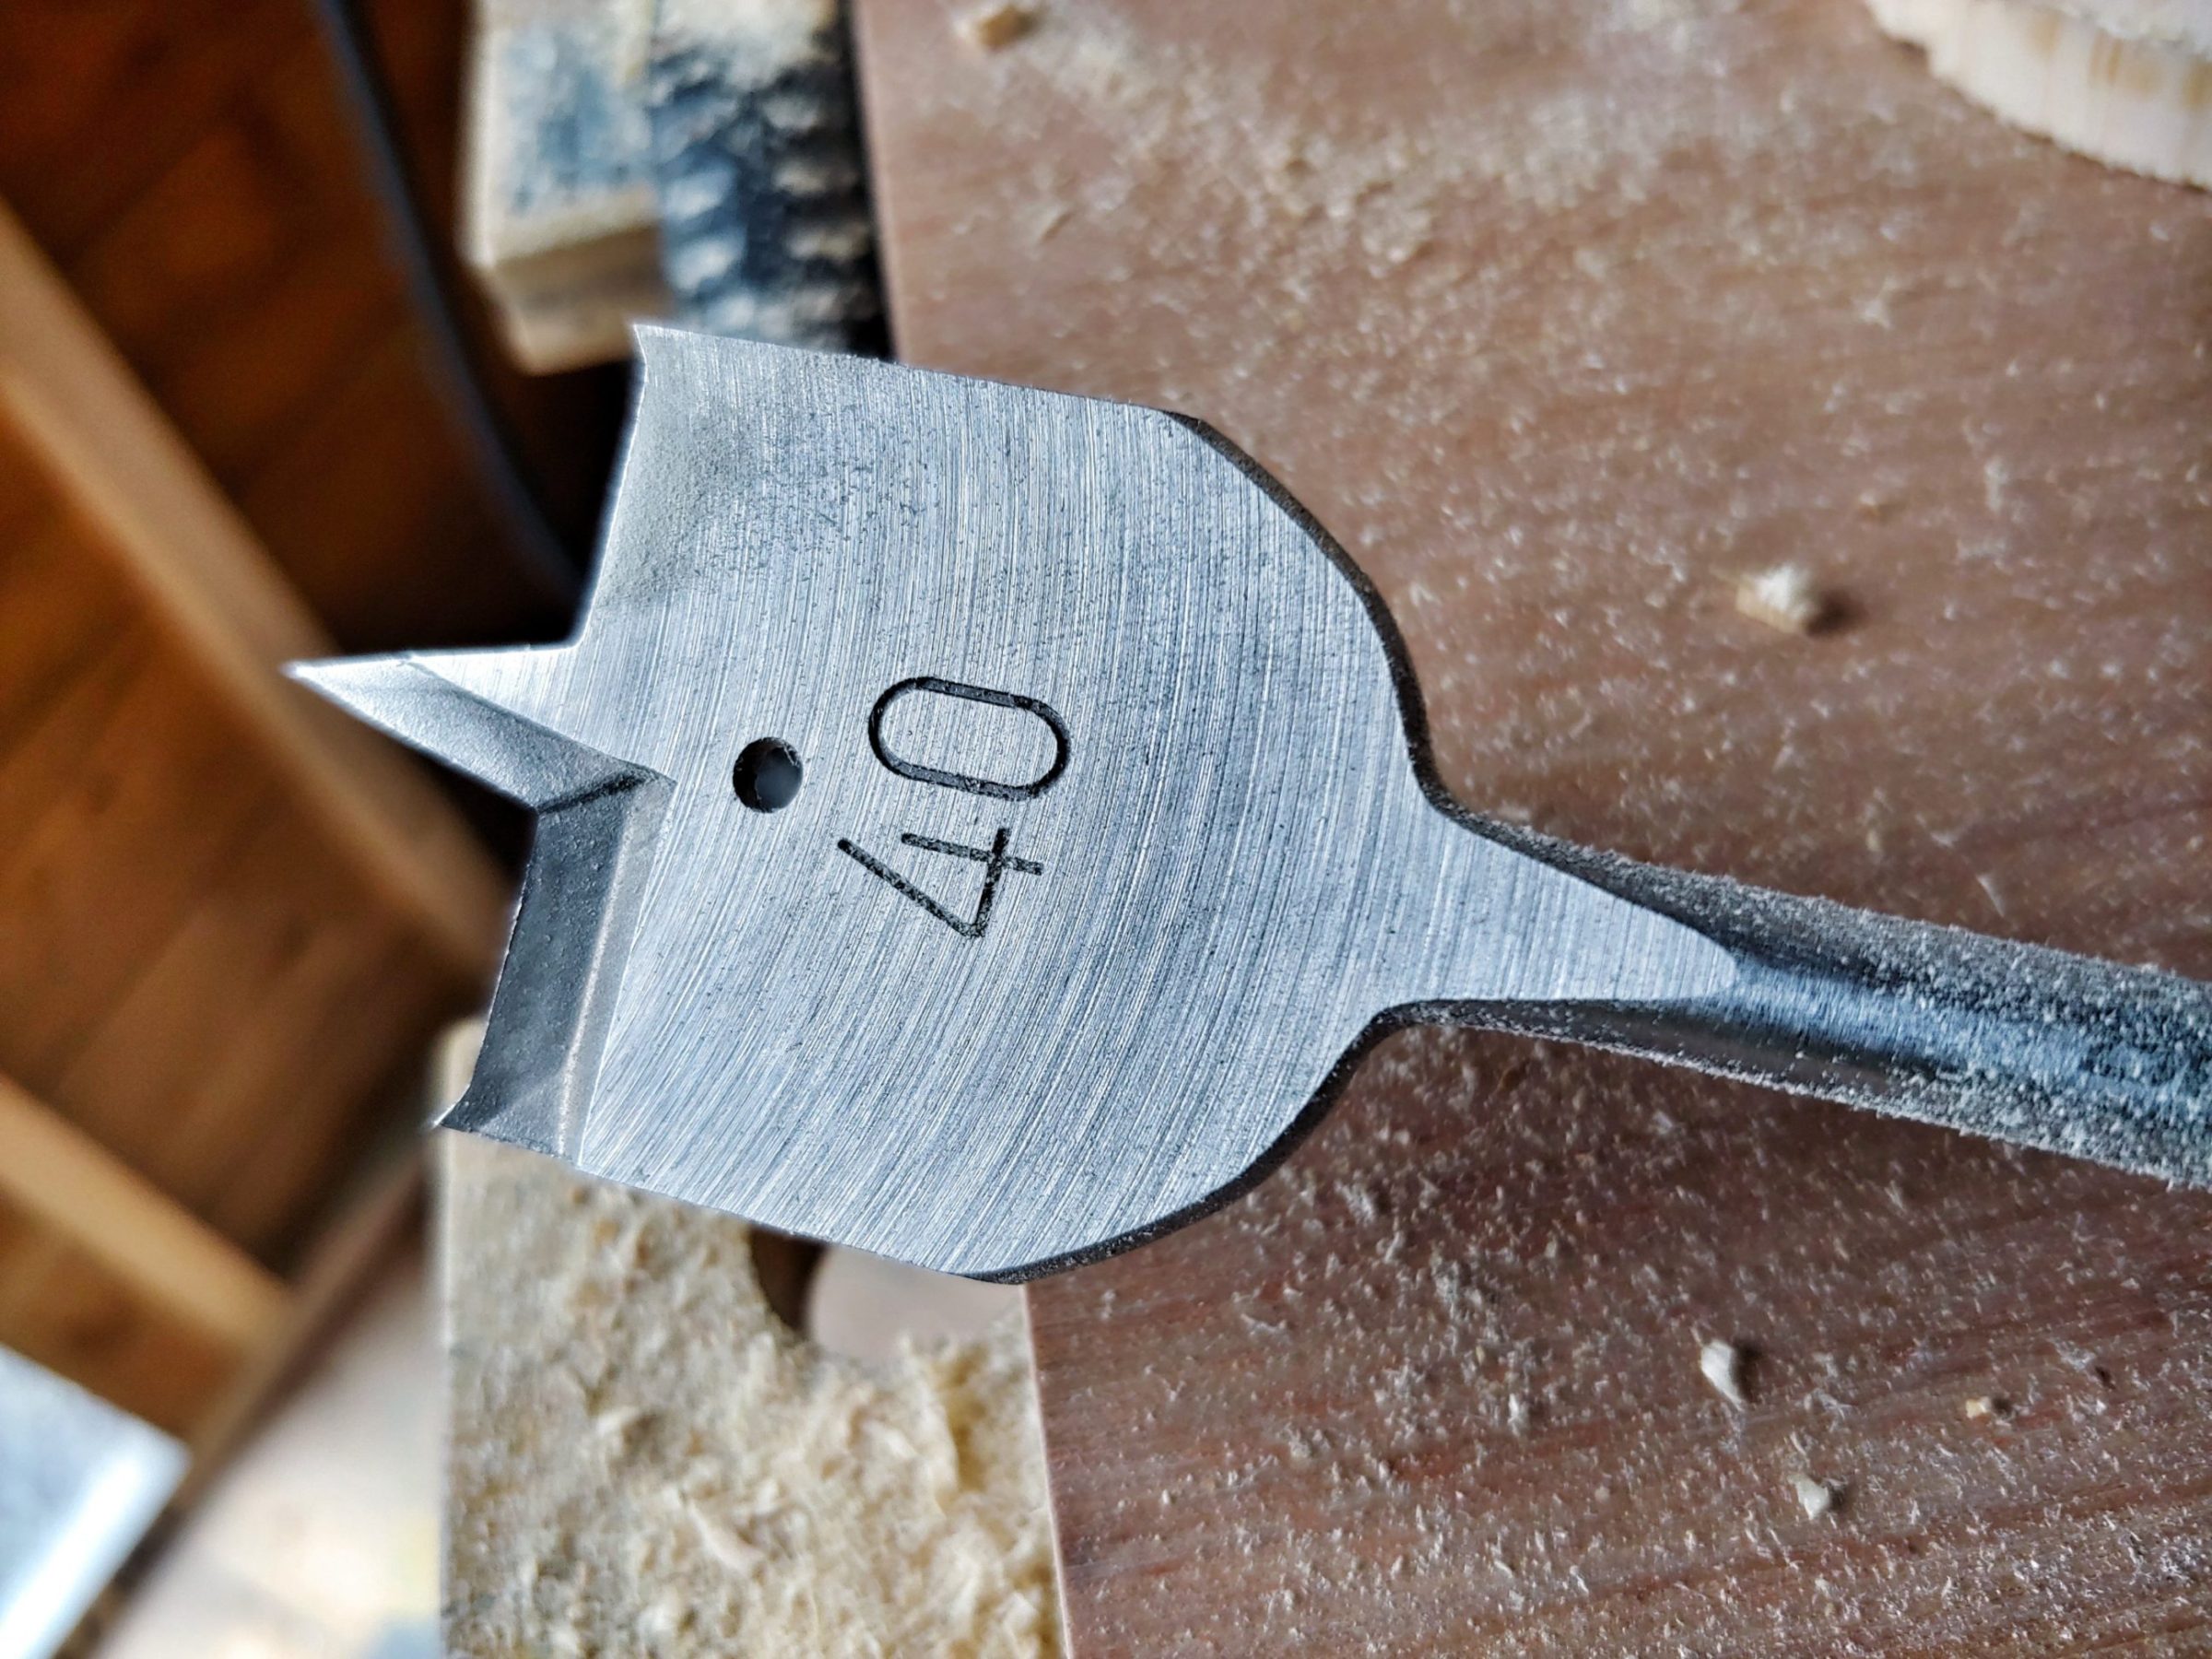
There were 2 cracks, separated from each other, I only fixed one of them as the other, outer one only embellishes the project. The core will remain sturdy once the outside will show the after-effects of burning wood. I wasn’t sure if that crack changed the shape of the wood from round to oval so I used the only cut glass I had on hand that day to check the fit. I also made sure that the 40 mm holes were big enough for the t-lights. The next day I applied more wax and buffed the pieces. I used my heat gun to warm up the wood and wax so the penetration depth and protection were better.

Cutting the first bottle was easy as usual, cutting lines with my jig and then using boiling and cold water to crack the glass. The next step was to select sanding discs for the task. I used everything from 40 to 3000 grit and my brand-new backing pad.

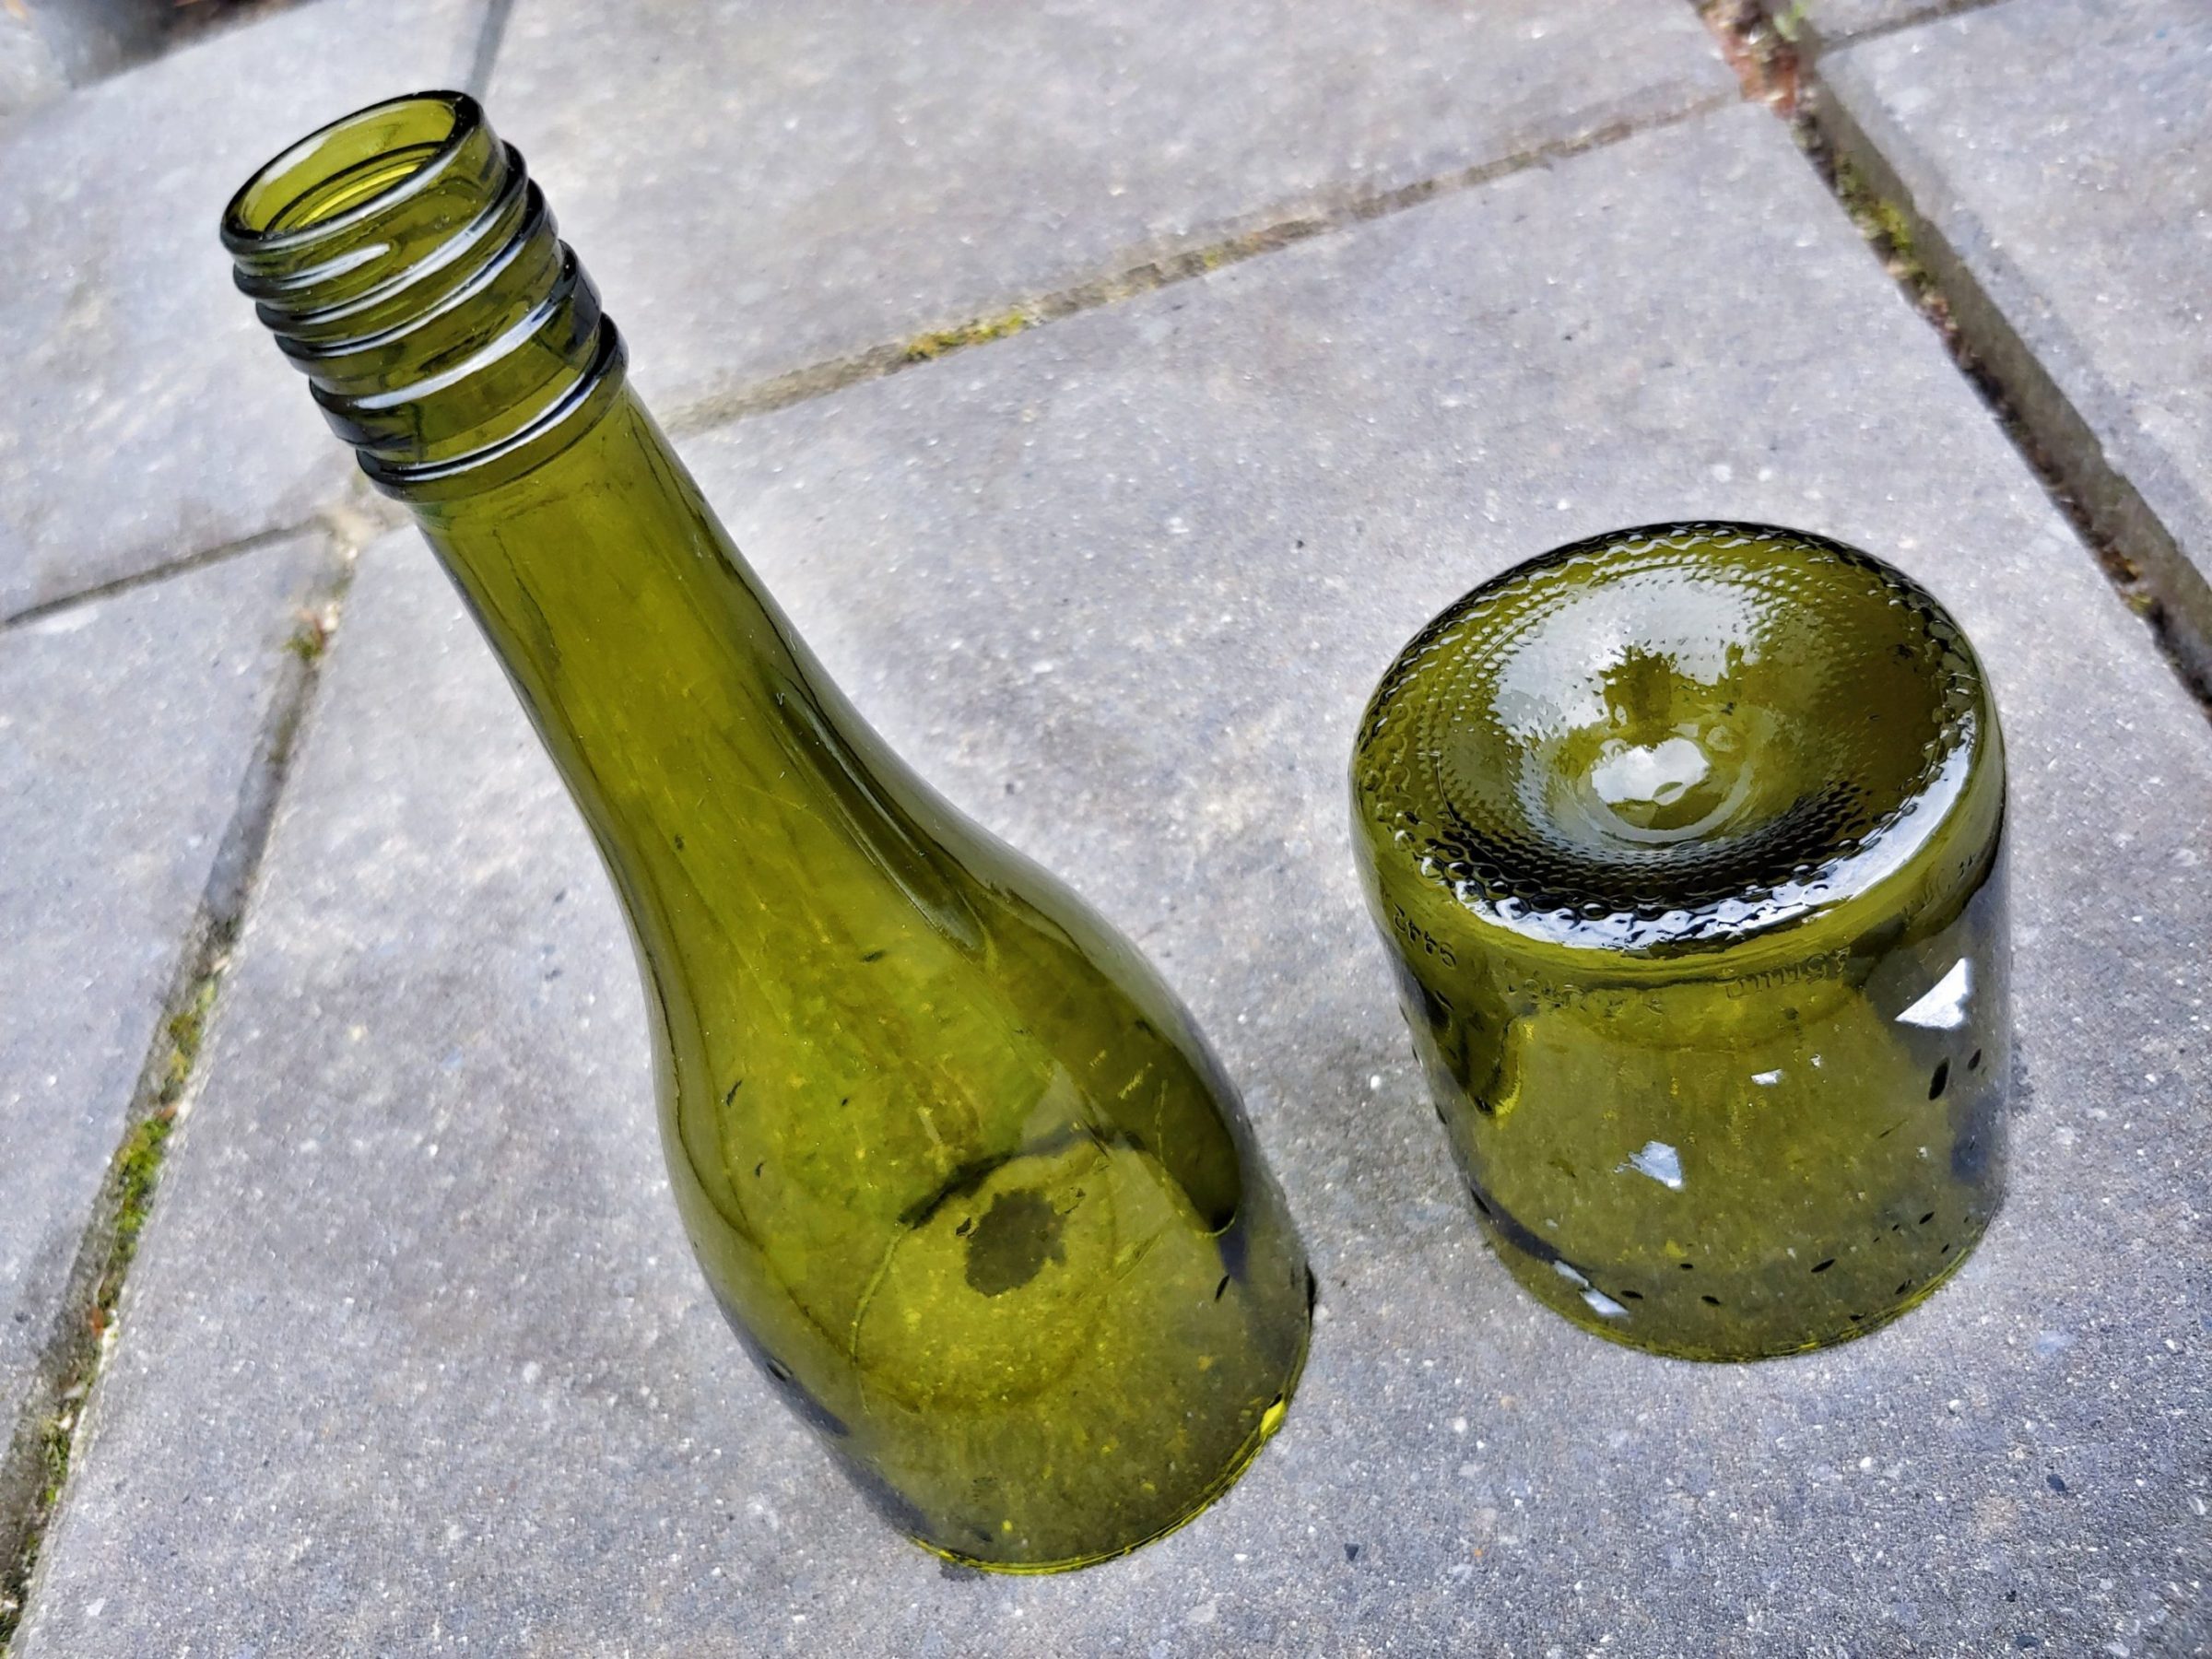

Sanding took a while as there was a low spot that I couldn’t reach with the disc. Once the edges were sanded and polished I washed the glass and checked the fit.


One bottle at a time – slowly but surely.

Cutting and finishing the other bottle was quite the same. The similar-height holders had to look like wine bottles cut in half.


