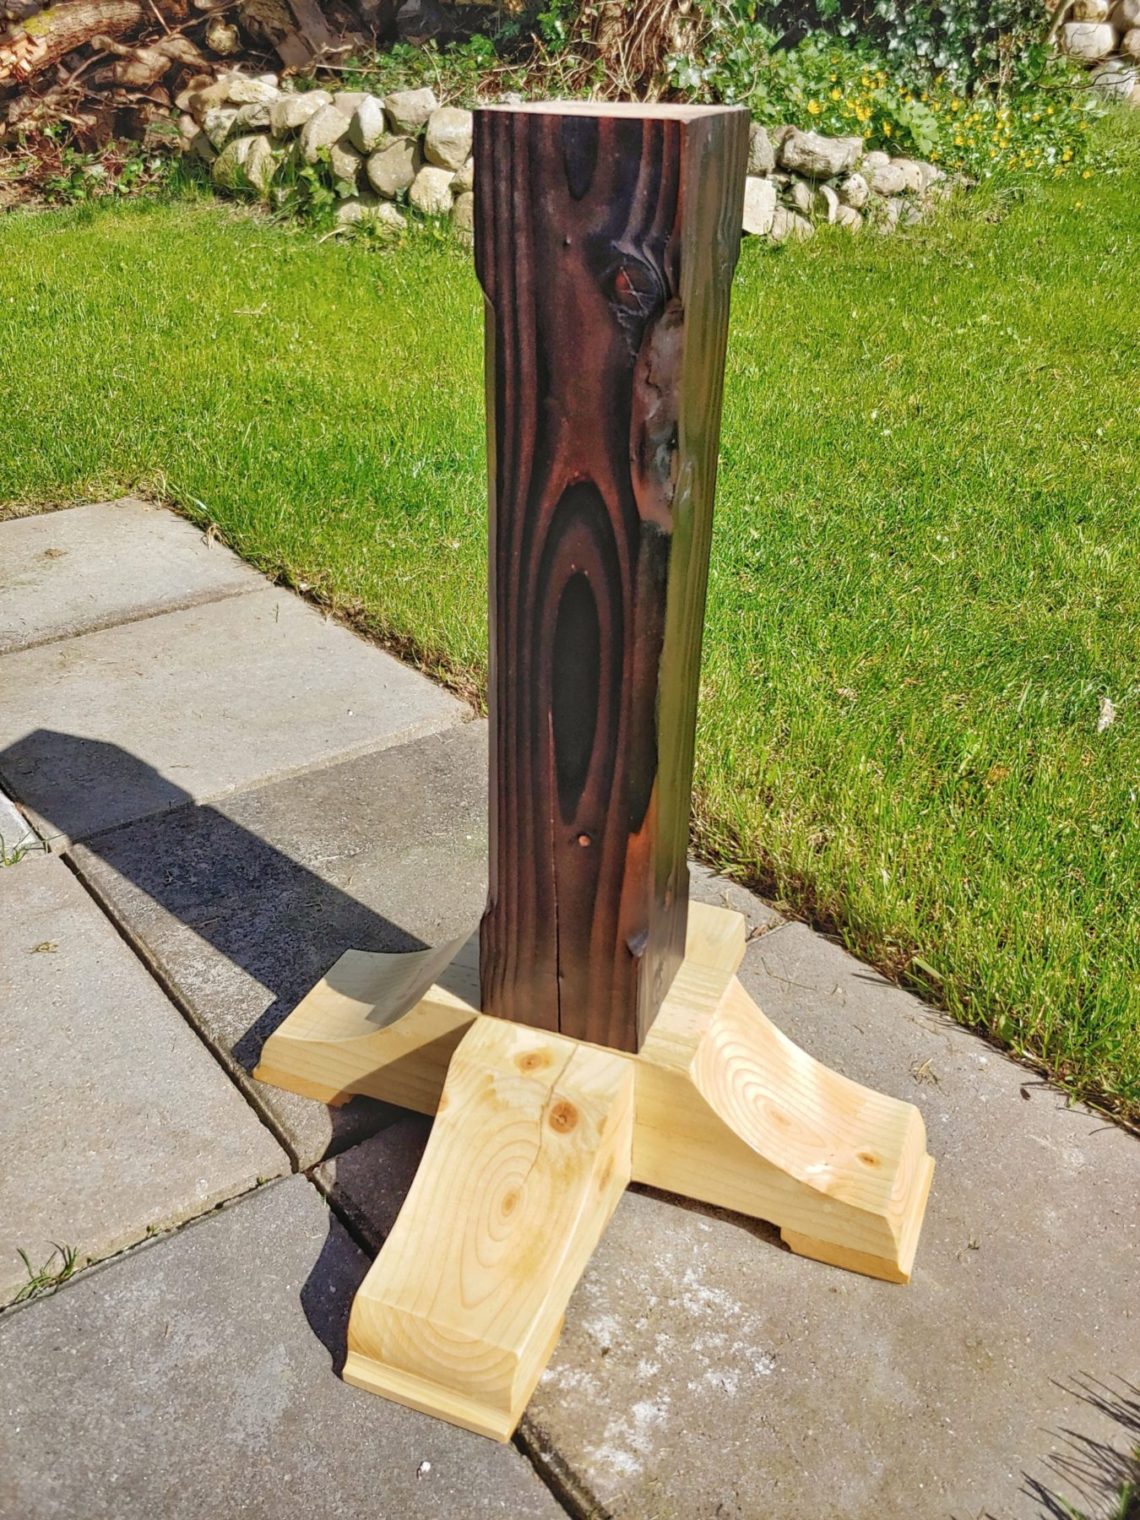
Pedestal table leg
I am a big fan of one-leg tables, it shows. I also love the colour and the texture of the wood finished with the shou-sugi-ban technique. This build is part of a bigger project, but due to its size and complexity, the process is shown in 2 separate posts.
I started by cutting the leg to size using only a circular saw! Not bad results at all!
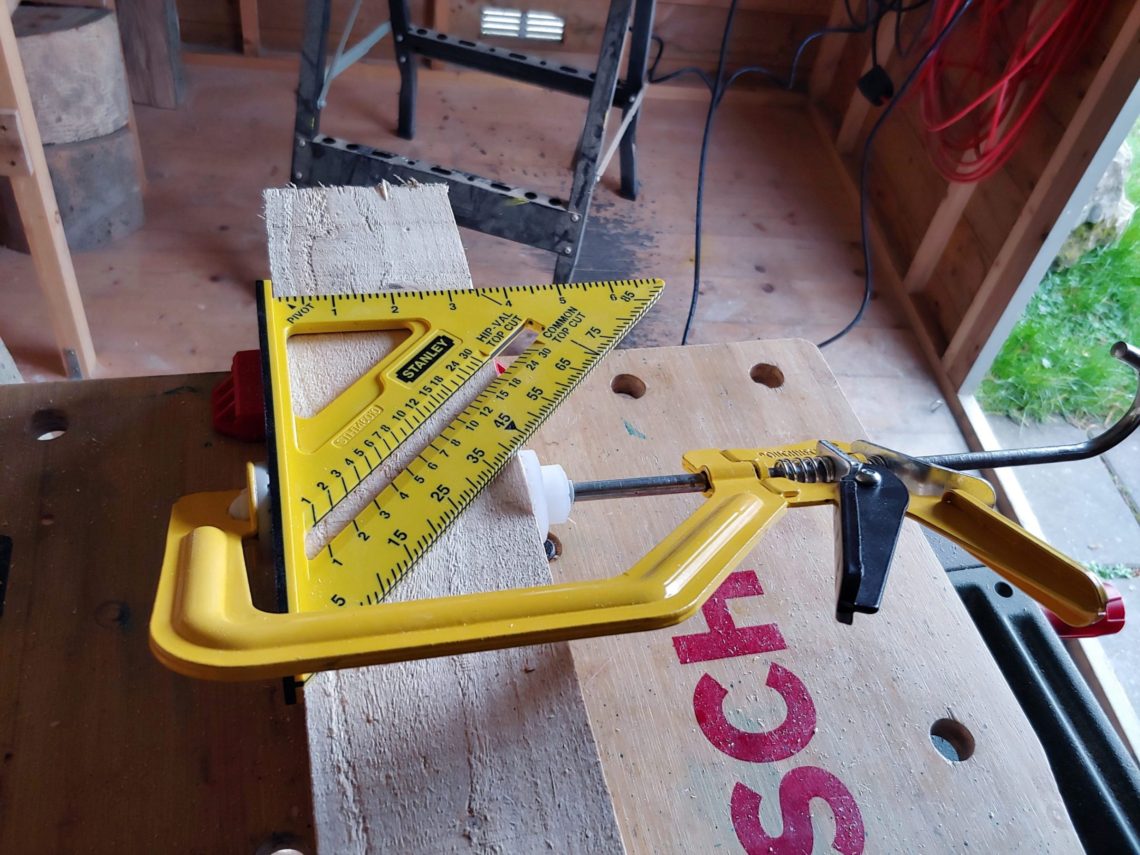
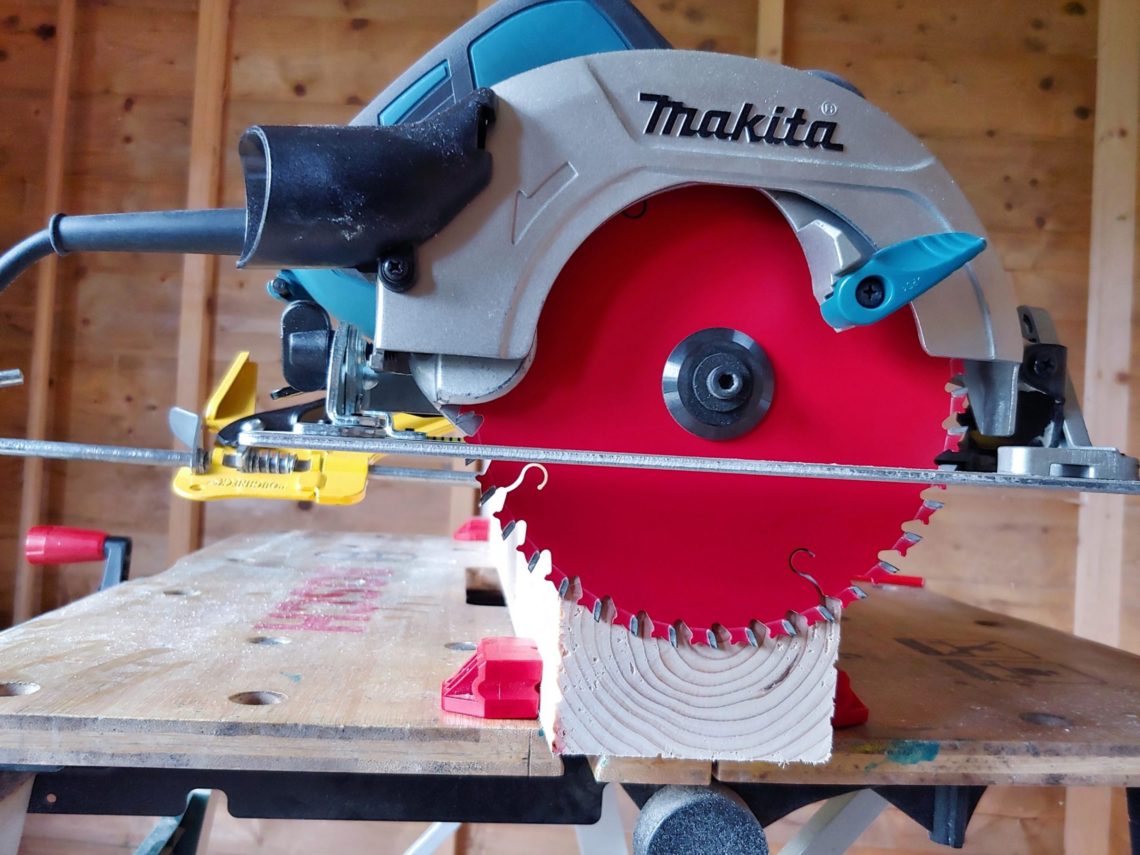
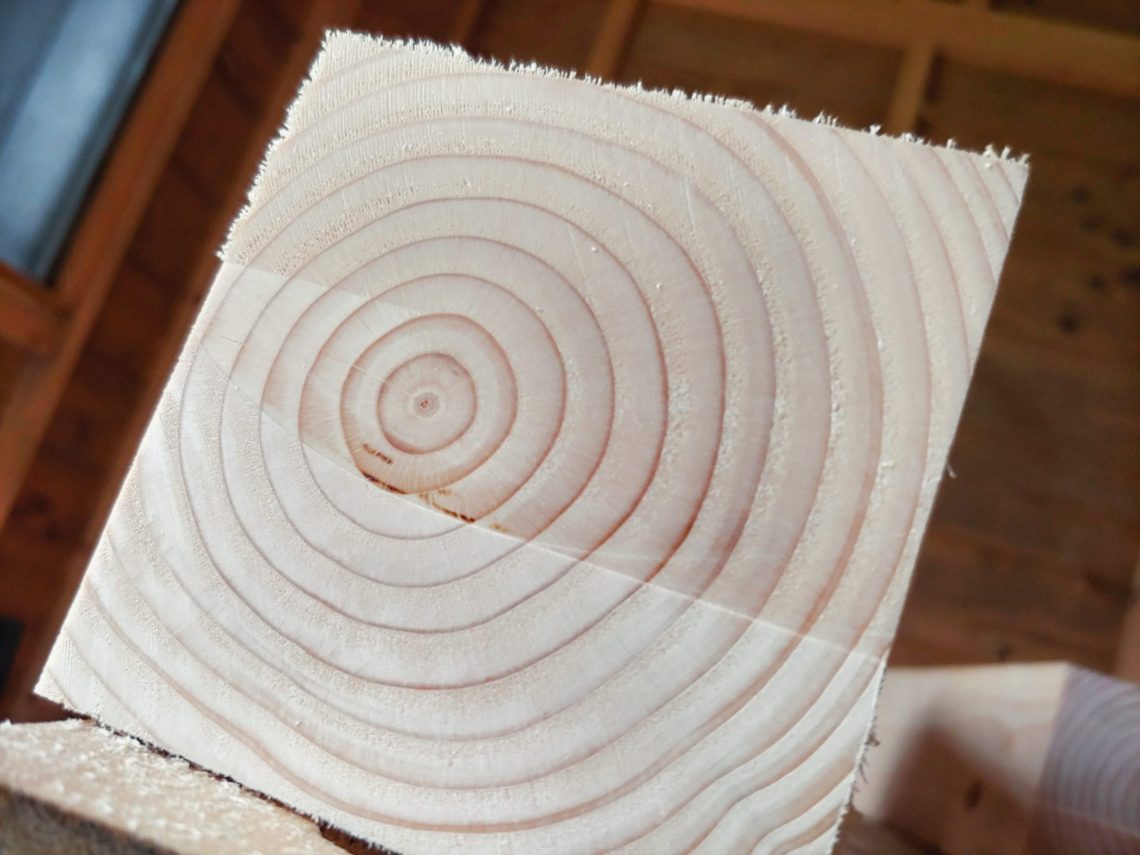
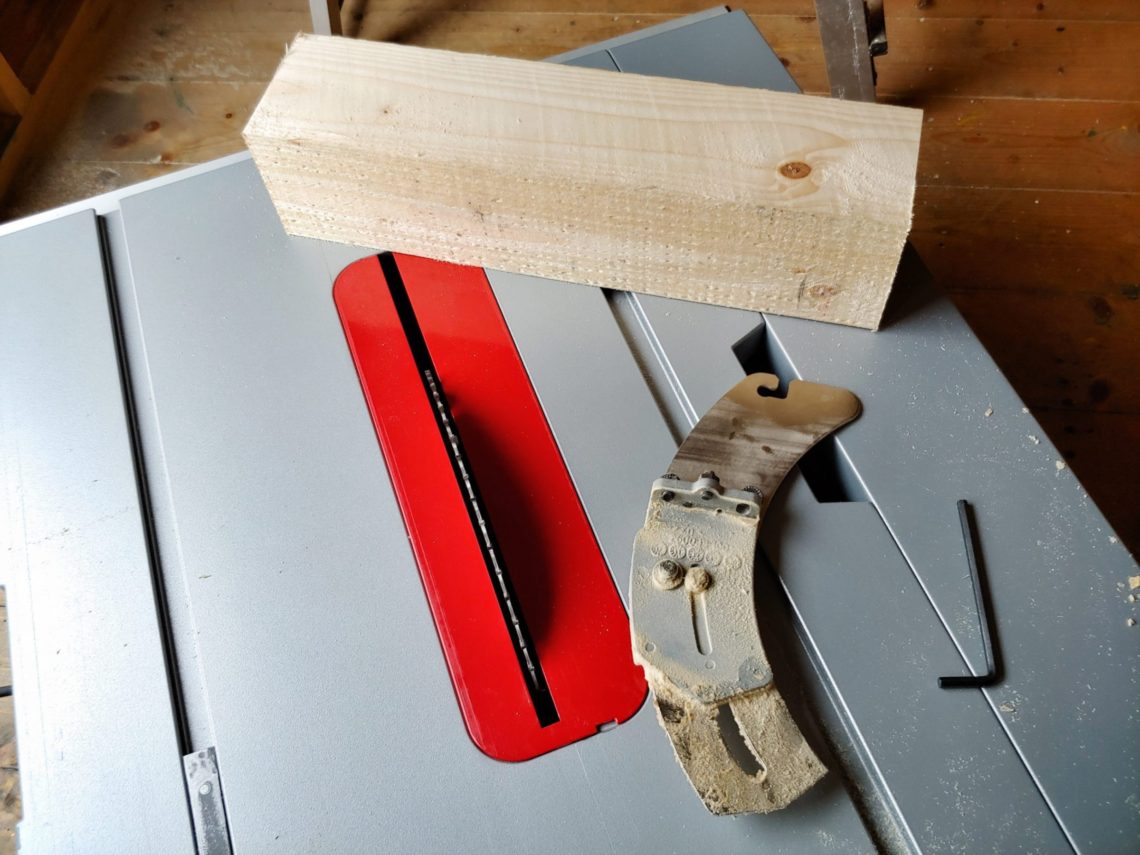
In the meantime, I replaced my mitre bar with a new one that I built myself. I was then able to do the rest of the cutting on my table saw. I cut 2 feet to size and removed the splitter. Later on, I realised that it wasn’t necessary.
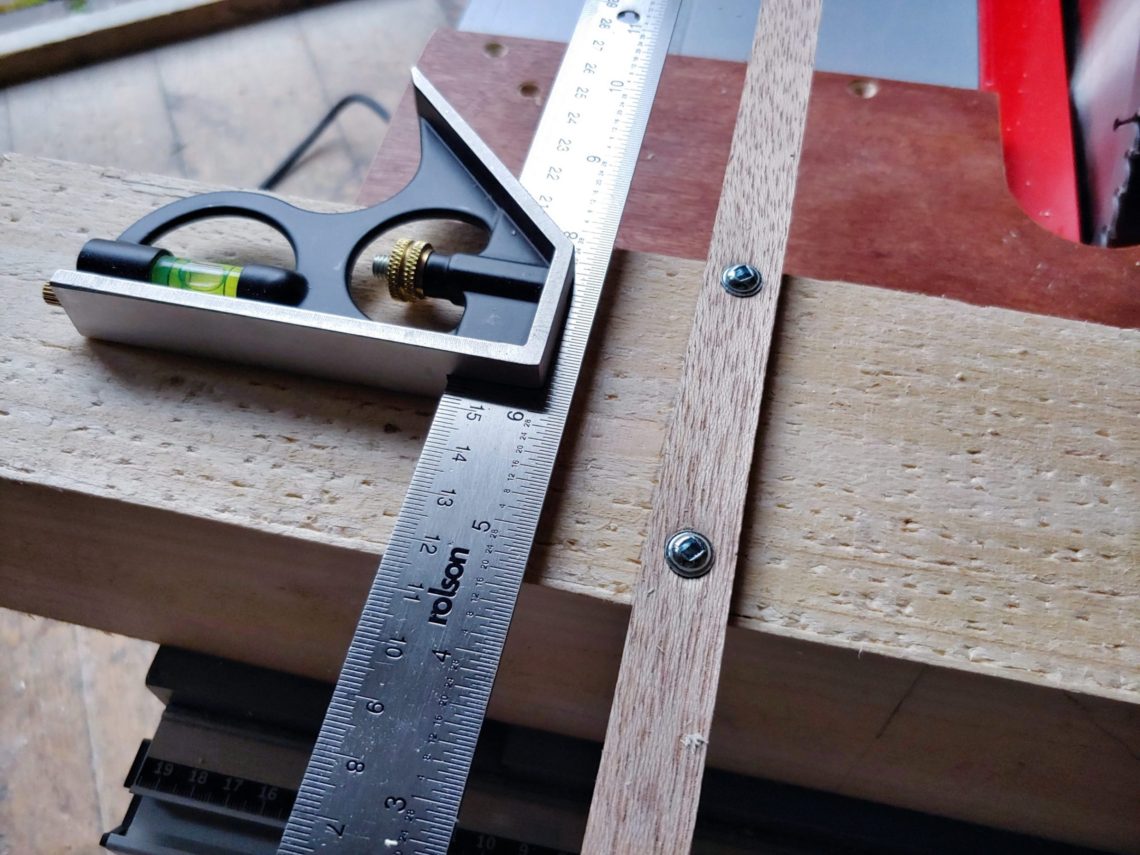
Next, I drilled 2 holes in the runner and used pan head screws to secure it to the foot. In the past, I learned that using countersunk screws can stretch the runner (in these 2 places) and make it unusable.
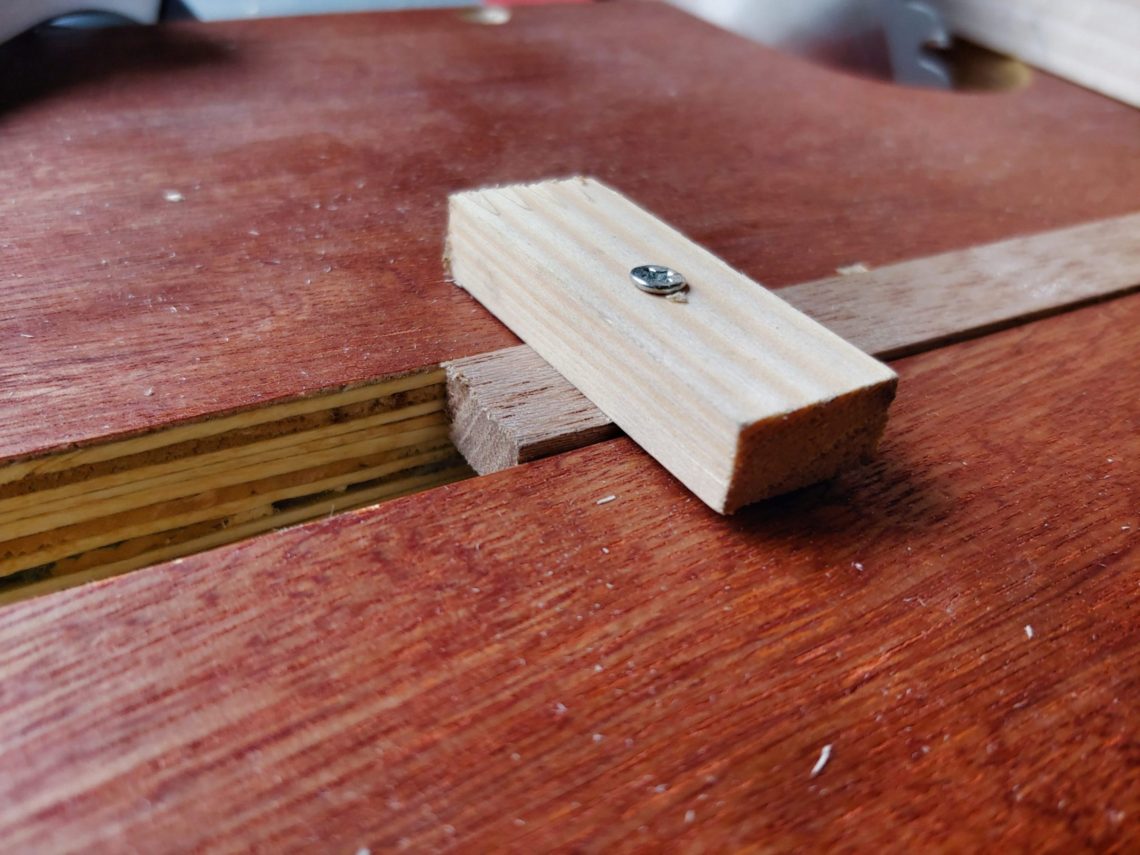
I then installed 2 pieces of timber at both ends to prevent the runner from falling into the slot. I underestimated their role as handles and should have made them a little more solid. They helped to keep my fingers off the blade which sometimes was fully raised!
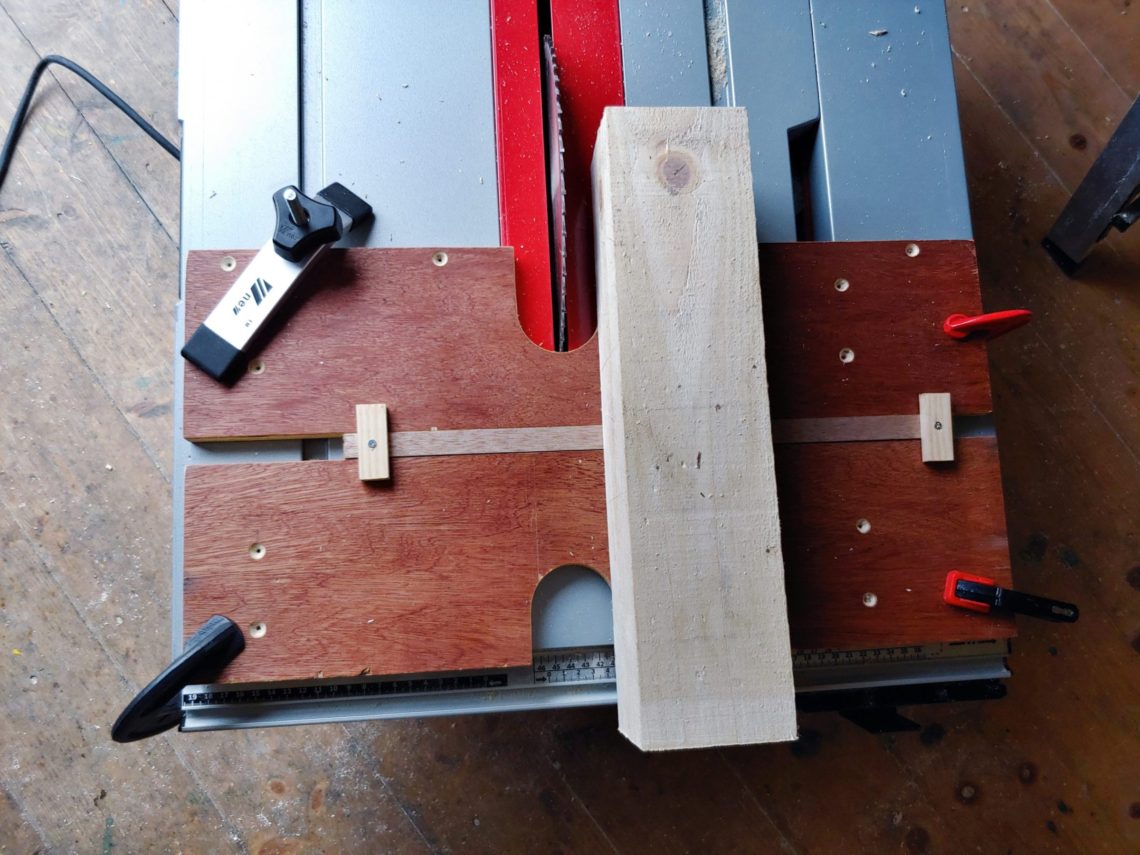
So little by little I raised the blade and made cuts. The runner was placed exactly in the middle, so when one side was done I could flip the piece over and do the other side, perfectly mirrored.
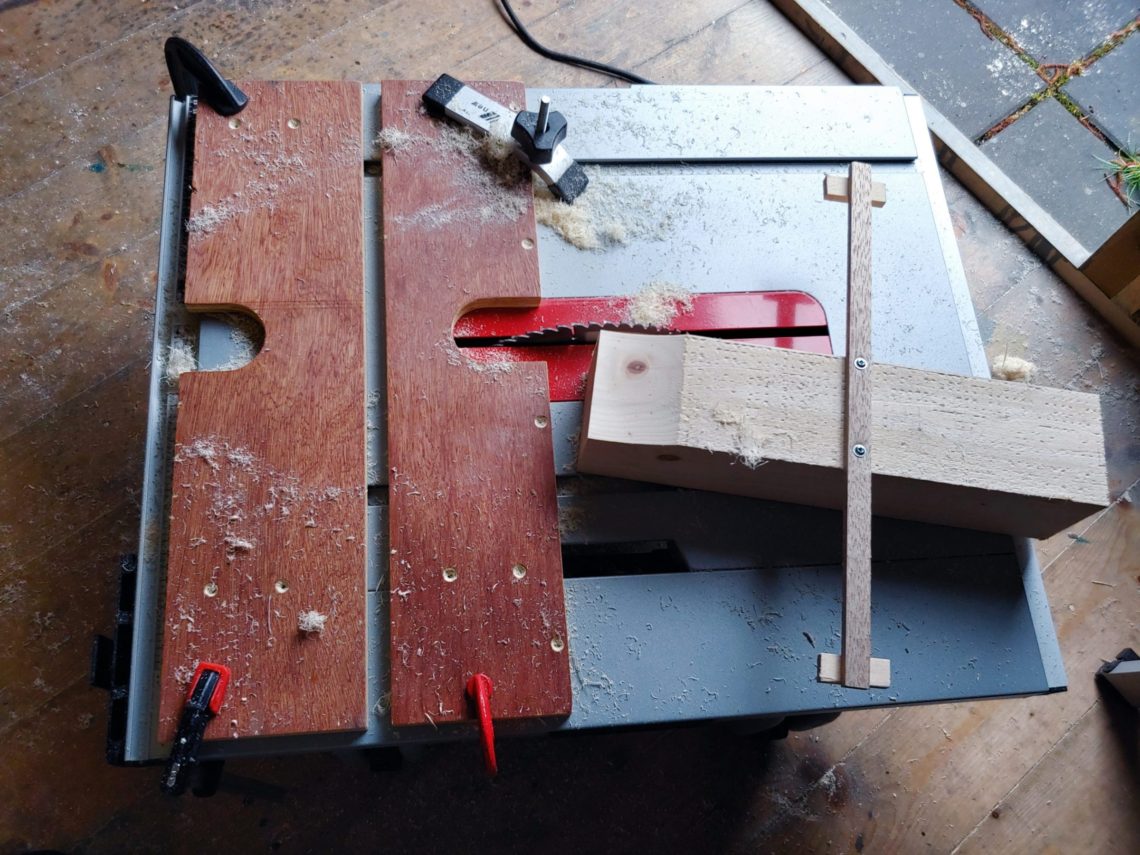
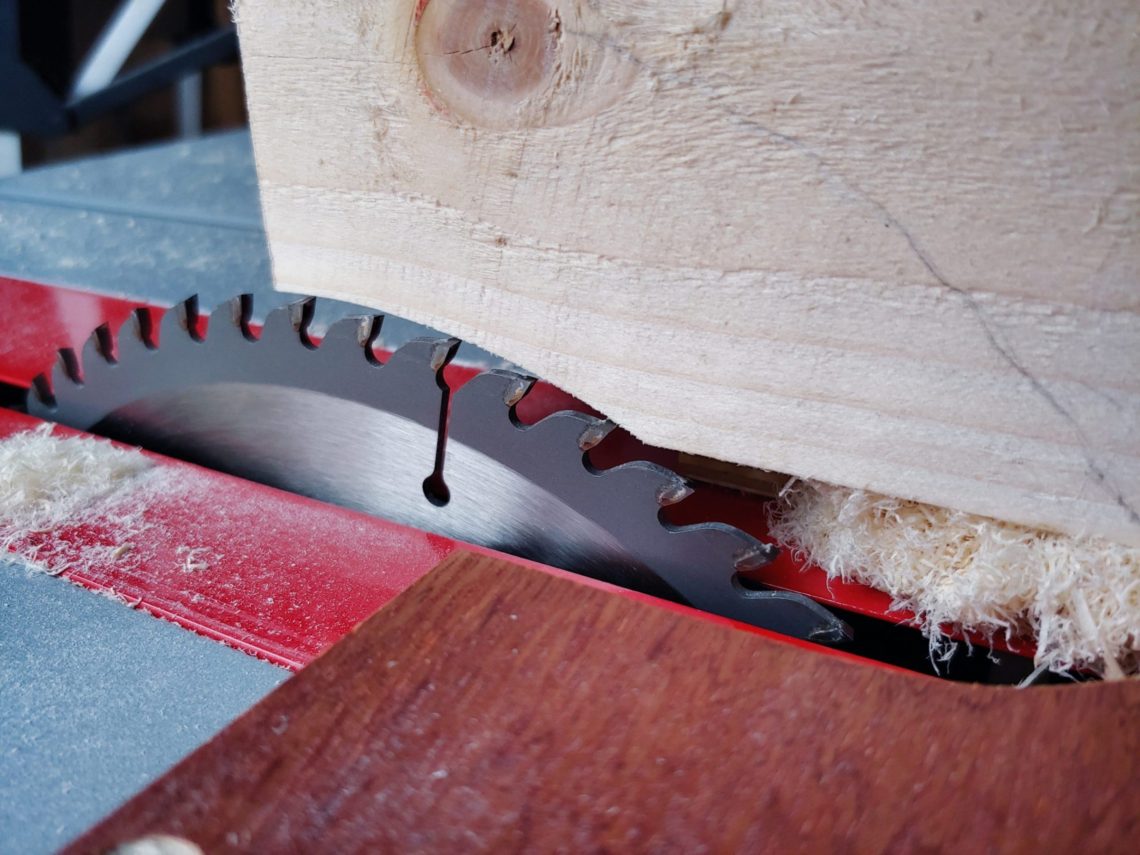
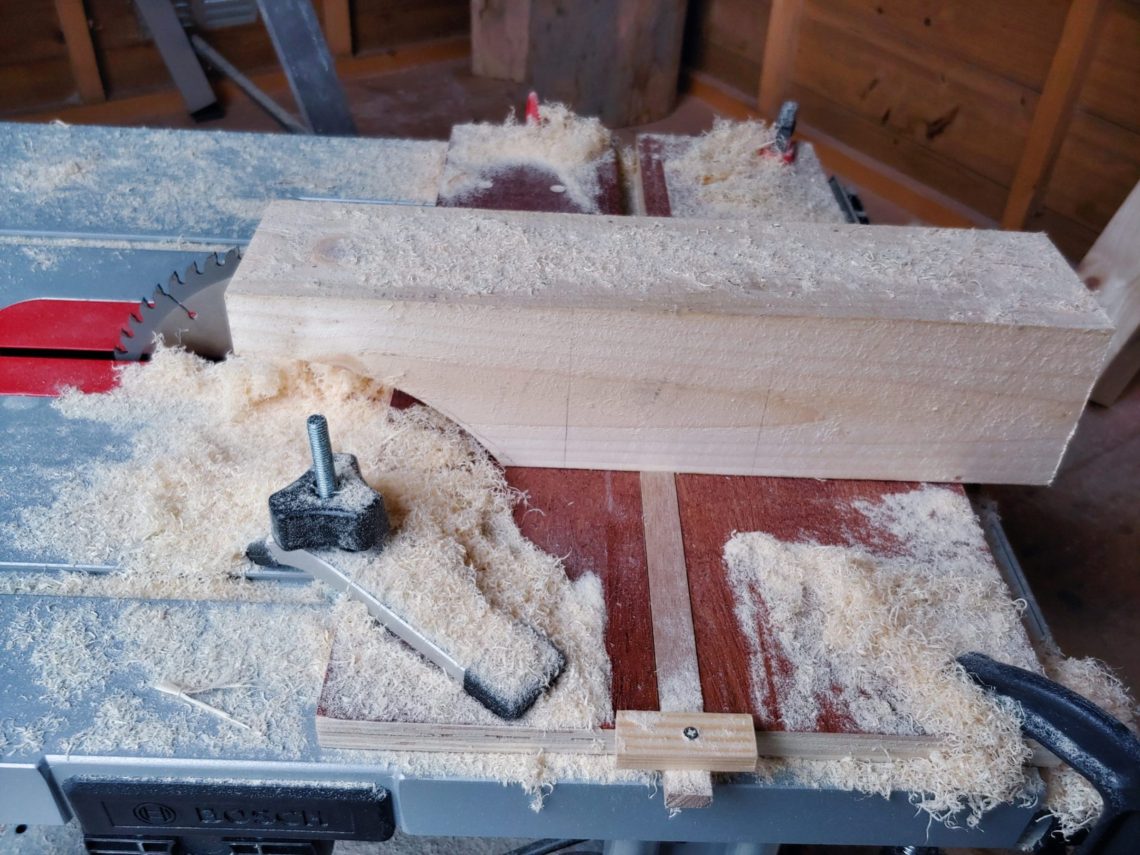
It took about 15 minutes for 1 side to complete, and 1 hour for the set of 2 feet. It was very important to do little steps for a couple of reasons. Safety, not overheating the blade and minimising tear-out. Speaking of which, probably due to the grain direction one side was usually a bit smoother than the other.
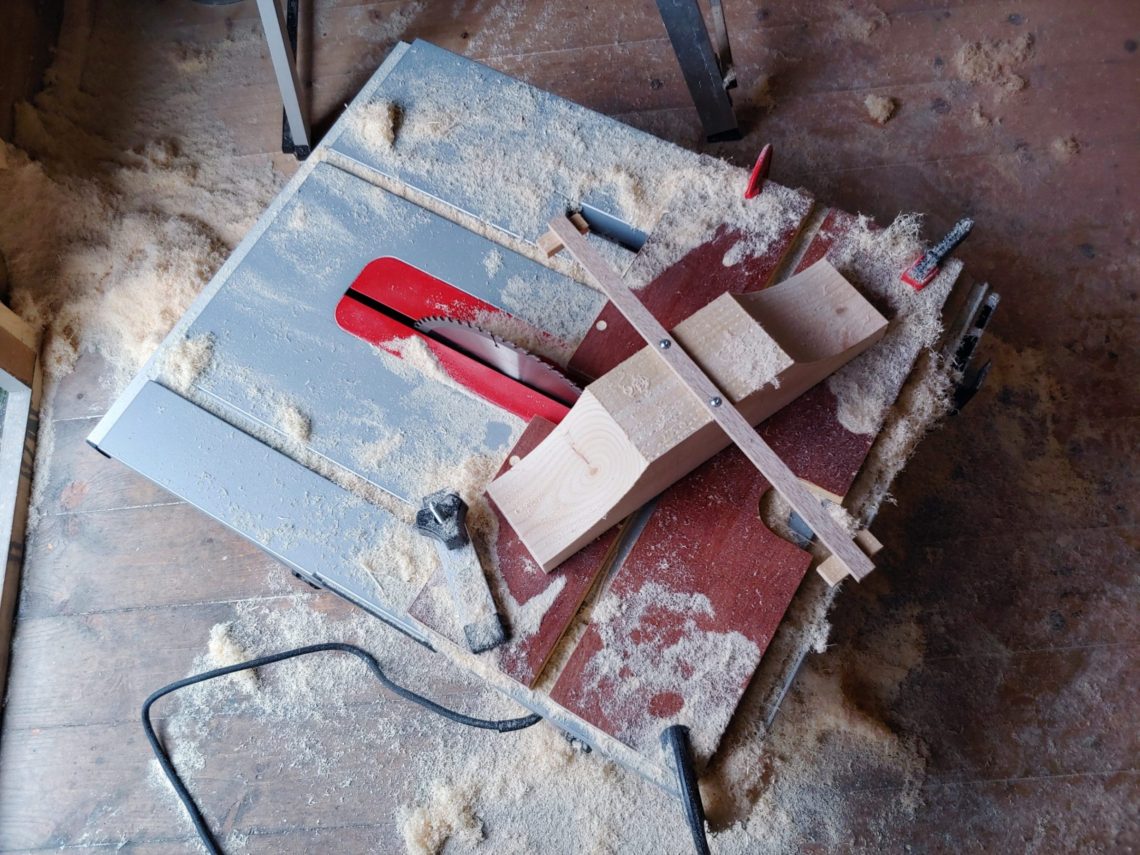
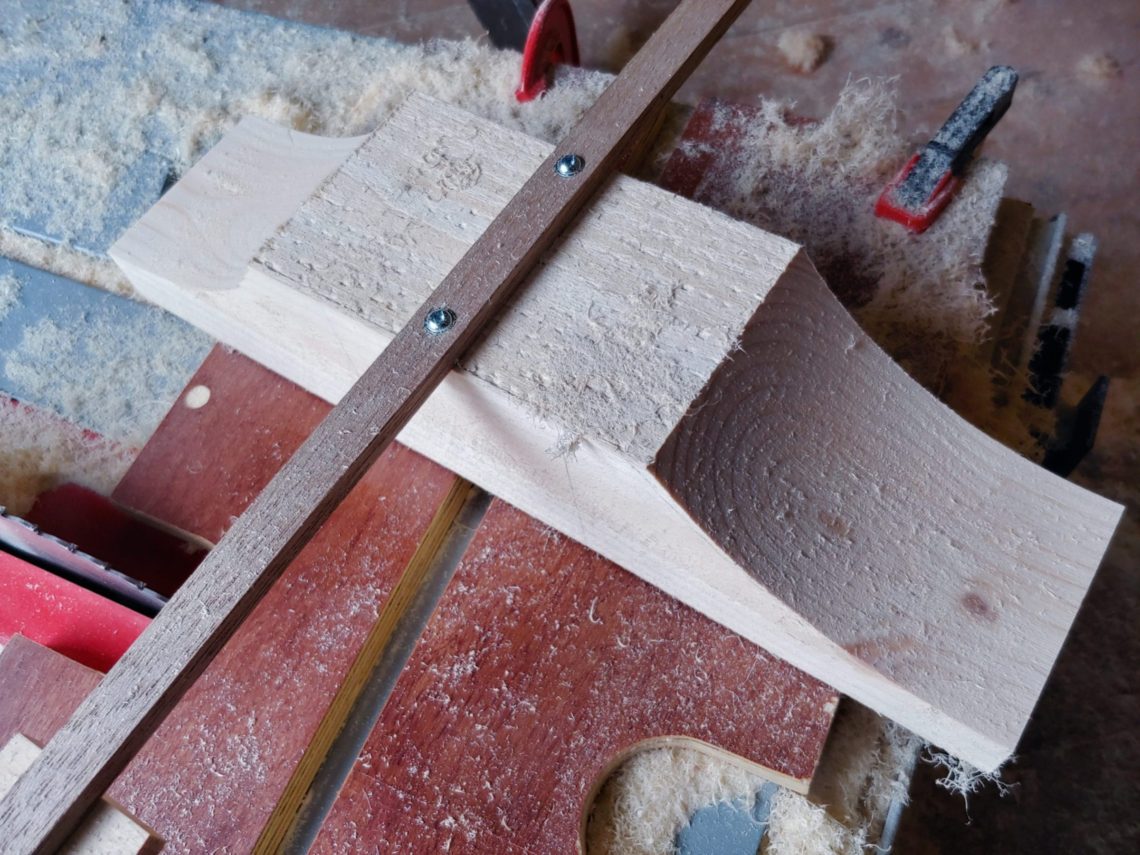
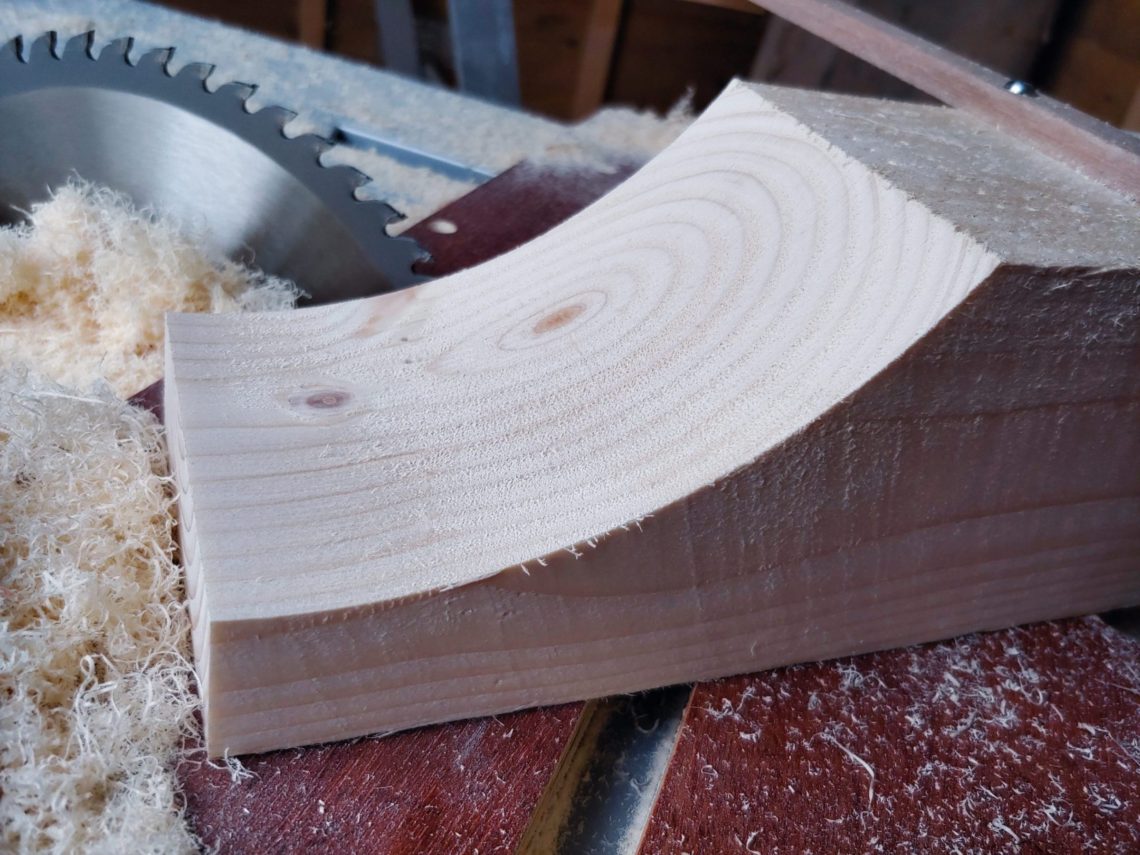
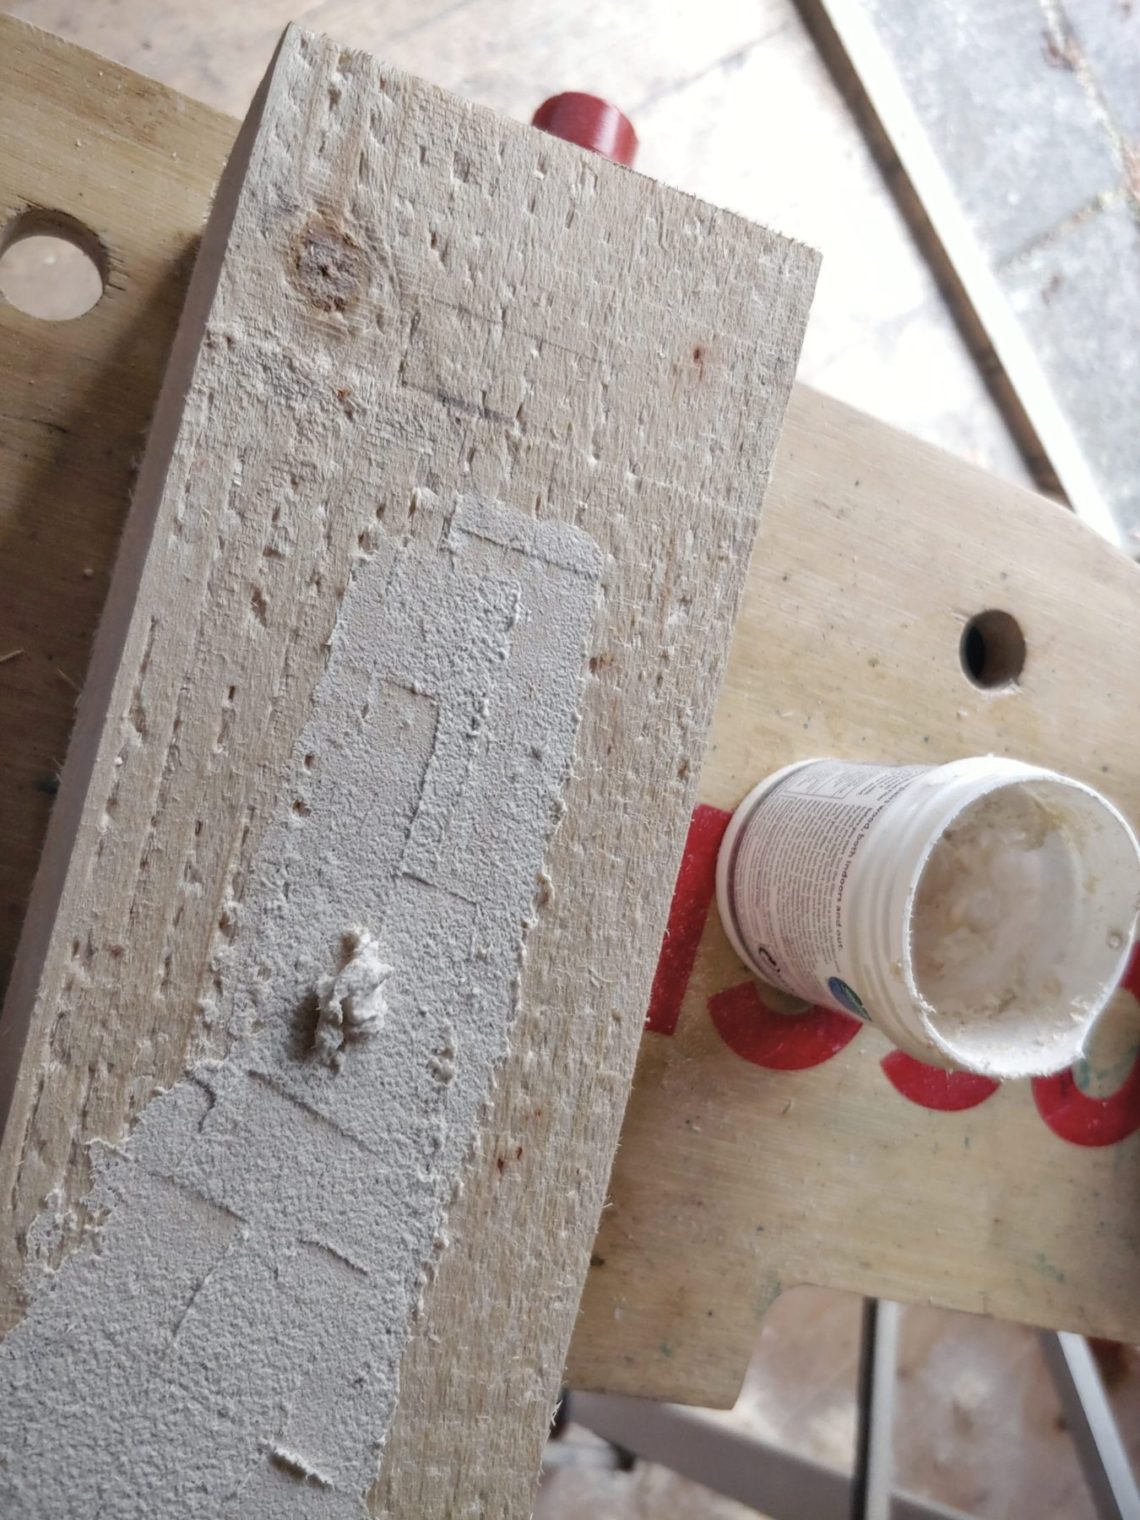
So that was it, cutting coves on a table saw, the Devil is not so black as he is painted. Next, I roughly sanded all 3 pieces, largely to get some sawdust that I could then mix with glue and make home-made wood filler. When it dried, to be honest, it didn’t do any amazing job, but at least I tried to make my own putty.
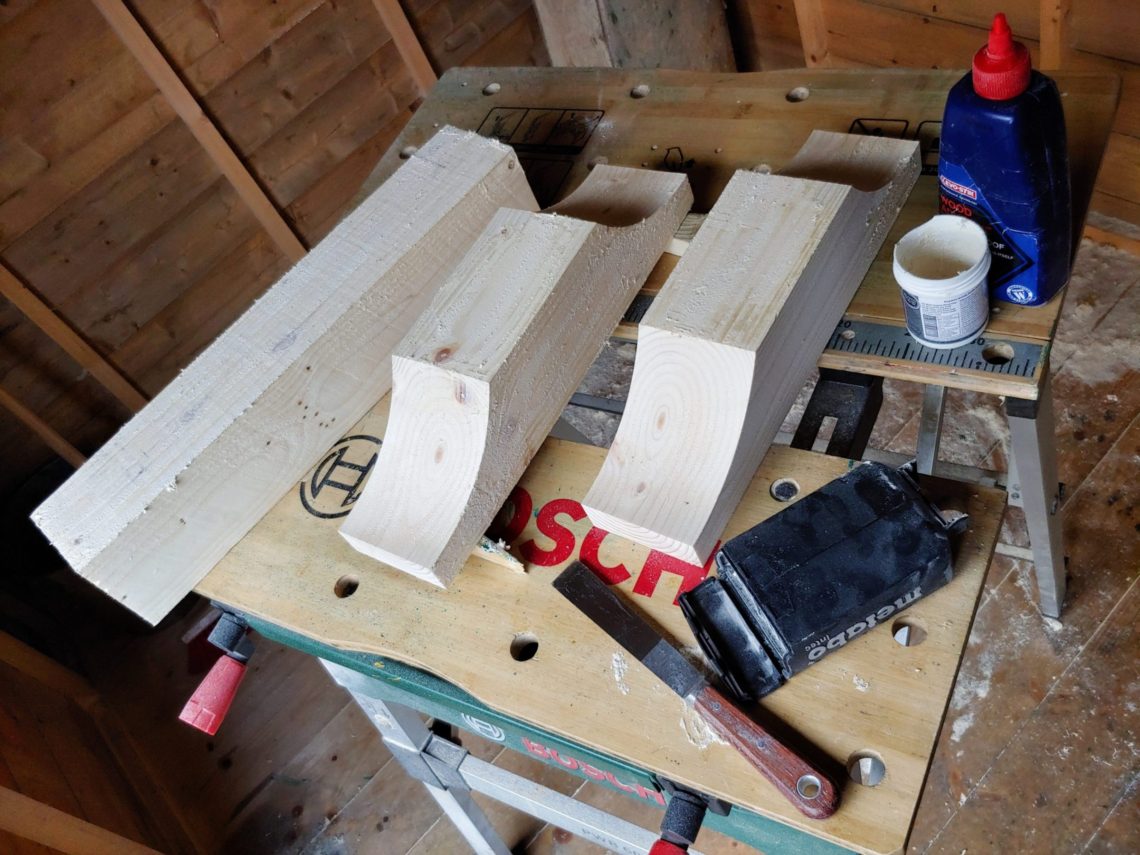
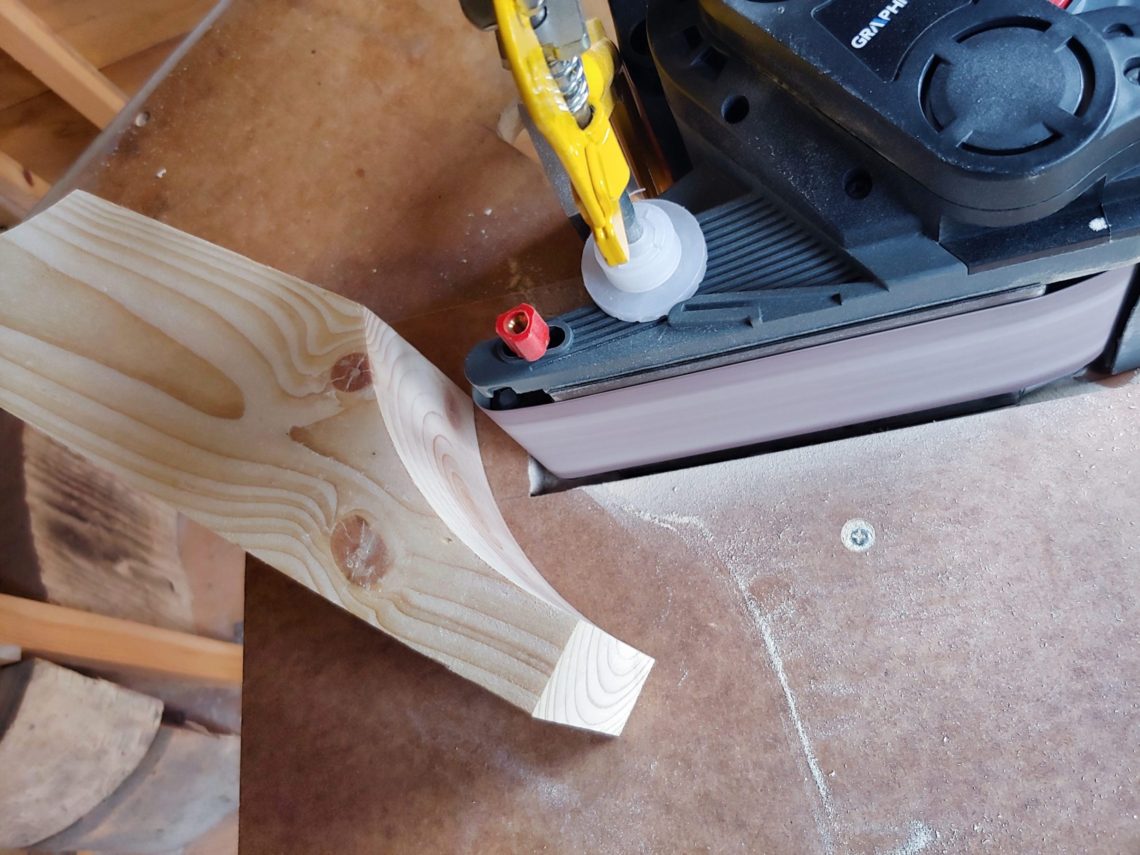
A lot of sanding was the next thing to do. I also put some curves on the bottom parts of the feet. My belt sander did a very good job, I used 40 grits belts for shaping, and 240 for sanding.
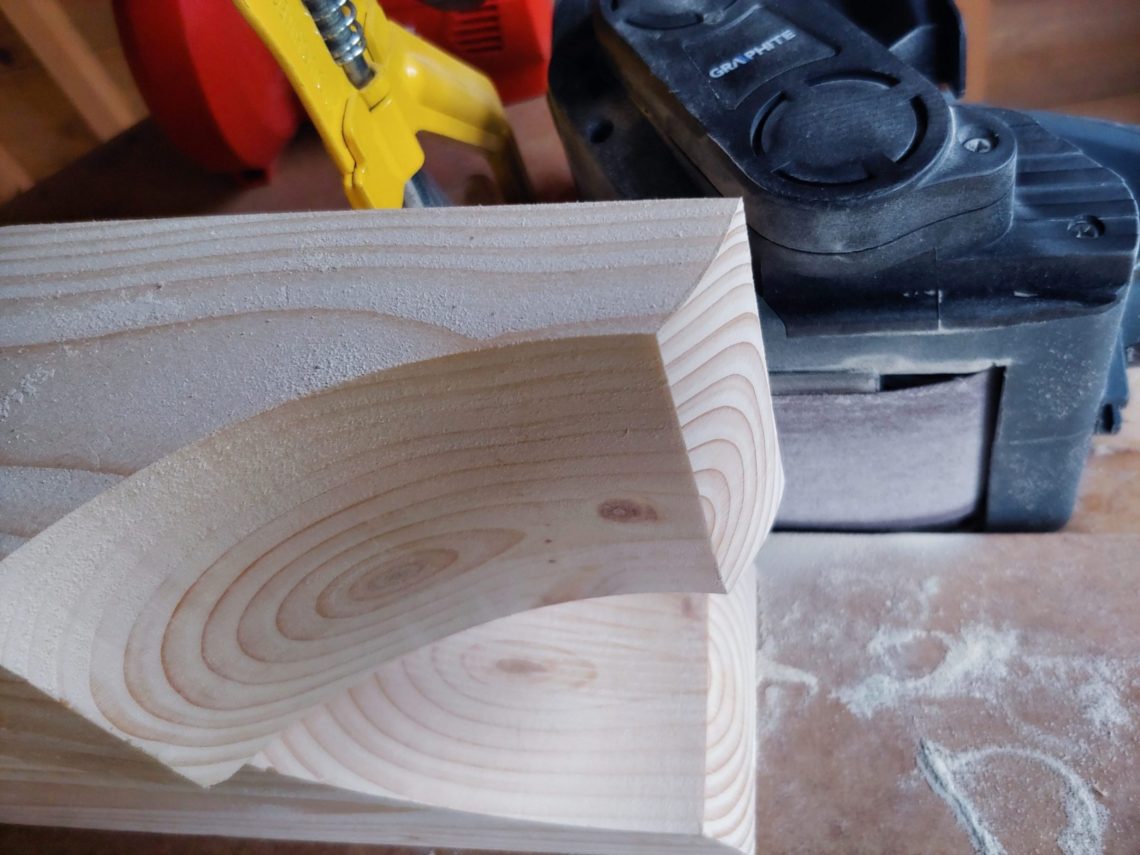
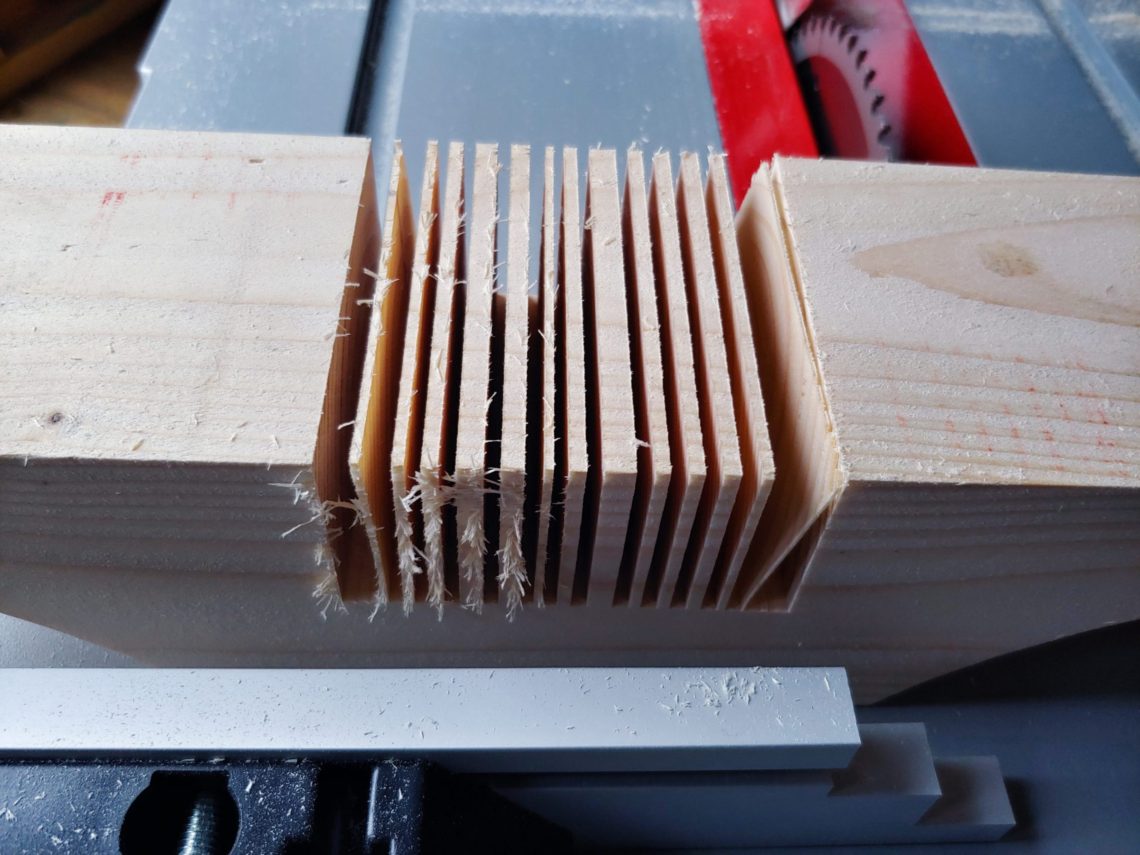
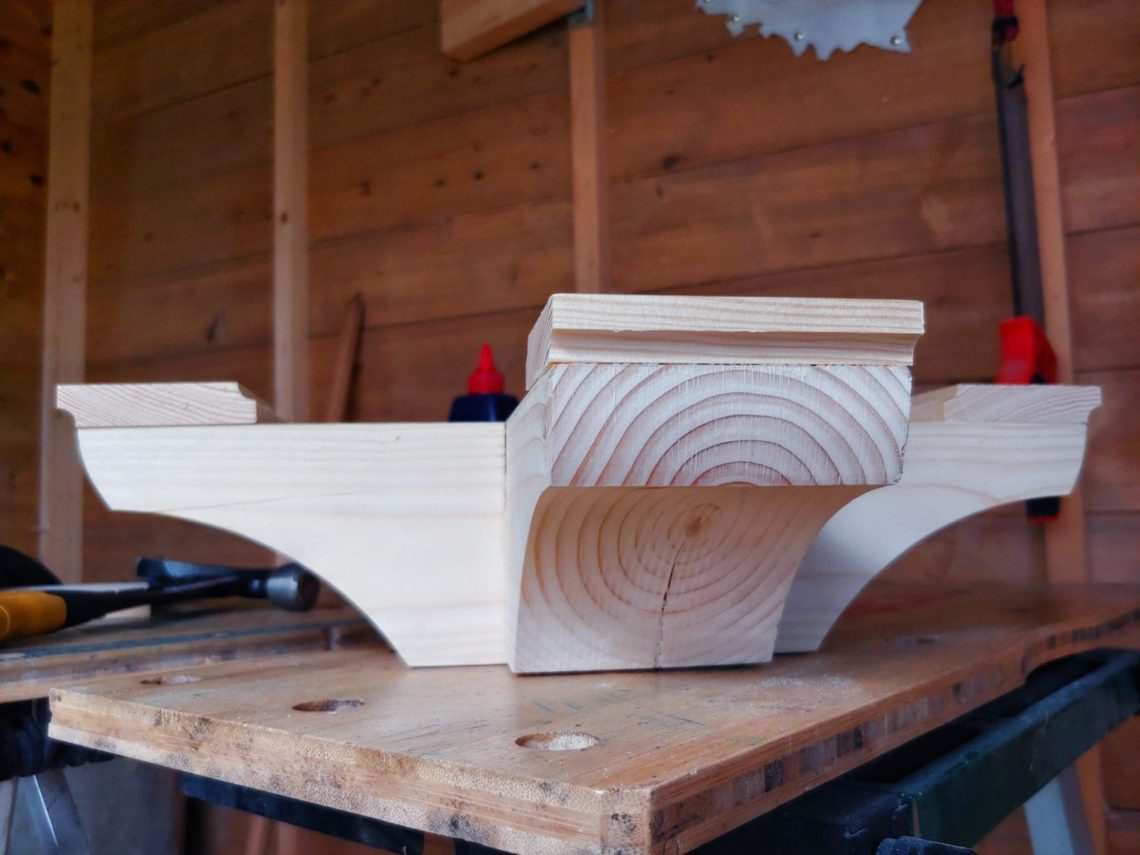
Next, I started to cut the half-lap joint. I marked the lines with my marking knife, raised the blade and did a few cuts every 5 mm or so. What was left was easy to break or remove by hand, with no tools whatsoever. The rough surface was cleaned on a table saw by moving the piece over the blade from left to right.
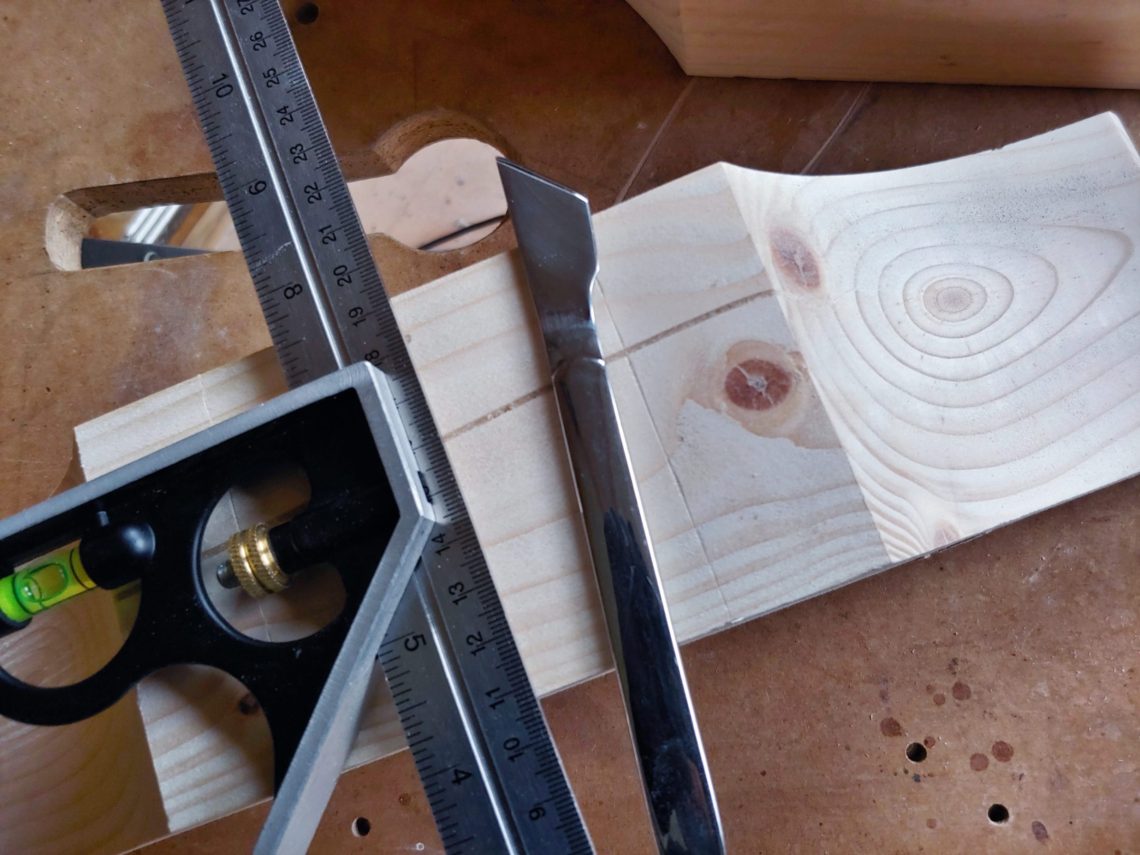
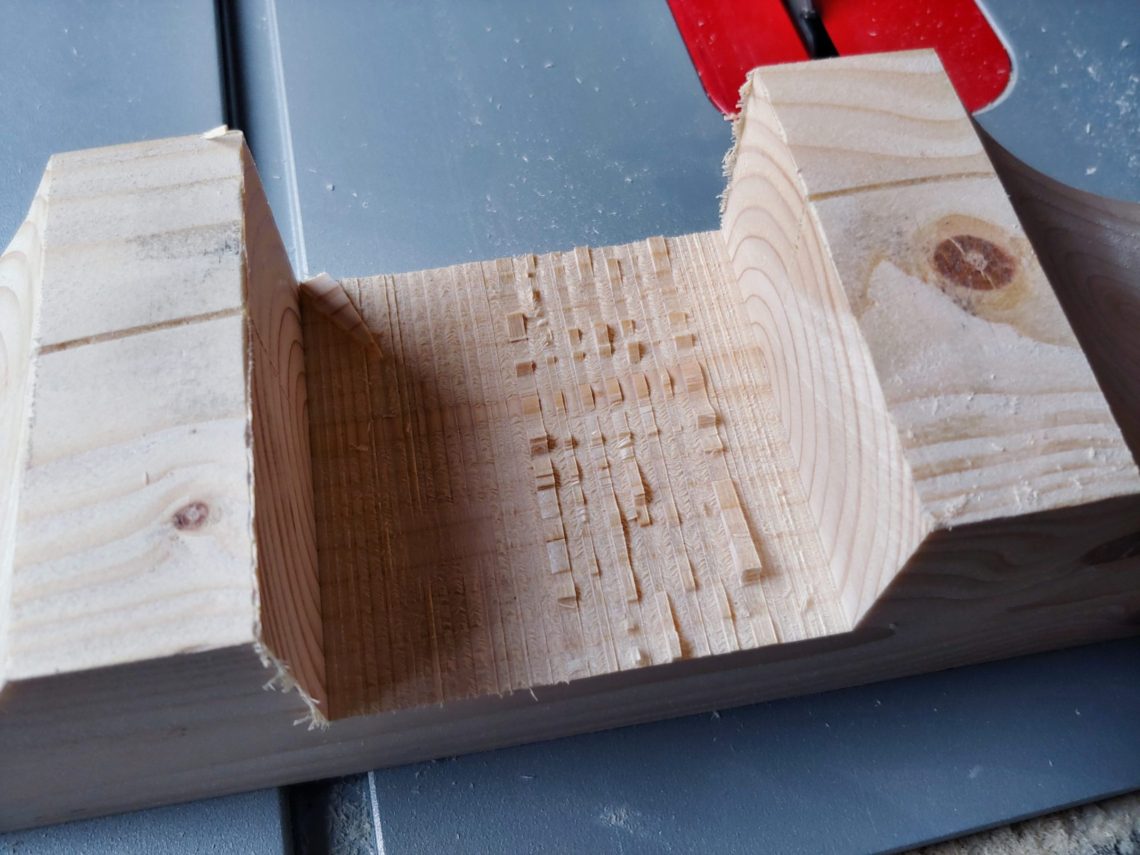
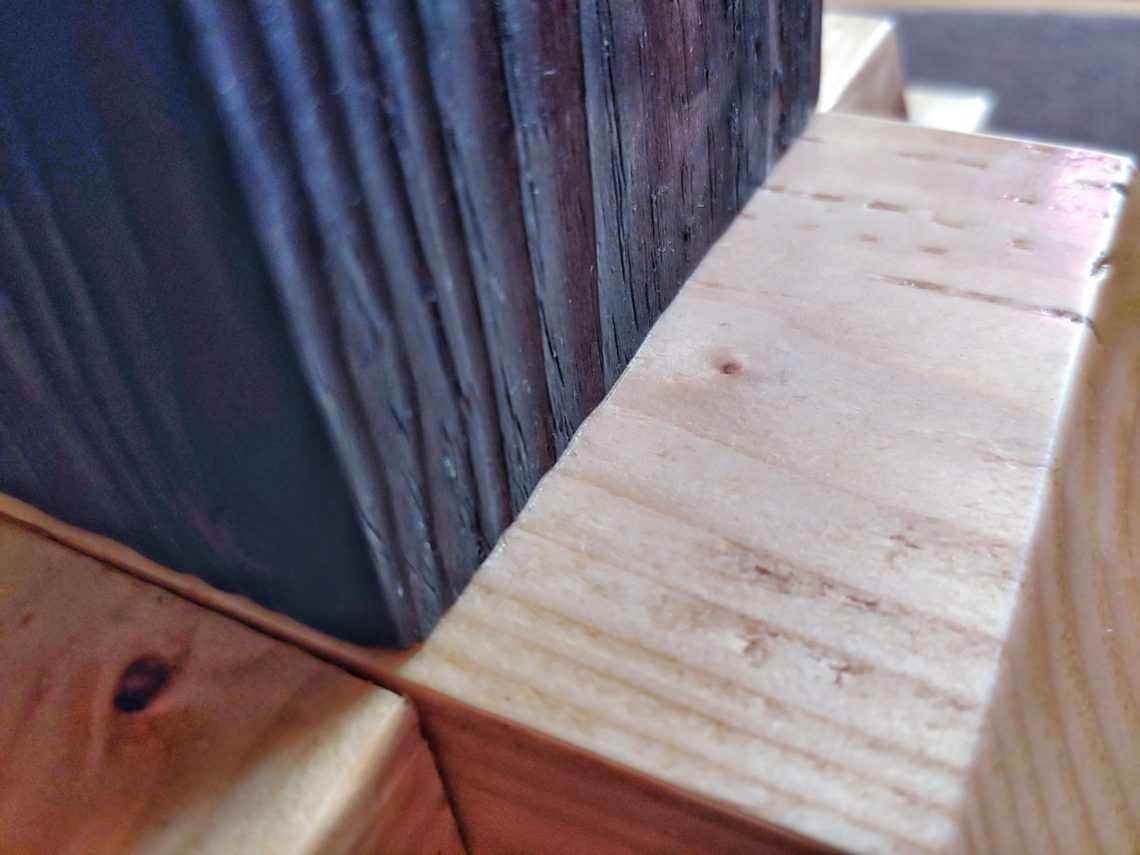
Before the assembly, I eased the edges with a mini file. The next step was just to put everything together using glue, a mallet and clamps.
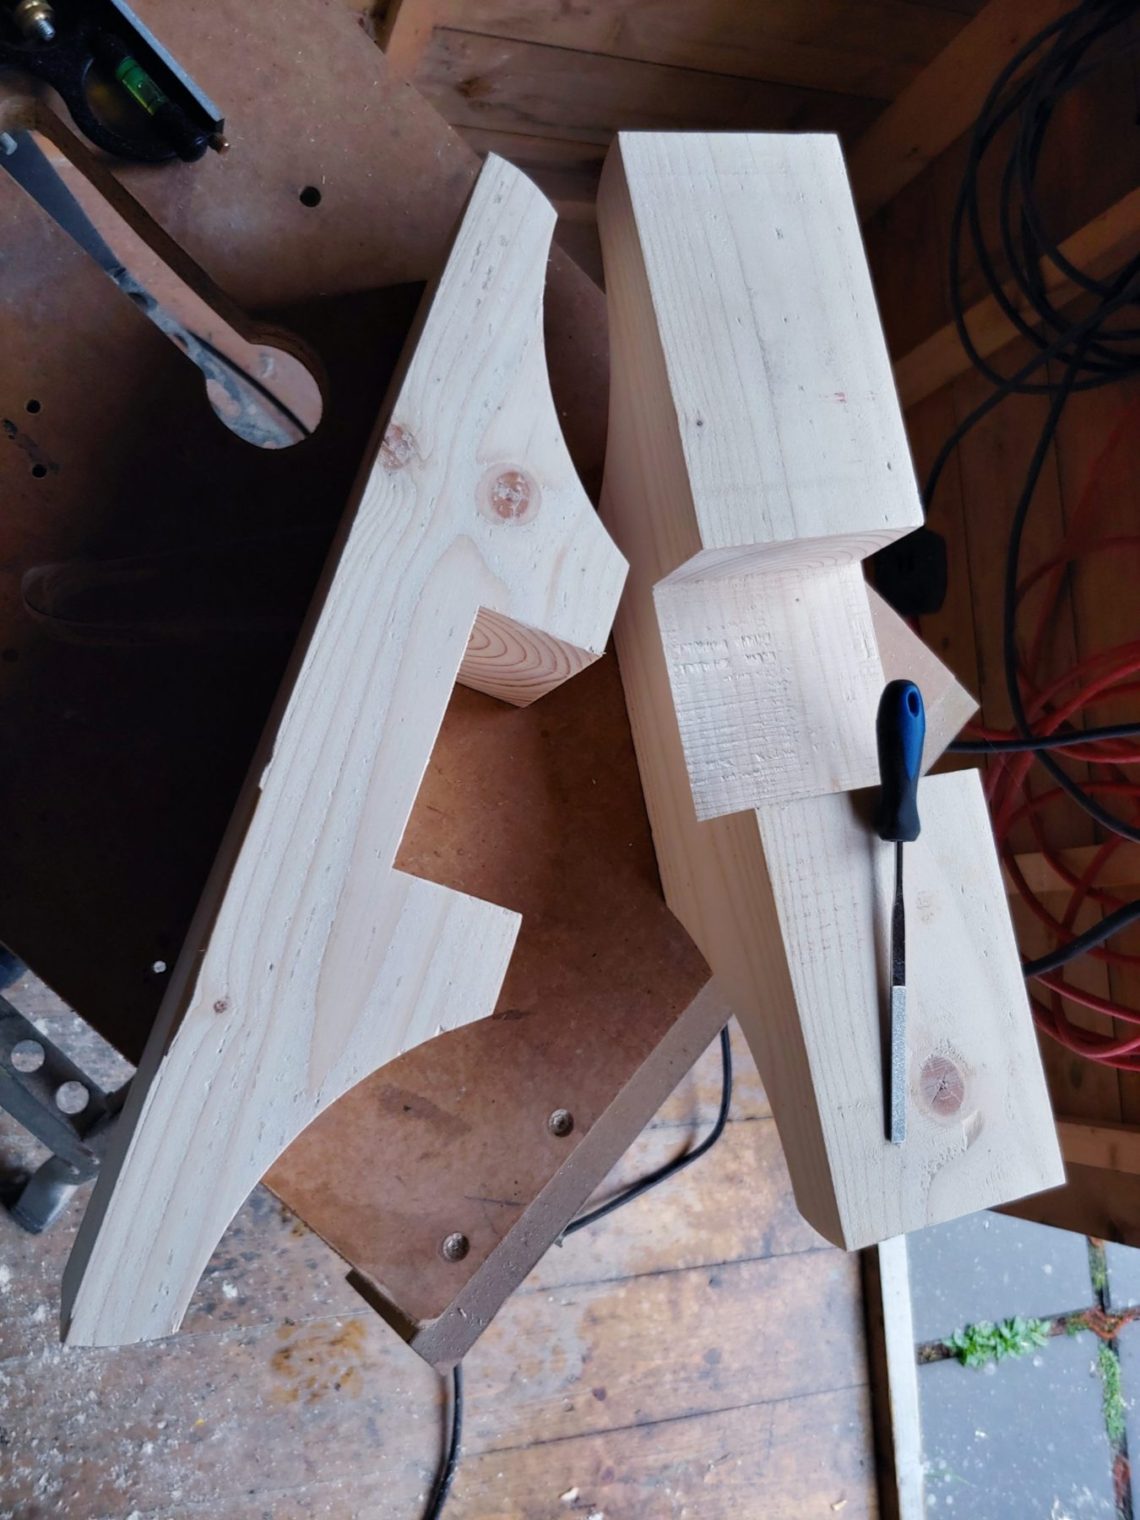
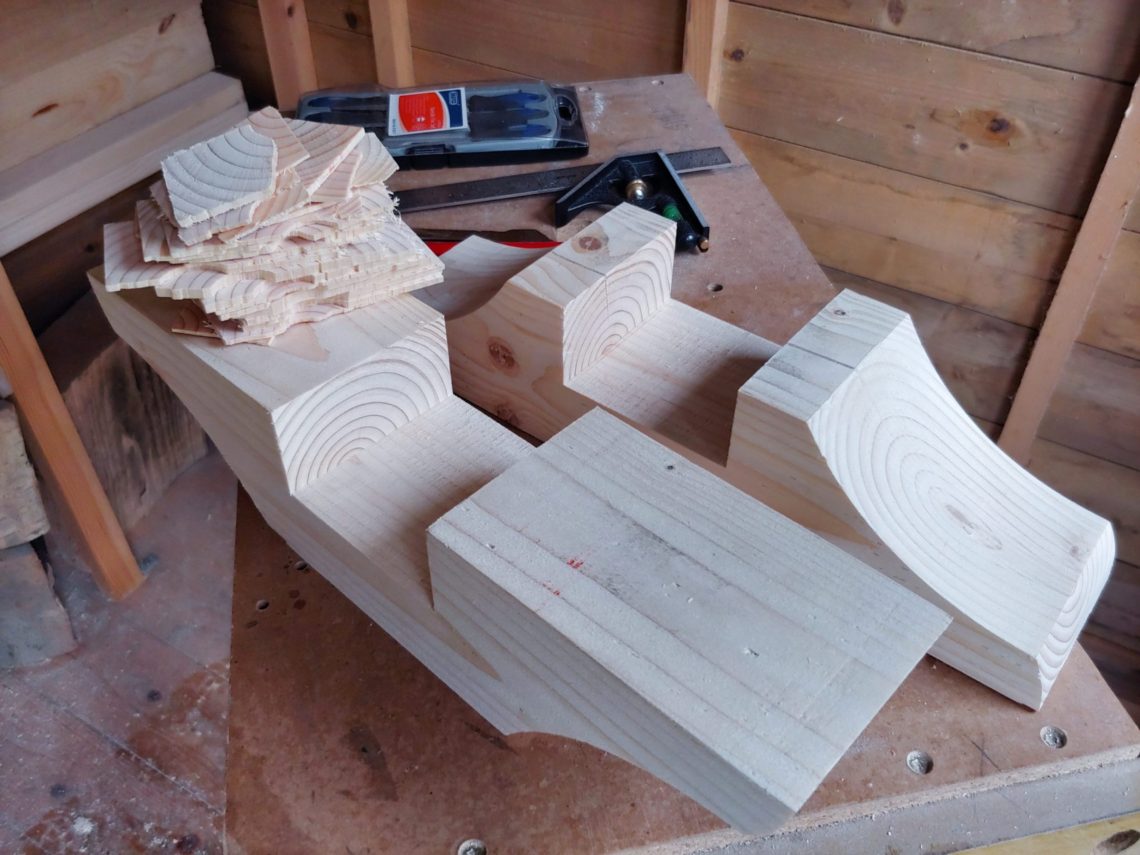
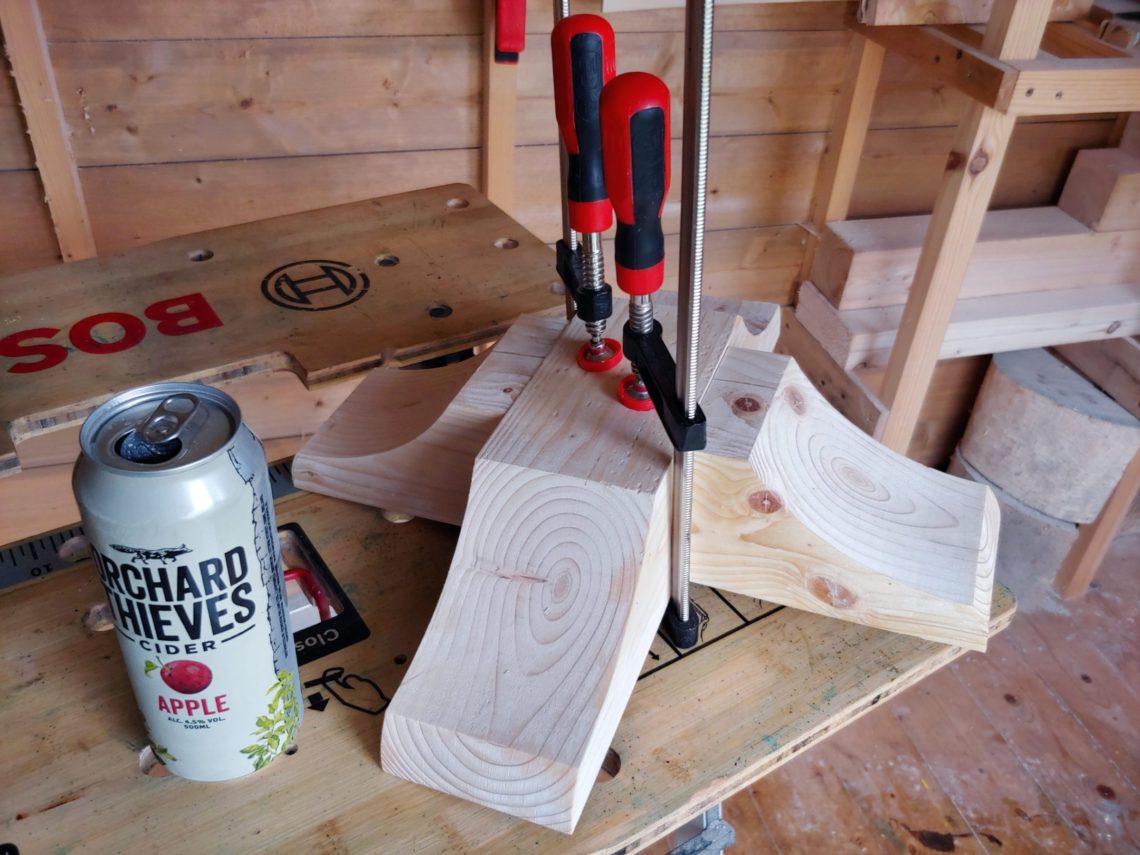
To protect the feet from breaking with a vacuum cleaner I made some “bumpers”. It should also look better not sitting completely flat on the ground. Routing was followed by cutting to size on a table saw. I should confess that the bumpers were cut a little heavy and sanded flush later on.
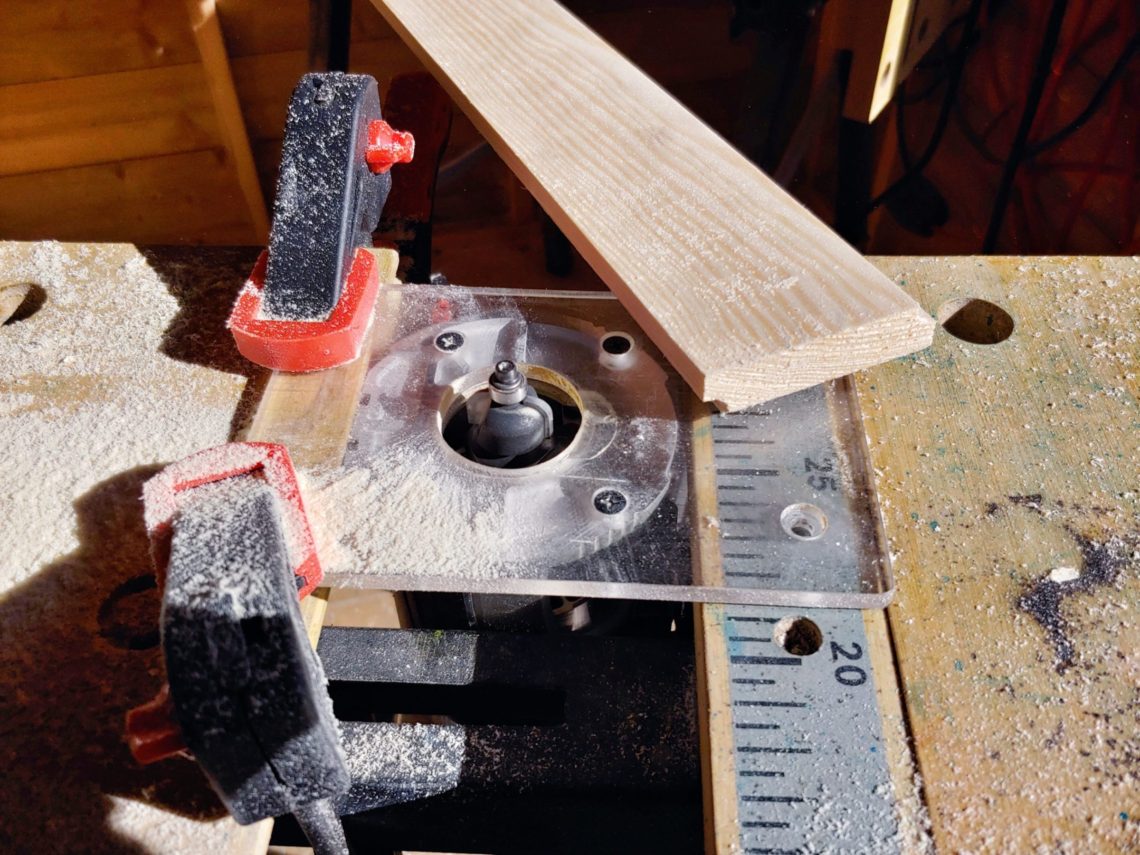
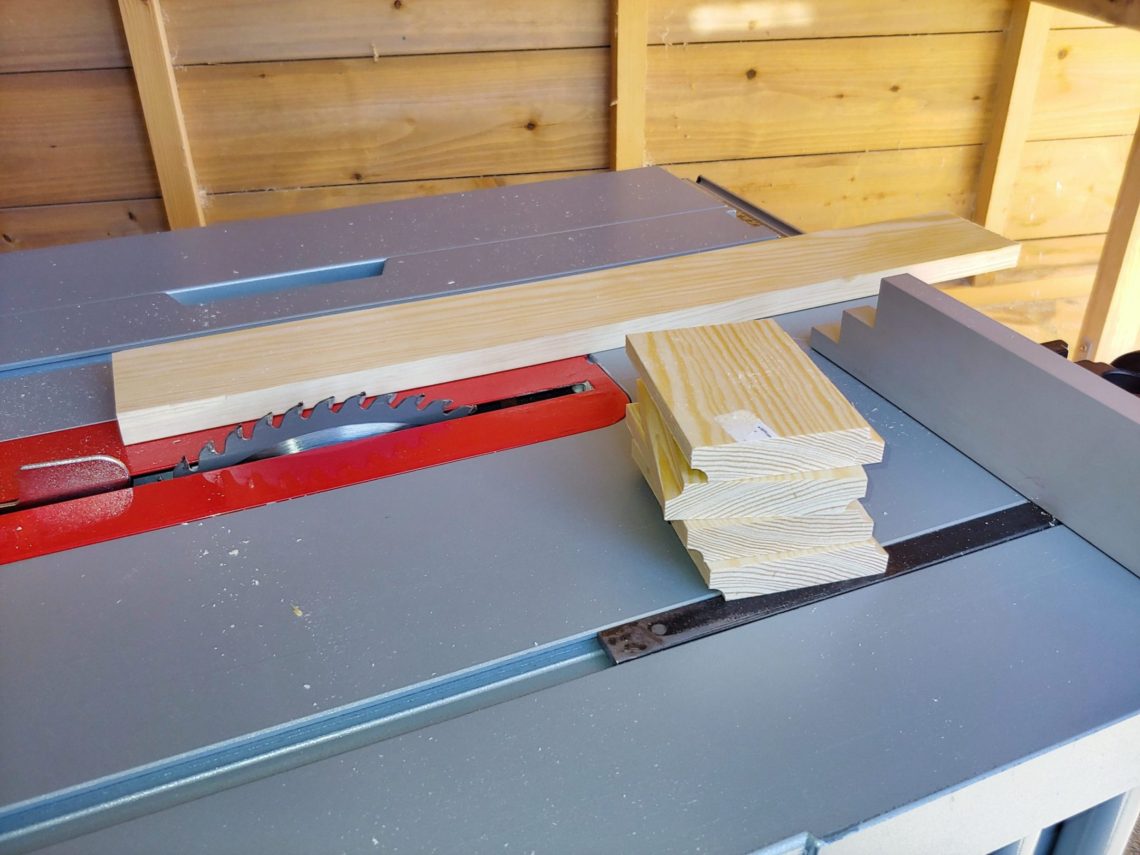
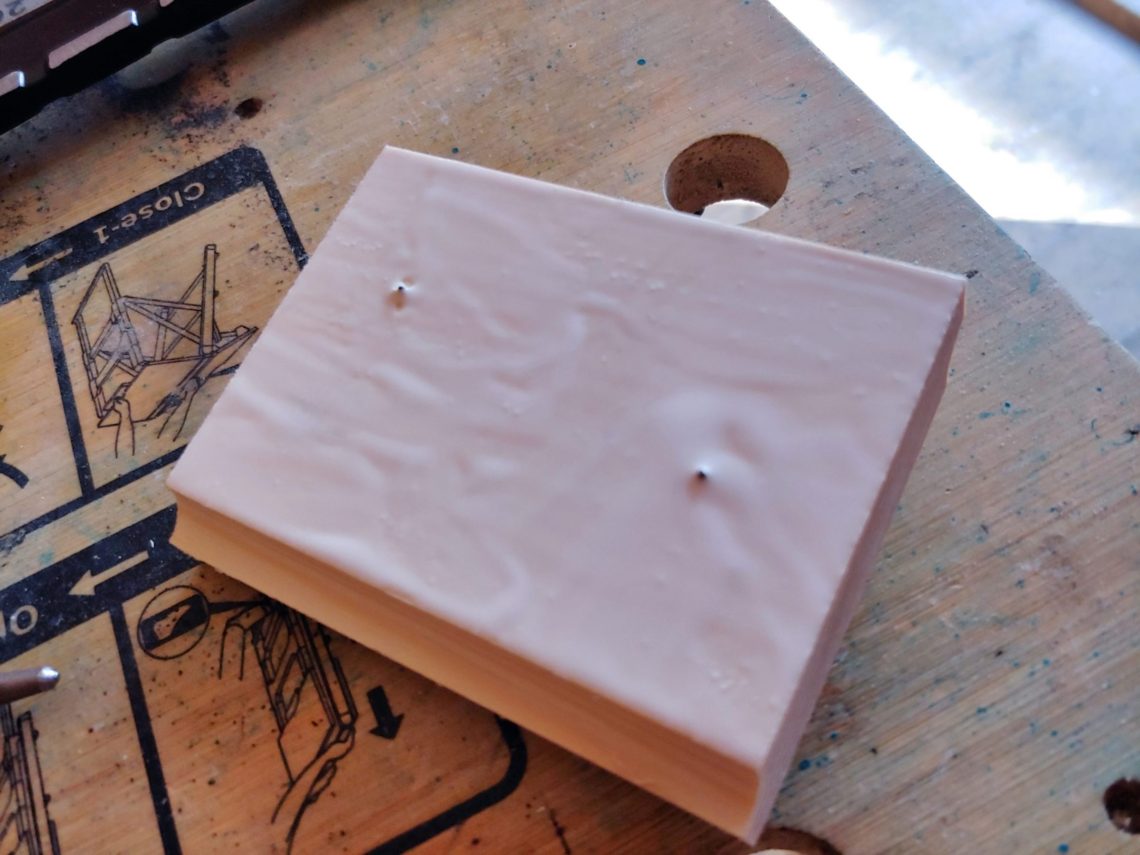
To make the glueing easier I drove 2 nails through the moulding to prevent the piece from sliding around. Once it was in place I fixed it with more nails. That method worked very well, there was no need to use any clamps.
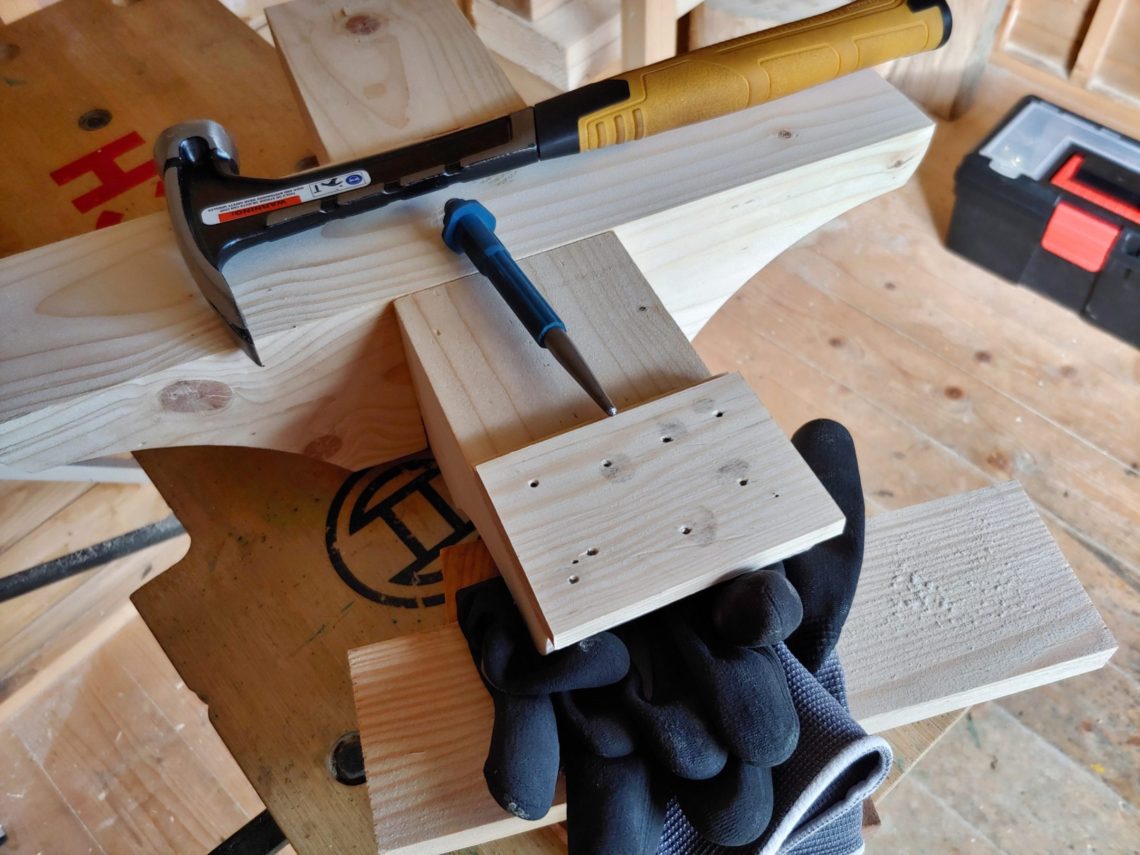
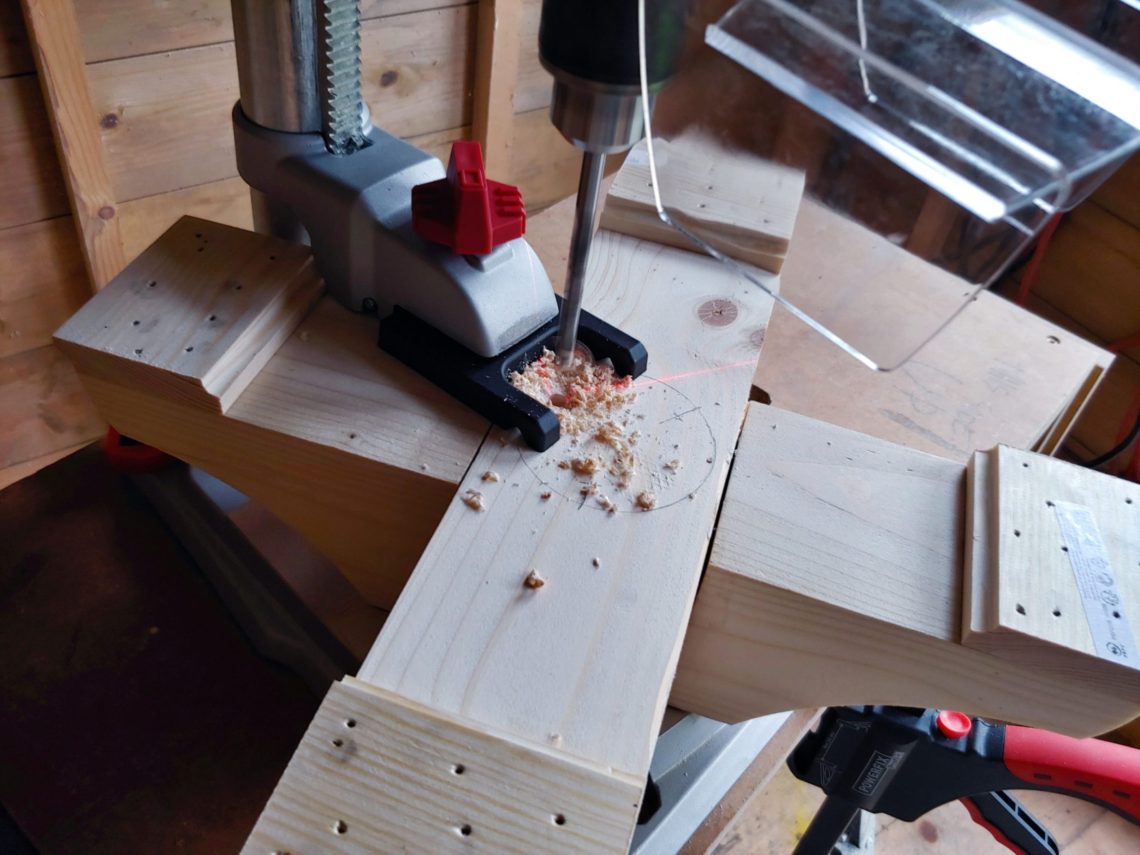
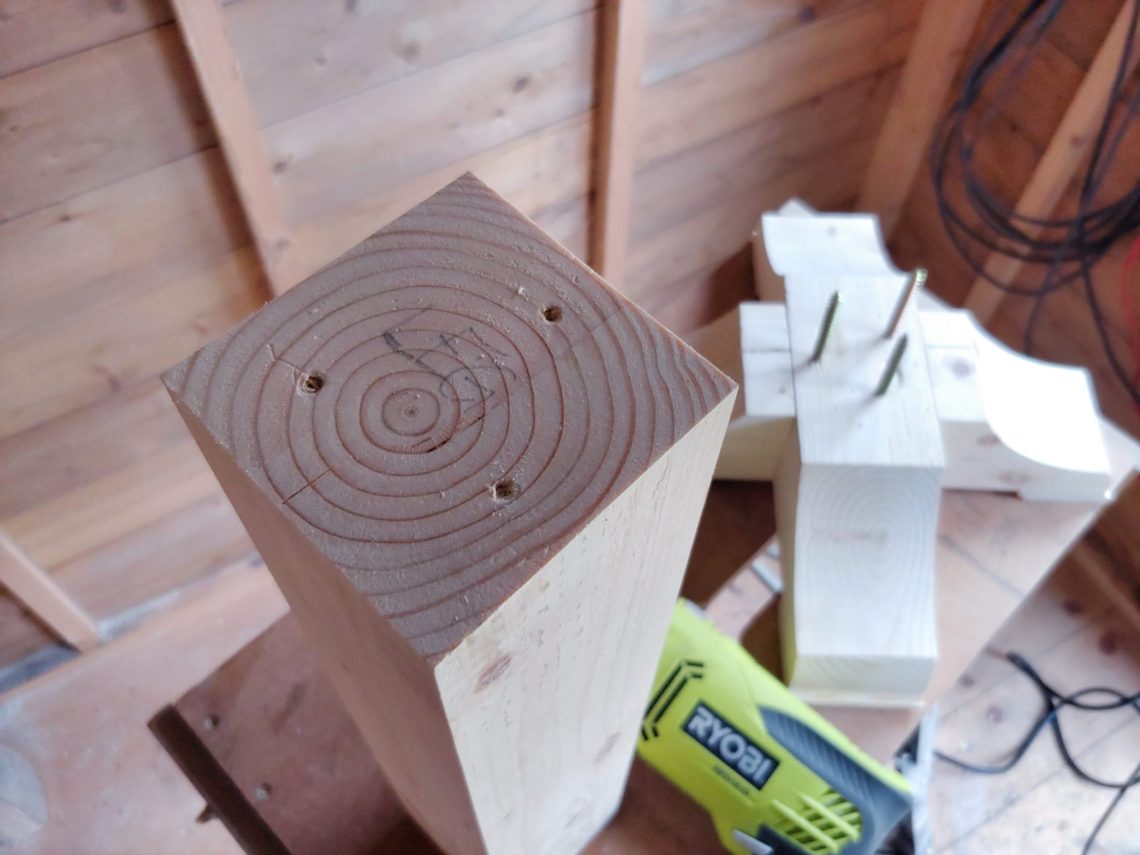
I only got 3 screws, simply because there were only 3 in stock in my hardware store. These are 160 mm (6.3″) long, very massive, partially-threaded and non-pozi. I always spend a lot of time choosing the right screw for the job. I drilled 3 holes through the foot, marked 3 spots on the leg and drilled pilot holes (freehand). It was crucial to keep everything square at all times.
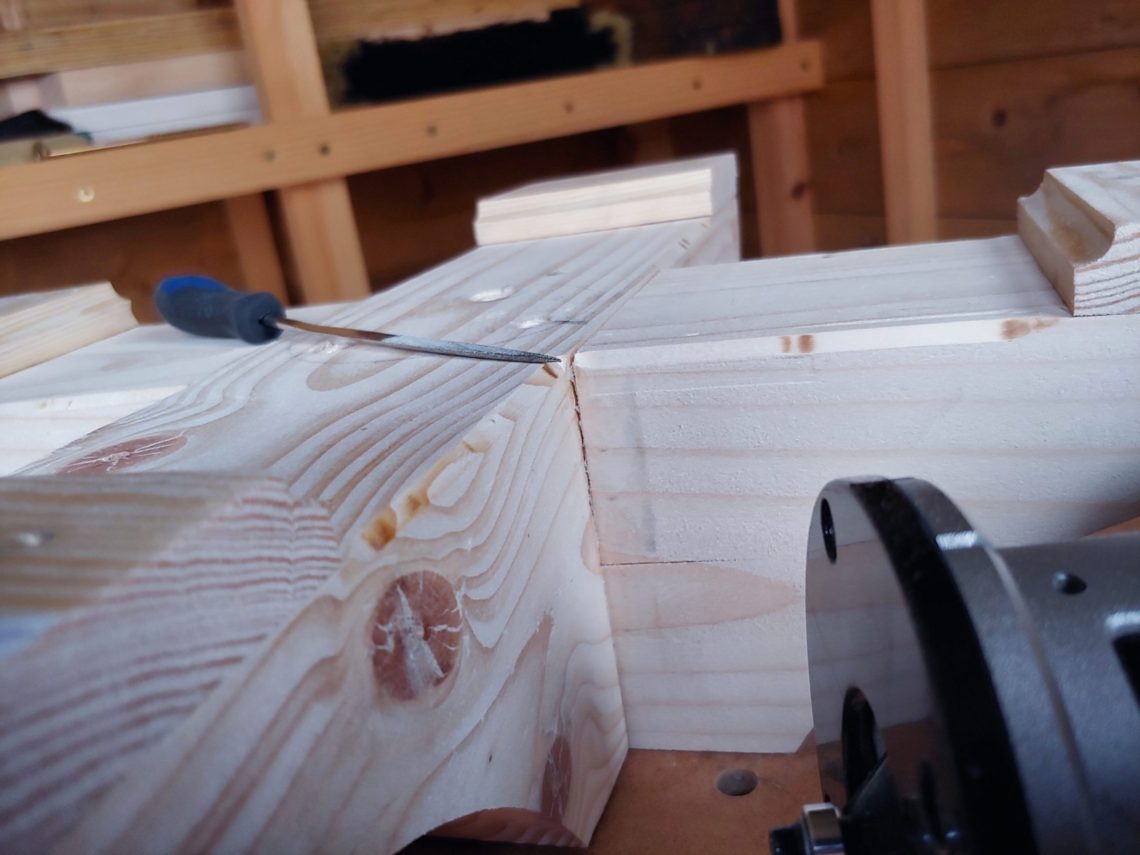
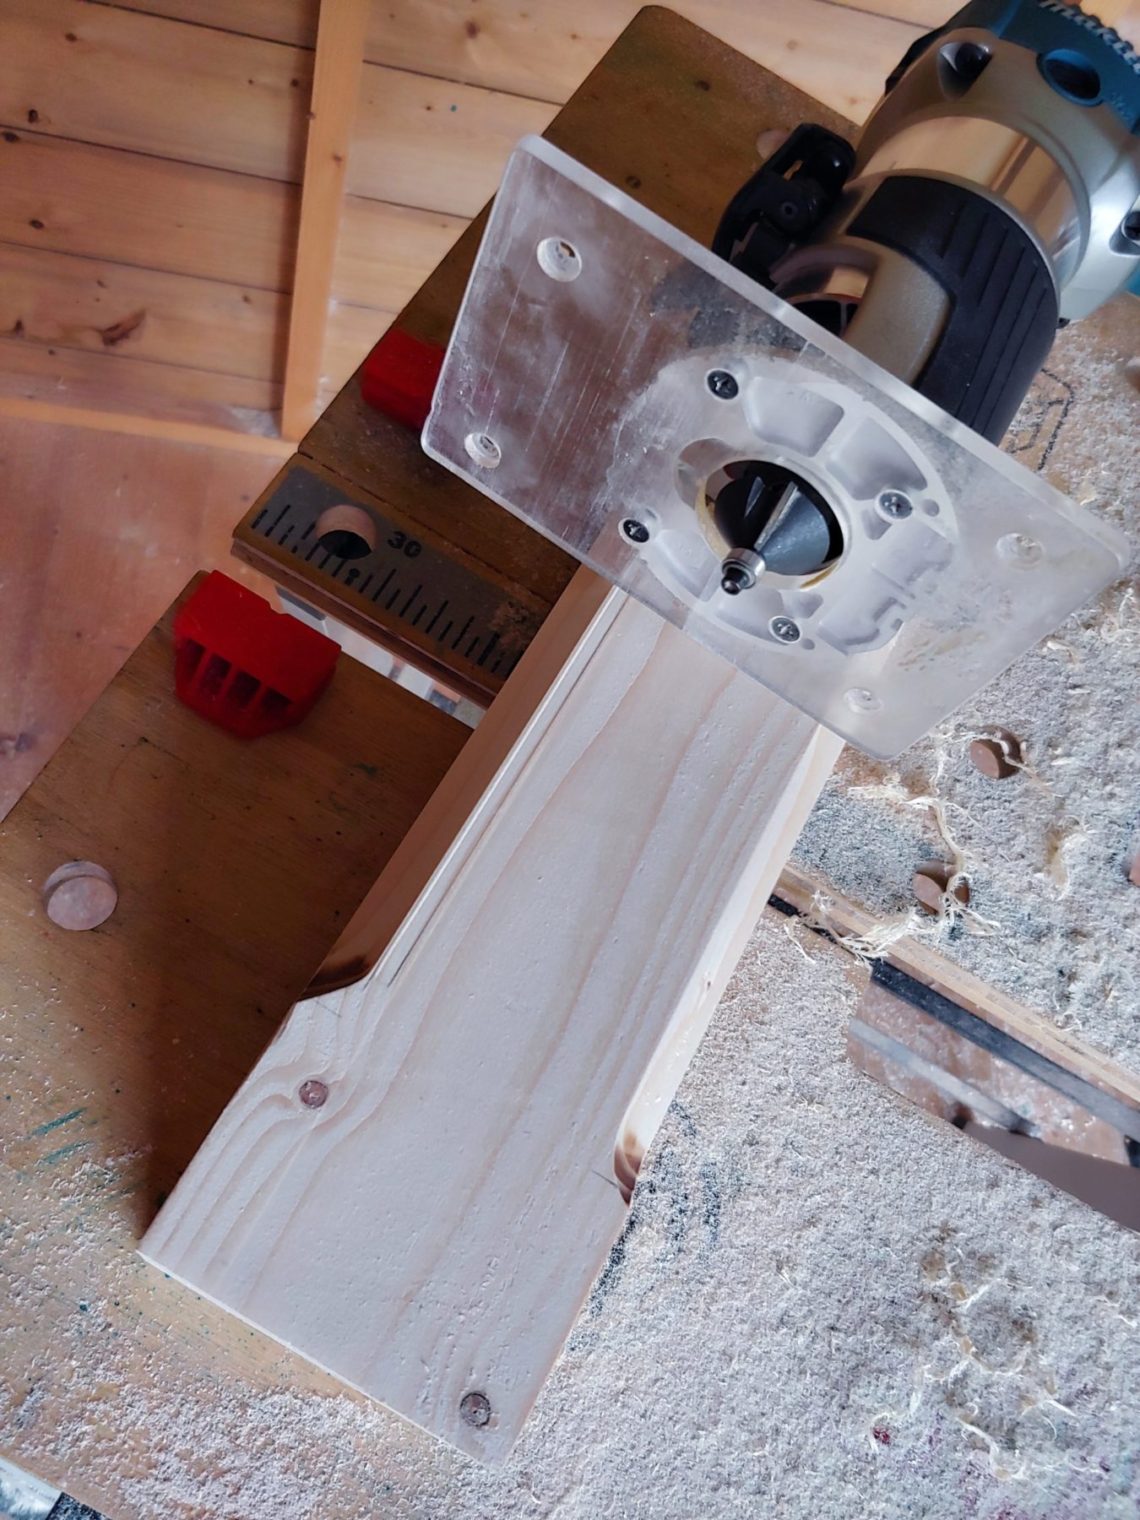
I checked the fit and installed a chamfering bit in my router. I lightly chamfered the foot and then highly the leg.
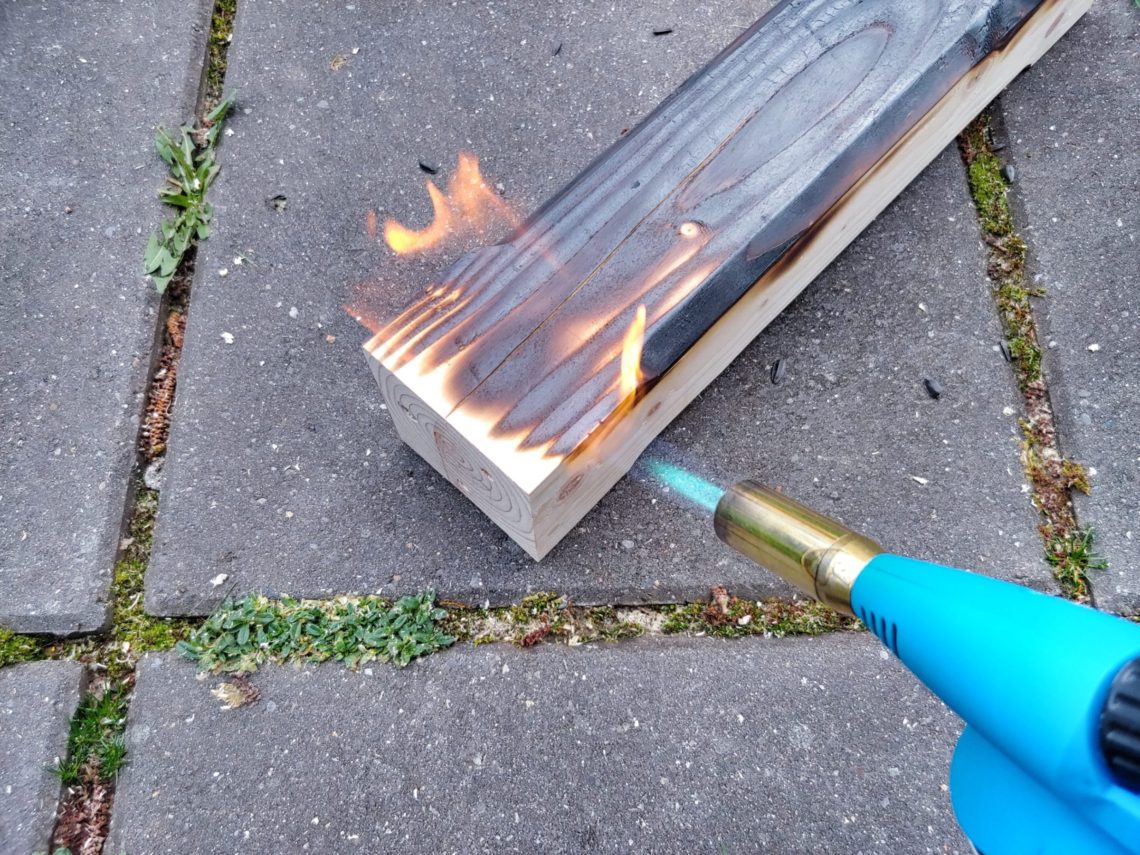
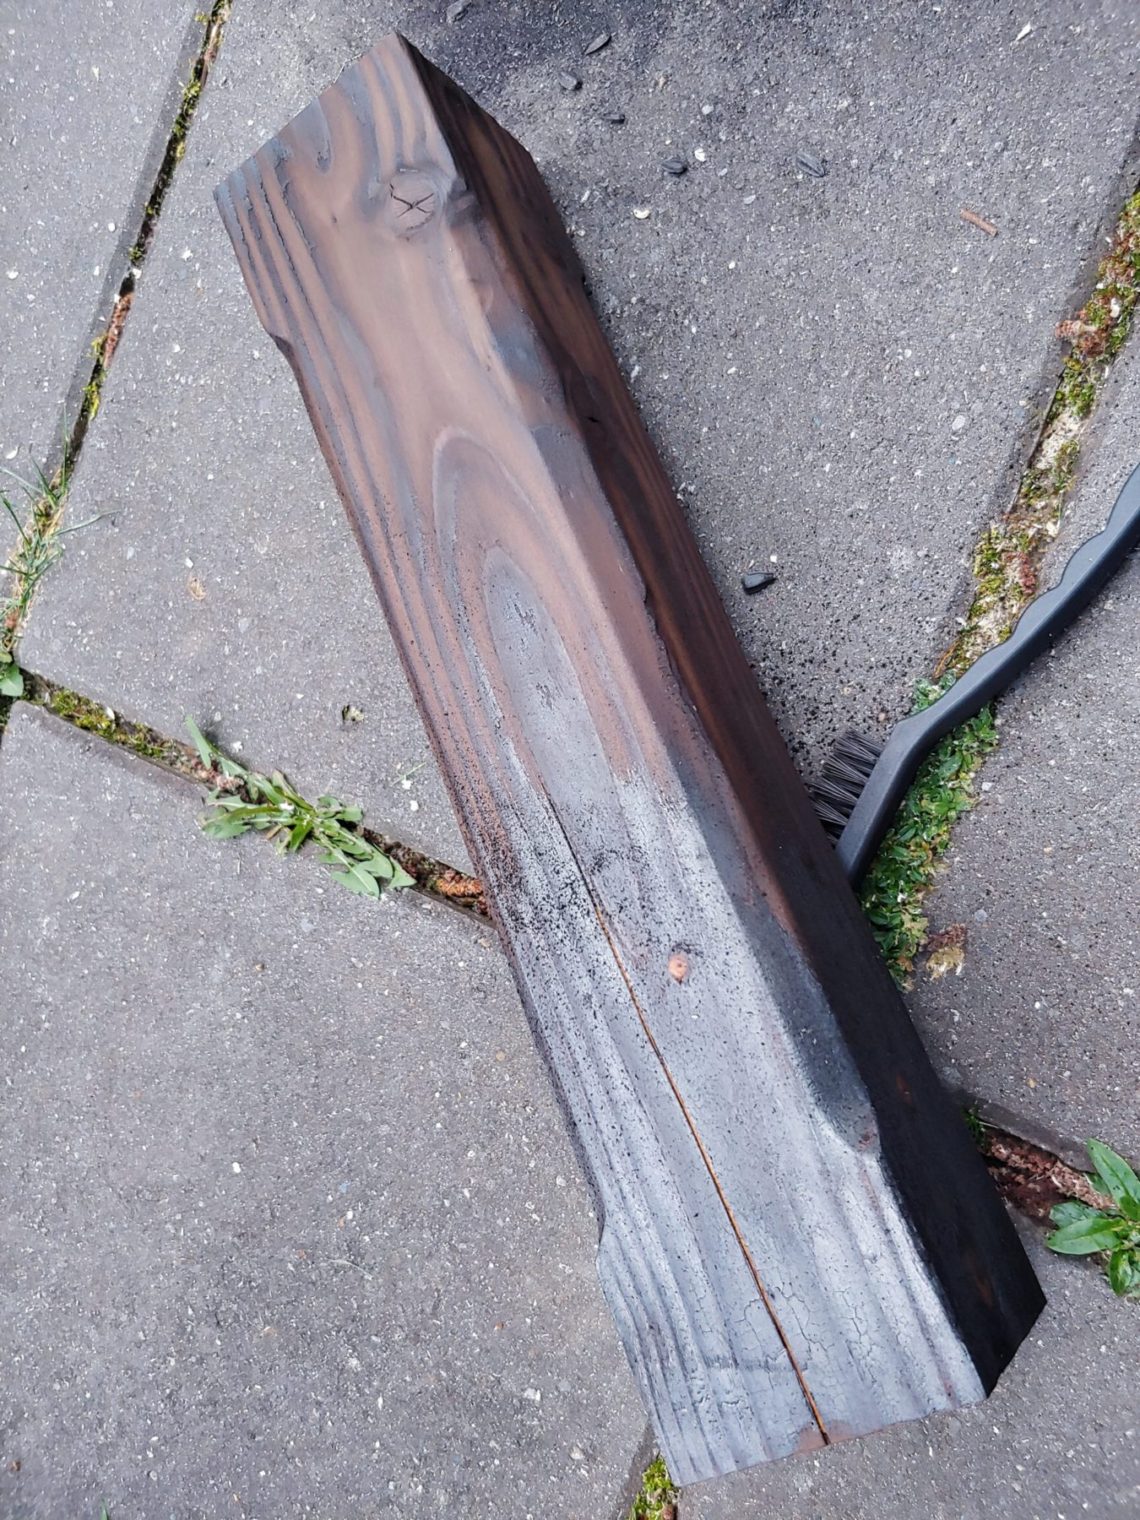
I charred the leg, brushed it with quite a soft nylon brush and applied an initial coat of Danish oil. In the meantime, I also applied some oil to the foot.
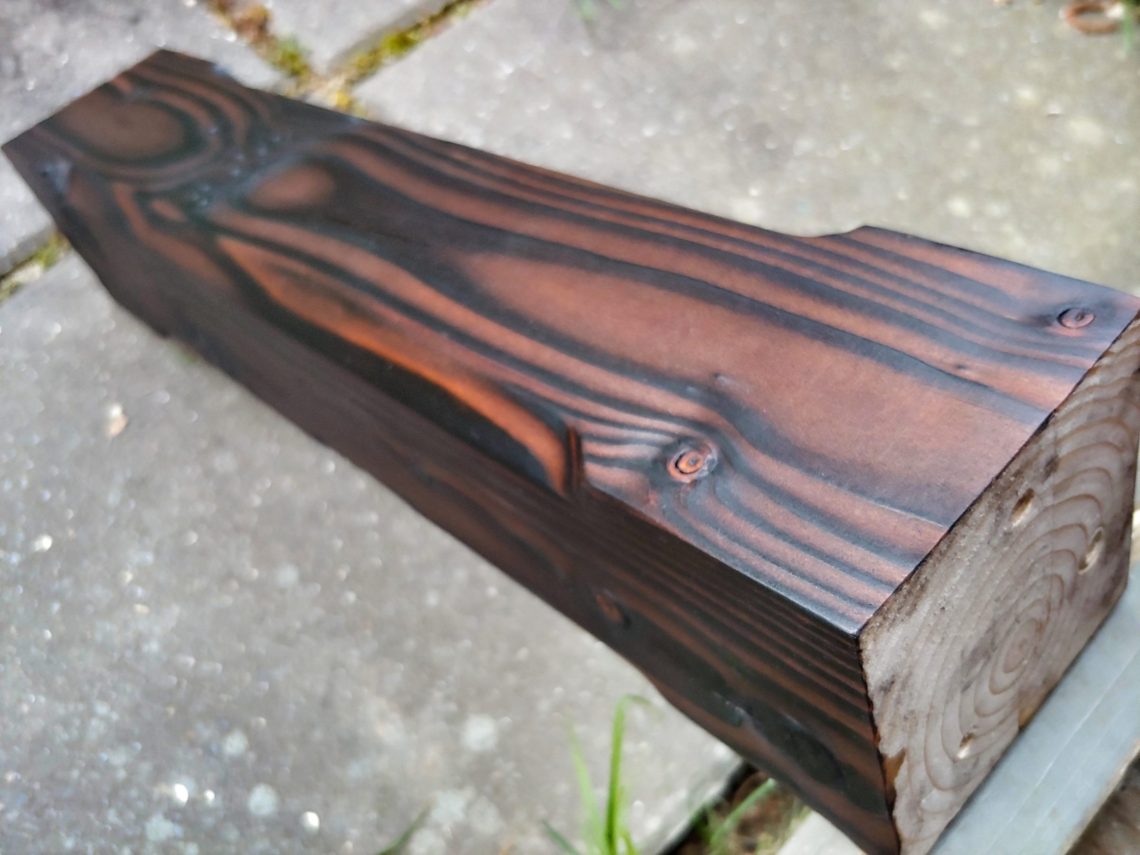
It was a pleasure applying oil to the leg, easy and quick. The feet, however, took ages and after a proper drying time and light sanding, I applied spray lacquer. 5 or 6 coats within 25 minutes and it was ready.
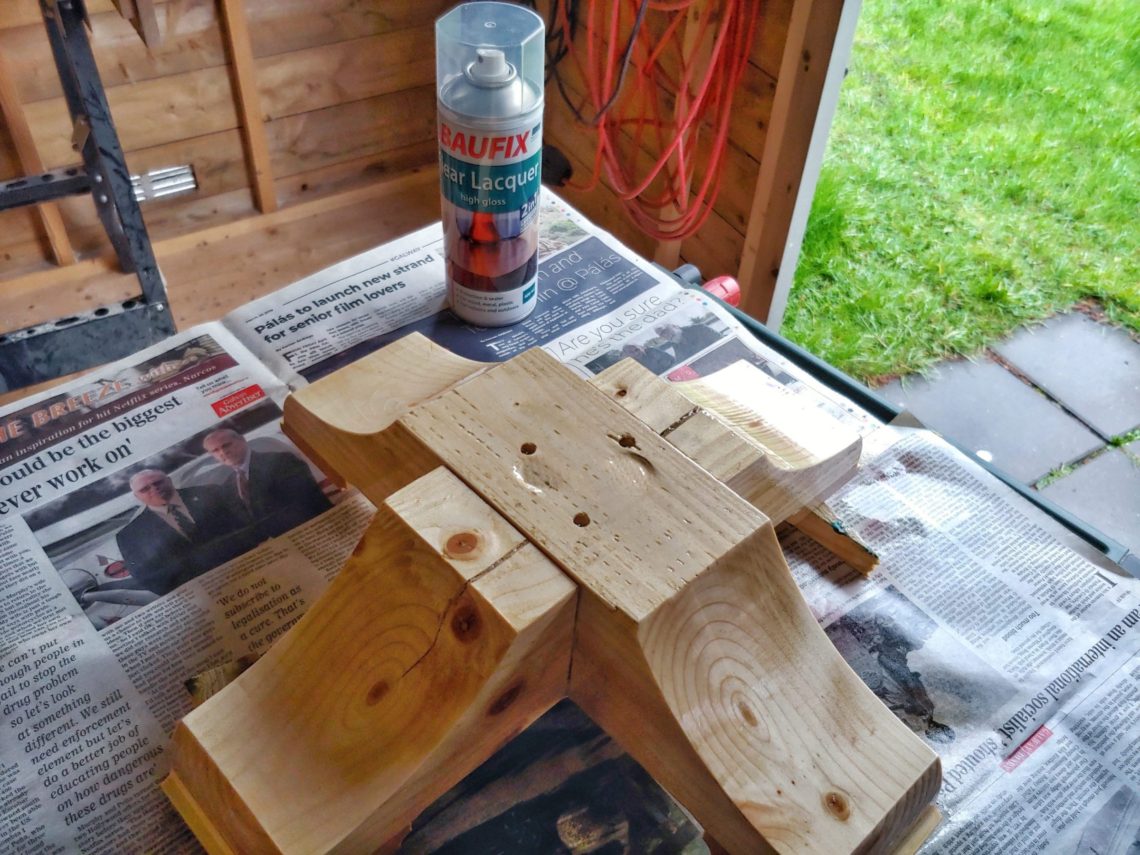
As usual, I finished or rather buffed both pieces, once they dried, with steel wool and wax. I also installed shims, where needed, using contact adhesive.
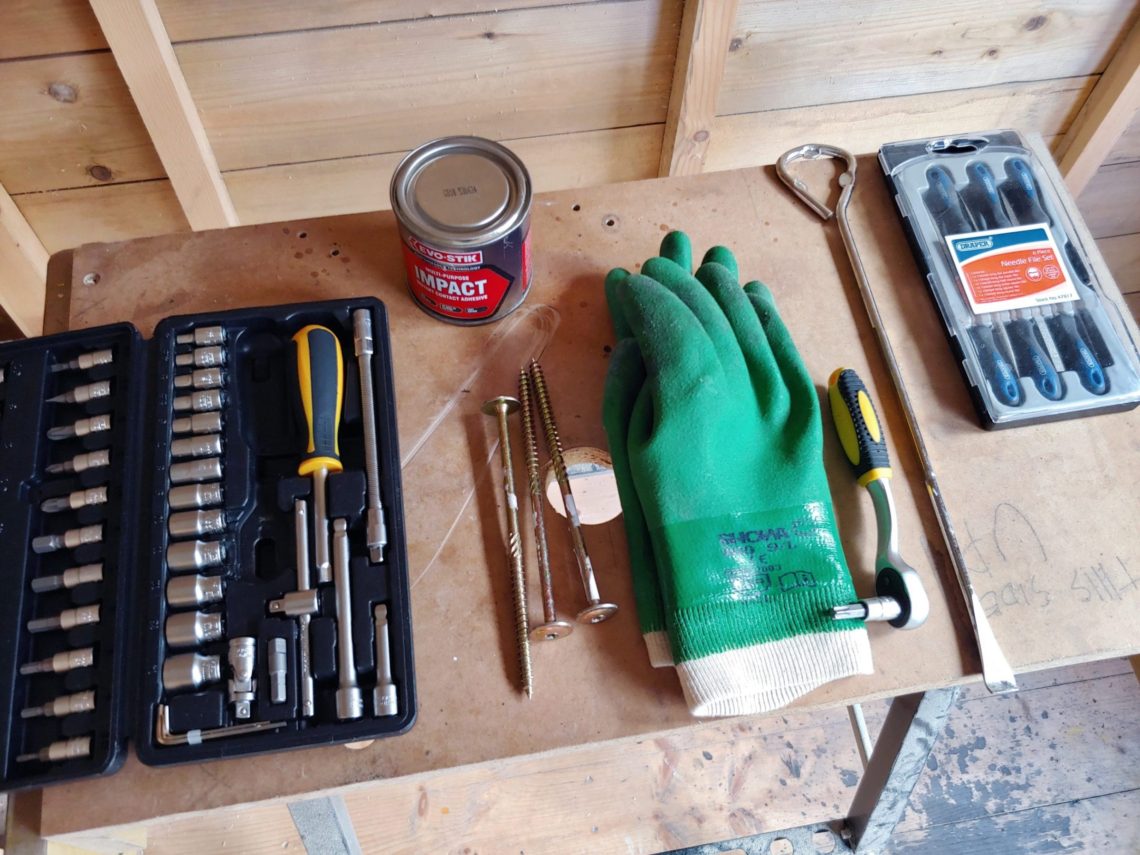
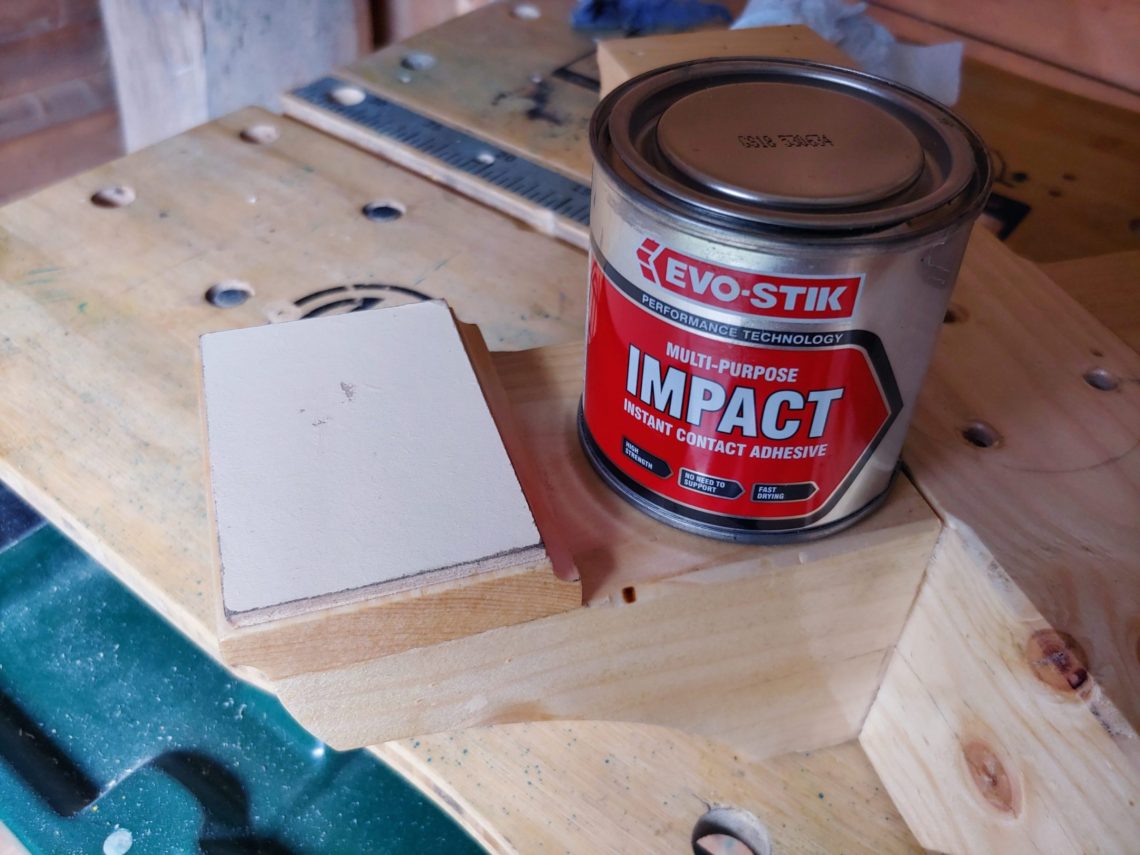
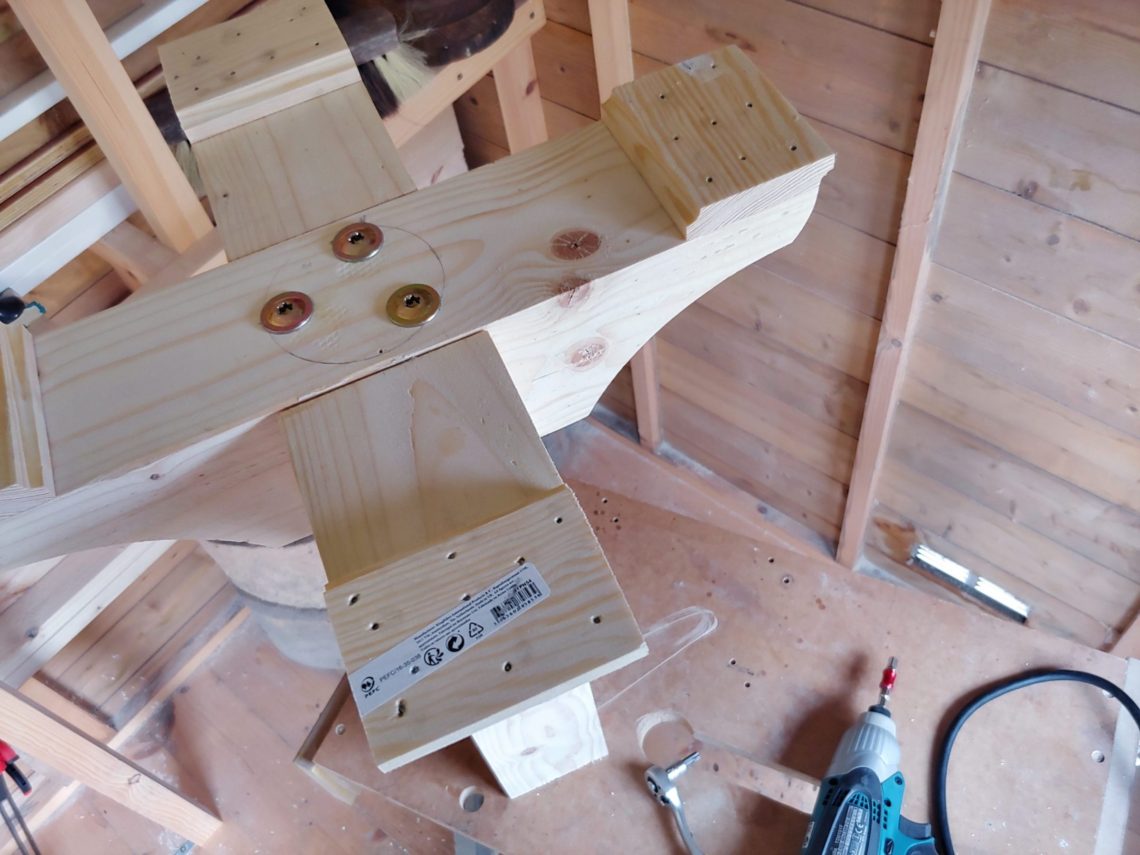
I made a decision not to use any power tools for the assembly, I regretted that straight away but stubbornly continued to tighten the screws by hand.
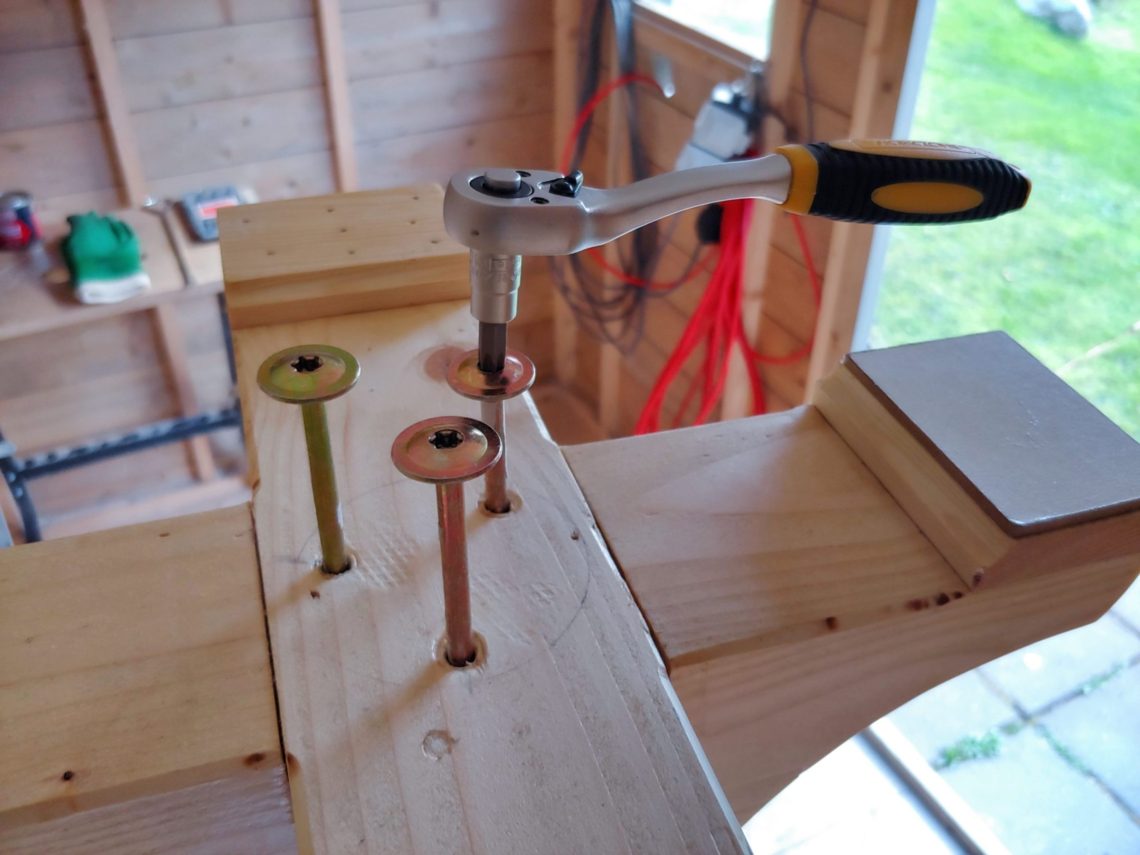

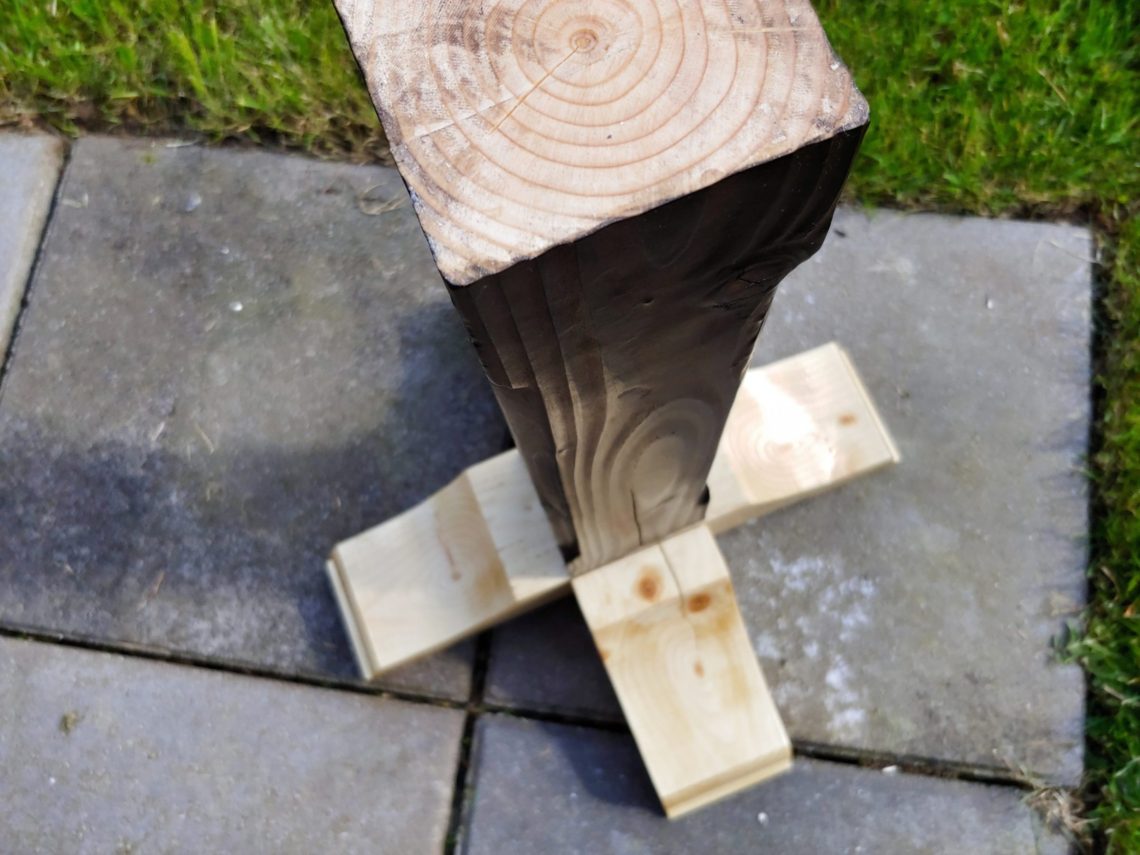
It took some time to put together, including the re-alignment but once done I moved forward with making a top.



One Comment
Pingback: