
MDF box
I’ve always wanted to give those corners a shot and see how they perform. I still had some scrap material to build them from and also I had a 6 mm MDF board (1/4″) that was perfect for the walls and the bottom. The corners looked a little complex to build, but when all the cuts were done in the right order, there was really nothing complicated about them. Easy and safe to cut, using just a couple of basic tools like a table saw and a router. Here’s how it started.


First I rip-cut the timber to the desired width. Next, I planed it down a bit to get rid of any remaining saw marks. I set the blade height and the fence and using a push block I cut some grooves. Once they got connected they formed a rebate.
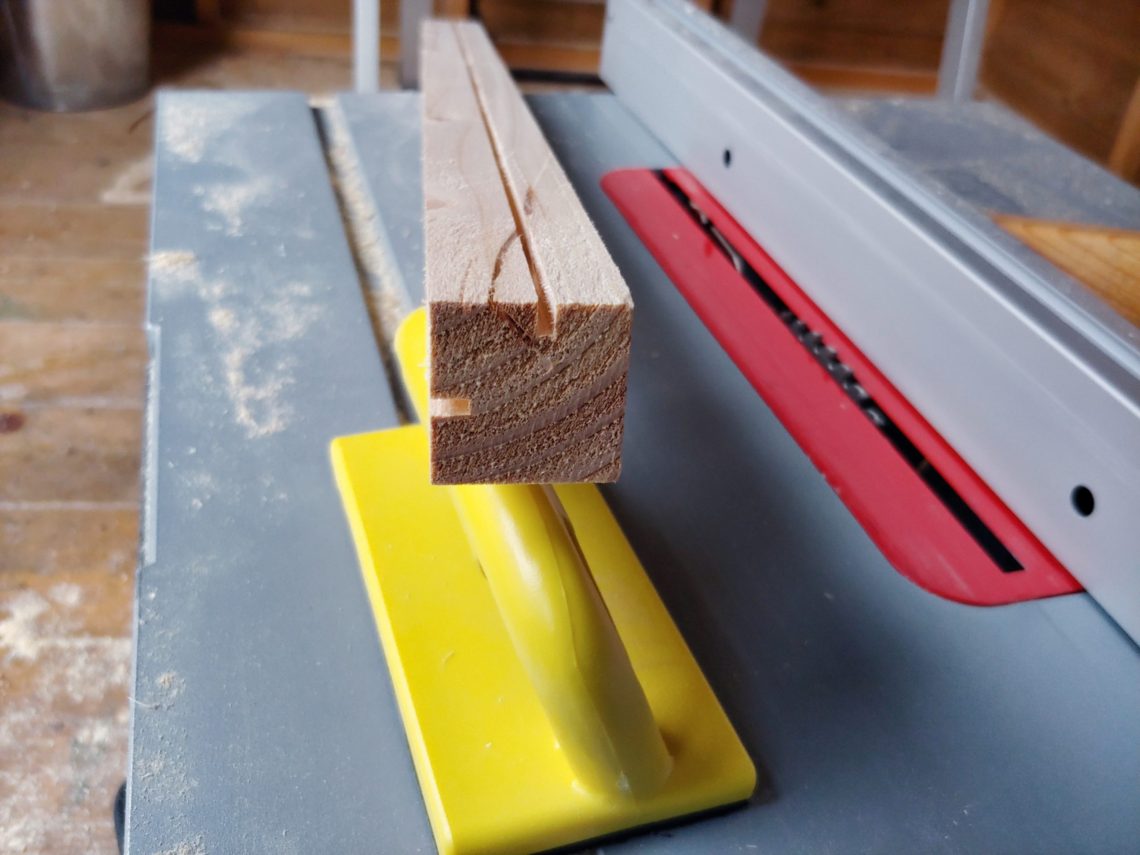

Next, using 2 different router bits I rounded over the edges. The smaller bit could be used with a standard trim base, however, the bigger one didn’t fit in. I had to use a plunge base, which had a much bigger hole and could accommodate that bit. A bigger hole also meant less stability, but I held it tight and slowly did the job. Once that was done, I cut the MDF to size (just the walls) and of course the corners to length.
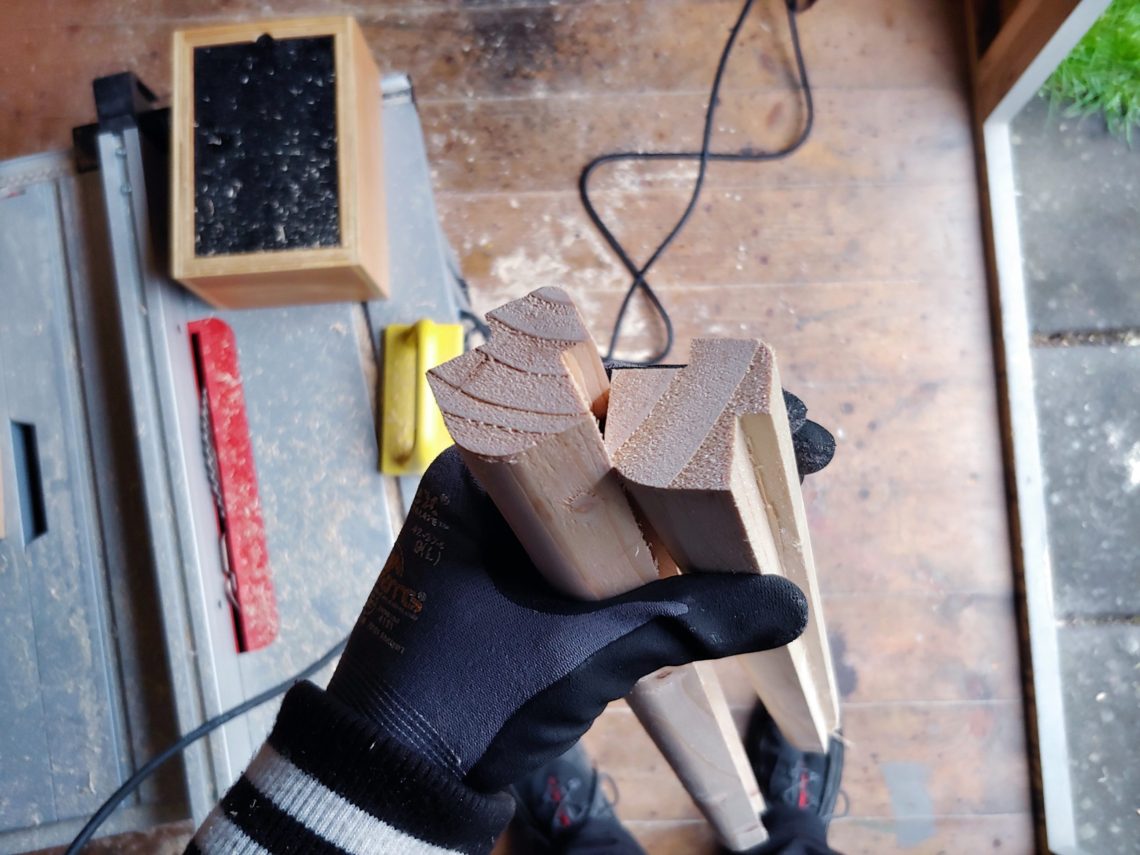

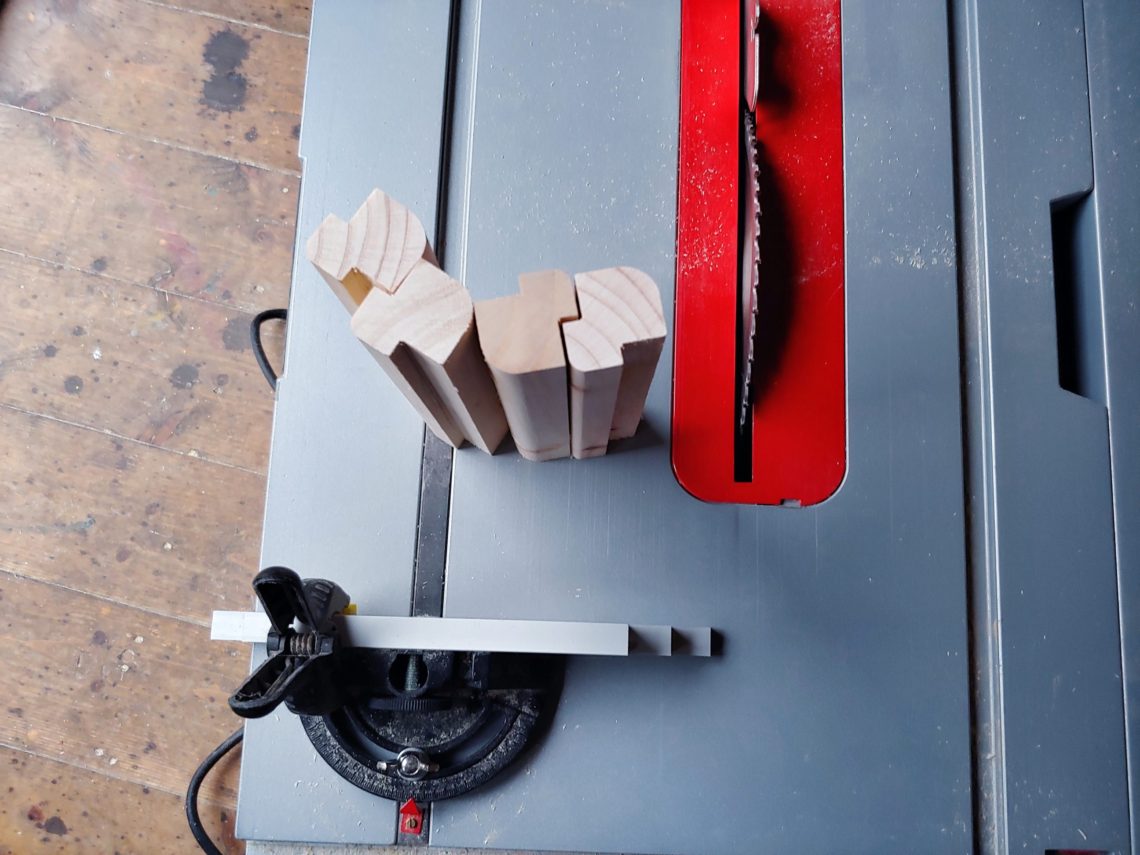
I placed all 8 parts together and started to figure out how to connect them to the base? Maybe it would be easier if the base was all wood, but not in my case. It had to be made of MDF as well. That meant only one thing – pulling out a table saw and making more sawdust.
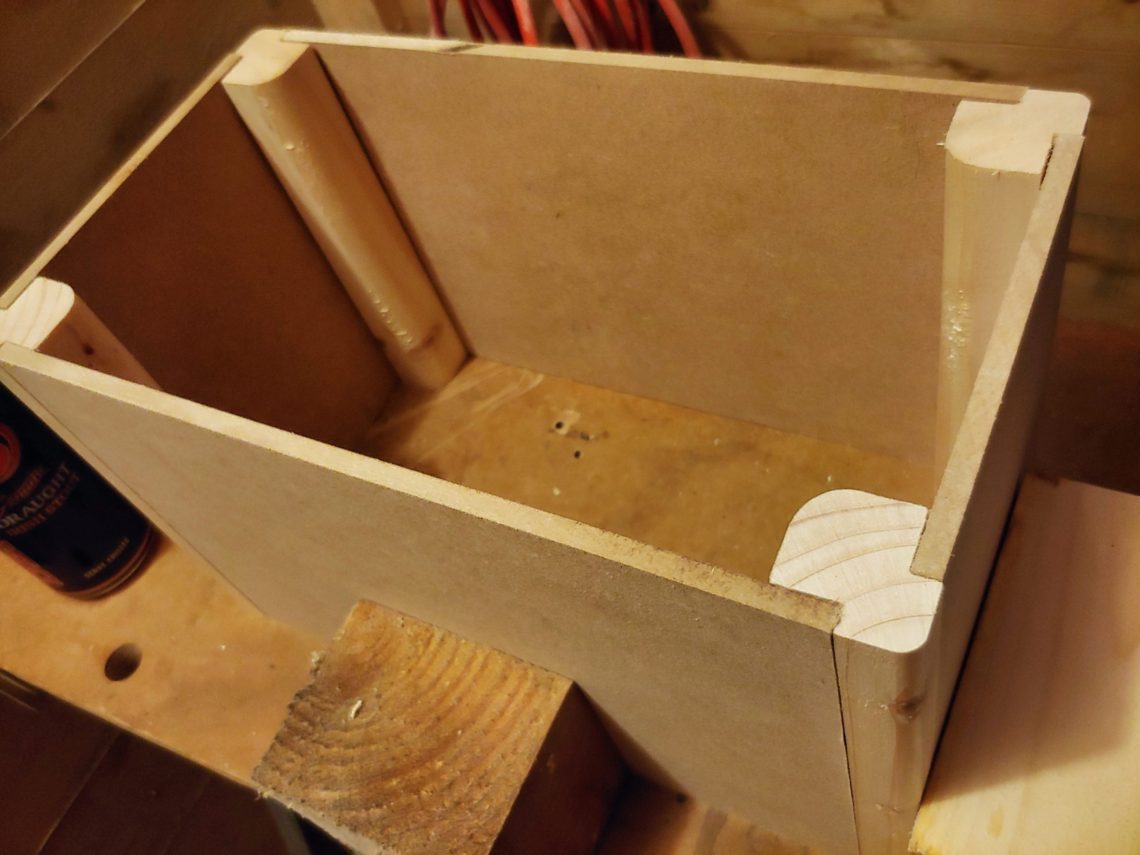
The bottom had to be supported, using runners and making the box strong. It also had to look good, from each side. The way I made it seemed to be a little over-engineered at first glance, but actually, it made the whole project balanced. The simplicity of MDF and screws vs. some sophisticated profiles.


I cut some scrap timber in half and planed it a bit, just like the last time, before I cut it again to the final width. That way I got 4 runners, still too long but good enough for the next step. I knew how much of the corners had to be removed to accommodate the MDF and runners. I cut rebates using a table saw and my upgraded mitre gauge. Then I cleaned out the cuts with a utility knife and finally cut the runners to length.


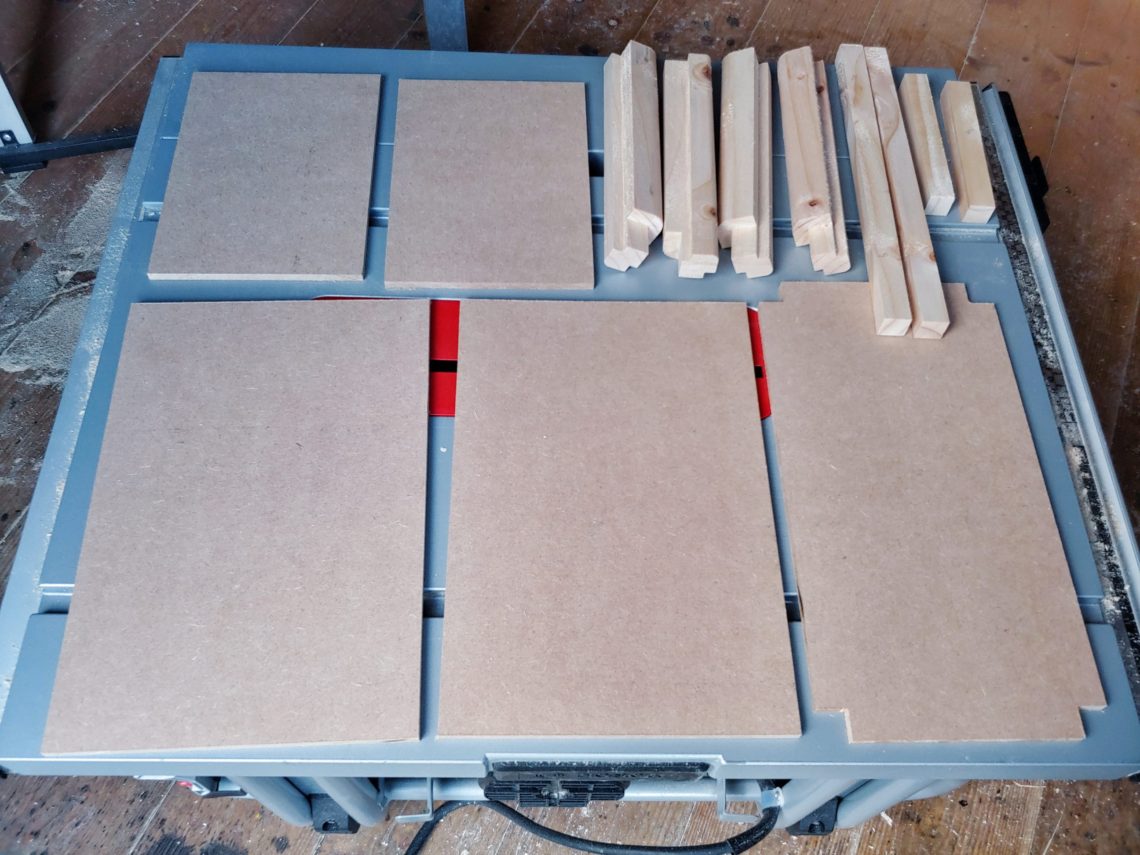
At that stage, I had a good idea of what the bottom would look like. I cut it to size on my table saw, adjusted the fence and the blade height and cut off the corners. It was all looking good and fitted perfectly. The next thing to do was to drill some holes and sand what was needed. I got some blow-out and to clean it I simply used a block plane! It worked surprisingly well and fast! The secret was to keep the cutting blade flat with the base.


So the MDF was ready to go, but I still had to prepare the timber parts. Hand sanding only, up to 320 grit. In the meantime, I found 2 wooden drawer handles and decided to use them in my project. They were ready to go straight from the box.


All timber parts were simply finished, and most importantly stabilised, with 2 heavy coats of boiled linseed oil. I know from my experience that the wood prepared this way reduces the chance of splitting when fixed with screws. The MDF was … waxed. I couldn’t find too much information on how to do it right, so I had to improvise. I used rather a generous amount of wax and let it dry for a minute or two. Then I buffed it with a brush. The next day I buffed it again with fine steel wool and then with a polishing mop, using my bench drill. It didn’t change the colour much, I wouldn’t say it was darker, but it’s got more sheen to it and it was nice to the touch. I also did some water tests and it seemed to be water-resistant.

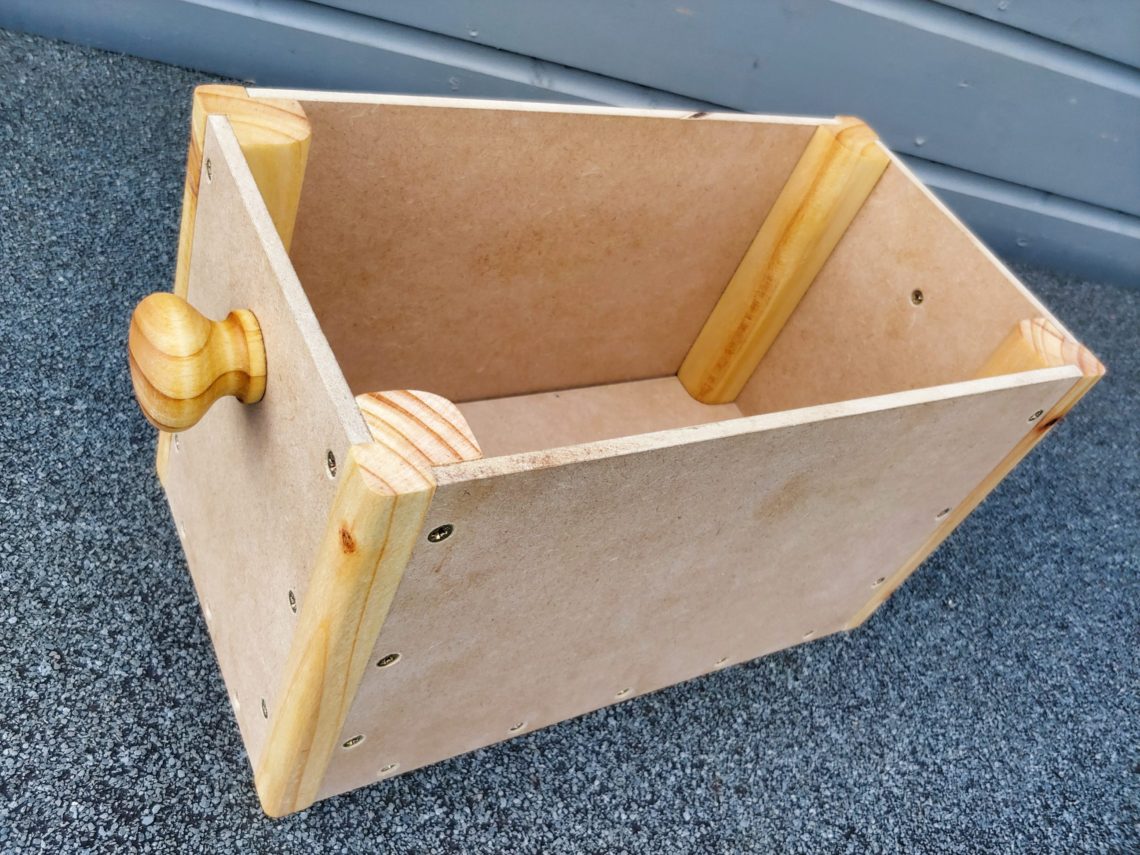
After a few days, I started the assembly. 2 sizes of screws were used, as expected – there were absolutely no cracks and splits in the wood, and boiled linseed oil stabilised the timber as planned. I assembled all 4 walls first, then placed the bottom inside the box, screwed the runners down and with some brad nails I tacked them together. That wasn’t necessary because the bottom couldn’t be taken out or pushed down, but I guessed it could prevent the bottom from warping.


All the work was done and it was time to try the box out. I filled it out with beer bottles/cans and carried it down to my cellar. I placed it on the shelf, next to the other crate I made in the past. Beautiful, perfect match, I was very satisfied!


Wax isn’t the most durable finish, especially for the MDF. It gives some protection against water but doesn’t protect it from oils and grease. I wanted to keep it simple and gave it an industrial look, just like the wine crate. Its purpose is to serve. The walls and the bottom are very strong. They’re well-designed and properly assembled. If the side handles stand all the lifting and moving, that will be surely involved, the box will last forever.




One Comment
Pingback: