
Wine crate
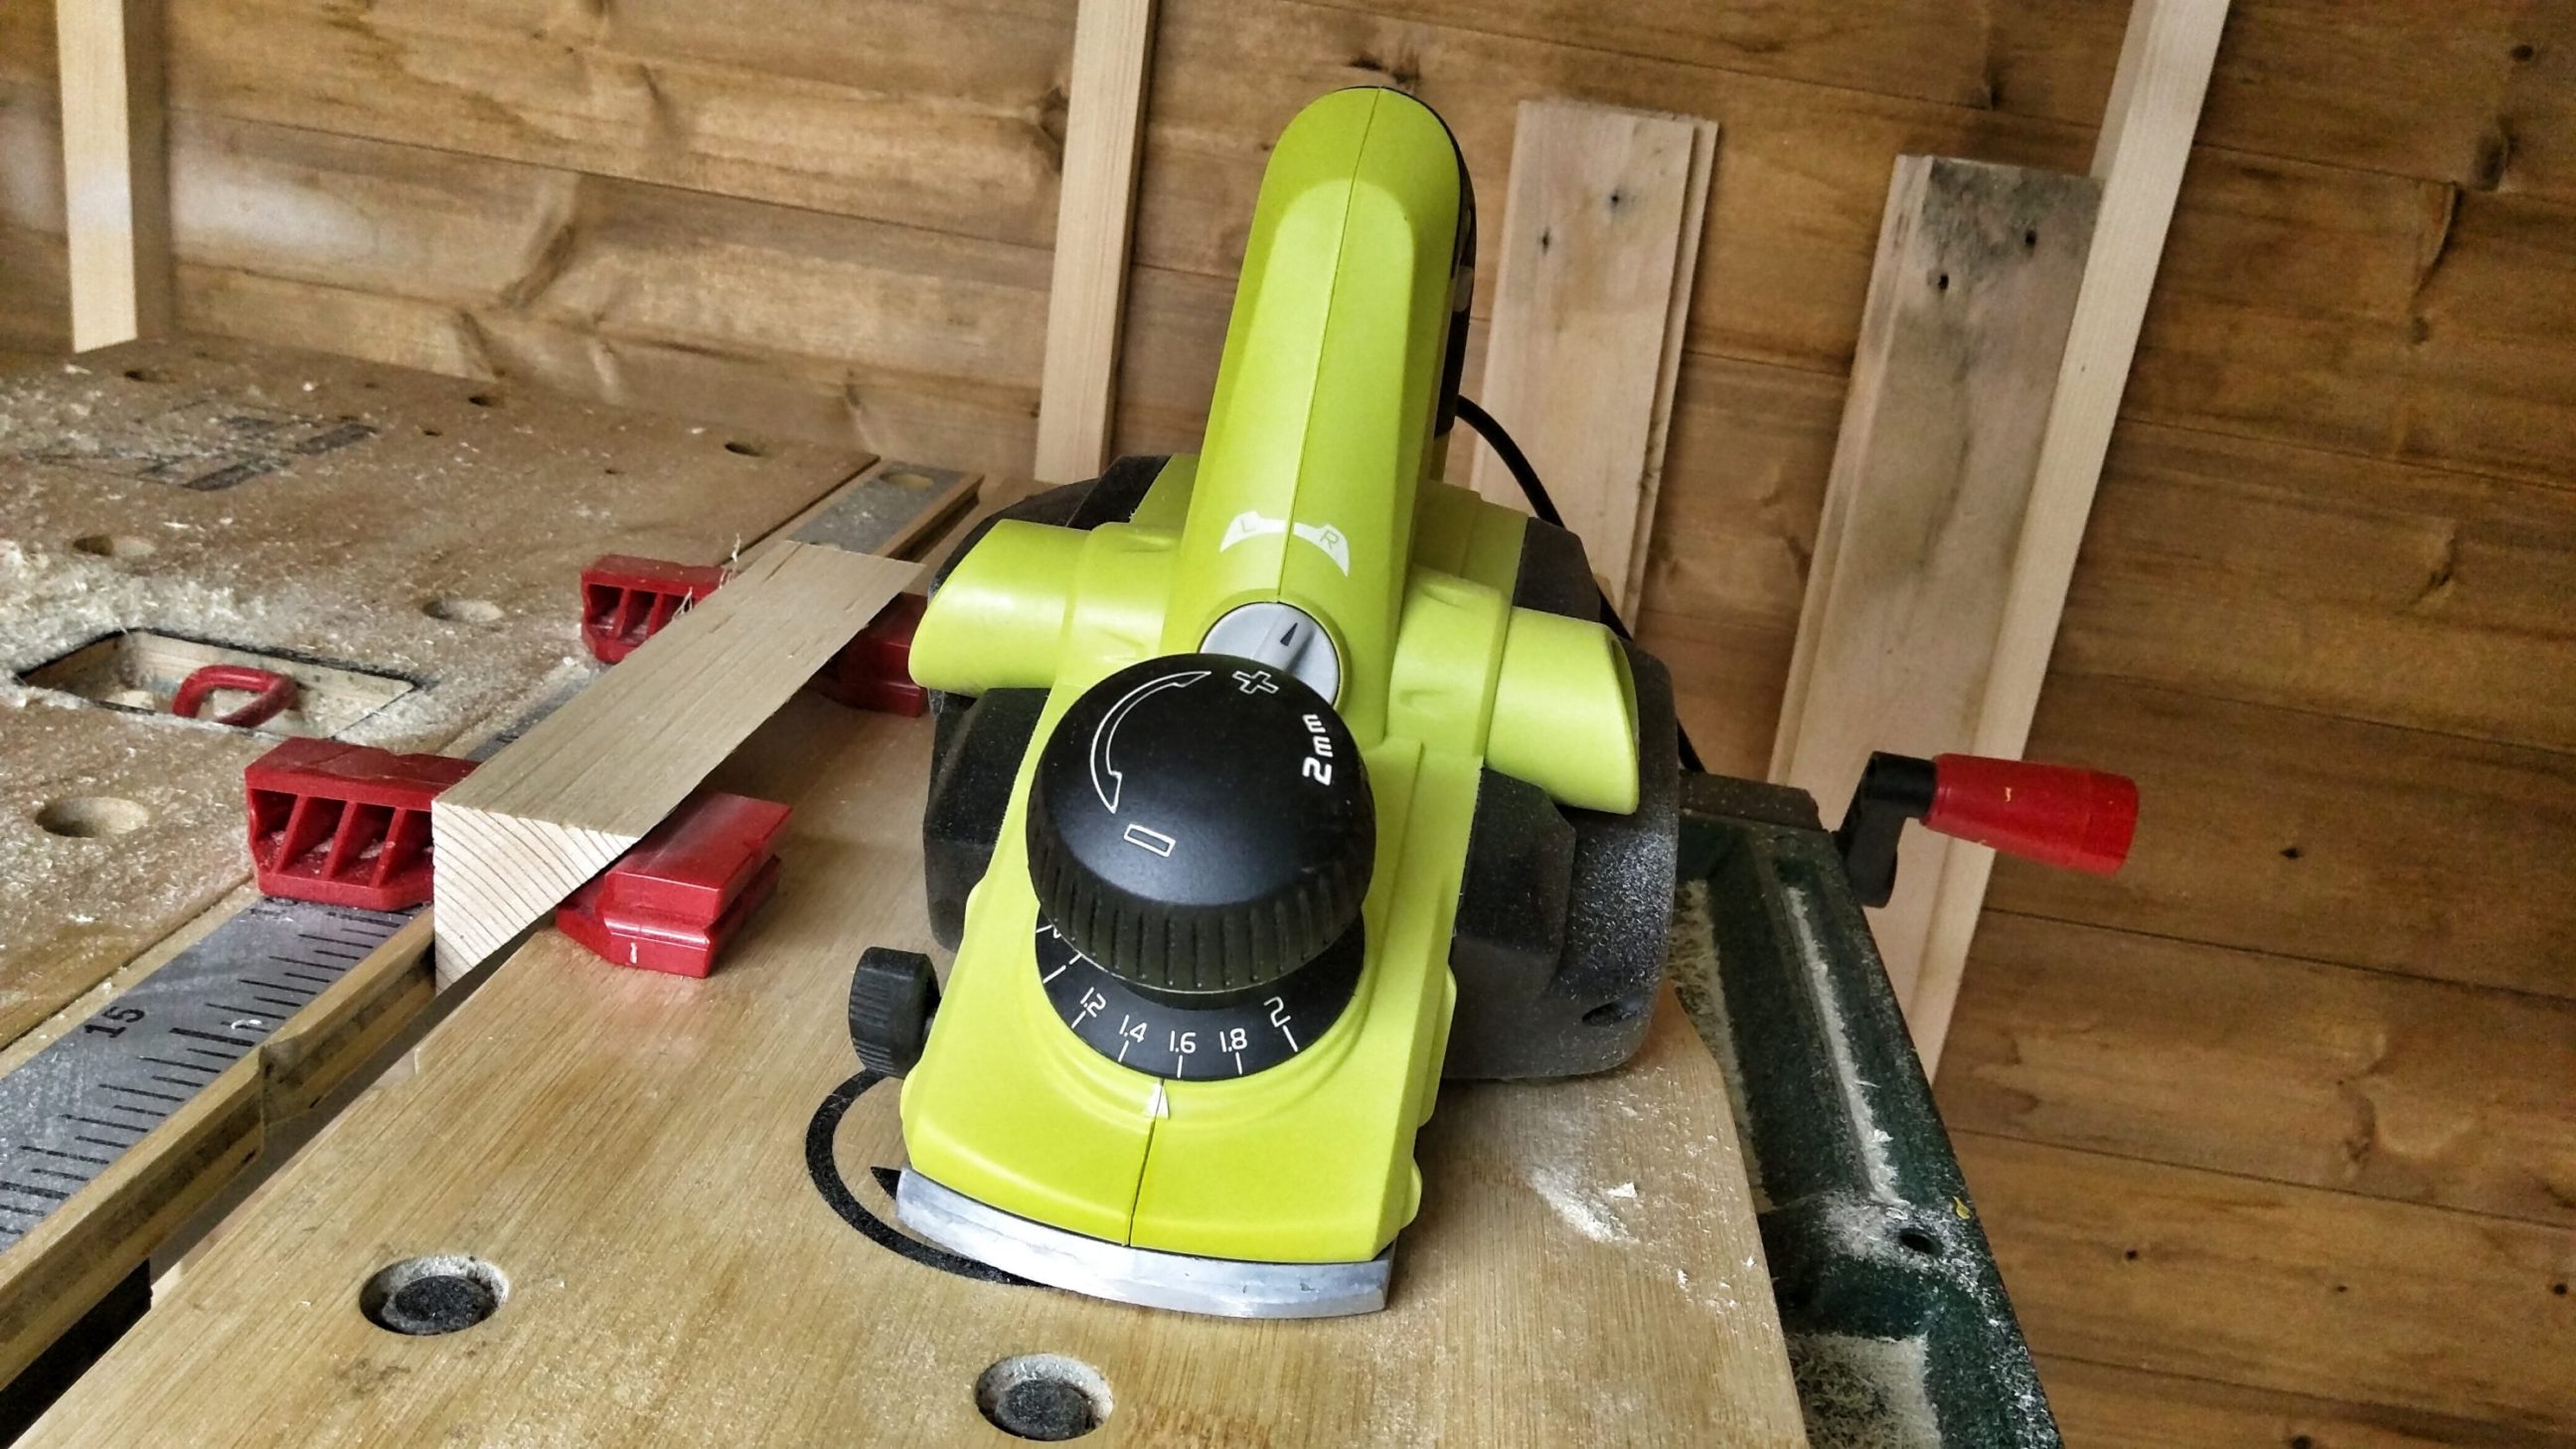
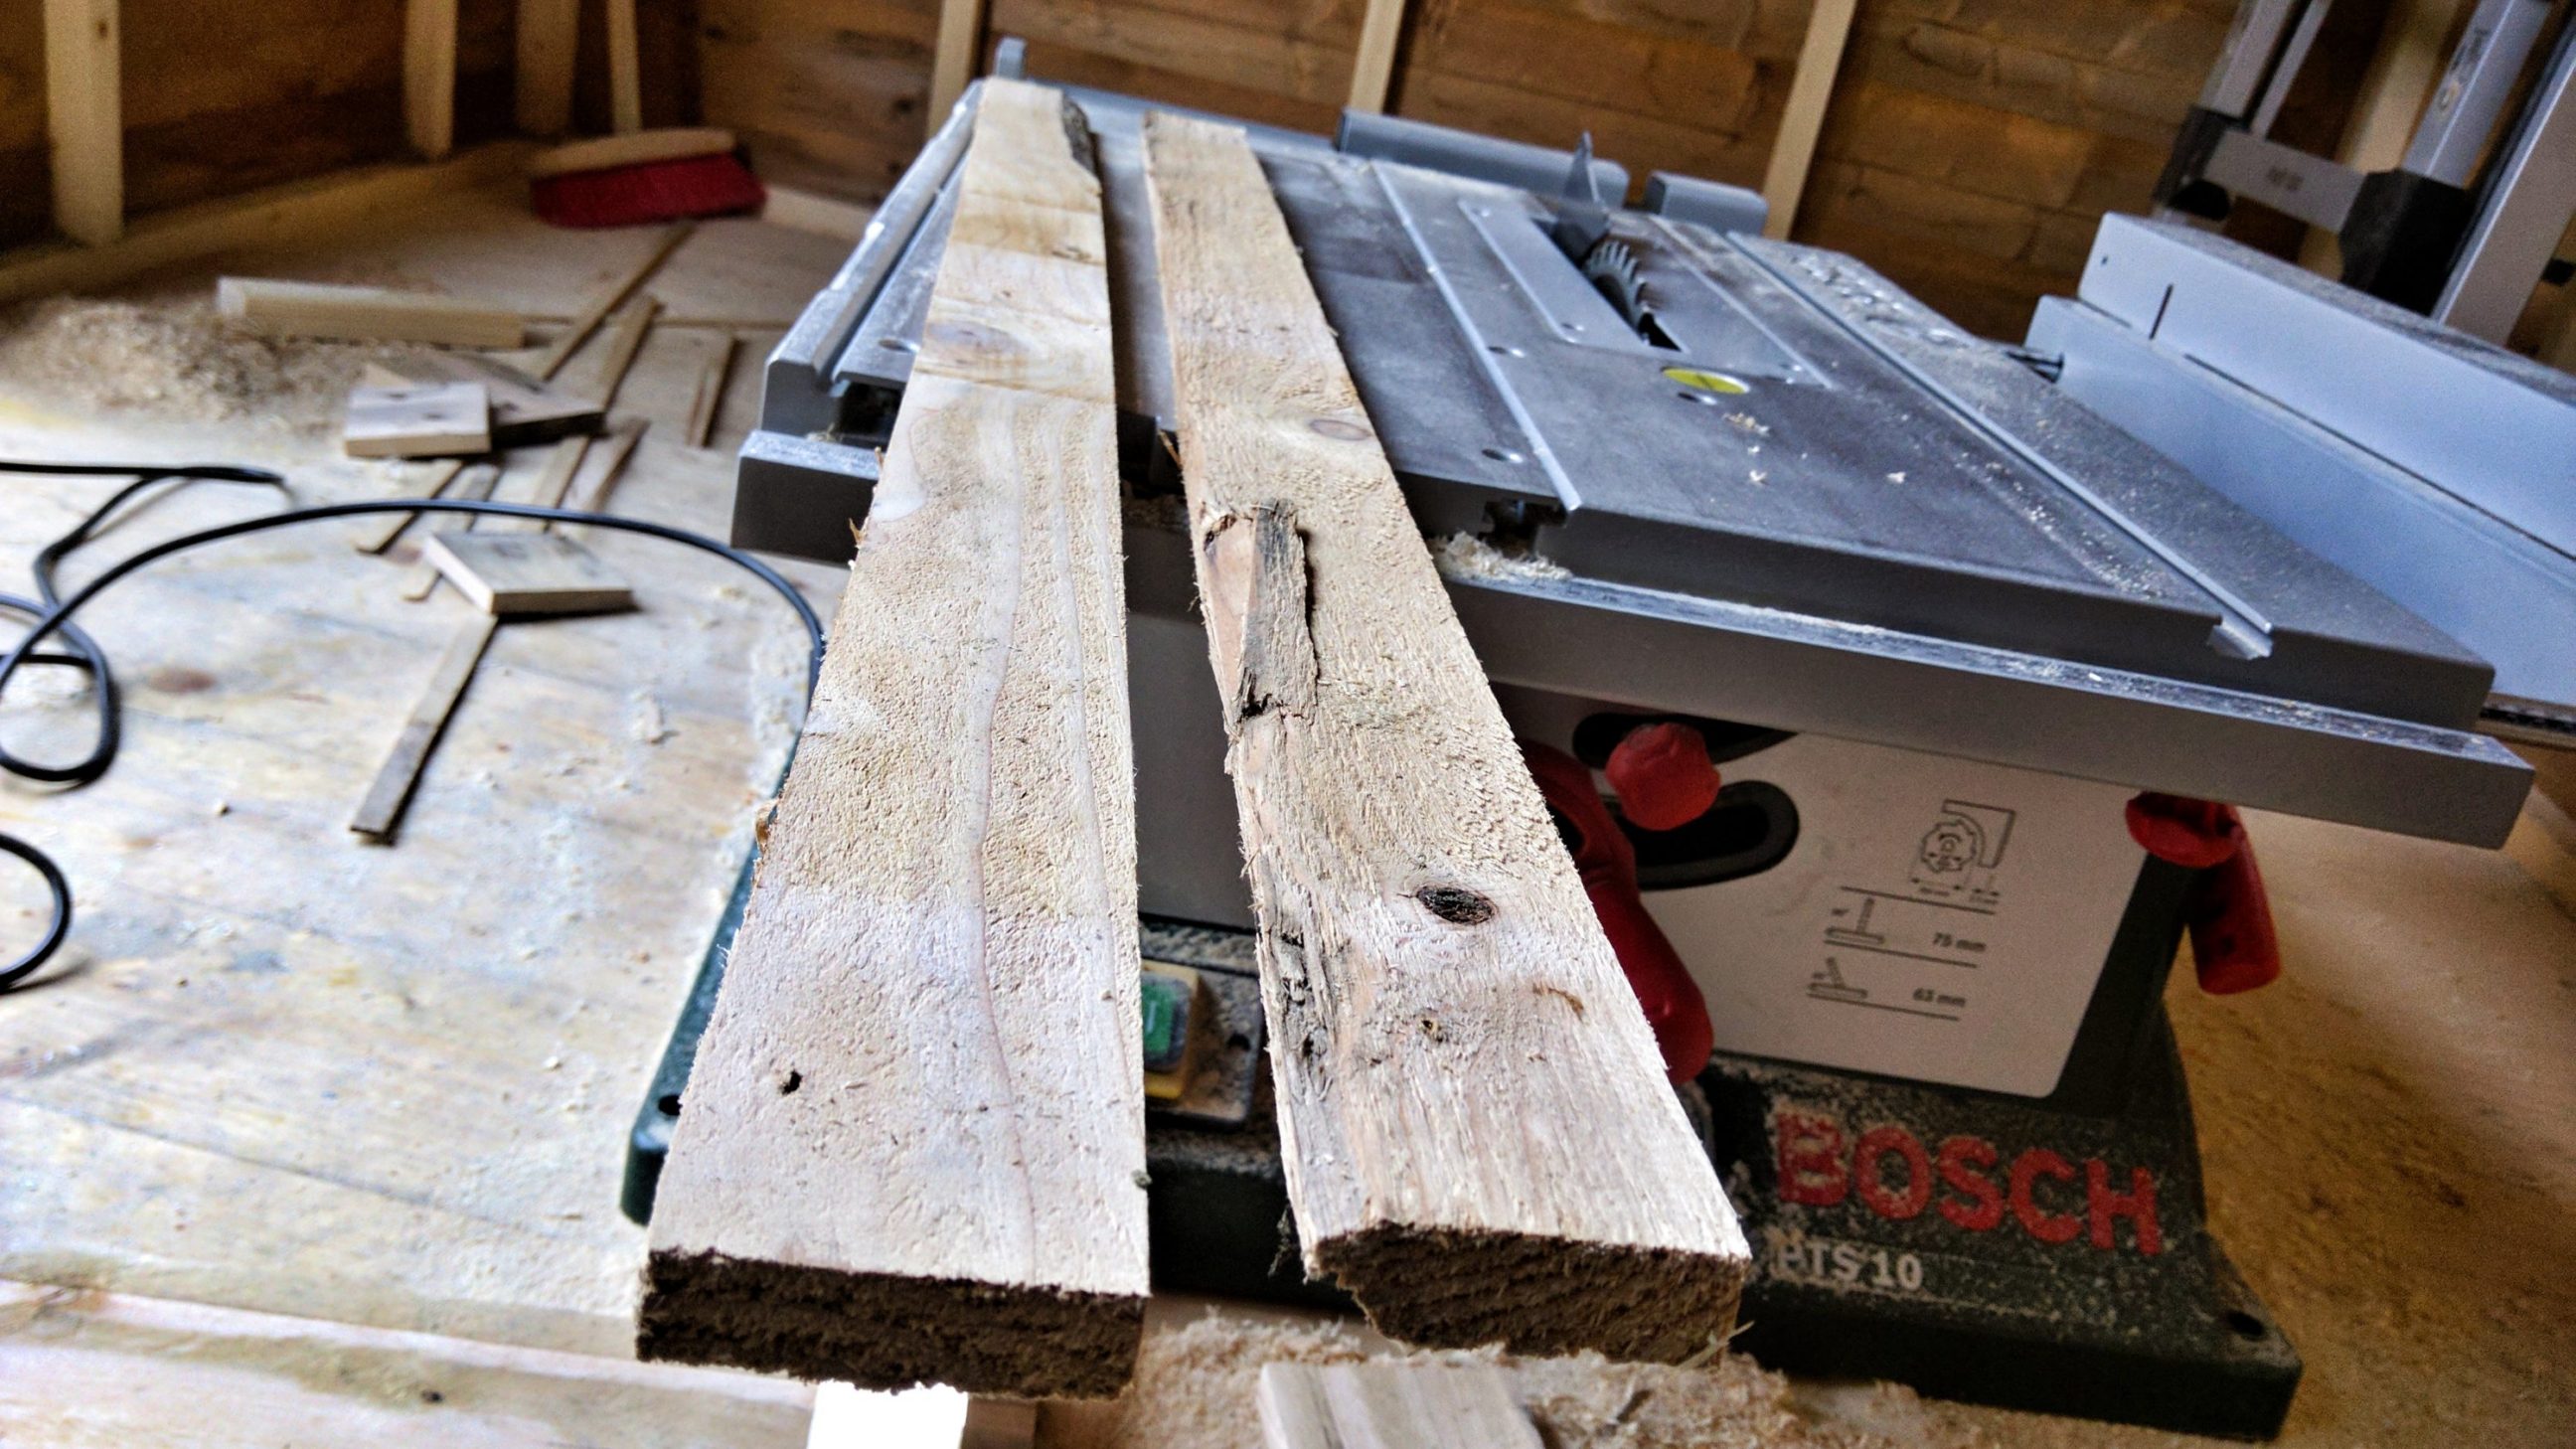
The usual – quick planing and ripping to width.
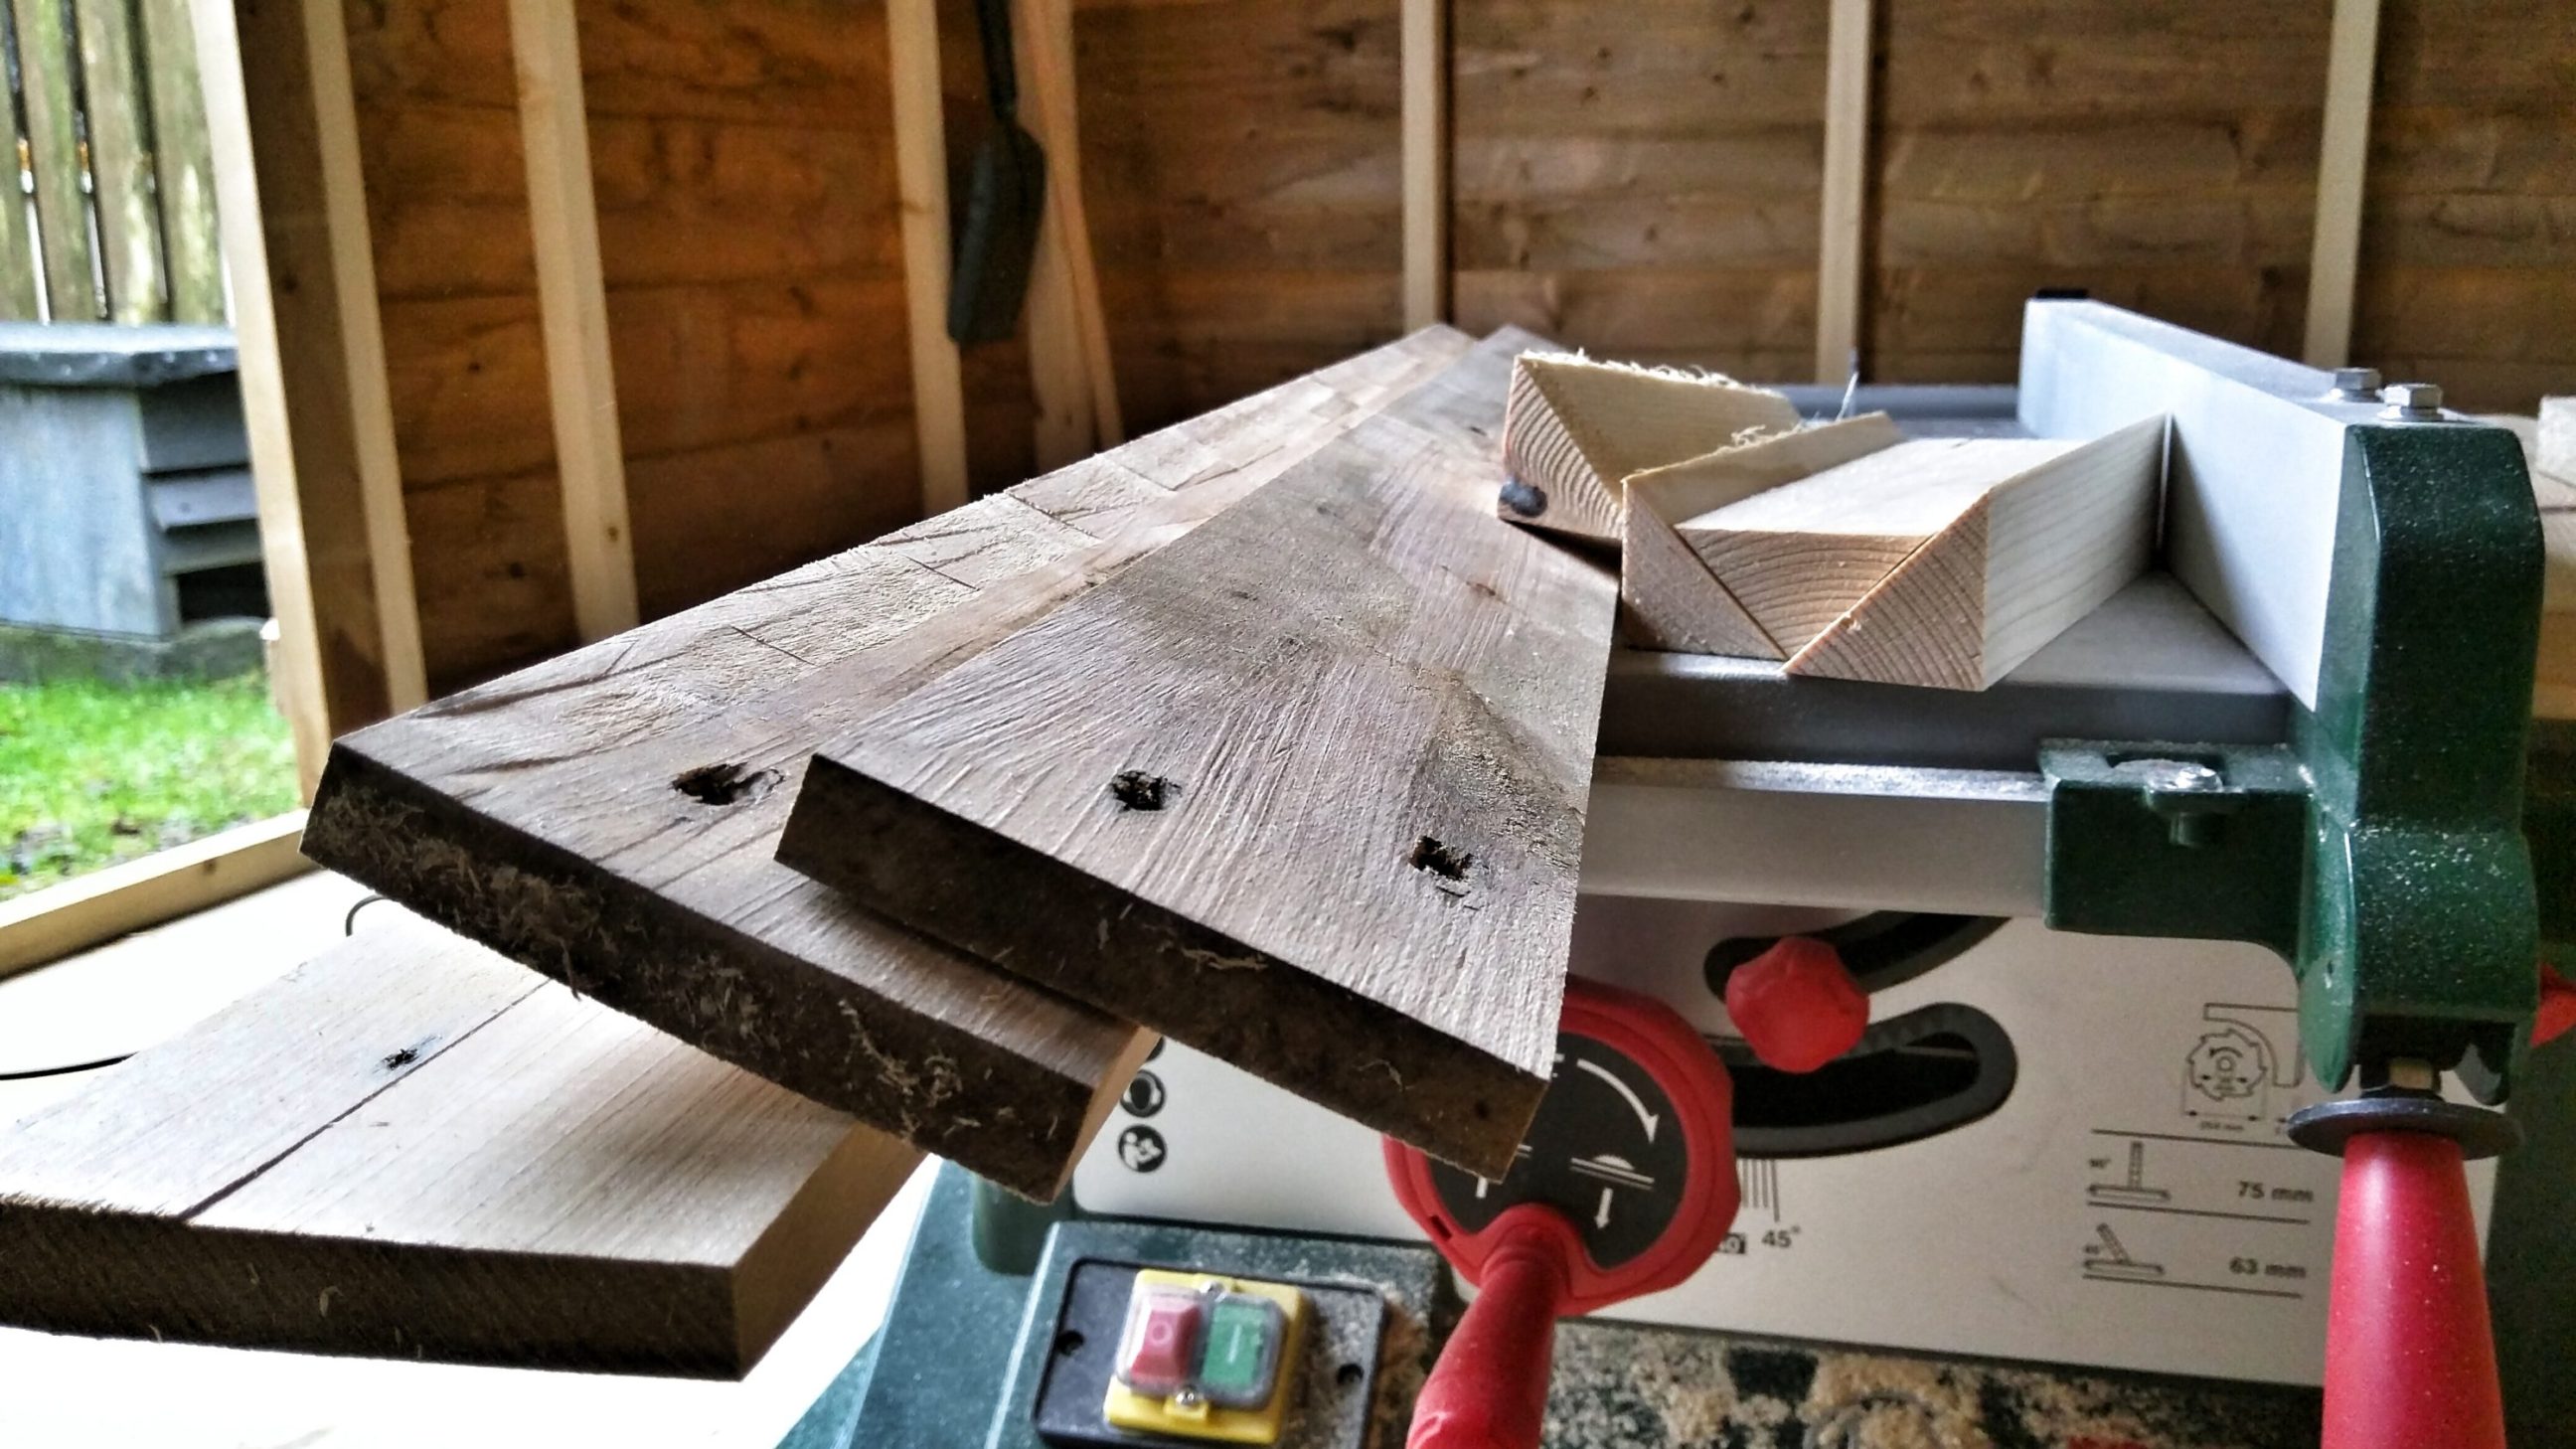
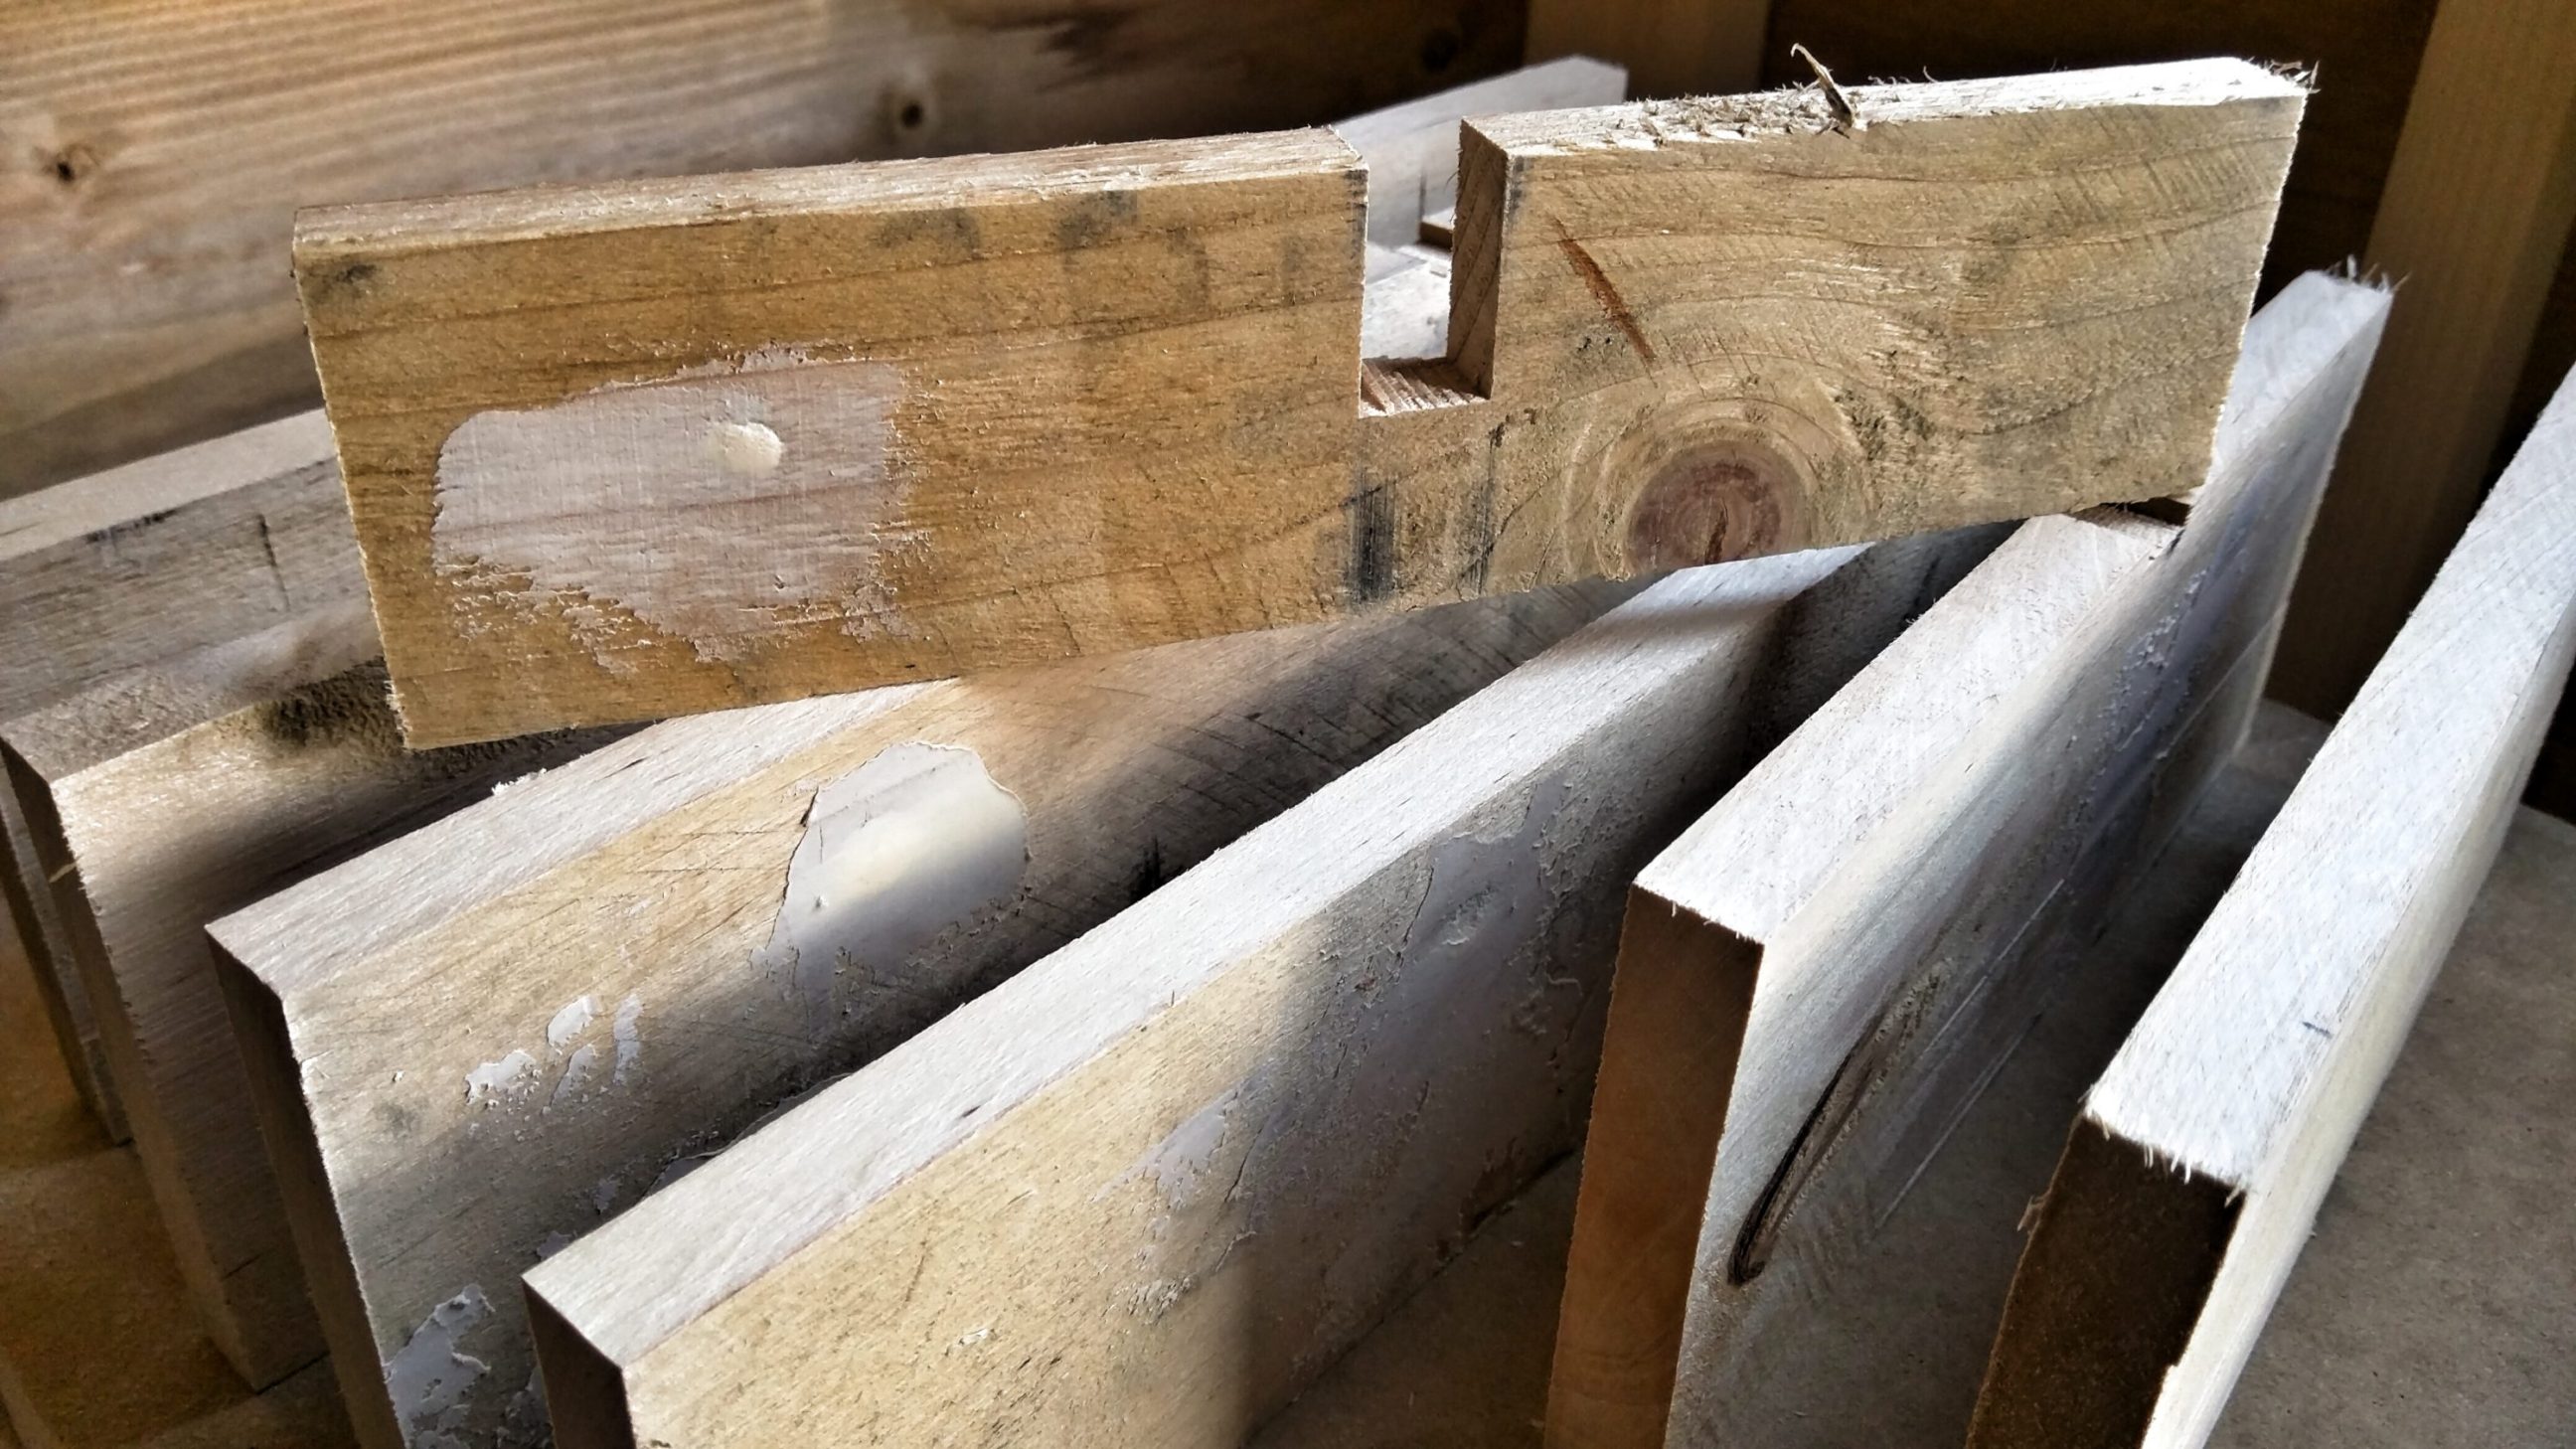
The corners were not identical and due to their size planing was the only option. It helped to remove the excess material.

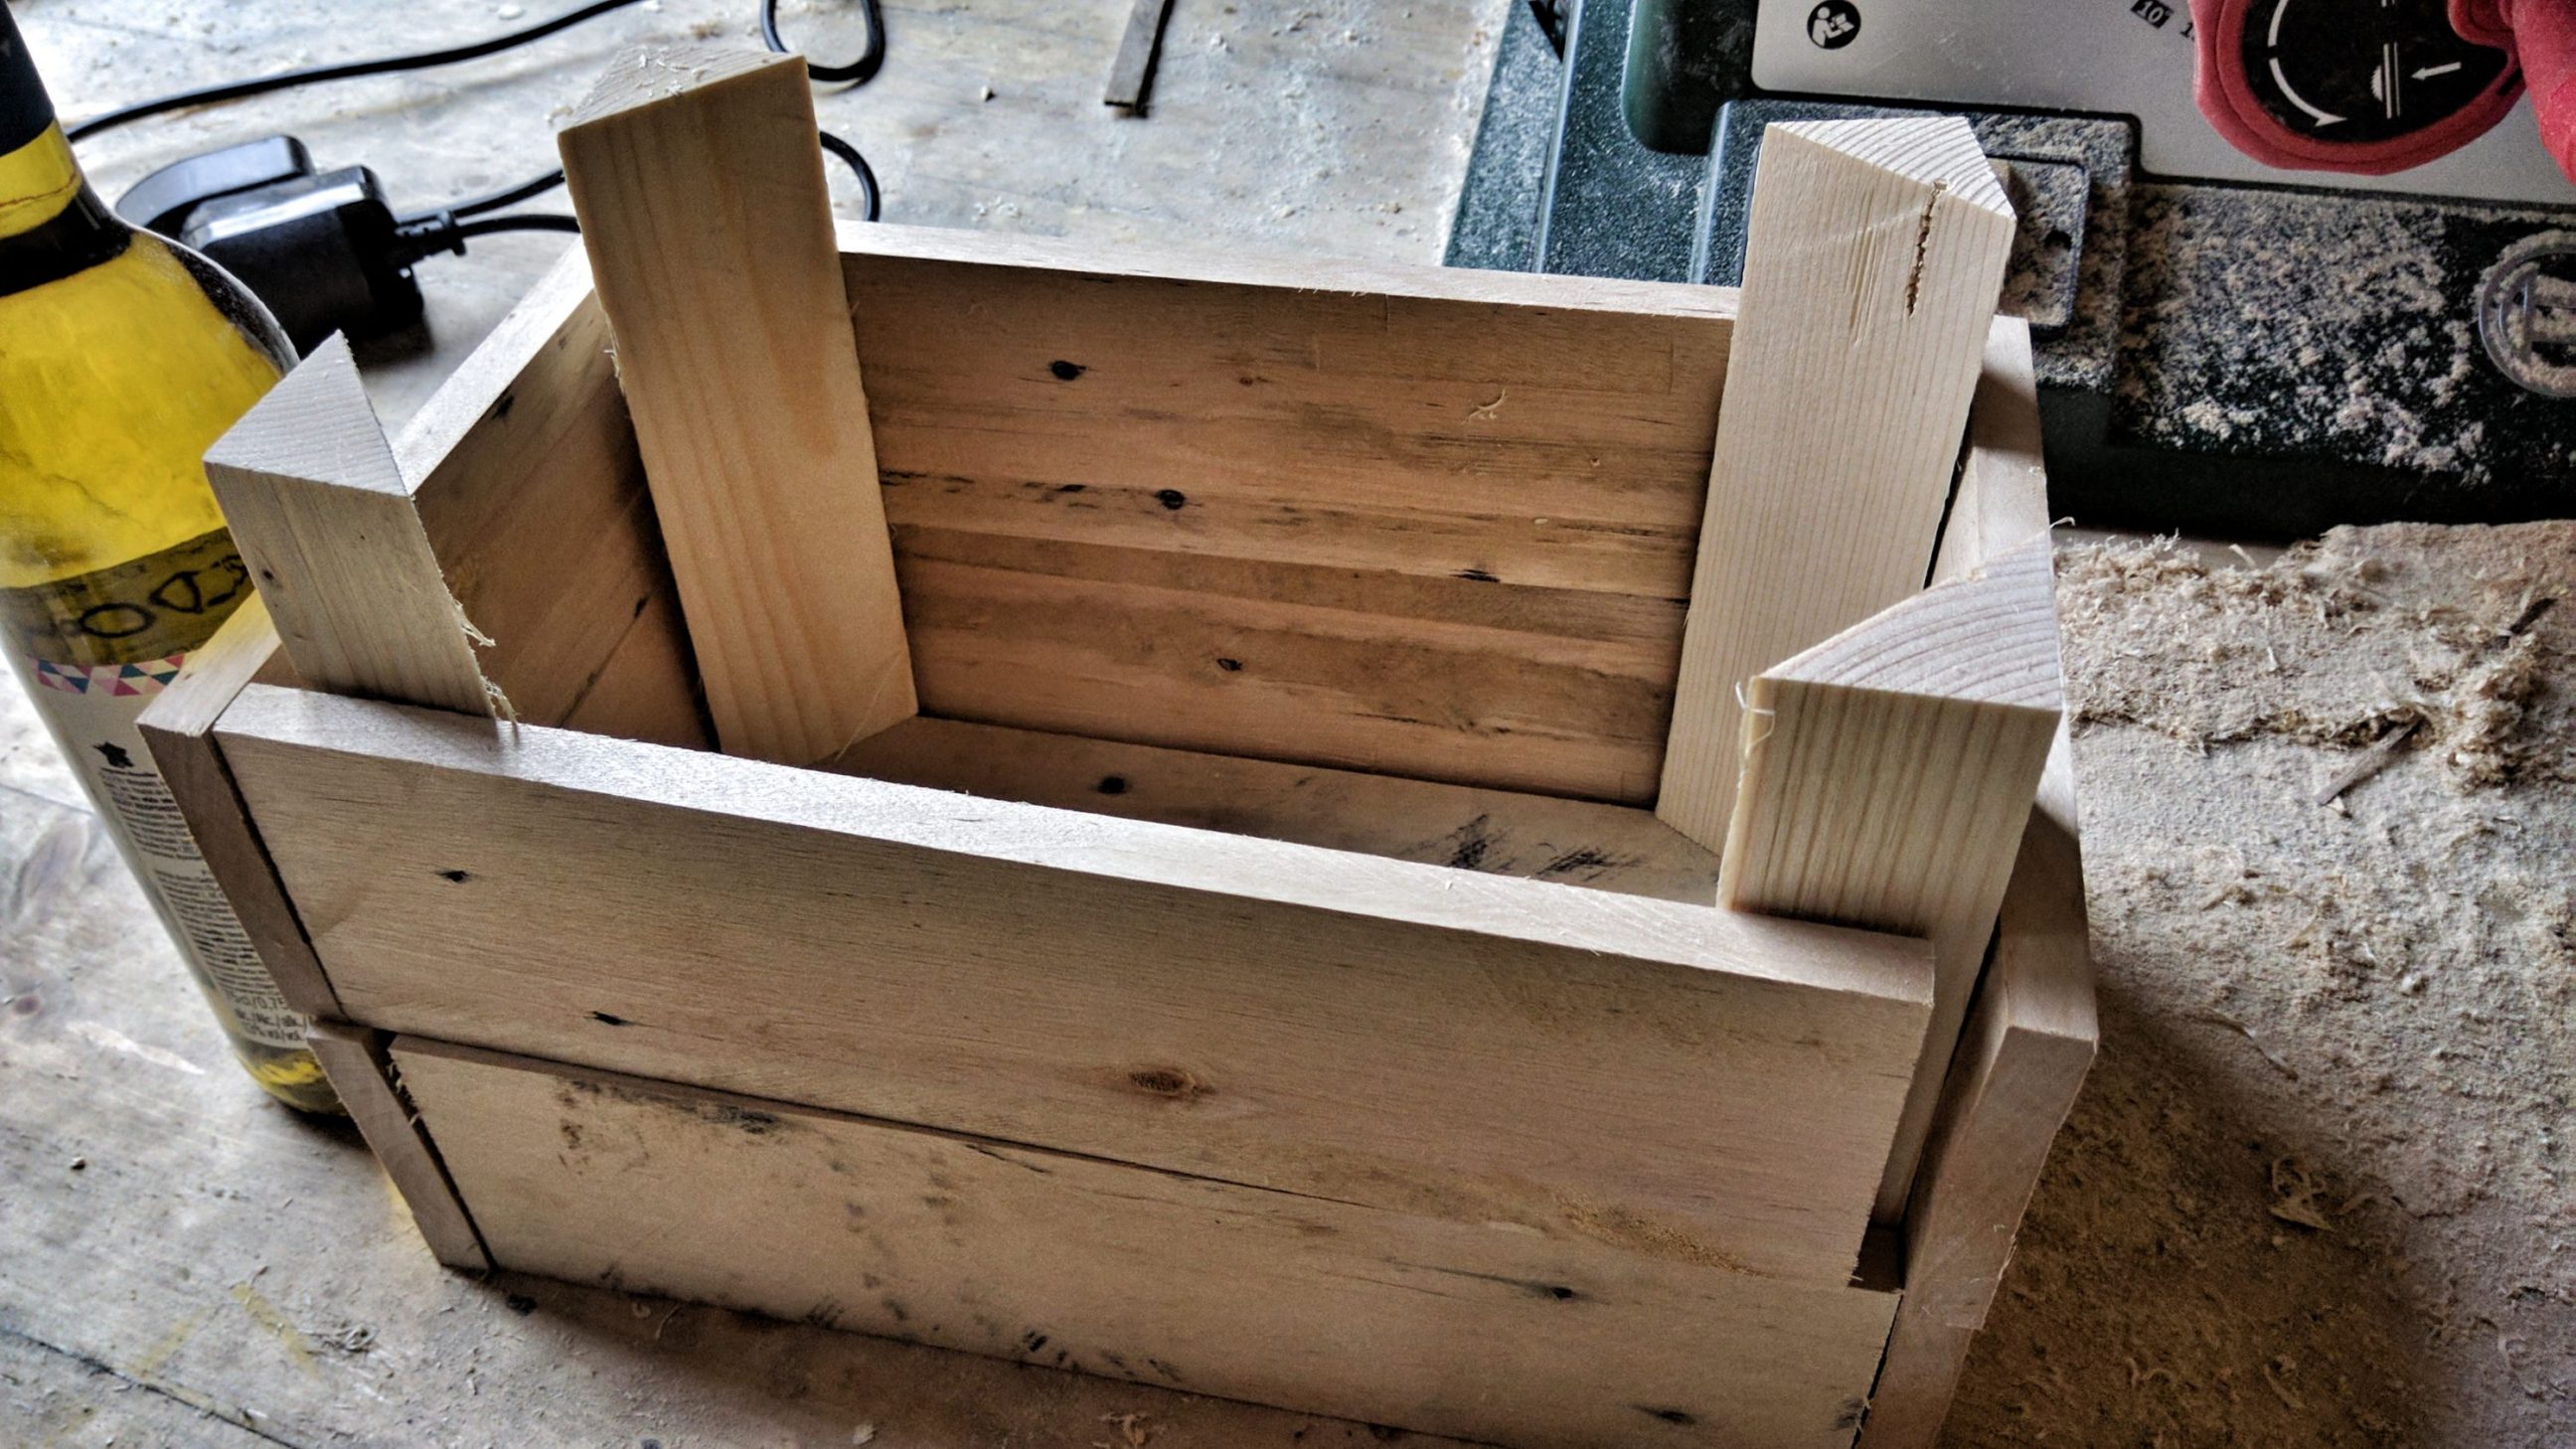
Cutting to length and quick assembly, using wine bottles to make sure it’s cut properly.

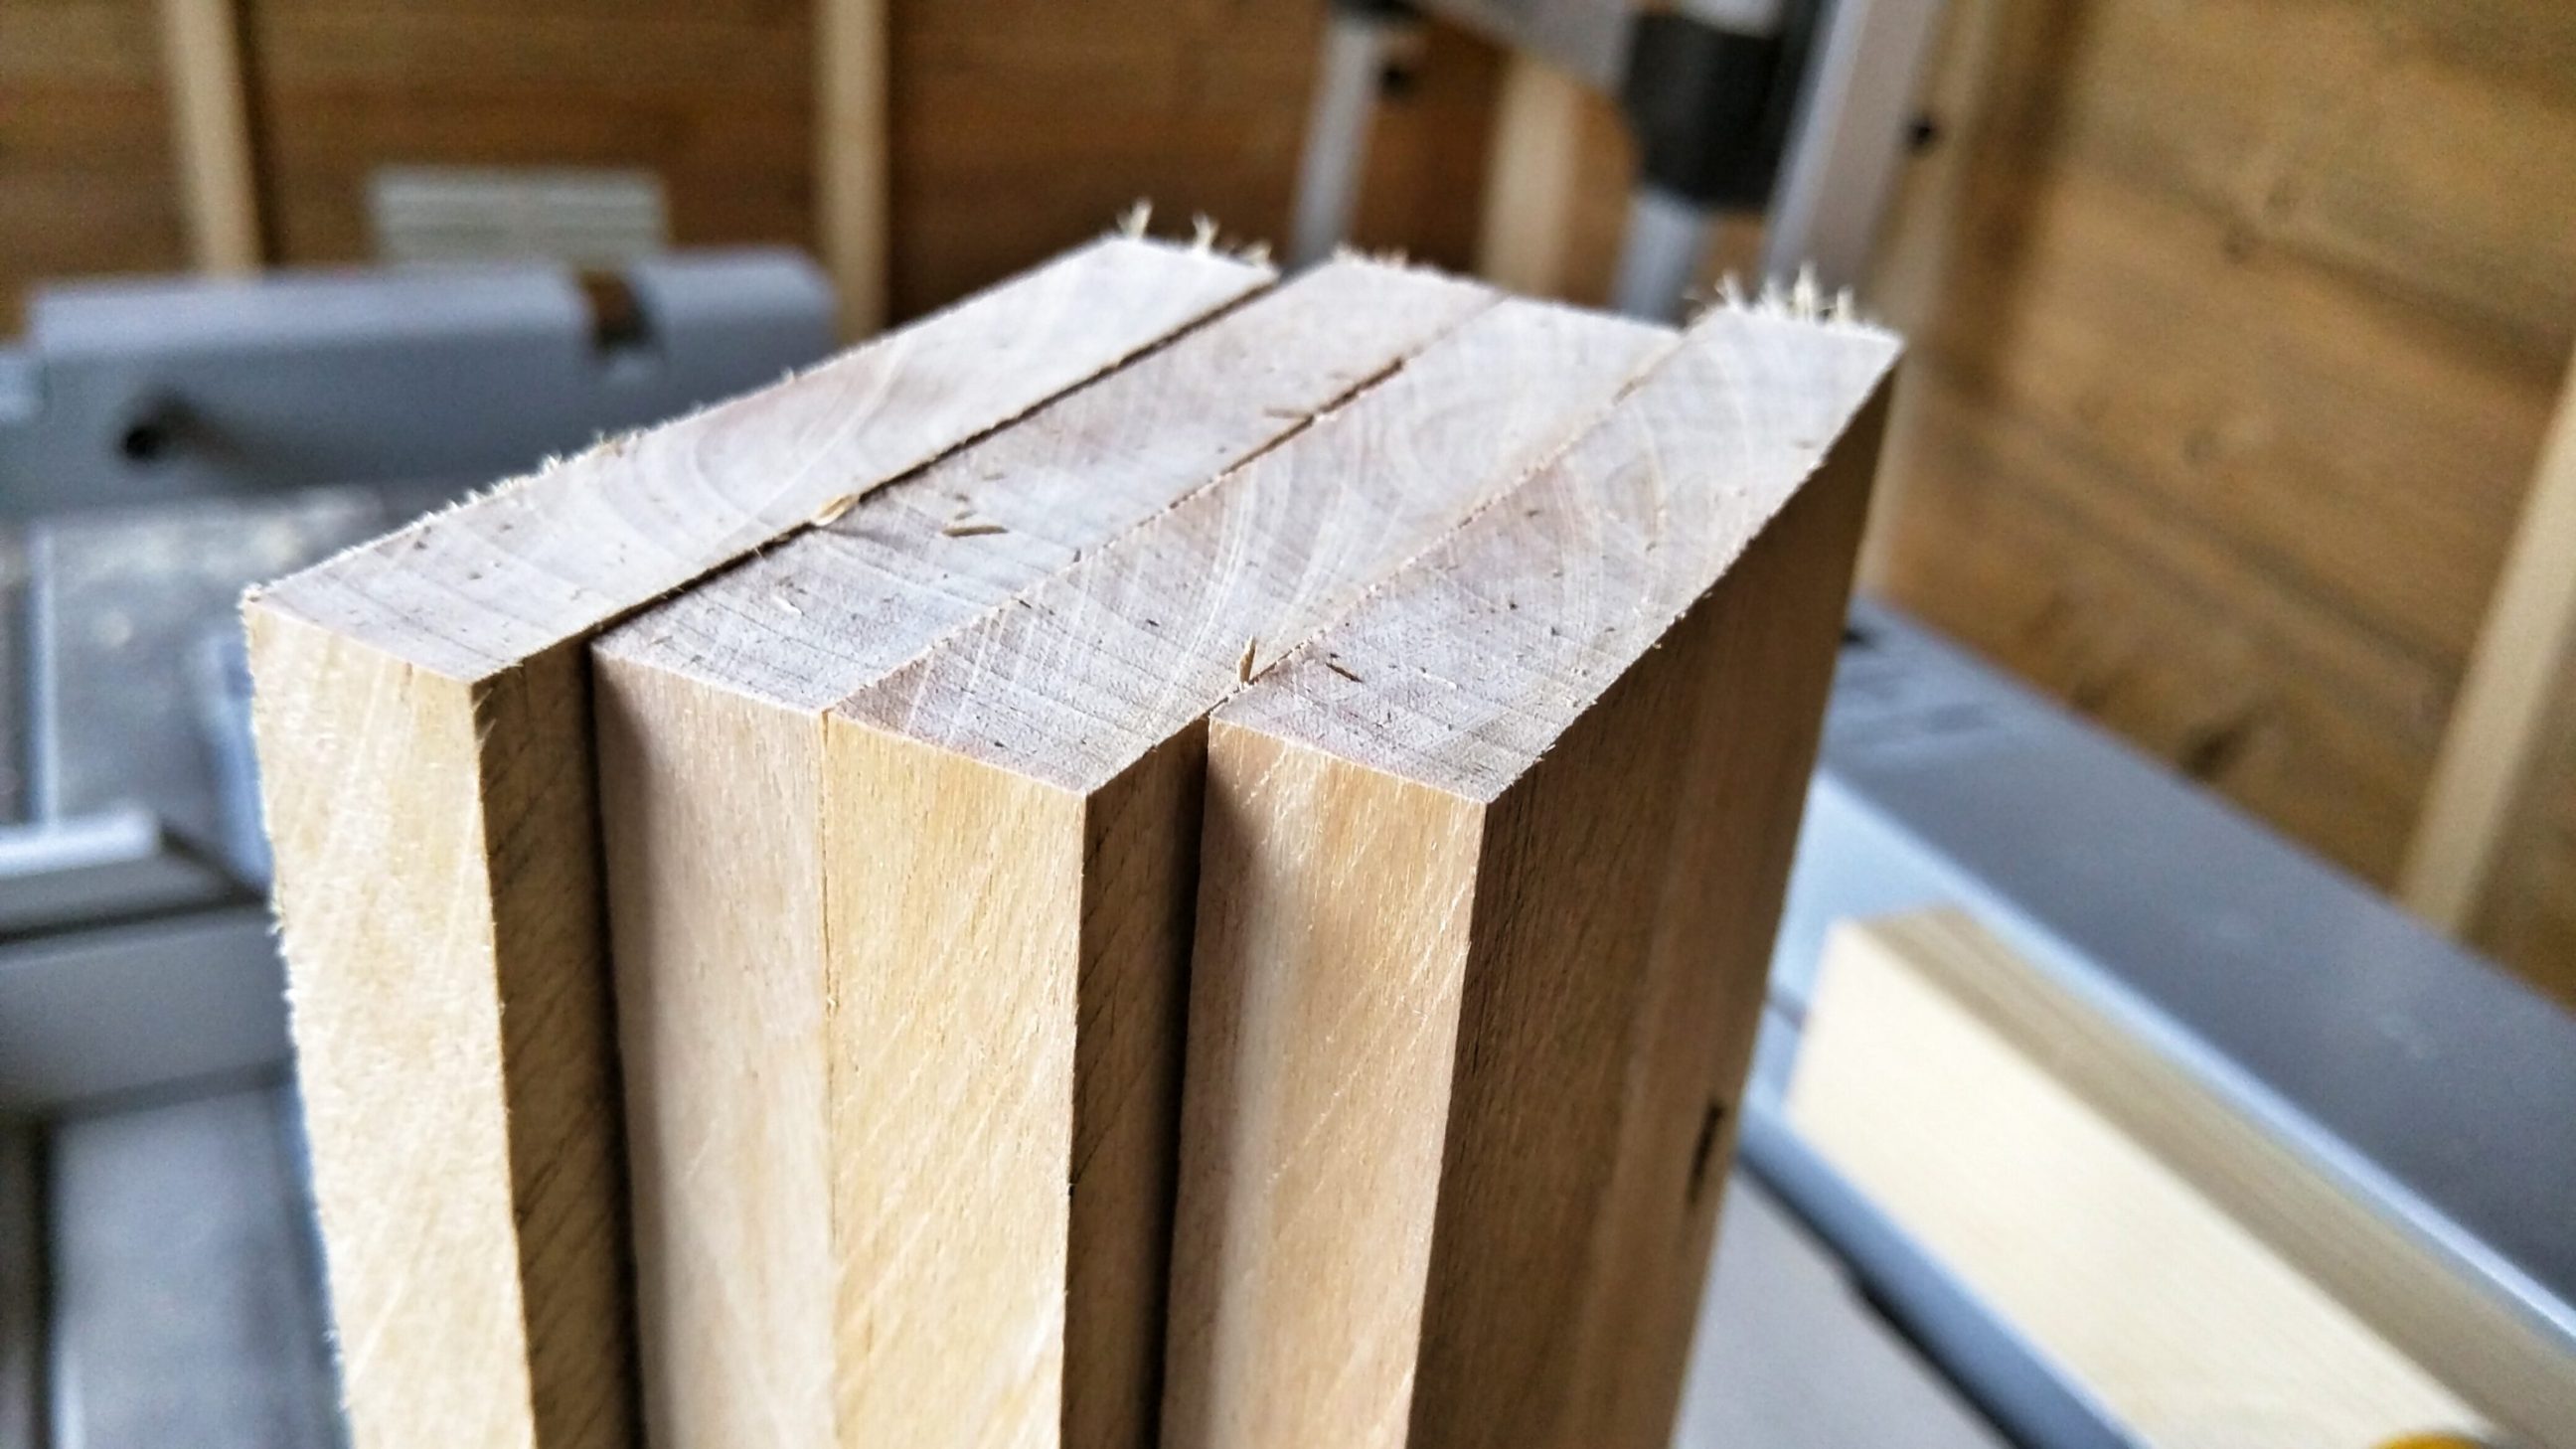
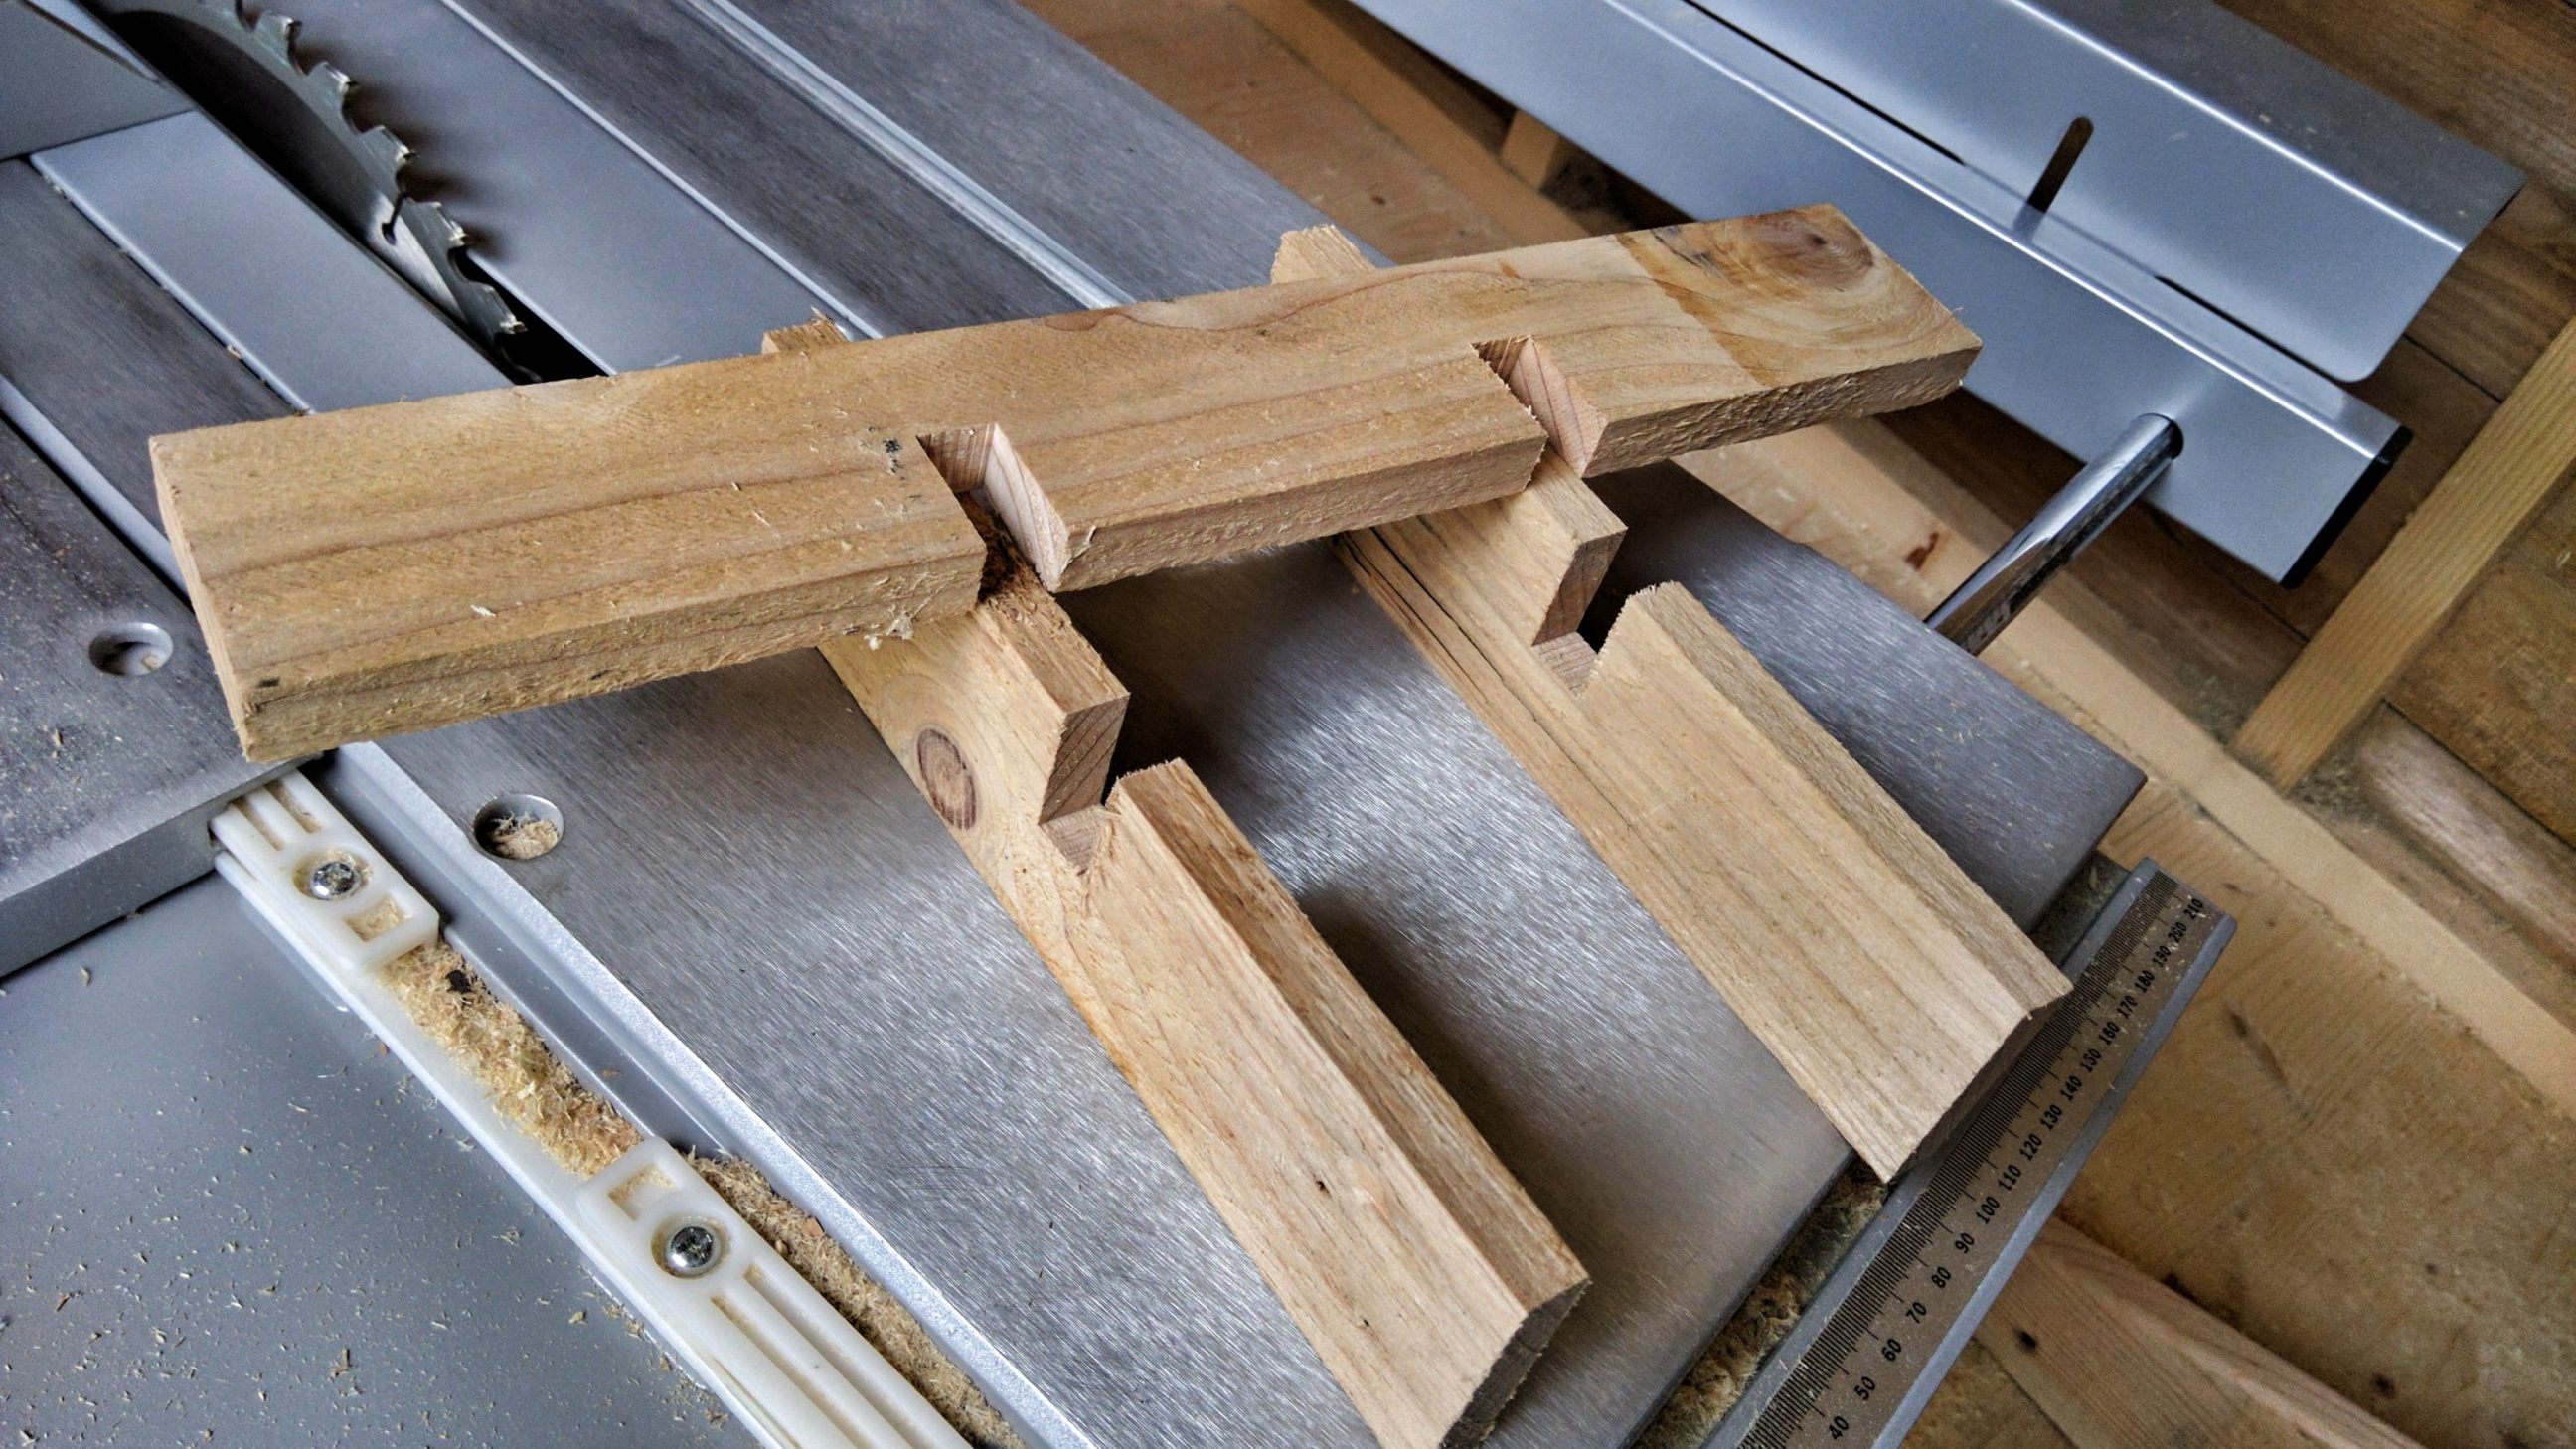
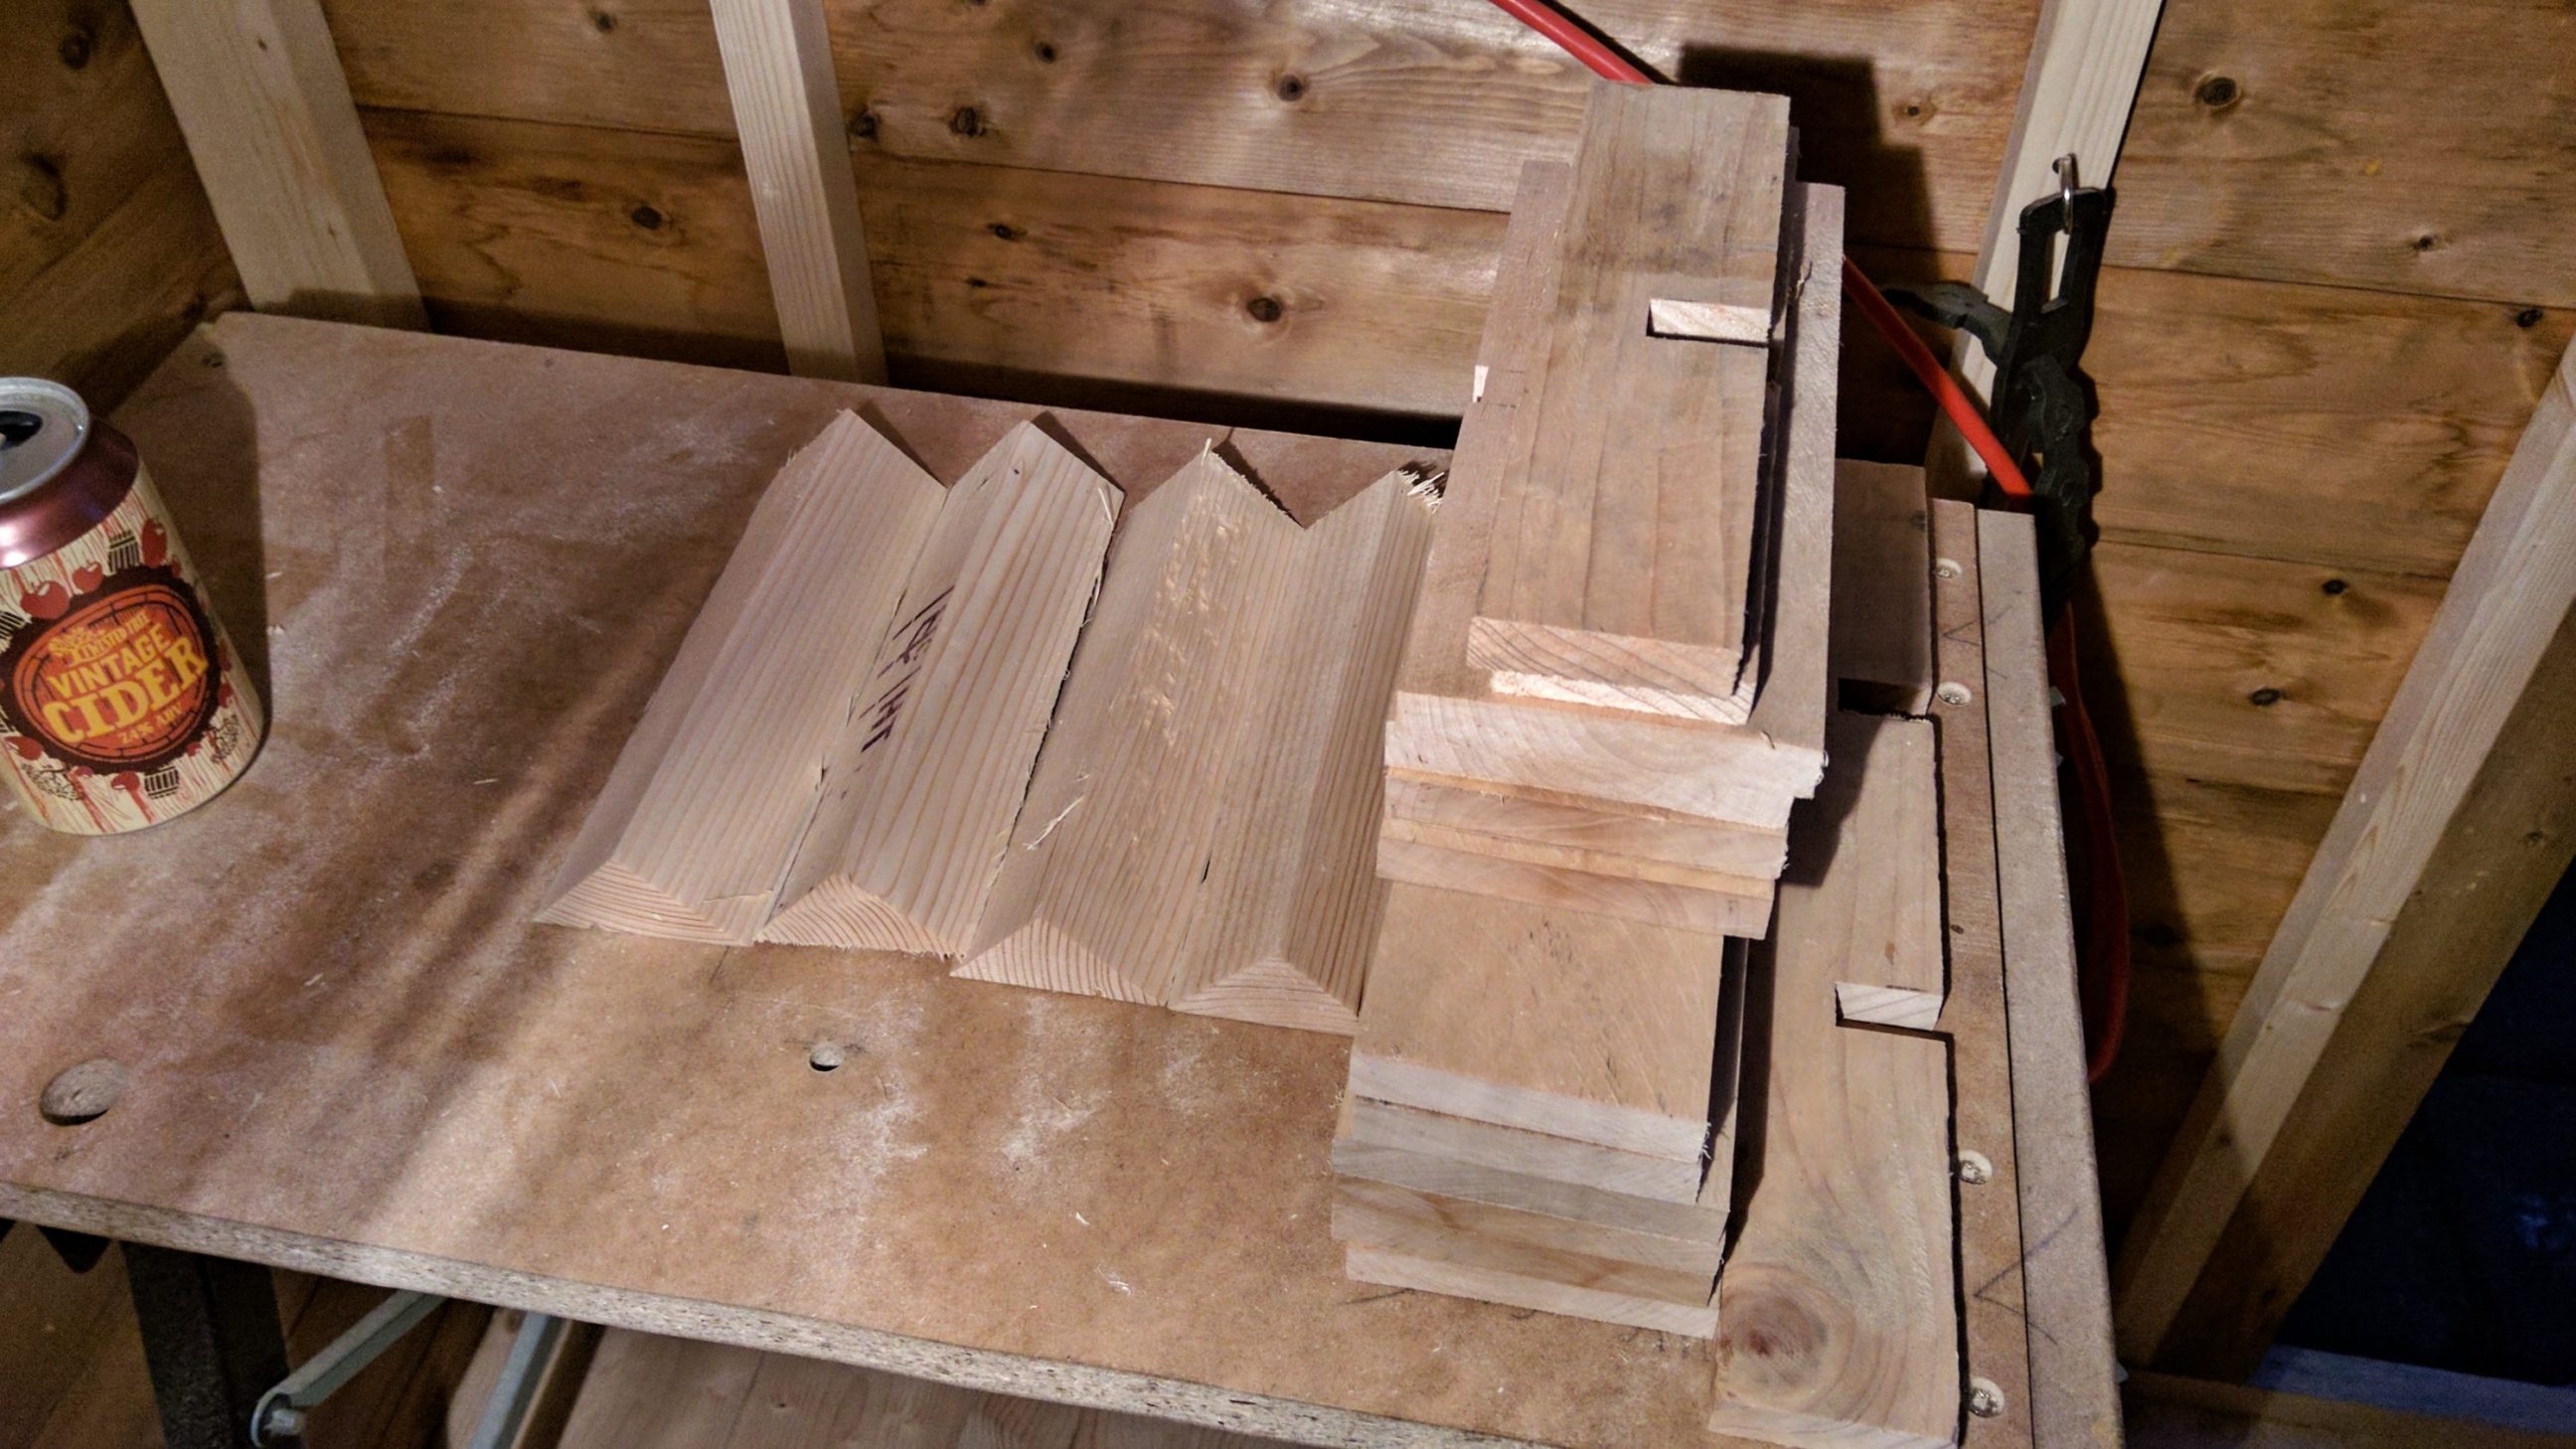
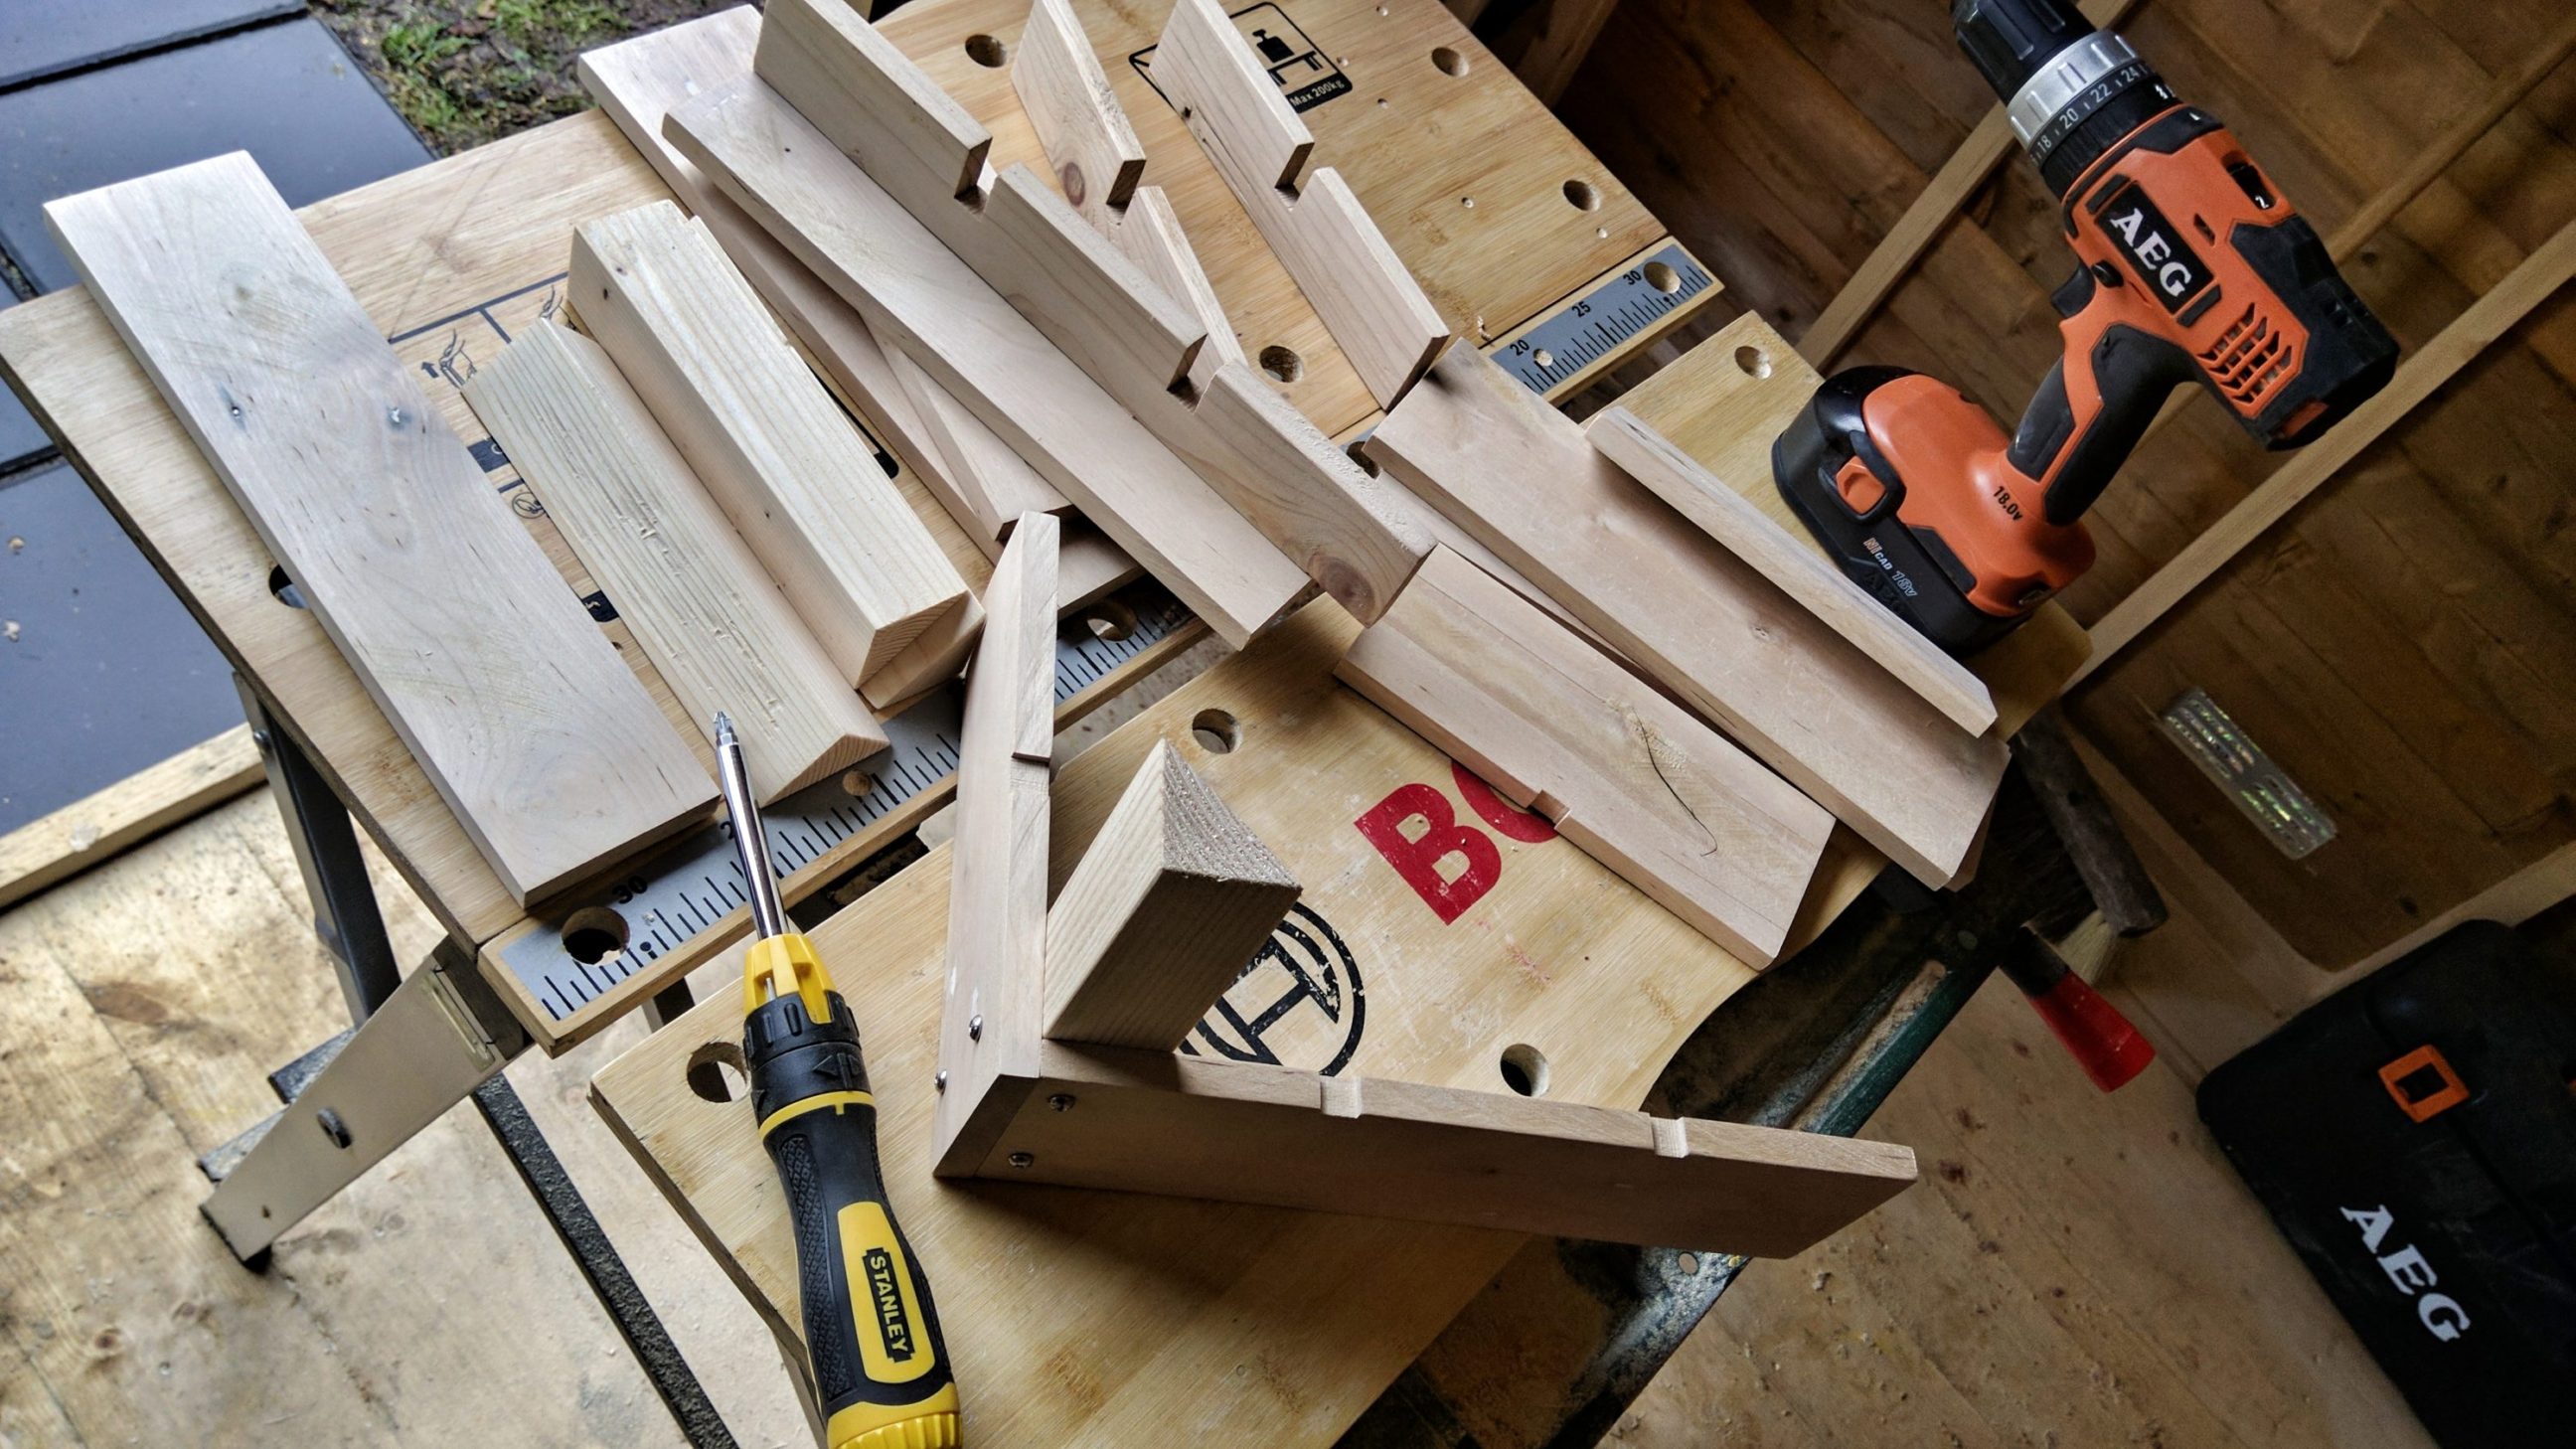
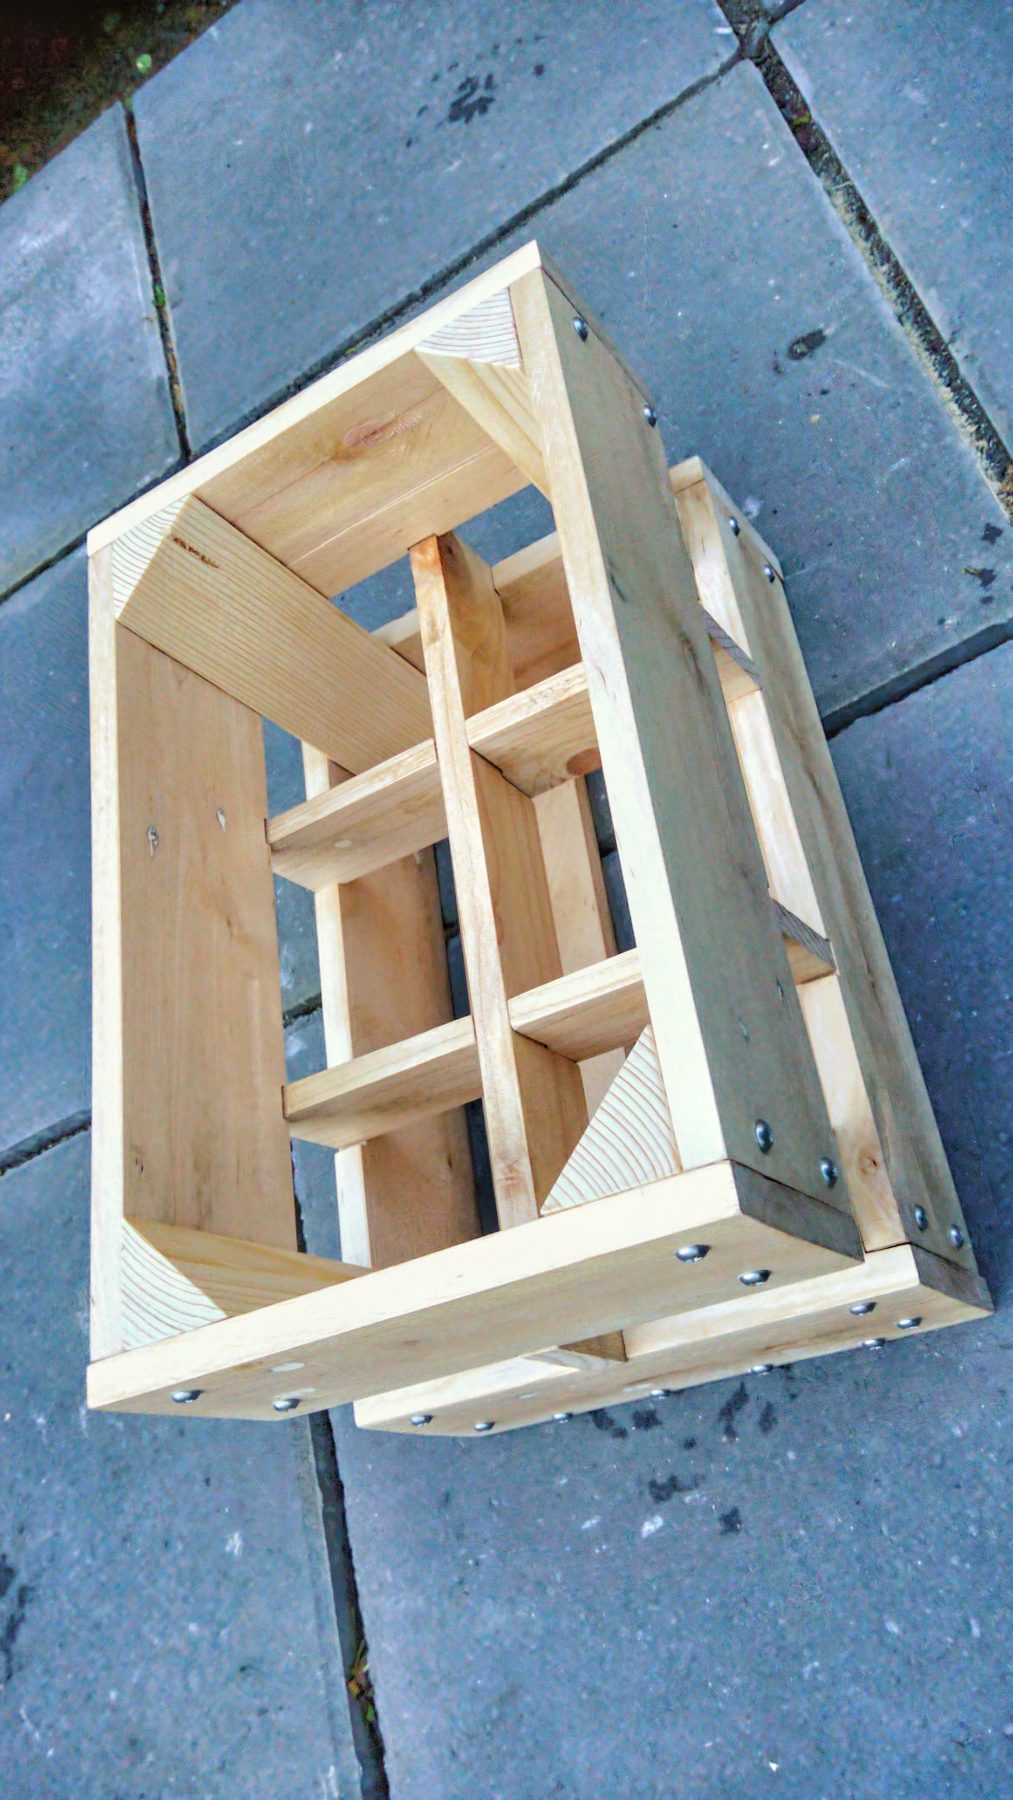
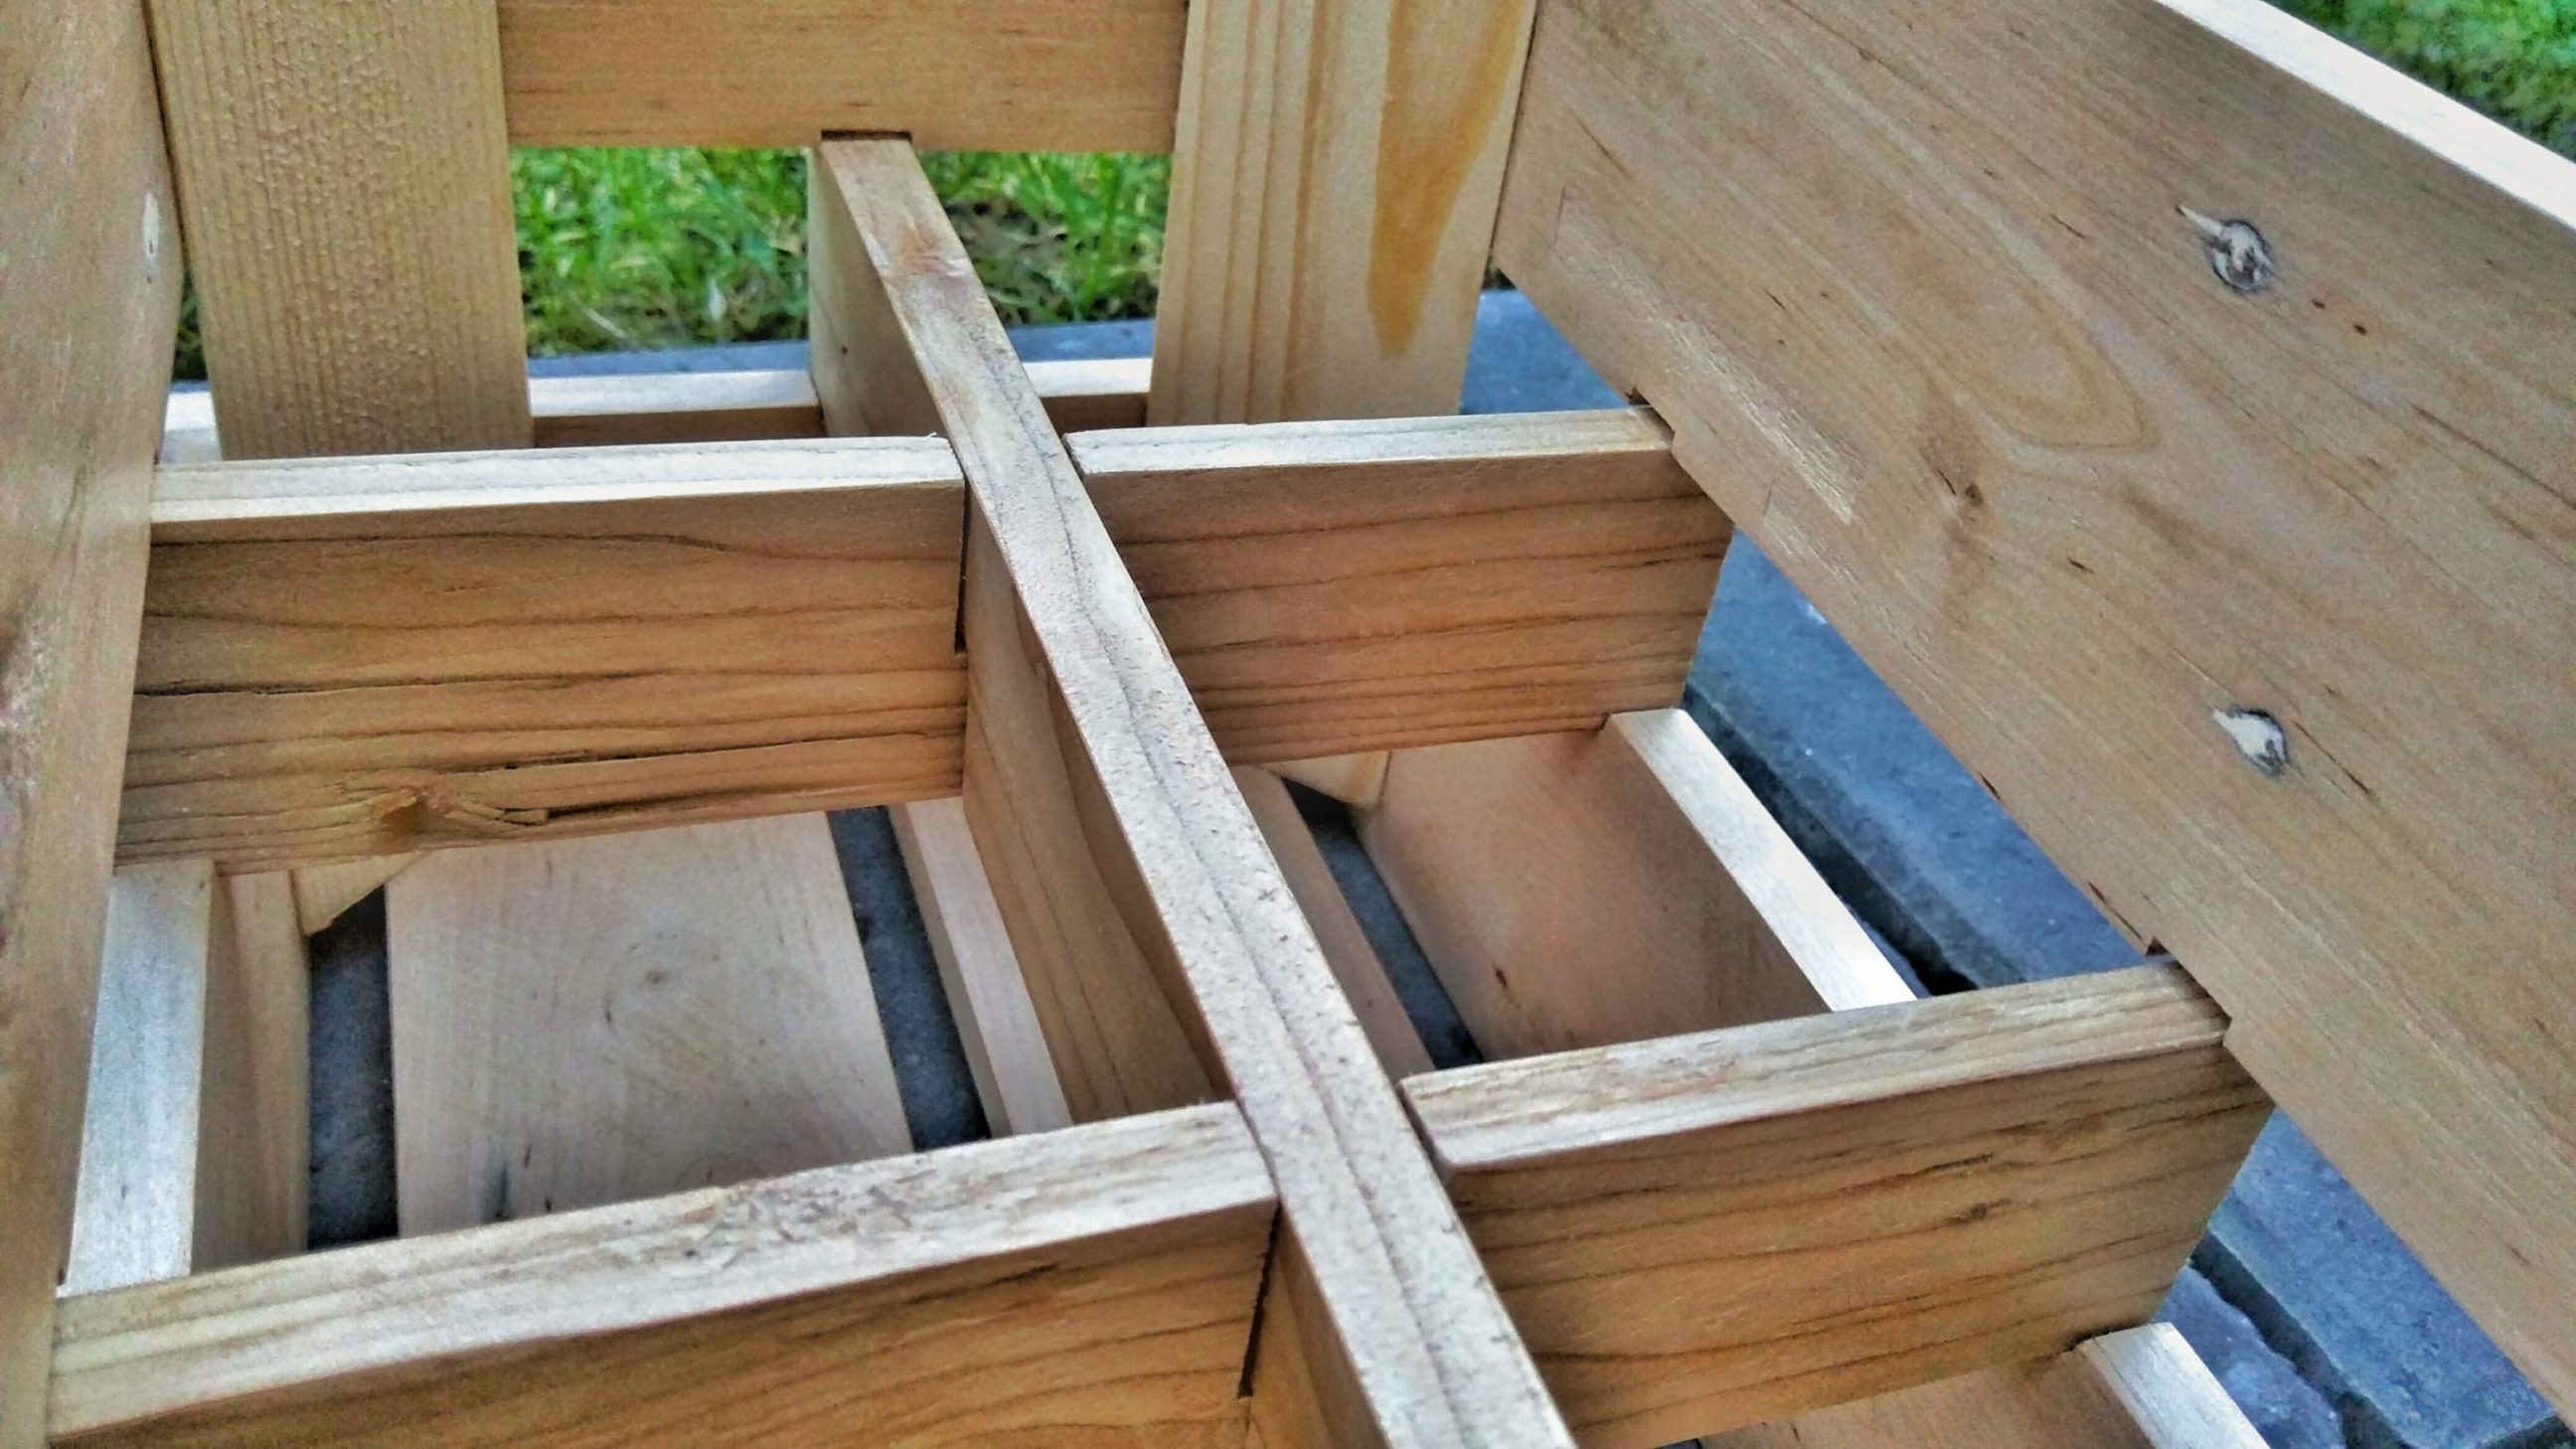
Cutting the dividers …
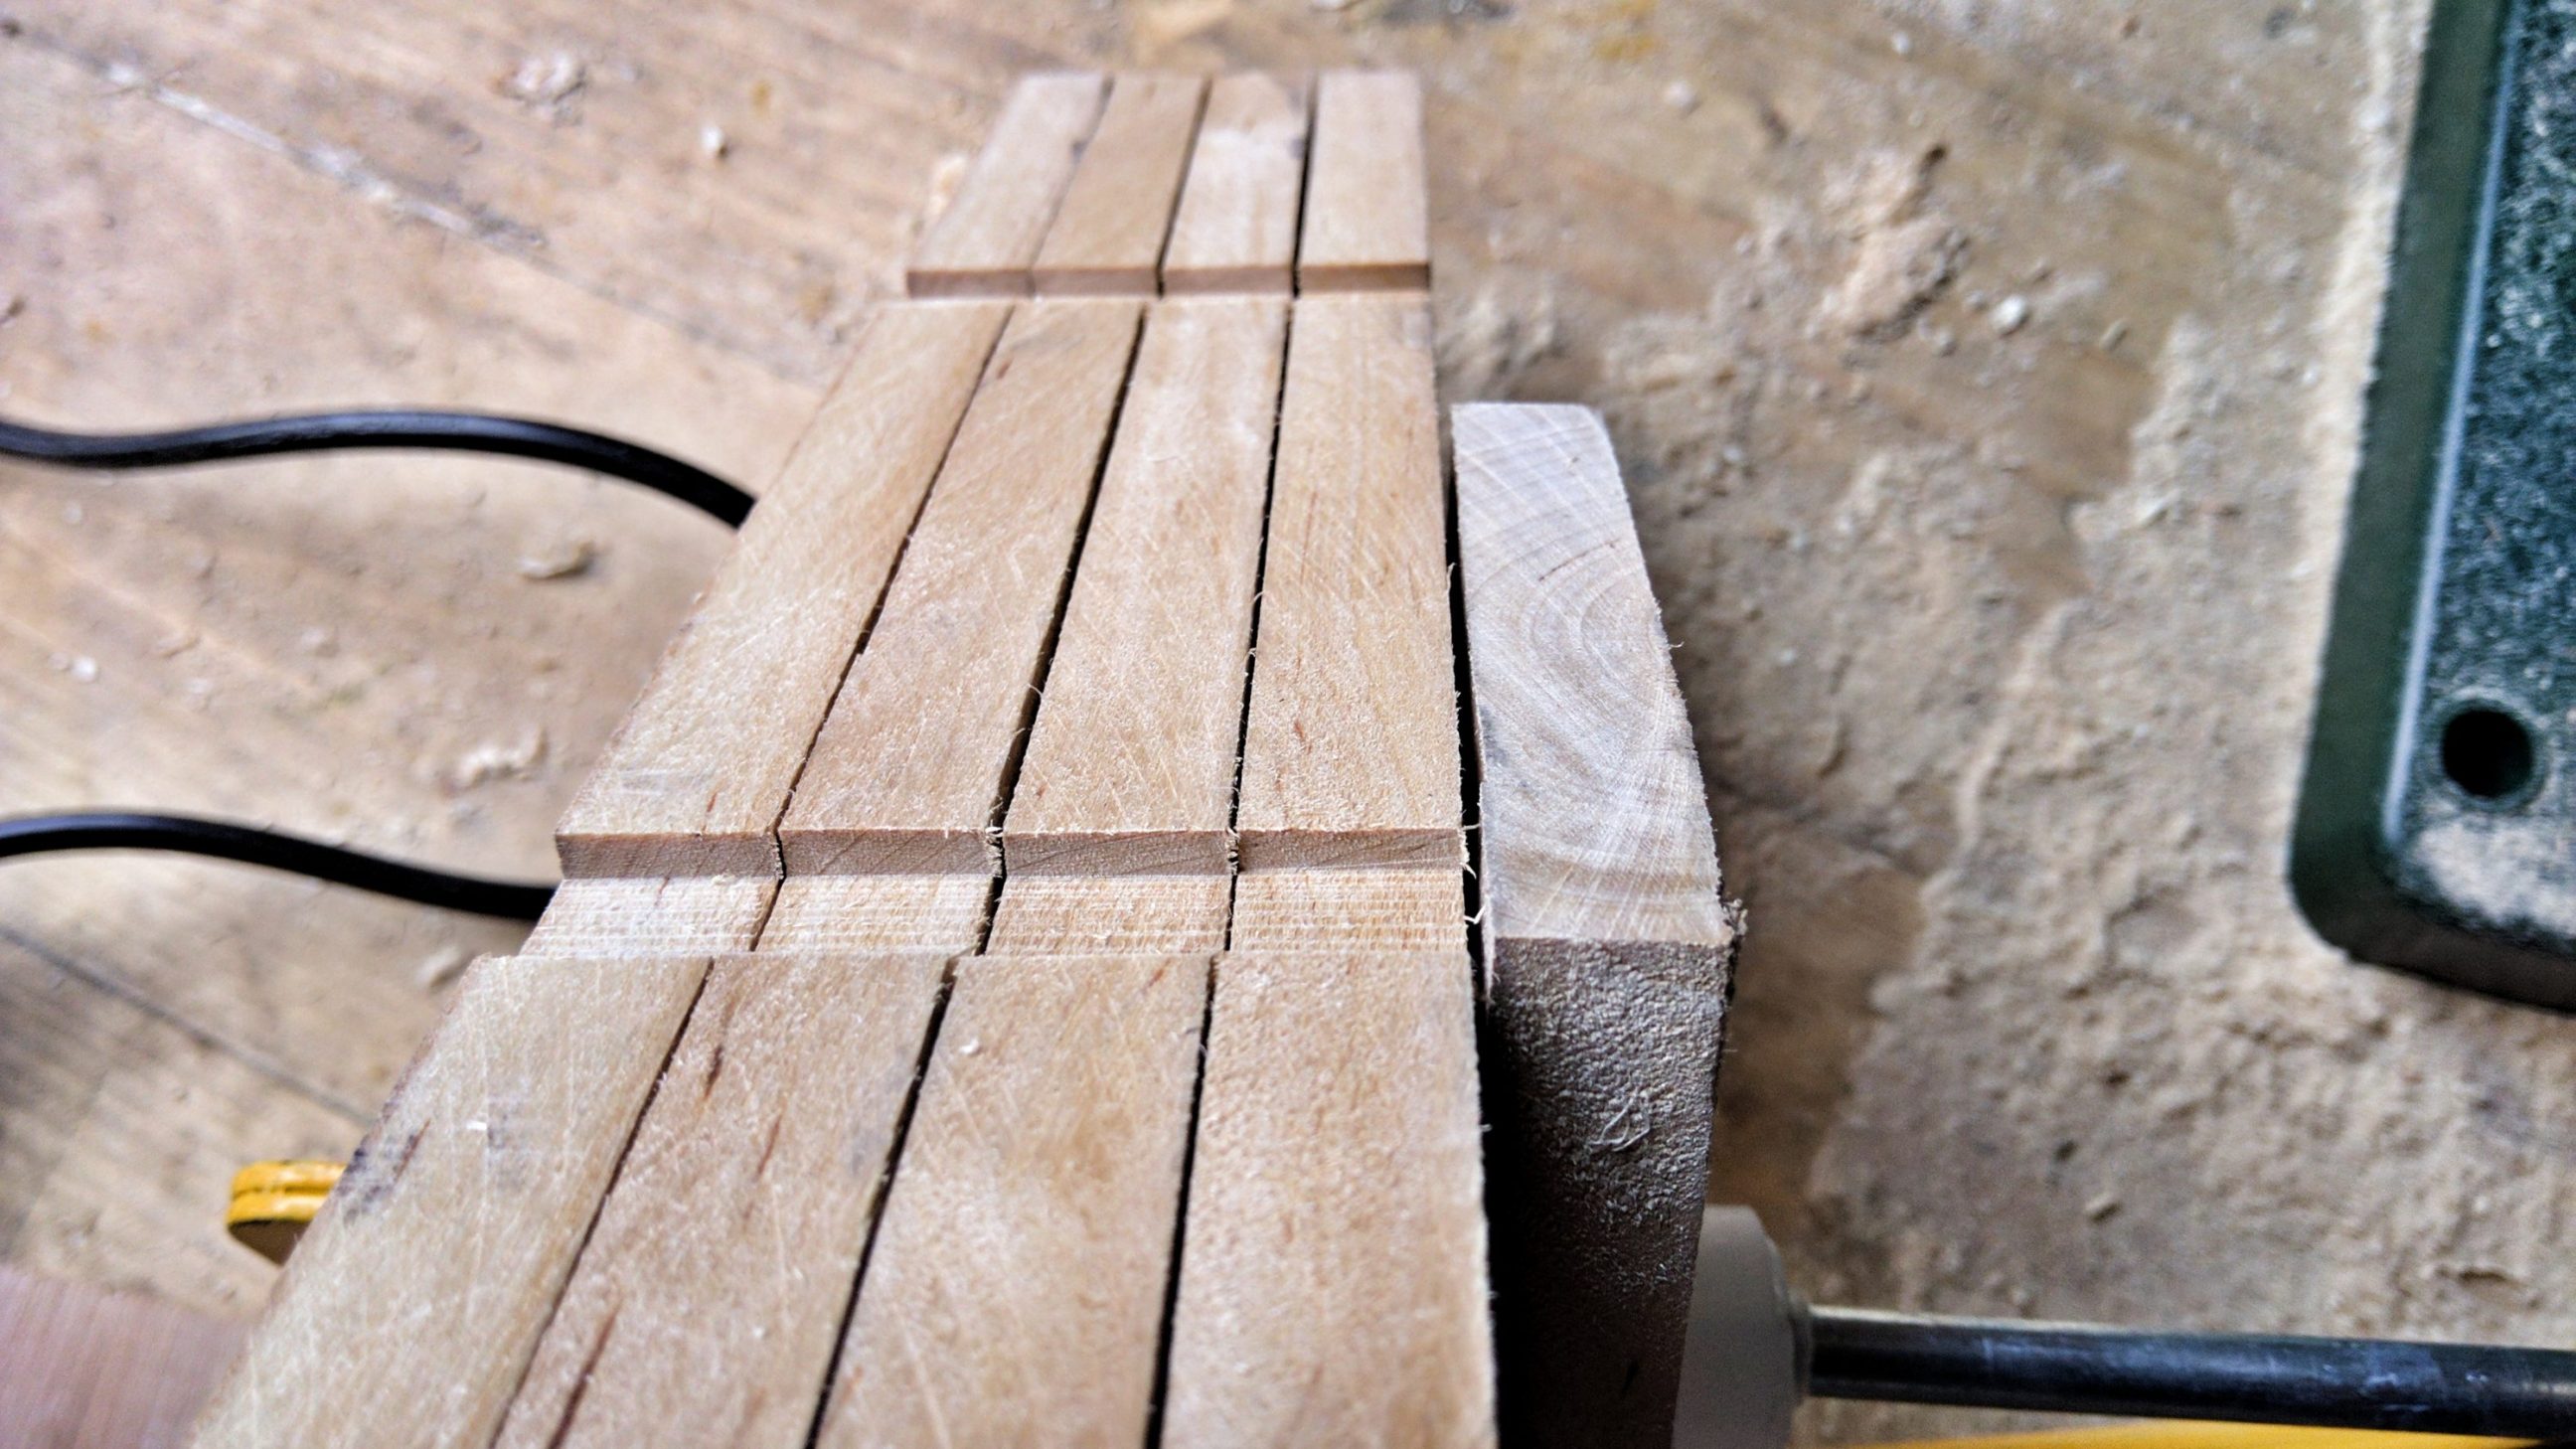
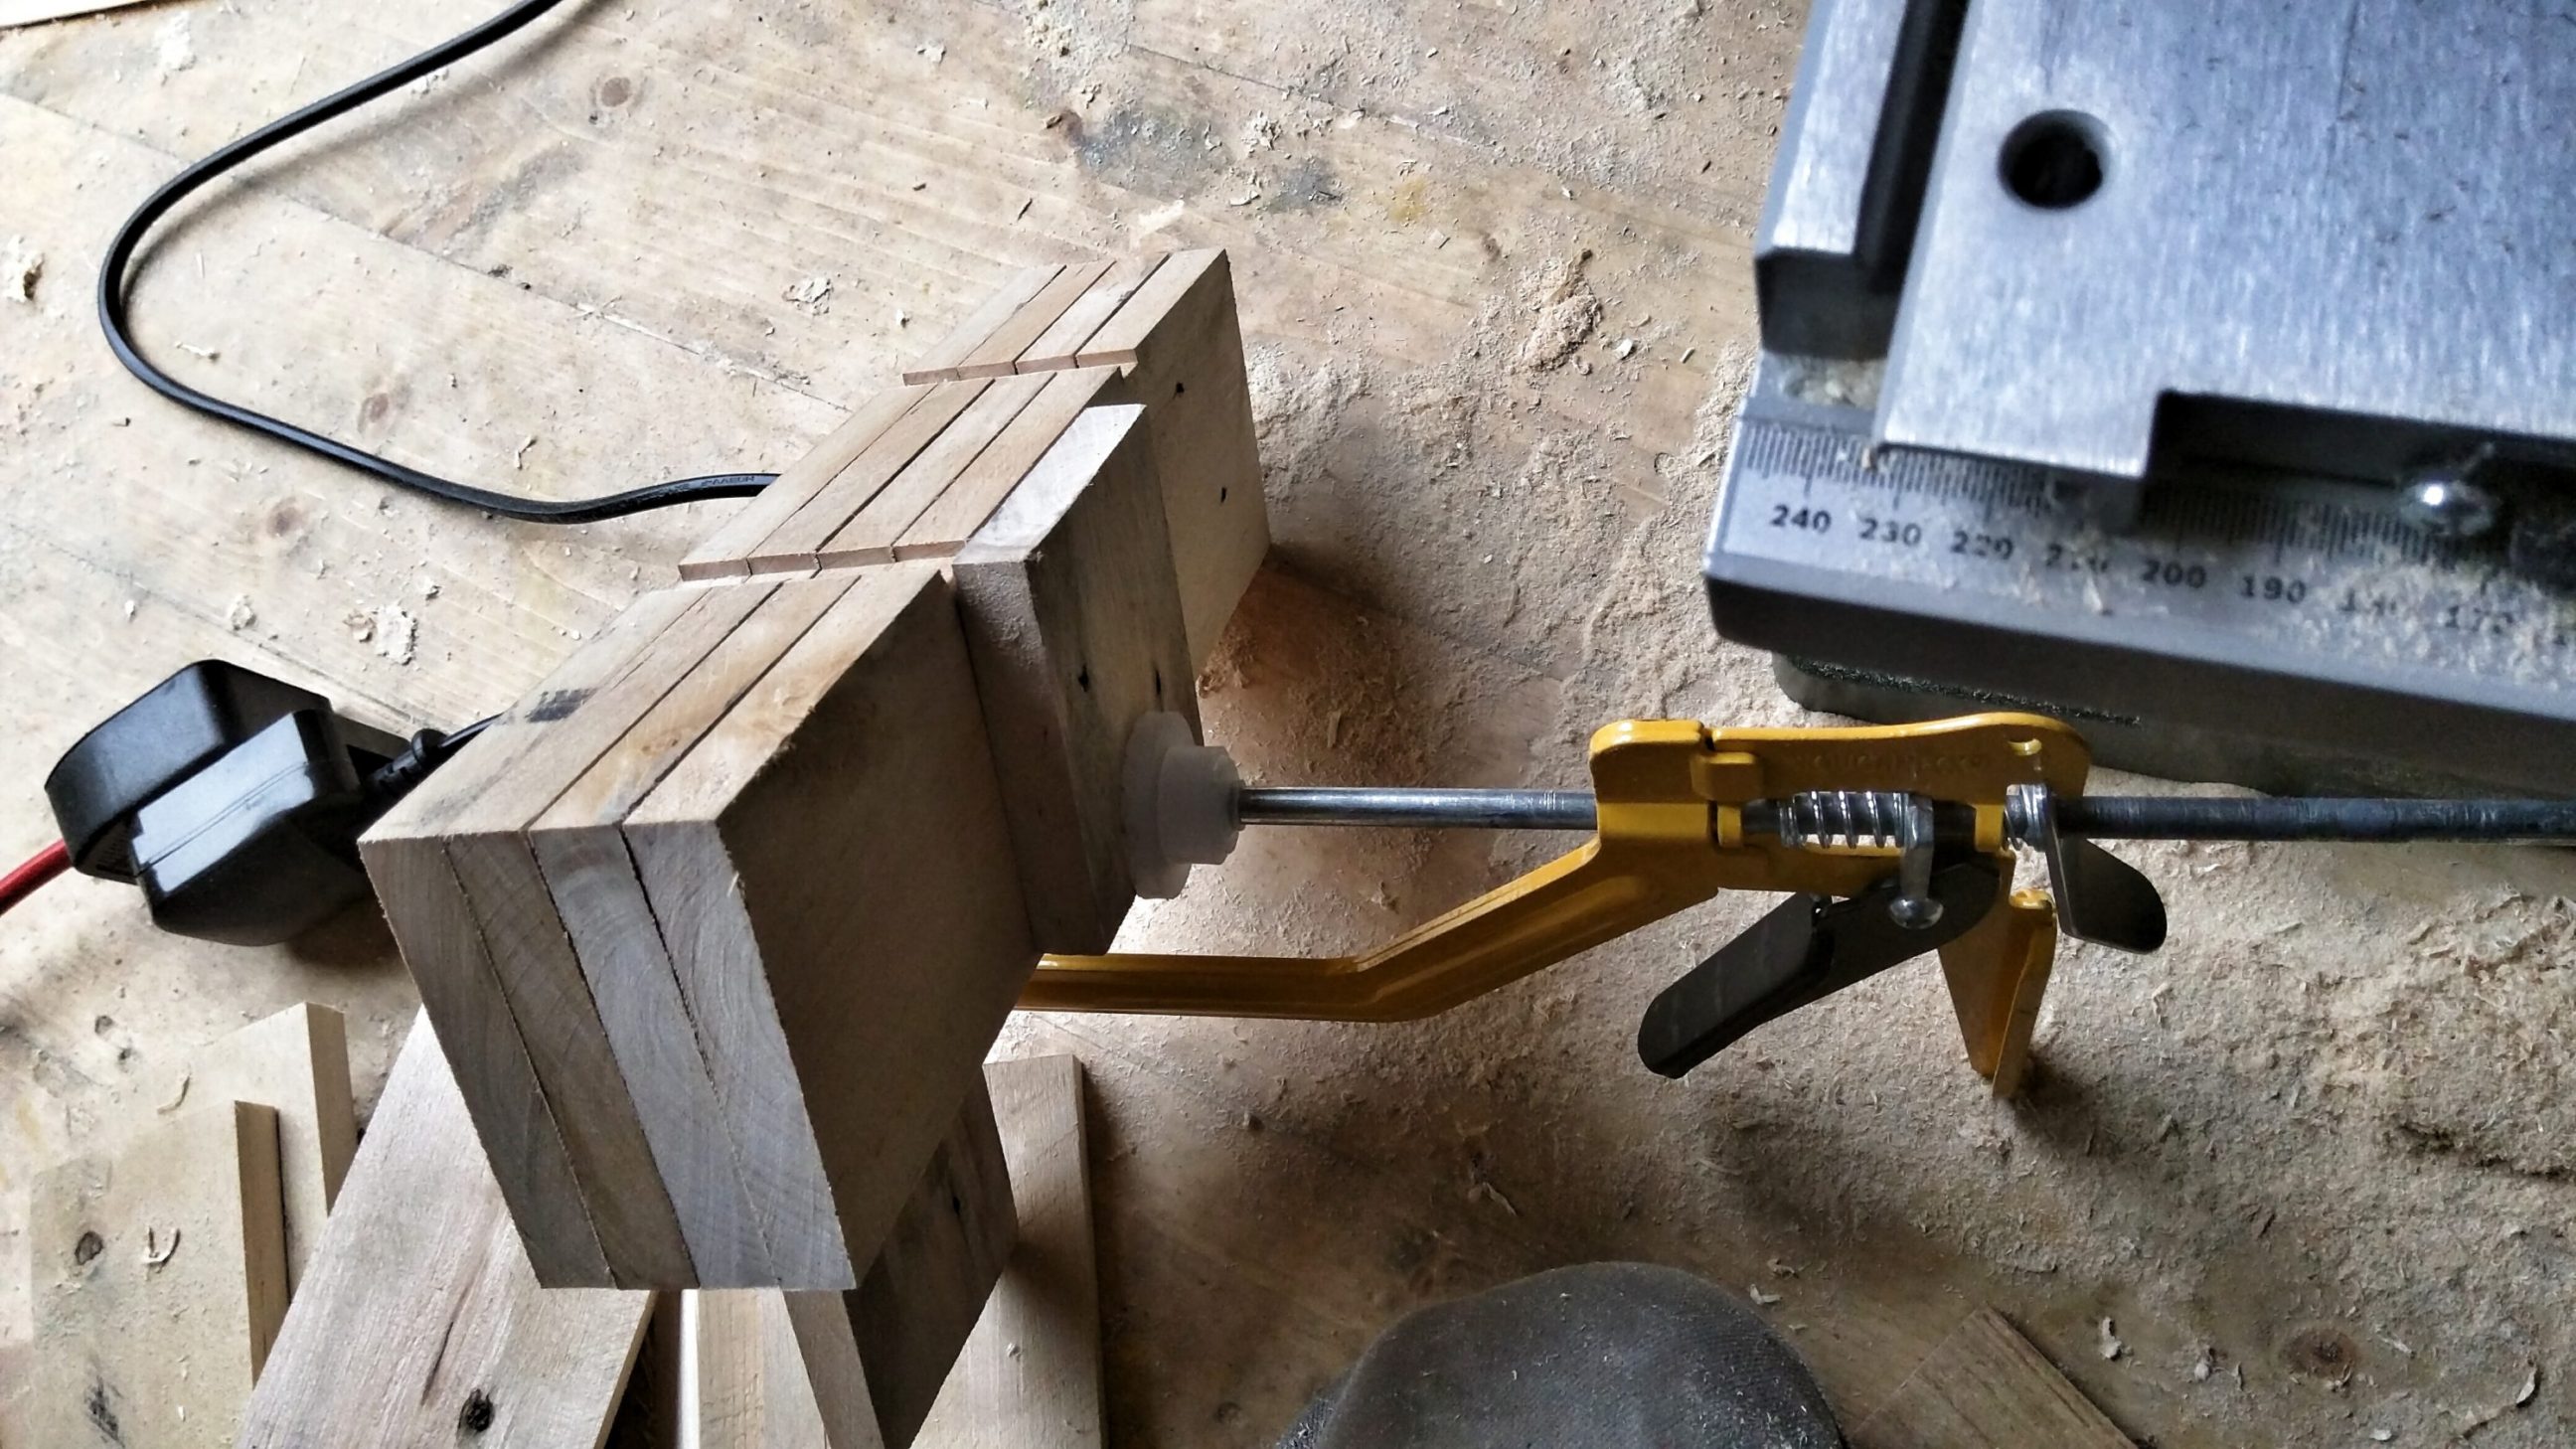
… and preparing the slats.
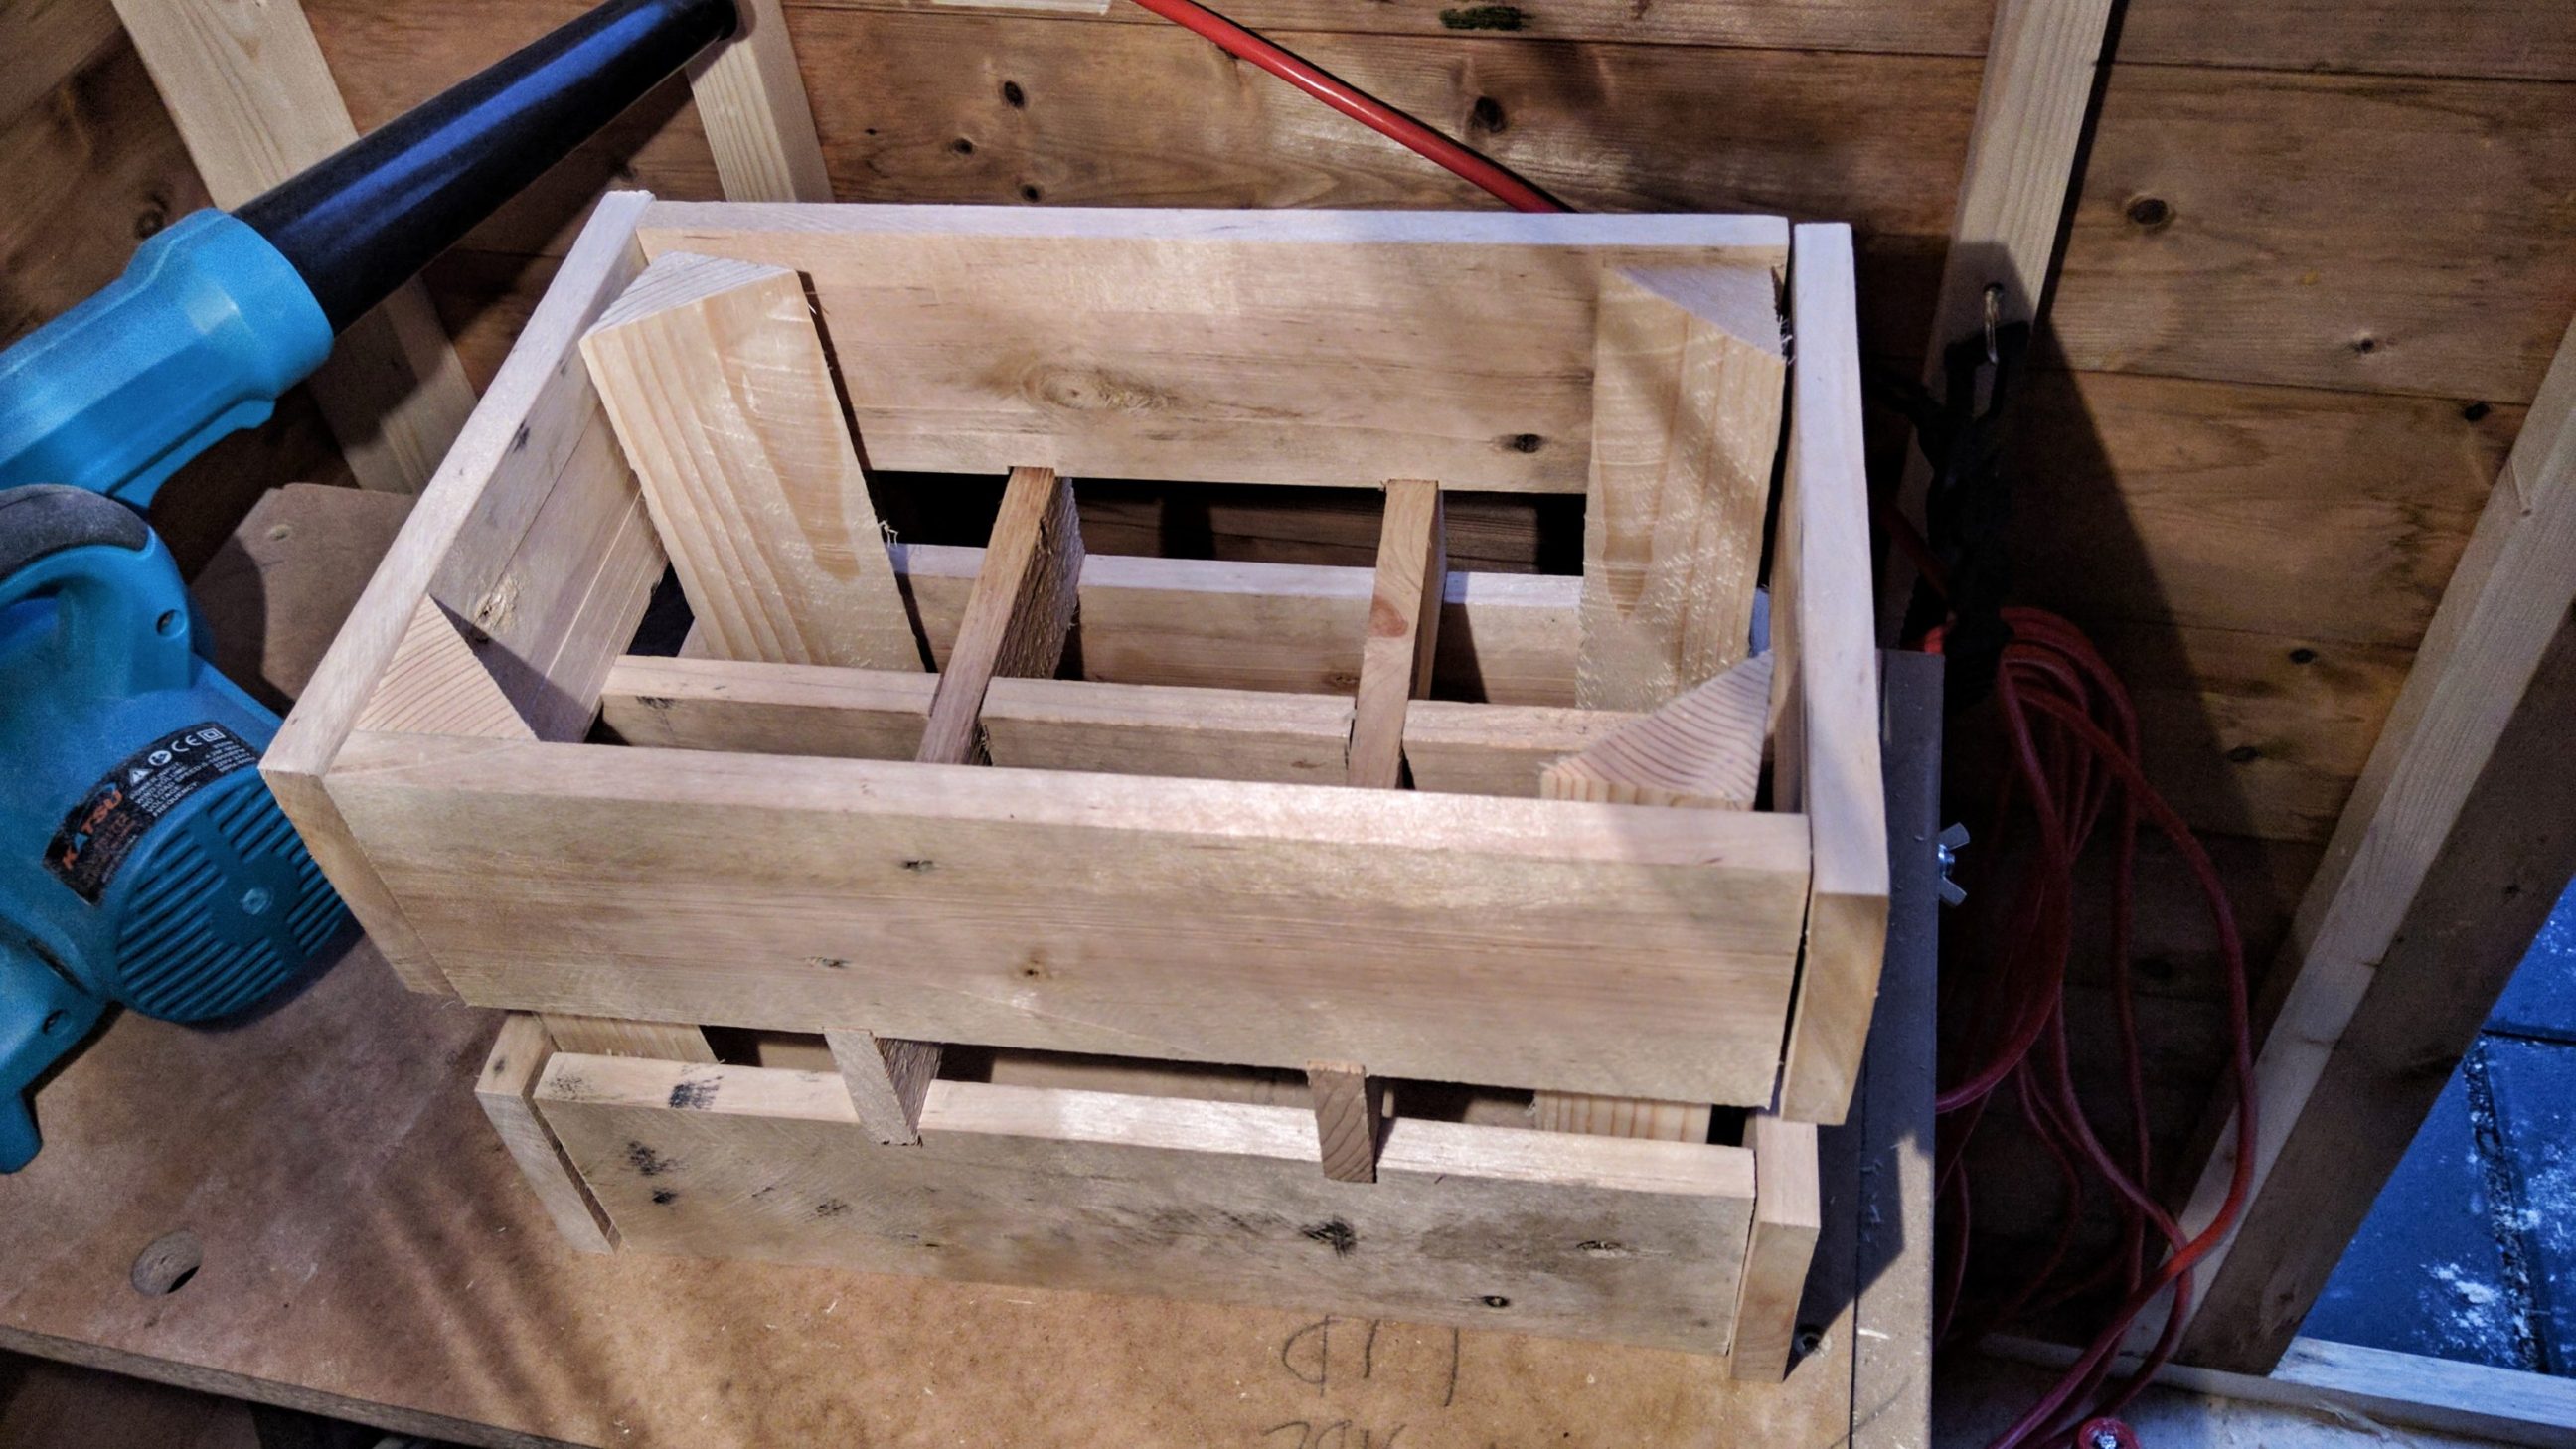
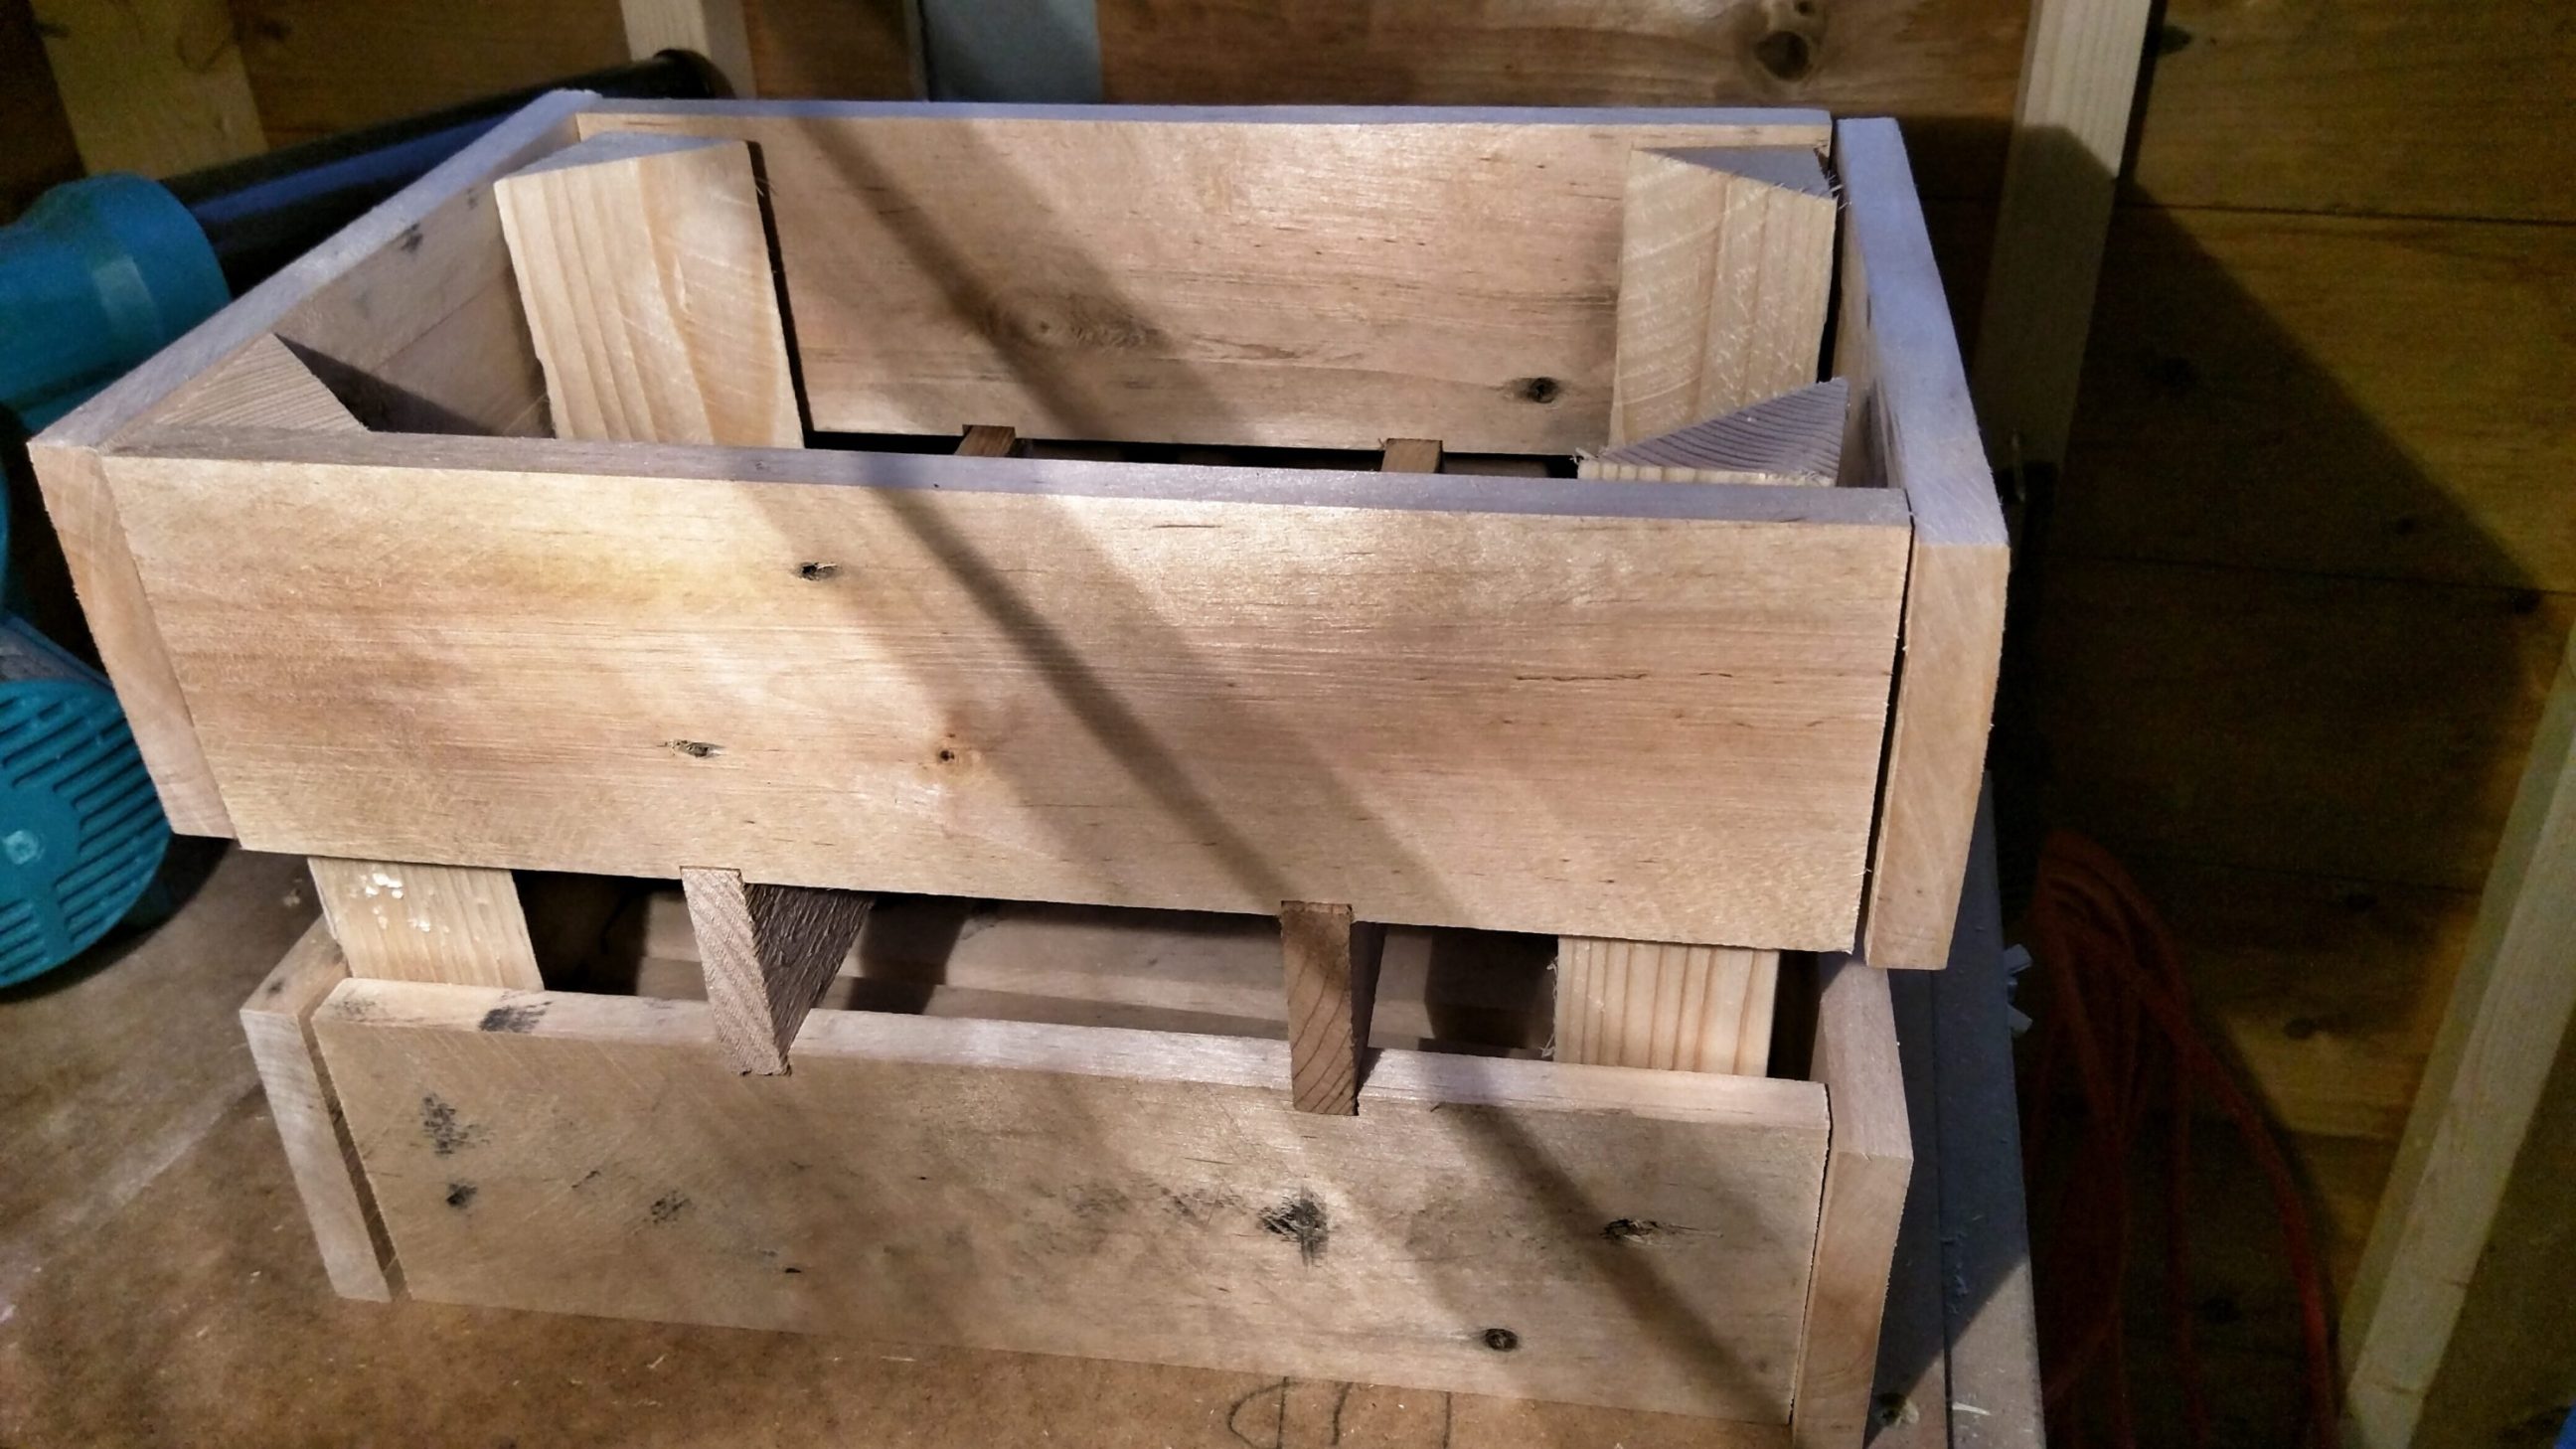
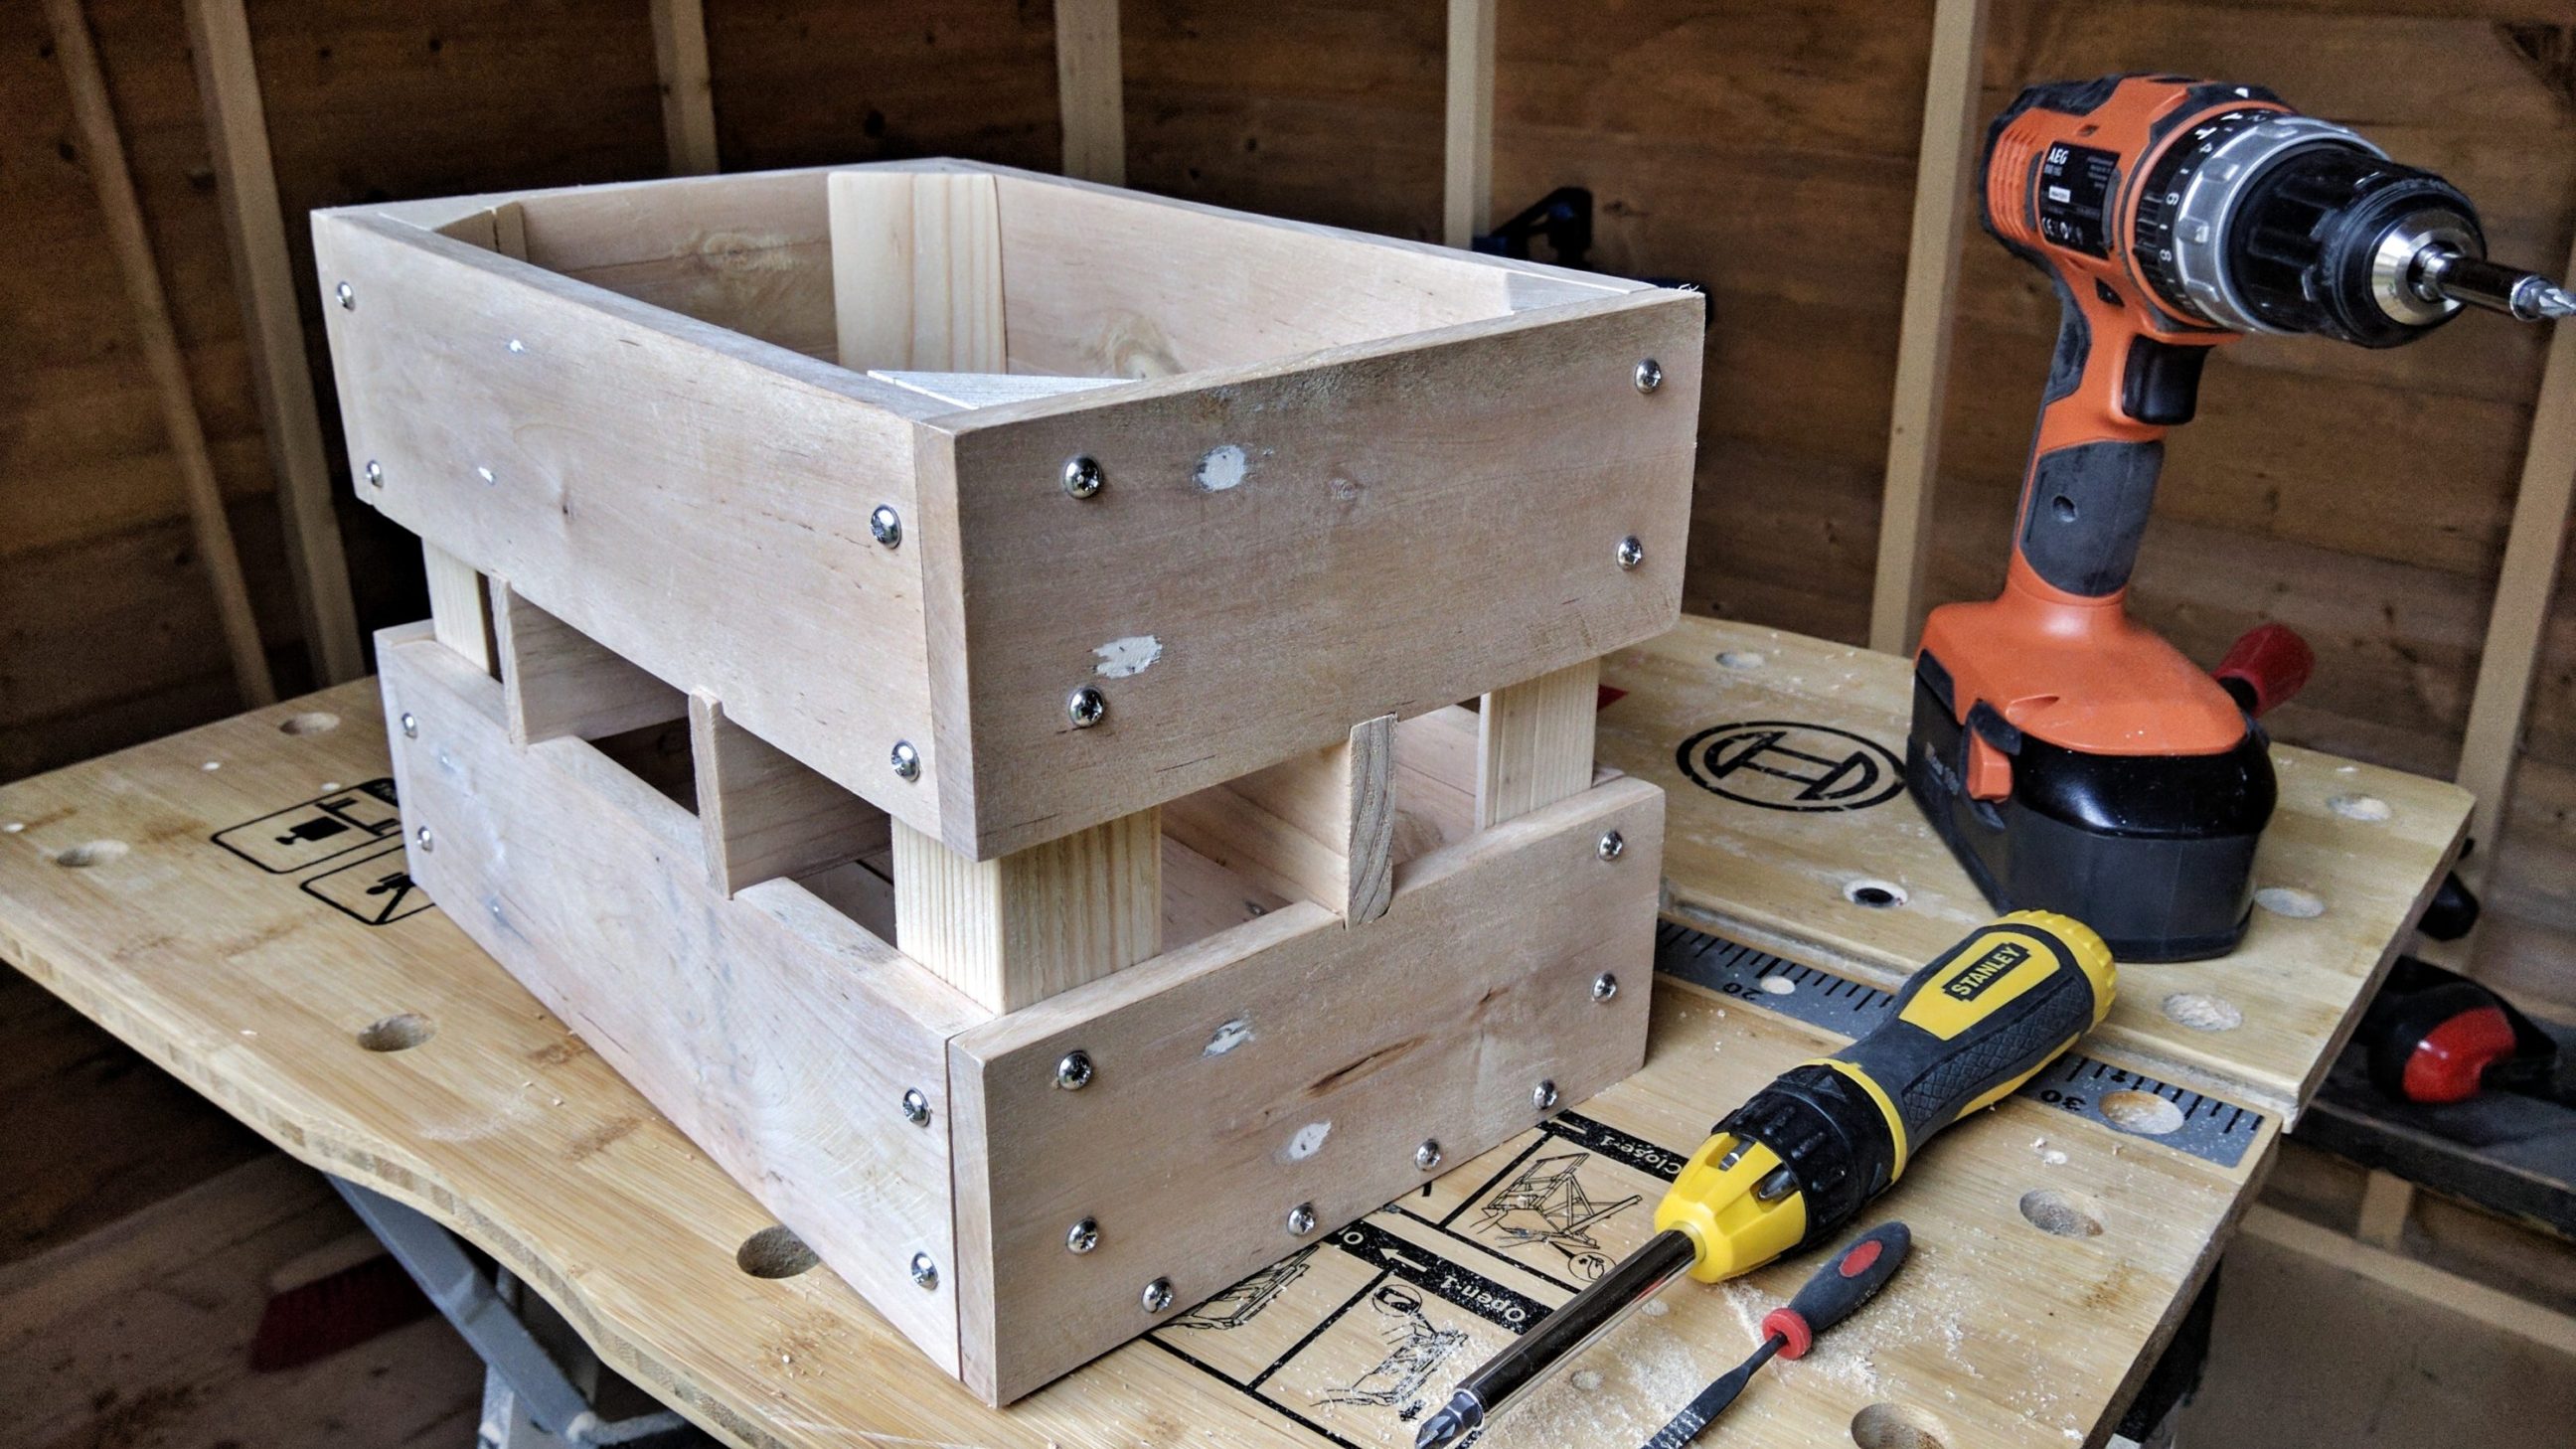
Quick assembly – no nails or clamps.
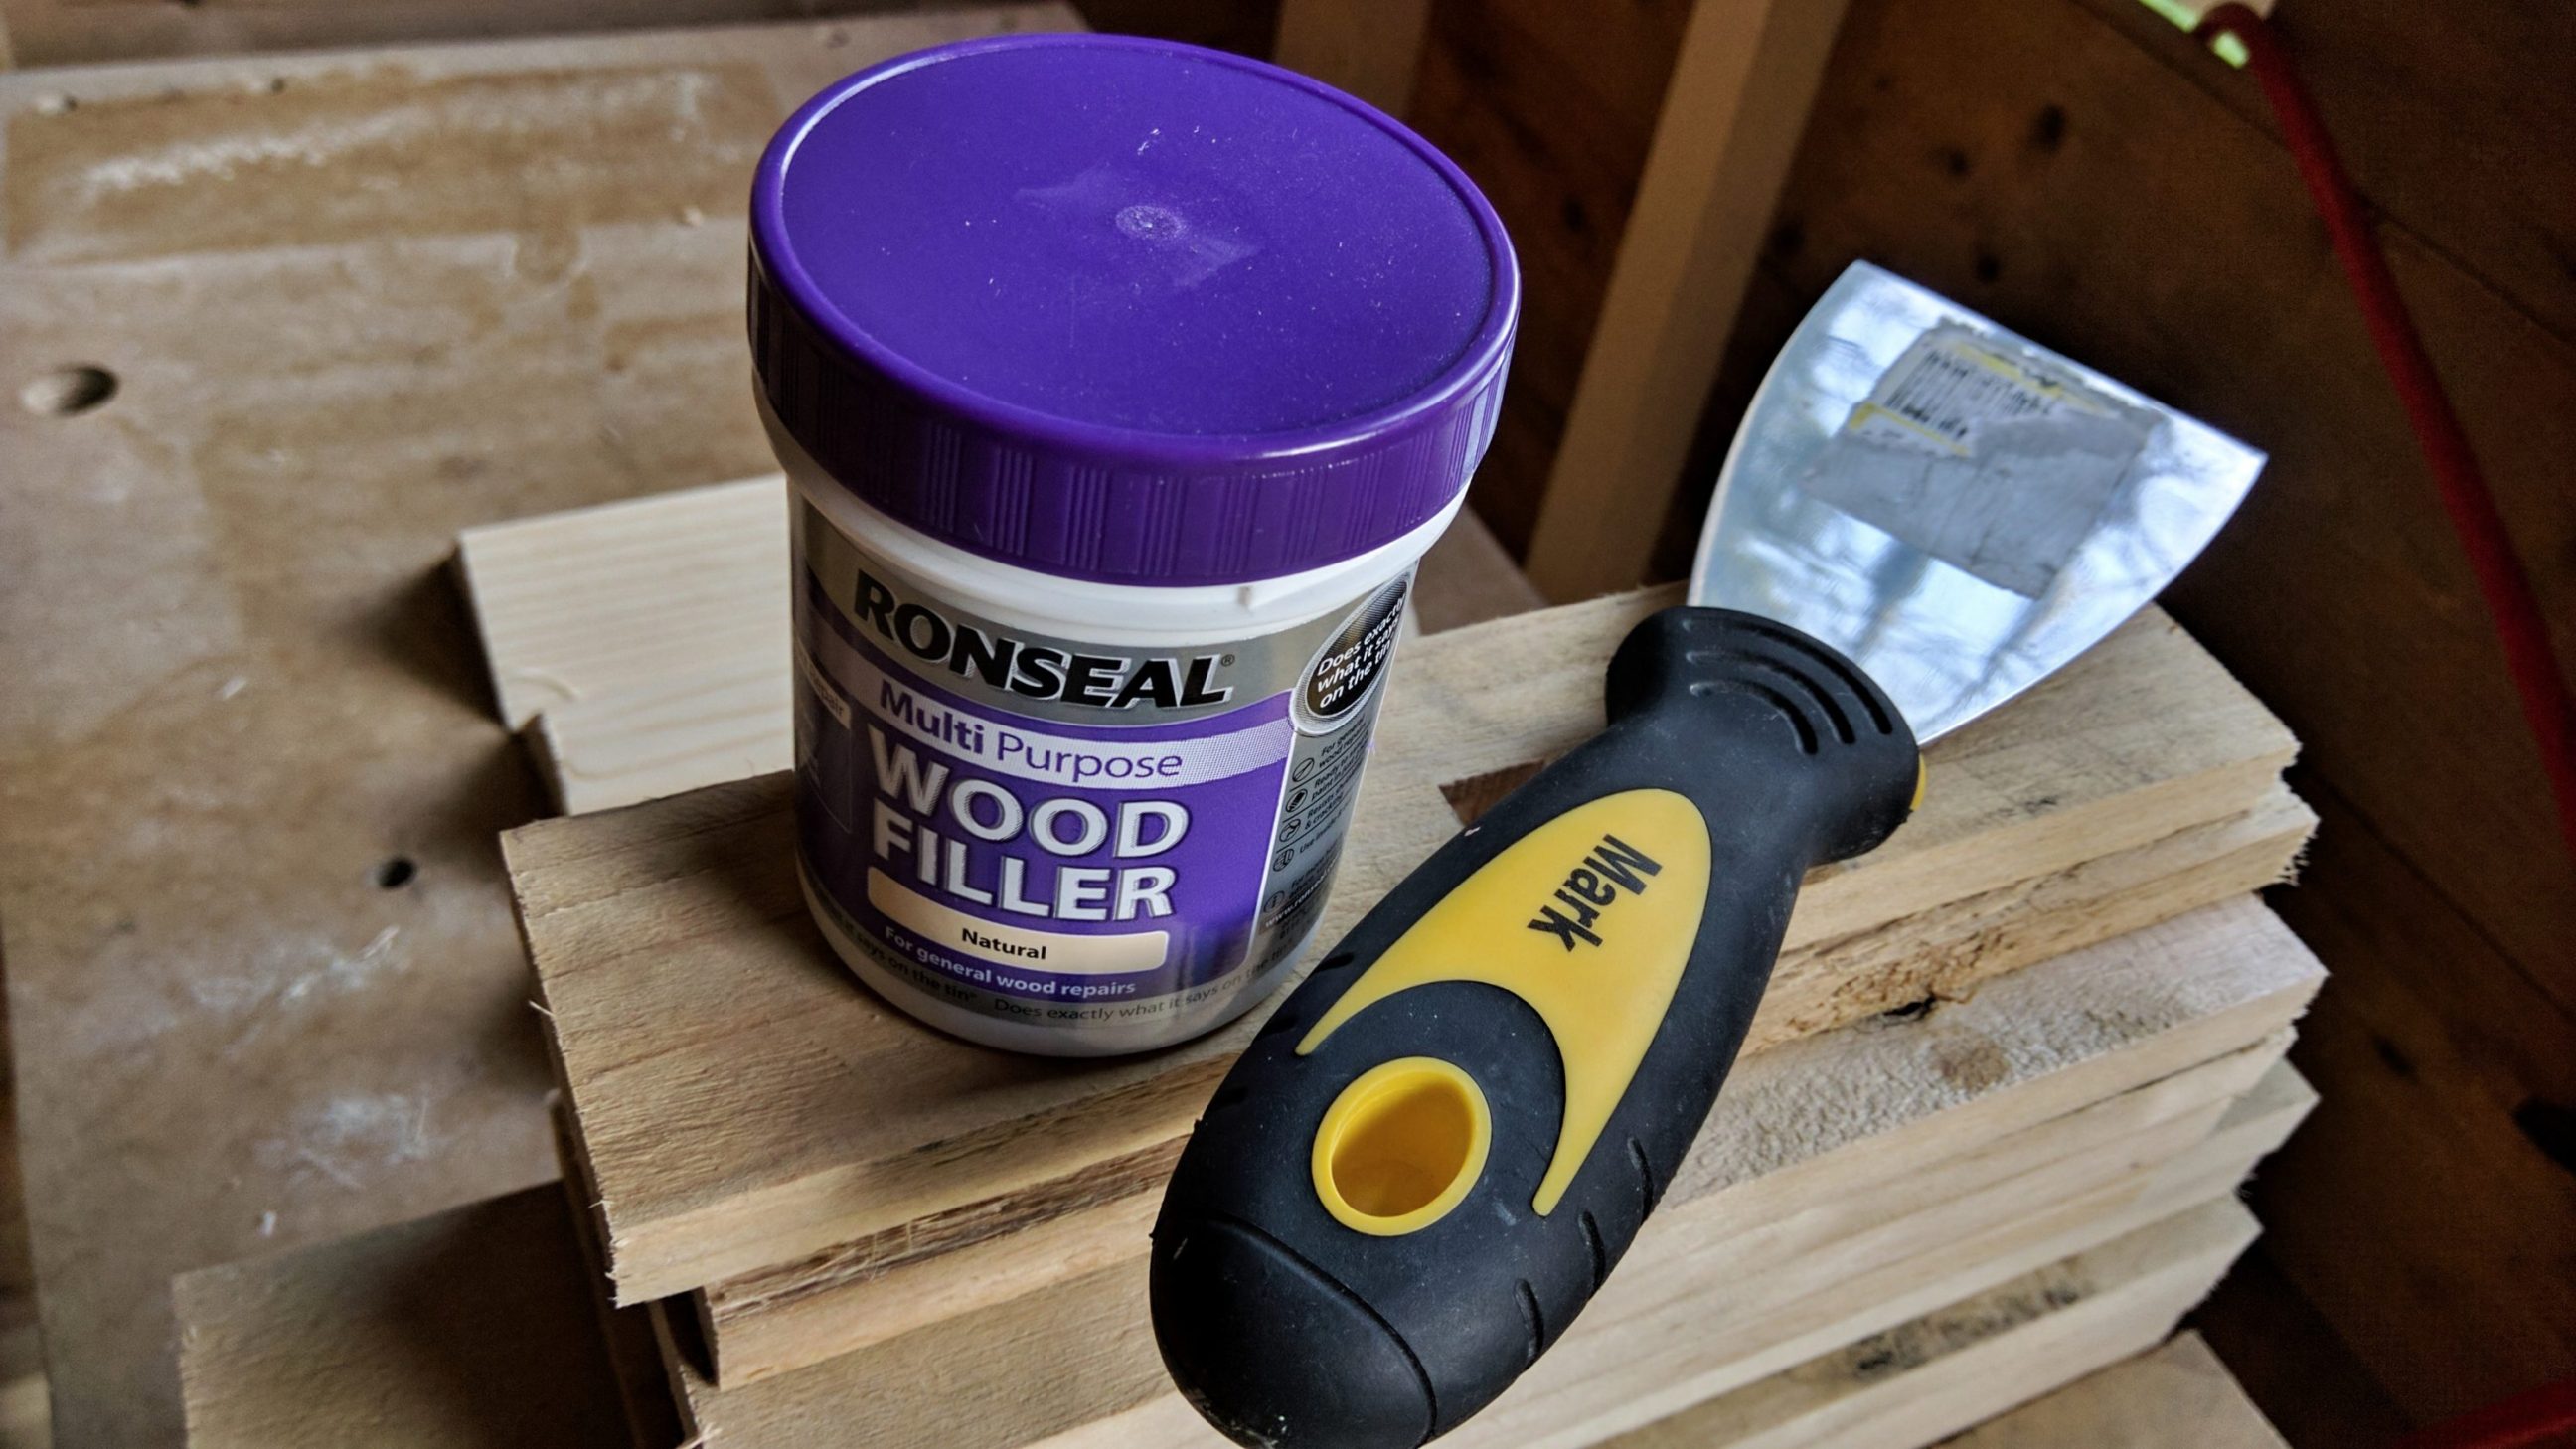
Now, for the very first time – wood filler is applied with an oversized filling knife …
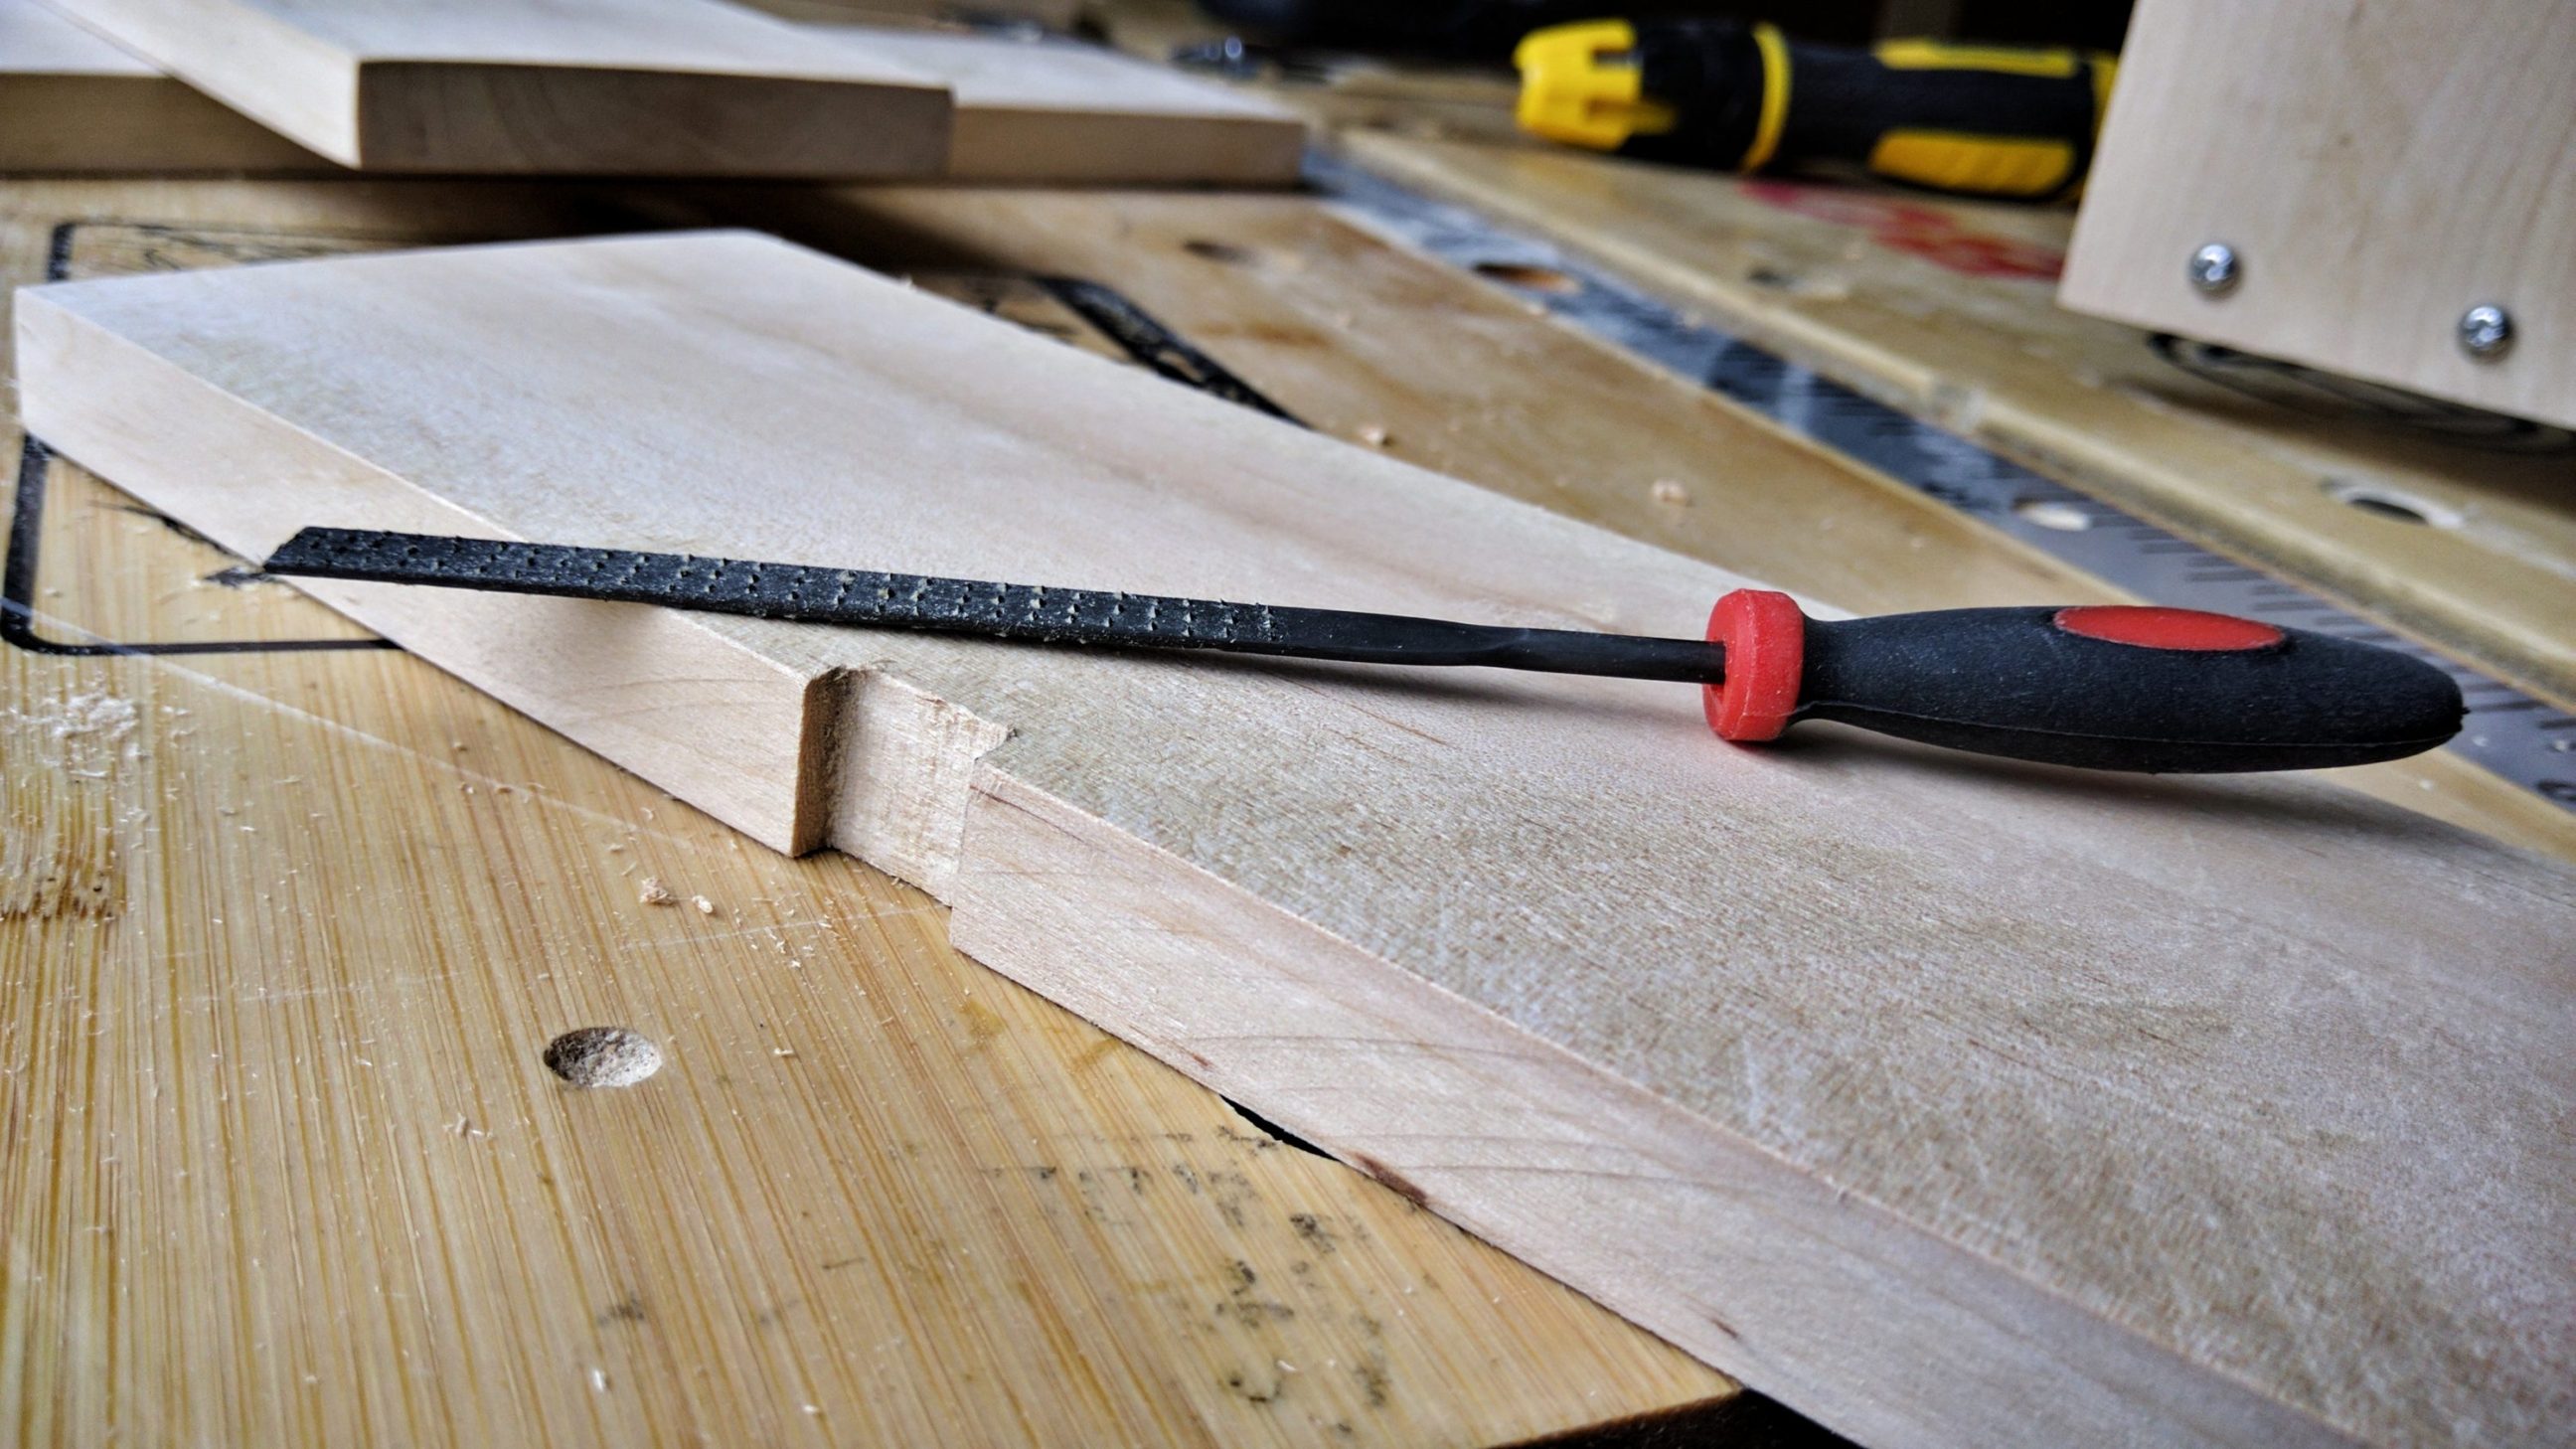
… followed by some sanding. Ready for assembly, some fine rasping for a perfect match.

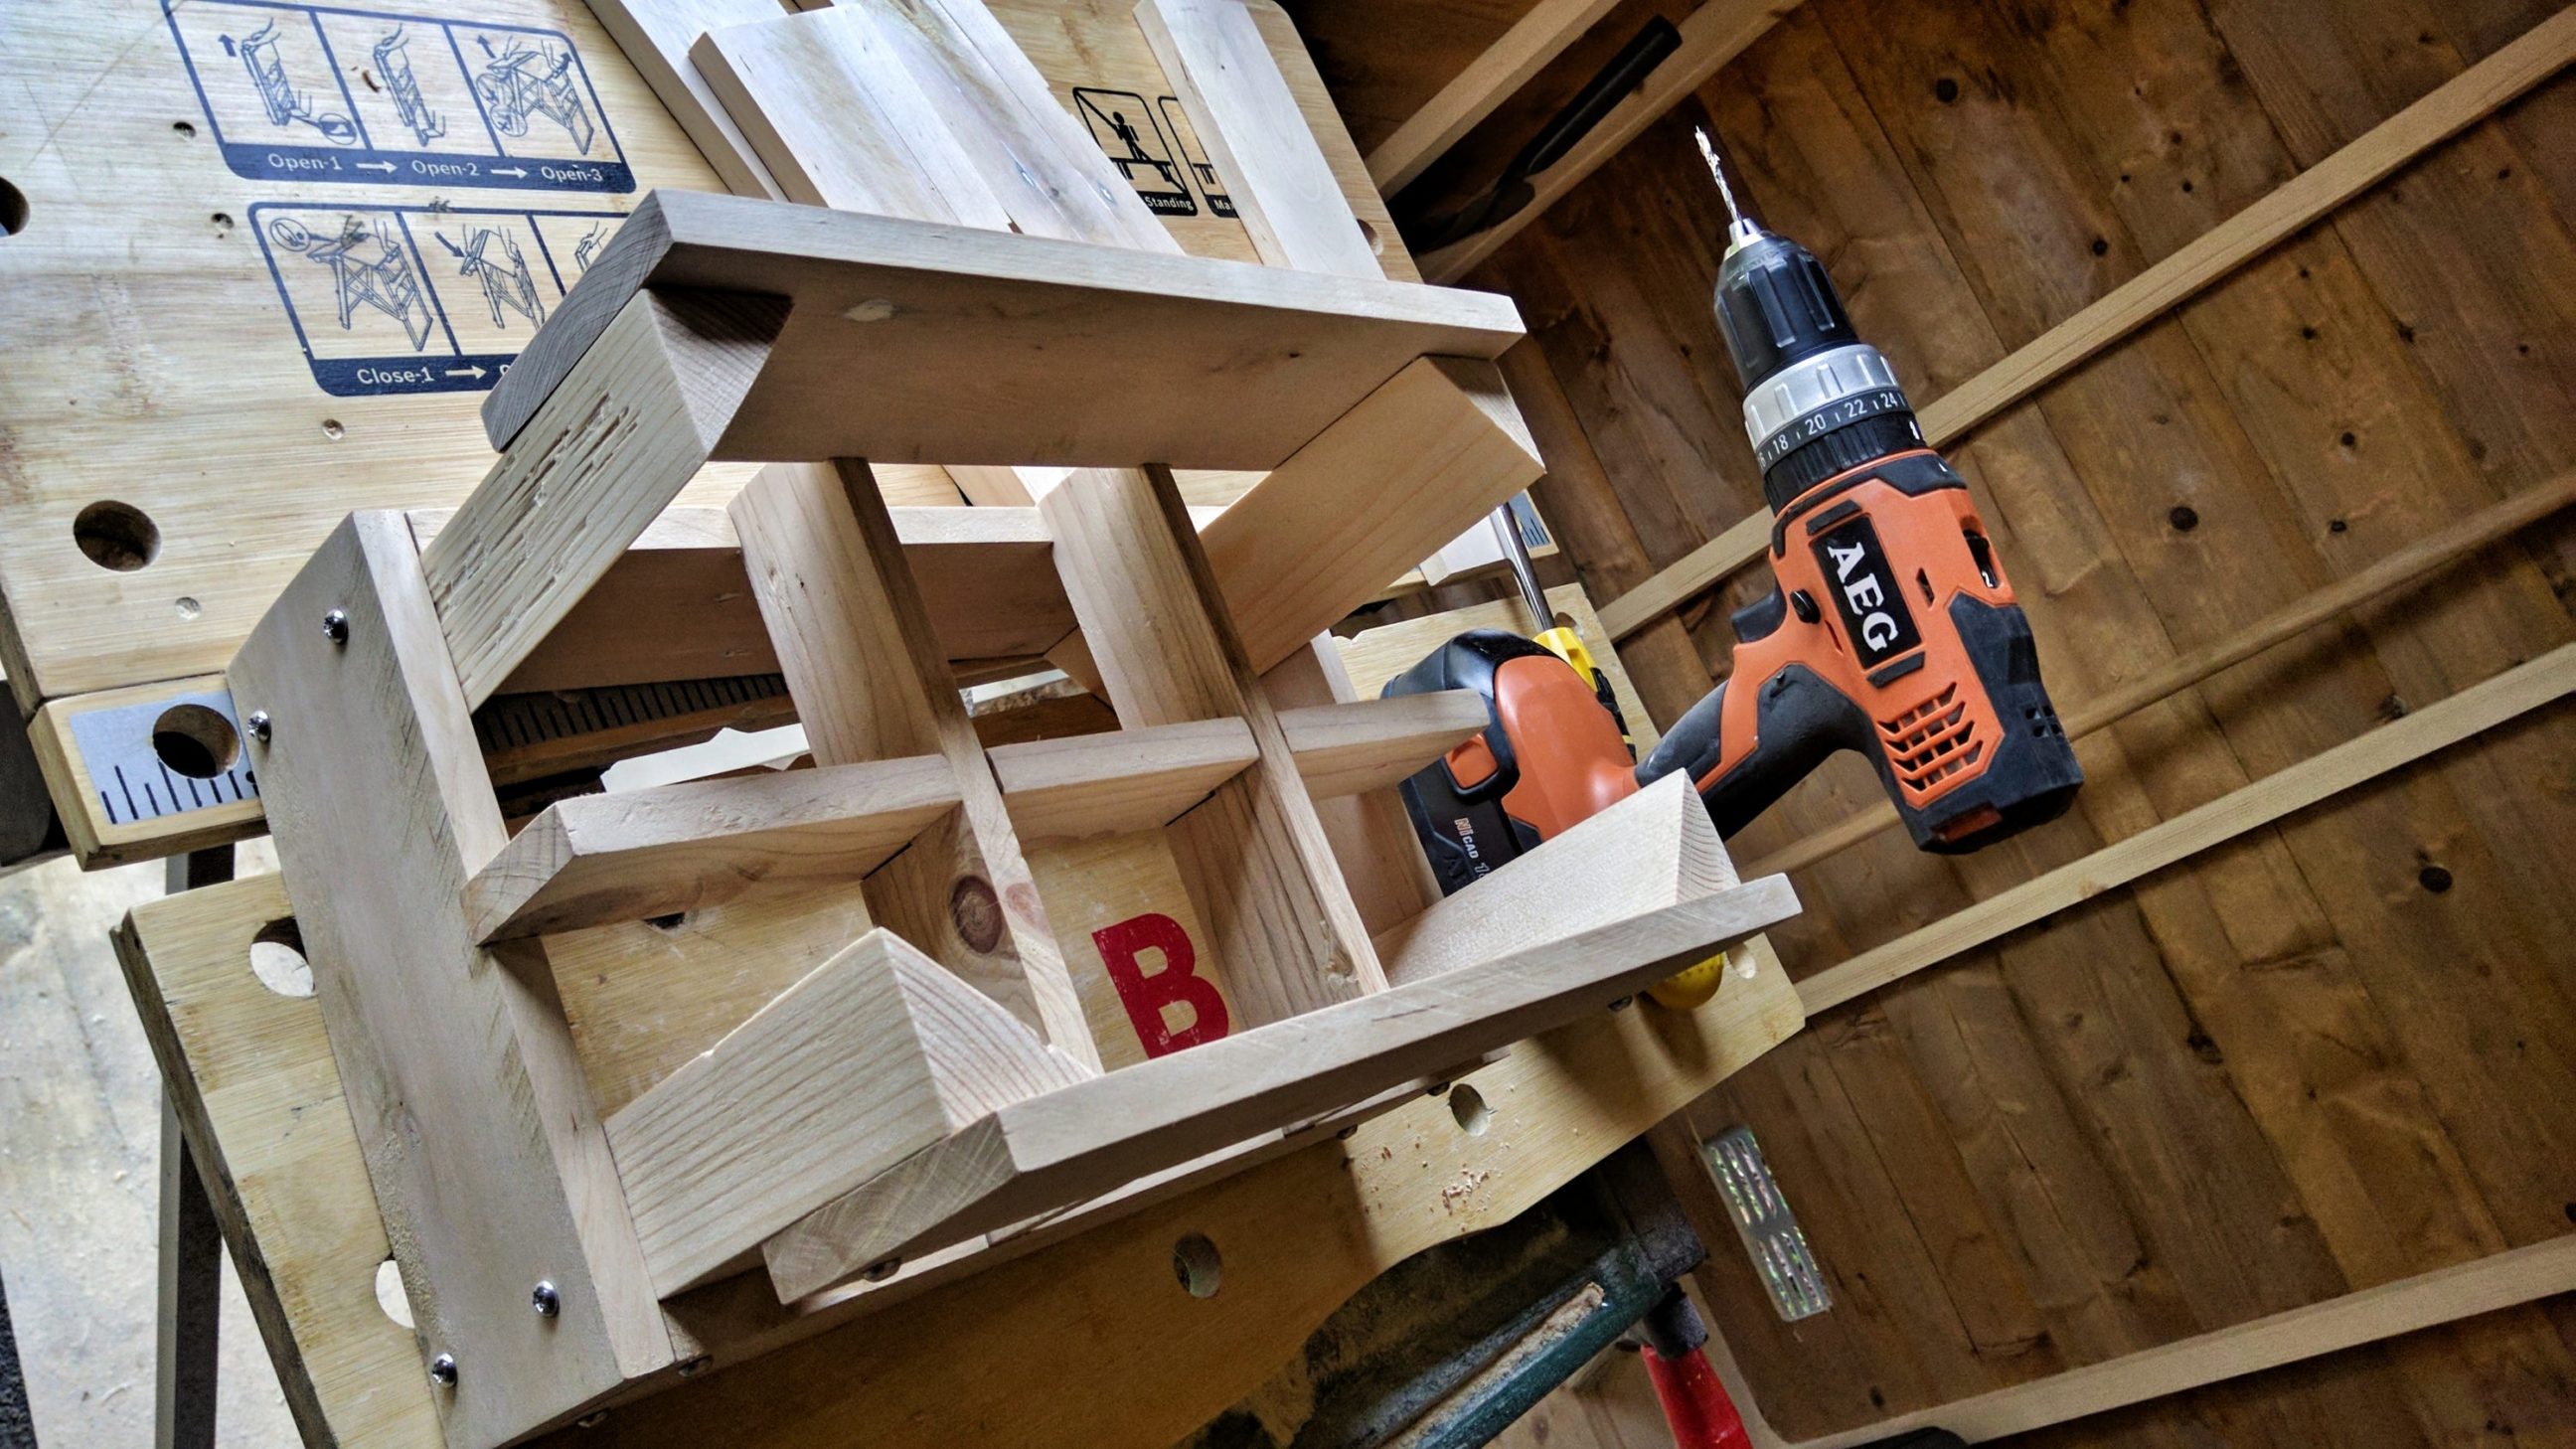
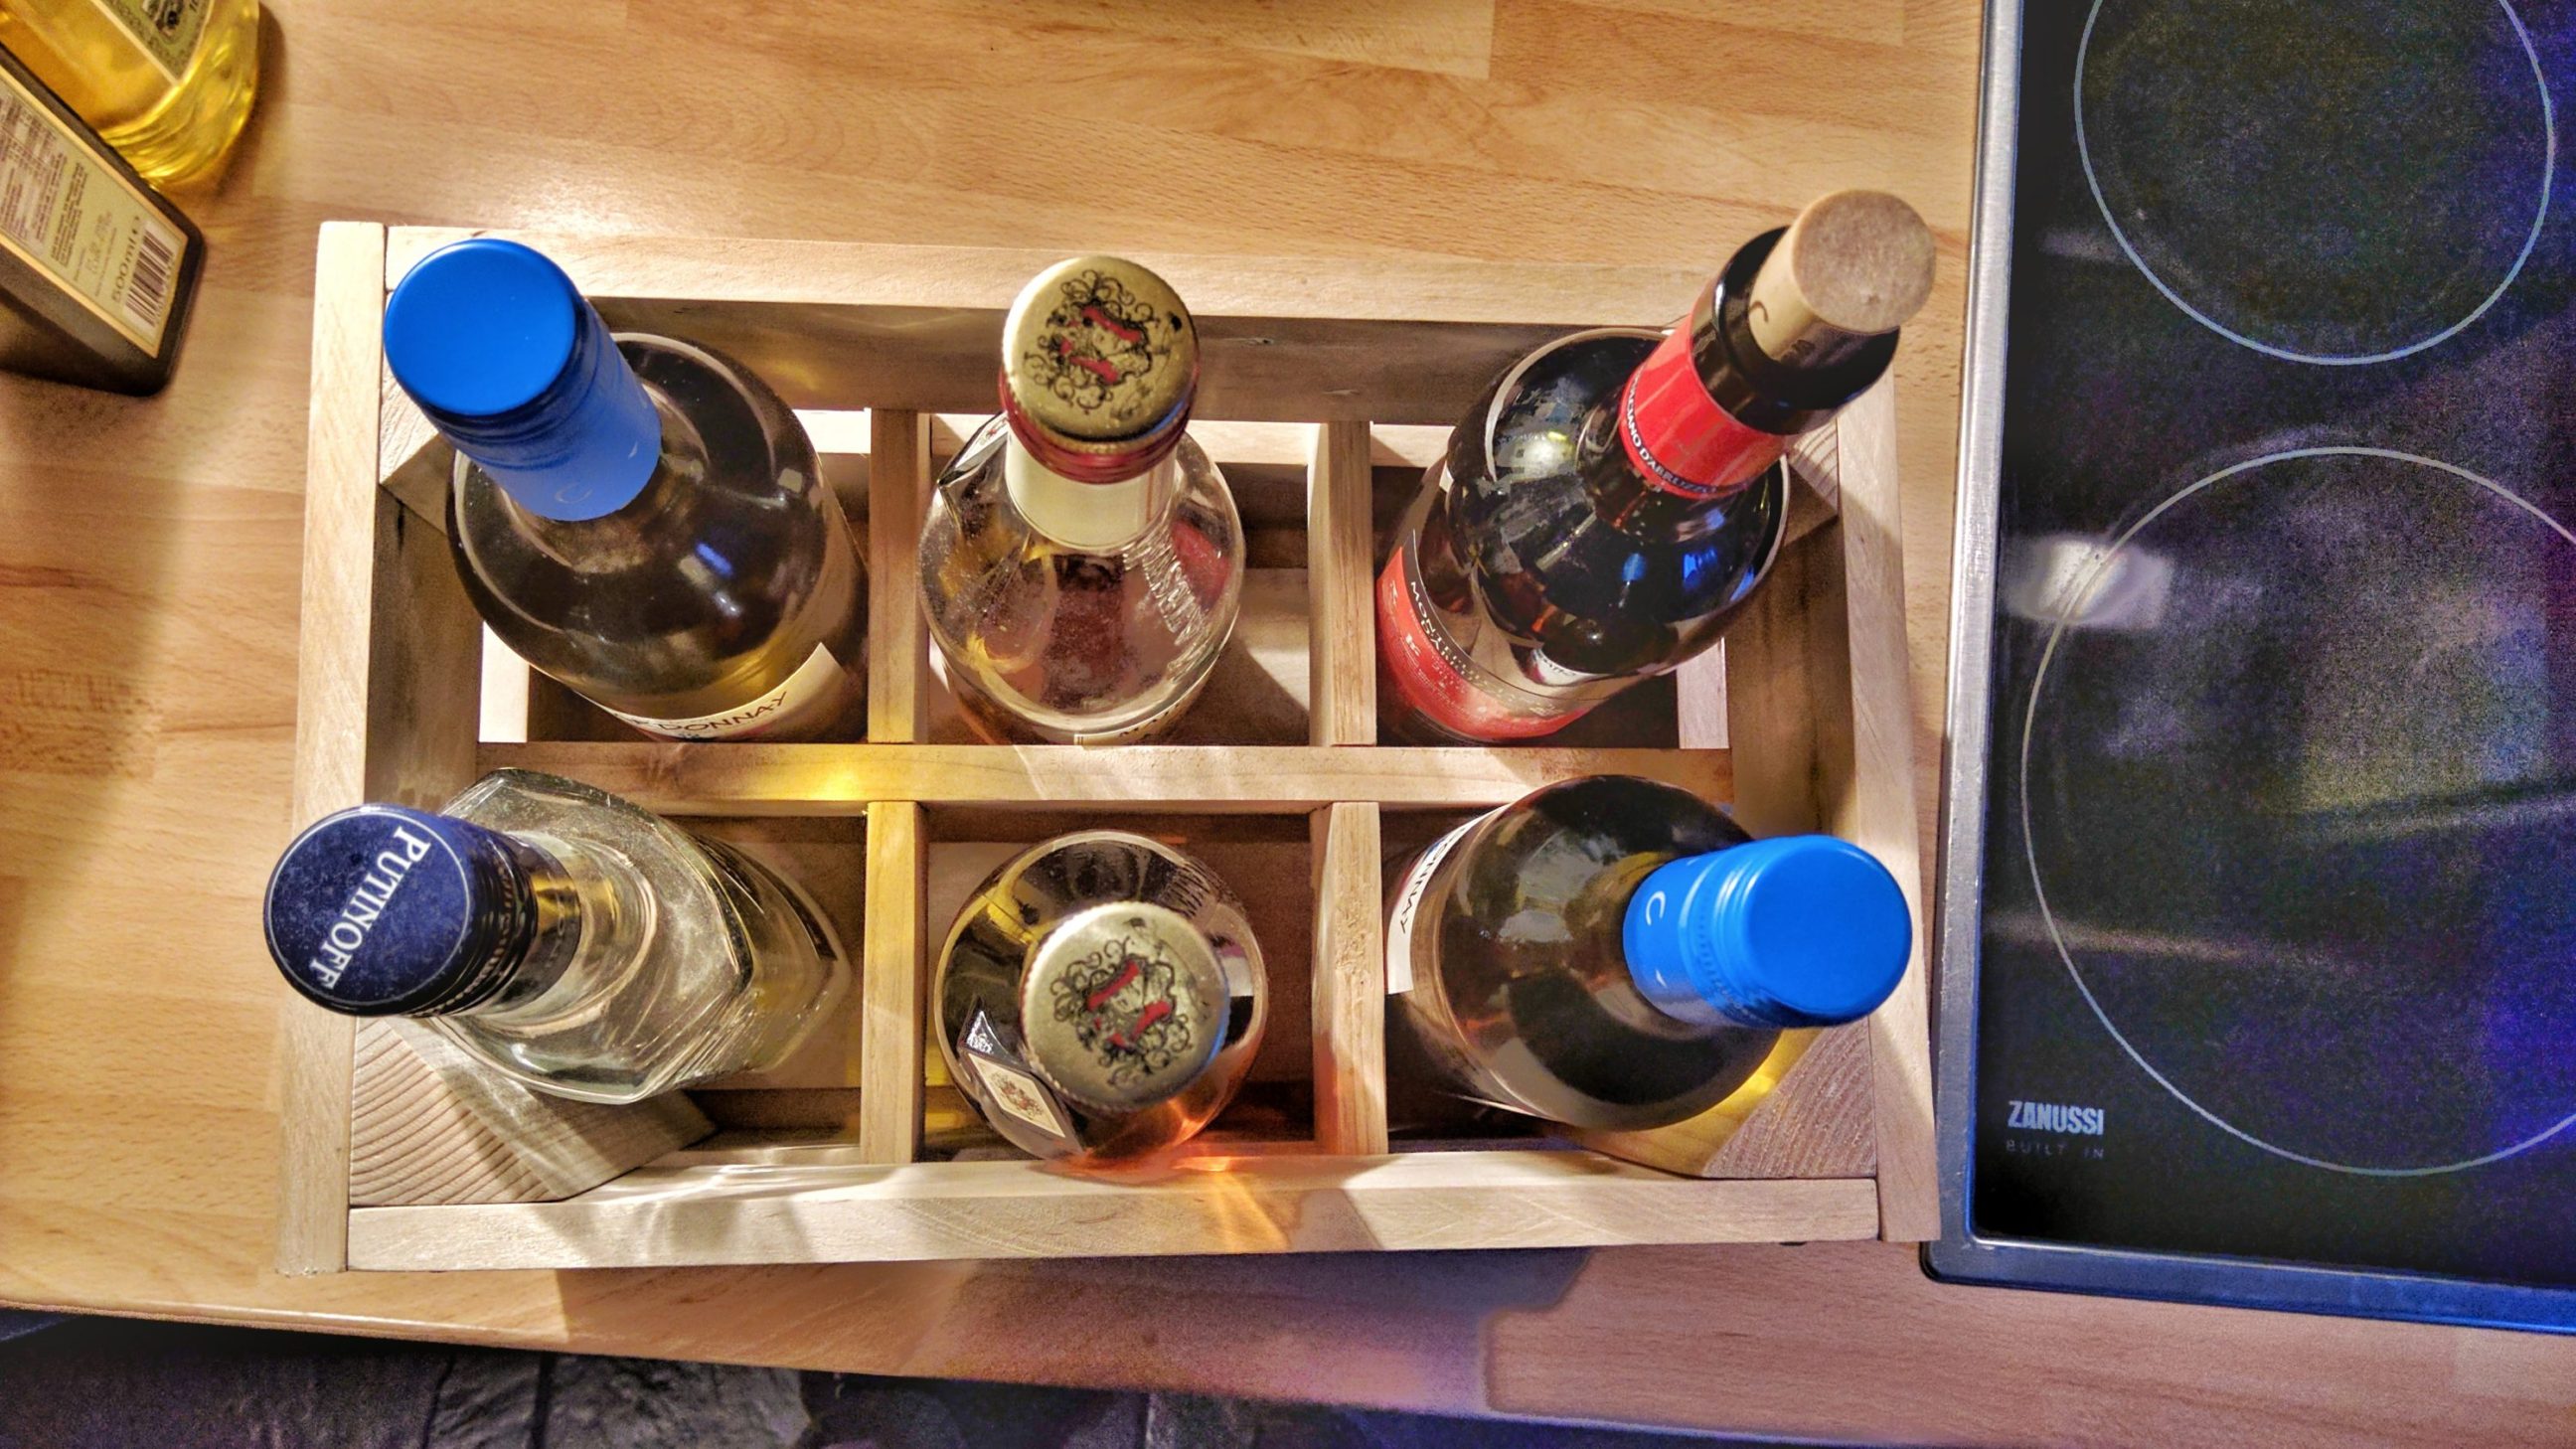
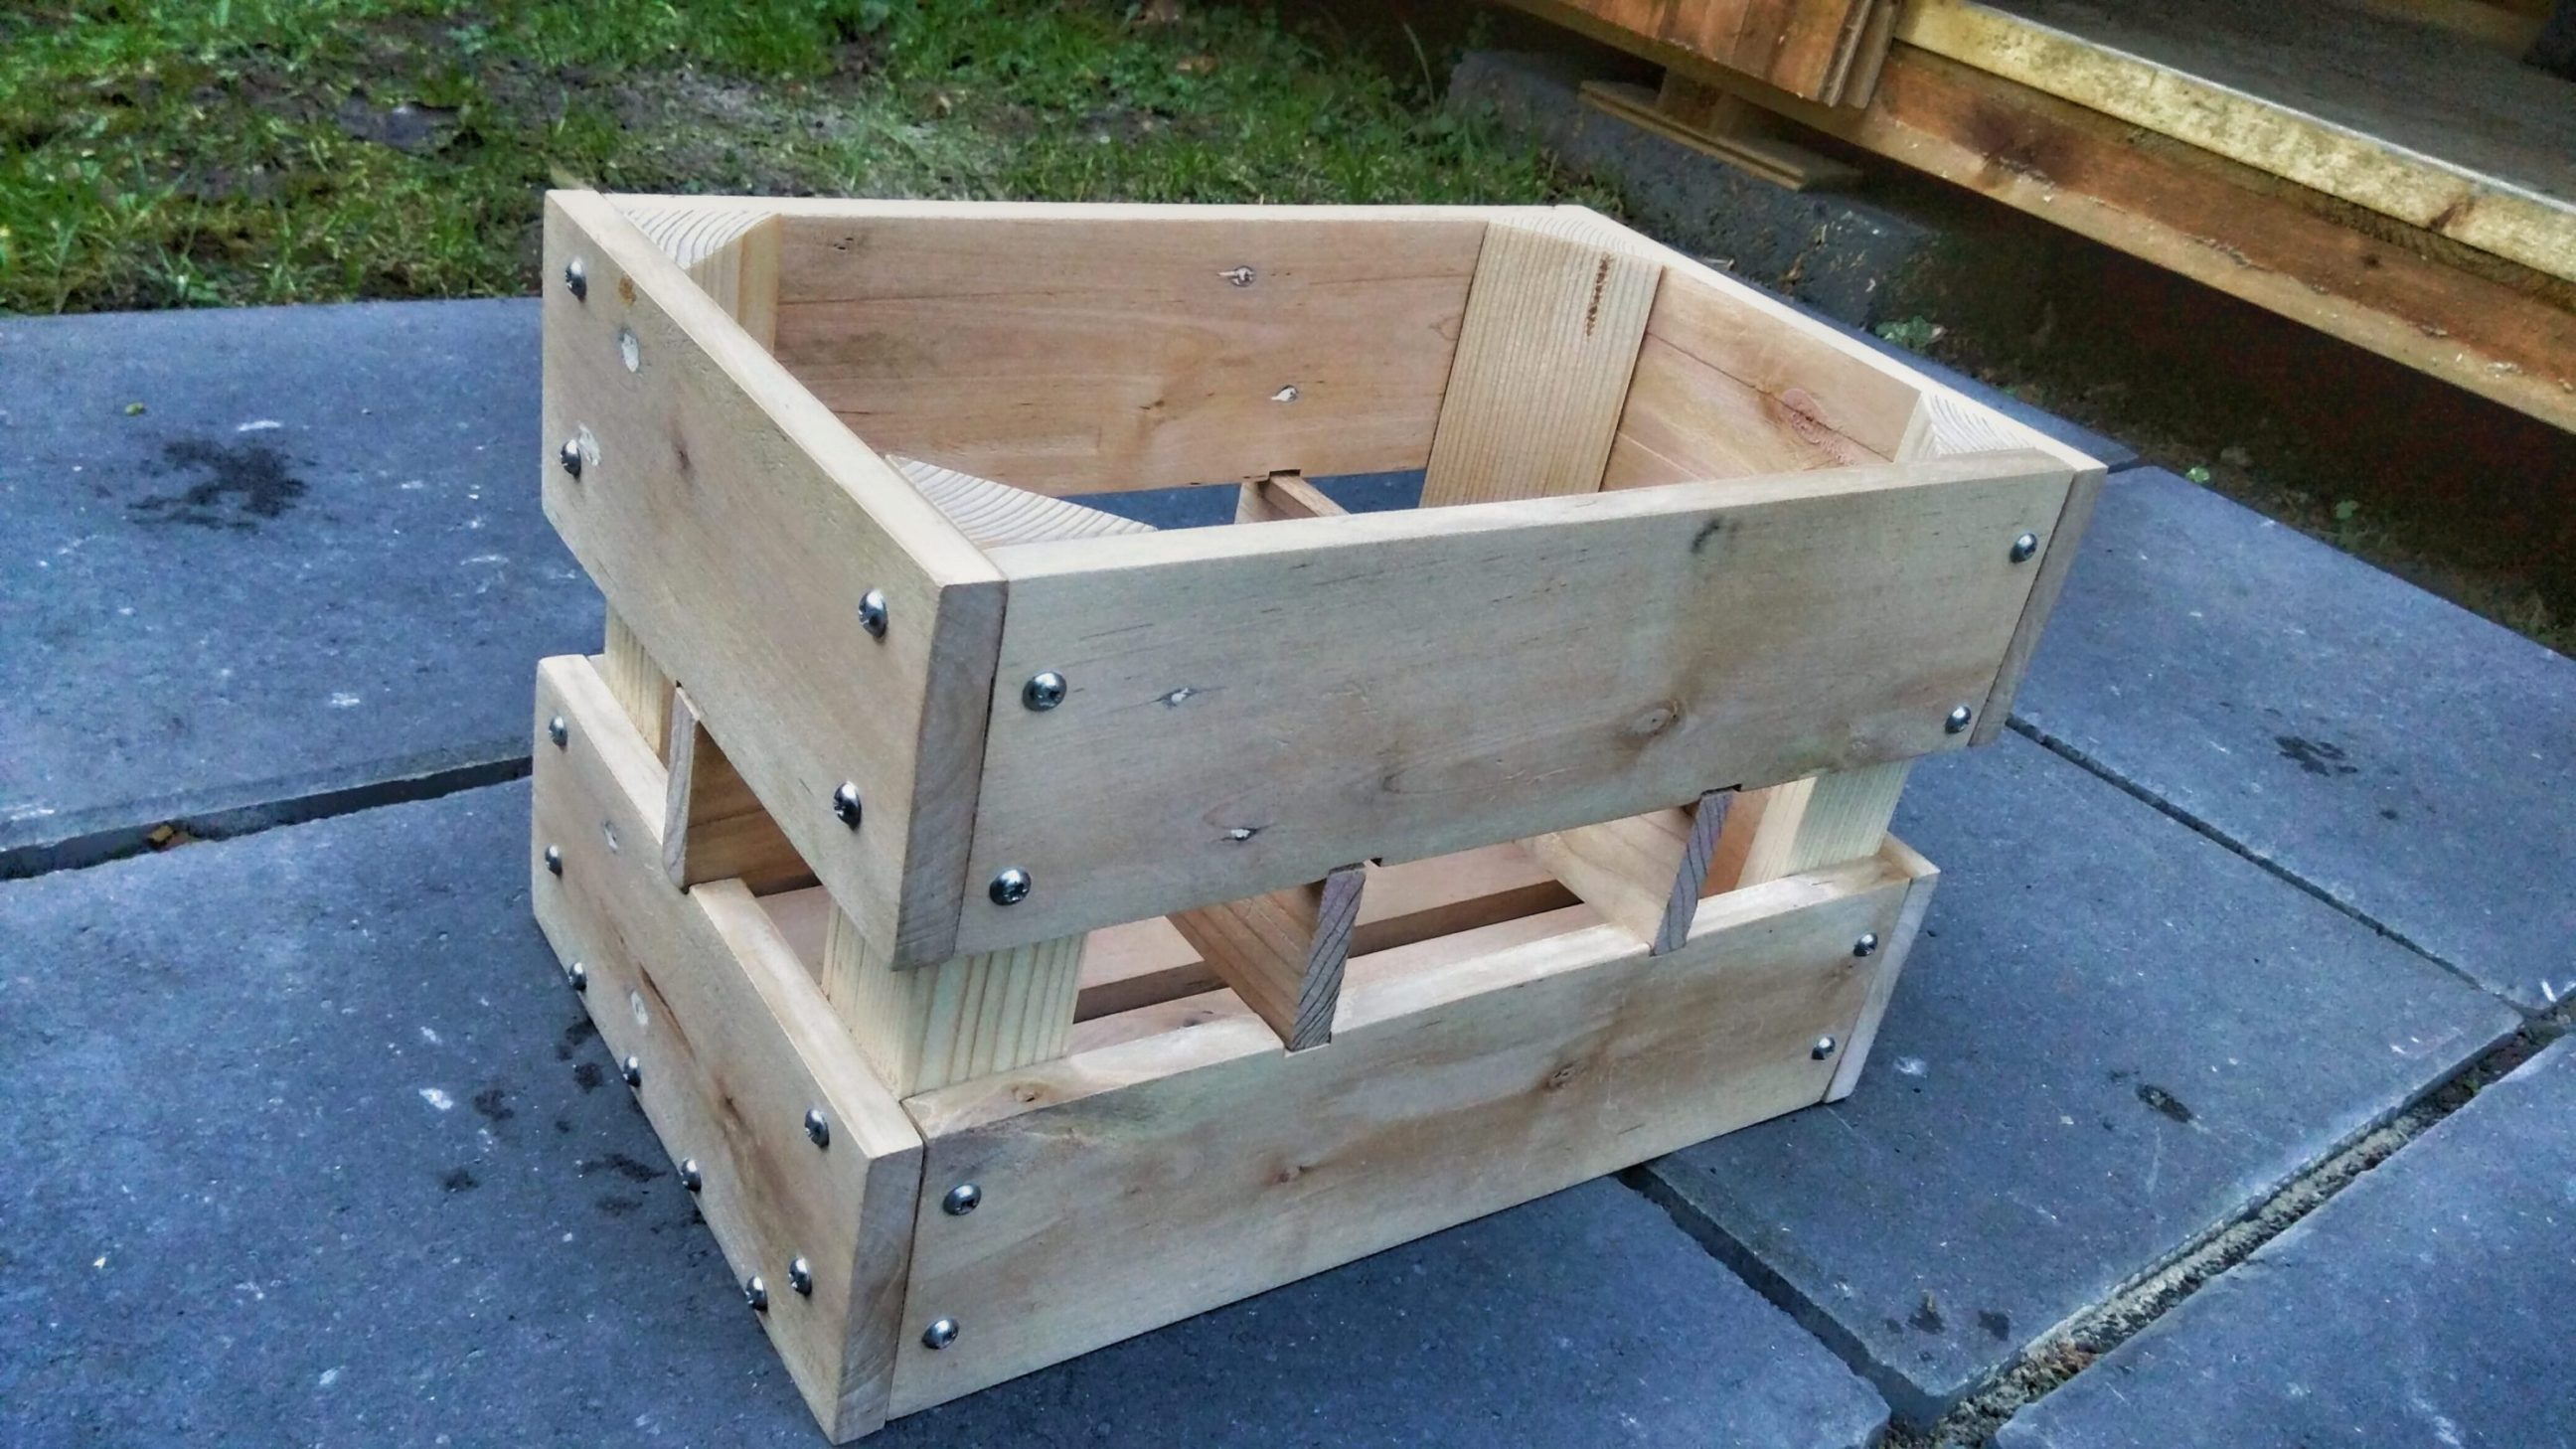
Assembled and filled with bottles. As you can see I’m a big fan of screws, I like when they’re exposed and visible. I’m also avoiding countersunk screws because they’re too common. I’m very happy with how the dividers are holding in place – no fixings, no glue, no nothing – just wood. They’ve shrunk a little overnight but they’re still holding.
It’s hard to choose a finish for this project because of all of these hard-to-reach places. Wax should be a good choice.
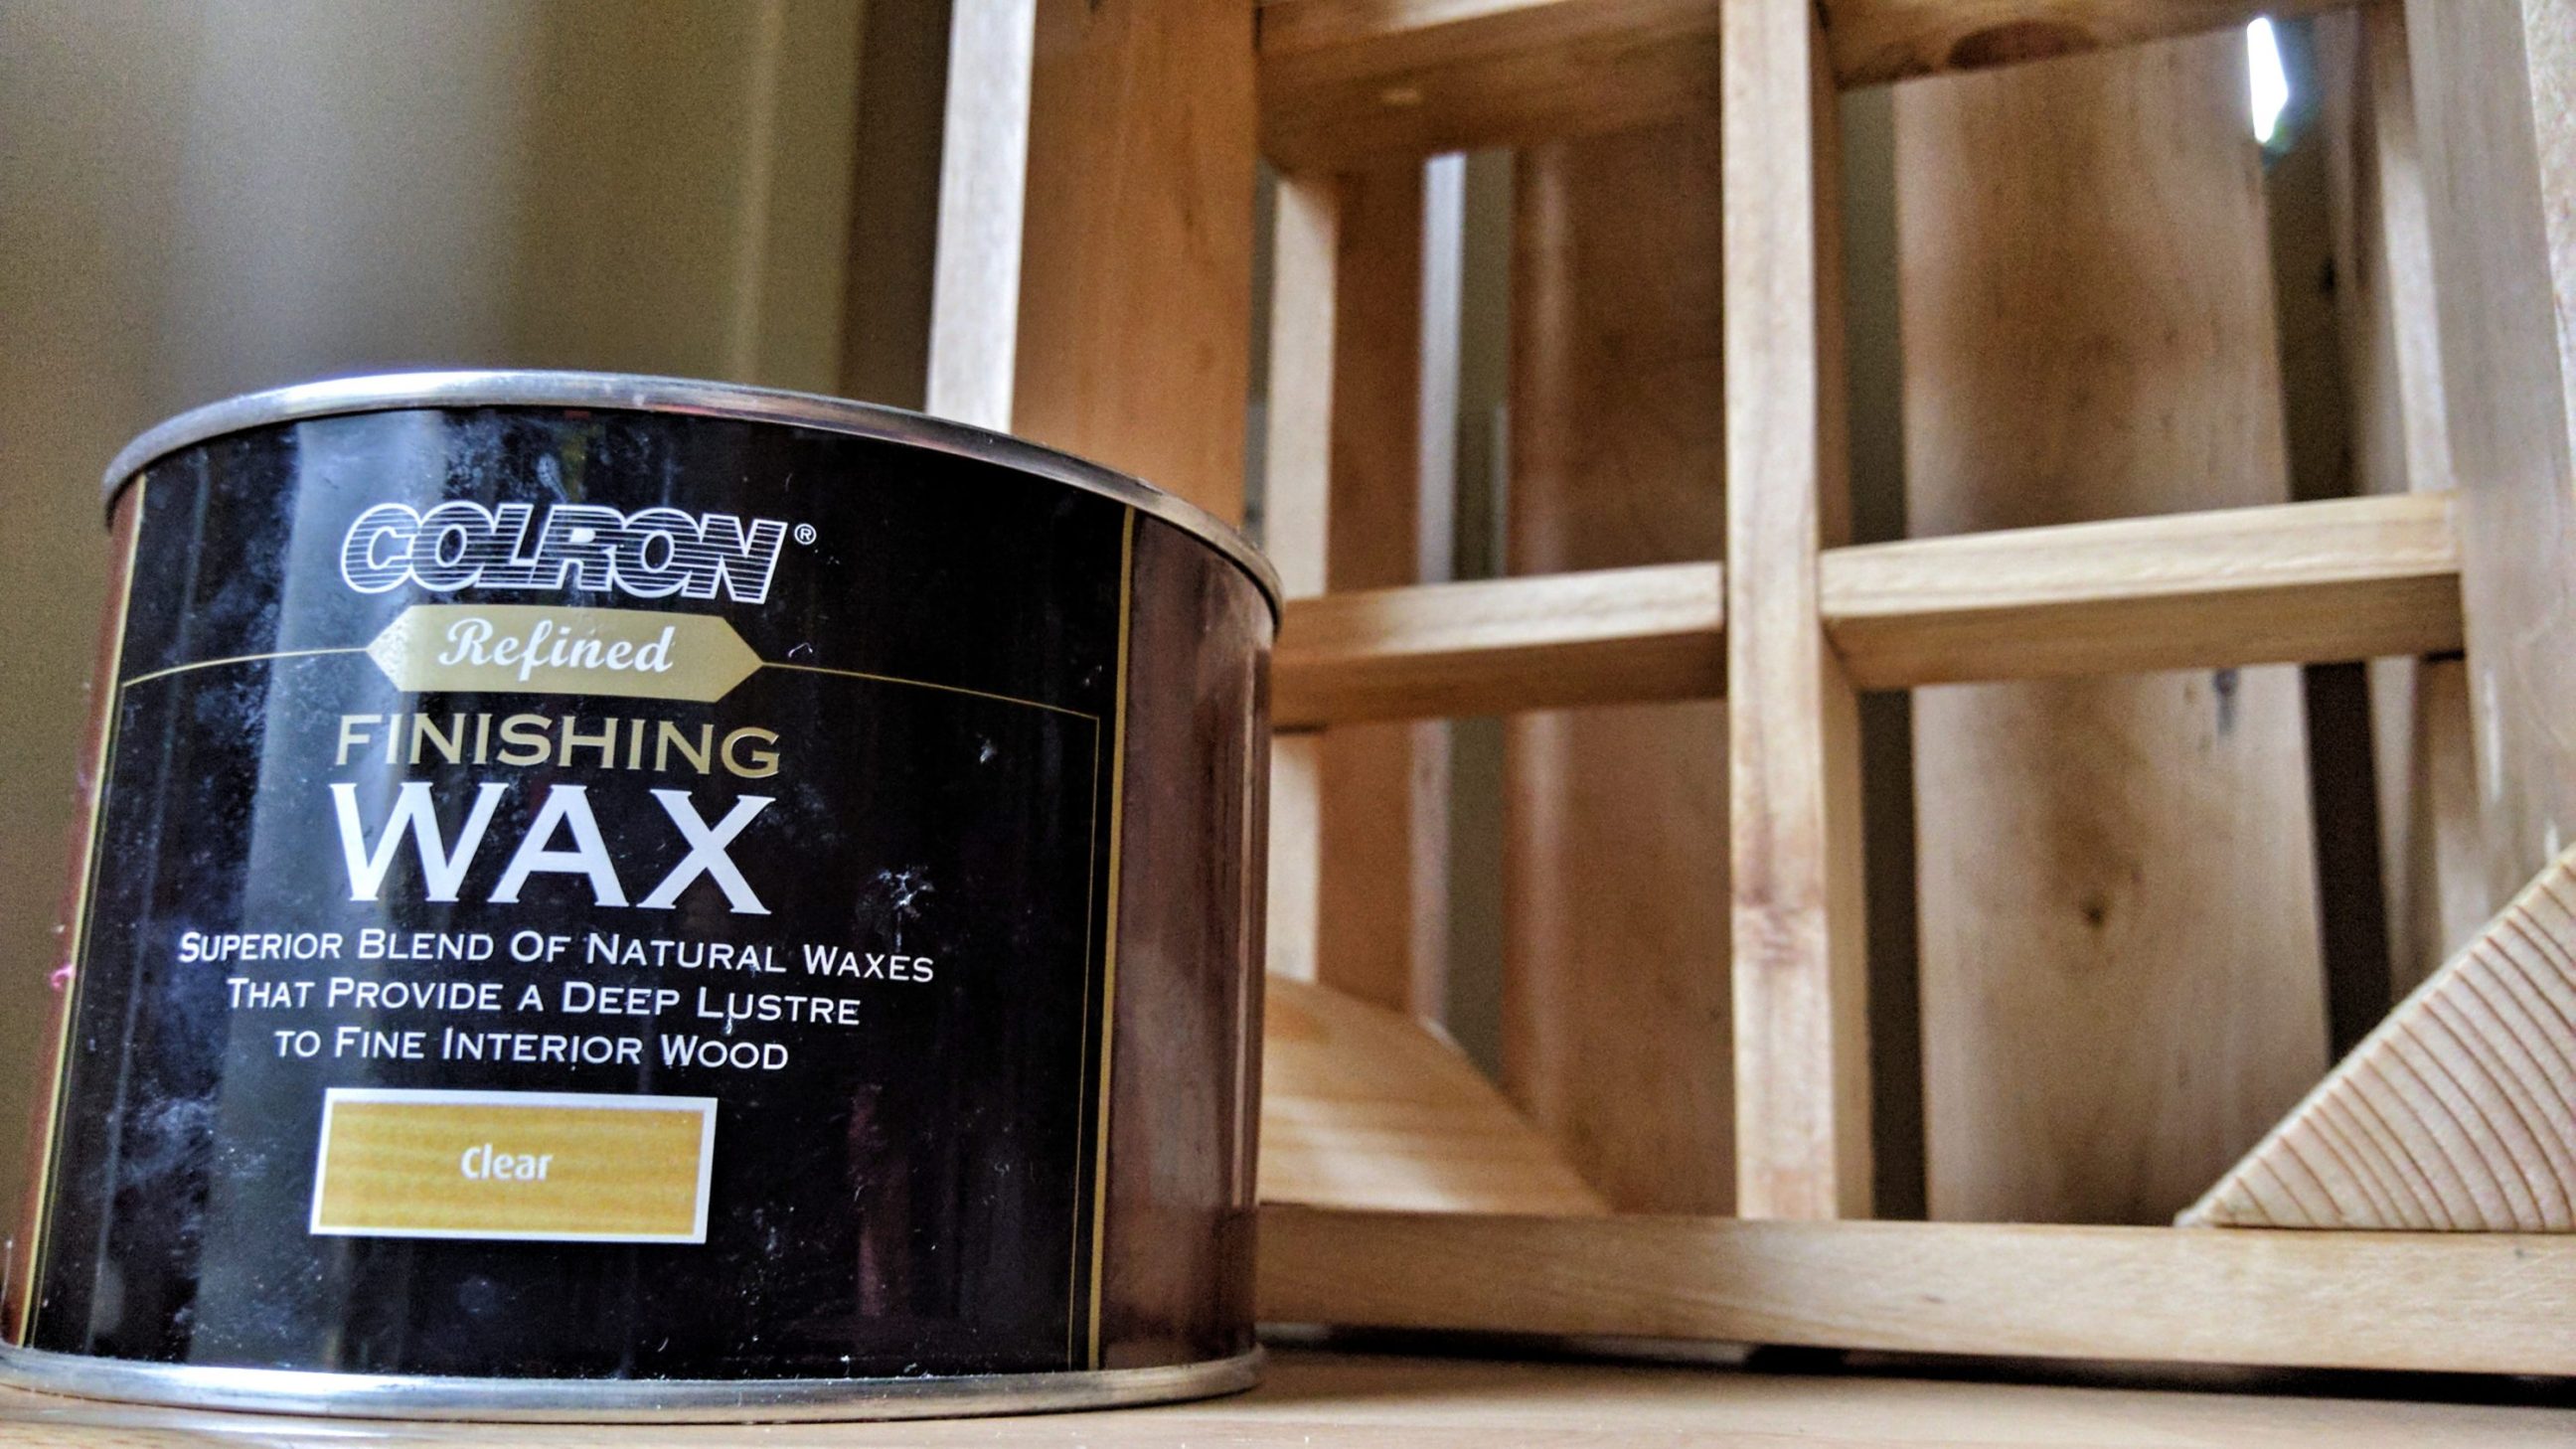
2 coats and quick buffing. Excess wax was removed with a stiff brush.
The final look of this spruce, pine and lime wine crate:


4 Comments
Pingback:
Pingback:
Pingback:
Pingback: