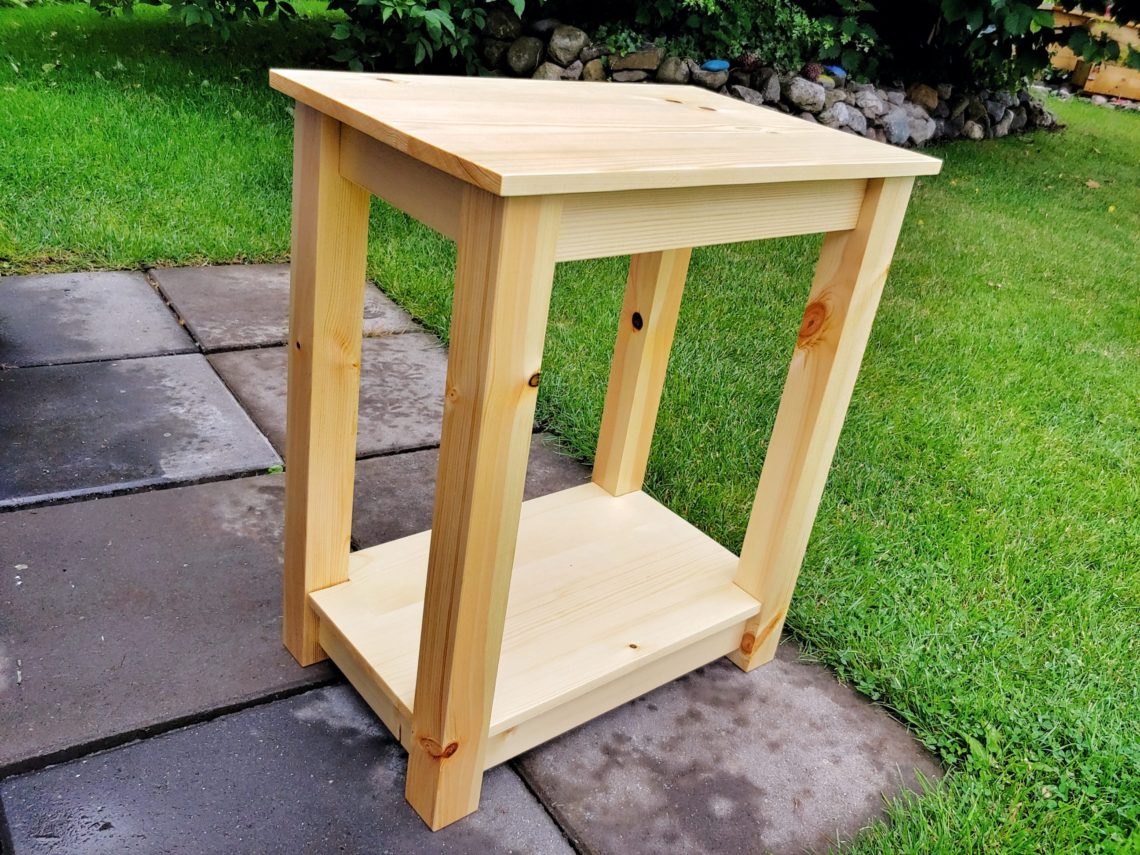
2-tier bedside table
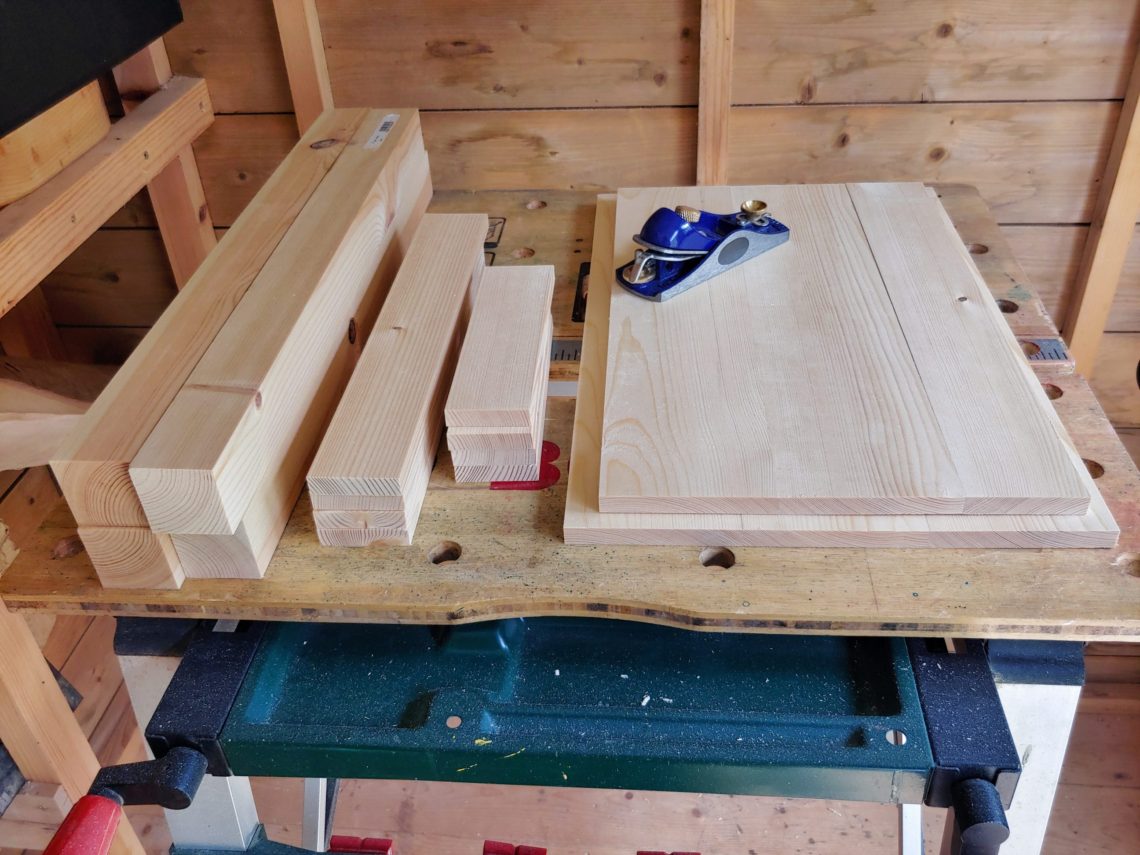
The timber that I selected for the top and the shelf wasn’t high quality, the boards were cupped and full of loose knots. That had to be worked out somehow. On the other hand, the timber used for legs, apron and lower shelf support was good to go straight away. The only joinery used in this project was butt joints reinforced with dowels. Simple to do and strong enough. I started with rip-cutting boards in half, that way I visually removed some cup and stiffened up the boards crosswise of the grain for the thickness planer. Wide, cupped boards have to be supported in high spots against the sledge as the rollers press them down and make them flat during the planing, but when they leave the planer, they spring back, and the cup remains. If the boards are not too wide, they don’t spring back, and they can be planed down without any sledge. That was my approach to the problem. Ideally, after the planing, the board sides can be squared again on a table saw.
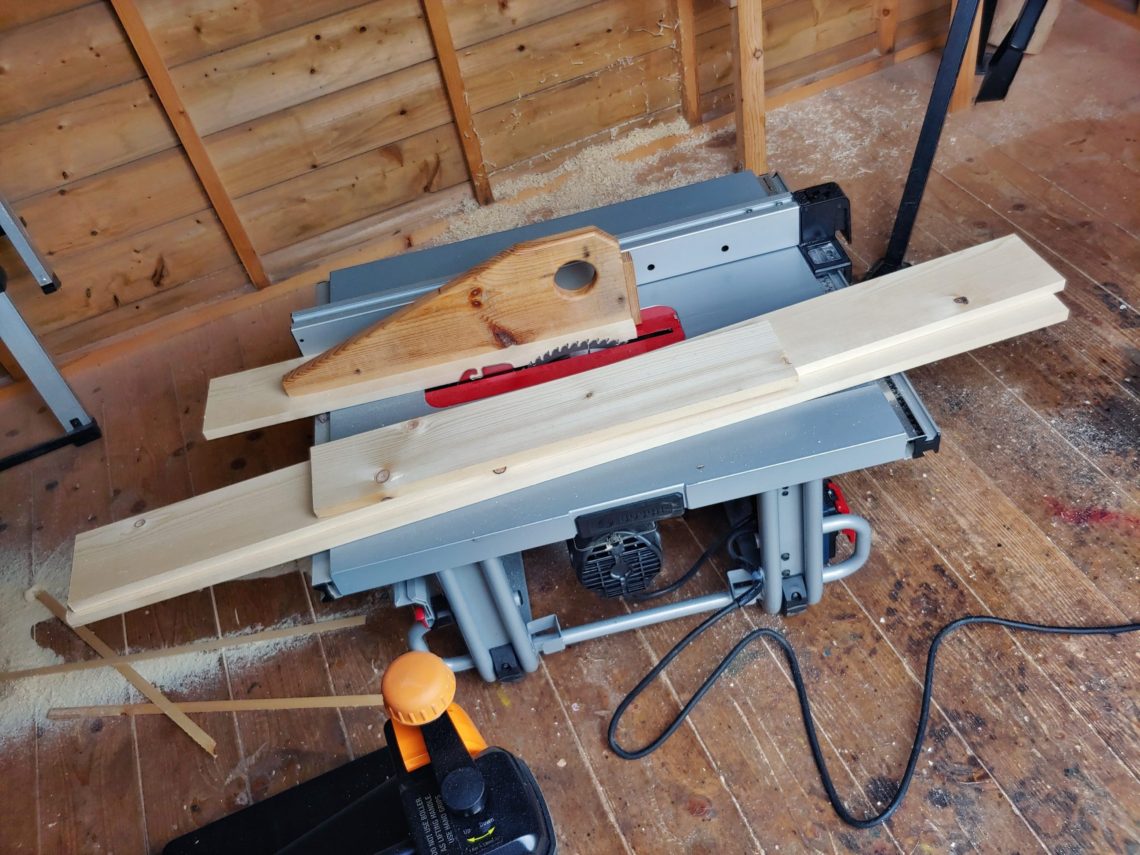
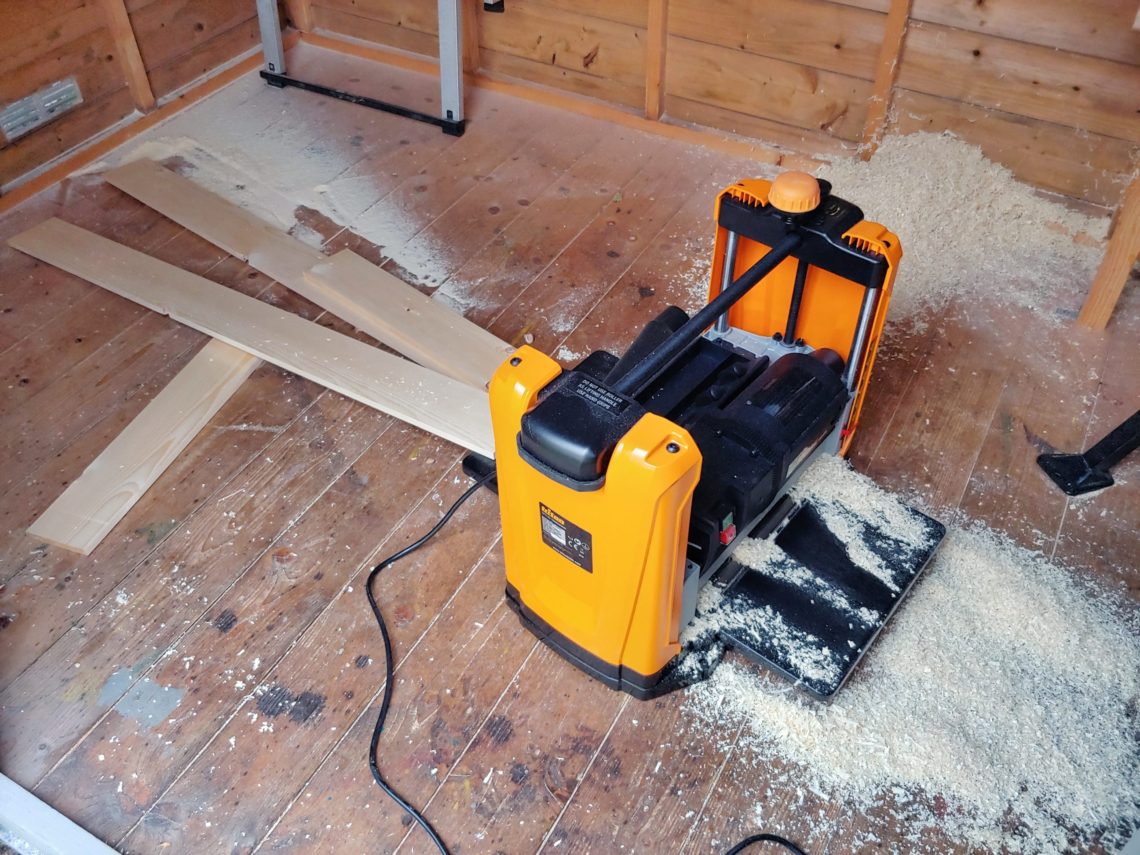
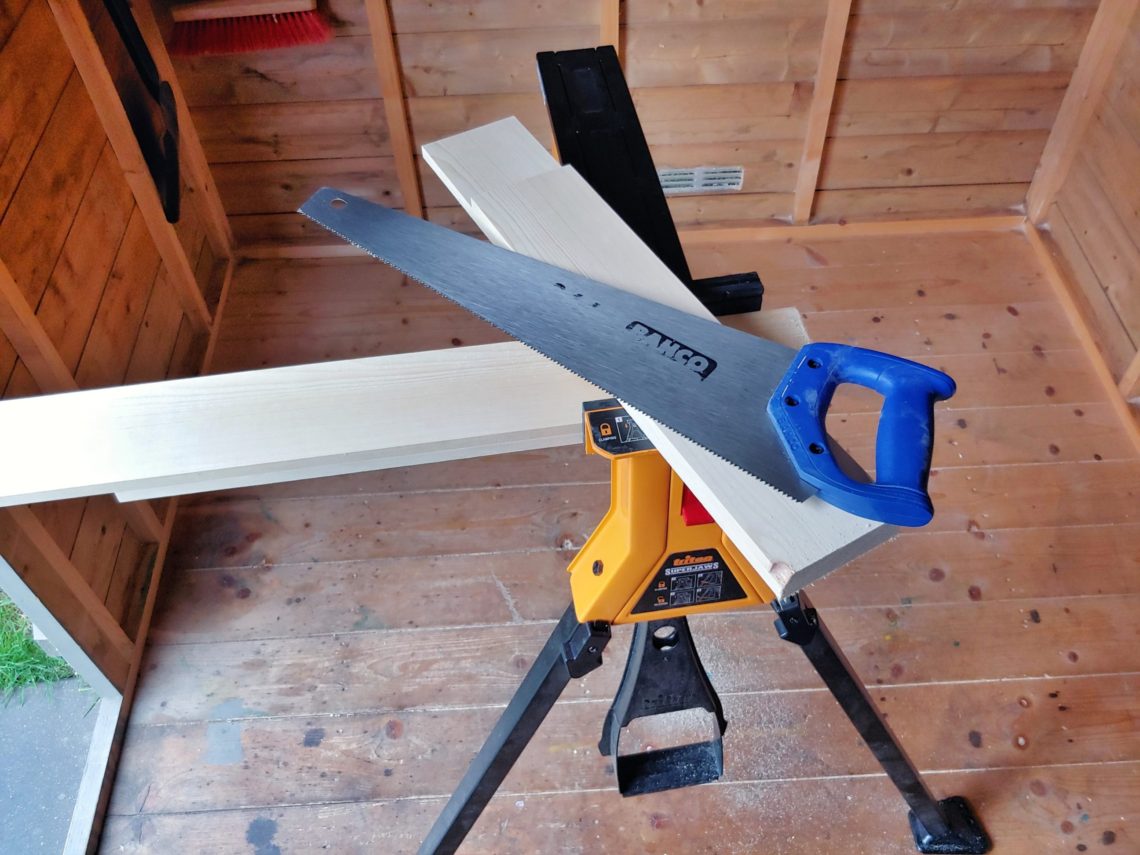
Once planed, the boards were cut with a hand saw. I got a bunch of lengths, but some imperfections, like knots and chips, were removed. All boards were marked for the dowels, small 6 mm ones (1/4″), just for better alignment and faster glue-up.
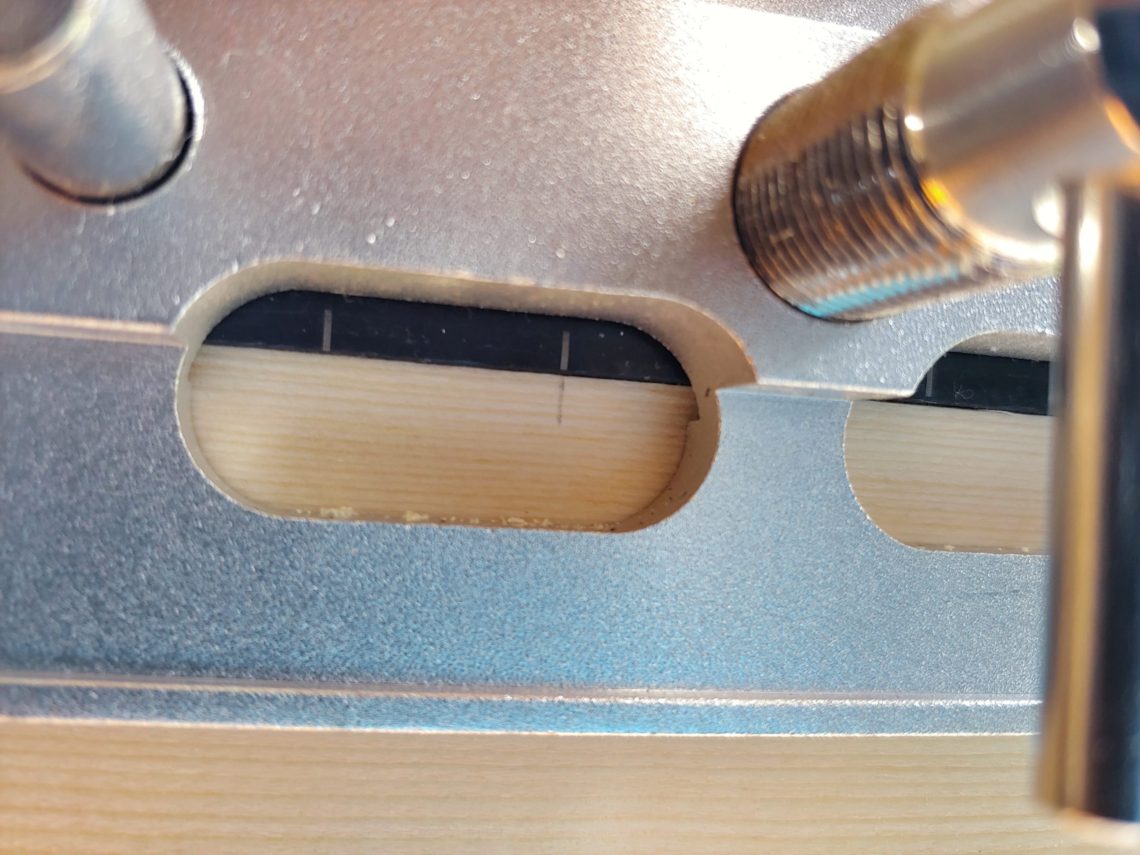
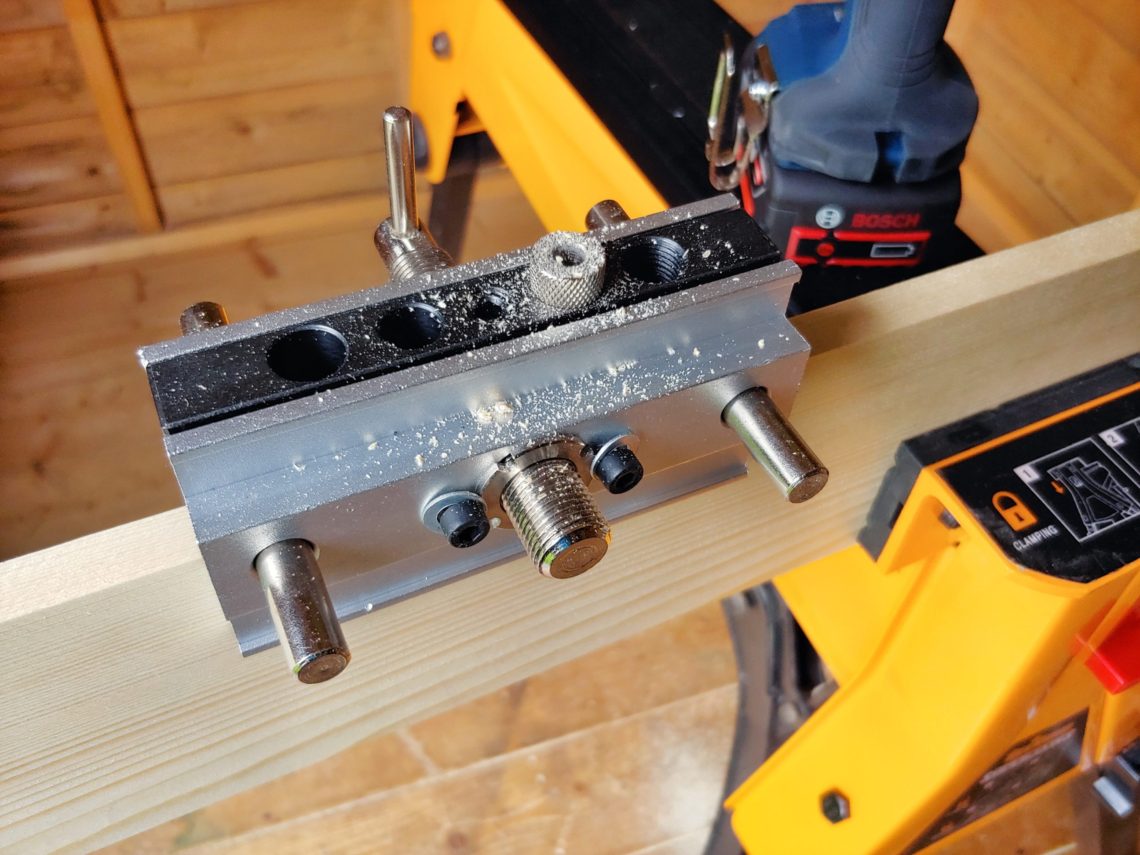
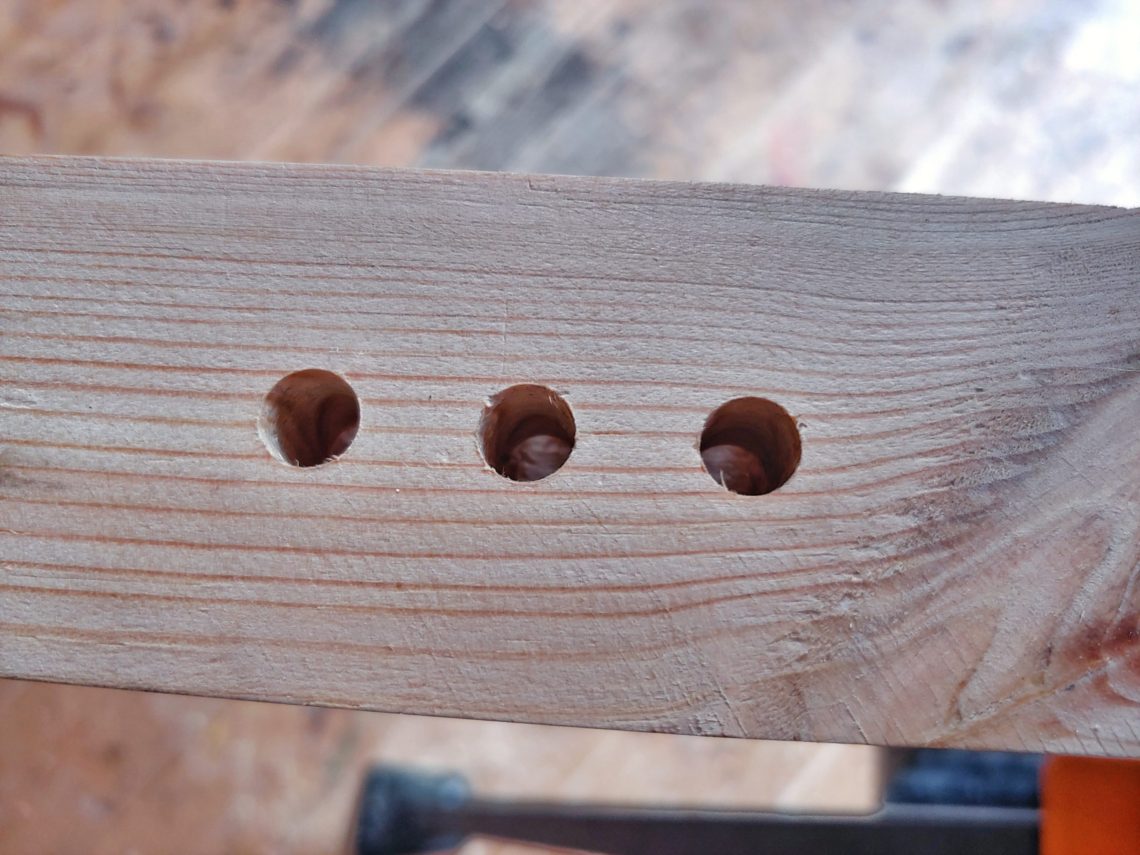
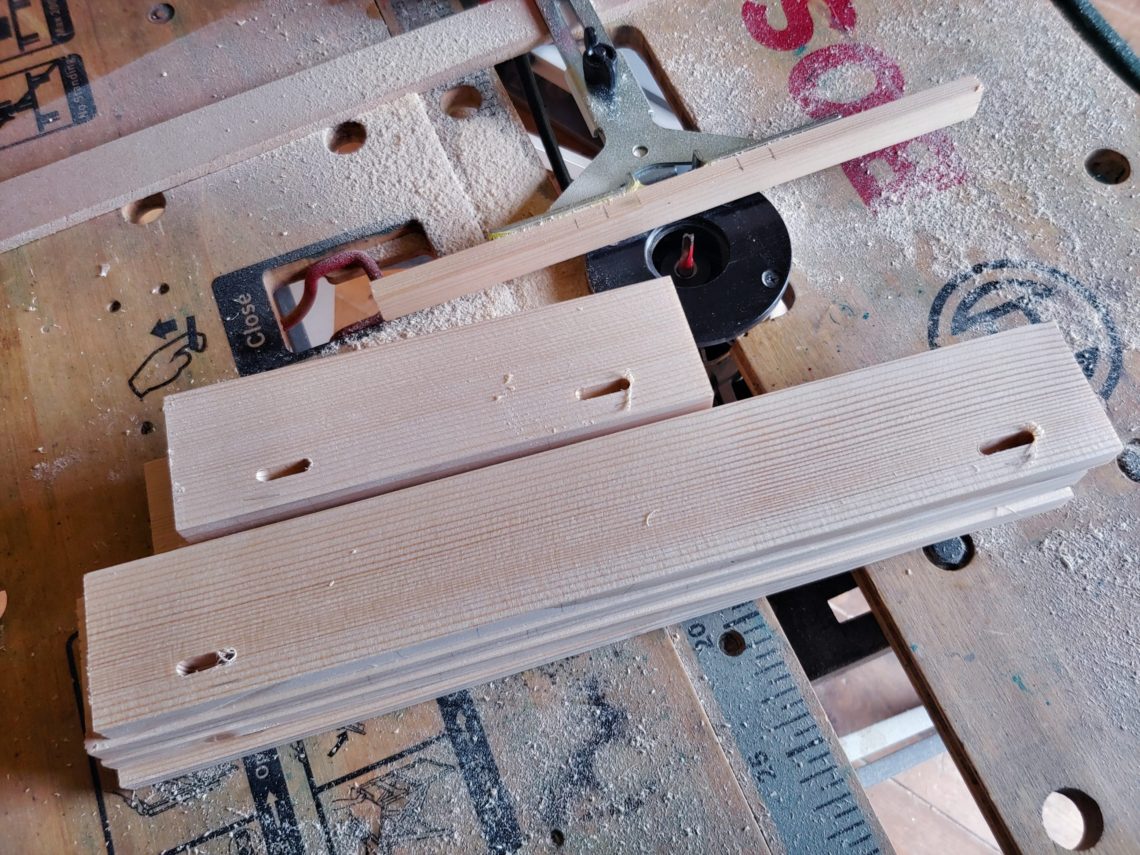
I used my dowelling jig, which has a useful feature of viewing slot. I drilled holes on both ends, maybe I should’ve drilled in the middle as well, but for short boards a pair of dowels was just fine. Once glued, clamped and cleaned with a dump cloth, the boards were left to dry overnight.
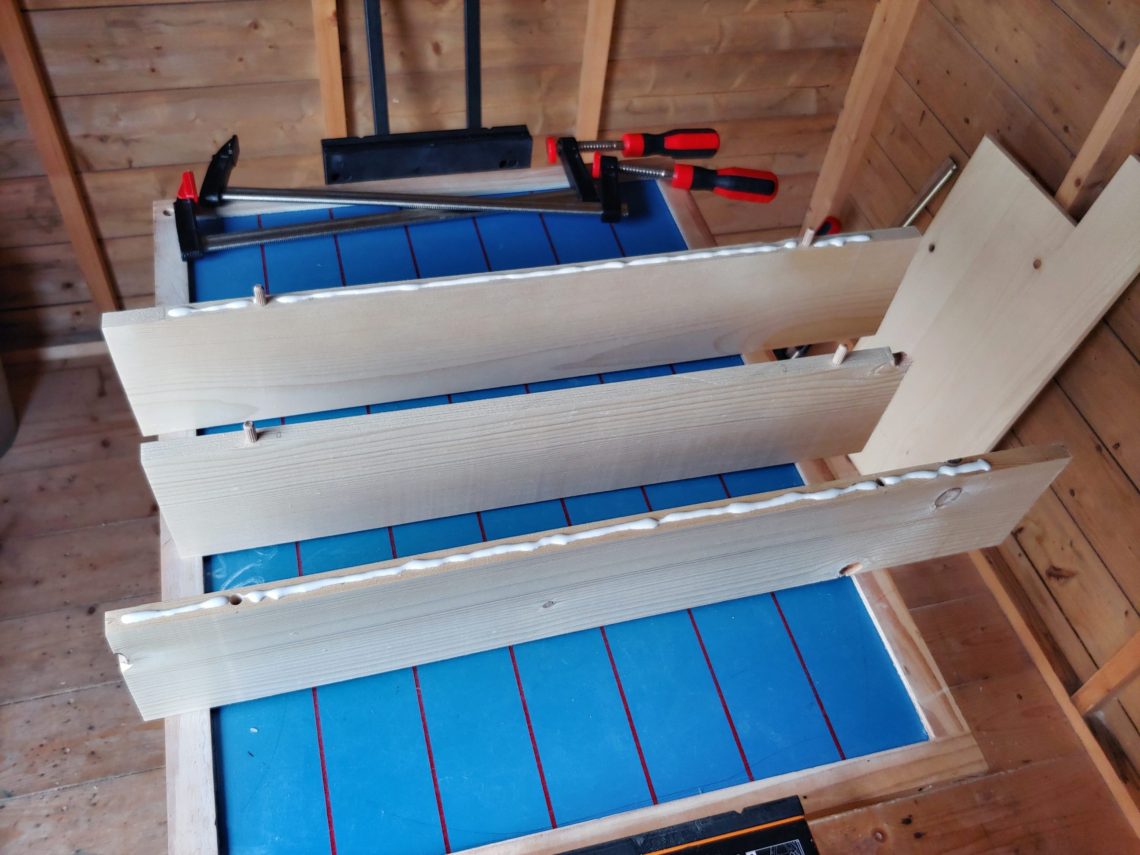
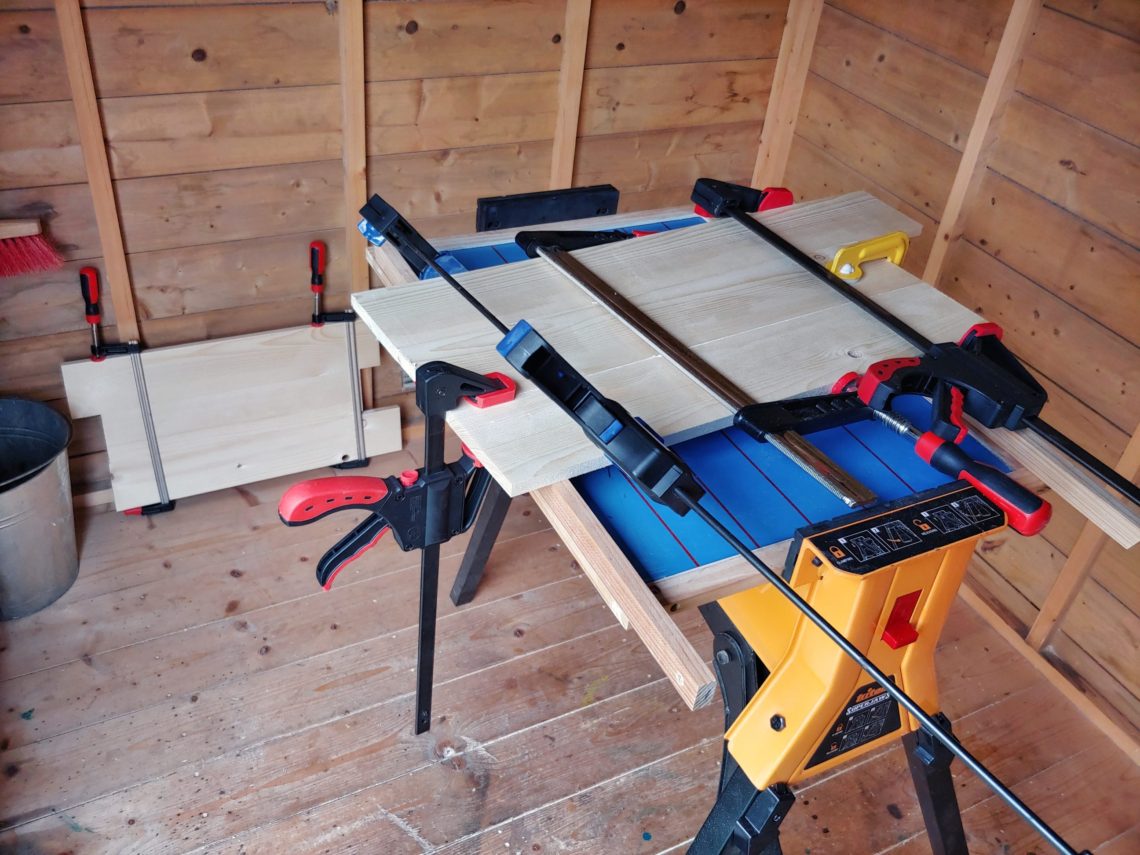
The next day I cut off the ends with a circular saw, just to square the panels up and to prepare for further processing. I also got a better idea of the length and width I could use.
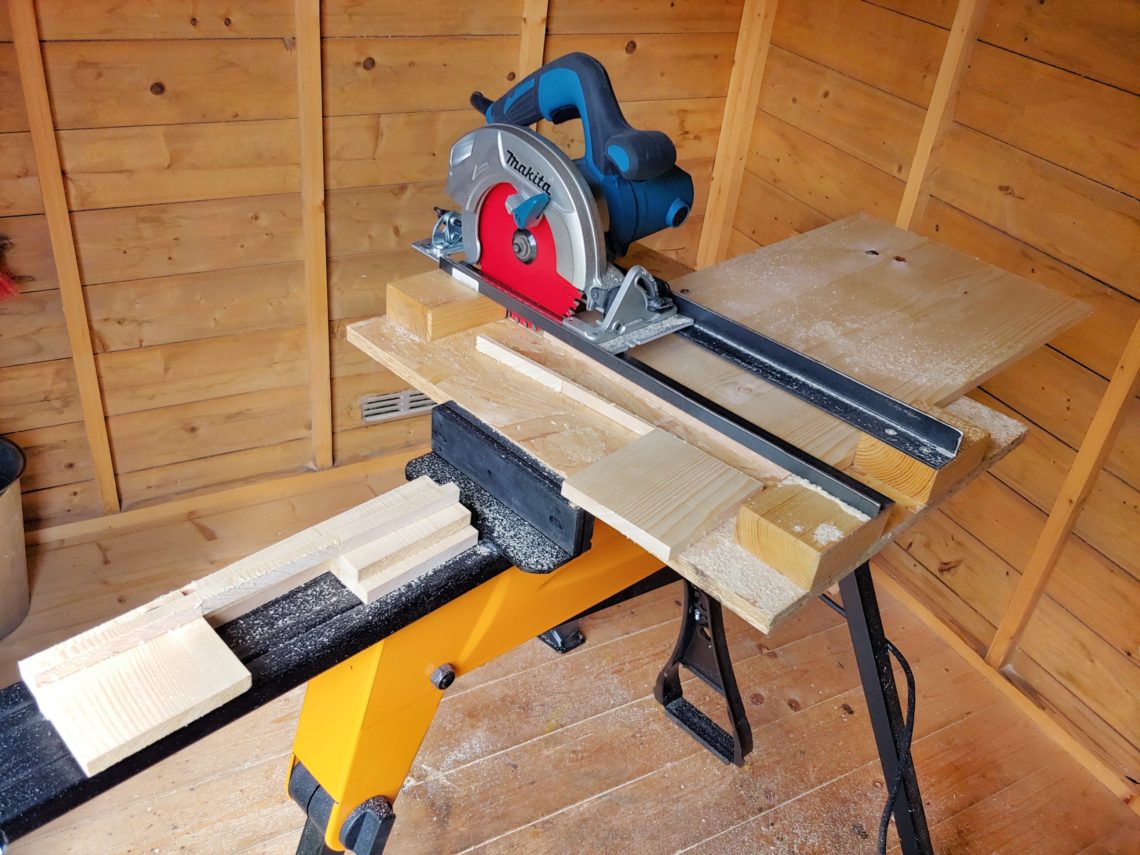
Using my table saw and a provisional stop block, I cut the legs to length. Sometimes, I flip the mitre gauge from left to right-hand side of the blade to get the most from my table saw.


Next, I cut both aprons to length and that was calculated using the pieces I had cut so far, i.e. two shelves and the legs.
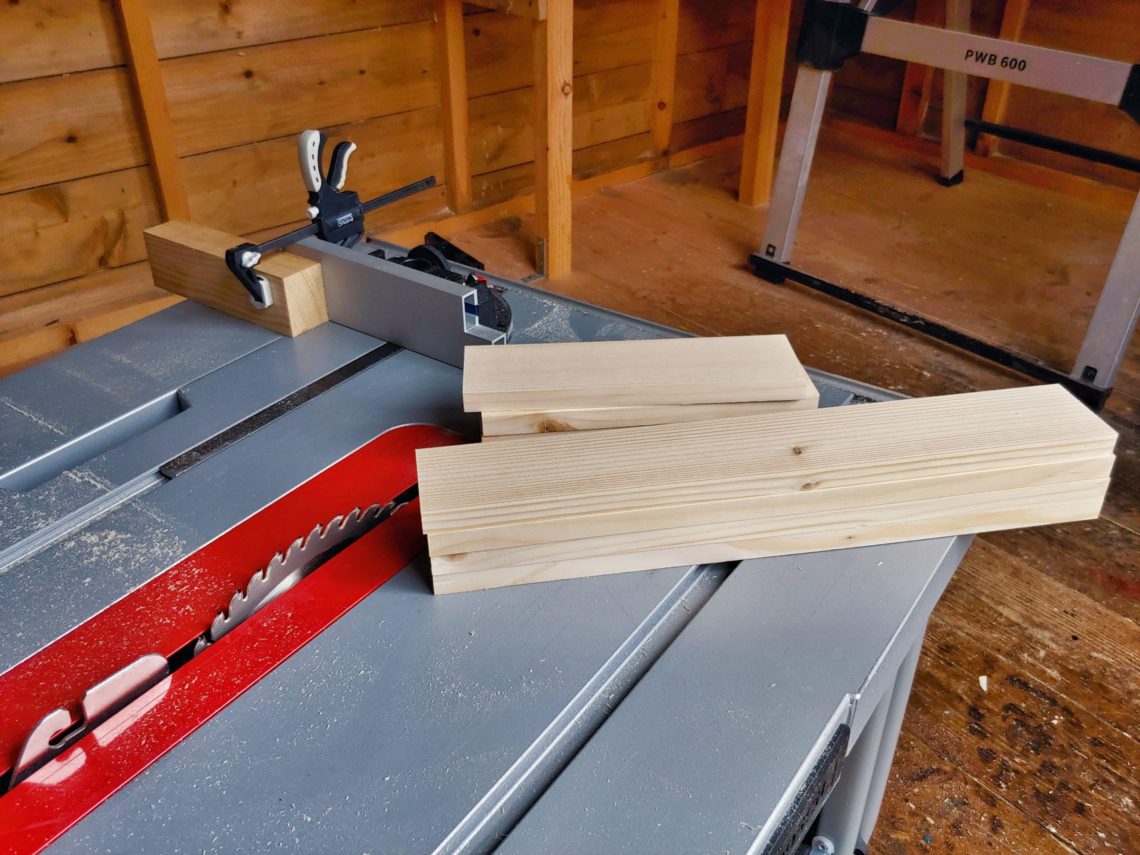
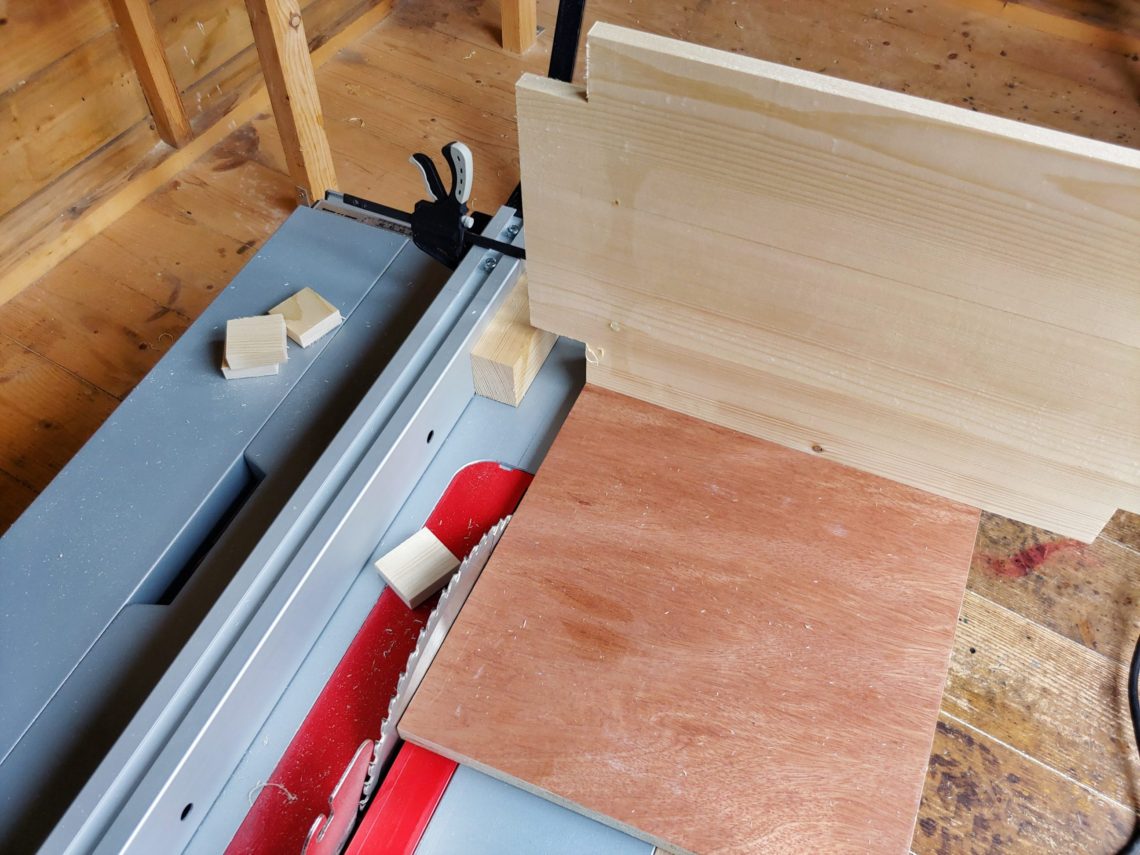
I cut off the excess from both panels using my table saw and the mitre gauge placed in the front of the workpiece. That way I got bigger capacity without upgrading my mitre gauge. It worked well and all the cuts were square. I have to remember that trick.
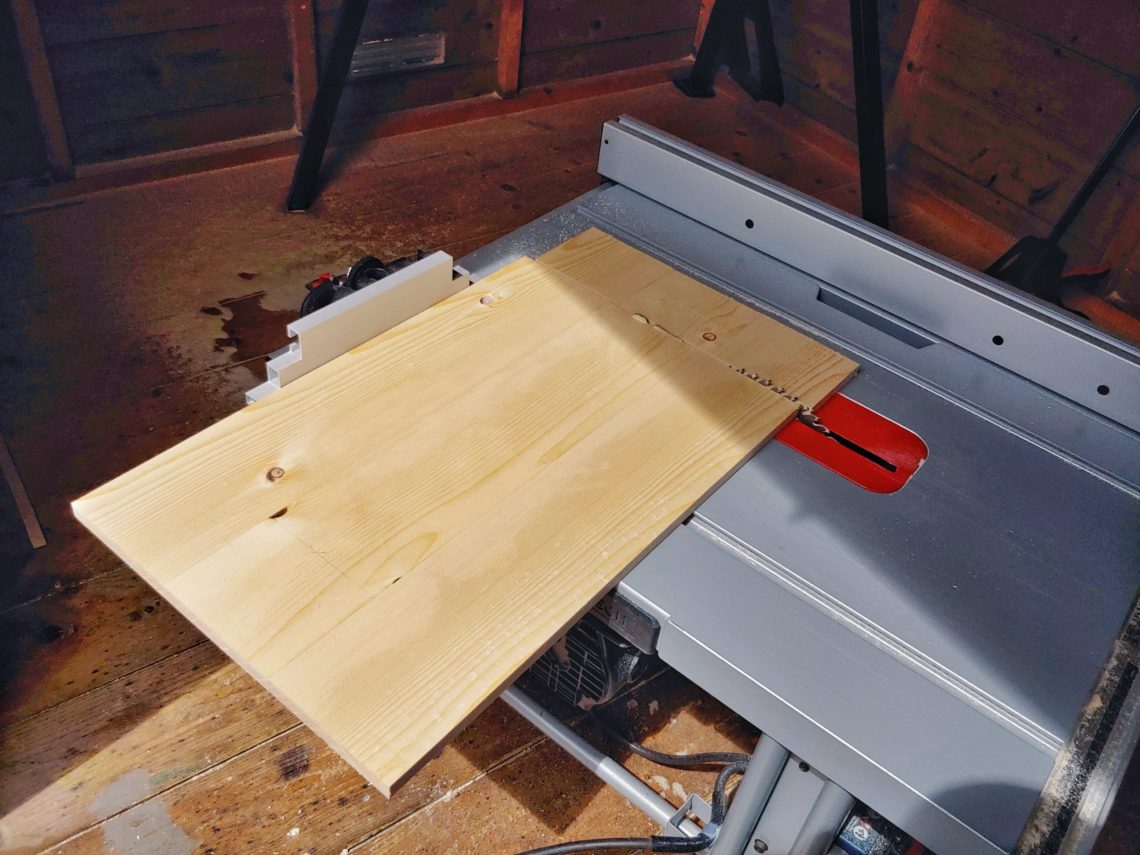
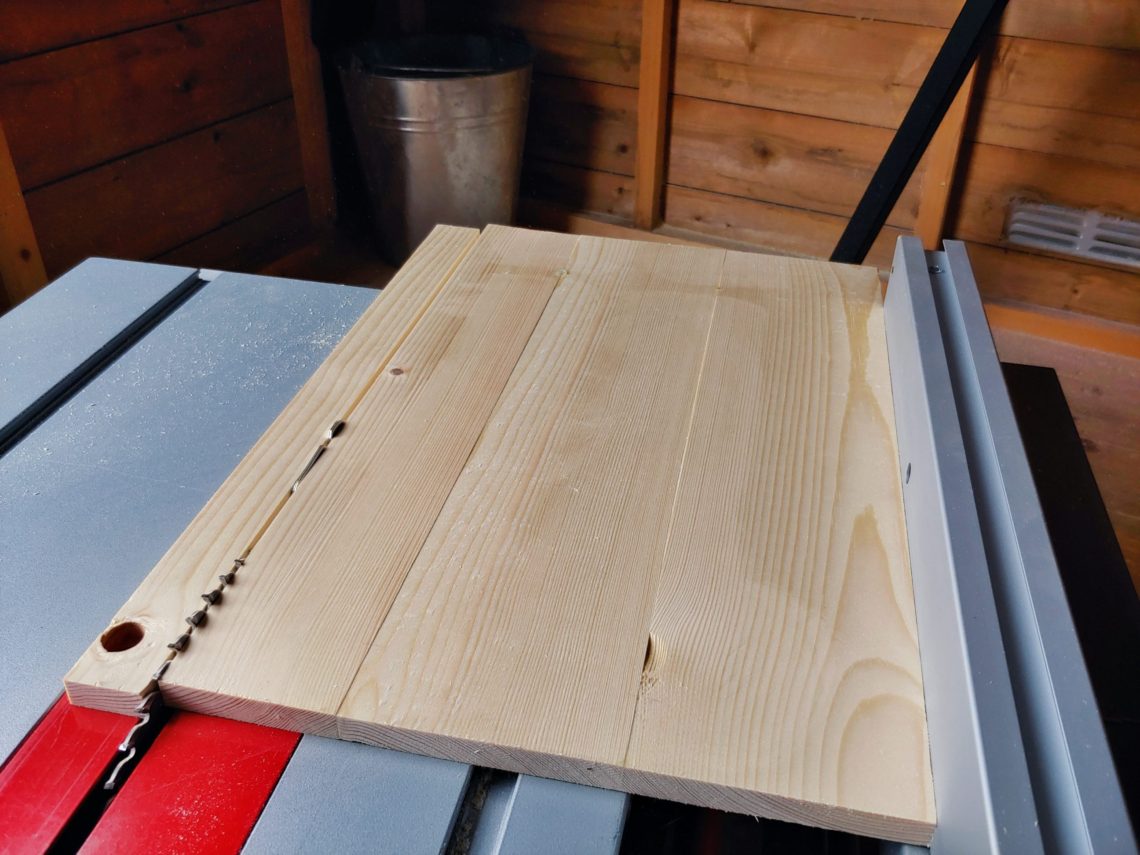
I got all the pieces cut to size and I only had to plane some edges a bit, using my block plane. Their faces still had to be sanded, but before that I drilled some holes for the dowels.
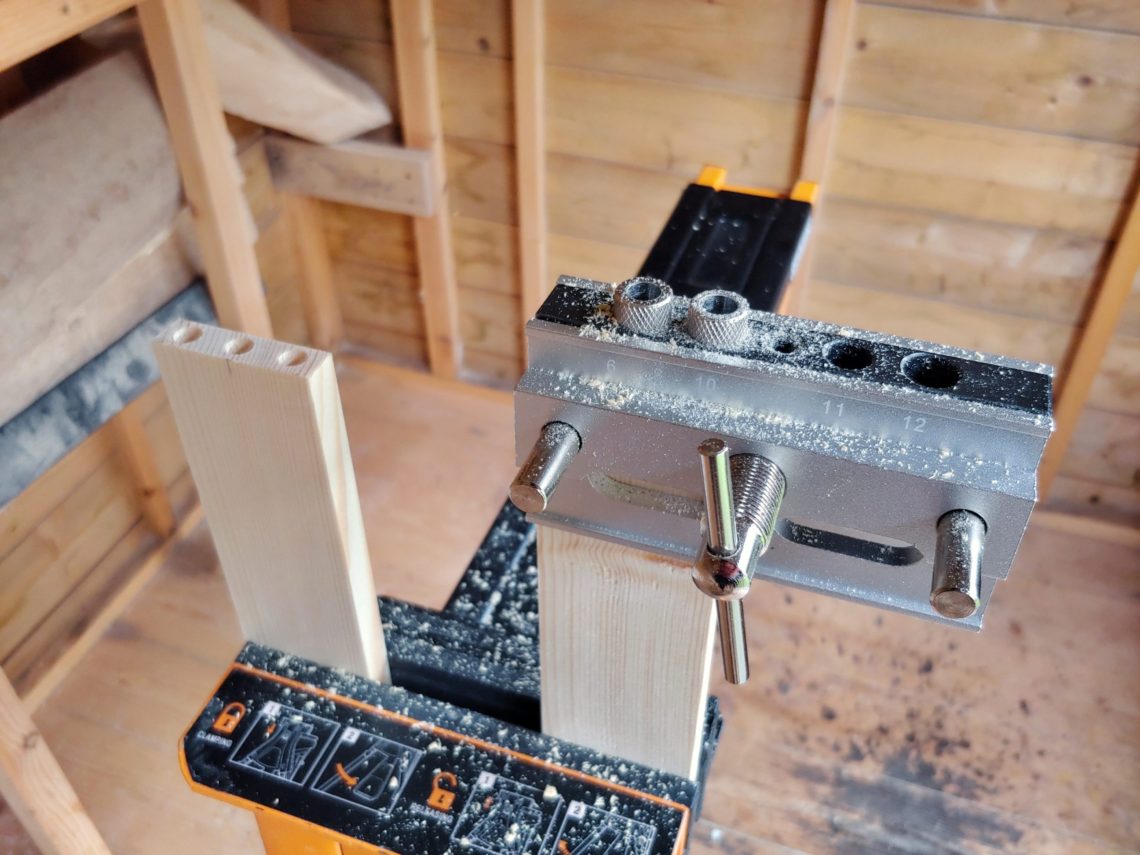
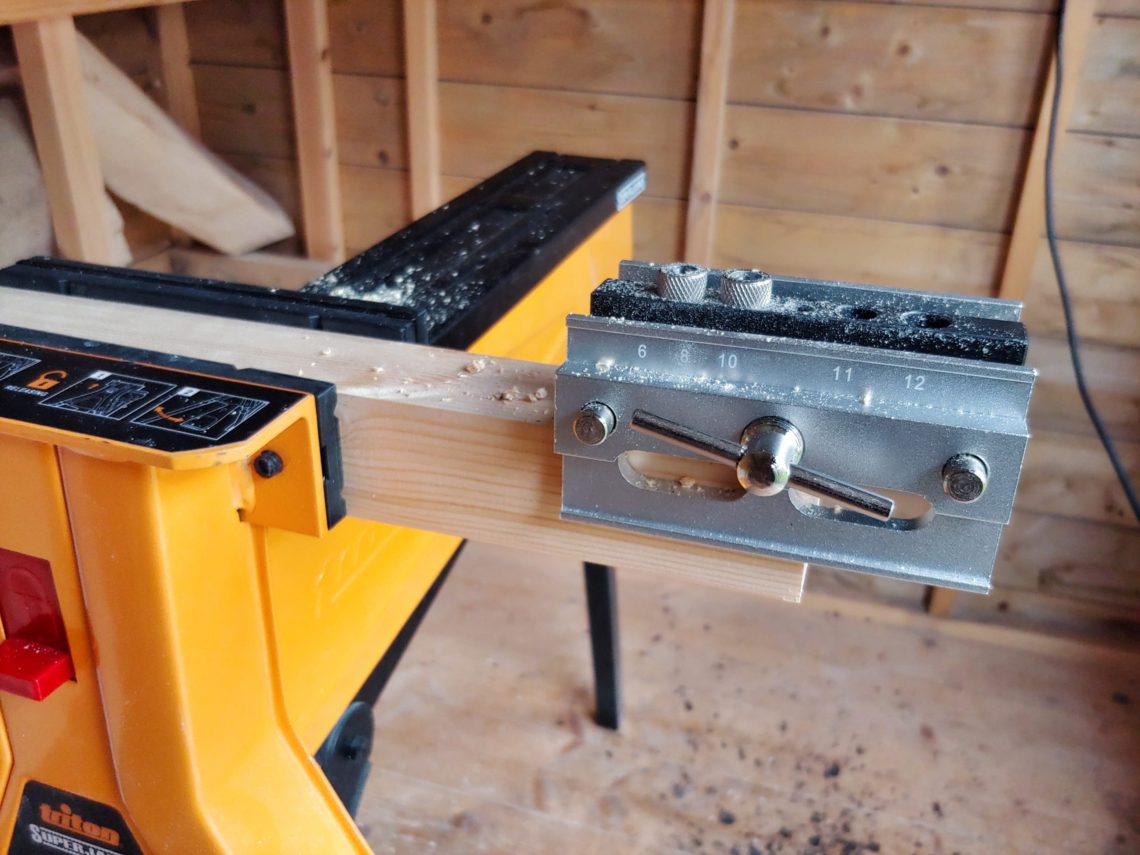
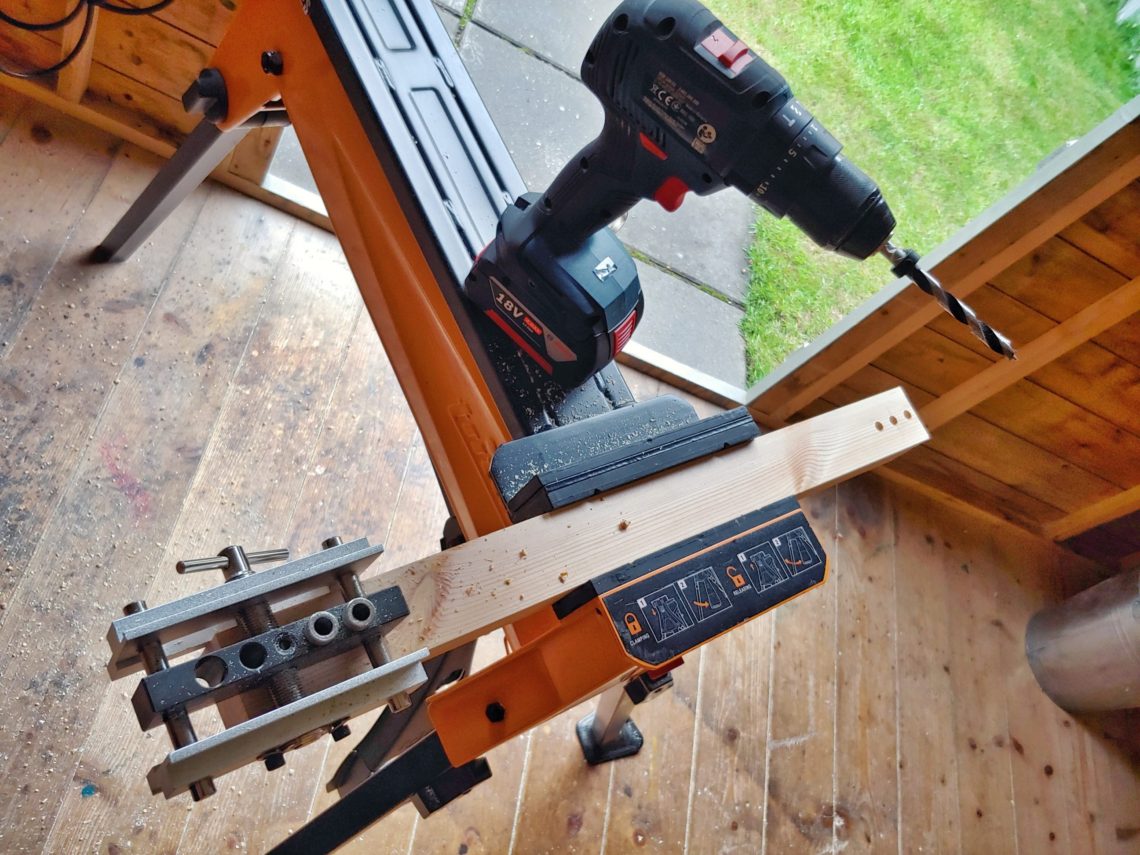
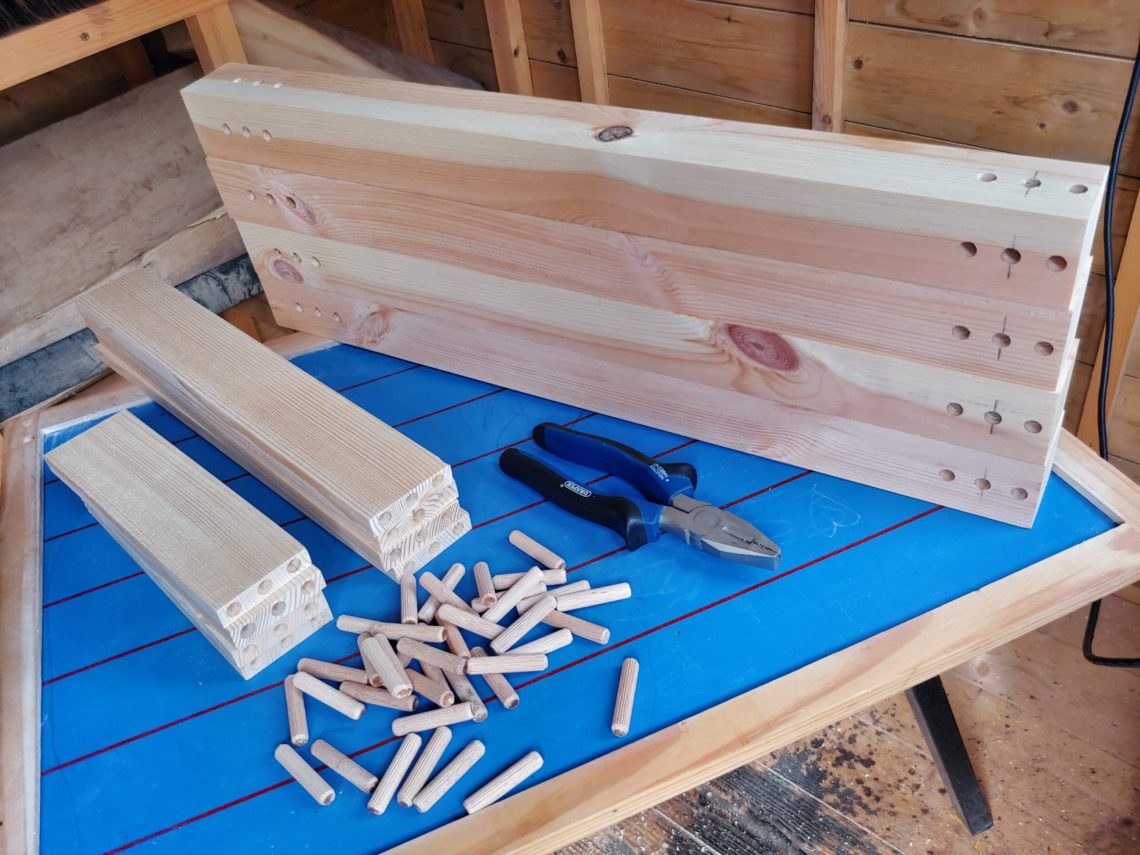
Drilling holes took some time, I drilled groups of 3 holes using the jig with 2 holes. I quickly repositioned the jig using the drill bit as a pin. Holes drilled in the legs actually got a connection, and I was afraid that the dowels won’t go in fully and will block each other. The trick I had to use was to insert the dowels into the vertical pieces (apron) first, all the way down, and then connect them to the legs. It was all about the right order during the assembly.
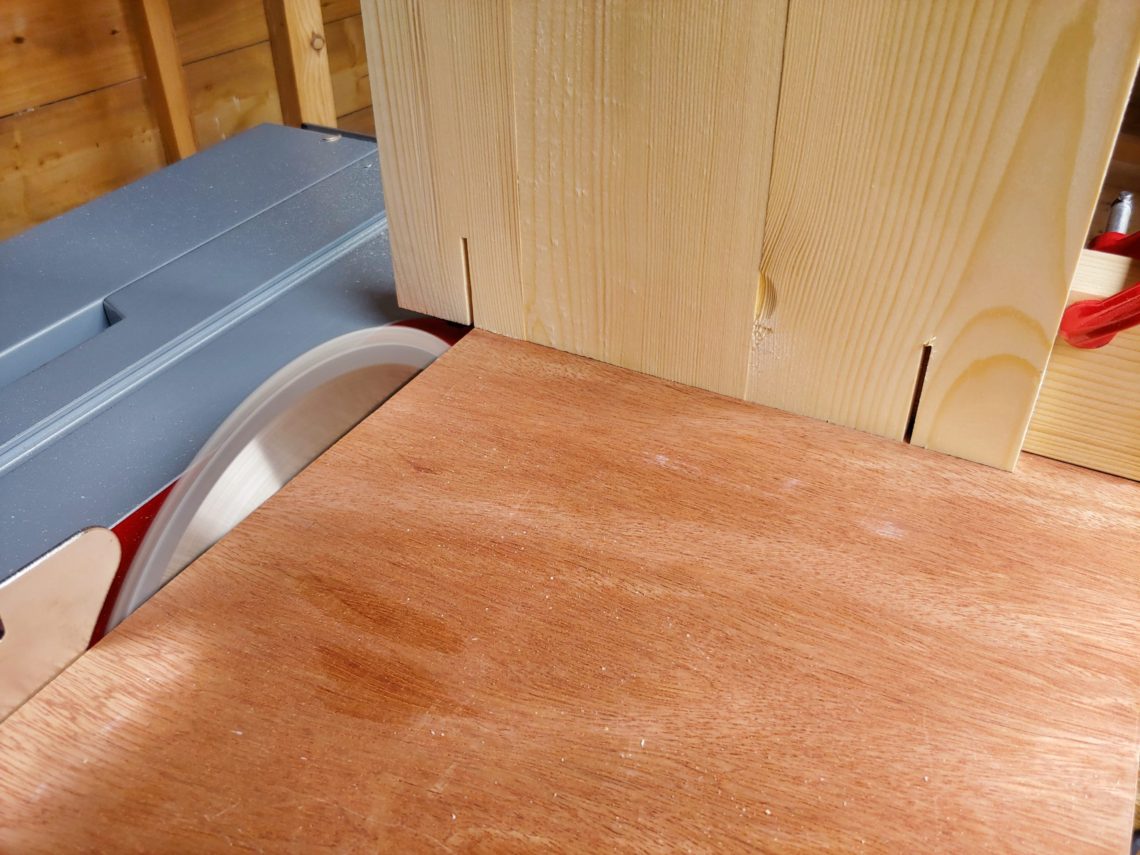
I measured and cut off the corners of the lower shelf. All done on a table saw, using my mini sledge. When that was finished I cut some grooves for the “Z Clips” which are actually offset canvas clips. They work great for me due to their stiffness and sturdiness. I’ve used them in many projects, always good results and no problems whatsoever. Routing slots was a little tricky because the clips had to be screwed at an angle bigger than 90°, pulling the tabletop towards the apron. Of course, this was all done to allow for wood movement.
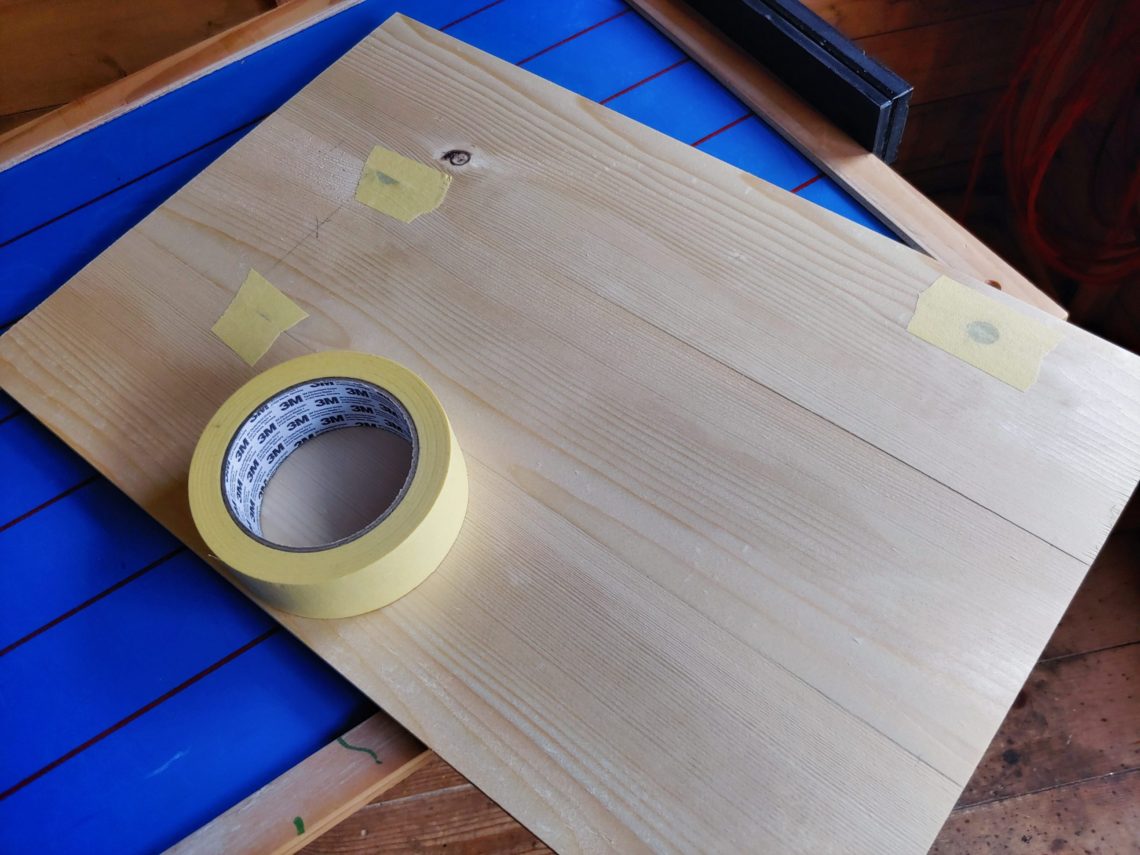
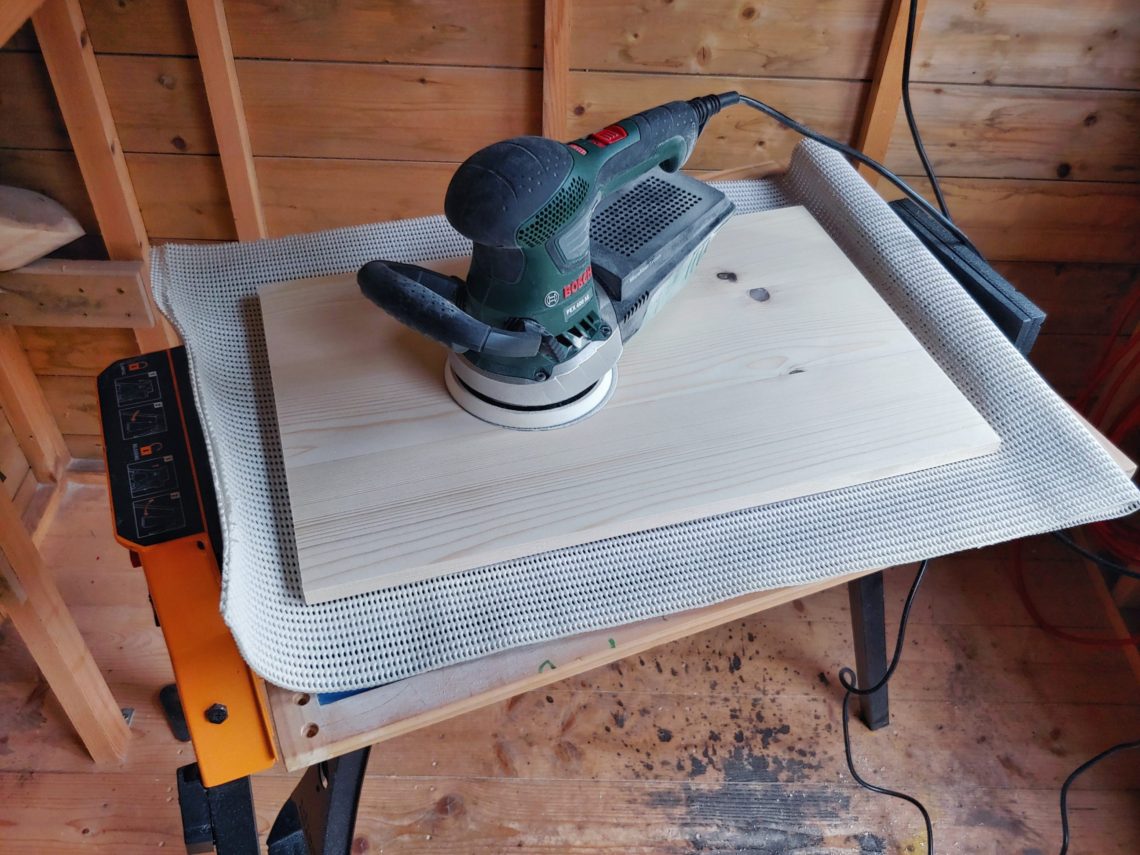
I filled up the missing knotholes with epoxy, that was the first time I used it in woodworking, no experience at all. I taped the bottoms with painter’s tape and removed it after 30 minutes, when the epoxy hardened. It came out a little bubbly, but still OK for that particular project. The next day I sanded all the parts and prepared for the glue-up.

I used TiteBond III glue because of the number of dowels. 48 dowels, each one had to be individually covered with a thin coat of glue, on both ends. Maybe there was no need for band clamps because it clamped itself tightly due to perfectly made joints. I used them anyway, just to be sure it won’t go apart. When I checked for square it wasn’t perfect, that’s why I used a quick-release clamp to fix the problem. After approximately 30-40 minutes, I cut off squeezed out glue, using a pocket knife.

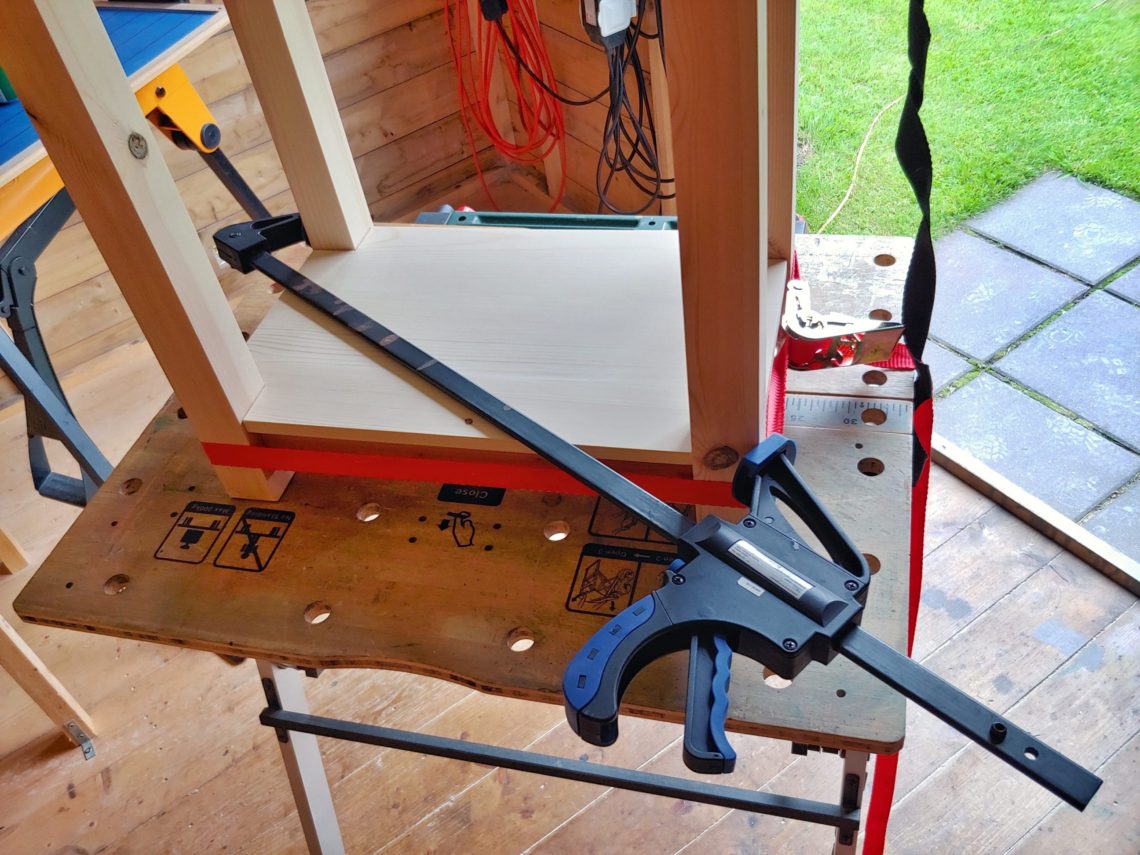
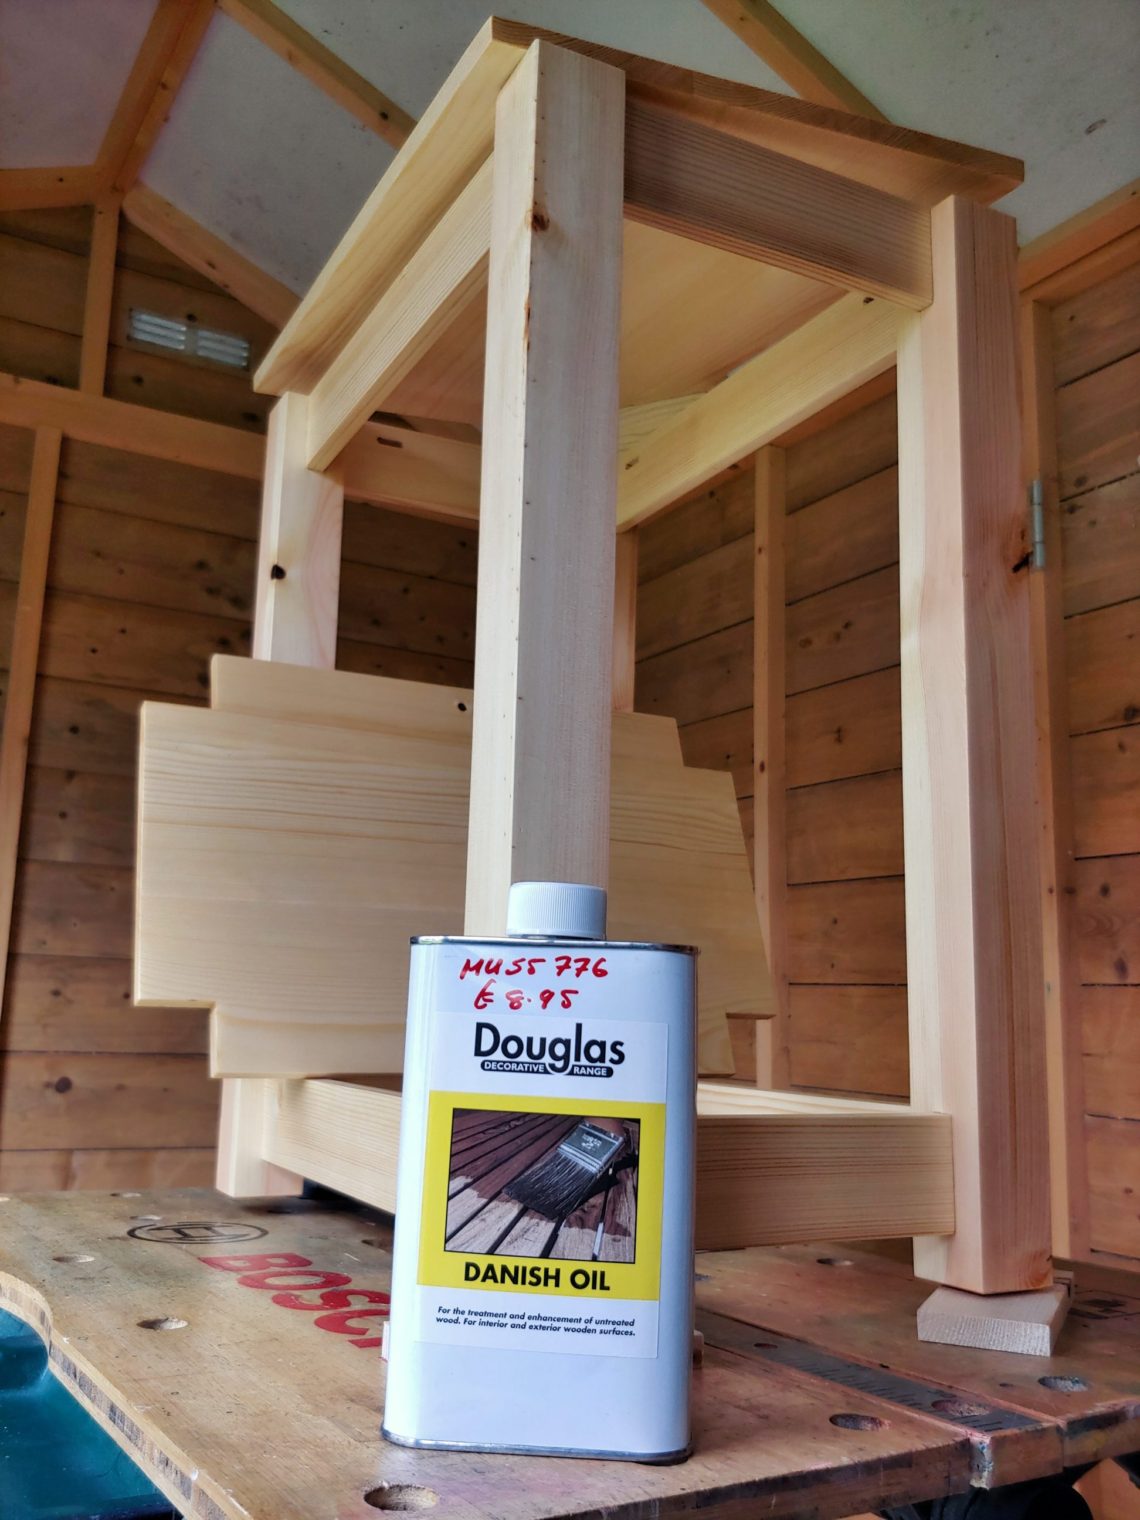
The next day I noticed that the red strap damaged corners, I chamfered them with my block plane, and also made bigger chamfers on the feet. Everything was ready for the finish. I chose Danish oil, applied with a disposable brush and wiped off with a cloth after 20-30 minutes. 2 coats on day one and 1 coat on day two. That was all it could absorb. I gave it a day to cure and for an outstanding finish I rubbed the surface with ultra fine steel wool, wet with oil, and wiped dry with a cloth. In some corners, I had to use a nylon brush to remove metallic dust from steel wool.

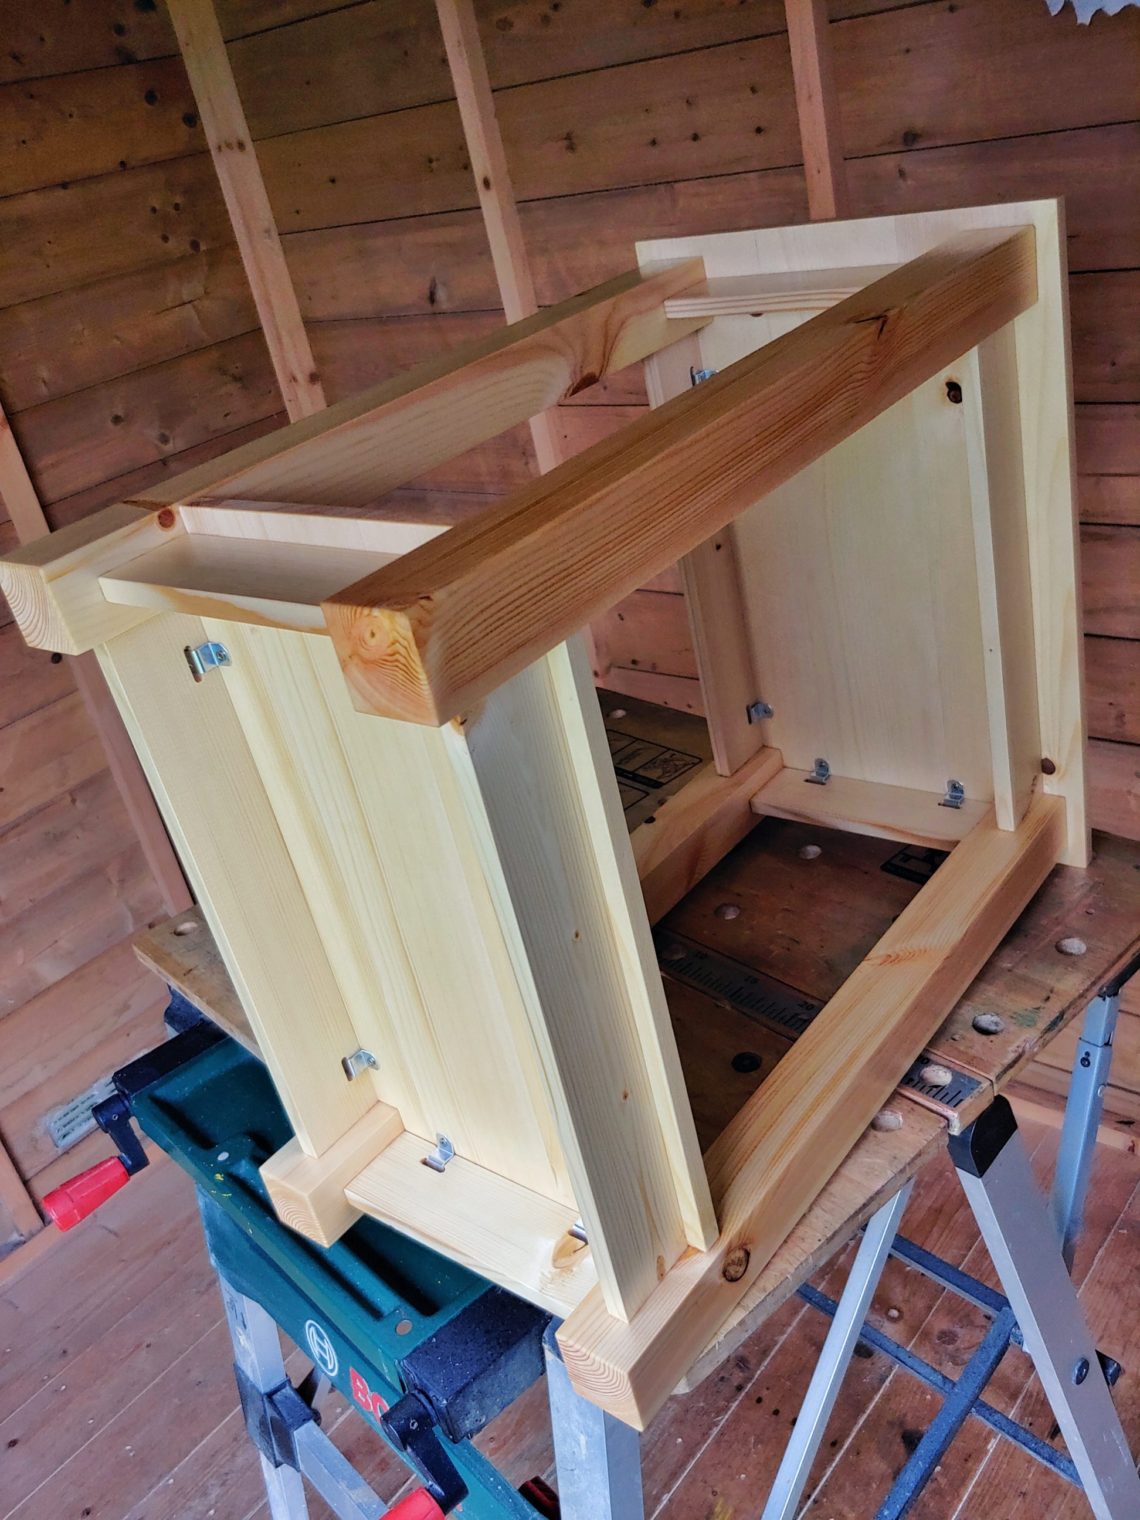
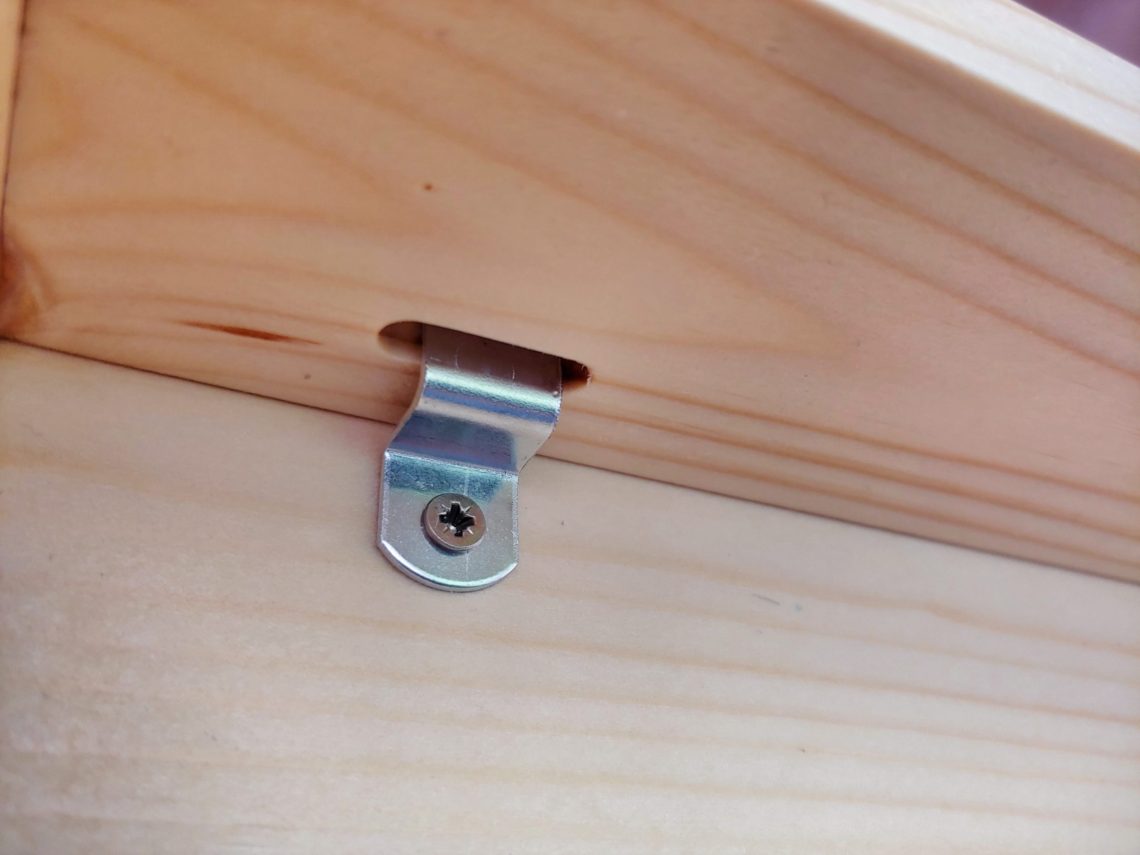
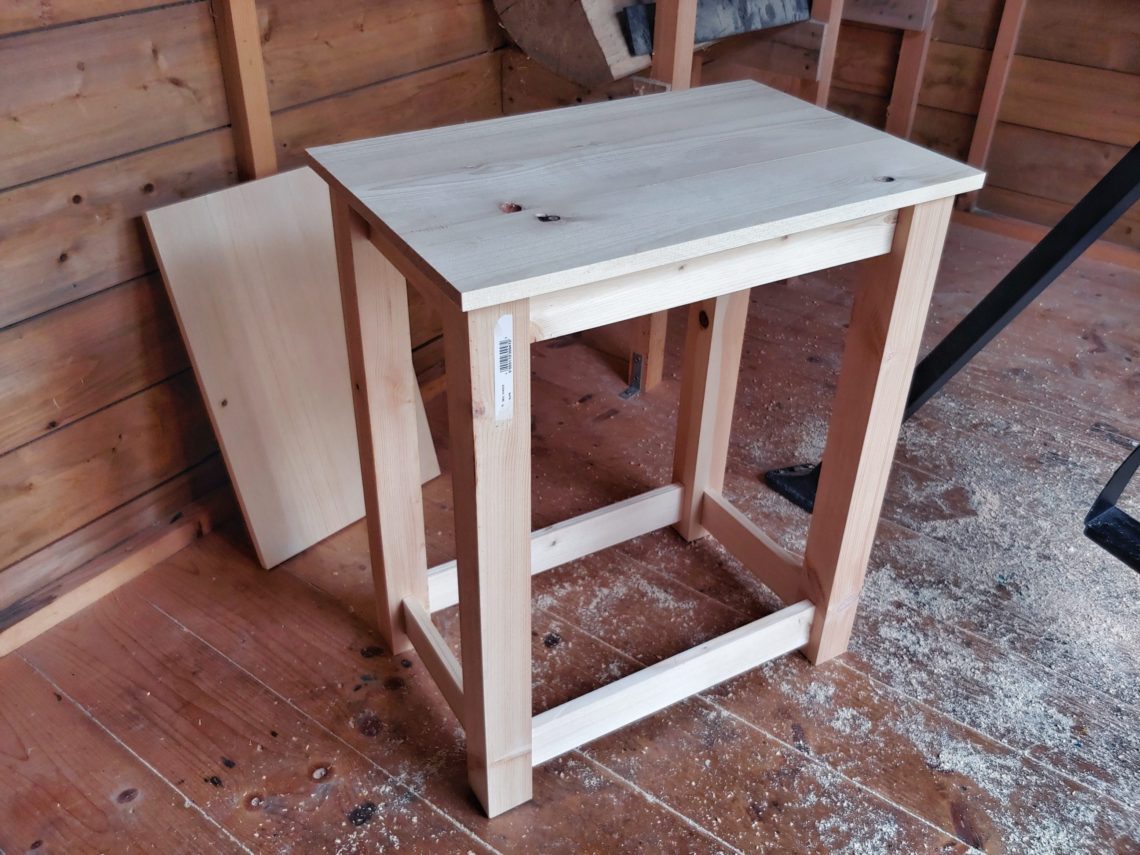
I used 12 mm screws (15/32″) to attach the clips, no pre-drilling necessary as the wood was stabilised with oils. That was the last thing to do on the project. It was ready to go. Simple butt joints reinforced with dowels, no visible fasteners and a subtle finish. It replaced the table I made 5 years ago, and that one in turn replaced the one I made 12 years ago. Nothing goes to waste. It’s satisfying to see the progress I’ve made over that period of time, and it makes me smile.
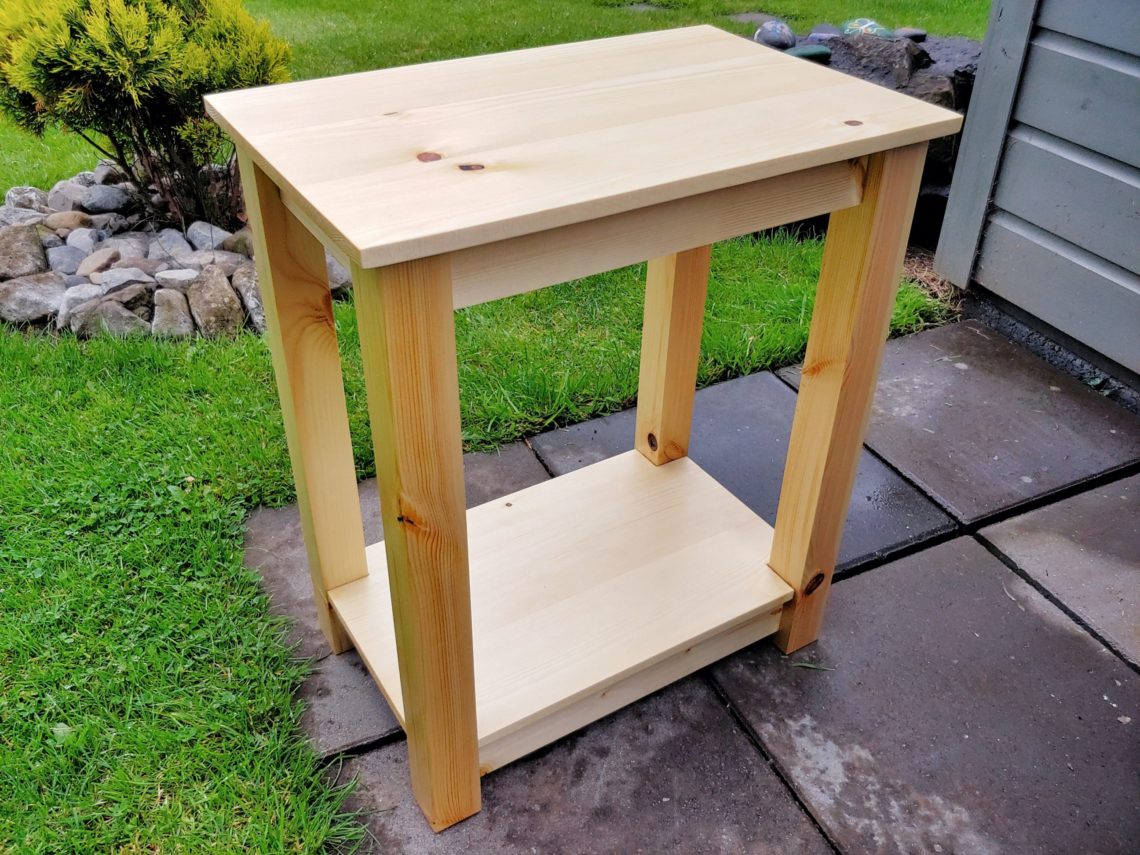

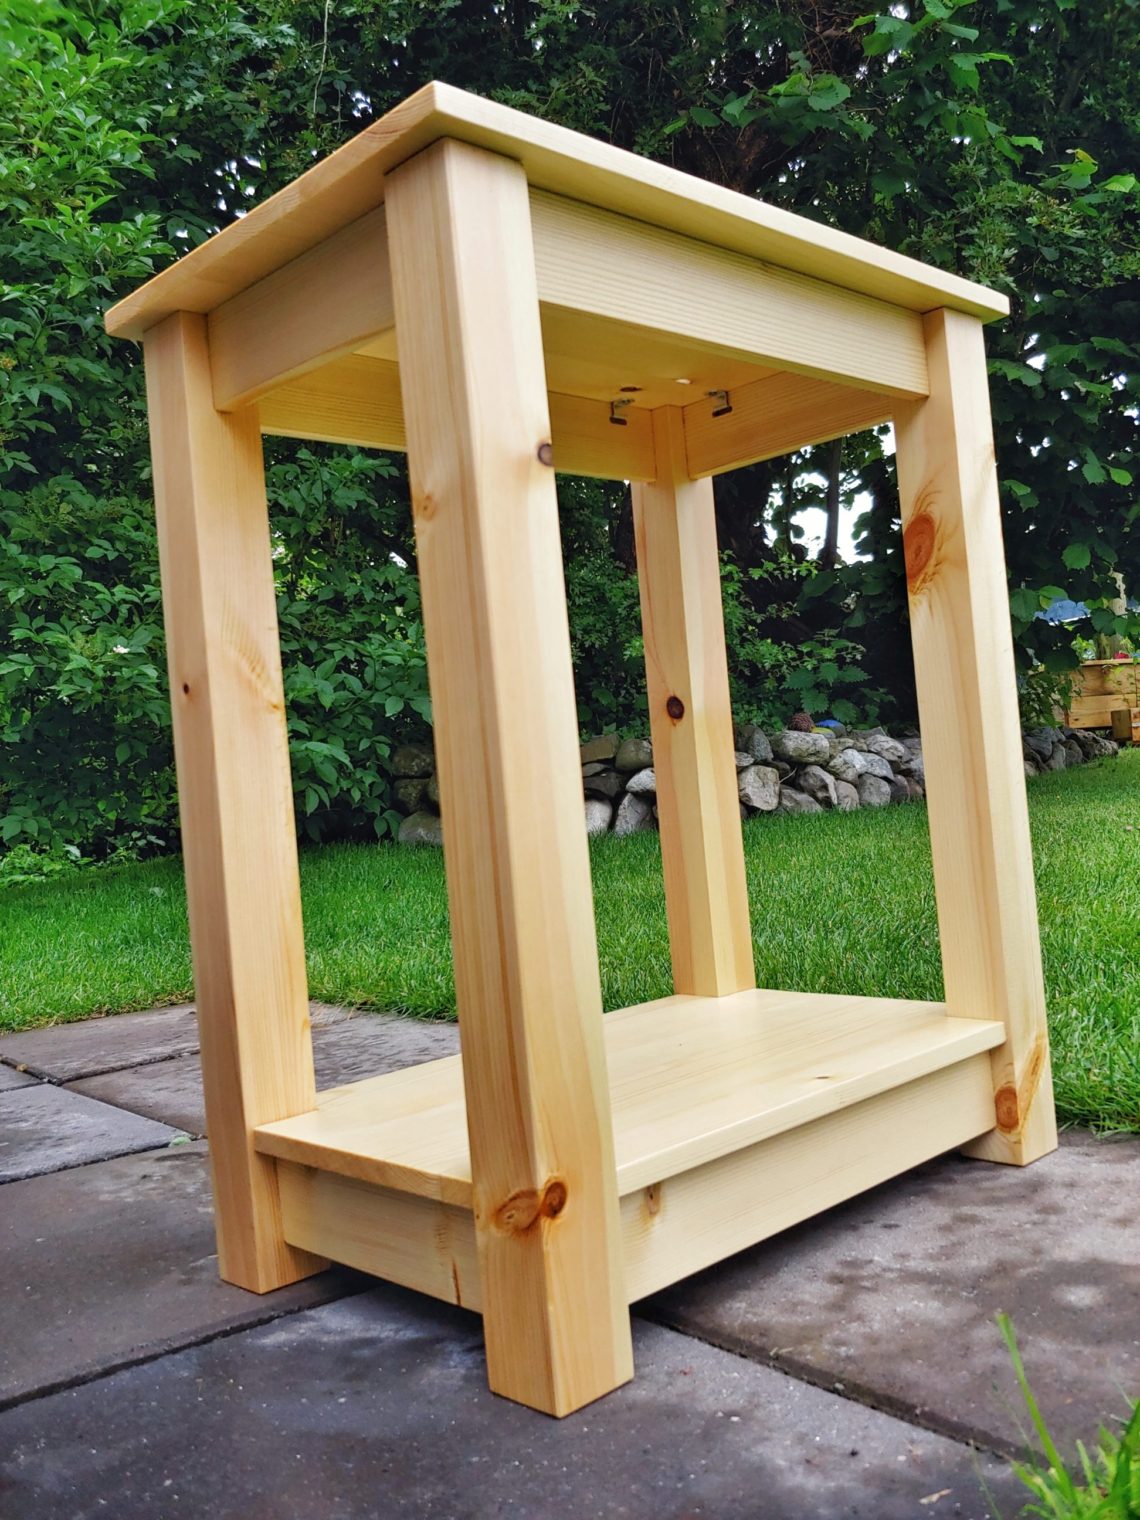
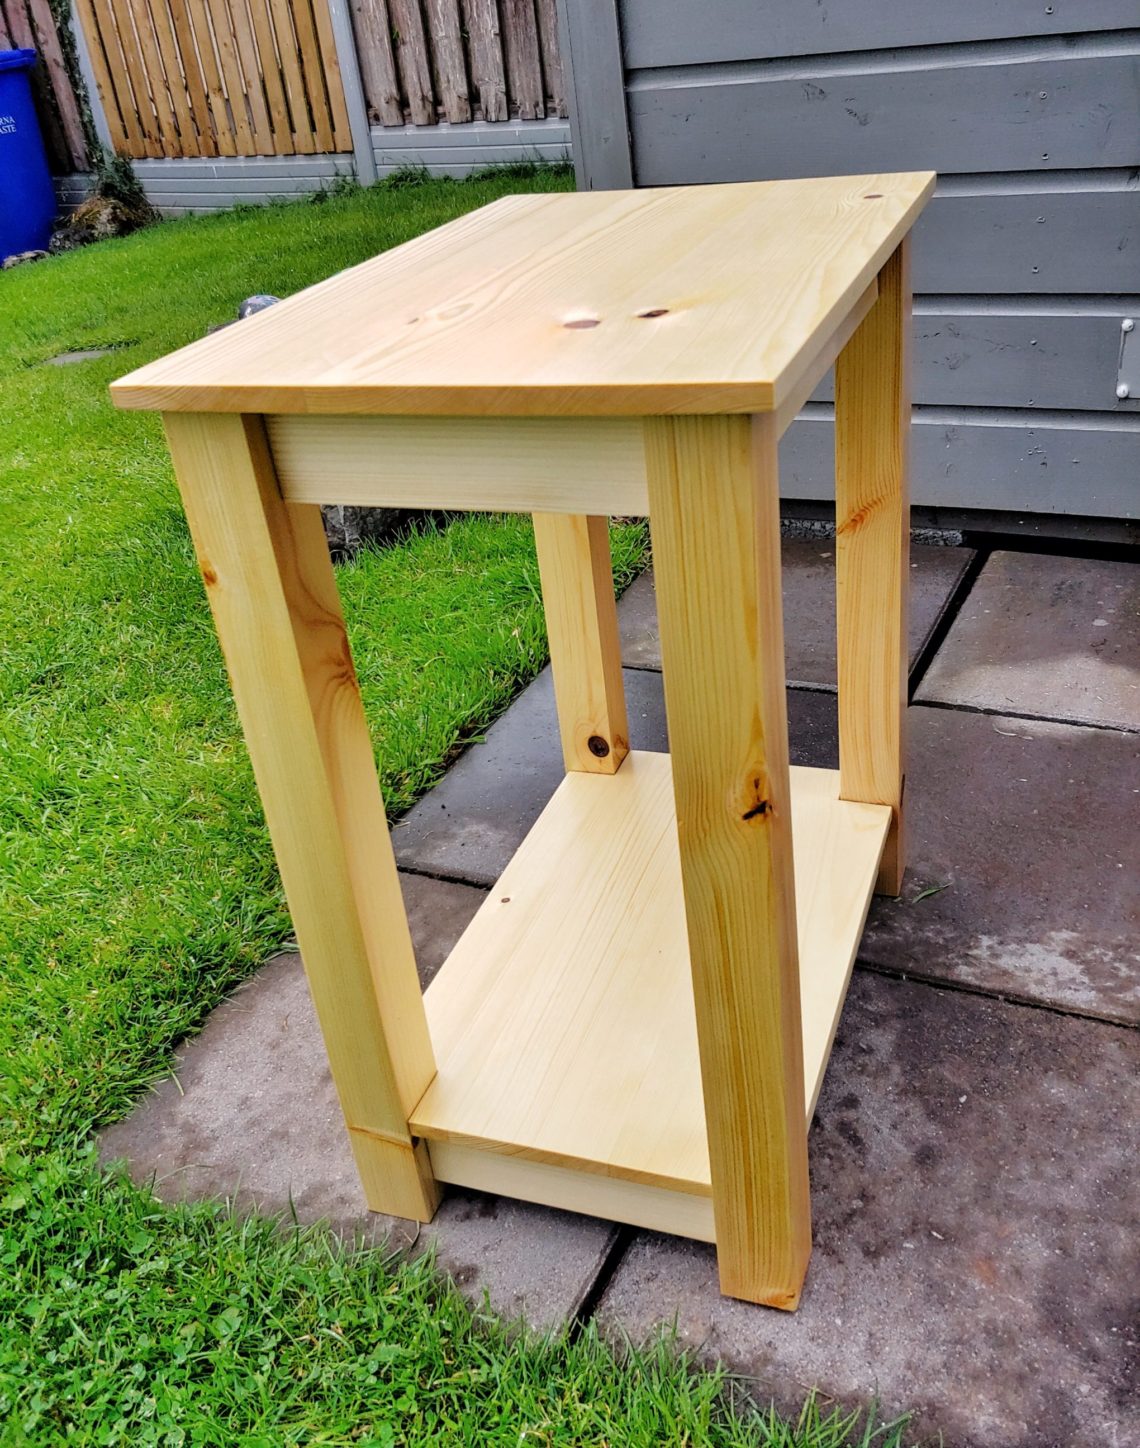

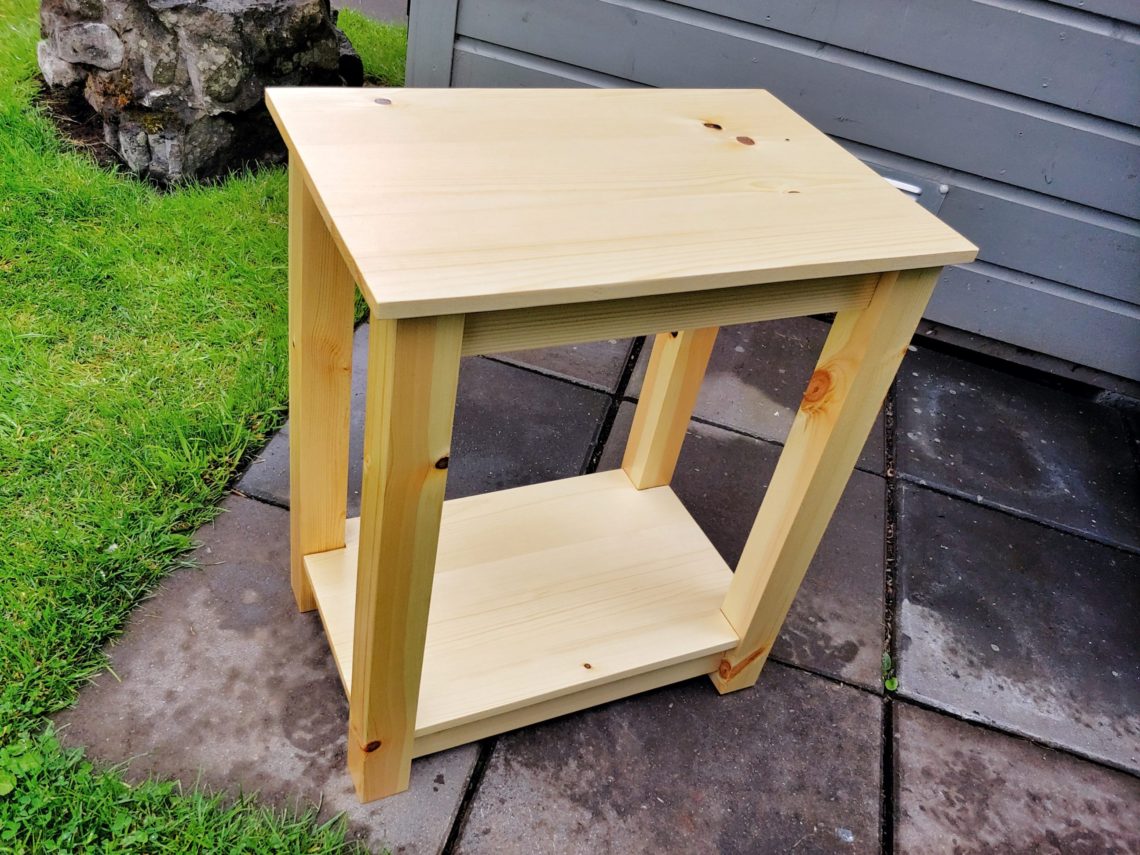

P.S. A friend of mine invited himself to the photo session and was very curious about my project. Can you spot the bird in two photos of the above gallery?



One Comment
Pingback: