Corbel shelf
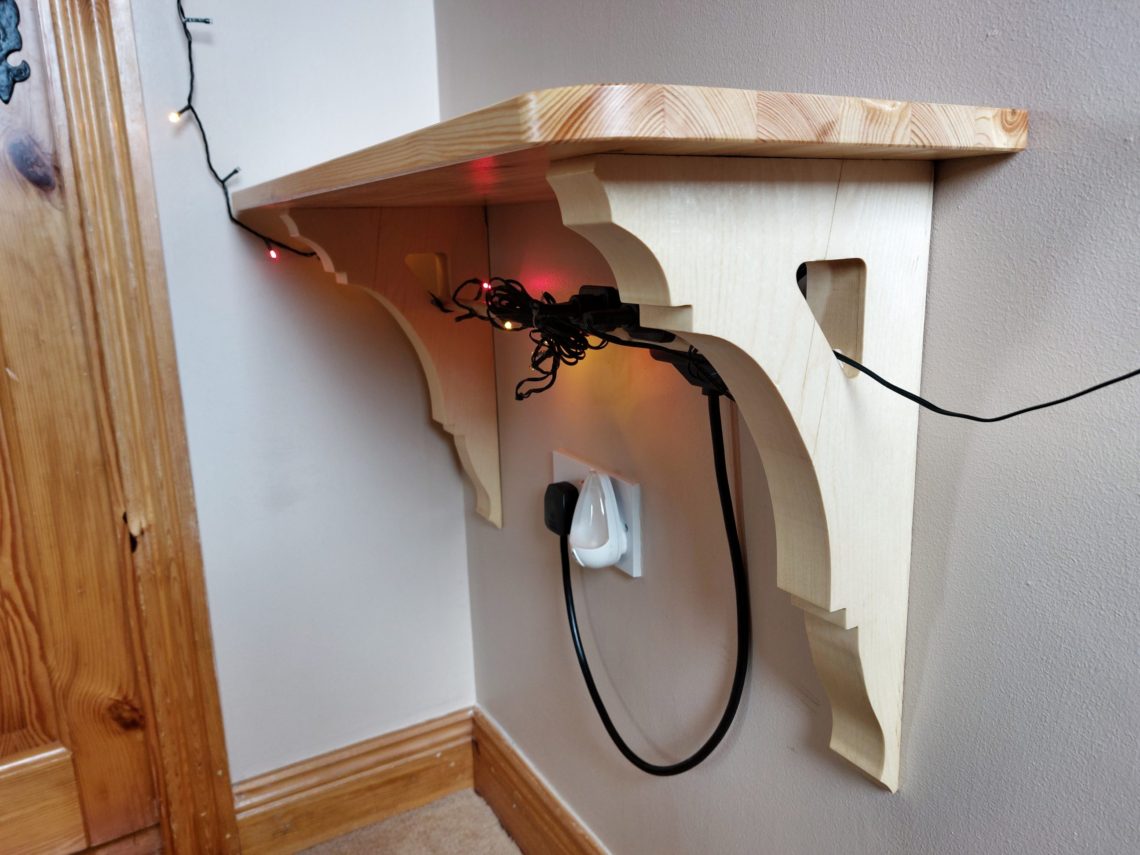
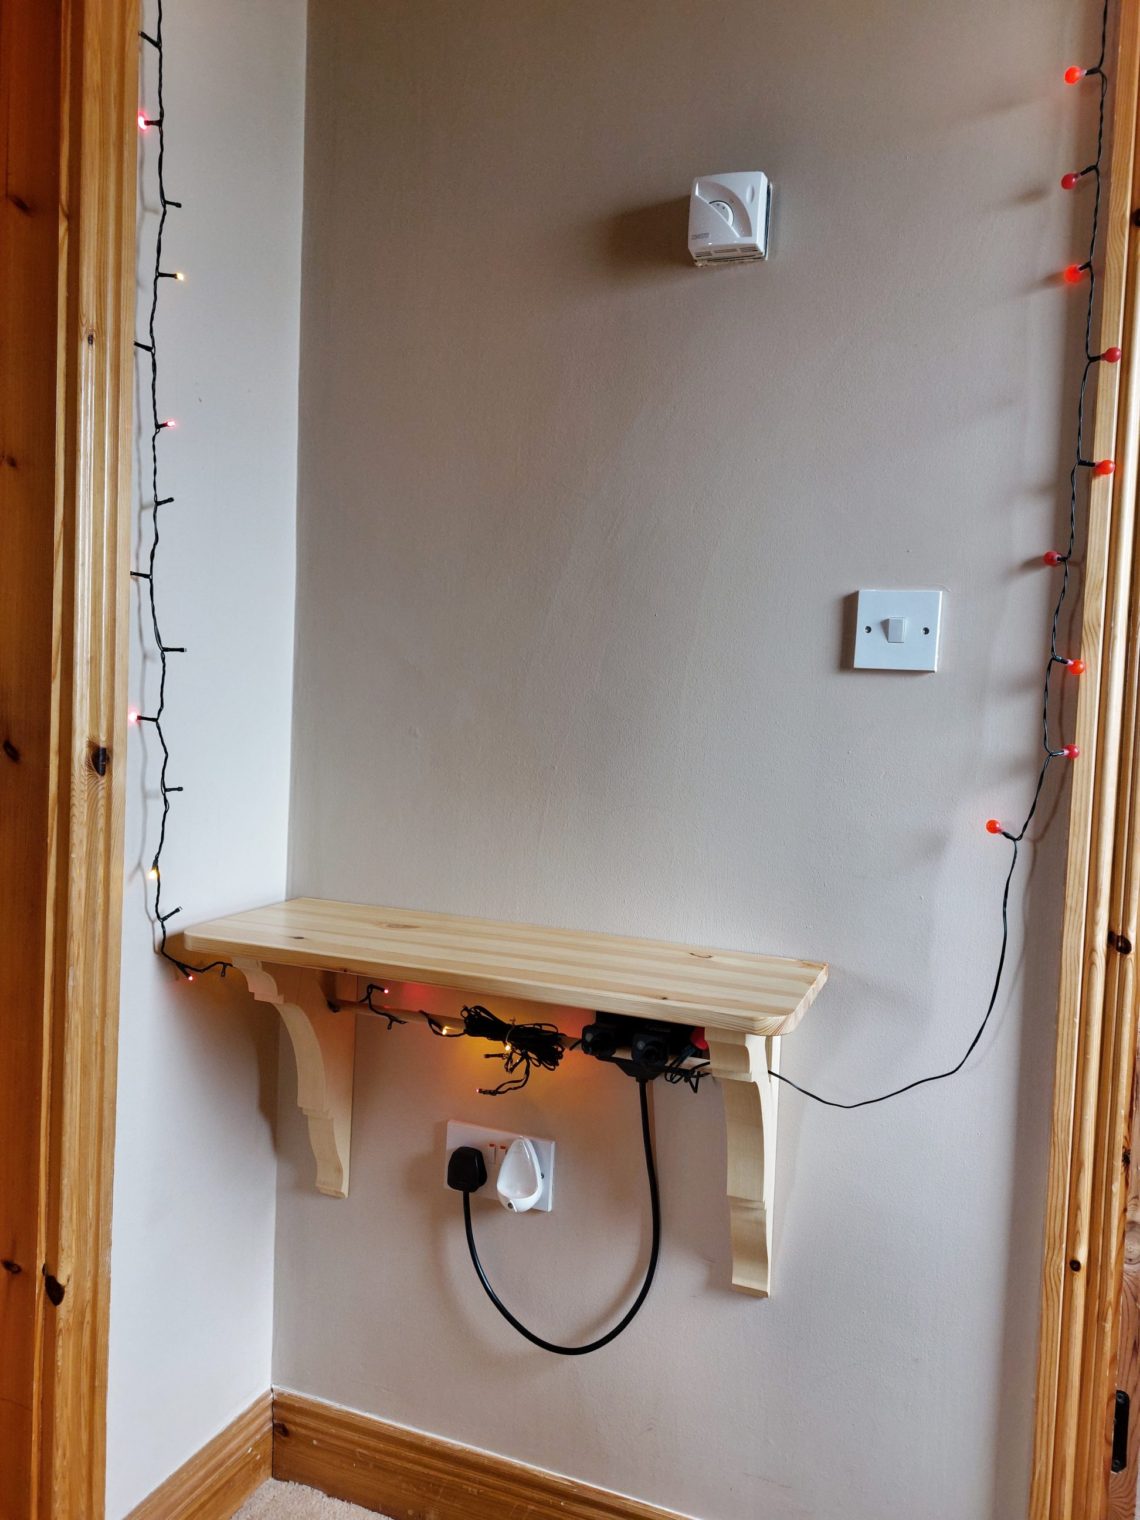
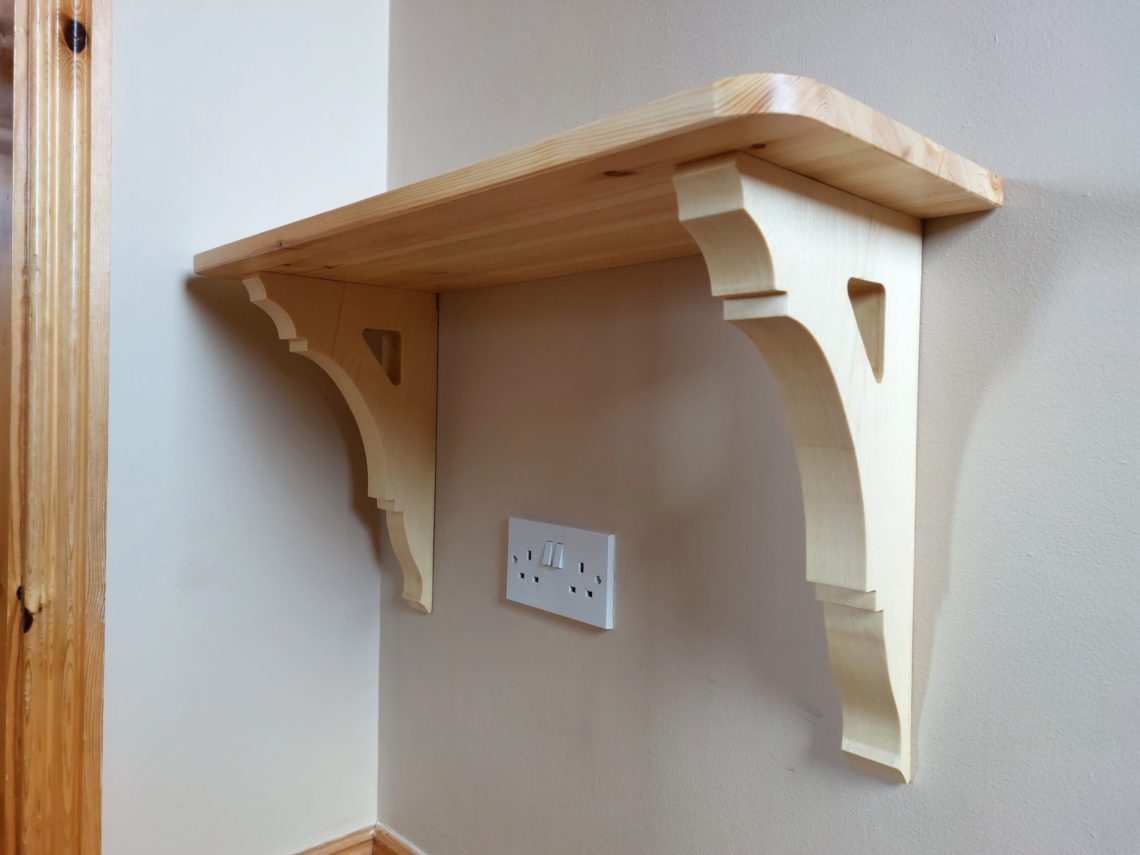
Both corbels are made from upcycled material, but I saved some time by buying a board for the top instead of making it myself. The shelf is put together with dowels and glue and that way there are no visible fasteners, not to mention its mounting brackets that are also hidden from sight. The corbels are thick and long, they dominate the shelf visually, giving an illusion of sturdiness. Because the shelf is made of softwood, it’s naturally light and all the force that the brackets can take is left for what is going to be put on the shelf. 2 rounded corners make it kids friendly and its colour corresponds with the surrounding doors and trims.
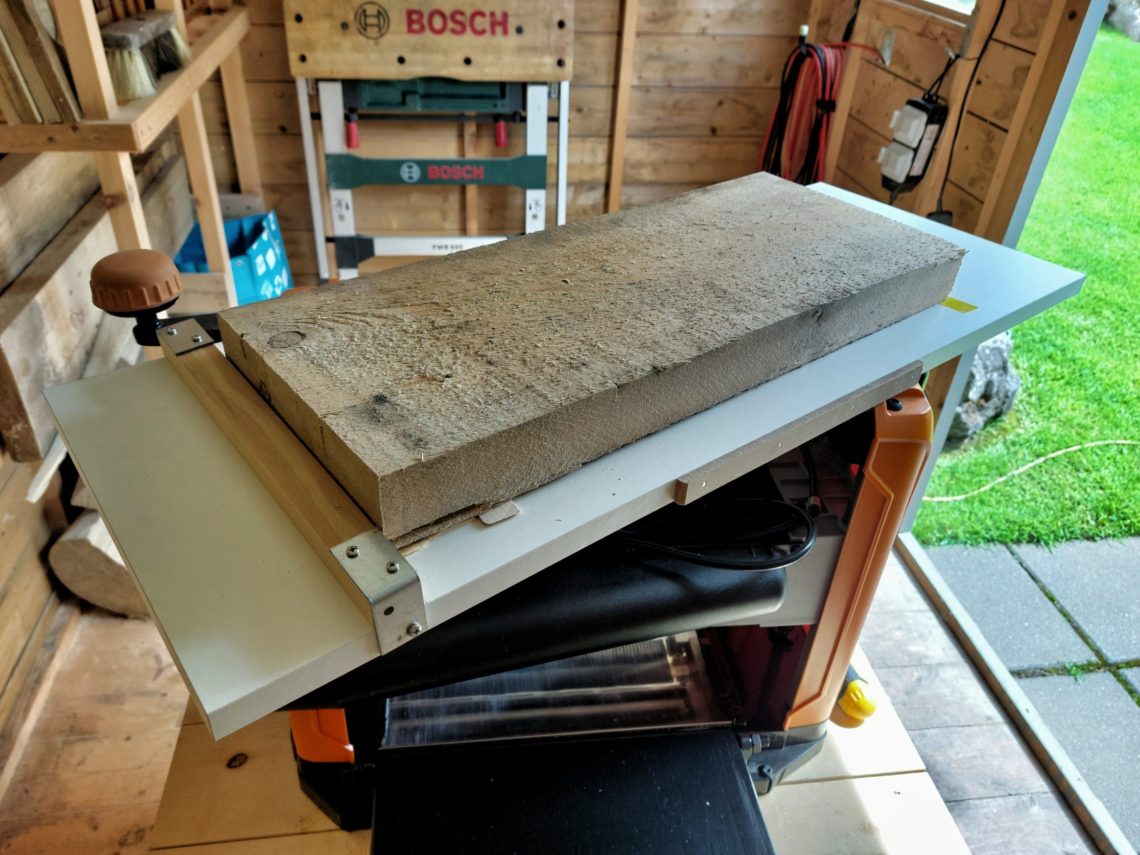
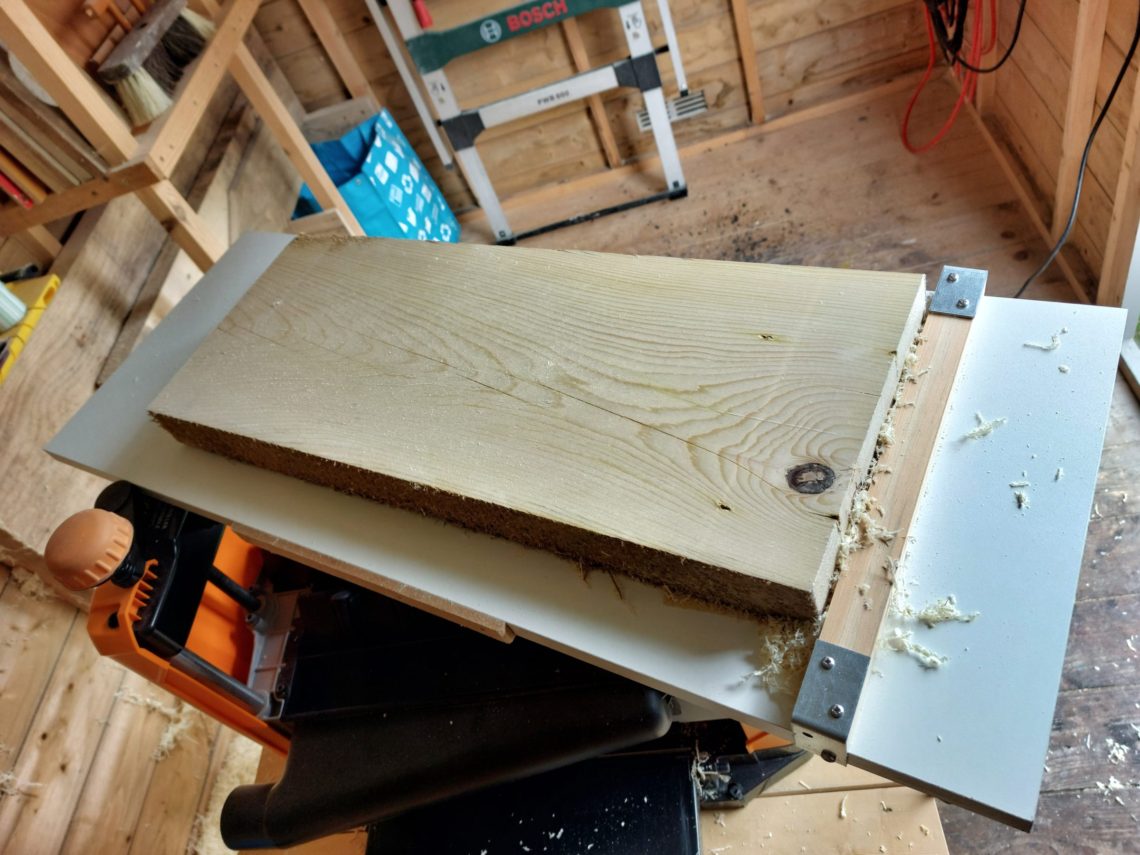
The first thing to do was to remove the twist from the board and plane its surface. Using double-sided tape, wooden shims and the reverse side of my snipe reducing jig, I planed one side of the board, next I separated the board from the jig and planed it from the other side. I made a paper template, traced it on the board (twice) and cut on the outside of the line, using a jigsaw. The opening in the upper part was pre-drilled first and next cut out. The rough shape was revealed and it was ready for some precision finishing.
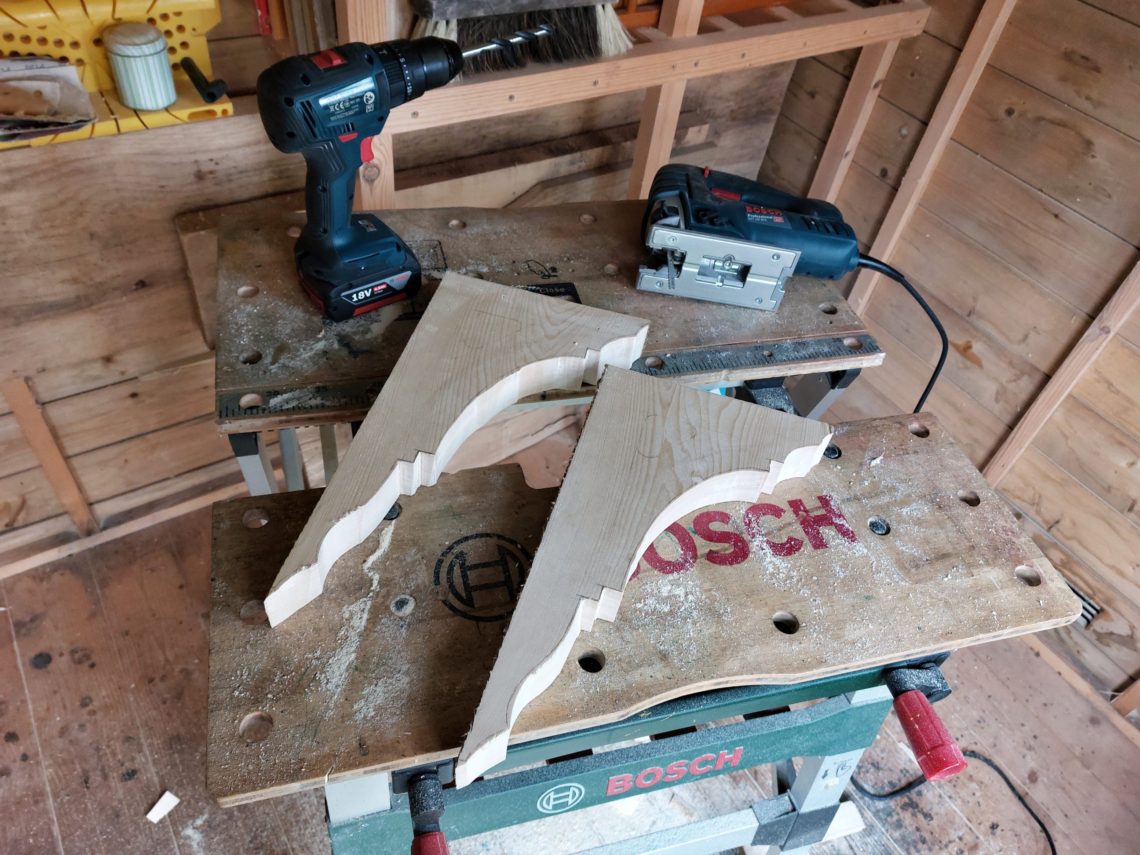
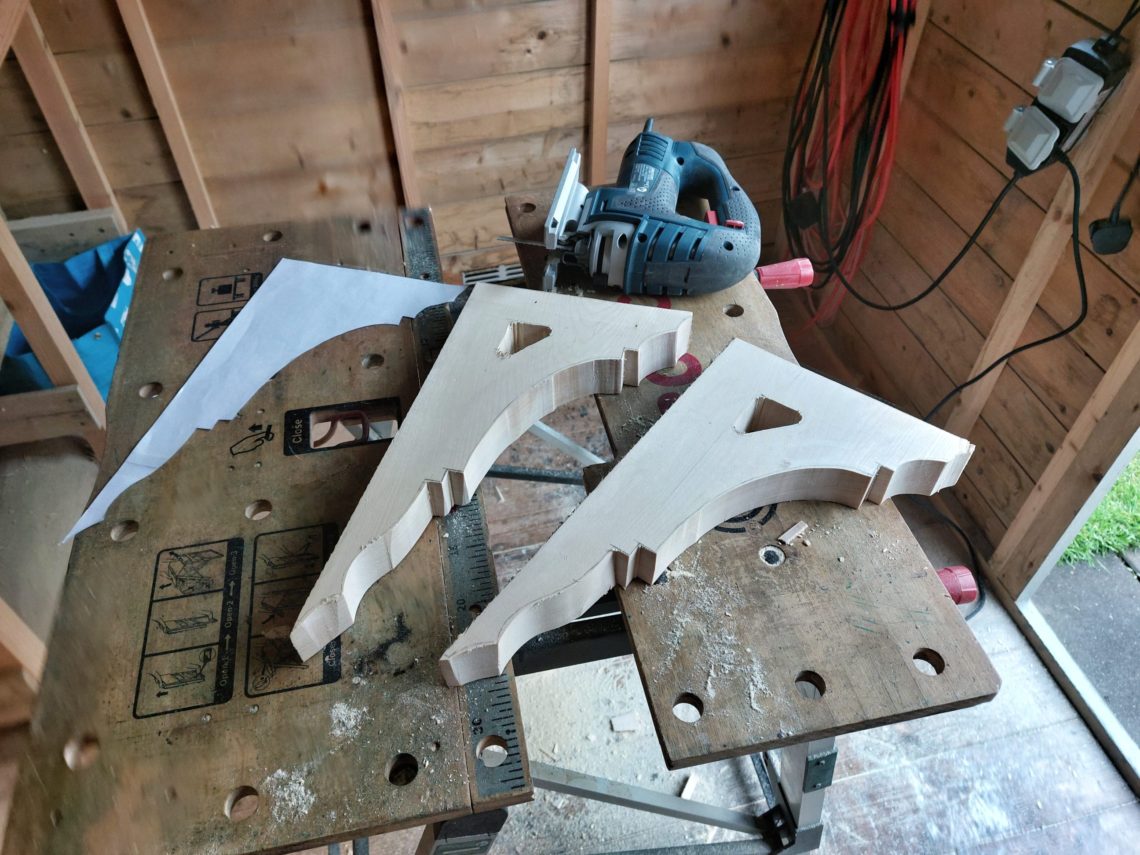
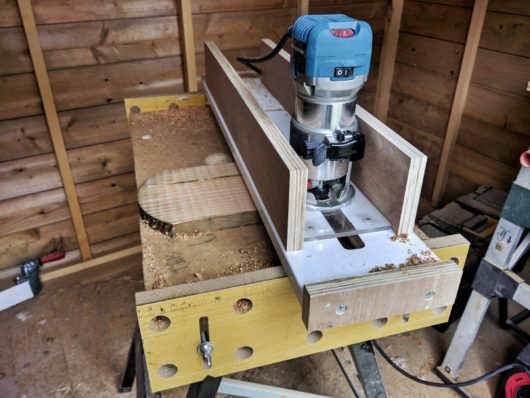
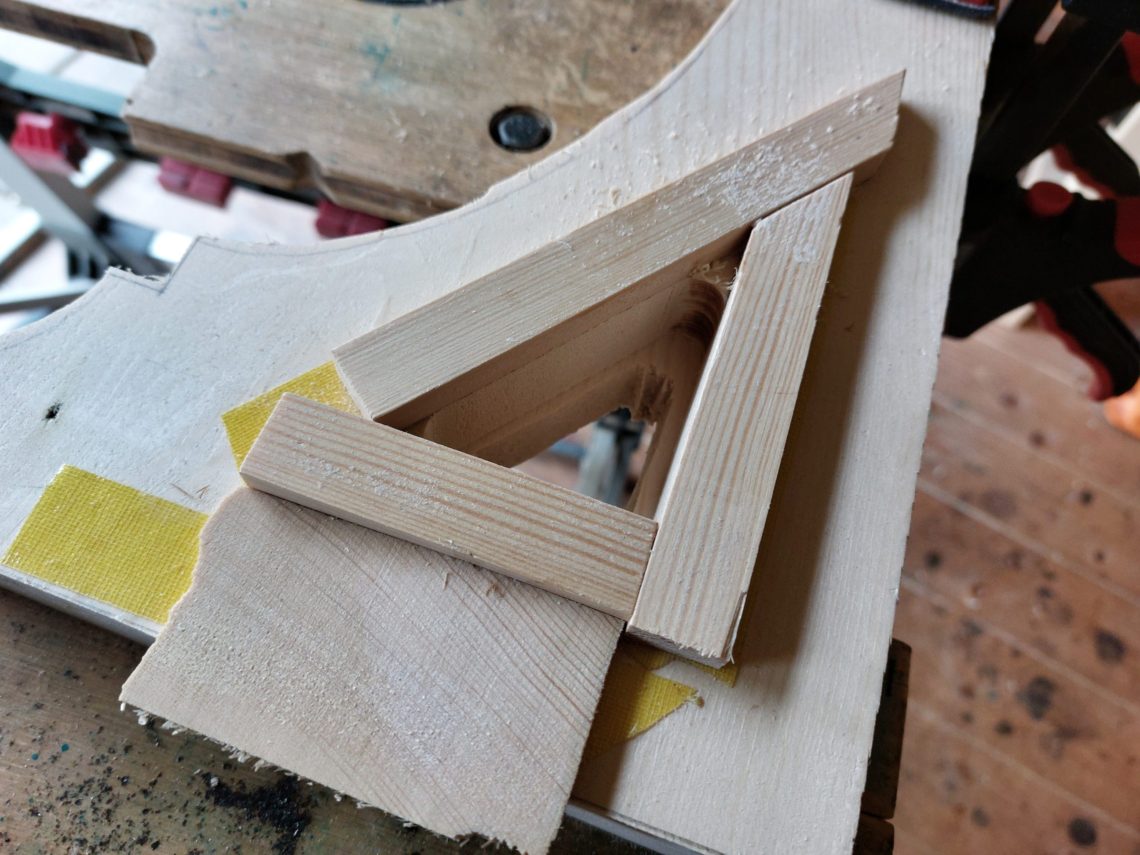
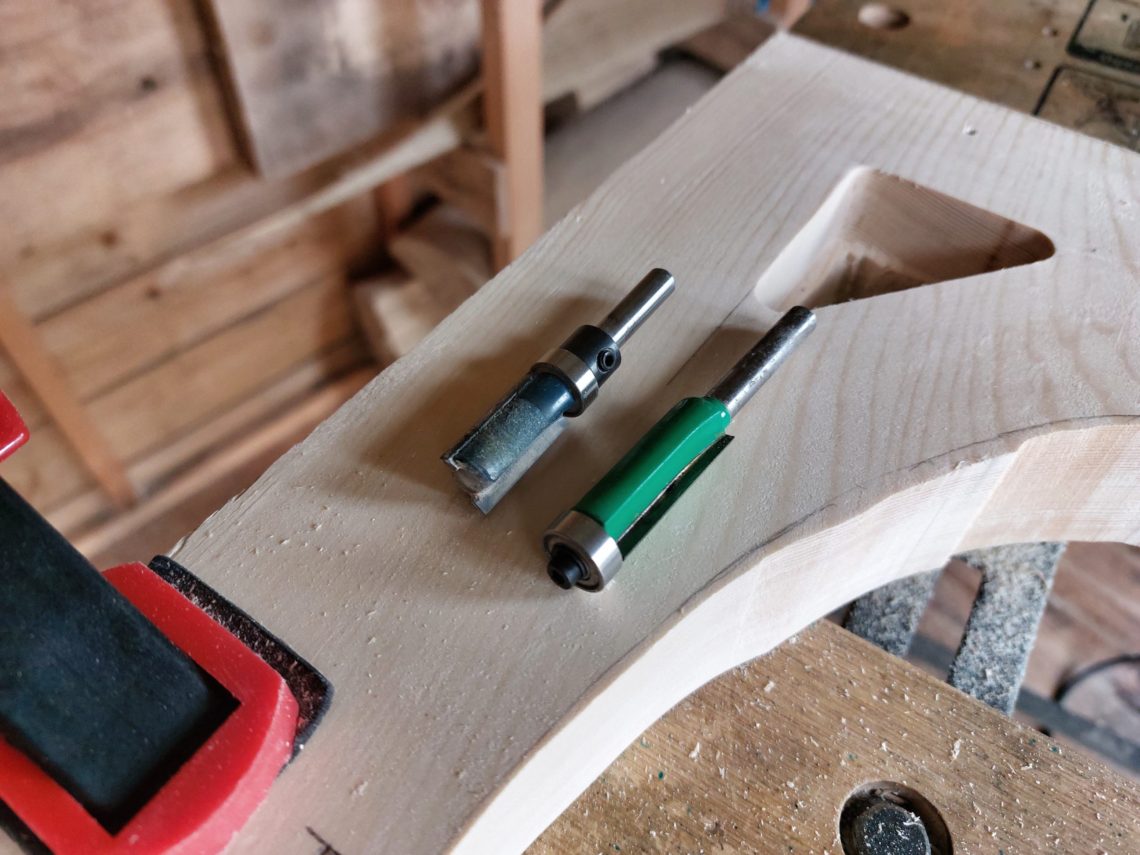
The hardest parts seemed to be the ones inside the corbels, with limited access. I resolved that problem using a router, rather than a sander or rasps. With the use of double-sided tape and some scrap mouldings, I made a ridge that was used by the bearing of a flush-trim bit. The shape I cut was carried over with another bit, the same diameter, but the bearing was placed on the other end and the bit cut from the bottom side.
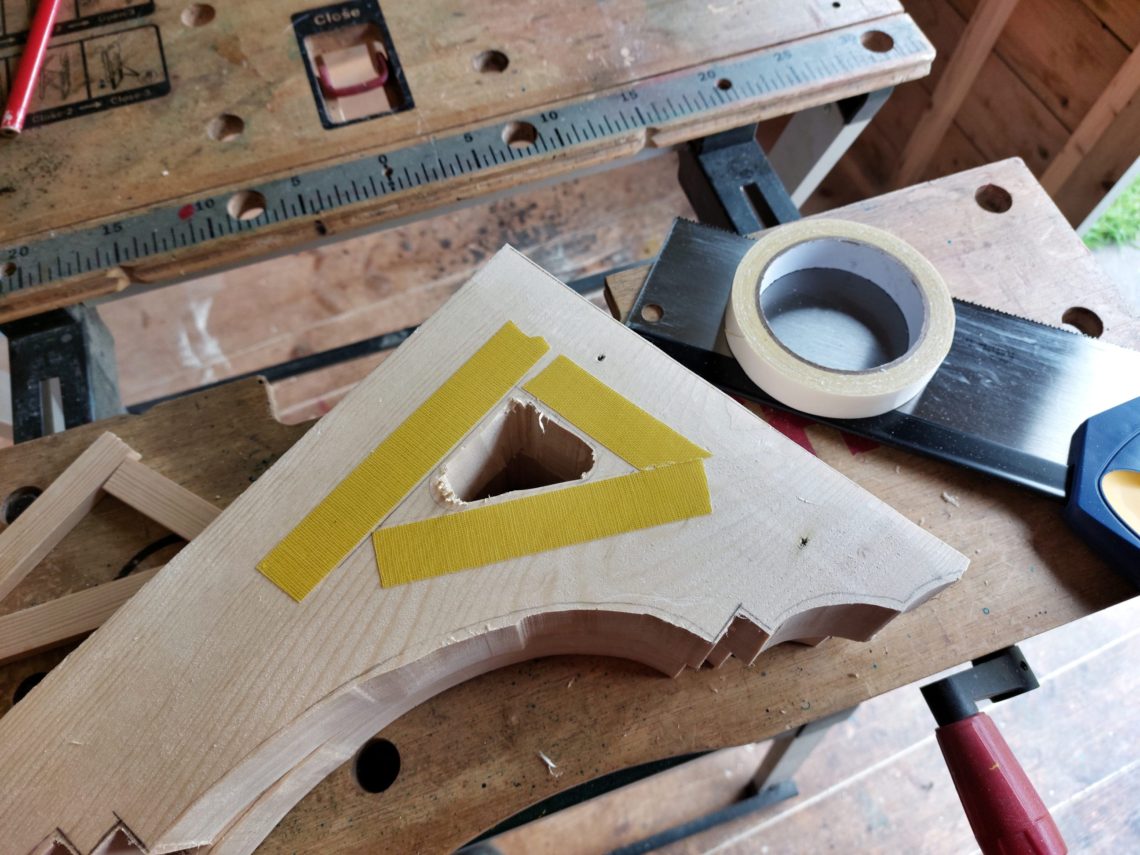
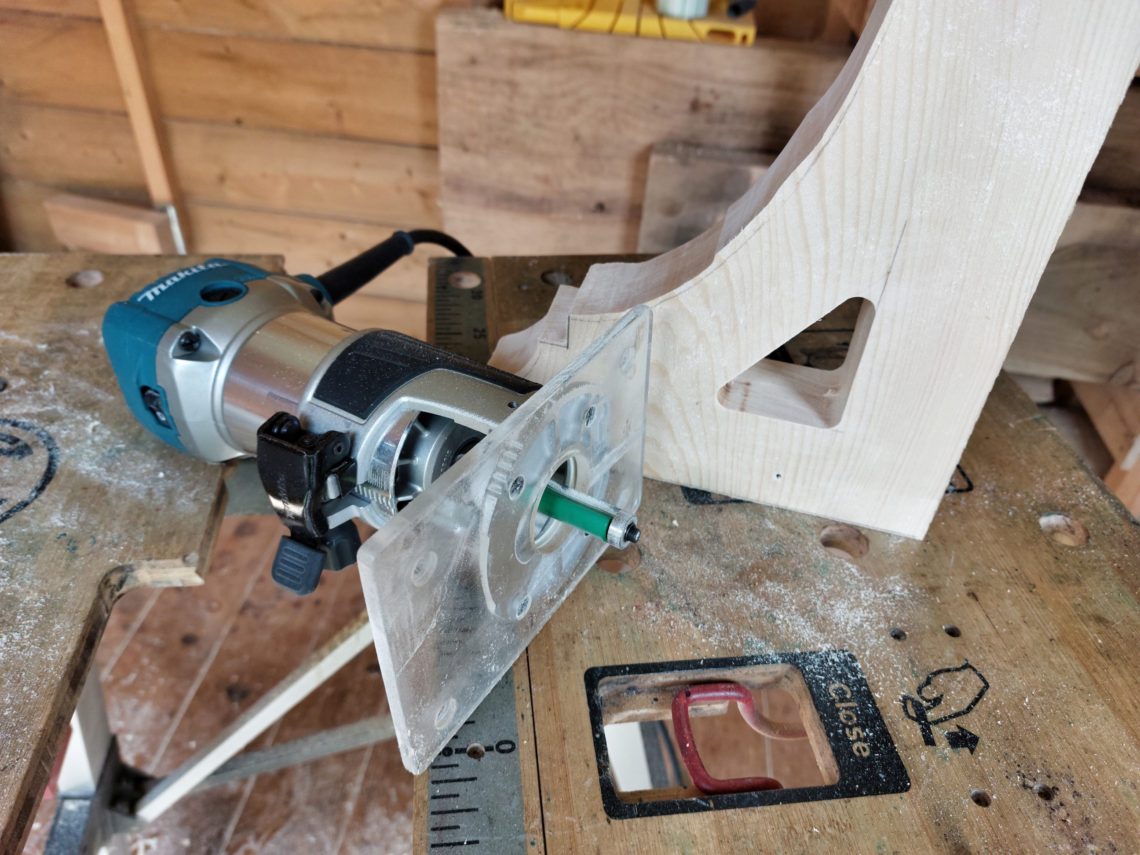
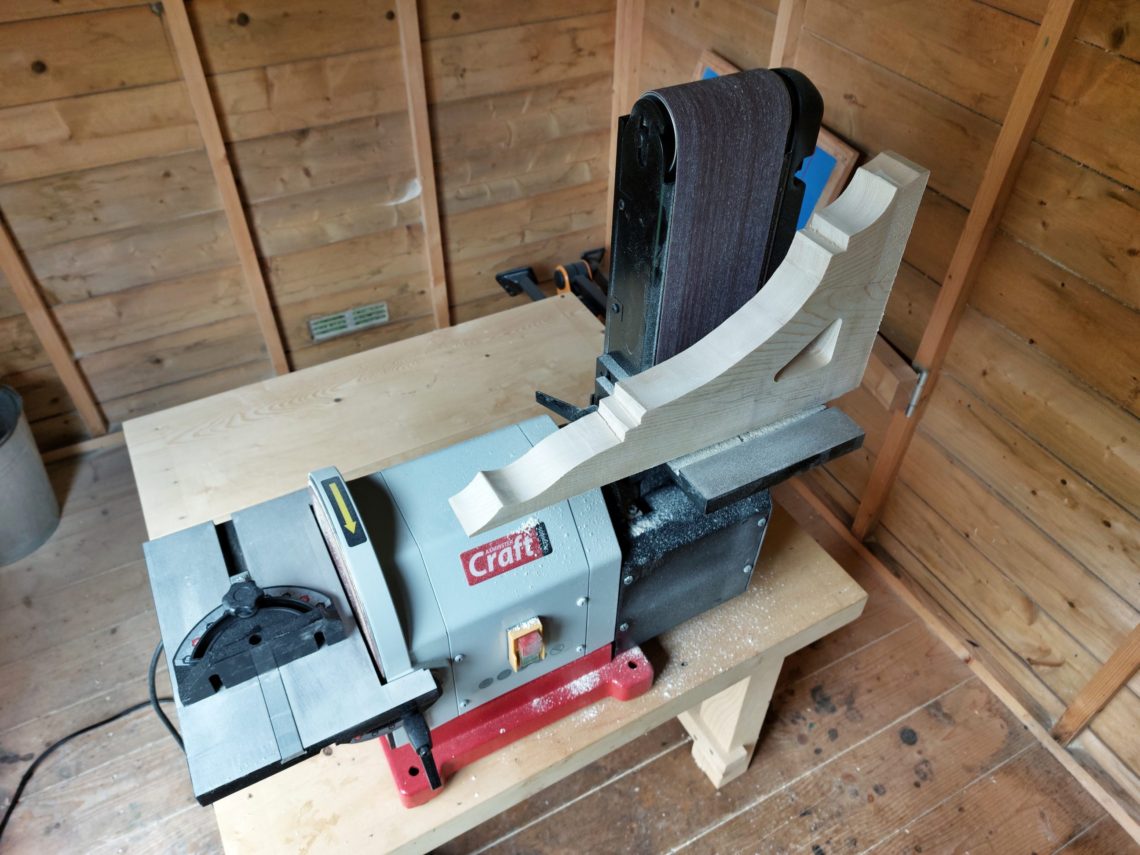
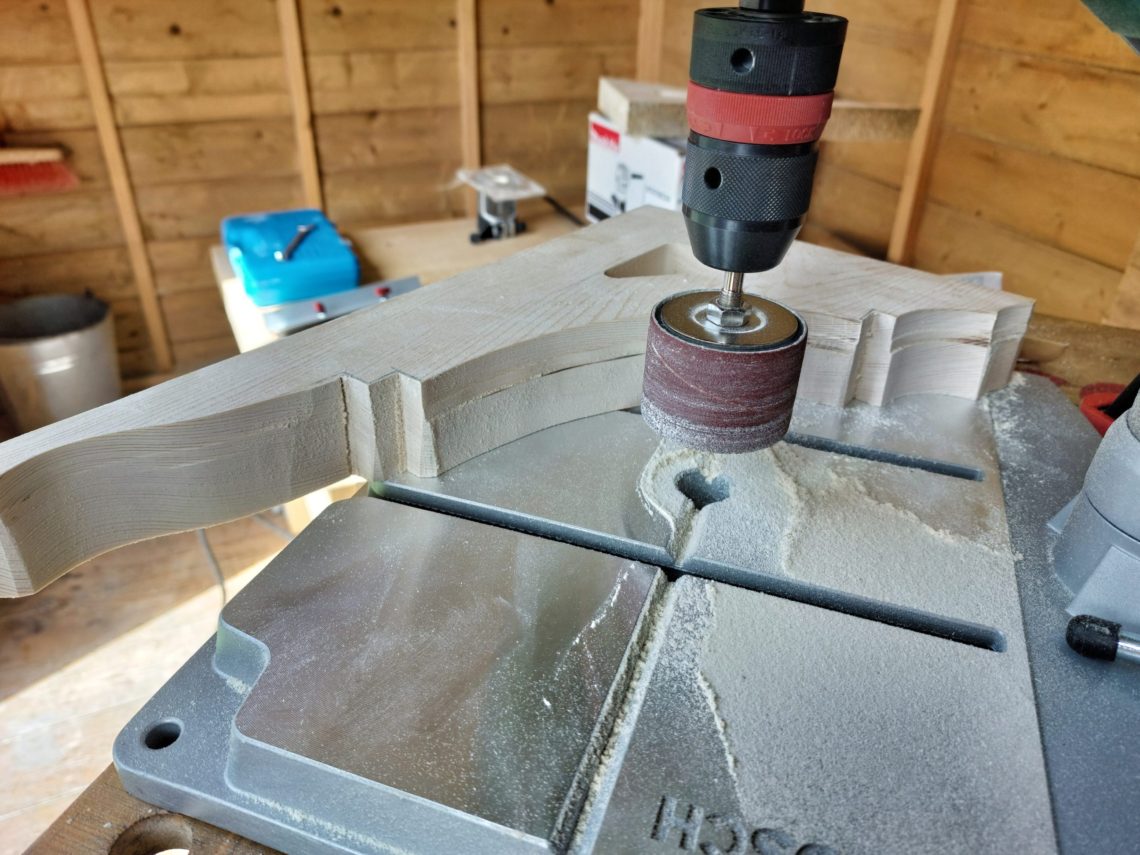
I thought the hardest part was over and I started sanding the outer edge. First I finished the back and the top, simply sanding to the line. Finishing all the curved lines with a belt sander, on the other hand, wasn’t the perfect idea and their faces weren’t sanded square to the sides at all. That belt sander had no parallel fence, which would be very useful in that situation. I overcame the problem by adding an additional step into the process, which meant sanding a thin edge for the flush-trim bit bearing to roll over. That was done on my drill press with the use of sanding drums. The lip I made could be duplicated with a router bit.
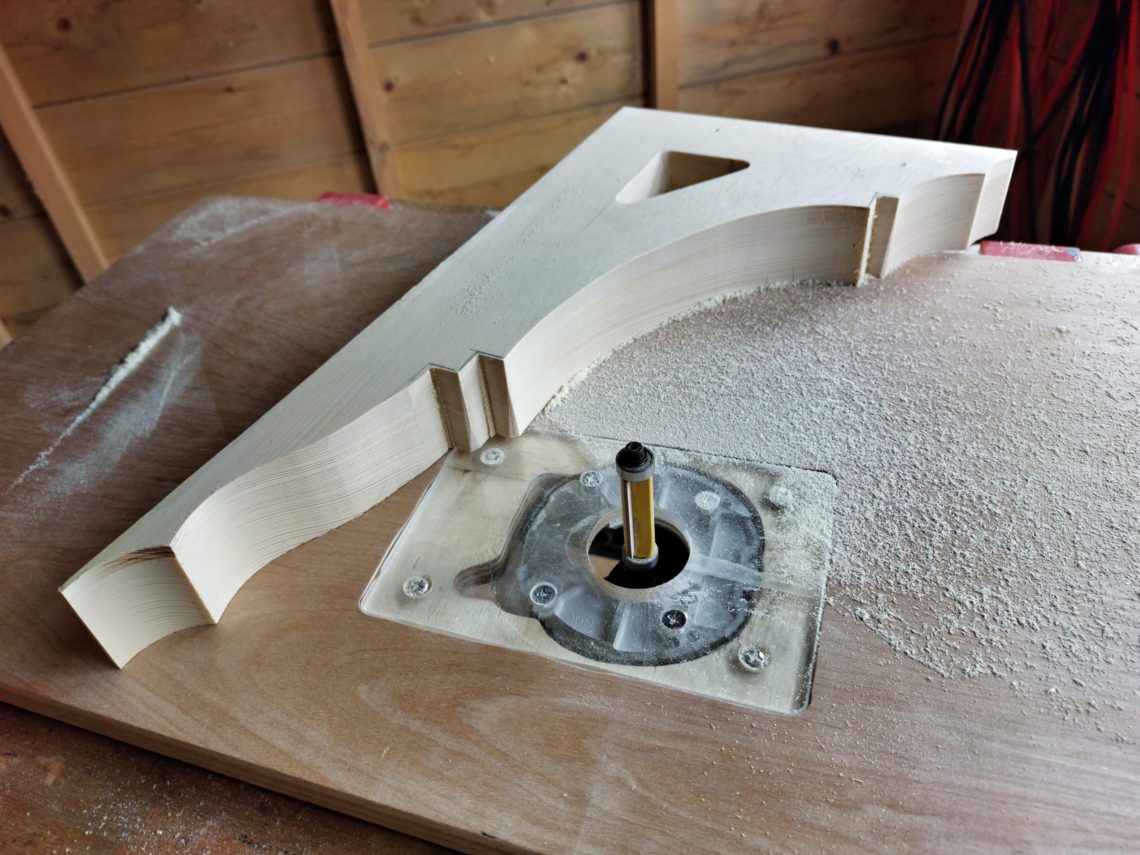
The results were good enough and I stuck both corbels together with tape in order to cut perfectly mirrored pieces. I used a router bit with the bearing located on the opposite side, flipping over the workpiece. No surprise that I got a terrible tear-out and almost destroyed my work. If I only had a better selection of router bits and if I paid attention to the grain direction, eh …
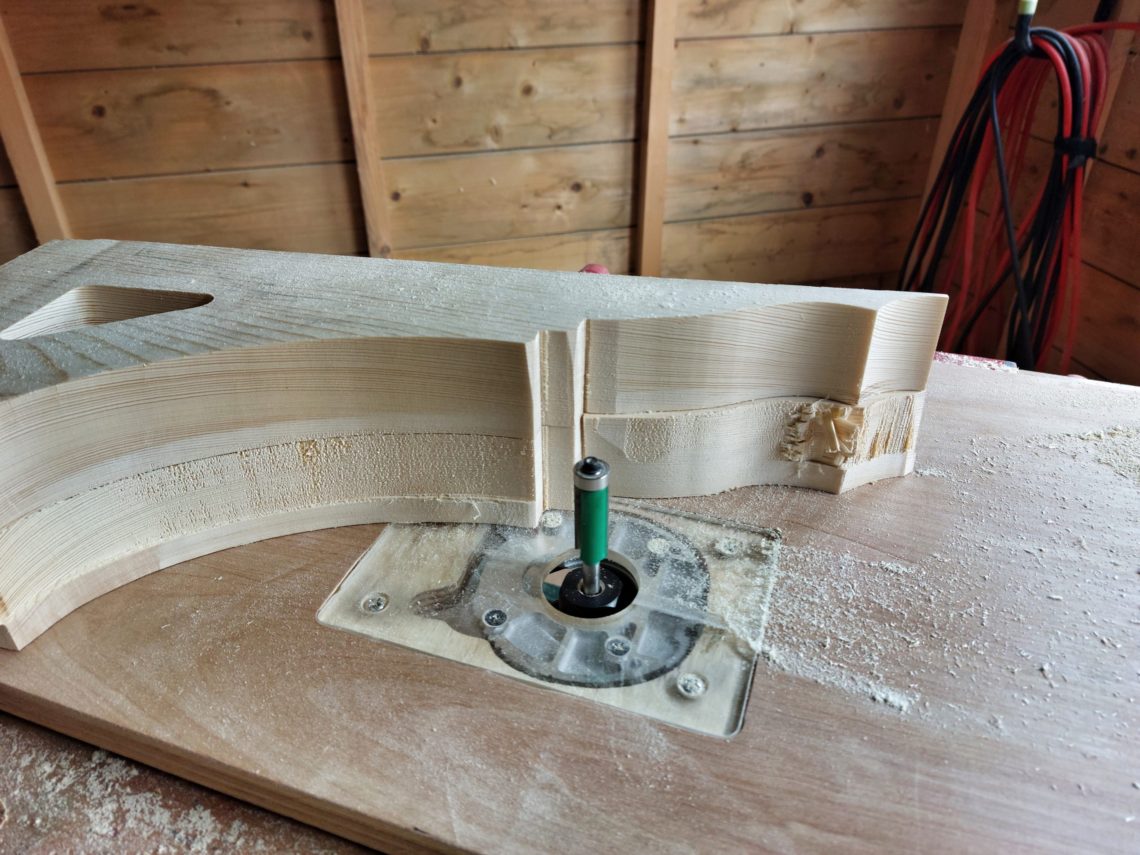
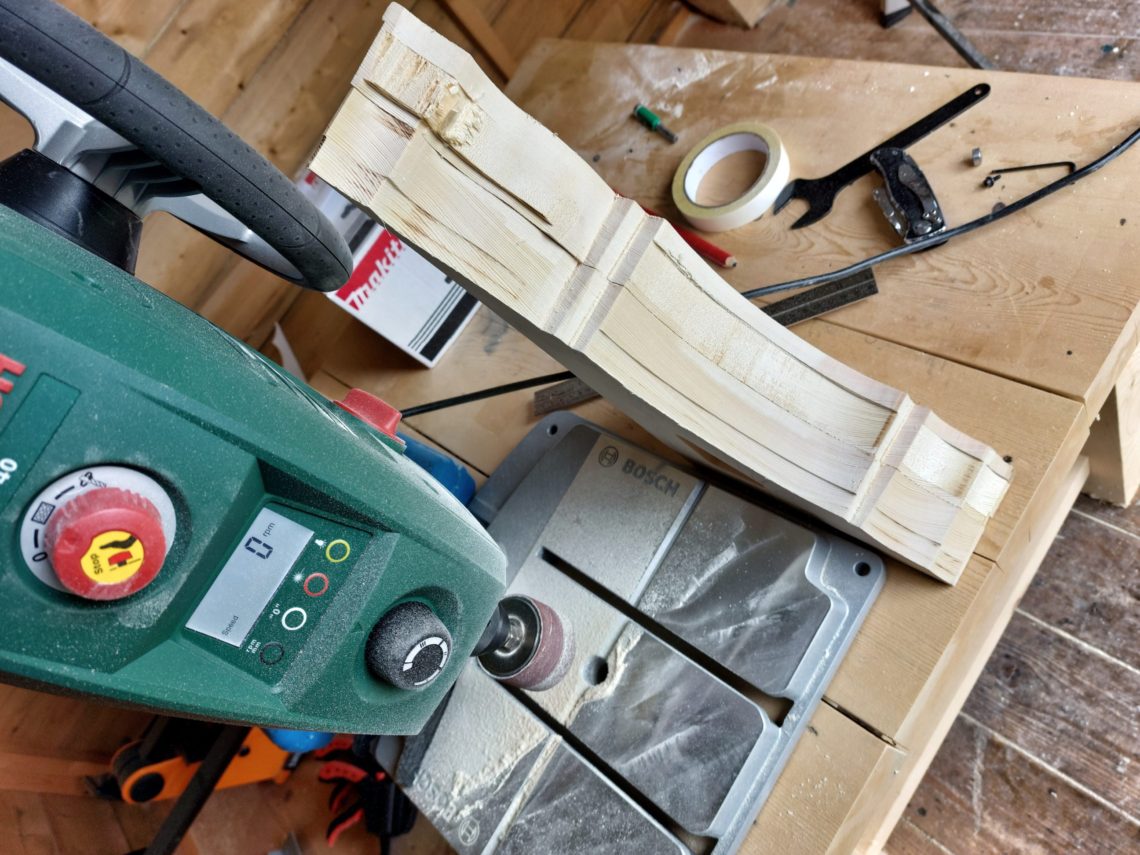
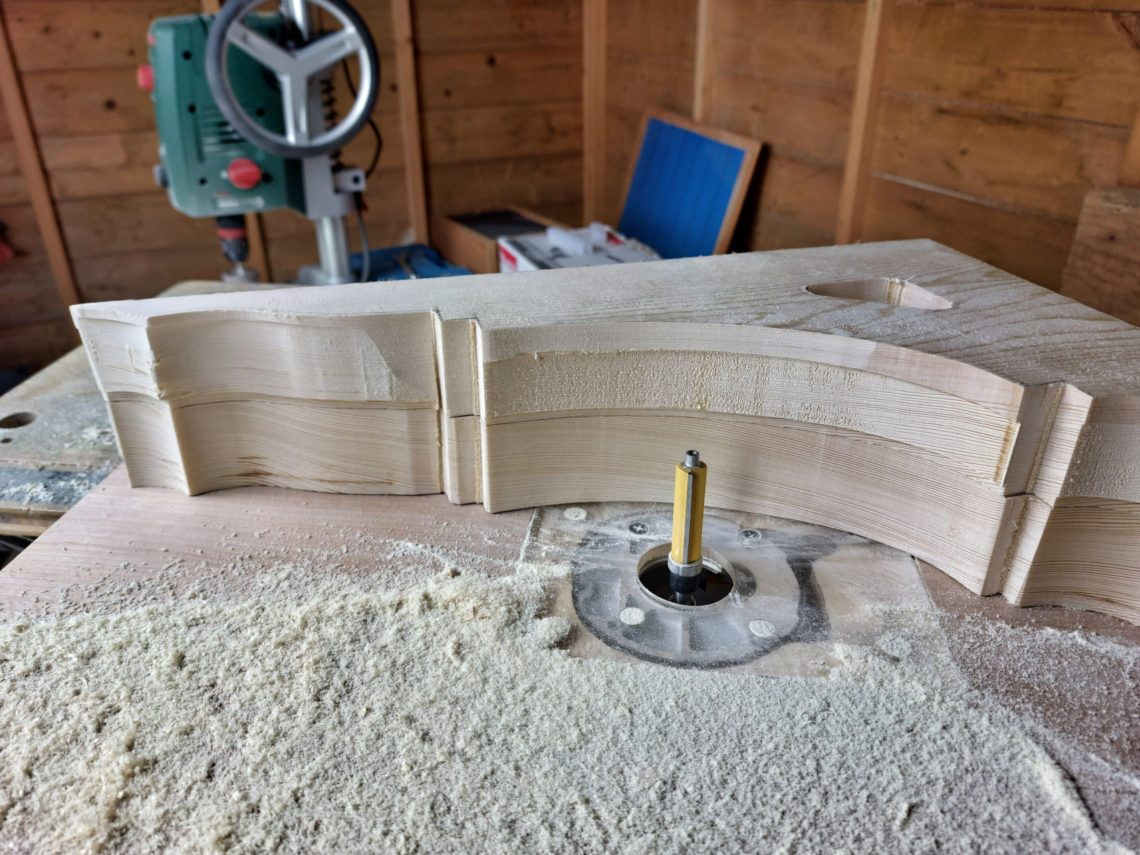
I didn’t give up – with a sanding drum I established a new line along the entire piece removing more material at the bottom to recompensate for the tear-out. I also removed the top bearing and that seemed to be working, but only to some point. Using an angle grinder I removed the tip completely, creating a long, flush-trim bit, with a bearing on the proper side. All the problems could have been avoided if I had one on hand, in the first place. Once the shape was cut on the upper piece and the lip was created along all the edges – top, back, front and inside the hole – I separated the pieces and finished the remaining one with that modified bit. Working with the grain direction and with a proper tool gave me good results, I learned something new and most importantly I didn’t give up.
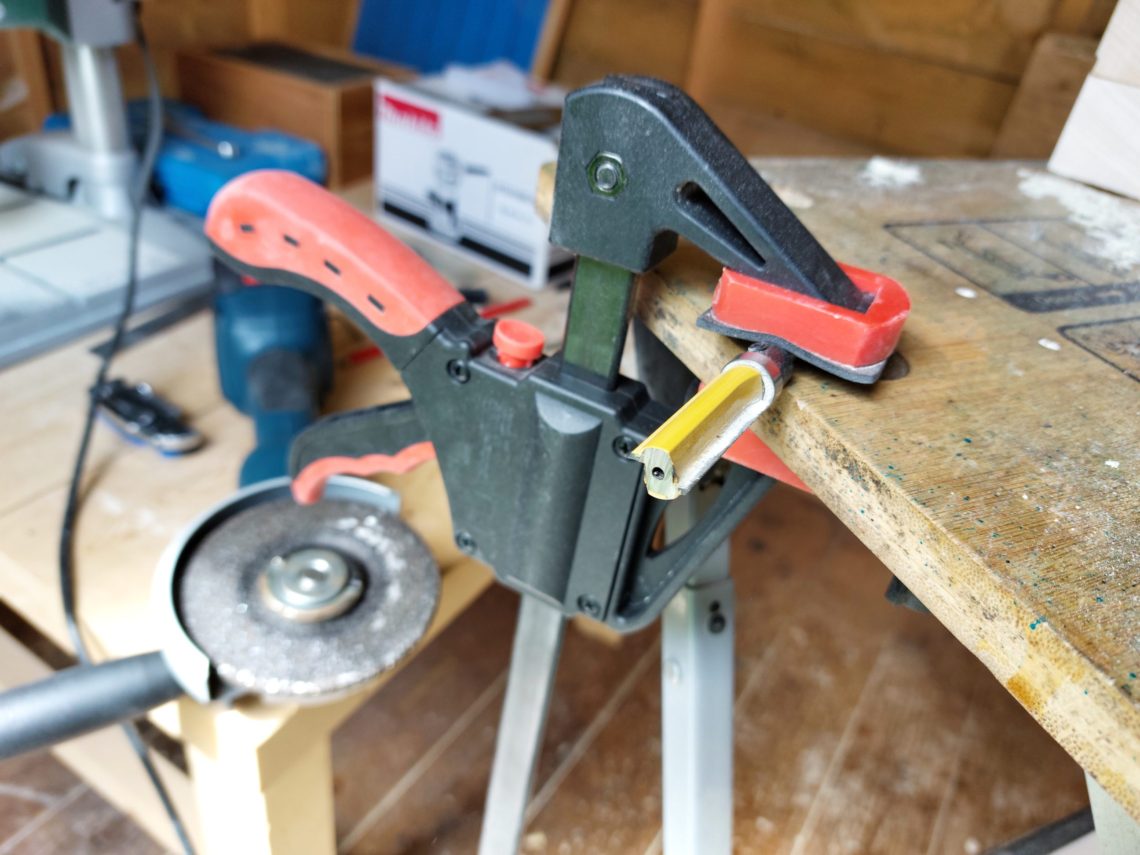
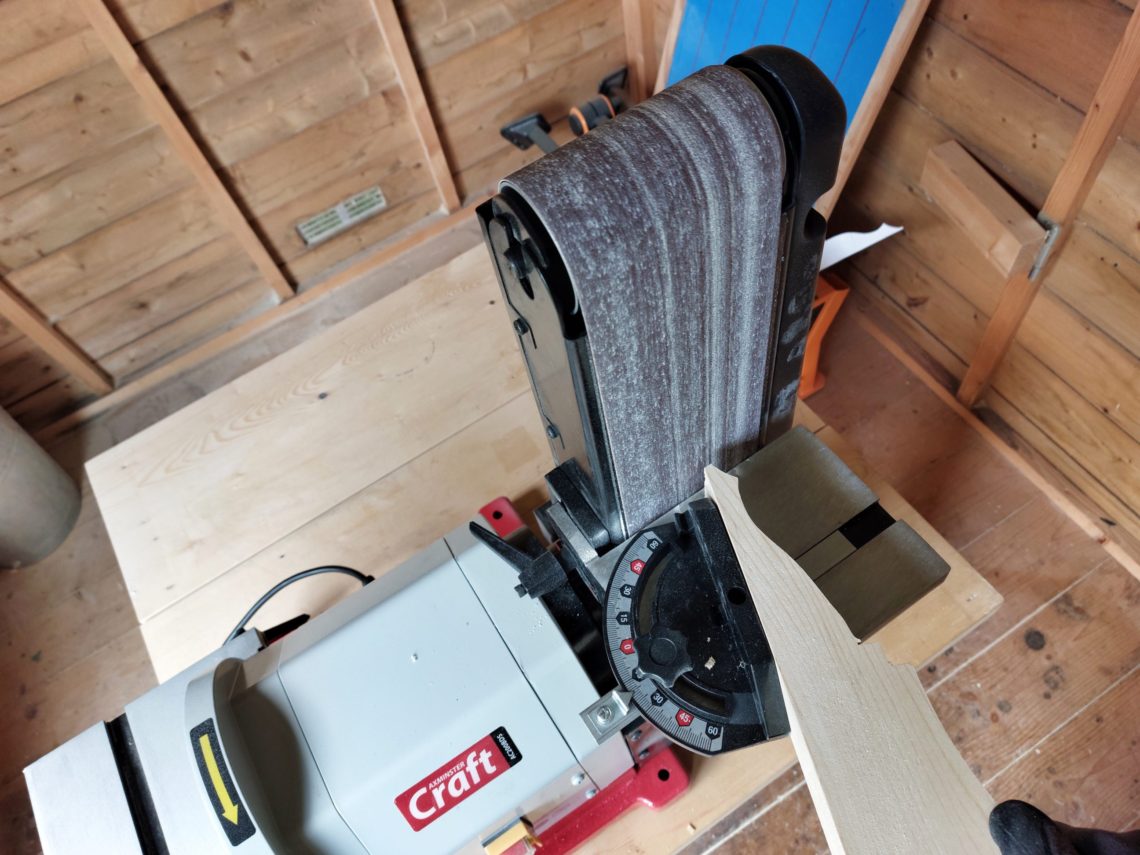
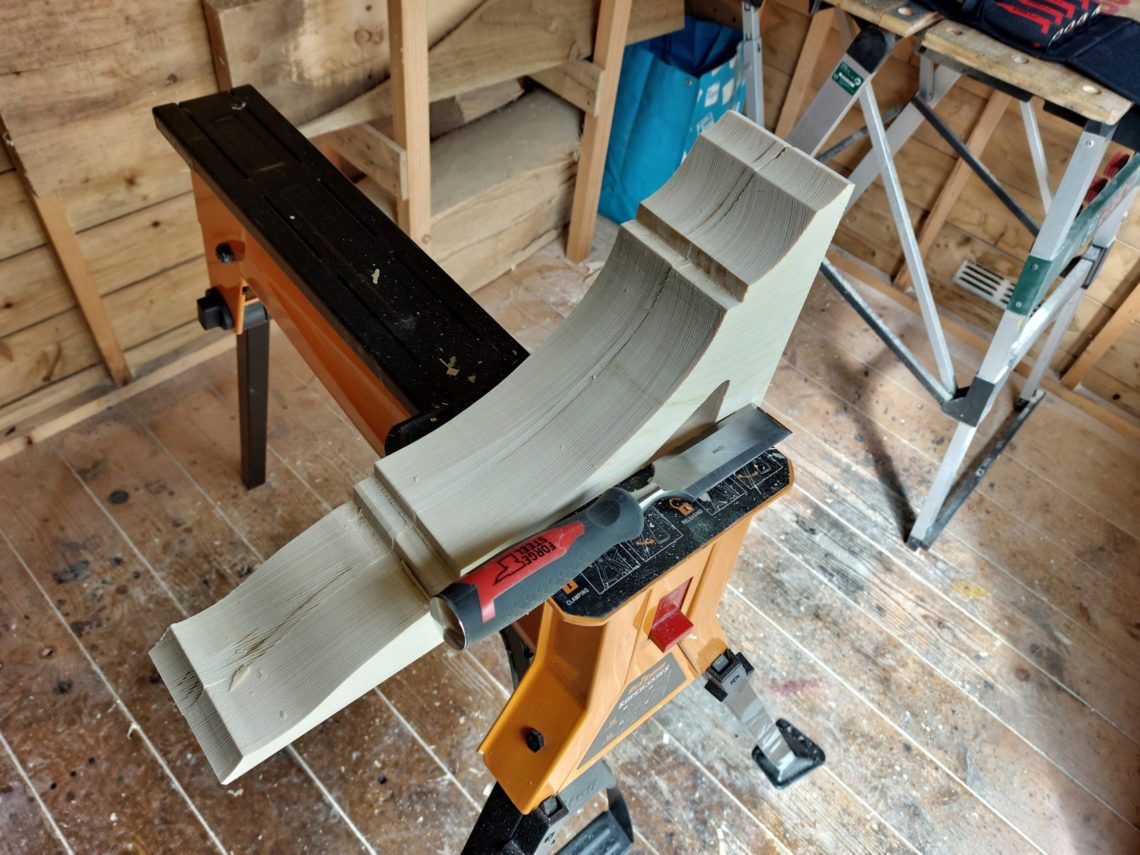
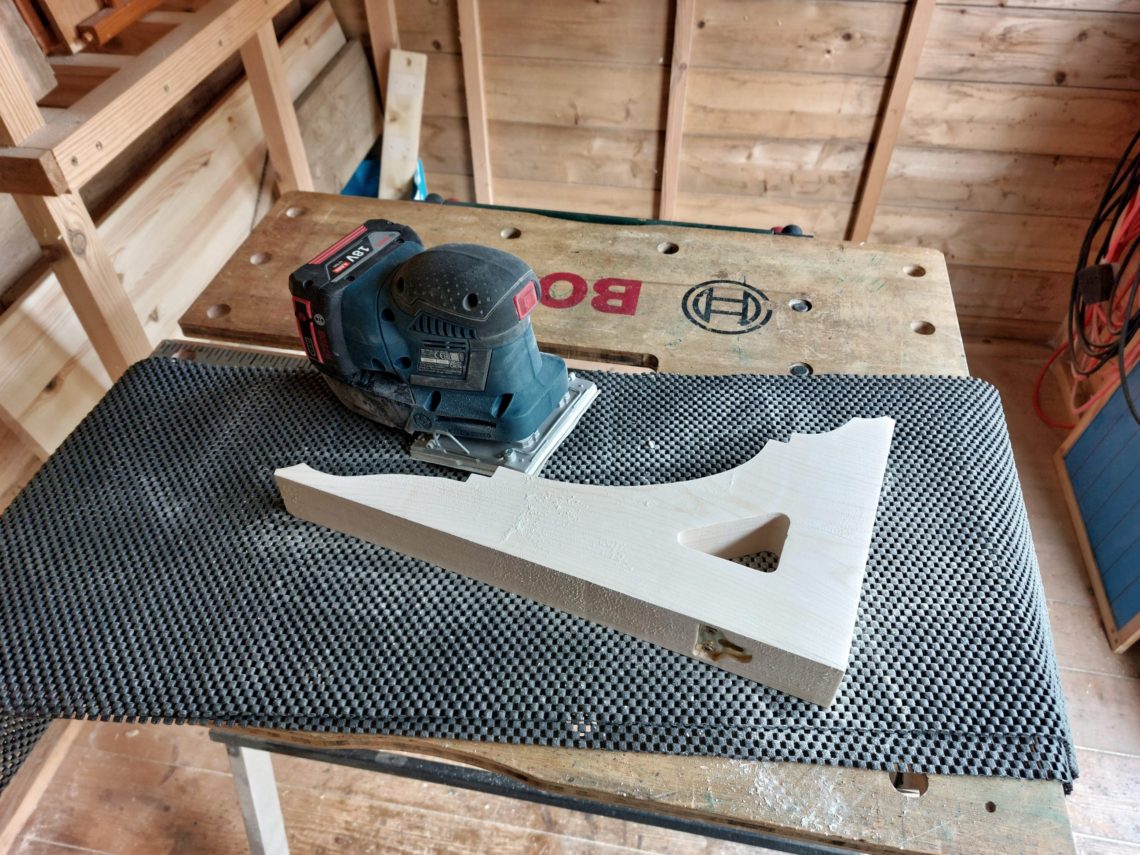
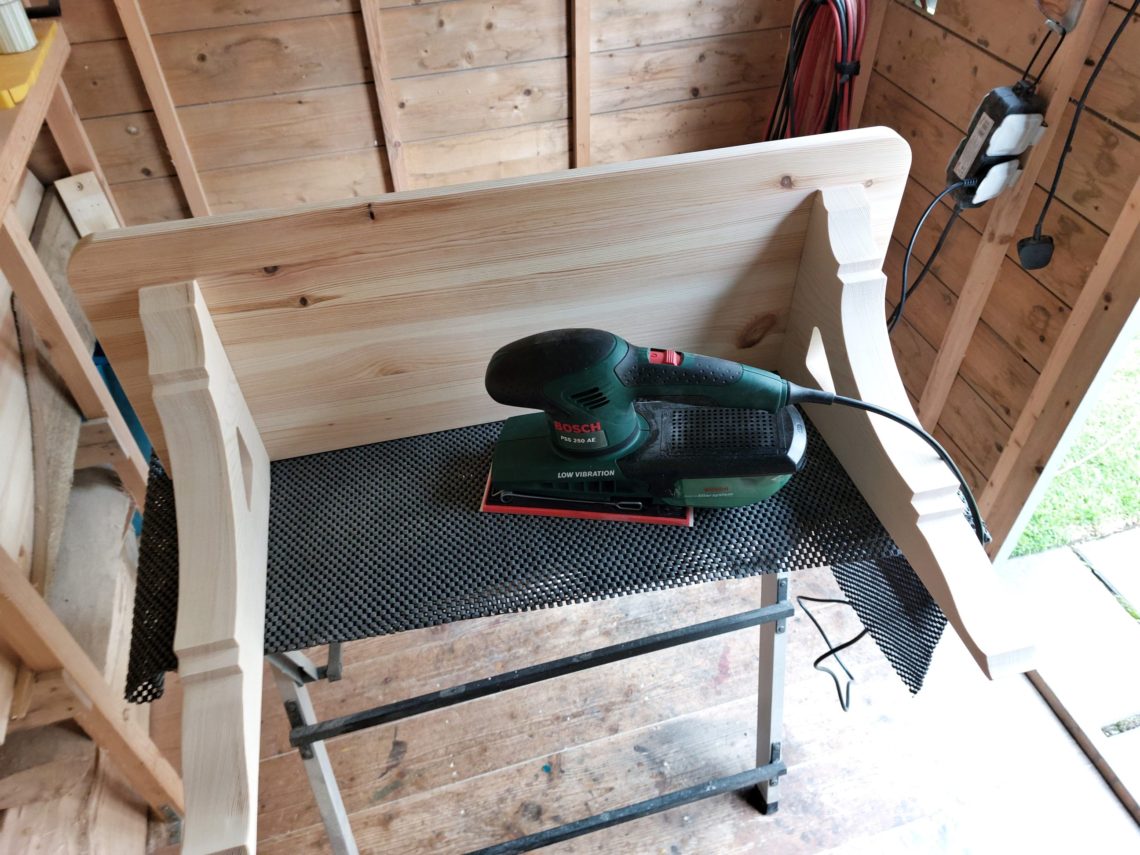
I had to use my belt sander again to sand down both ends, they couldn’t be left sharp and fragile and had to be trimmed. Next, I clamped both corbels together and finished the square parts with a chisel, sanding block and an orbital sander.
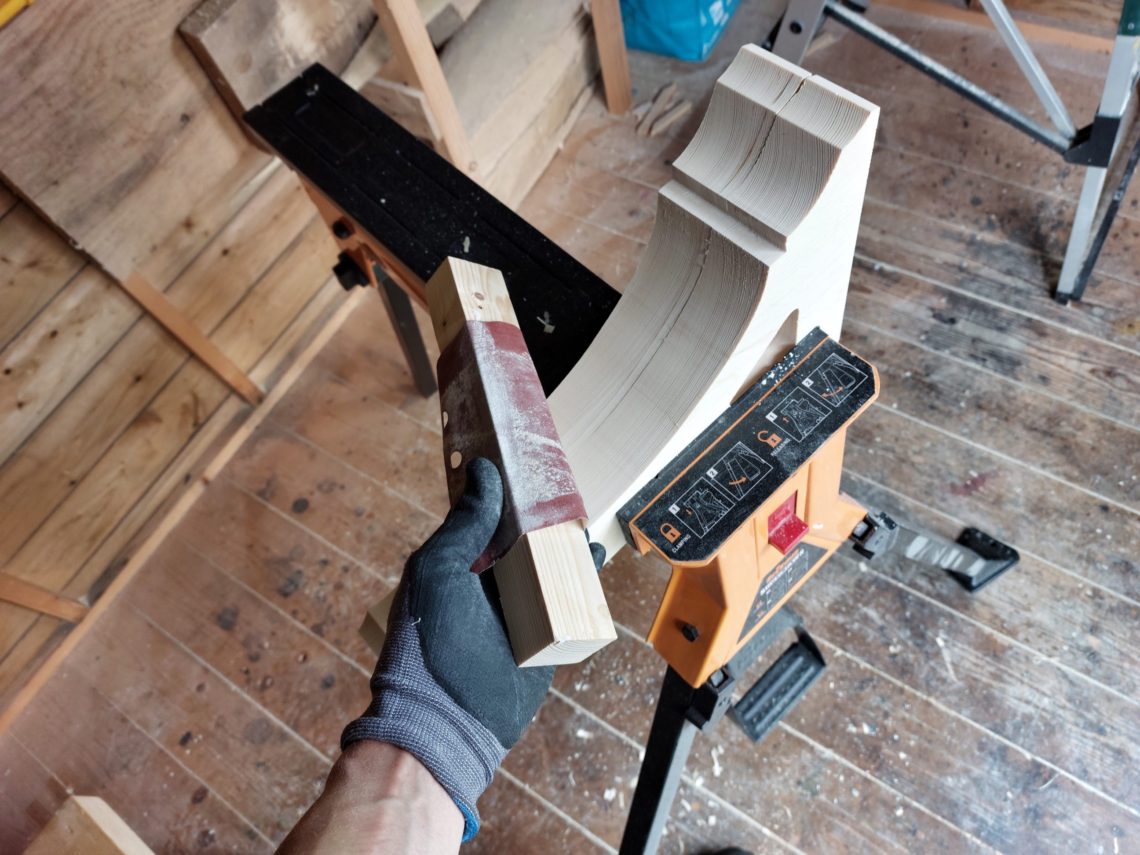
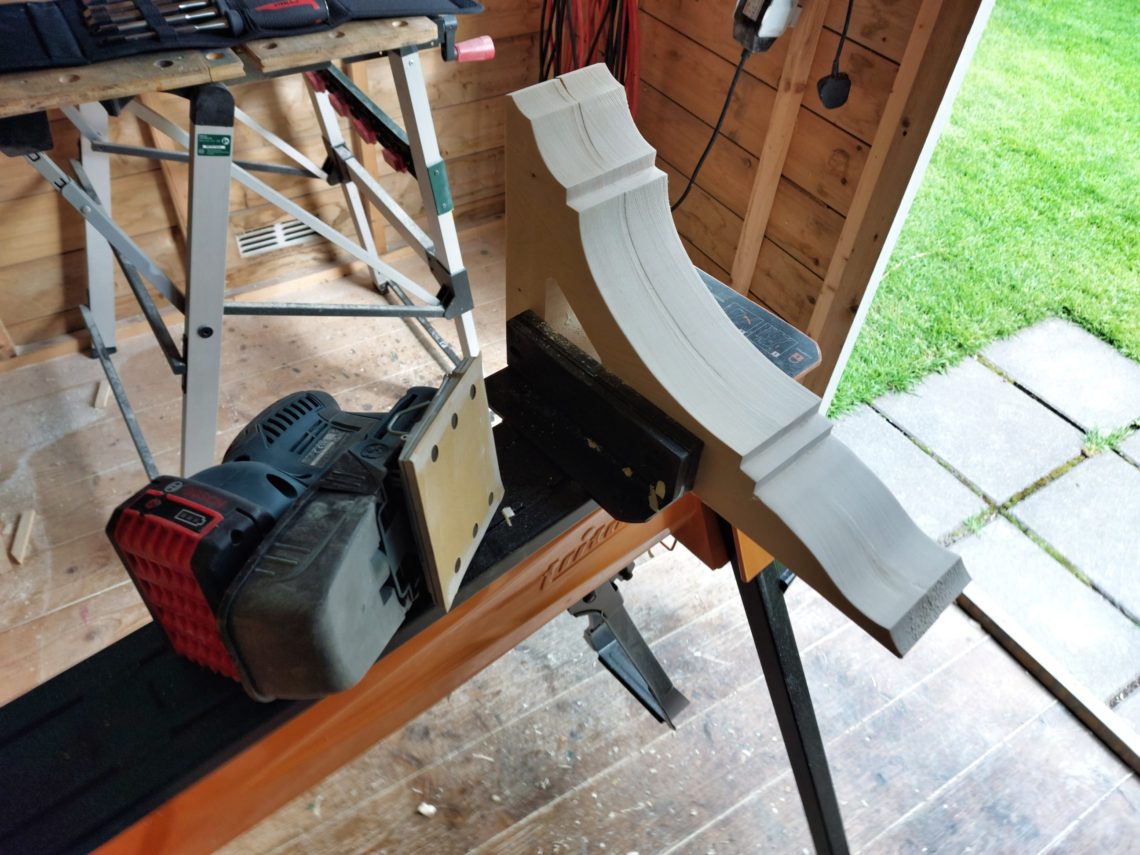
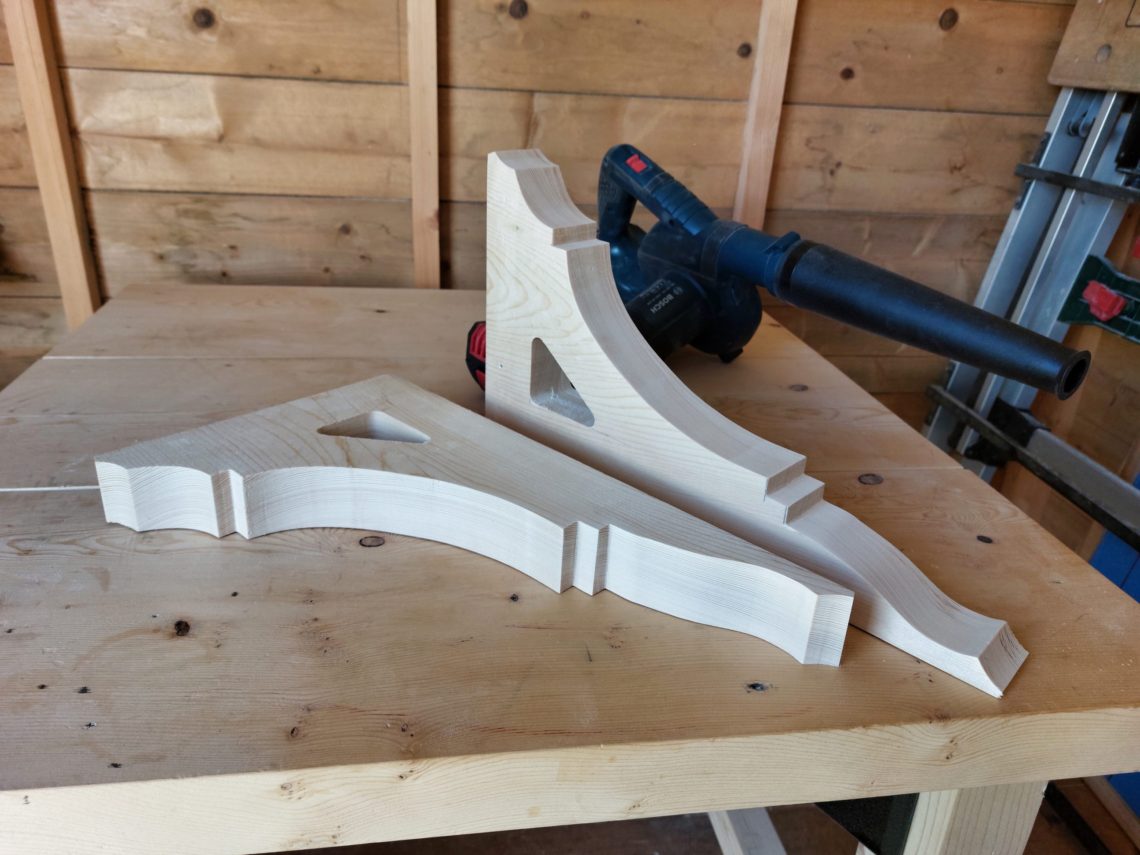
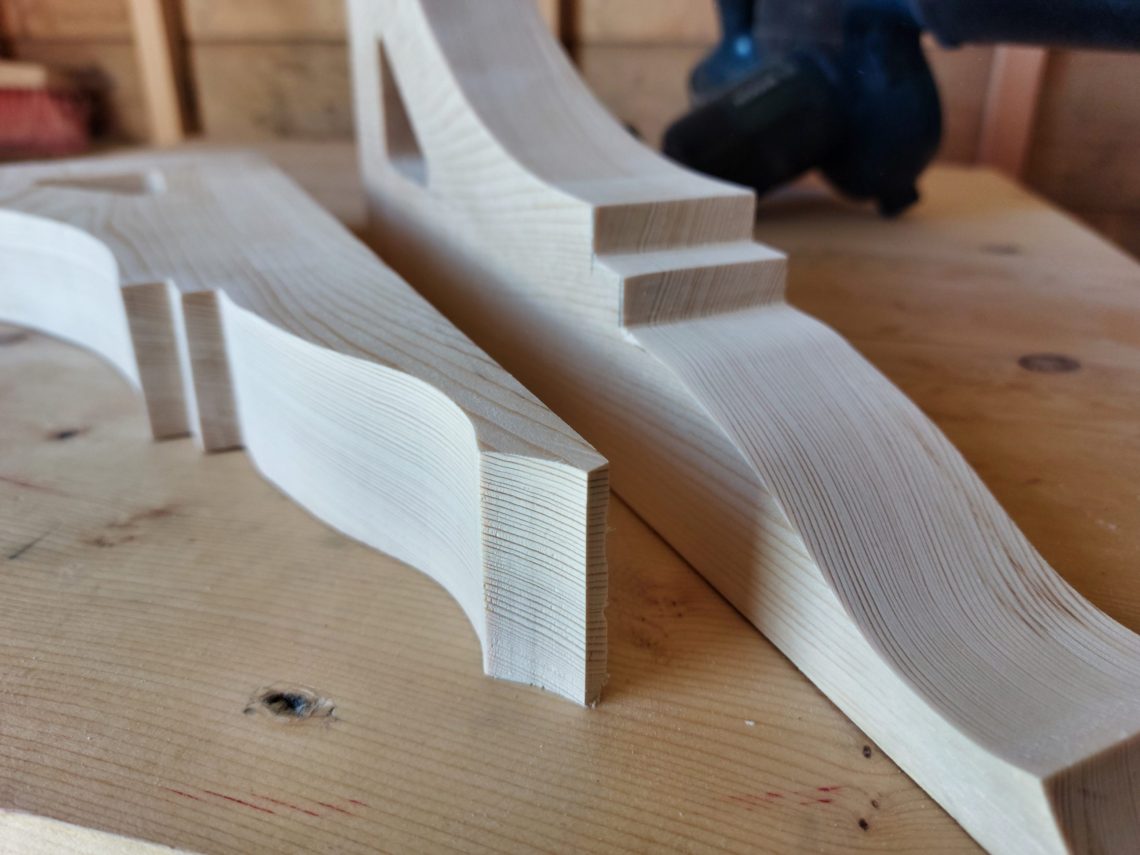
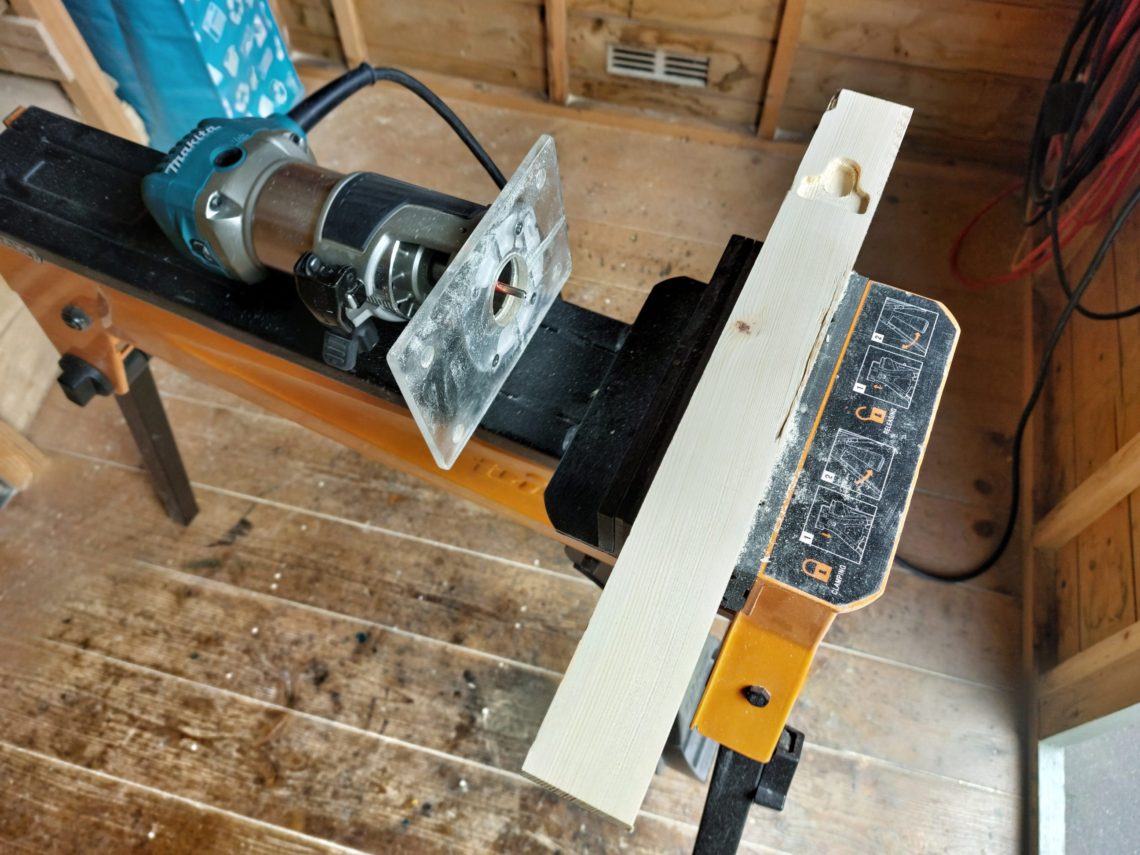
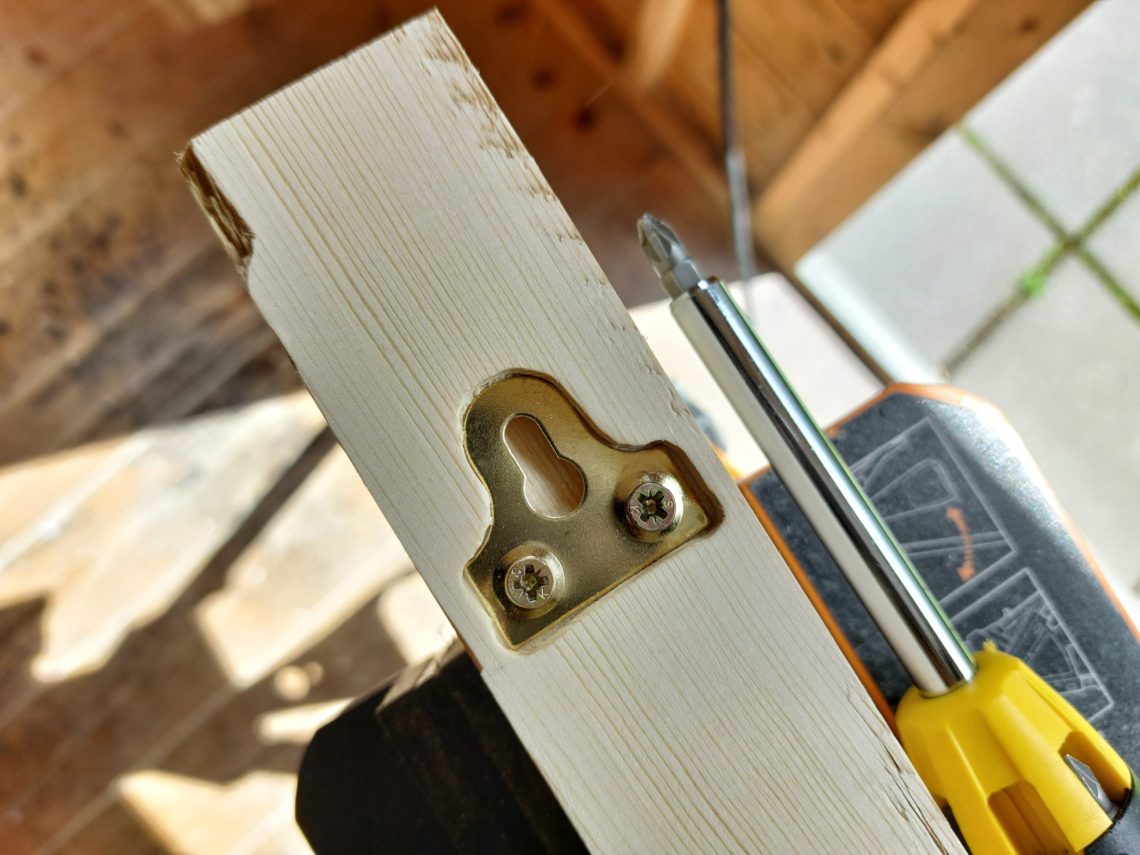
They still needed hanging brackets at the back. I traced them out and with my router, in 2 steps, I cut the recesses for the brackets, their mounting screws and for the hanging screws as well. I put everything together with a screwdriver, no pre-drilling was necessary for such small screws.
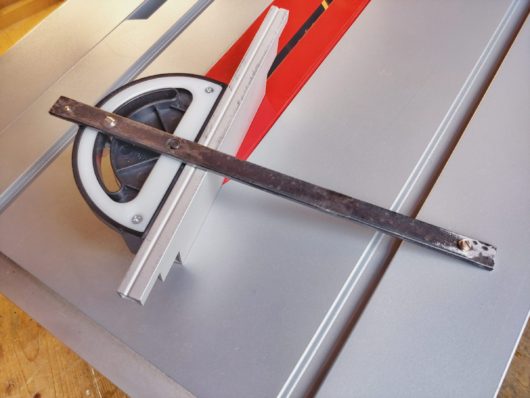
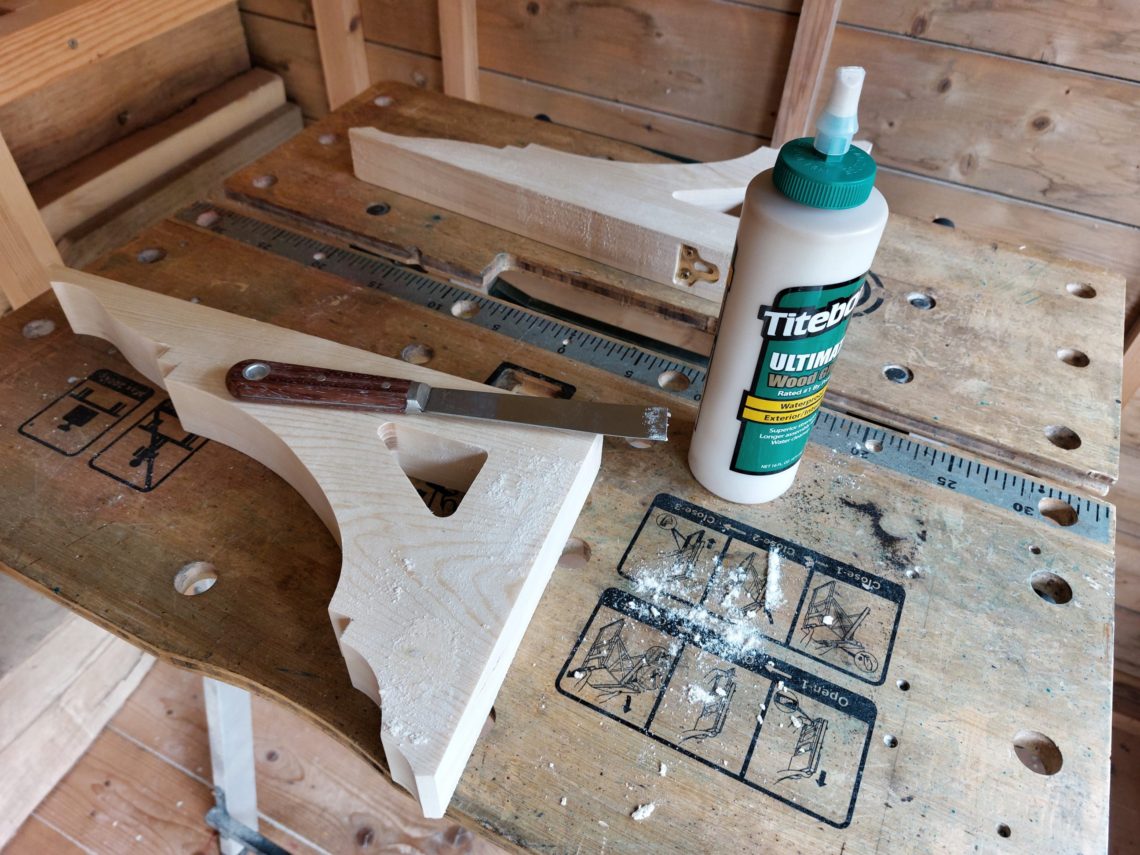
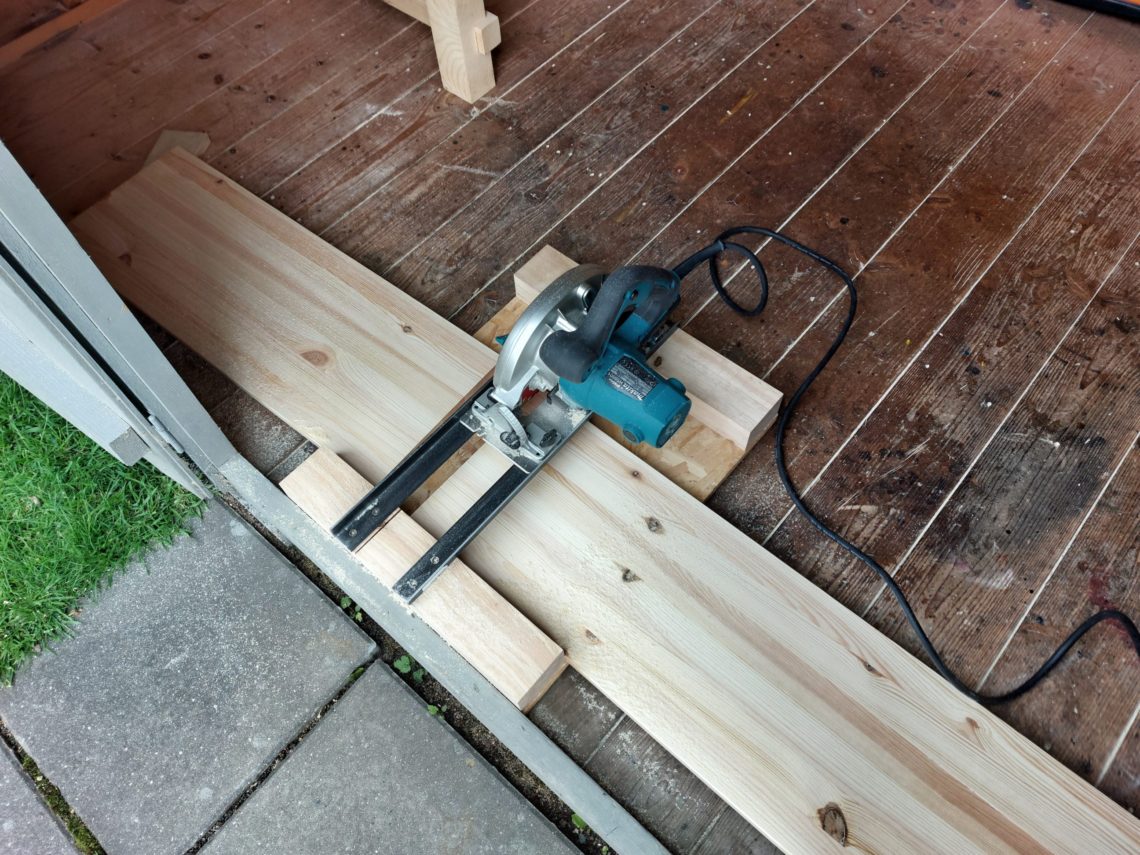
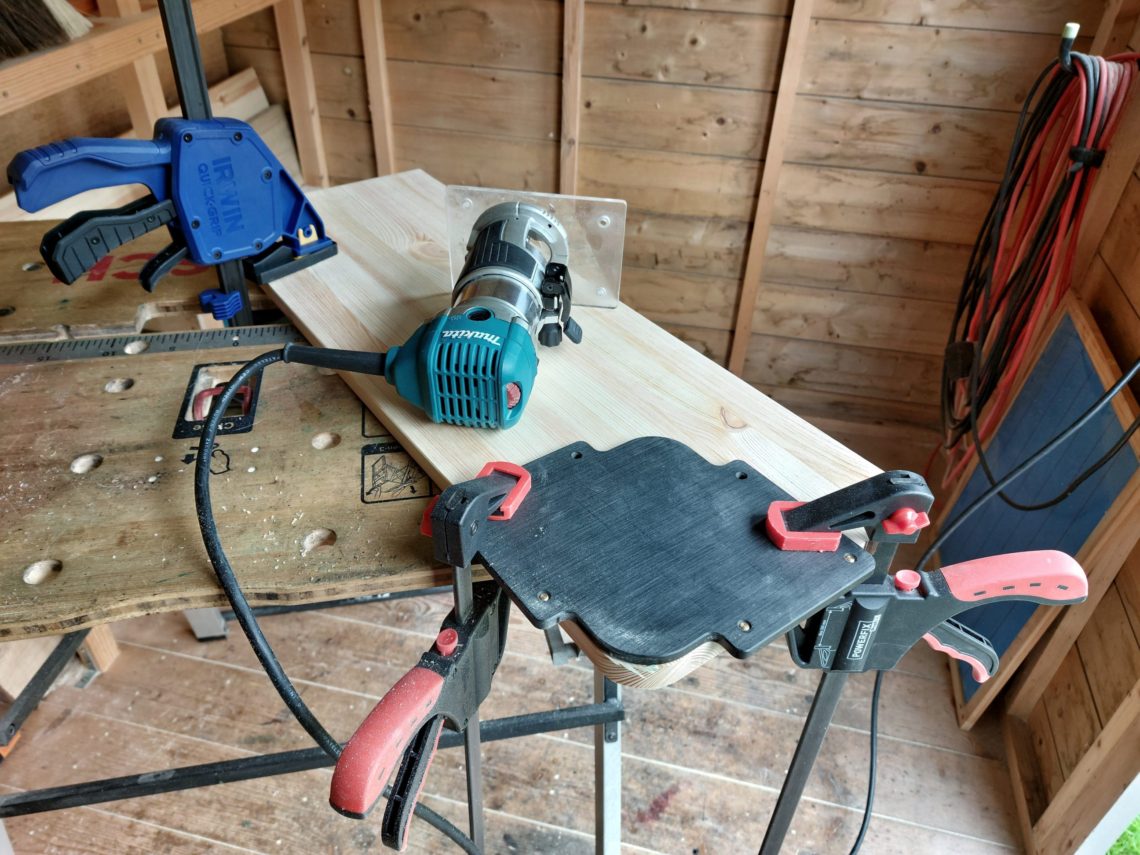
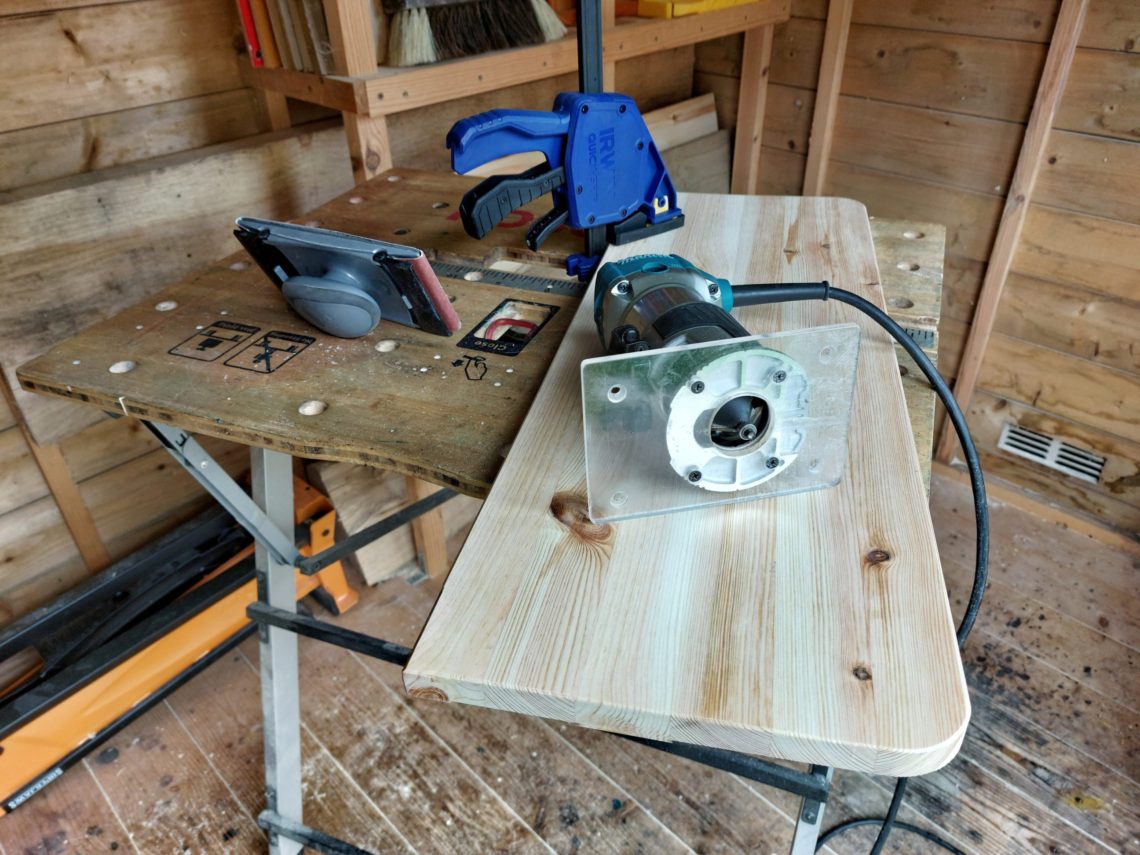
I masked some bigger imperfections, cracks and nail holes with wood glue and sawdust and put both corbels aside for a while. While the glue was drying, I cut the board to size using my improved circular saw jig. 2 front corners were rounded with a router and a 35 mm radius template and because the board was already chamfered, I had to recreate that chamfer on the edges I cut. The chamfering bit did a good job, and with some hand sanding, I got factory-like edges.
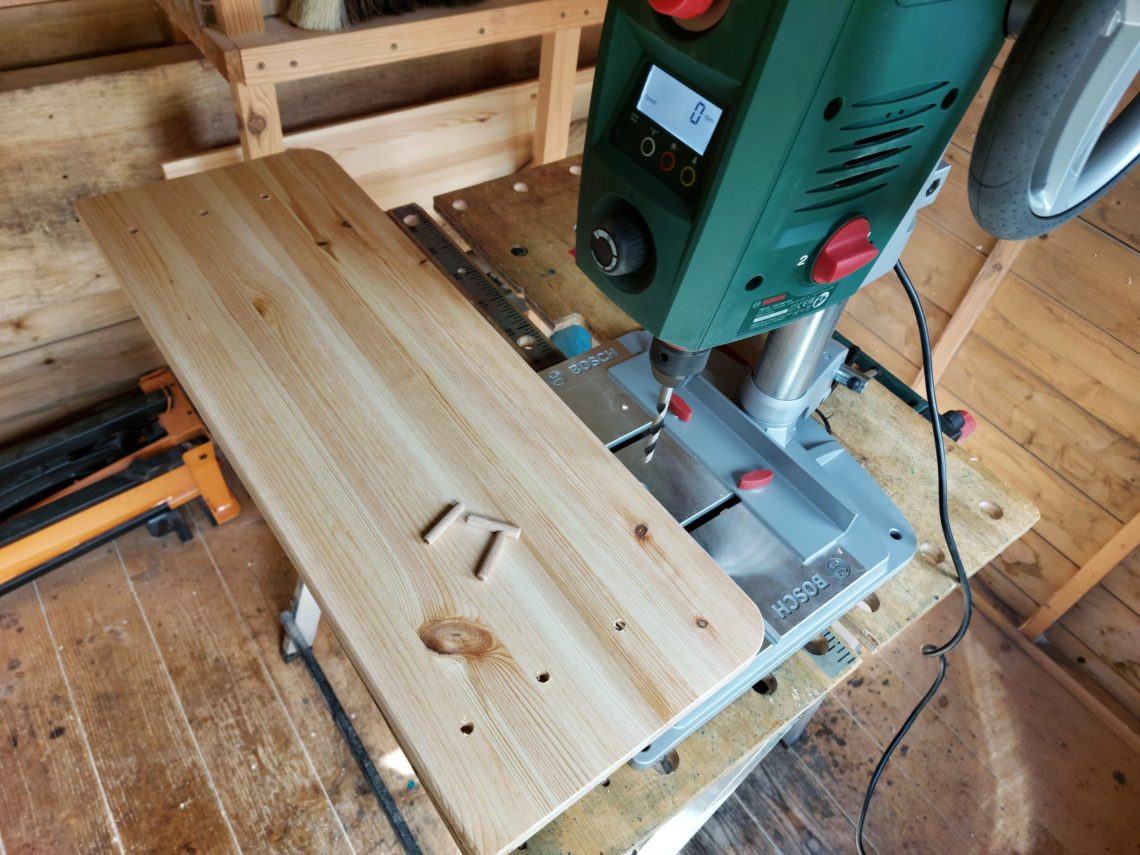
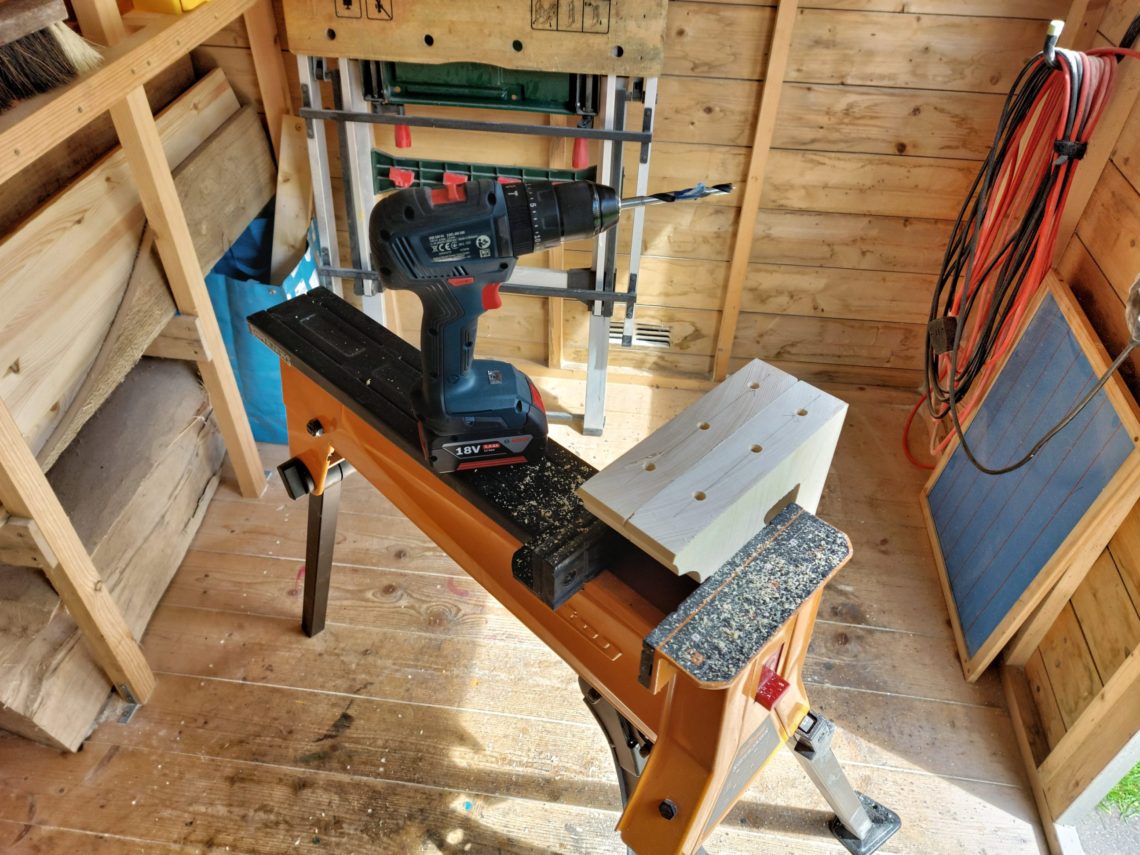
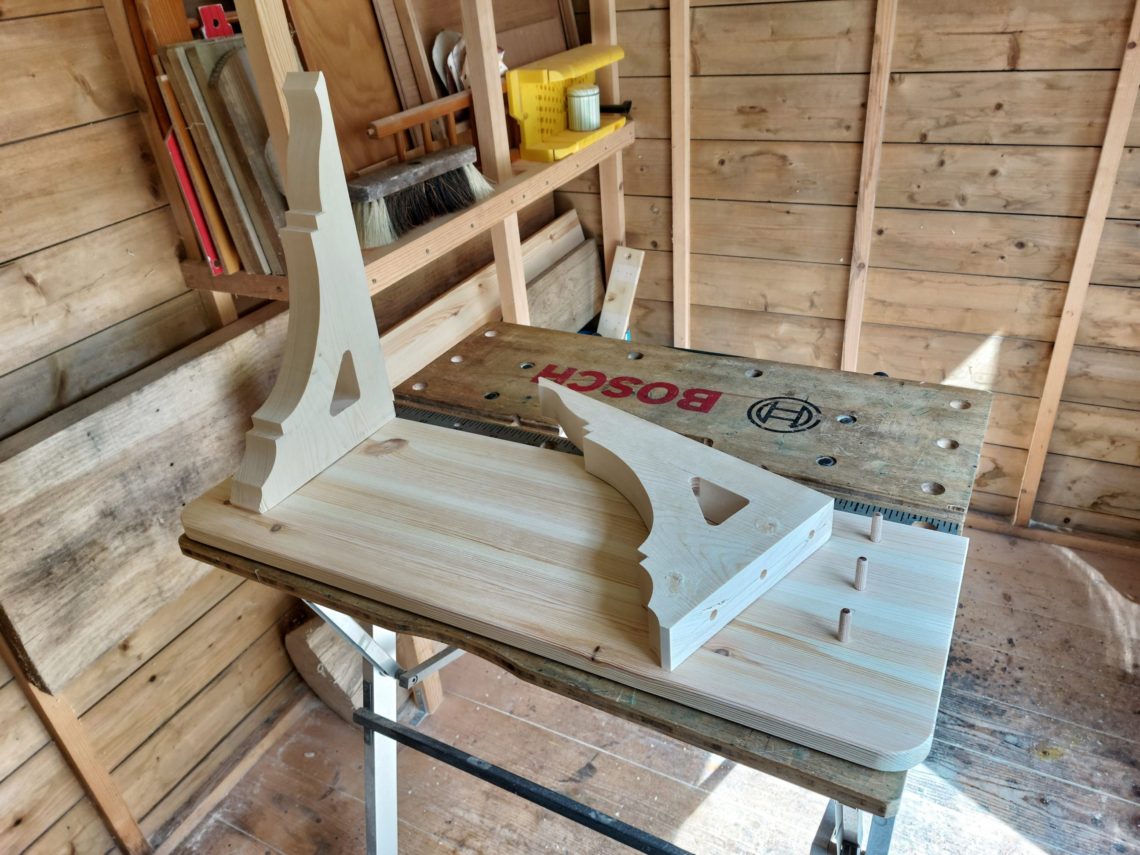
From the bottom of the board, I drilled three 8 mm holes on each end and marked the corresponding drilling points on the corbels. Both corbels were clamped in my SuperJaws, I drilled the holes and dry-fitted everything together to see how it looks.
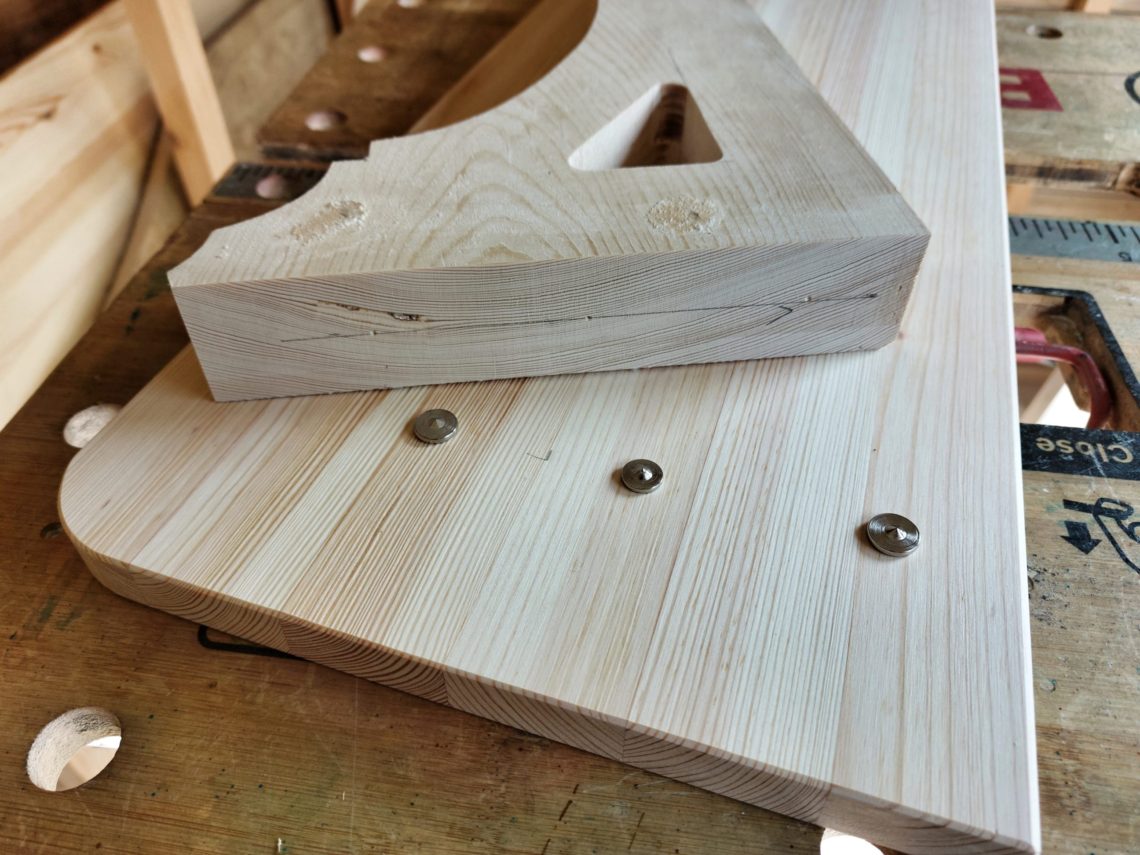
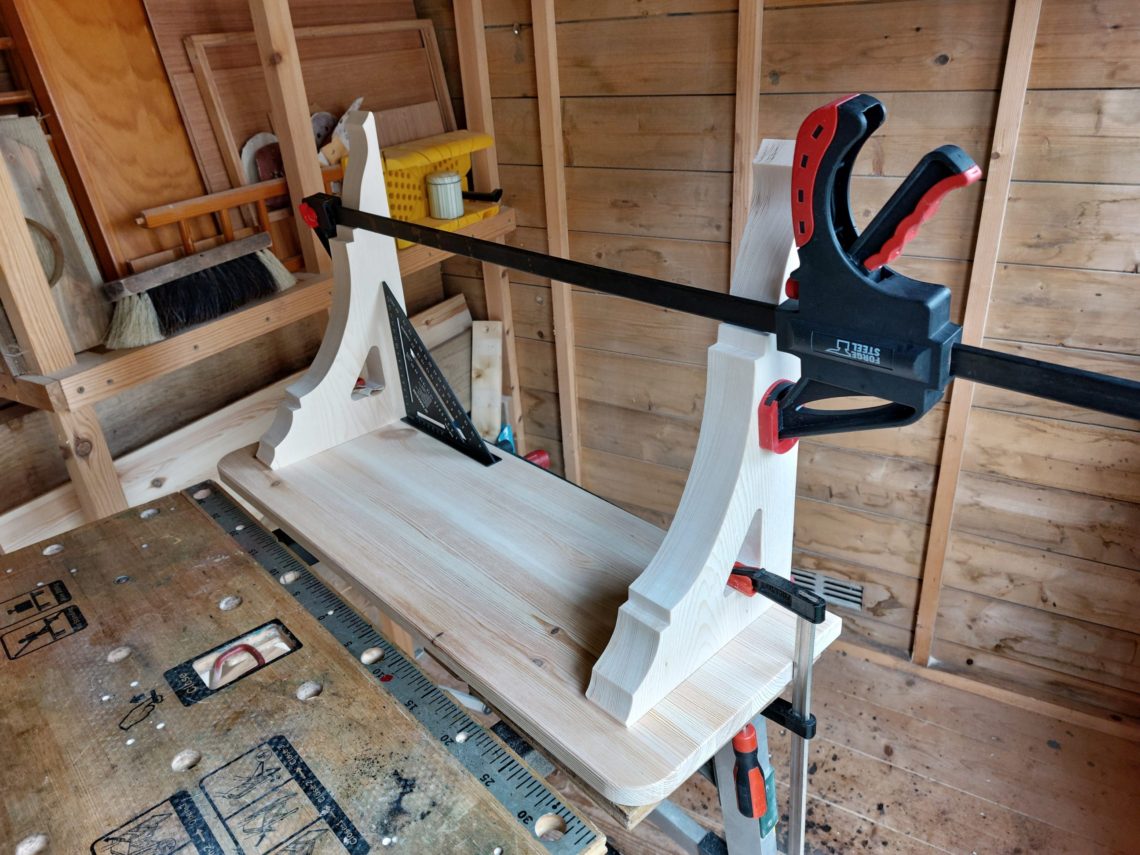
I sanded the corbels and the bottom of the board thoroughly using a 1/4 sheet orbital sander. The top of the board was left alone because it was going to be clamped against the workbench. I applied the glue, clamped the shelf to the bench and checked for square. Perfect 90º angles were adjusted with all 3 clamps, something similar to adjusting bicycle brakes – the top clamp moved the corbels towards each other while the bottom clamps adjusted the angle to 90º.
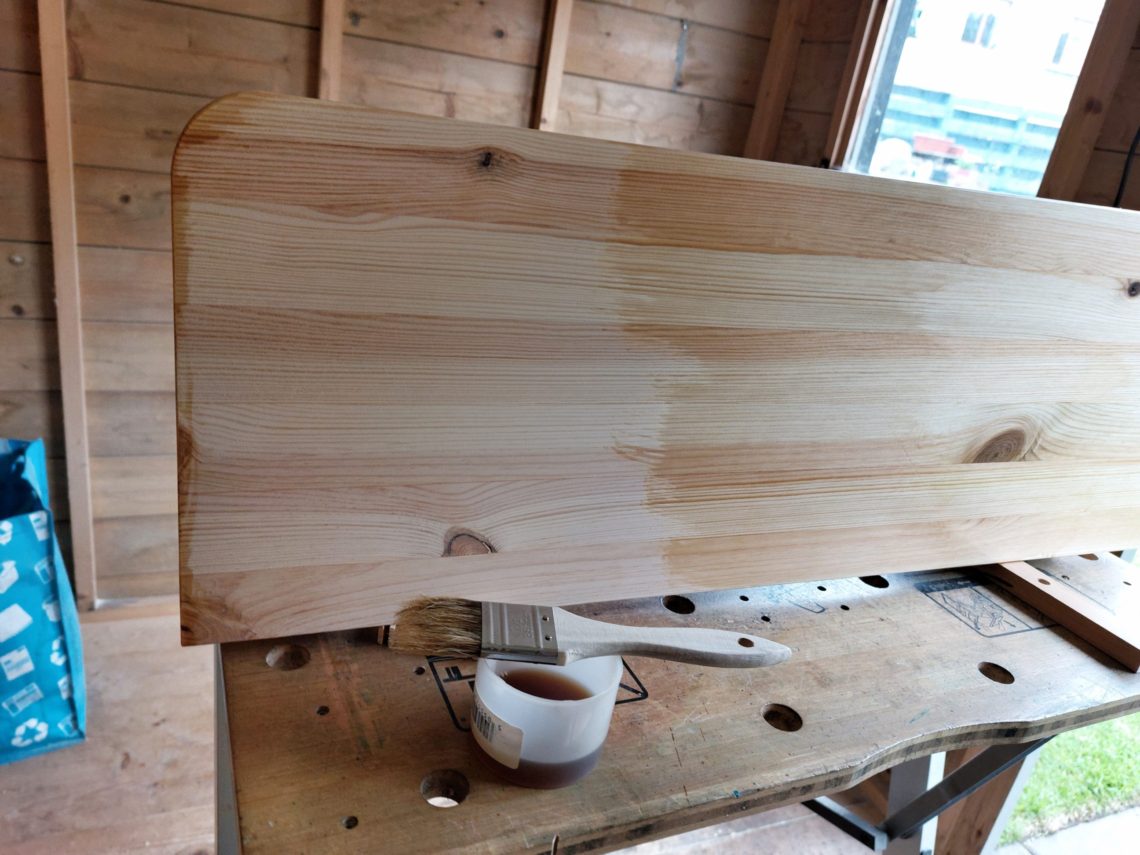
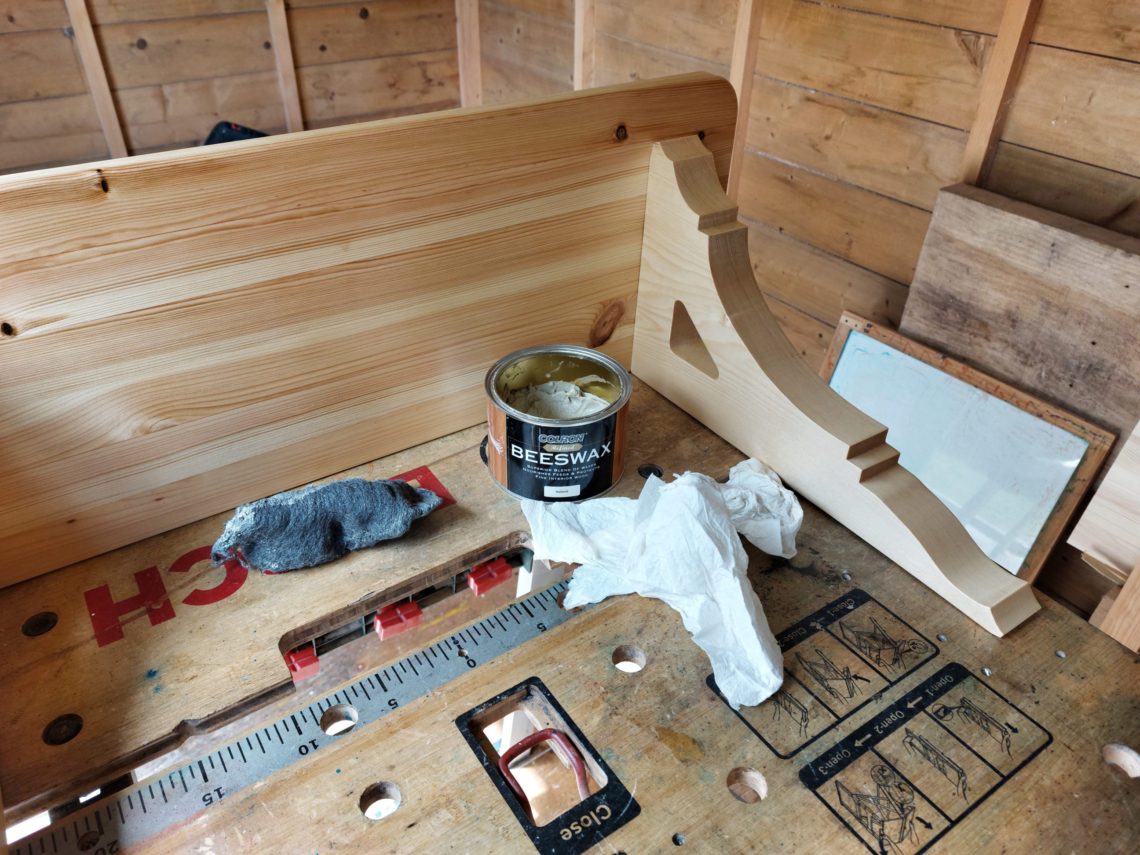
The clamps were removed on the next day and the board was sanded from the top. I used my new 1/3 sheet orbital sander and 240 grit sandpaper, an easy job that didn’t take more than 20 seconds. I blew off any remaining dust and applied polyurethane. I used to call it wipe-on poly but it’s rather diluted poly and it can be applied with a brush. I finished my shelf that way, 2 coats were applied over 2 days and when they cured, I buffed the shelf with steel wool and wax.
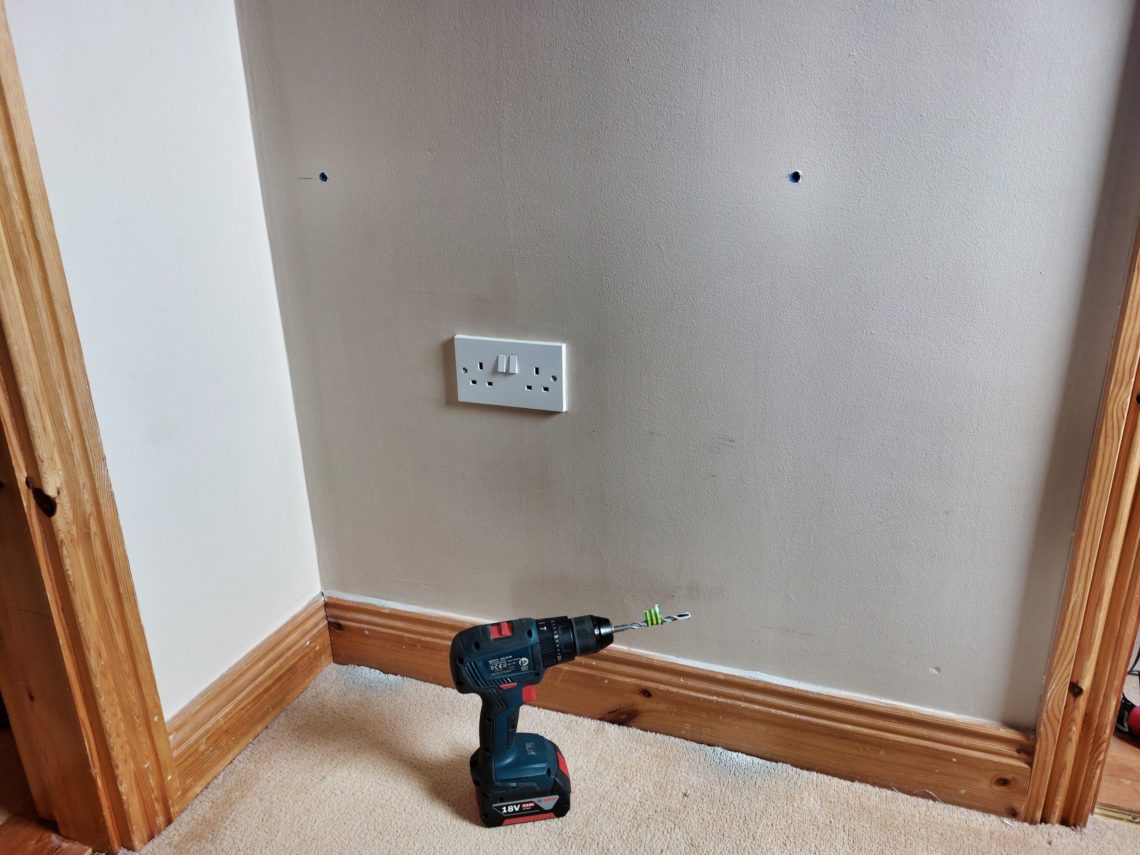
I drilled 2 holes and fitted them with heavy-duty wallplugs. The blue ones are perfect for heavy items, they fit into 8 mm holes, whereas the yellow ones are suitable for lighter items and they require 5 mm holes. These 2 types are used the most and that way I only need 2 masonry bits in my toolbox. Of course, prior to drilling, I checked the wall for wires with a multi-detector, there were 3 of them, 1 from the socket, 1 from the switch and 1 from the thermostat.
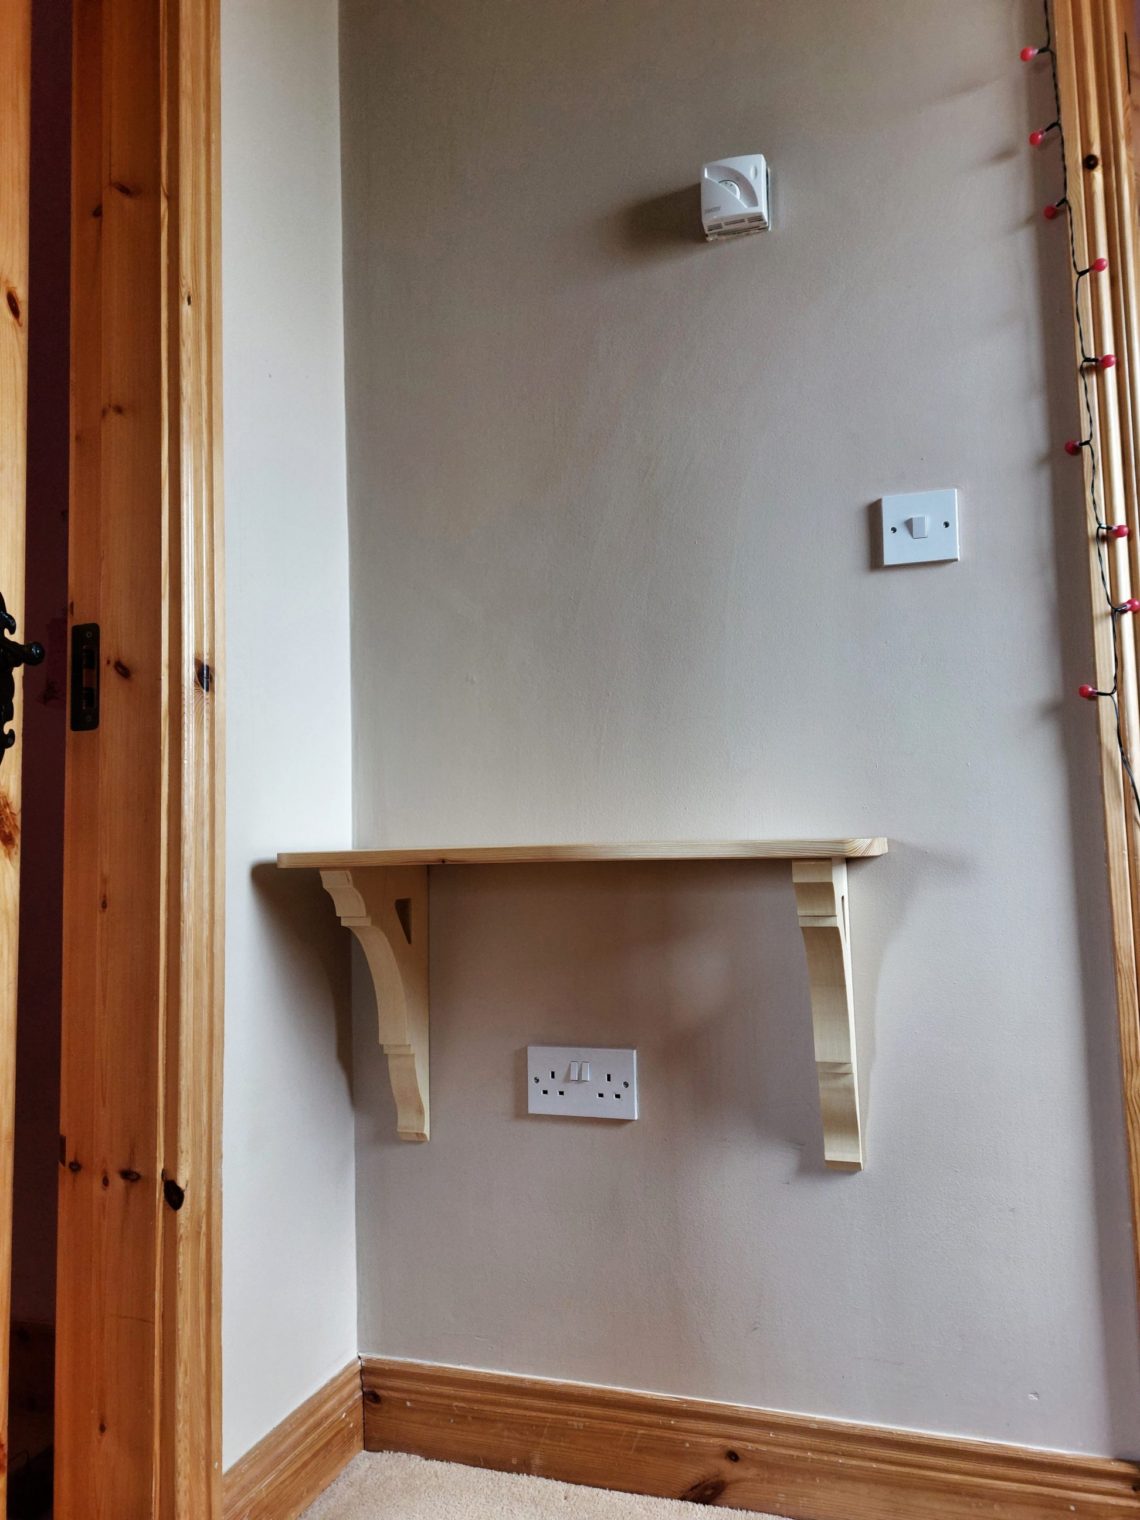

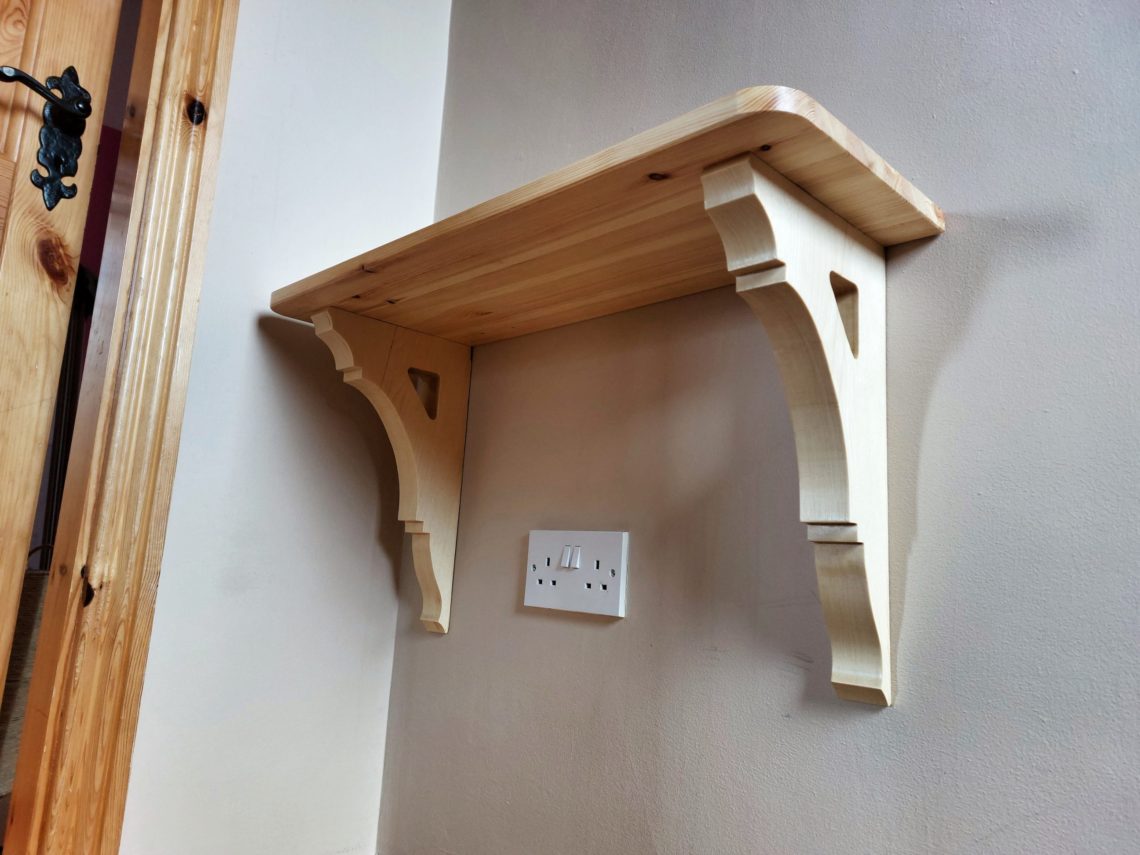
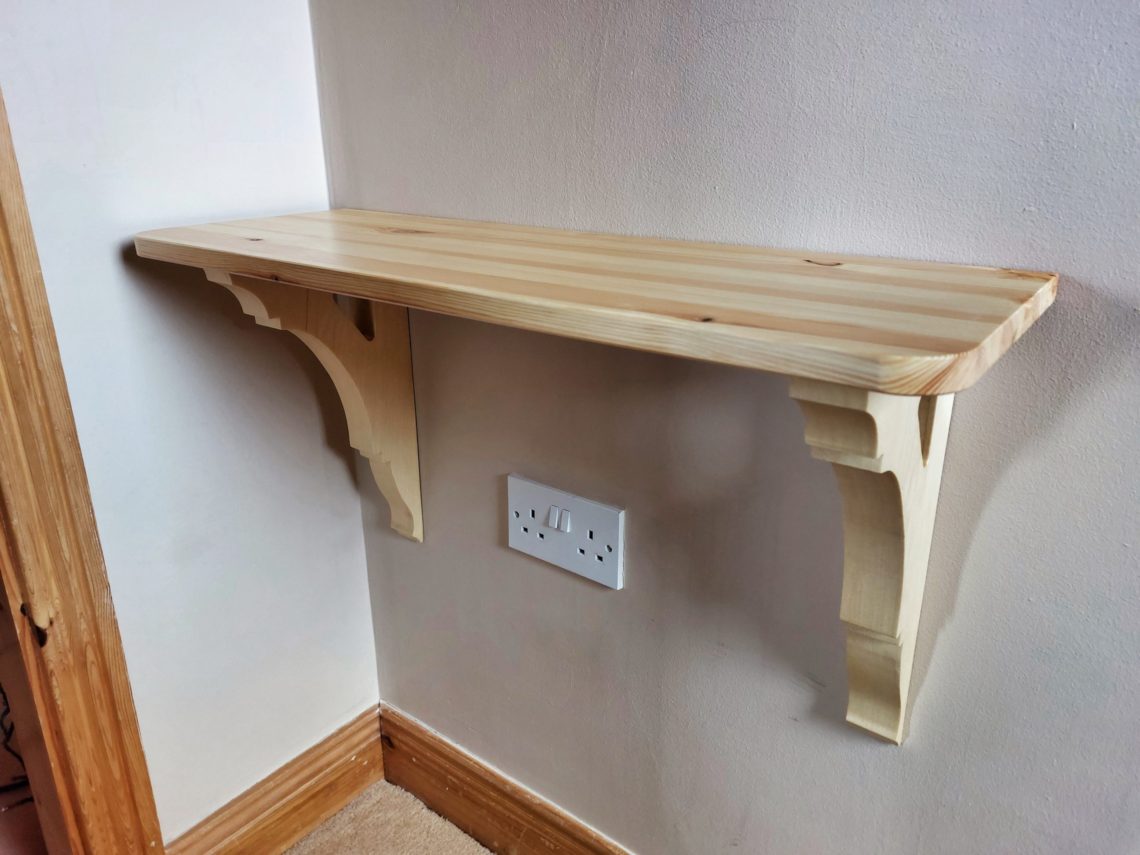
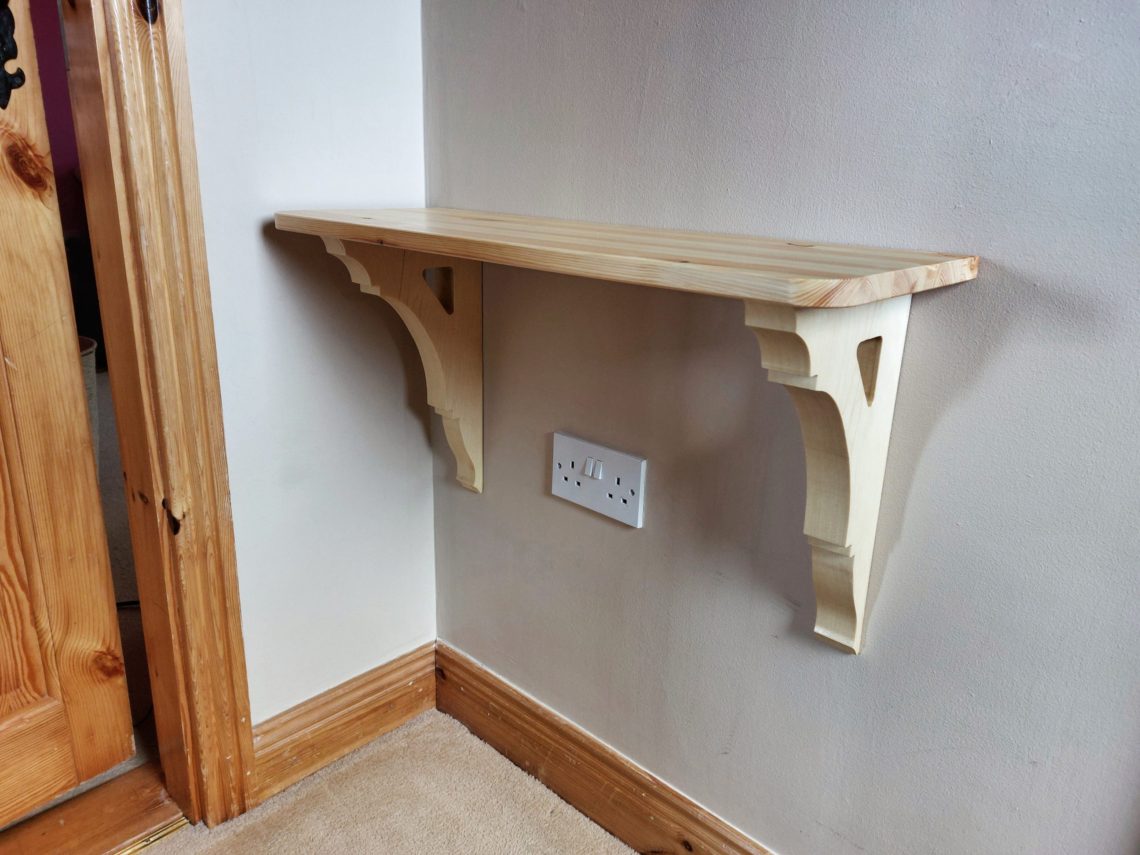
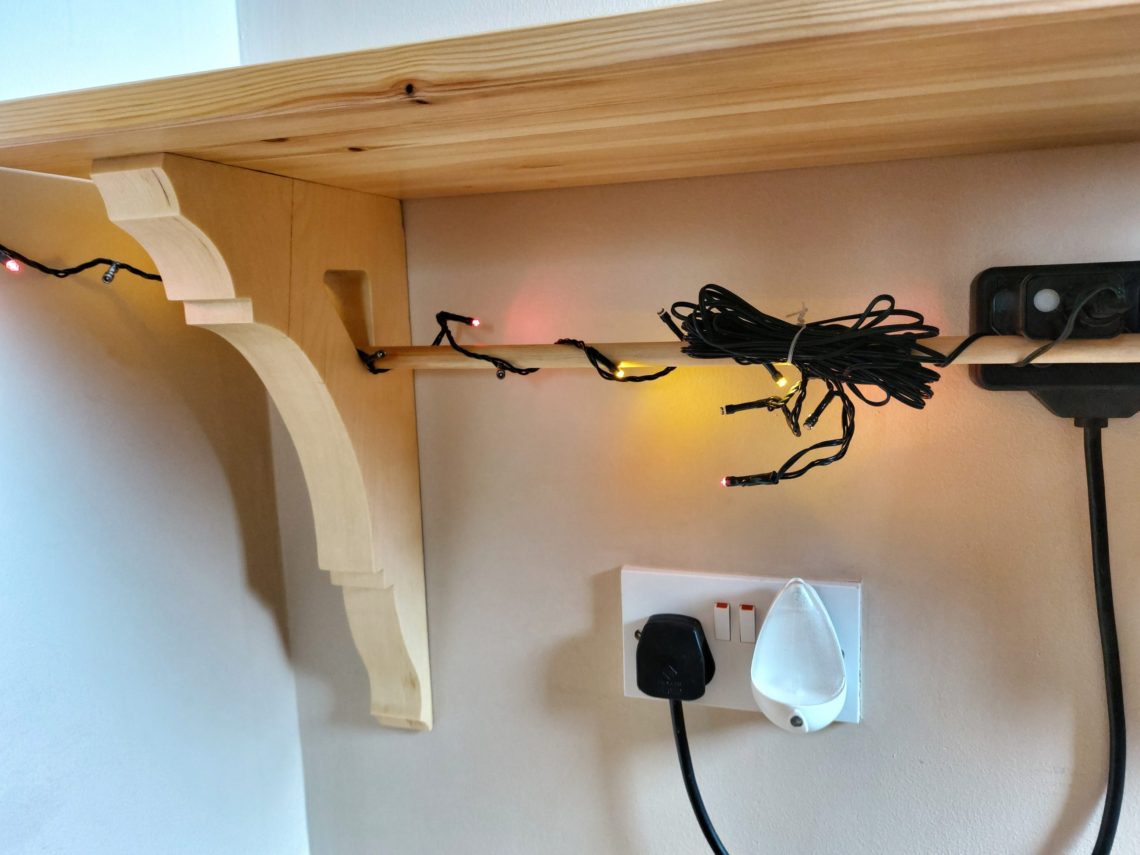
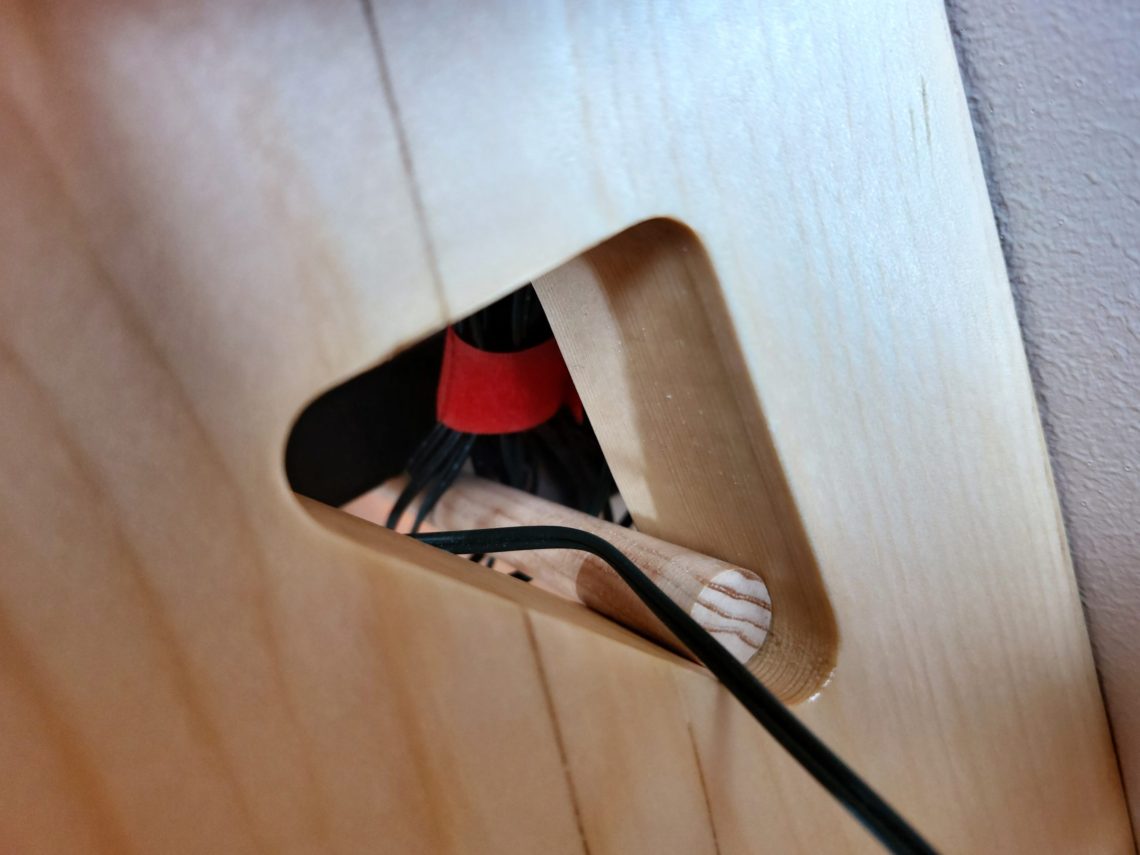
It didn’t take long to find a use for the corbels, their triangle holes to be specific. I had a dowel on hand that was already perfectly sized for the application, lightly sanded it with steel wool and gave it some protection and sheen with wax. Both ends of my Christmas lights cords were wrapped around that dowel which also supported an extension lead. It wasn’t just any extension lead, that one was double, had a very short cable and was custom-made for those lights. I like using Christmas lights every evening, not only in December, they light up the entire upstairs hallway which is another safety feature for a household with kids. It may look like an excuse for a lazy man, to have Christmas lights installed 12 months a year, but I rather call myself Christmas ready 24/7 365, with a holiday attitude all year round.
