70-degree table
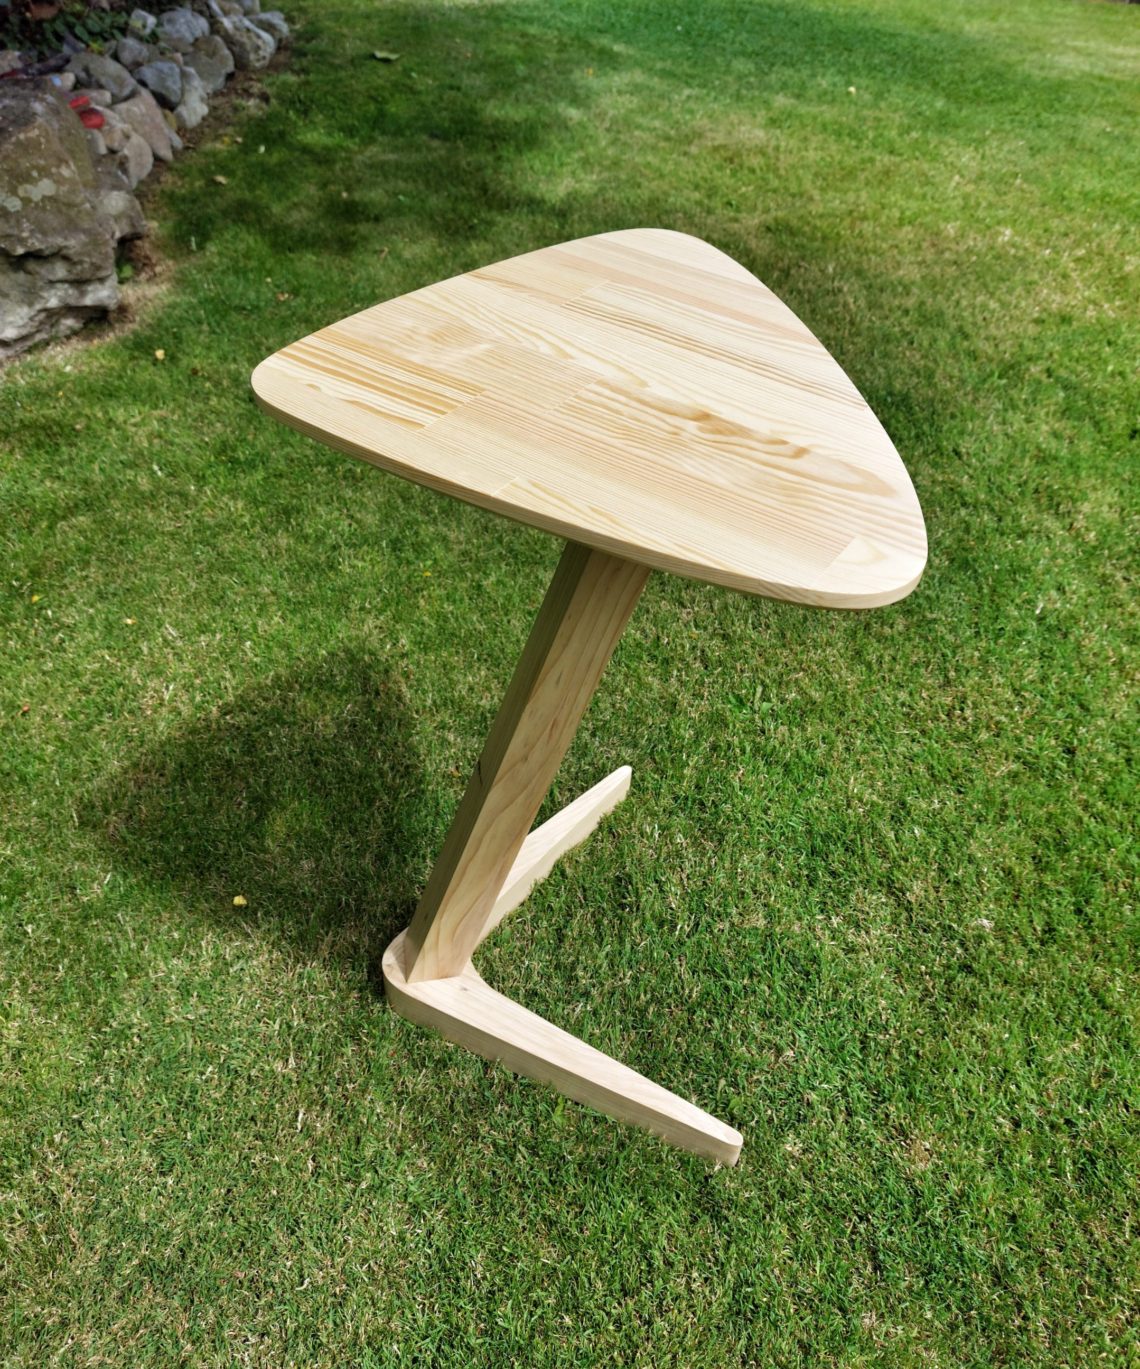
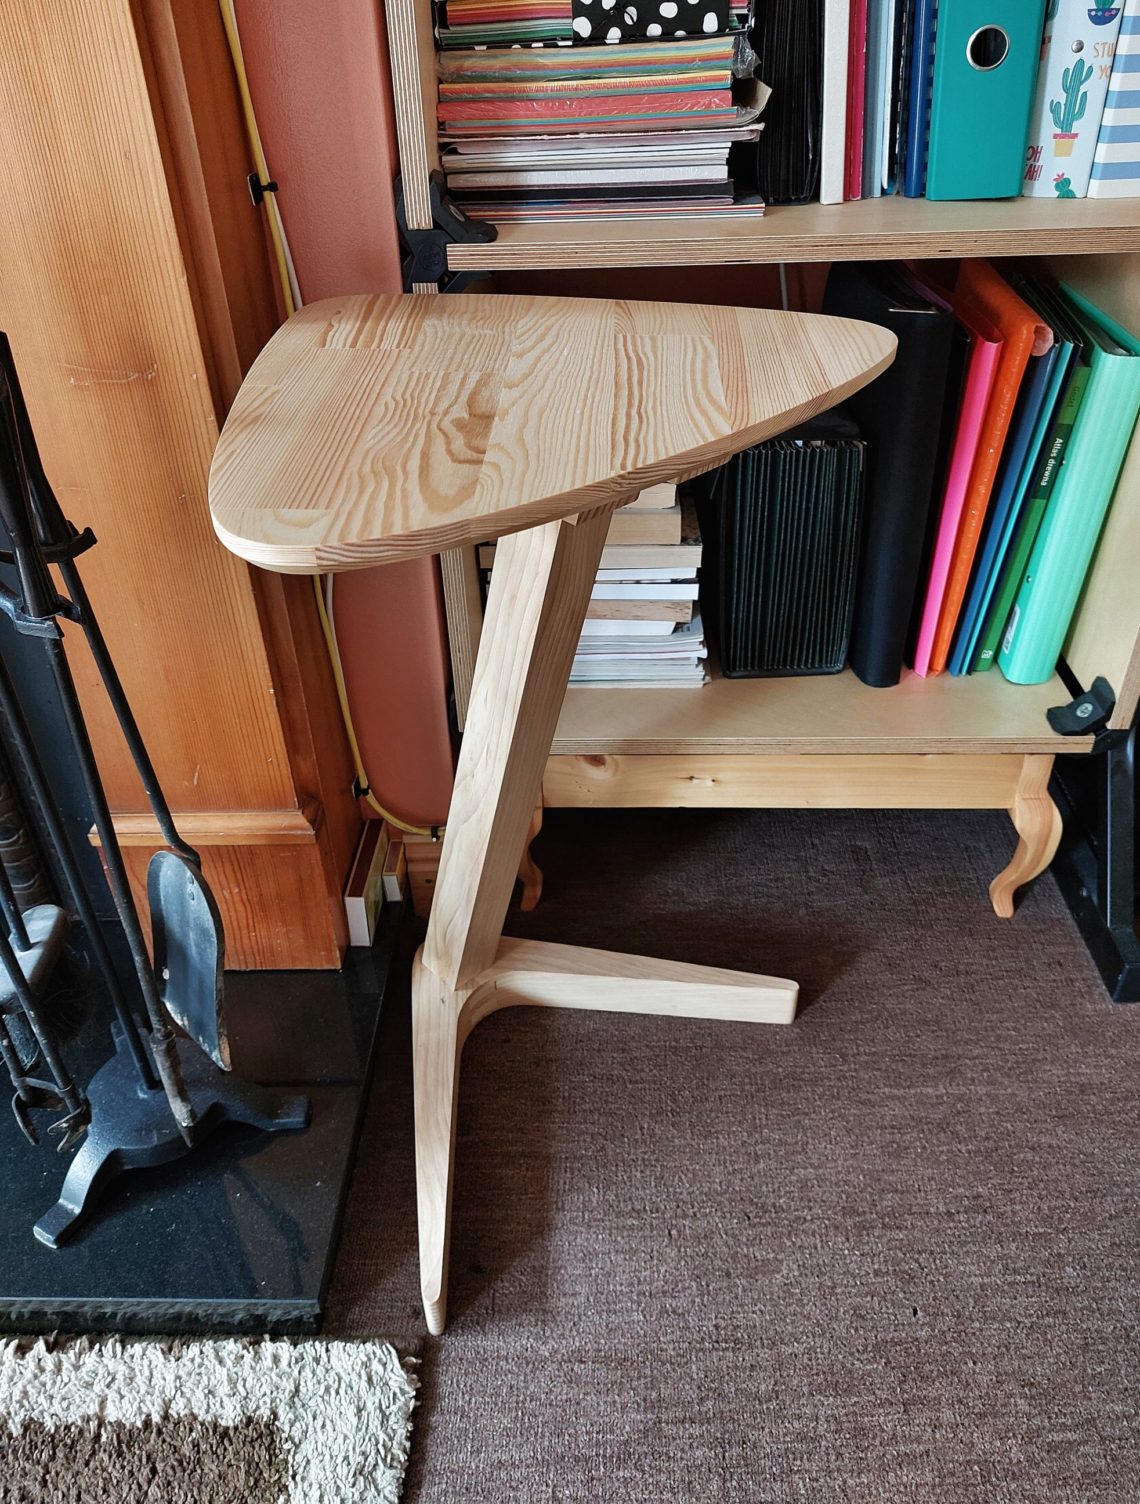
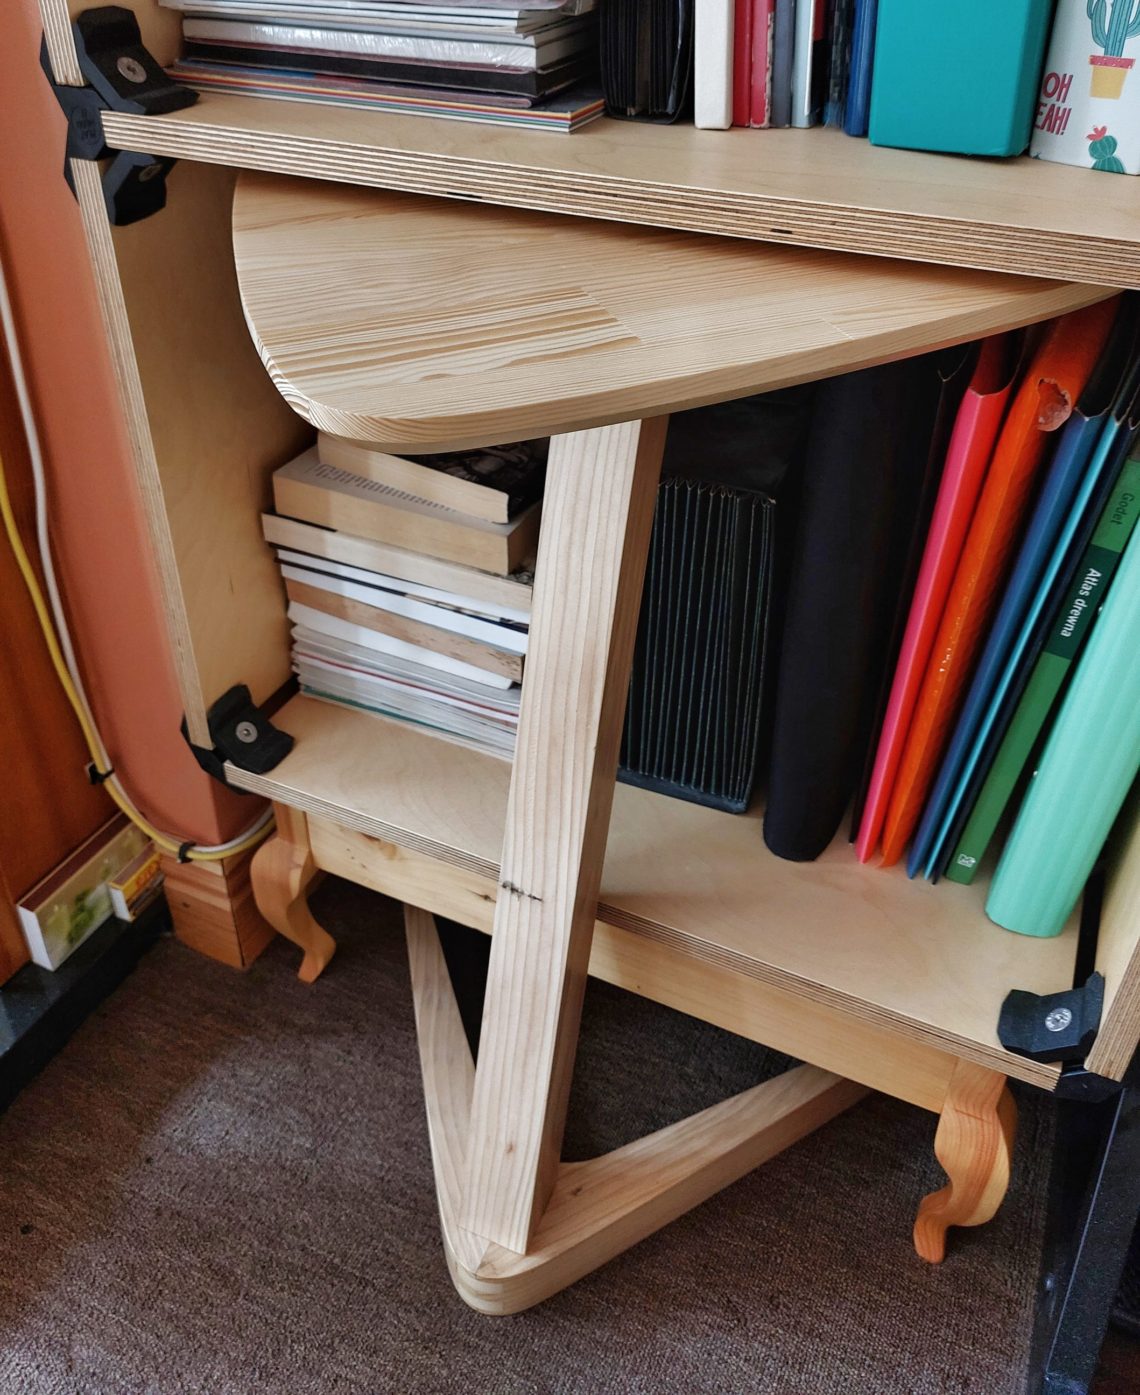
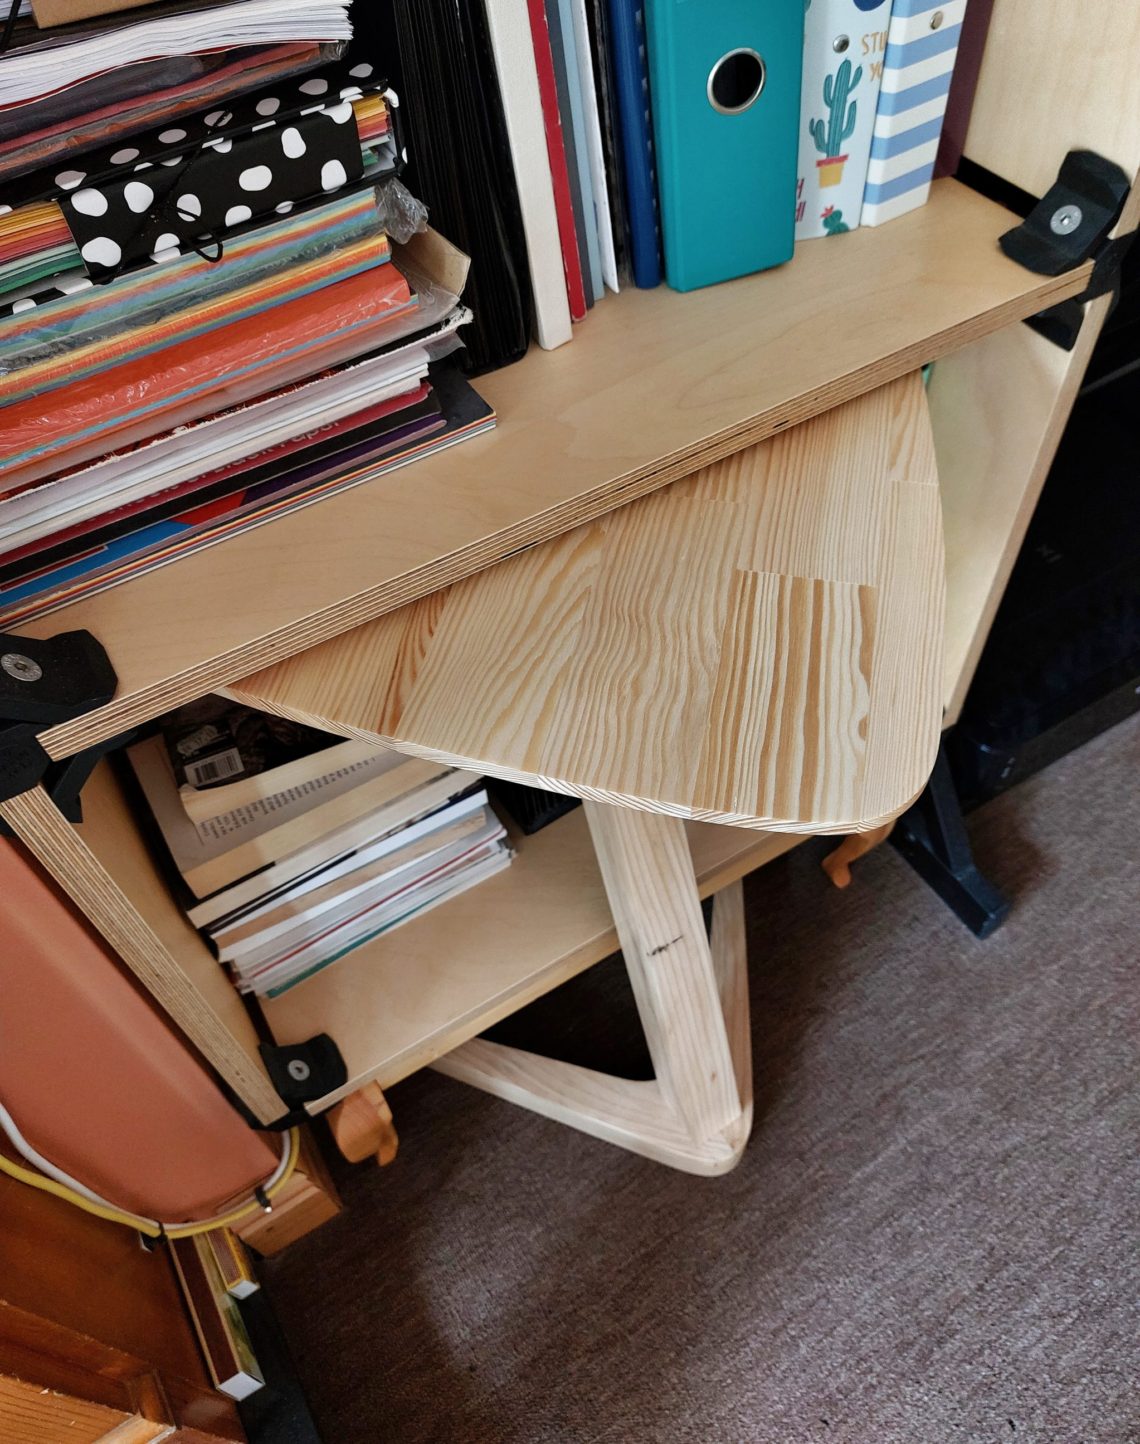
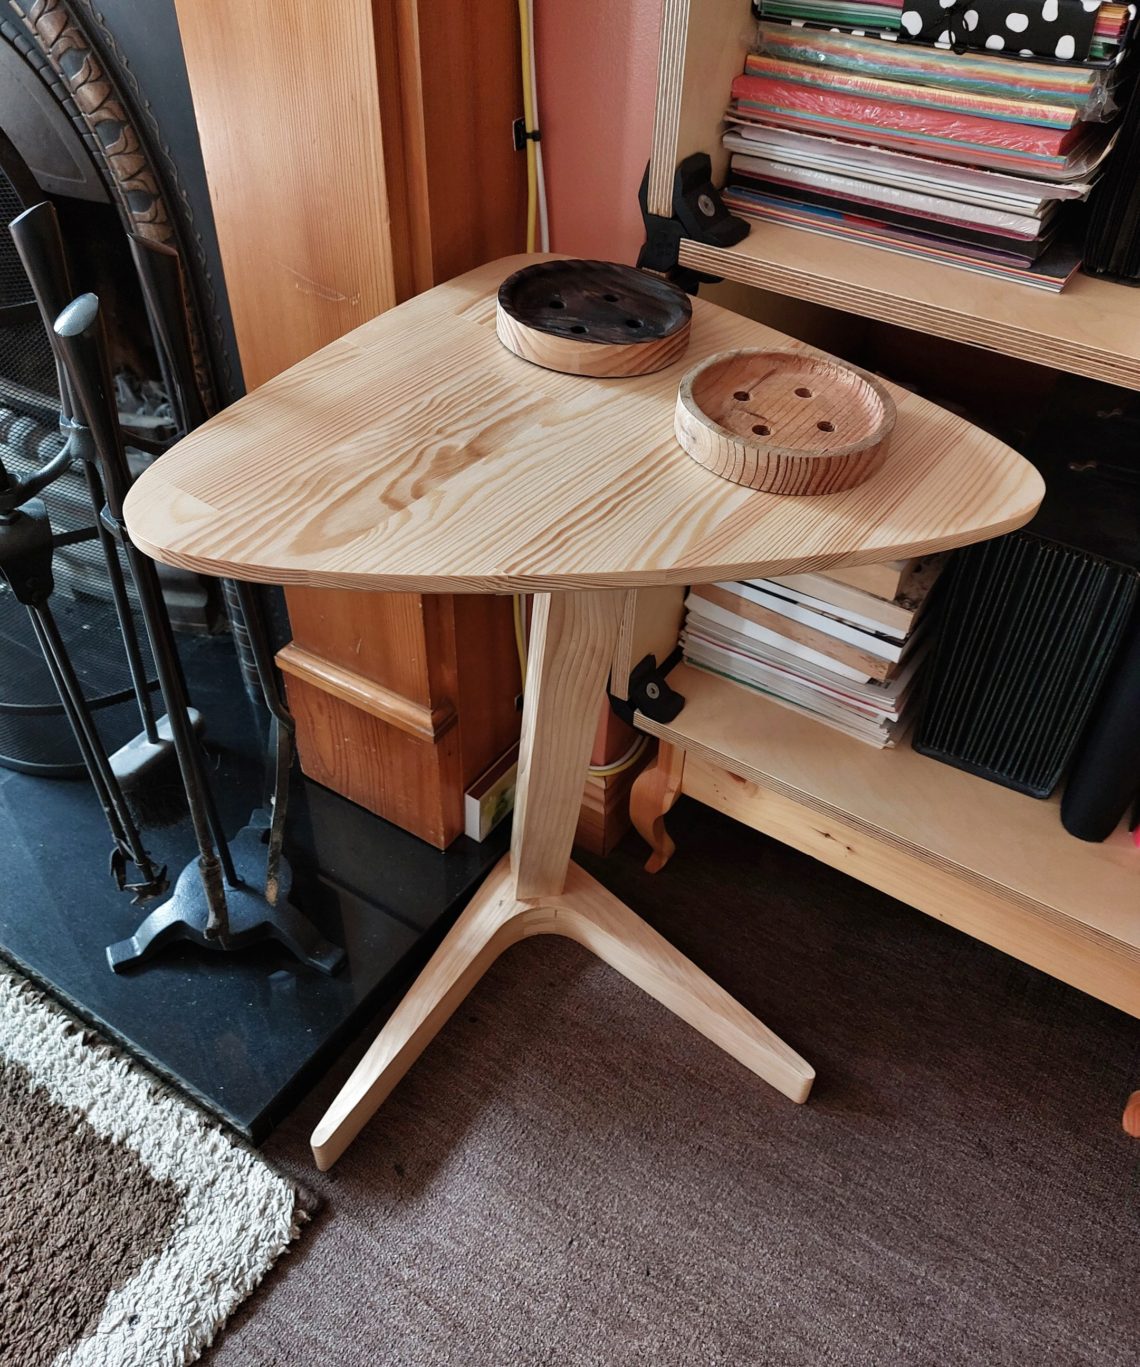
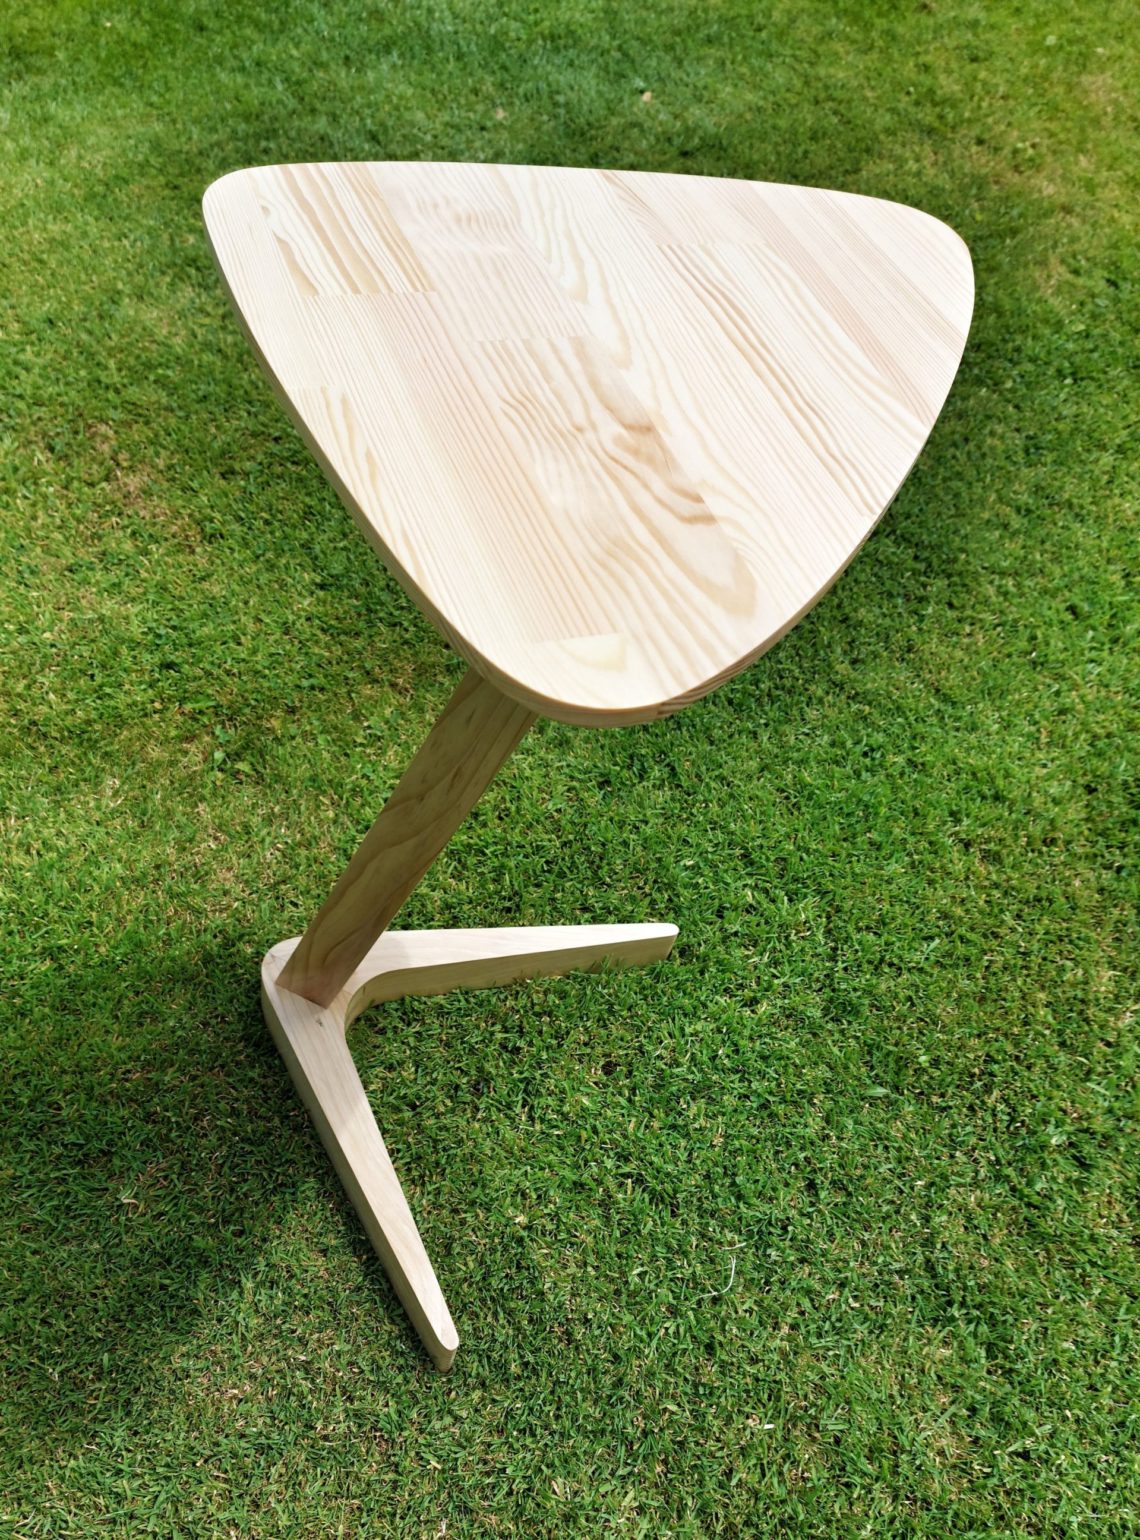
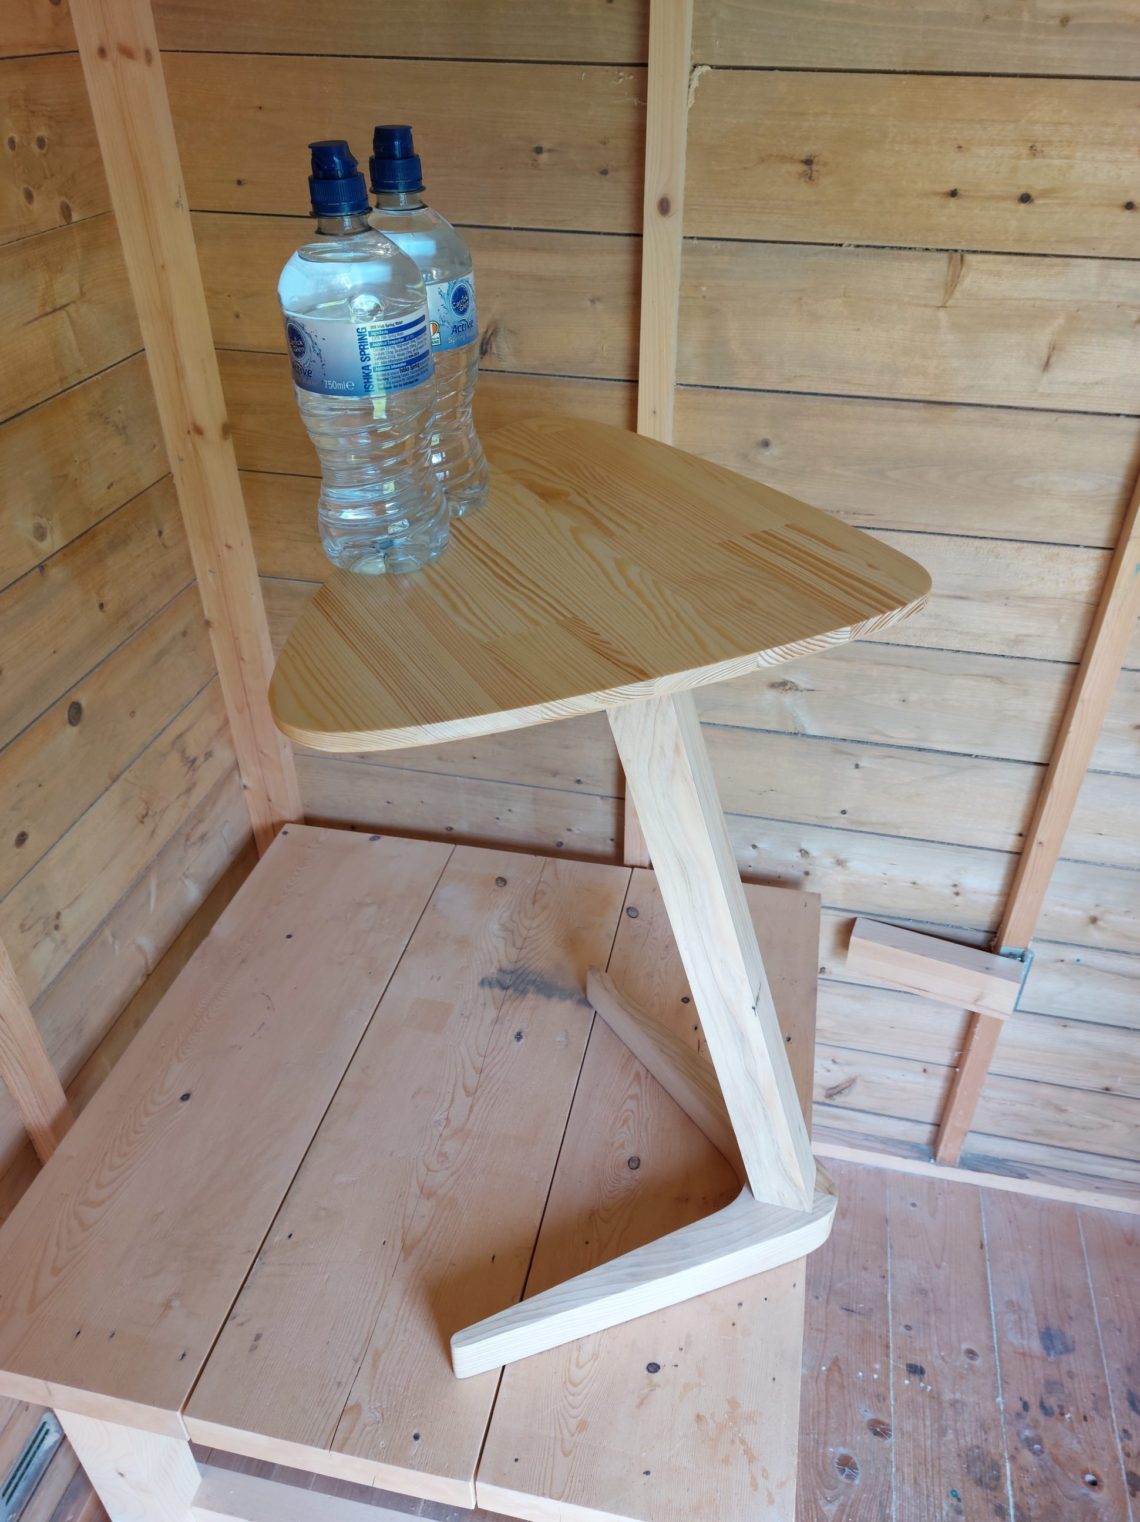
I’ve always needed 2 coffee tables, one of them had to be more portable than the other and that determined its size and weight. This is the secondary one, when not in use, can be pushed away and partially nested into my bookcase. Its shape and height are carefully chosen and designed to slide into the space below the base and the 2nd tier. Most of the angles in this table are around 70º – the opening angle between the feet, the leg’s tilt angle and the top rails bevel – so why not call it a 70-degree table? There are other potential names for it because the feet look like a boomerang and the top like a guitar pick, don’t they? I used a thick, reclaimed board for the base and leg, but the top is made from a board that was purchased especially for the project and it’s supposed to not warp over time. All the materials used are also knot-free.
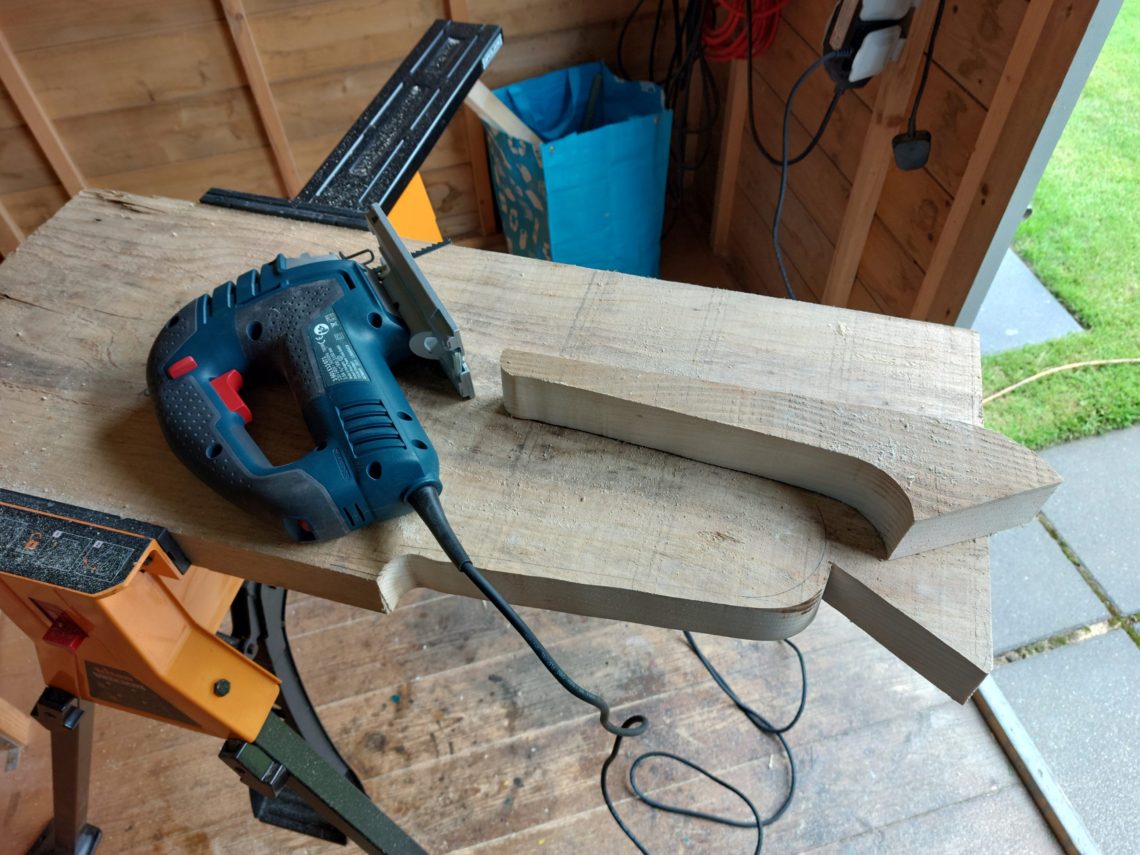
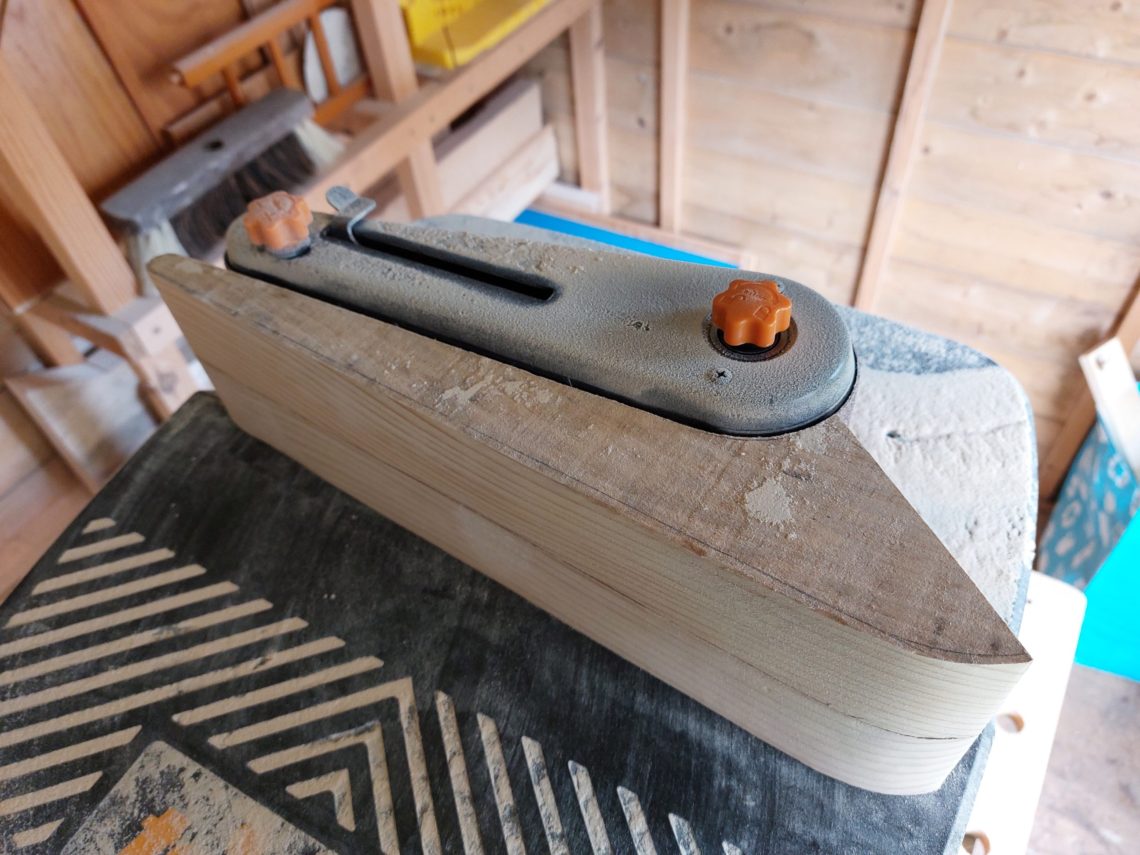
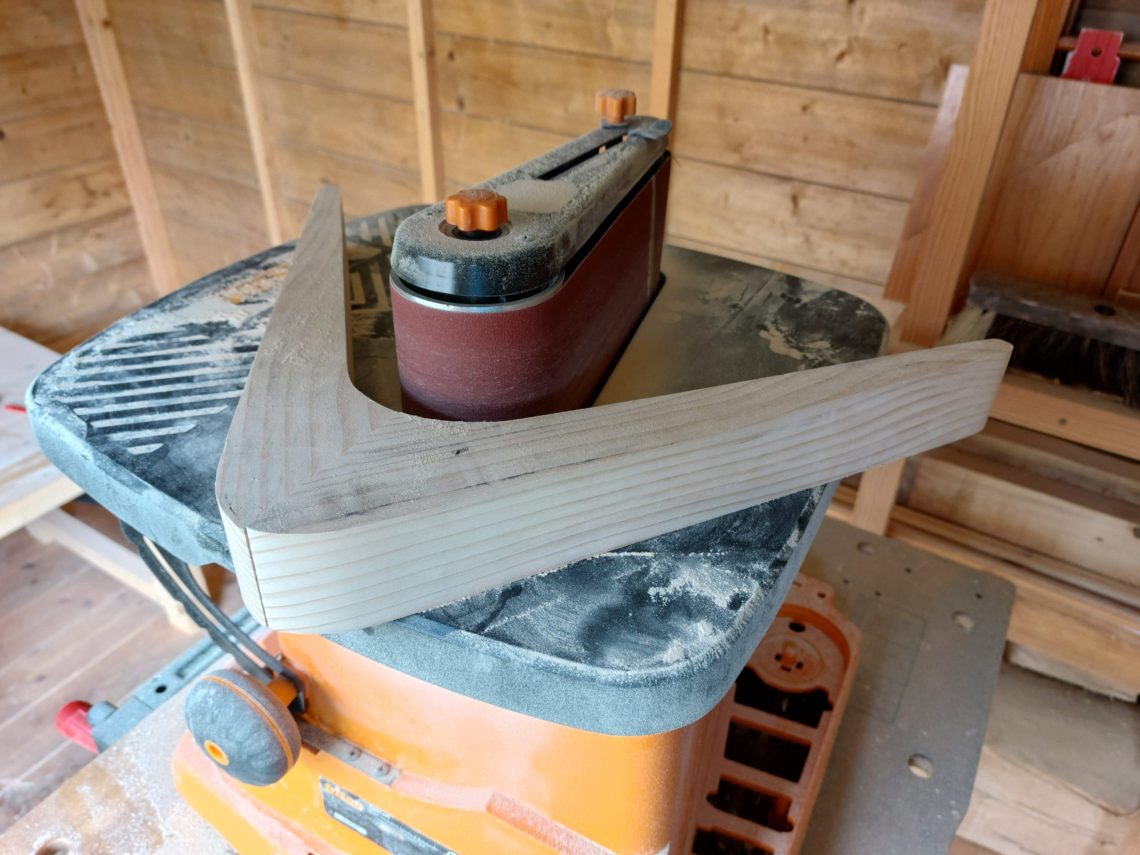
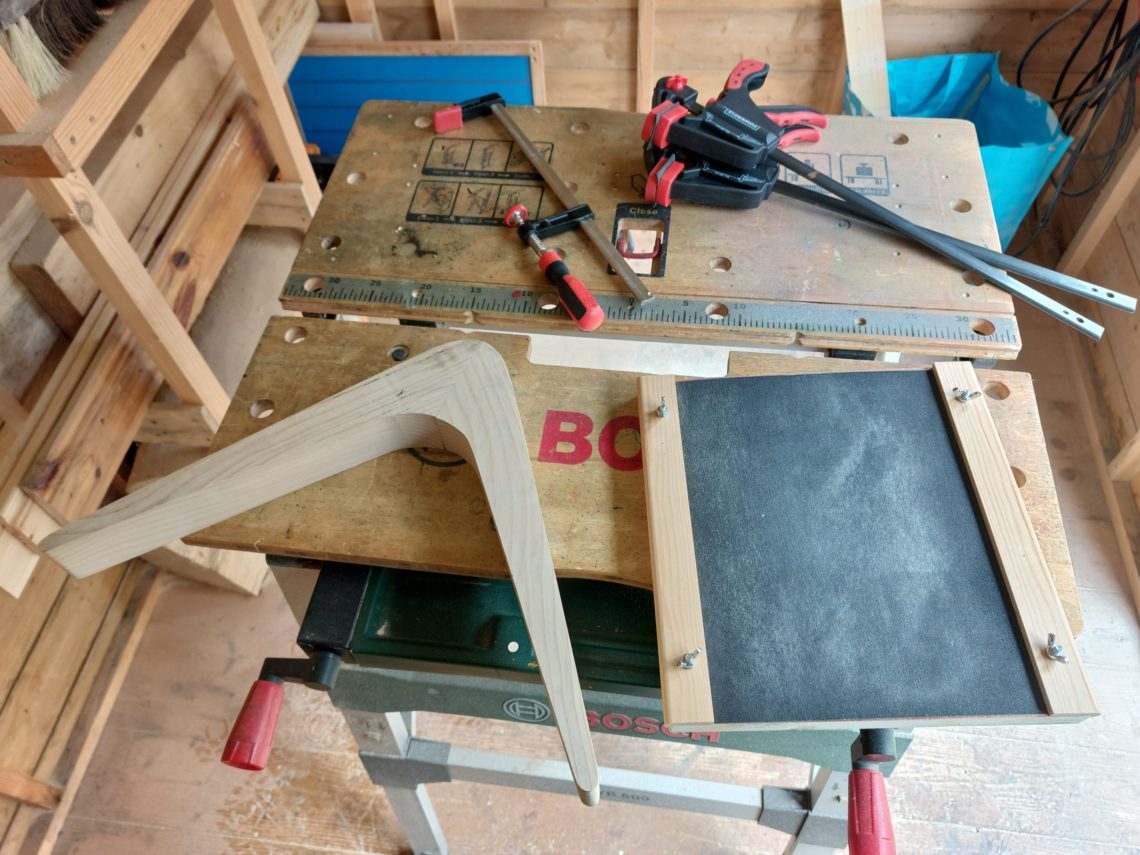
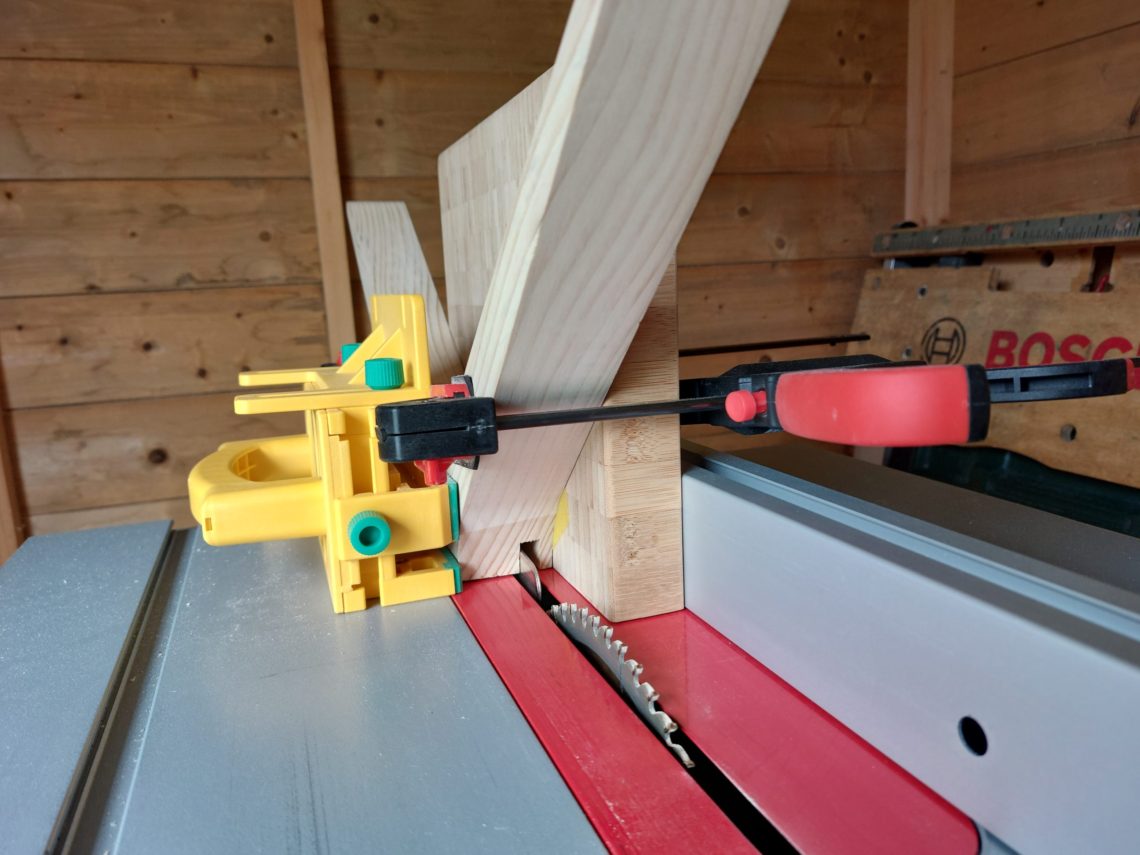
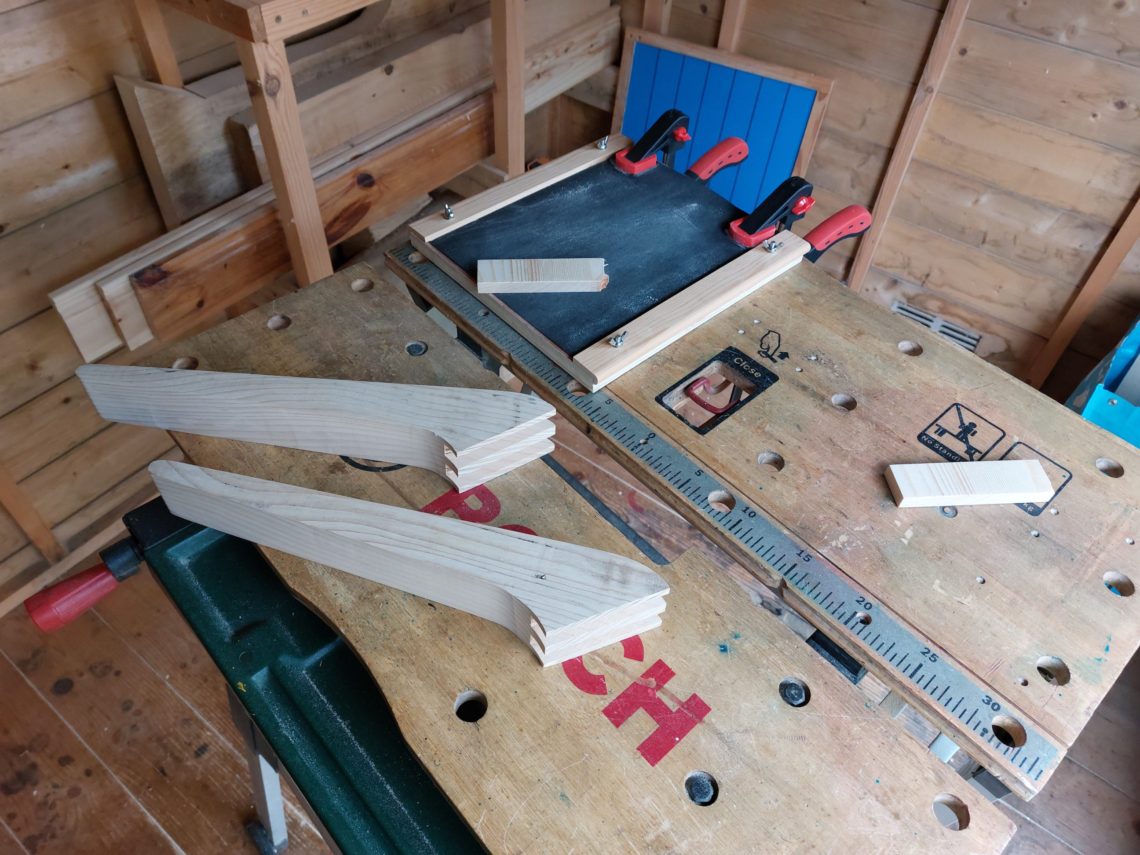
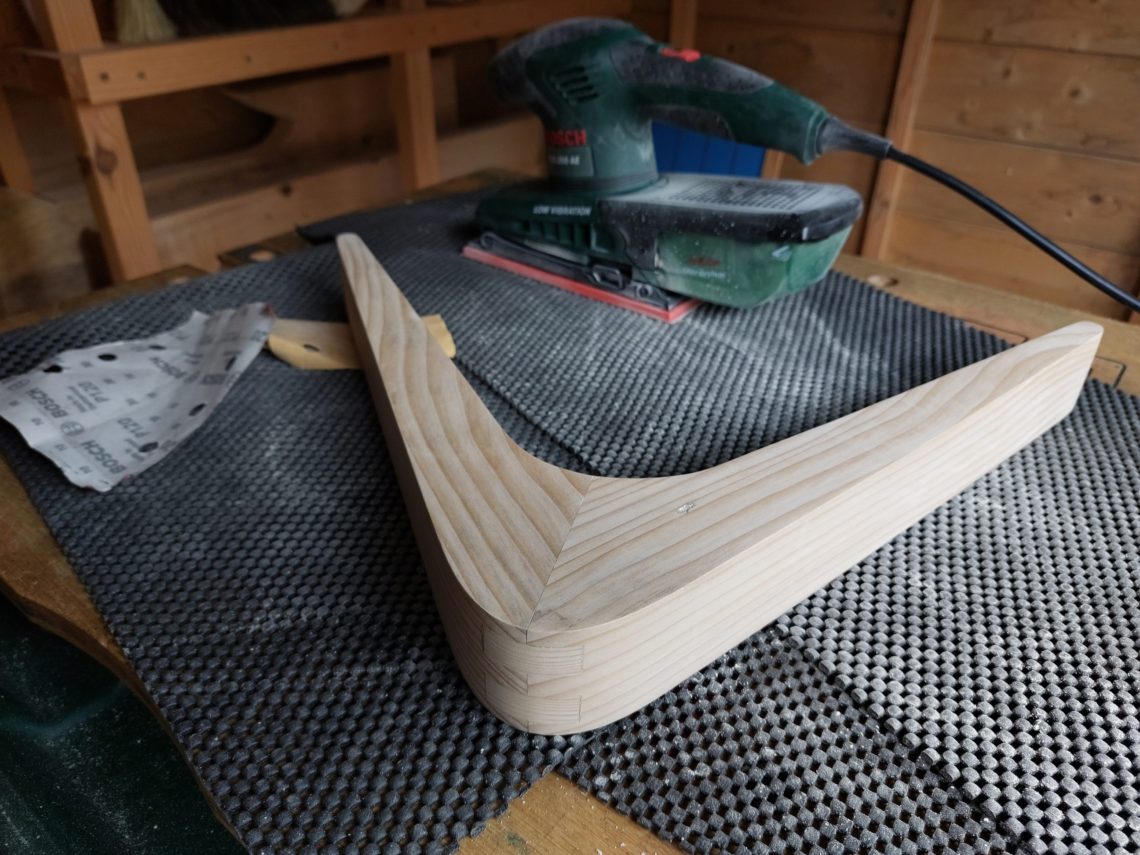
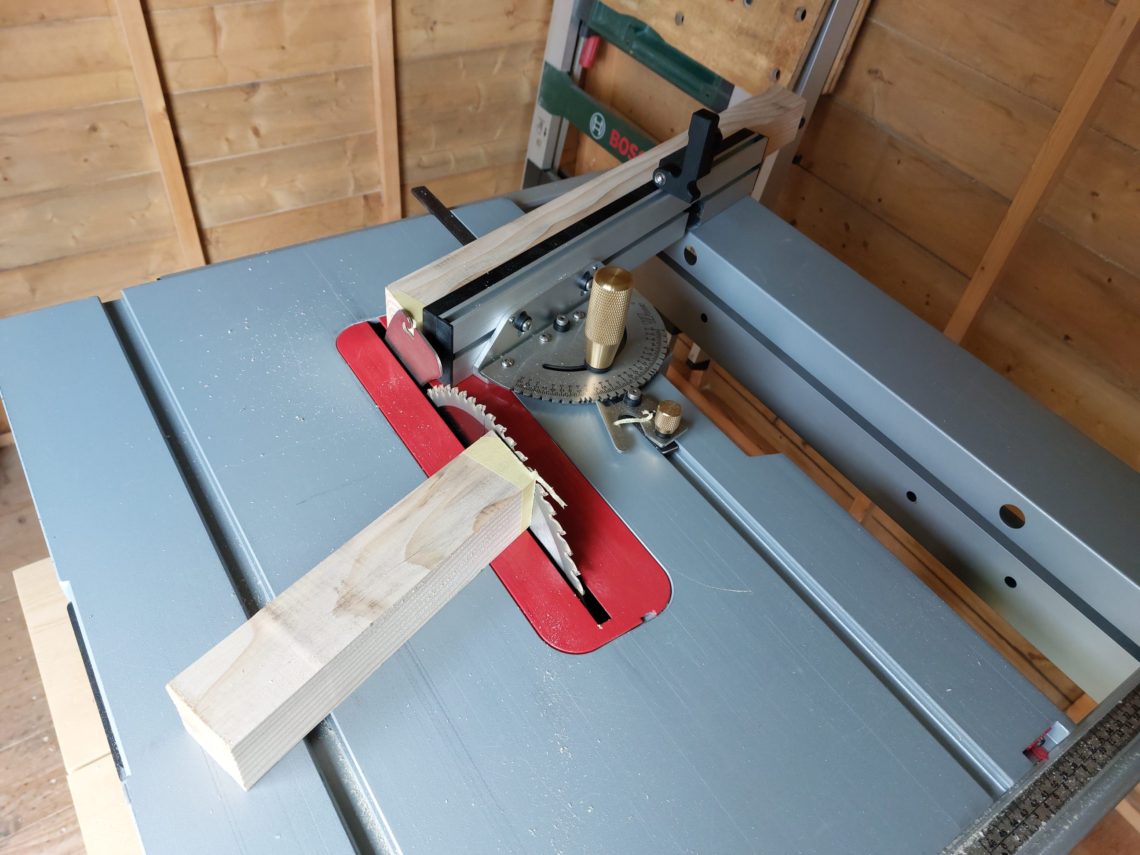
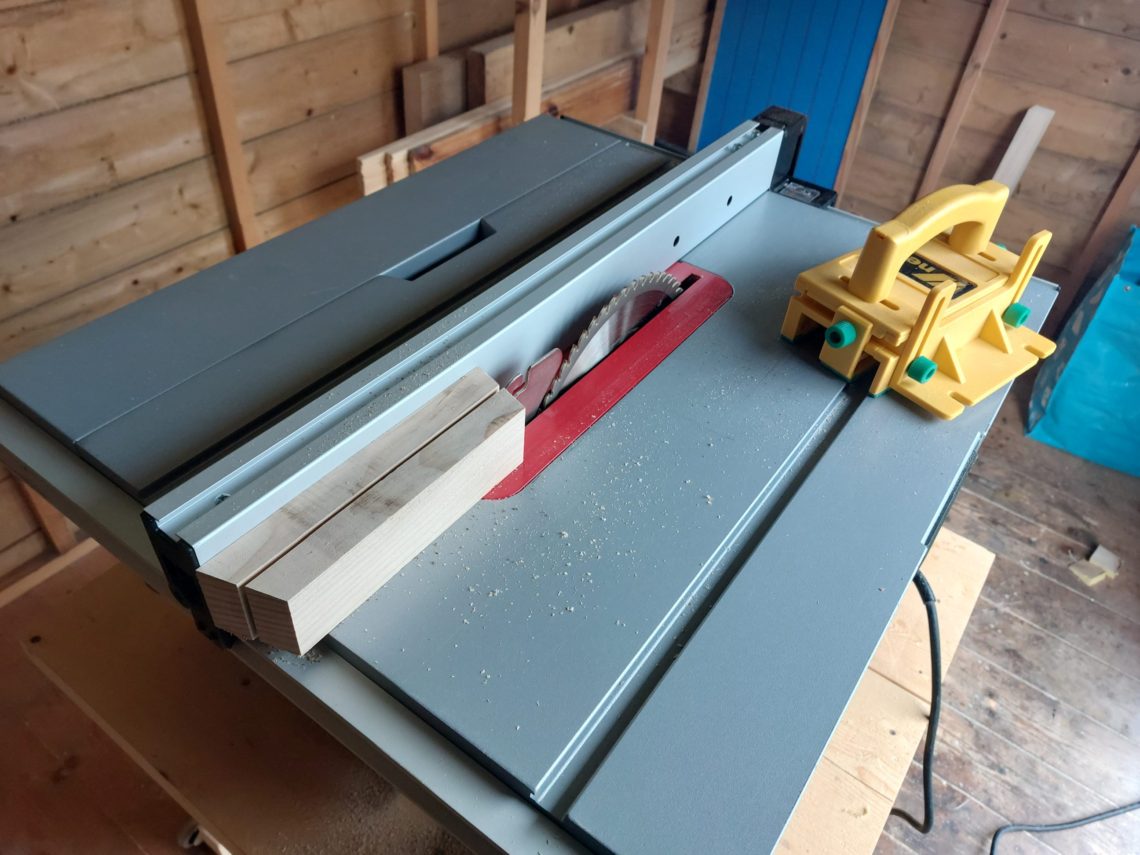
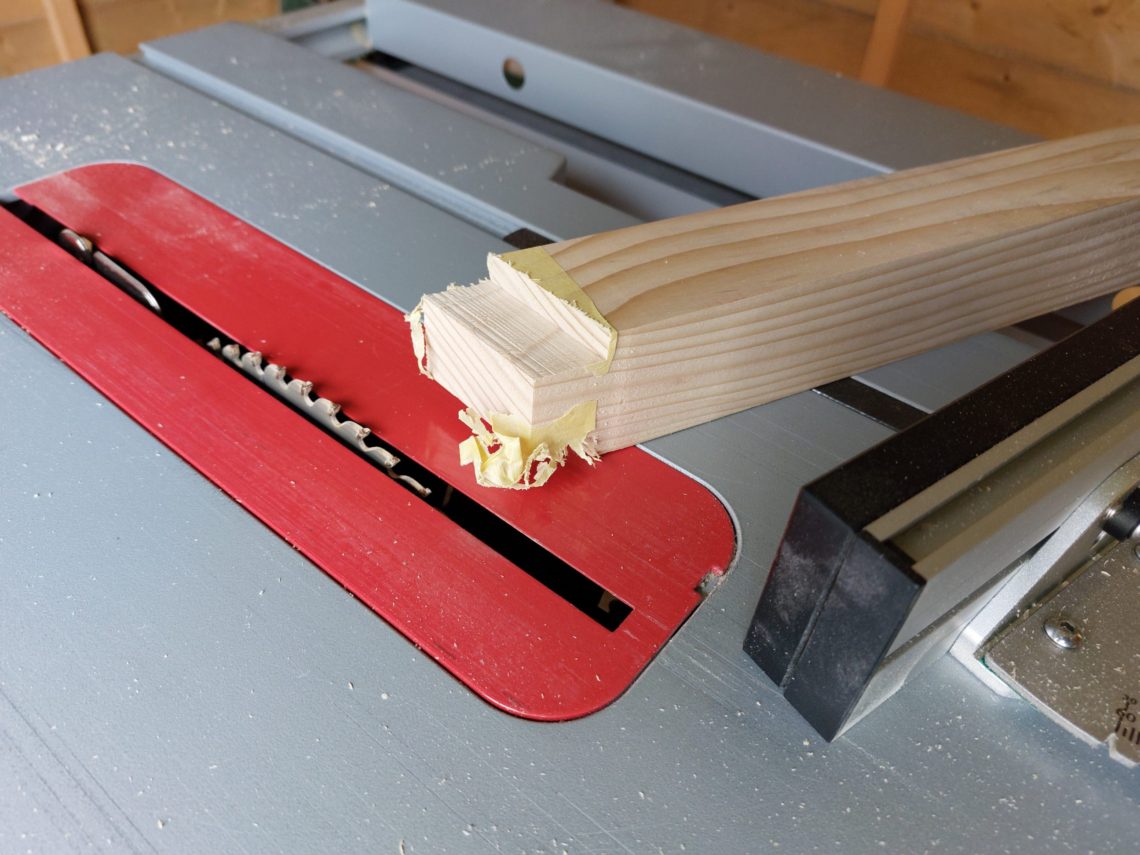
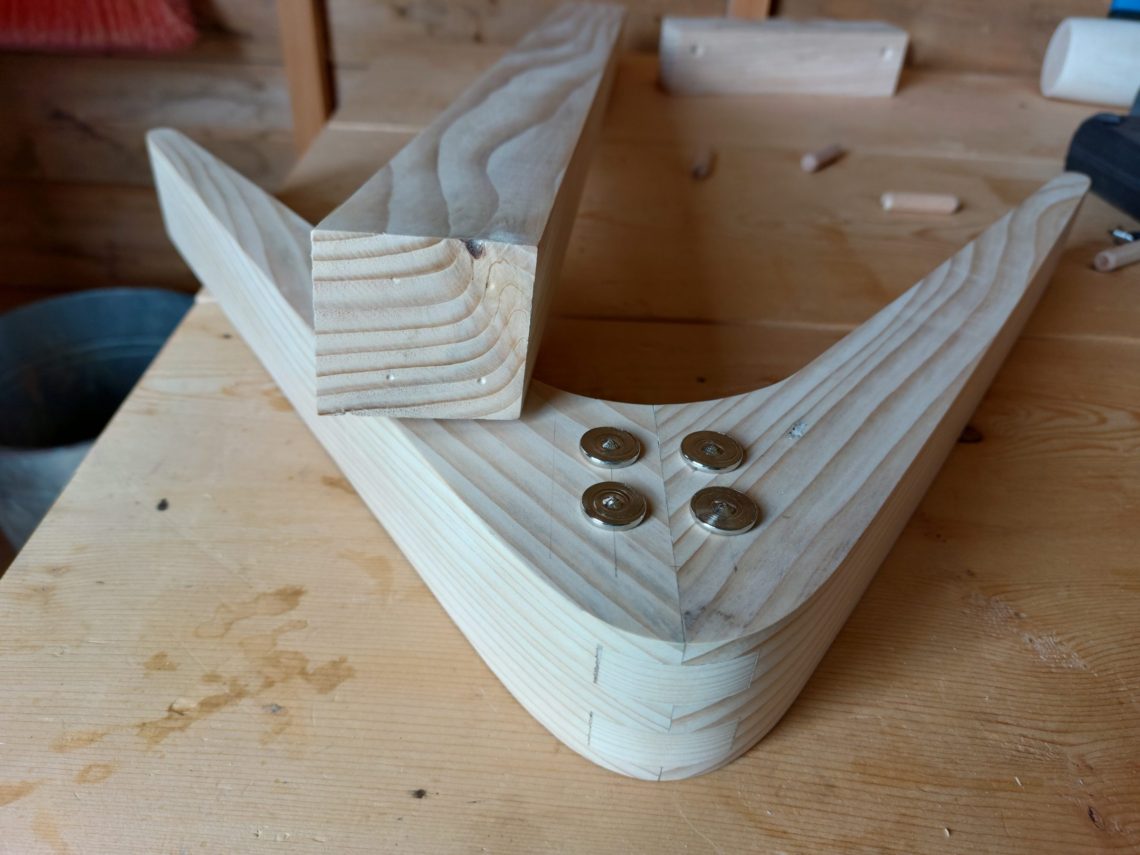
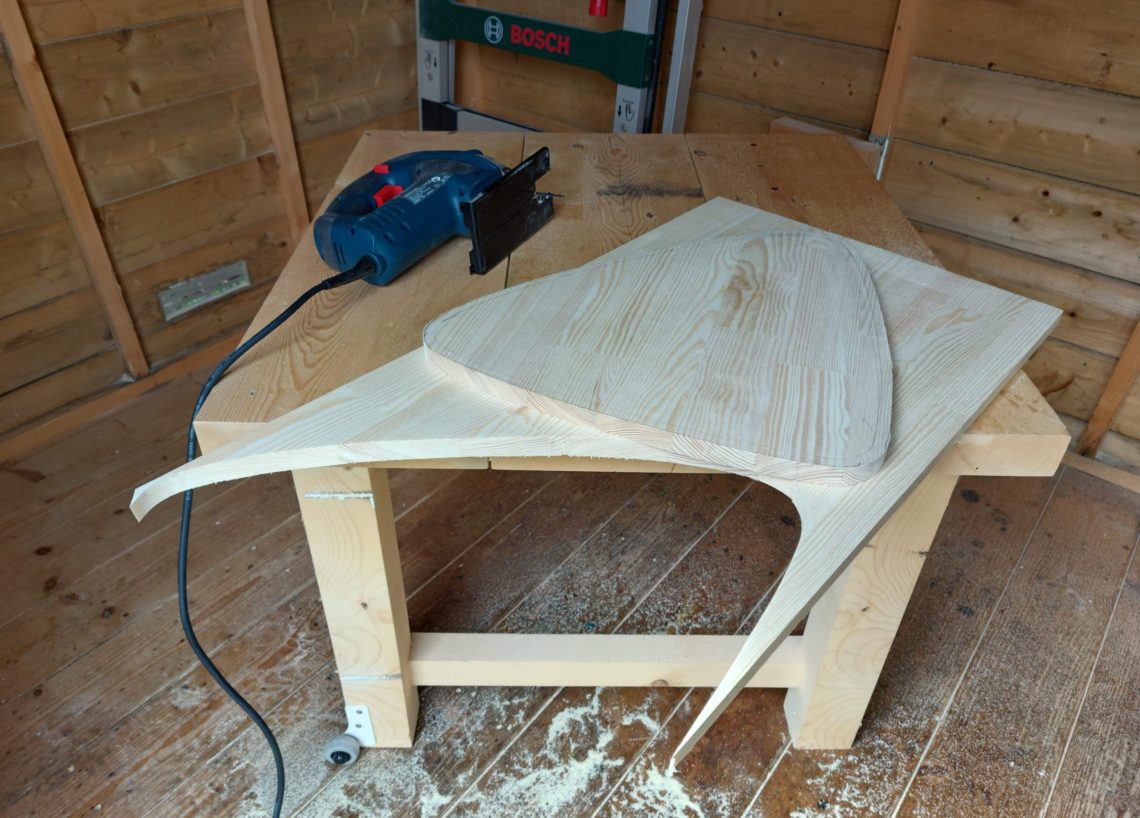
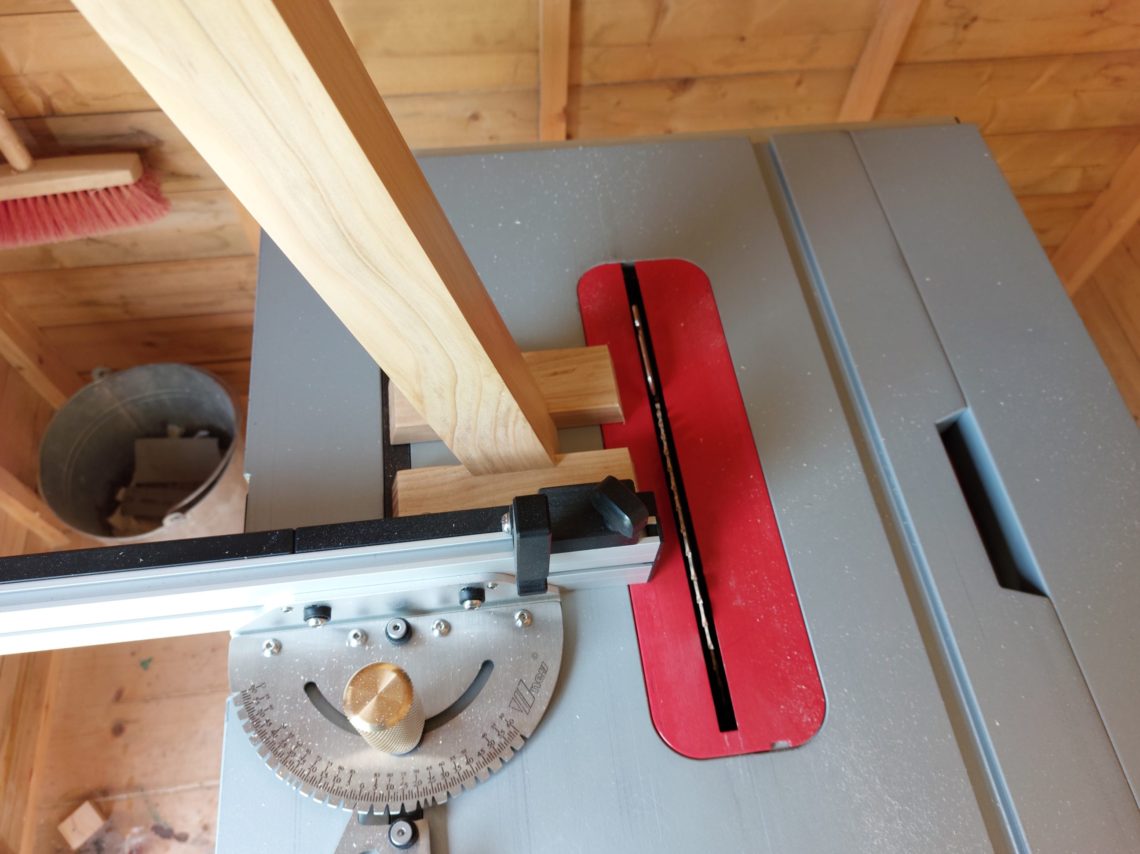
I started by cutting both feet with a jigsaw. They were next stuck together with double-sided tape and sanded to the desired shape. I had to cut joints next, having in mind that the jointed section would be used for another joint – 4 x 10 mm dowels. Using double-sided tape, I attached both feet to the board and additionally clamped them as well. That way I created a very simple, yet effective jig, that helped me cut the joint. It was a double loose tongue and groove joint, very strong due to the alternating grain direction. I cut it a bit deeper to create small glue pockets on both sides. I sanded floating tongues to get a perfect, not-too-tight fit and glued everything together.
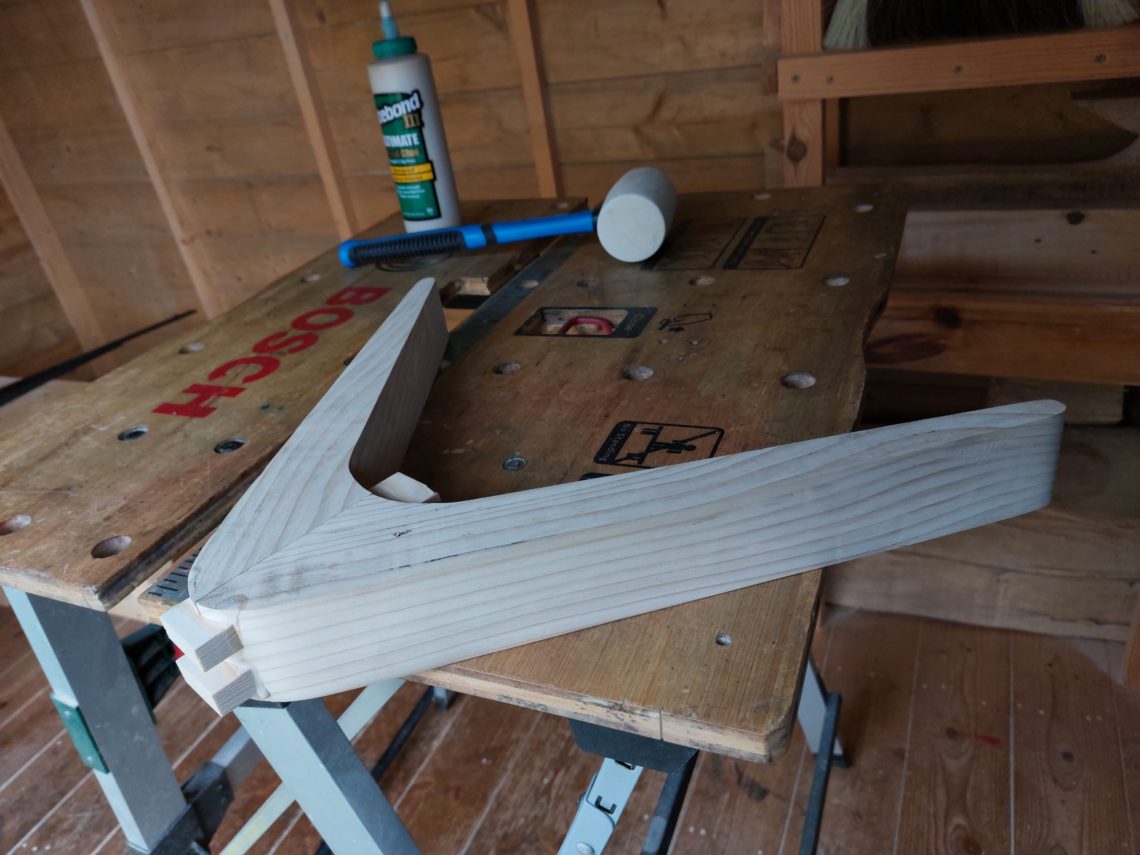
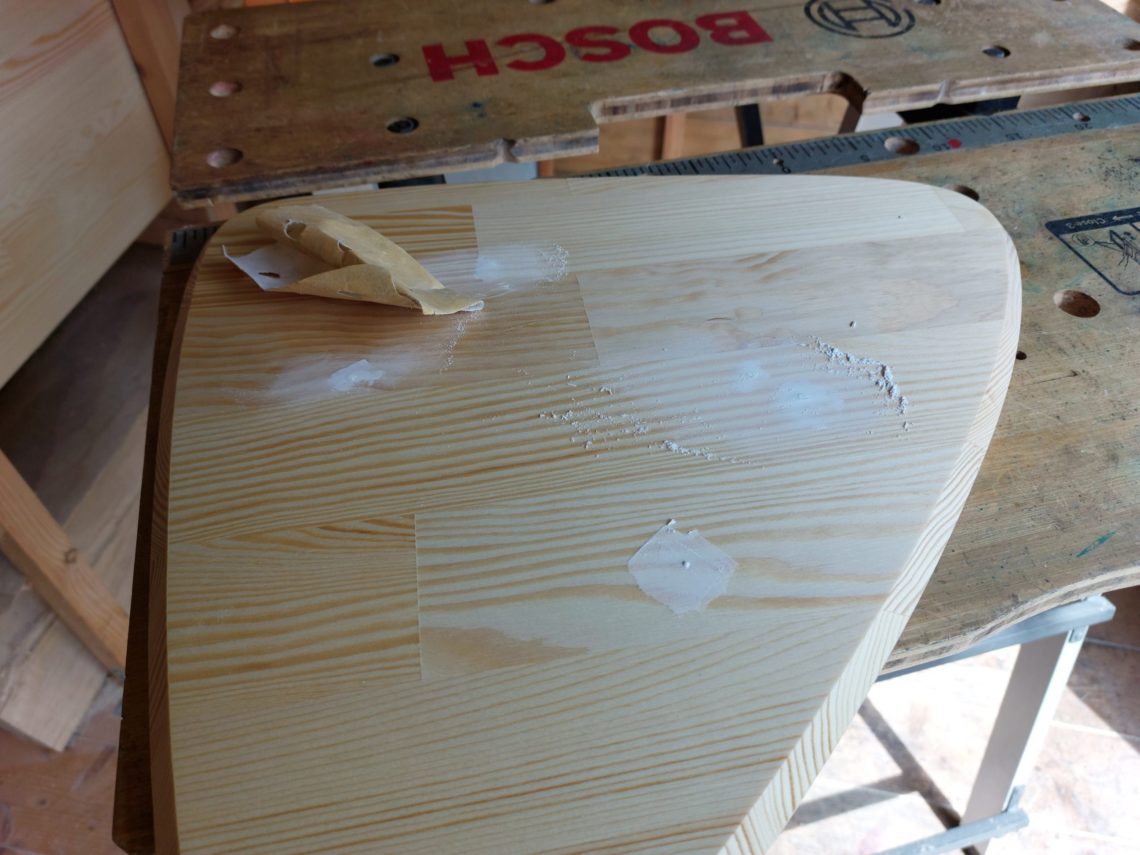
No clamps were needed for the glue-up. It dried overnight, and the tongues were cut and sanded flush the next day. As always, minor imperfections were filled in with sawdust and glue mixture by “wet” sanding.
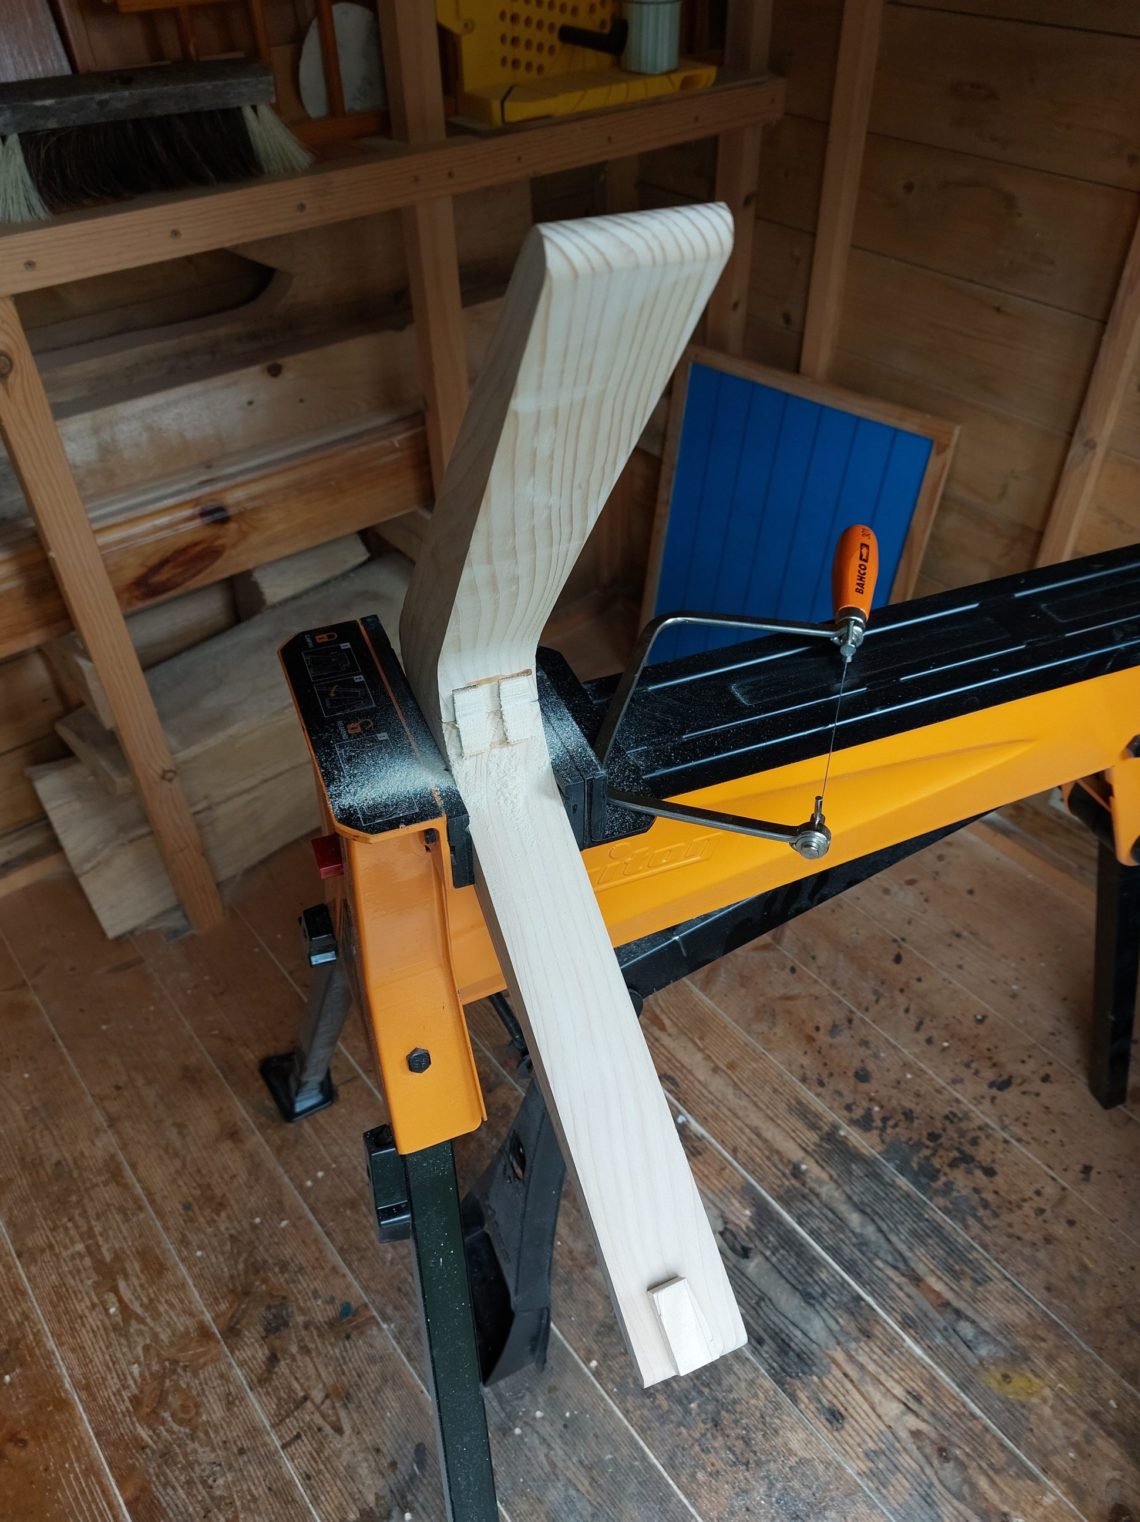
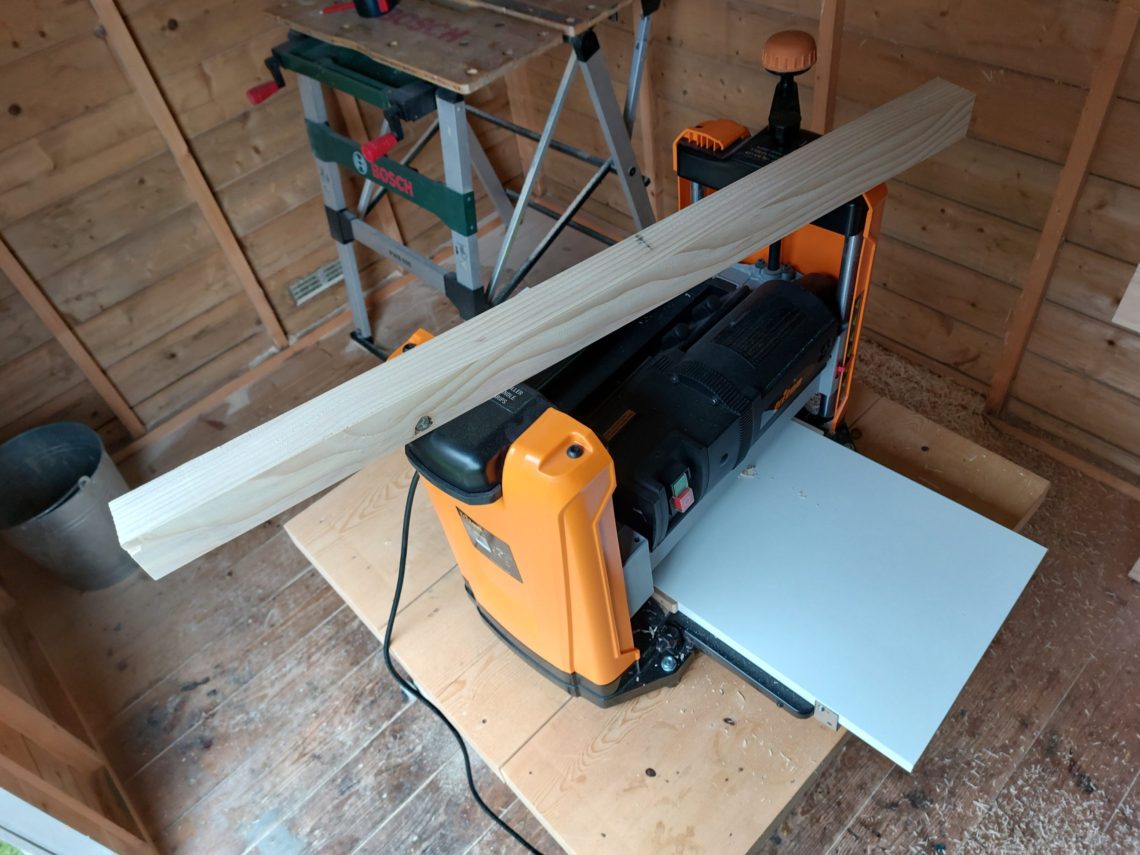
The same board was used next for the leg and the brackets too. I cut off what I needed and planed it using my thickness planer.
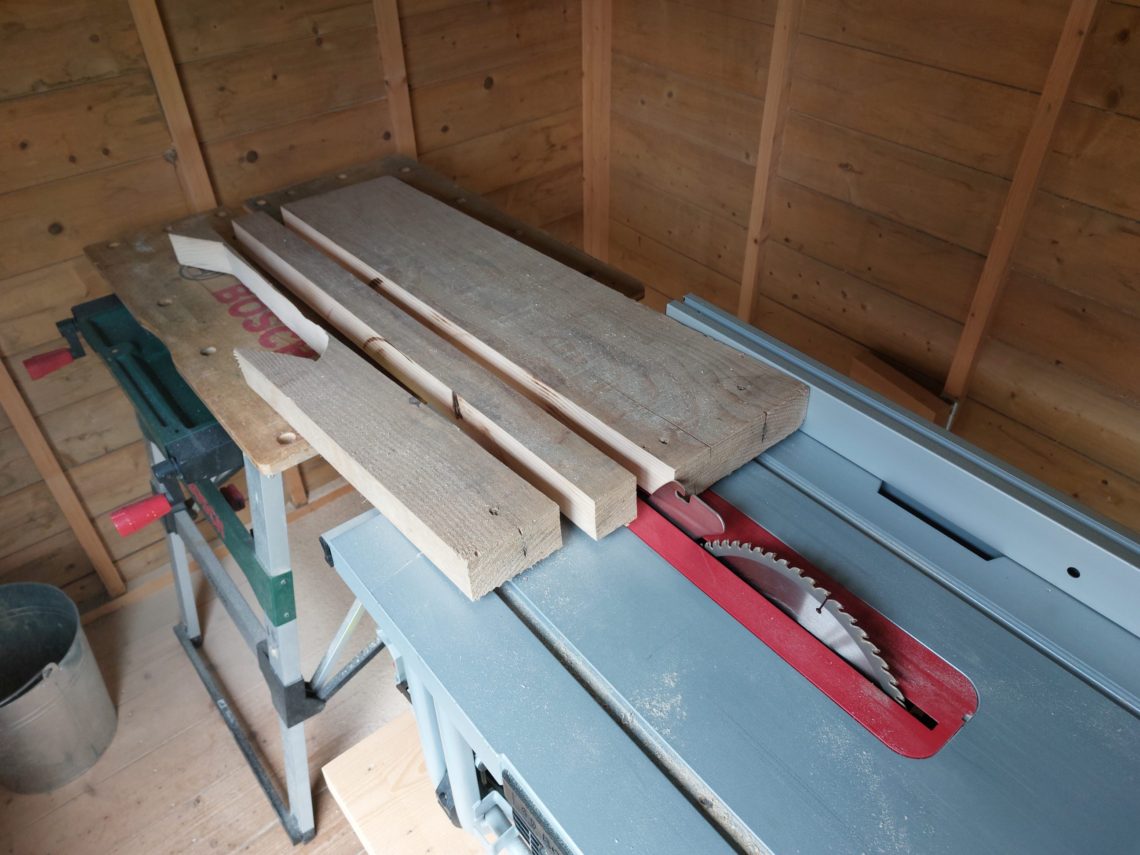
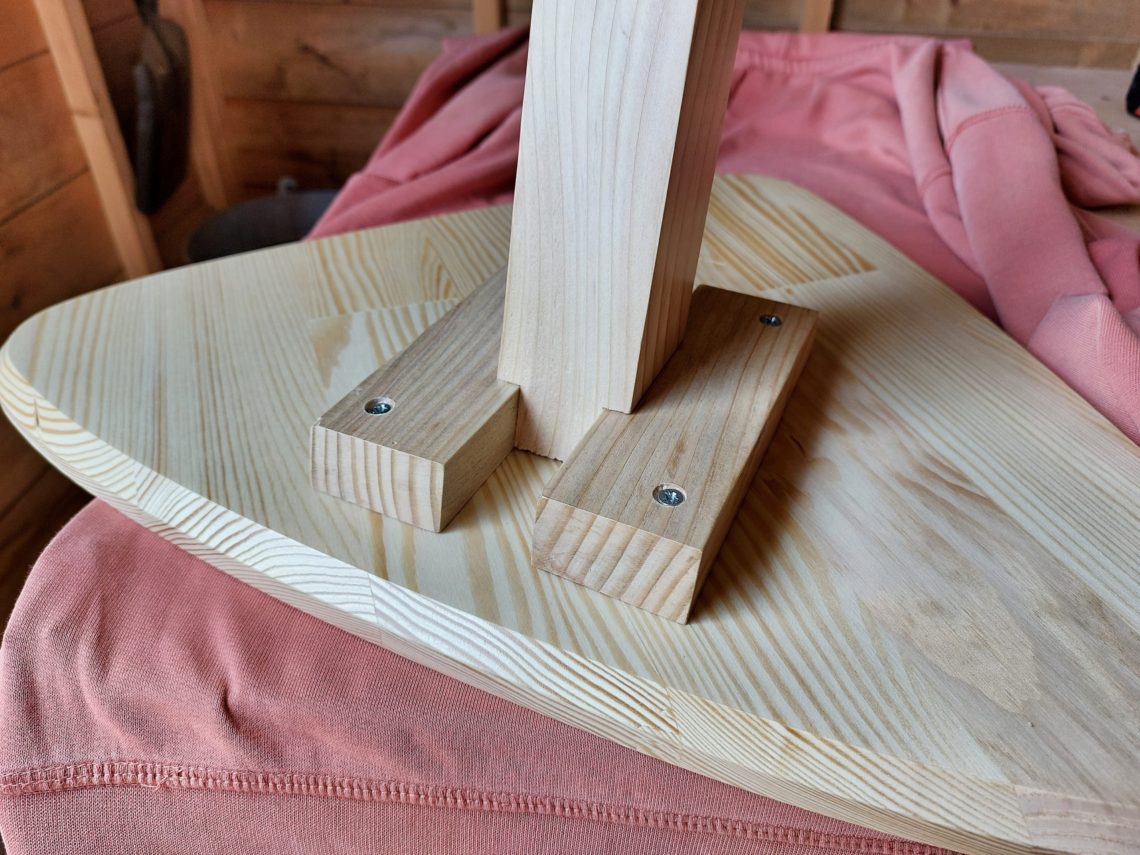
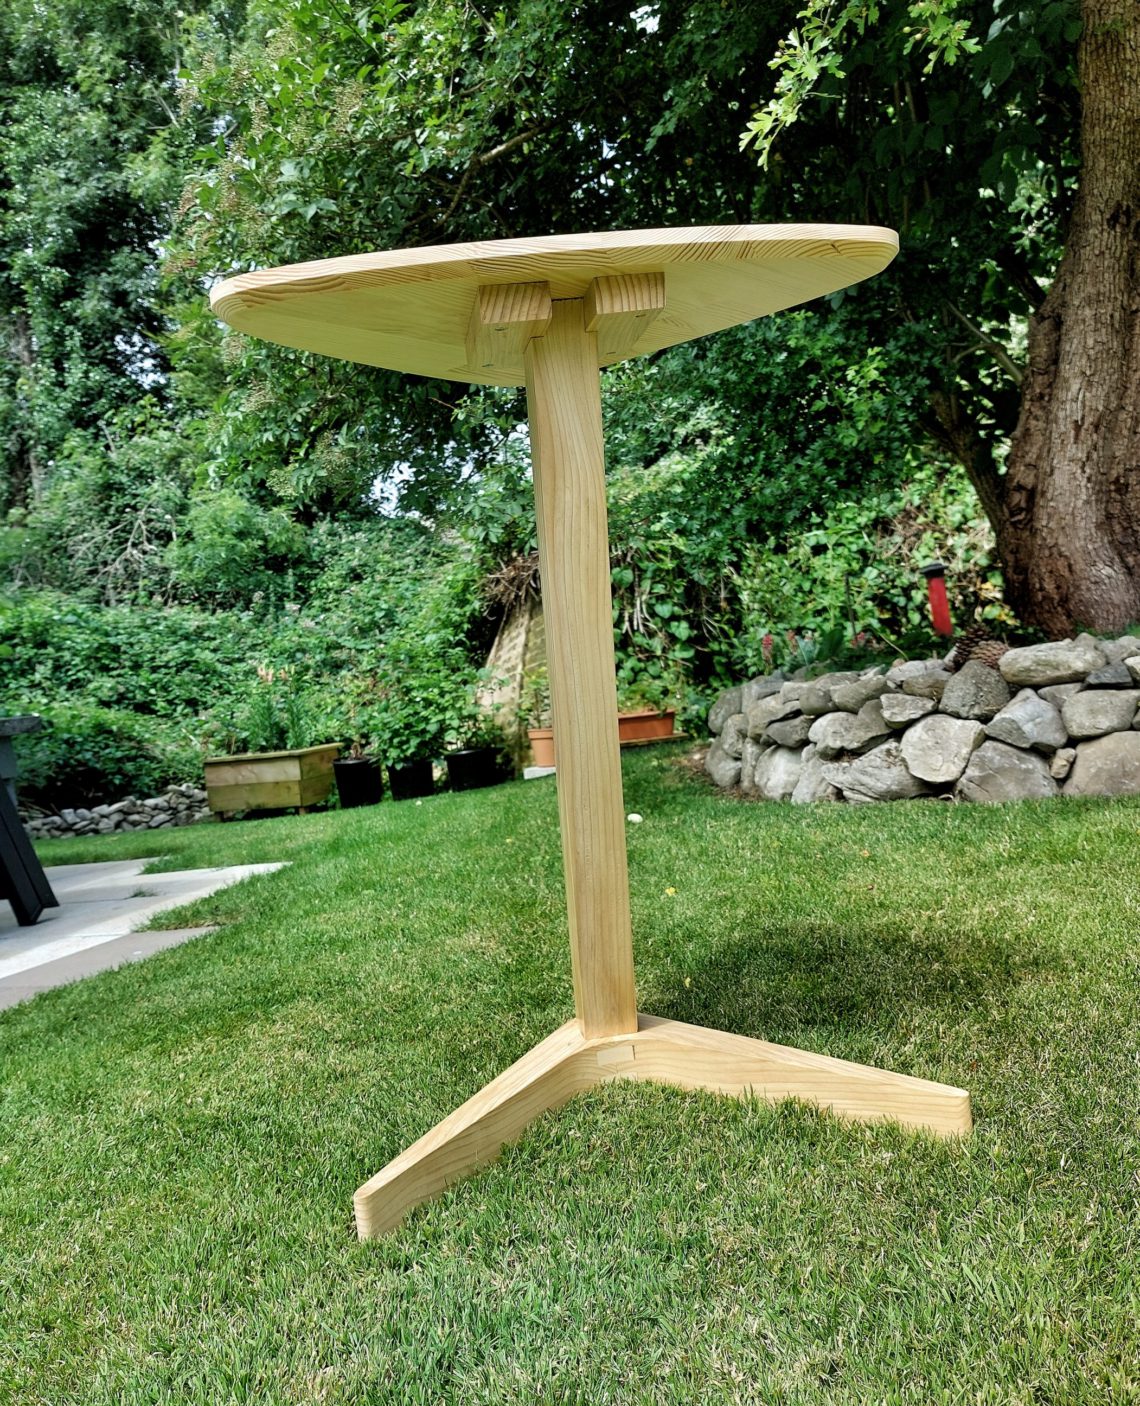
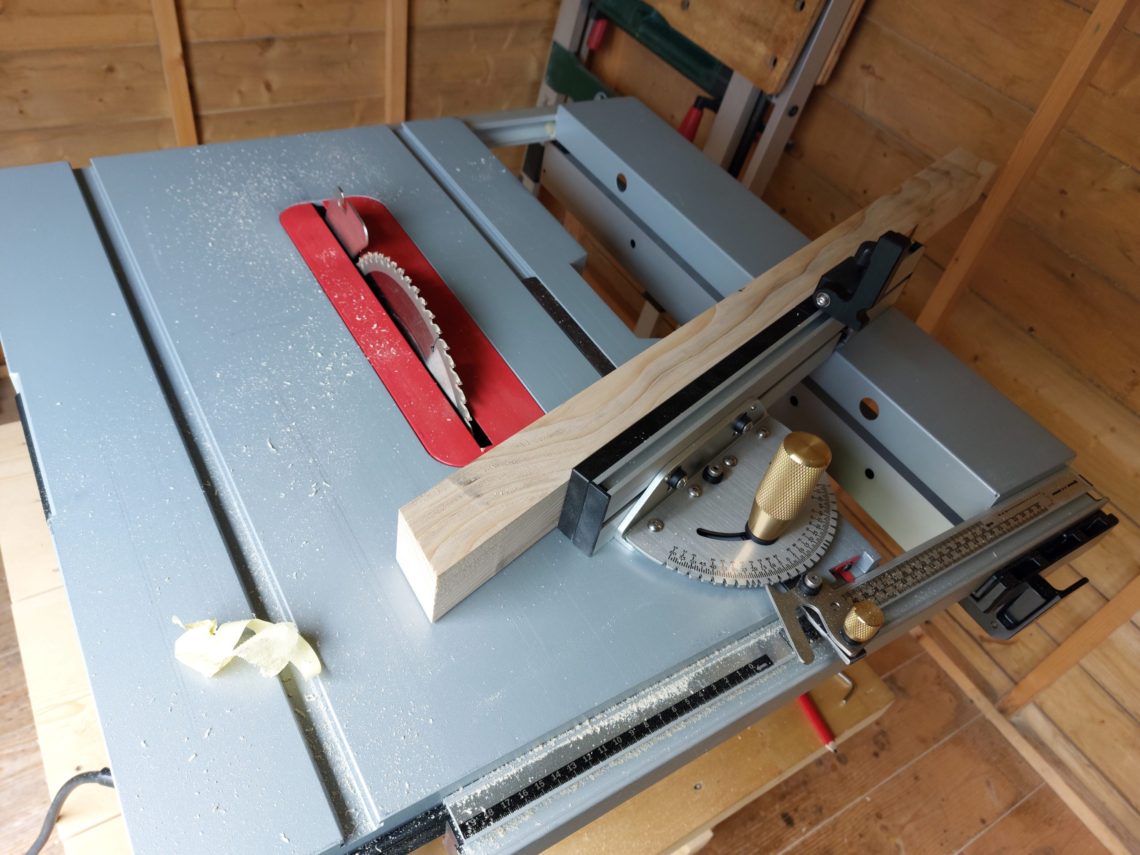
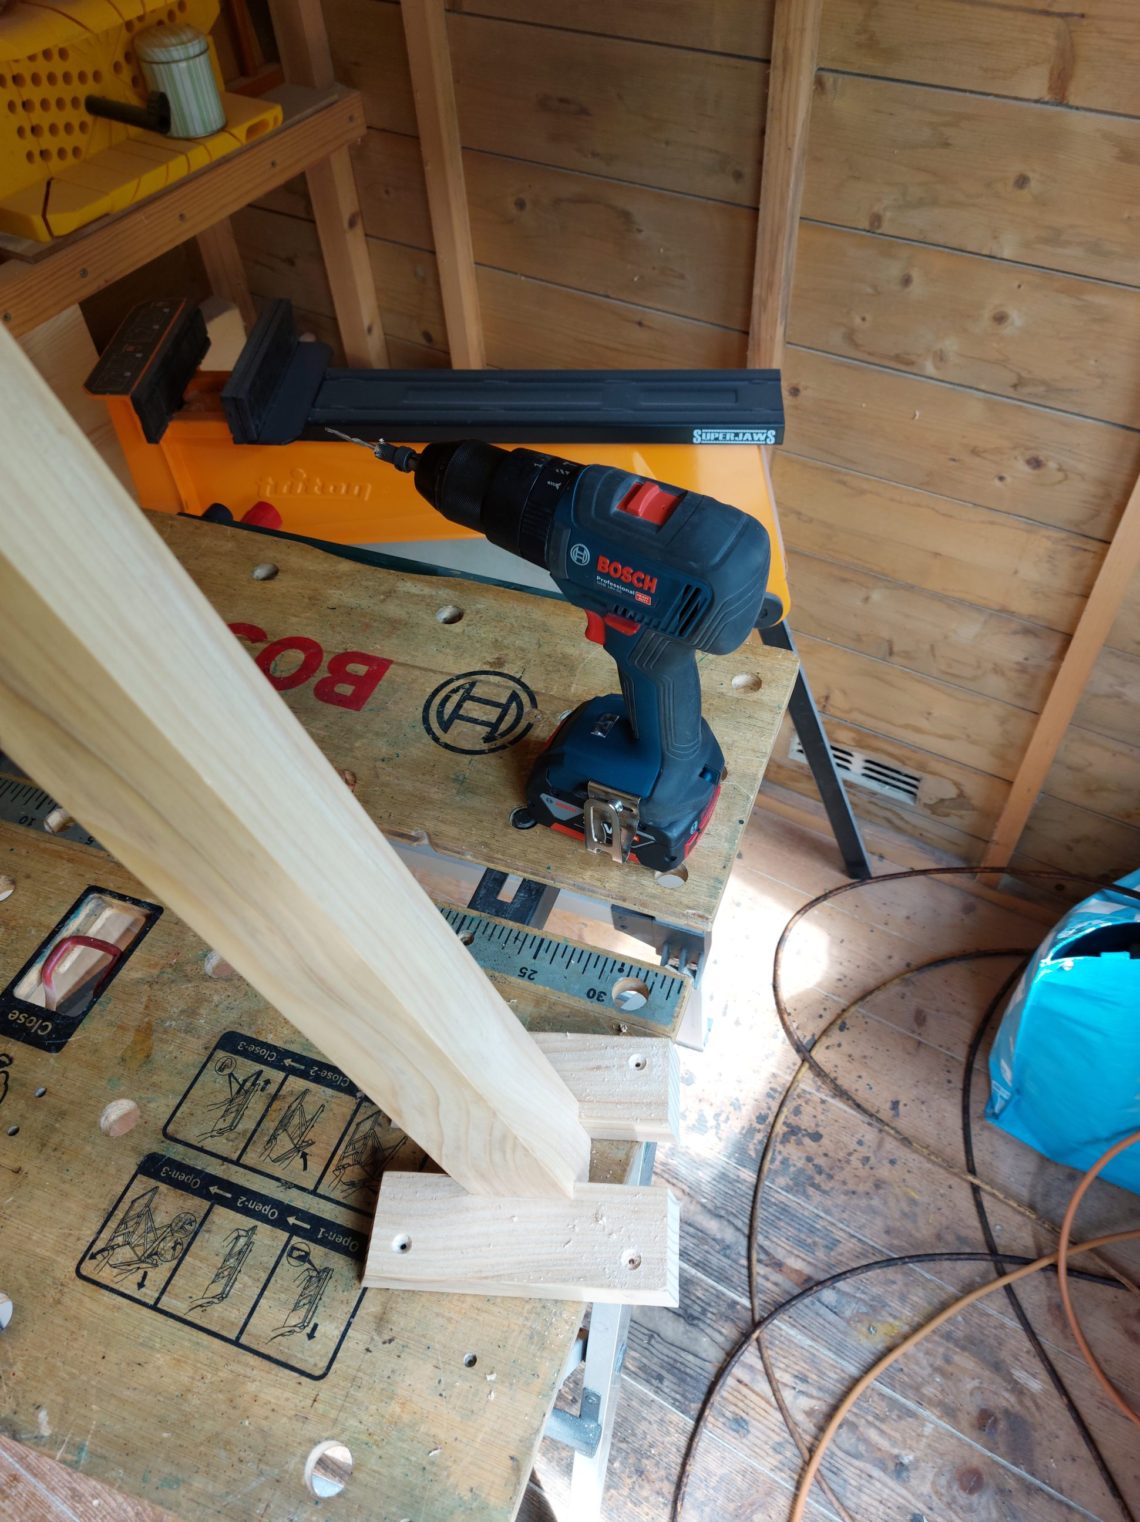
Both ends of the leg were cut at an angle of ~70º and next I cut both brackets. The top end of the leg got its “mortise” cut, slightly shorter than the thickness of the brackets, designed that way to make the brackets support the top and not the leg’s most distal end. The top mortise should be rather called a lip because its main function was to support both rails from the bottom.
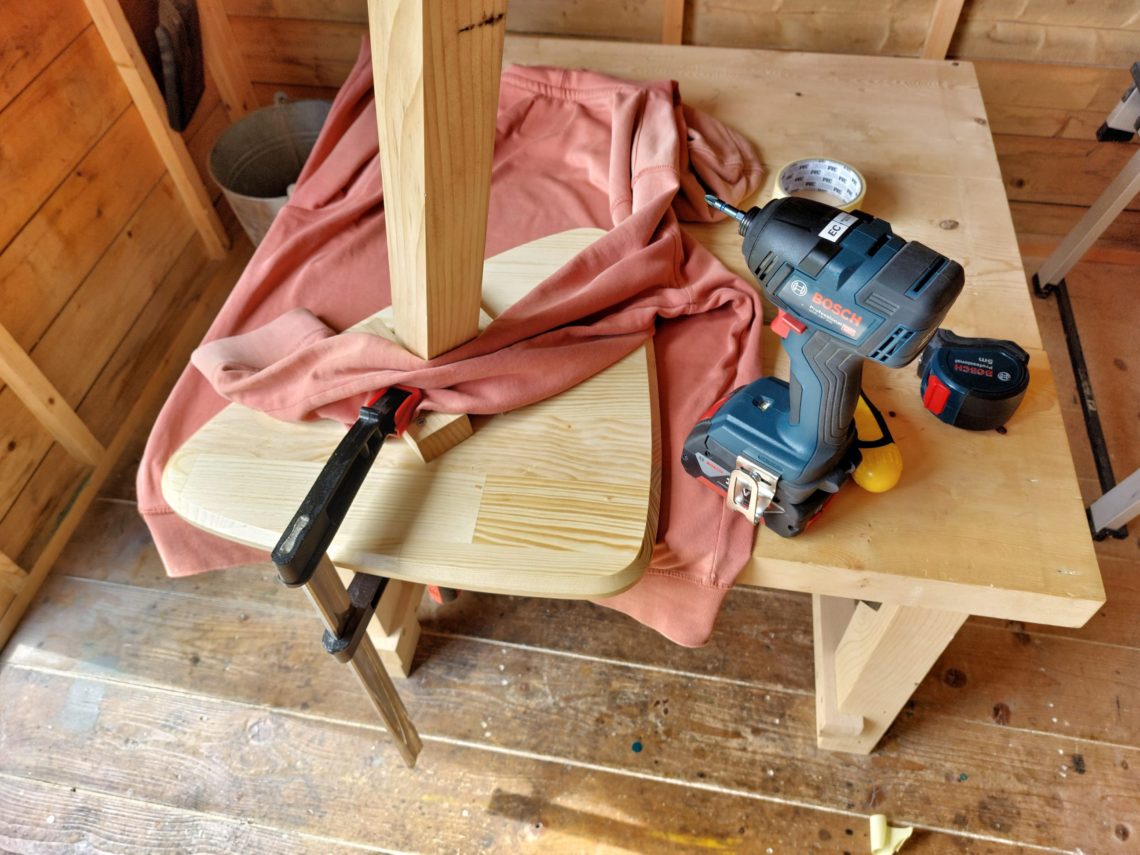
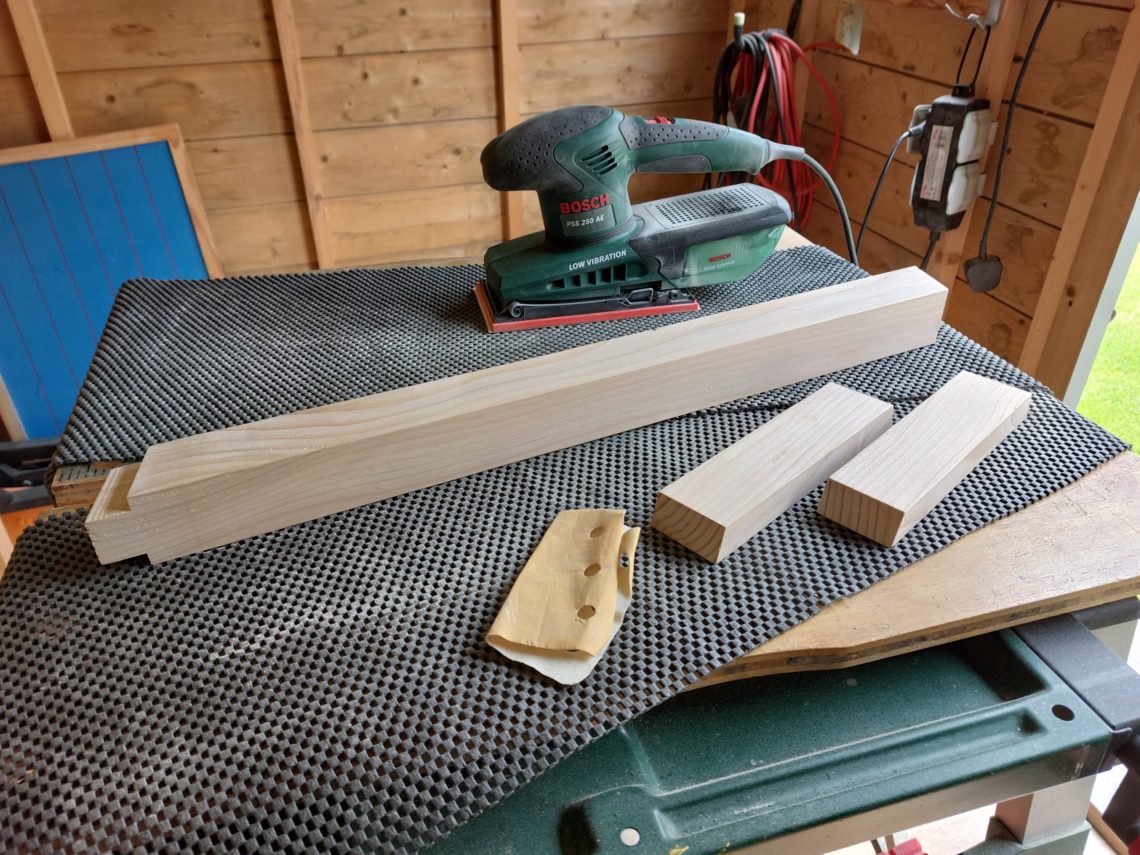
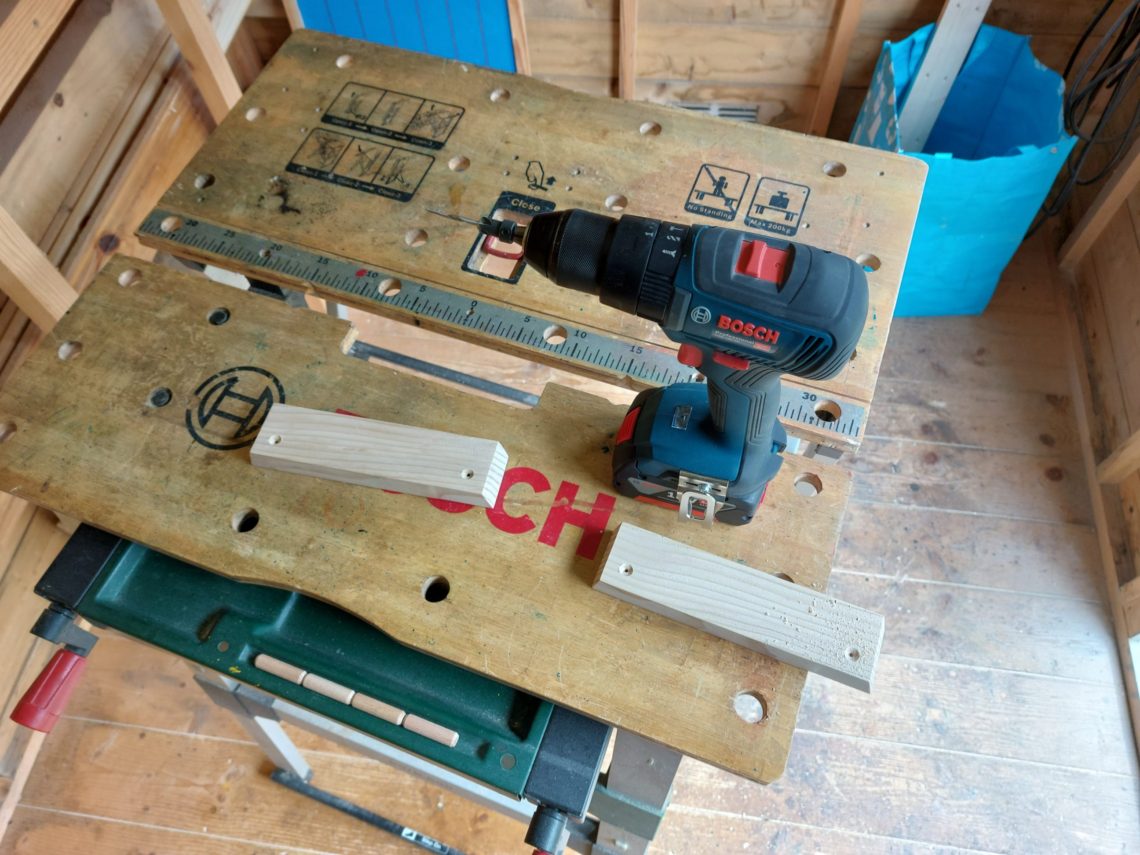
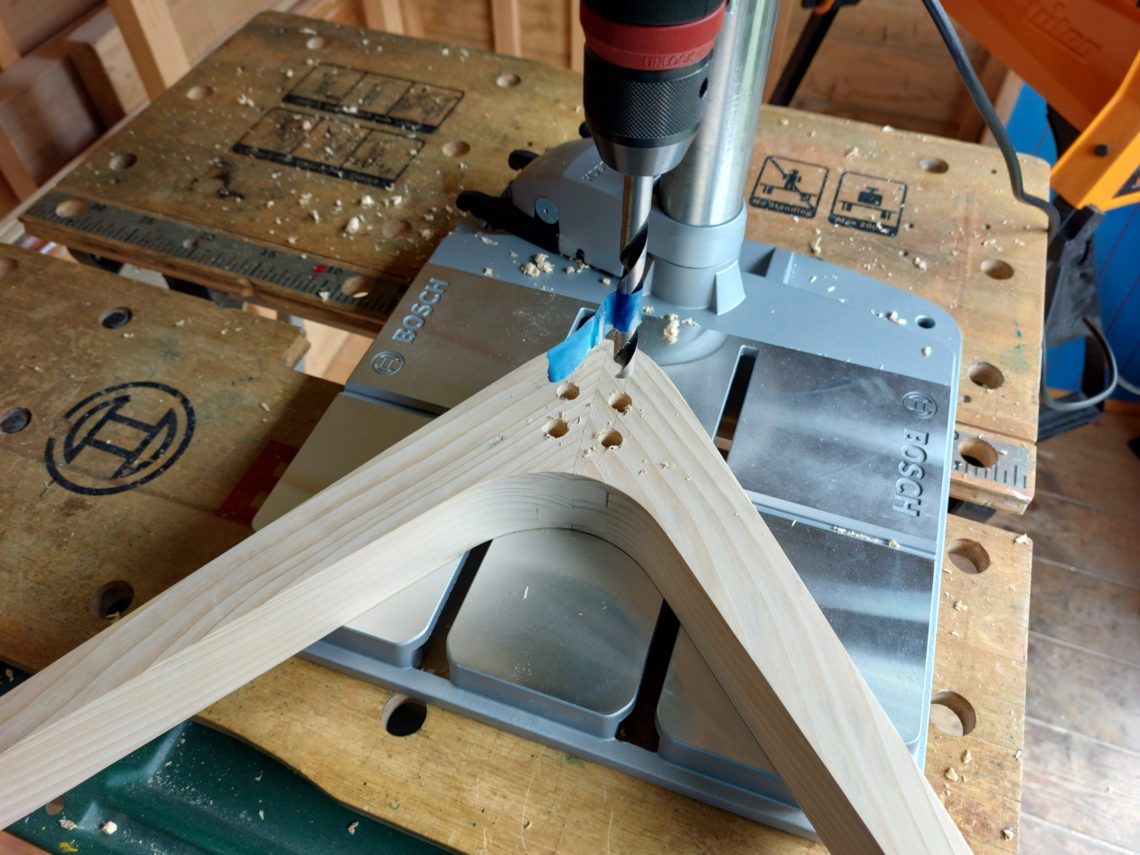
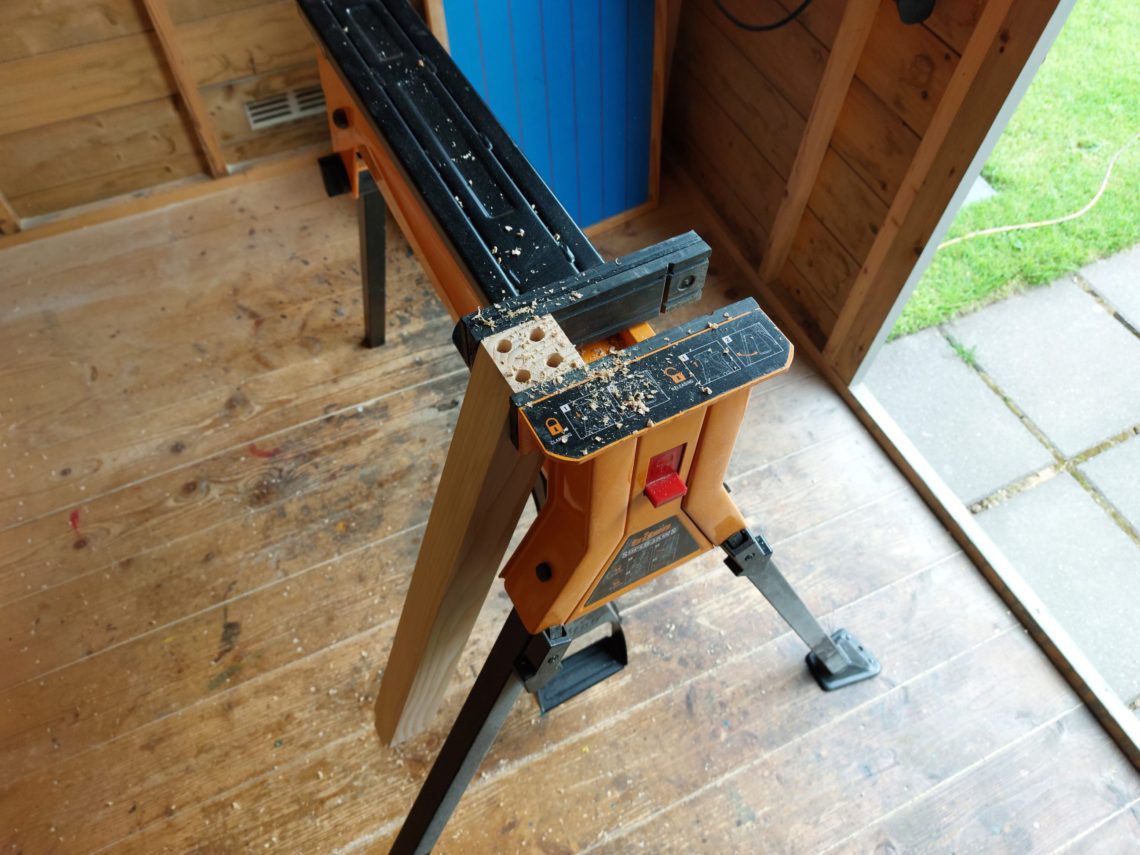
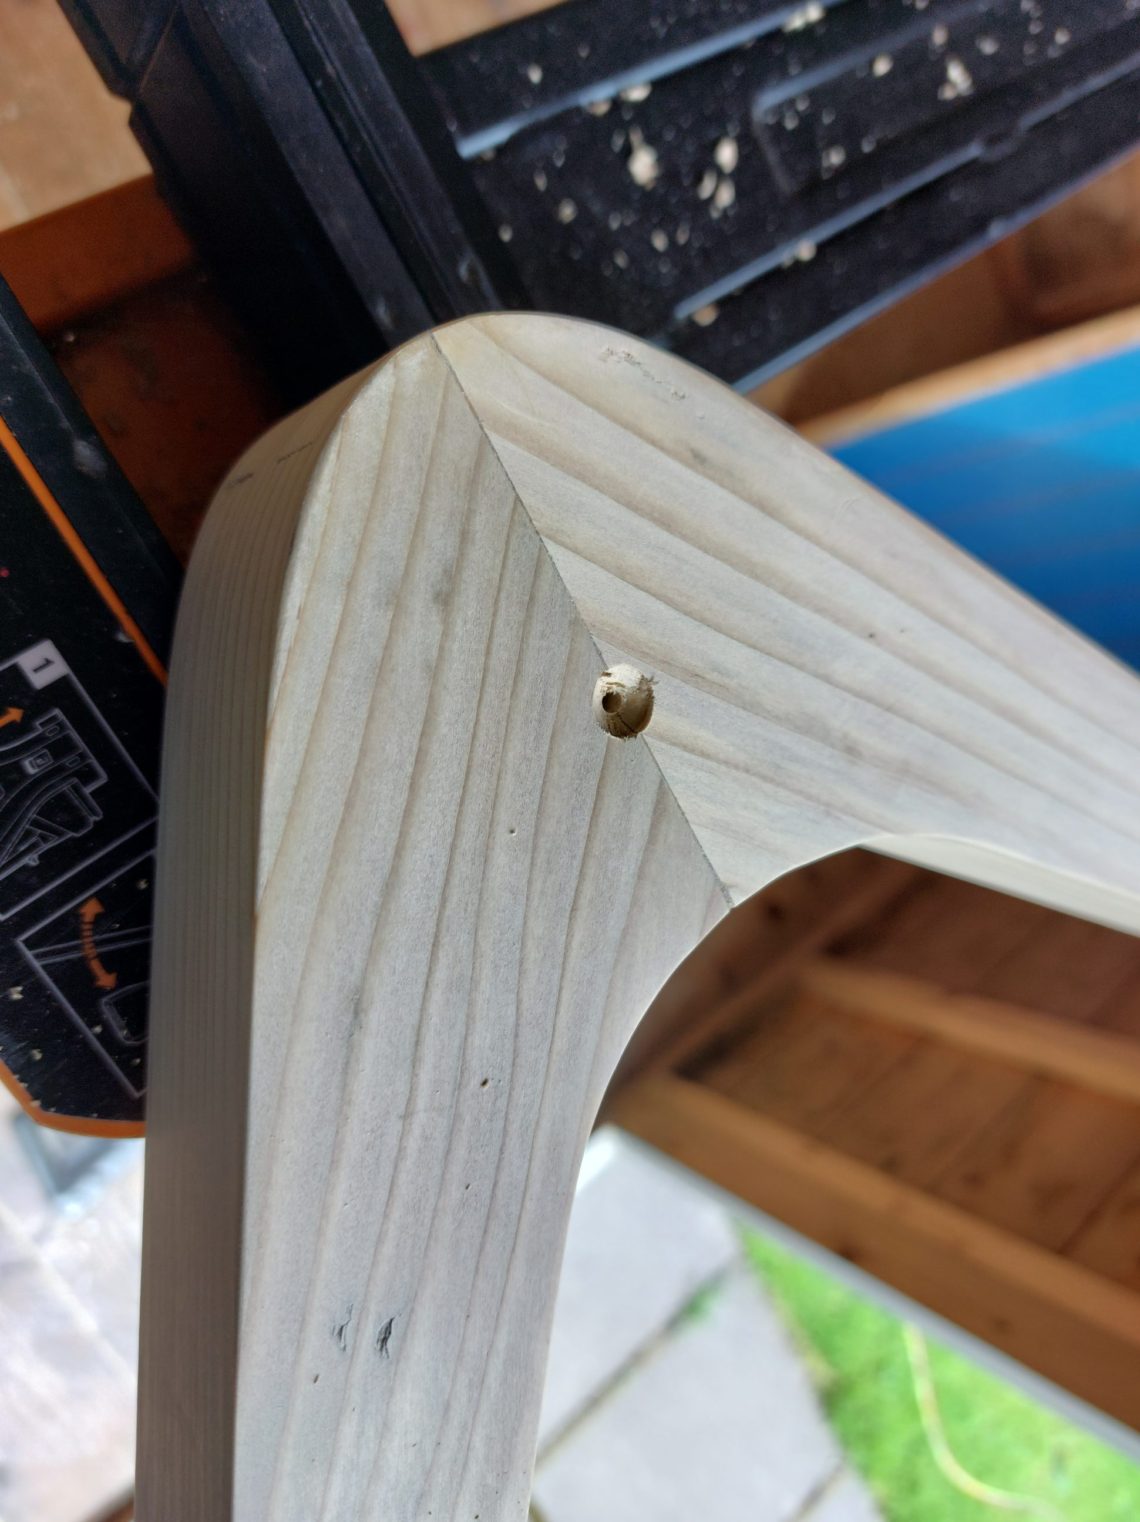
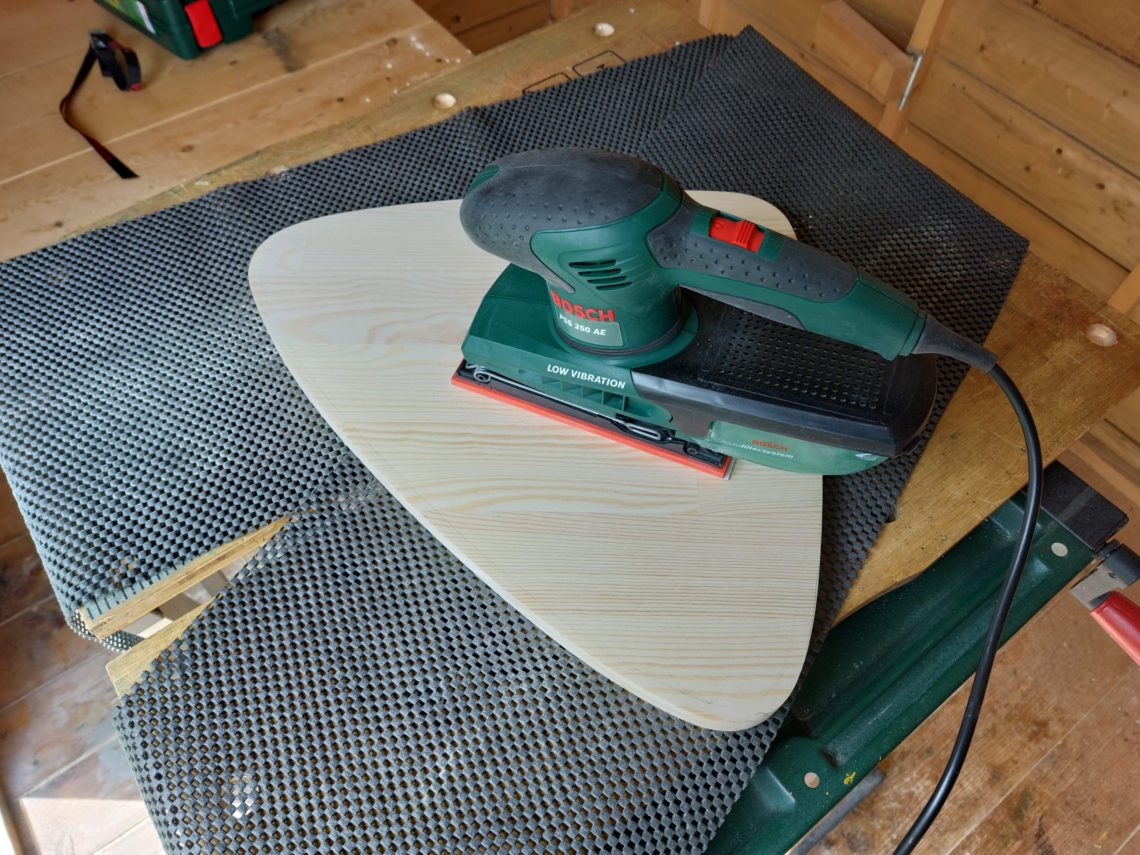
A good sanding was followed by drilling 10 mm holes for the bottom joint and countersunk holes in the brackets. I also pre-drilled a single hole through the boomerang base for a screw, to support the dowel joint during drying. It brought some additional sturdiness too, but its main function was to act like a clamp.
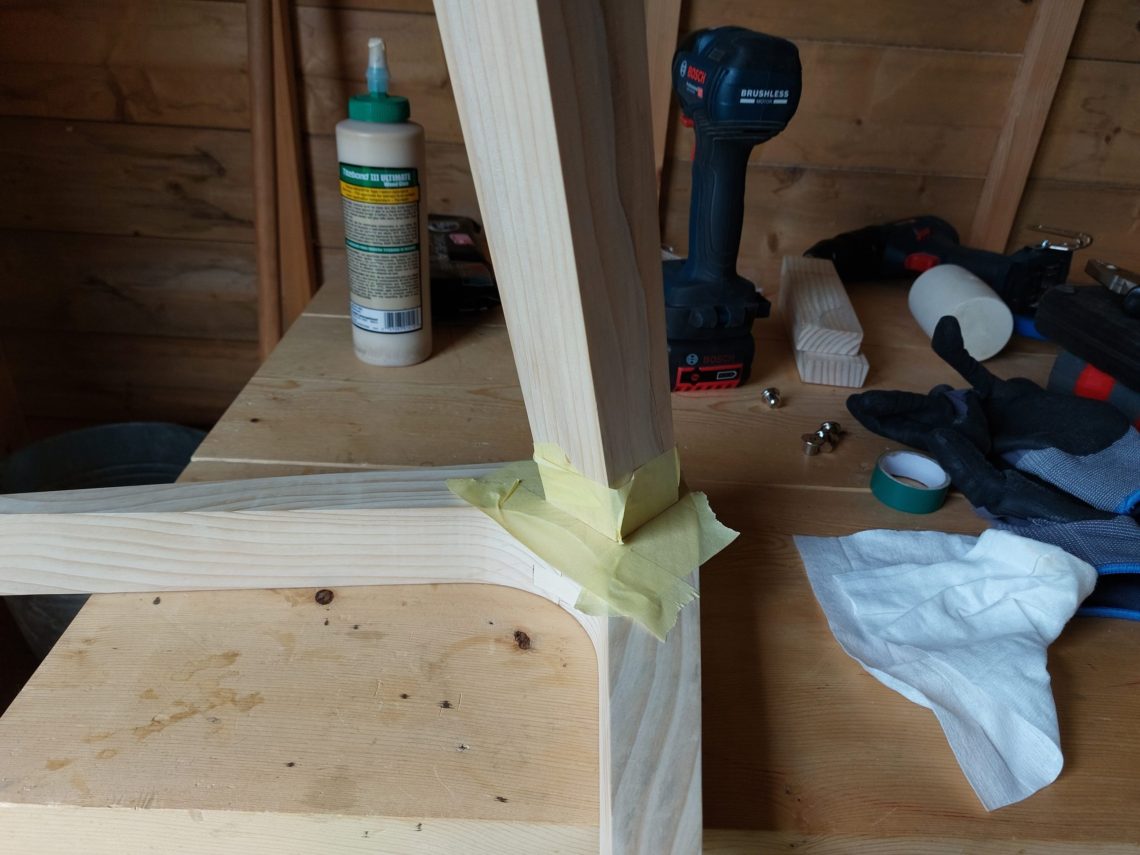
Aligning the brackets and the top was tricky. It took me 3 attempts! They should support the top that is visually centred with the base, forming a frame with the shape of the letter Z. I tried that and I thought it wasn’t stable, that’s why I moved the brackets to the other side, giving the frame the C letter shape. I don’t understand what happened there and why I was moving the top so many times, but I couldn’t call the project done until it was stable enough for my needs. Eventually, the 1st attempt was the best, but it took me some time to find that out.
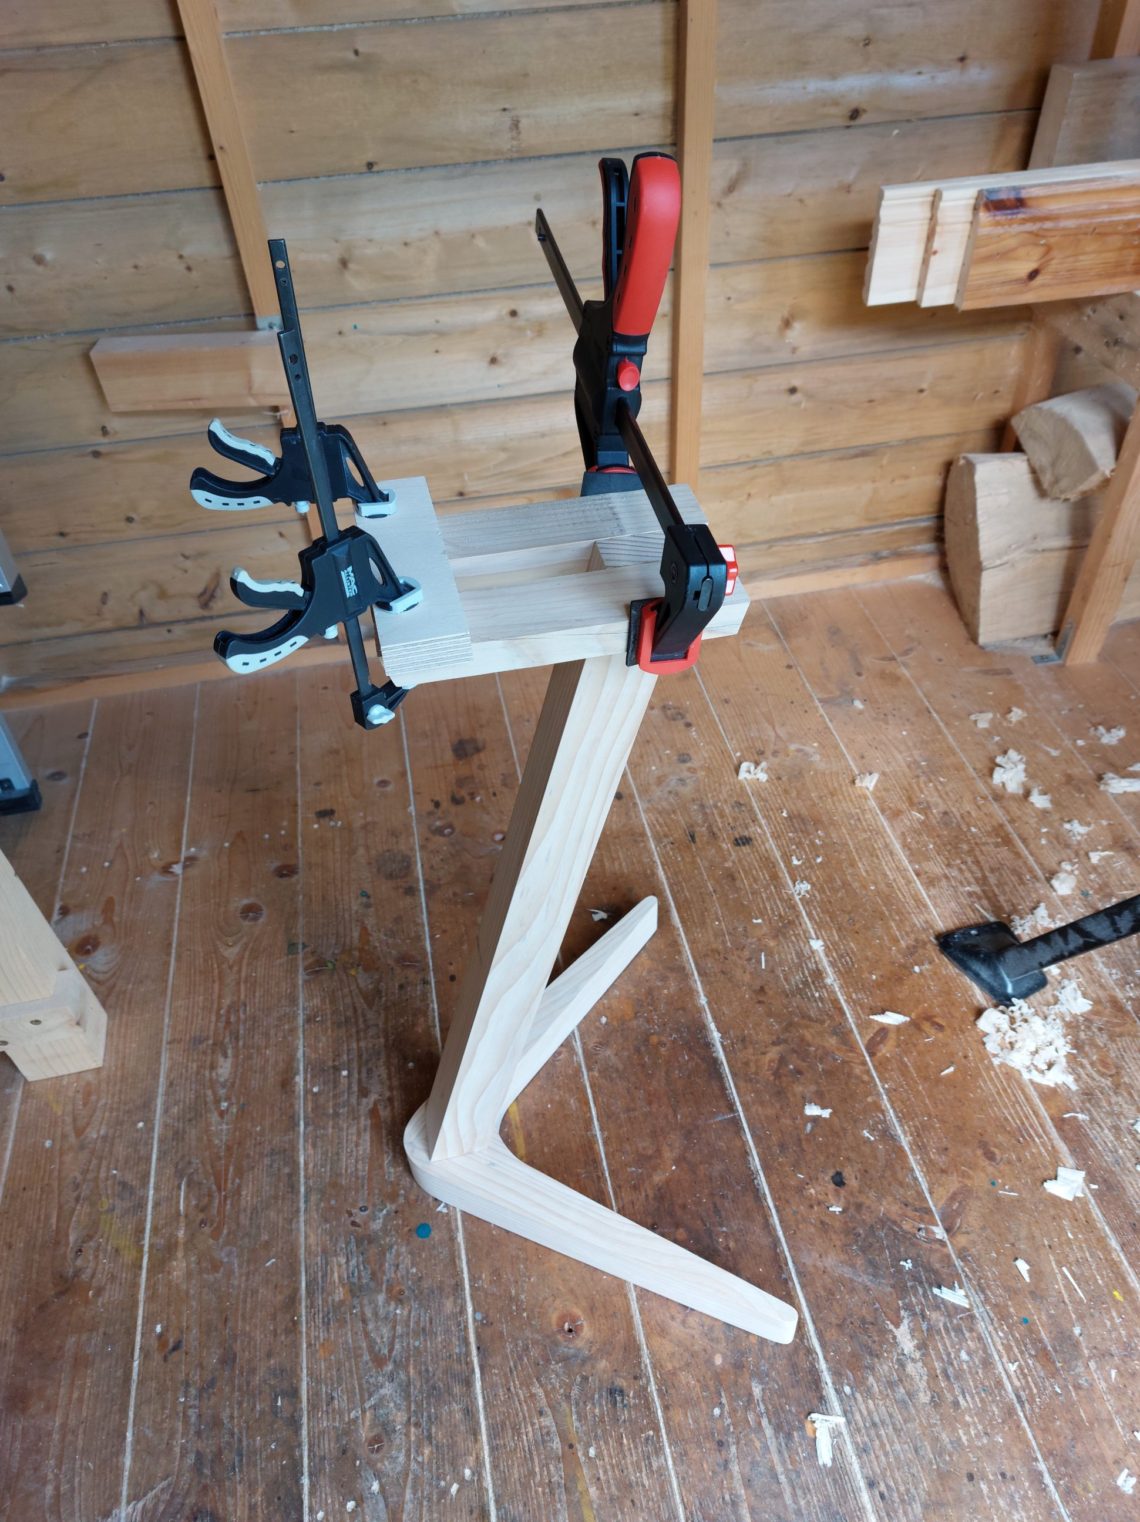
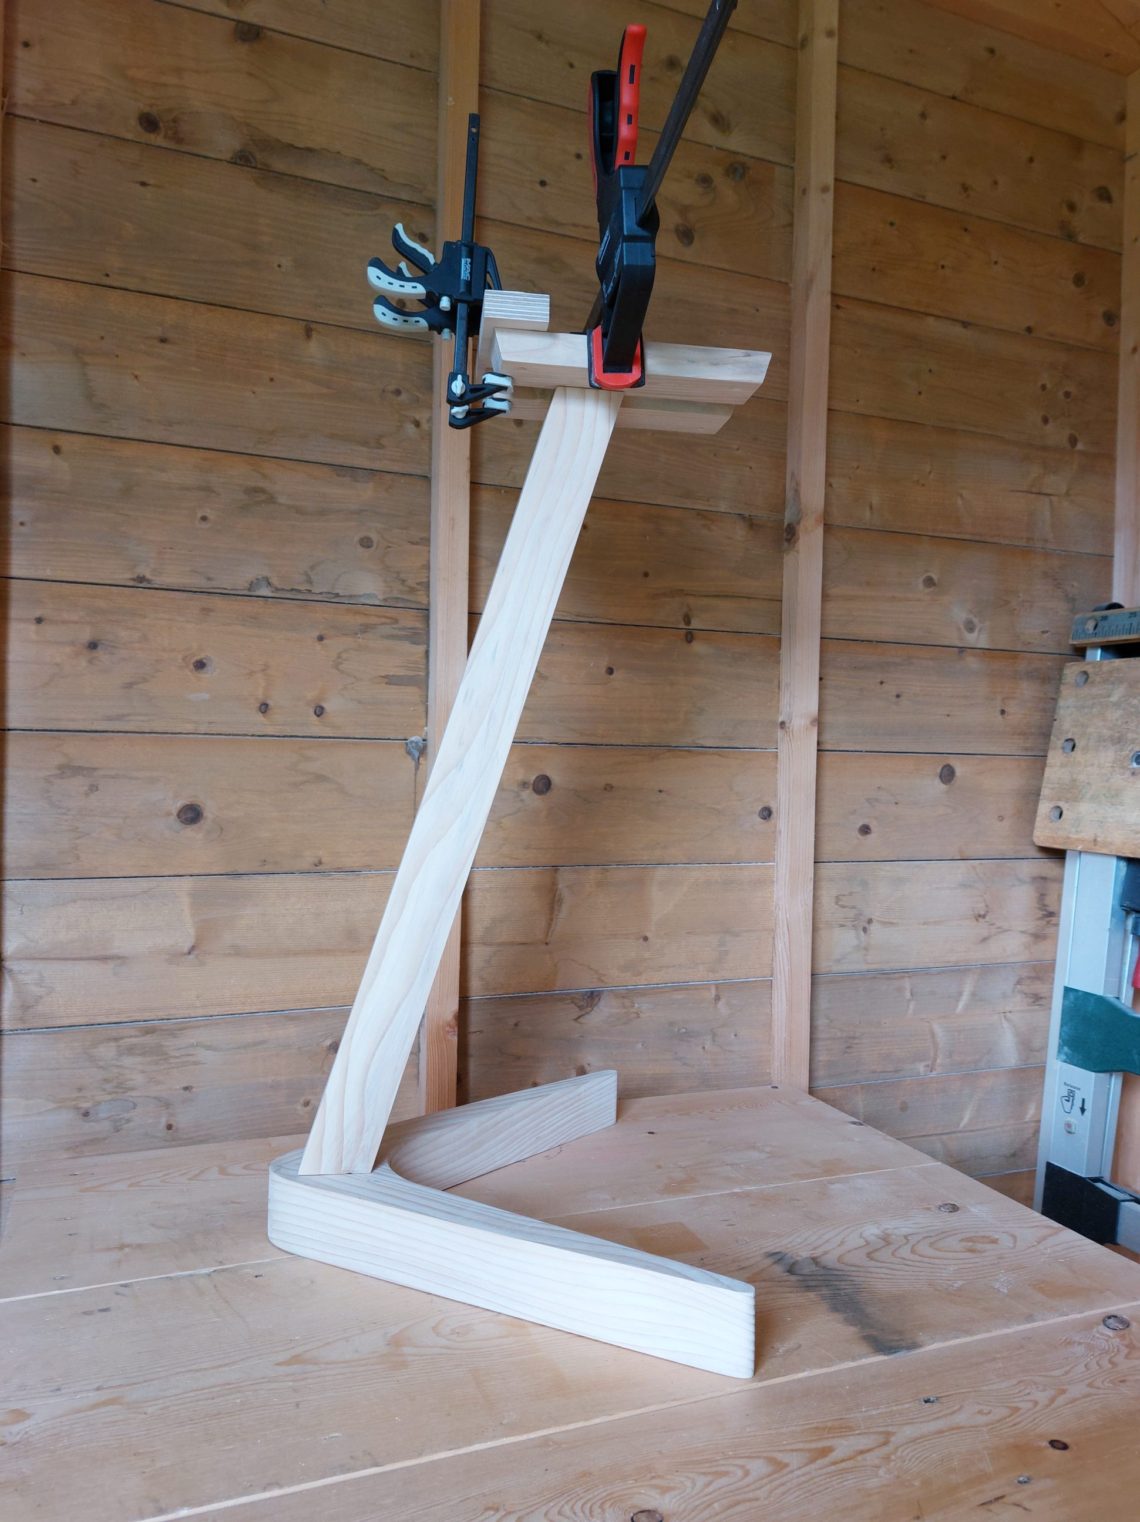
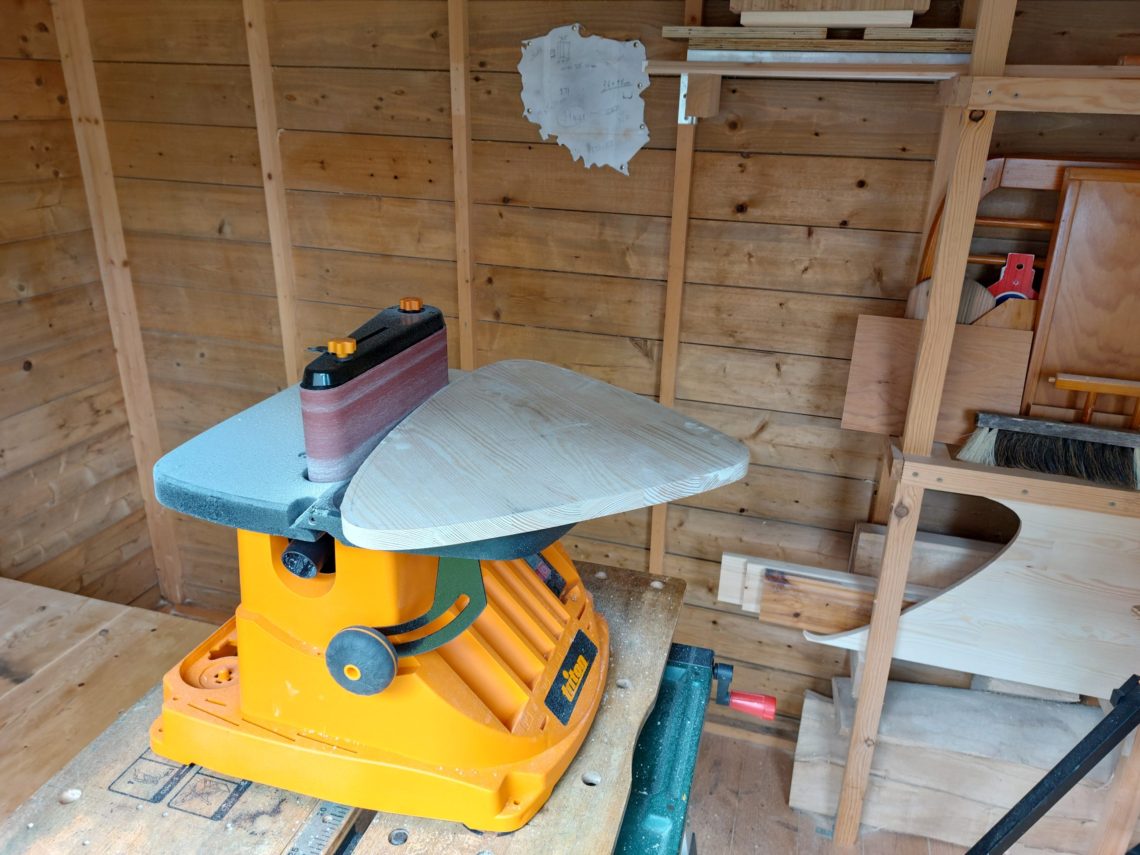
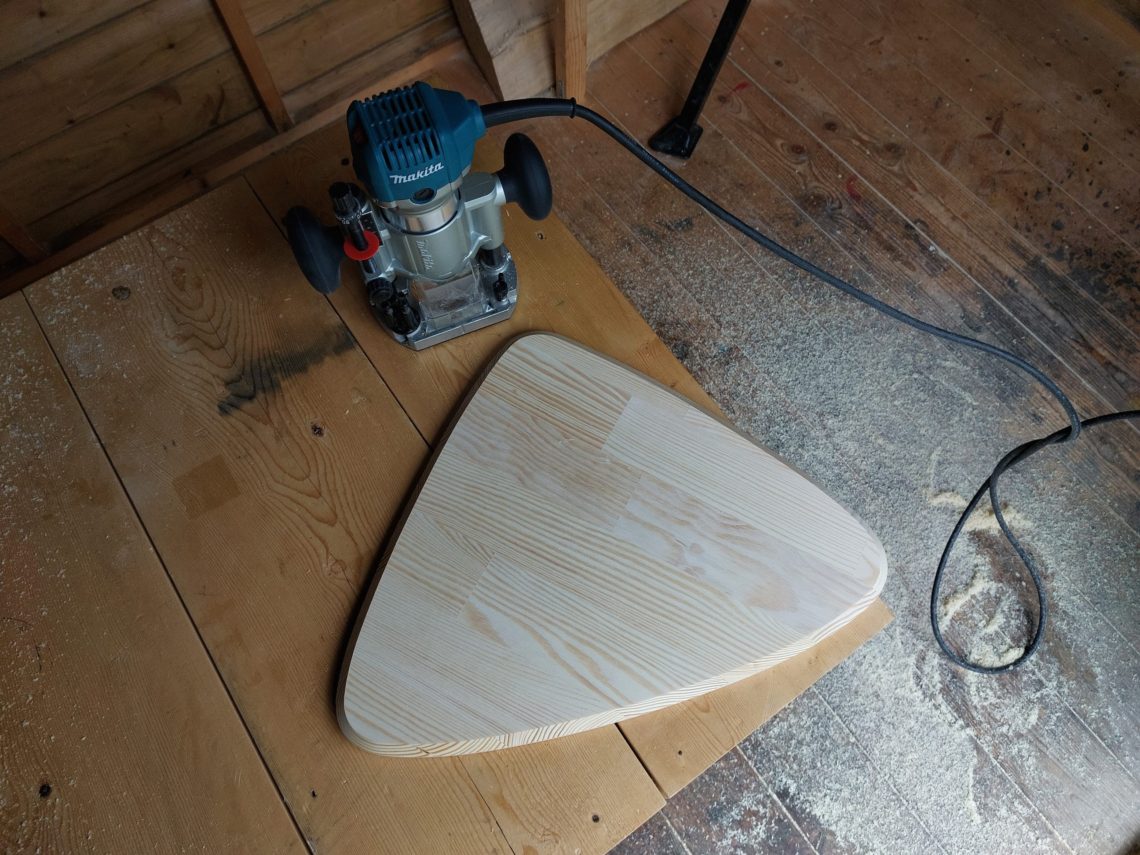
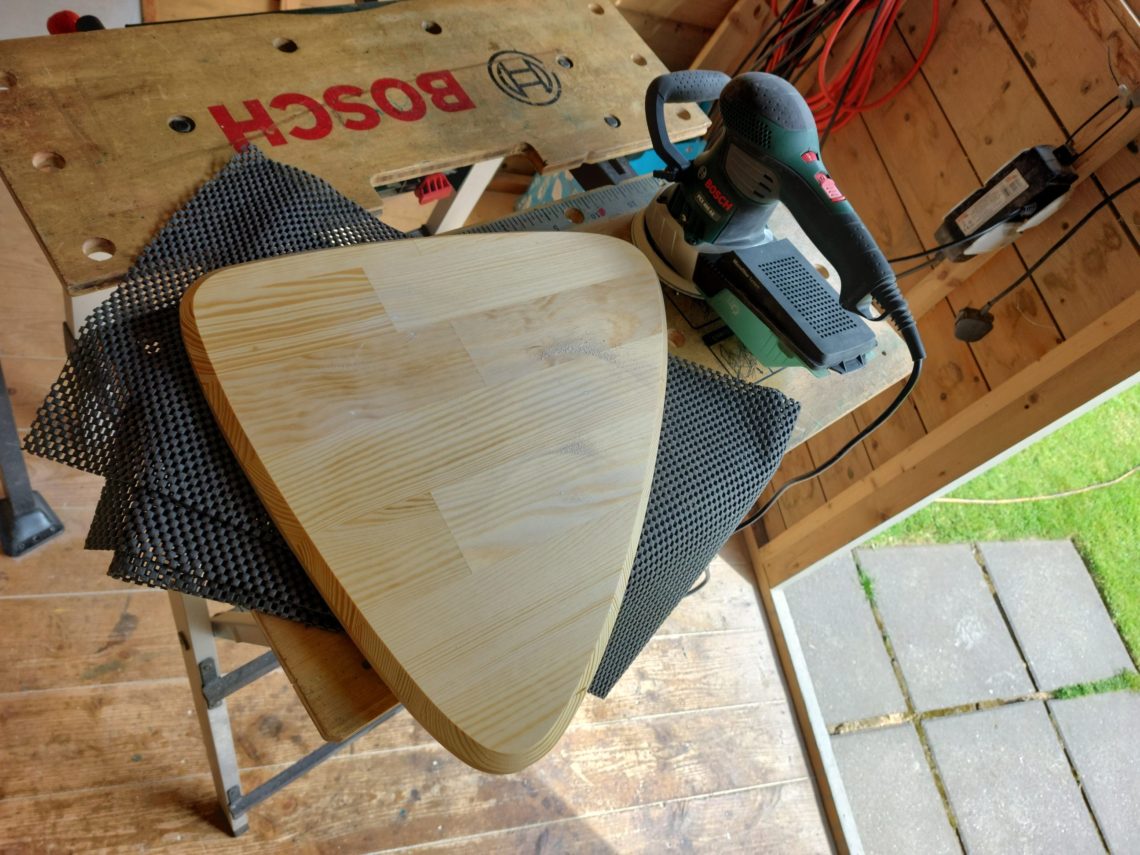
I used a carefully chosen board for the top. I needed something that shouldn’t warp or cup, glued from multiple smaller pieces. The board I found had alternated grain and it was also knot-free. The top got the same shape as the bottom, just slightly zoomed and with the sides curved – just like a guitar pick.
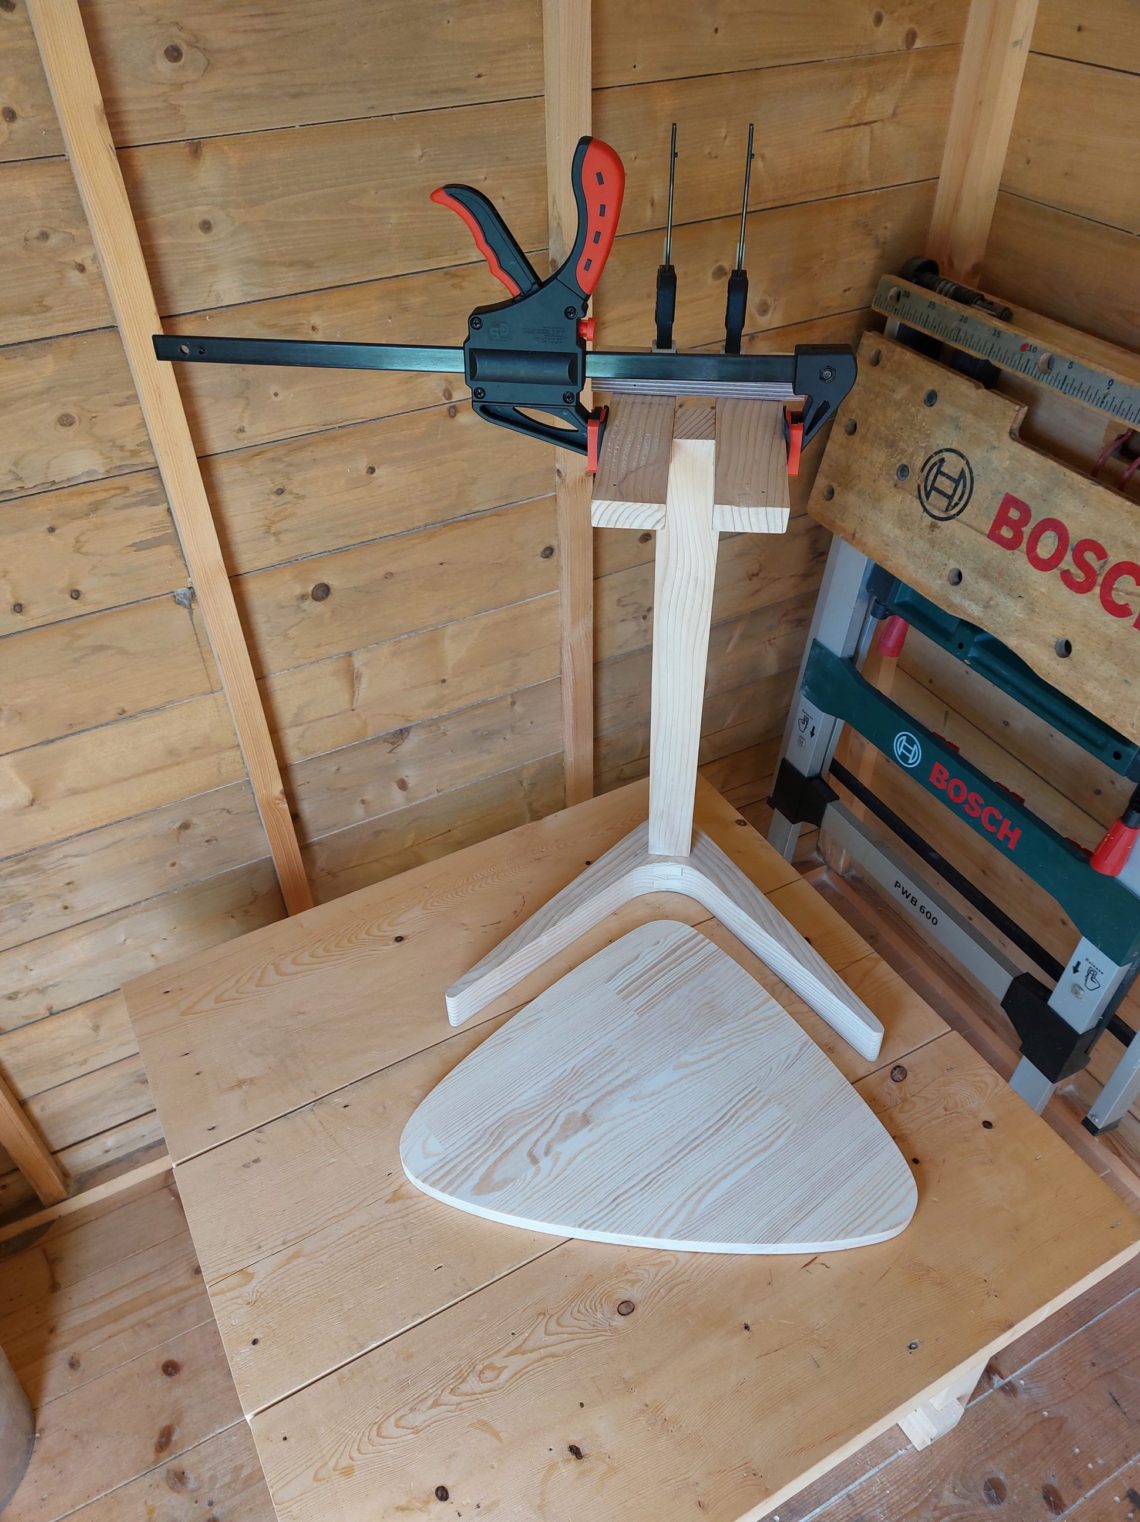
I let the glue dry overnight and the next morning, I started the preparations for the spraying. Just before the job, I cut a heavy chamfer on the bottom side of the top. I couldn’t resist, after all, it’s about the small details that make the difference. Clear, gloss lacquer was the choice of the finish because of its scratch resistance and total time needed for applying. Several coats were sprayed on and I let them cure overnight.
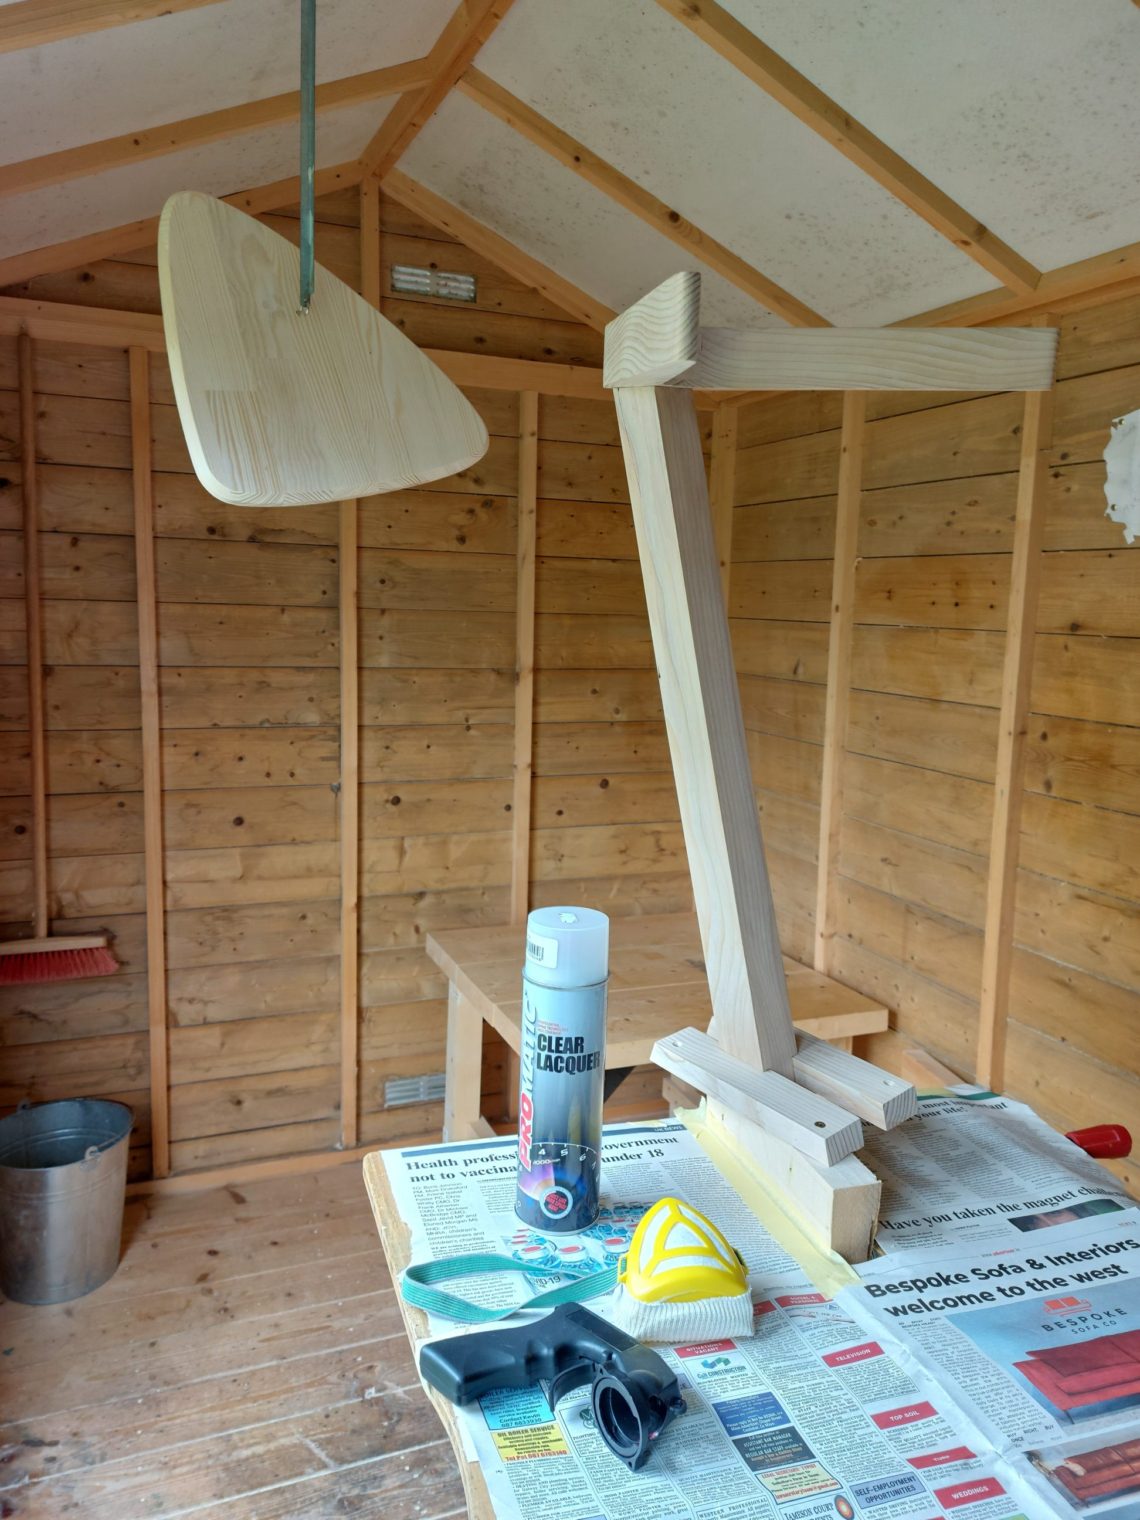
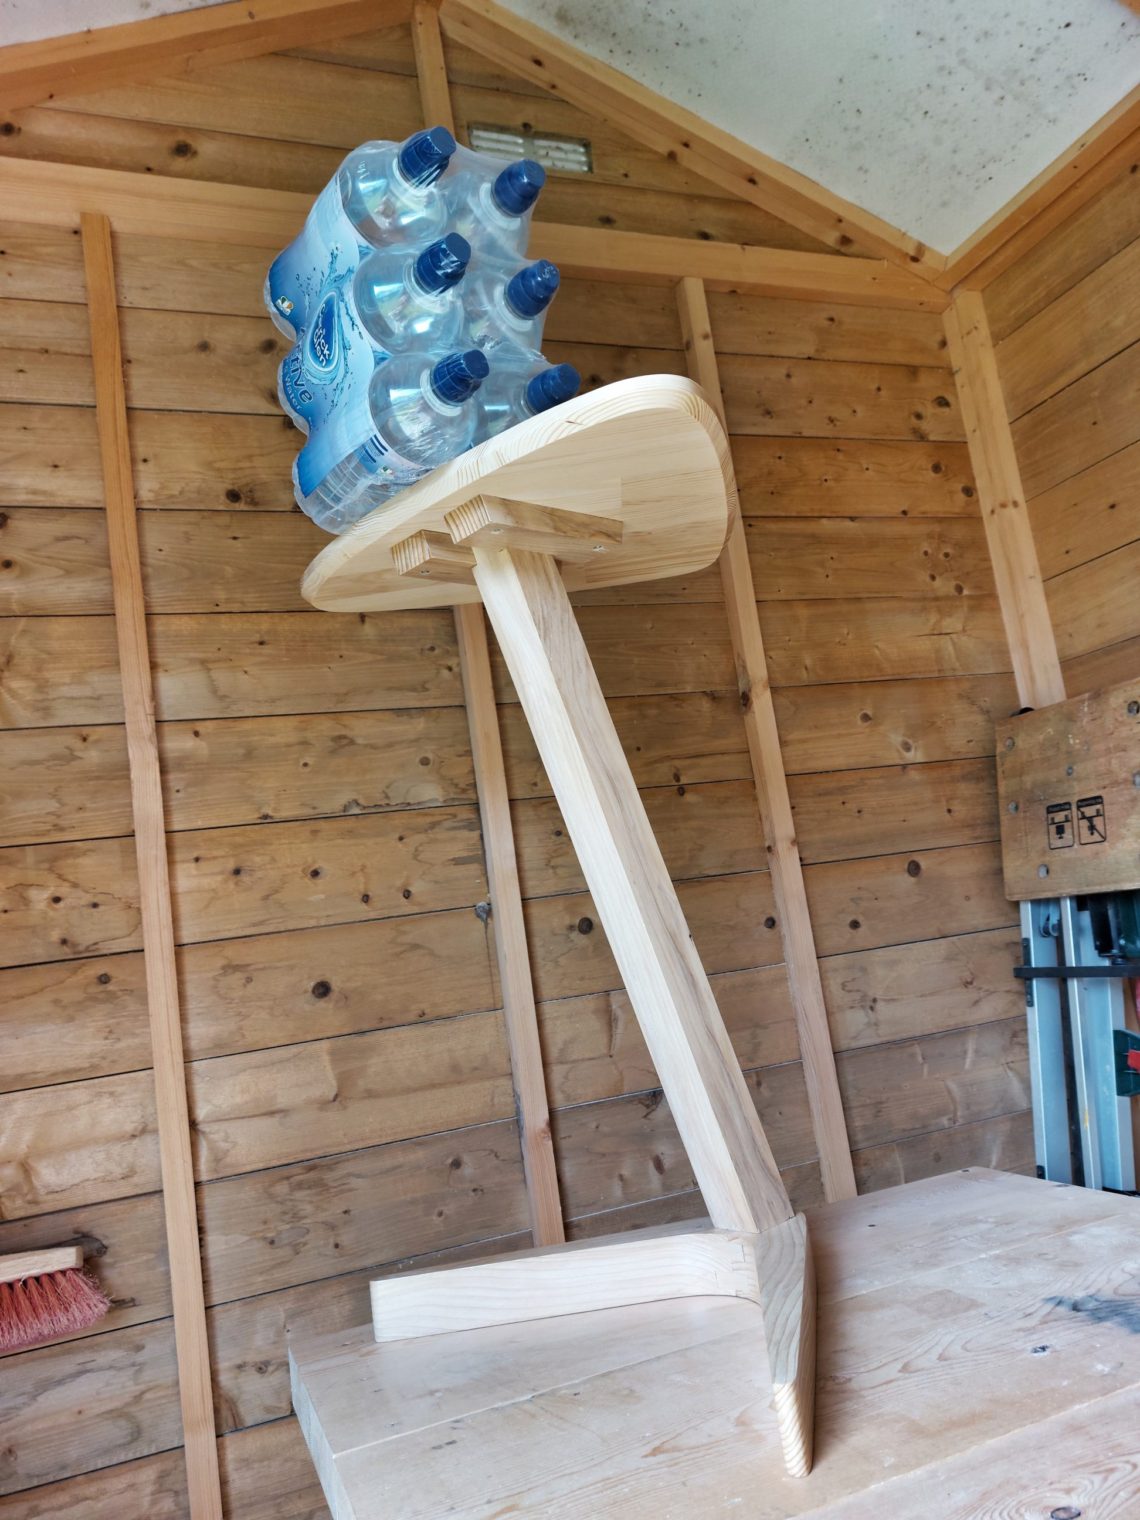
As always, I knocked off any remaining nibs by buffing the surface with ultra-fine sandpaper. That was followed by a quick assembly and tests. The table, at the most uncertain point, could support 1.5 kg of weight (3.3 lbs) which was OK, but I wanted to get more out of it.
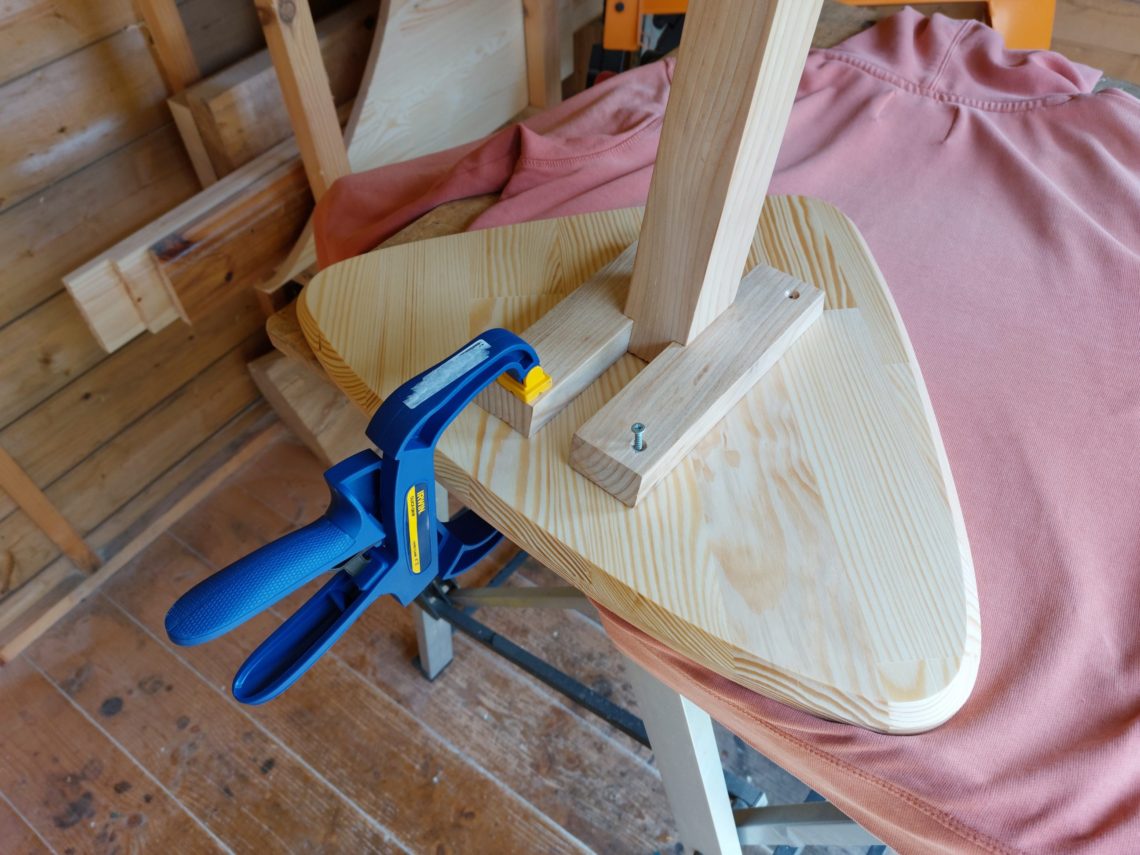
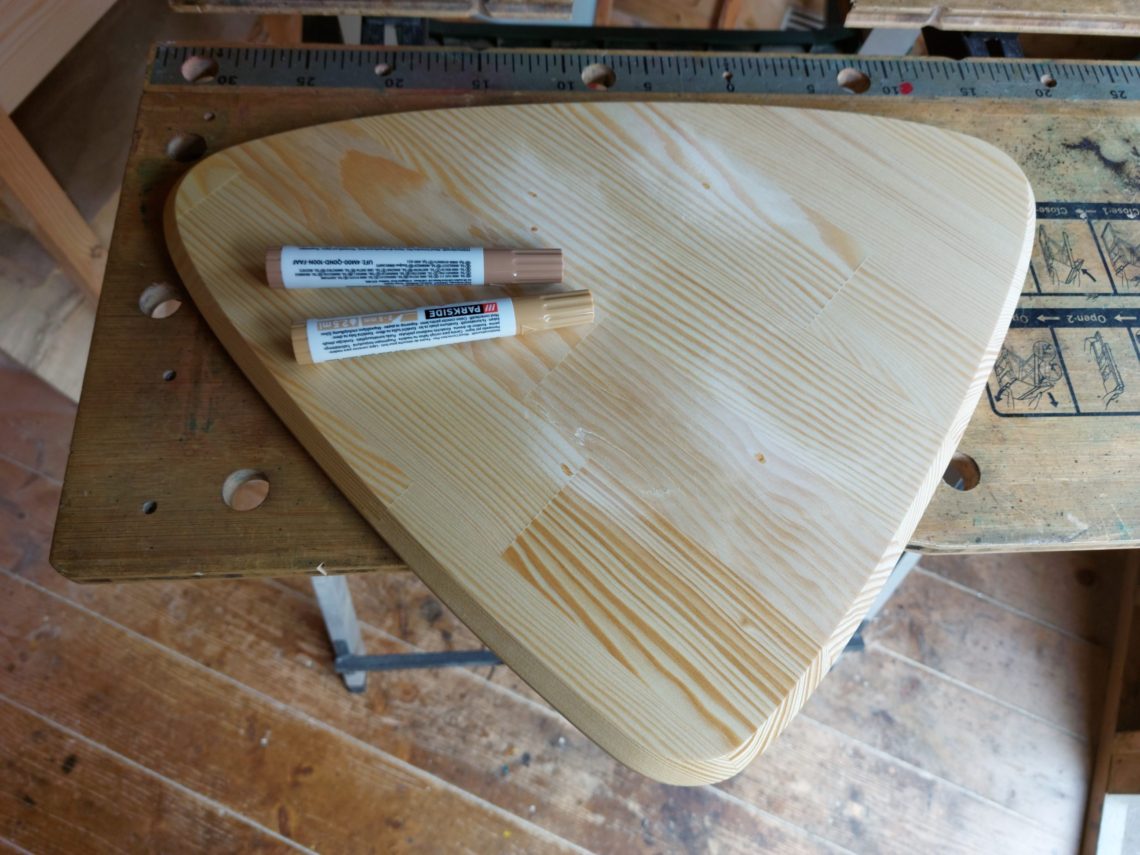
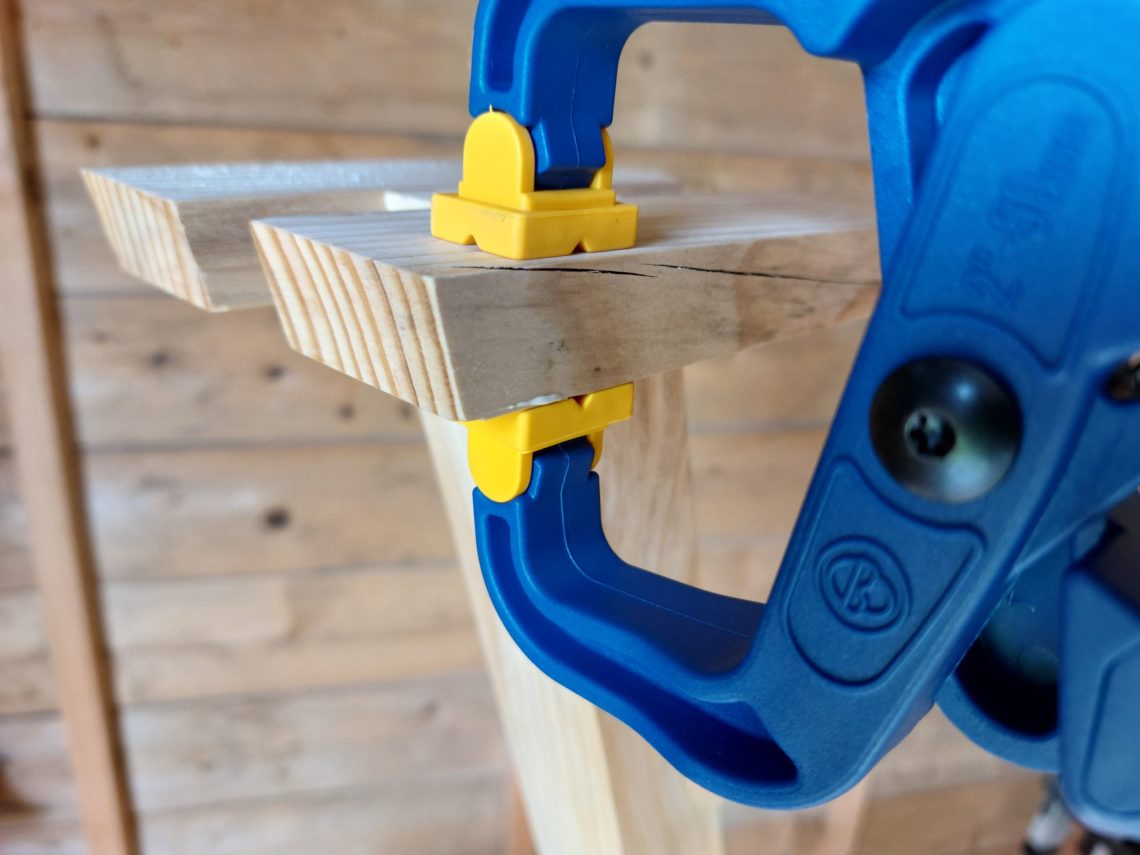
Instead of removing the brackets again, I cut them down on 1 end so they were centred with the leg. I had to drill new holes and mask a few old ones. Wood filler, sanding and special markers gave me quite good results in no time. I applied a few coats of lacquer to reworked surfaces and when it dried I fixed a splinter-size chip back to the bracket, using wood glue and a plastic clamp.
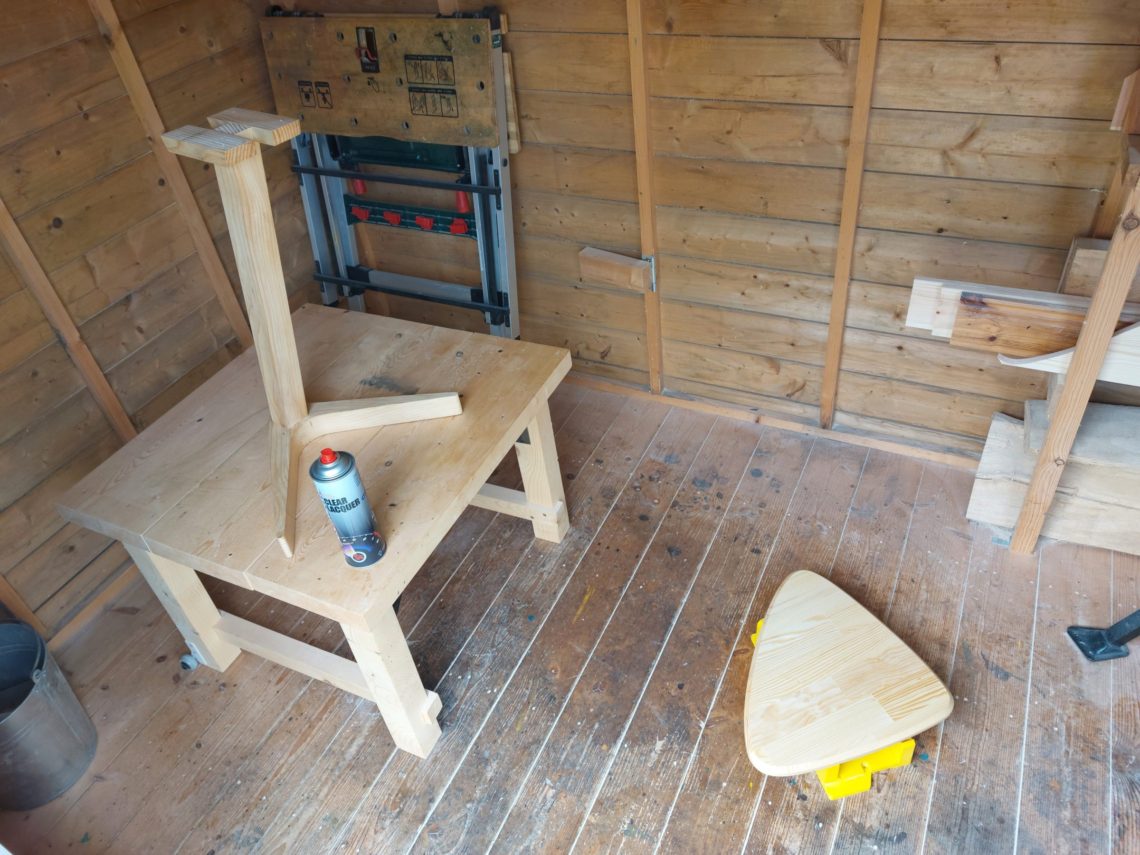
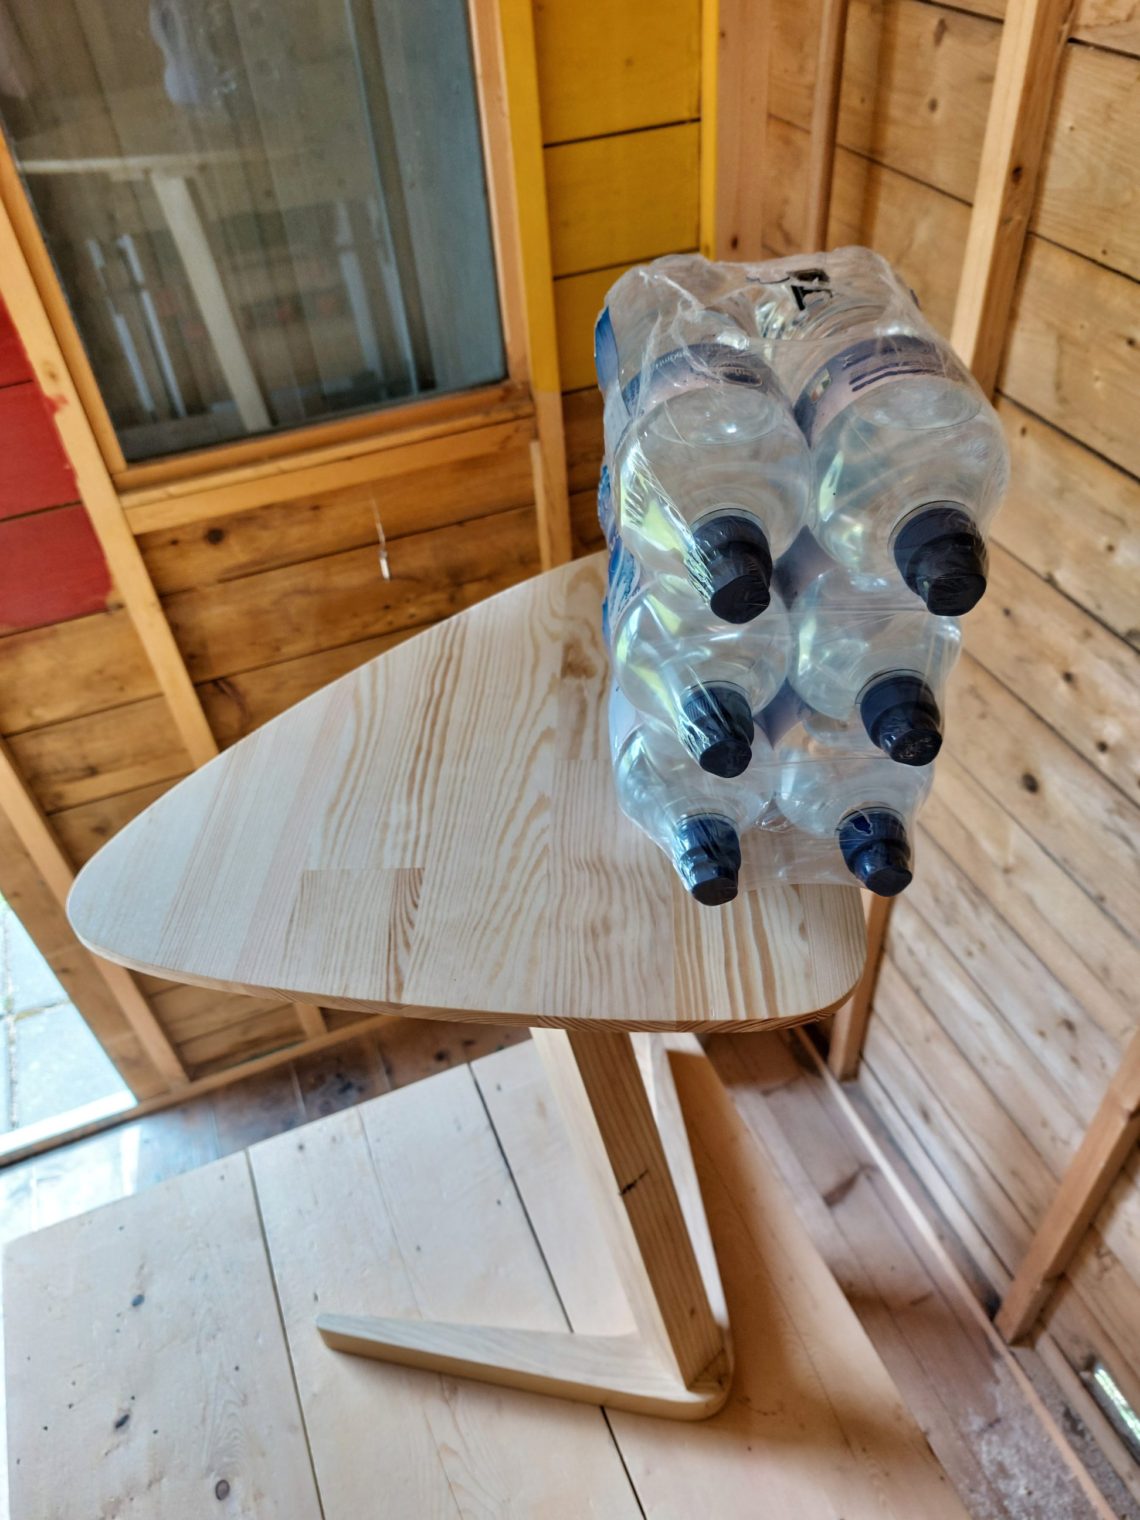
During the final assembly and tests, it wasn’t important to me whether the top is centred or not with the rest. Of course, the top was evenly spaced out from the sides, left and right, but moved towards the back. It just had to be stable and it looked like it finally was! I believed that something naturally stable had to look good for the eye too. The tests showed that the table could support a 4.5 kg (almost 10 lbs) weight at any place, especially the edge that failed the previous time. That probably could be more if I only had additional multi-packs of water to use for the test. The table slides partially inside the bookcase, not completely though – the angle of 70º doesn’t work the same as 90º. But it fits perfectly into the corner and matches the colours with all the woodworking projects in the background. It looks good from every angle, even from the bottom and it’s very original!
