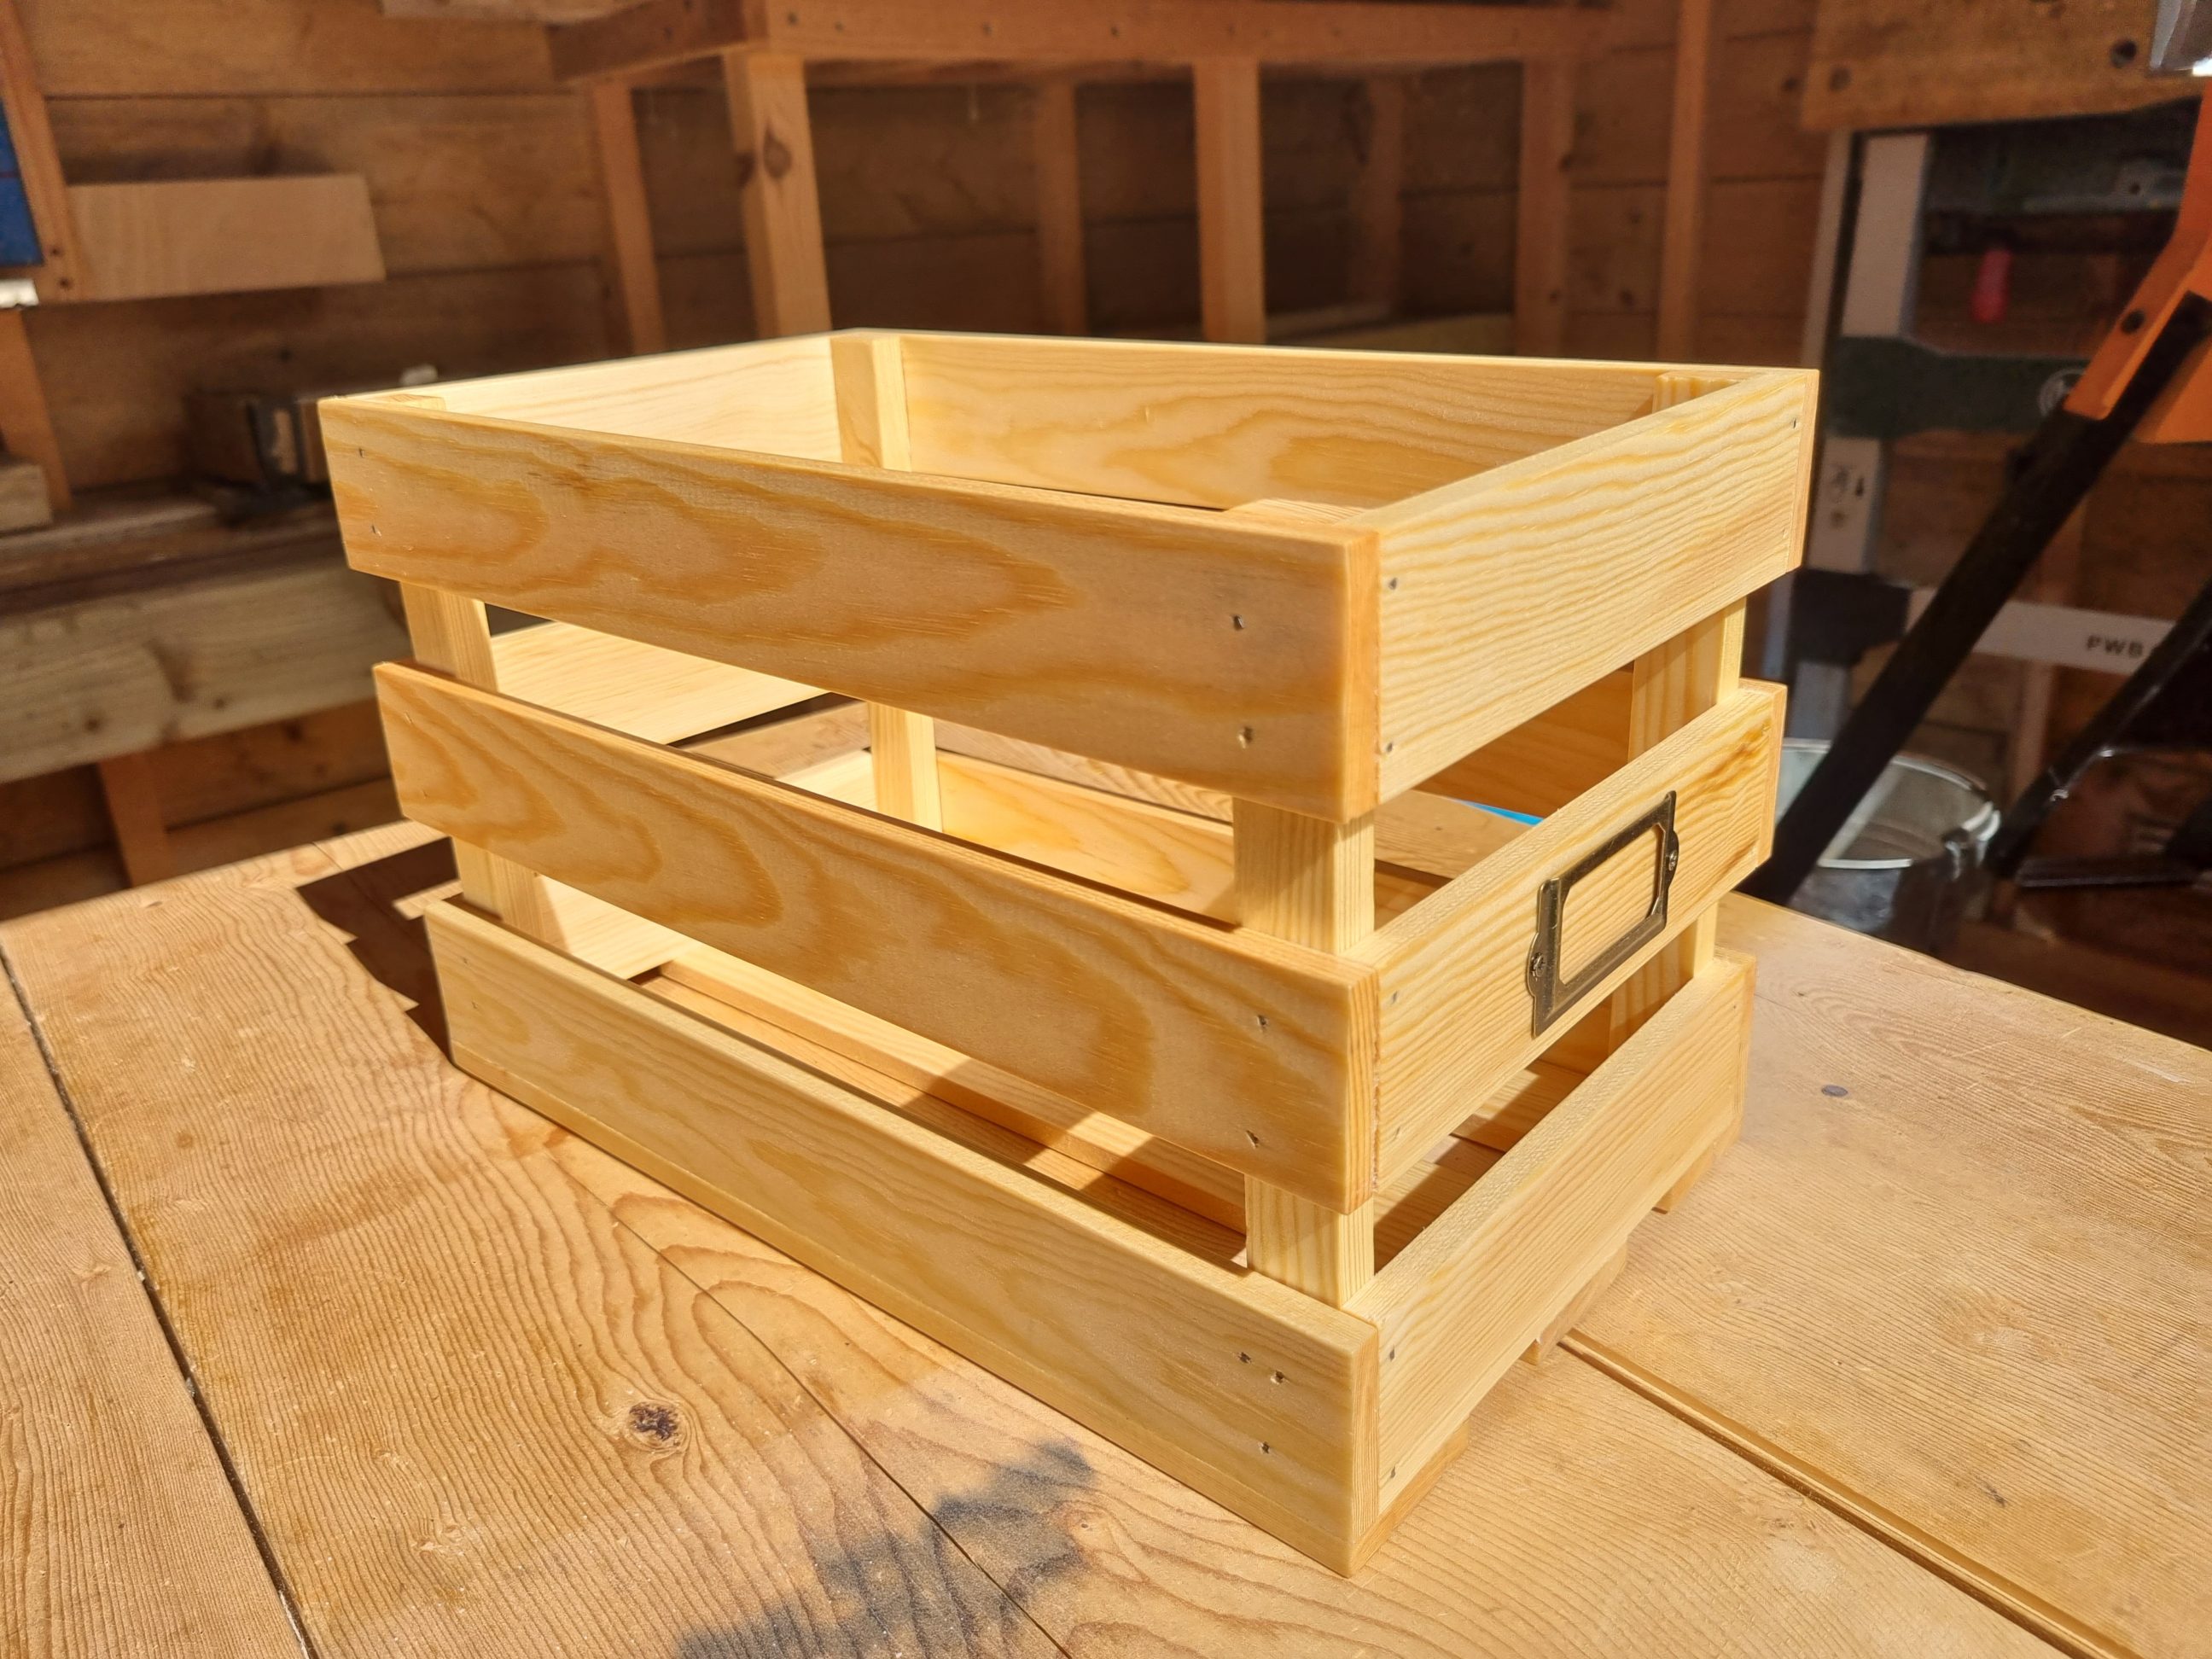
Classic crate, a practice piece
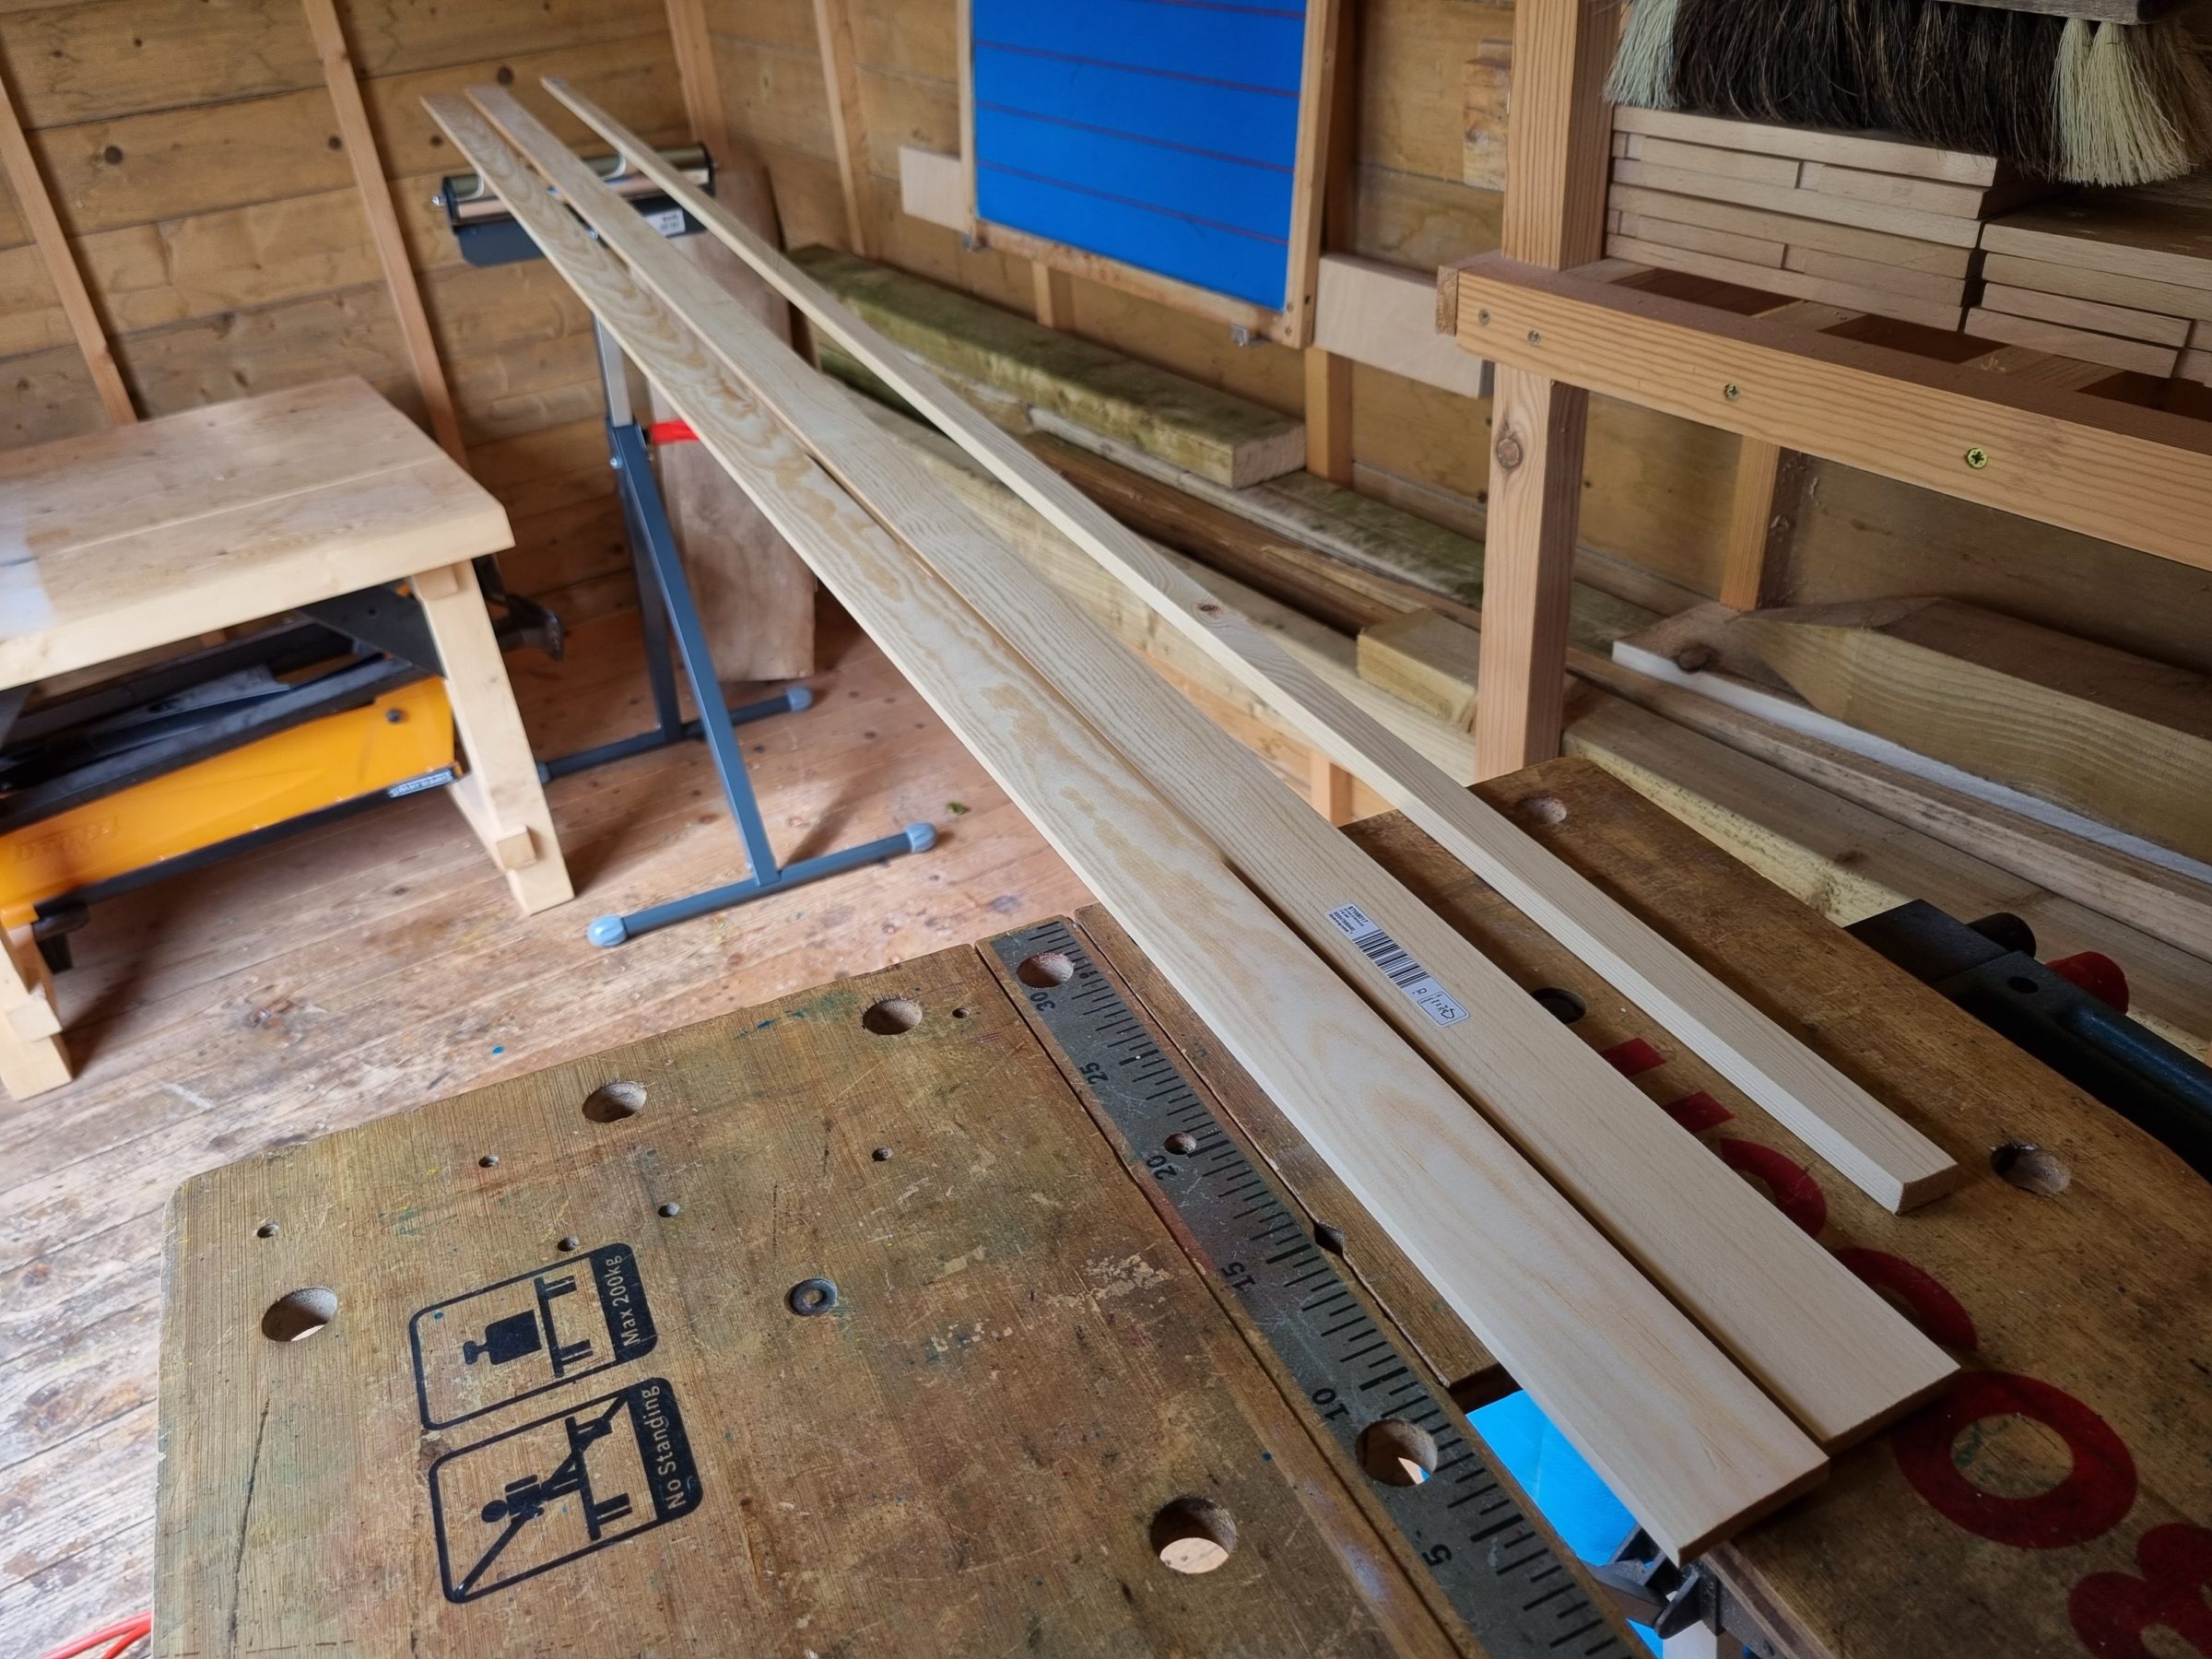
Building a lightweight but strong enough crate to store canned food, was the plan when I started making this one. Most importantly, I wanted to test out my new nail gun and explore new joinery techniques, specifically using brad nails and glue. This explains the title of this post – “a practice piece”. I needed a crate for storing kitchen items, as the one I had seemed to be too bulky and had an excess of fasteners. This new crate was the opposite of the old one, providing a much-needed upgrade. I purchased two lengths of 9 mm thick mouldings and one length of 12 mm. The total cost of materials was reasonable for a practice project, and the final result turned out well enough to be used in the kitchen.
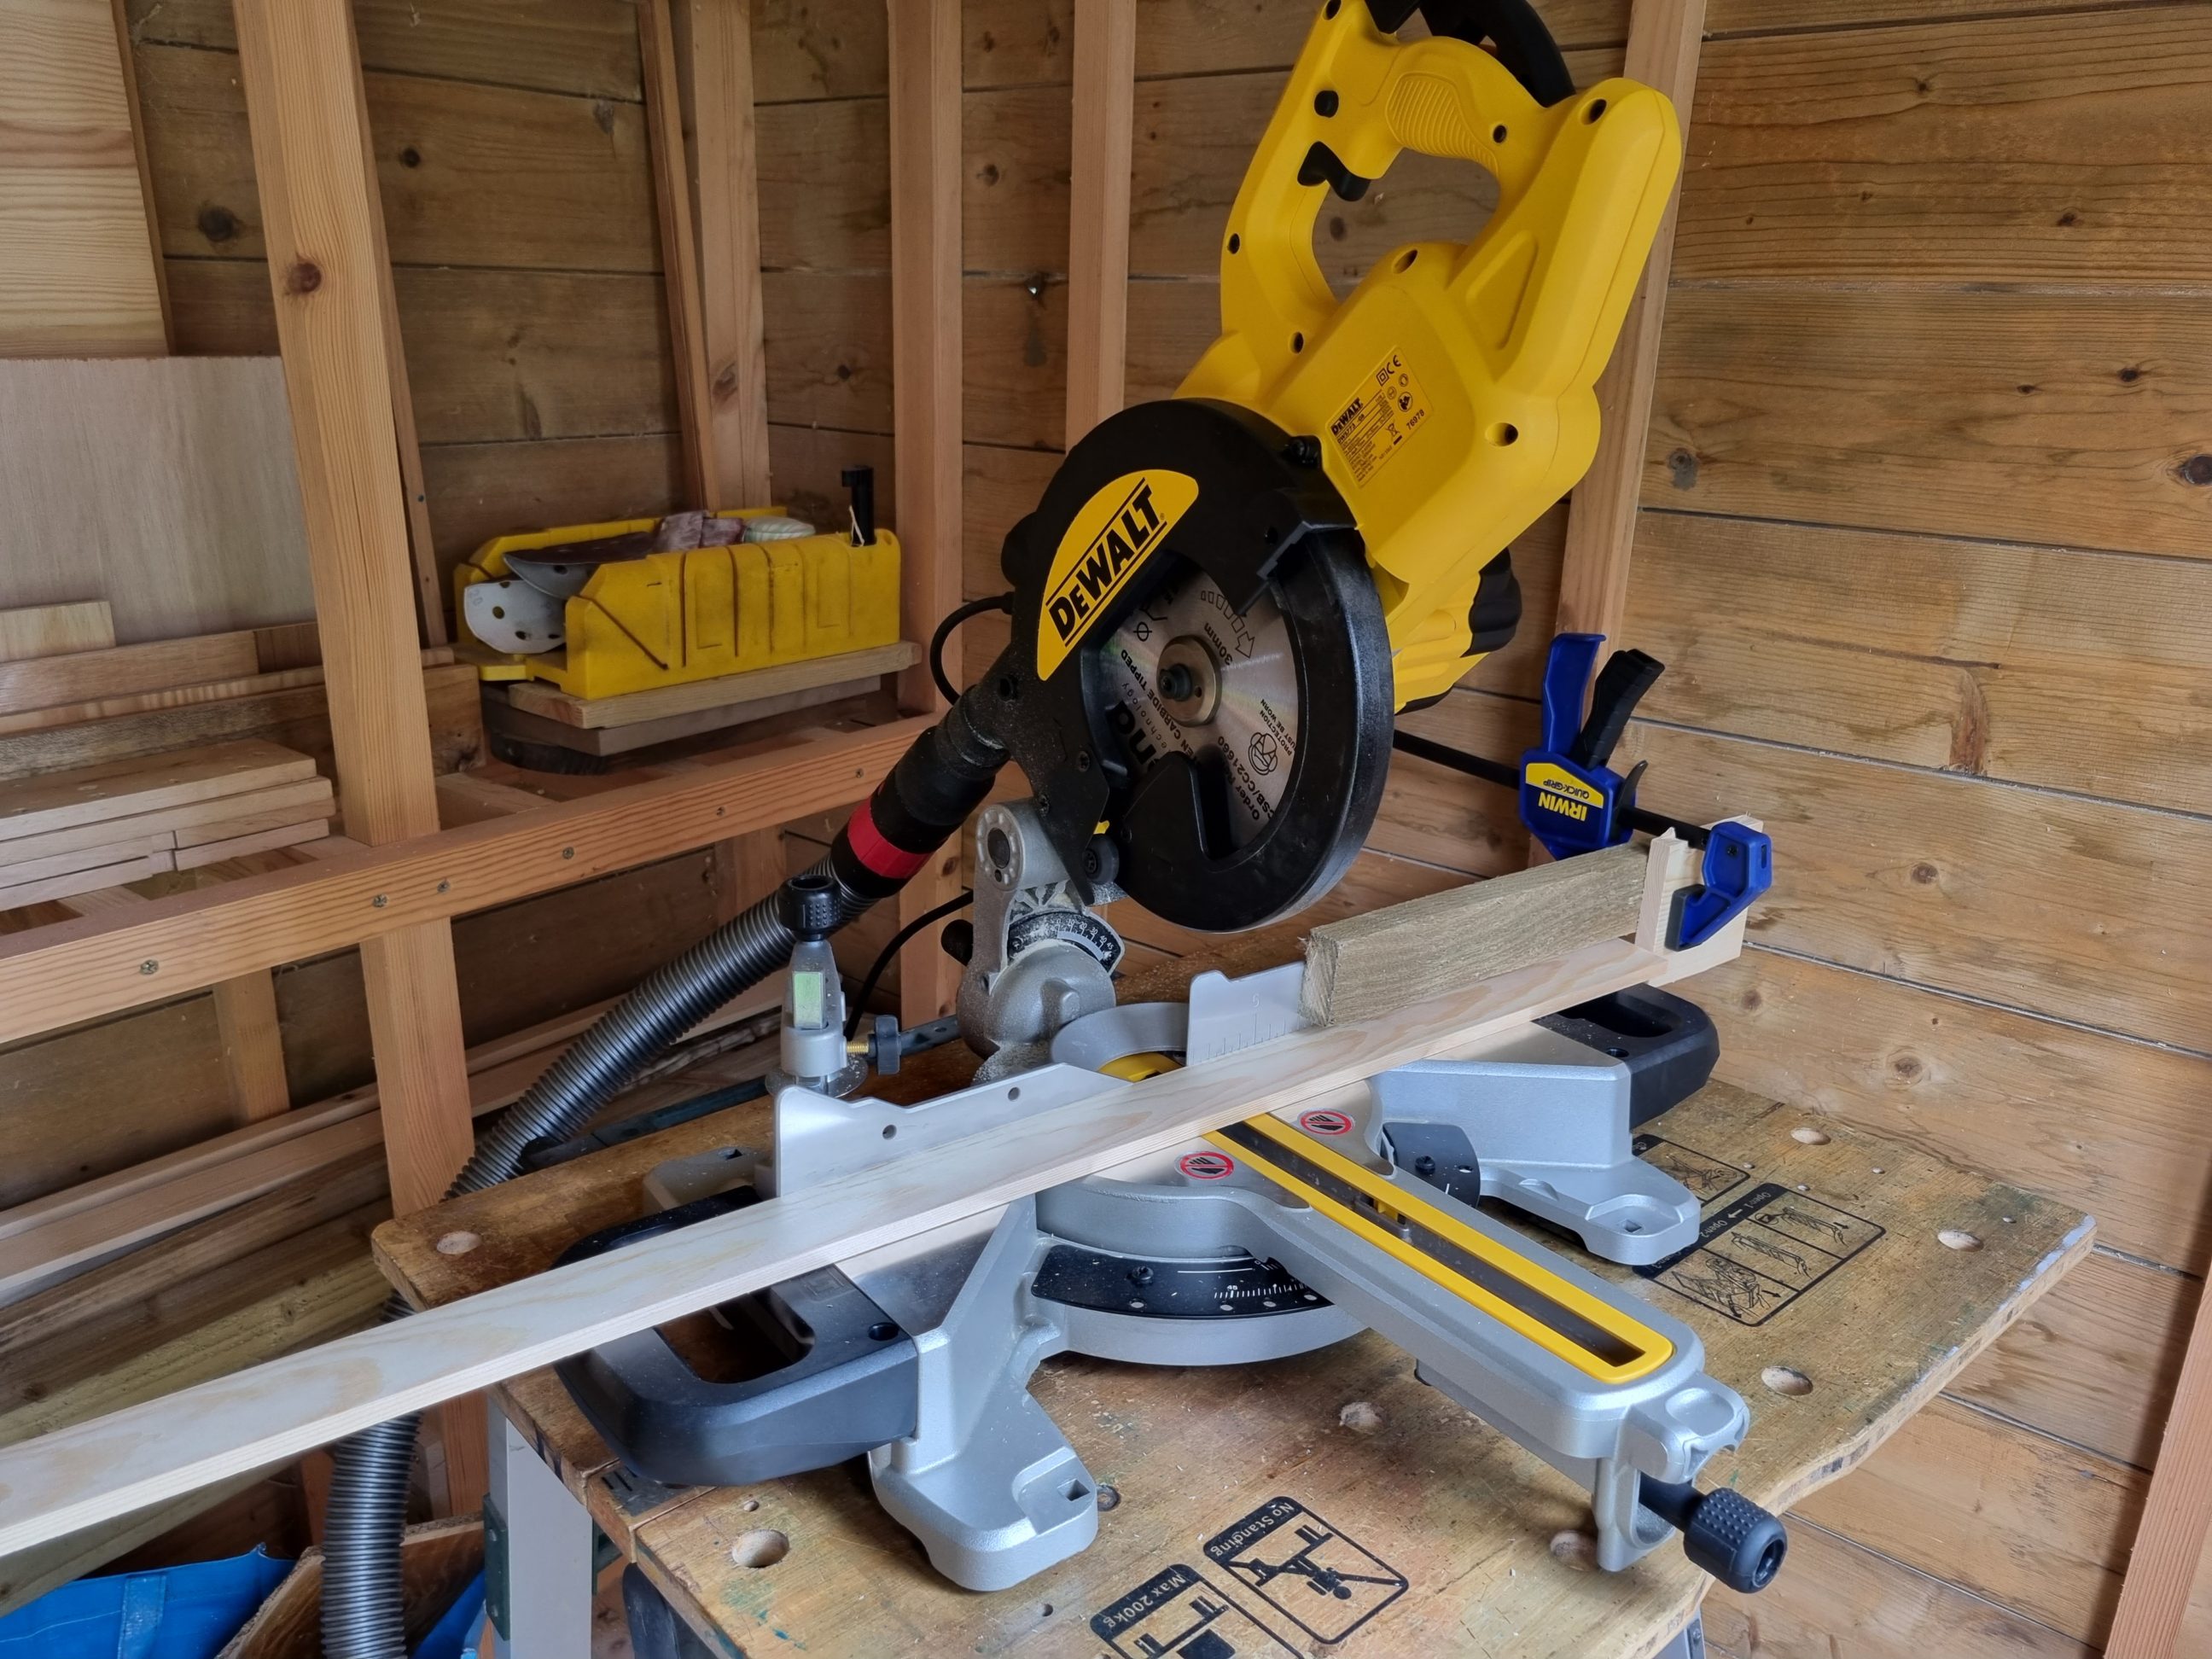
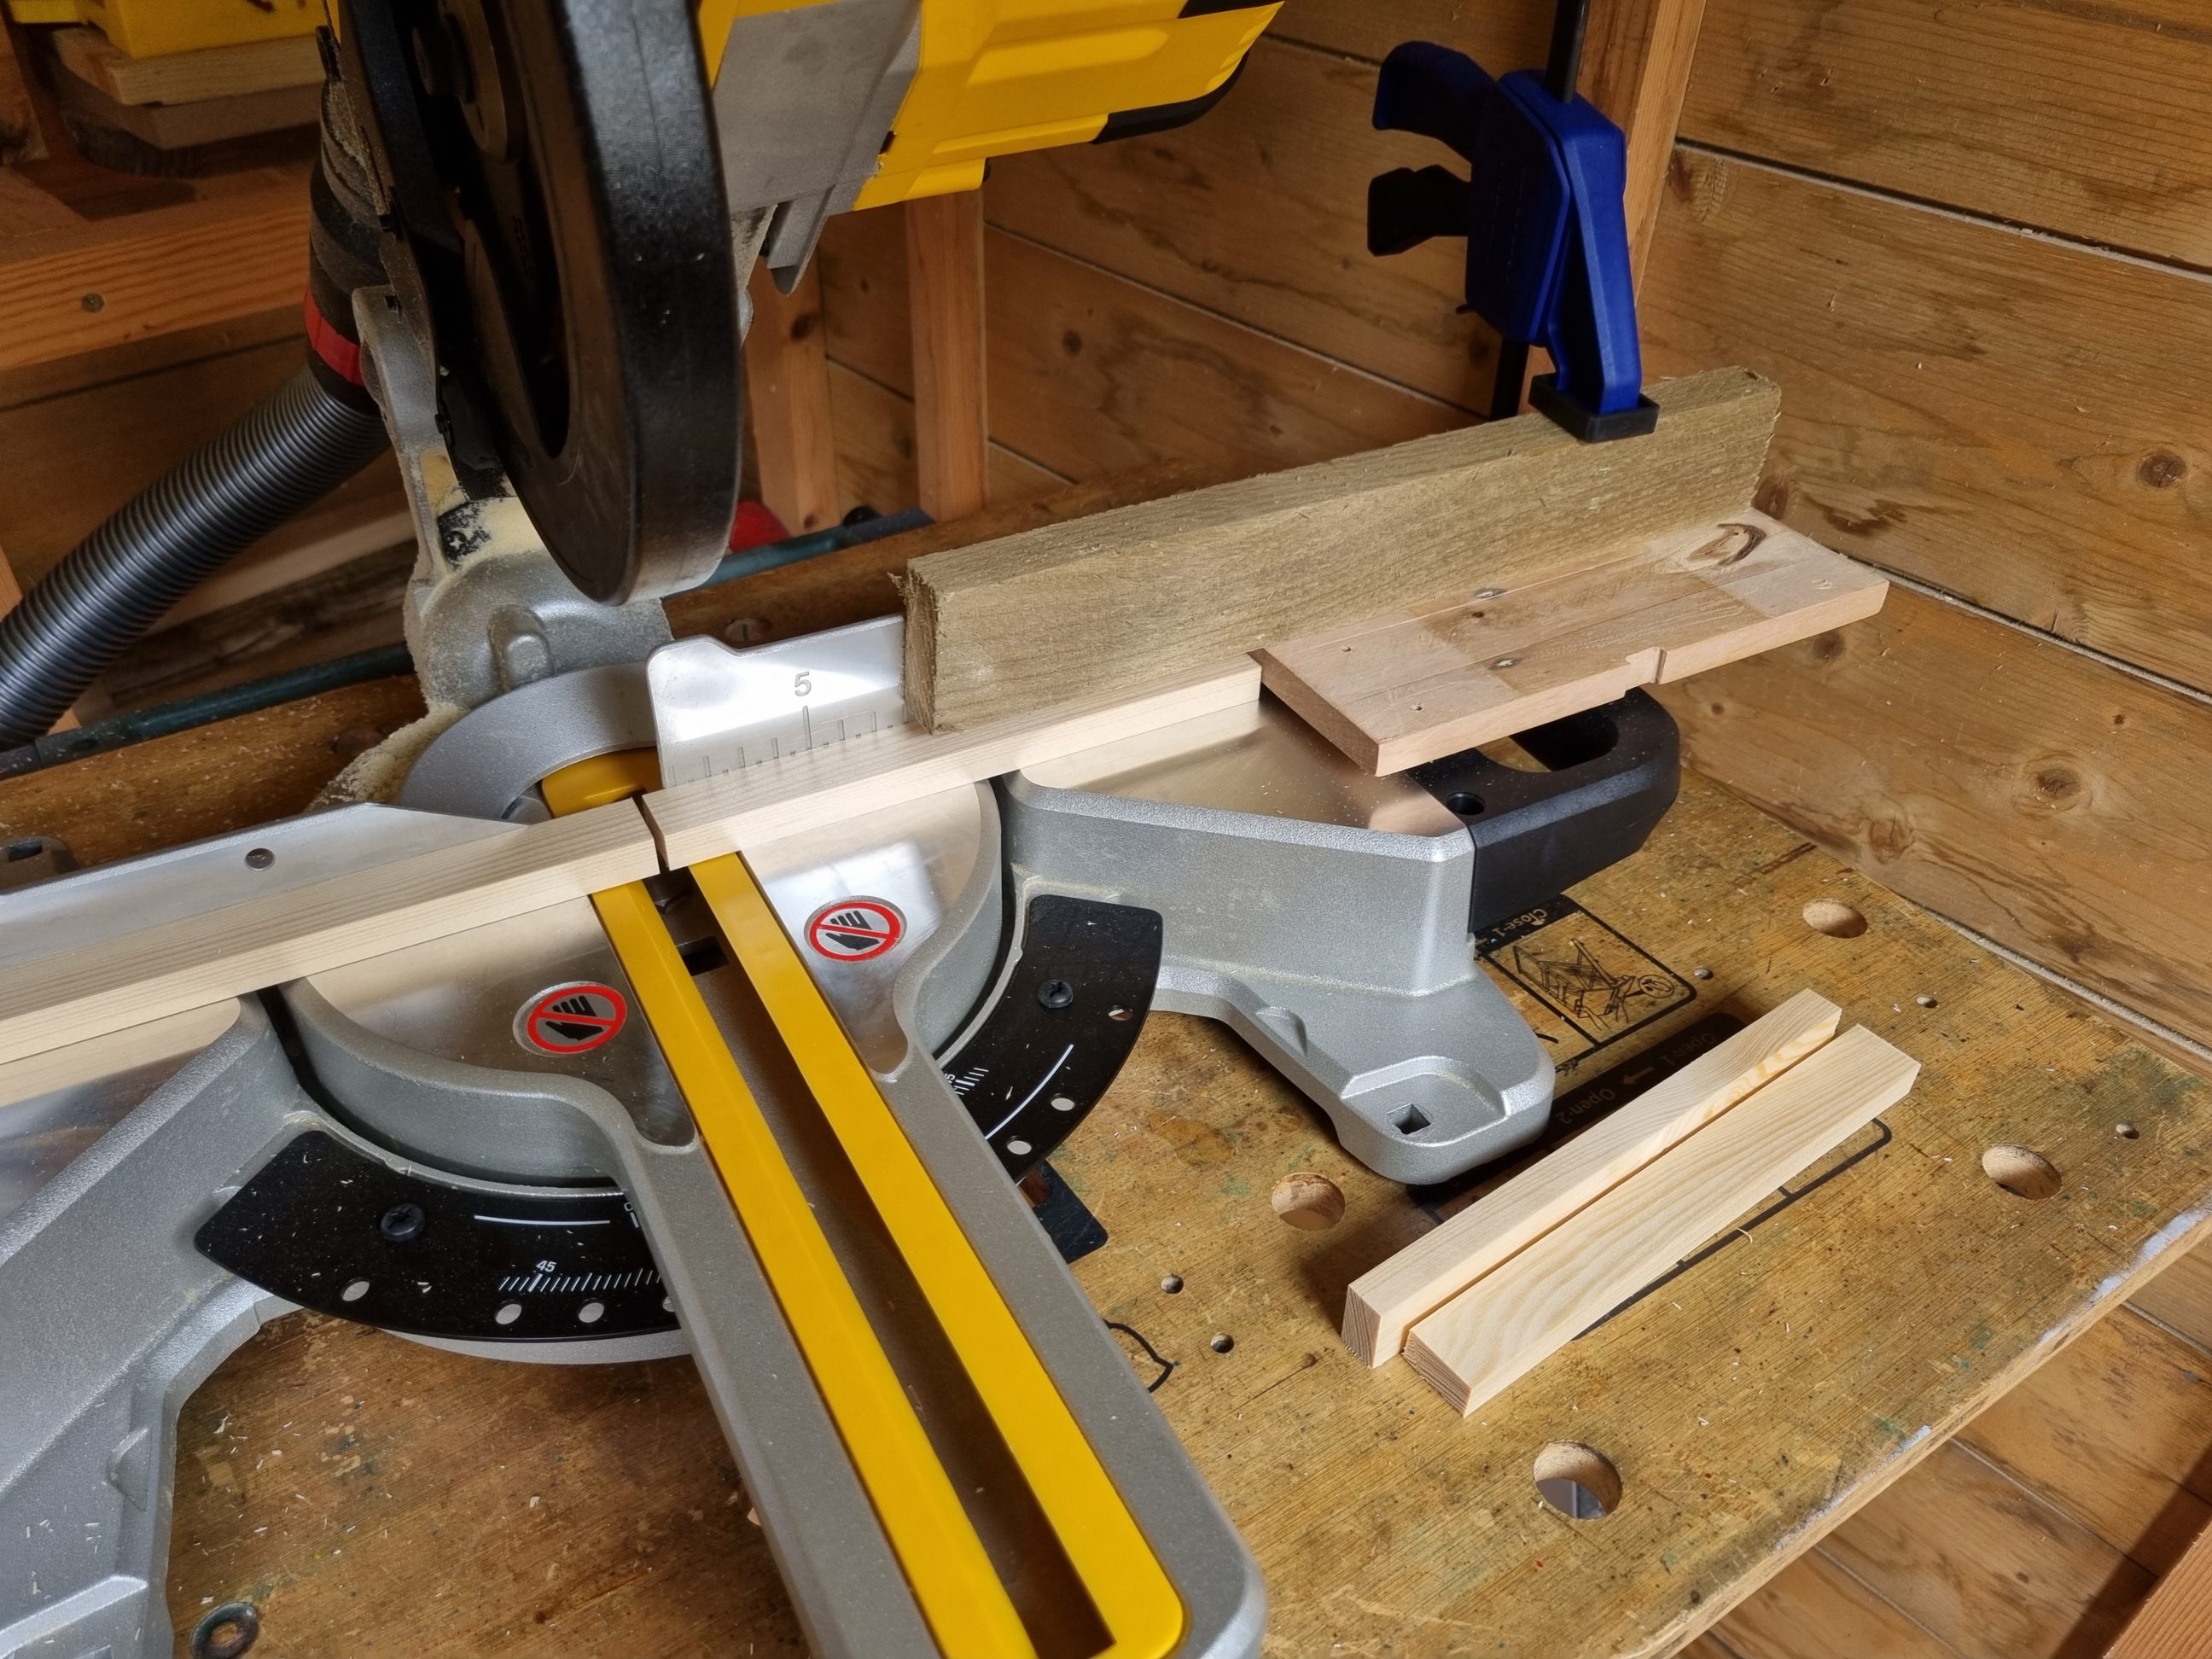

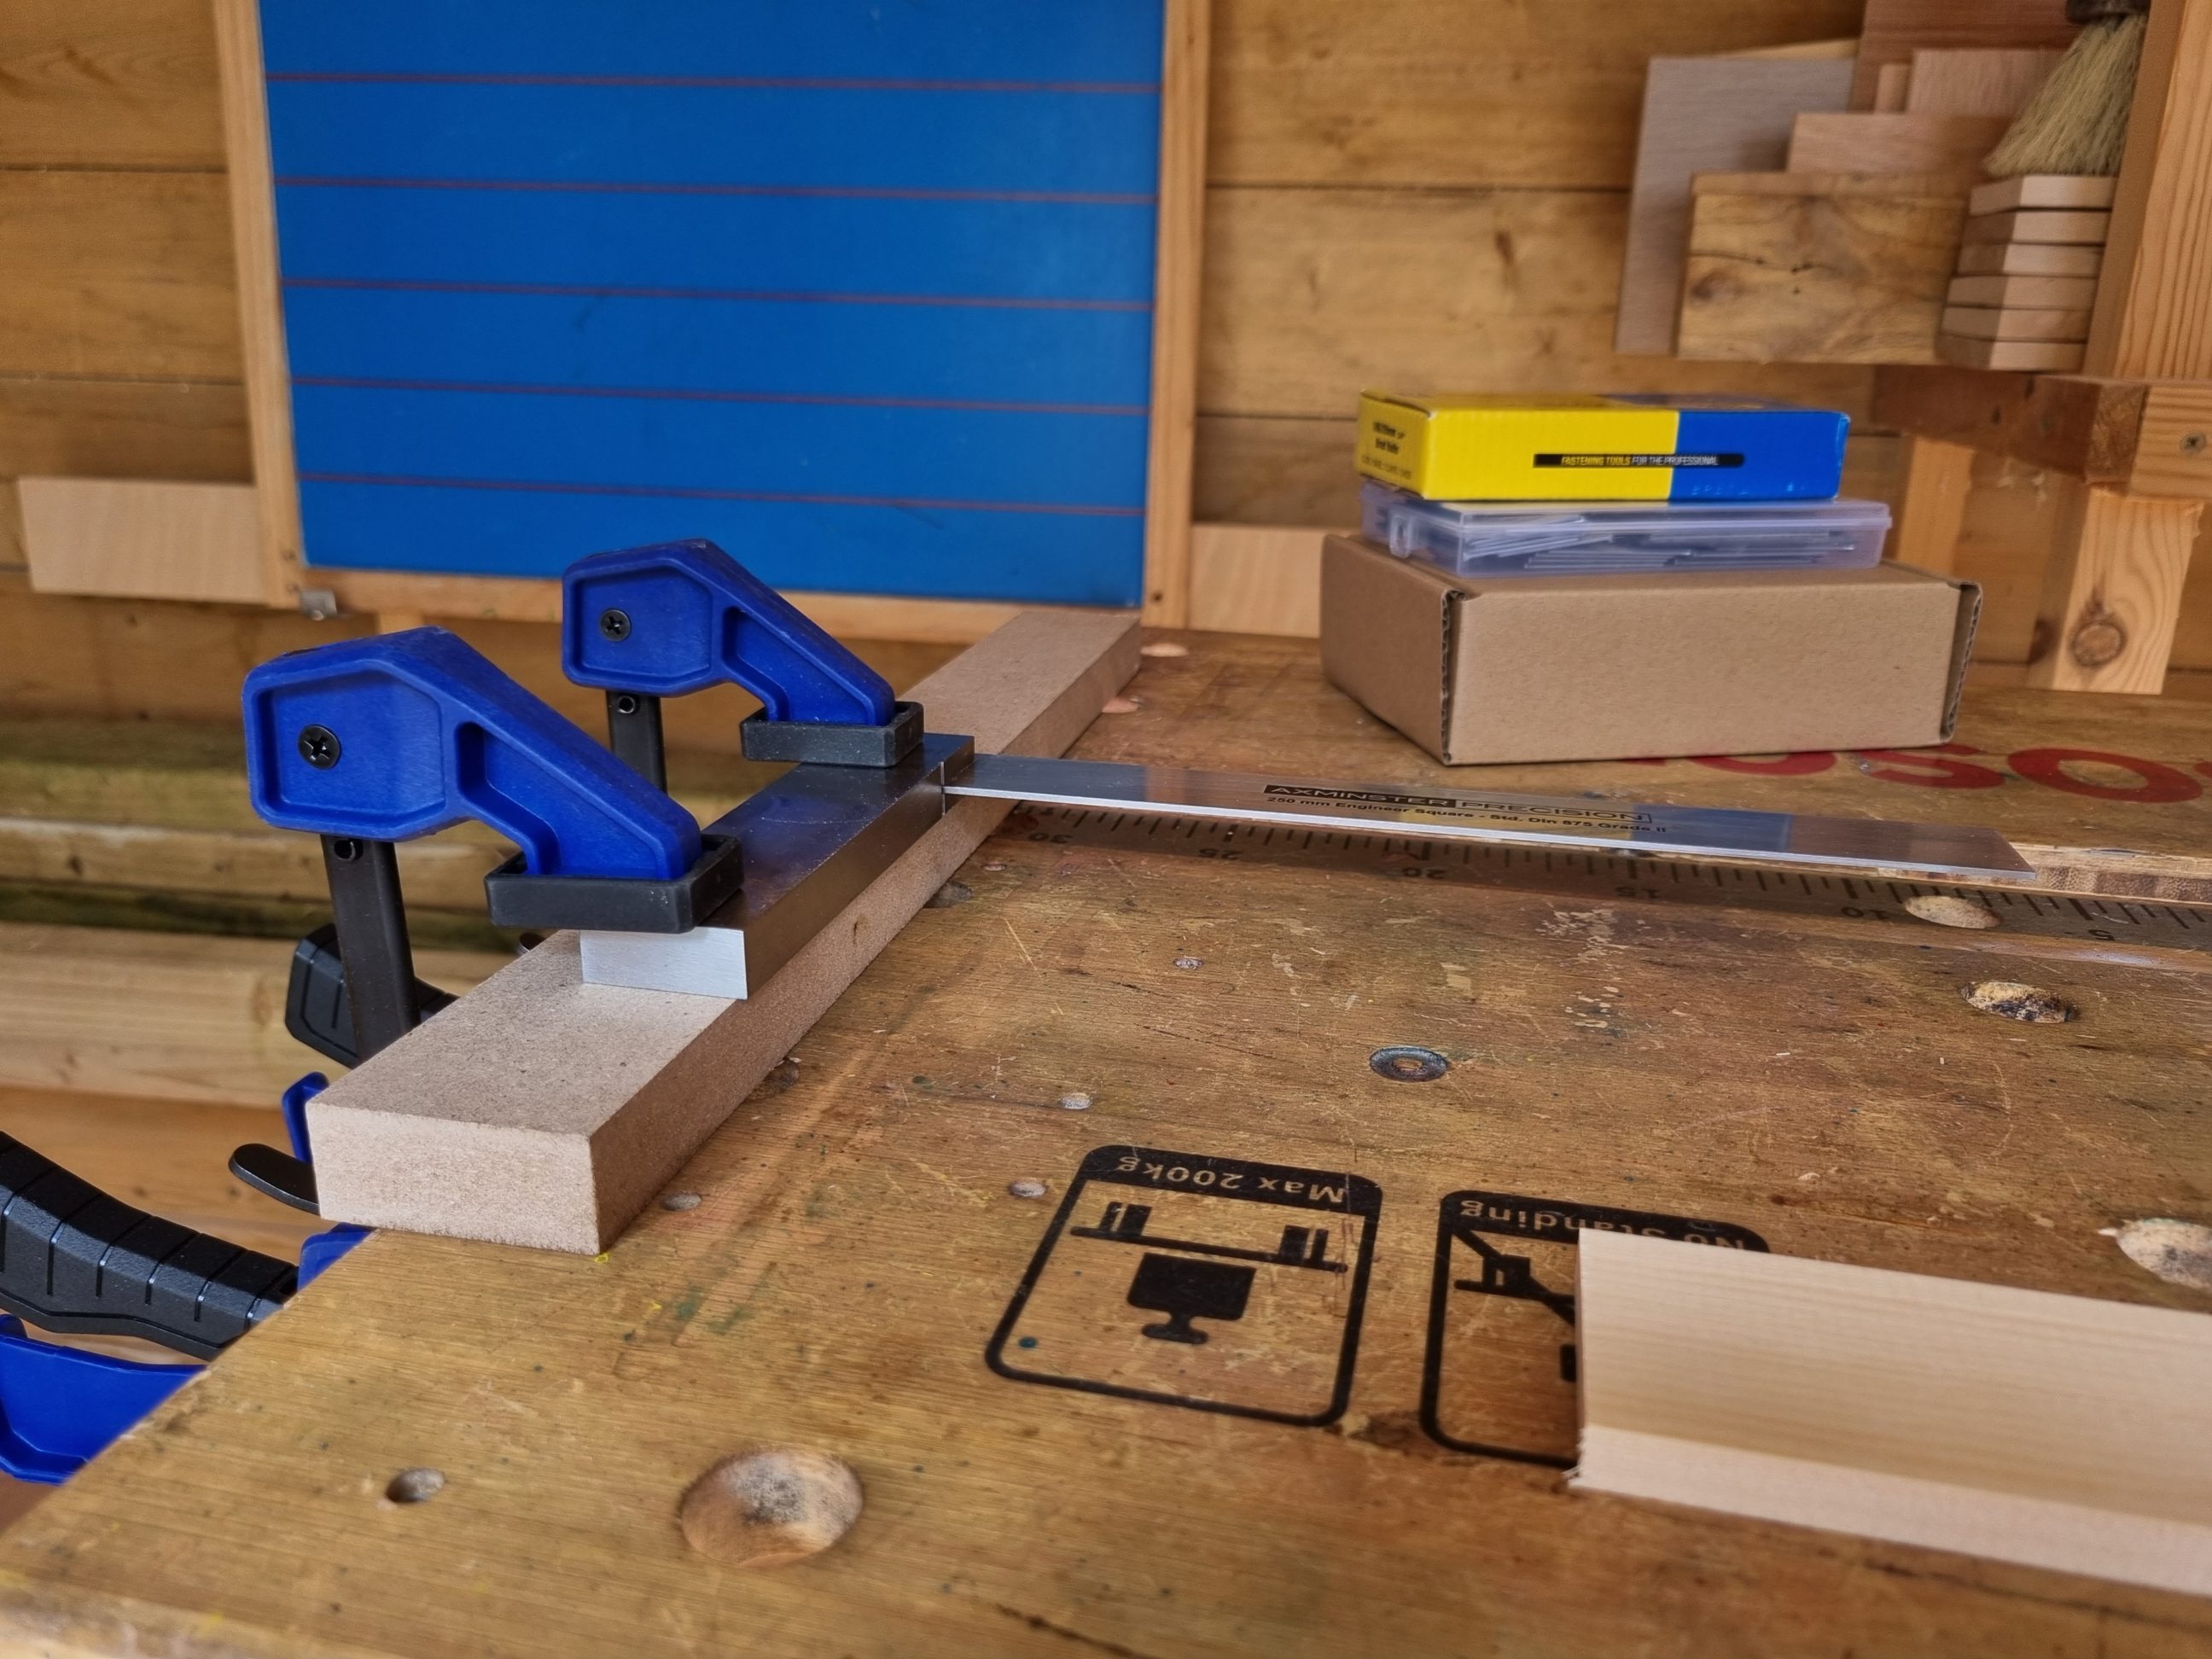
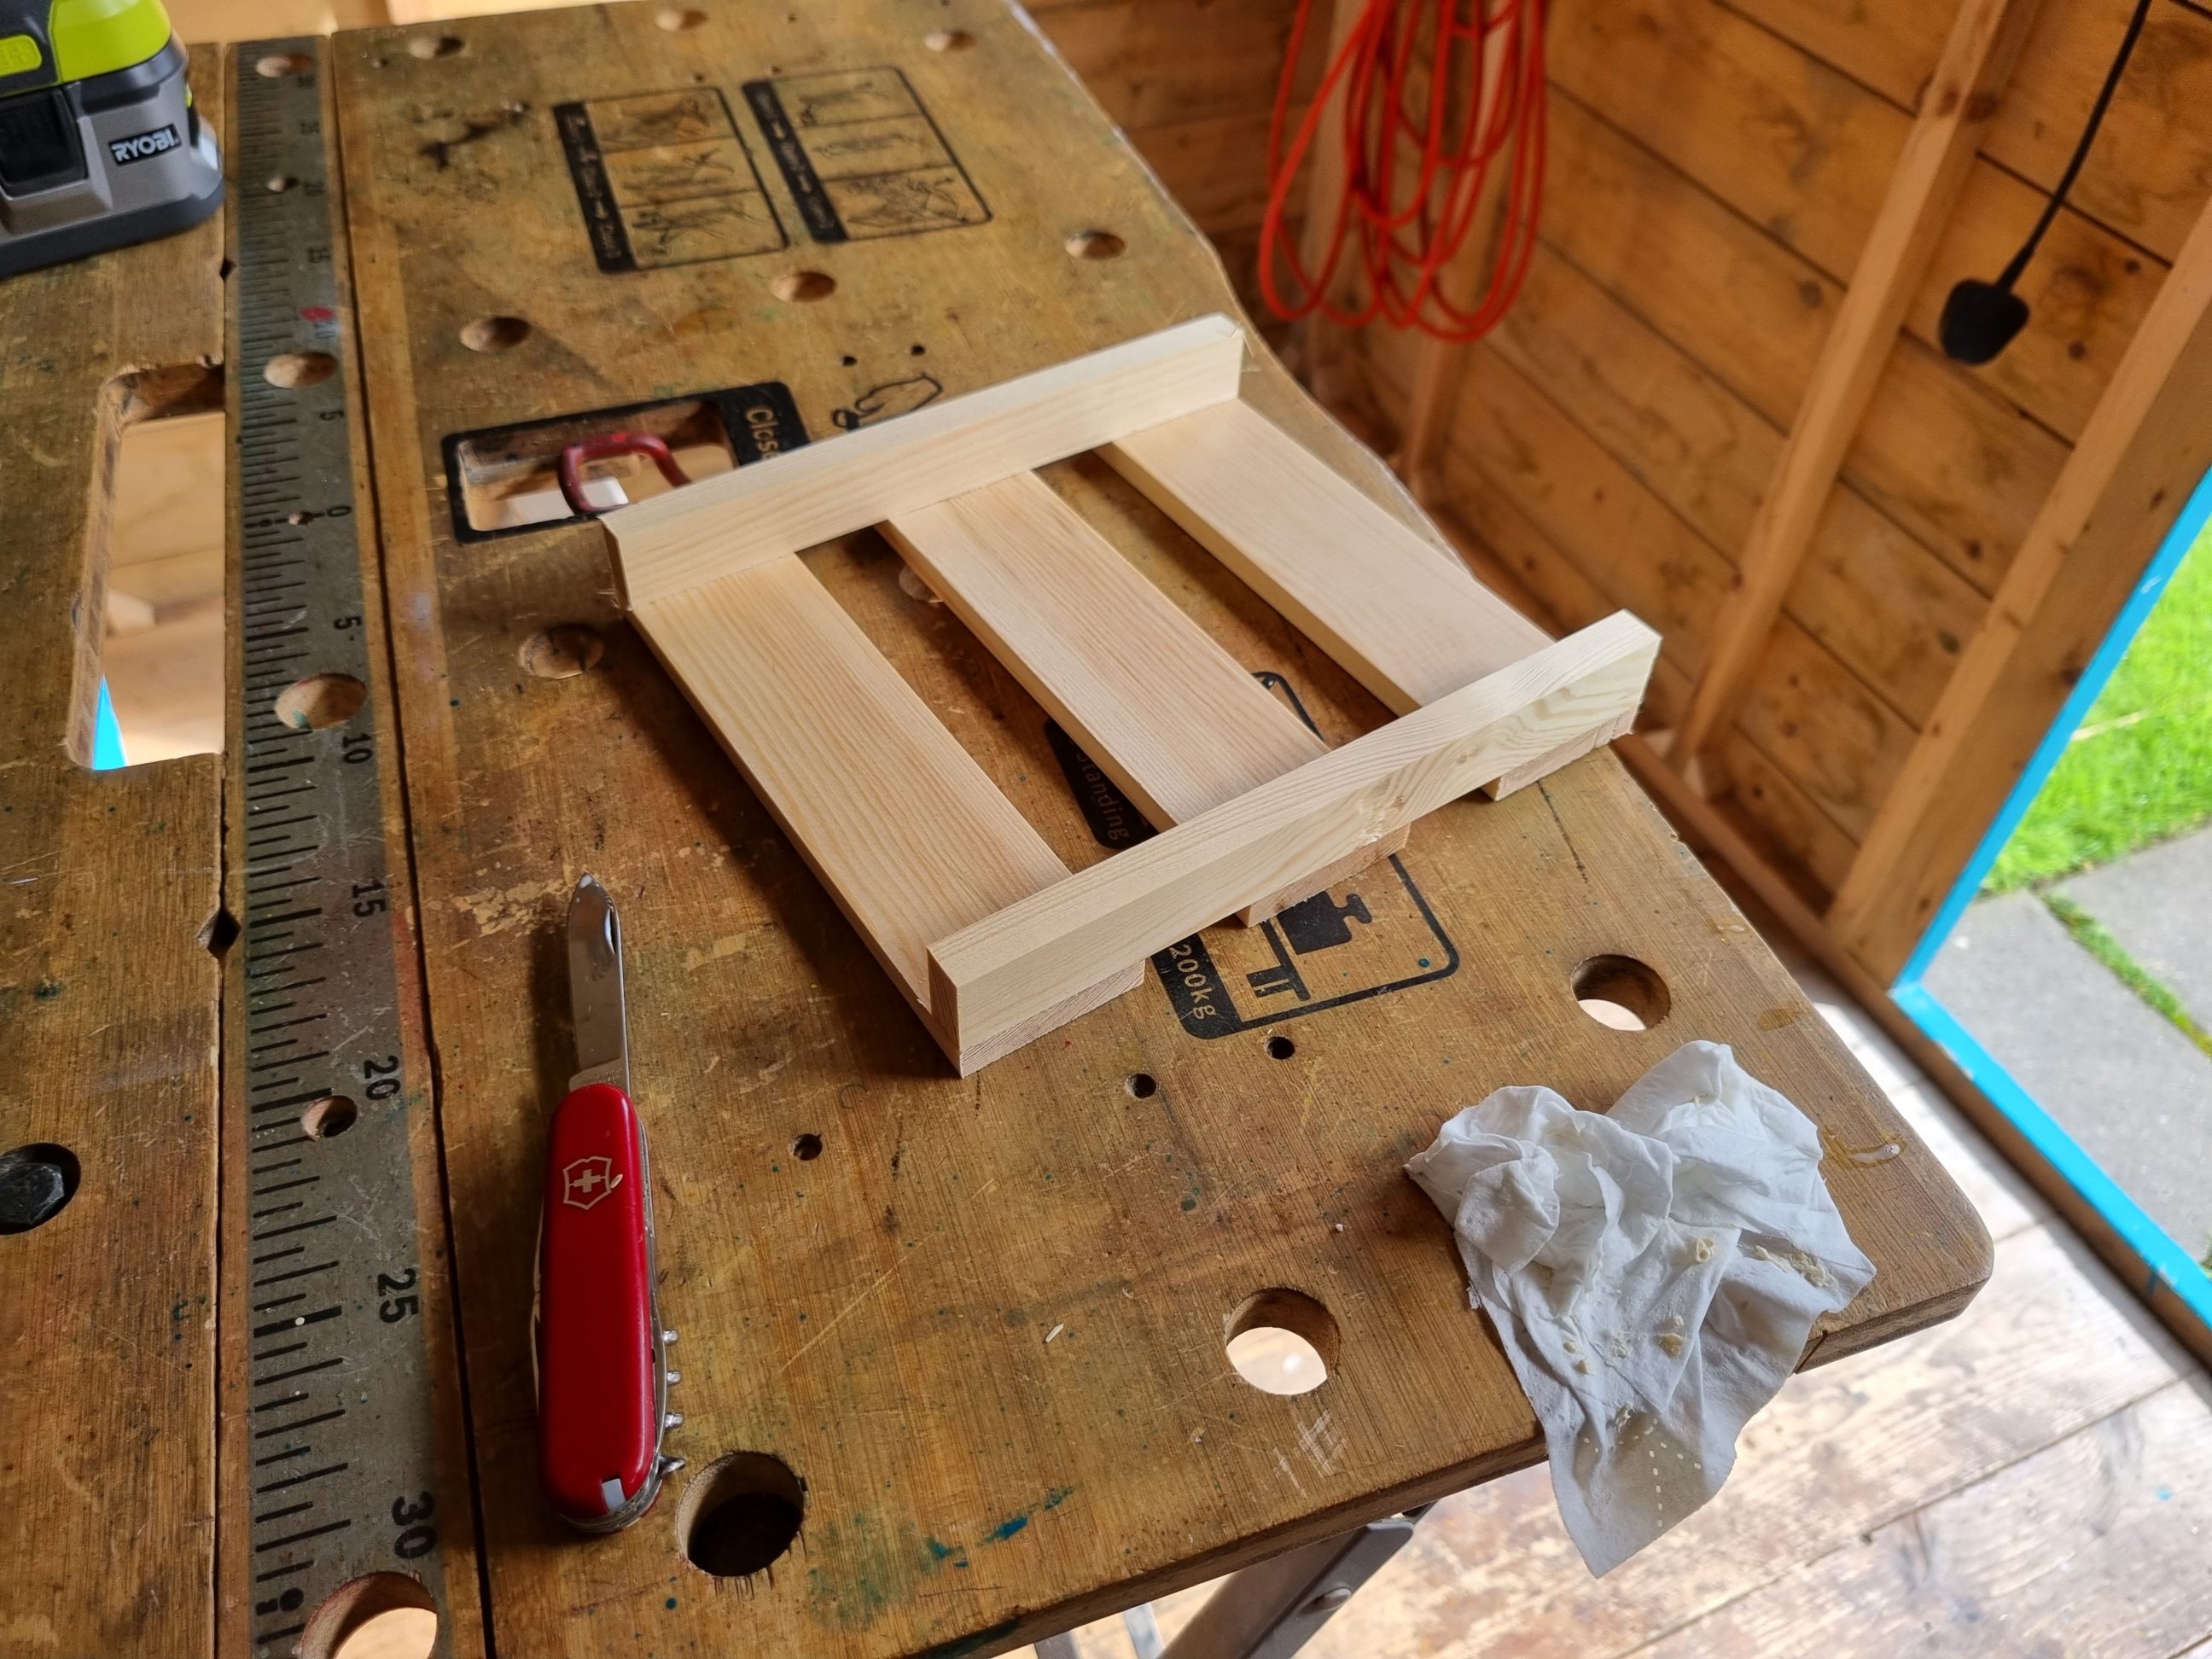
First, I had to make a simple stop block for my mitre saw. I screwed a piece of scrap timber to its fence and clamped another piece in the right place. I calculated the spacing between the slats to be about 25 mm (1 inch) and cut all the pieces to length. Next, I clamped my trusty machinist square to the piece of scrap MDF, making sure it wasn’t flush with it and slightly protruding. That way I could use its edges and not rely on the alignment with the scrap spacing block. It was also easier to wipe off the glue from a metal object. I used that jig to build 2 sides, they came out square, just as planned. As mentioned, this was the first time I used the nailer and a few nails were driven too close to the edge, but didn’t damage the timber and didn’t cause any blowouts. It’s worth mentioning that the strength of all these joints came from the glue and not the nails, but where possible, longer nails were used and they were supposed to be placed along the centre of the mouldings.
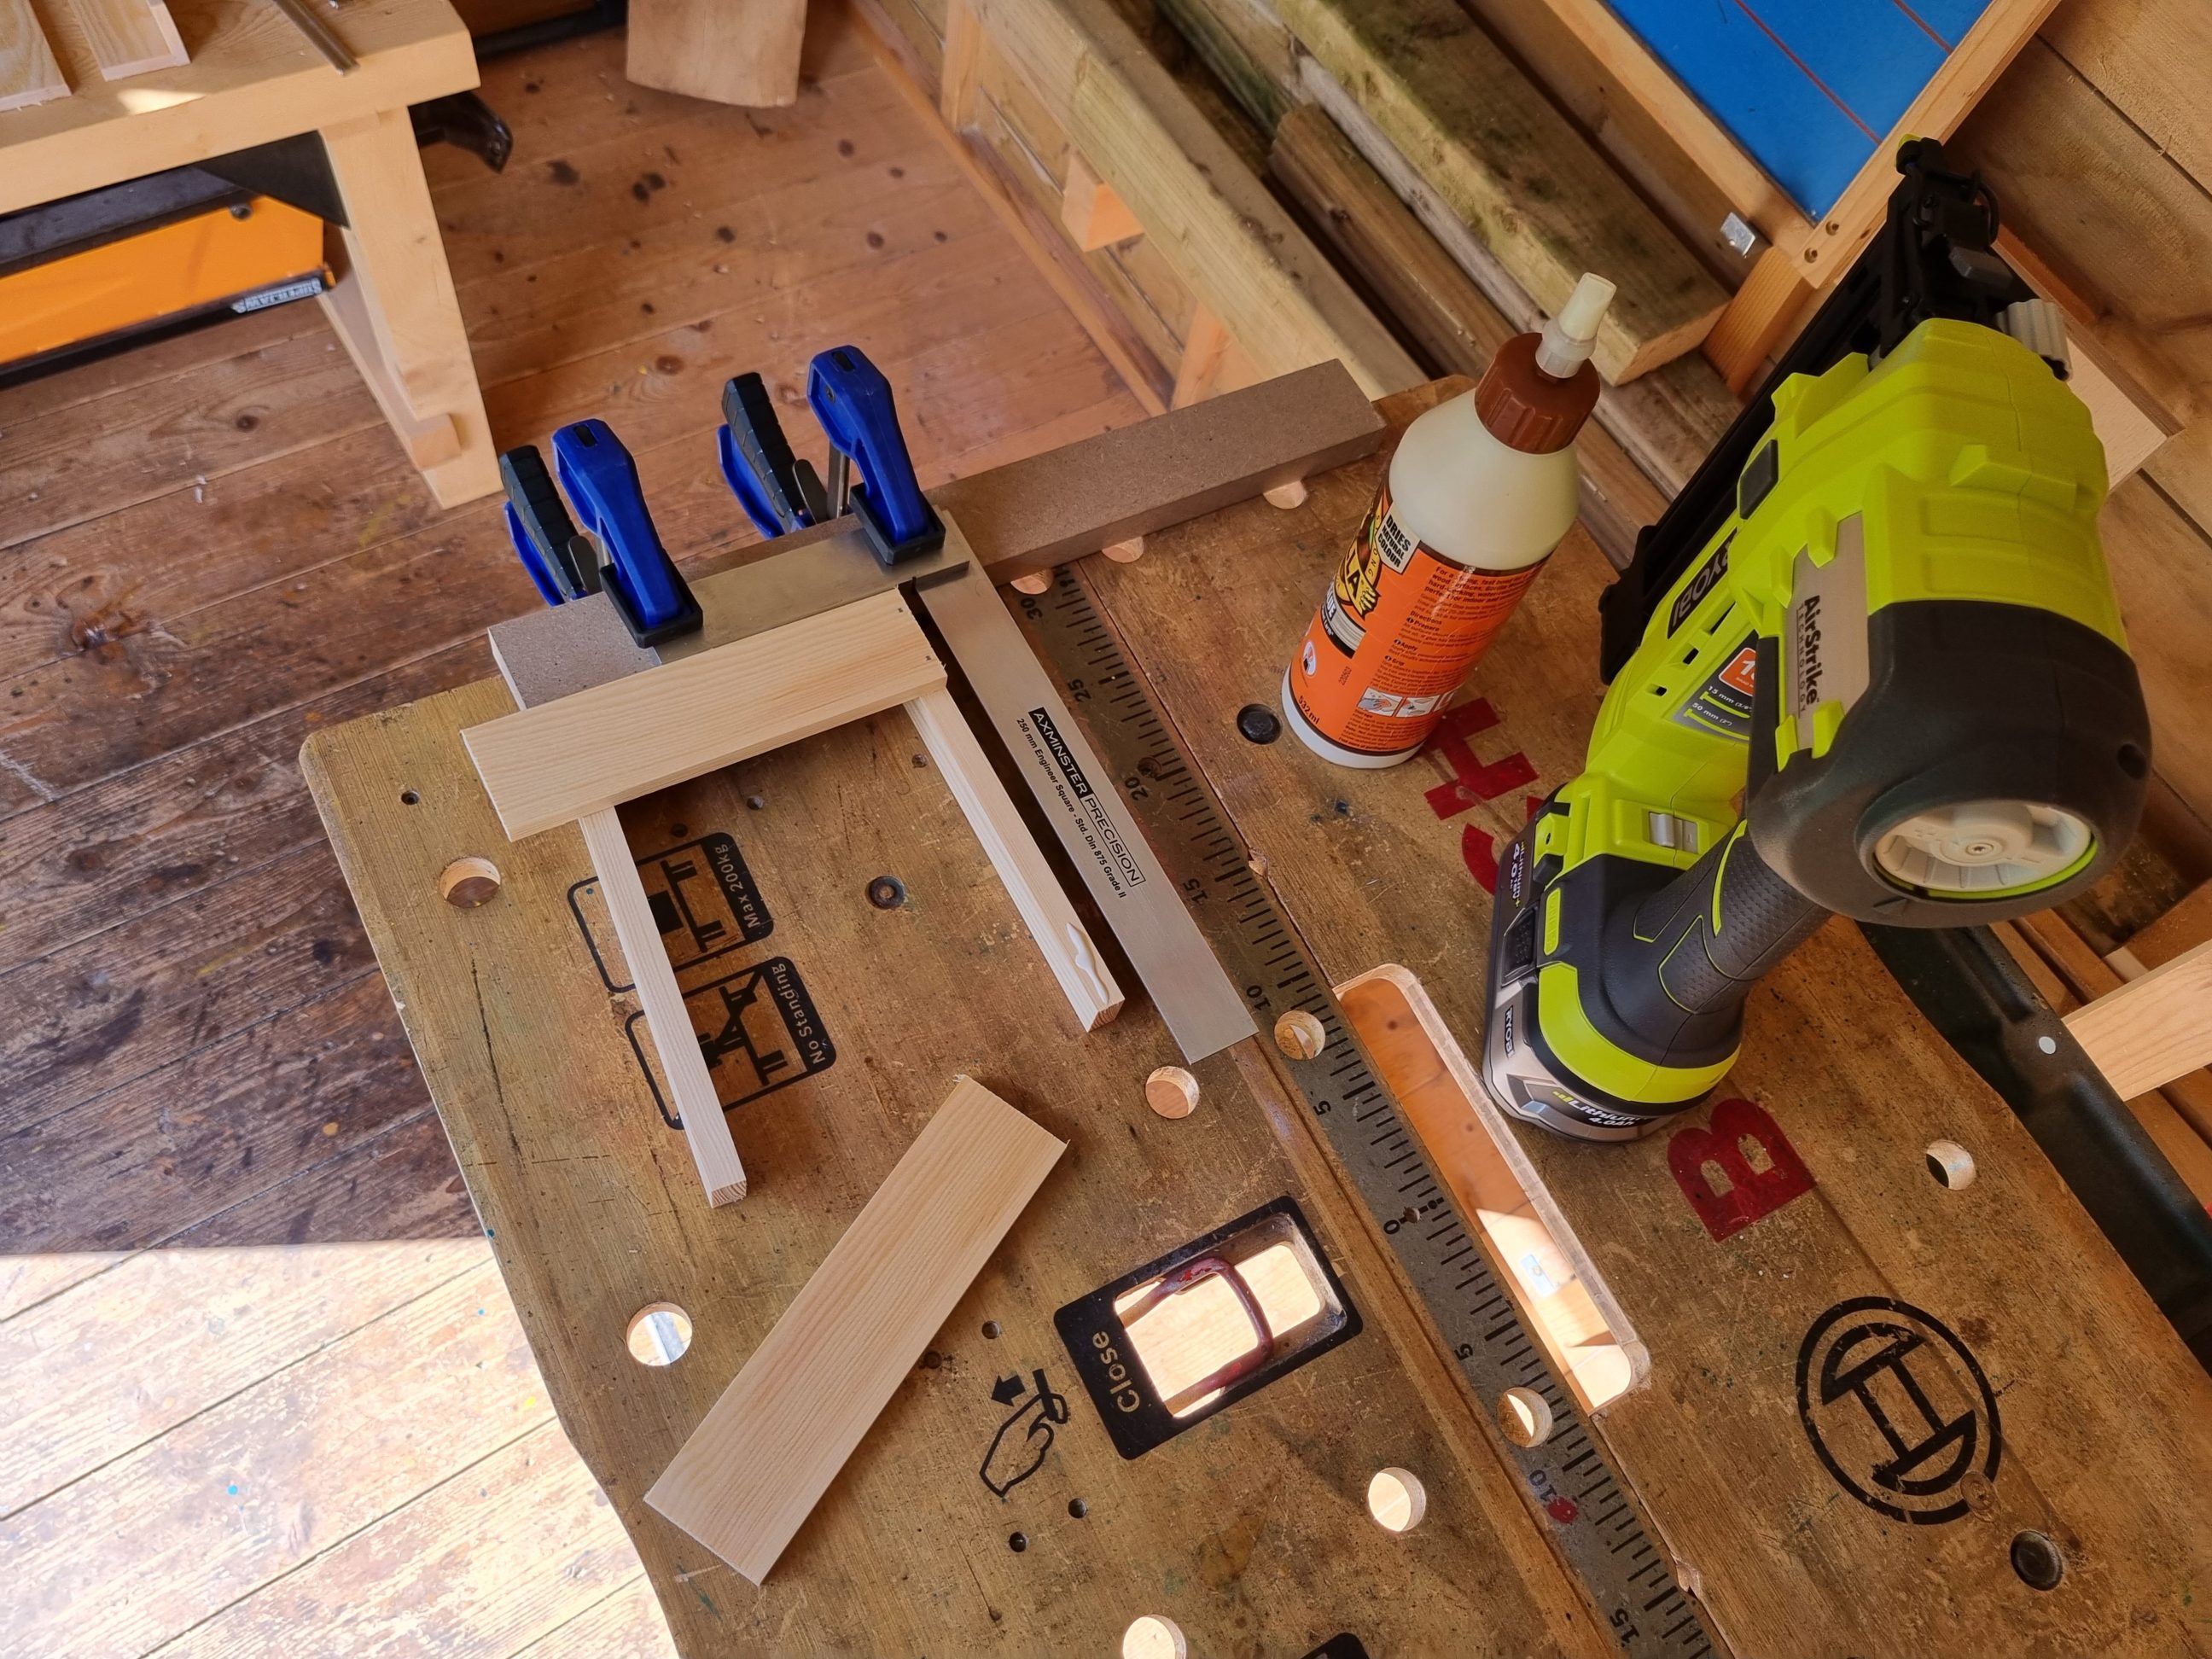

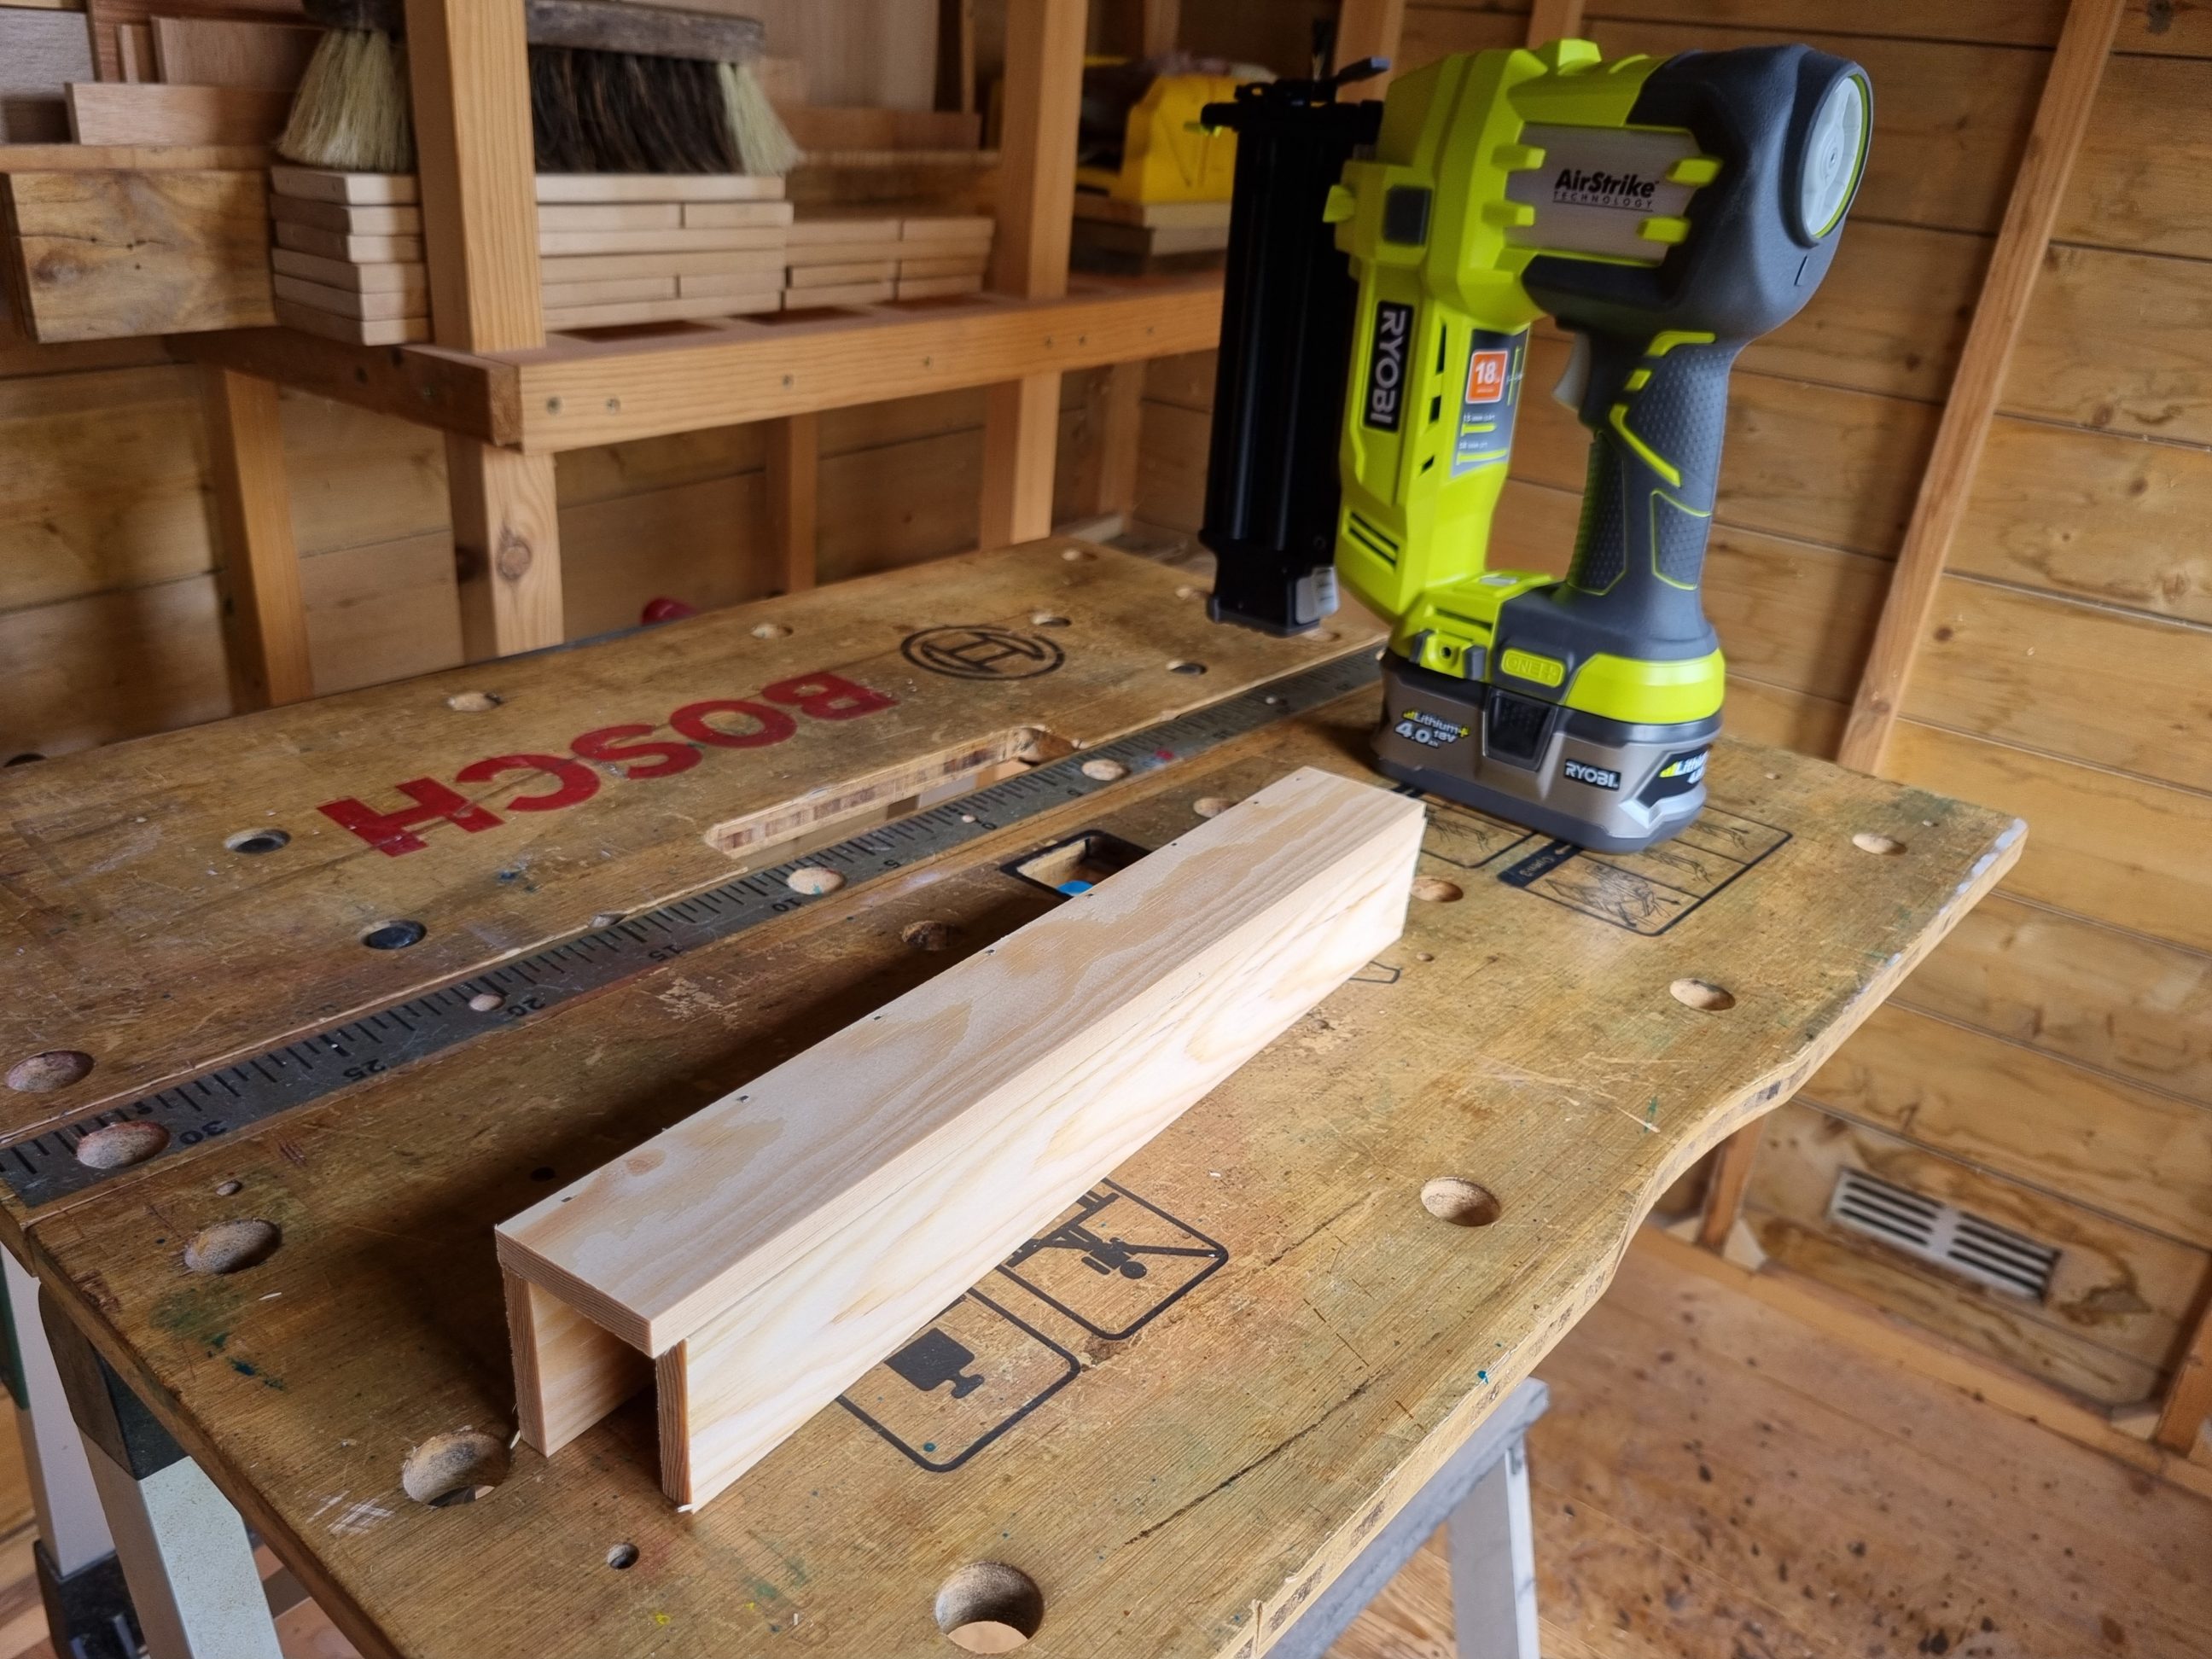
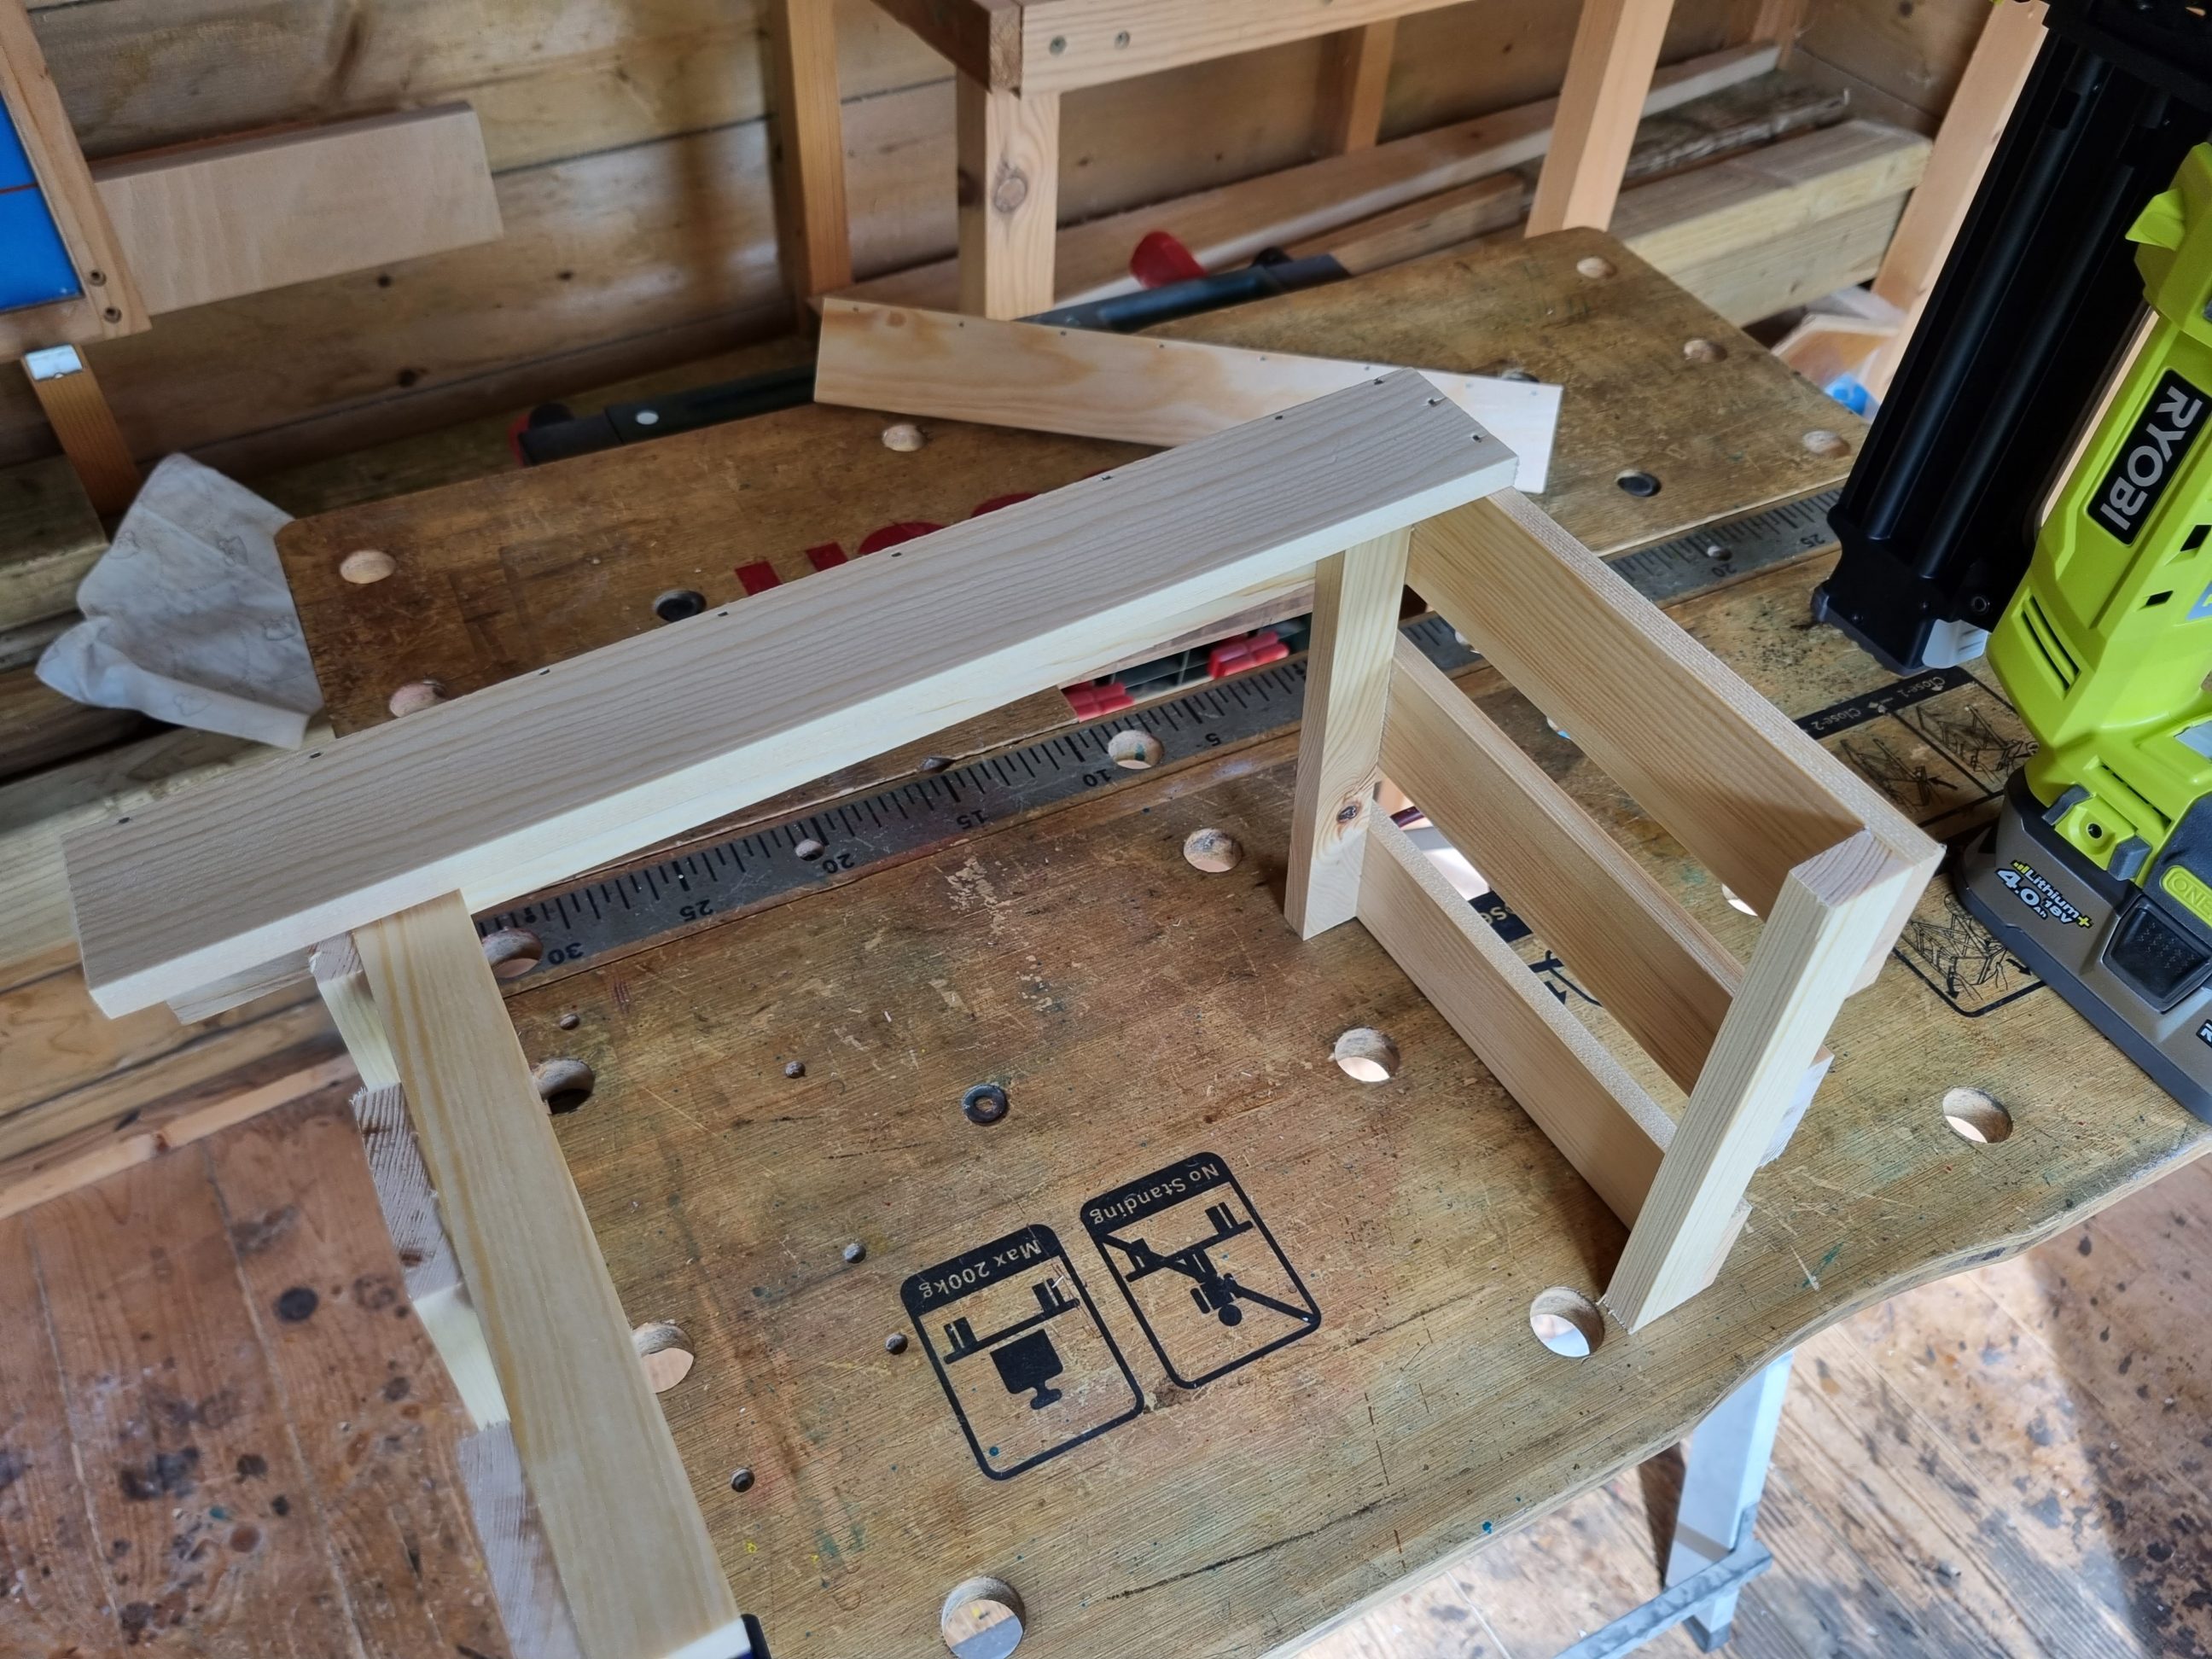
Once the smaller sides were done, I made the bottom L-shaped corners. The glue was left to harden for 20 minutes before I removed the gummy squeeze-out with a pocket knife. During the assembly of these 2 components, I eye-balled the alignment and completely forgot to use a square. That was something I overlooked and was unprofessional. Given that this project was for practice, I continued working, but I recognised that this approach wasn’t the correct way to construct crates, and it would need improvement in the future. Anyways, the existing project came out good but it could be better.
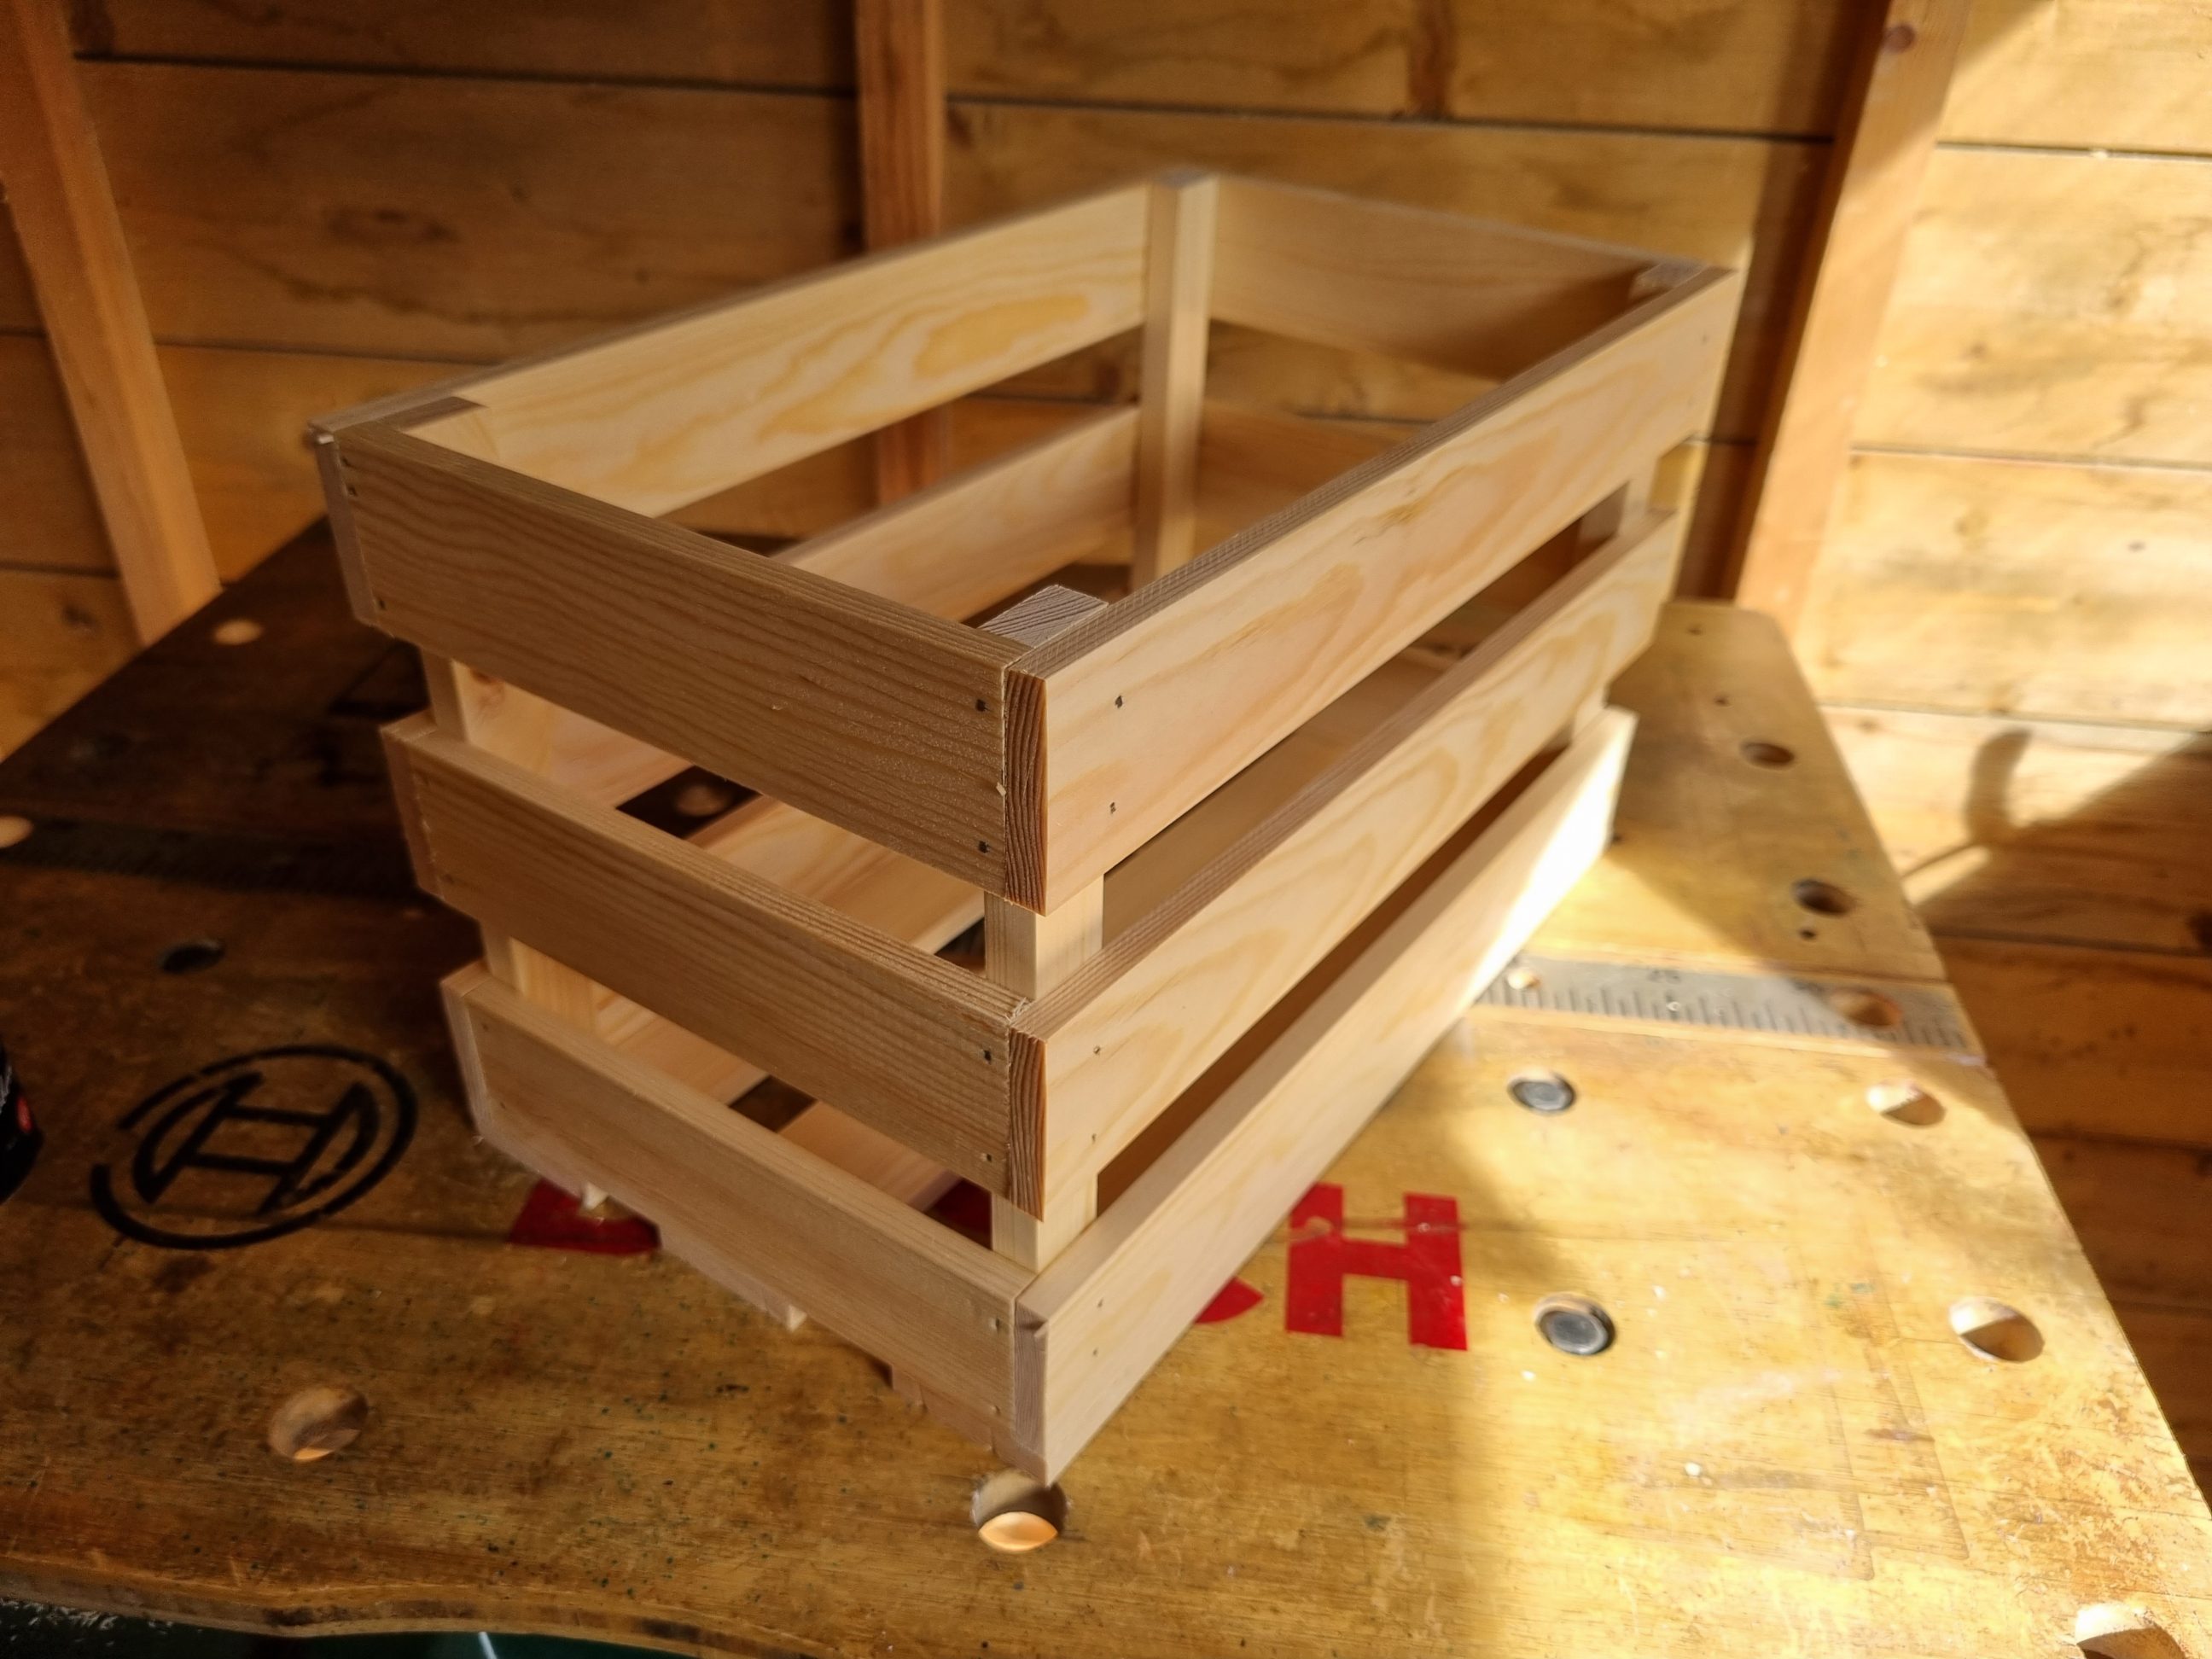
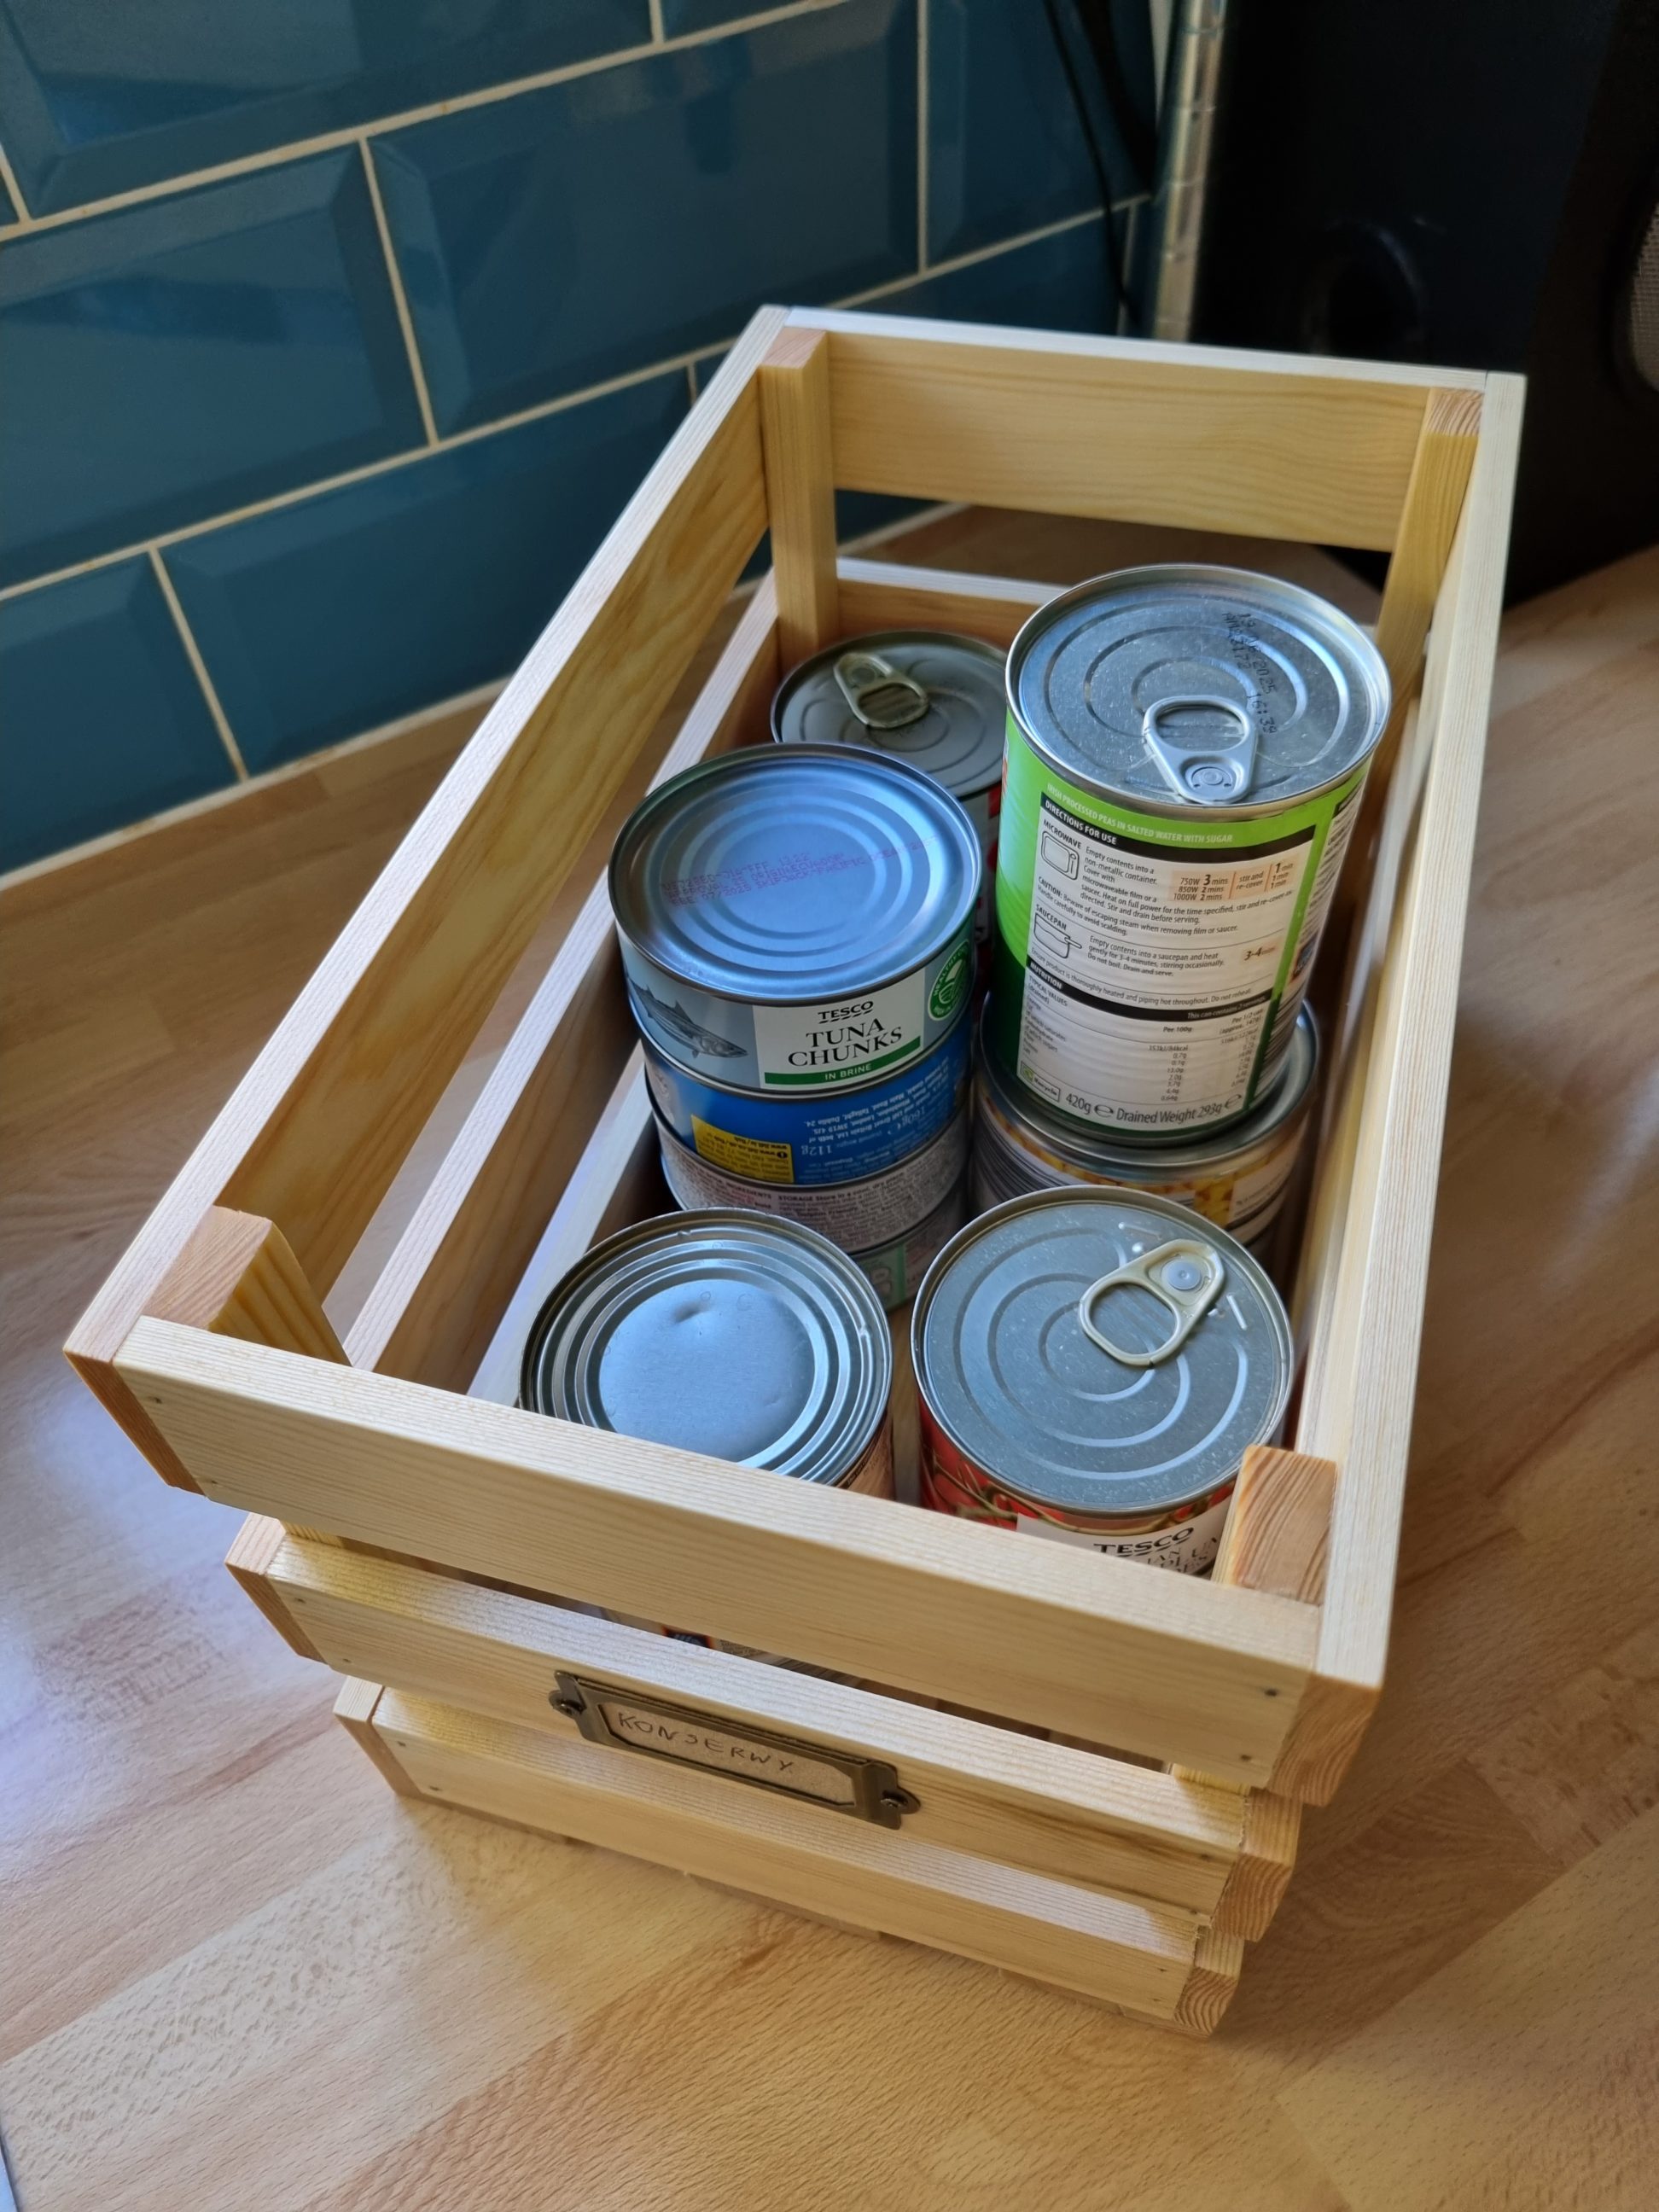
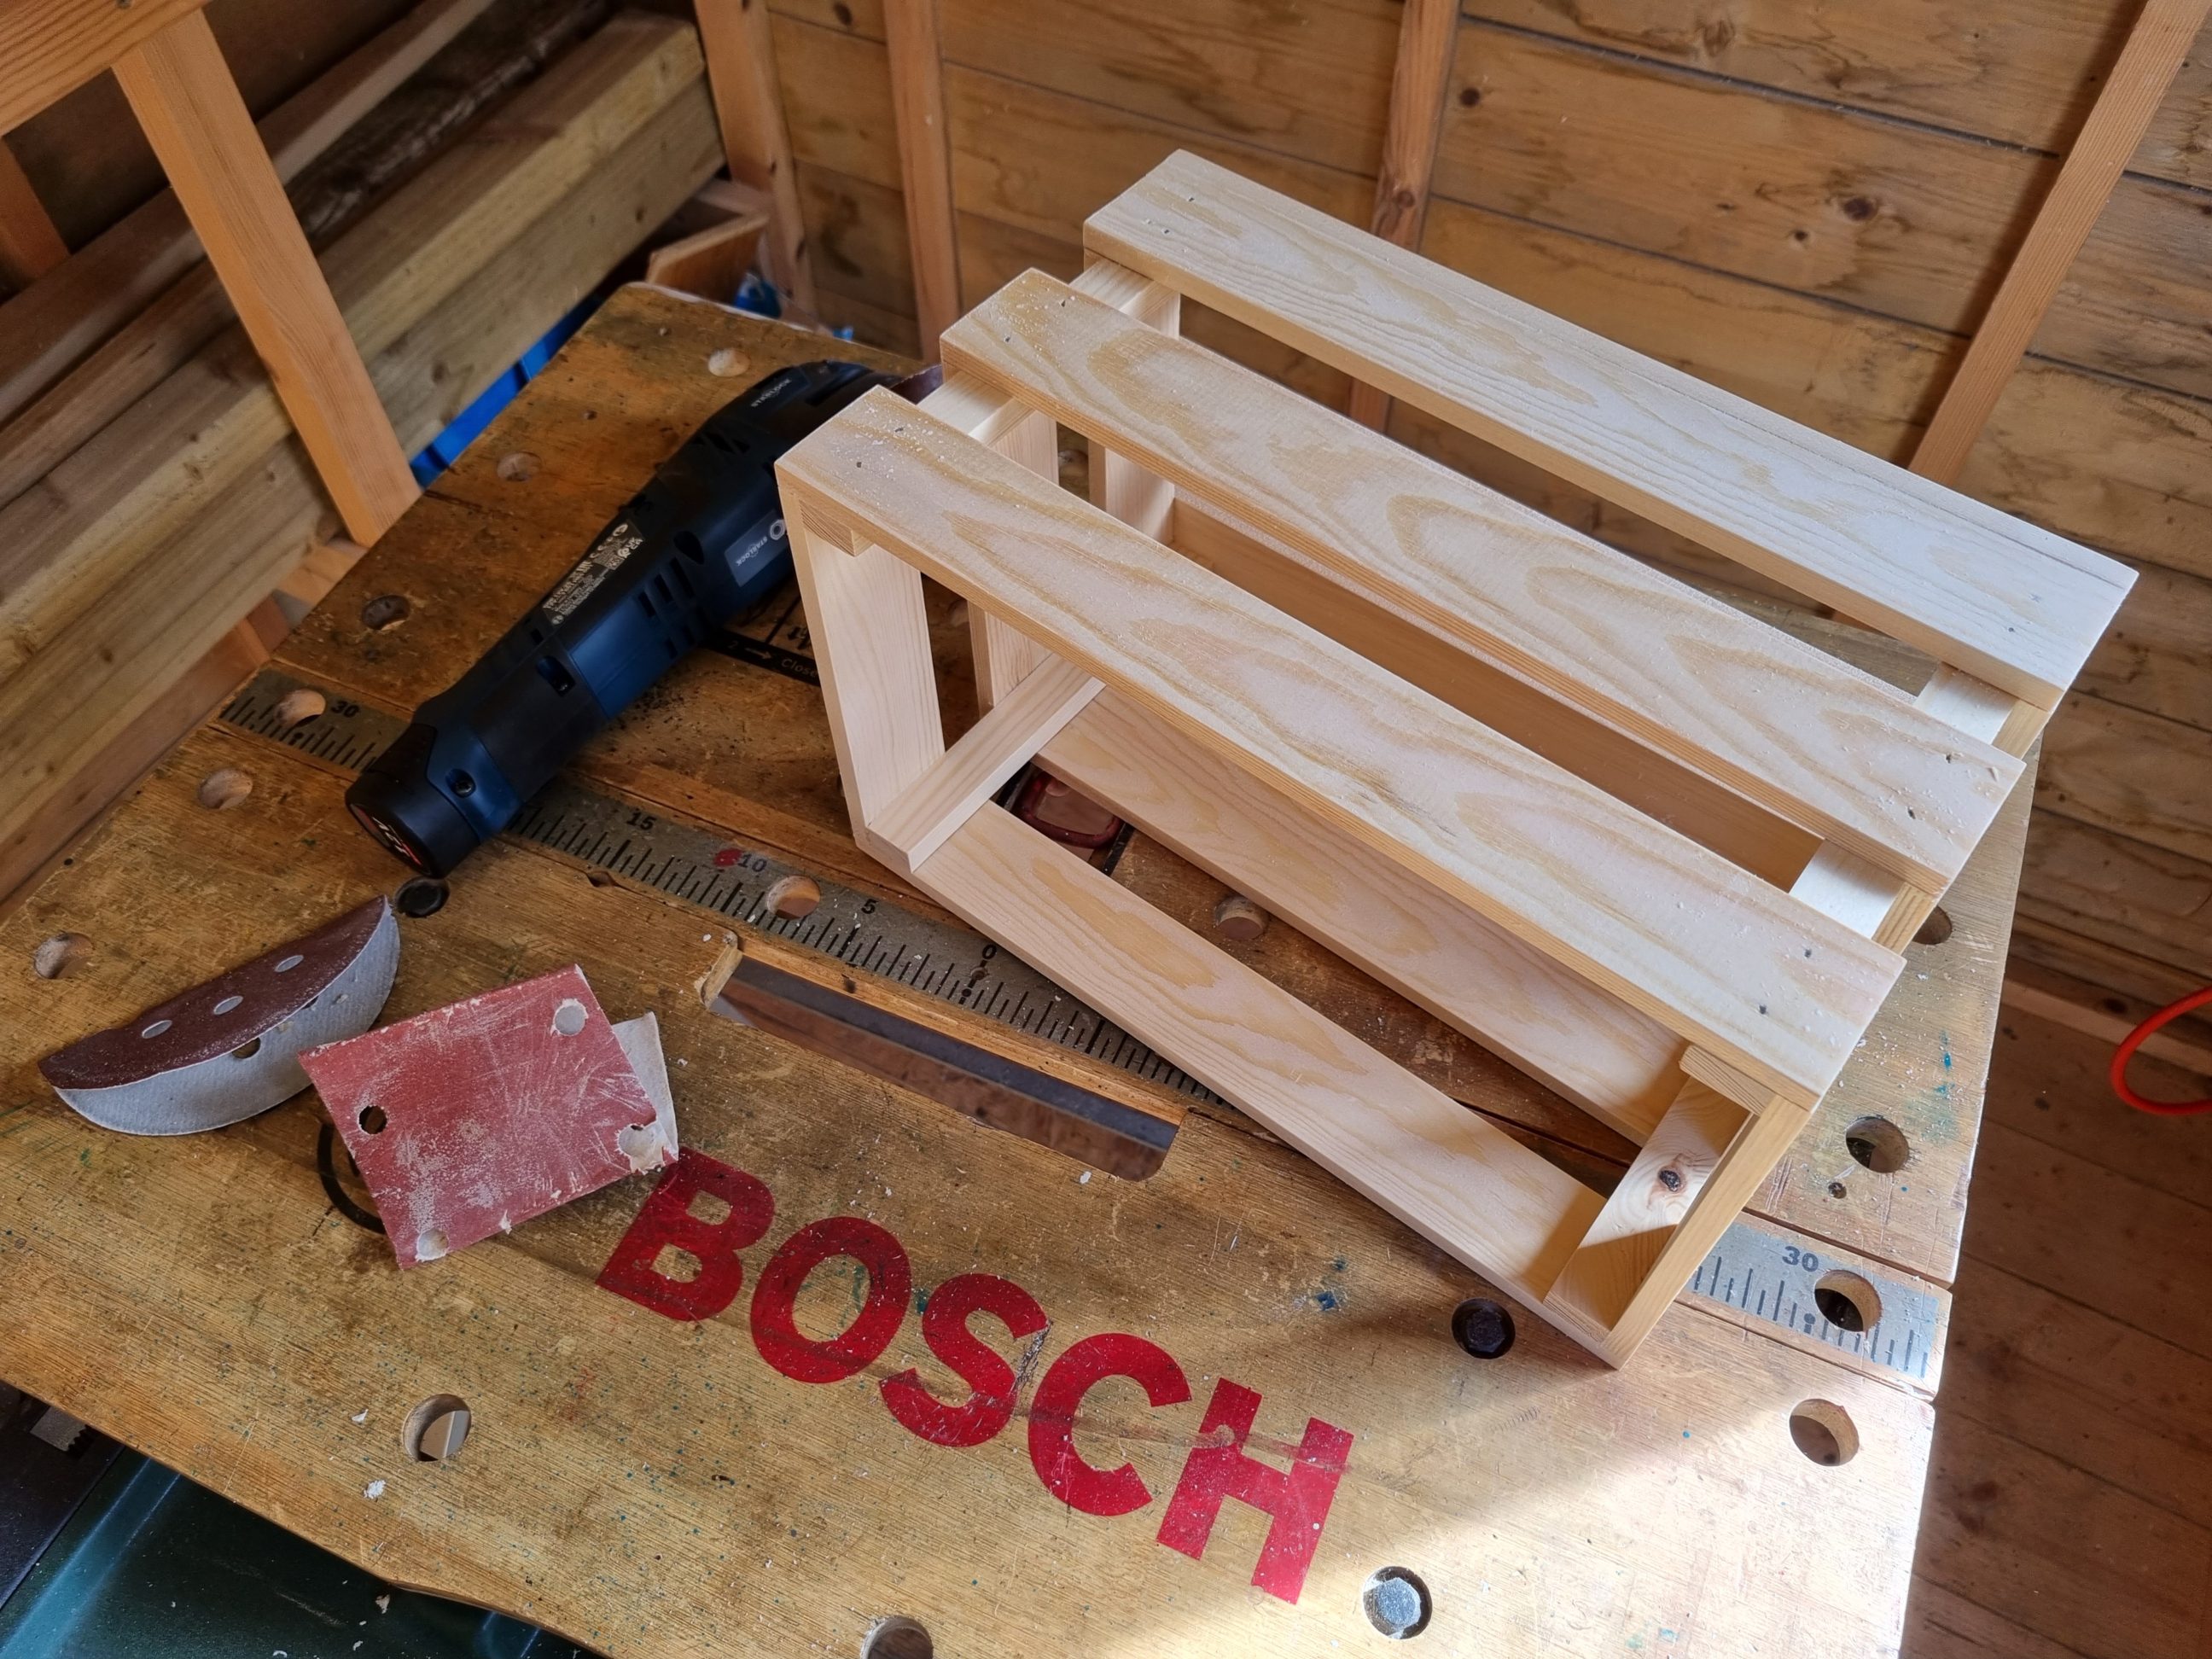
Once the bottom and the top slats were fixed, I moved on to fixing the middle ones. At that point, I had switched from 20 mm to 13 mm nails. I used longer nails where I could but the thickness of 21 mm (9+12 mm) would be too small for 20 mm nails as they usually sat below the surface. Because that was my practice piece, using a hammer and a nail set to sink all the protruding nails below the surface, could be explained and justified. That was a necessary step, but it was done when the glue hardened completely. I gave the crate a quick sanding and eased all the edges with 240 sandpaper. The finish of my choice was wood oil, a single coat that was left on the surface for 20 minutes and all the excess was carefully removed with kitchen towels. I prefer using paper towels for this final step due to their unique properties – they function as ultra-fine polishing sheets and have better absorbency compared to used cloths. The last thing to do was to affix a label holder and cut off a cardboard insert for it.

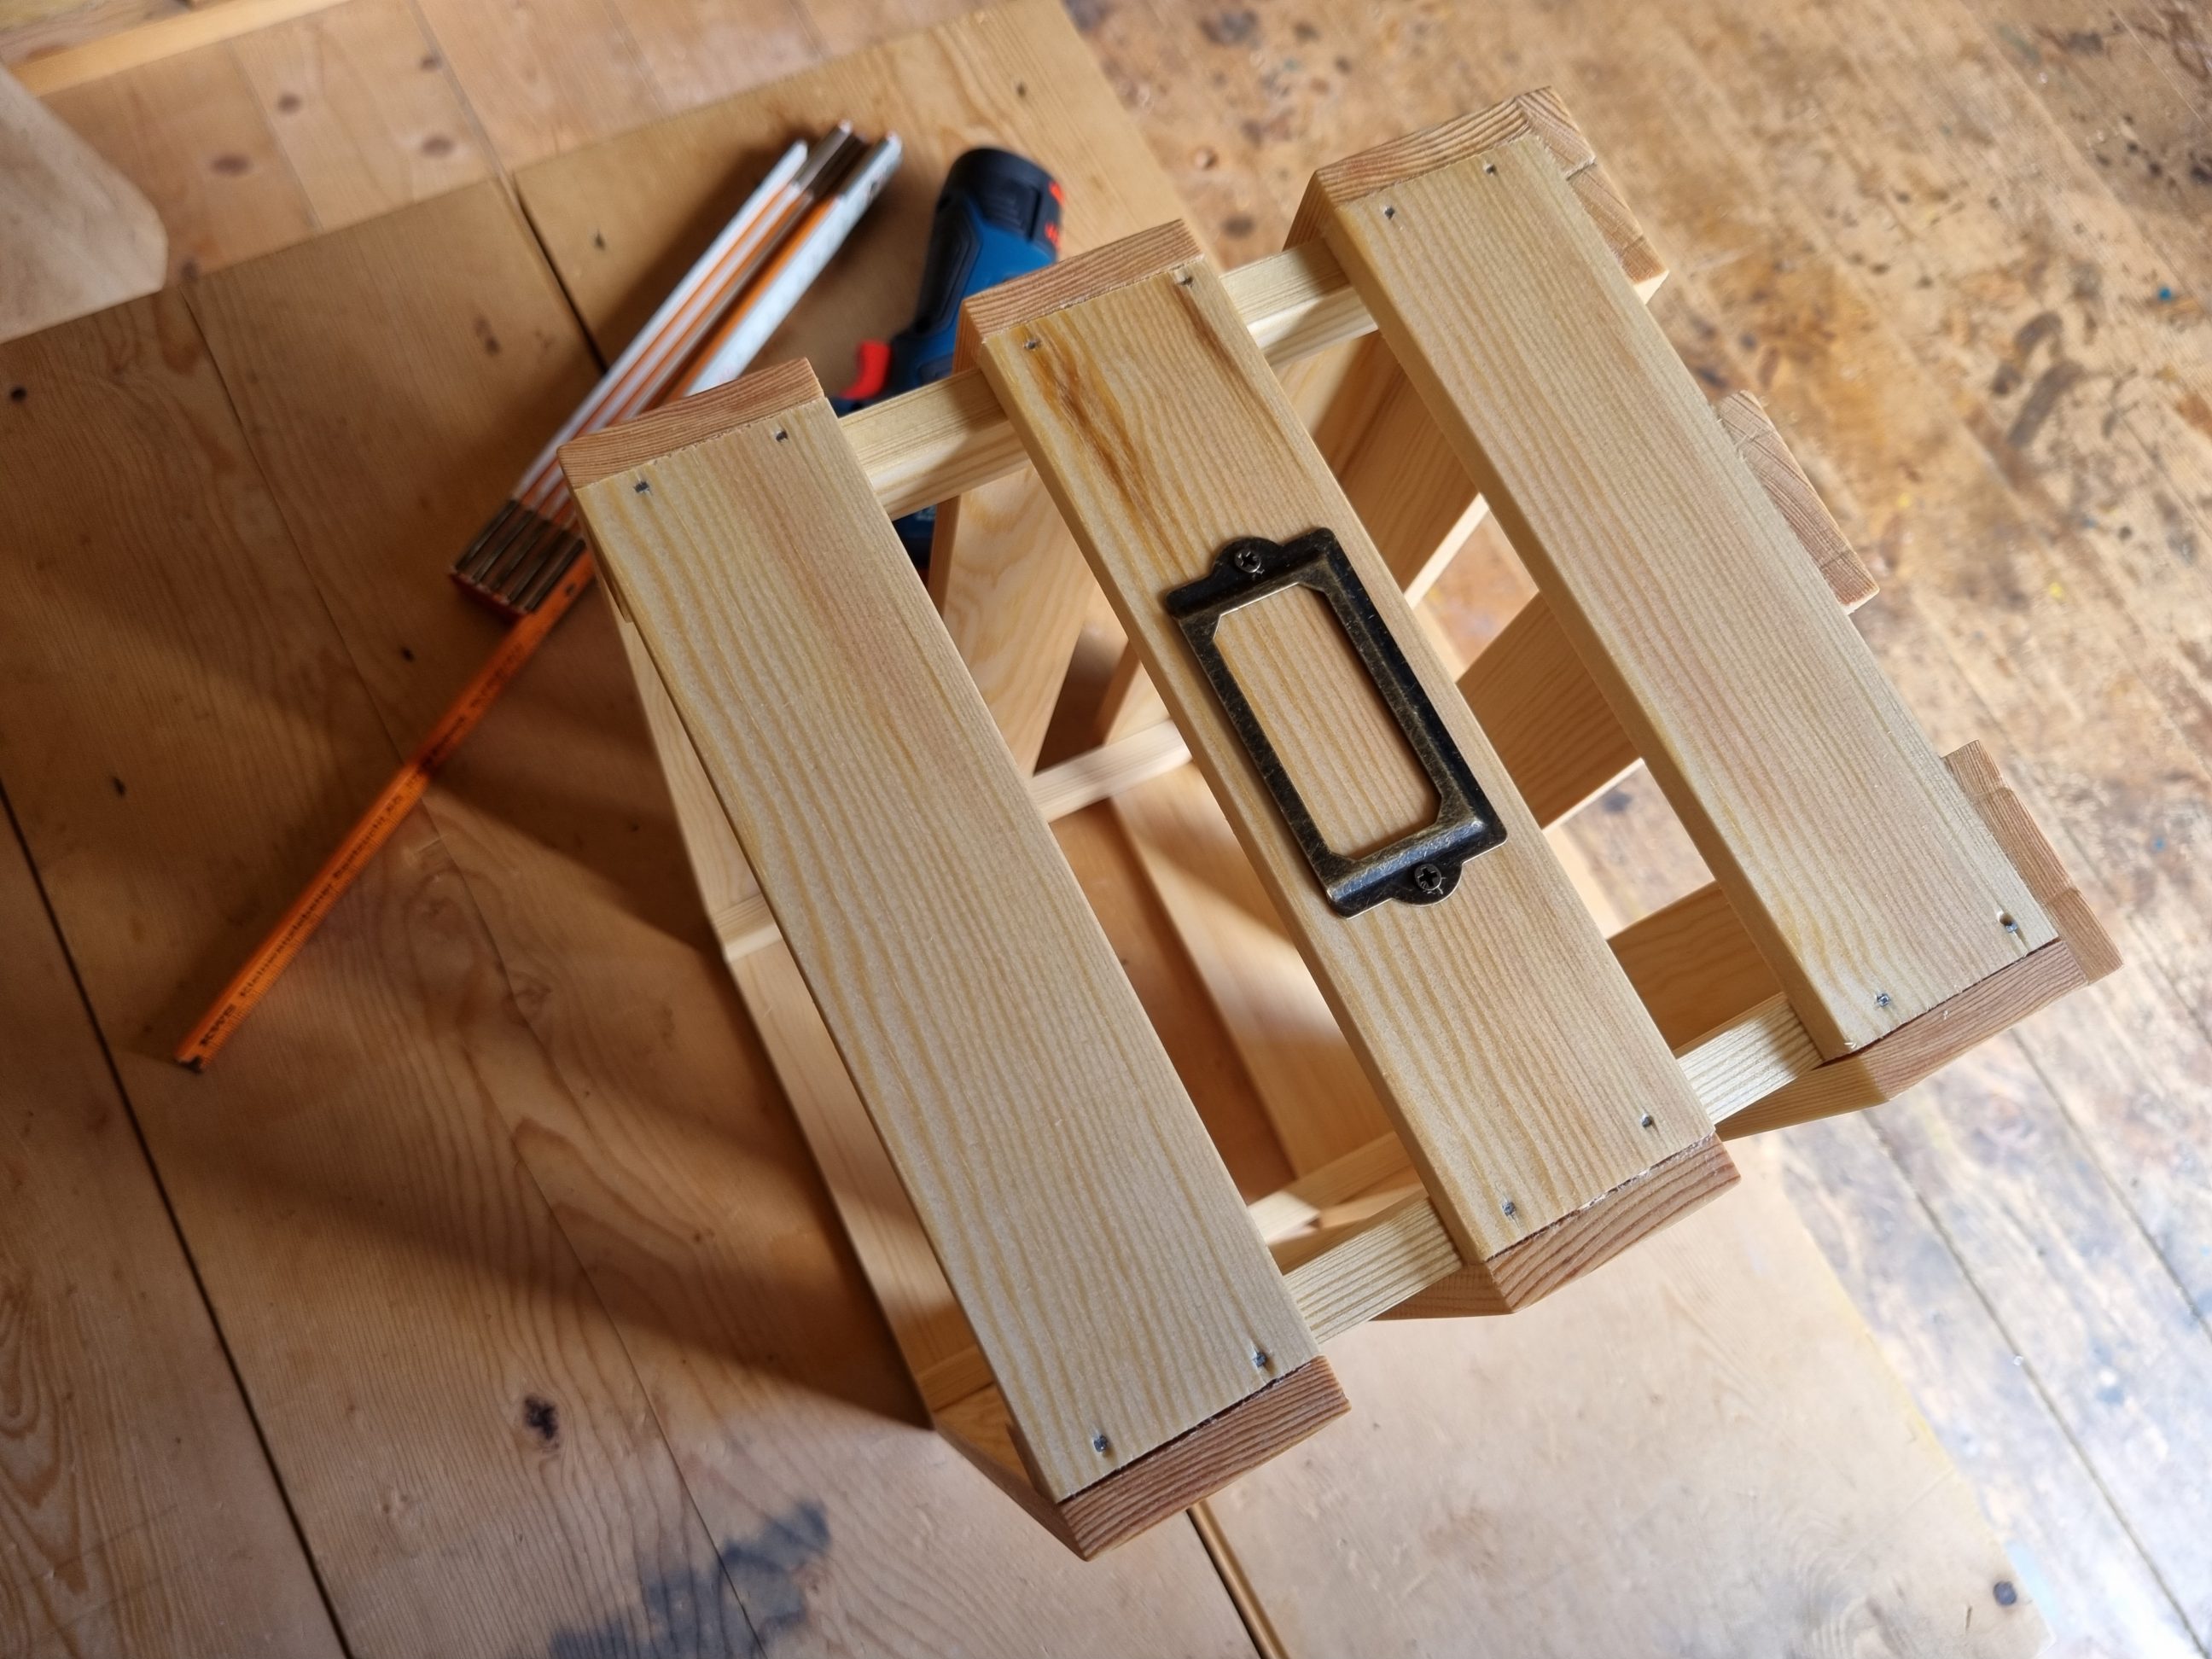
The crate was filled with cans and it seemed to be working just fine. It was reasonably strong and adequately sized for my needs, able to hold a diverse selection of canned food in case of challenging times. In the right light, it shows all the shades of face, side and end grain and the finish I used perfectly enhances all the colours. The crate is classic and a little rustic, but in this case in a good way. It is reasonably square and I had a chance to practise my skills. The pine timber I used for building it was bought cheap, which was a big surprise especially now when all the prices are crazy high. There is still room for some improvements in future projects, but for now, I’m going to let myself enjoy the project.