L-Boxx organiser
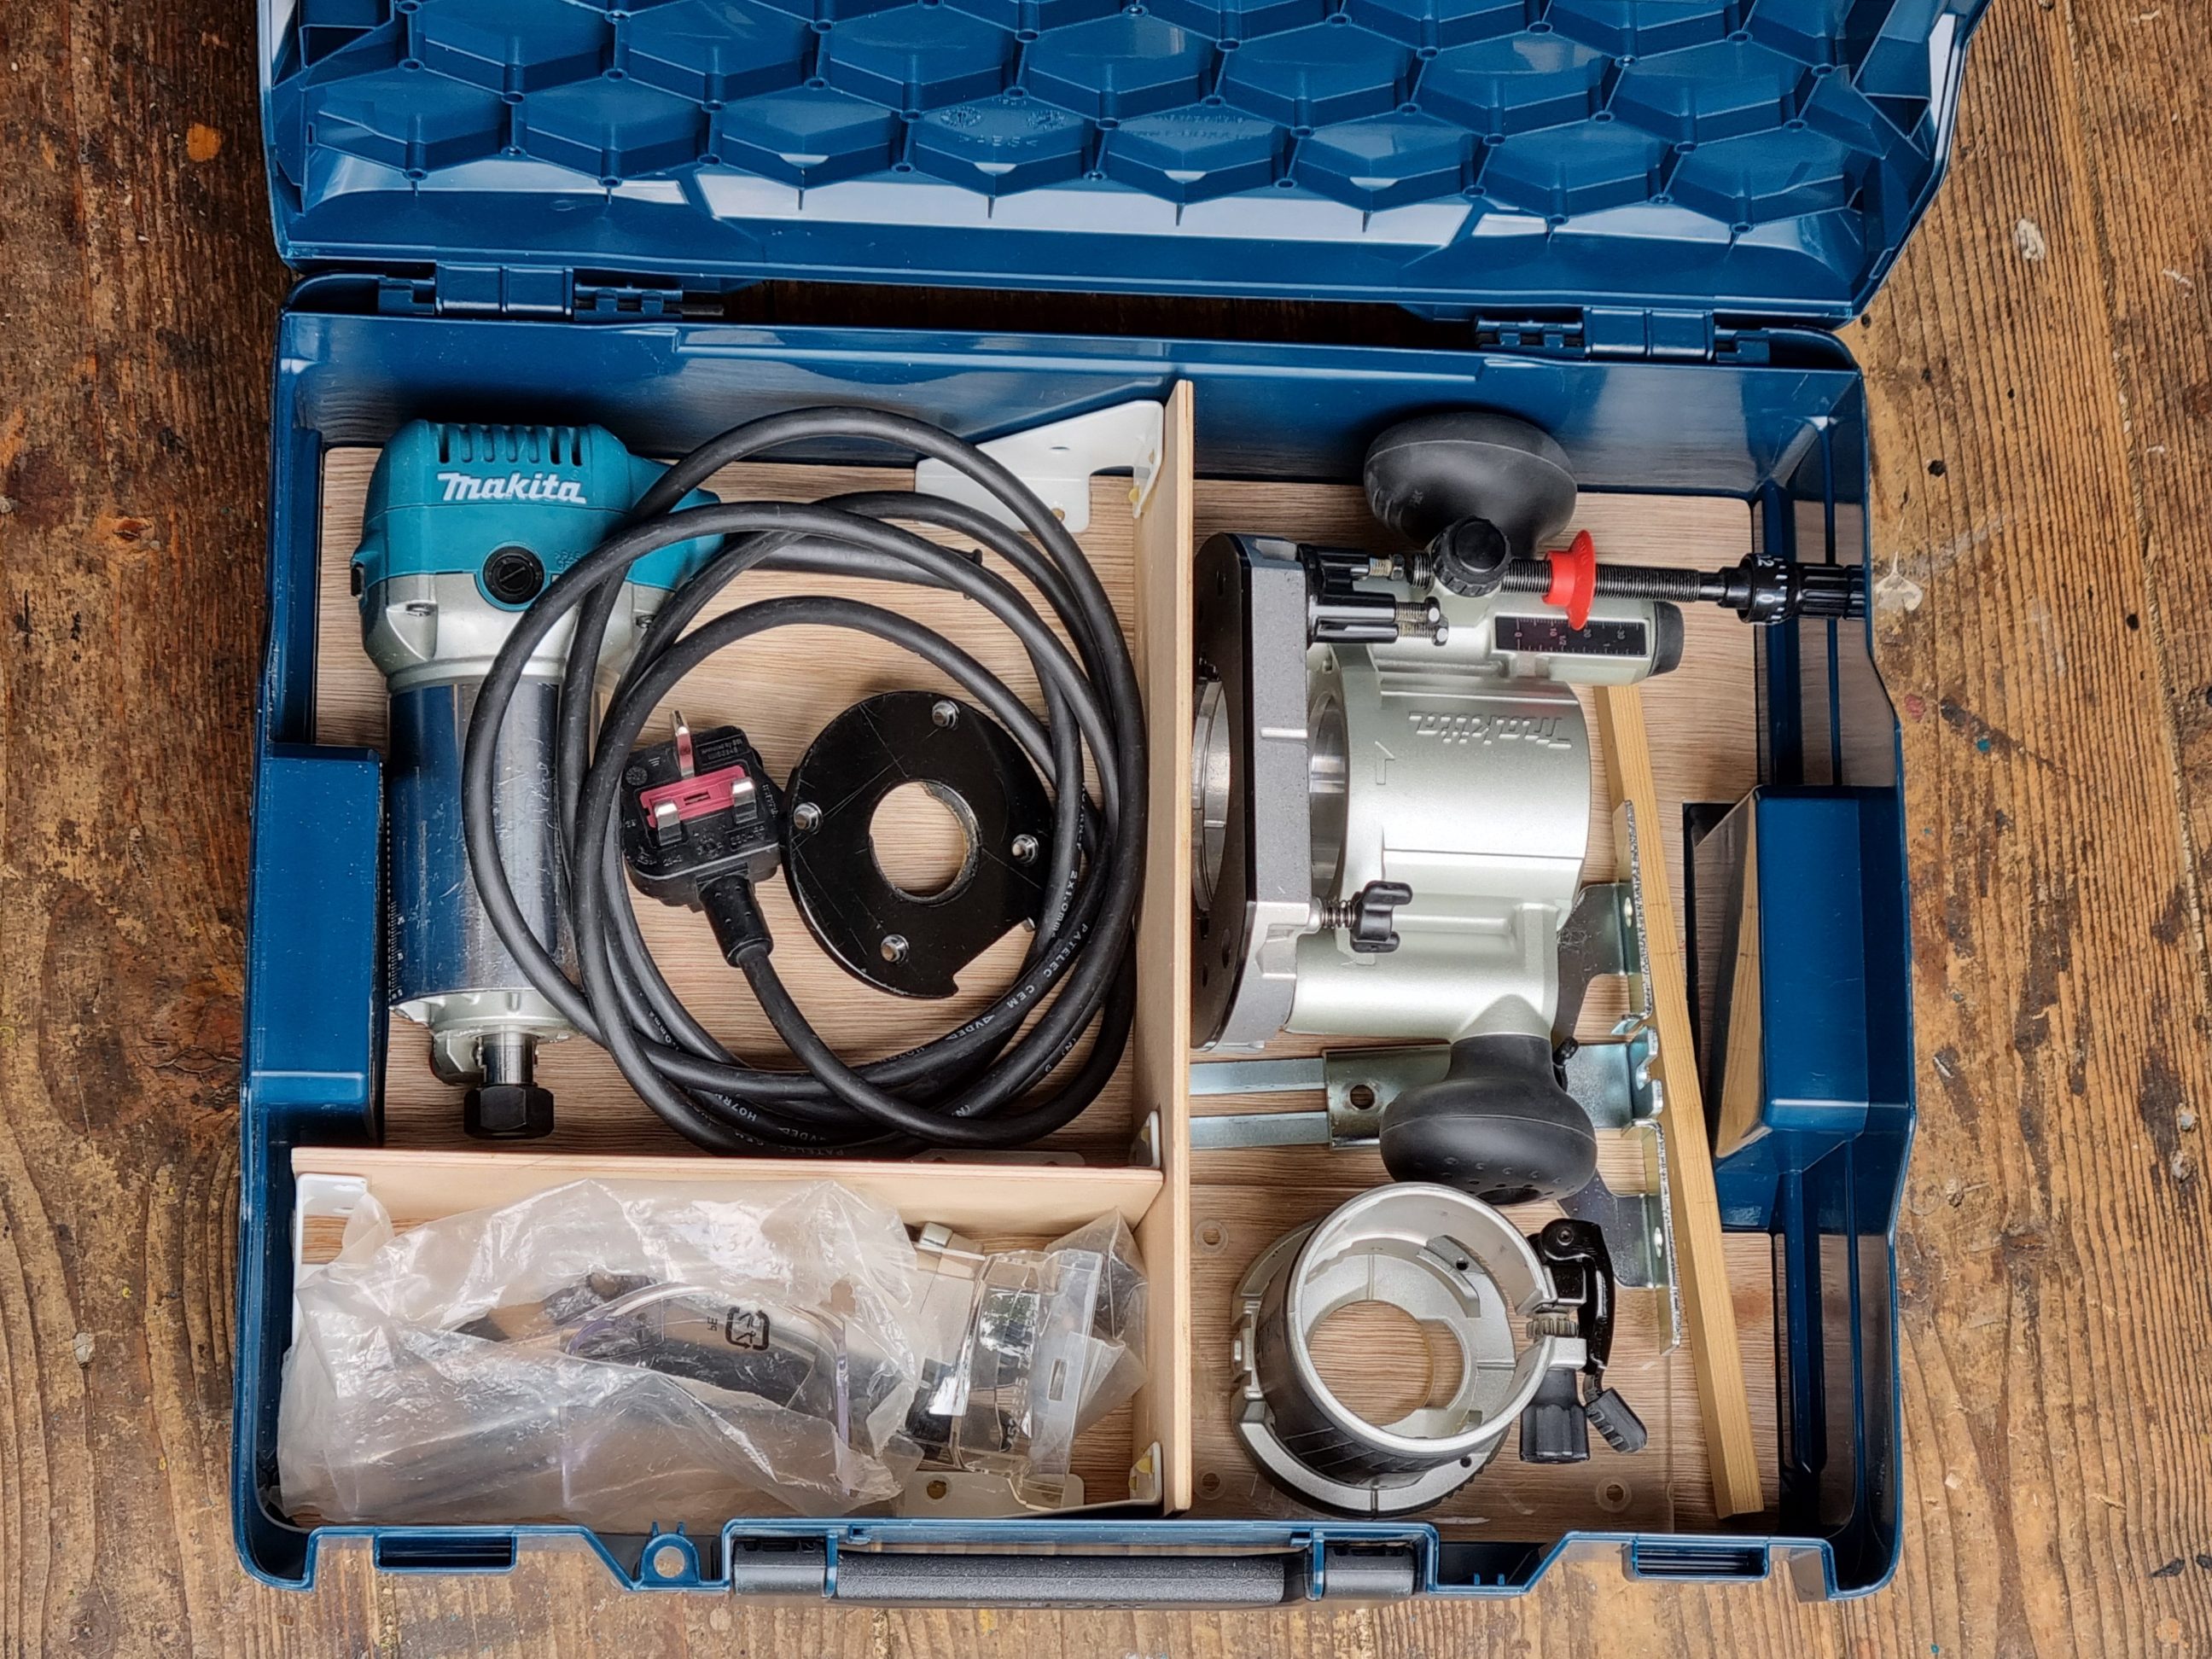
Bosch L-Boxxes theoretically provide an excellent storage solution for workshops or vans, they are durable, easily transportable, and can be stacked for storage. However, over time, one may realise that the storage space and volume of an L-Boxx can be used more efficiently. In fact, most L-Boxxes in my workshop are utilised in a manner far from efficient. The standard inserts usually hold only one or two tools, along with a charger and a battery, and perhaps have additional compartments for snugly fitting boxes and accessories. Although these inserts protect the contents during transport, they are not as effective for stationary storage. For about seven years, my Makita router and its plunge base had been stored in cardboard boxes, which had started to deteriorate from use. It was time for a more appropriate storage solution. An L-Boxx was the ideal choice, but it needed extra dividers to organise the tools and keep them from moving around. While not as perfect as foam inserts, this was still a far better option than haphazardly tossing the tools inside. The design maximised space by omitting outer walls, using only dividers and a base plate for attachment. The plywood used for this build was as thin as could be managed.

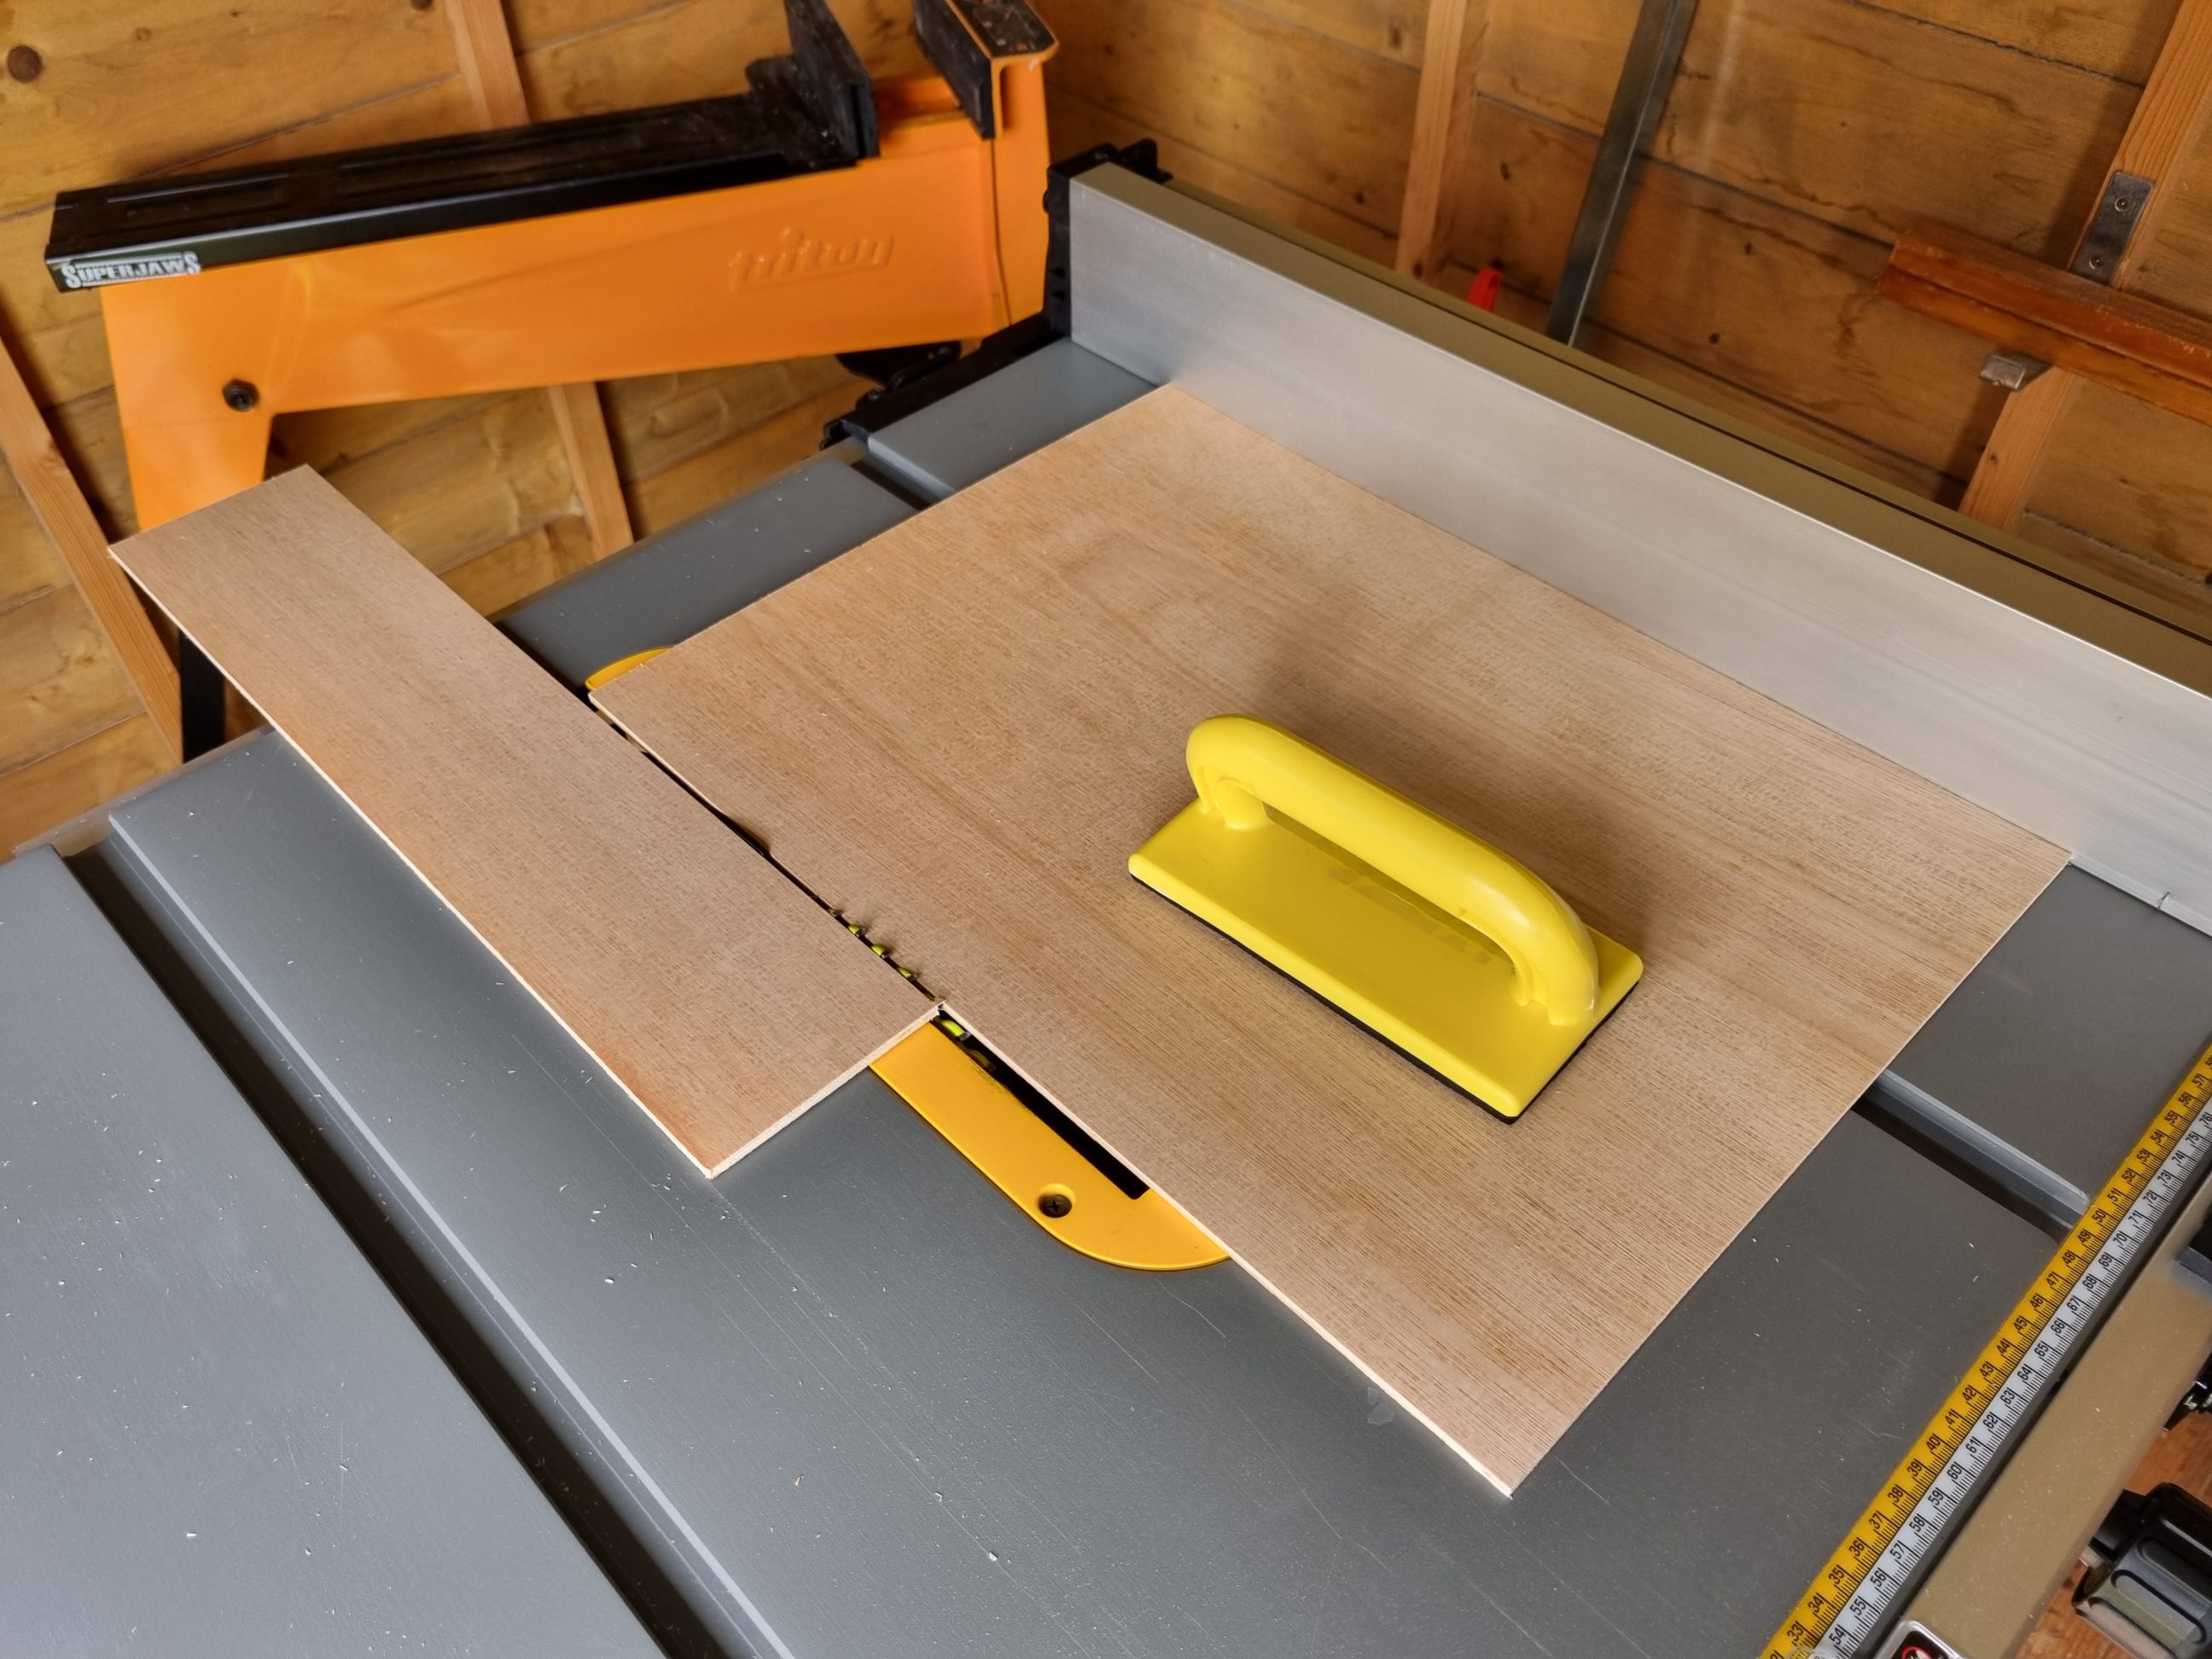
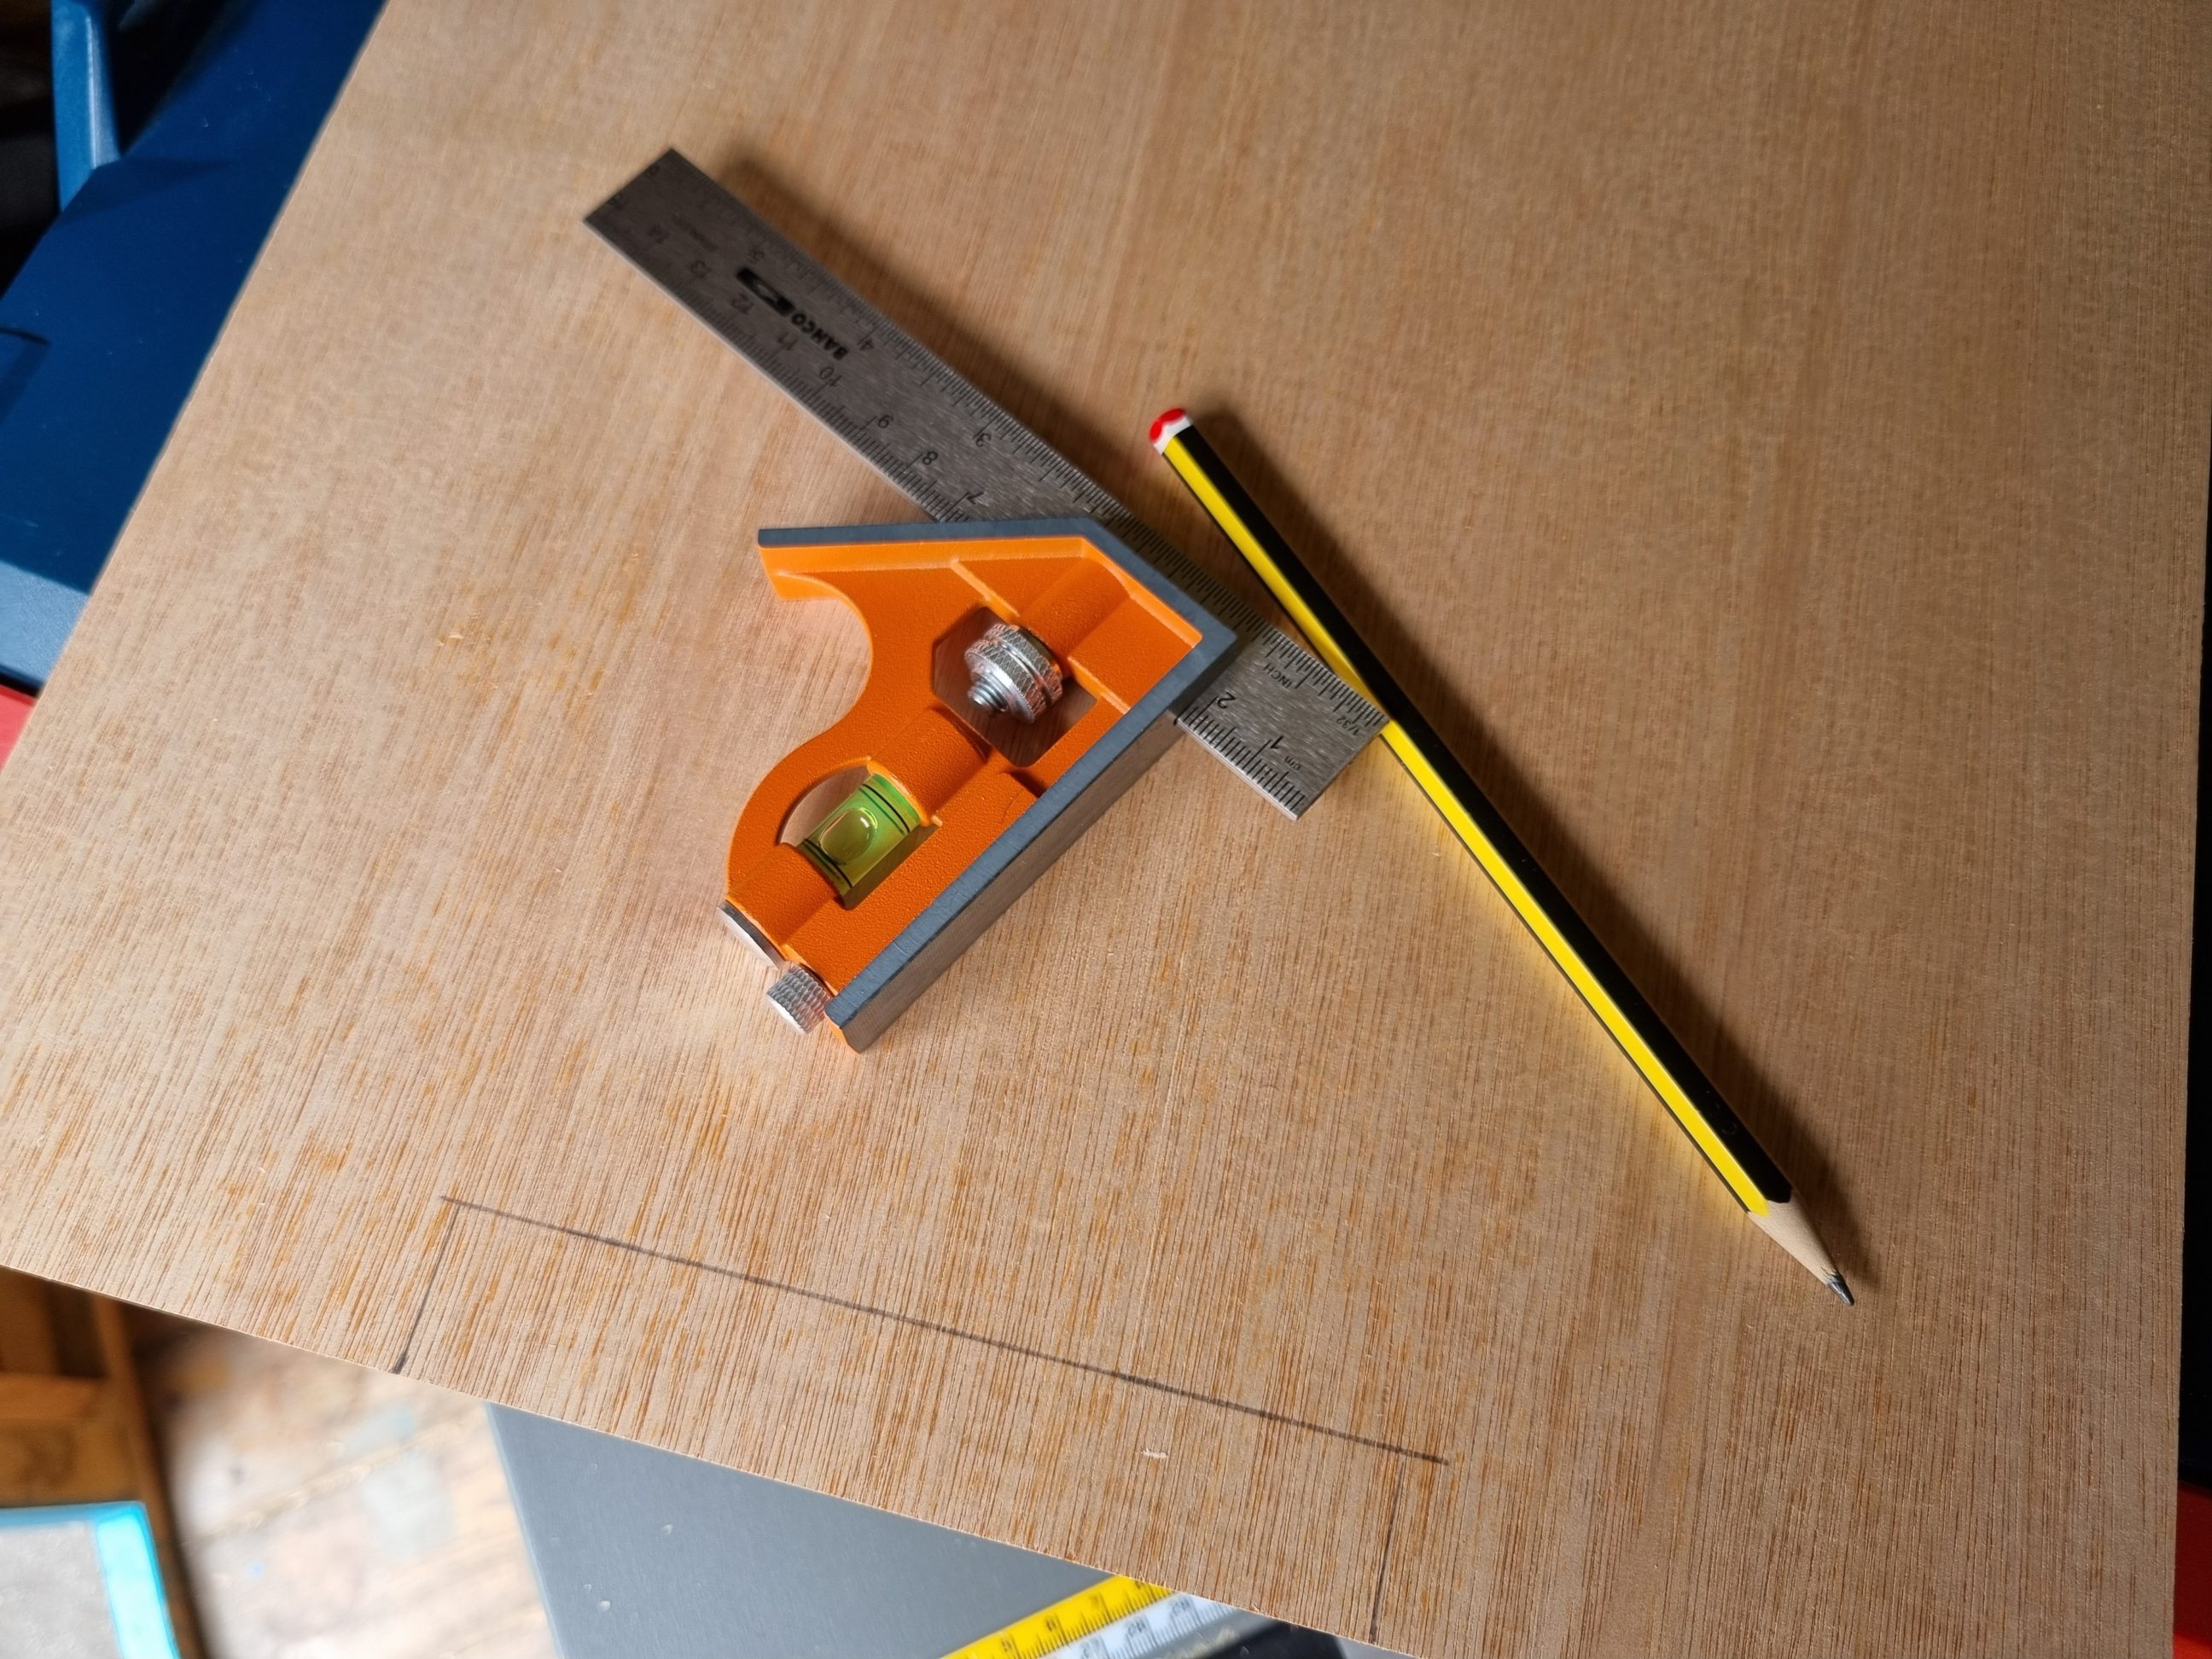
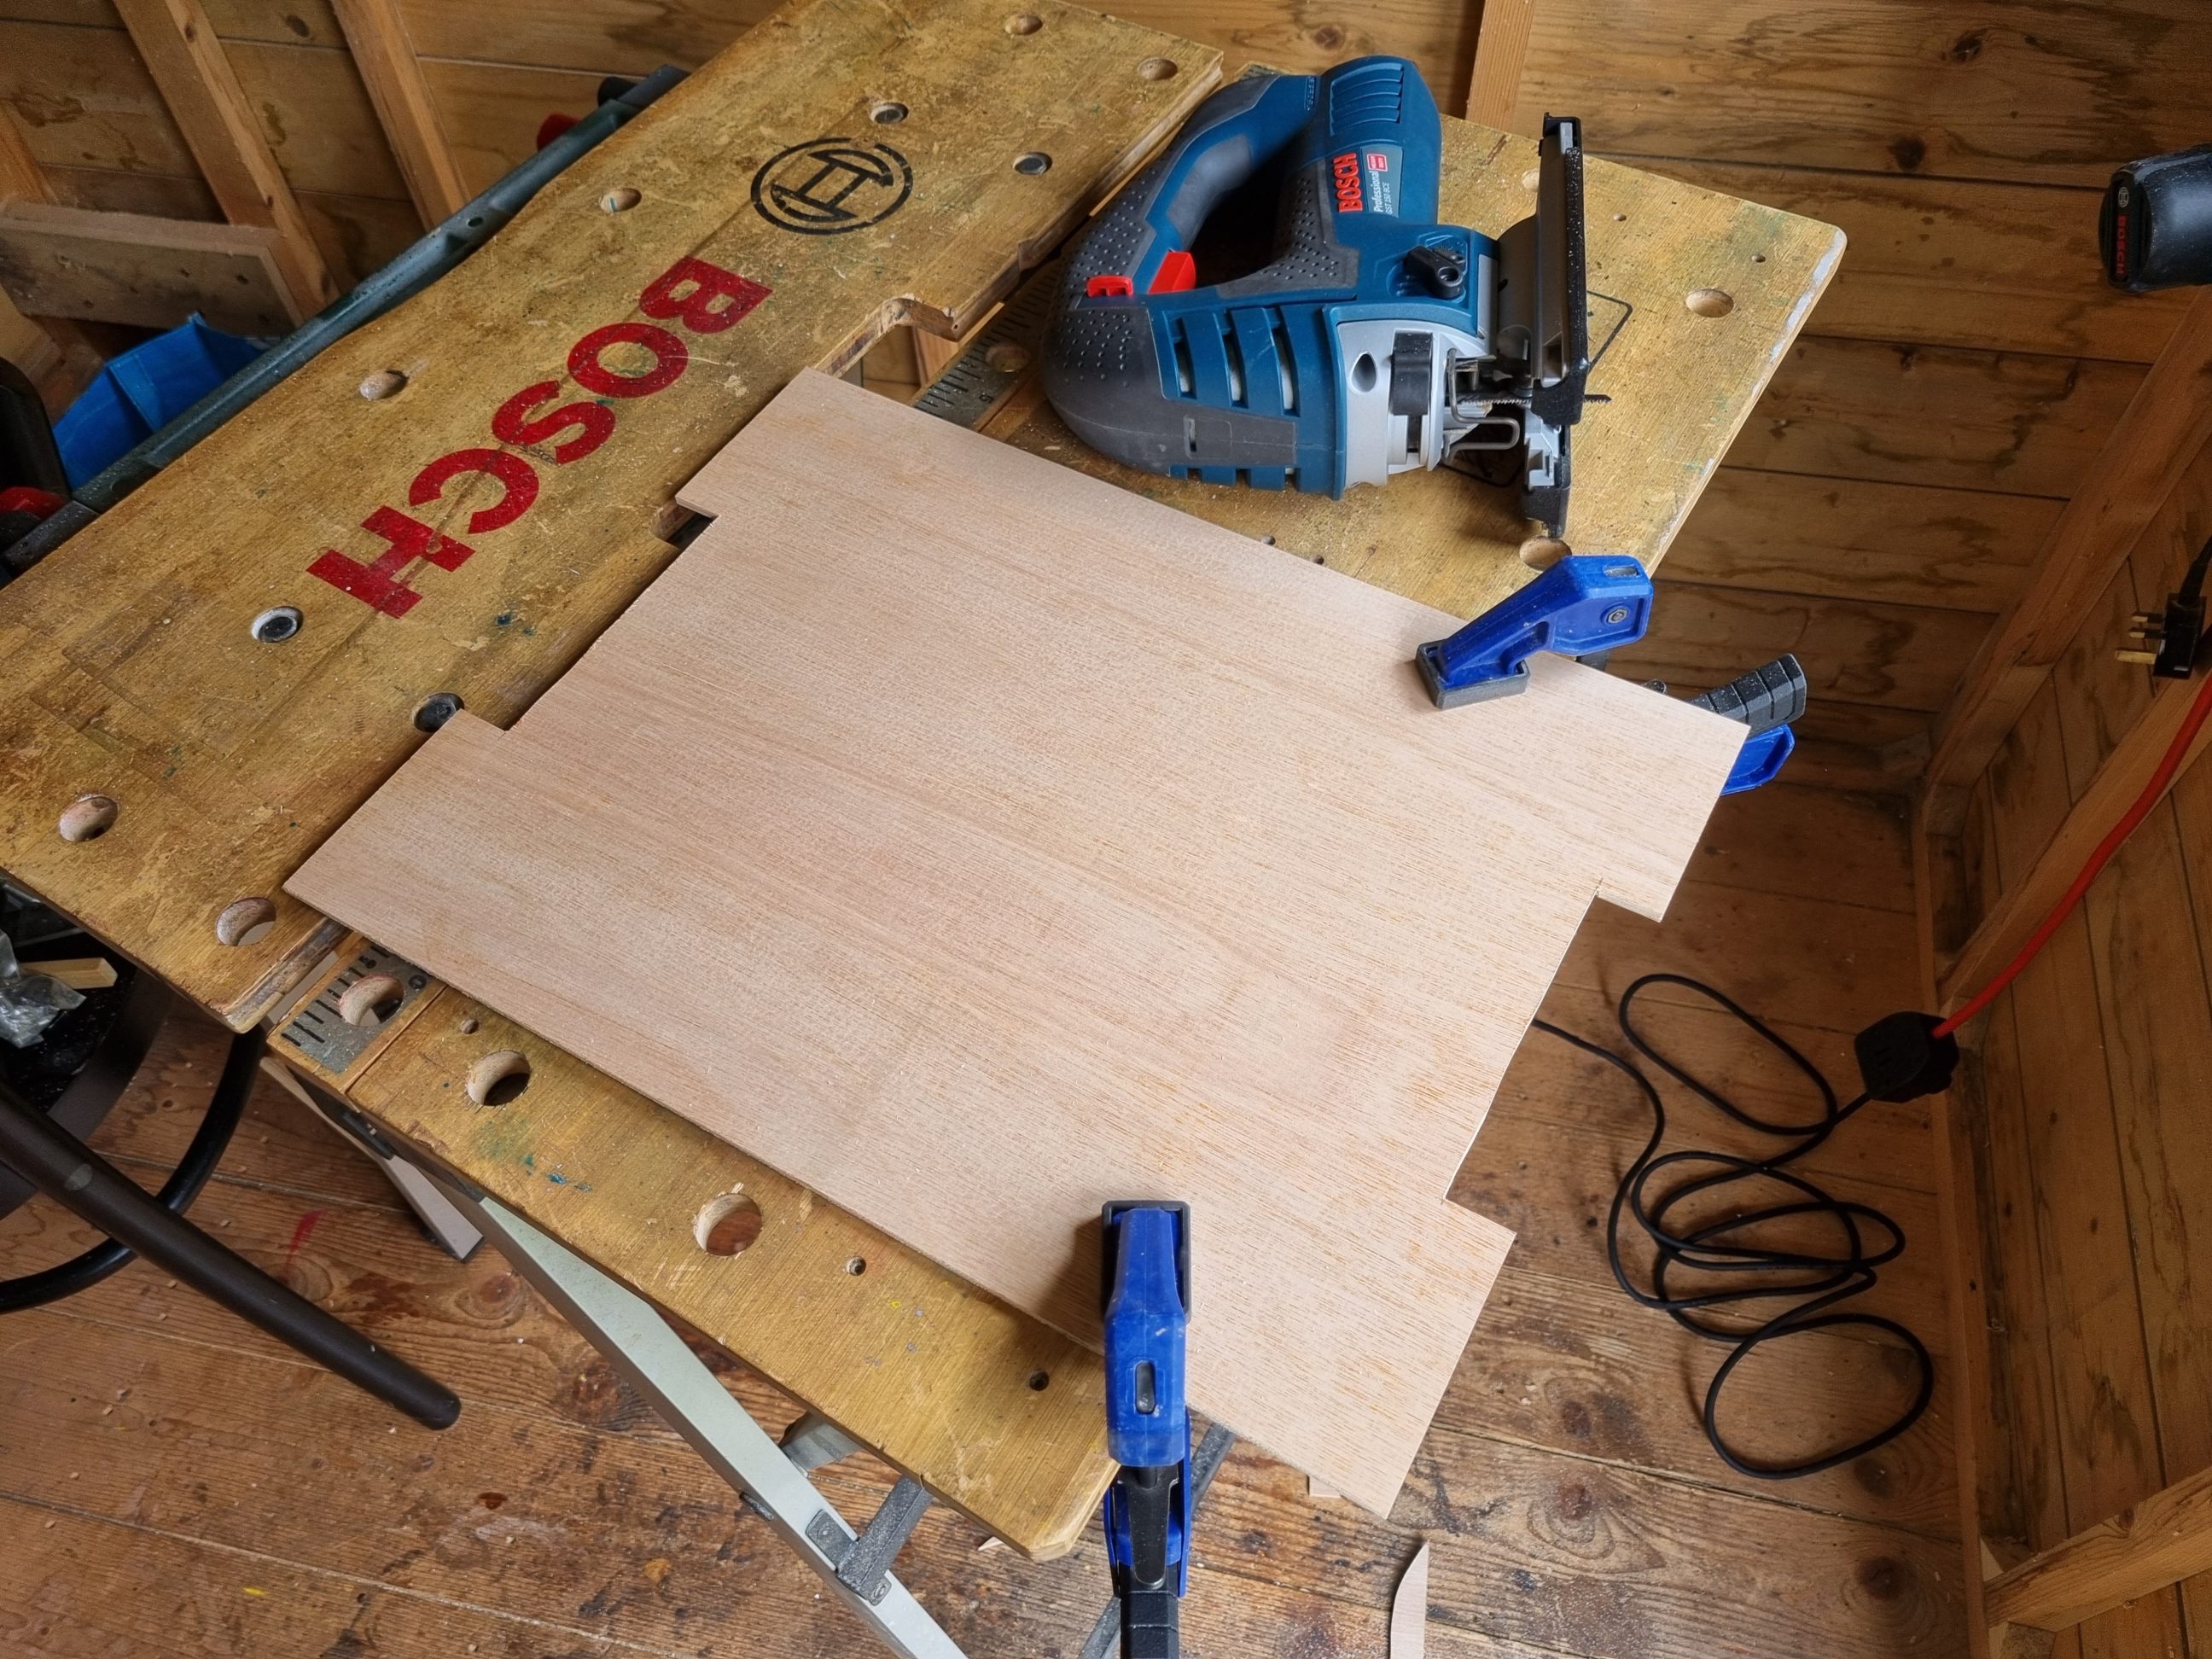
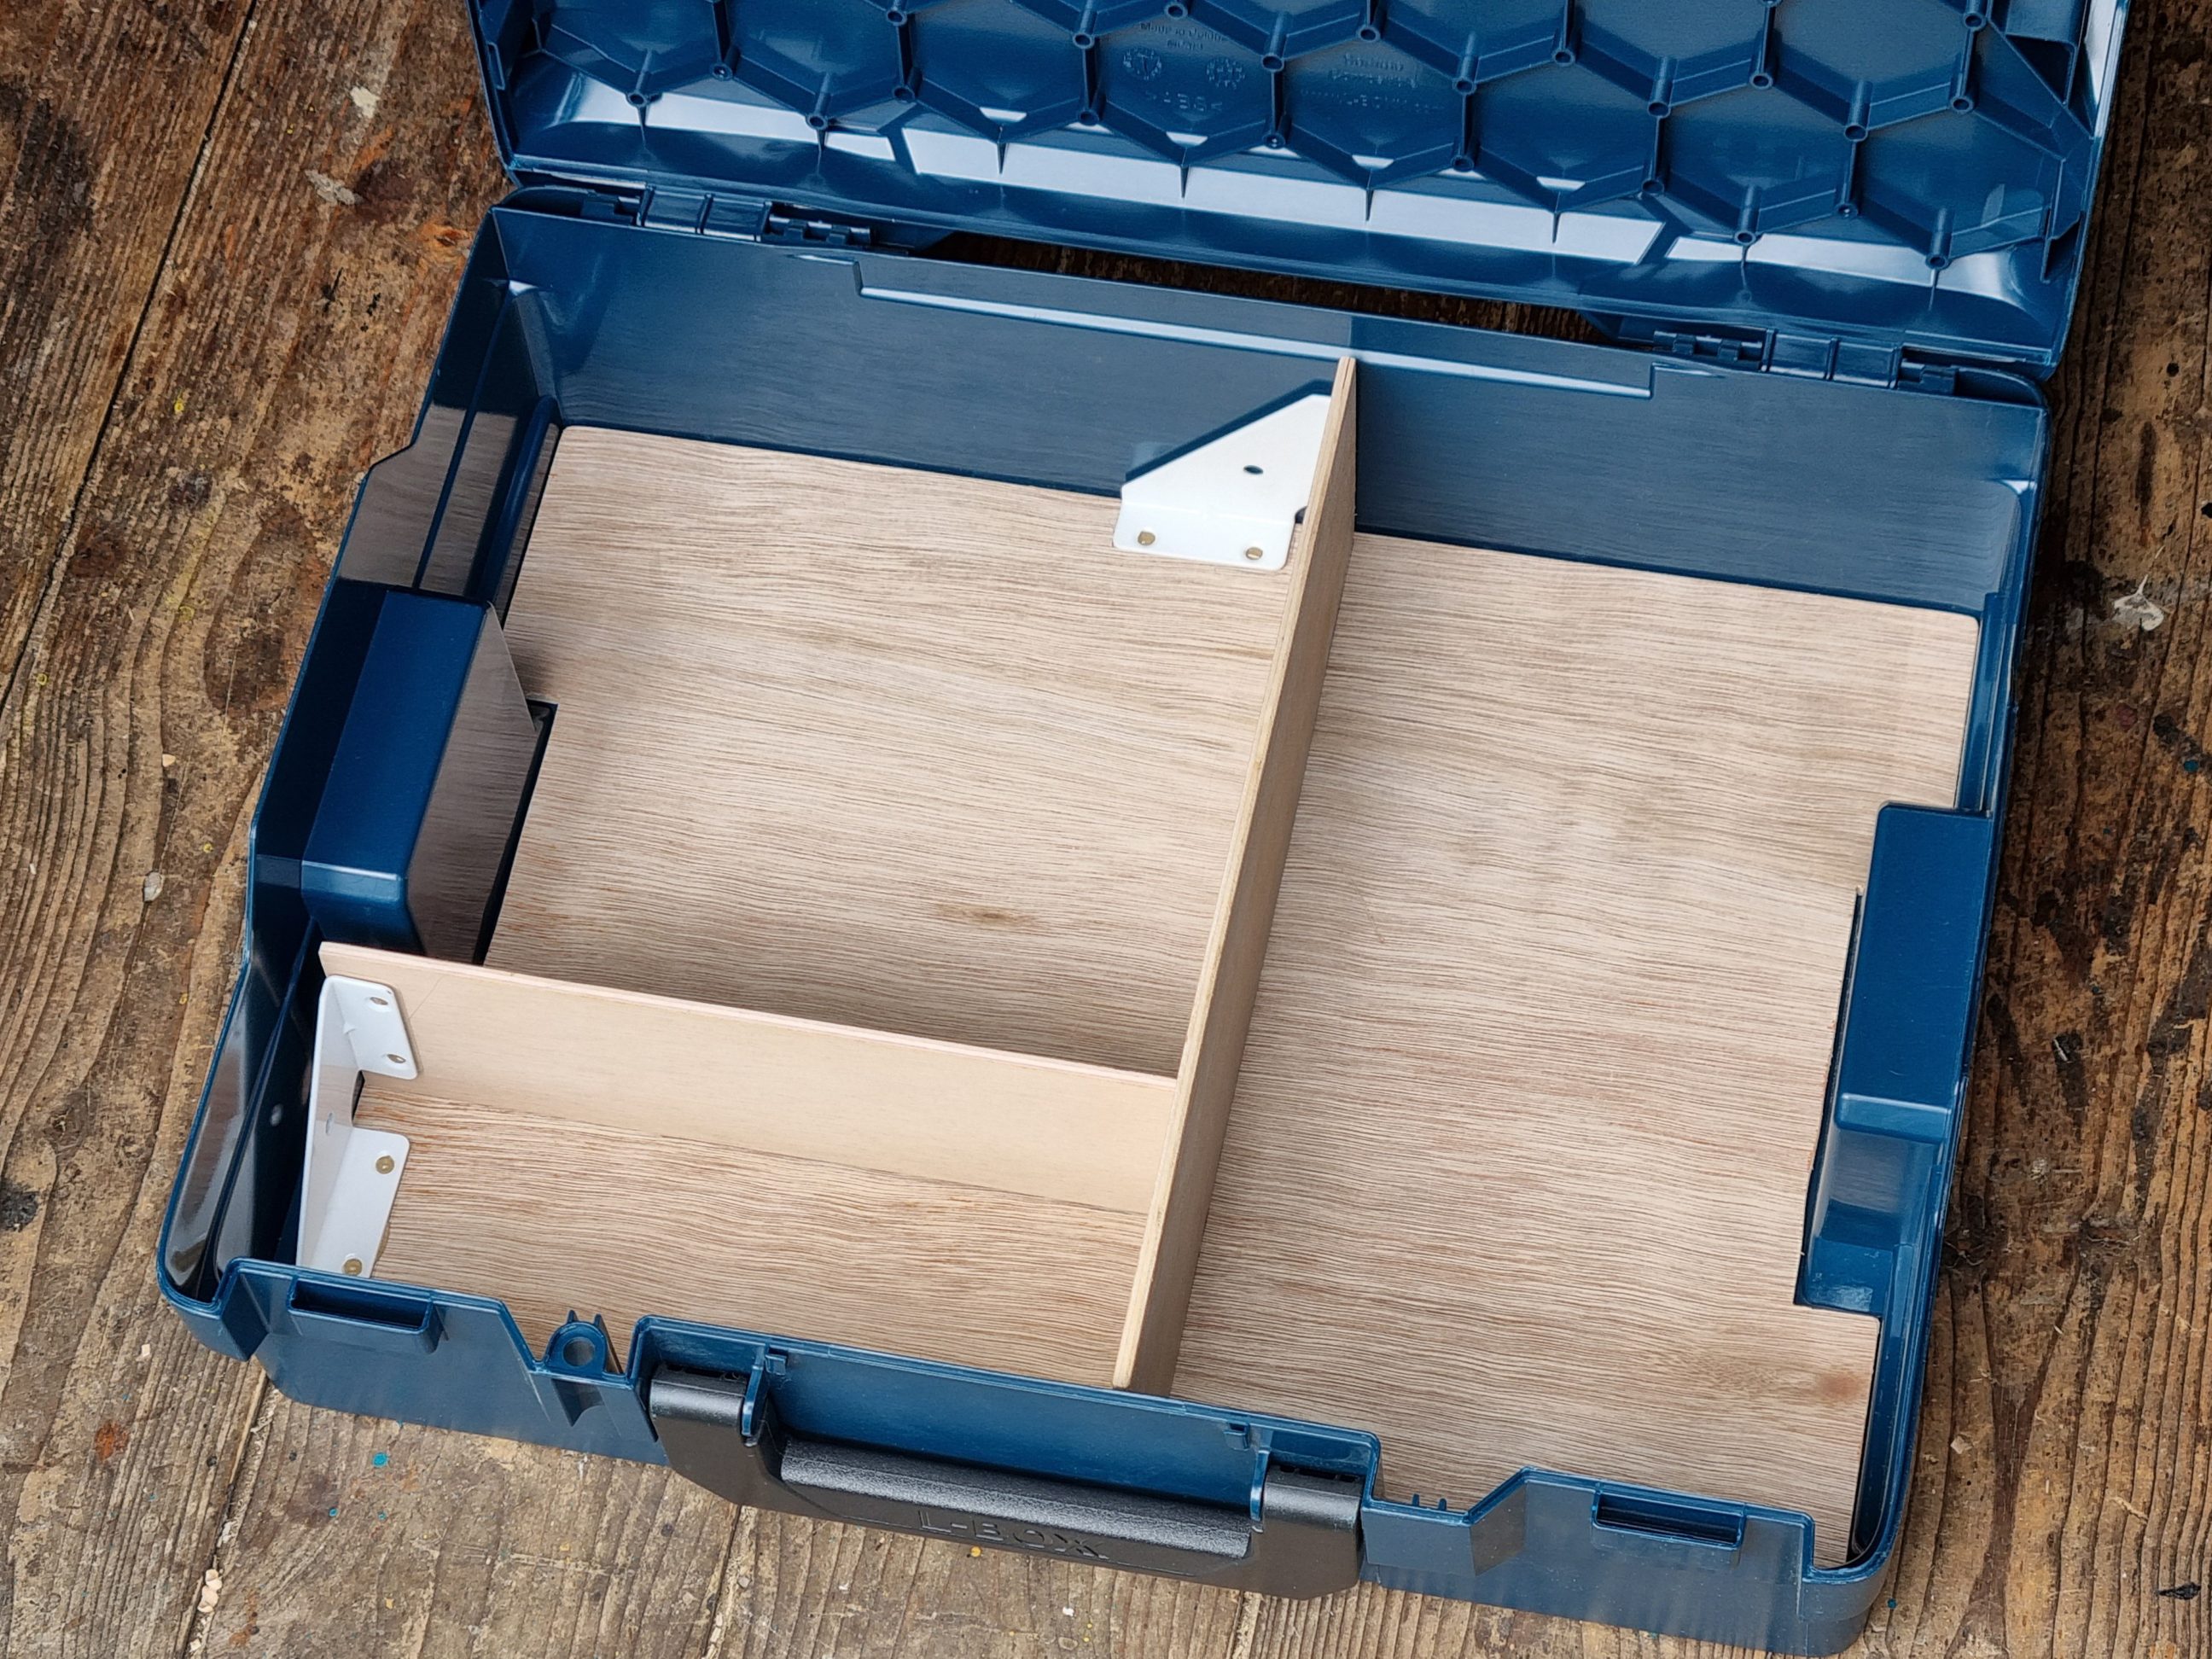
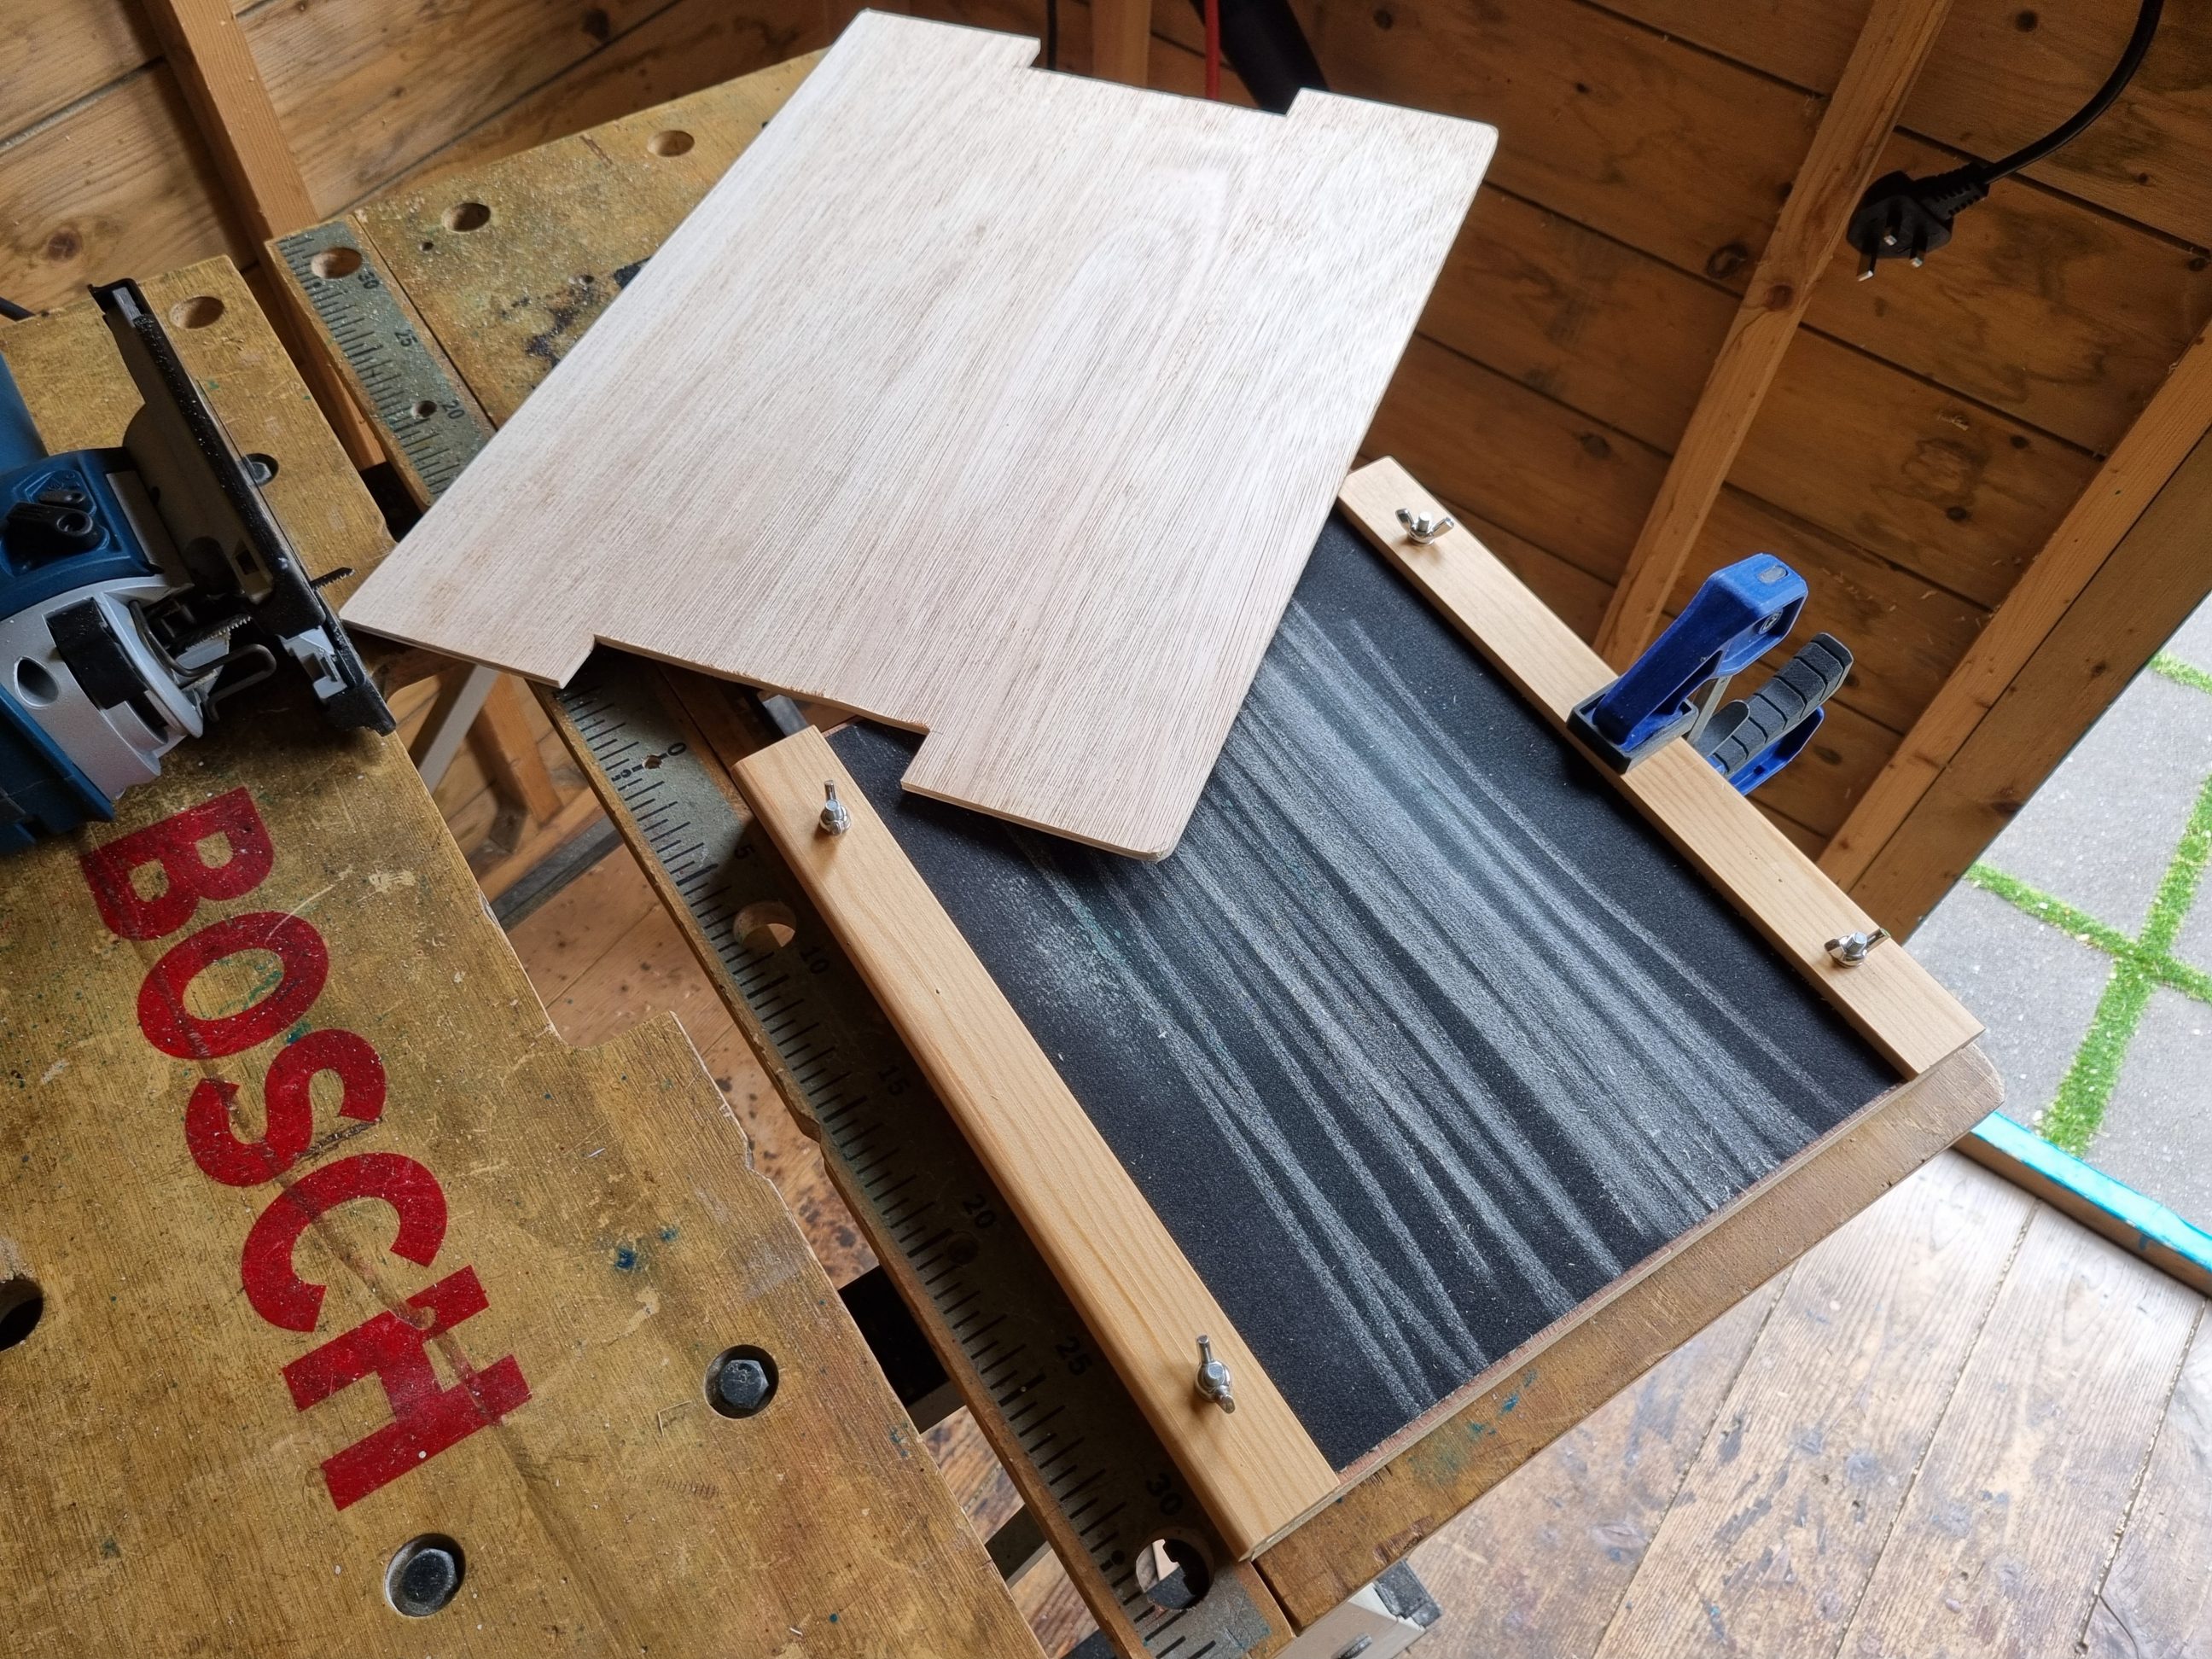
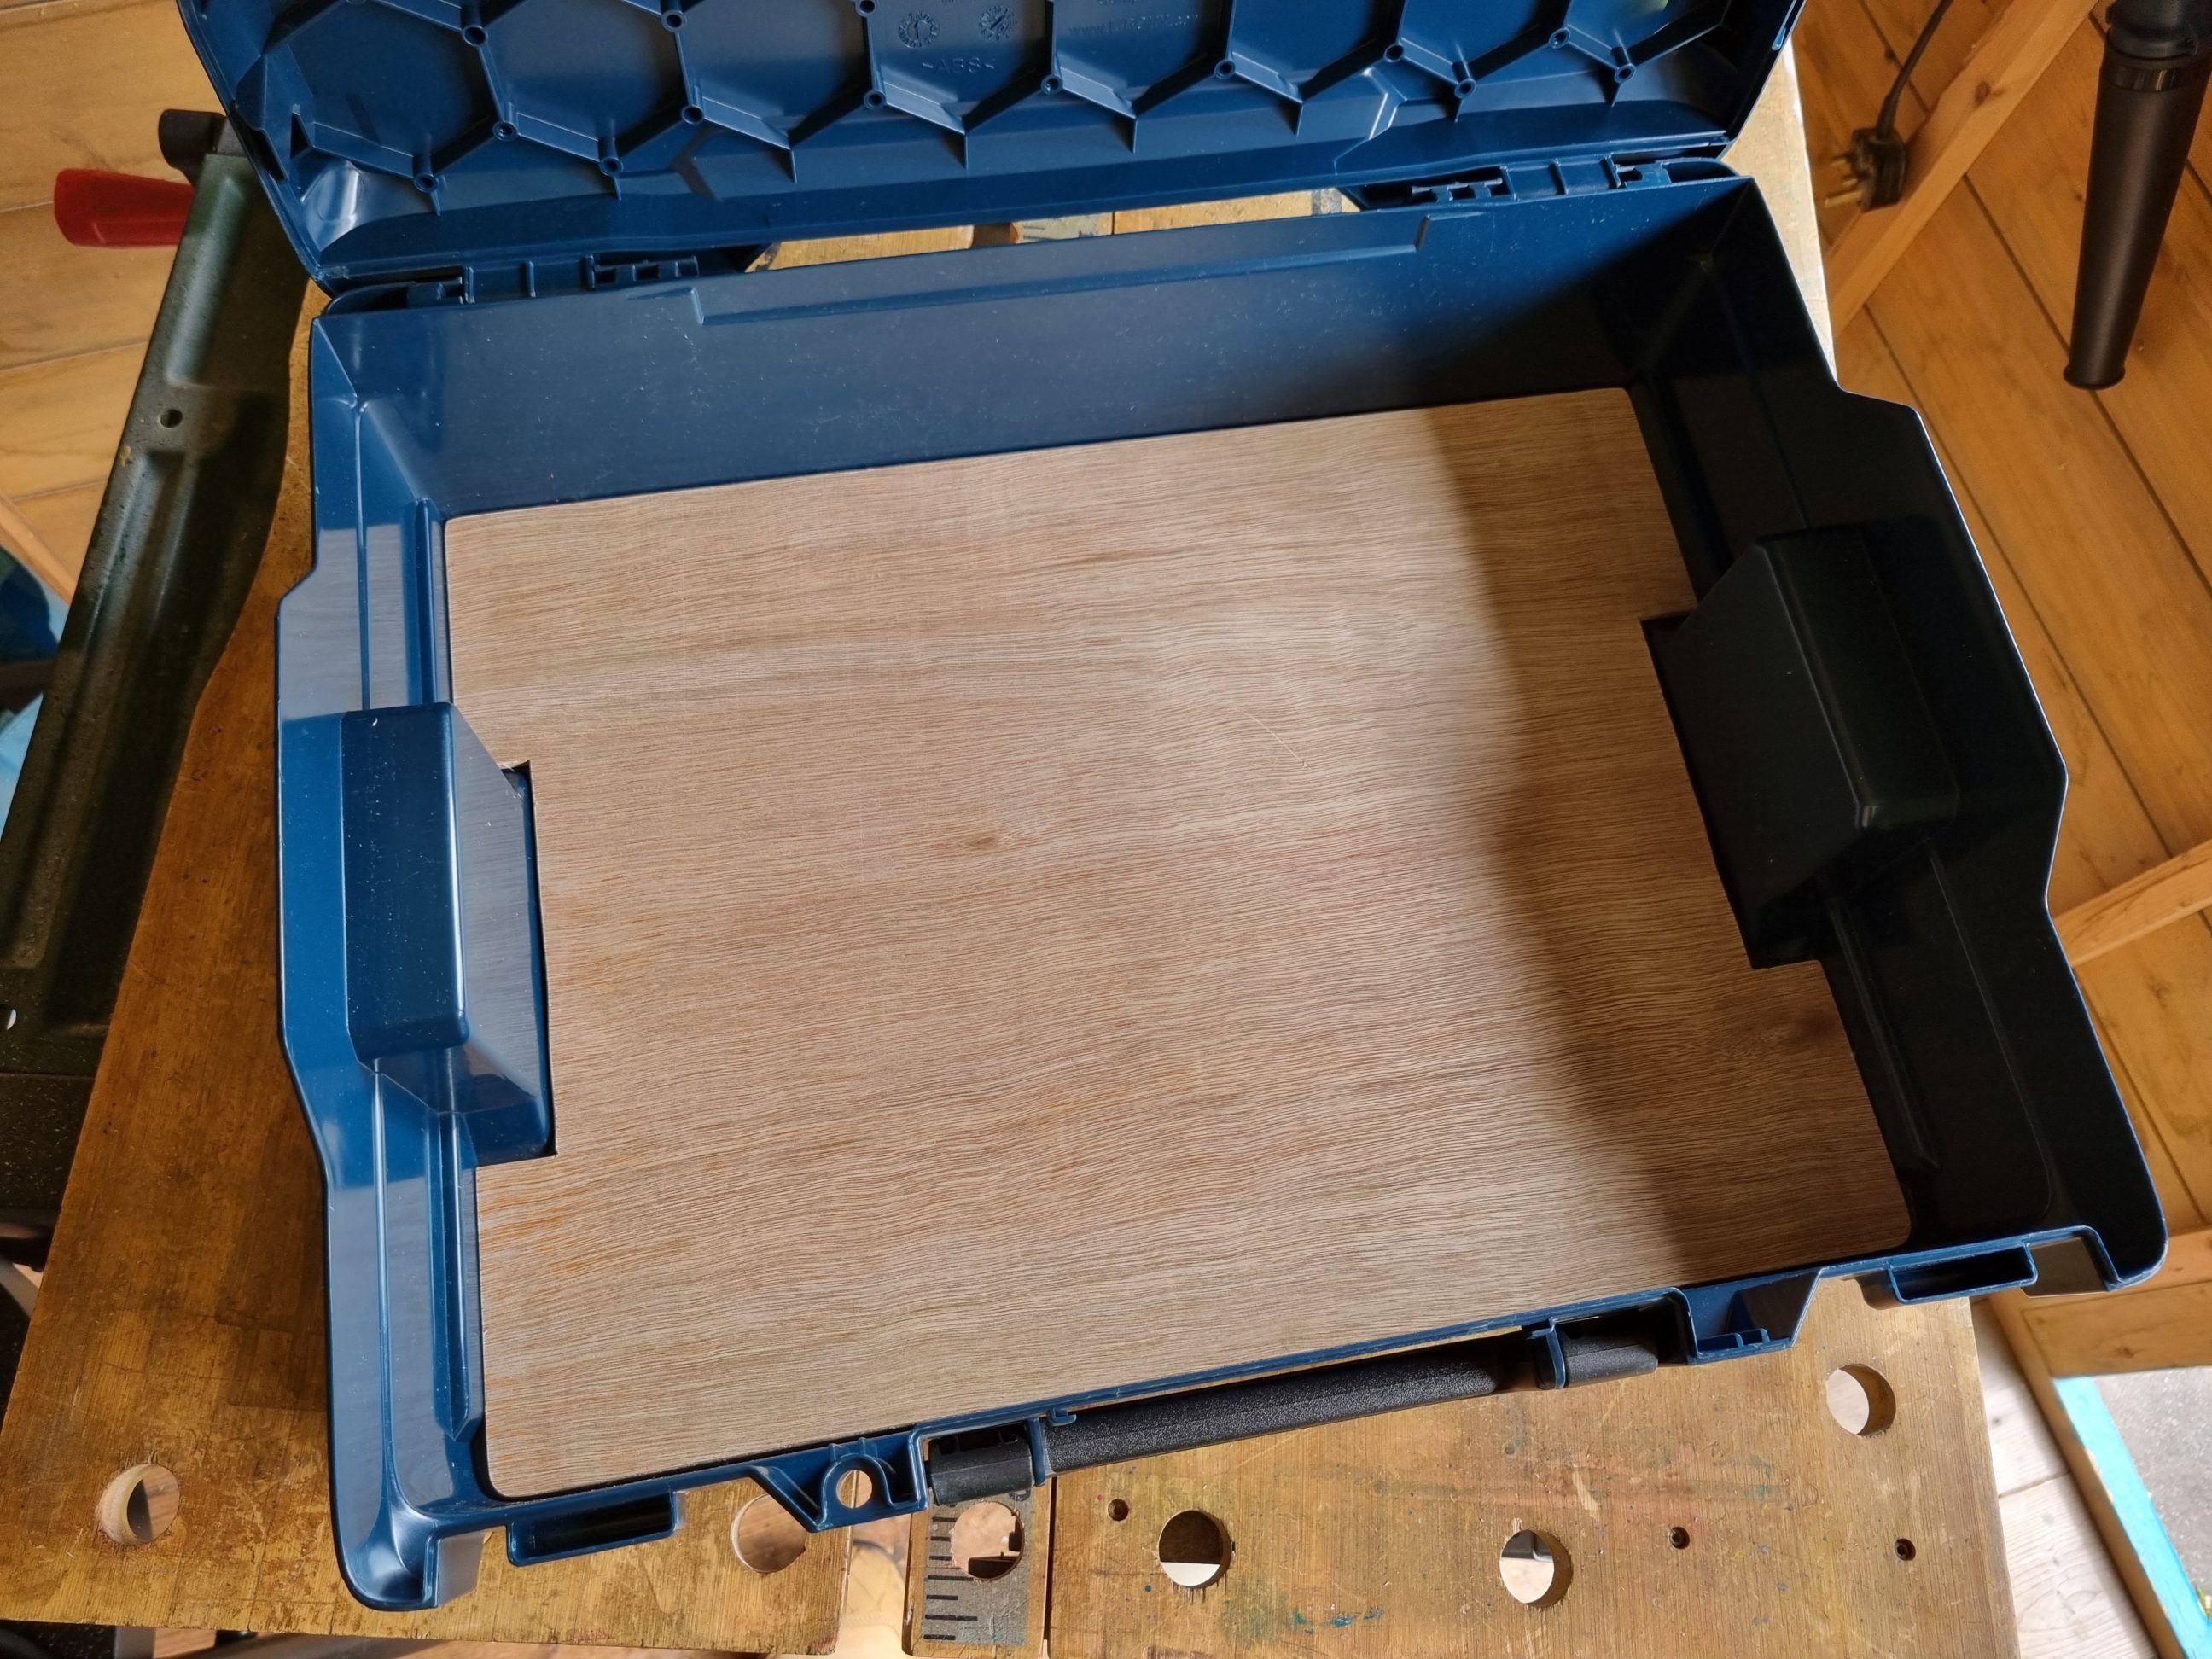
Using my Tajima In-Look tape, I measured the inner dimensions of the box, substracted 1 mm on each side and cut a scrap plywood sheet to size. Using my jigsaw, I cut out the notches for handle bays. Again, 1 mm (~ 1/16″) away from the actual plastic wall. Designing and making the plate smaller right up front, eliminated the need of going back and forth from one tool to another in search of a perfect fit. A little loose was OK and that extra wiggle room wasn’t a big deal. The next step was to sand off the corners of the plate to match the profile of the L-Boxx. The front corners were rounded over more aggressively than the rear ones as that was the original design of the L-Boxx.

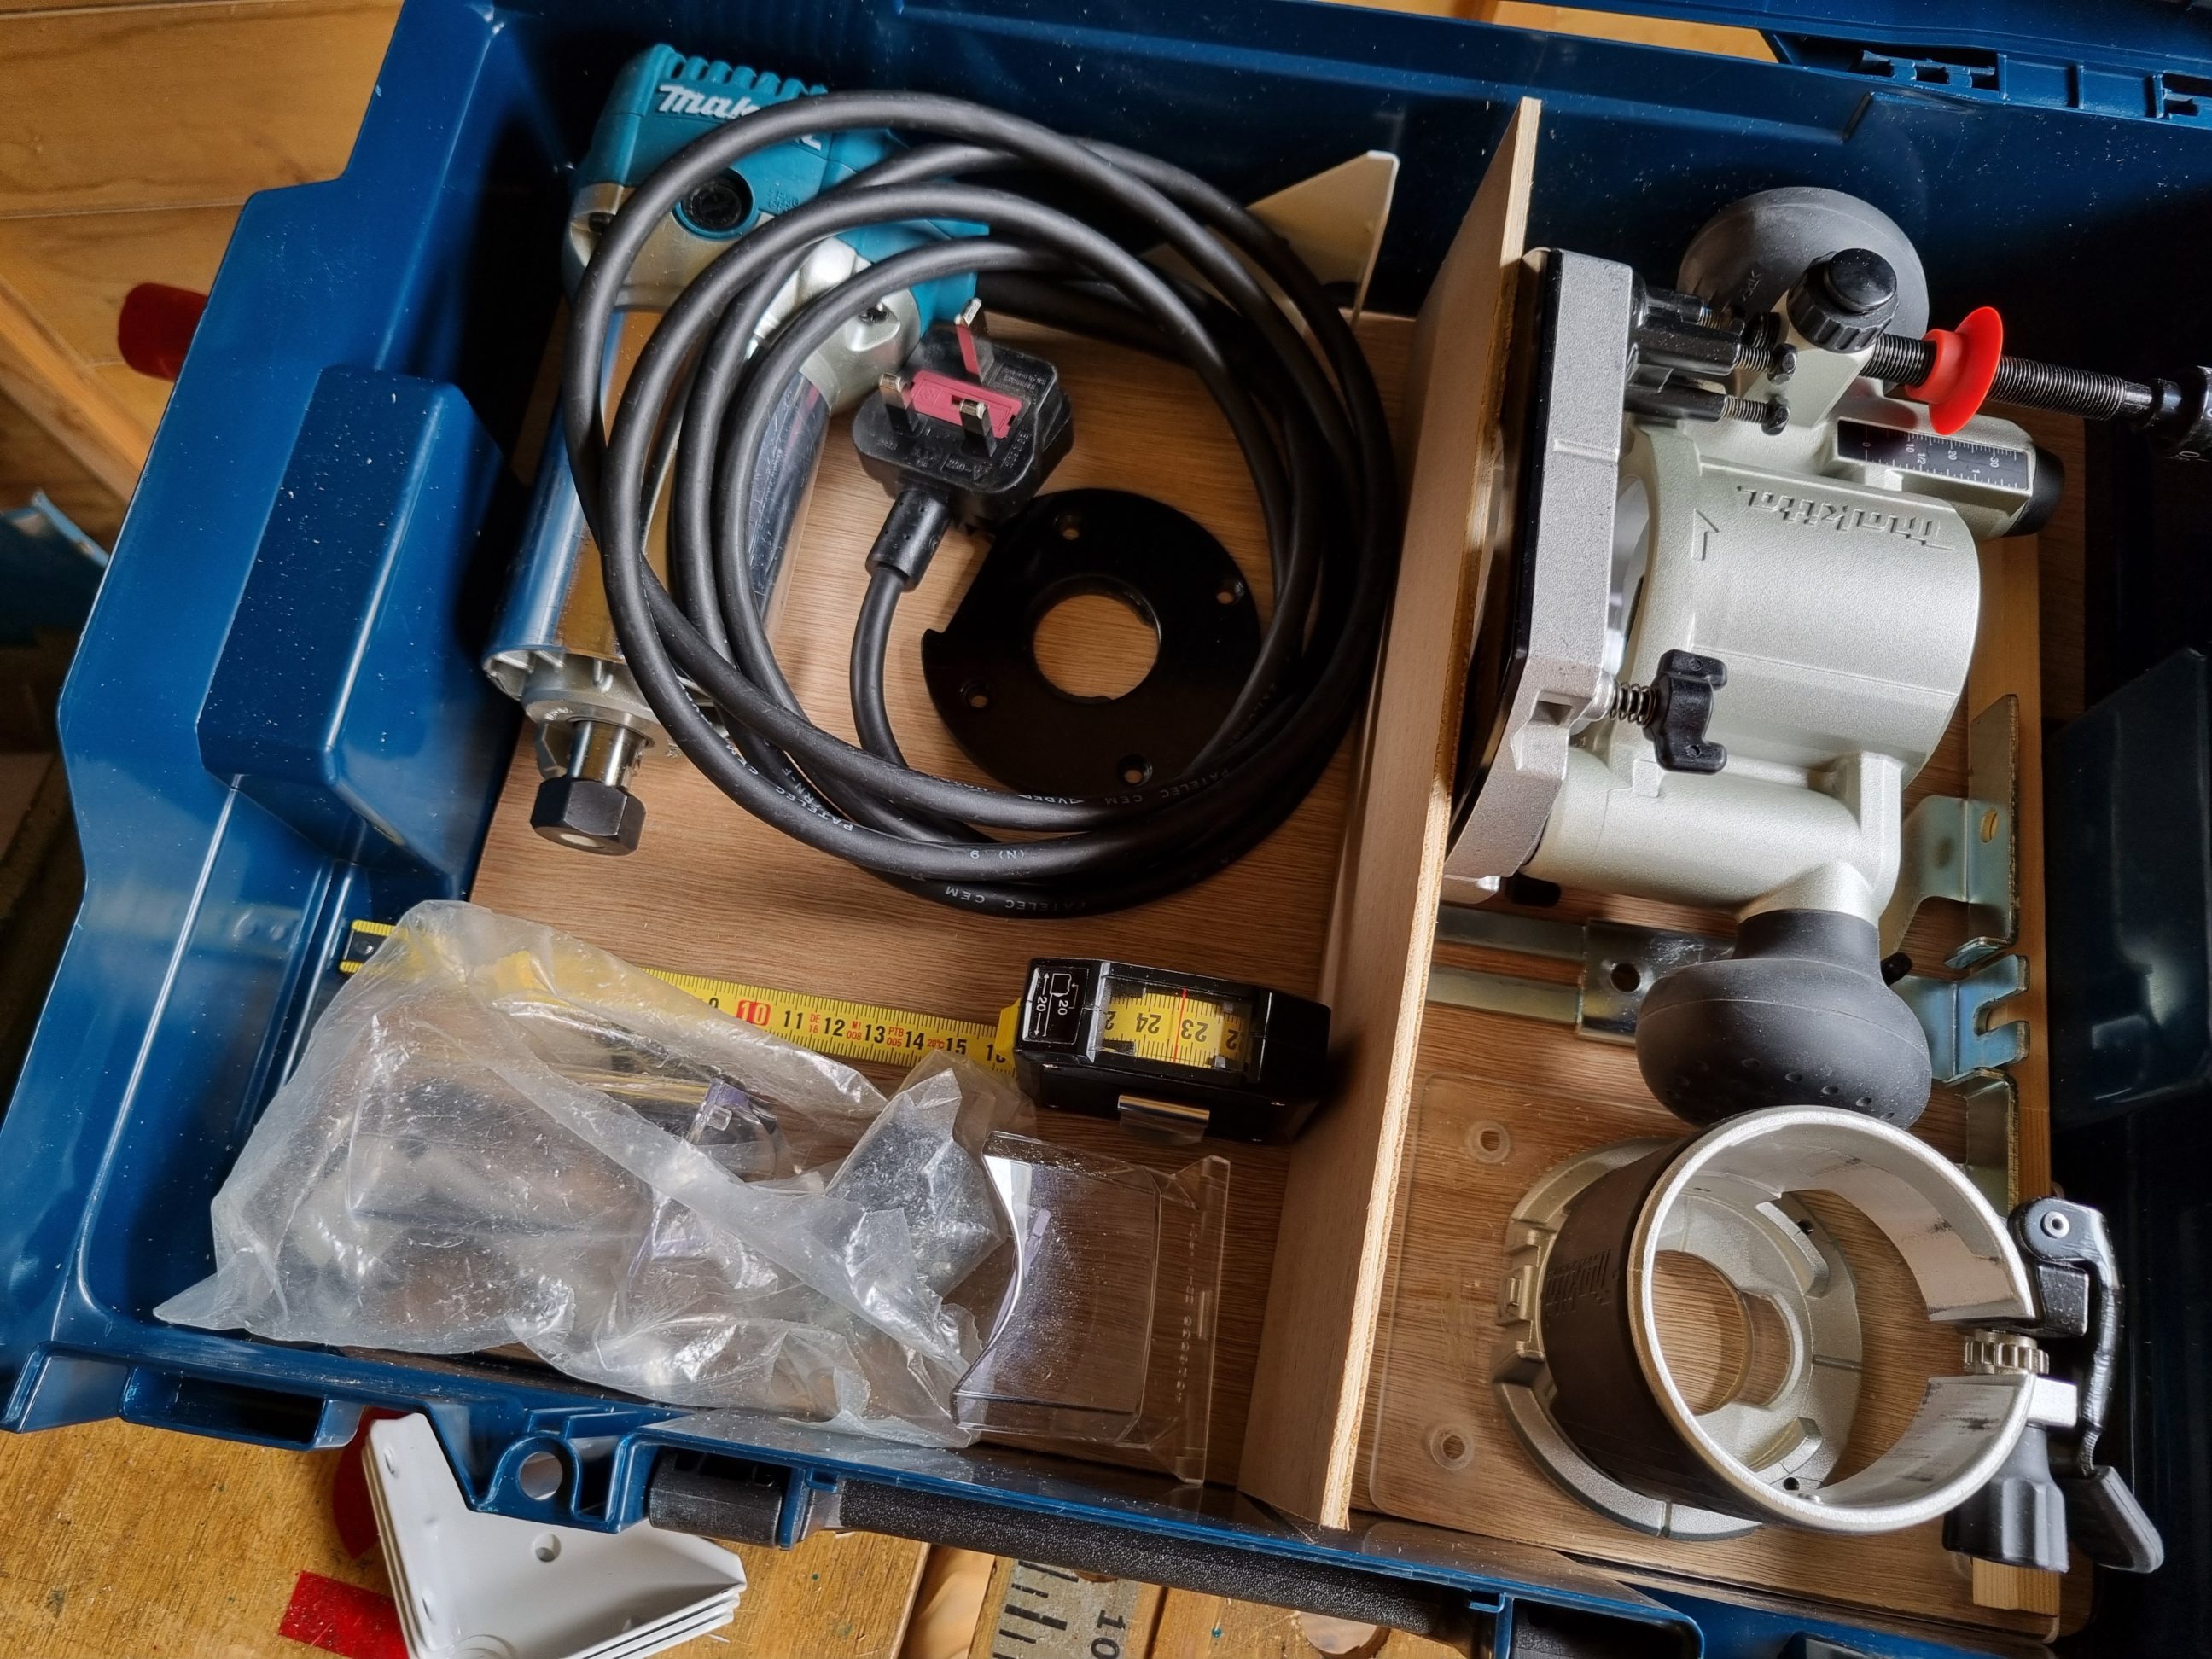
Once that was done, I placed my tools inside and laid them out. My tape measure came in handy once again to measure both dividers. One of them was just an off-cut from the previous step and the other one was cut from what I had on hand. The waste was minimised as well as the cost of that build. It didn’t bother me at all that the dividers weren’t of identical height. It wasn’t the goal of that build.
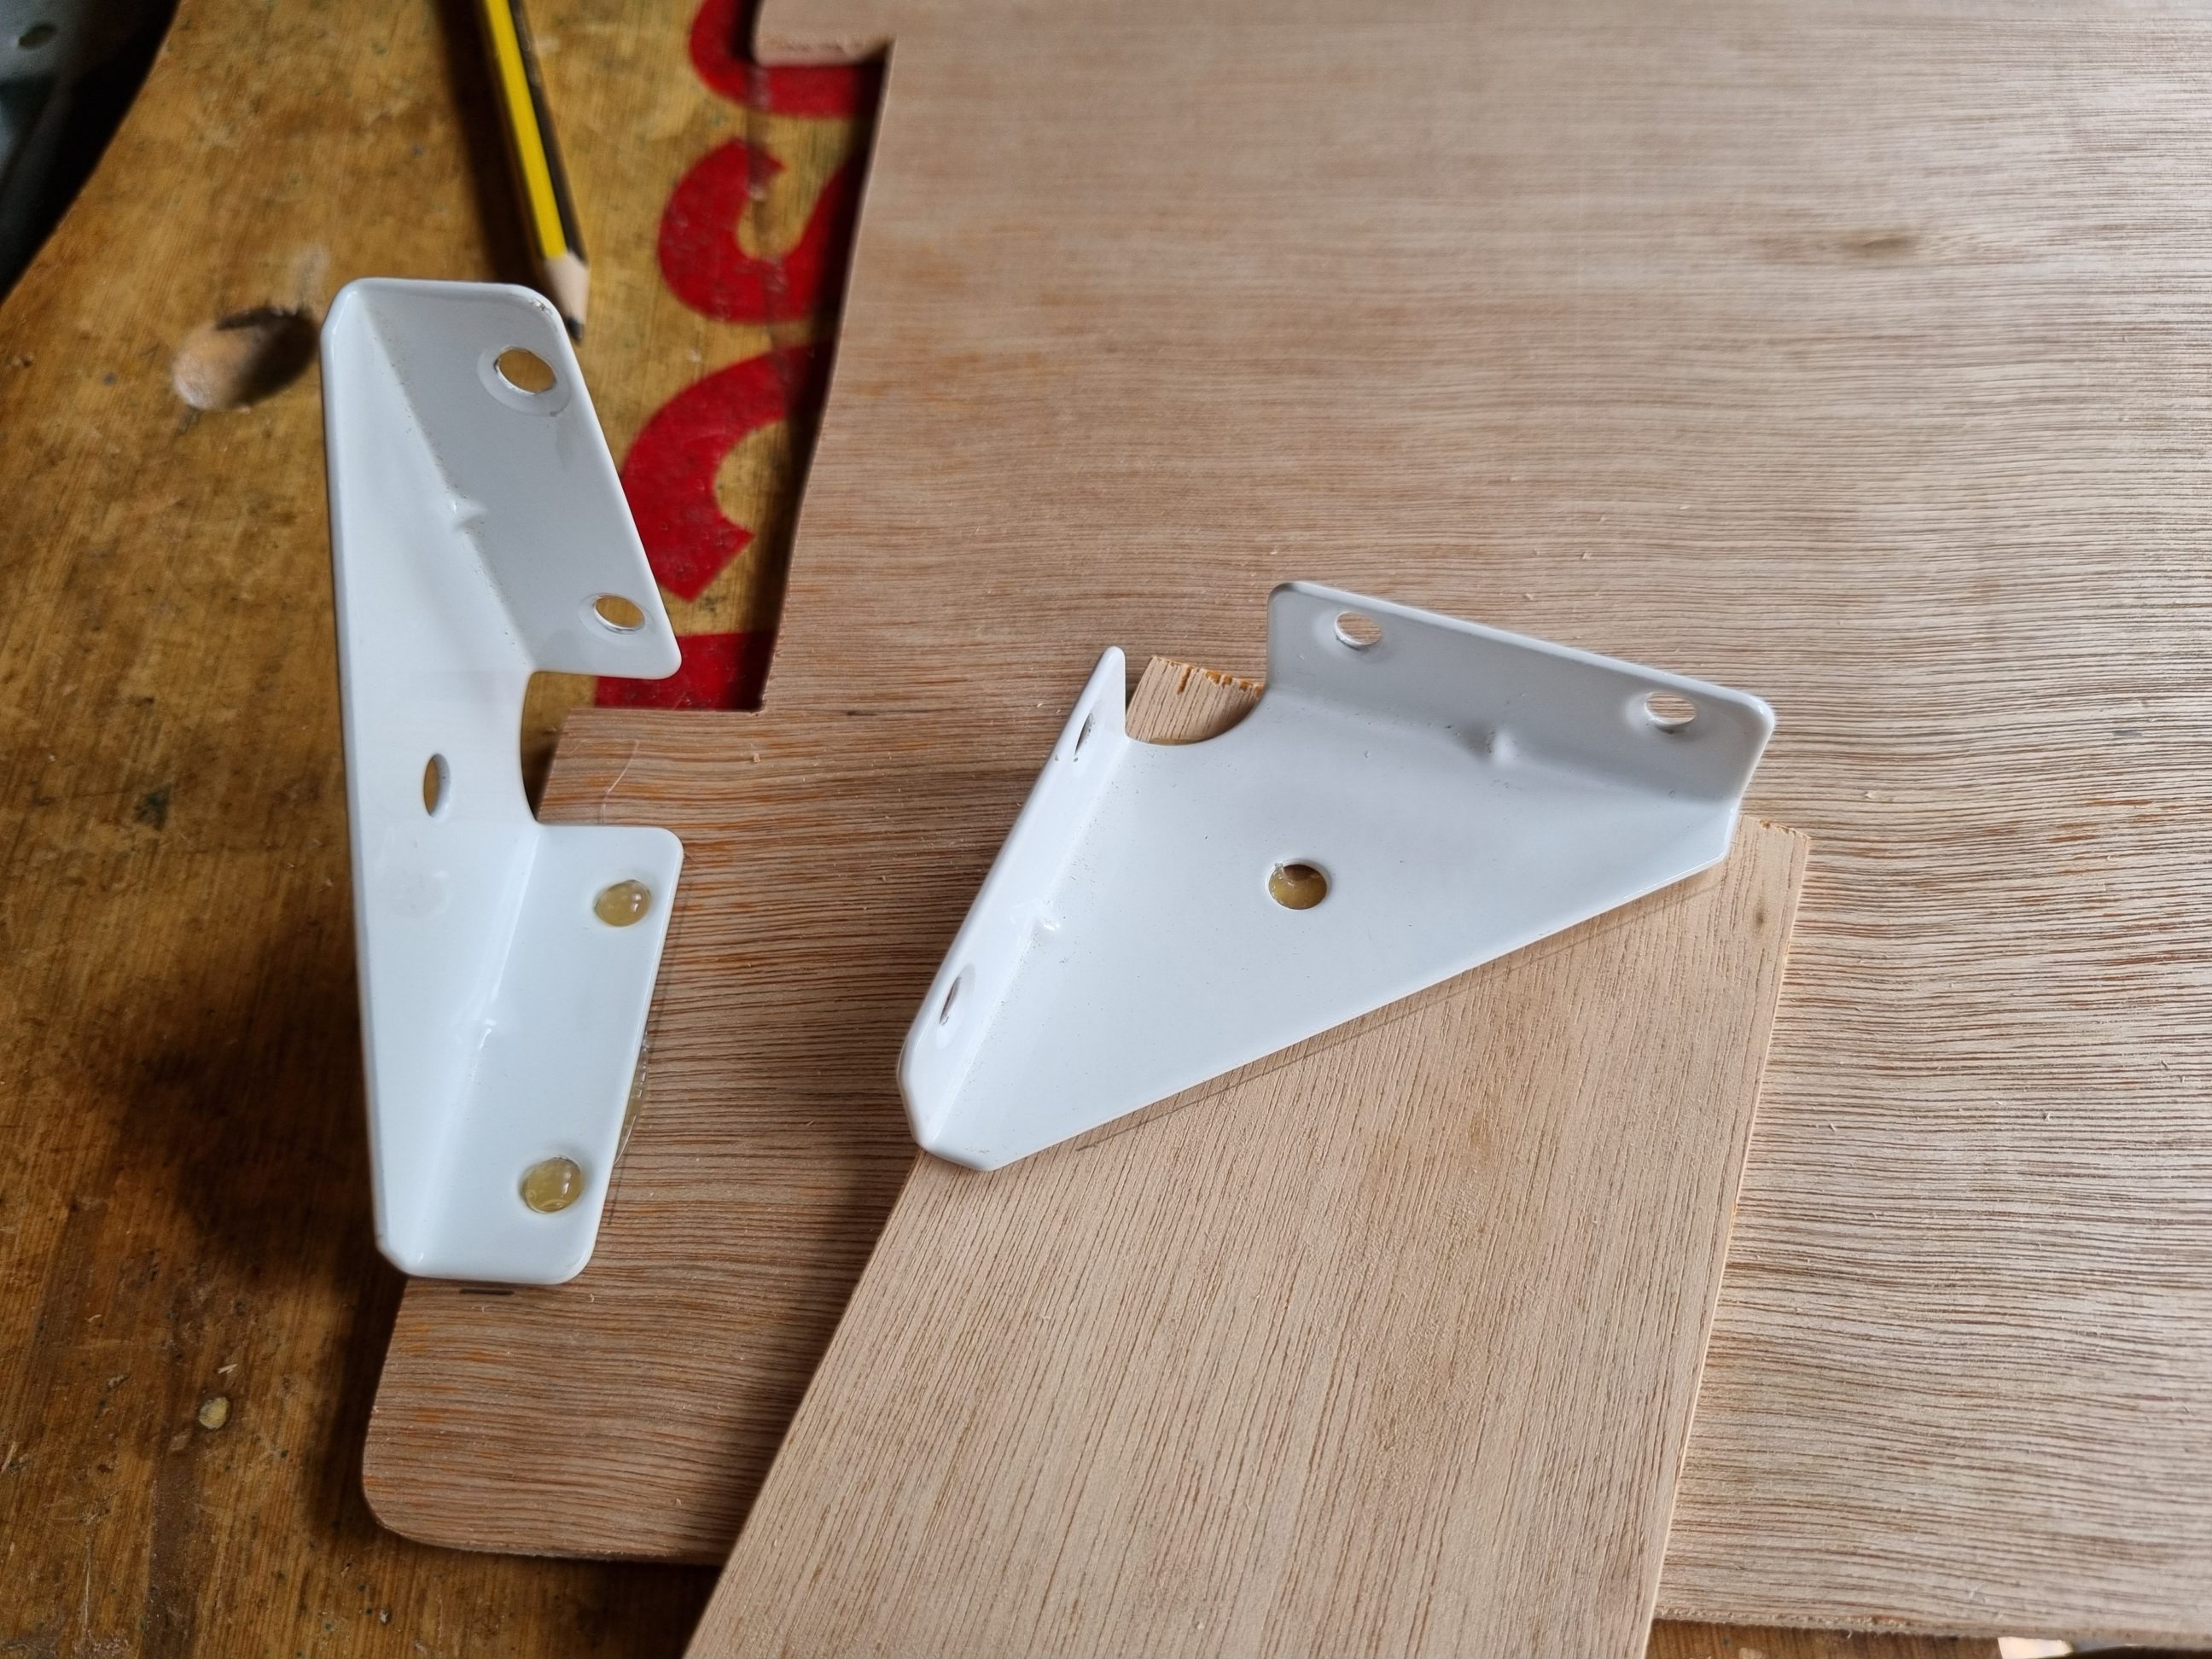
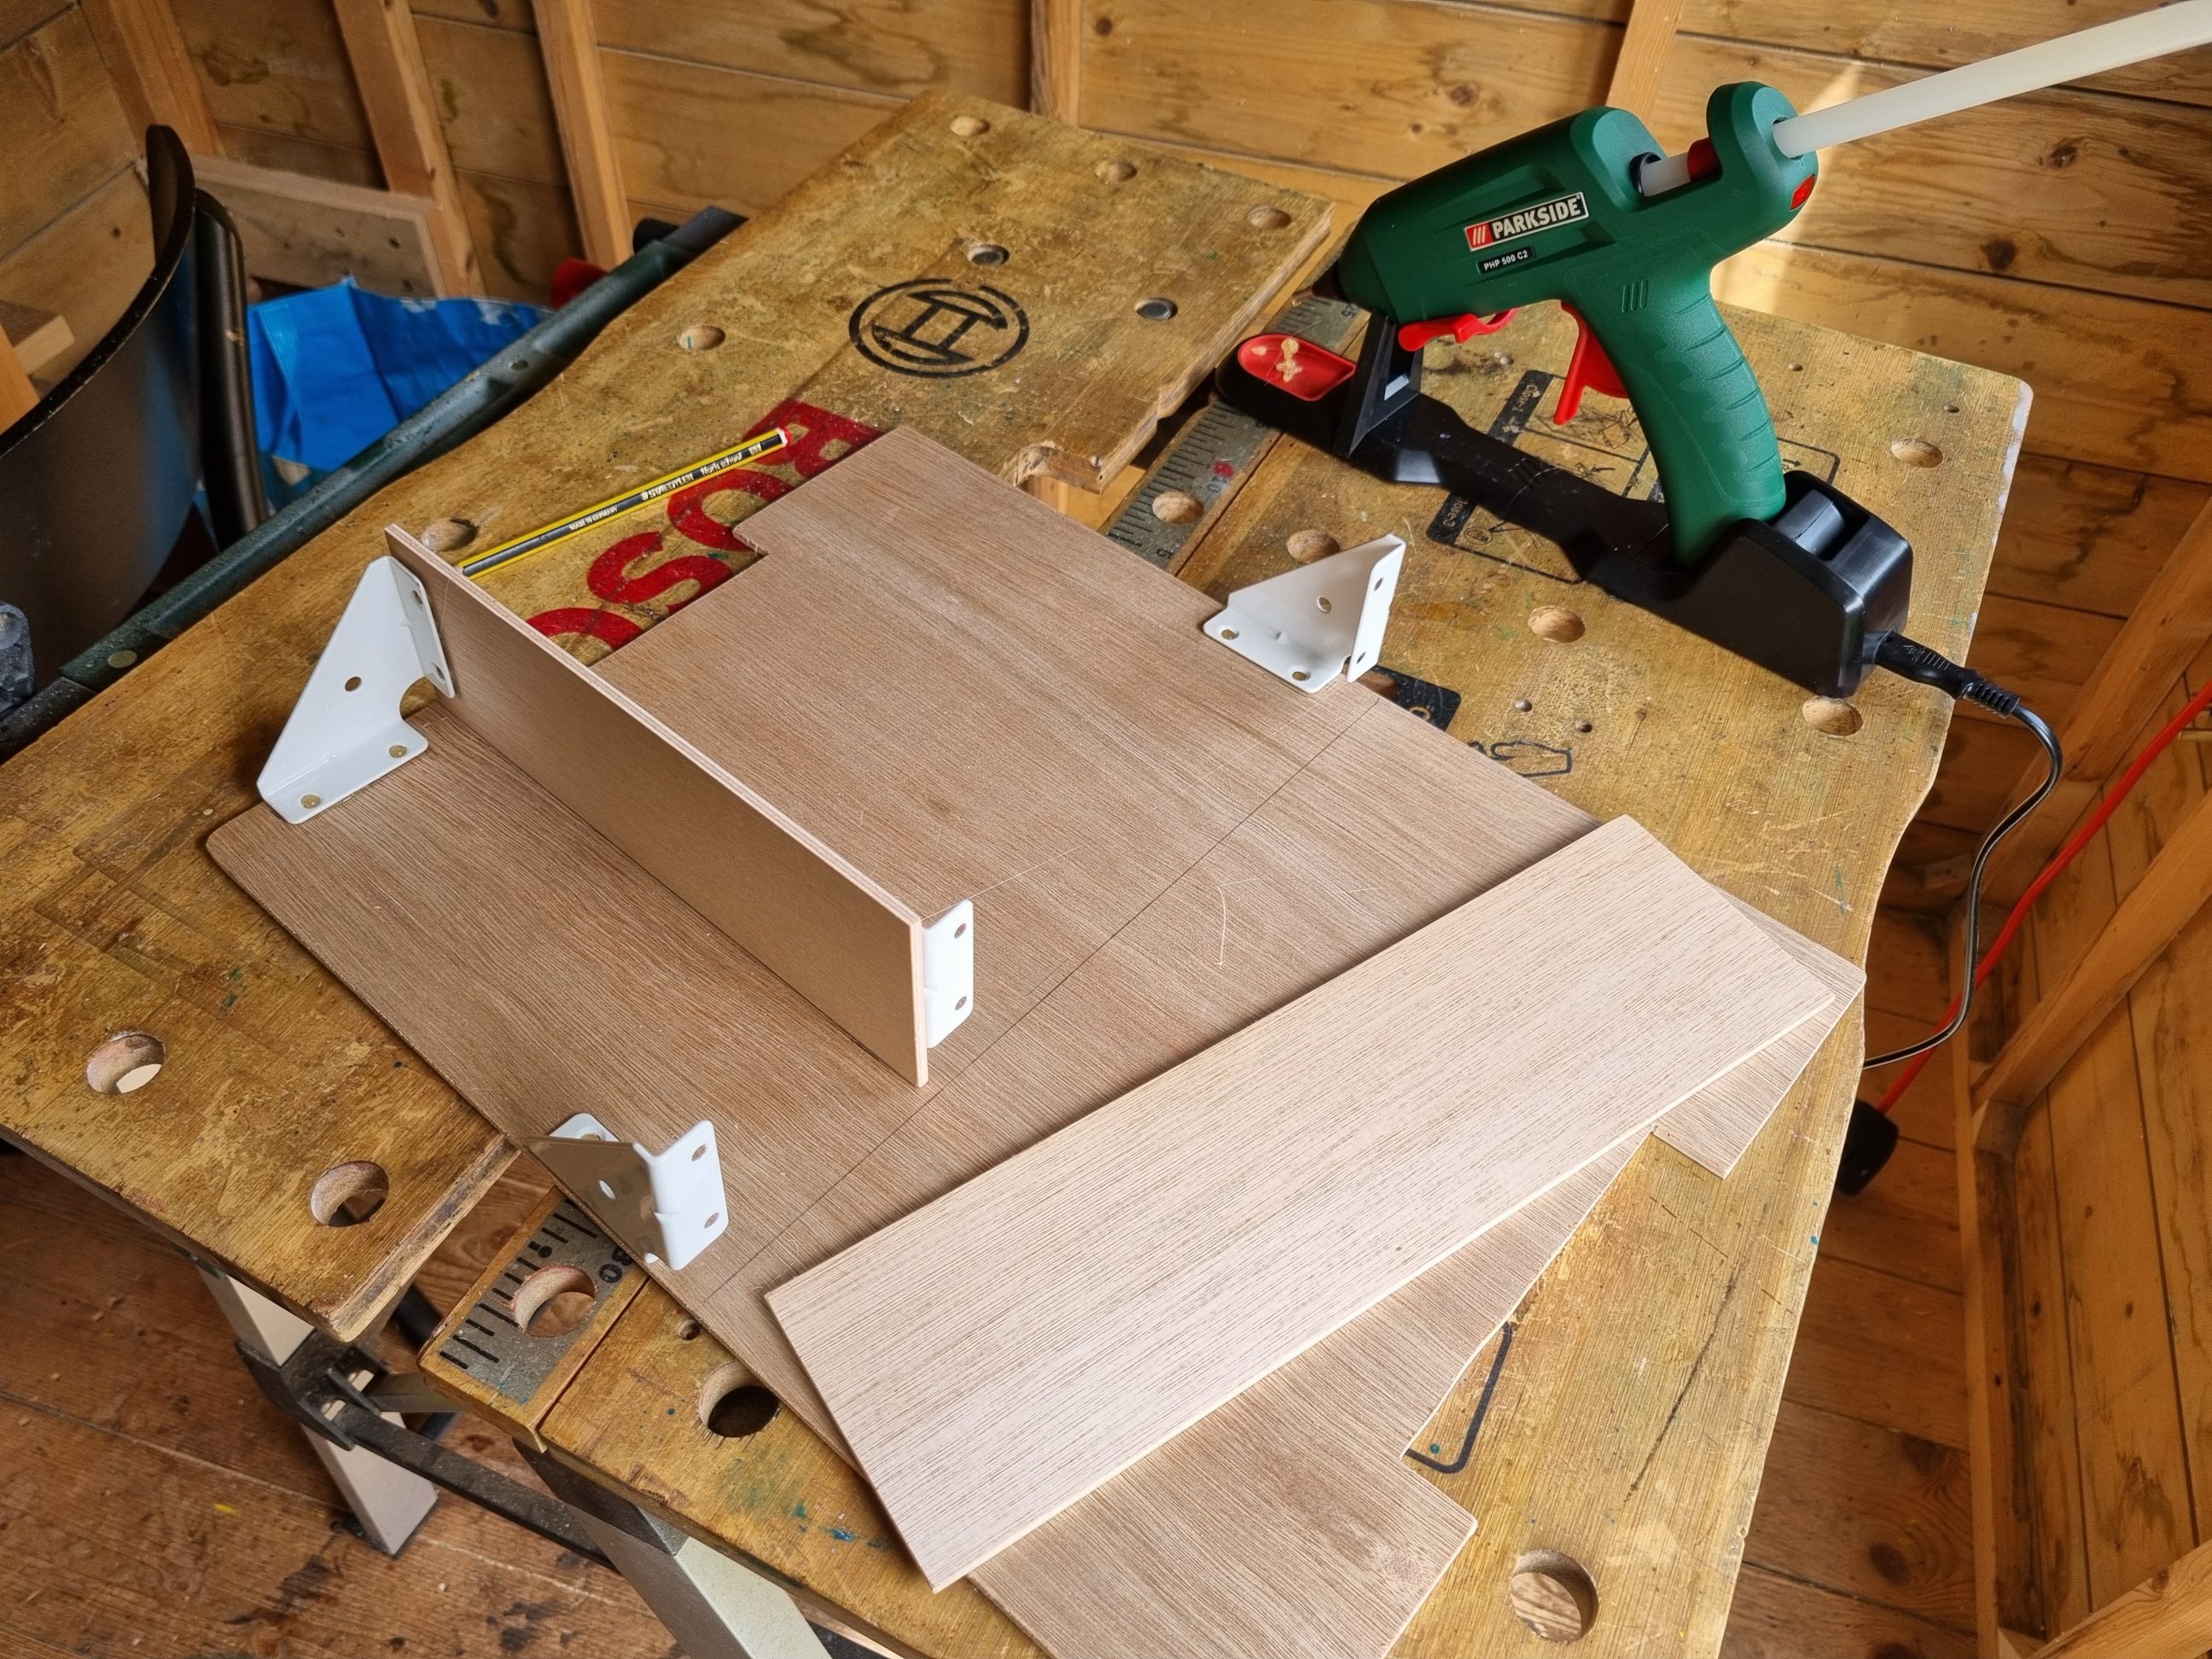
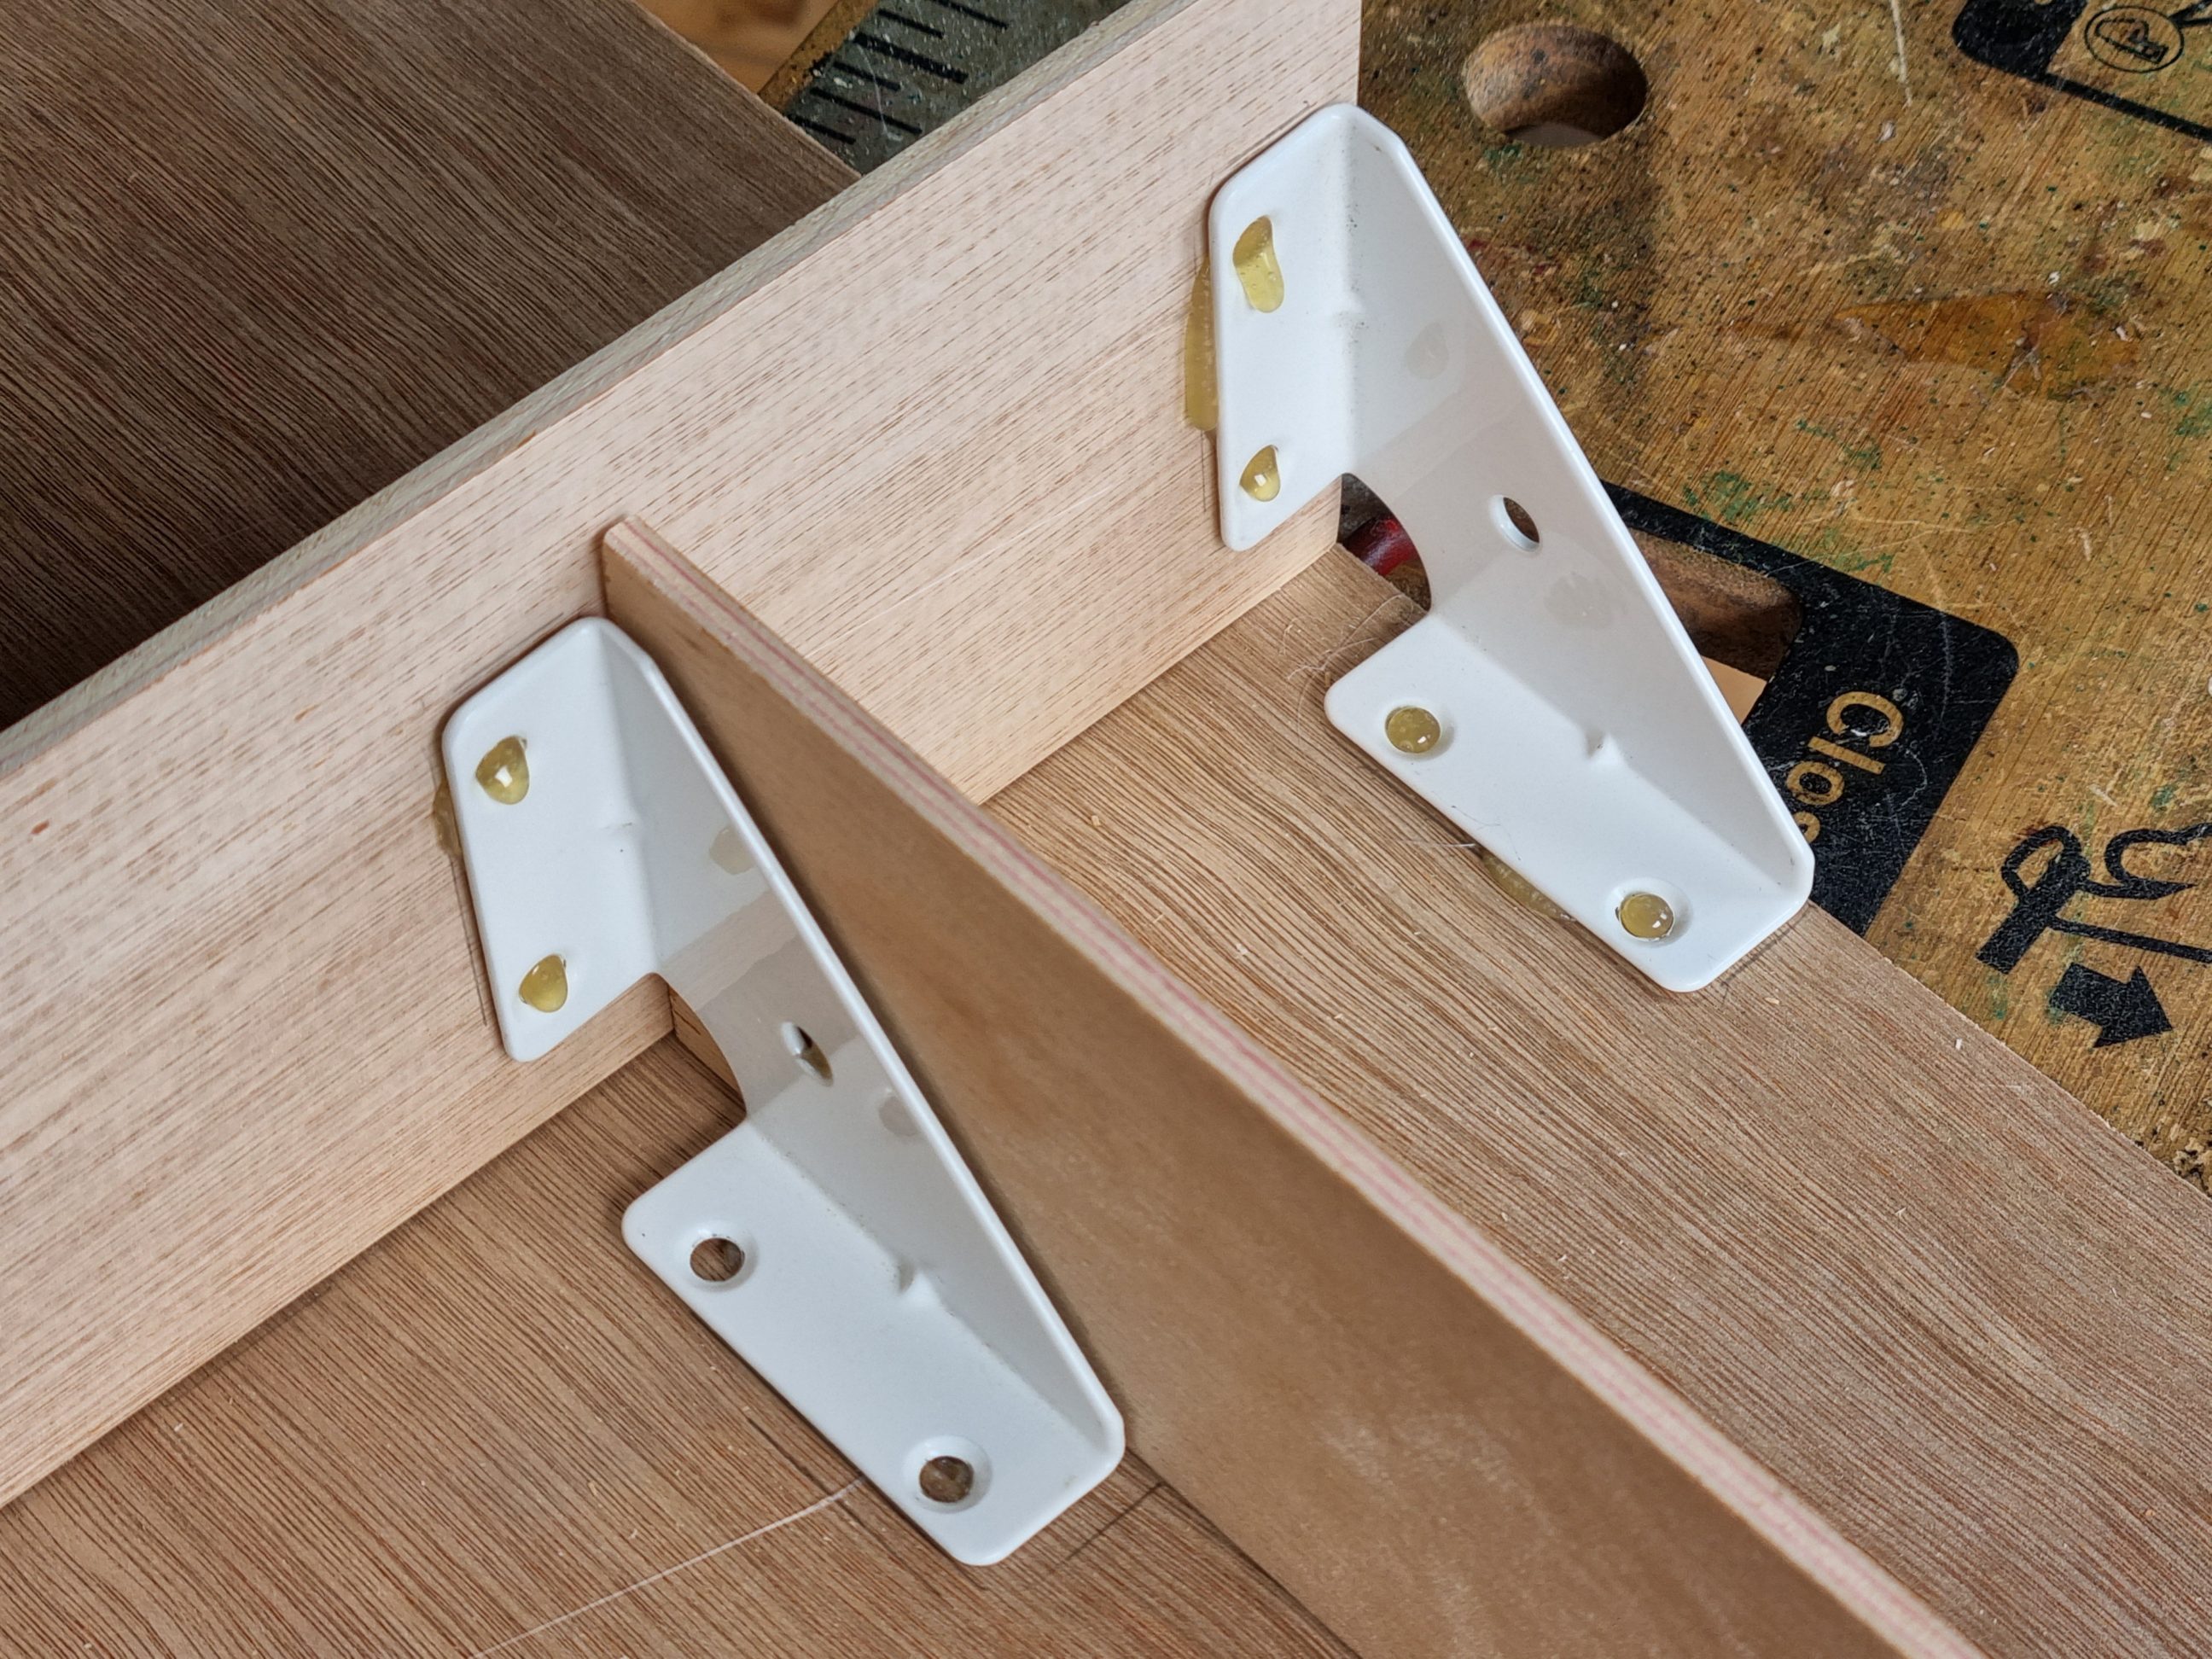
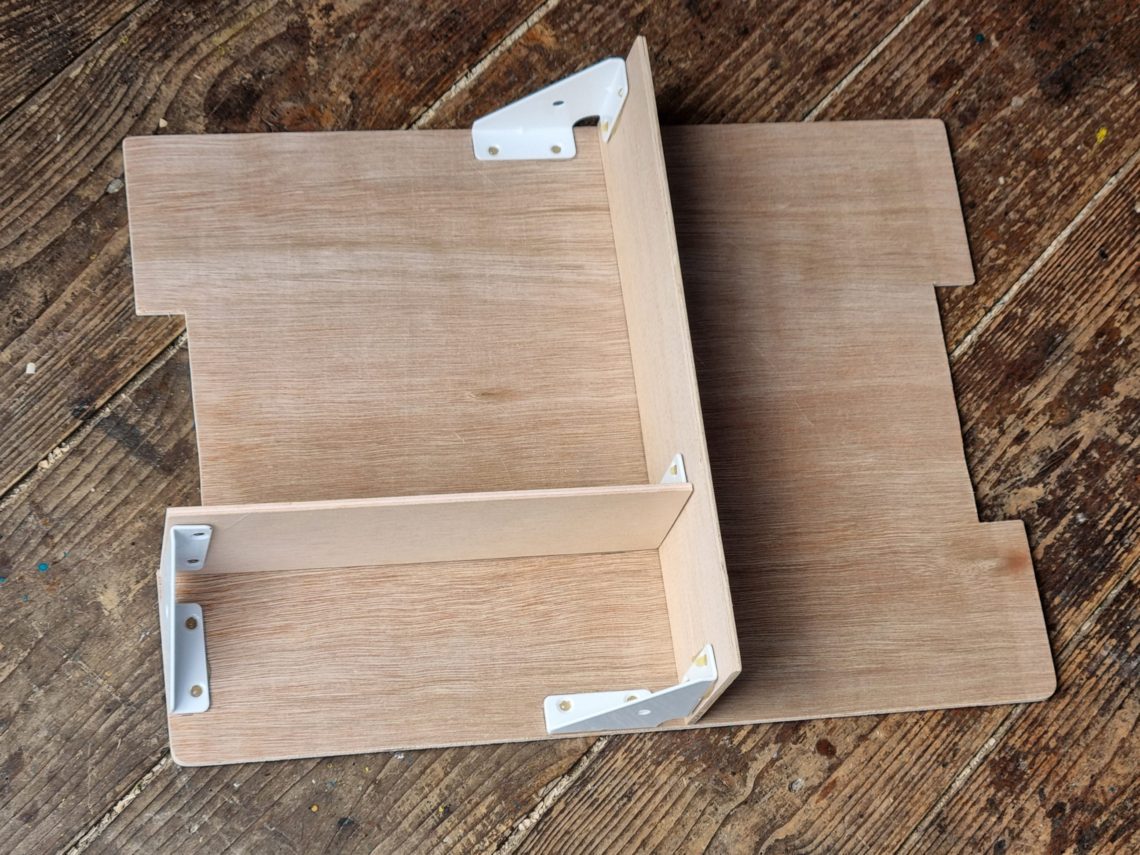
The cabinet corner brackets were repurposed, they were once part of my router lathe, as I recall. My initial attempt to secure them with double-sided tape failed due to inadequate holding force. The plywood was too thin for screws, so I opted for hot glue instead. When the glue oozed through the mounting holes and set, it formed a robust bond, keeping all the components firmly in place. The braces needed to be mounted in a precise sequence to achieve perfect alignment and prevent simultaneous adhesion to vertical and horizontal surfaces. This project was straightforward and quick, with the cost of all materials reduced to an absolute minimum. Now, my Makita tools are neatly organised in a sturdy container, offering enhanced protection from moisture and squashing.