-
Where am I sign
I used an old toilet seat – yes … a toilet seat … to make the sign. The plan was simple: contact adhesive for the print and the smallest router bit for the lettering. Once the routing was finished I removed the paper and used black spray paint to cover the grooves. One, heavy, dripping coat did the job. Once sanded it looked a little better: I used my jigsaw to cut out the arrow shape and then moved to my sanding station to smooth out the edges. I also prepared the aluminium tube which involved cutting, grinding, drilling holes…
-
Coffee table for one
It had to be easy to move and quite small, but big enough to accommodate a cup of coffee and a TV remote. I started up by cutting the timber to length. Then I cut dados using my table saw. Not too deep, as they will only prevent the parts from spinning around. Pocket holes were next. Once drilled, their edges were cleaned with little rasps and sandpaper. Every joint was reinforced with glue. Fixing the last one was a little tricky, I managed by using my ratchet spanner. I also used additional screws for the bottom pieces – having…
-
Earring hanger
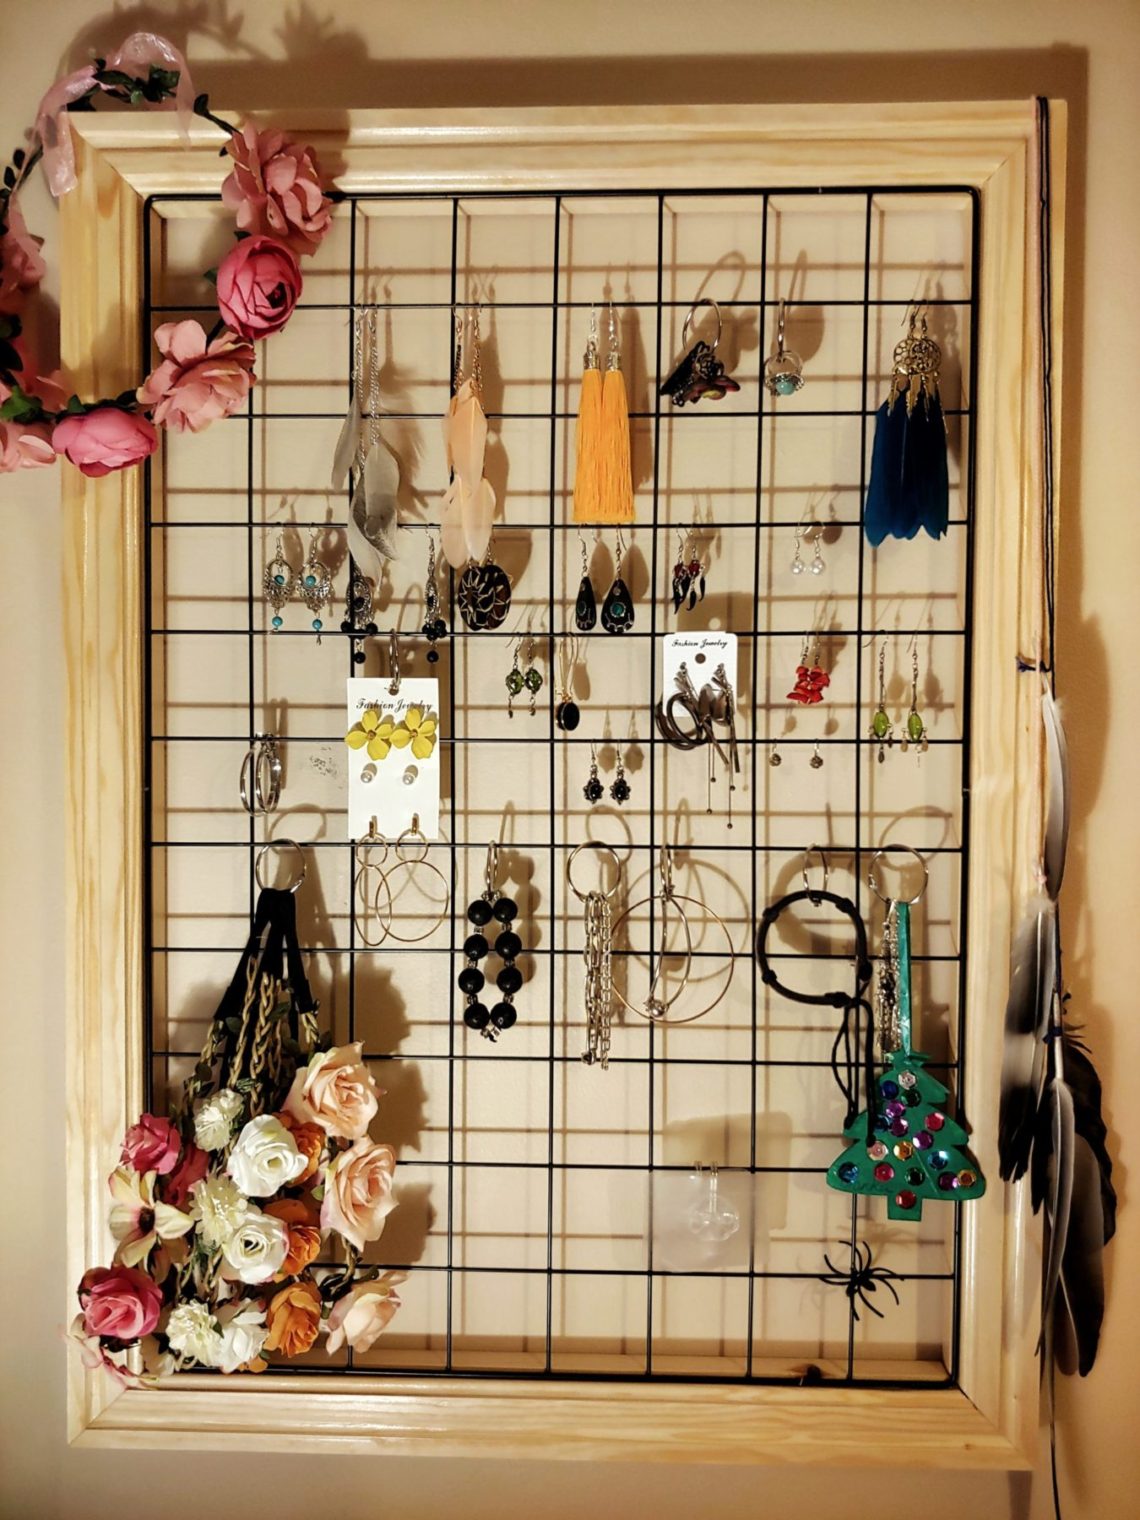
This one is very like a regular picture frame except that there’s no artwork and its substitute is loaded from the front, not the back. That was the goal, to expose the whole grille and keep all these little squares visually equal. The timber was rough cut to length on a table saw. It was then ready for routing. To complete the task I had to use 4 router bits, a DIY-ed router table-top and a fence (for the bits without a bearing). The last step was to put chamfers on the bottom edges and deepen the recess for the…
-
Bottleneck vessel
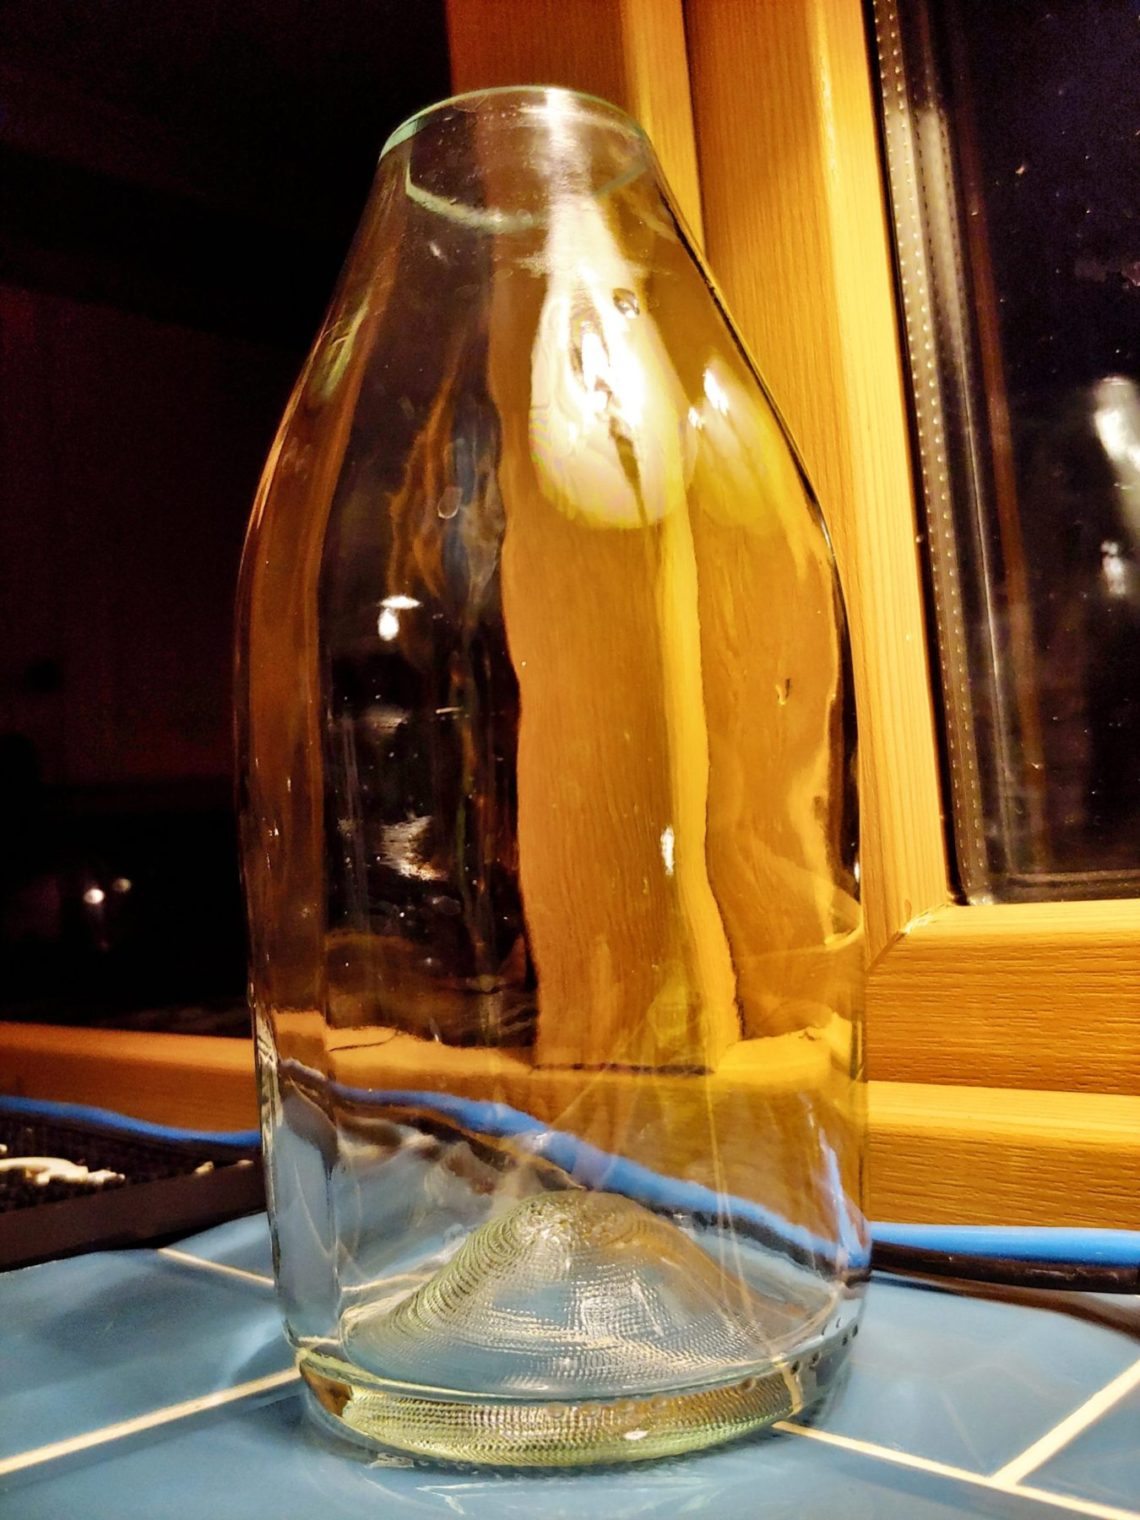
In order to cut the bottle I had to set the glass cutter at an angle. That gave me good access to the bottleneck. This jig has many limitations due to the way it’s built and fixed to the wall. Cutting was easy and fast, the bottle cracked as planned and the labels came off easily. Smoothing sharp edges was done in 2 steps, as always – outside first, inside next. This is 40 grit: I finished sanding with 3000 grit for the outside and started sanding the inside. I used 3 grits: 240, 400 and 600. Polishing was next,…
-
X-mas tools, edition 2018
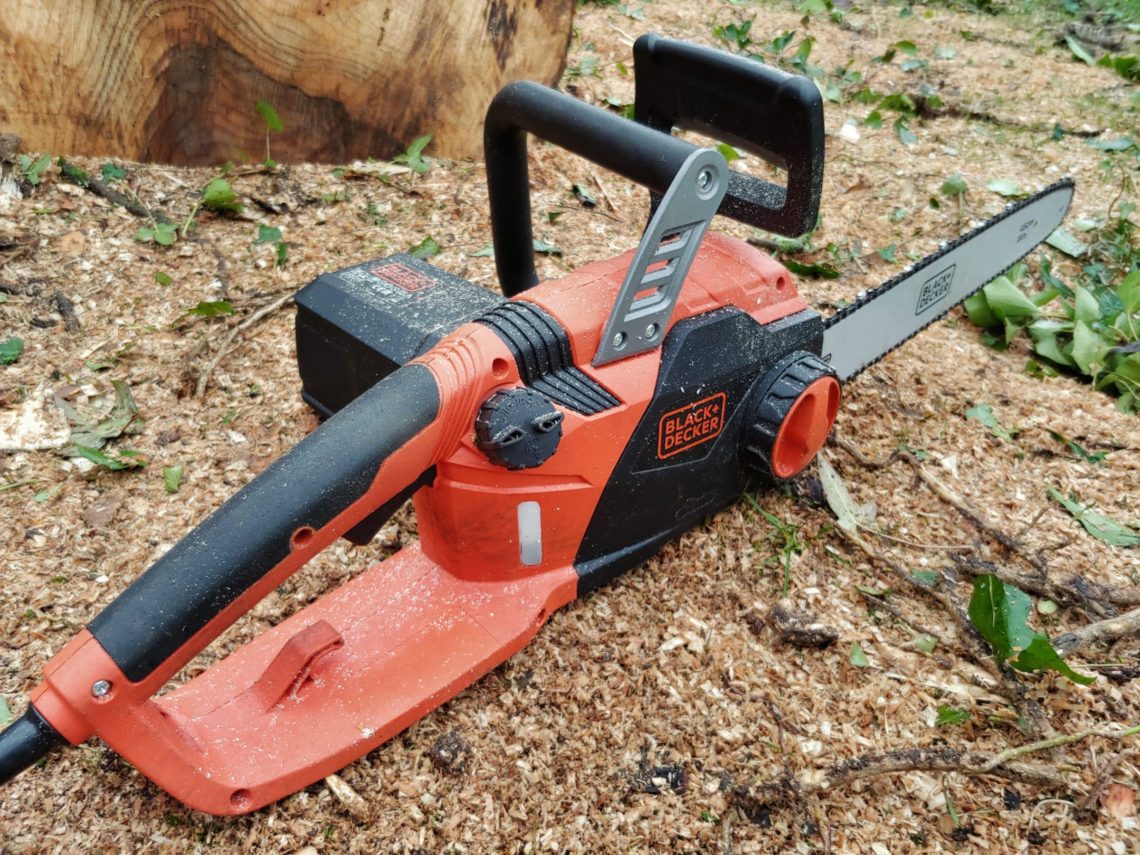
Fiskars X21 (splitting) and Fiskars X7 (universal) axes have fibreglass-reinforced plastic handles which are stronger than wooden handles. They can keep going without any problems. The axe heads are integrated into the handles and will not come off. Additionally, the handles absorb vibrations and increase grip and comfort during use. The quality is great and the axes are covered by a lifetime warranty. Each axe comes with a plastic protective case that can be used to carry or hang up the axe. Axes can handle a lot of abuse and once properly sharpened will stay sharp for a long period…
-
Coffee wall art
To make the board I used pallet wood. Planks were cut in half, then rip cut to width. The board was cut to length on a table saw and that was followed by sanding. I left some saw marks and a couple of stains. I used a homemade wood dye (vinegar + steel wool) to age the board. Then I used spray paint to darken the edges. Always use the right screwdriver for the job, no matter how small the job or the screwdriver is. PZ1 is small. Cutting MDF with a jigsaw couldn’t be postponed endlessly. It was done…
-
Shed shelves
I needed some place to store my timber and plywood/MDF sheets. Something quite small, to save space in the shed and big enough to accommodate a 4′ x 2′ sheet. All elements were fixed inside the shed except for the one that I started with. I didn’t have an extra hand so I improvised with temporary supports. Once the frame was done I prepared for pocket hole joinery. The lower shelf is built for shorter material (shorter spacing) and the upper one for longer pieces of timber. It has the right size and it’s very sturdy. It will help me…
-
Low stand
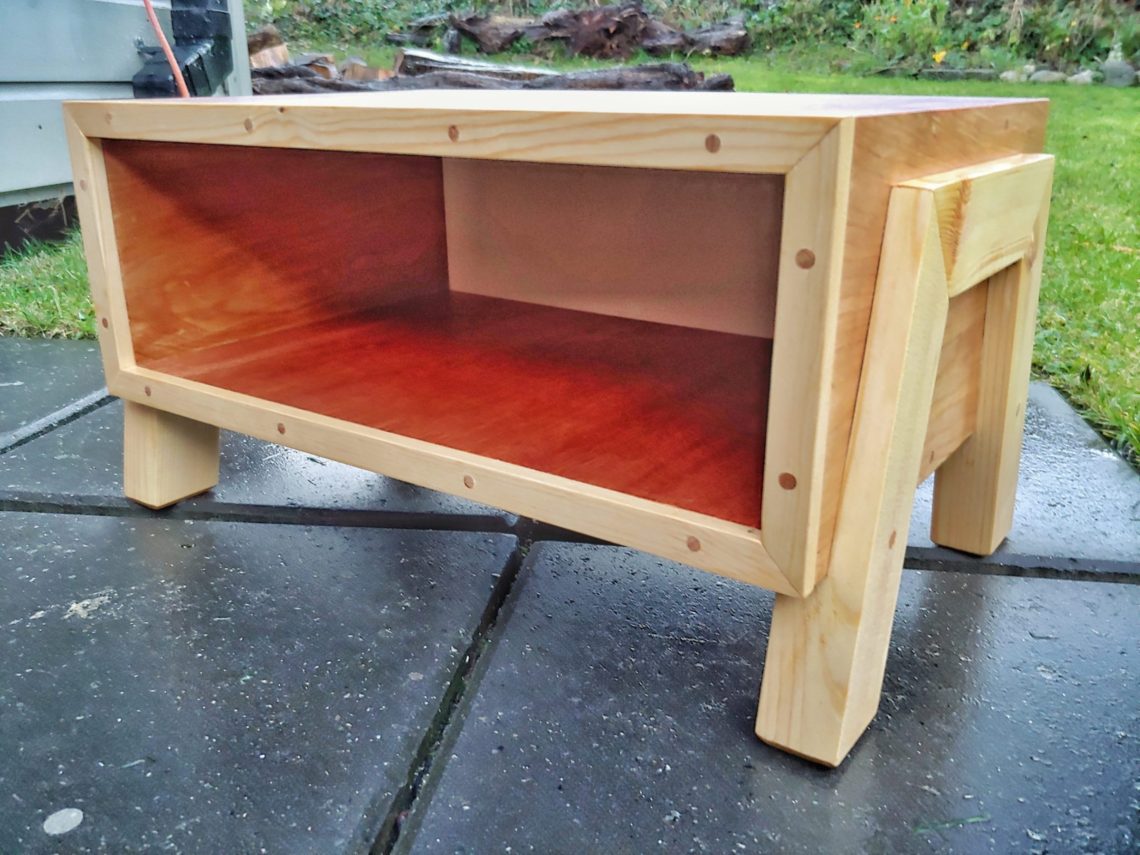
Scrap plywood was used to build the box. First I cut everything to width and length. Then I set the blade to 45º and removed the corners from all 4 pieces. The glue-up wasn’t as easy as I expected. My corner clamps were too big for this project and I had to do some overlapping. This seems to be every woodworker’s problem – we all need more clamps! The glue squeeze-out was cleaned with a damp cloth but some hardened glue had to be removed with a chisel. I built a provisional thin strip ripping jig and cut some timber…
-
Cognac glass
Cutting the bottle was easy and fast. Additionally, when I was cracking the bottle with boiling and cold water, the labels came off themselves. Didn’t expect that. Sanding with 40-grit sandpaper was next. It was a good idea to clean the sandpaper with a little brush. Rough edges were slowly transformed into smooth and shiny ones. Sanding drums took over and finished the sanding step. A polishing compound was applied to the spinning felt wheel. Buffing and cleaning with white spirit. The glass has these little details that highlight its character. Unusual bottom with a number, a date and a…
-
Champagne bottle
In order to cut the bottle in the middle of its neck, I had to keep the bottle upside down. It’s shown in this post (Slim flower vase) how difficult it is to get access to the bottleneck when the bottle is in an upright position. That setup had some limitations, however, it was useful for cutting jars. It’s not stable, but it worked this time. Quite a nice line was cut, and I moved to the kitchen. Boiling and cold water cracked the bottle. The first sanding disc I used was 40 grit. It took me 20 mins to…


