-
Circular saw jig
It’s made of OSB, steel and spruce timber. Simple and stiff construction, ideal for cutting long pieces of timber such as skirting boards. Cutting at 2 angles: 45 and 90º made easy. (The post Improved circular saw jig can be found here) The first thing to do was to trim the board to length. It was an easy job for my recently bought circular saw. 4 supporting pieces I cut on my table saw as they were too small for any other tool. The steel corner I bought had to be cut in half, but that was the easy part.…
-
Garden hose stand
It’s usually an arch that supports the hose, but in my build, I’m using 2 rounded bars. I am hoping that there won’t be any kinks and dents in the hose and the whole construction will last for years. Once I had all the timber cut to size I used my hole saw to remove some material from the horizontal pieces. As the material was too thick I had to proceed with my coping saw. To clean the cut I used the hole saw again. I then roughly removed the corners with 2 tools – a coping saw and a…
-
Polish vodka bottle cut
This vodka is the best and the most famous Polish vodka. It’s yummy, which is quite unusual! Bittersweet, herbal taste. I remembered to remove the cap during the “glass cracking” part. I must say the first (buying + drinking) and the second part (cutting + cracking) of the project went very smoothly. The cut glass looks nice and it’s symmetrical and round rather than oval and uneven. When I moved to the third part, which was polishing I made a couple of mistakes that had to be reworked. First things first. Sanding with coarse sandpaper was followed by a final…
-
Gallows lamp
3 pieces of wood and 4 dowels were used in this project. The length of the arm was approximately half of the dining table, so the light could spread evenly throughout the top. I started by cutting the tenon on my table saw and then shaping the other end of that arm. To minimize any tear-out I drilled the hole before proceeding to my sanding station. I wasn’t sure what bulb holder would be installed (plastic or metal) so I used for this project a 3-core cable, just in case. Sanding took a while. I used more aggressive belts first…
-
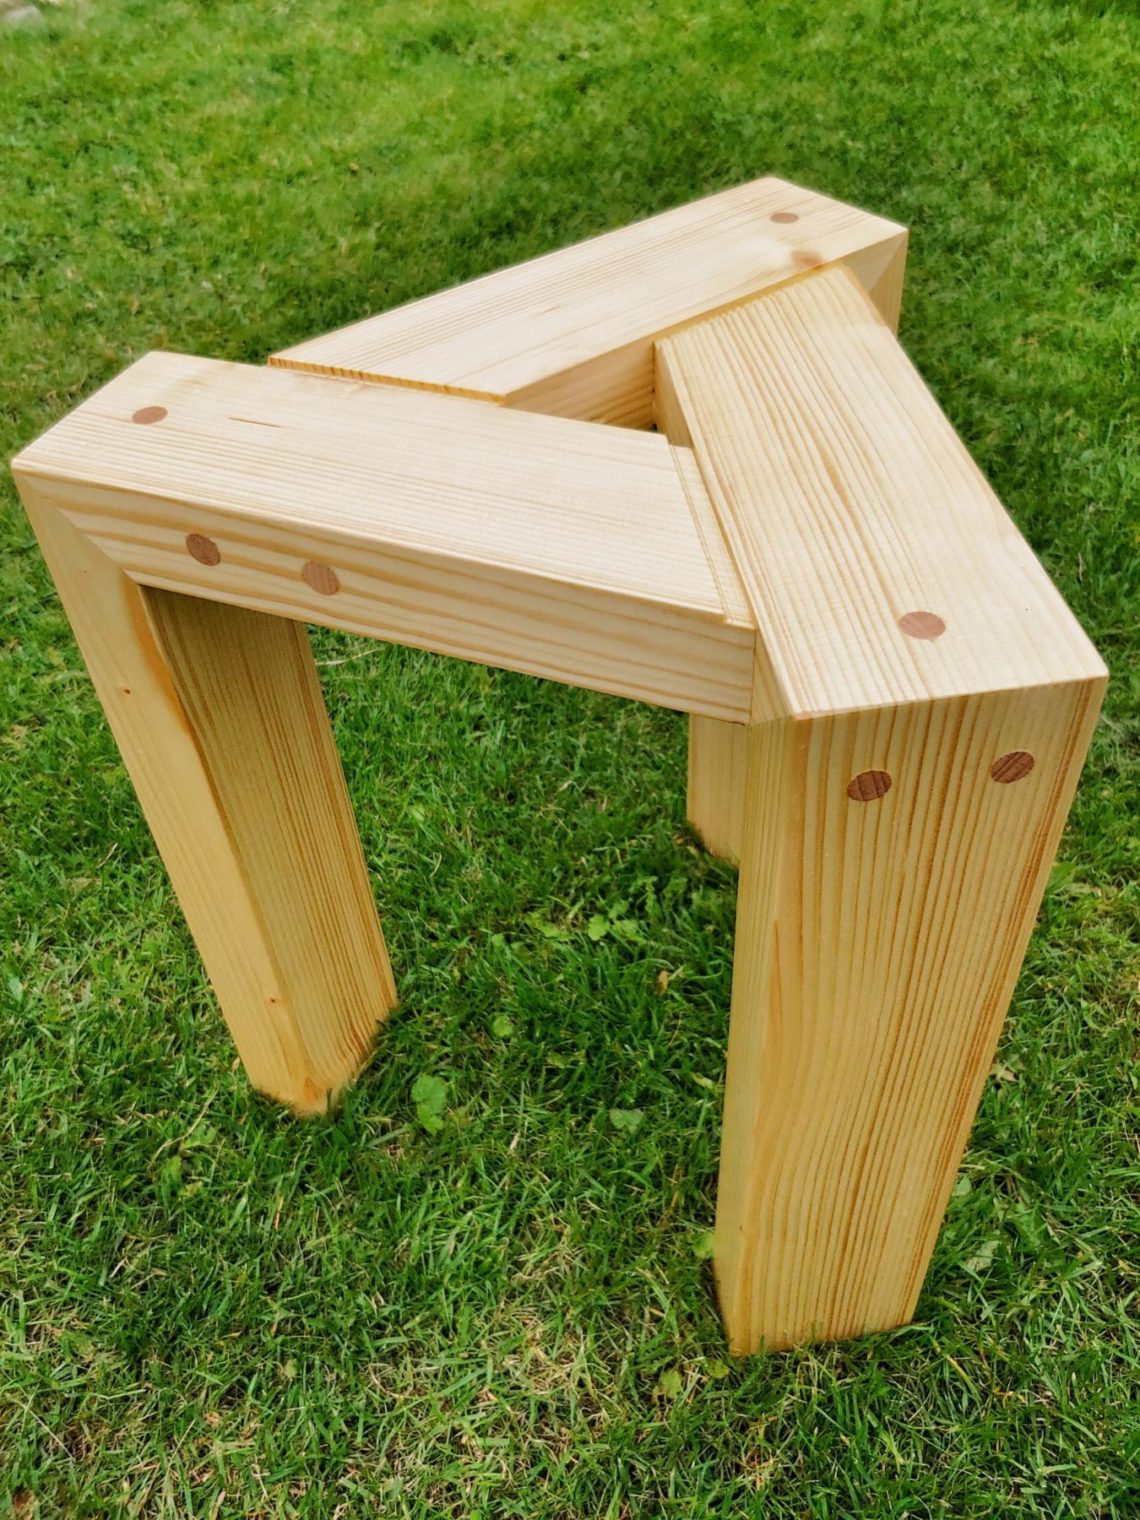
Cocktail tabouret
Made of 6 pieces of wood, dowels not included. Angles are 45° and 60°. Quite simple construction but the 60° angles had to be cut very precisely. I started by cutting all the pieces to length, and then I cut little grooves into the top pieces. Initially, I was going to use dowels and glue, but these angles made me change my mind – I had to use additional fasteners – screws. So I had to drill some countersunk holes for the legs and using screws and glue I fixed the legs to the top. I used longer screws and…
-
Mini table saw sledge
A must-have jig for every woodworker. Due to the limited storage space, I decided to build a mini version, with only one, but adjustable runner. I used plywood from my router tabletop as it wasn’t used very often. First I removed all the plastic caps and then the screws. Using my straight line jig I cut the runner to width. Sanding and drilling holes came next. The runner can be adjusted with 4 little screws that also prevent the sledge from popping out of the slot. Fixing the back fence at the perfect angle took me 3 attempts thus there…
-
Cut Kahlua bottle
Buying, drinking, cutting and polishing – several steps to get a perfect flower pot. Very unique and rare. A perfect gift for someone you care about. The first thing to do was to score a line with my homemade jig. Then the usual – cold and boiling water to crack the glass. Sanding the outside edges came next. First the top and when I used the 220 grit I sanded the bevel for the first time. Up to the 3000 grit. As always the next step was to install my drum sander. I used 240, 400 and 600-grit sanding bands.…
-
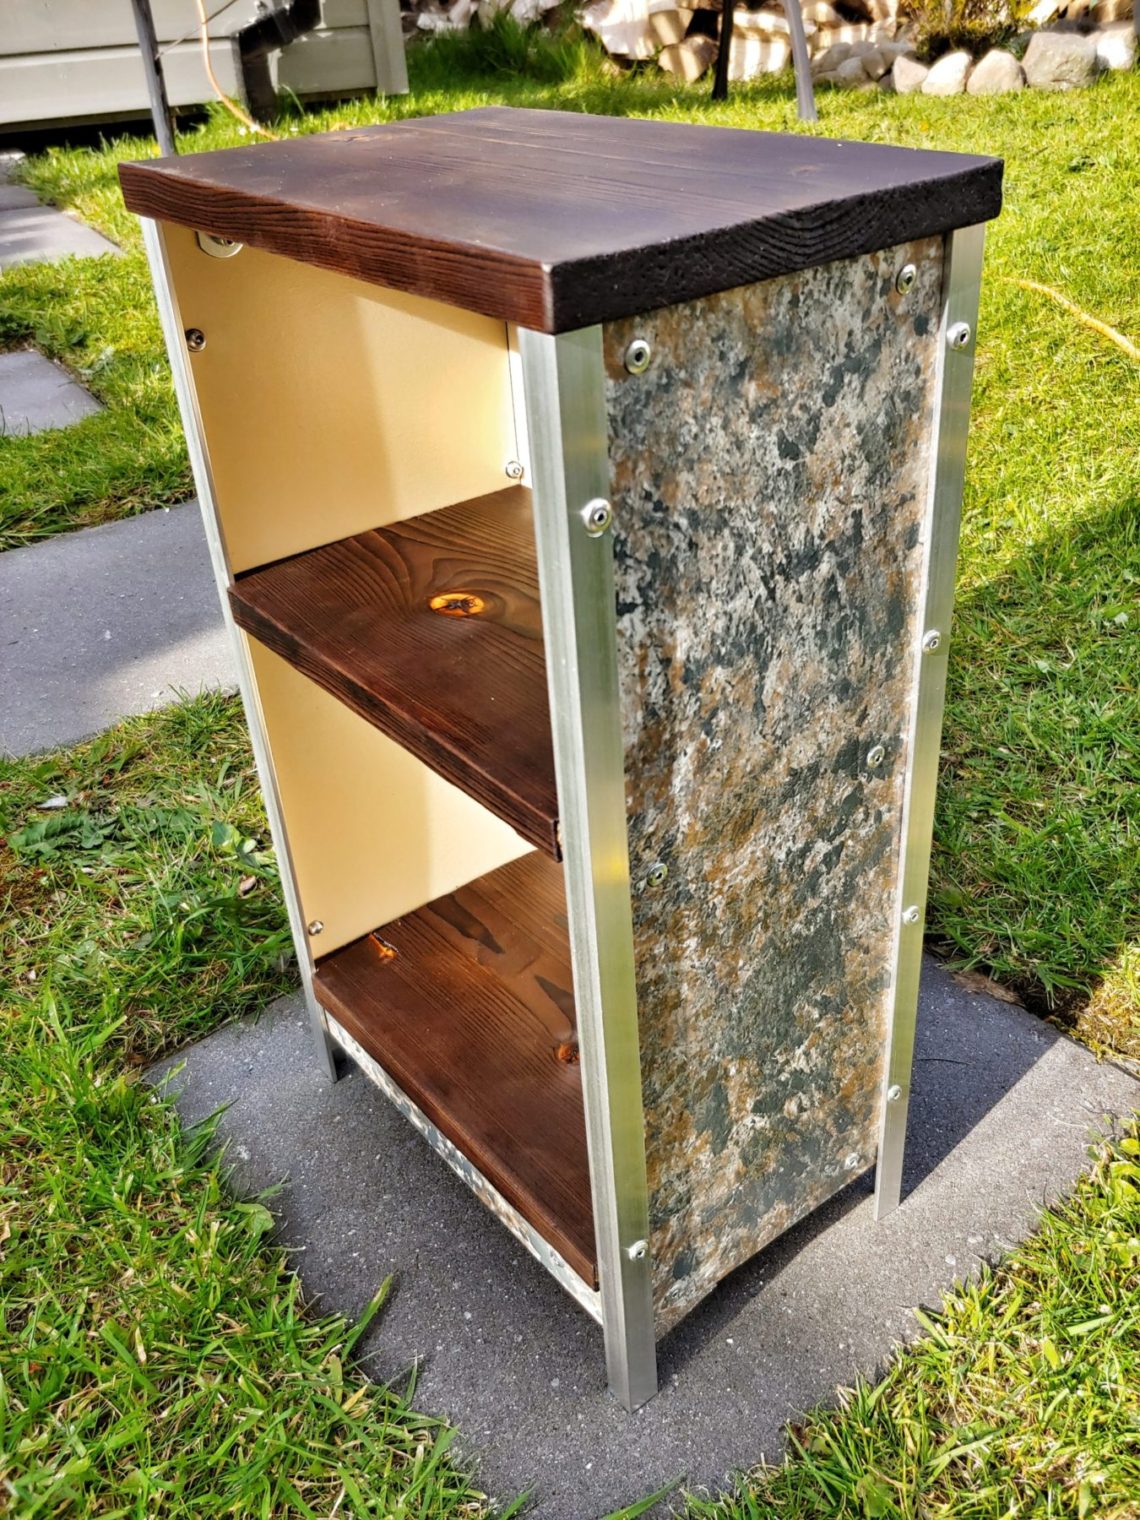
Faux granite shelving unit
Made of aluminium, MDF and spruce. No fancy joinery, just rivets and screws. The project combines a modern approach and some Far East techniques. First I cut the MDF to size, did some light sanding (the edges) and then I prepared the aluminium legs. I wanted some chaotic pattern on the outside walls so I came up with the idea – to wrap the roller sleeve with some painter’s tape and apply old-fashioned, oil-based paint – white and graphite. I didn’t know what to expect but eventually, I liked what I got. I covered it with a couple of layers…
-
Charred half log stand
It’s made from a single piece of hardwood, sycamore (maple) tree that I cut down last year in my backyard. It’s charred with shou sugi ban, it’s waxed and it has 3 legs. I had to make sure that the wood will char nicely before I started the project. It did so I set up my router flattening jig. Due to the height of the material I used my workbench legs as the rails. The top and the bottom are parallel to each other. Also, the legs are at 90º to the base. I removed some material with a router…
-
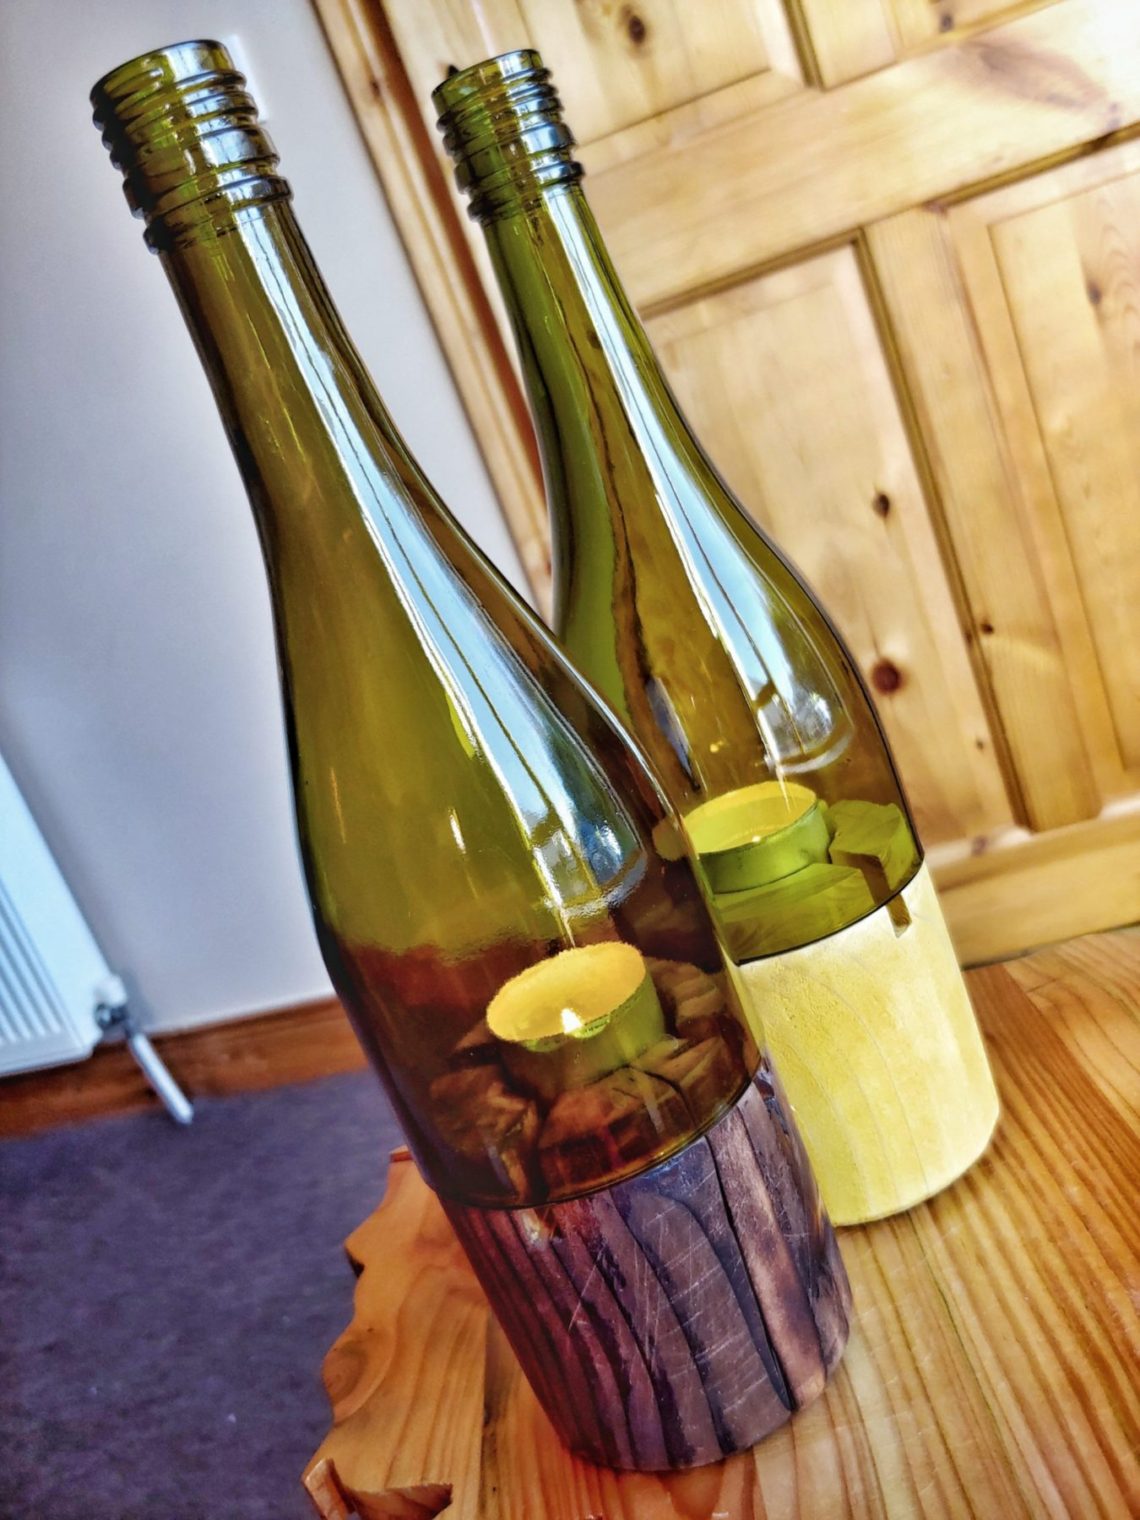
Cylindrical tealight holders
A quite simple project that involved turning an old balustrade post, cracked and riddled and cutting wine bottles. I used my recently built router turning jig to turn one cylinder, slightly bigger in diameter as that was reduced later on by sanding. I noticed that there is actually no need to rotate the piece all the time, and what worked was to route it all the way through, from one end to another and then rotate it clockwise a little bit, do the pass and so on. That didn’t apply to the recesses at both ends. Once it was done…