-
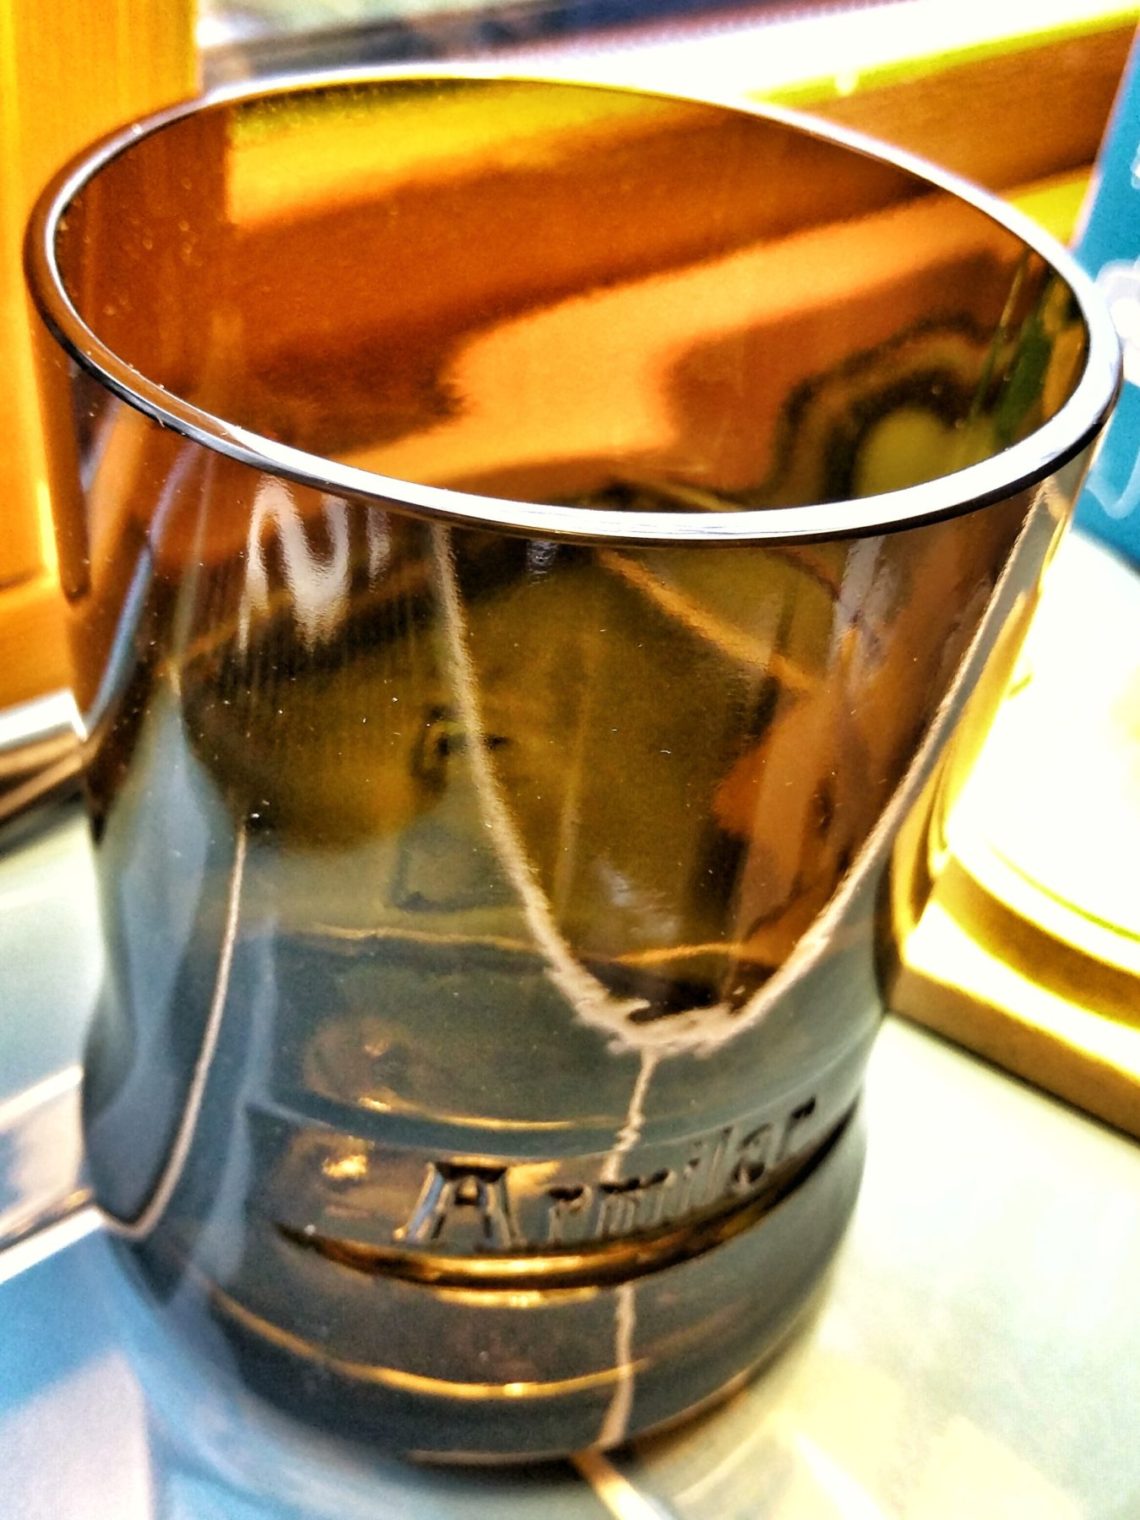
Cognac glass
Cutting the bottle was easy and fast. Additionally, when I was cracking the bottle with boiling and cold water, the labels came off themselves. Didn’t expect that. Sanding with 40-grit sandpaper was next. It was a good idea to clean the sandpaper with a little brush. Rough edges were slowly transformed into smooth and shiny ones. Sanding drums took over and finished the sanding step. A polishing compound was applied to the spinning felt wheel. Buffing and cleaning with white spirit. The glass has these little details that highlight its character. Unusual bottom with a number, a date and a…
-
Champagne bottle
In order to cut the bottle in the middle of its neck, I had to keep the bottle upside down. It’s shown in this post (Slim flower vase) how difficult it is to get access to the bottleneck when the bottle is in an upright position. That setup had some limitations, however, it was useful for cutting jars. It’s not stable, but it worked this time. Quite a nice line was cut, and I moved to the kitchen. Boiling and cold water cracked the bottle. The first sanding disc I used was 40 grit. It took me 20 mins to…
-
Slim flower vase
Cutting the bottle didn’t take long. Removing the label, that’s something I don’t like. But first things first. Cutting the bottle in the shed and finishing it in the kitchen – using boiling and cold water. I used several discs to smooth it out from the top and the outside. Once that was done I smoothed out the inner edges. I forgot there was some oil in the bottle and the quick job became a slightly bigger one. I used 3 grits of sanding drums: 240, 400 and 600. Once it was properly sanded I polished it with my felt…
-
X-mas lights in a bottle
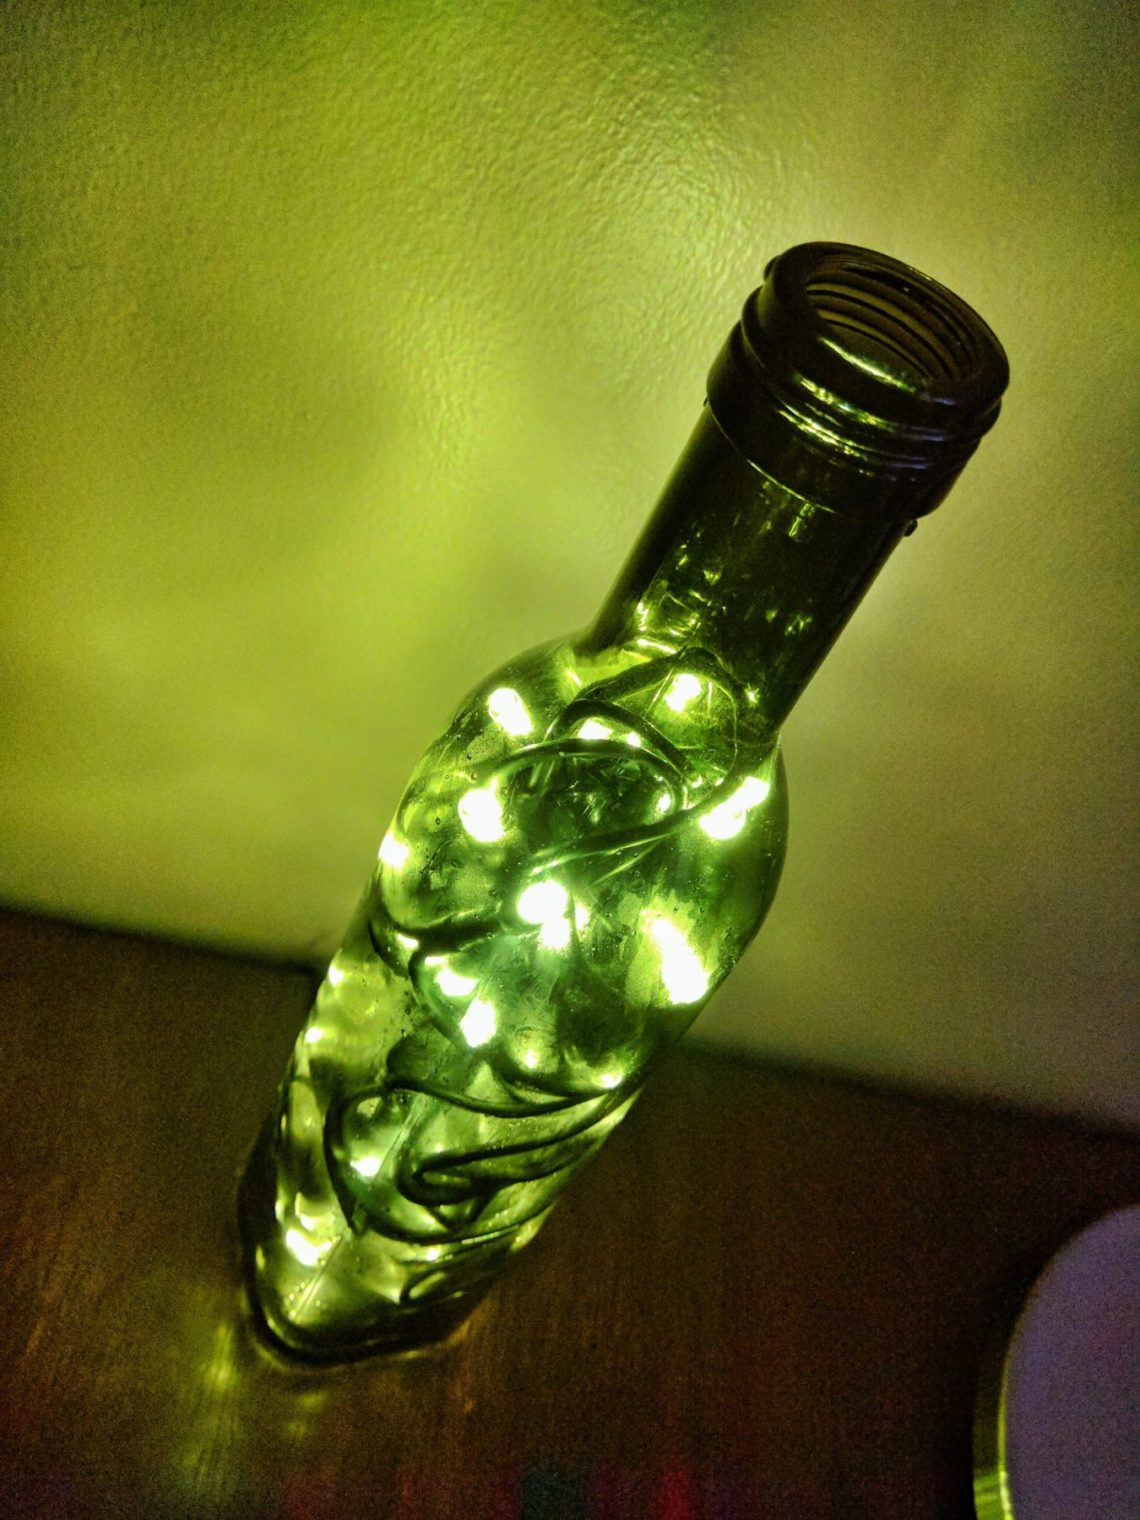
Preparation: unbreakable bench, garden hose, drill bit and the drill guide – everything staying secure in place. A 6 mm hole with sharp edges has to be covered with a grommet. Bottle – washed, stickers – removed. Time to install the lights. Shrink tubing in the same colour as the cord. A cable tie will prevent the cord from sliding in. One of the Christmas lights inside the bottle will prevent the cord from sliding out. Looks really nice, even in April.
-
Slender vase
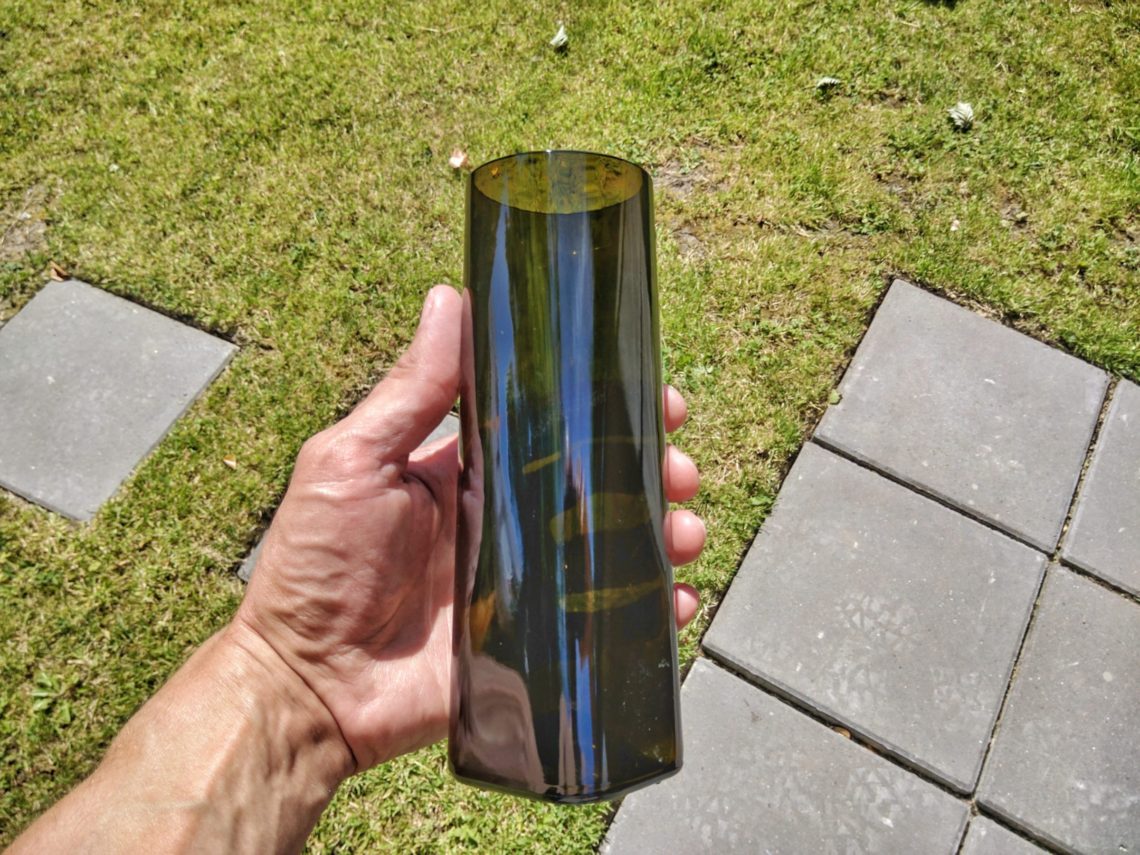
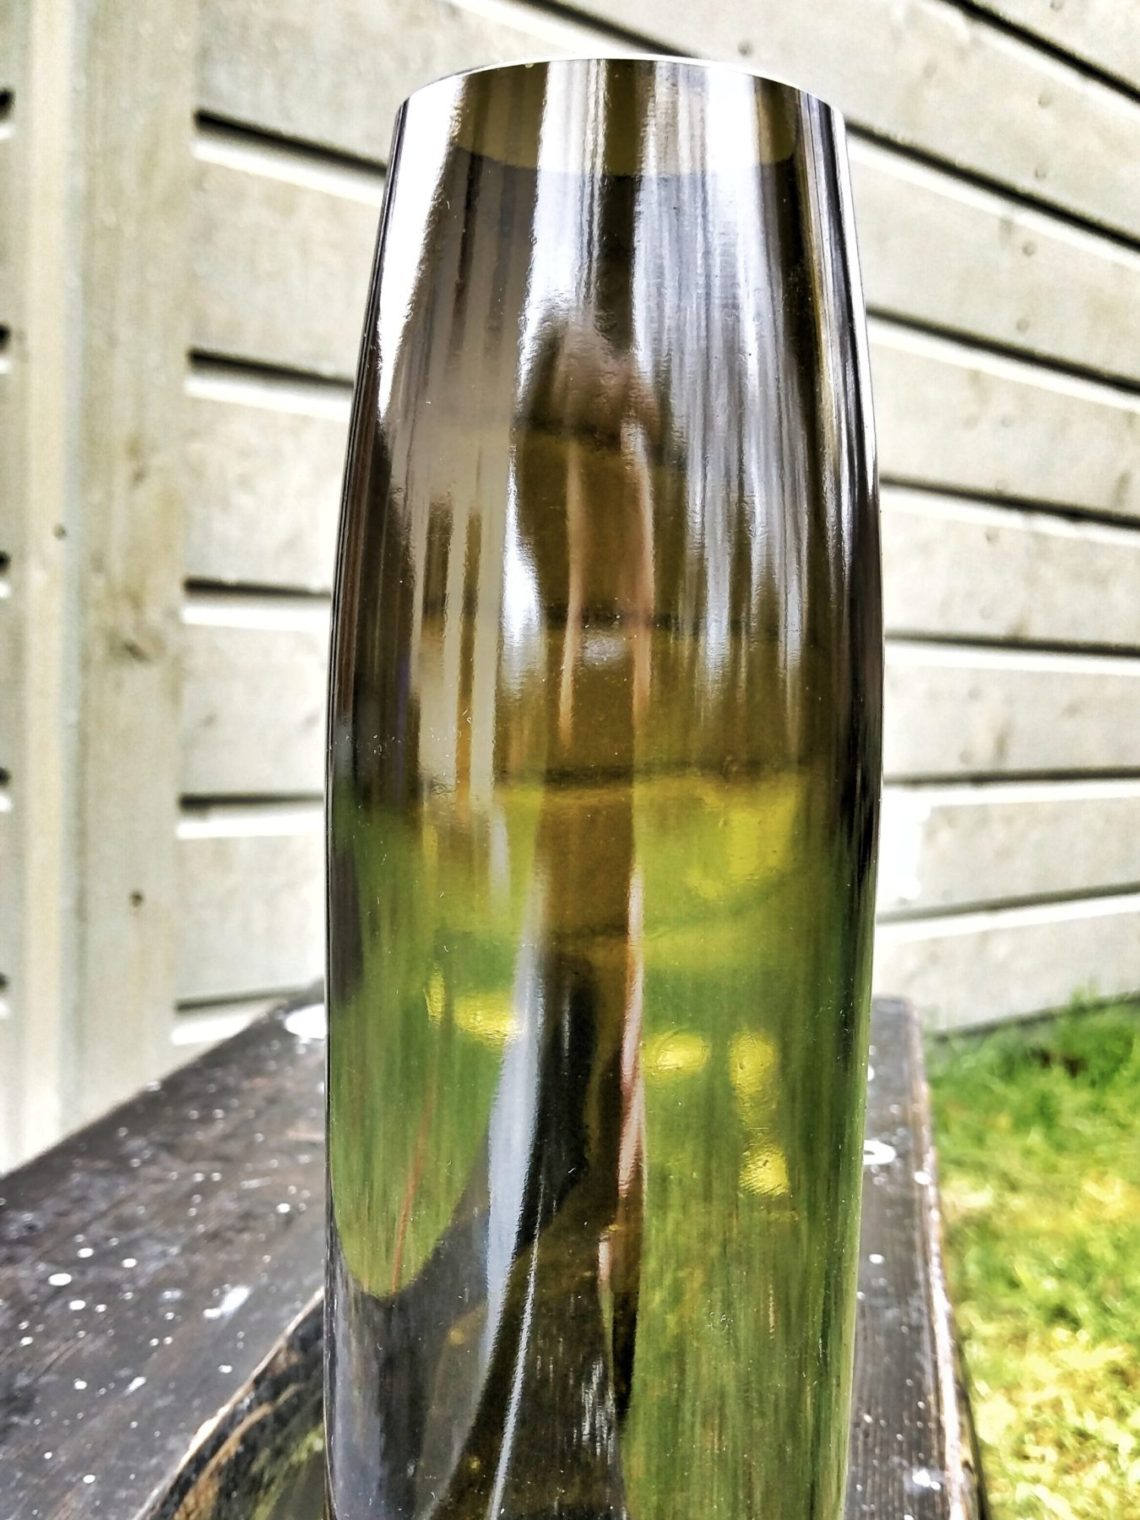
A quite unusual wine bottle with a capacity of 500 ml (instead of 750 ml). It’s perfect for a small, slender flower vase. Usually, it’s easy to cut bottles because the glass cutter is perpendicular to the bottle, but in this case, I had to struggle a little harder. Boiling and cold water finished the job. 5 grits of sandpaper – W.I.P. – top and outside. Sanding drums – 3 grits, 1-inch mandrel, very good results. Polishing compound and buffing wheel to clean the surface. Visual size comparison (500 ml can) and the vase reflecting the surrounding lawn. Beautiful colours!
-
Green and golden t-light holder
Cutting the bottle was easy as always, but sanding was extremely quick and easy. I used 4 different grits of sandpaper for the outer edges and just 1 grit for the inside ones. It looks quite decent. There is no need to go crazy with sanding in this project. This edge will be always faced down. Preparing for painting – that cardboard circle on top was supposed to help to paint a transition between the top and the bottom, but it actually failed. It did no job at all. I wasn’t happy with the results when I applied the first…
-
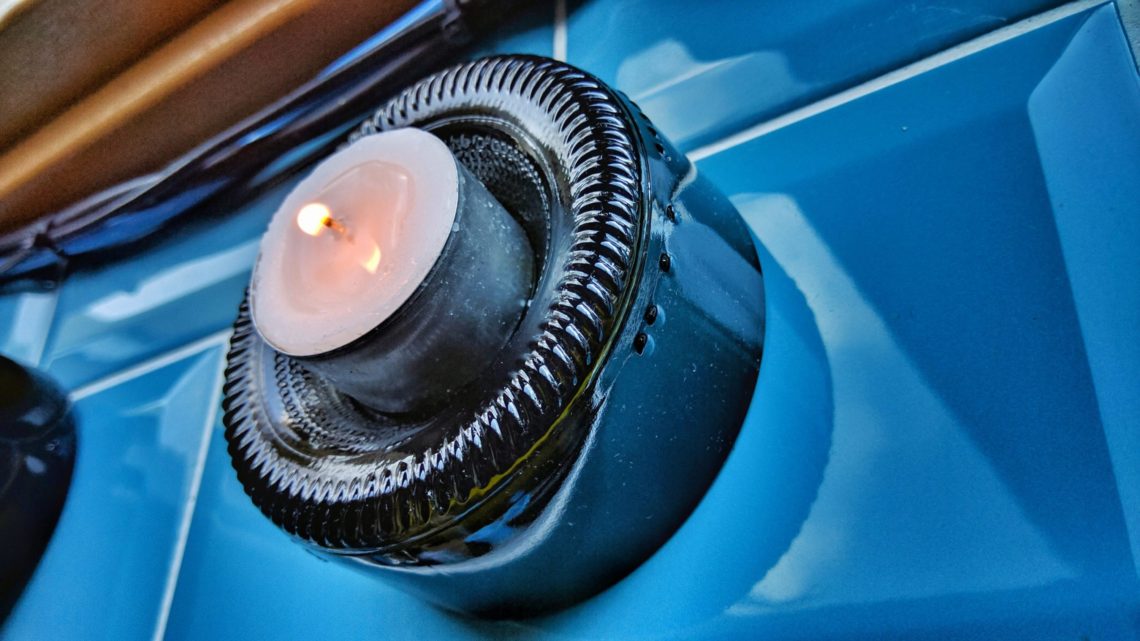
Tea light glass holder
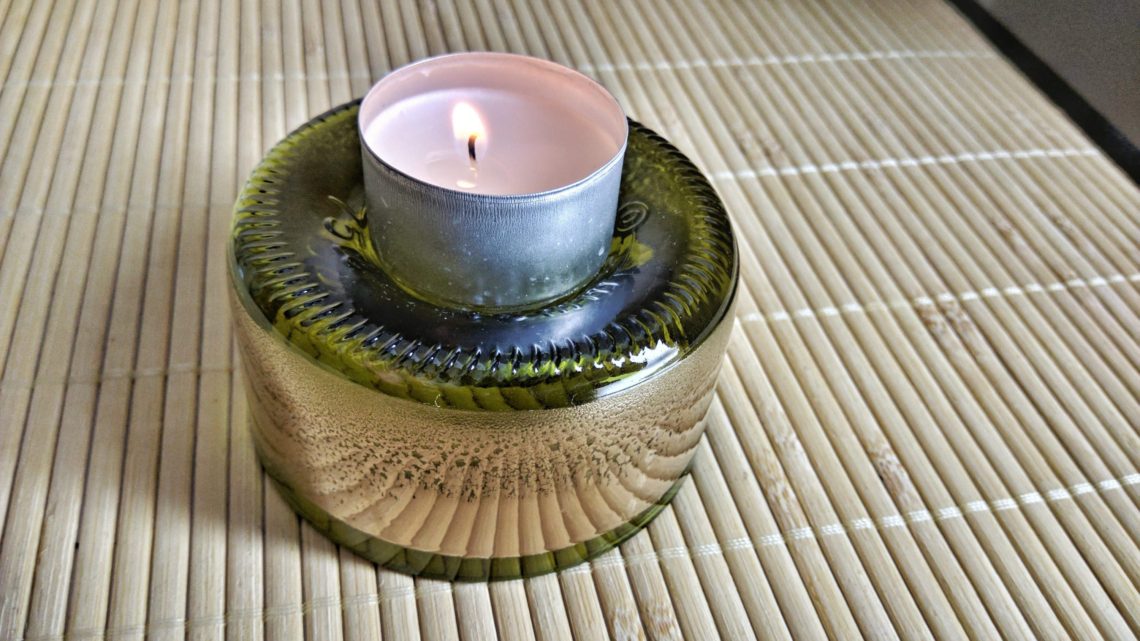
My glass-cutting station has been officially moved to the shed. The 3-inch C-clamp is now replaced by the 4-inch one. Different frame to hold to. Champagne bottle during the cutting process, hot and cold water was used to crack the glass. Quick sanding. Using low and high RPMs was kind of cheating, there was no need to change sanding discs so often – it had to be a quick project. Sanding the inner edges is something I don’t like. Matt finish, after all this thing is going to be used upside-down. Quick project it was. Bottle bottoms are not especially…
-
Wine crate
The usual – quick planing and ripping to width. The corners were not identical and due to their size planing was the only option. It helped to remove the excess material. Cutting to length and quick assembly, using wine bottles to make sure it’s cut properly. Cutting the dividers … … and preparing the slats. Quick assembly – no nails or clamps. Now, for the very first time – wood filler is applied with an oversized filling knife … … followed by some sanding. Ready for assembly, some fine rasping for a perfect match. Assembled and filled with bottles. As…
-
Porto glass
The sanding station is ready to go. The sanding starts from 40 grit sanding discs. This is how it’s changing: 3000 grit is the last one, and 1-inch sanding bands are the next. This one can only be used with round bottles. This is 1500 grit. A polishing compound is applied to the felt disc. This will give a beautiful finish to this project. Washed and cleaned. Ready to use. It was quite an easy and quick project.
-
Table saw tray
Its purpose is to facilitate putting the saw back in place after use and to move it with ease around the shed. Steel and wood along with 4 castors make the frame. Quick planing first. Cutting to length. Drilling holes in wood and metal. Making sure everything is square. Temporary M8 bolts and a socket wrench were used to check if the castors can be easily installed. I totally forgot about this curved edge. The assembly will be held together with 7 bolts, not 8. Looks good even without the castors. Applying wood oil wasn’t necessary but I couldn’t leave…


