-
Decorative garden post
It’s made of 3 parts joined together with glue and nails. There were a couple of reasons I built it that way, without using mouldings cut at 45º and without chamfering the biggest, main element at its top. If I used the most obvious approach the post would be shorter by a couple of inches (~70 mm). My build was fast and easy. It was also safe – the biggest part was too big and heavy to be cut over my table saw, the mitre gauge fence was too weak to hold it square at all times. That’s why I…
-
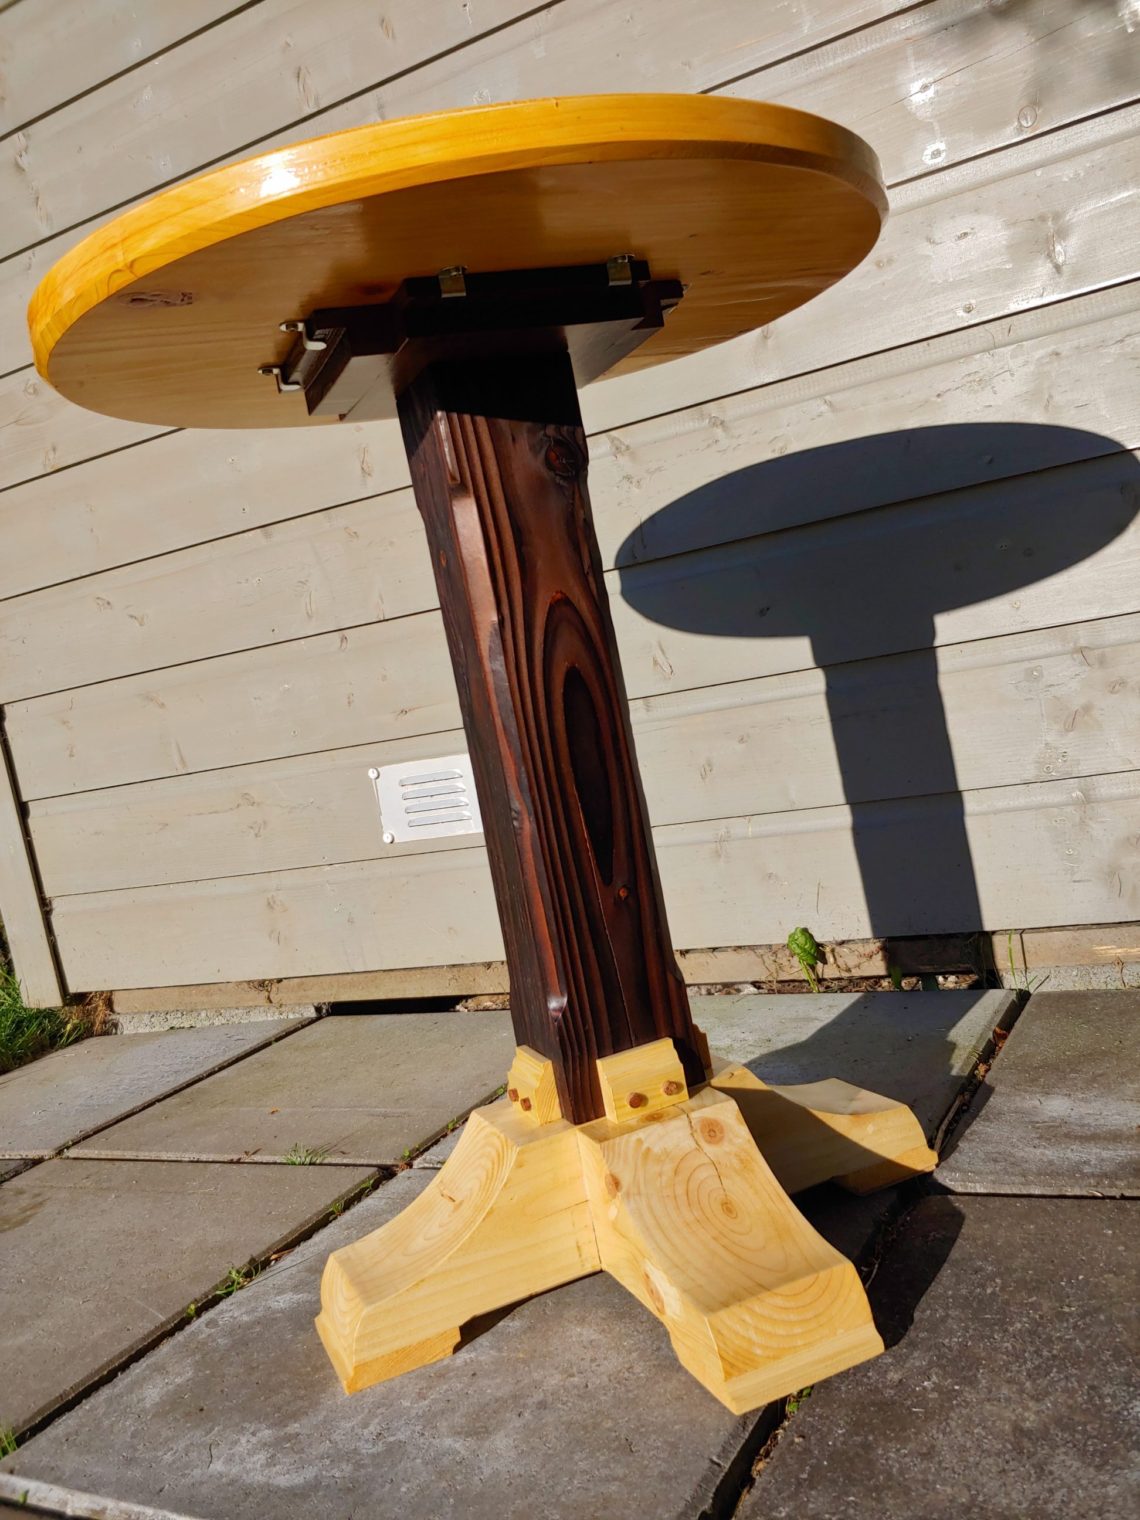
Pedestal table top
This is part 2 of the build, making the leg is shown in this post. This part will show the process of making the capital plate, the top, 4 transition blocks and the final assembly. For the capital plate, I cut the timber to length, flattened it with my router flattening jig and then cut the rabbets on both ends using my table saw. For non-through cuts like rabbets, it is OK to use the fence as a stop block. Next, I rip-cut the parts to width and sanded them by hand. I cut the half-lap joints and glued everything…
-
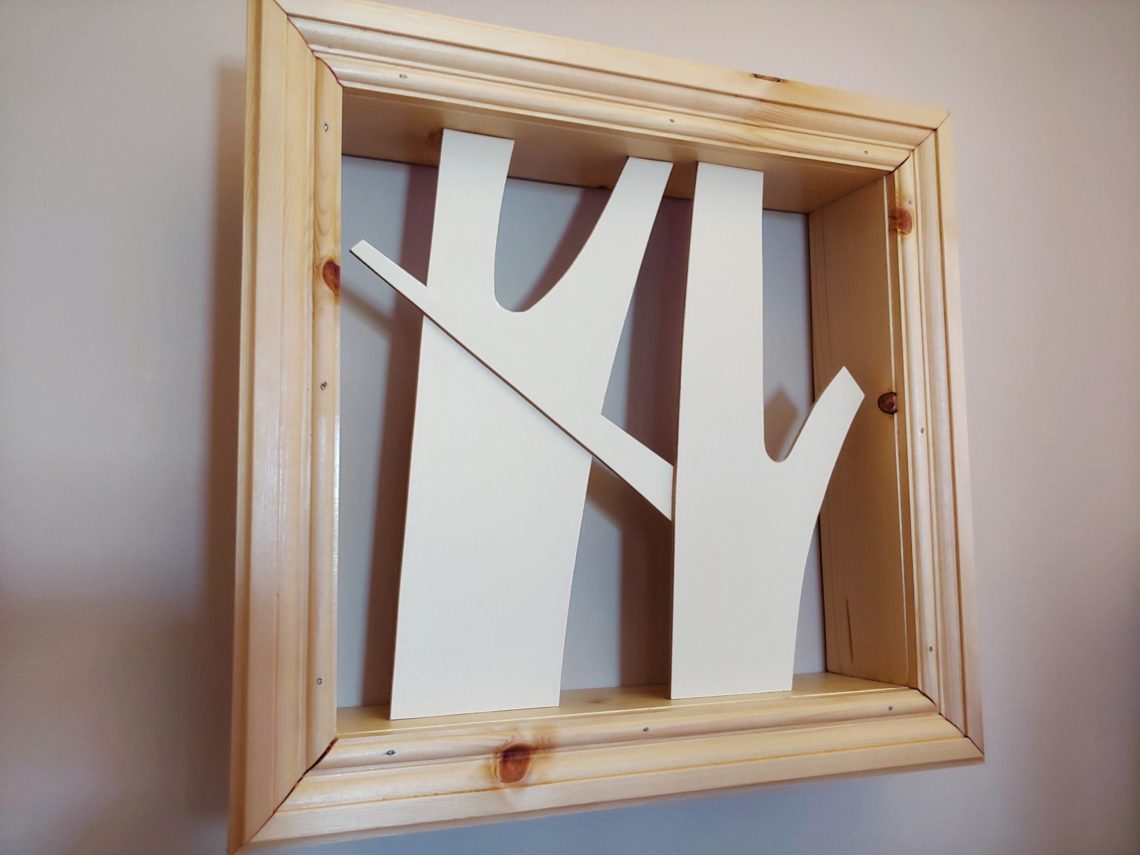
Three-D tree decoration
This project is entirely built with scrap material, 3.3 mm (1/8″) MDF board and the idea was to stay at home and build at home, without going to a shop. So I used what I had on hand. I cut all 3 pieces using my jigsaw and filed down the edges with my mini files. I put the assembly together with a bit of contact adhesive, and just in case I used clamps to hold them tight for a minute or two. The decoration is exactly the same size as the frame and stays in place by itself, but I…
-
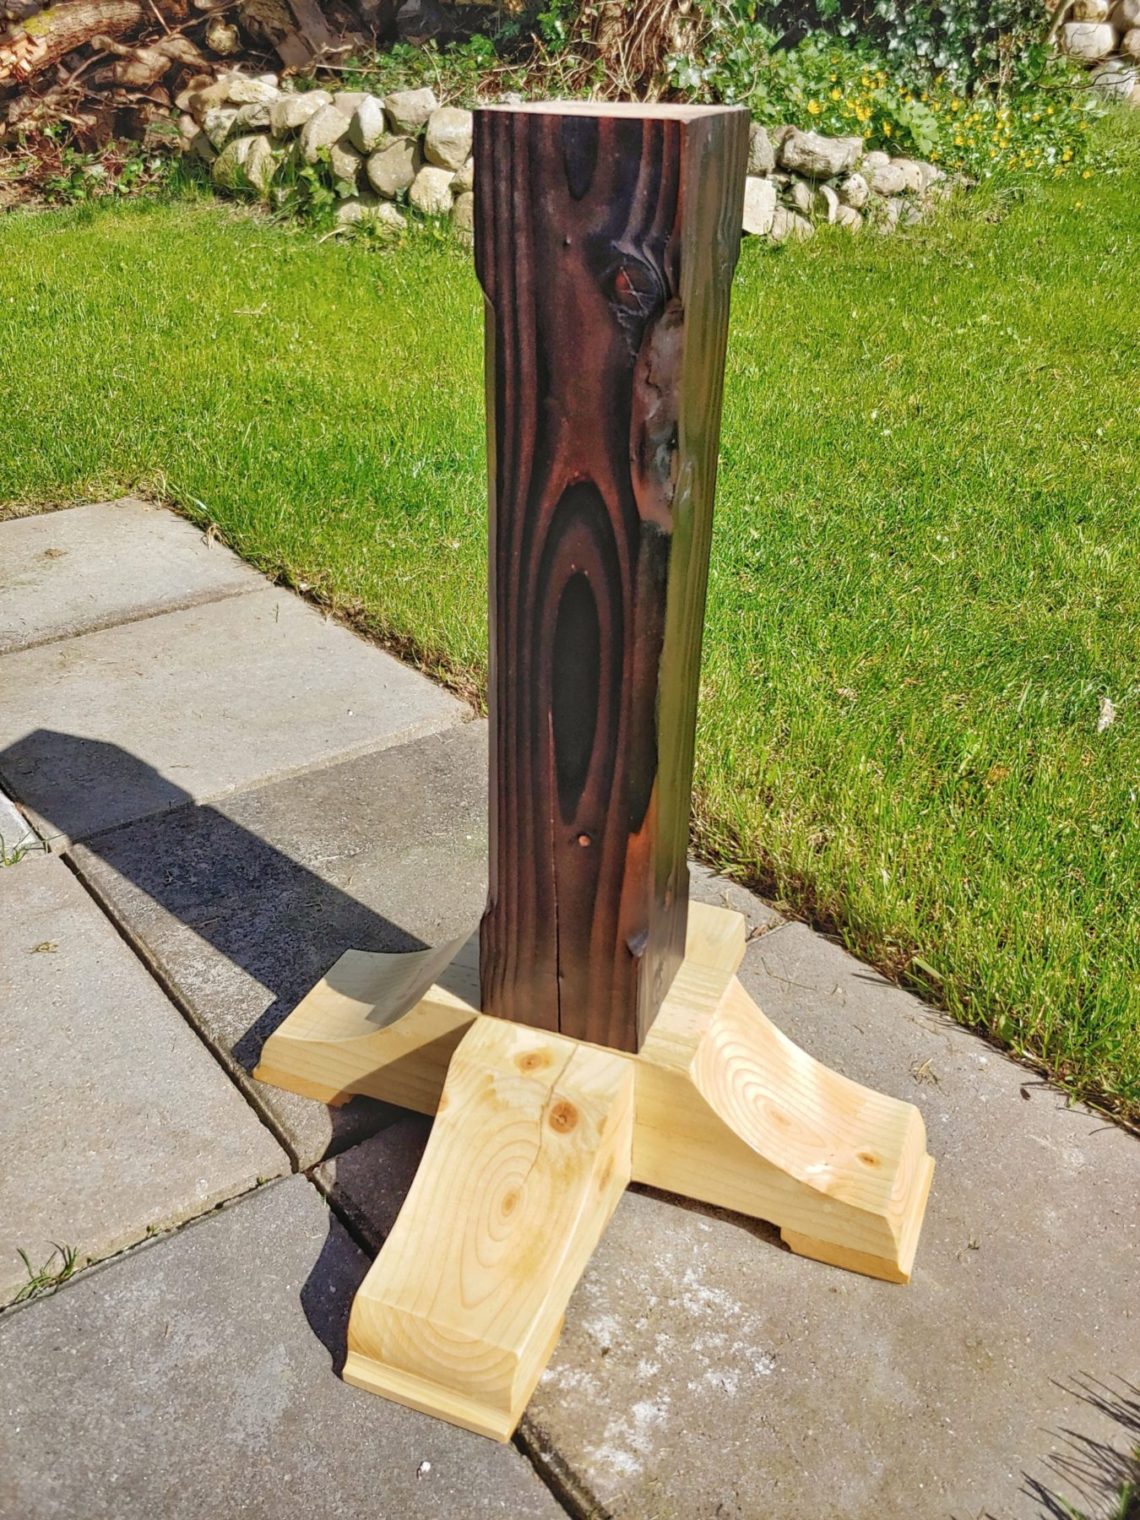
Pedestal table leg
I am a big fan of one-leg tables, it shows. I also love the colour and the texture of the wood finished with the shou-sugi-ban technique. This build is part of a bigger project, but due to its size and complexity, the process is shown in 2 separate posts. I started by cutting the leg to size using only a circular saw! Not bad results at all! In the meantime, I replaced my mitre bar with a new one that I built myself. I was then able to do the rest of the cutting on my table saw. I cut…
-
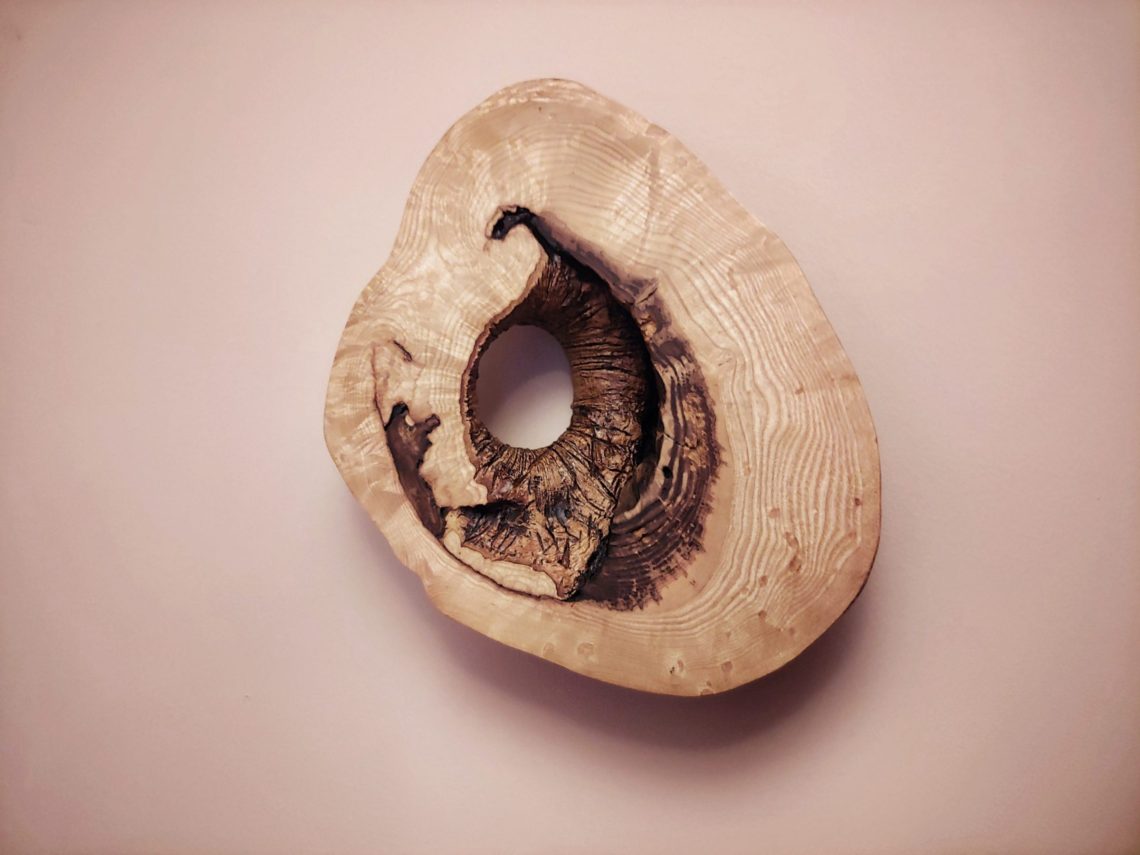
Tree hollow art
This wood comes from the tree I cut down over 1 year ago. I saved this piece from burning in a fireplace because I had that vision, straight away when I saw it first – a wall art. But just until now, the front side was the one originally facing out the tree. That made sense to me but when I cleaned the piece for further processing I realised it looked like … an arse. So the vision changed. I had to flatten both the front and the back, just a little, to nail a picture hanger. I clamped the…
-
3 button coasters
Templates first! Due to the bowl router bit size, its height and the bearing position, the template had to be quite thick. That would allow me to make a whole range of depths from 0 to 1/2 inch, maybe deeper. I know from my experience that cutting curved lines with a jigsaw can go wrong, and the blade can bend. To avoid that I cut close to the line and then removed the rest with the same blade by cutting perpendicular to the line. That consumed more time, but it was the thing to do. If you don’t have a…
-
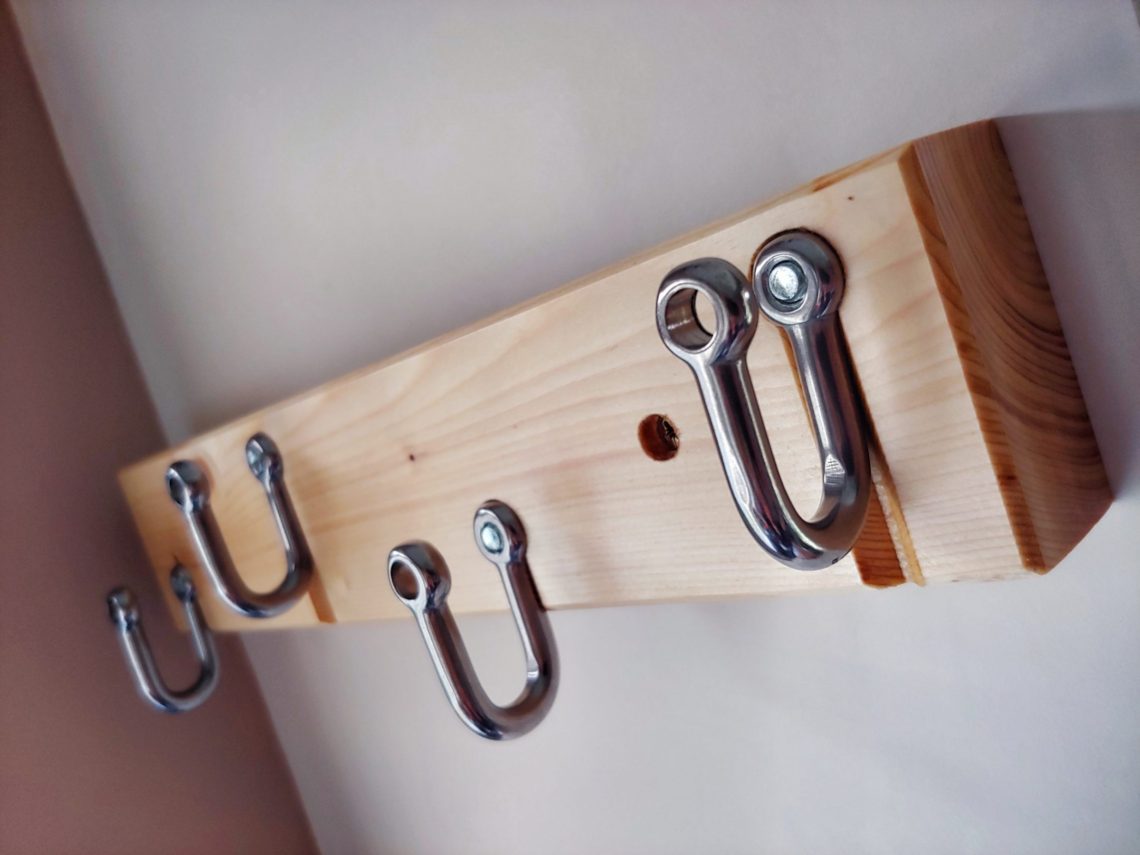
Shackle jacket rack
It is built to only hang 4 working clothes: a jacket, trousers, a hoodie and a T-shirt. Scrap wood and old but never used shackles were used for this project. For some reason the original shackle pin was smaller than the M8 bolt, it was 7.3 mm in diameter whereas the bolt was 7.7 mm. Not a big problem, I cut another thread in no time. Once that was done I set my portable drill stand and drilled some holes with a Forstner bit and then with a regular bit. Each shackle will be held by just one bolt and…
-
Display frame shelf
This shelf can be called a 3D picture frame, picture frame shelf, picture shadow box shelf etc, etc… In my case finding the right name is even more confusing as this one was built like a drawer. Anyway, I started the build by cutting the board to a rough size. I made a temporary fence and clamped it down with two clamps, one of them on the opposite side, but that was still OK as the working pieces were quite small. That layout helped to stabilize the fence. It took me ages to set the right fence position and the…
-
5-hole wooden vent cover
The main challenge to design and build this one was its shape and its function. It had to cover a not-so-square hole and there had to be 2 cables going through the board with their large, UK plugs. I built it square and simple (unlike the hole beneath it). I didn’t use my table saw in that project, just a circular saw and a speed square. The board had the right width, so it was easy to get started. Once cut to size I drilled holes and gave them a sanding. I used my router with a round-over bit to…
-
Circular saw jig
It’s made of OSB, steel and spruce timber. Simple and stiff construction, ideal for cutting long pieces of timber such as skirting boards. Cutting at 2 angles: 45 and 90º made easy. (The post Improved circular saw jig can be found here) The first thing to do was to trim the board to length. It was an easy job for my recently bought circular saw. 4 supporting pieces I cut on my table saw as they were too small for any other tool. The steel corner I bought had to be cut in half, but that was the easy part.…