
Bandit
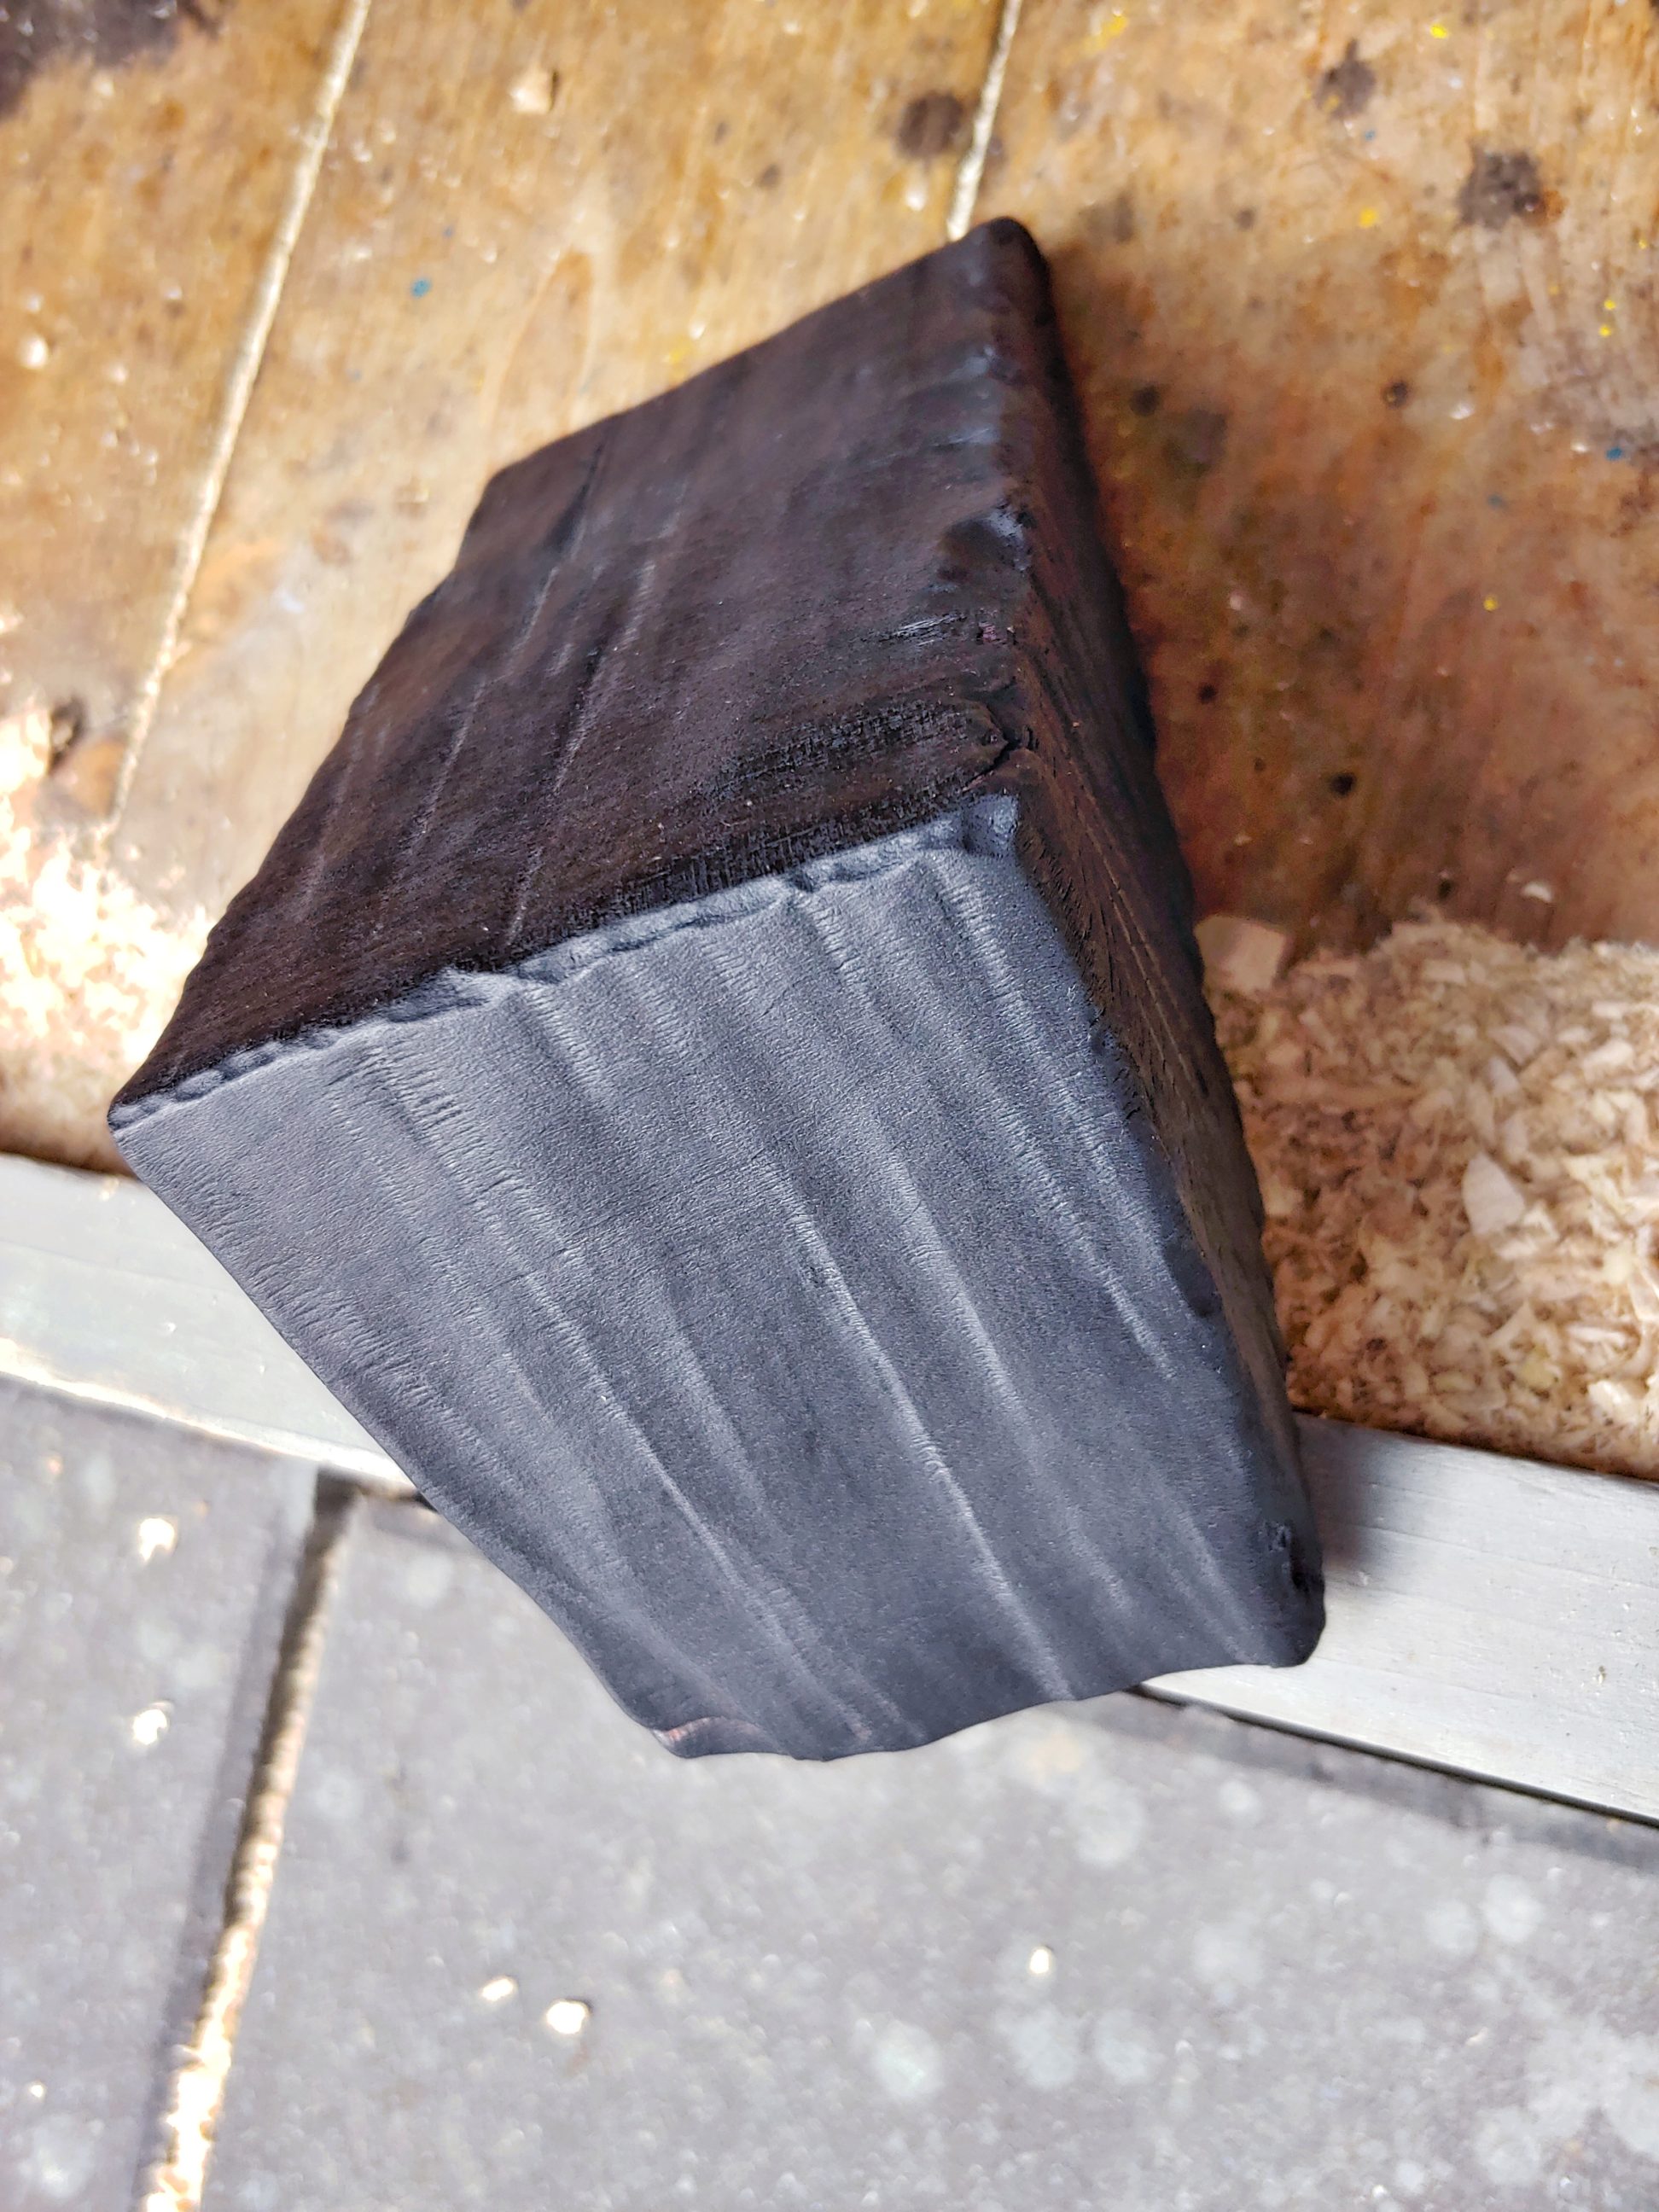
This was the last job for my chain saw as it was sold the very next day. Initially, I was trying to use a reciprocating saw to make these cuts, but eventually, the tool of choice was something more violent, something that leaves deeper saw marks. Cutting and carving at the same time. I made a few straight cuts with and across the grain to get the shape I wanted.


To add some character to the end grain sides I made a series of shallow cuts, more like carving with a chain saw.

Next, I burnt the wood with a blowtorch, gave it some brushing and applied teak oil … a lot of teak oil. Especially the end grain was really thirsty. That stabilised the wood and the burnt layer, further processing was easier and less messy.


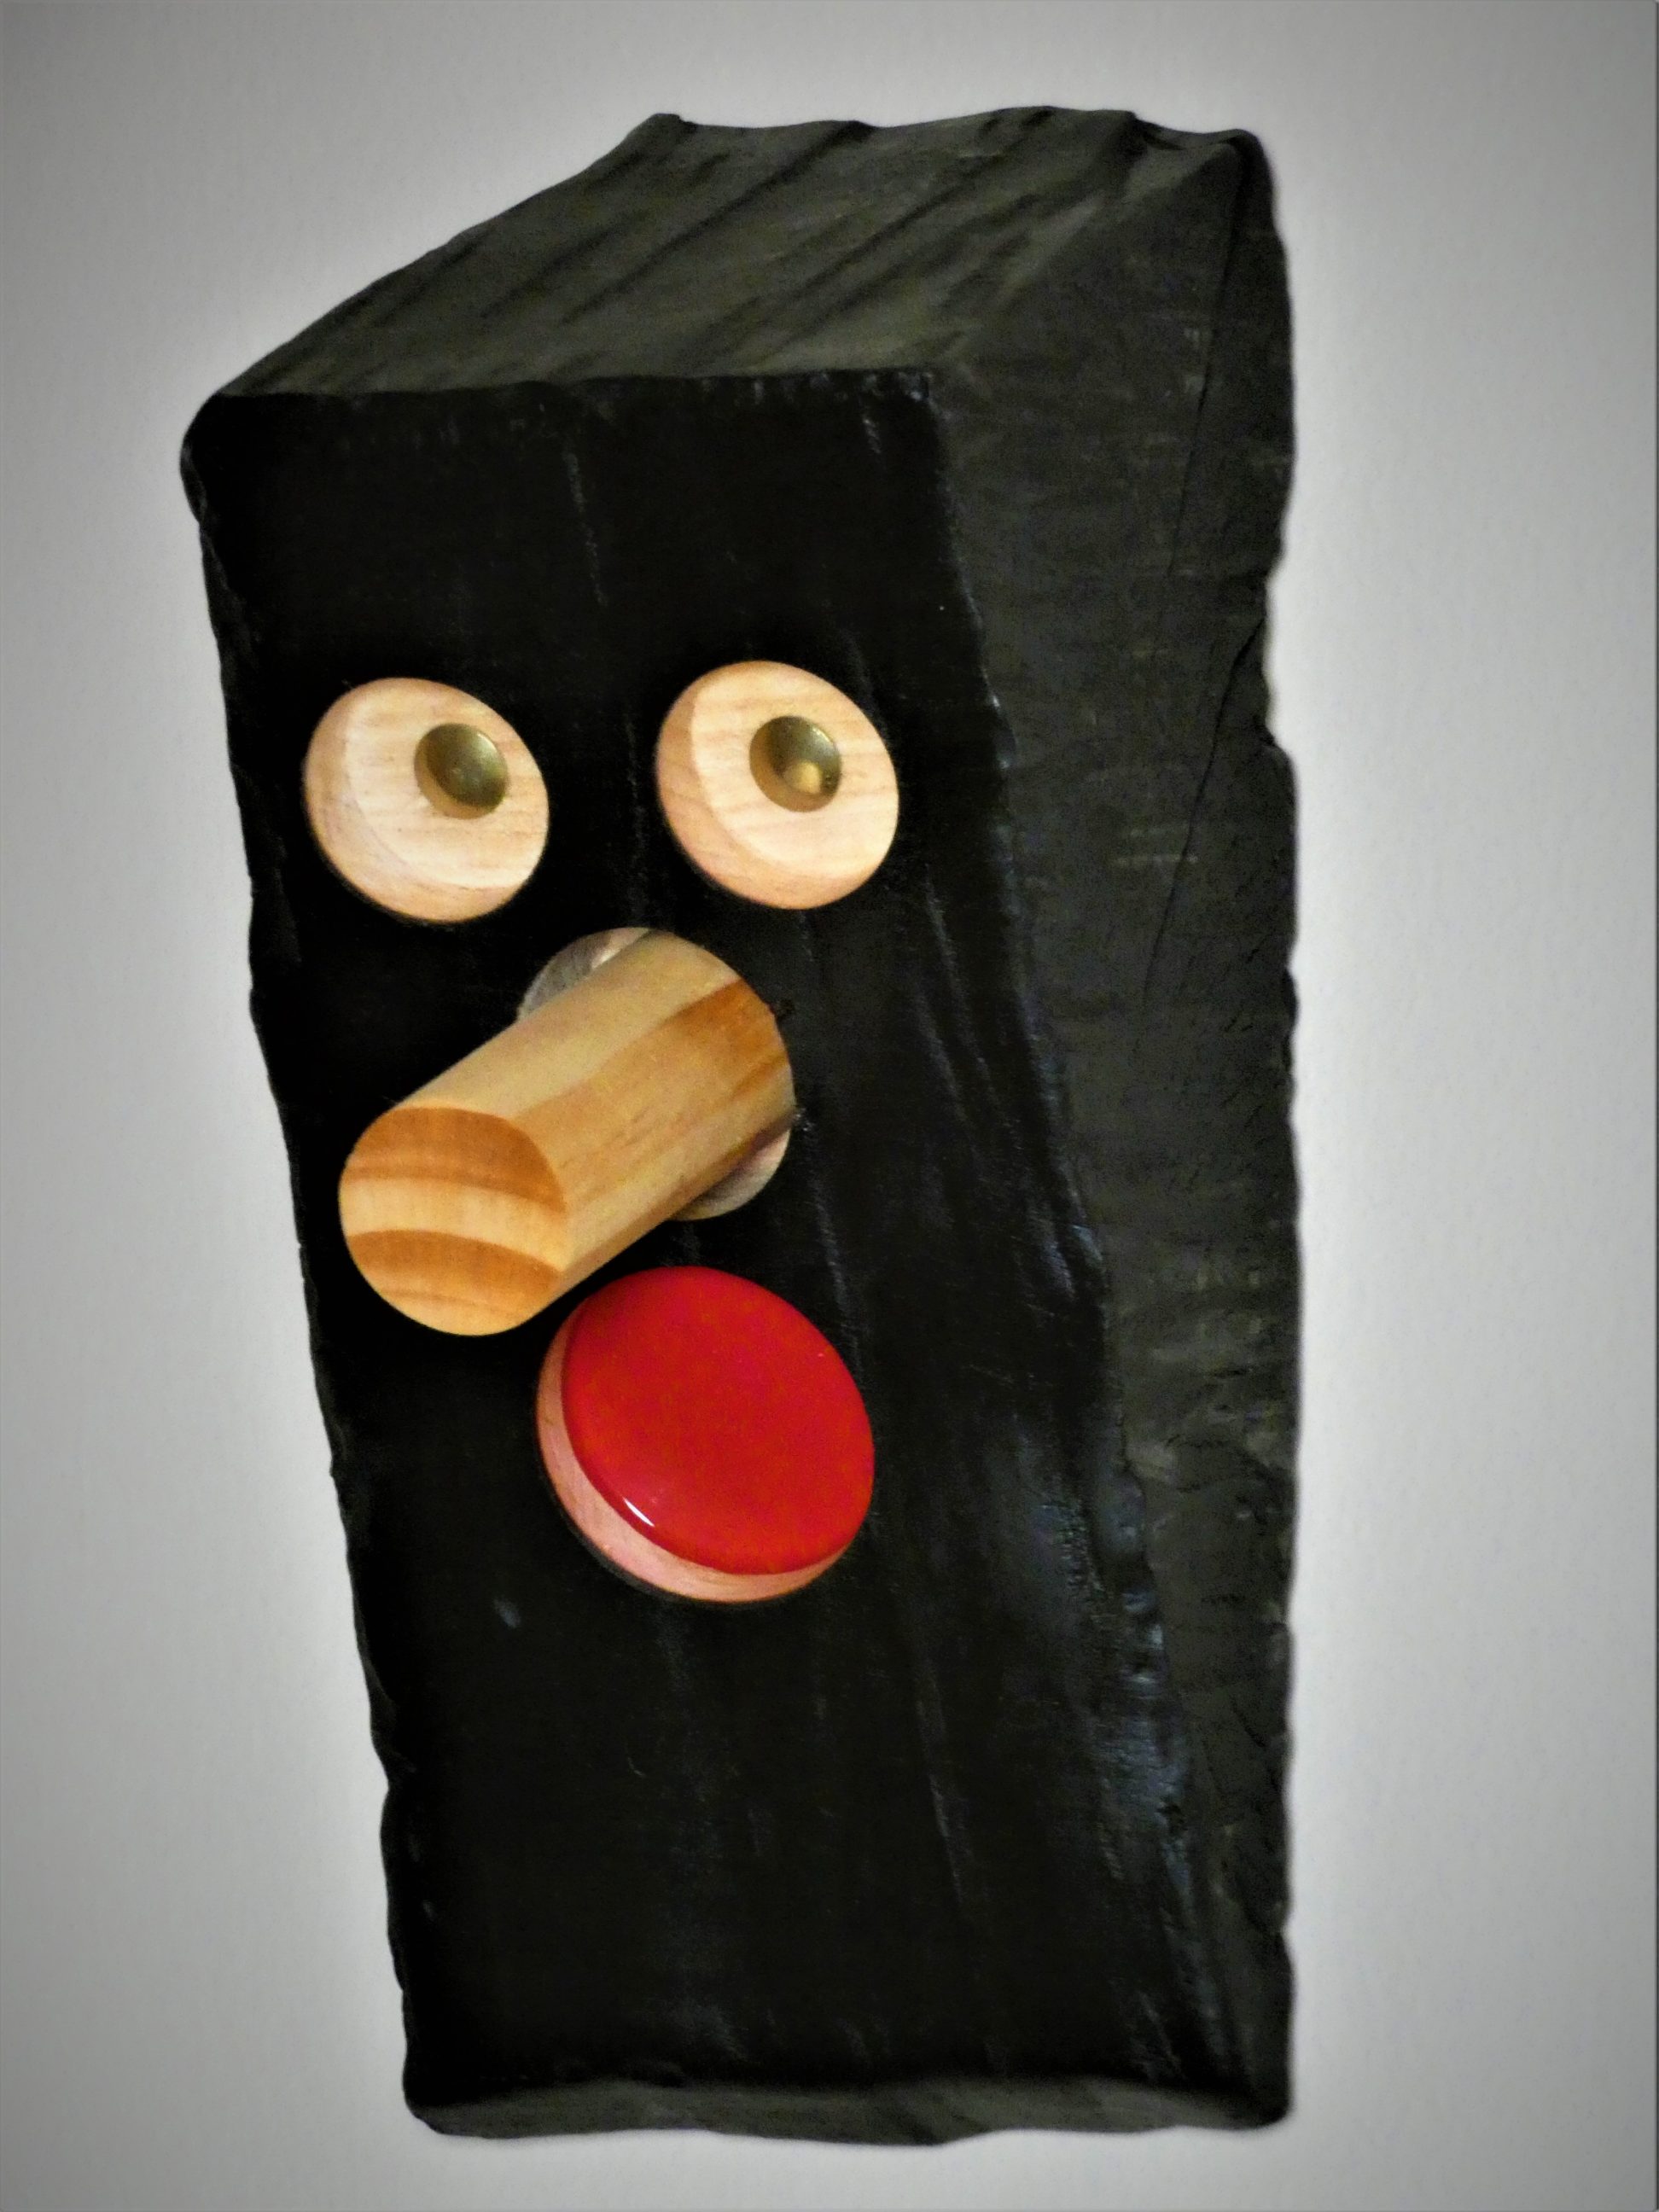
I drilled holes for the eyes, nose and the hanging plate. I also installed the feet. Only two – 25 and 35 mm Forstner bits were used.


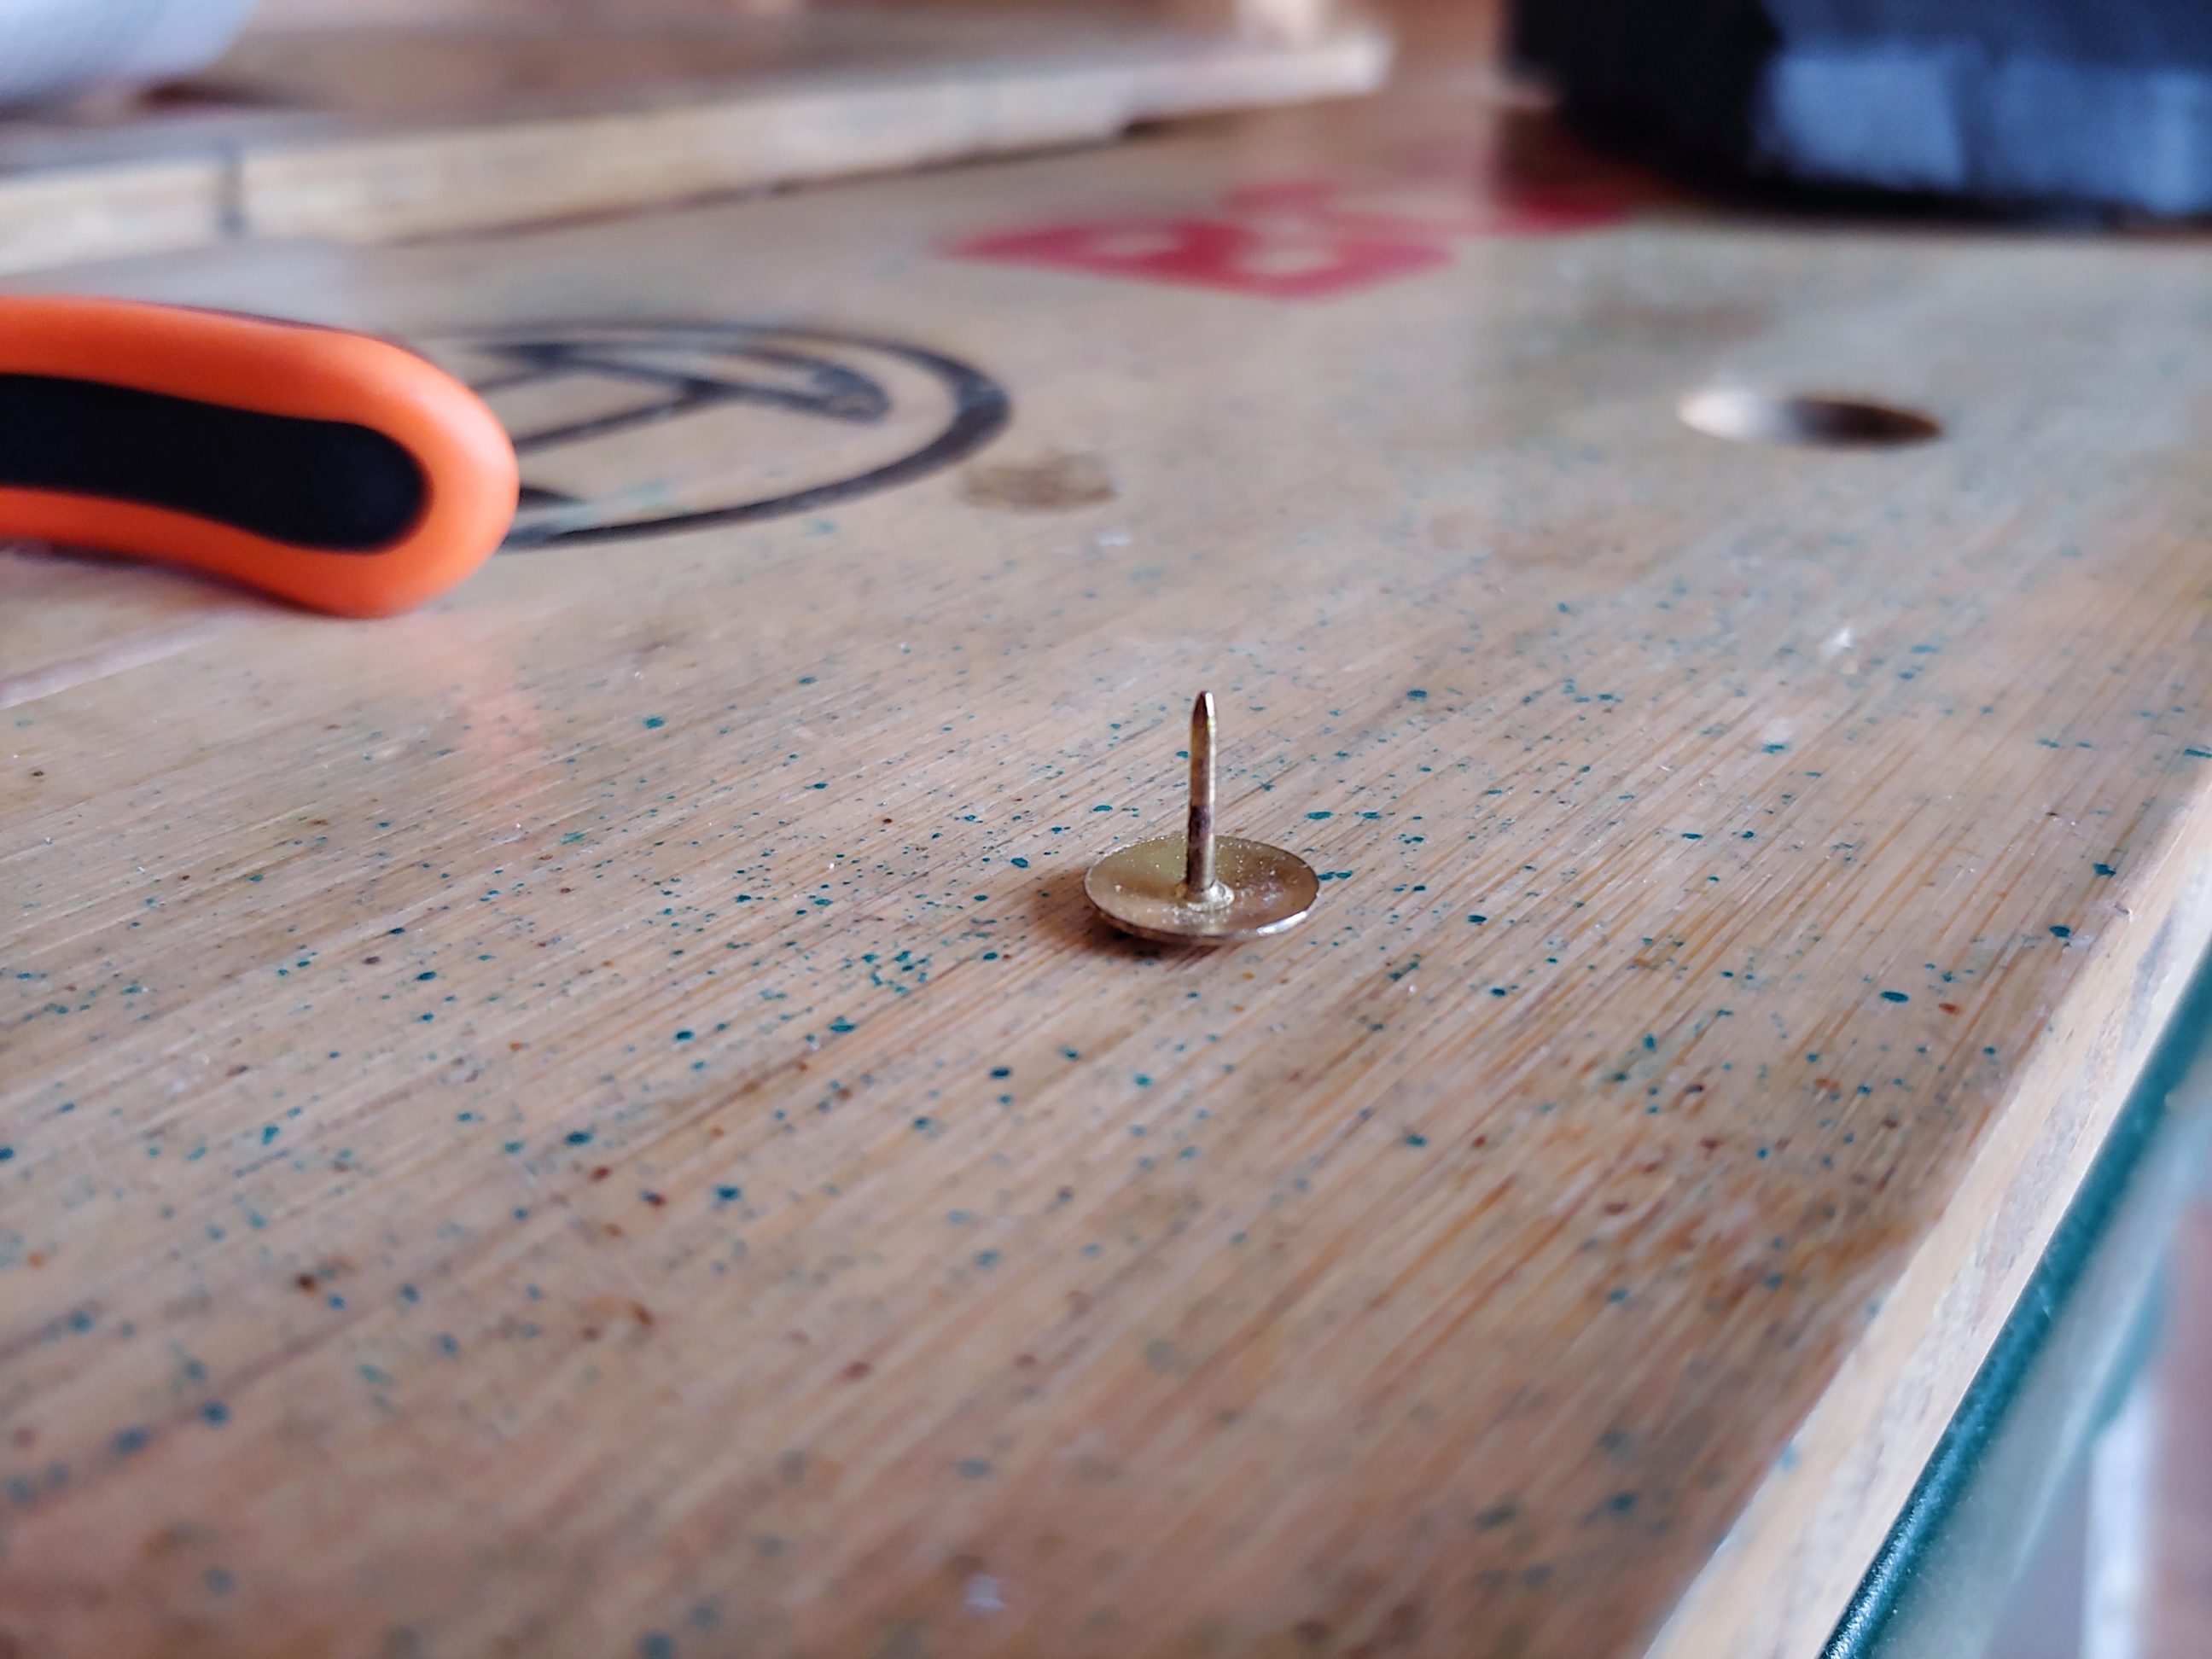
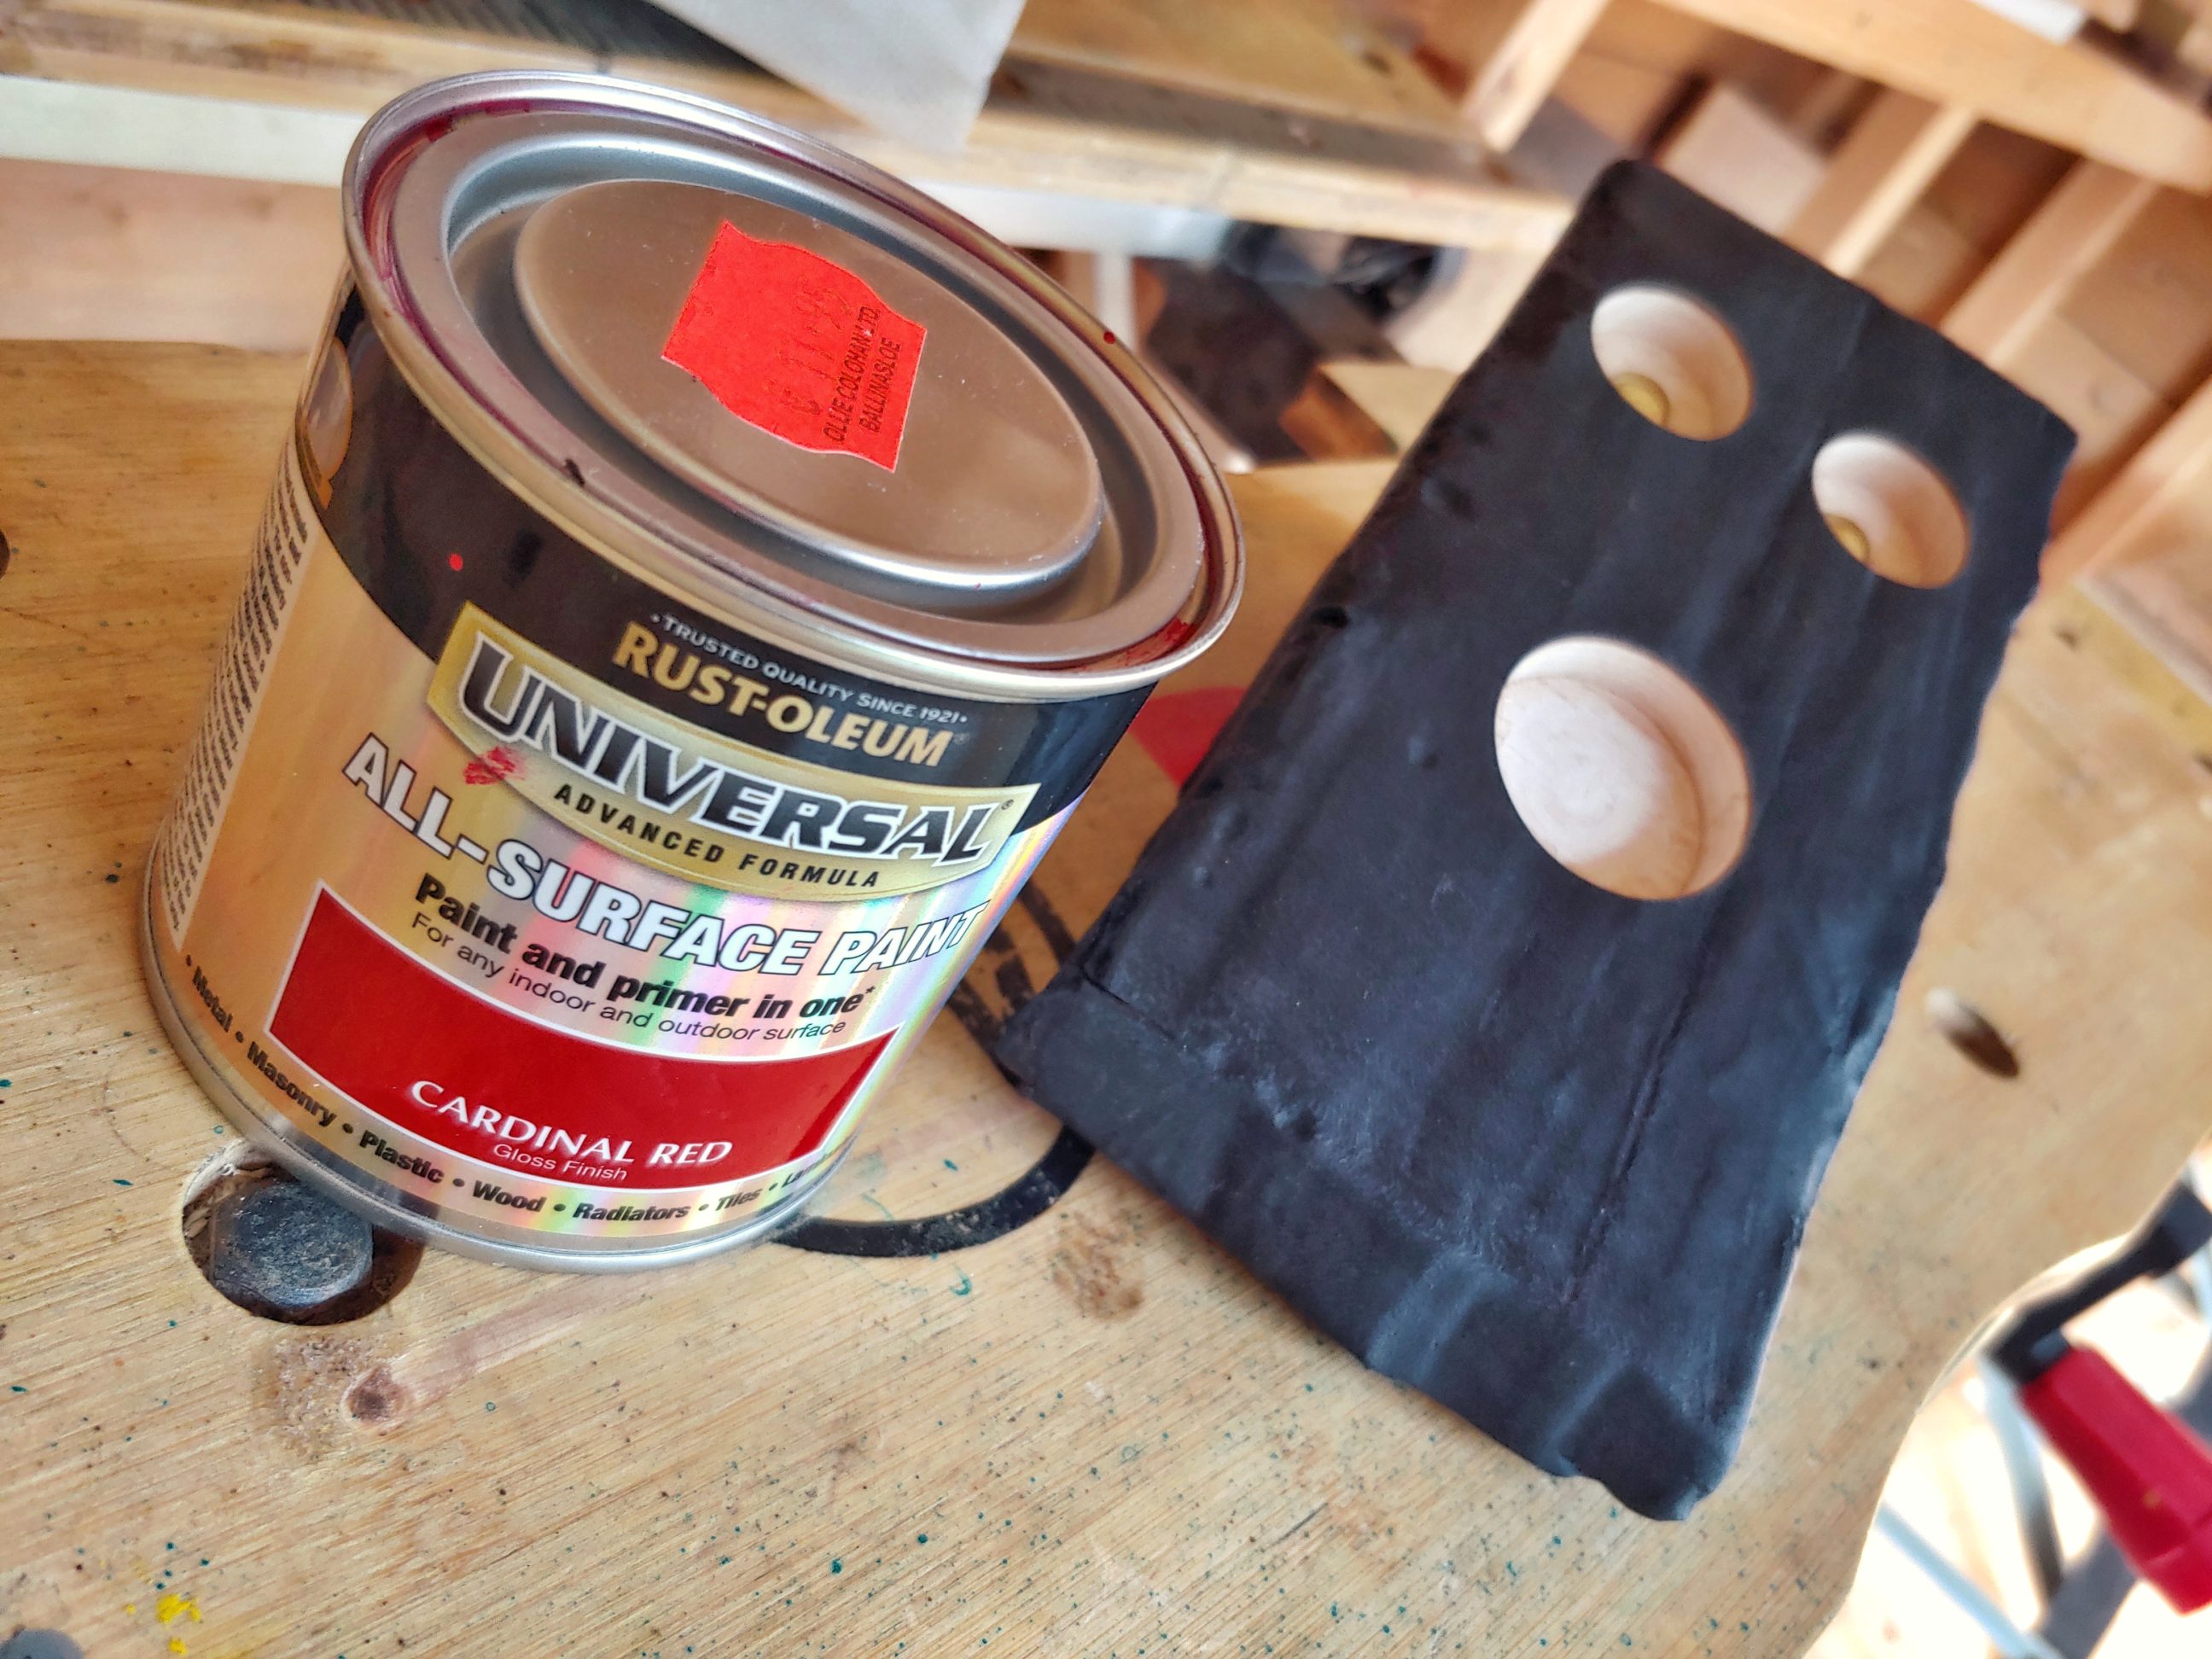
In the eyes, I installed drawing pins/thumbtacks. For the mouth, I used wood filler and paint. The paint wasn’t applied with a brush, just poured in and spread around with a stick.


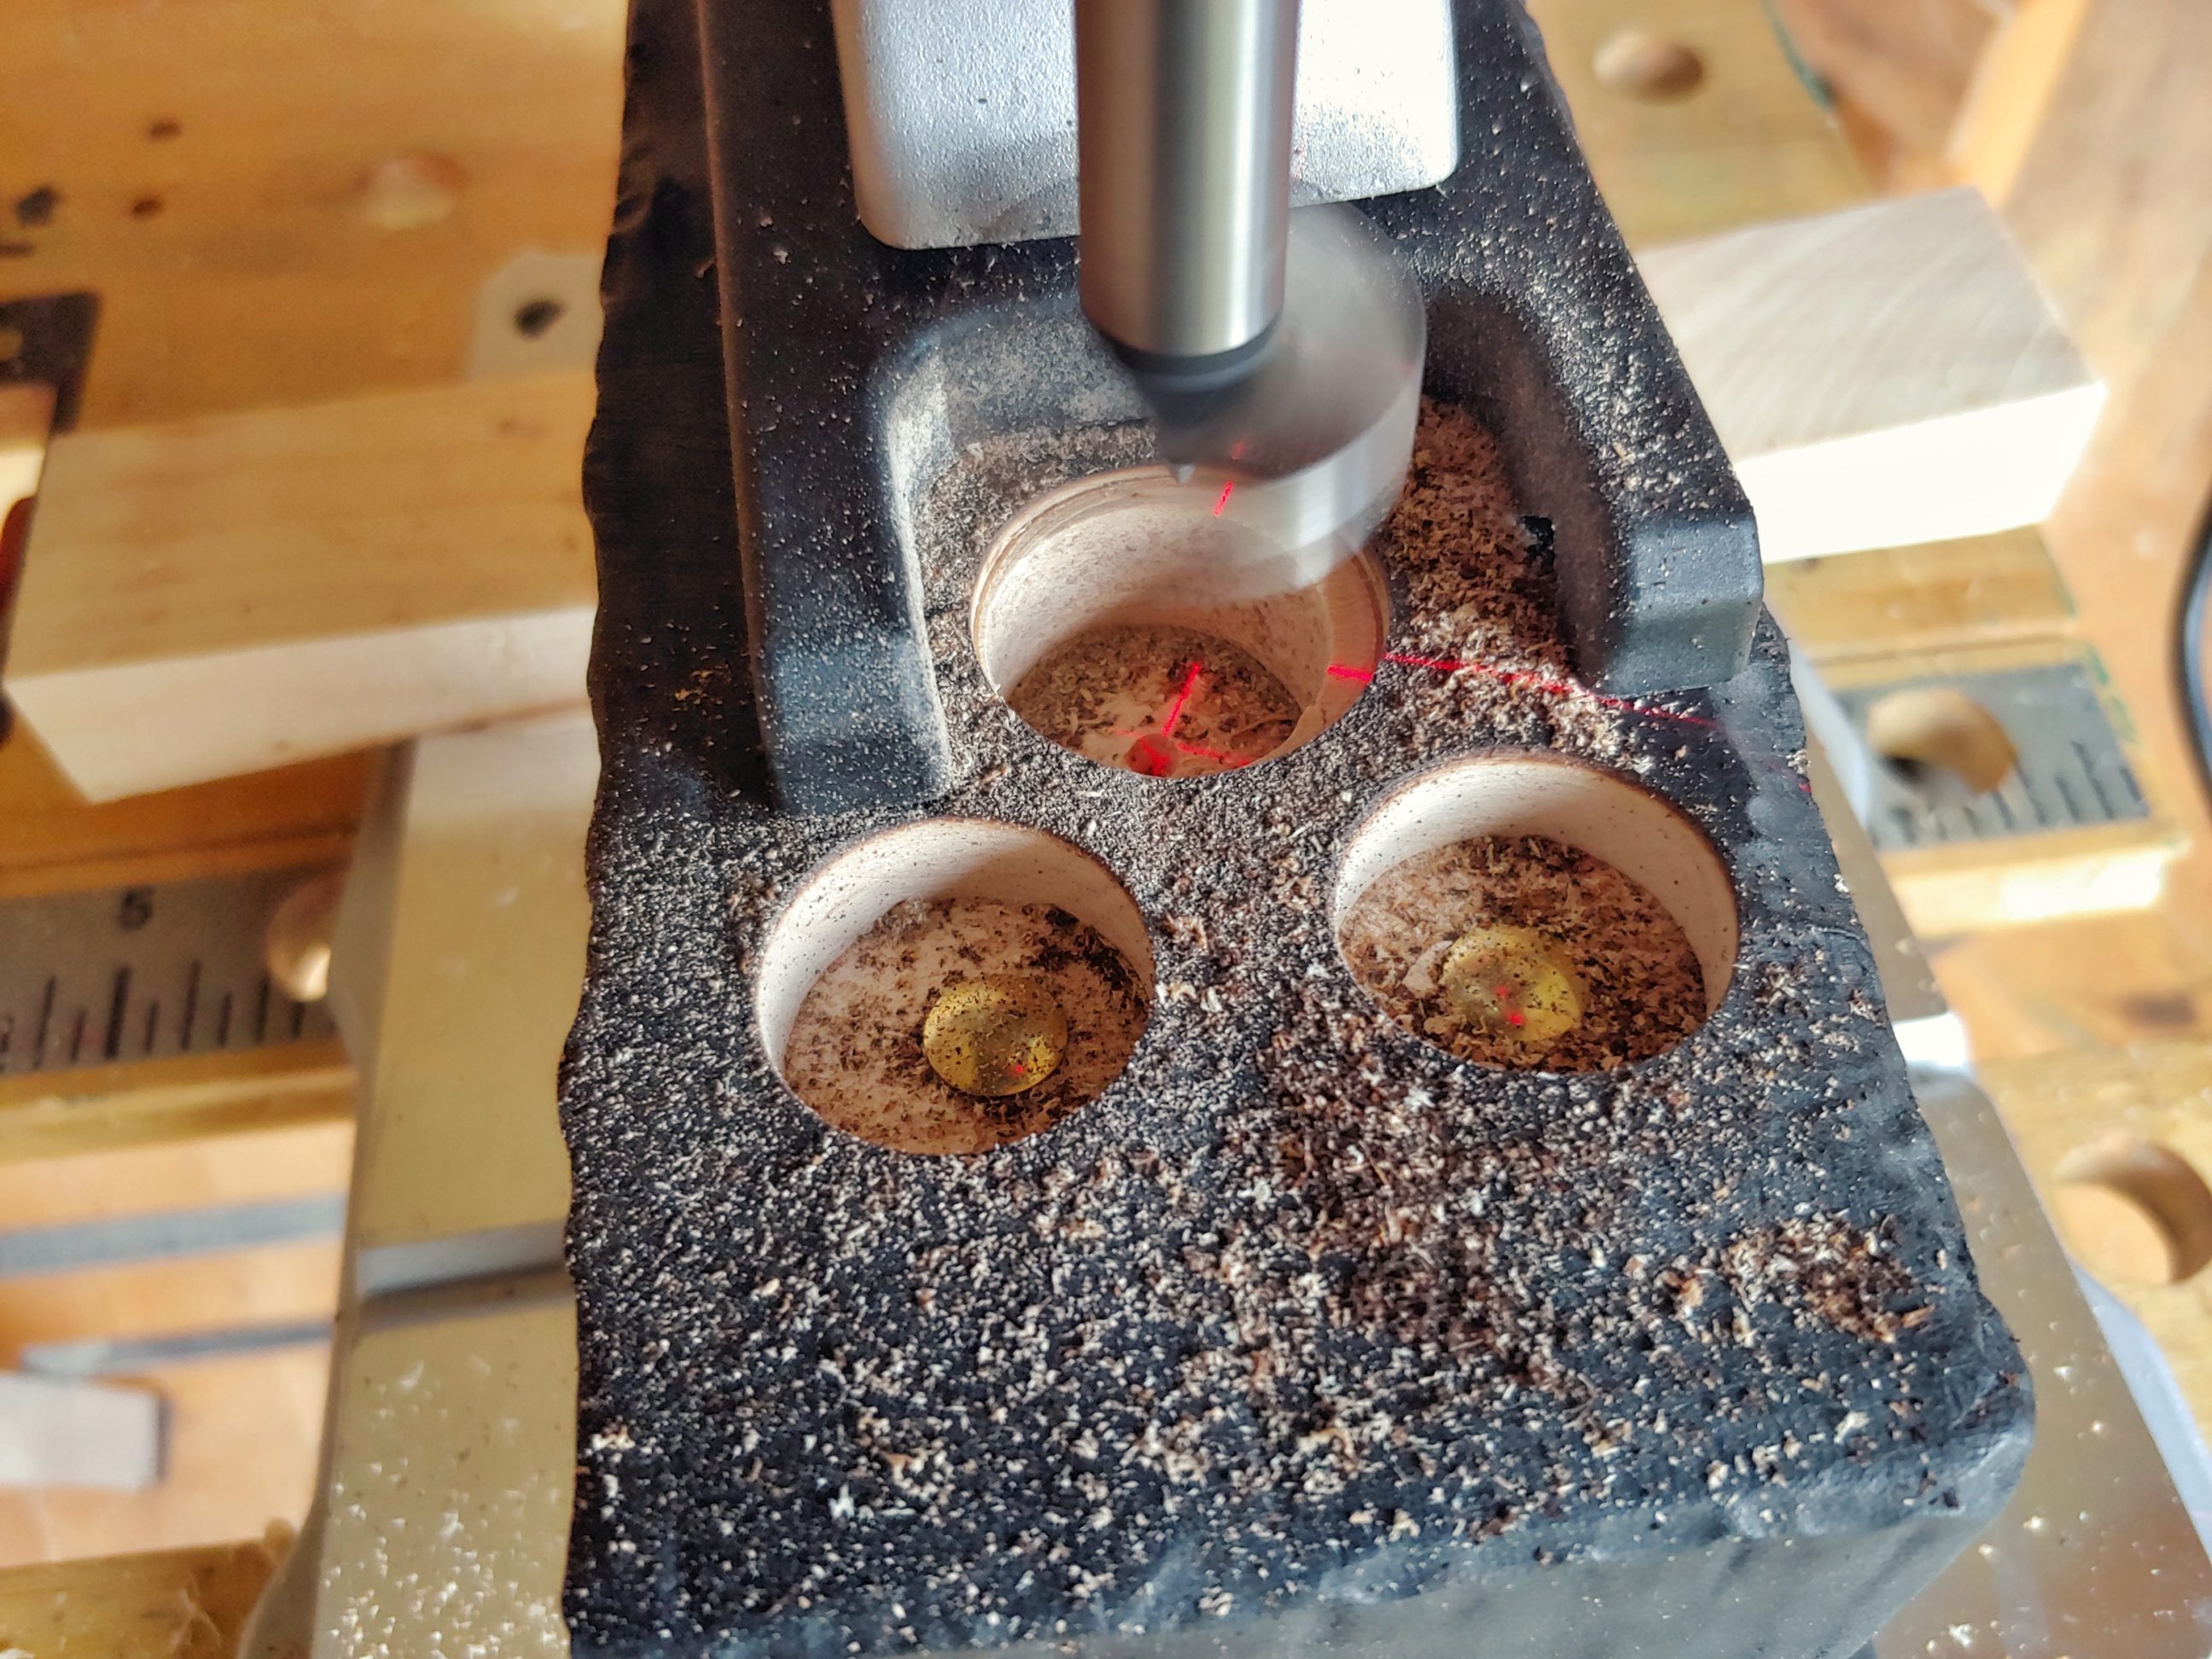
Initially, I was going to make horns with a 24 mm dowel. I ordered an auger drill bit as it seemed to be the best tool for the job, long enough to go through, from side to side and very efficient in removing wood shavings. As I was waiting for the delivery I changed my mind – instead of horns, which would rather look like an animal part, I decided to make a nose. The ordered drill bit was too long for my mini drill press so I had to use it with a handheld drill. And that was the moment of total disaster. A huge mistake was made in a hurry. I installed a 25 mm Forstner bit and used it with my pillar drill. It wasn’t big enough to cover the previous hole and it wasn’t exactly in the centre. I still had a chance to fix it up using an even larger bit – a 30 mm last-chance-bit, carefully centred, double-checked and slowly drilled. Luckily that worked!

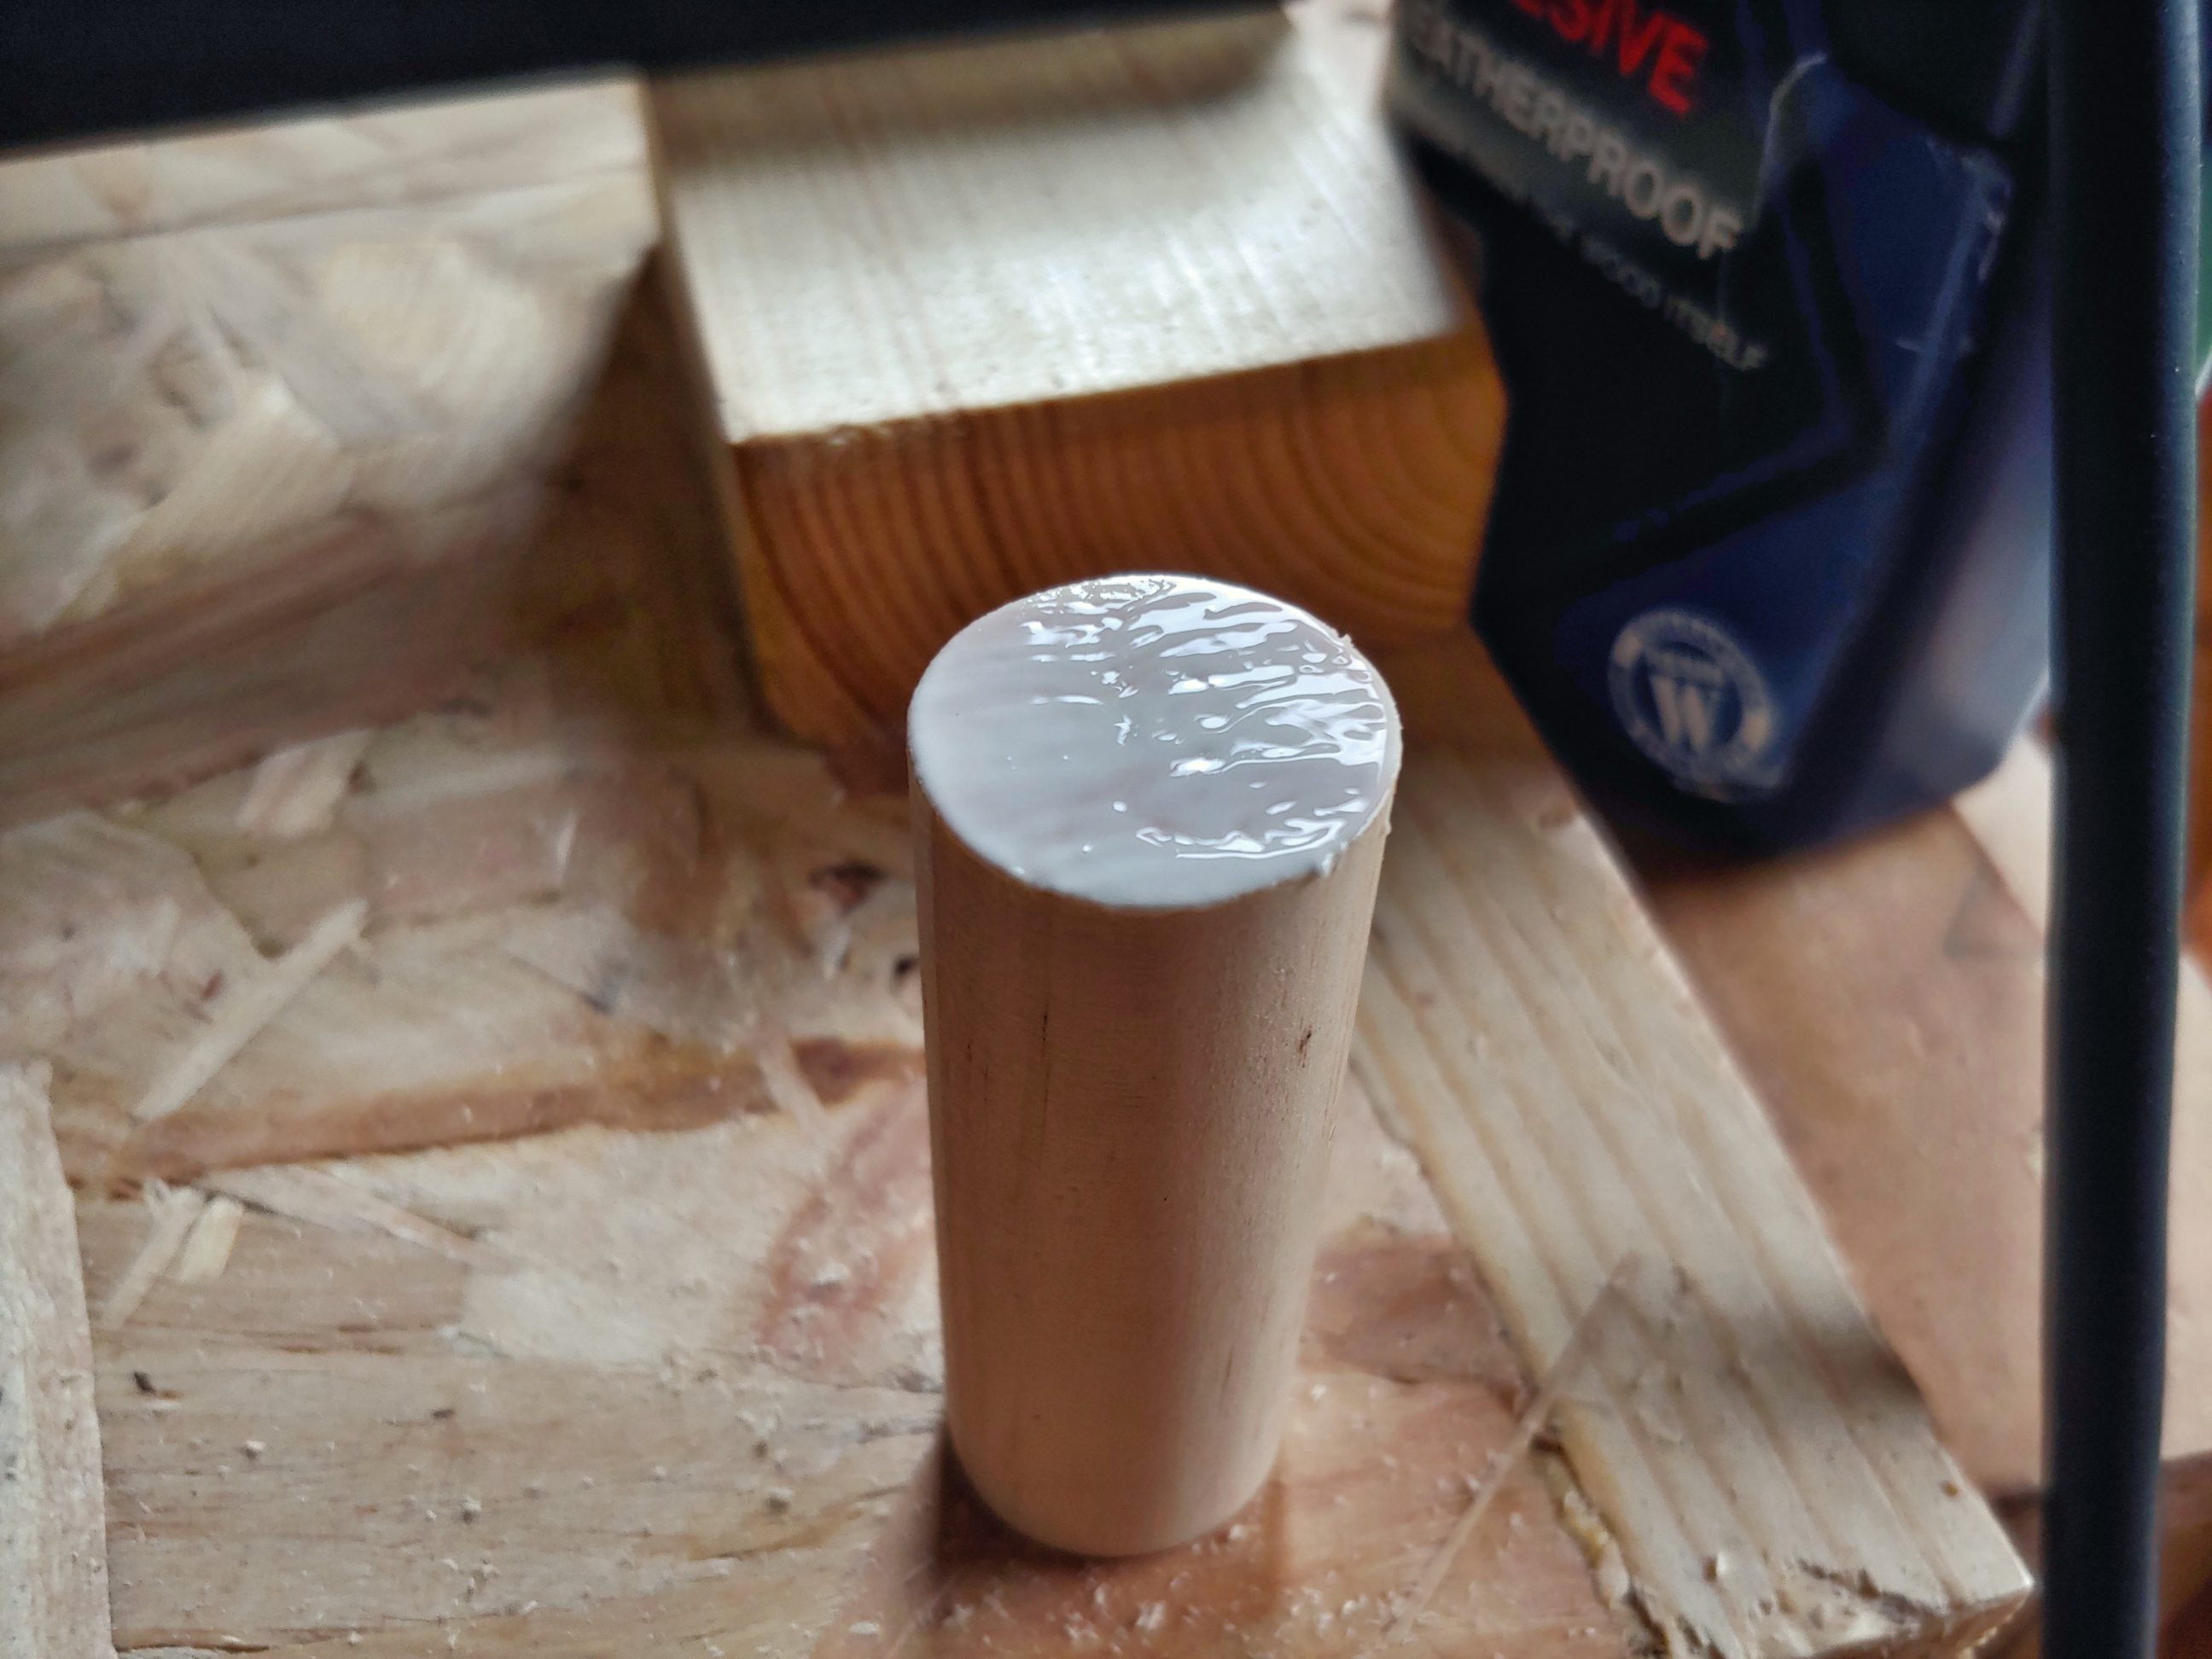
I cut the dowel to size using my circular saw jig, applied some glue and let it sit for about 15 minutes. The end grain was sealed and once it was dry to the touch I used glue again, placed the nose in the hole and let it dry for an hour or two. No clamps were used, I only made sure it was kept upright during that time. Once the glue set I applied teak oil. Unexpectedly, it was super easy to reach everywhere, even inside the nose and it didn’t react with the red paint in the mouth. That was it – I could call it done!


The next day I installed it on the wall. I learned a lot during that project and of course, had some fun! It was built without any plans and the design changed on the go. It started as a battery holder, something with holes looking like Swiss cheese, then a bull skull with horns. Next, it looked like Marsellus Wallace and turned into Bandit! I can hear it scream – Oh no! Run, run, run!


One Comment
Pingback: