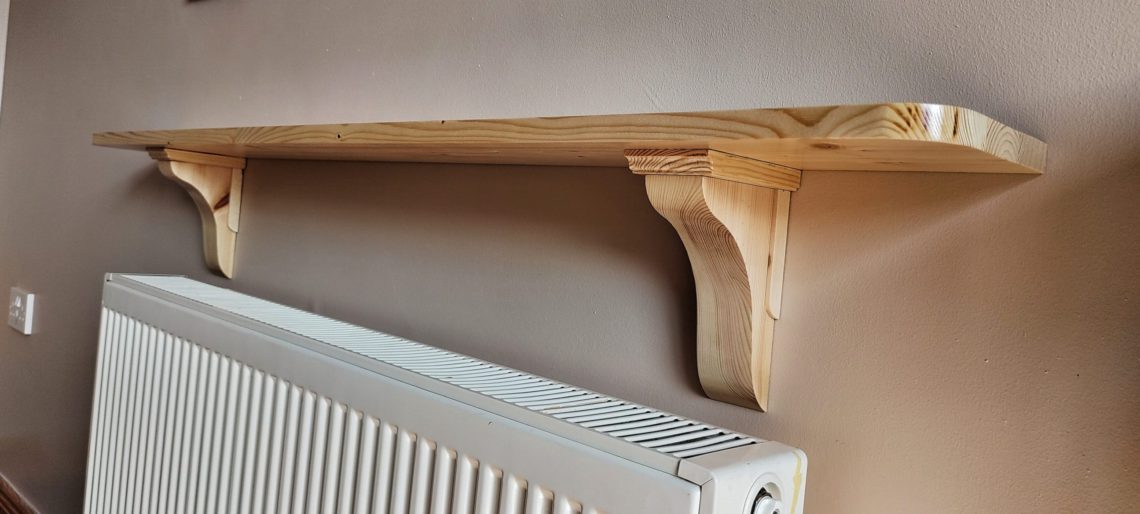
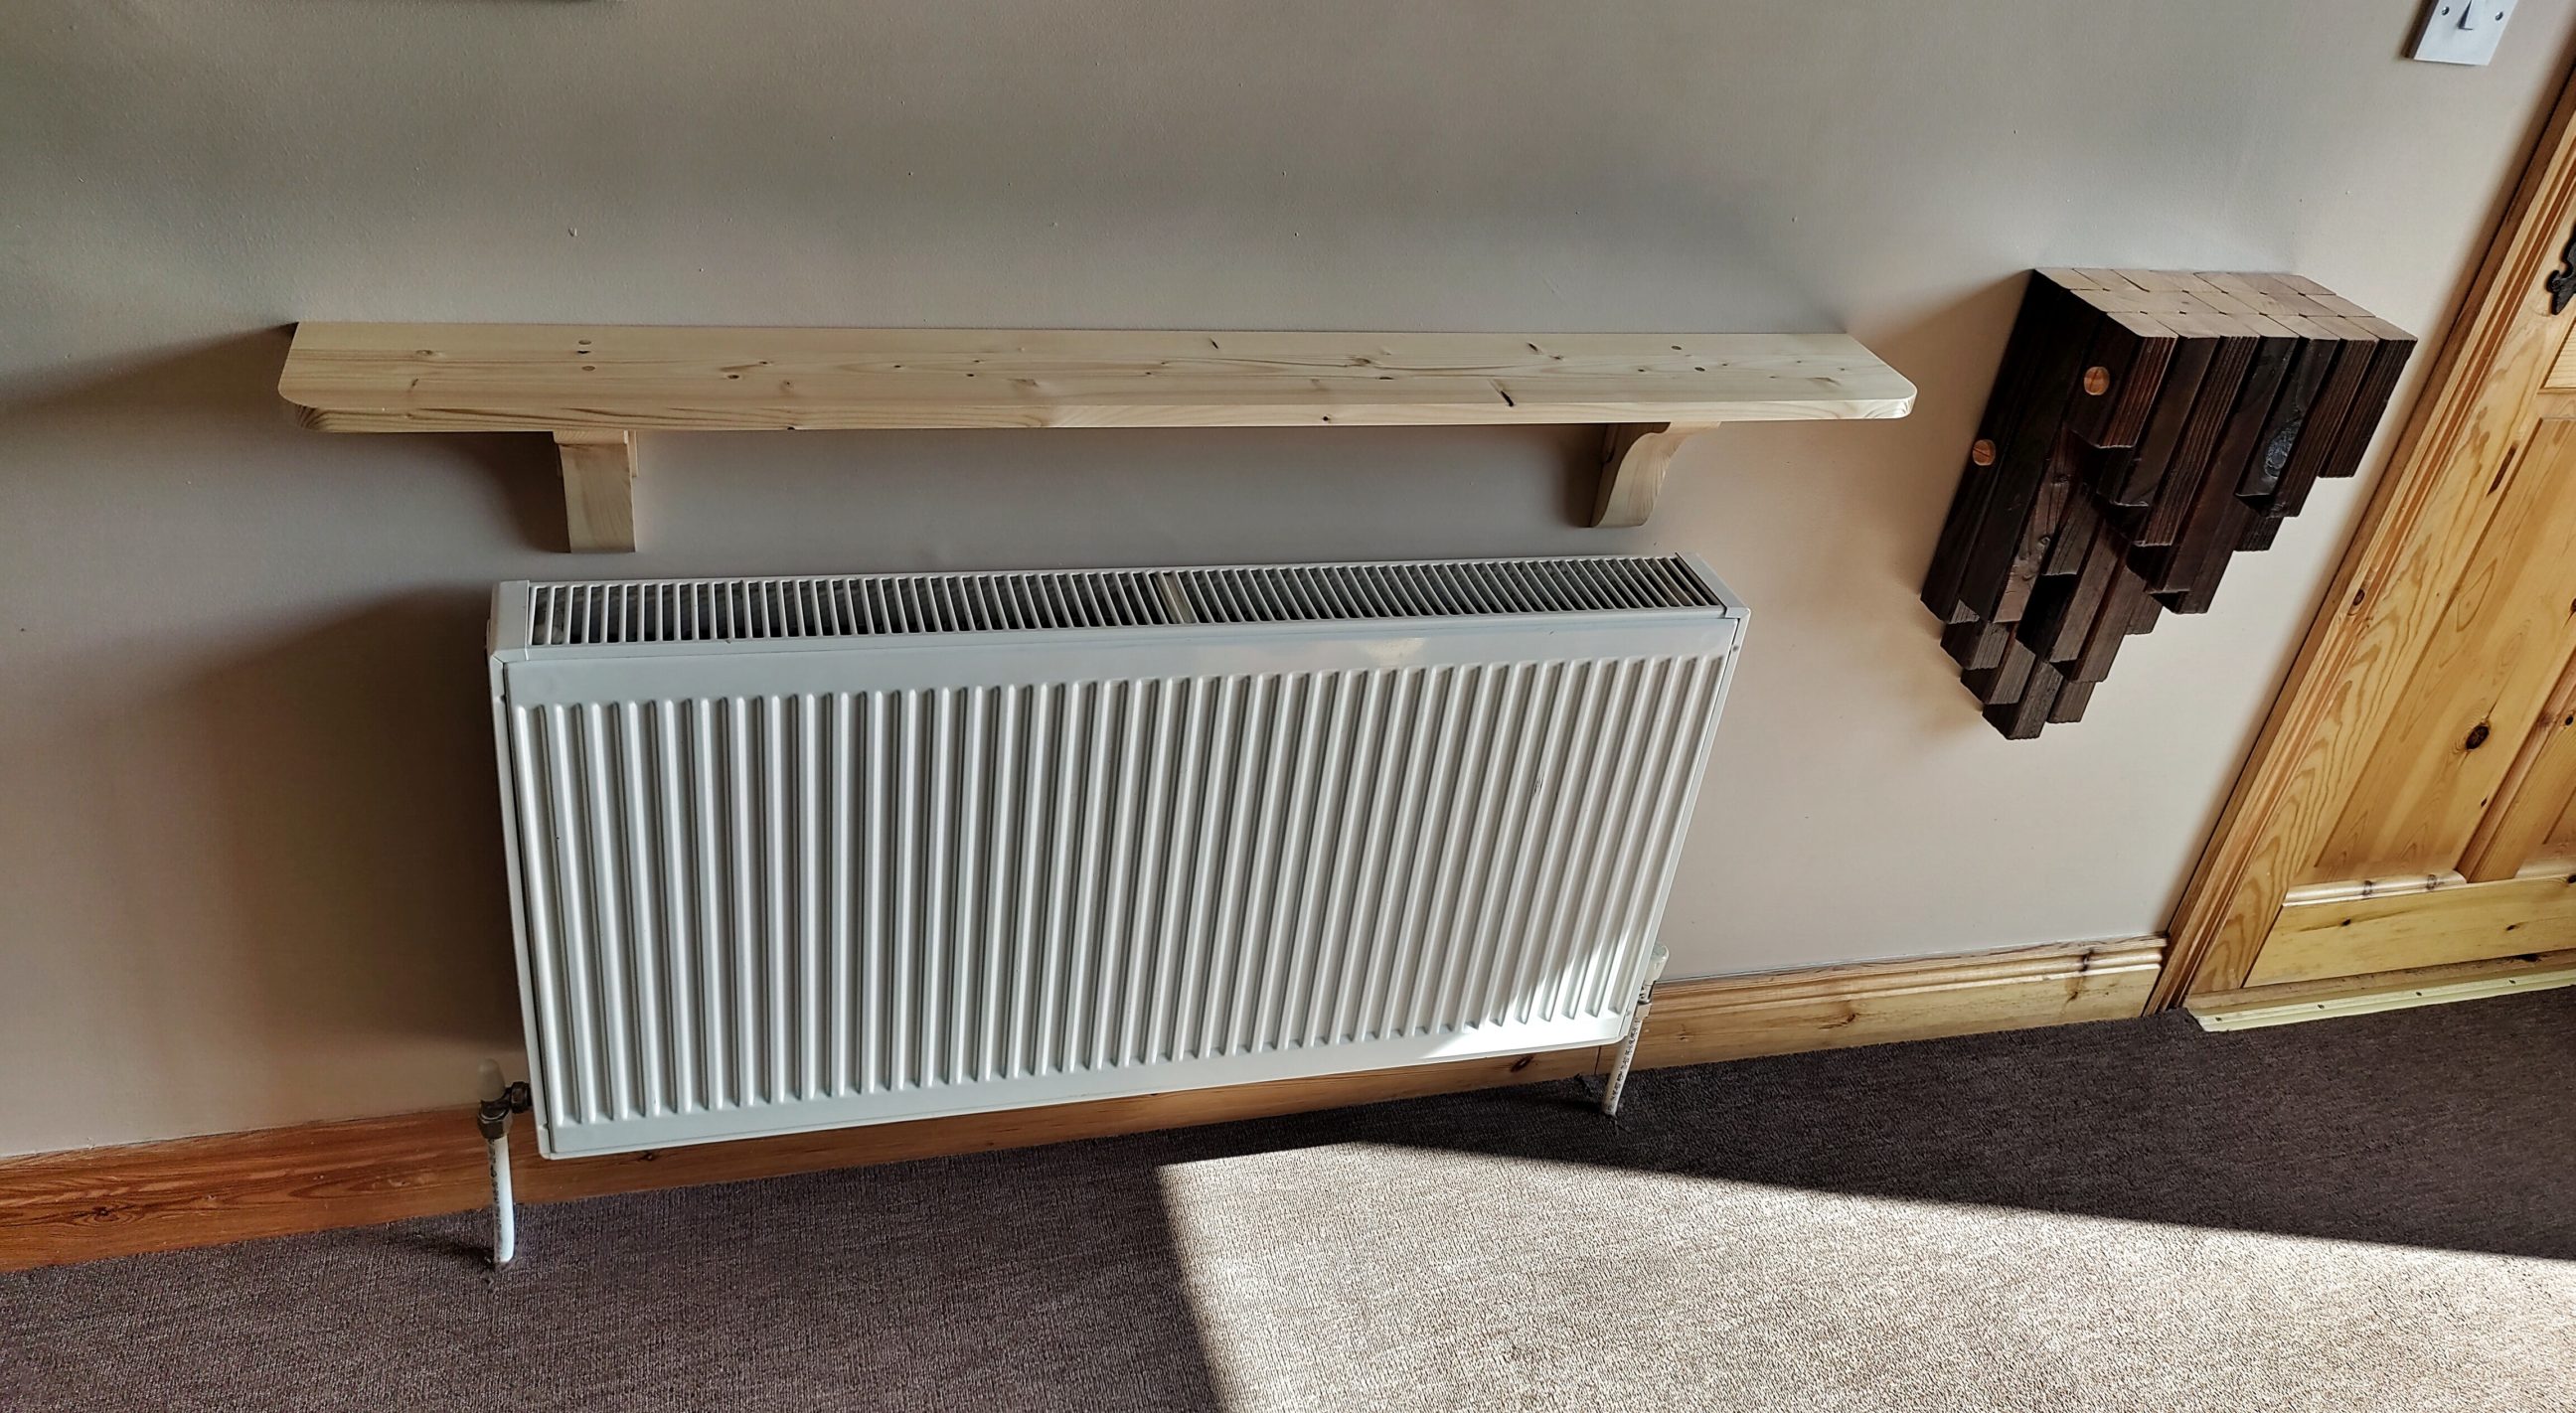
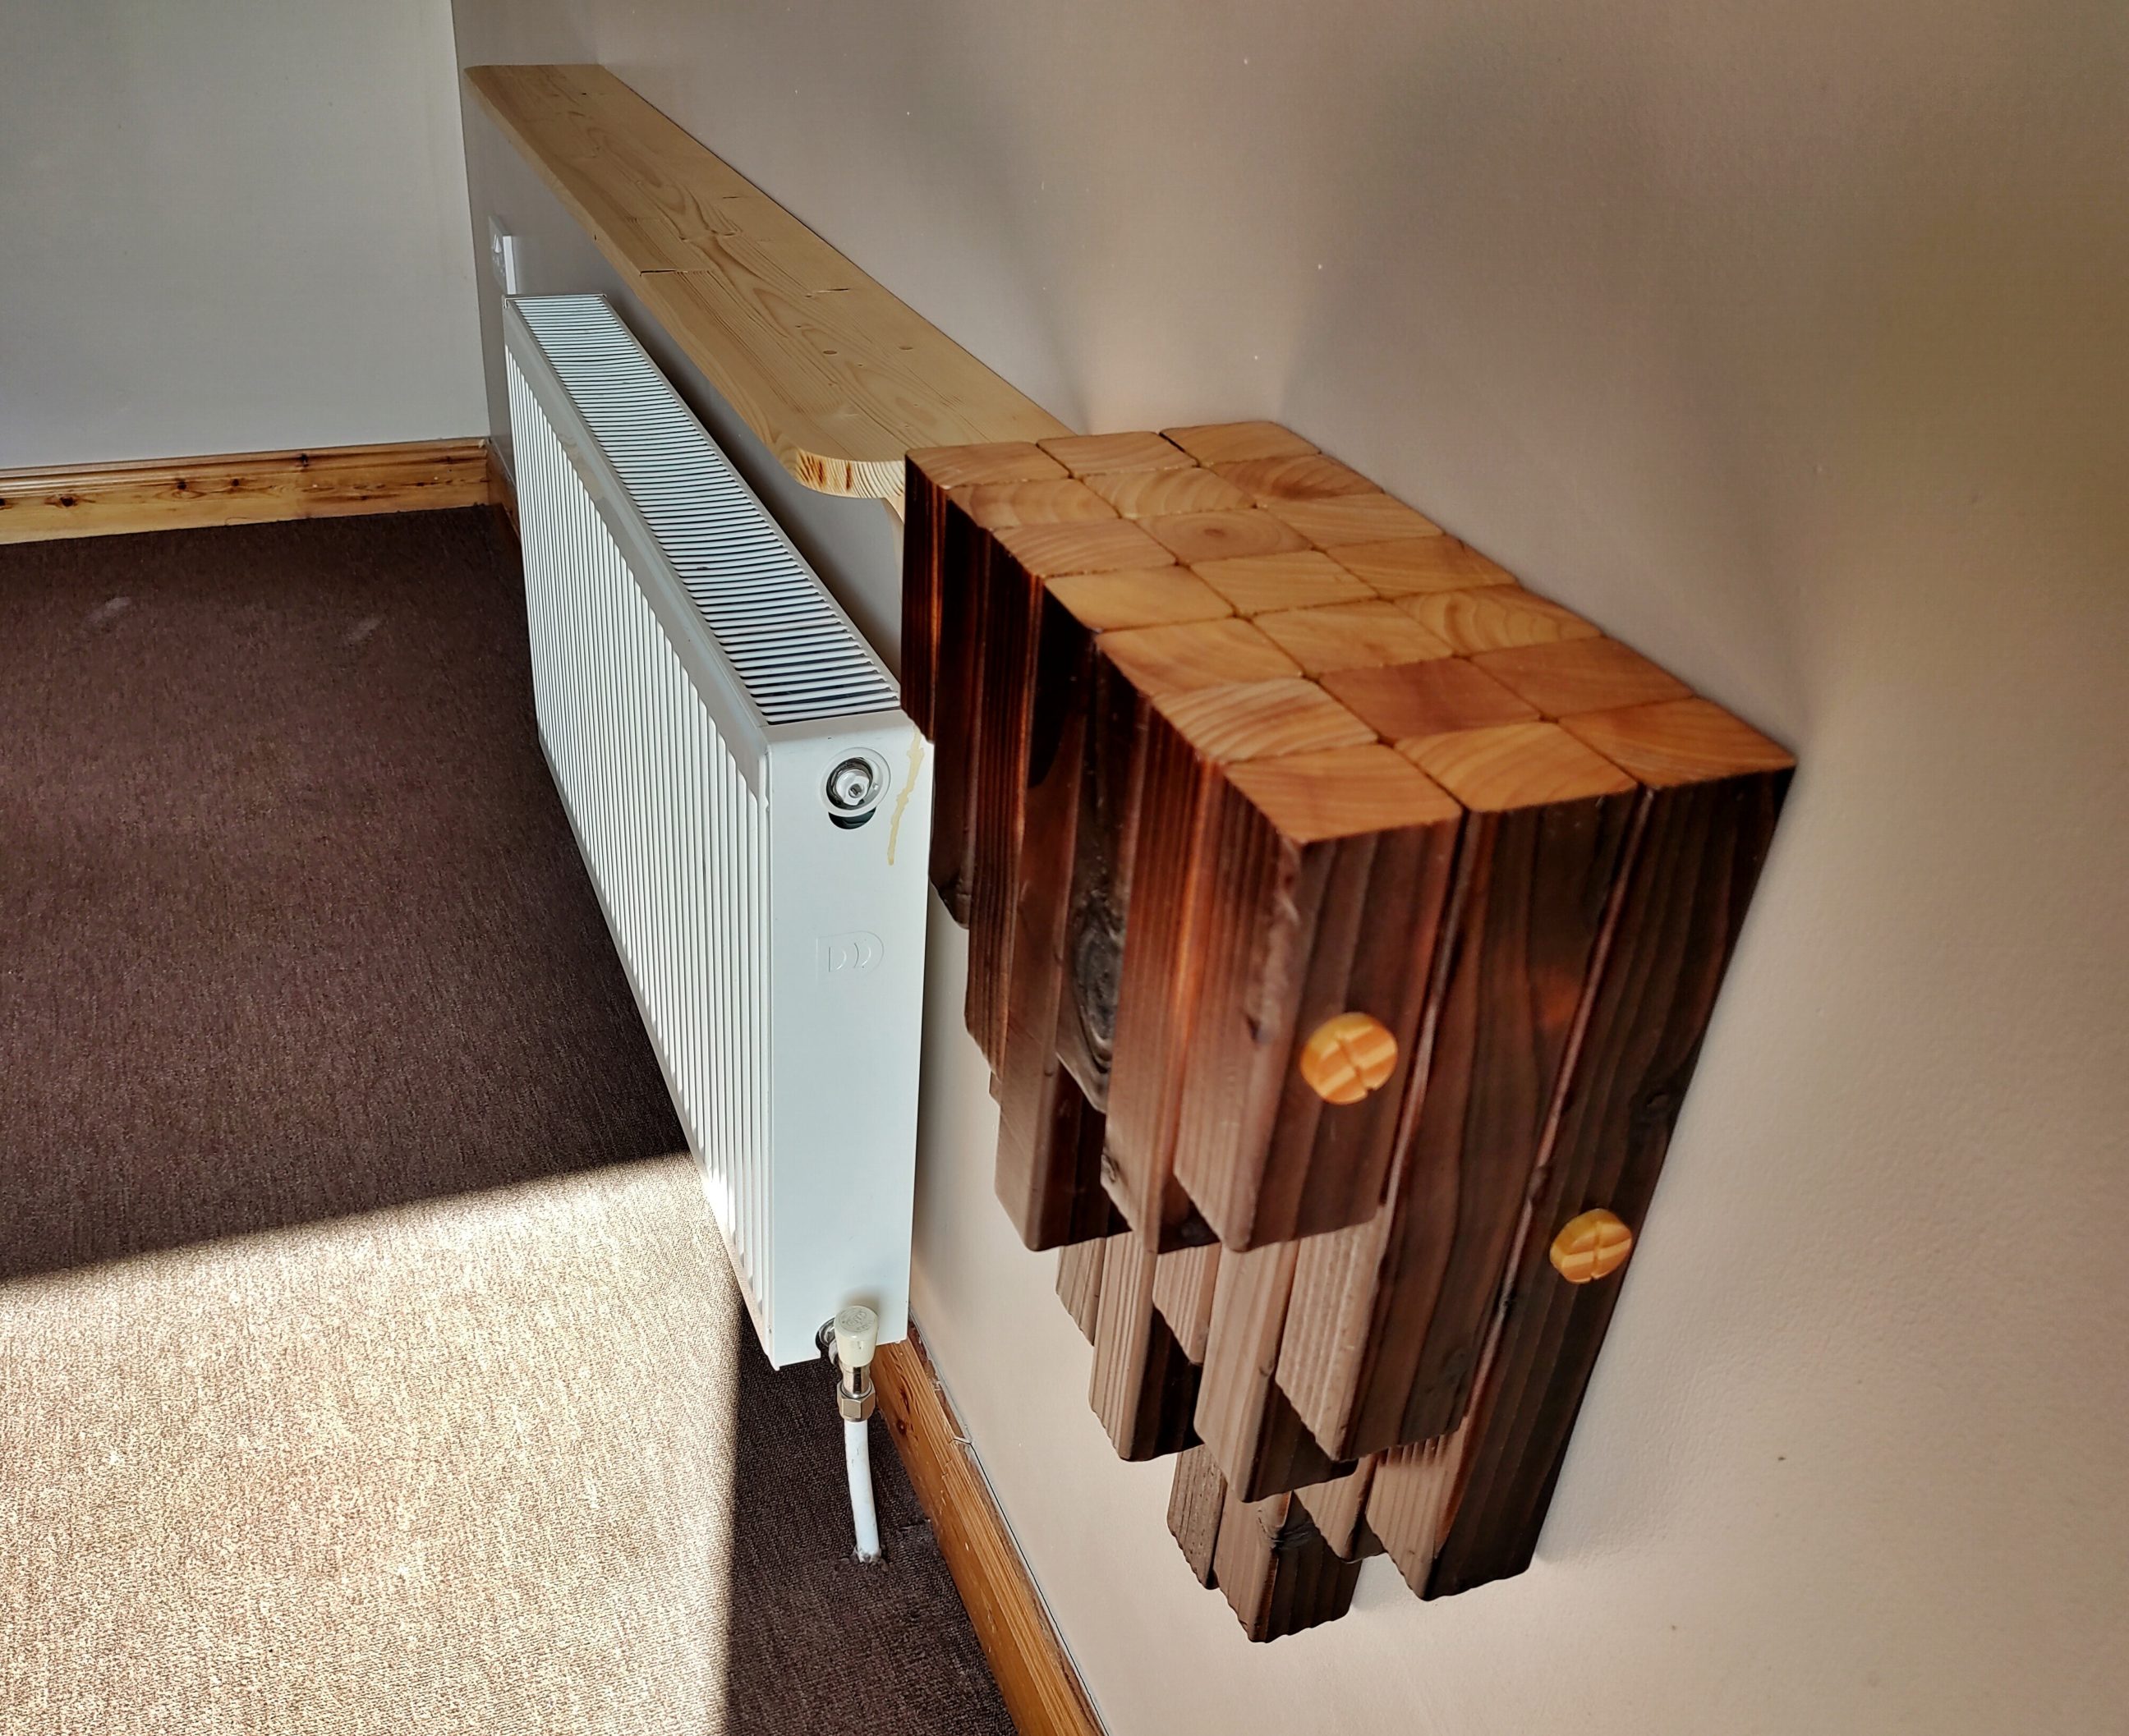
Traditional shelf
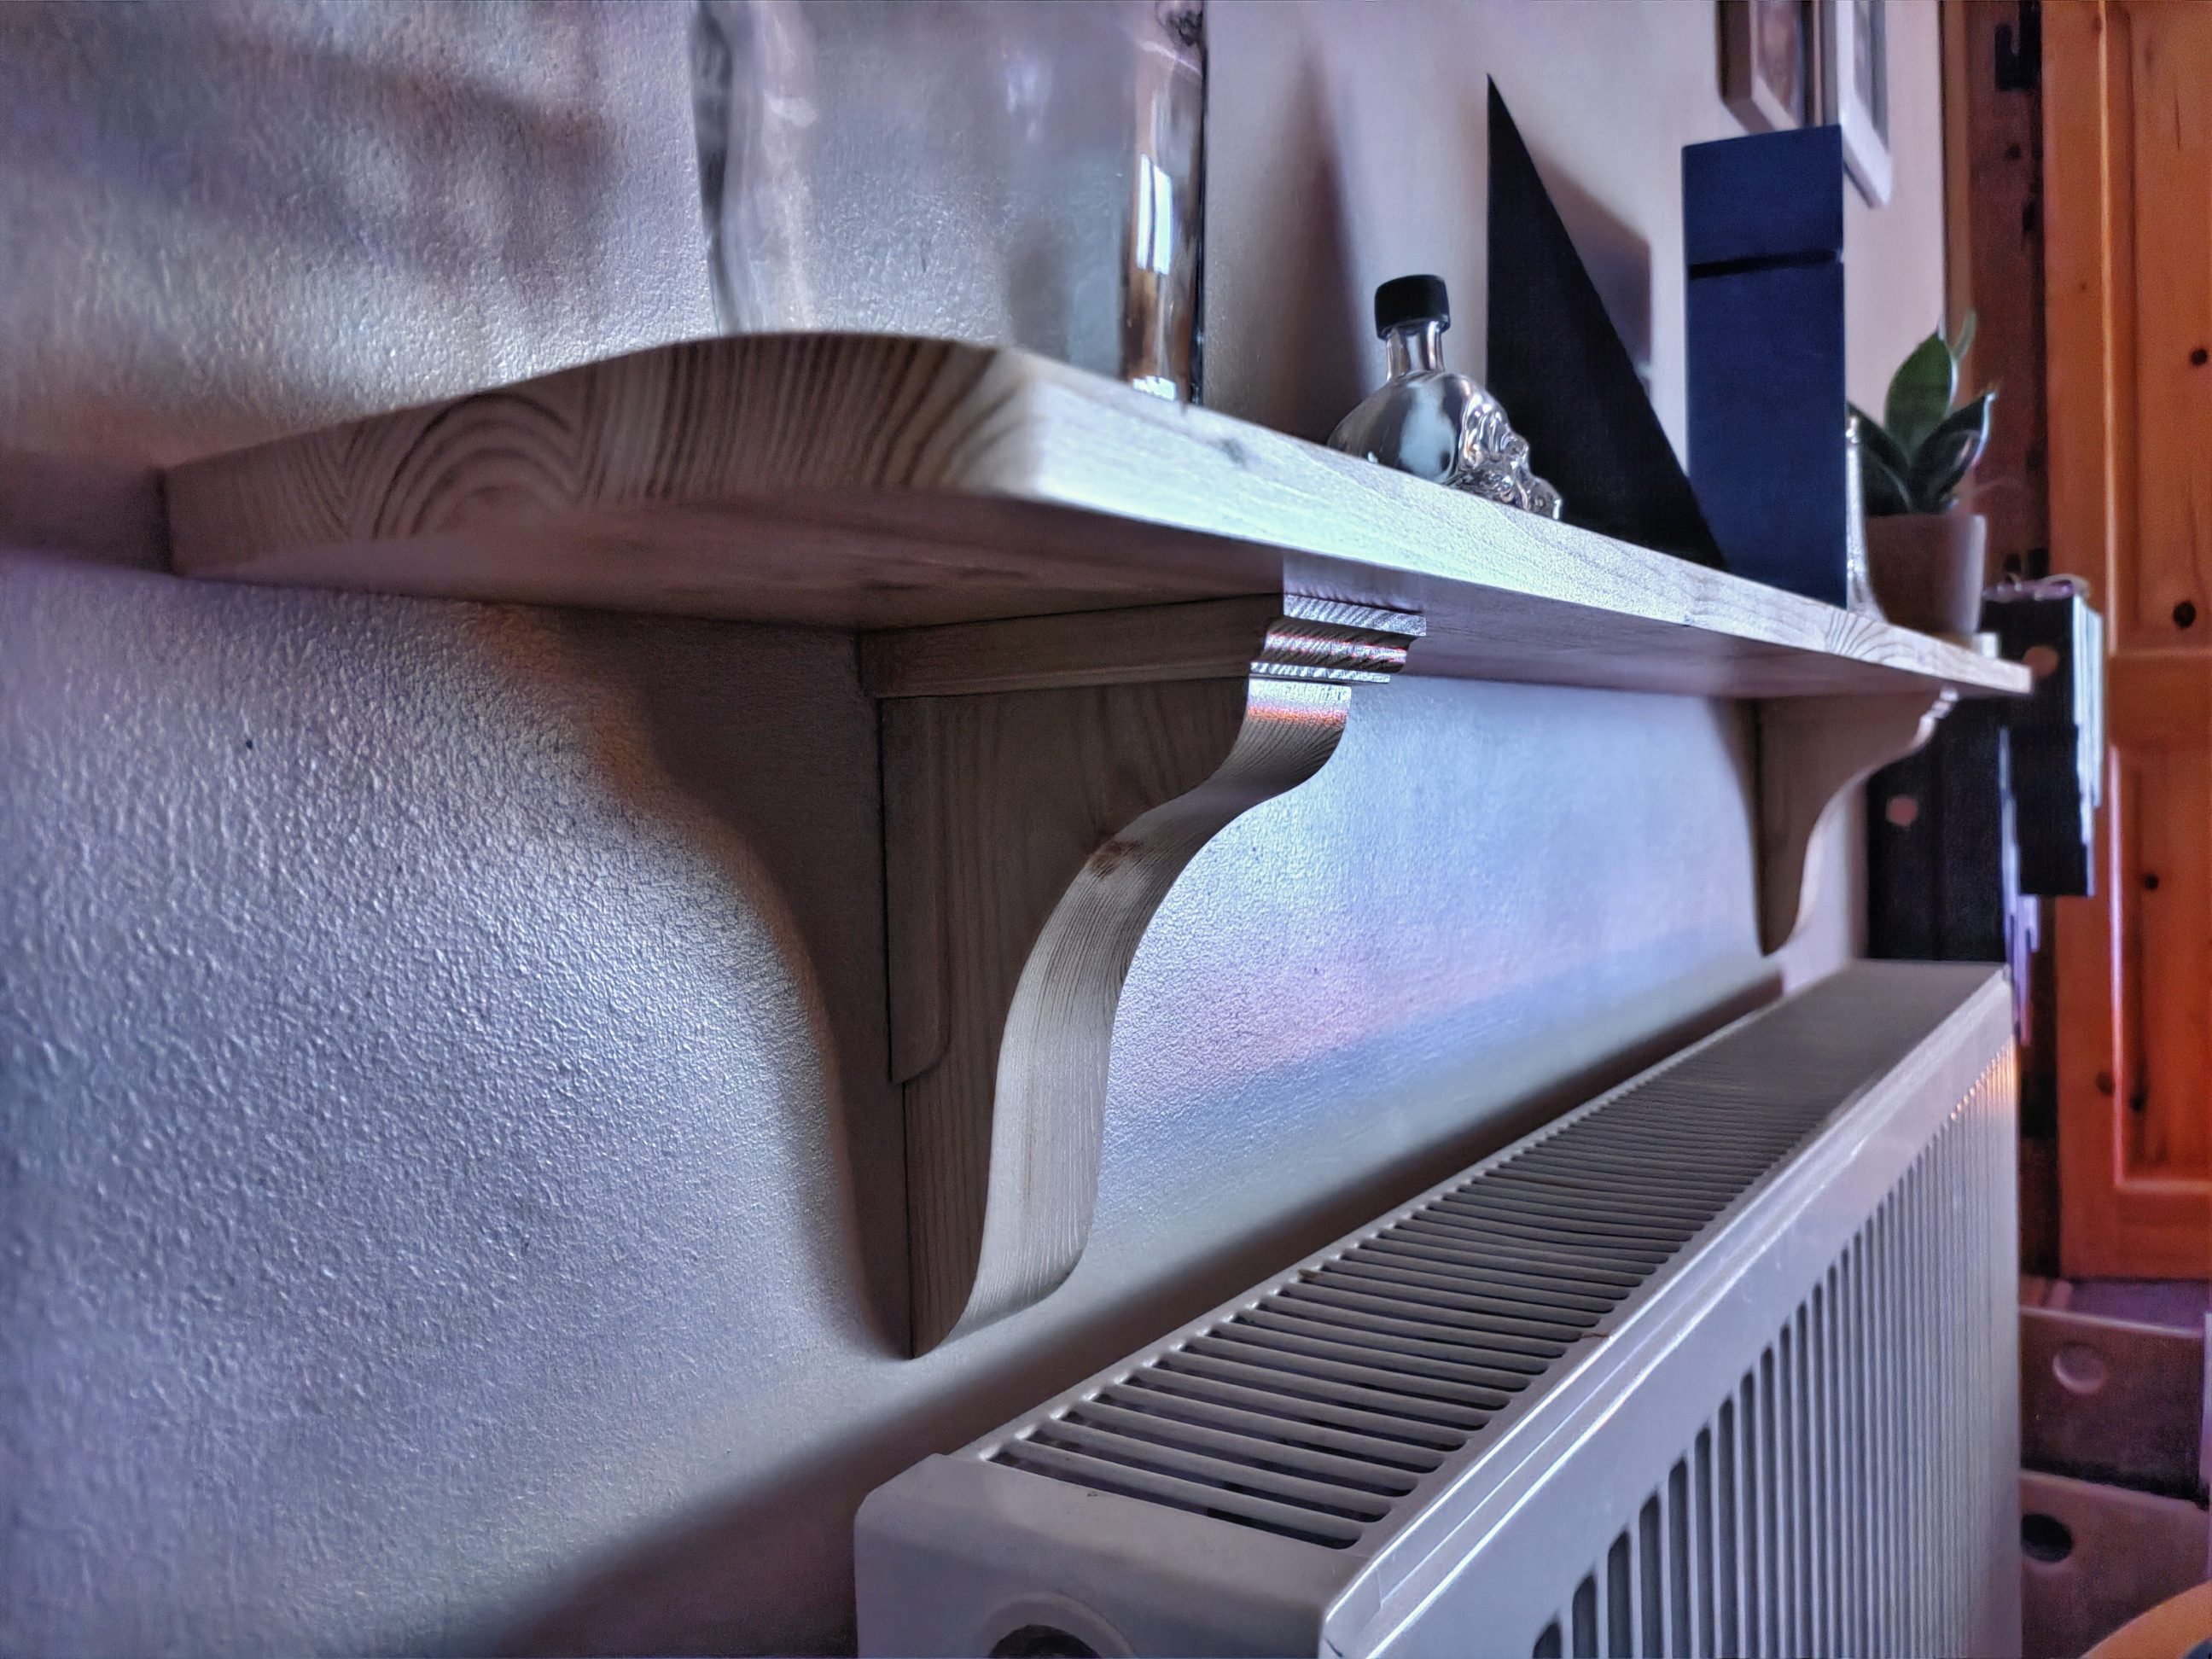
Classic, timeless and elegant look, plus of course only 2 screws are required to hang it on the wall. Less mess and quicker installation, which includes dust and noise generated during drilling in concrete. I added some trims to the project to balance the simplicity and cover the nail holes. There were 2 nails used in this project, but not as fastenings – they were rather hanging pins. For joinery, I used glue and dowels. During this build I again had a chance to practice my scrolling skills, one step further to master this art. That wasn’t easy, and not surprisingly I finished with badly looking edges that had to be sanded with my belt sander.


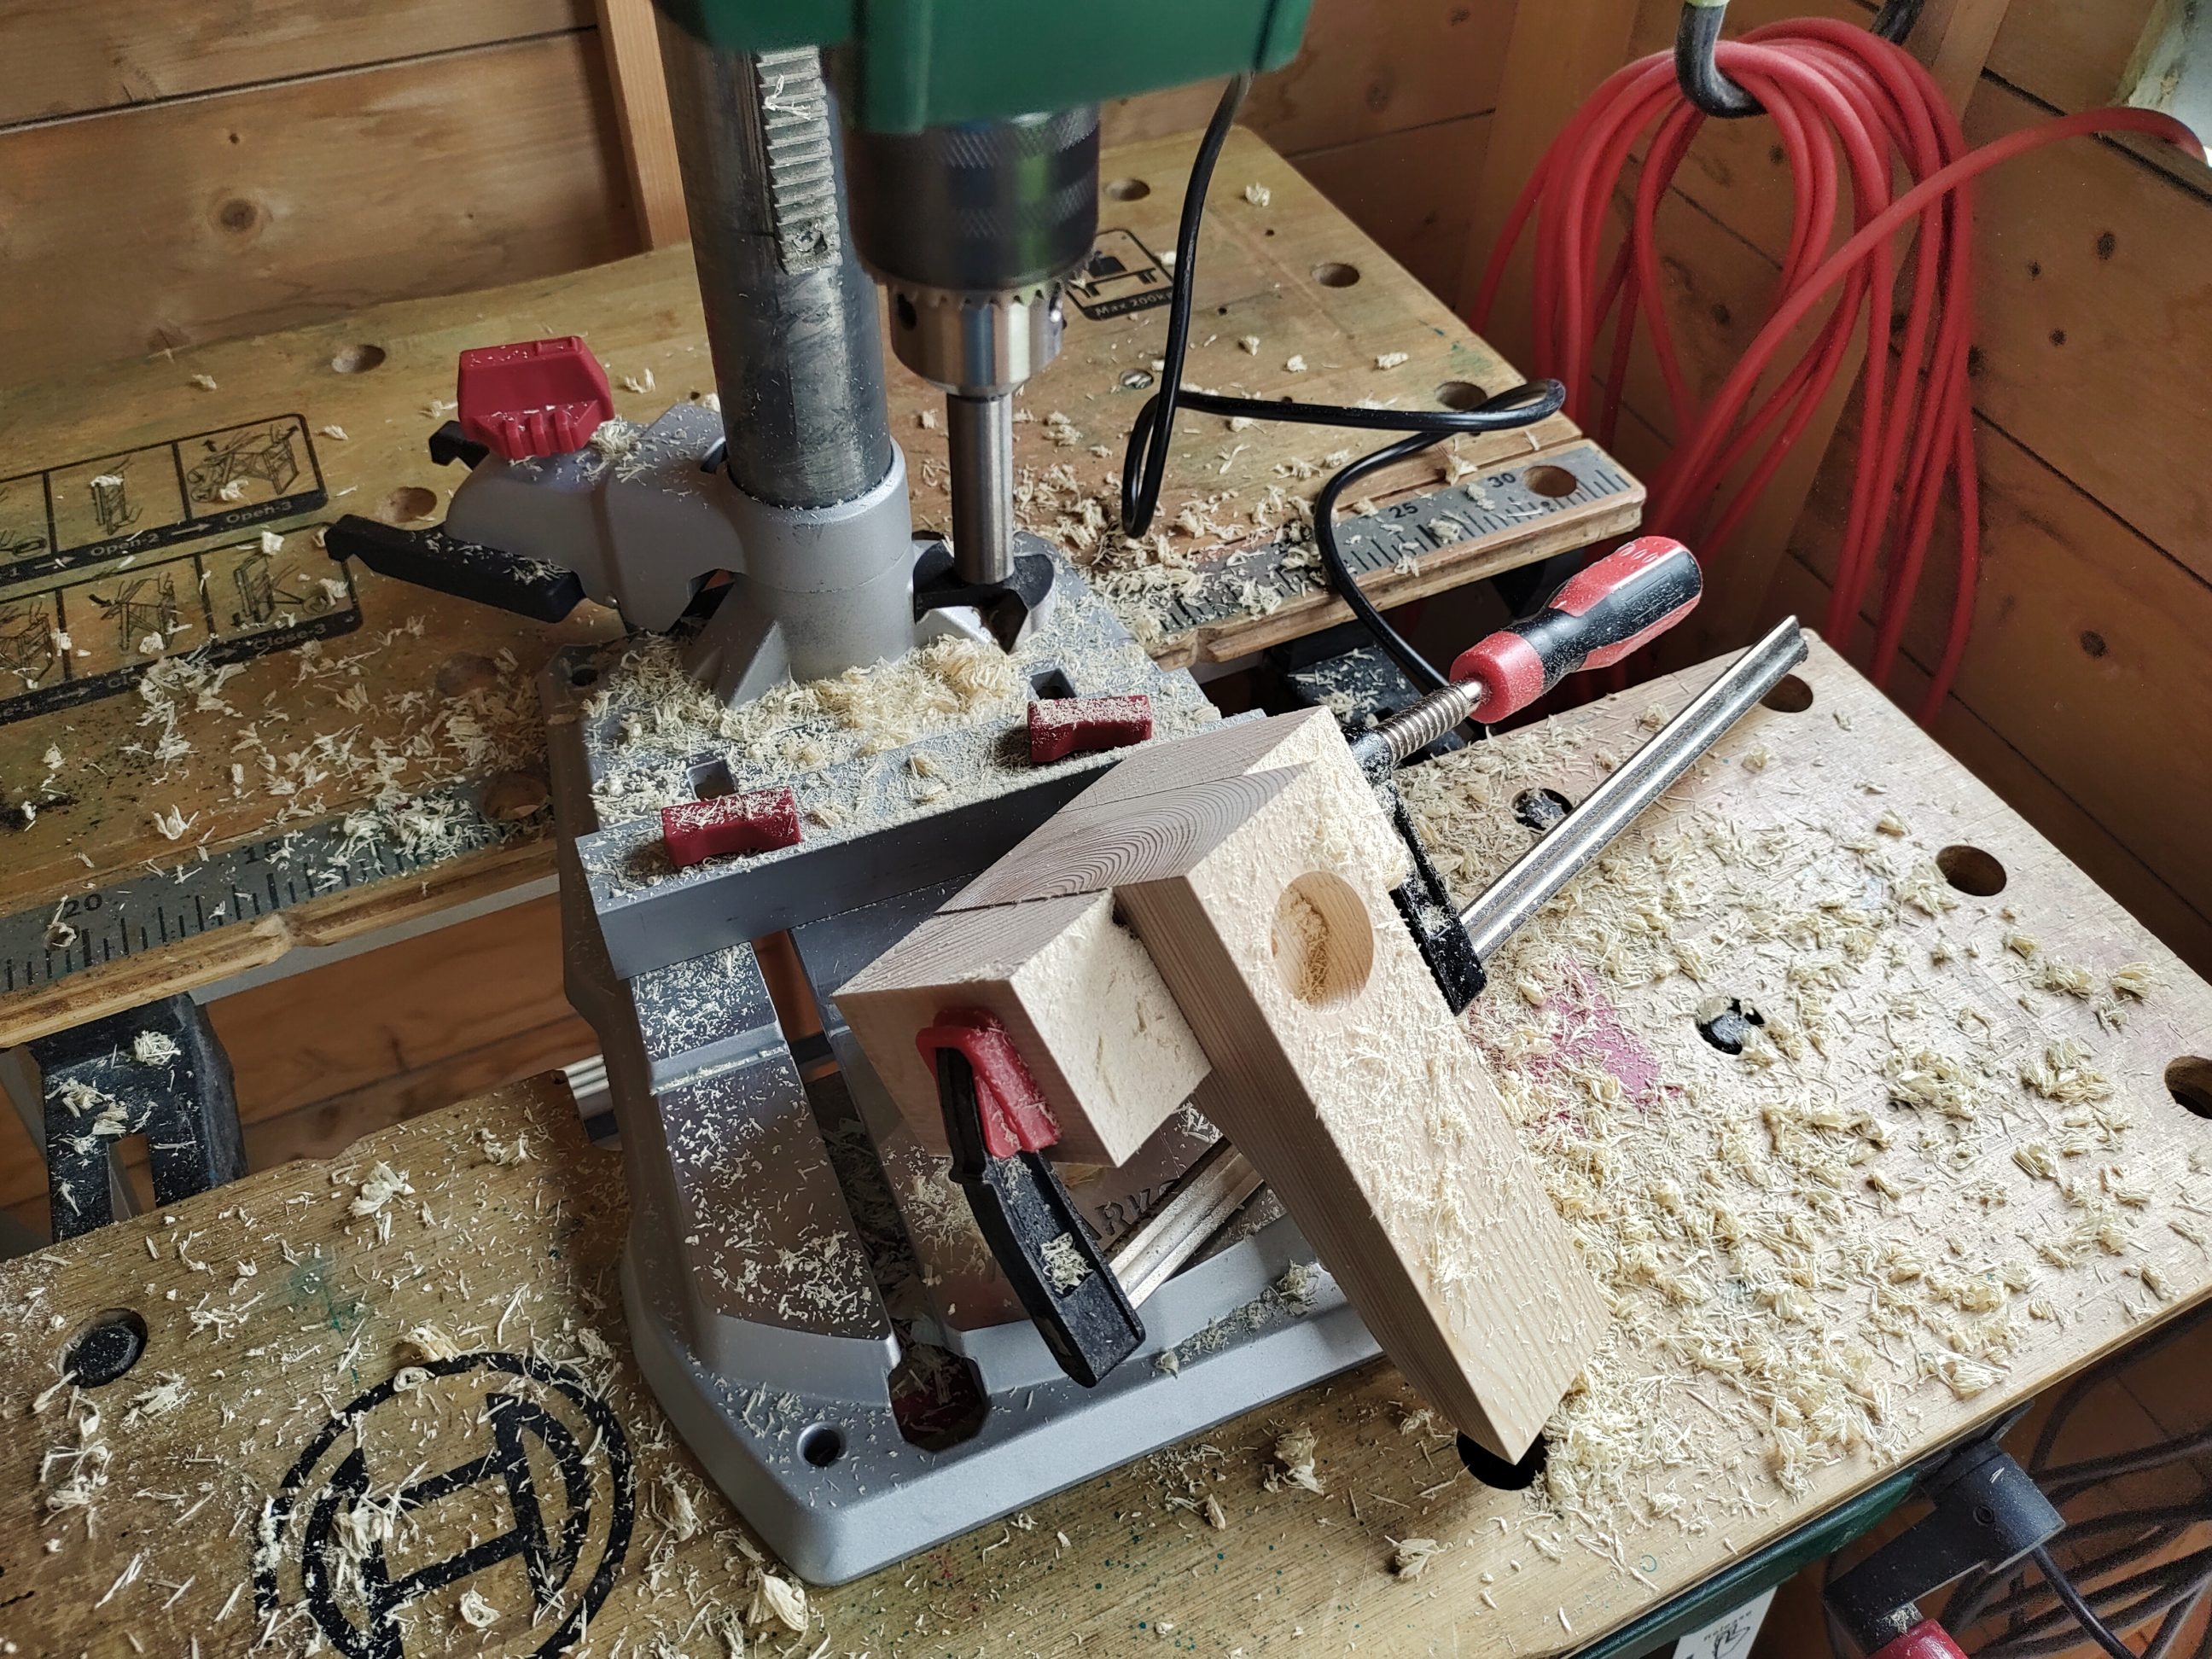
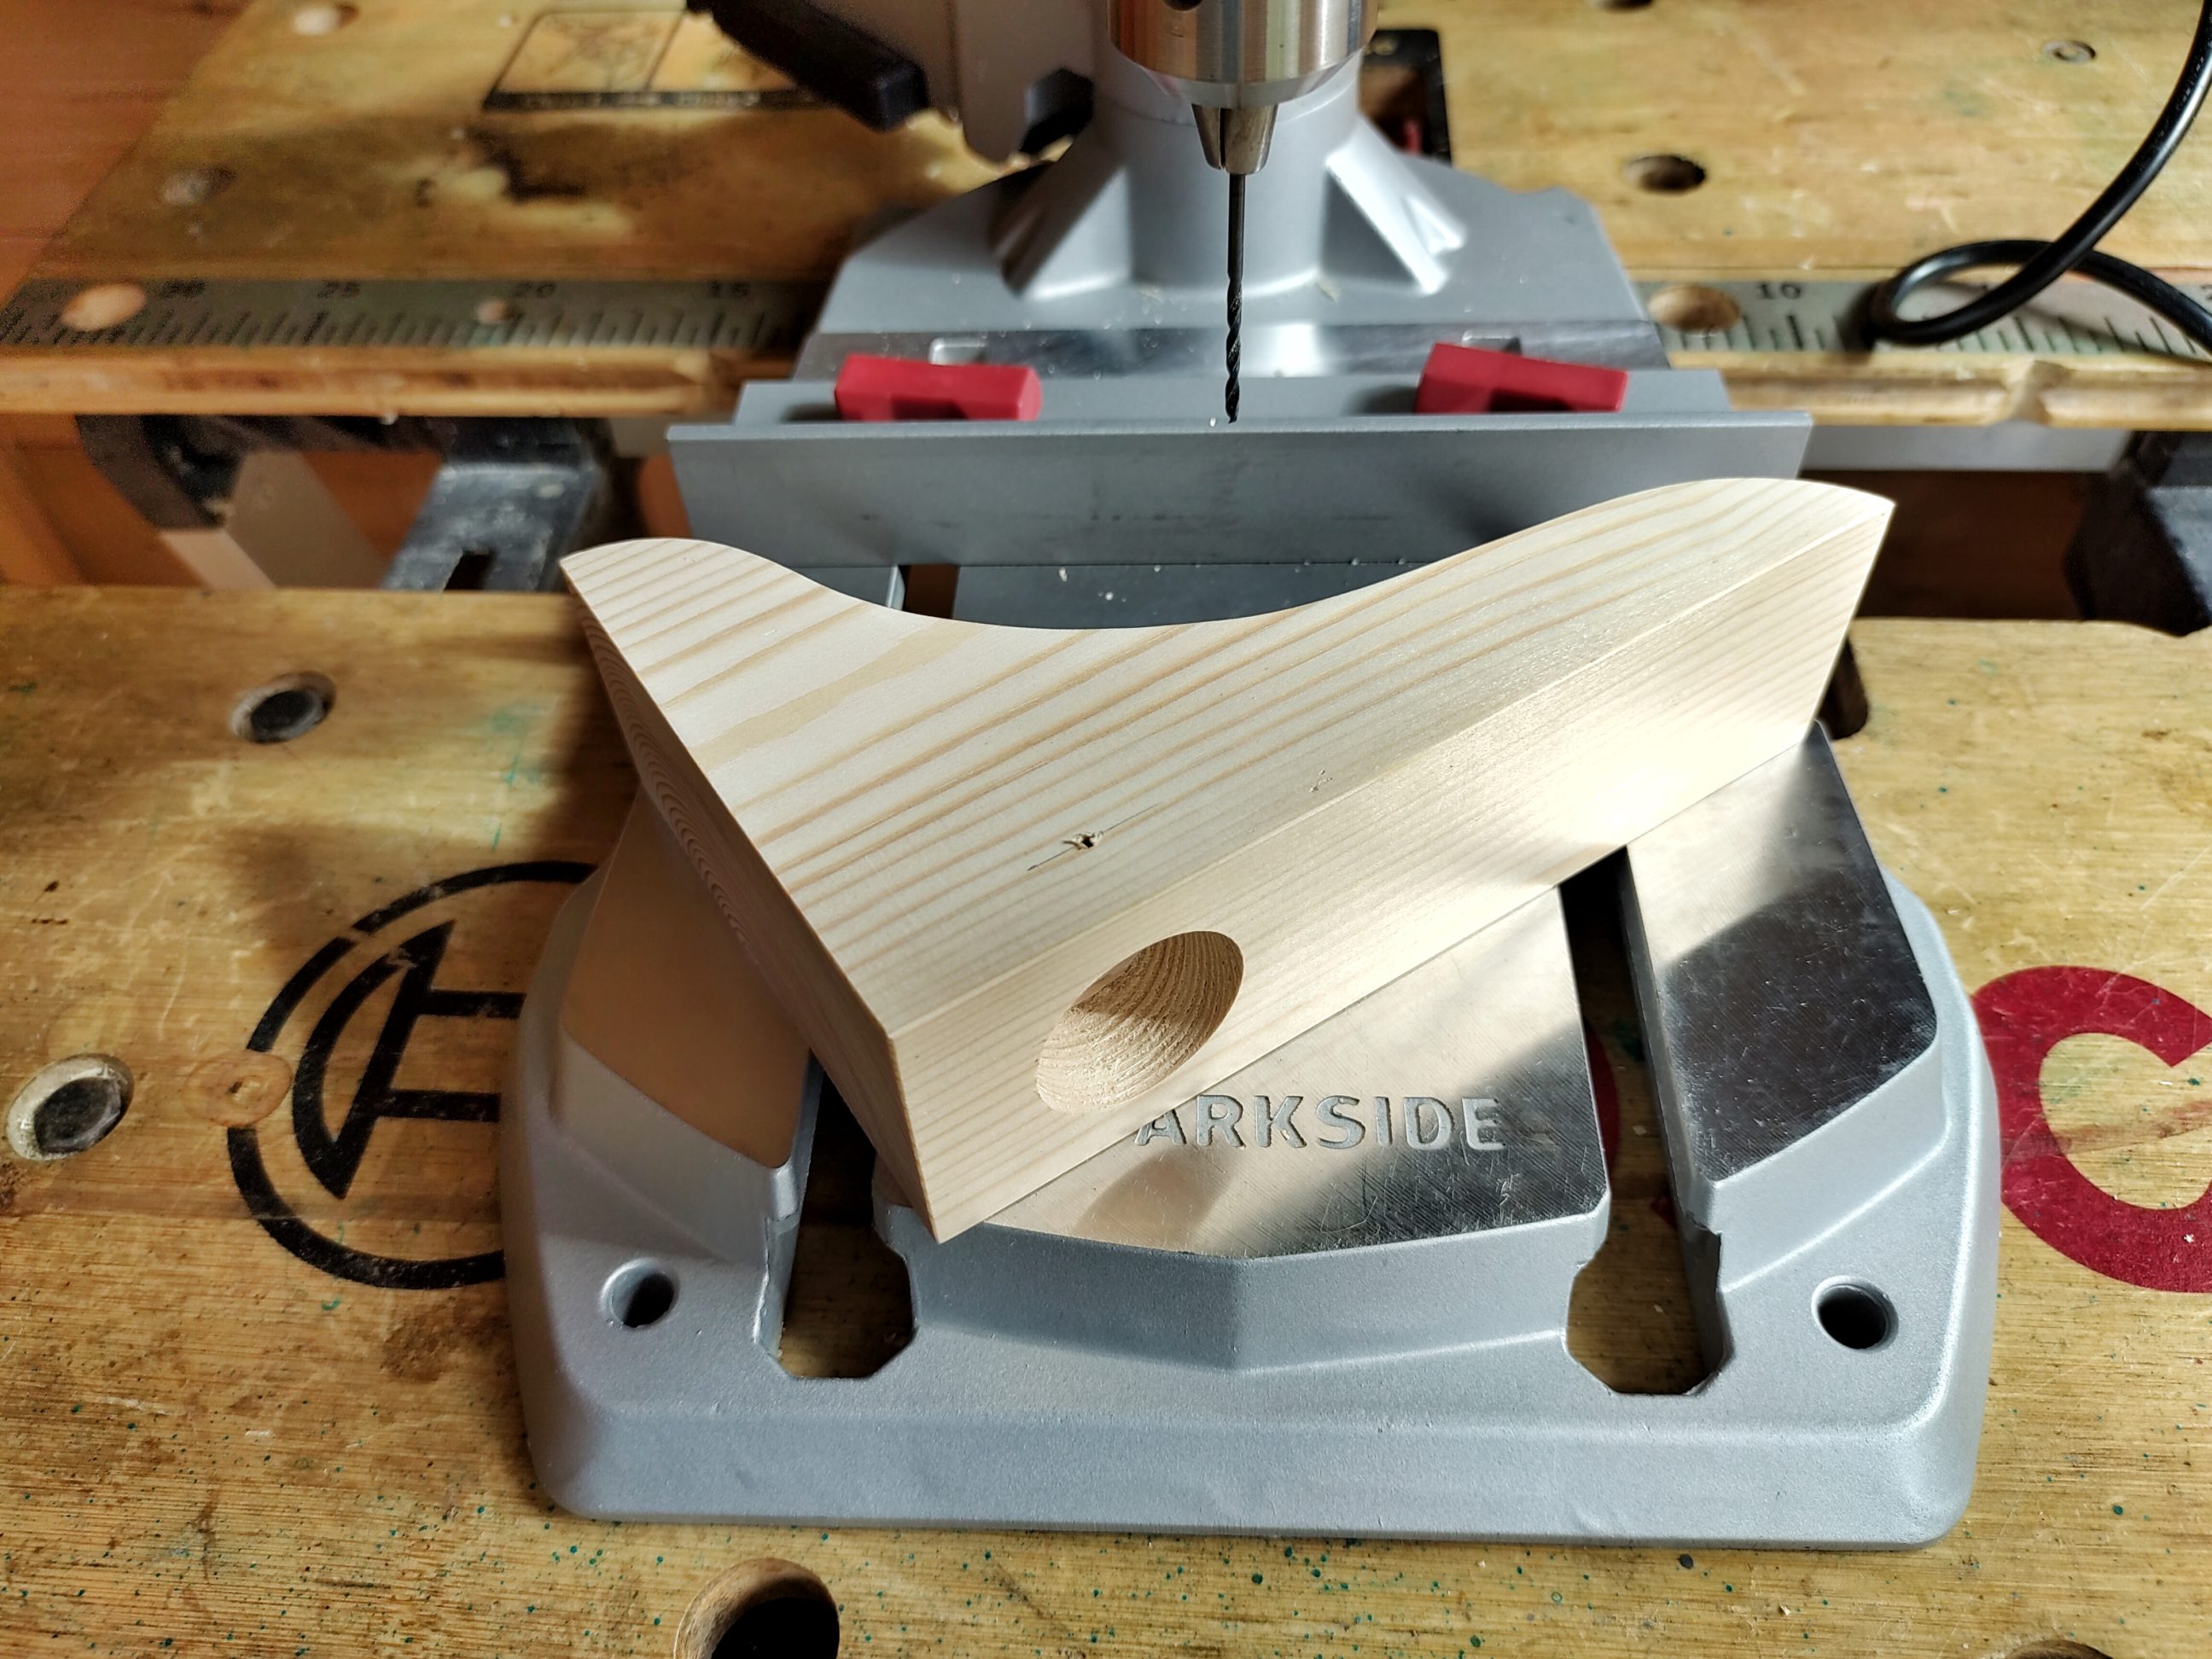
The next step was to figure out how to hang them on the wall. I thought the system I used in the past (for this shelf) might work again. I drilled a pair of holes with a 30 mm Forstner bit, then small and countersunk holes for the nails. This is a very simple solution and requires no additional hardware or fixings.
To mask the nail holes, I cut some trim to length and rounded it over with a sanding block. That strip of wood was just a scrap, that was easy to cut with a junior hacksaw.


I glued the trim to the brackets and when the glue dried, I cut off the excess wood using a flush-cut saw.


Next, I worked on the top caps. Again, I used some scrap, cut it to size and shaped it with my router. 2 different router bits were used – moulding one for the faces and a straight one for the sides. After a quick sanding, the caps were ready to go.


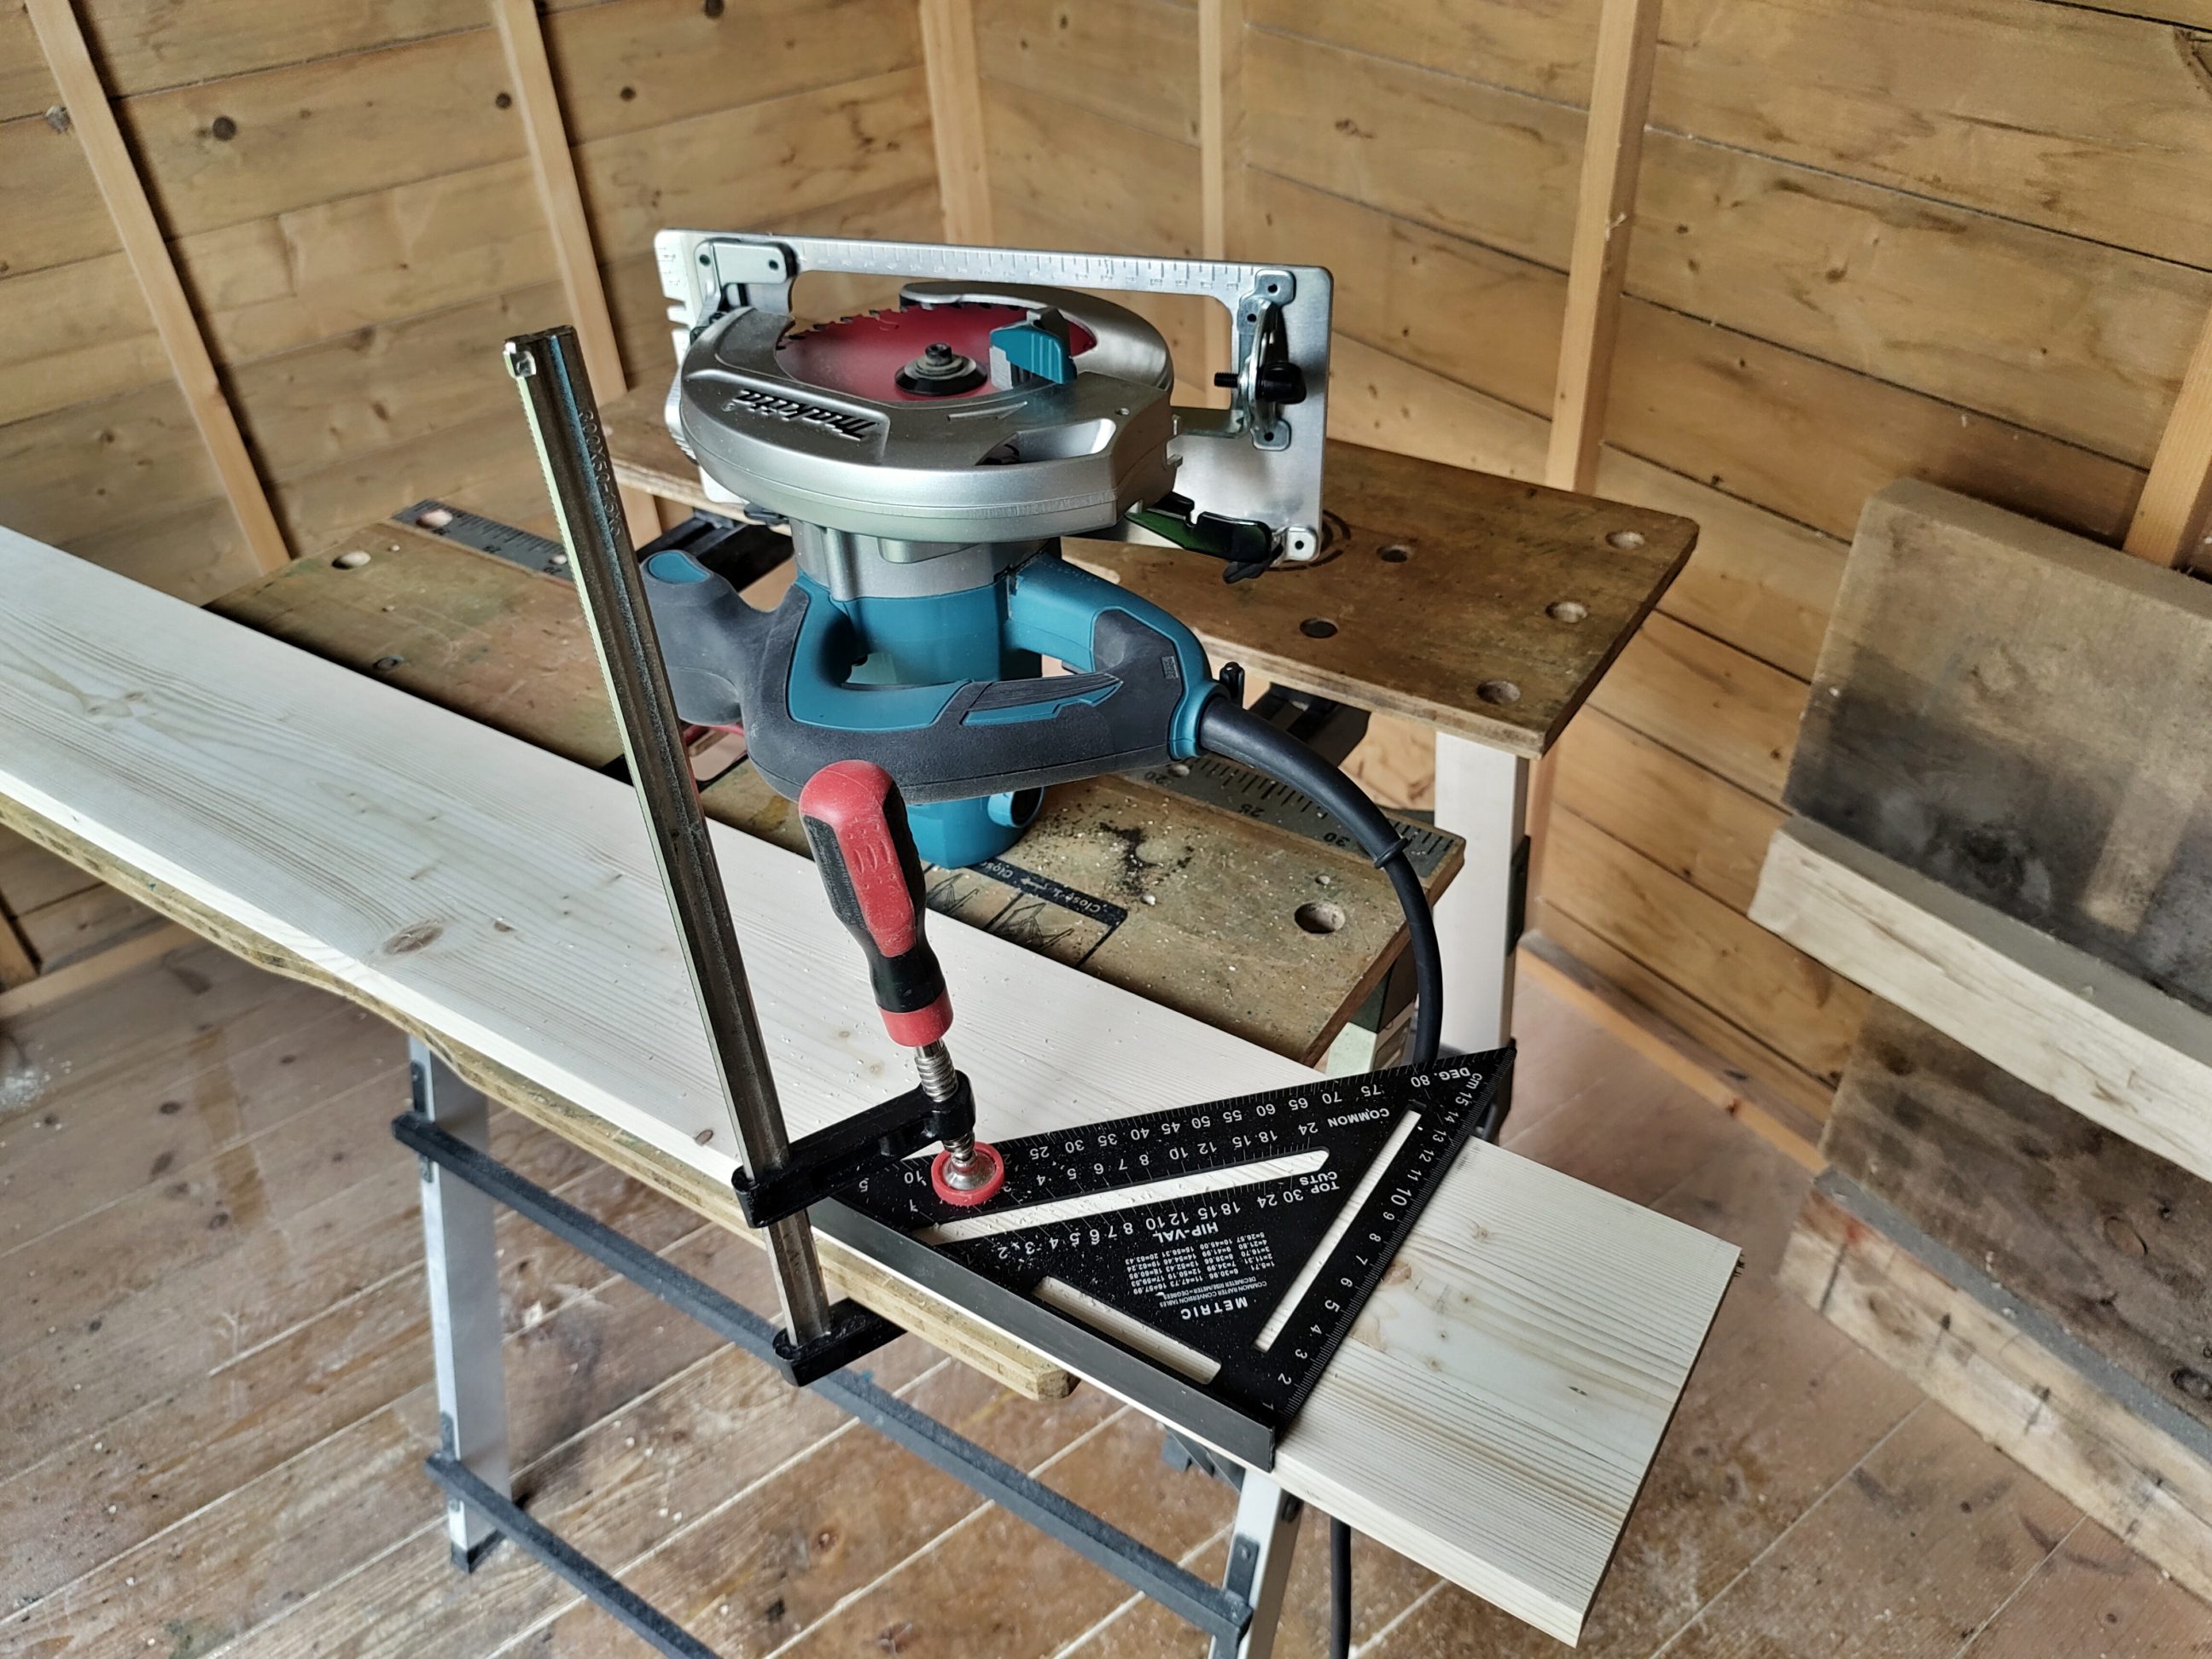
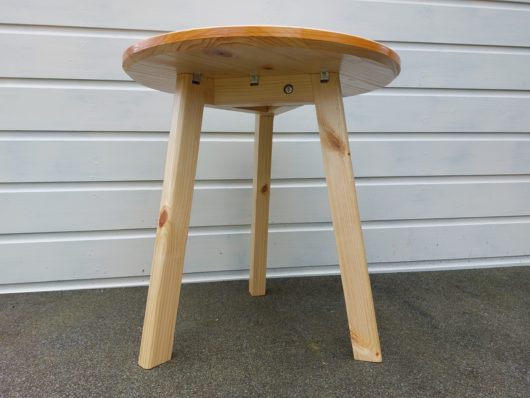
It was time to start working on the board. I had to remove the cup from the timber I was going to use. I rip-cut it in 3 and altered the grain for the shelf. Dowels and cauls helped to align the strips during the glue-up. I had to use a c-clamp for the handle of another clamp as it was springing back. Very clever, isn’t it?


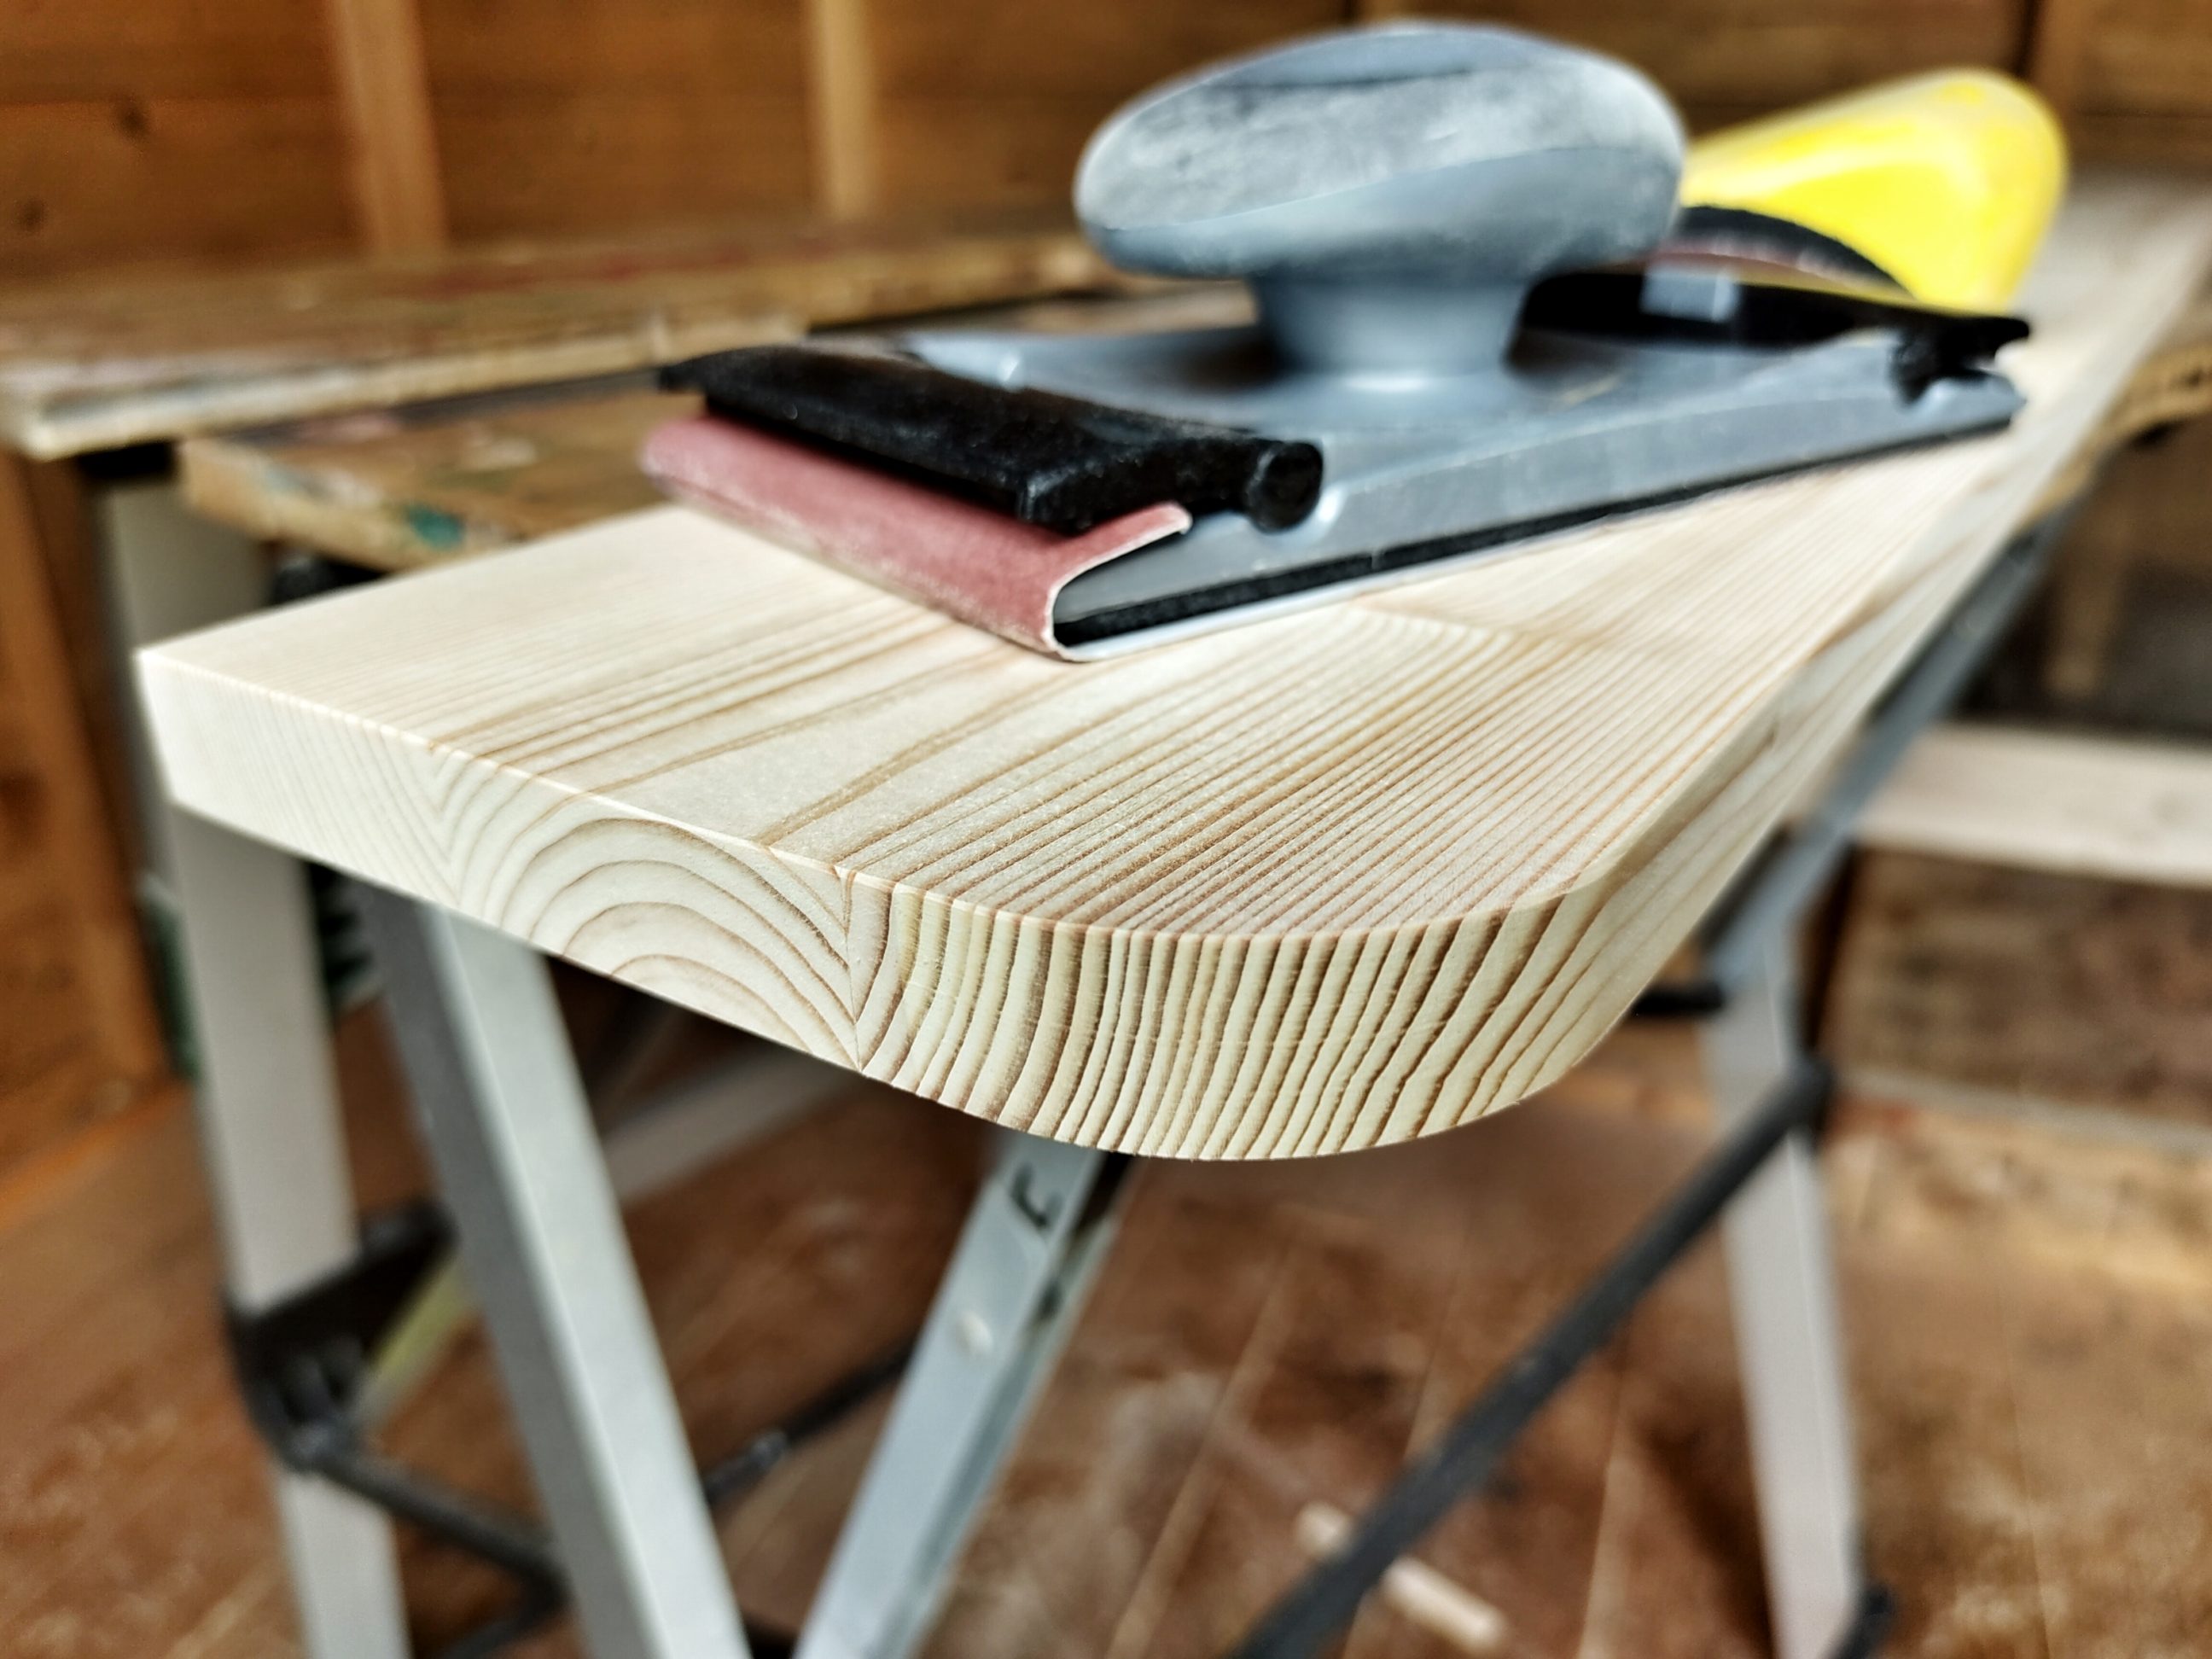
The next day, I removed the clamps and started sanding. Next, I cut the board to length and rounded over the corners. The templates I used for that were great. I only used them for MDF in the past, but now I get good results with timber as well. I just need to go with the grain, when the router cuts, or flip the board over if necessary and cut from the other direction. One more important thing to remember is to reduce the bit speed significantly, no burn-out if the dial is set somewhere between 2 and 3 (out of 6).


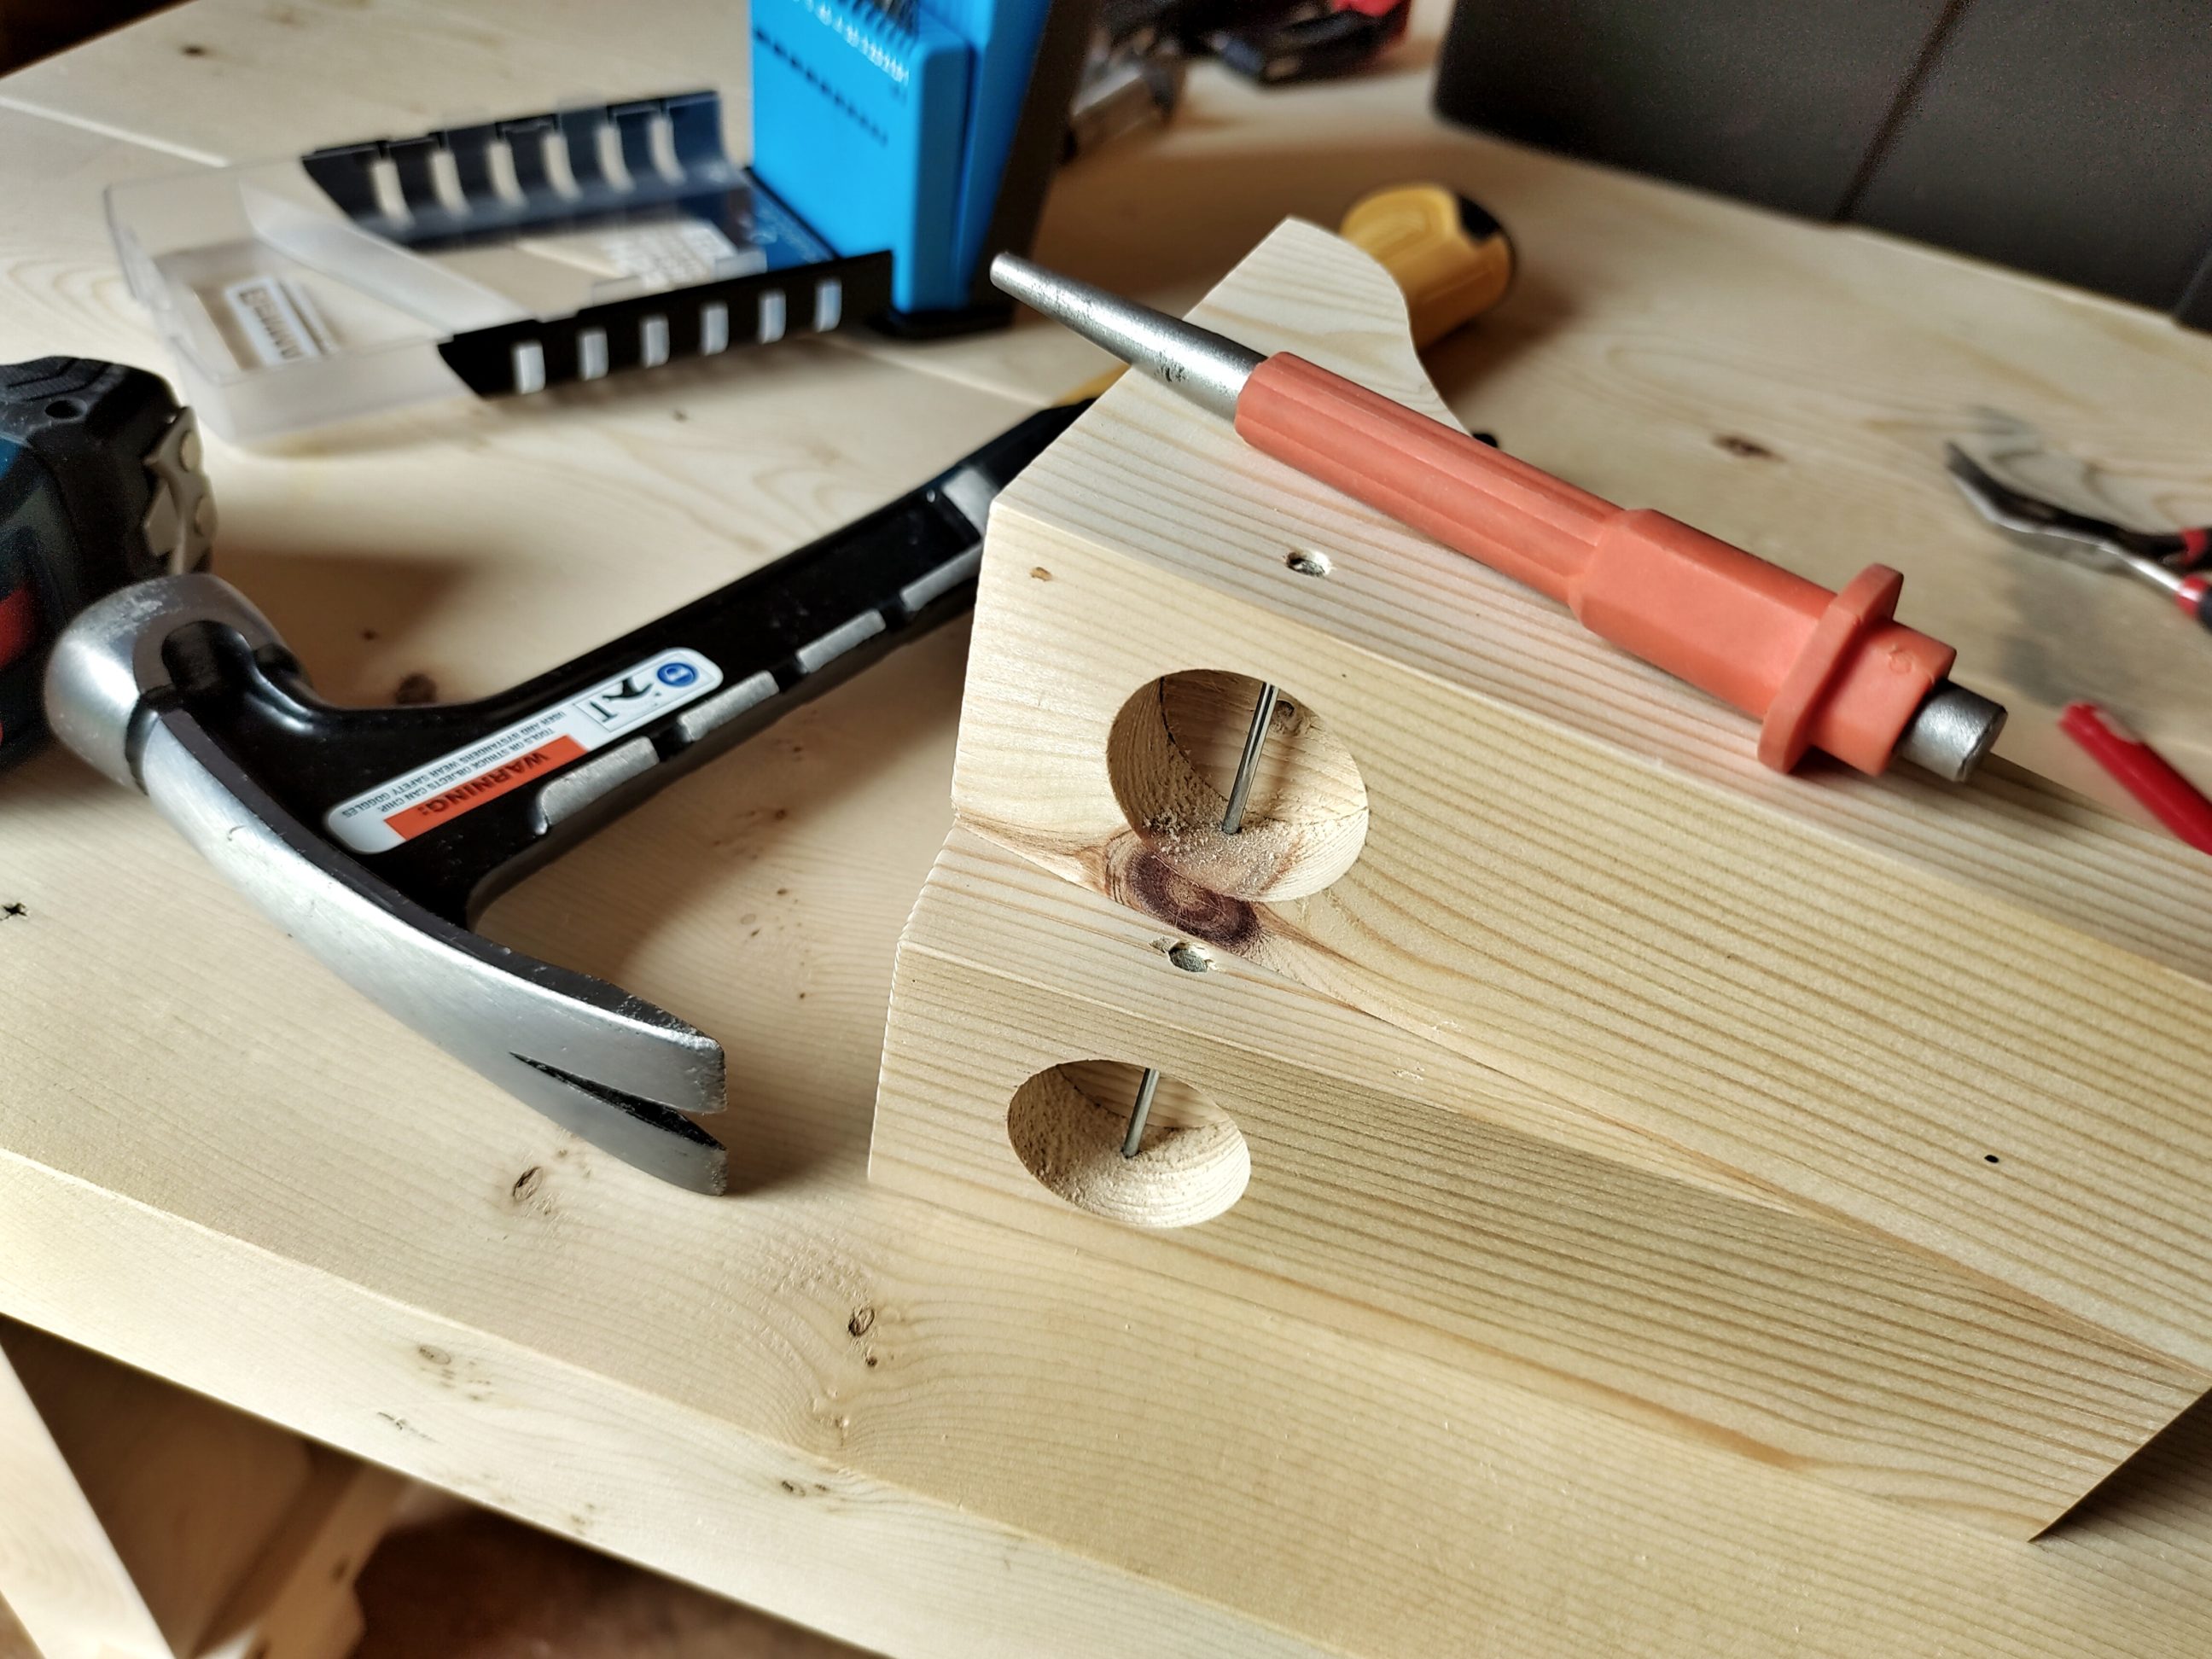
A light, hand sanding was all it needed before I started the assembly. I positioned and glued everything together without using any clamps. So technically it was all tacked and waiting for the reinforcement. I used a couple of through-dowels to make strong and permanent joints. Drilling holes was easy as everything held together. I prepared the dowels by sanding off sharp butts and that way creating some room for excess glue. Applying glue to the holes can be tricky, but I found smoking pipe cleaners very helpful in that situation. Once the glue dried, I cut the dowels flush.


Using wood filler and sawdust, I masked all minor imperfections, sanded and prepared for spraying. Somewhere between 6 – 8 coats were applied within 1 – 2 hours, that used a whole can of clear lacquer.


The next day, I prepared the wall for drilling and gathered all tools that I needed in one place. I temporarily supported the shelf with a cardboard box and marked 2 spots for drilling. It was intentionally positioned lower than the cascade shelf, just over the radiator. Probably the prep work and cleaning took longer than the drilling itself, but that’s just the way it is. The shelf was ready to use straight away, but I waited a couple of days before I took it off and buffed it with fine steel wool and wax. It’s perfect for displaying artwork, fancy bottles, plants etc. I love it!


One Comment
Pingback: