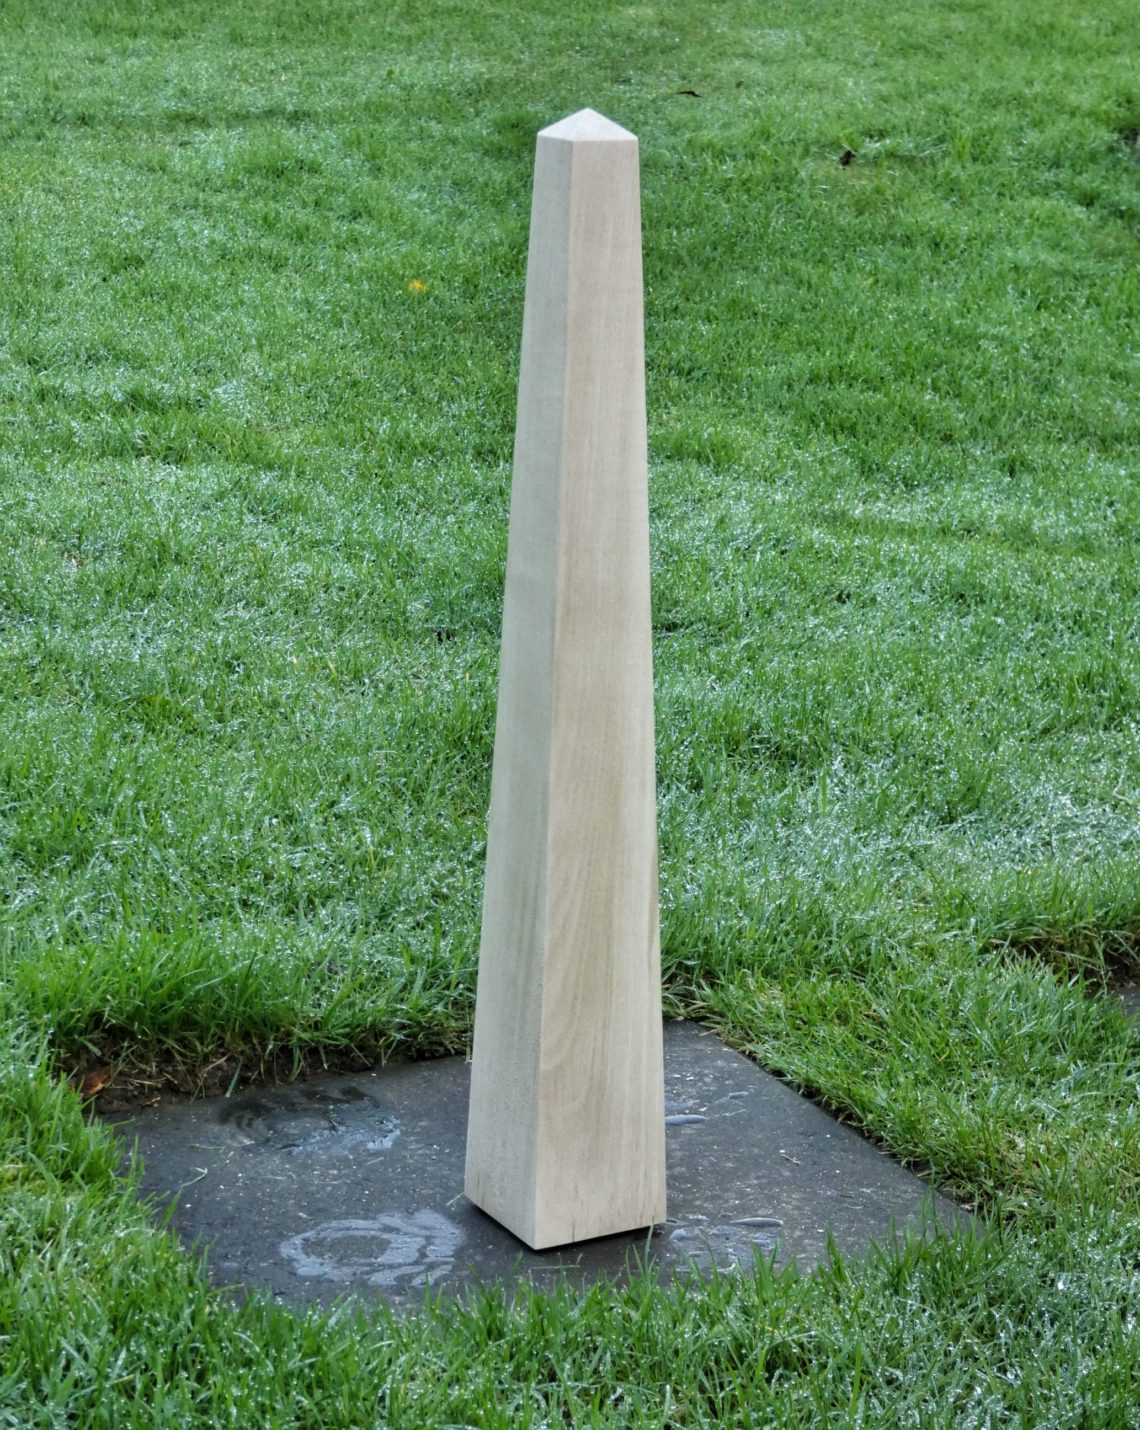
Sycamore obelisk
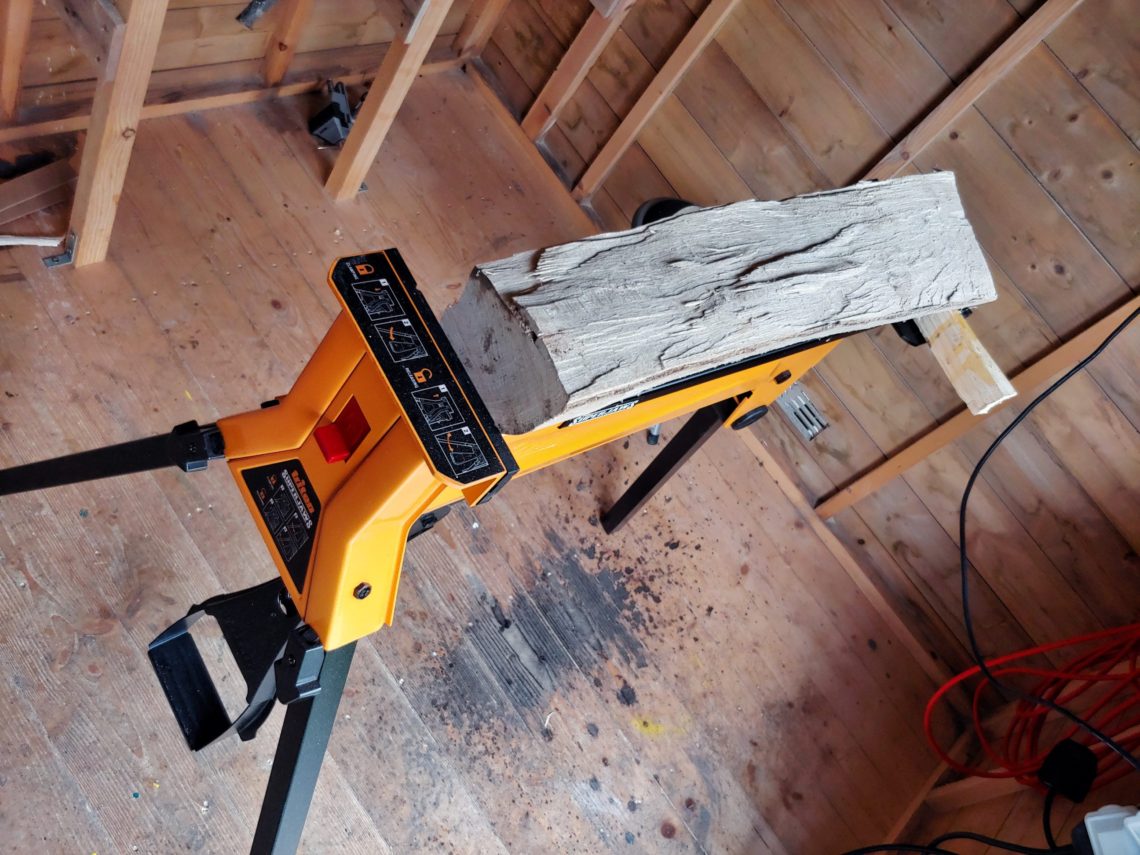
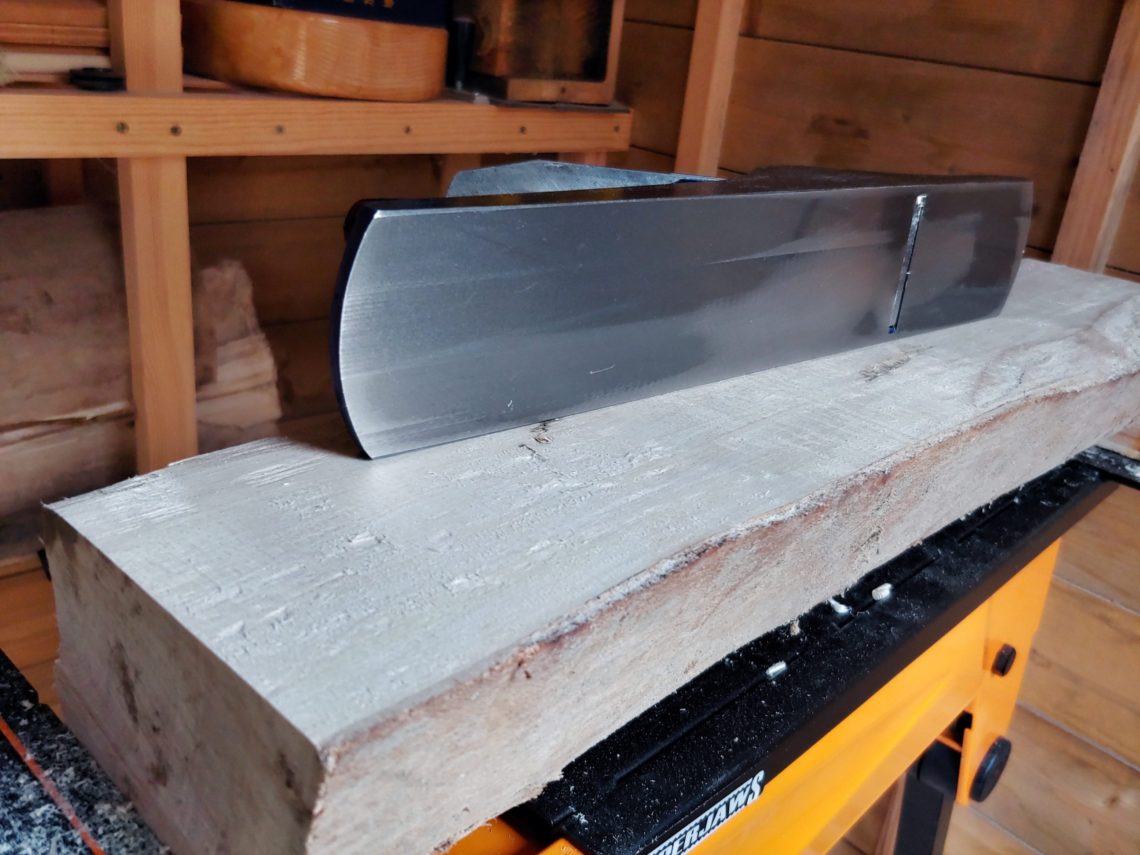
This piece of wood has gone a long way from a tree, through a log and finished as timber. I still remember that sycamore tree growing in my backyard. It was cut down and I saved a couple of logs for future projects – the rest ended as firewood. Before I put those logs away, whilst they were still wet, I chopped them in half with an axe to speed up the drying process. A few years passed and they were ready. One of those logs, I clamped in my SuperJaws and with my jack plane, I gave it one straight and flat edge. All by hand, with hand tools and eyeballed. Still very precise! I’m a professional after all.


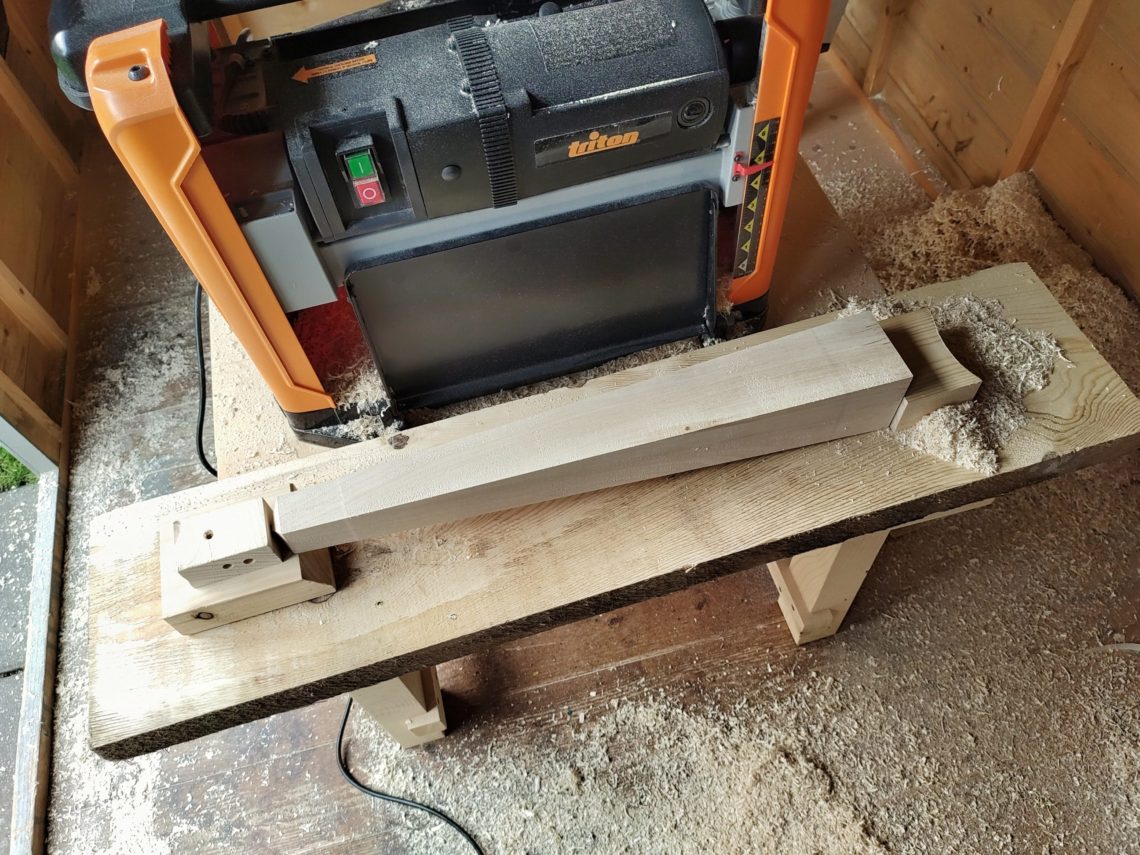
When the opportunity arose, I further processed the piece with a thickness planer – having in mind the cutting capacity of my table saw. I still left it a bit oversized, just in case, it’s not too thin. The next step was to attach it to a straight edge, using double-sided tape and an additional piece of wood to fill out the gap and prevent rocking.
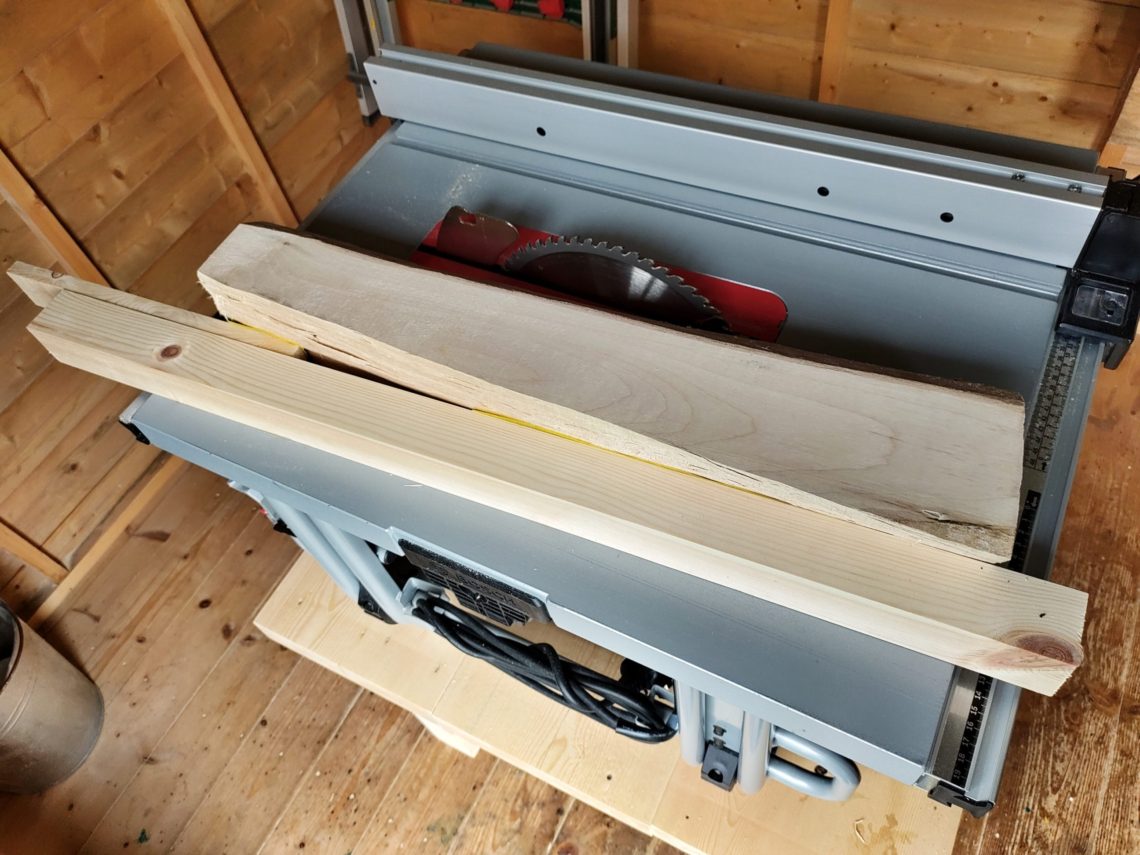
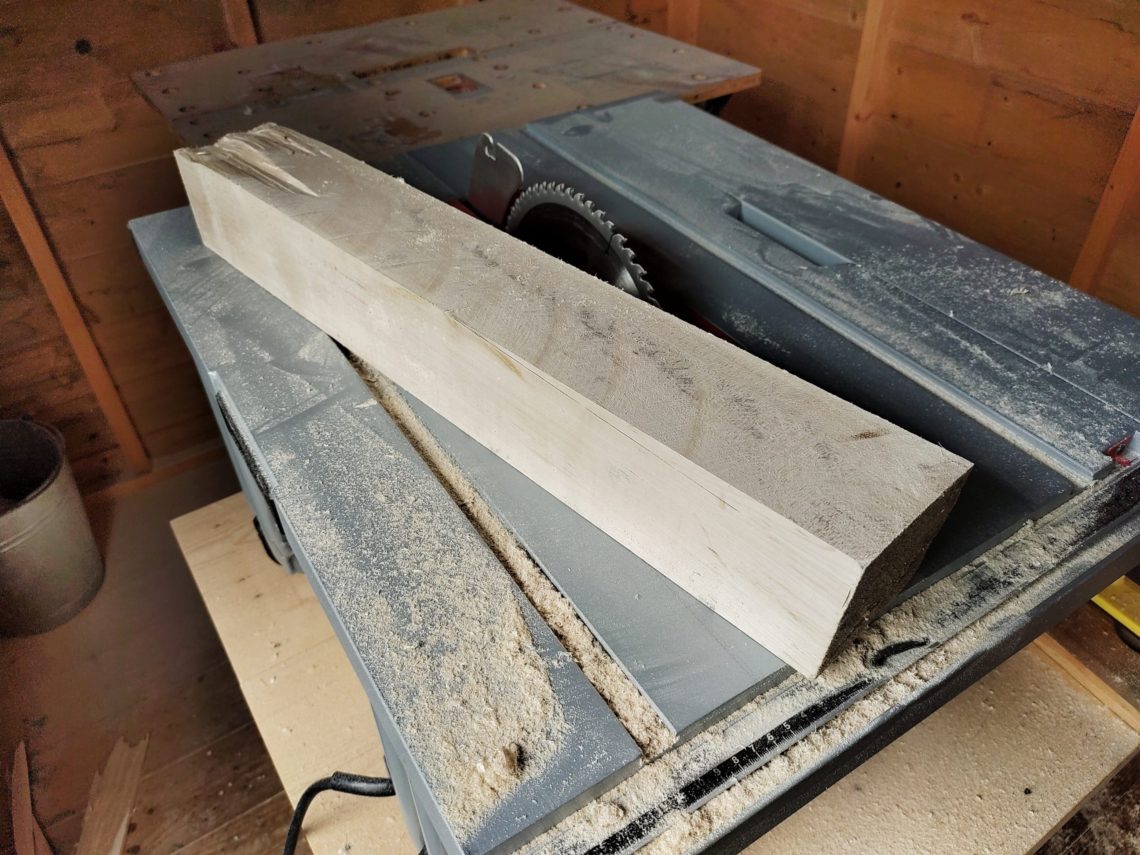
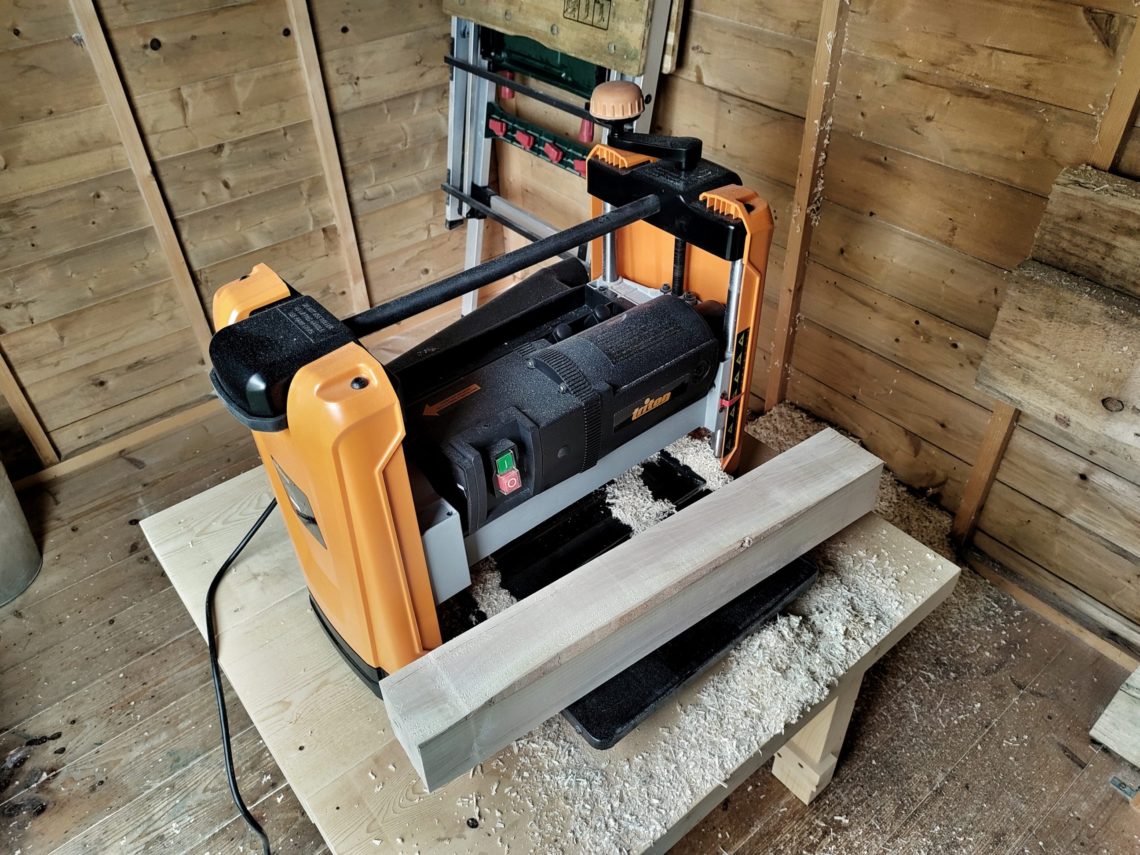
I got something that looked very square and was still a bit too big for my needs. Just because it was hardwood and very tough for my crosscut blade (that I mostly use for softwood) I decided to do further resizing using different machinery. A thickness planer was the tool of my choice. I left some bark on one edge because I knew it’d be gone when I cut the sides.
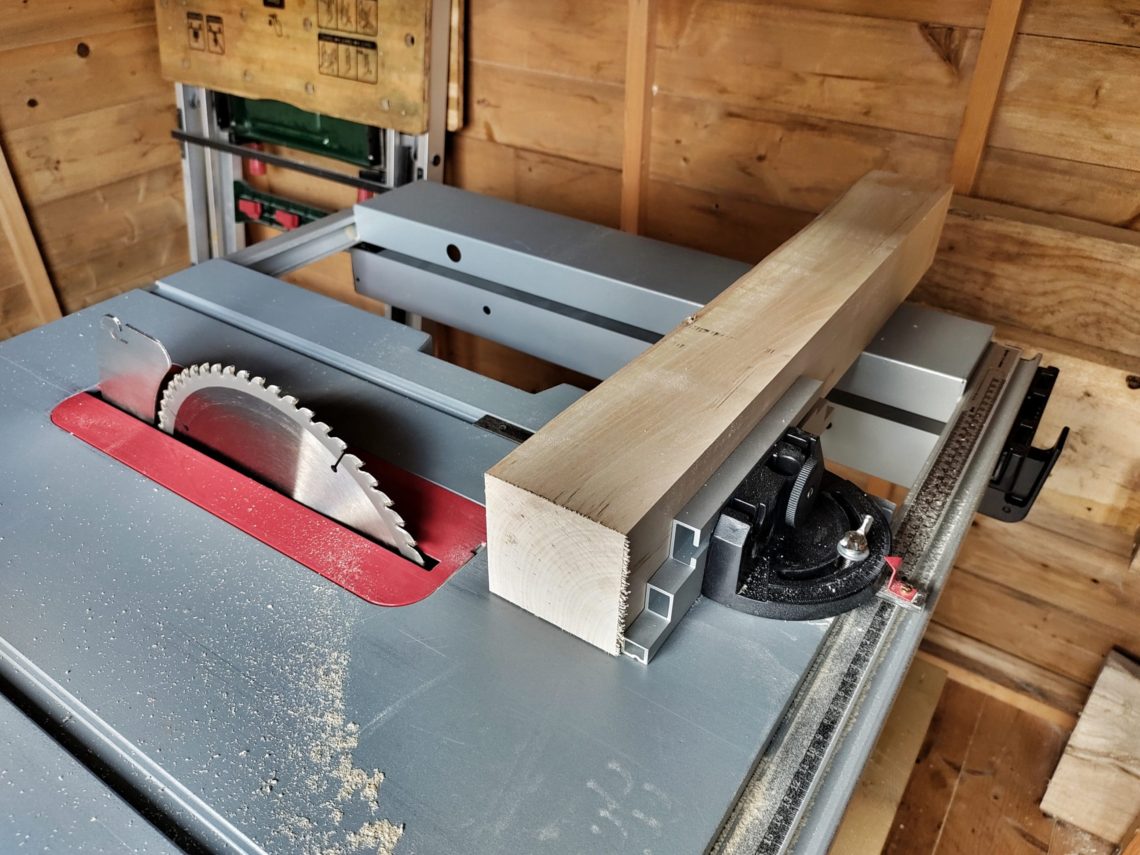
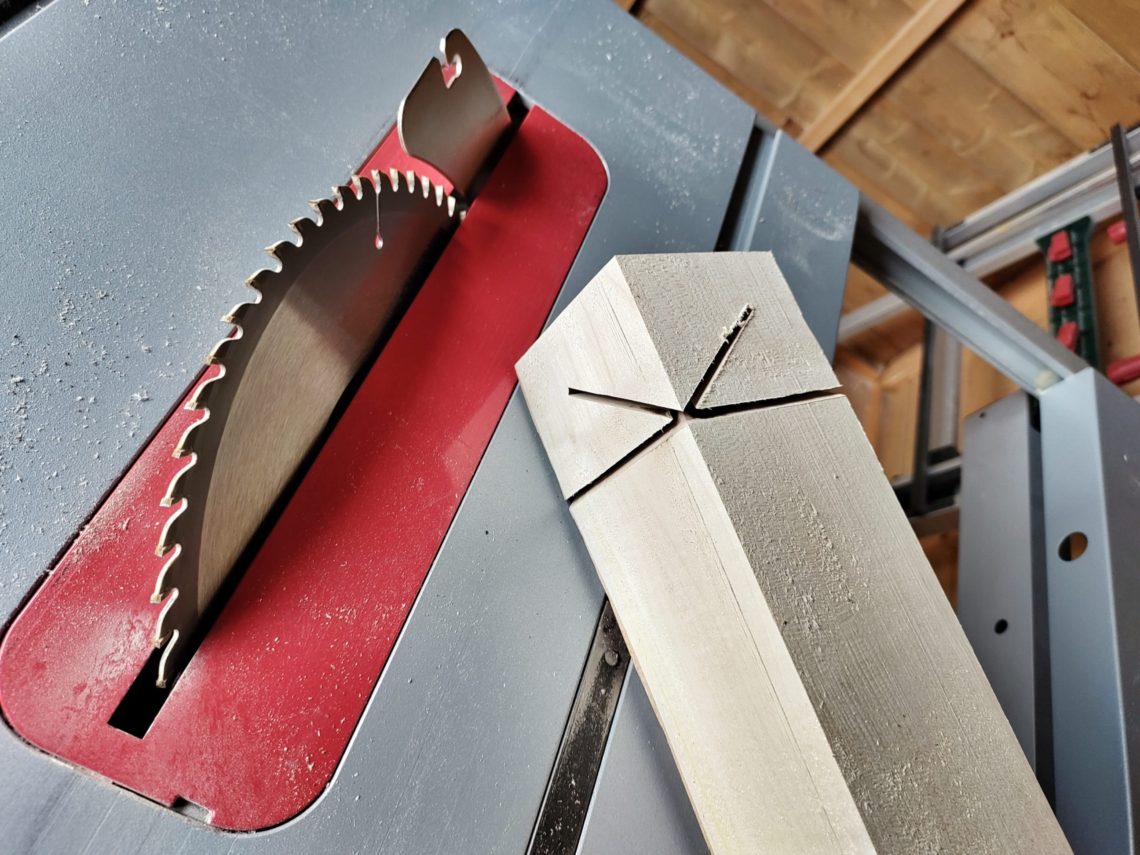
I cut the bottom flat and set the blade to 35º. I cut the top and that way both ends were established and could serve as reference points in the jig I was going to make.

I needed 2 blocks of wood, the top one was cut at 37º and the bottom one at 88º – 2º added or subtracted from the angles I created in the previous step. To firmly fix the blocks to the sledge, I used double-sided tape which worked good. I just wanted to save the board from unnecessary holes.
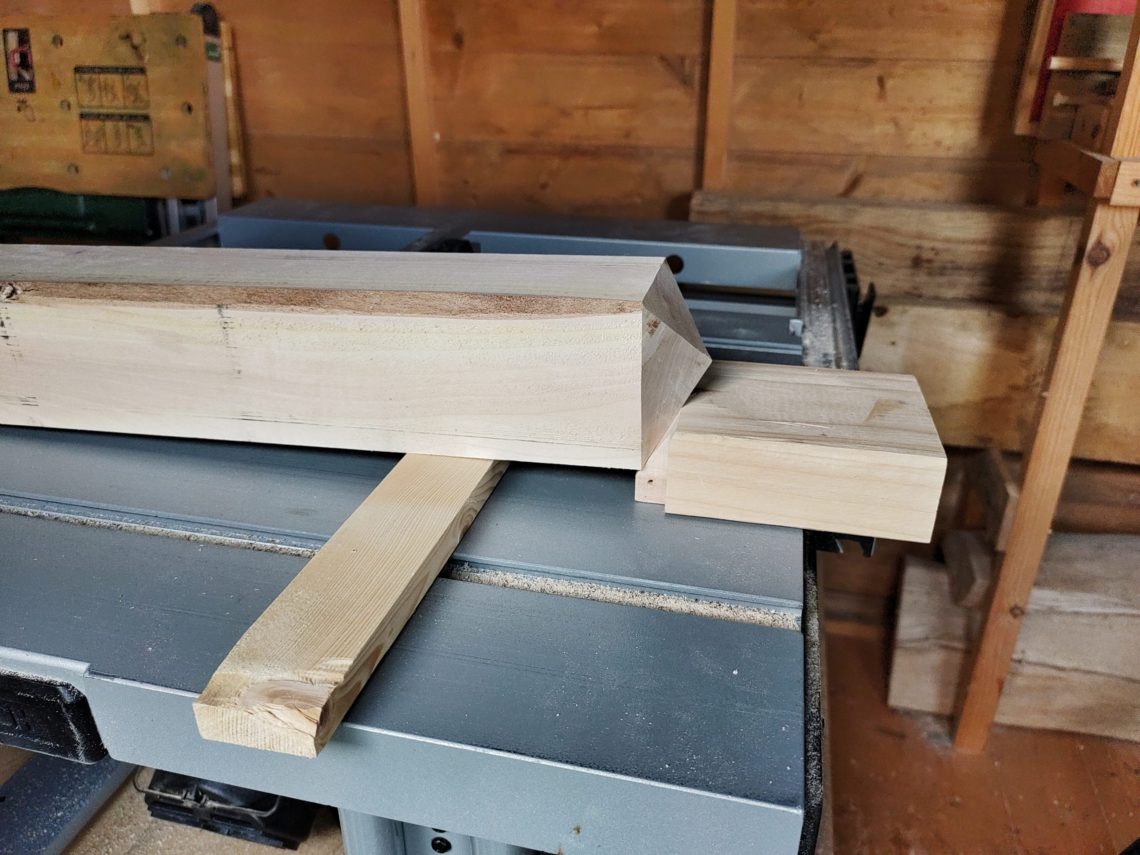
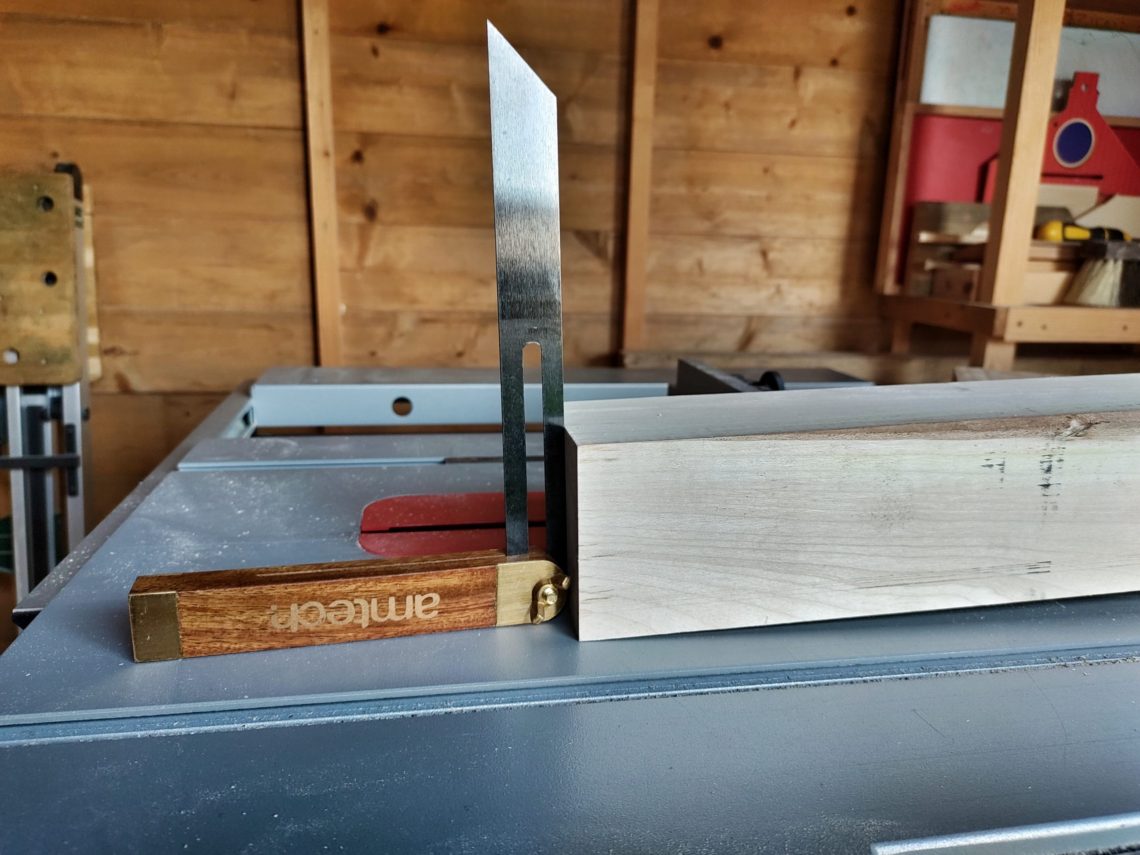
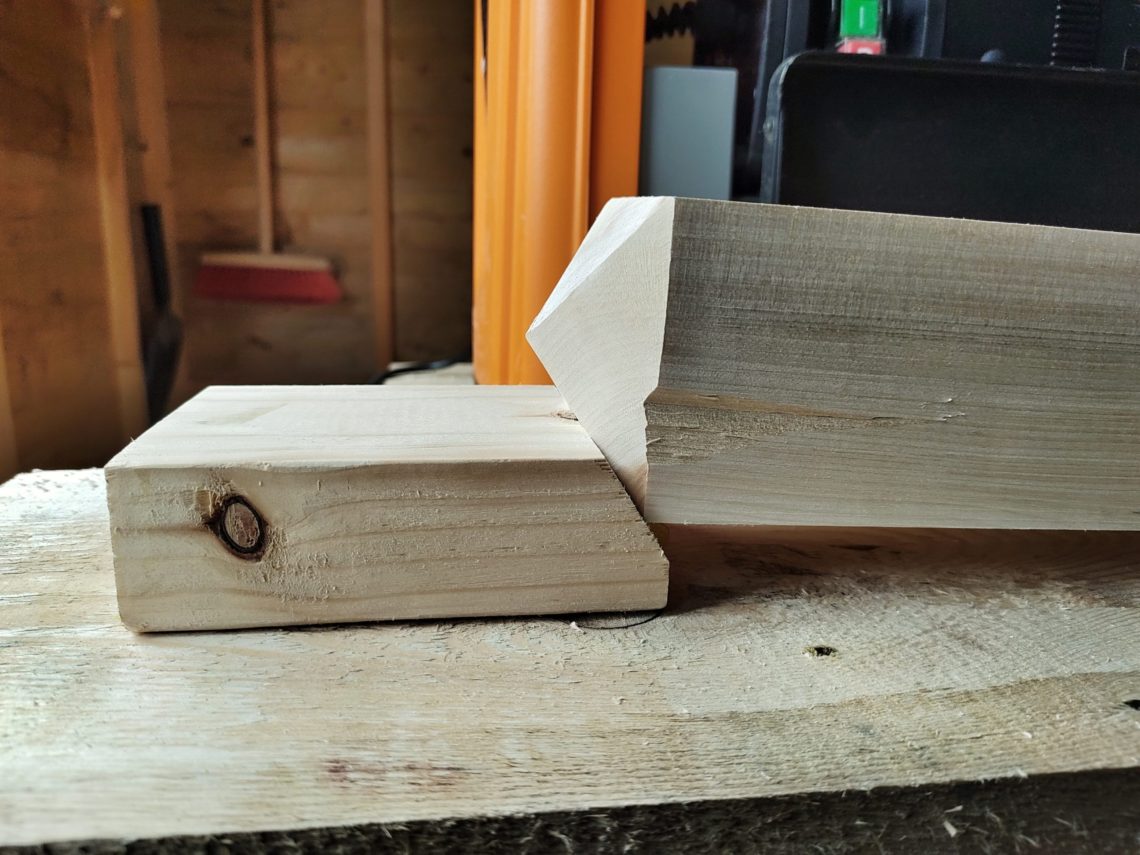

After a few passes the tapers were starting to form, but I noticed that the piece was shifting inside the thickness planer. A quick and easy fix was an additional block of timber screwed to the existing front one. Just in case I drove the screw head deep – to protect the planer’s blades, but not too deep – to save the sledge. That let me finish my planing securely and accurately. I stopped when all the bark was removed.
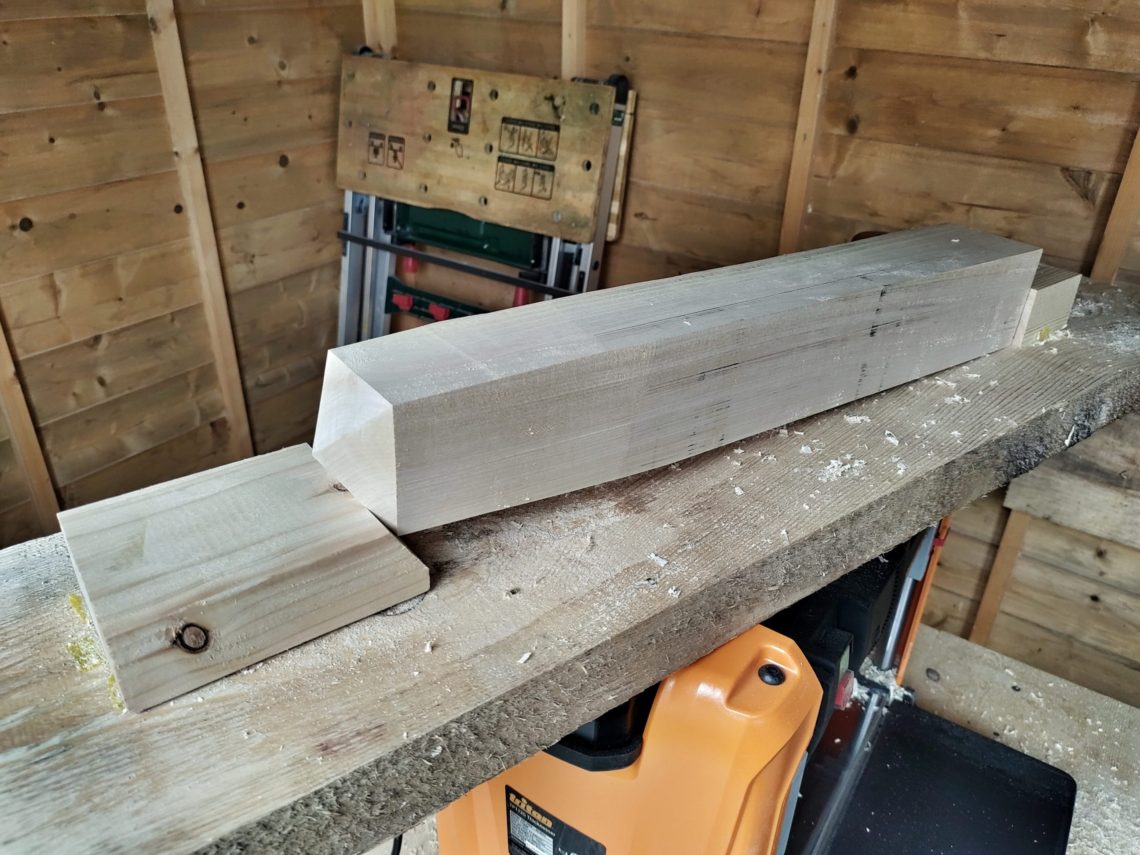
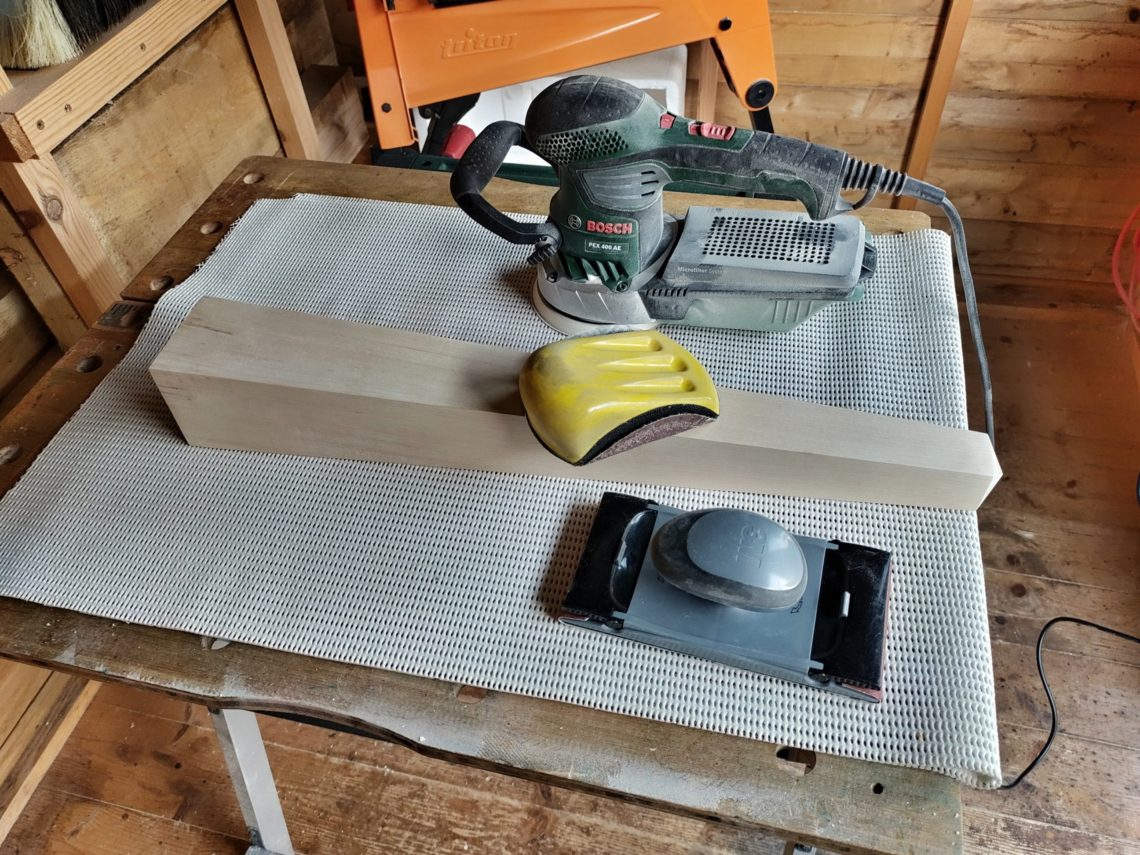
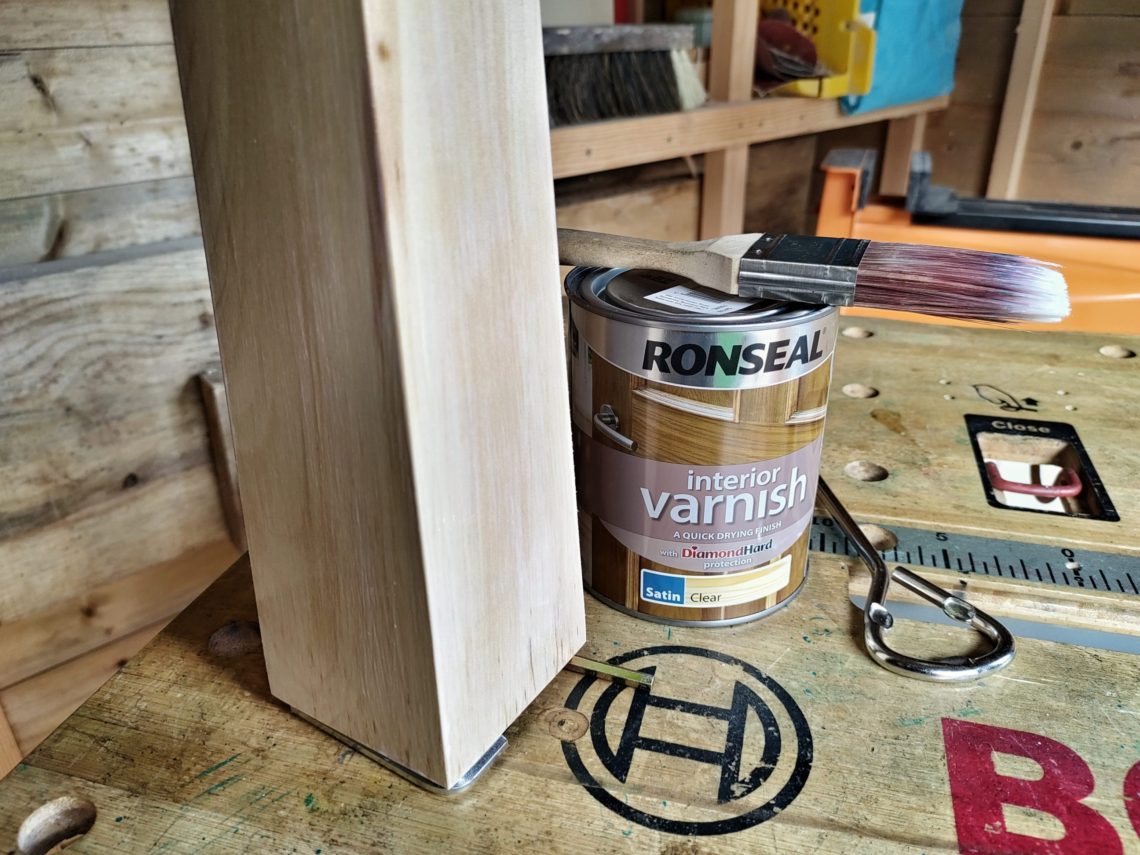
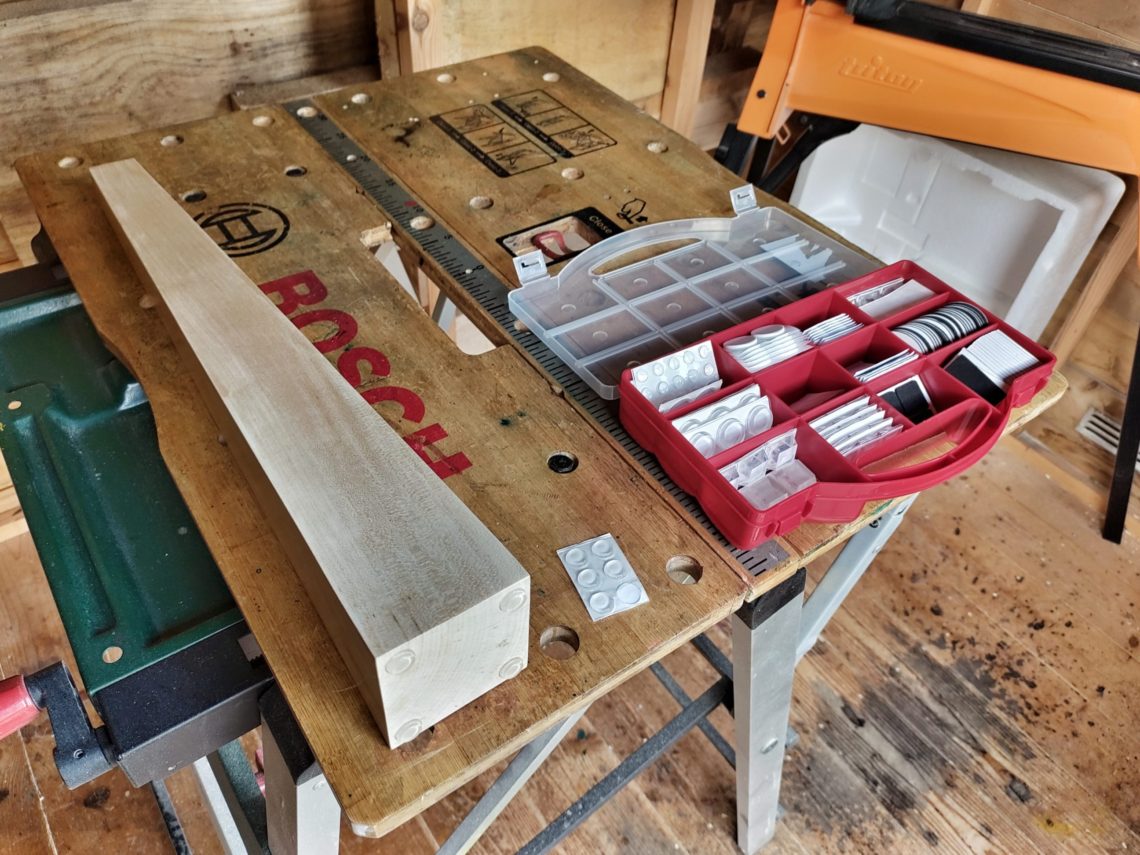
I sanded everything up to 240 grit using my orbital sander, but the pyramid-like peak was sanded by hand. It was ready for the finish. I applied 2 coats of satin water-based varnish, a.k.a. “vanish”. I gave it a day to dry and buffed it with super fine steel wool and wax. I didn’t apply any wax to the base because I was going to stick some rubber feet to it. That way the obelisk was finished and ready to display.

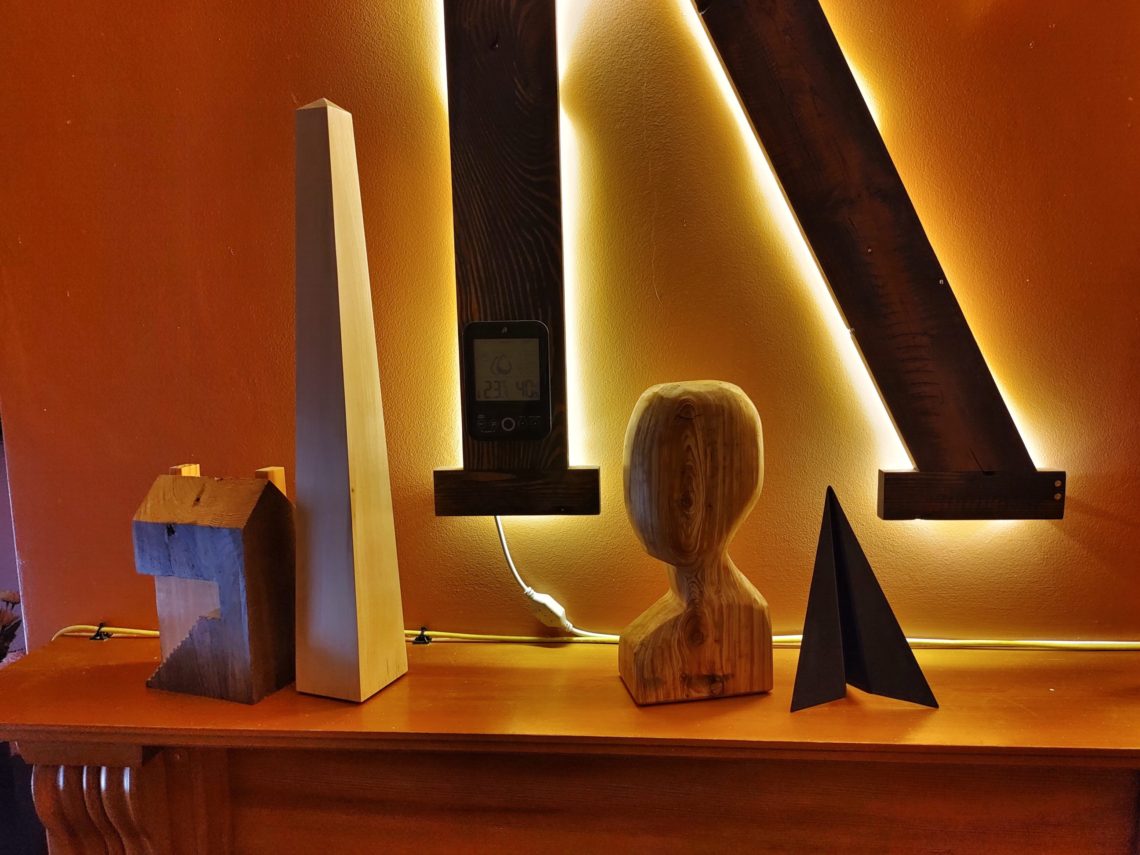
It’s displayed just above the fireplace, along with my other projects: the tiny house, the head, the aeroplane and the letter K. All these projects and the background wall are in warm colours. Nothing on this wall is cold, quite the contrary – it can be very hot, like the fireplace. This monolith is 55 cm tall (almost 22″) but if it was smaller it wouldn’t be that majestic. It’s perfectly straight and knot-free. Yet another beautiful decoration, made of wood that I sourced myself.


One Comment
Pingback: