Fruit fence
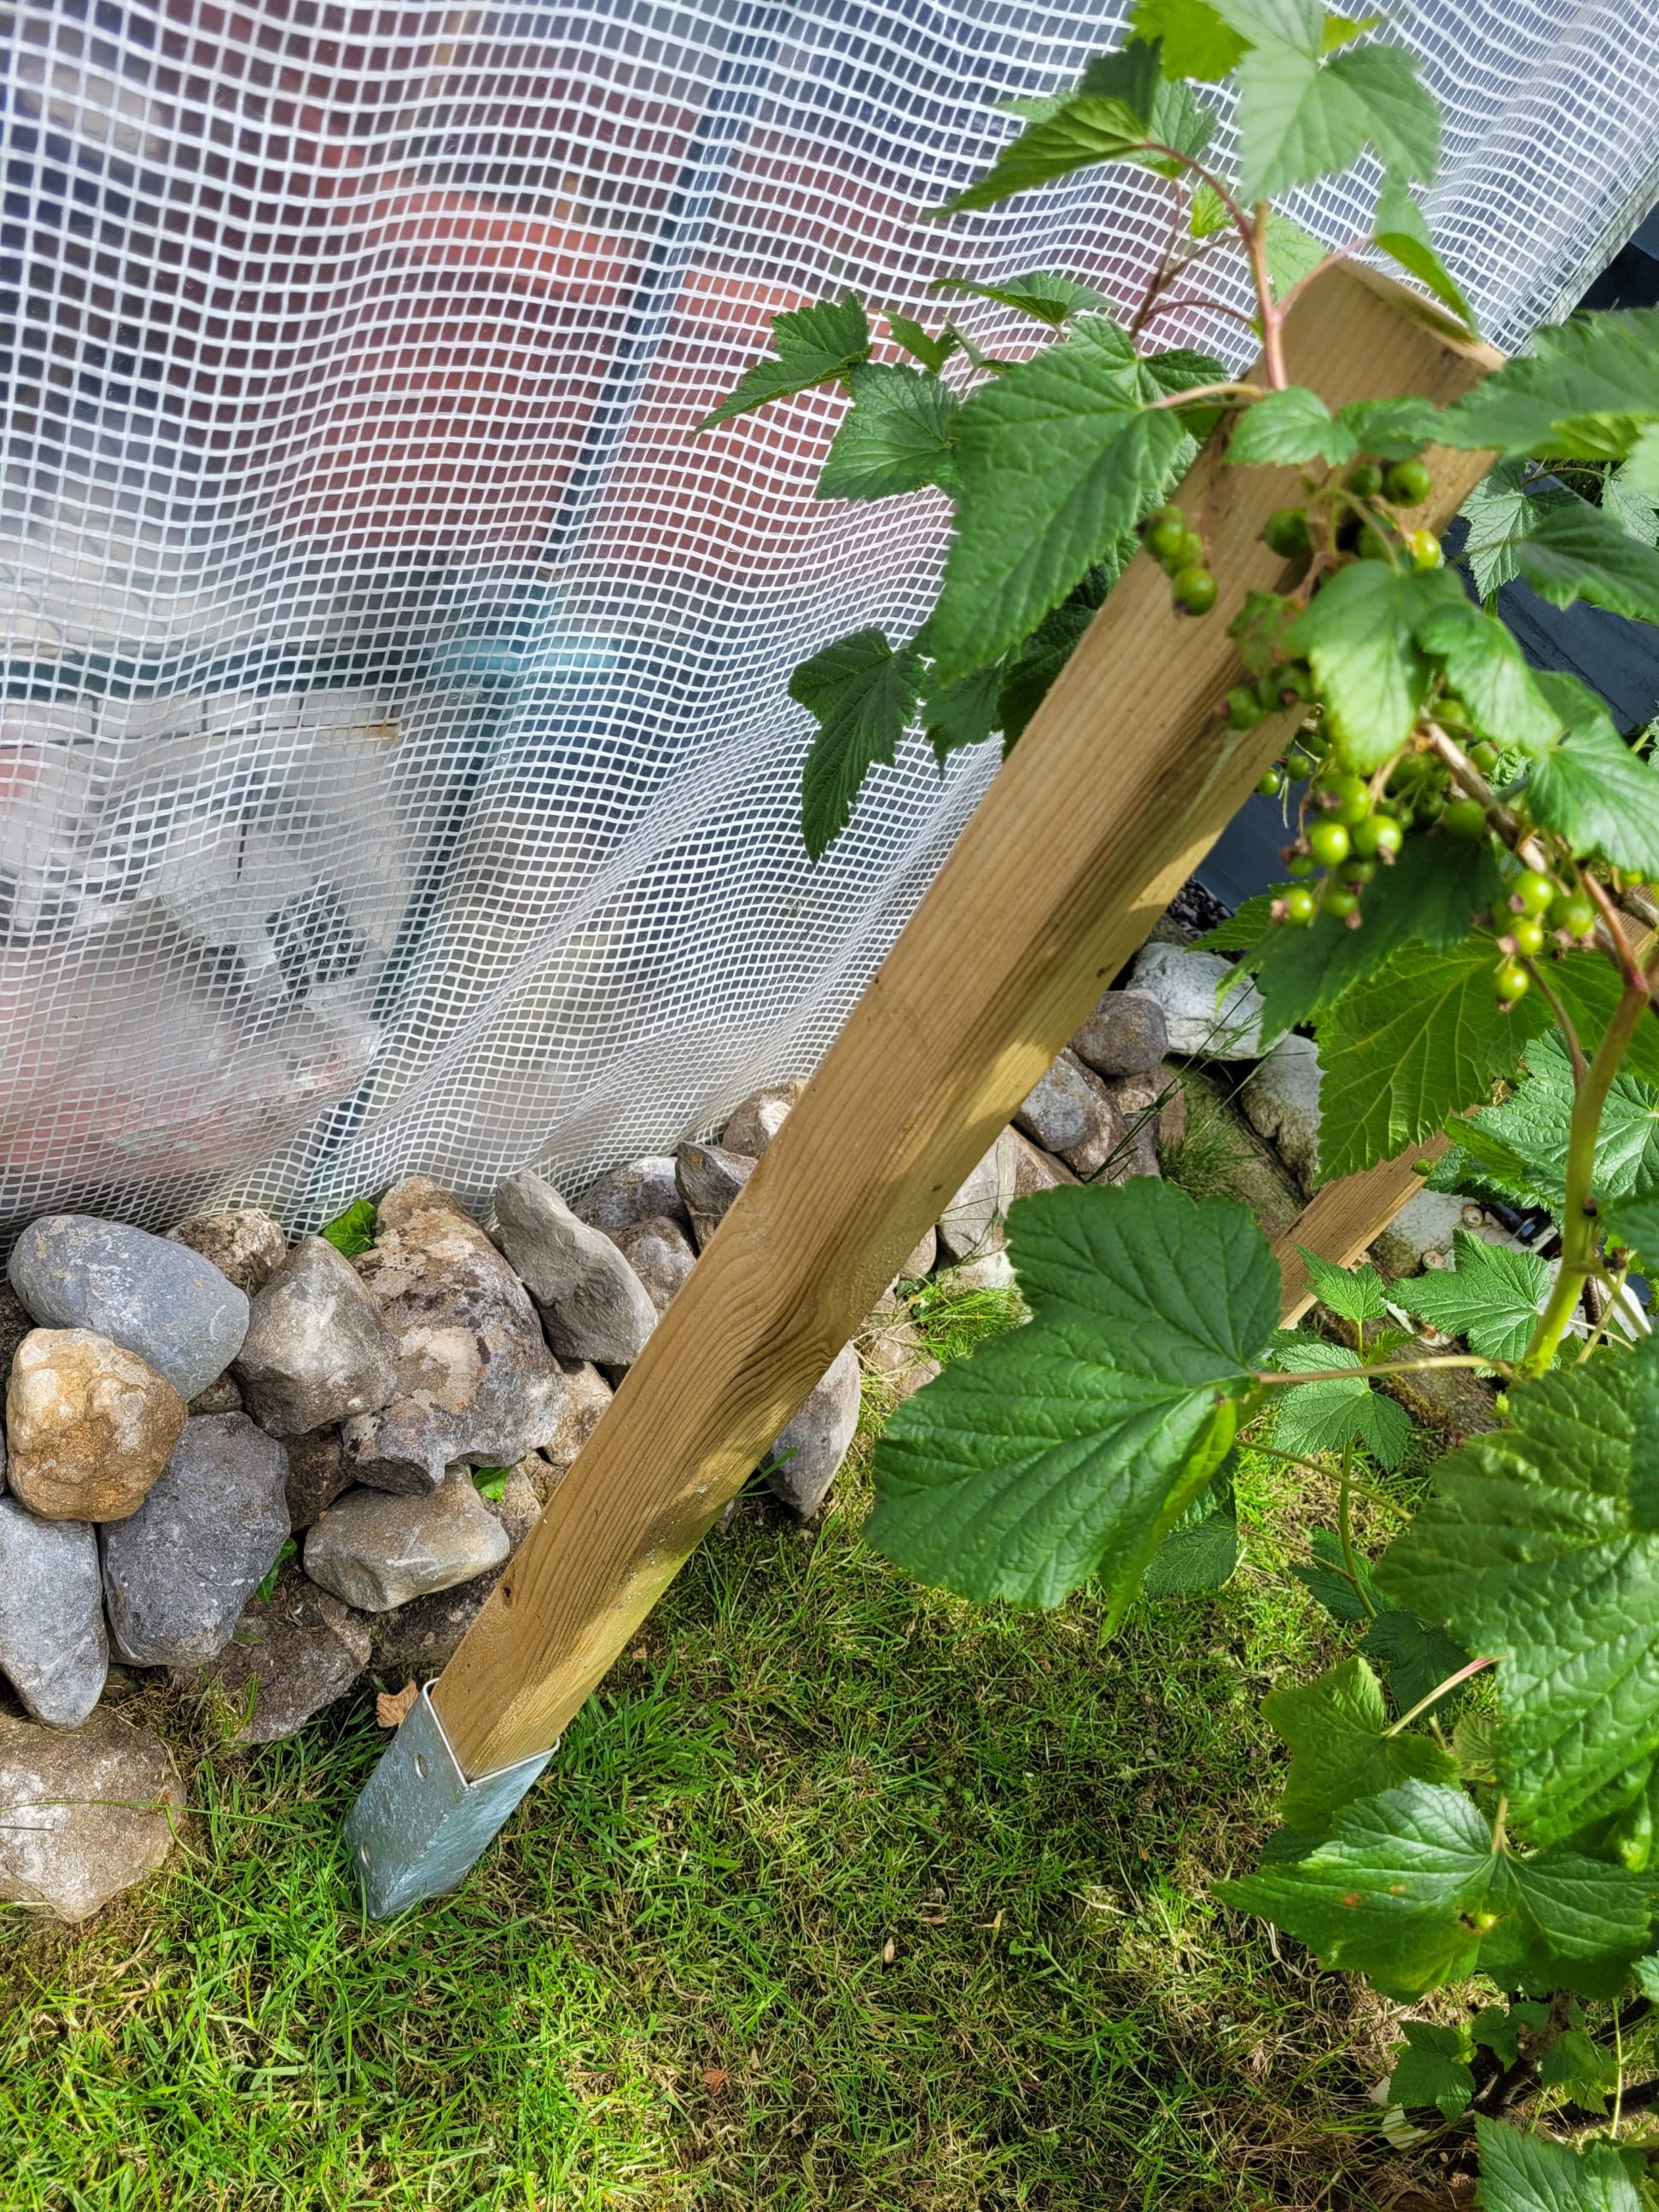
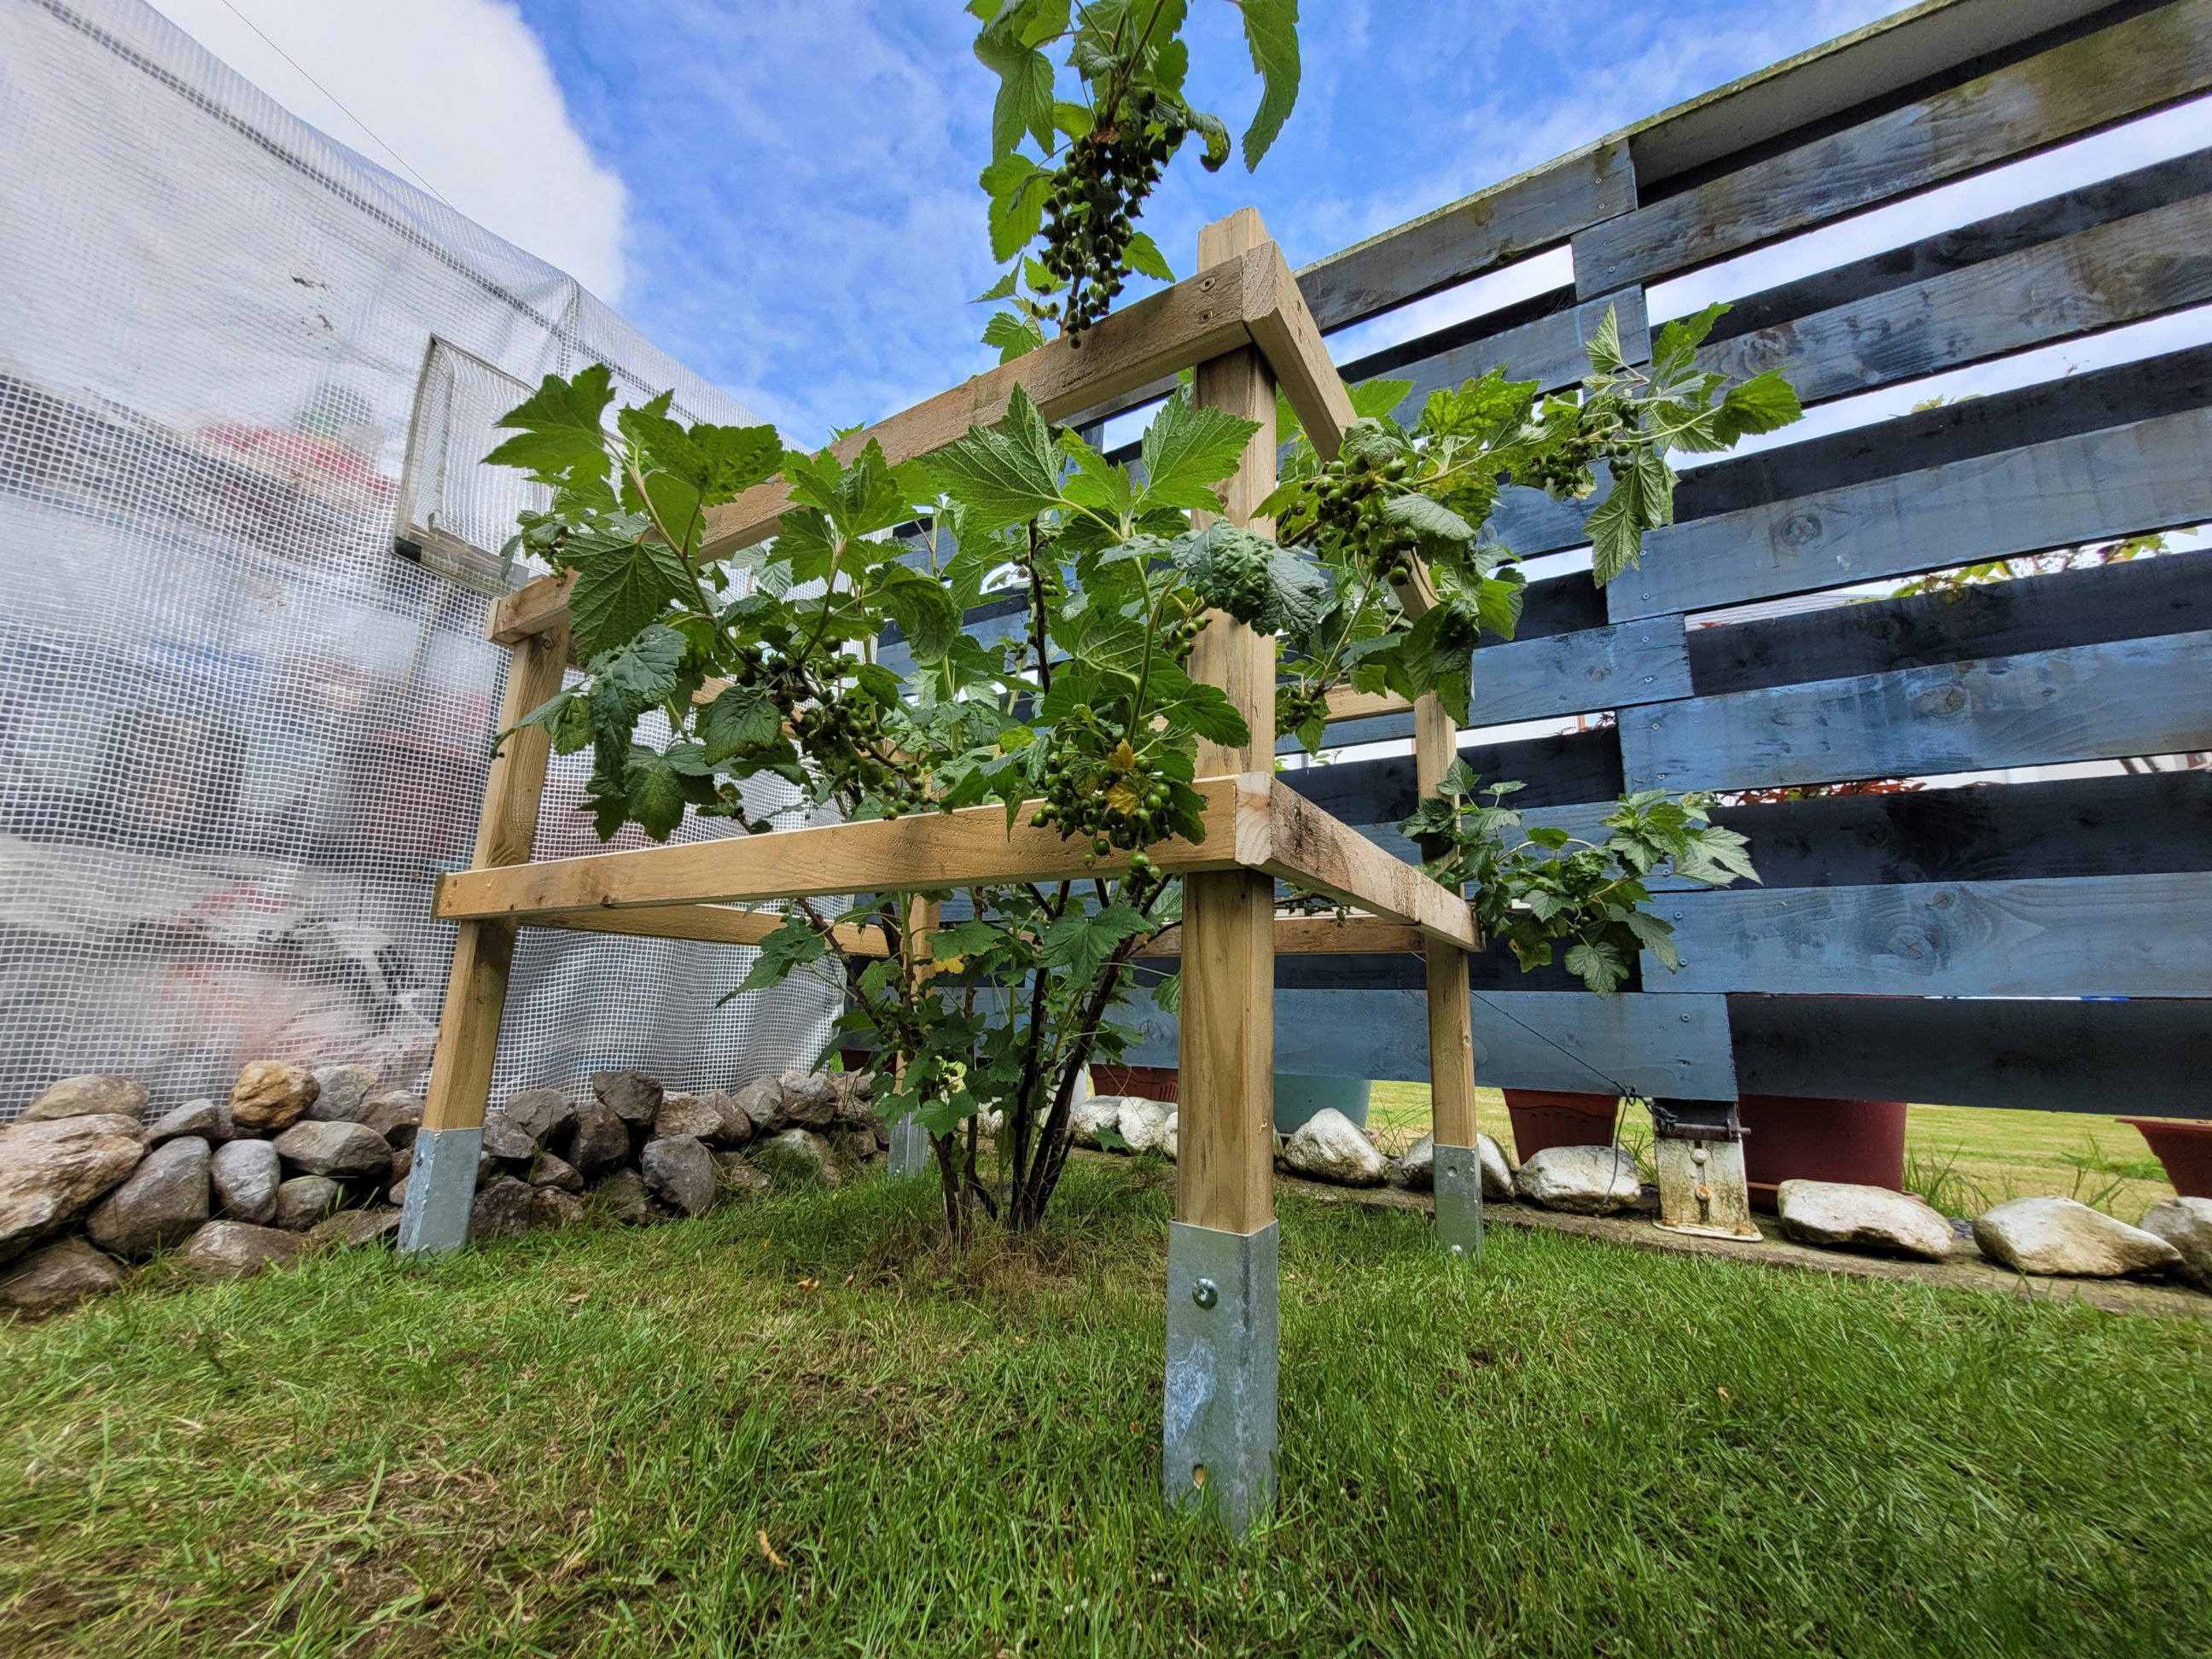
This simple fence was built to prop up laden blackcurrant branches and to keep them off the ground. The bush was growing in every direction, towards the greenhouse, through the property fence and it was taking up an unnecessary amount of space. The fence I built solved all these problems and brought a breath of fresh air into that corner of the garden. It looks rustic yet professional and the bush seems to be under control and well looked after. The job was straightforward and fun, I generally love making garden projects because of all the benefits of sunshine and fresh air. It could be completed in many other ways, using the ground anchors or not, but I chose to make it a little more rot-resistant and long-lasting by paying extra for the right materials.


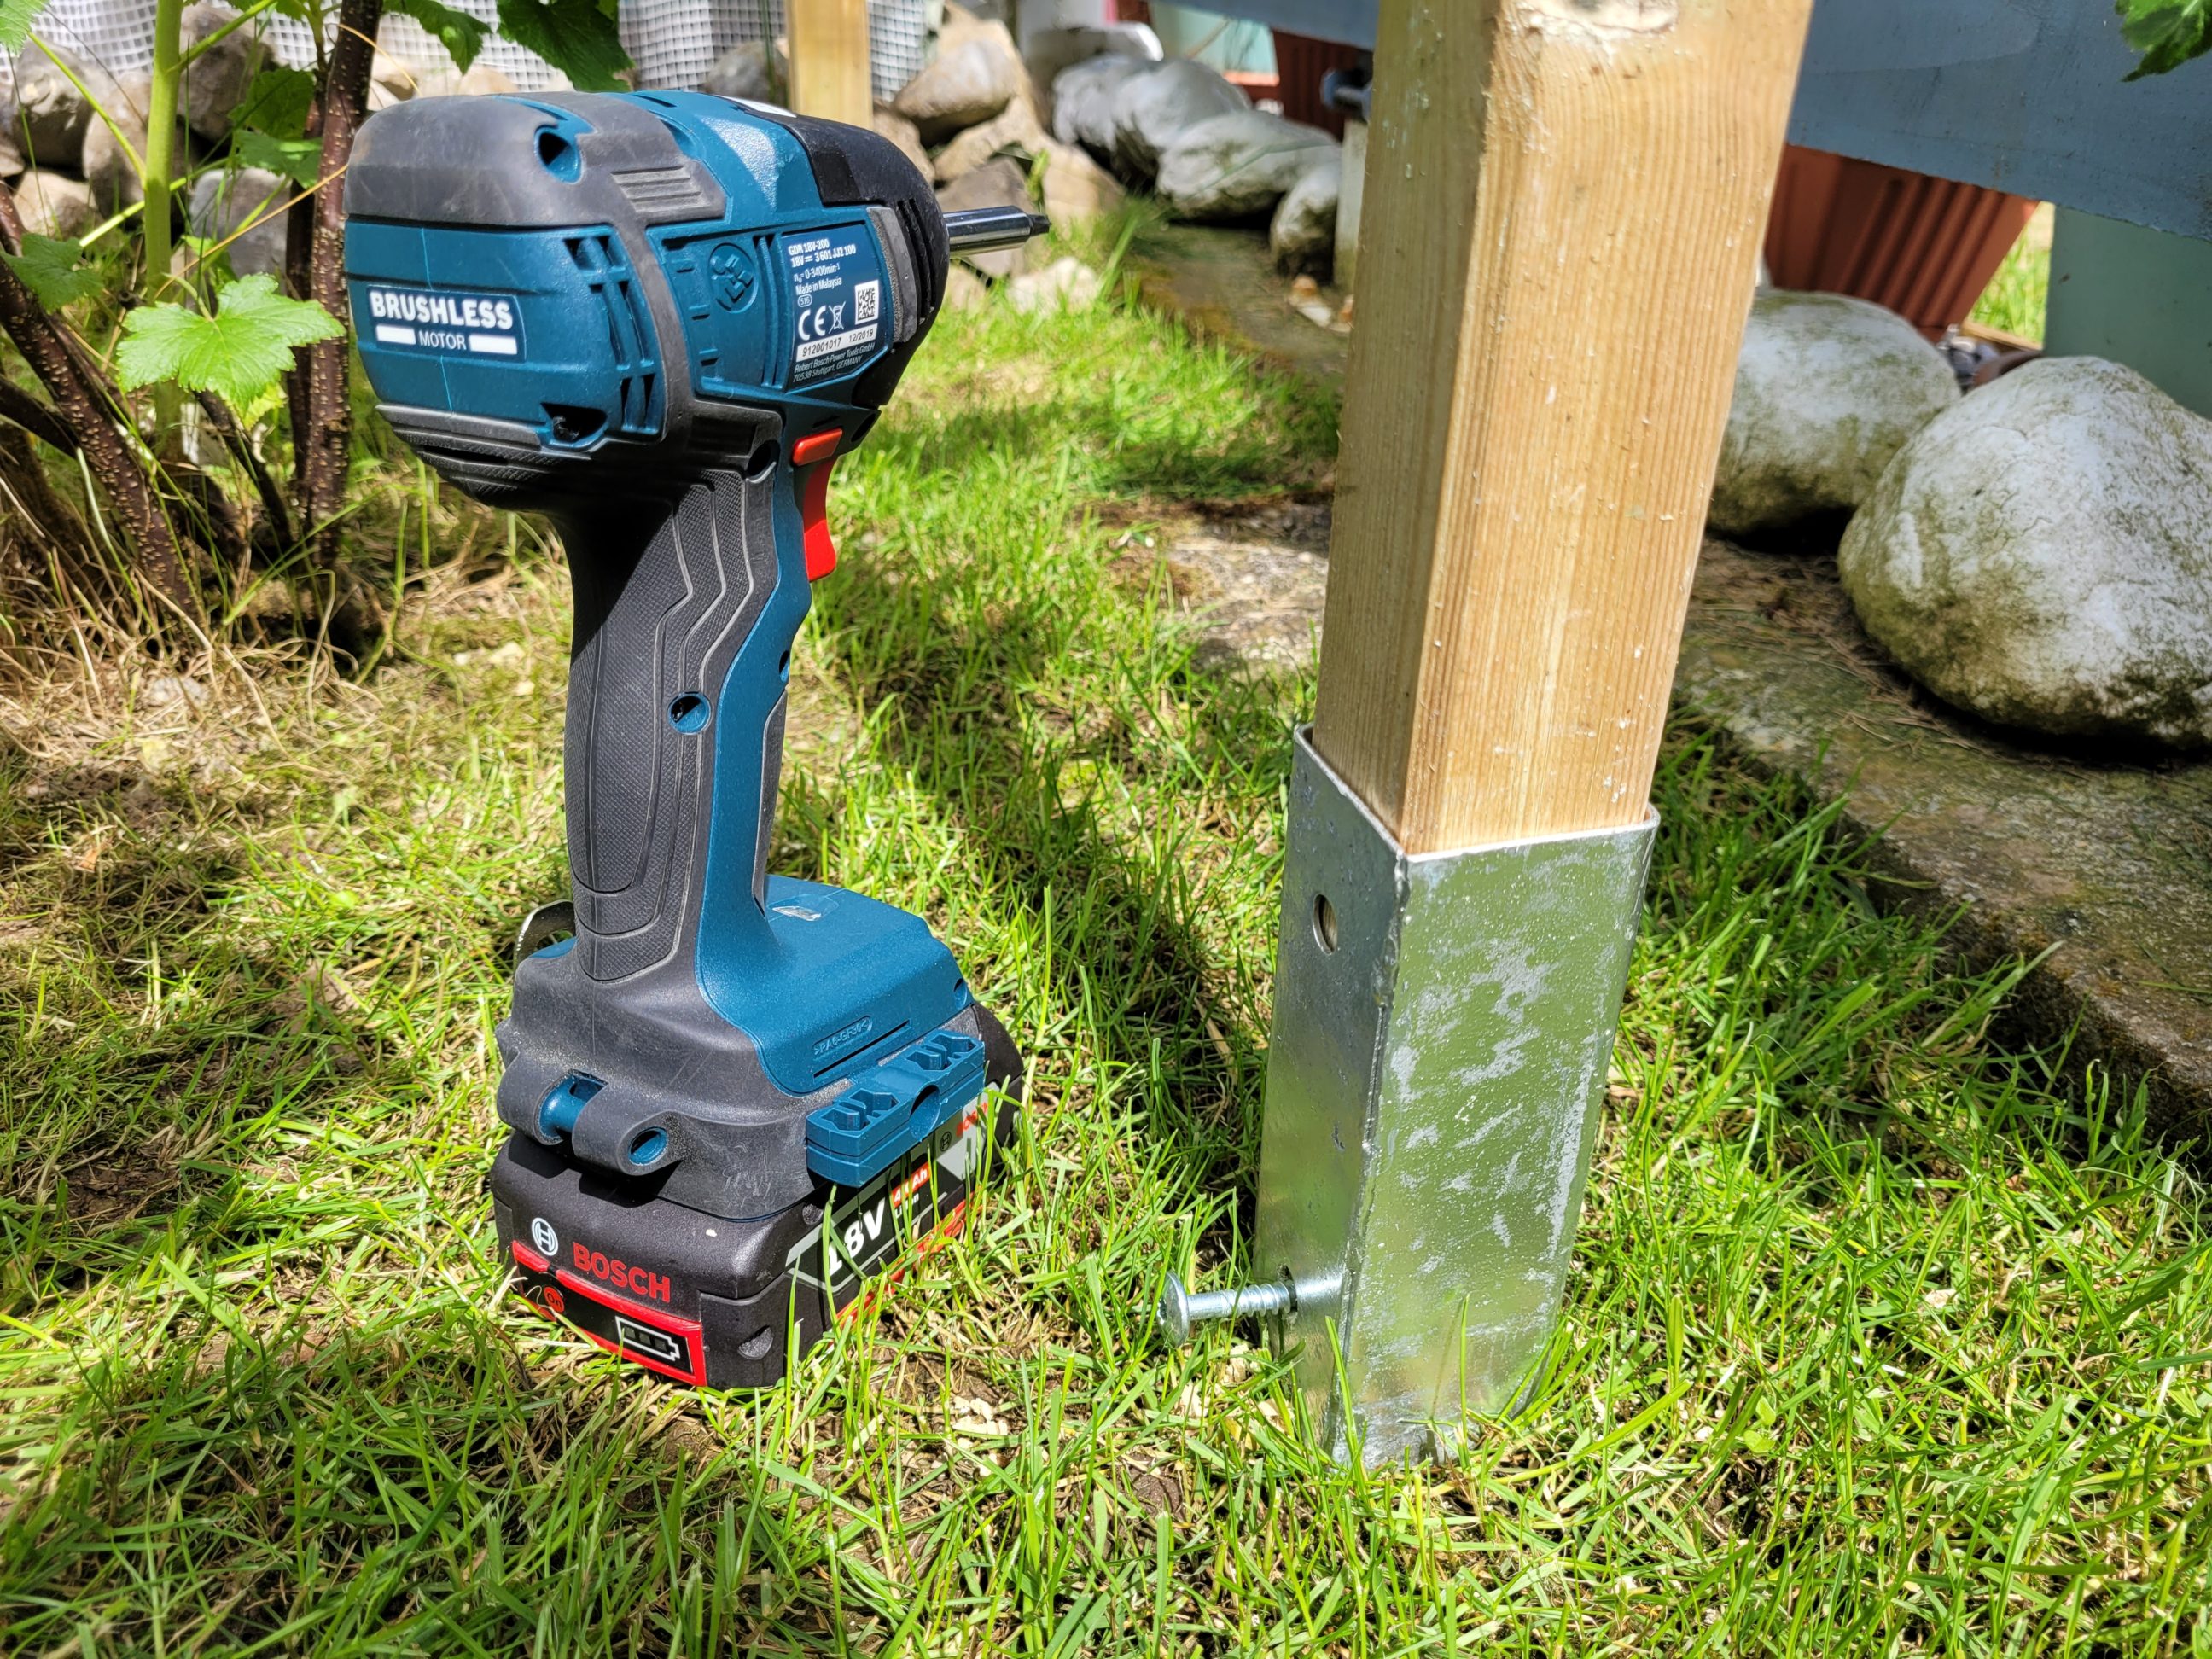
The first thing to do was to cut a sacrificial post that could allow me to pound all 4 spikes into the ground without damaging them. It was also a little easier to visualise a straight, plumb line during the installation by having an extension like this. I used a club hammer and a simple spirit level to set all the spikes in the ground. Next, I placed the posts in the anchors, pre-drilled holes and fixed everything together with supplied screws. I didn’t use all 4 mounting points, but only 2 for each post, using the upper hole on one side and the lower one on the opposite side. That provided enough support and no screws were interfering with one another.

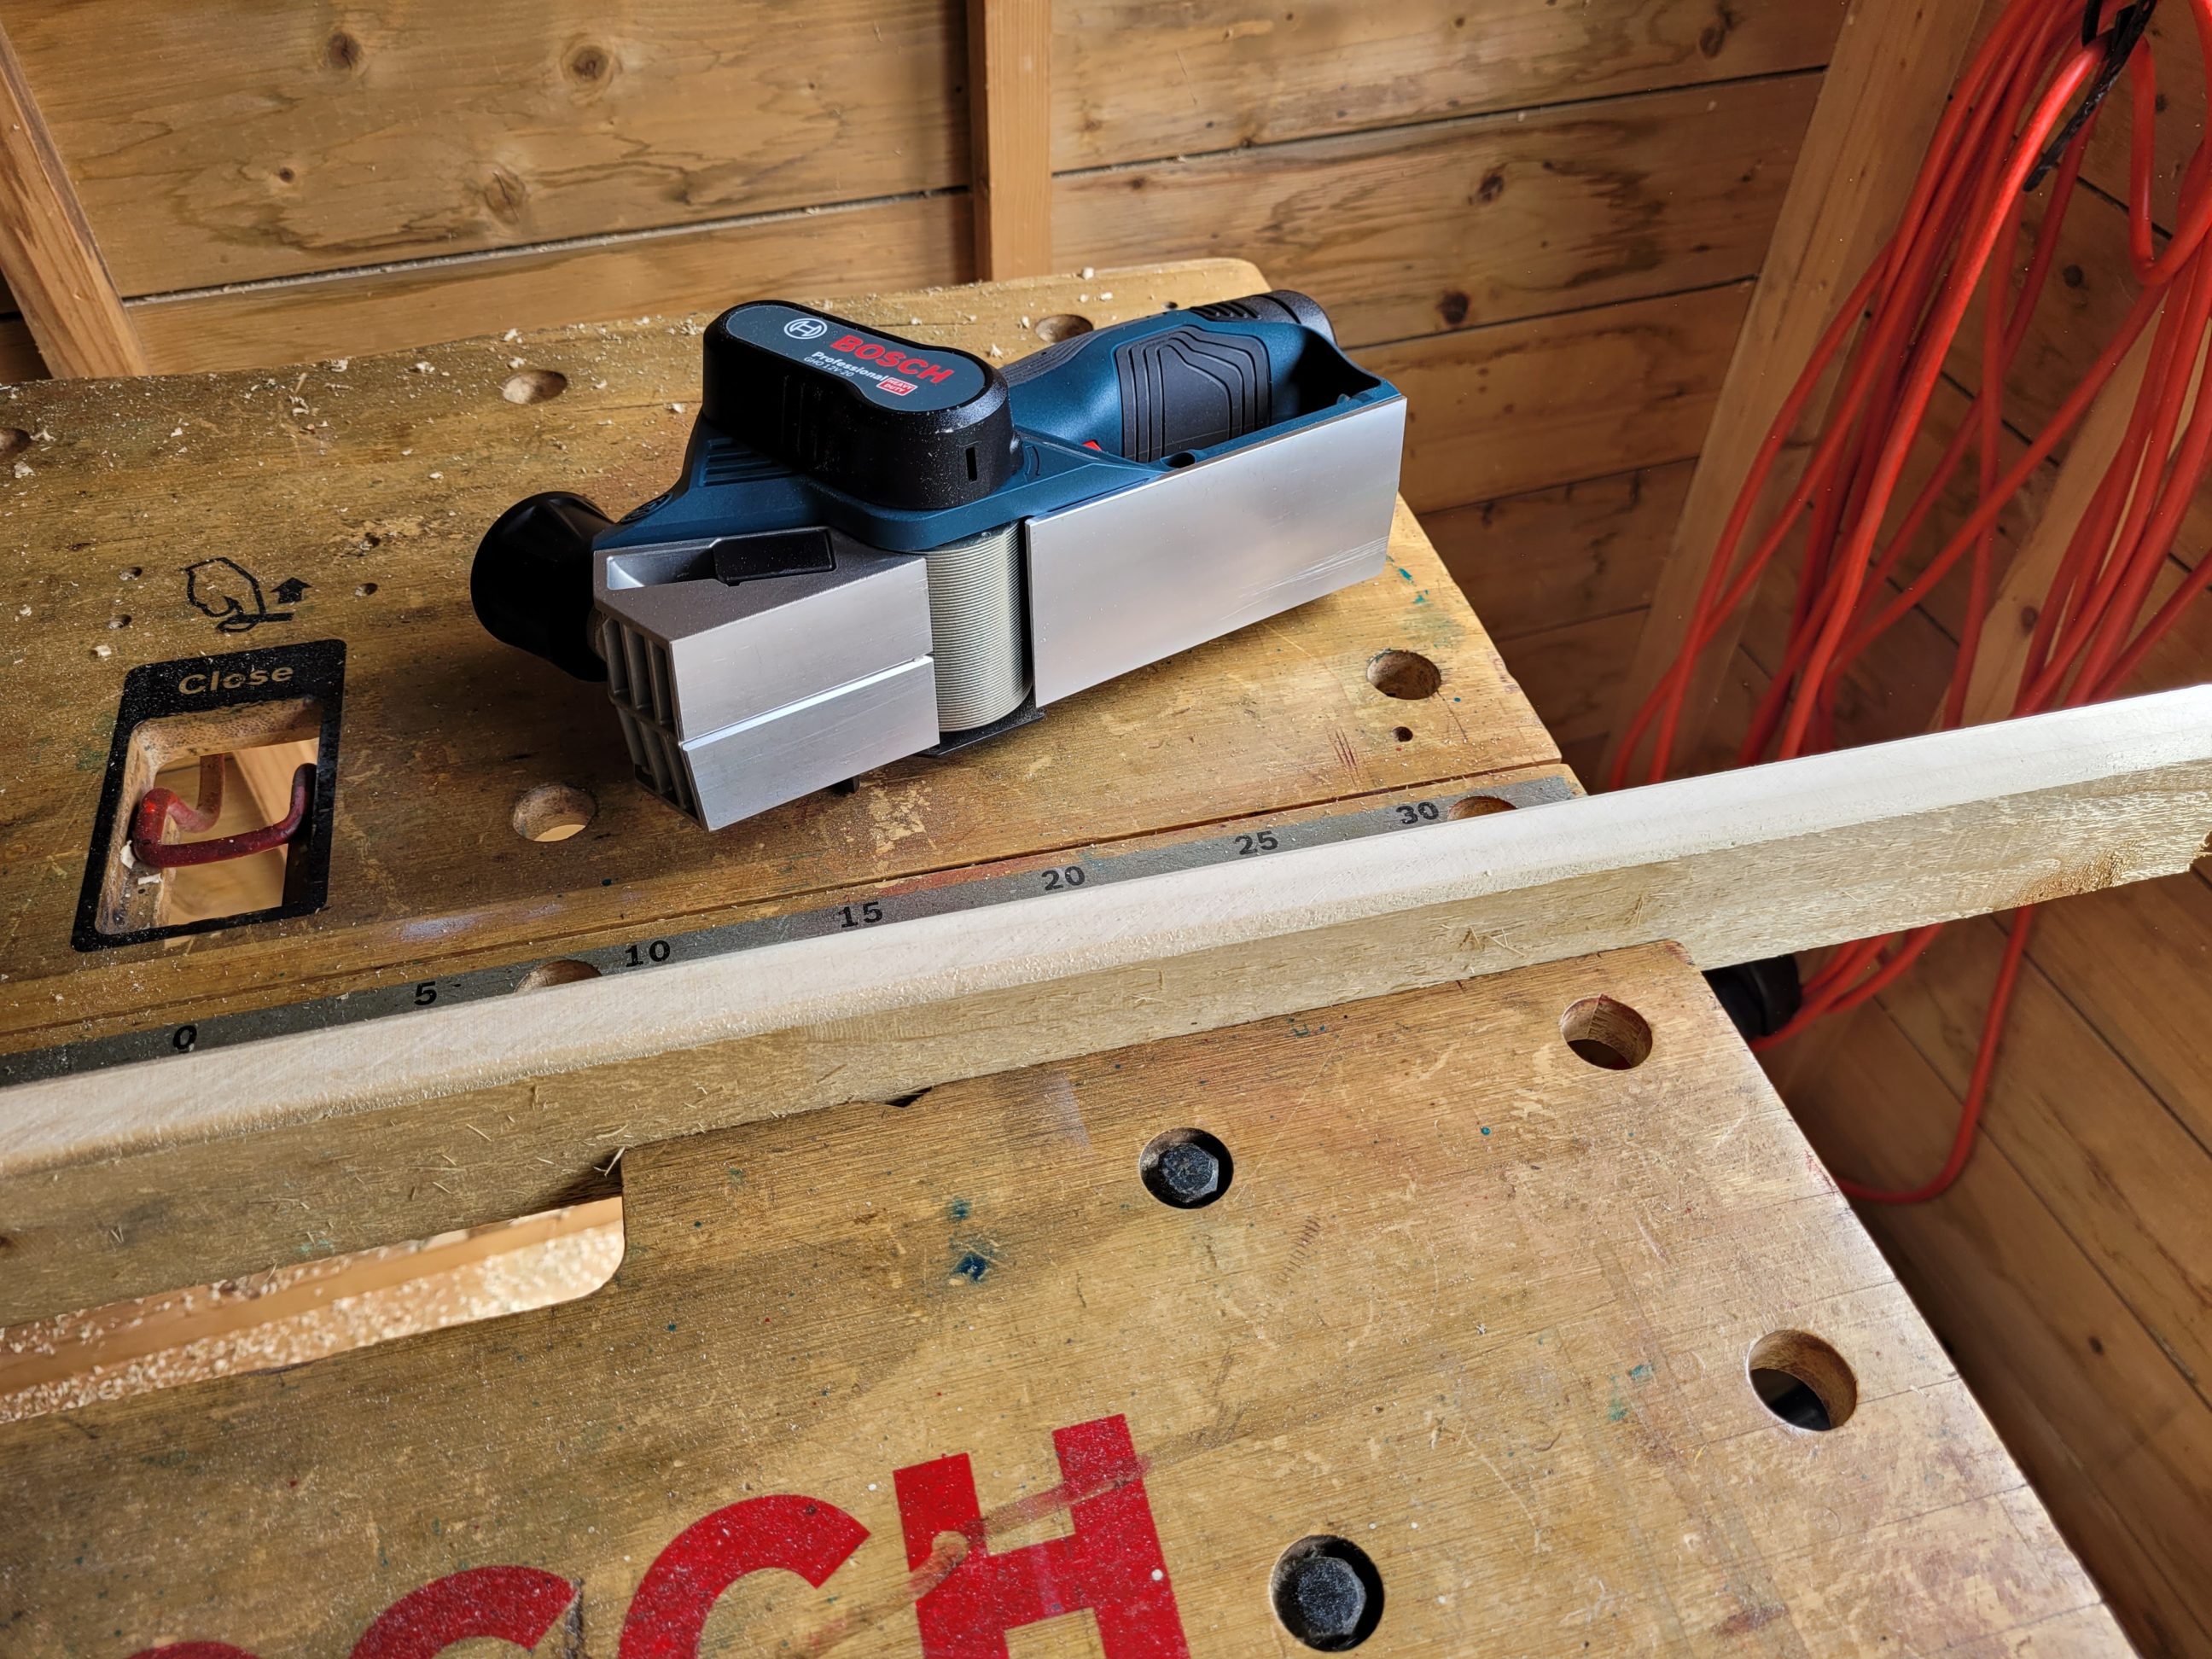
I ripped the rails next, using the whole width of the material I had. For these particular boards, it was exactly 53.5 mm (just over 2 1/8 inches), taking into consideration the thickness of the blade and minimalising the waste to zero. Each rail got all 4 edges chamfered to protect the fruit branches from scratching and damaging. I used a small 12-volt planer for that task as it was way quicker than using a router and probably more suitable for the job.


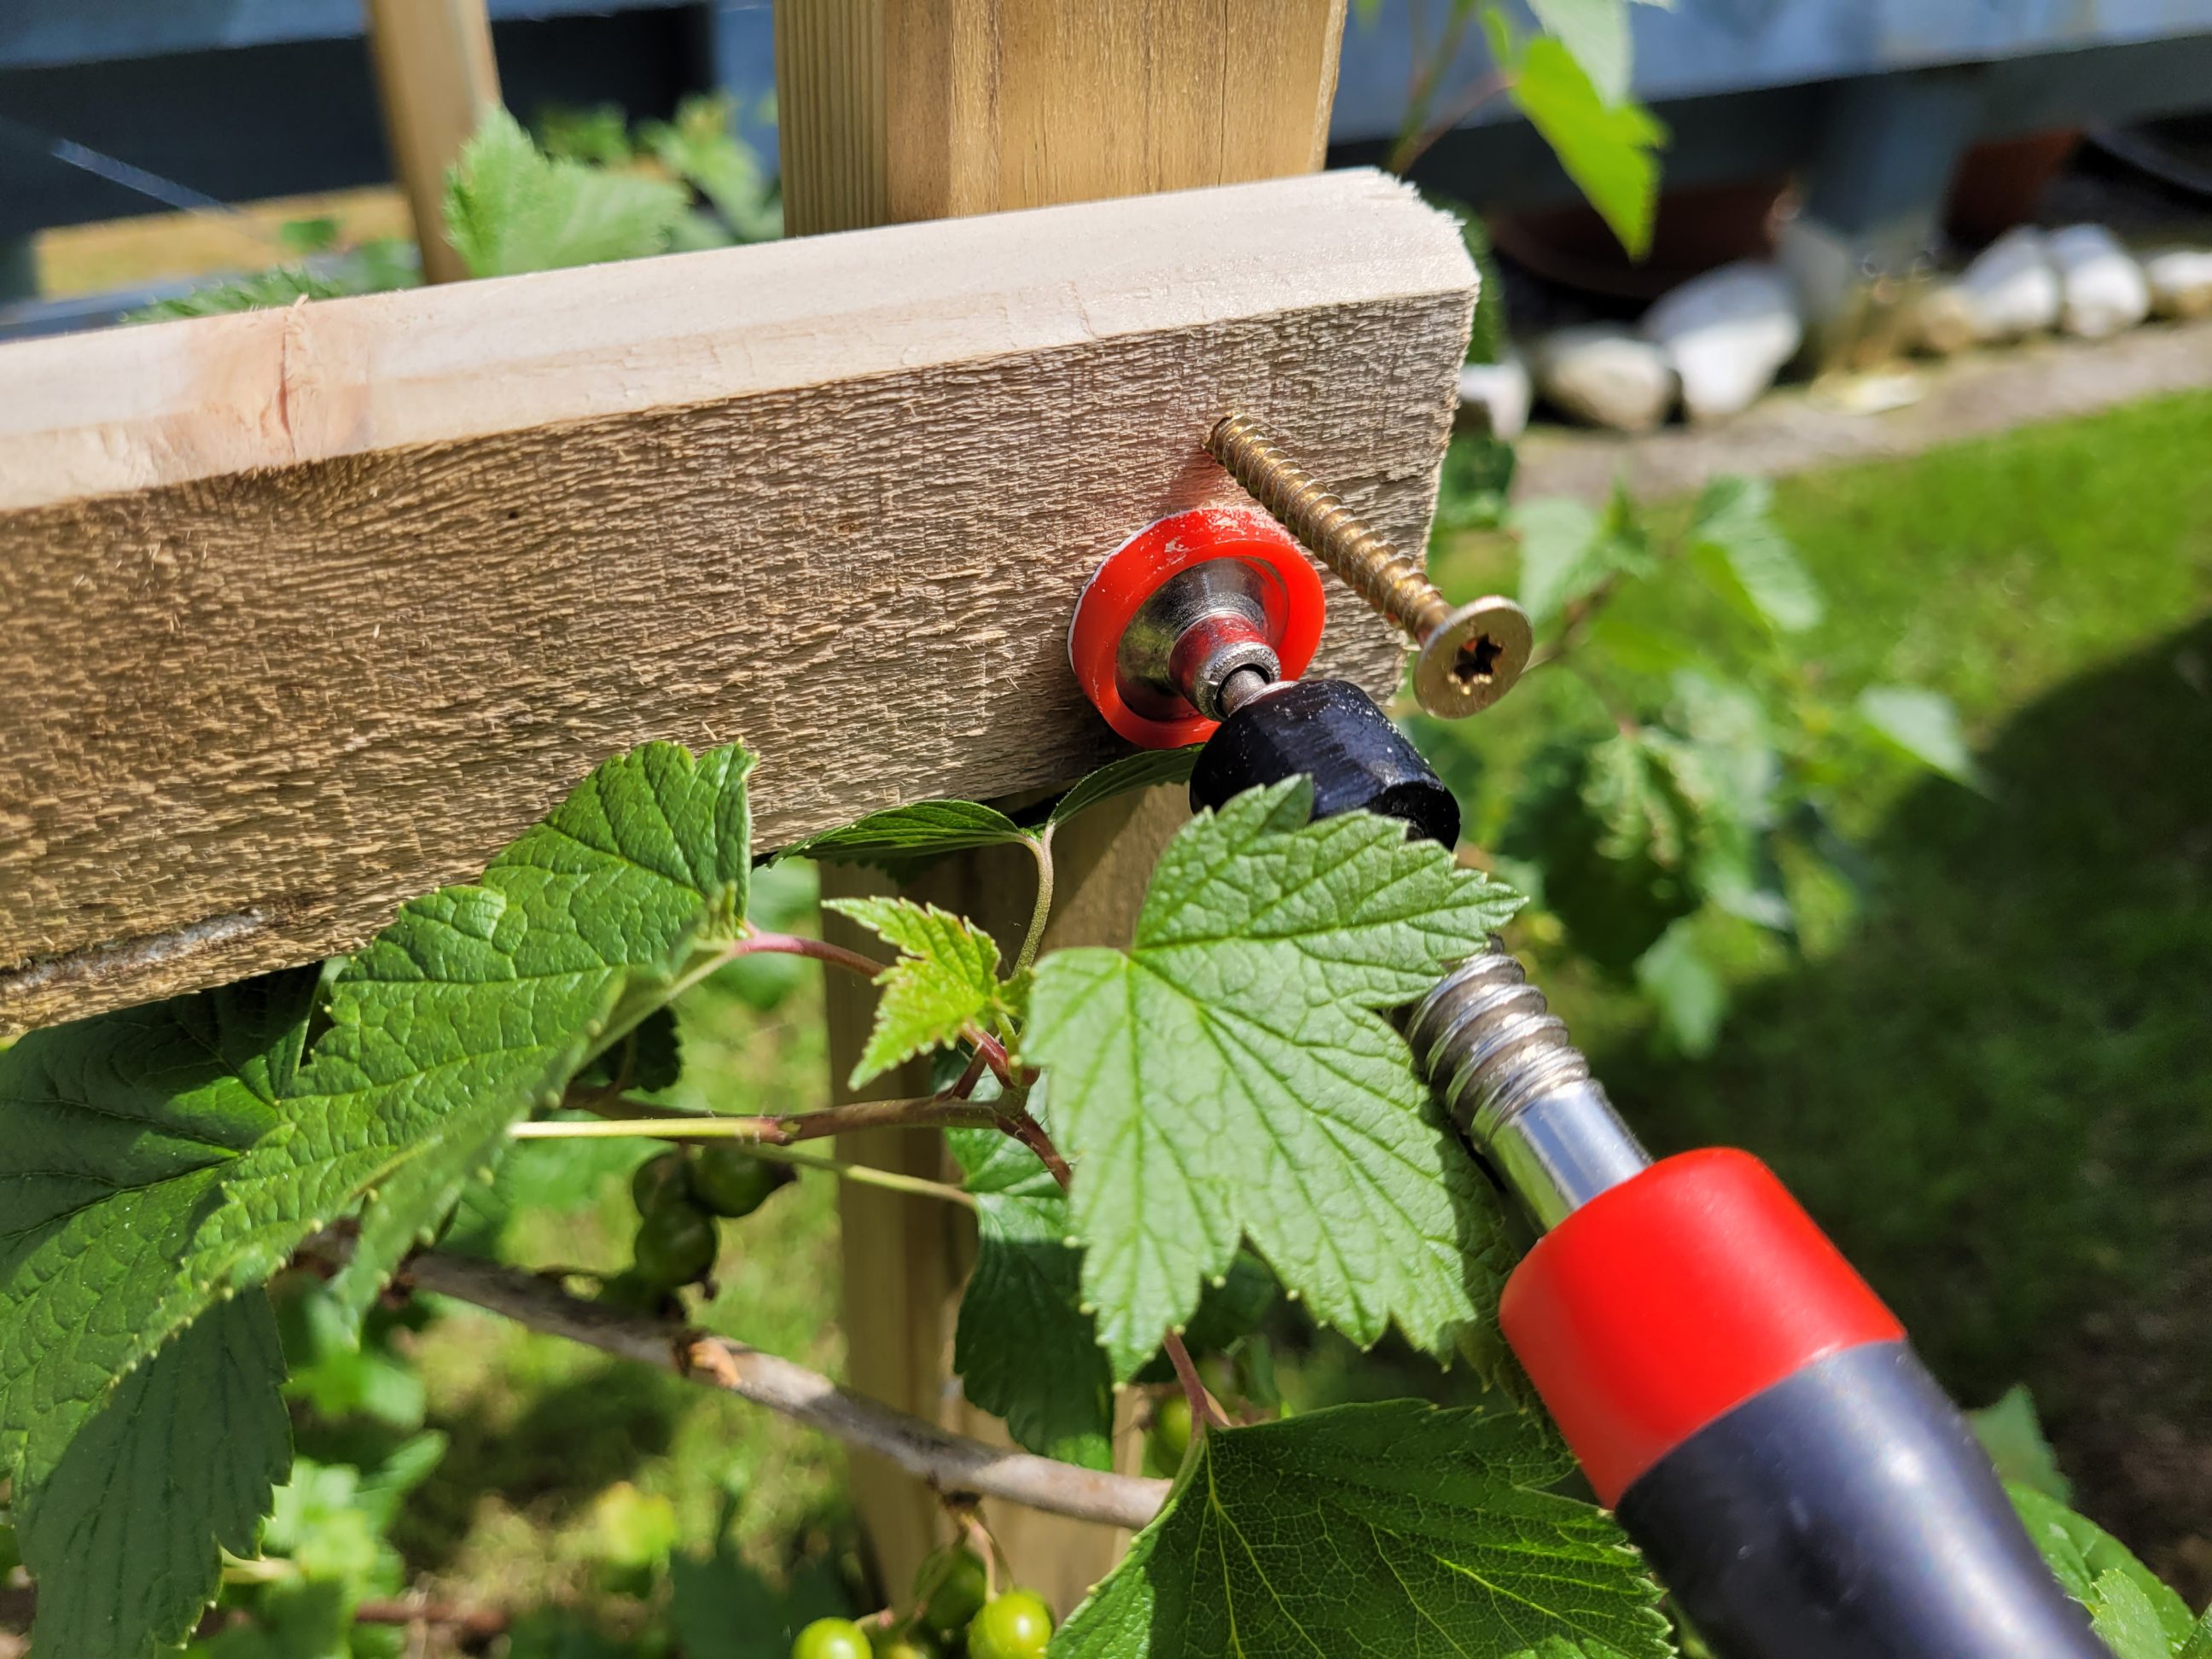
I checked the level from the lowest post and transferred it to the remaining 3 posts using the only spirit level I had on hand, and that was the one in my combination square. Each rail was cut to length individually, clamped, pre-drilled in 4 places and fastened with screws. As the whole construction was only visually square, plumb and levelled, each rail was different in length. I measured the distance at the bottom and transferred it to the top, that way the cage was square enough for my needs. Once the front and the back rails were fixed I repeated the process for the sides rails, adding 44 mm to their lengths as that was the width of the overlap (each board was 22 mm or ~7/8″ thick).


It was a little easier to cut and fix the bottom row. I transferred the level line down by 29 cm (~11 1/2 inch), measured the length for each rail individually, cut, chamfered and fixed the rails to the posts. The top of each post was left as it was, I didn’t cut them flush with the top row, there was no need to do so in my opinion. It was also safer for the bush and saved its fruits and branches from damage made by tools. This project seemed to be easy to make and it was, it just took more than expected – probably because of the beautiful weather. It was fun making it and the results are rewarding and pleasant to the eye. The anchors easily penetrated the ground, there were no rocks and stones in their ways and overall the whole project was straightforward. I reused a few old boards to cut the rails, but the posts and anchors had to be purchased and at that time their price was a little too high for a project like this. In return and thankfully, the spikes are galvanised and should last a long time. The posts can be repaired or replaced if rotten so the whole construction is easy to maintain.


You May Also Like

Snipe reducing and reversible thickness planer jig

Spire