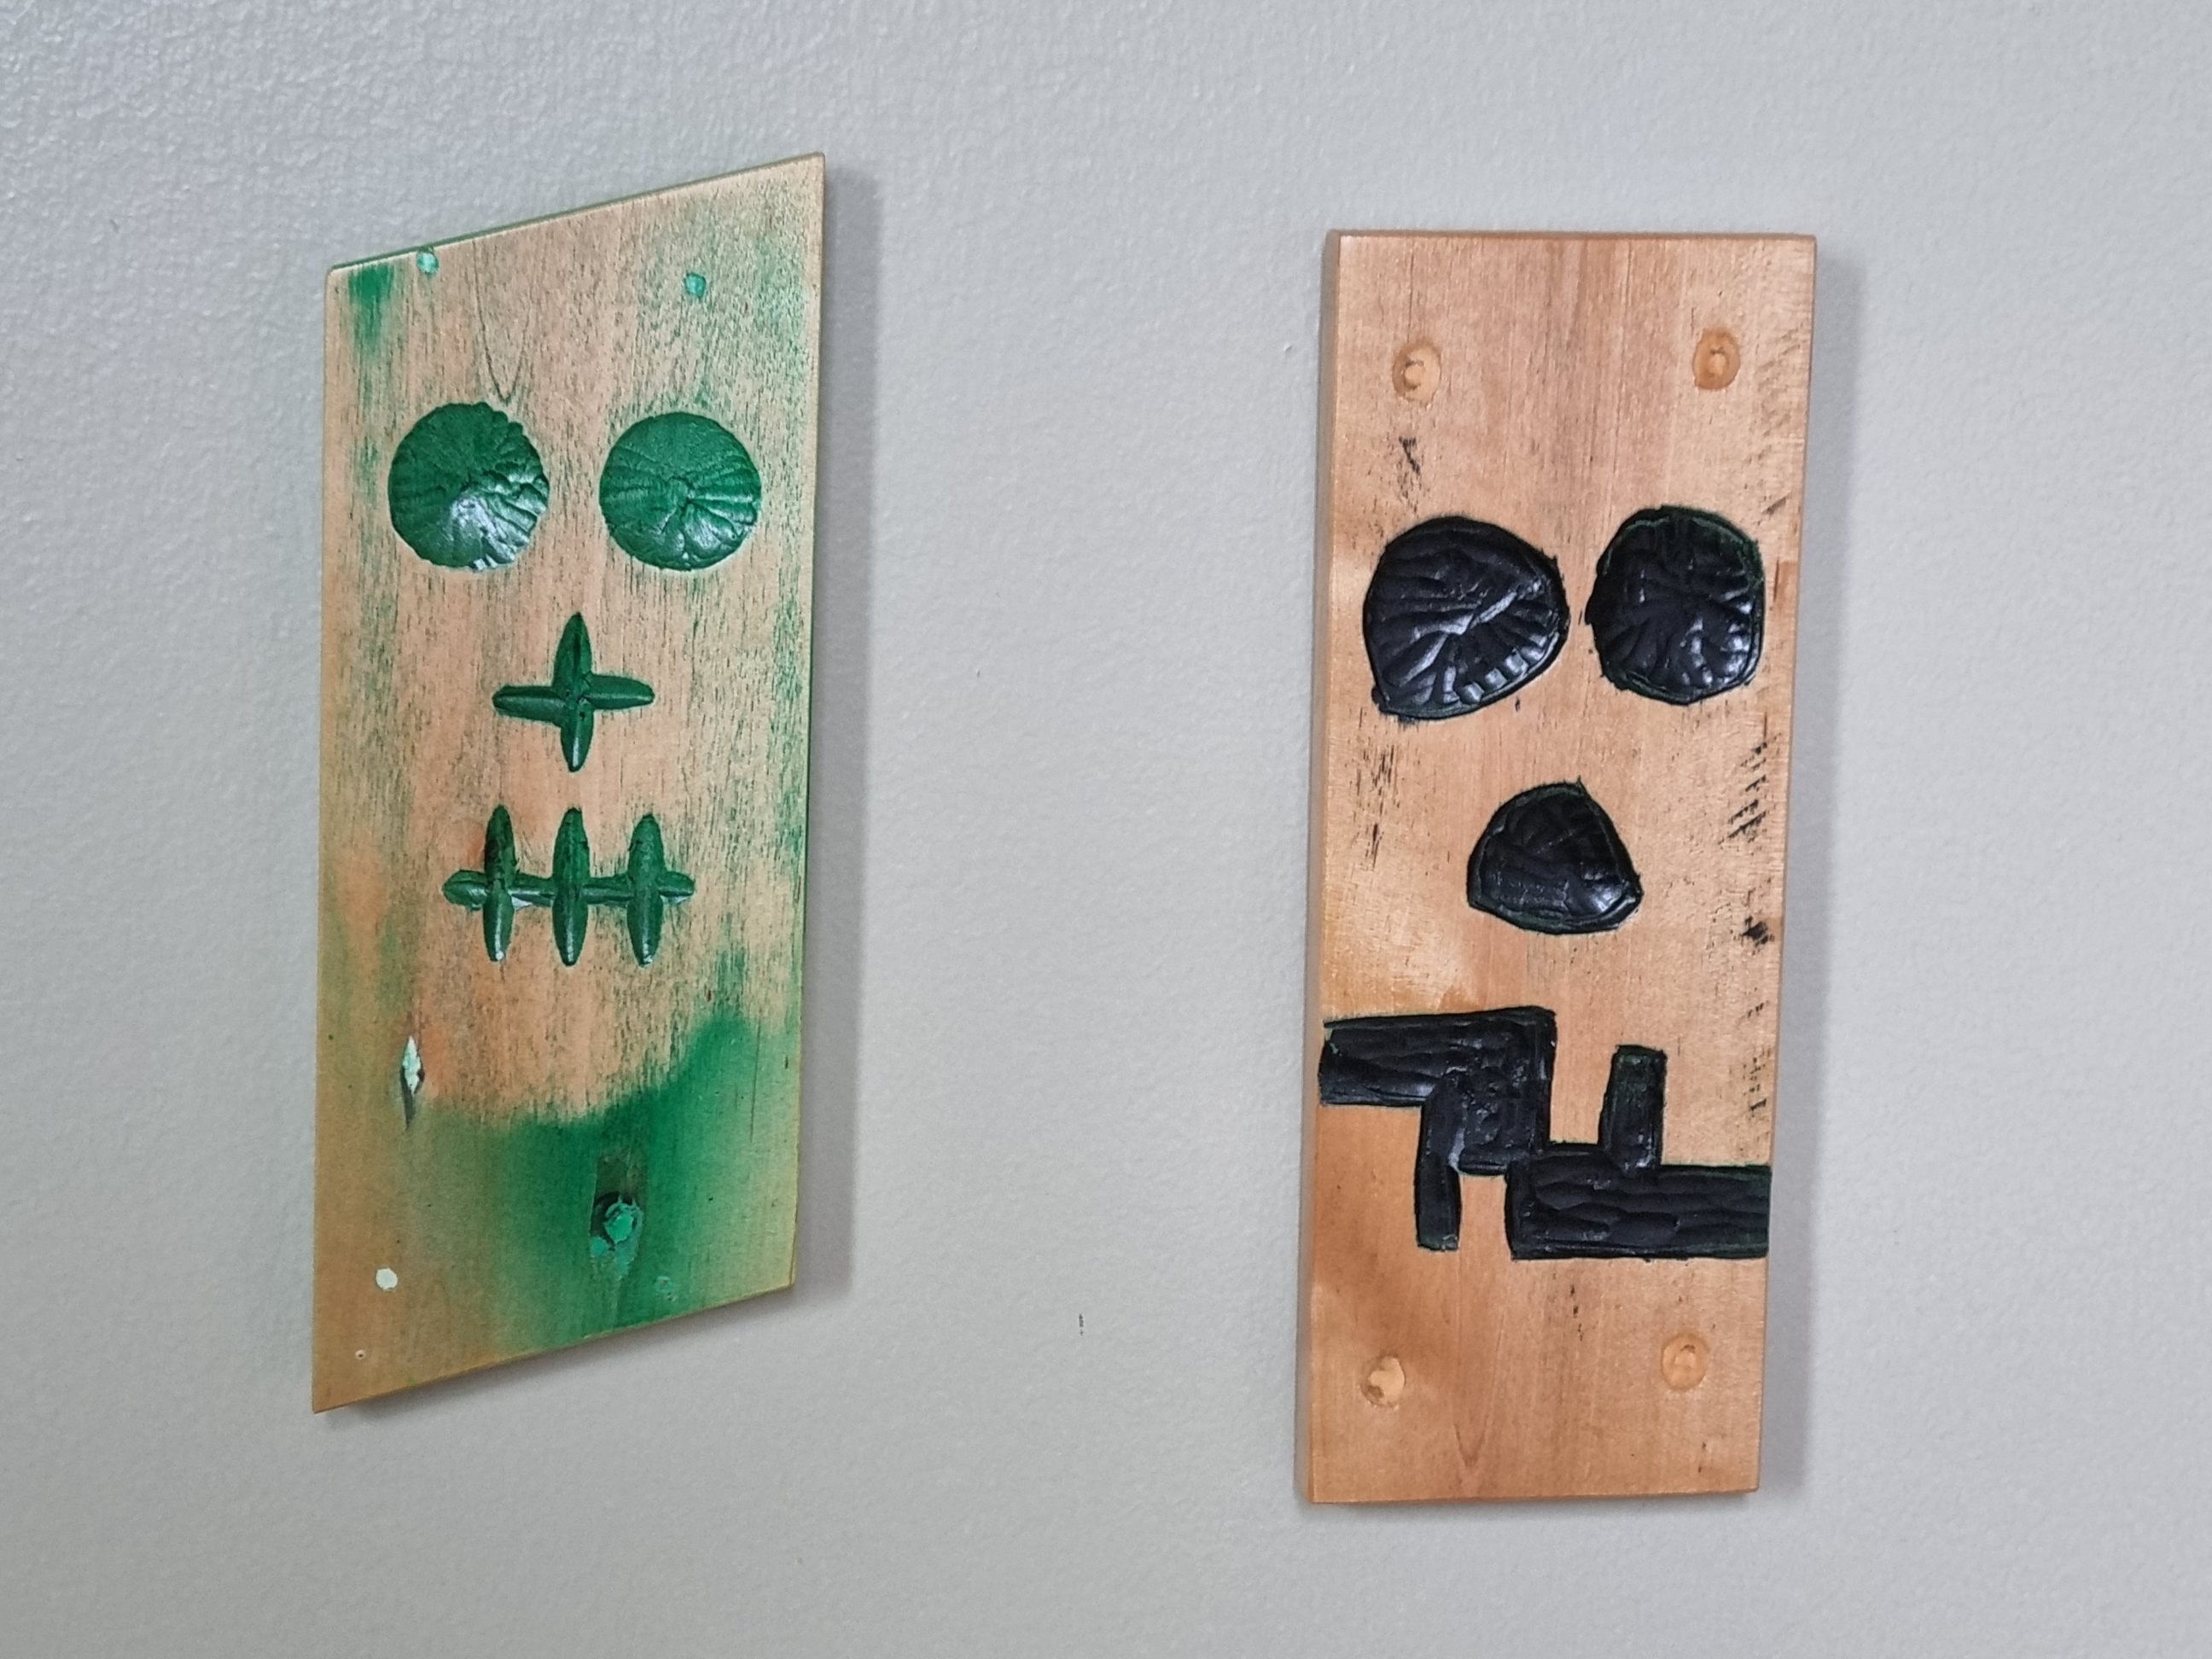
Greenish Skully and Bolo Wrymouth
Two brutally simple, engraved linden boards which were used to make a crate a few years ago. That wood, however, was prone to seasonal movements big time and the crate had to be disassembled. It just wasn’t the perfect material for a crate. Nothing was going to waste, though, that linden wood was perfect for carving and the chisels I had were super-sharp. No excuses, I had everything I needed, and I was ready for some dust-free woodwork, for a change. What began as a solitary wall decoration, soon evolved into a small collection of two whimsical carvings. The self-adhesive wall hooks I utilised were easily removable, ensuring that any new pieces added to the collection could be laid out appropriately.
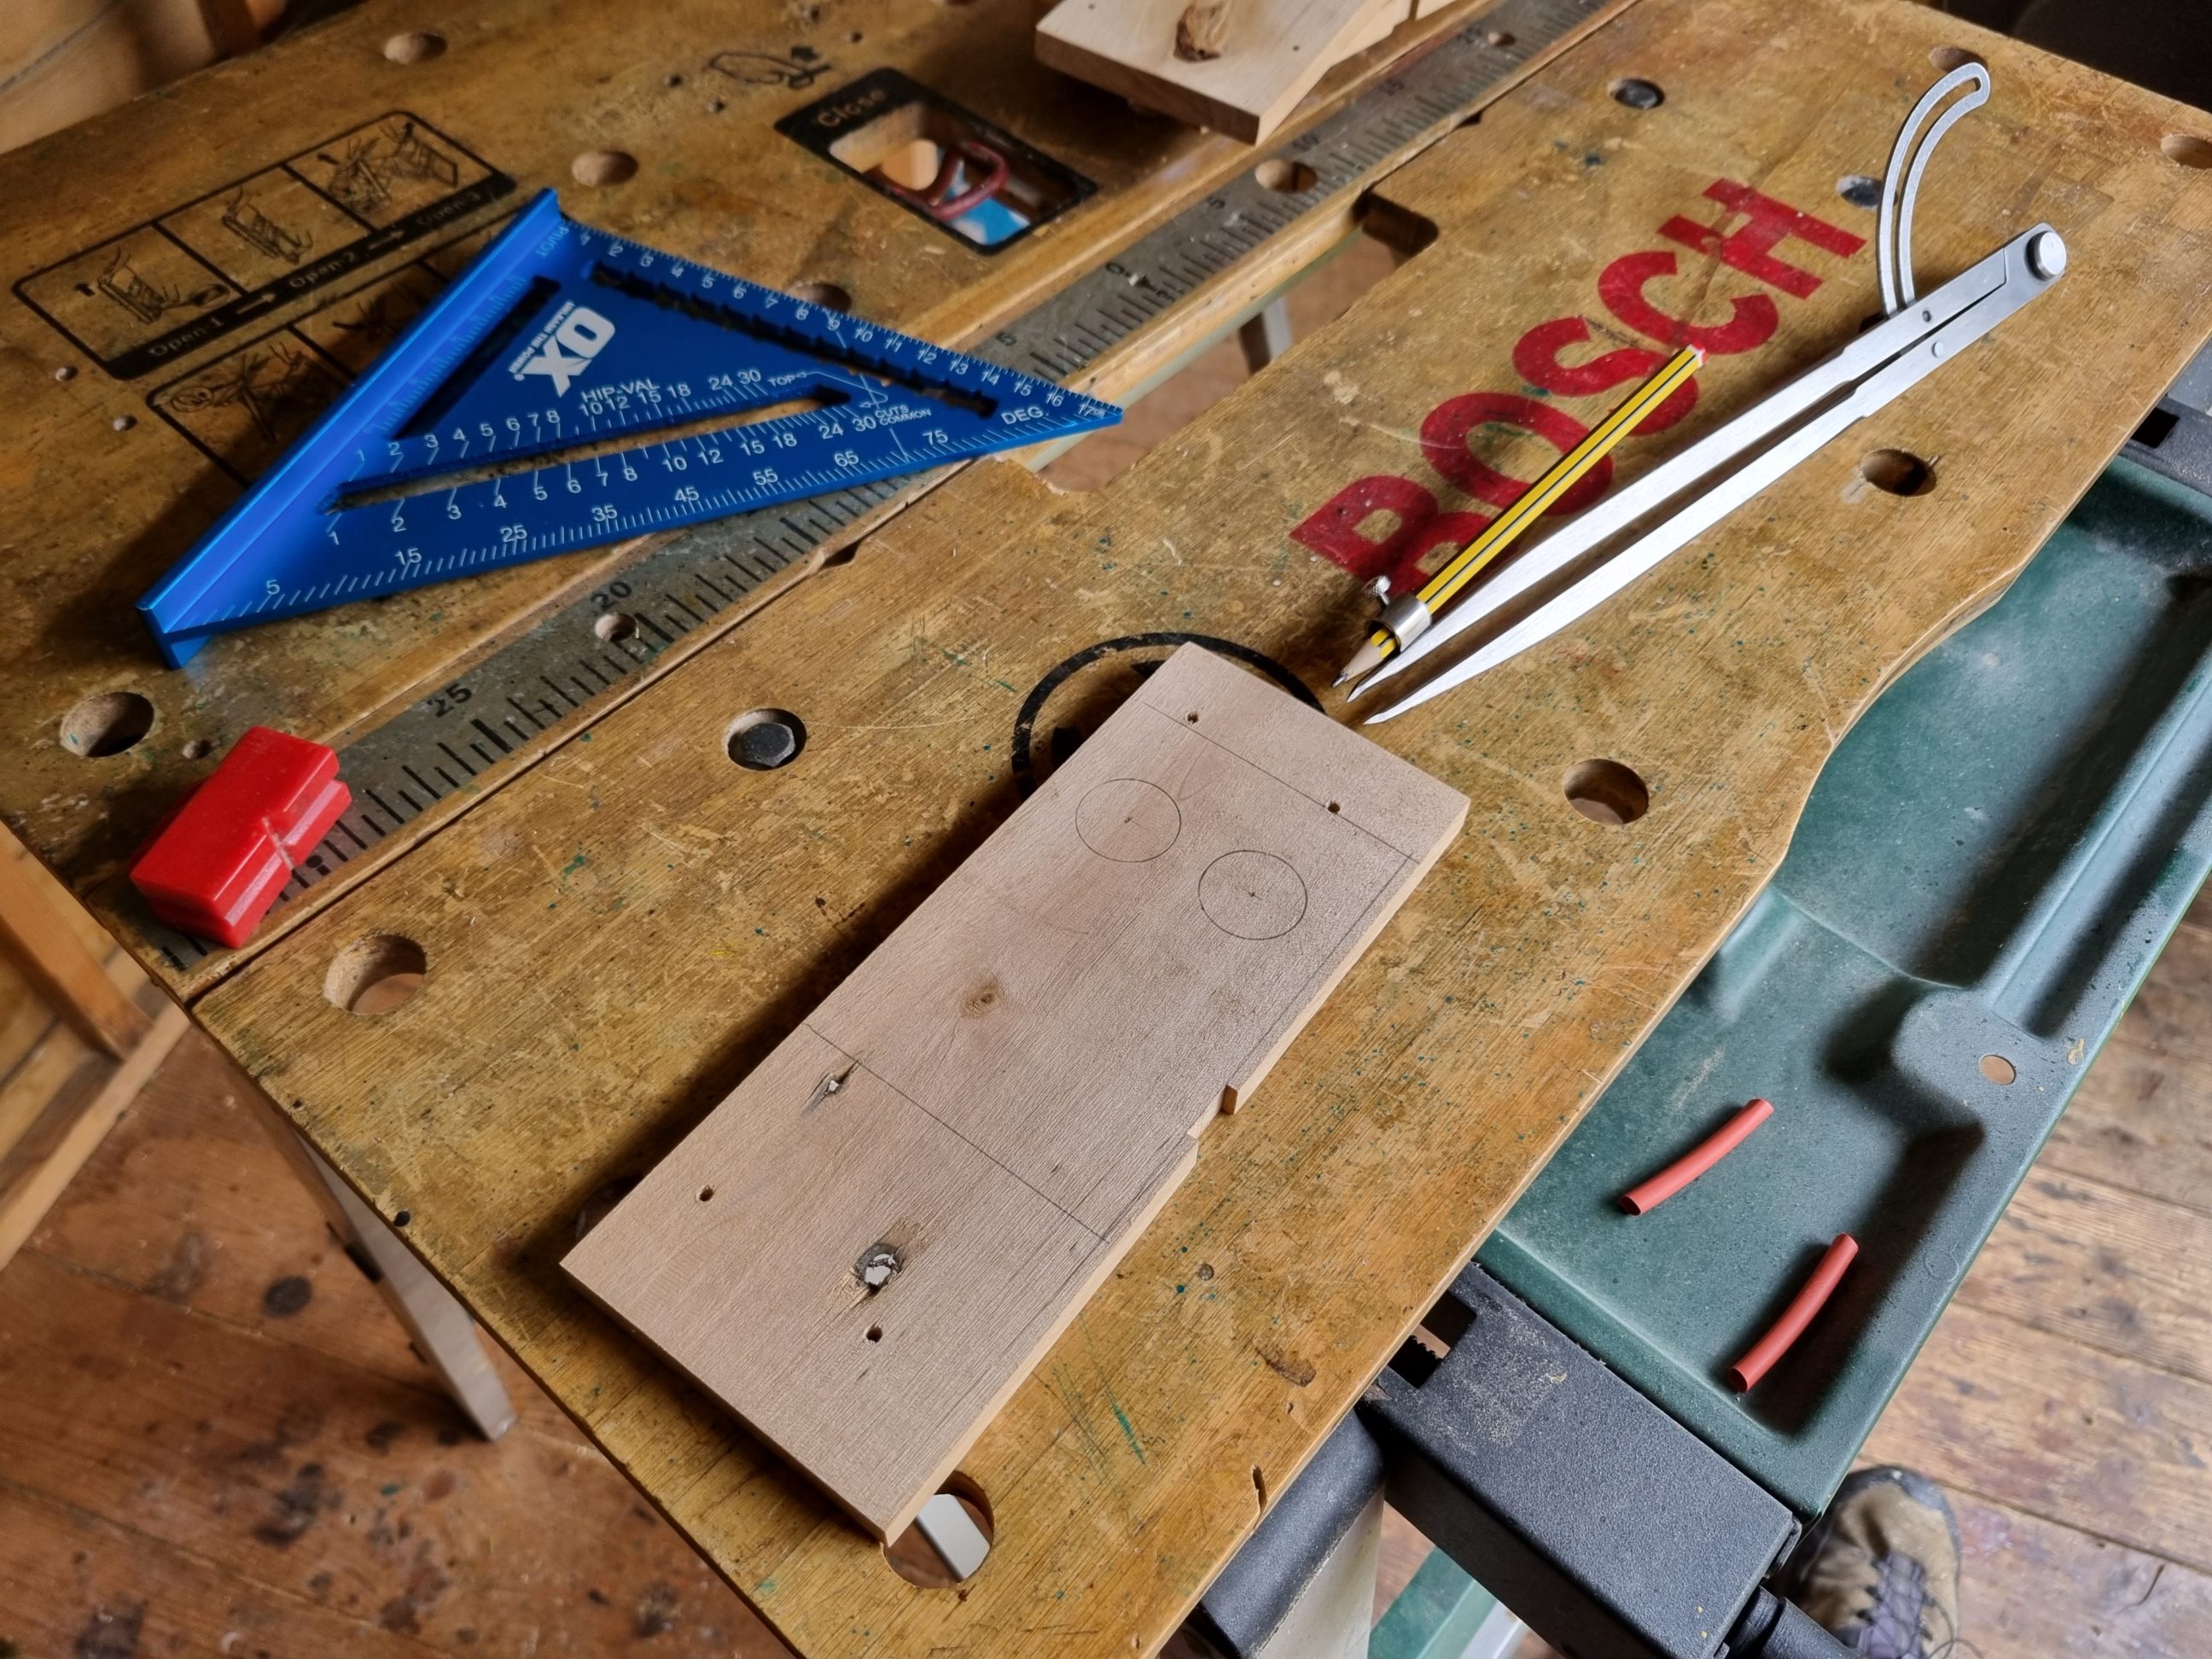

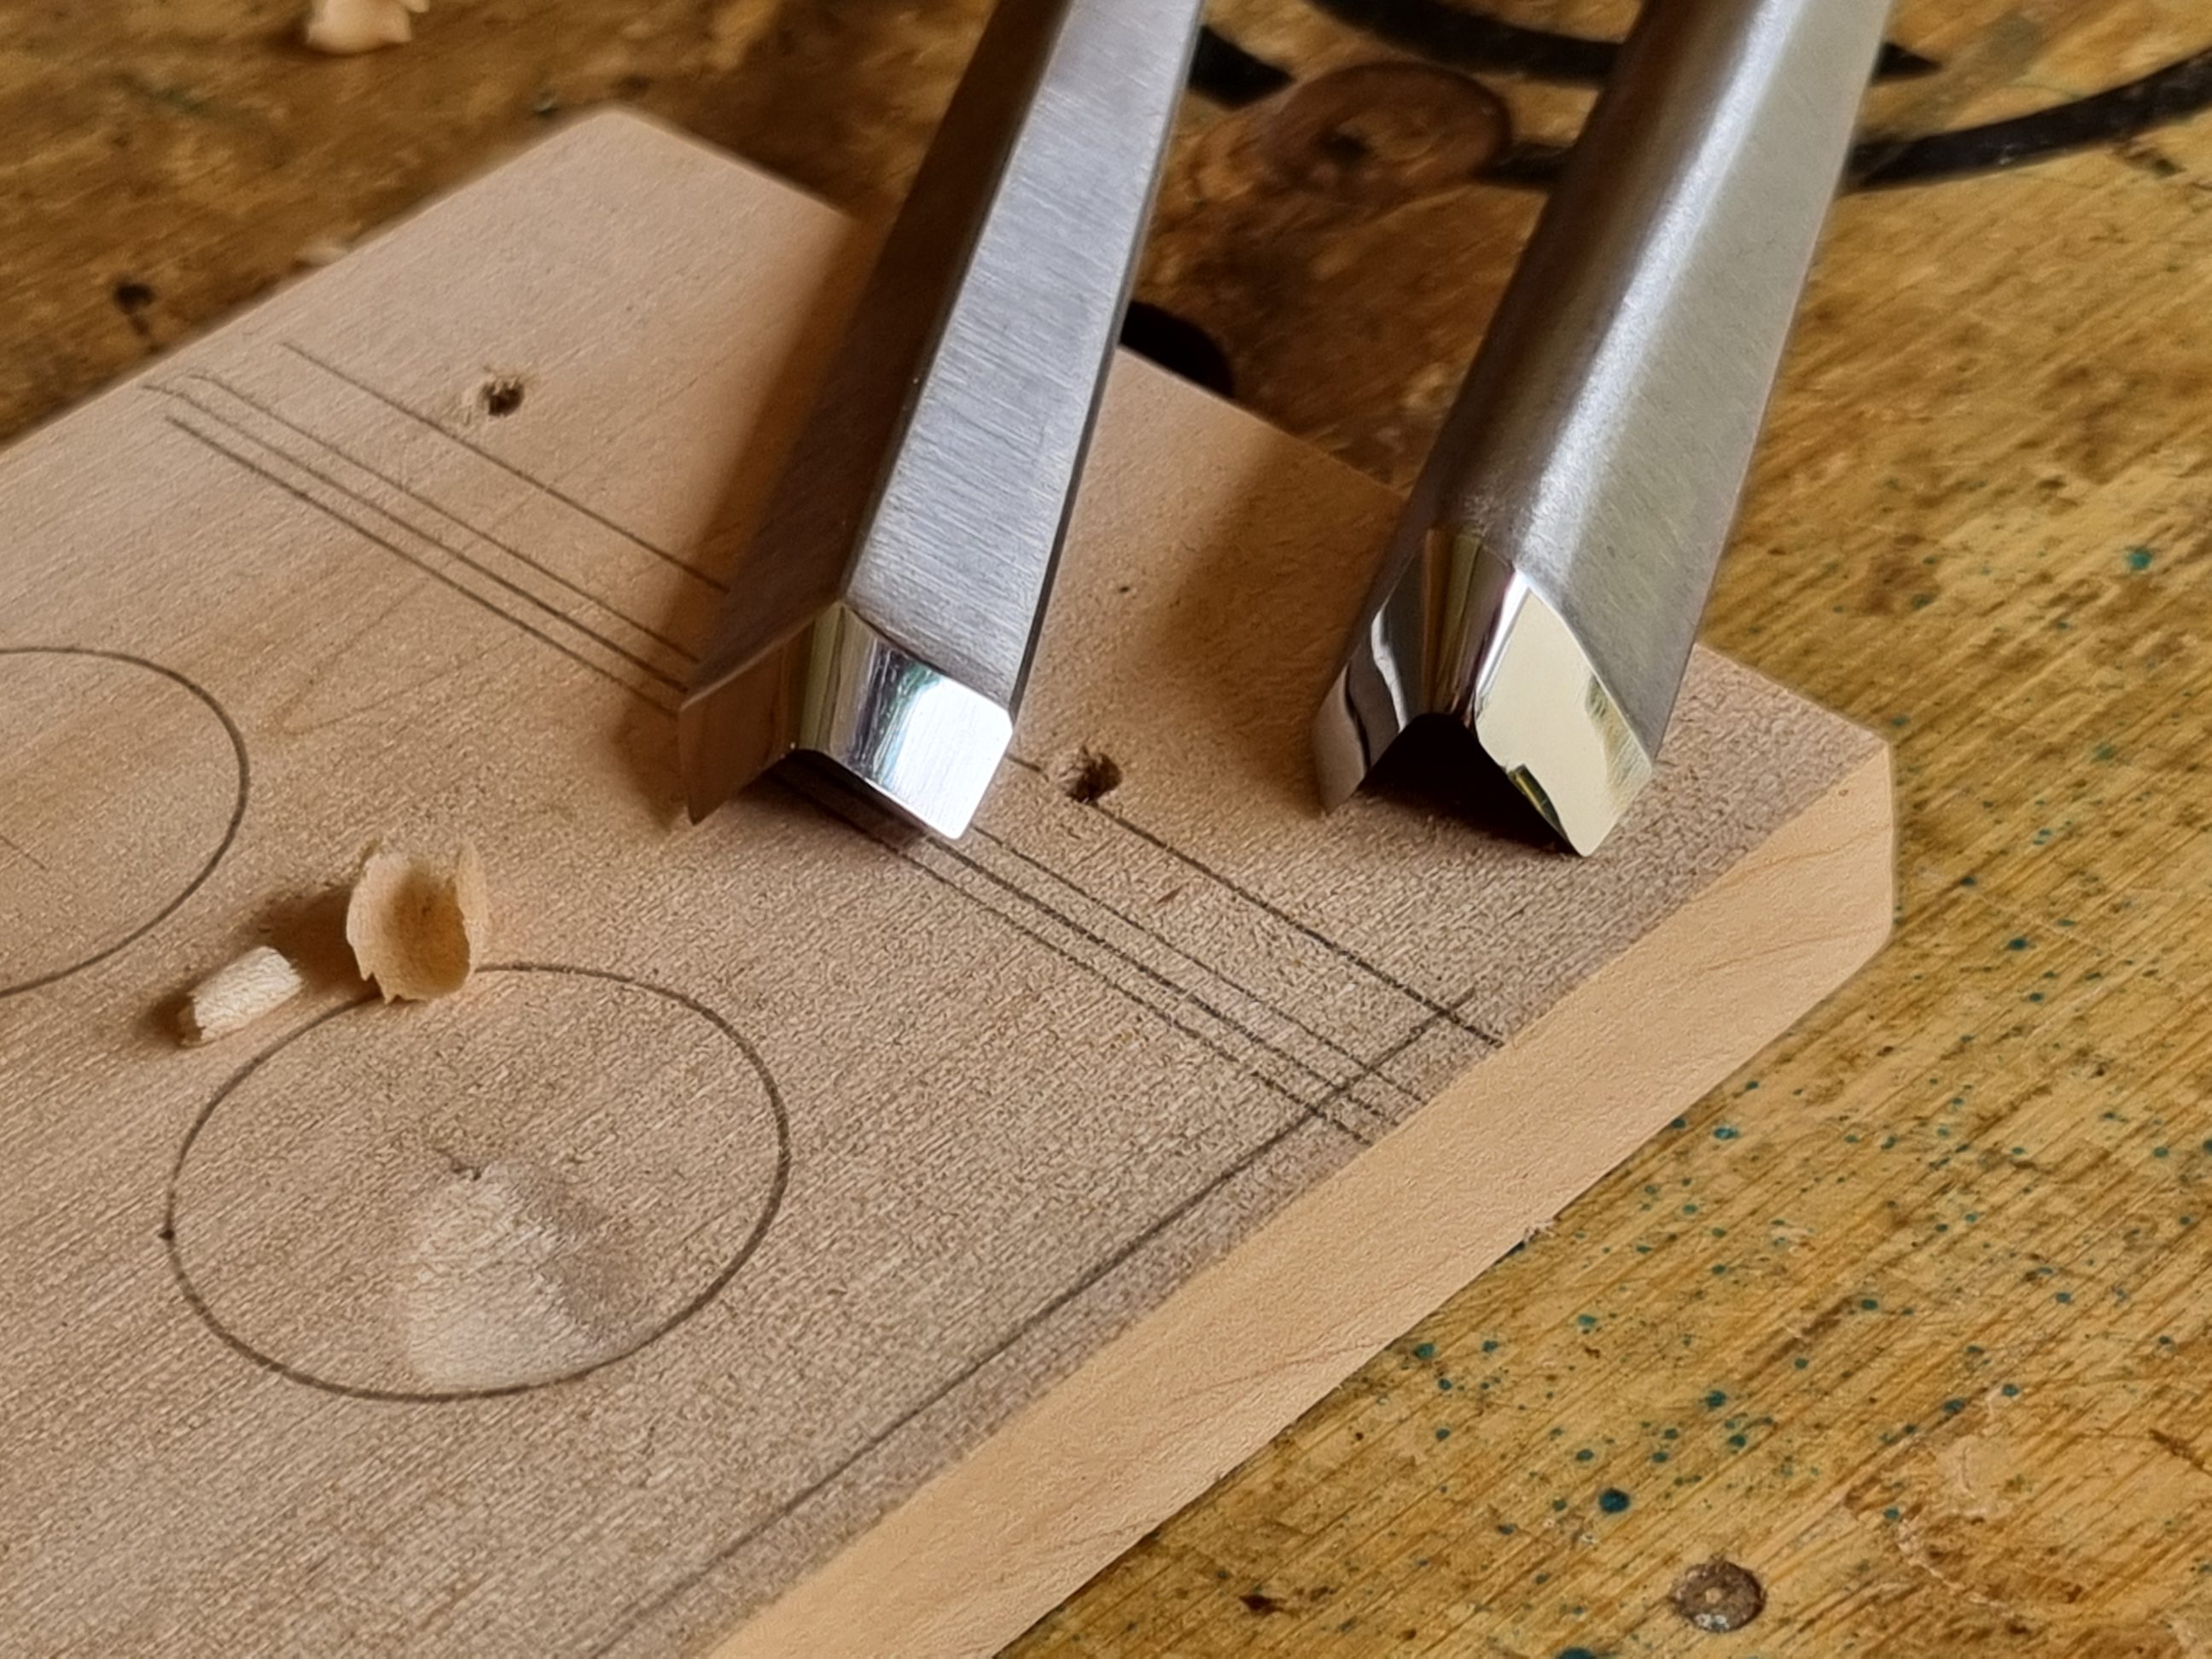
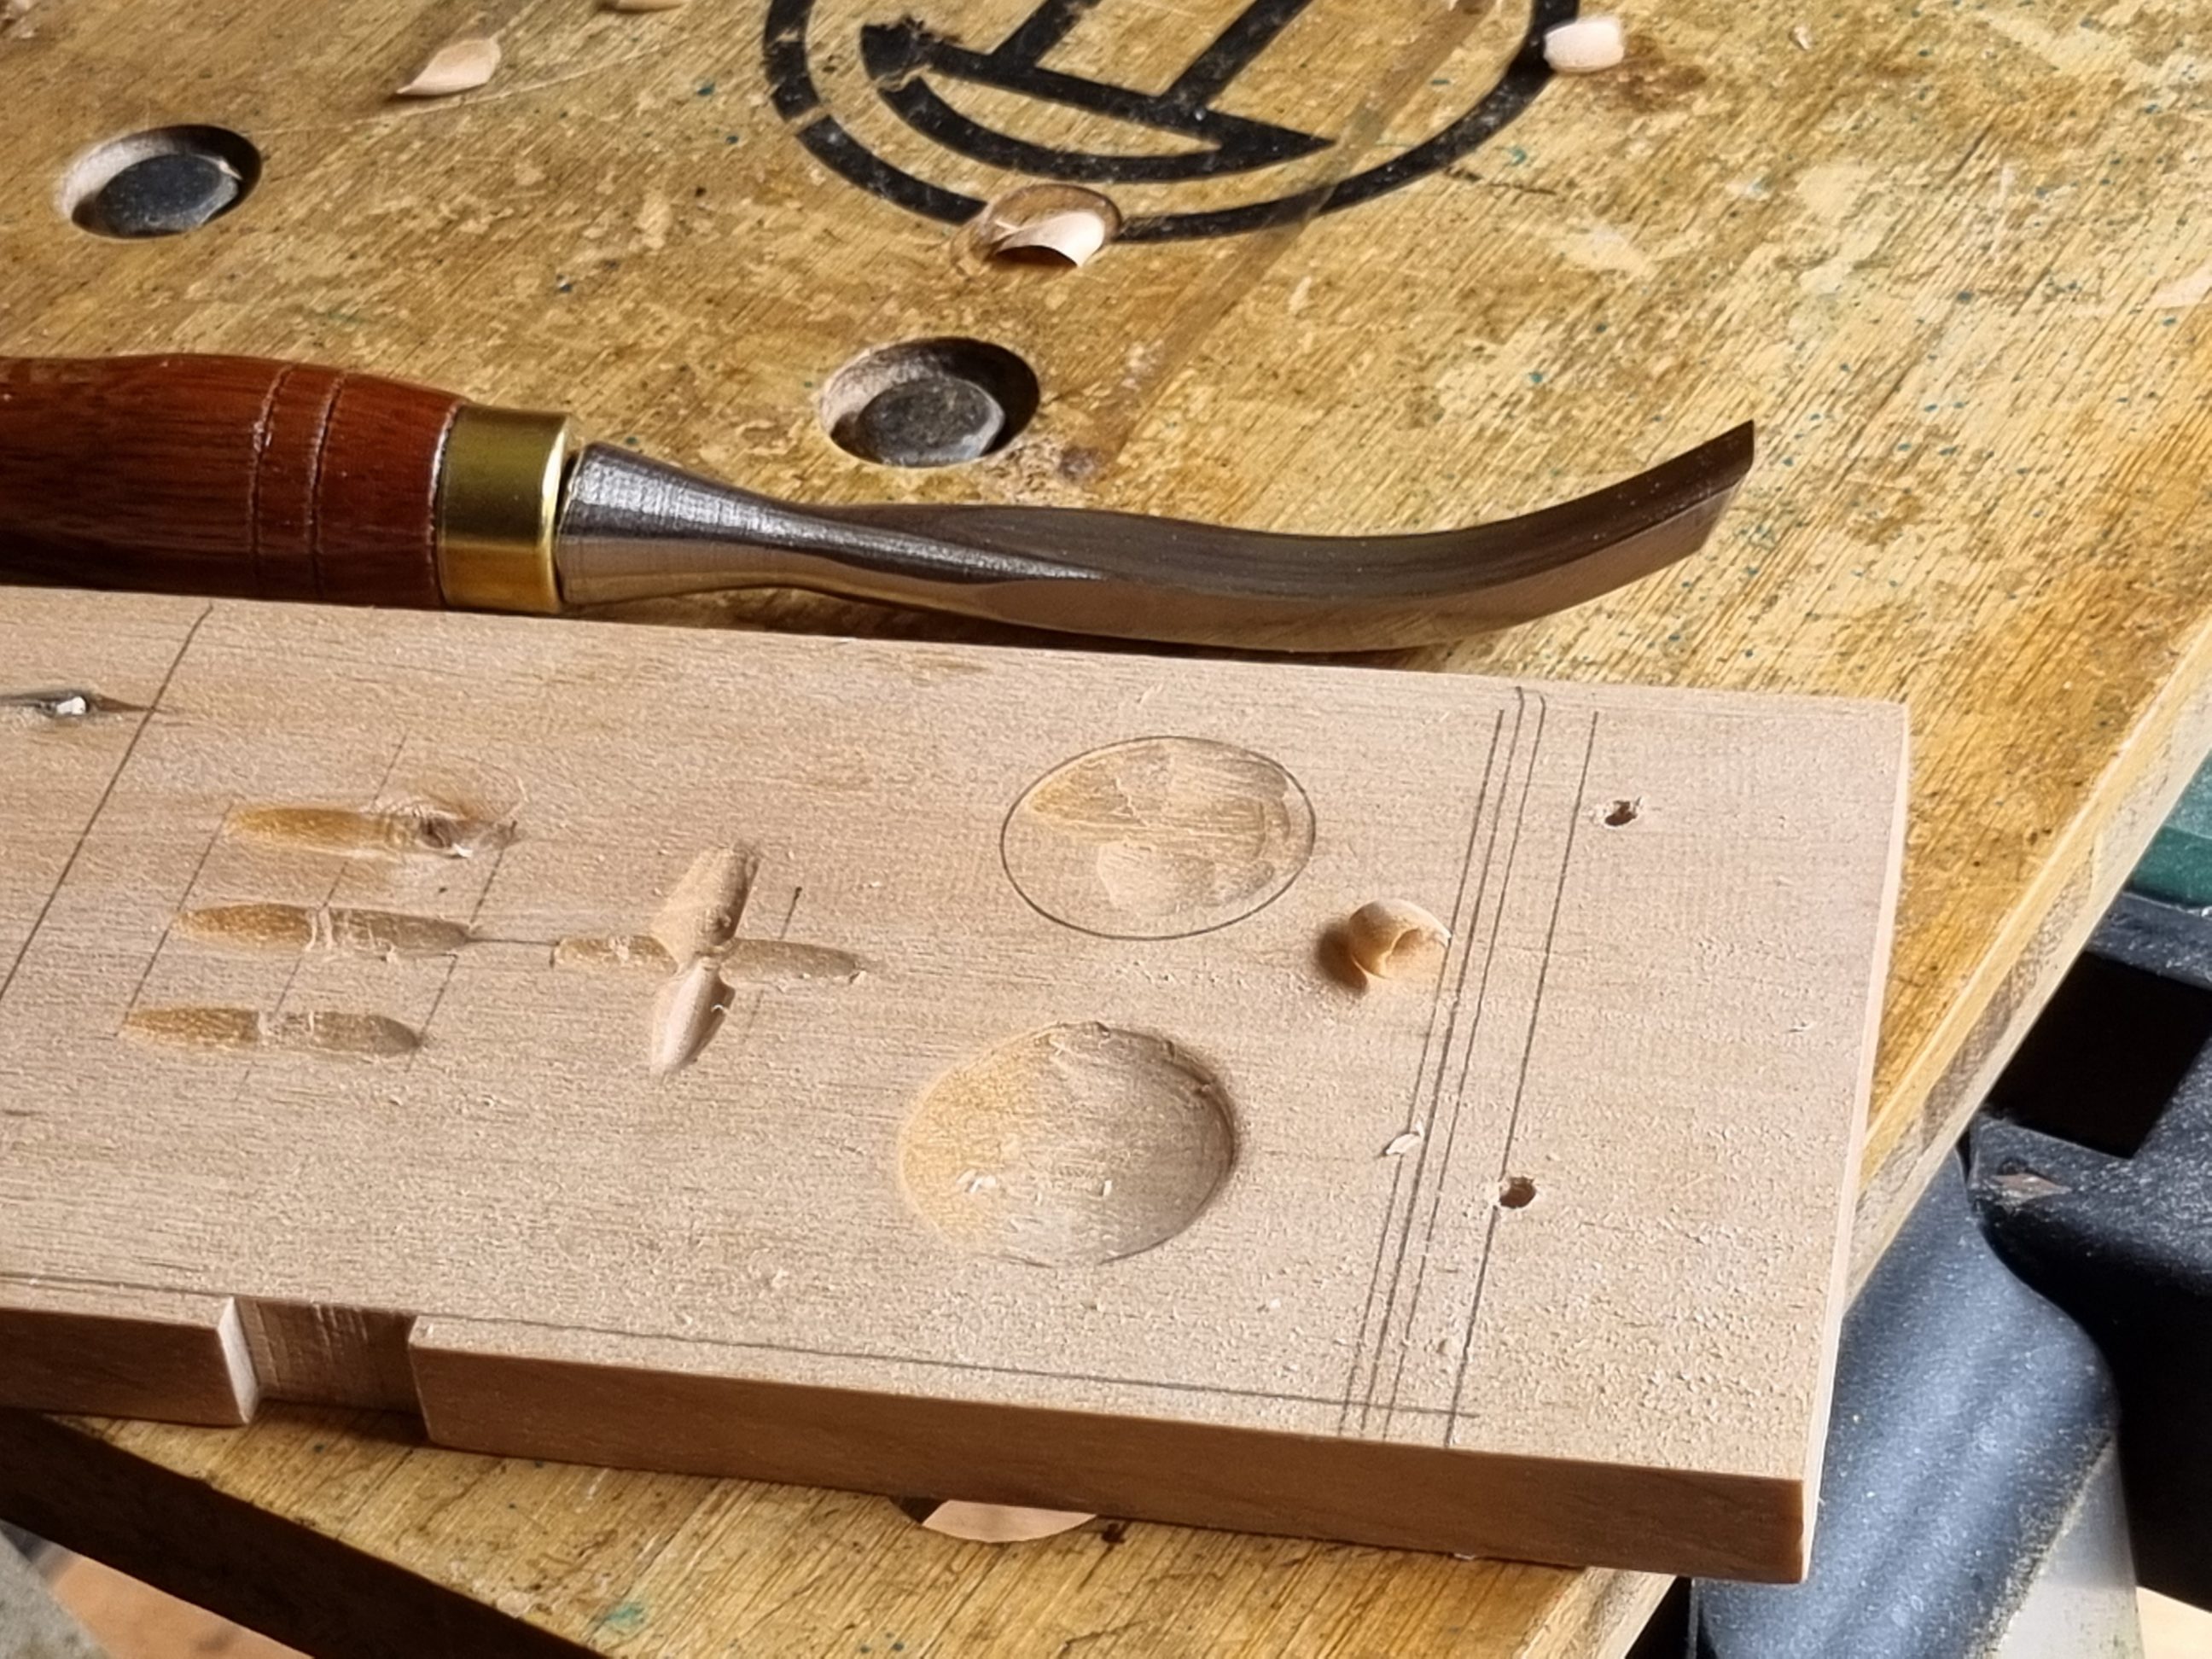
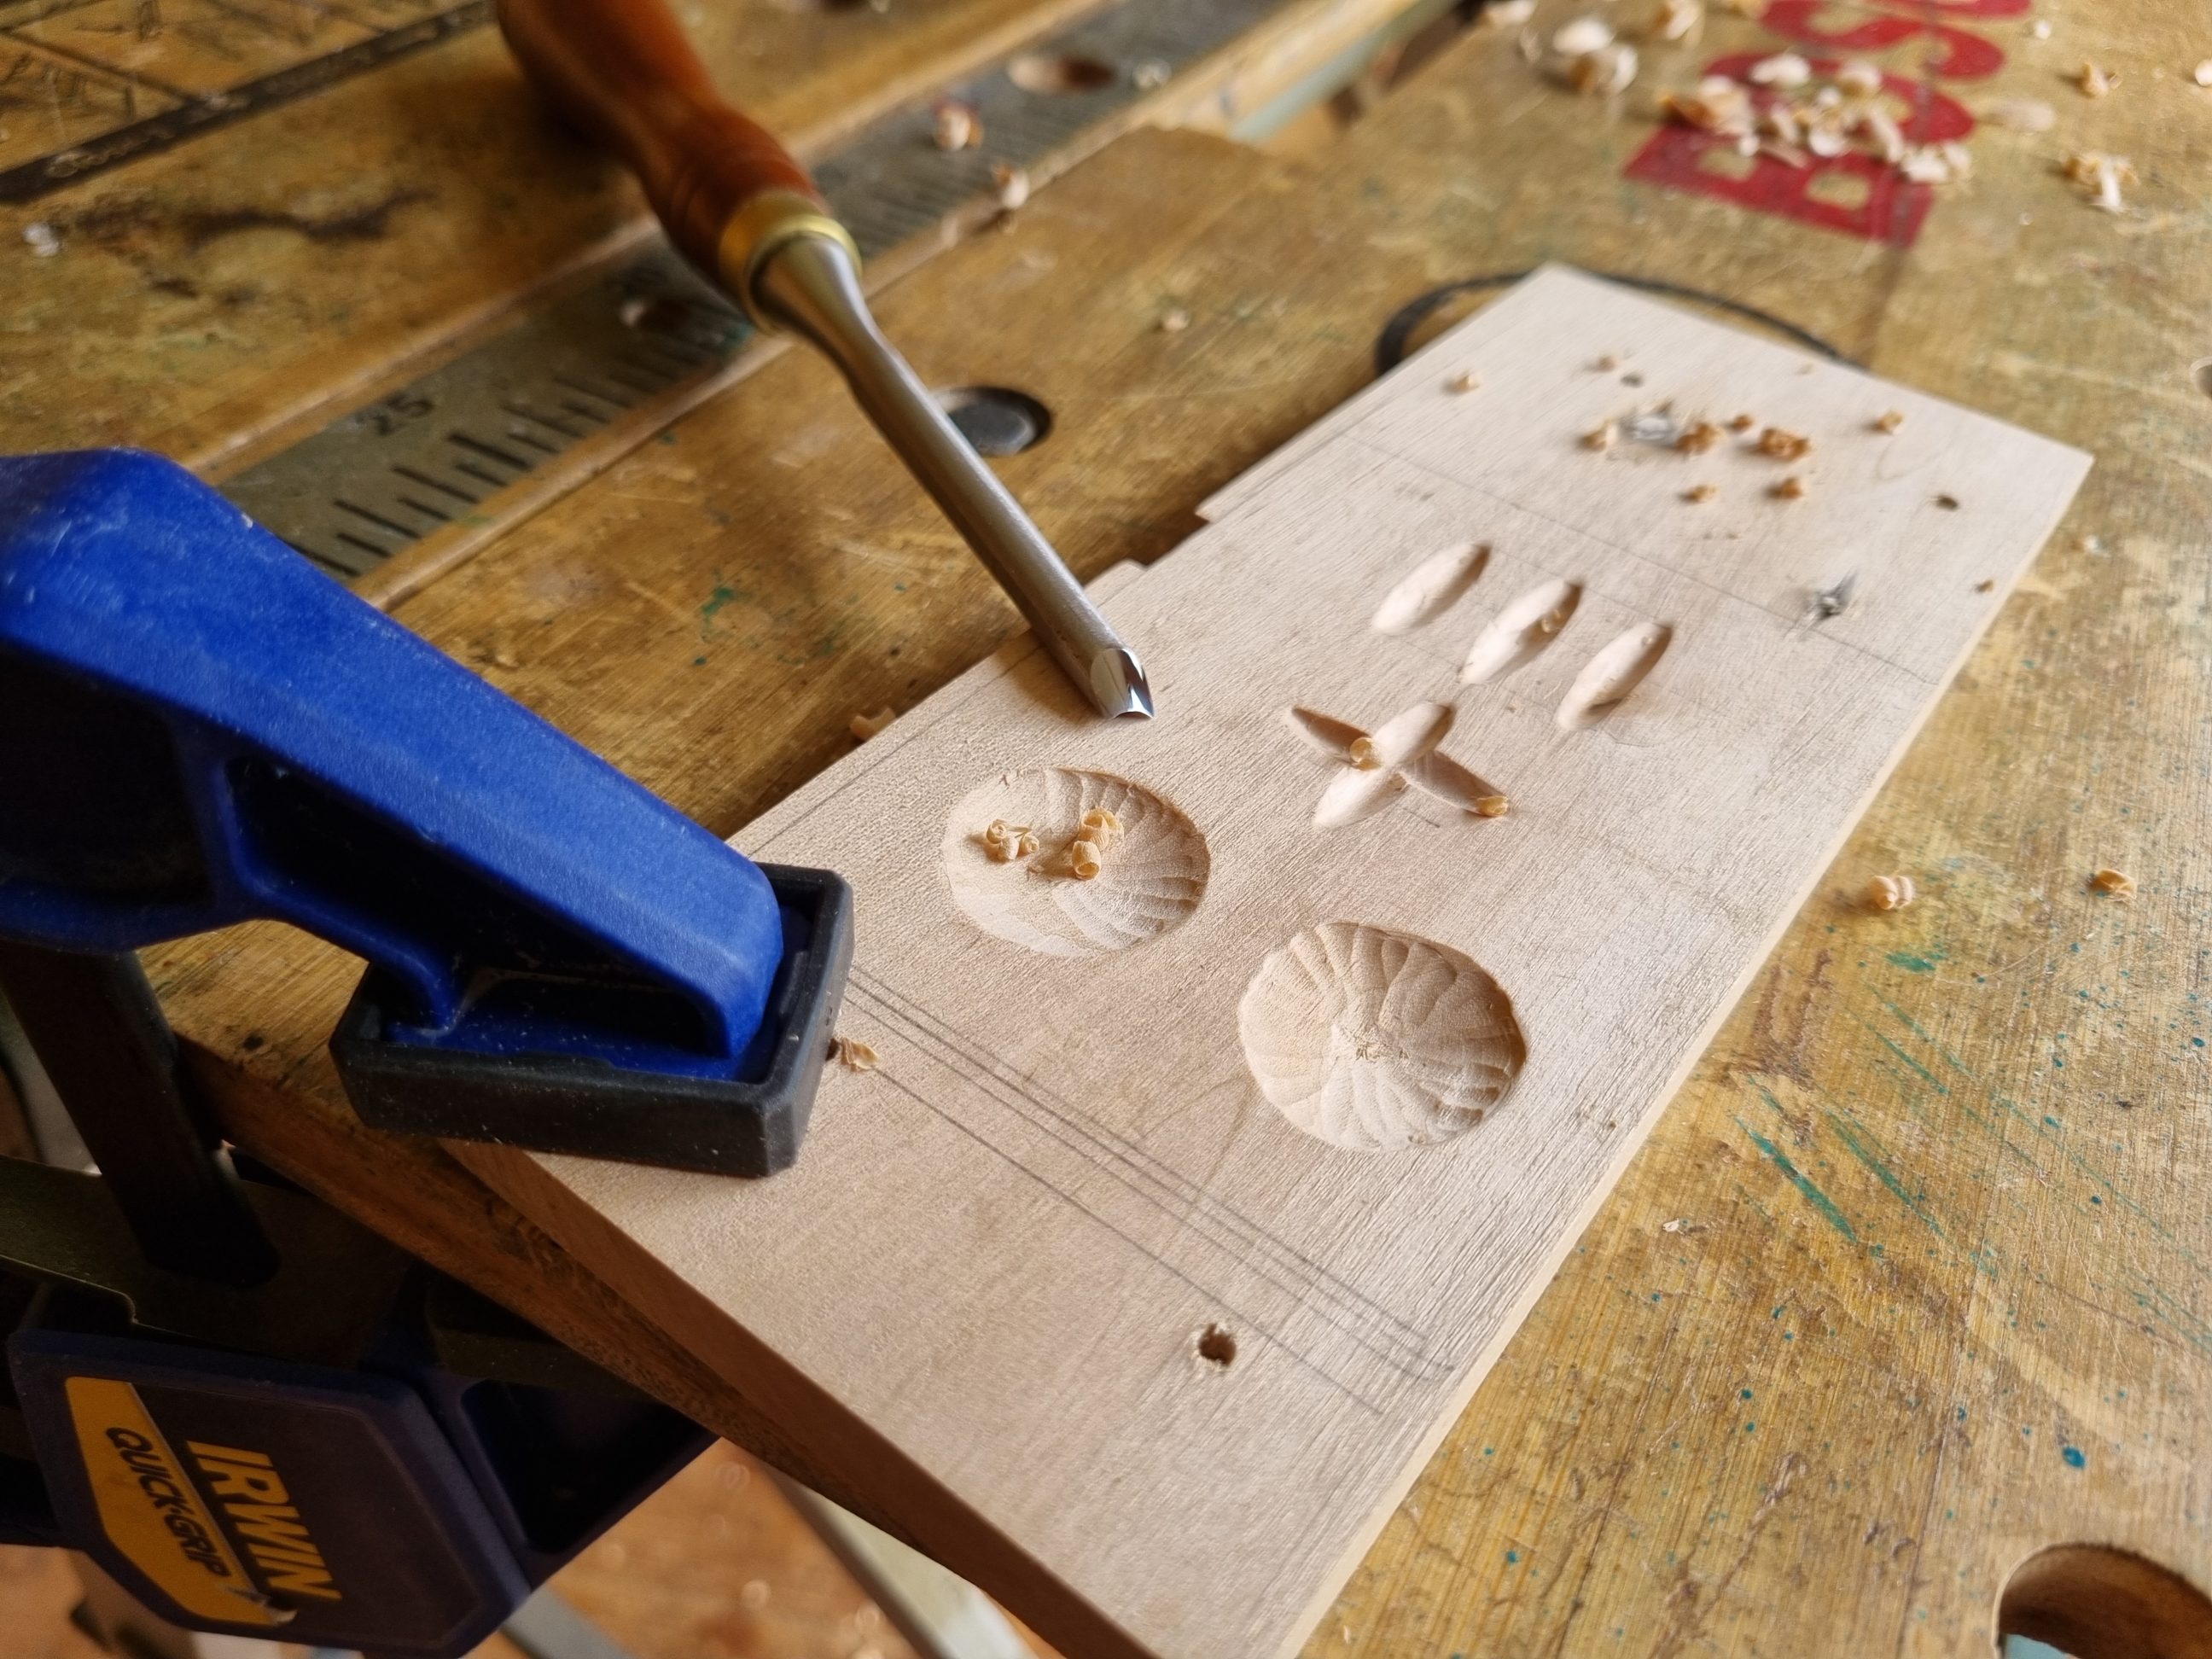
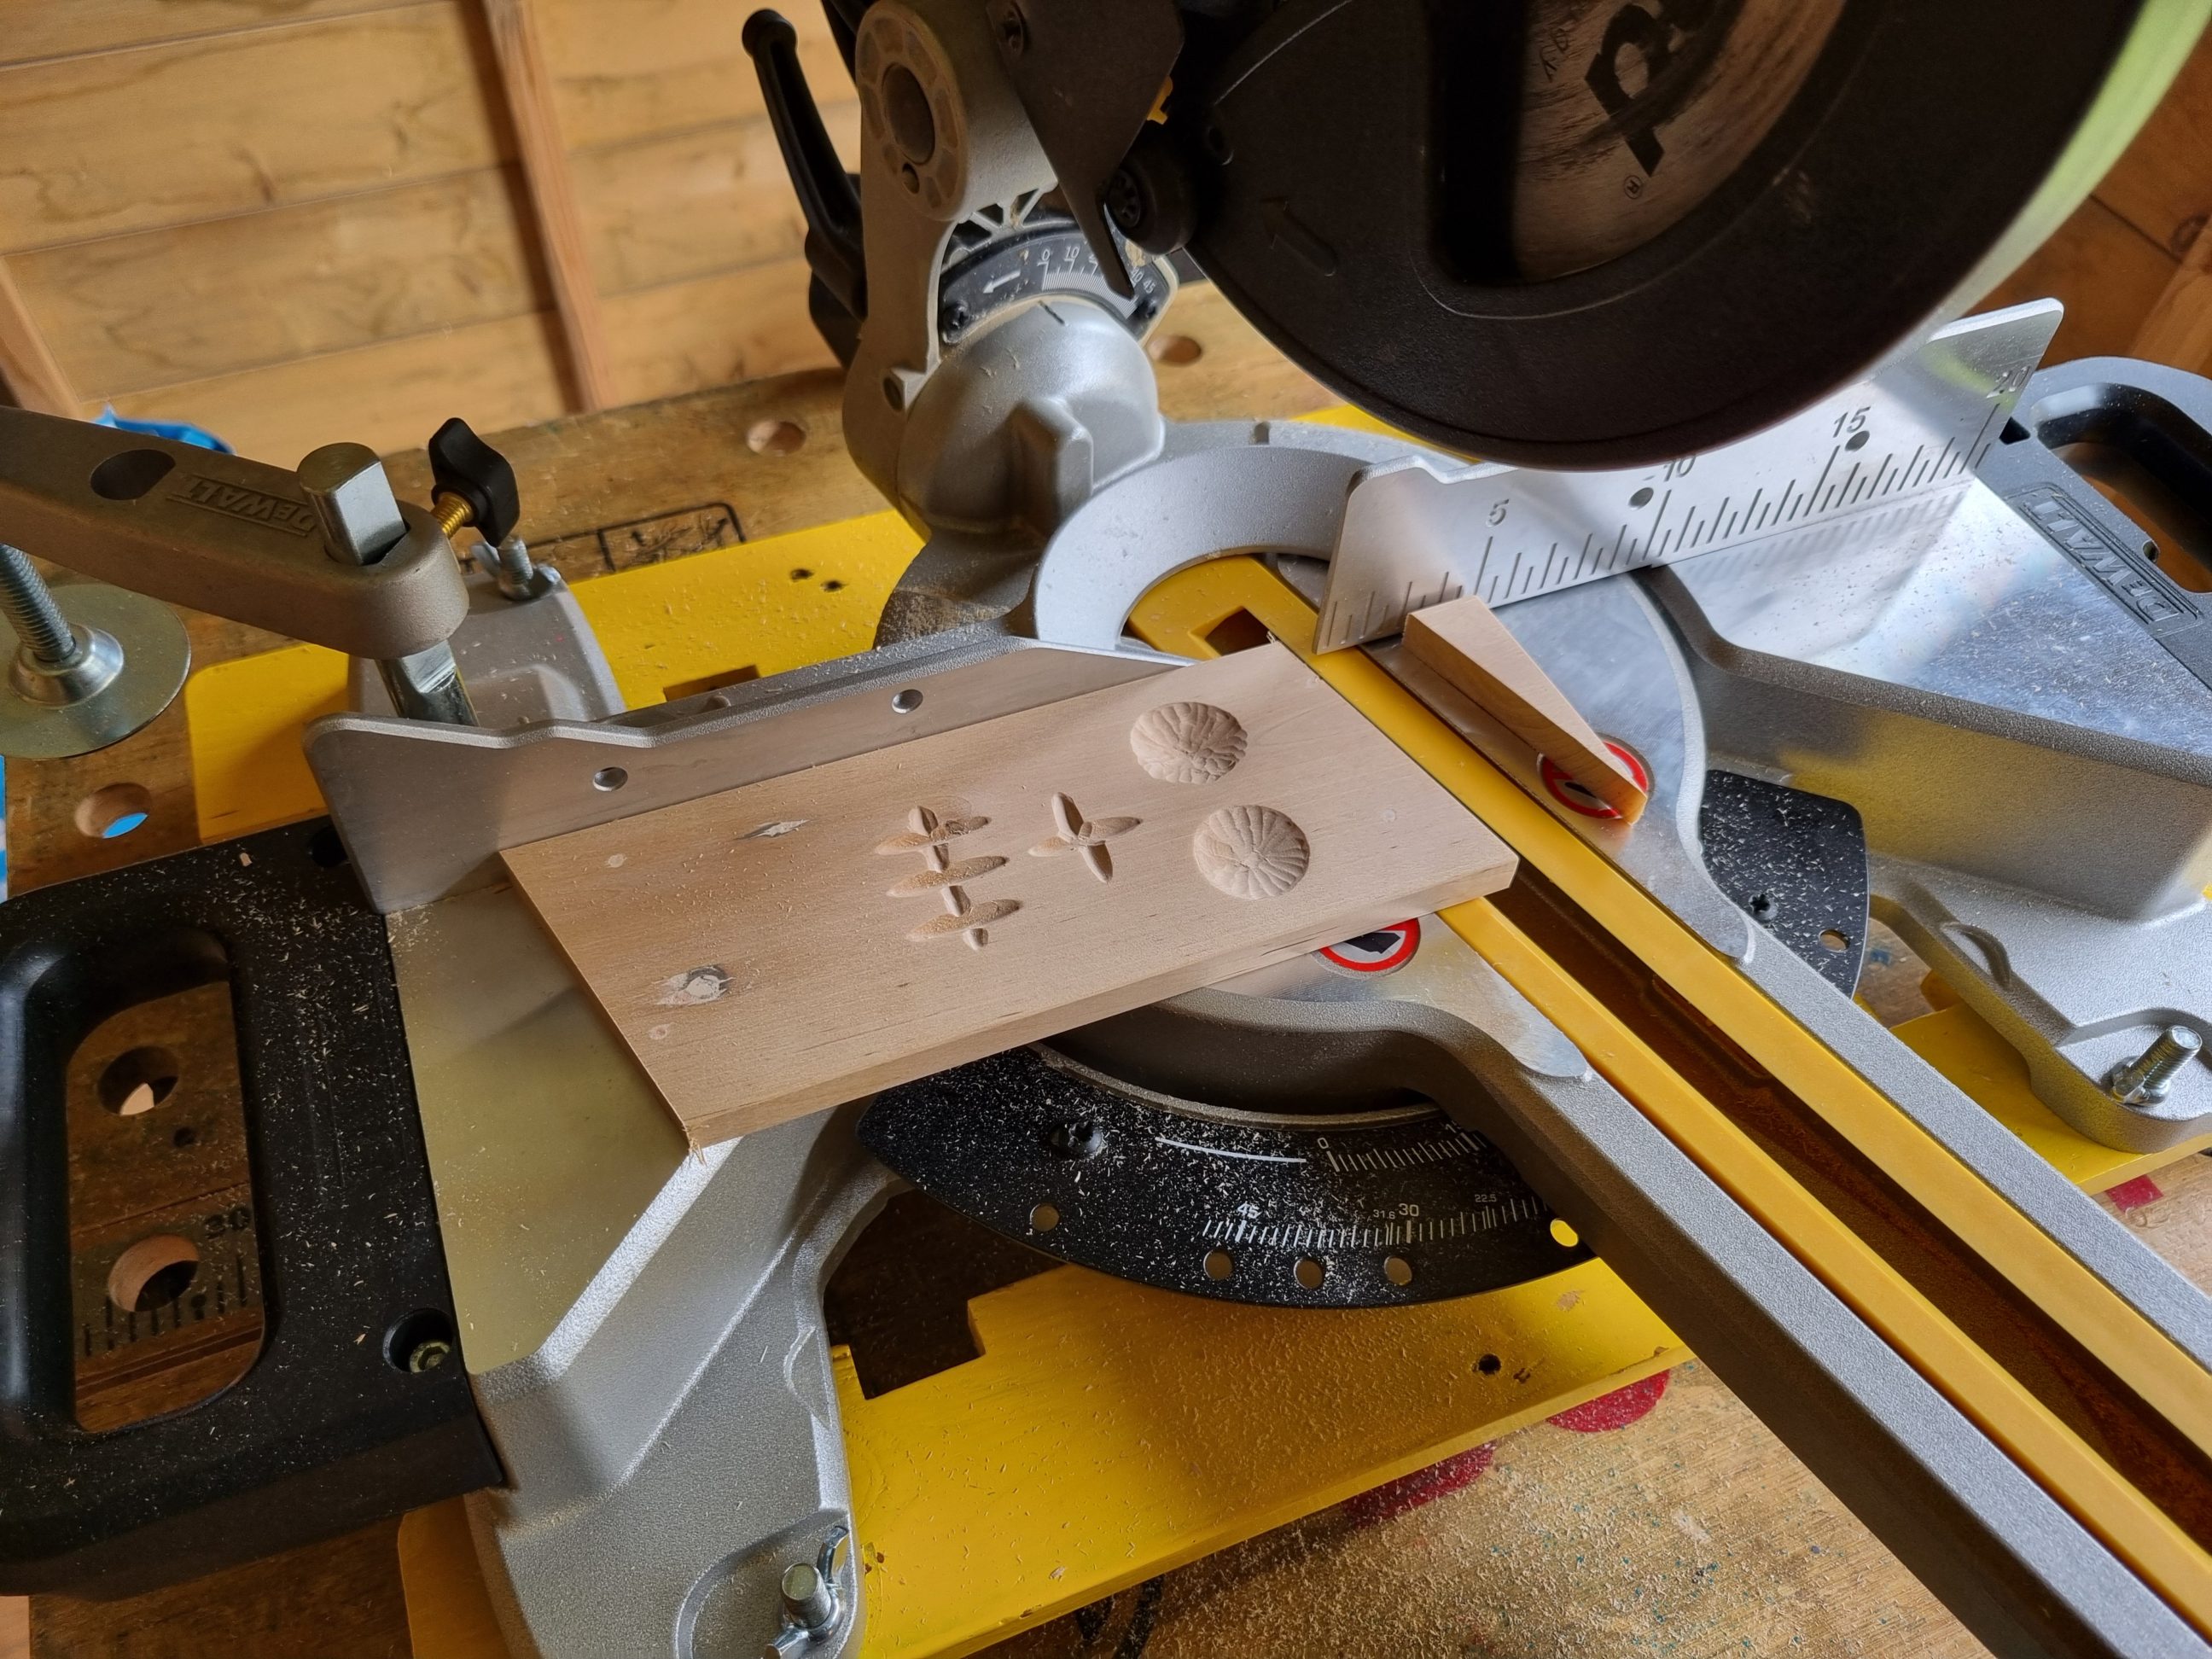
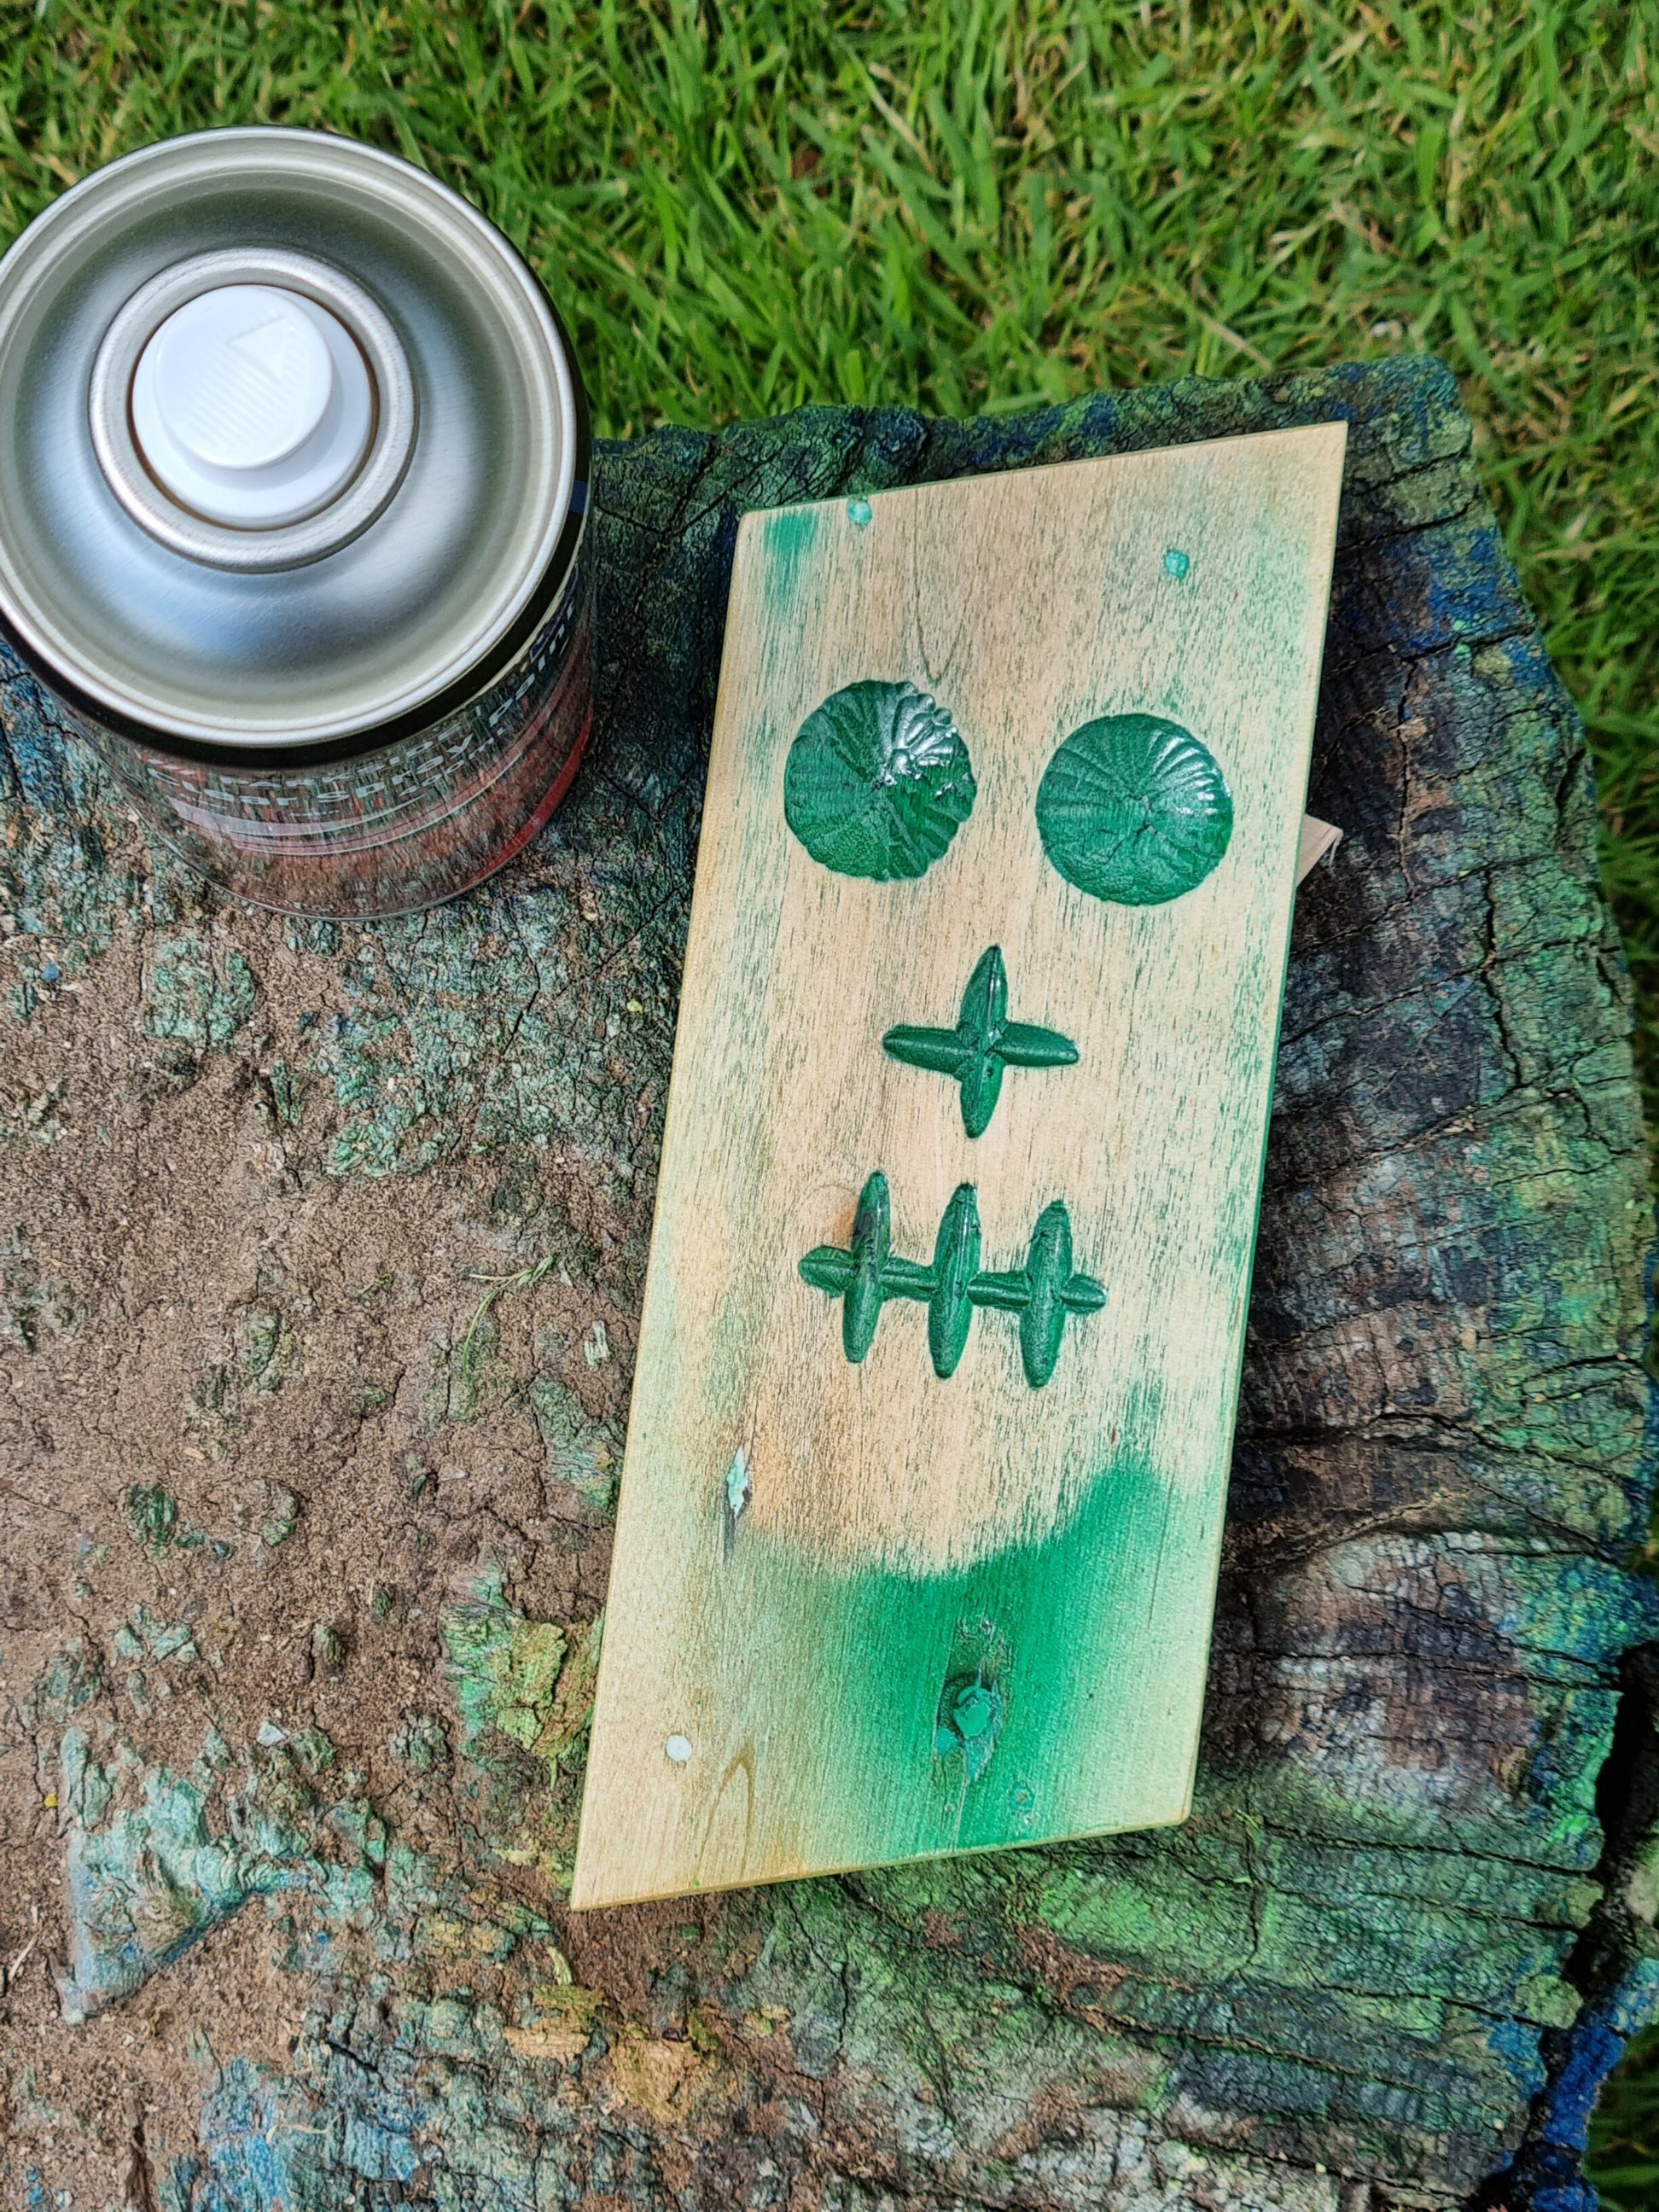
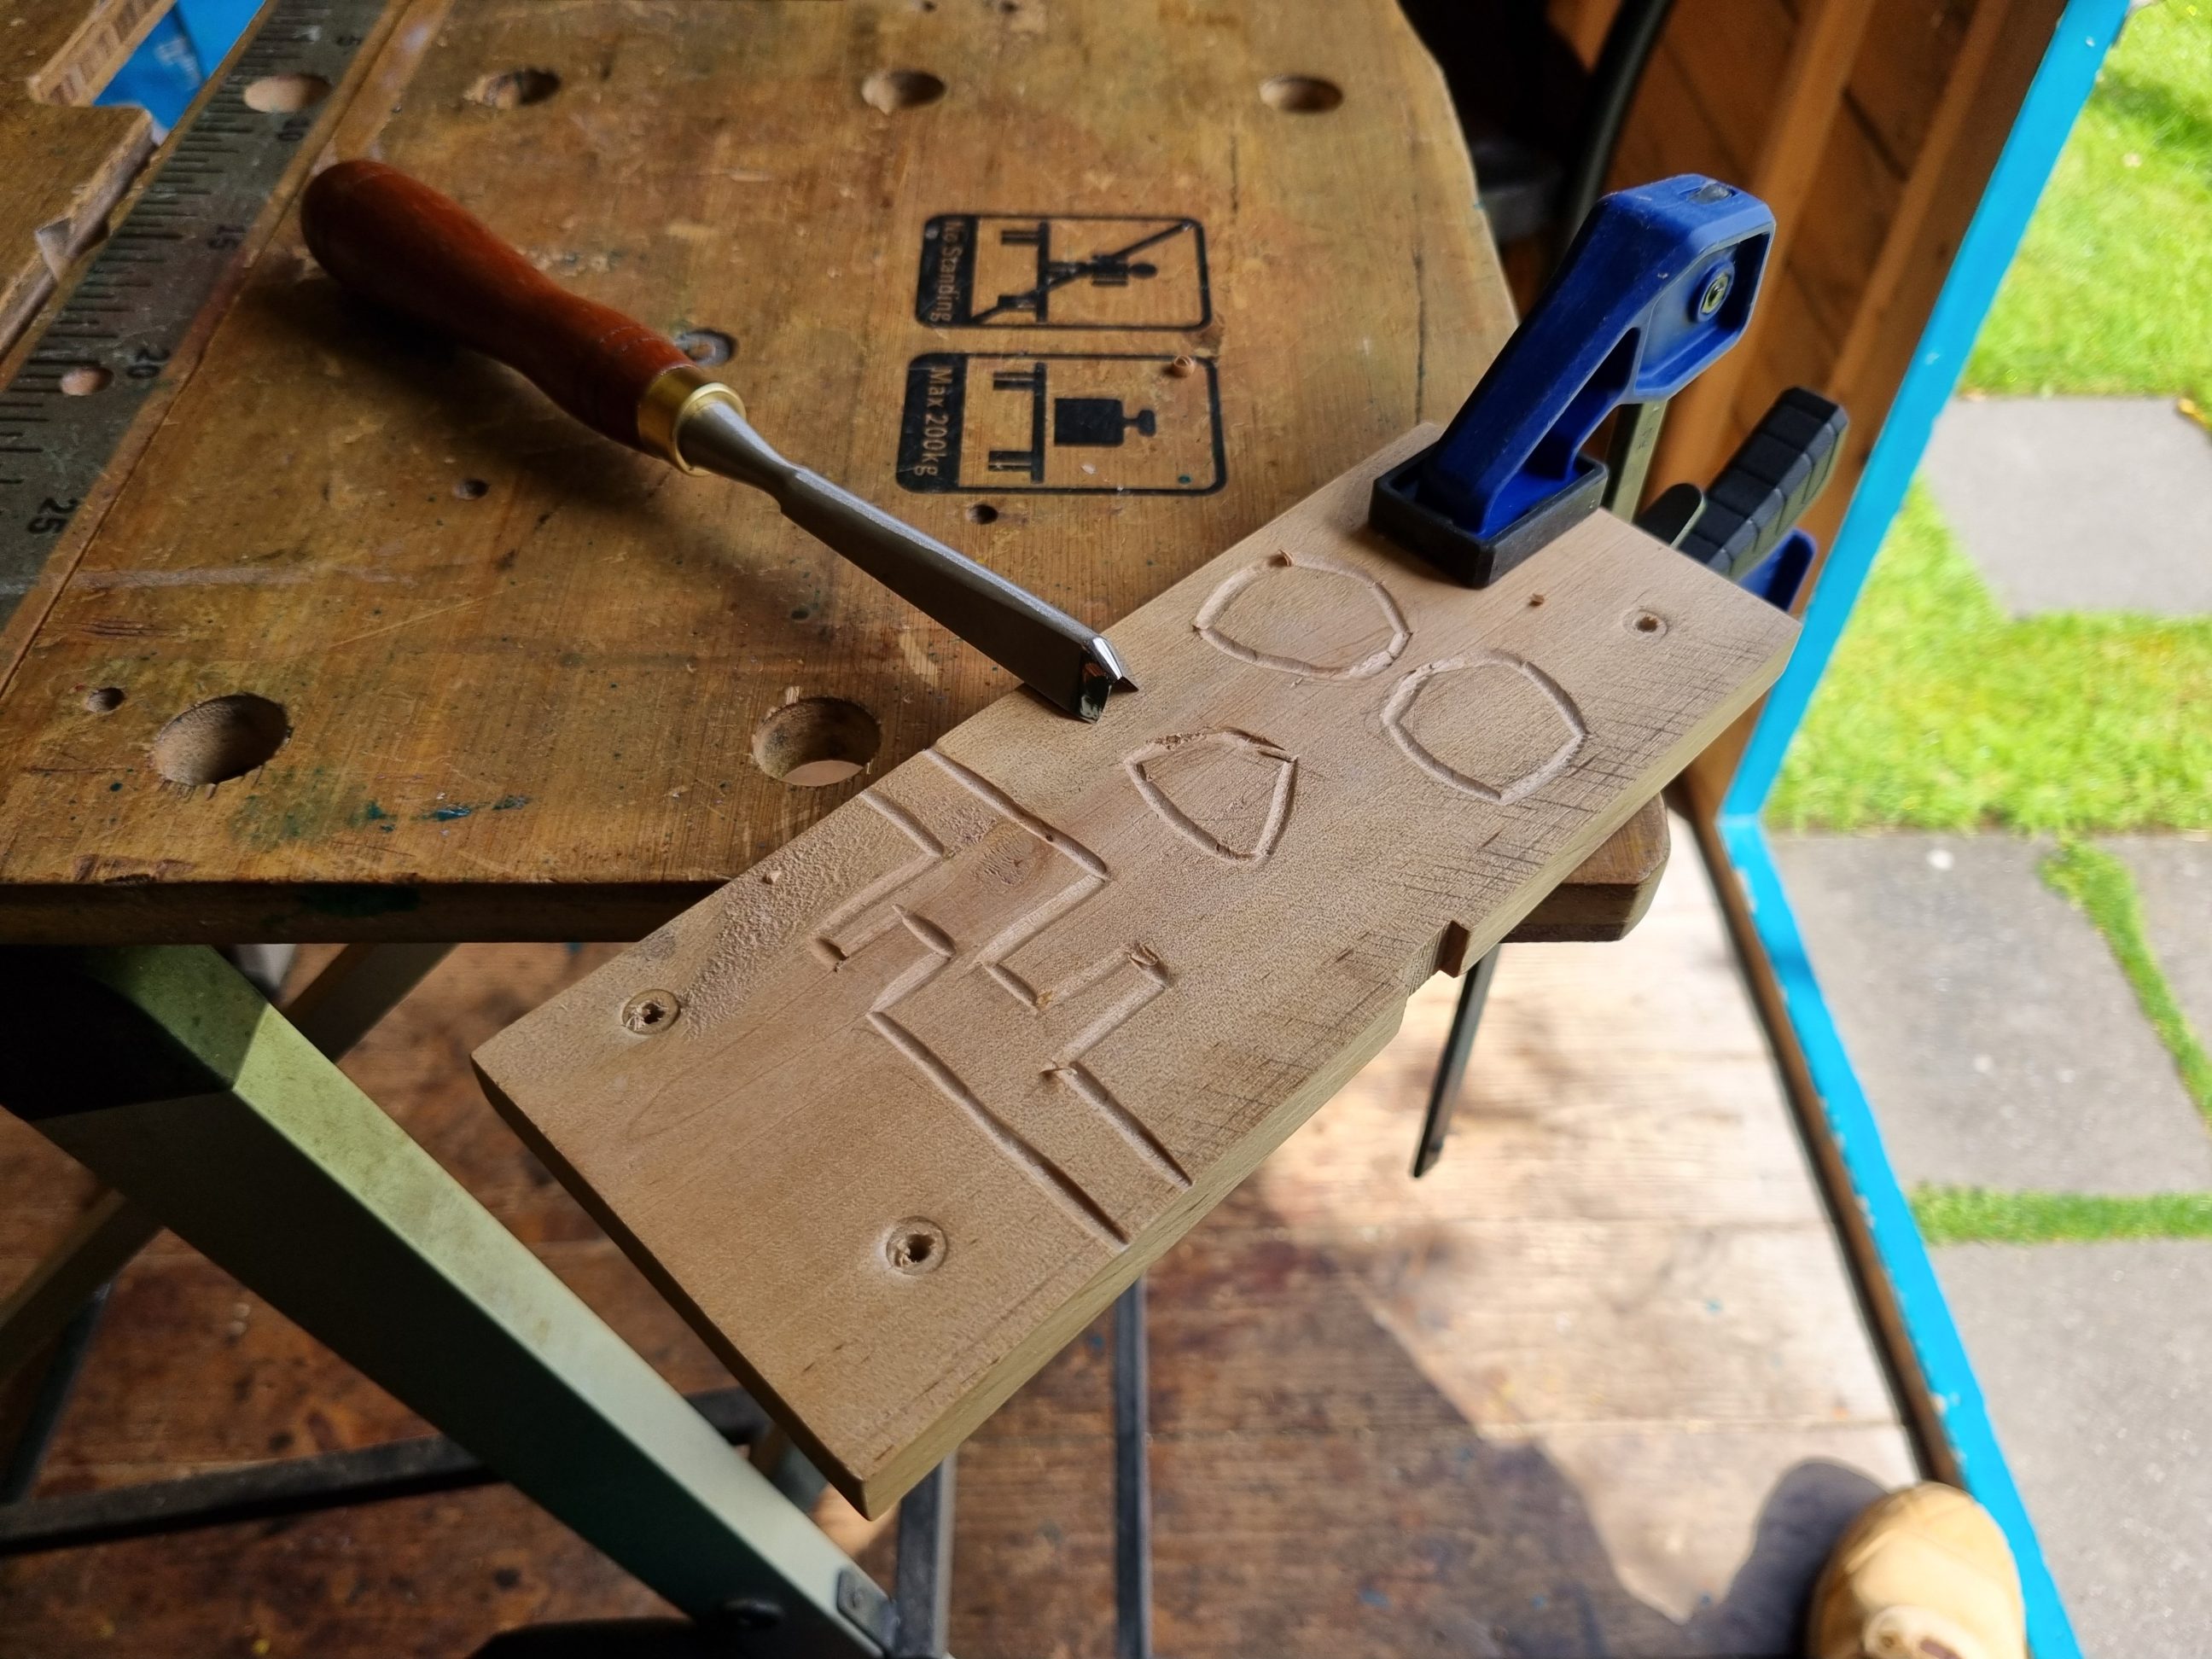
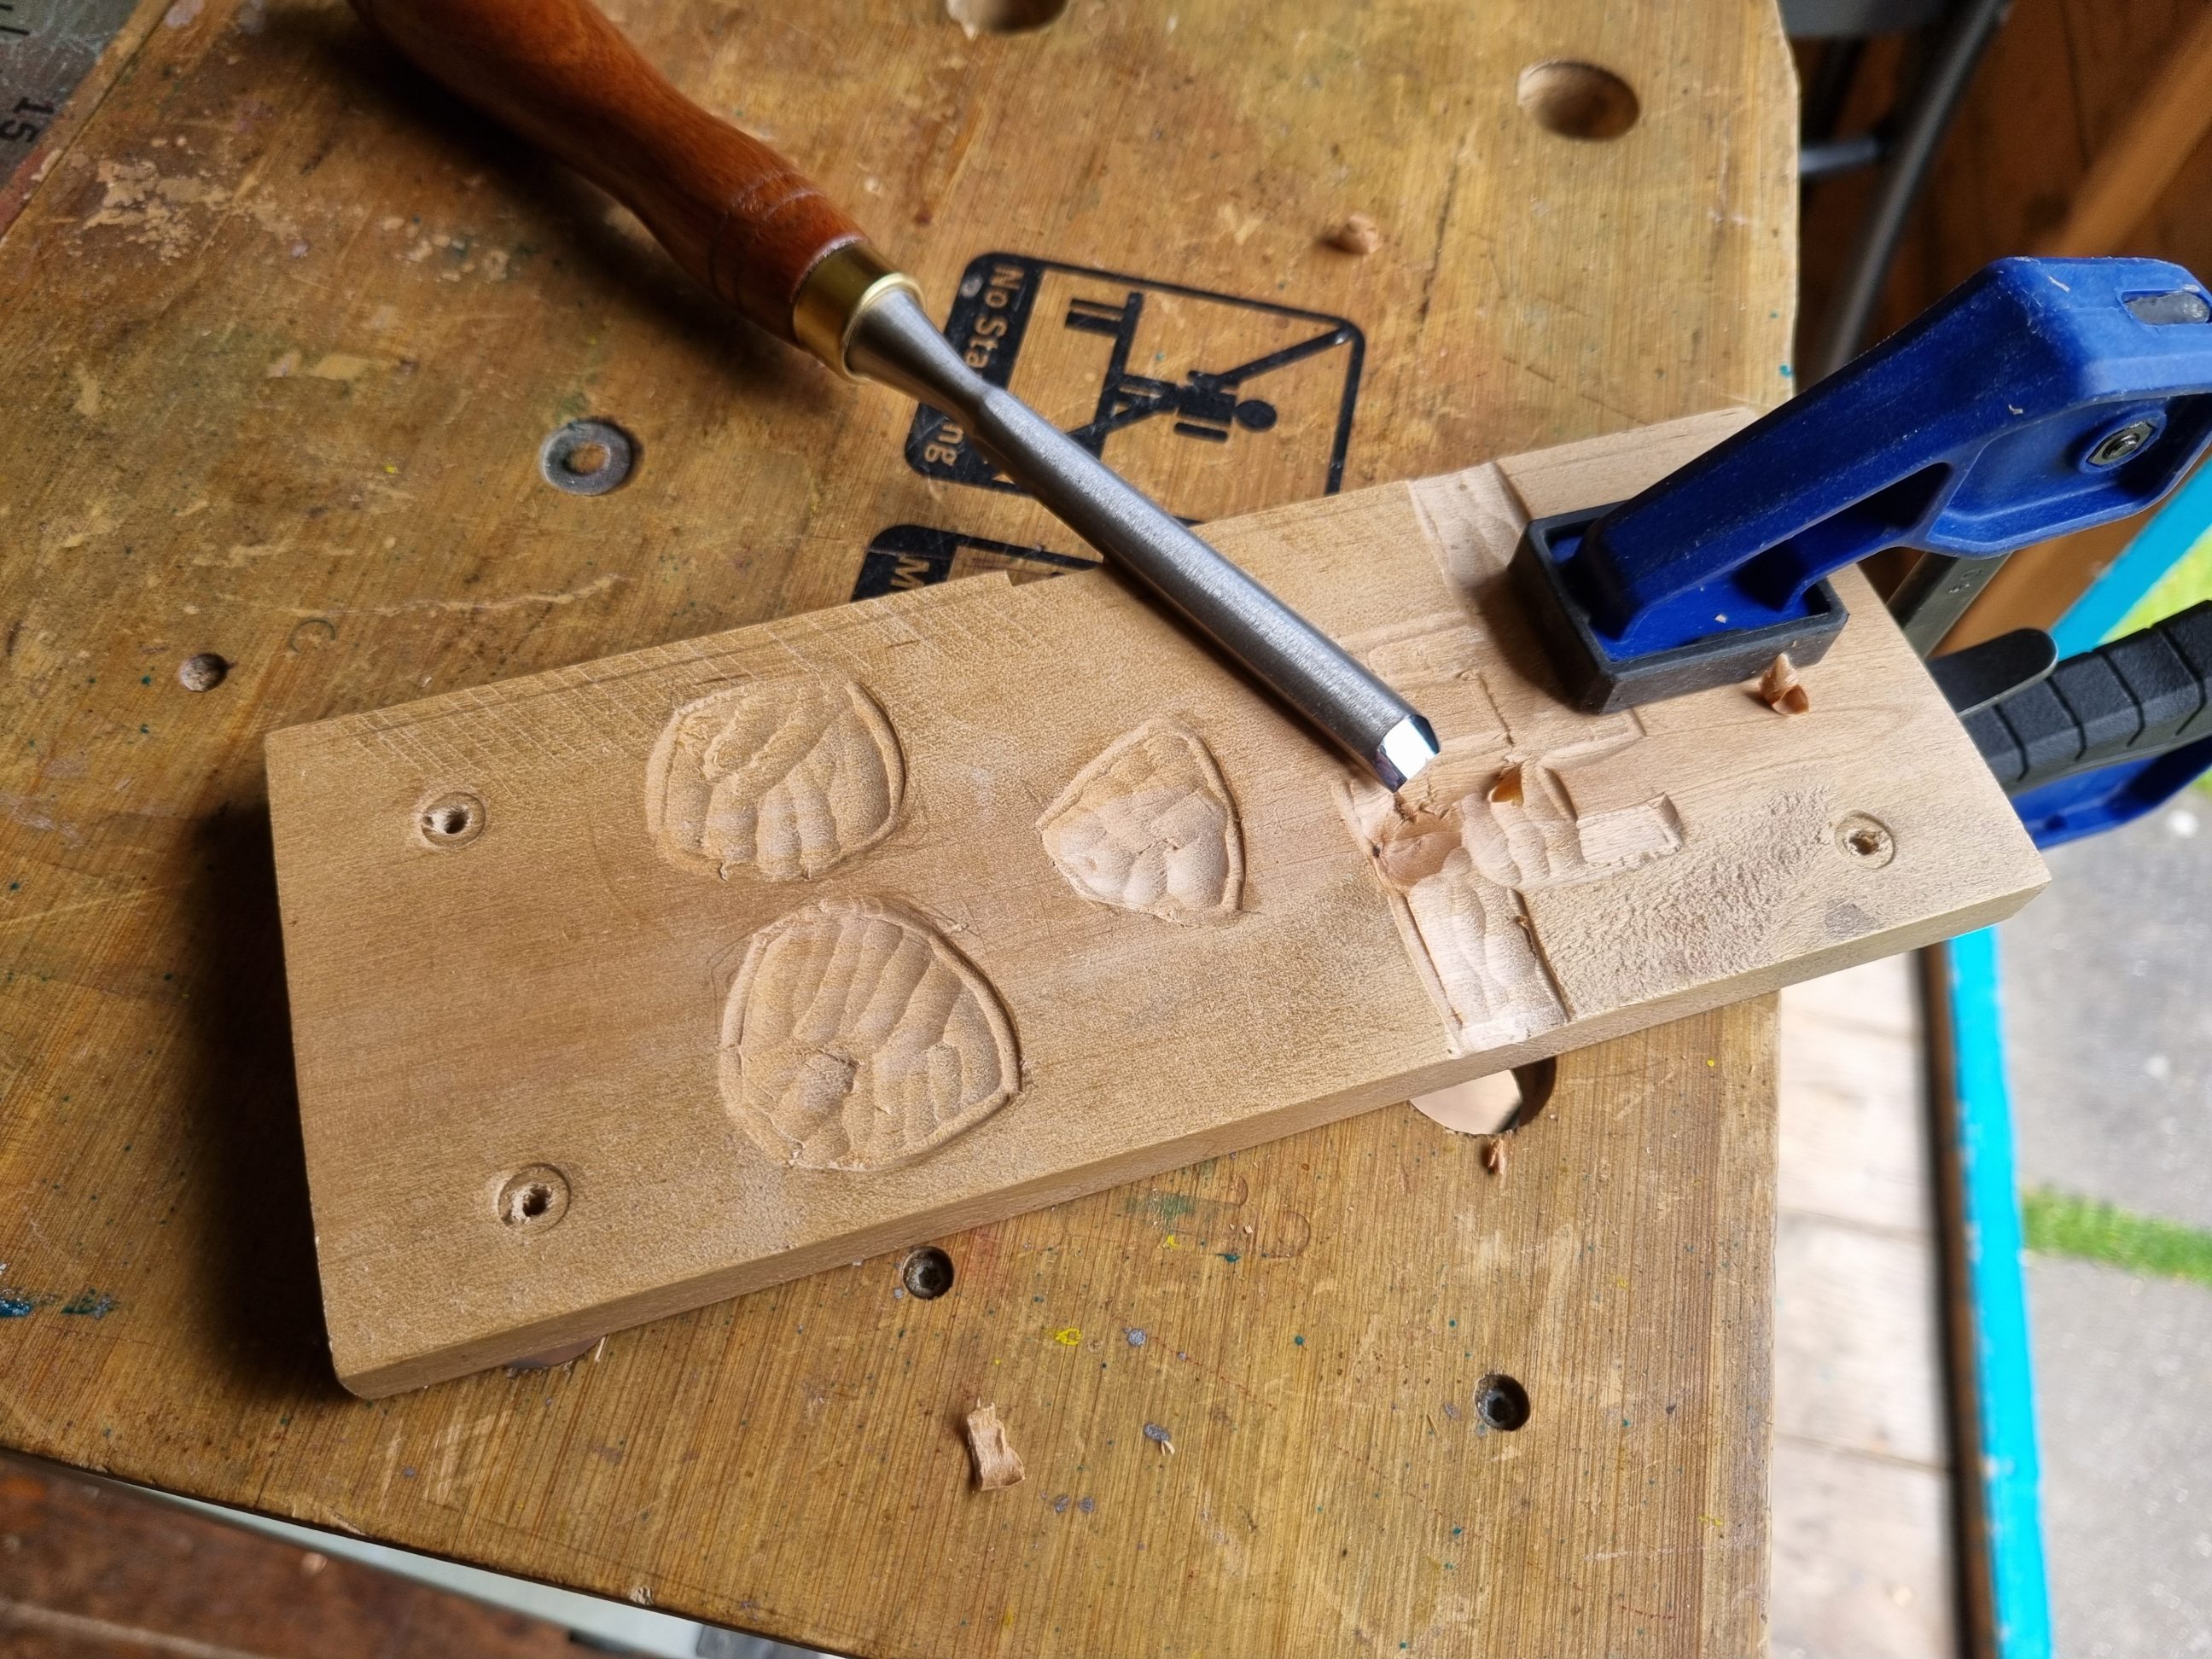
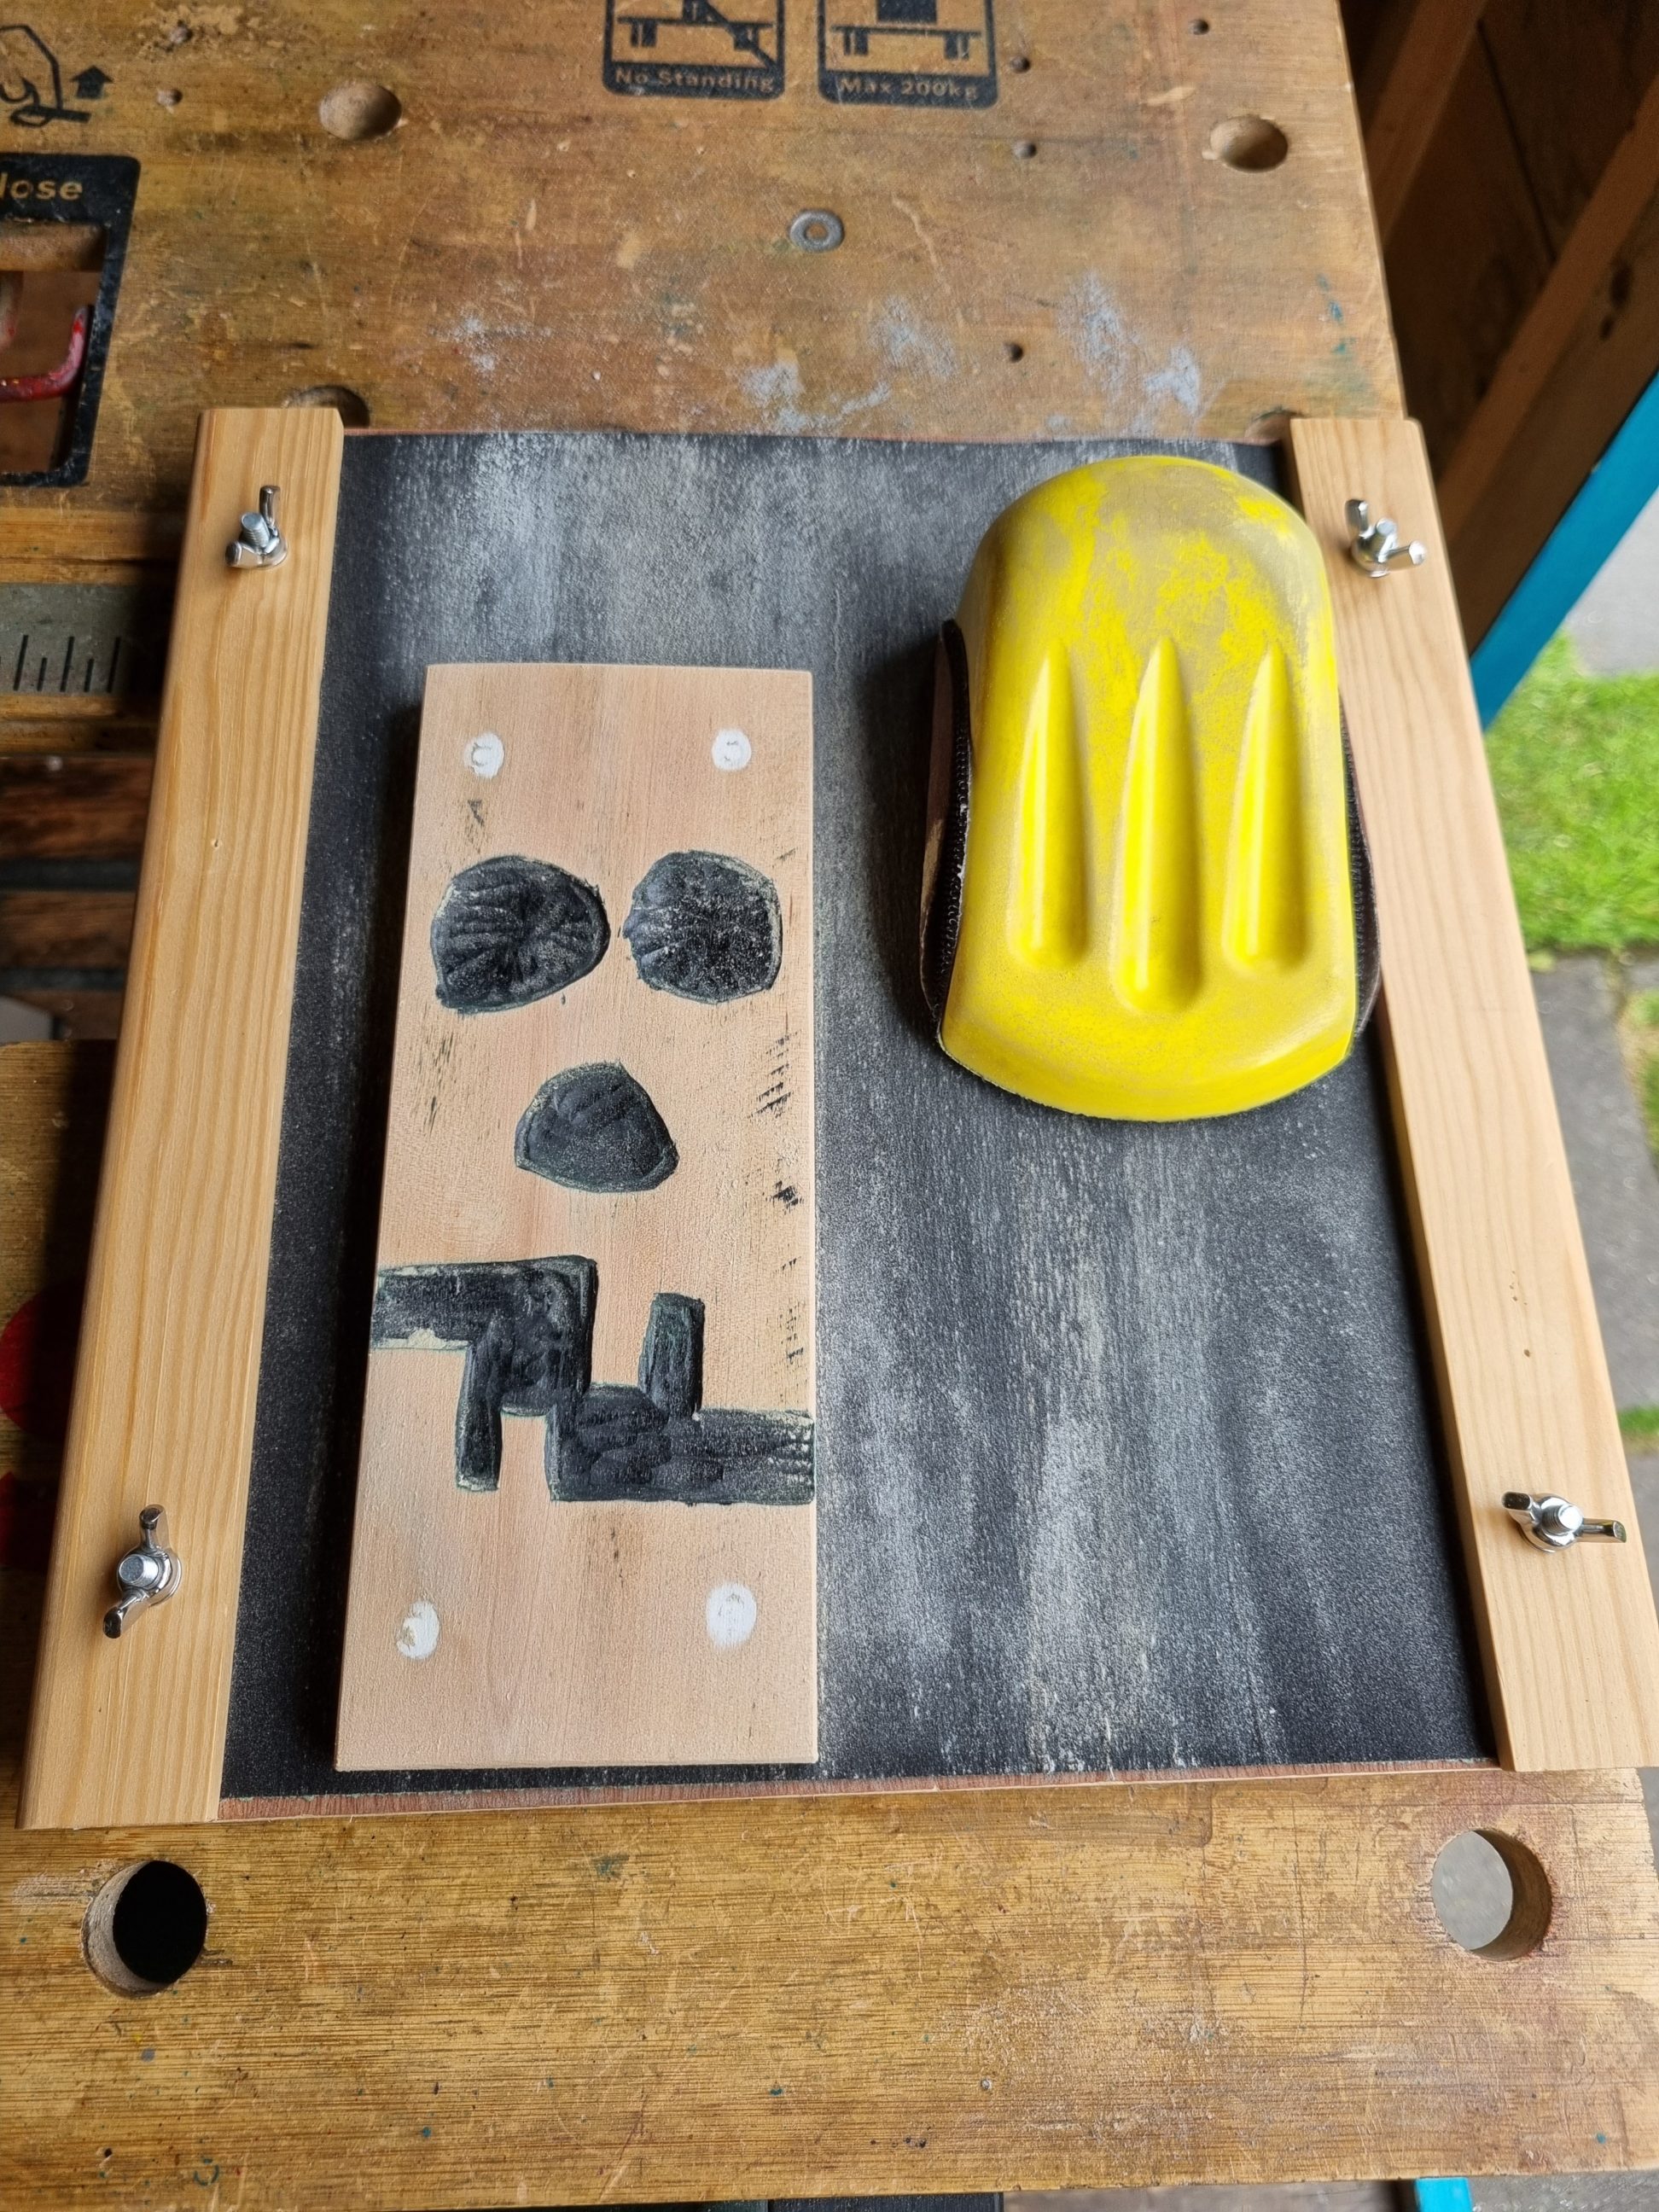
First, I had to lay out all the elements of that face, keeping it as simple as possible. Next, using just V-chisels and a few spoon gouges, I removed a decent amount of material. I didn’t want my carving to be flat and only score the surface of the board. It had to be quite deep and 3-dimensional. I kept the workpiece clamped and blew off the chips as I went. There was no particular plan of what to do and in what order, that’s why the job was a little chaotic. That seems to be normal, though, when you’re in the middle of your creating process.
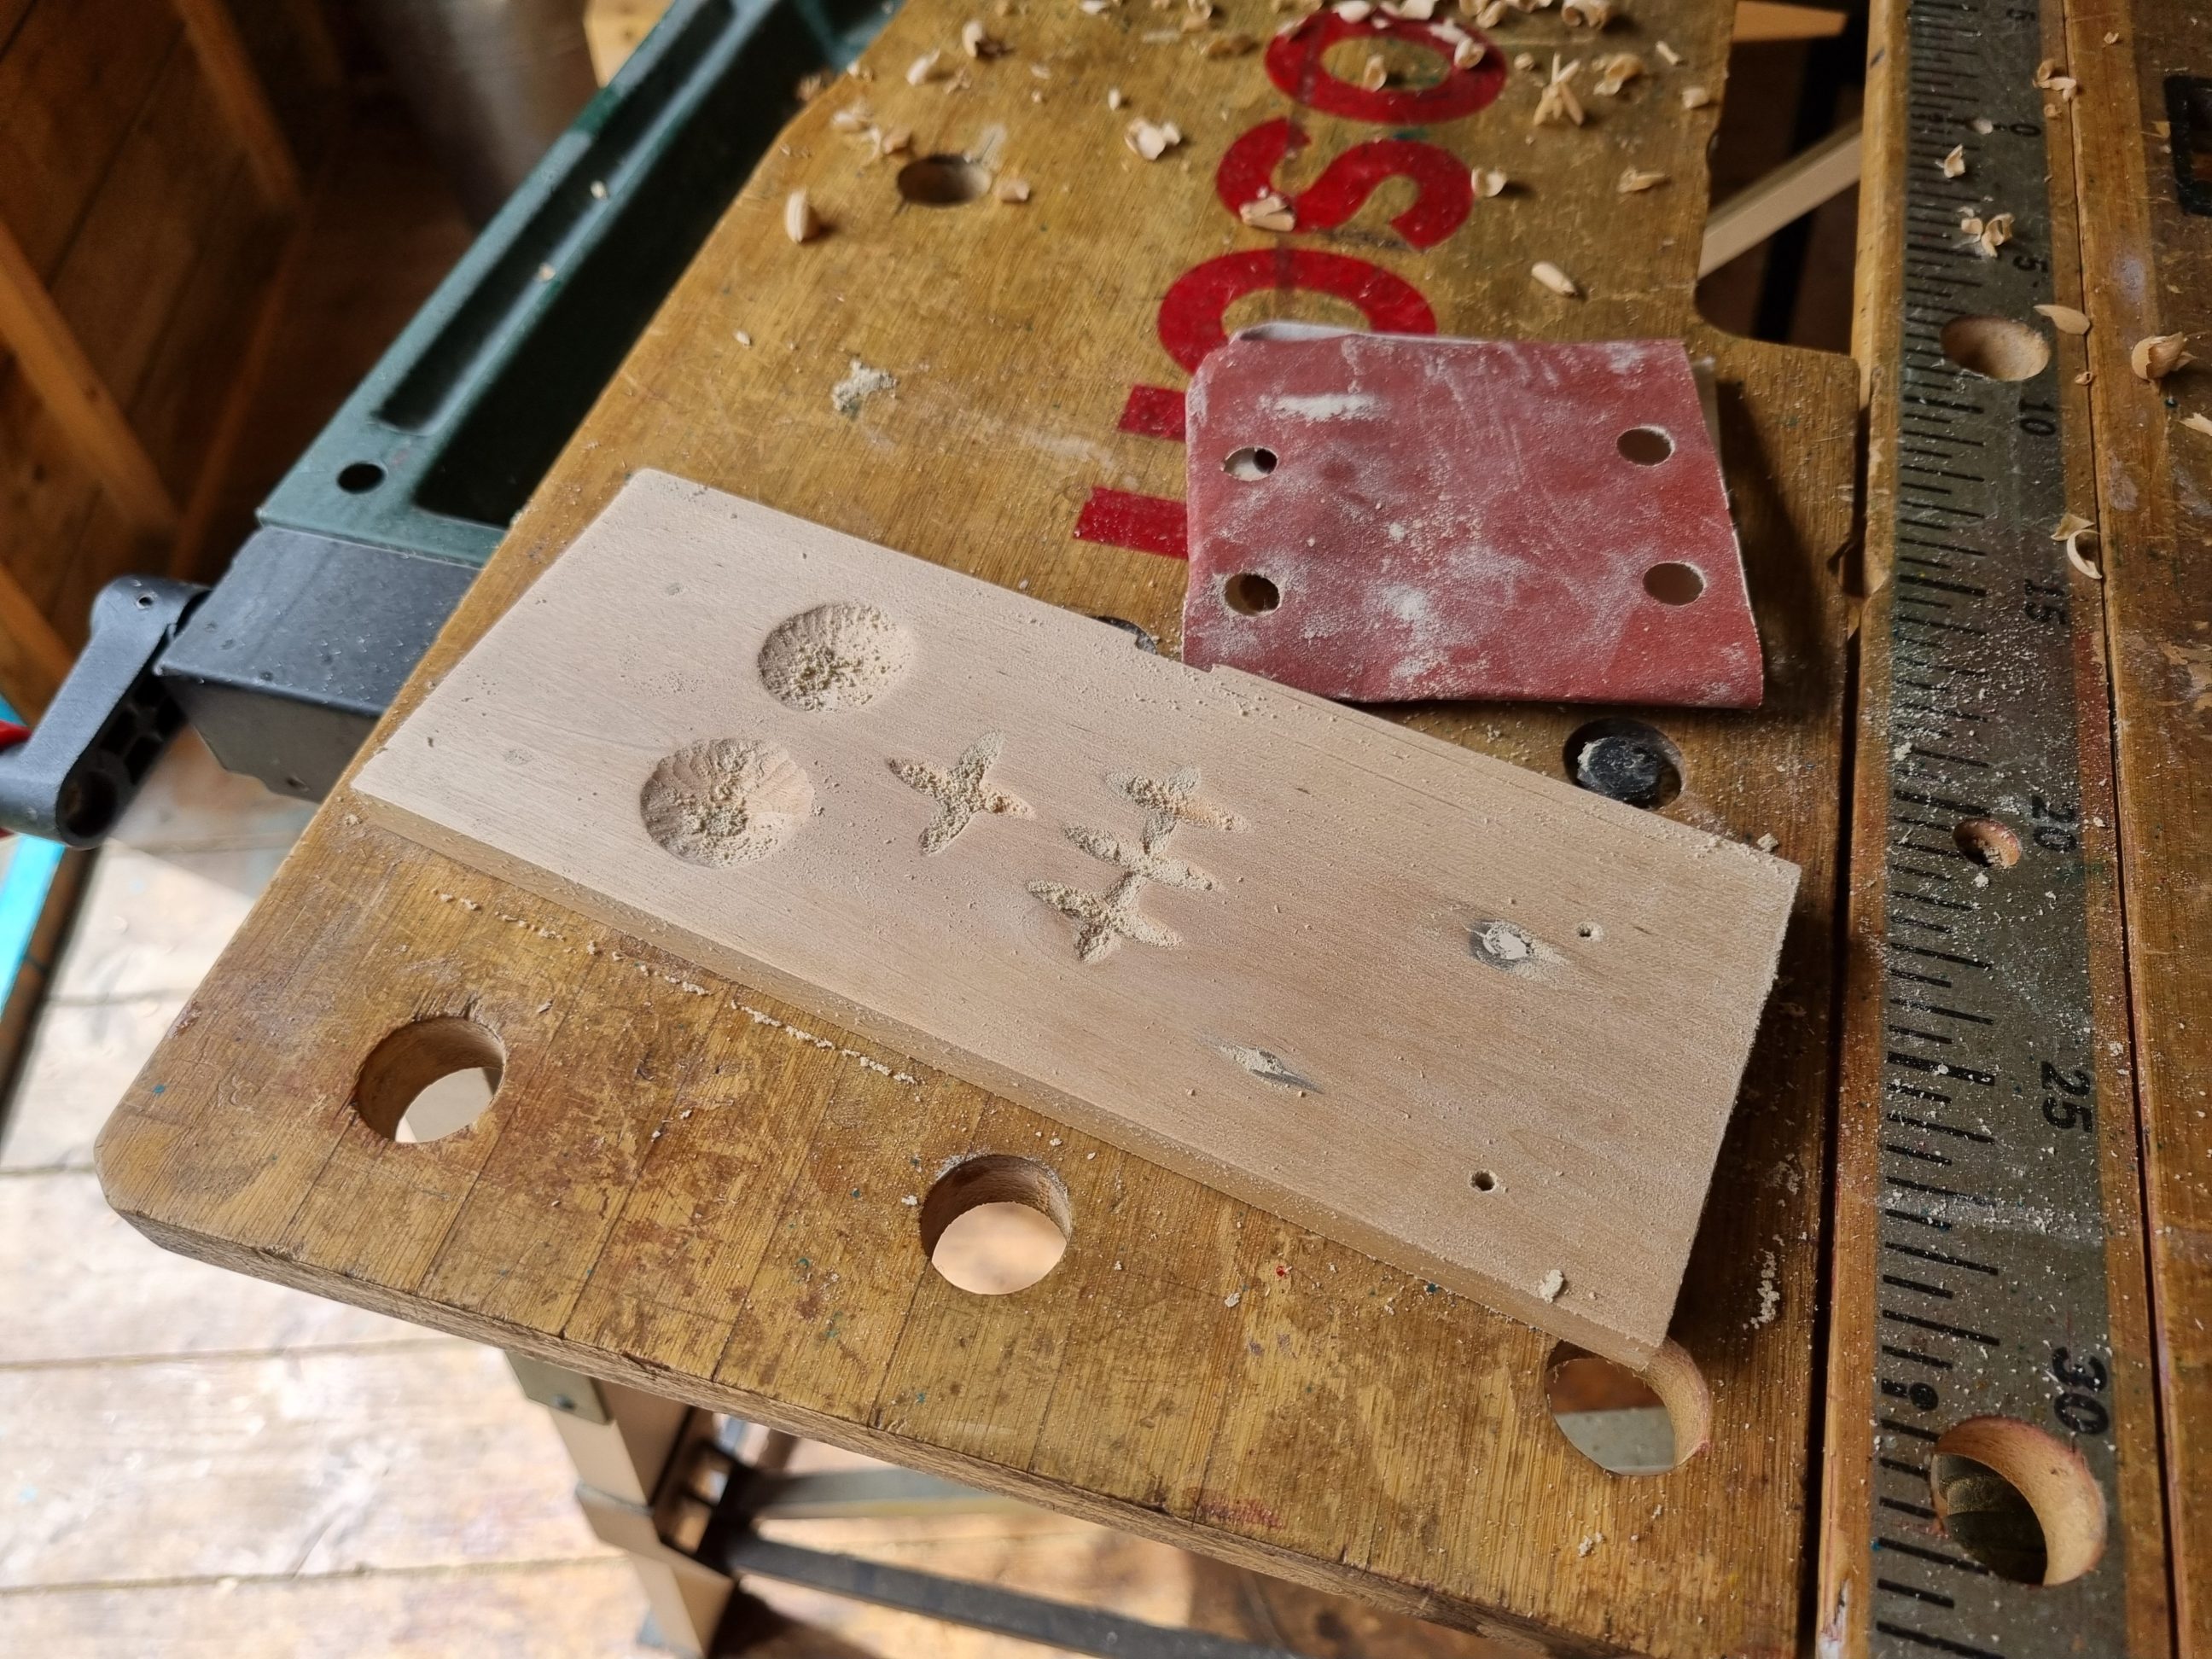
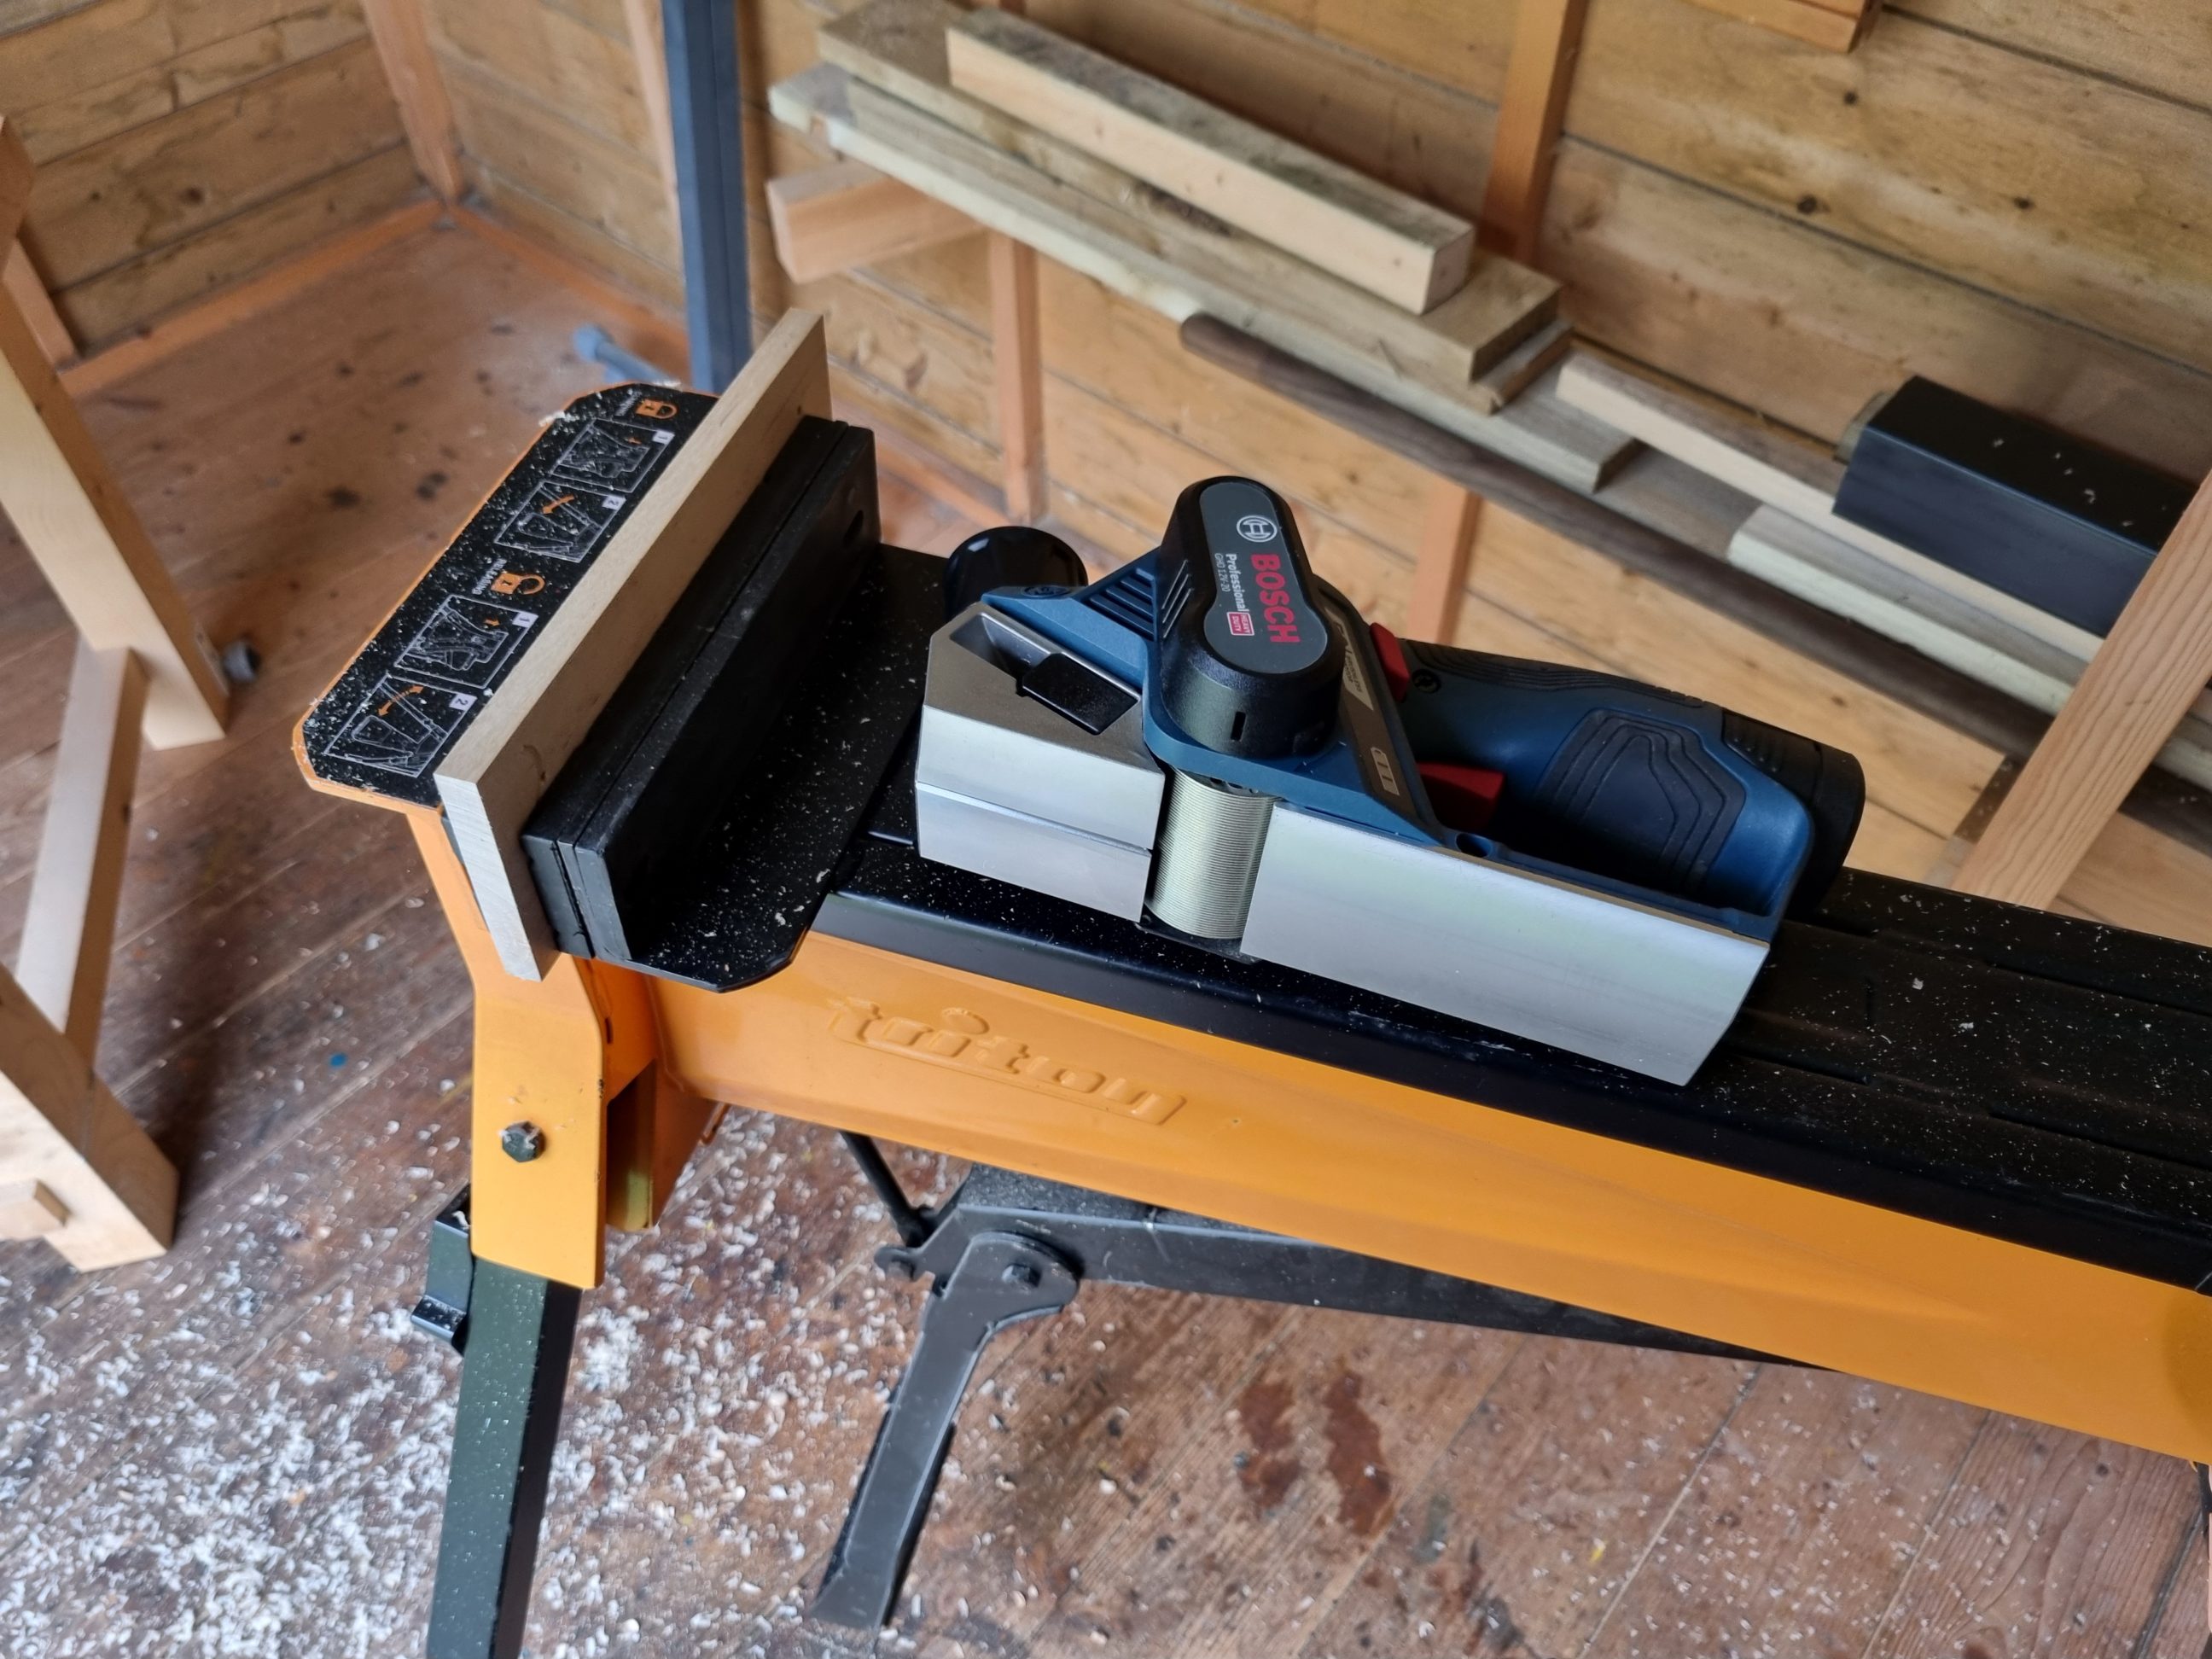
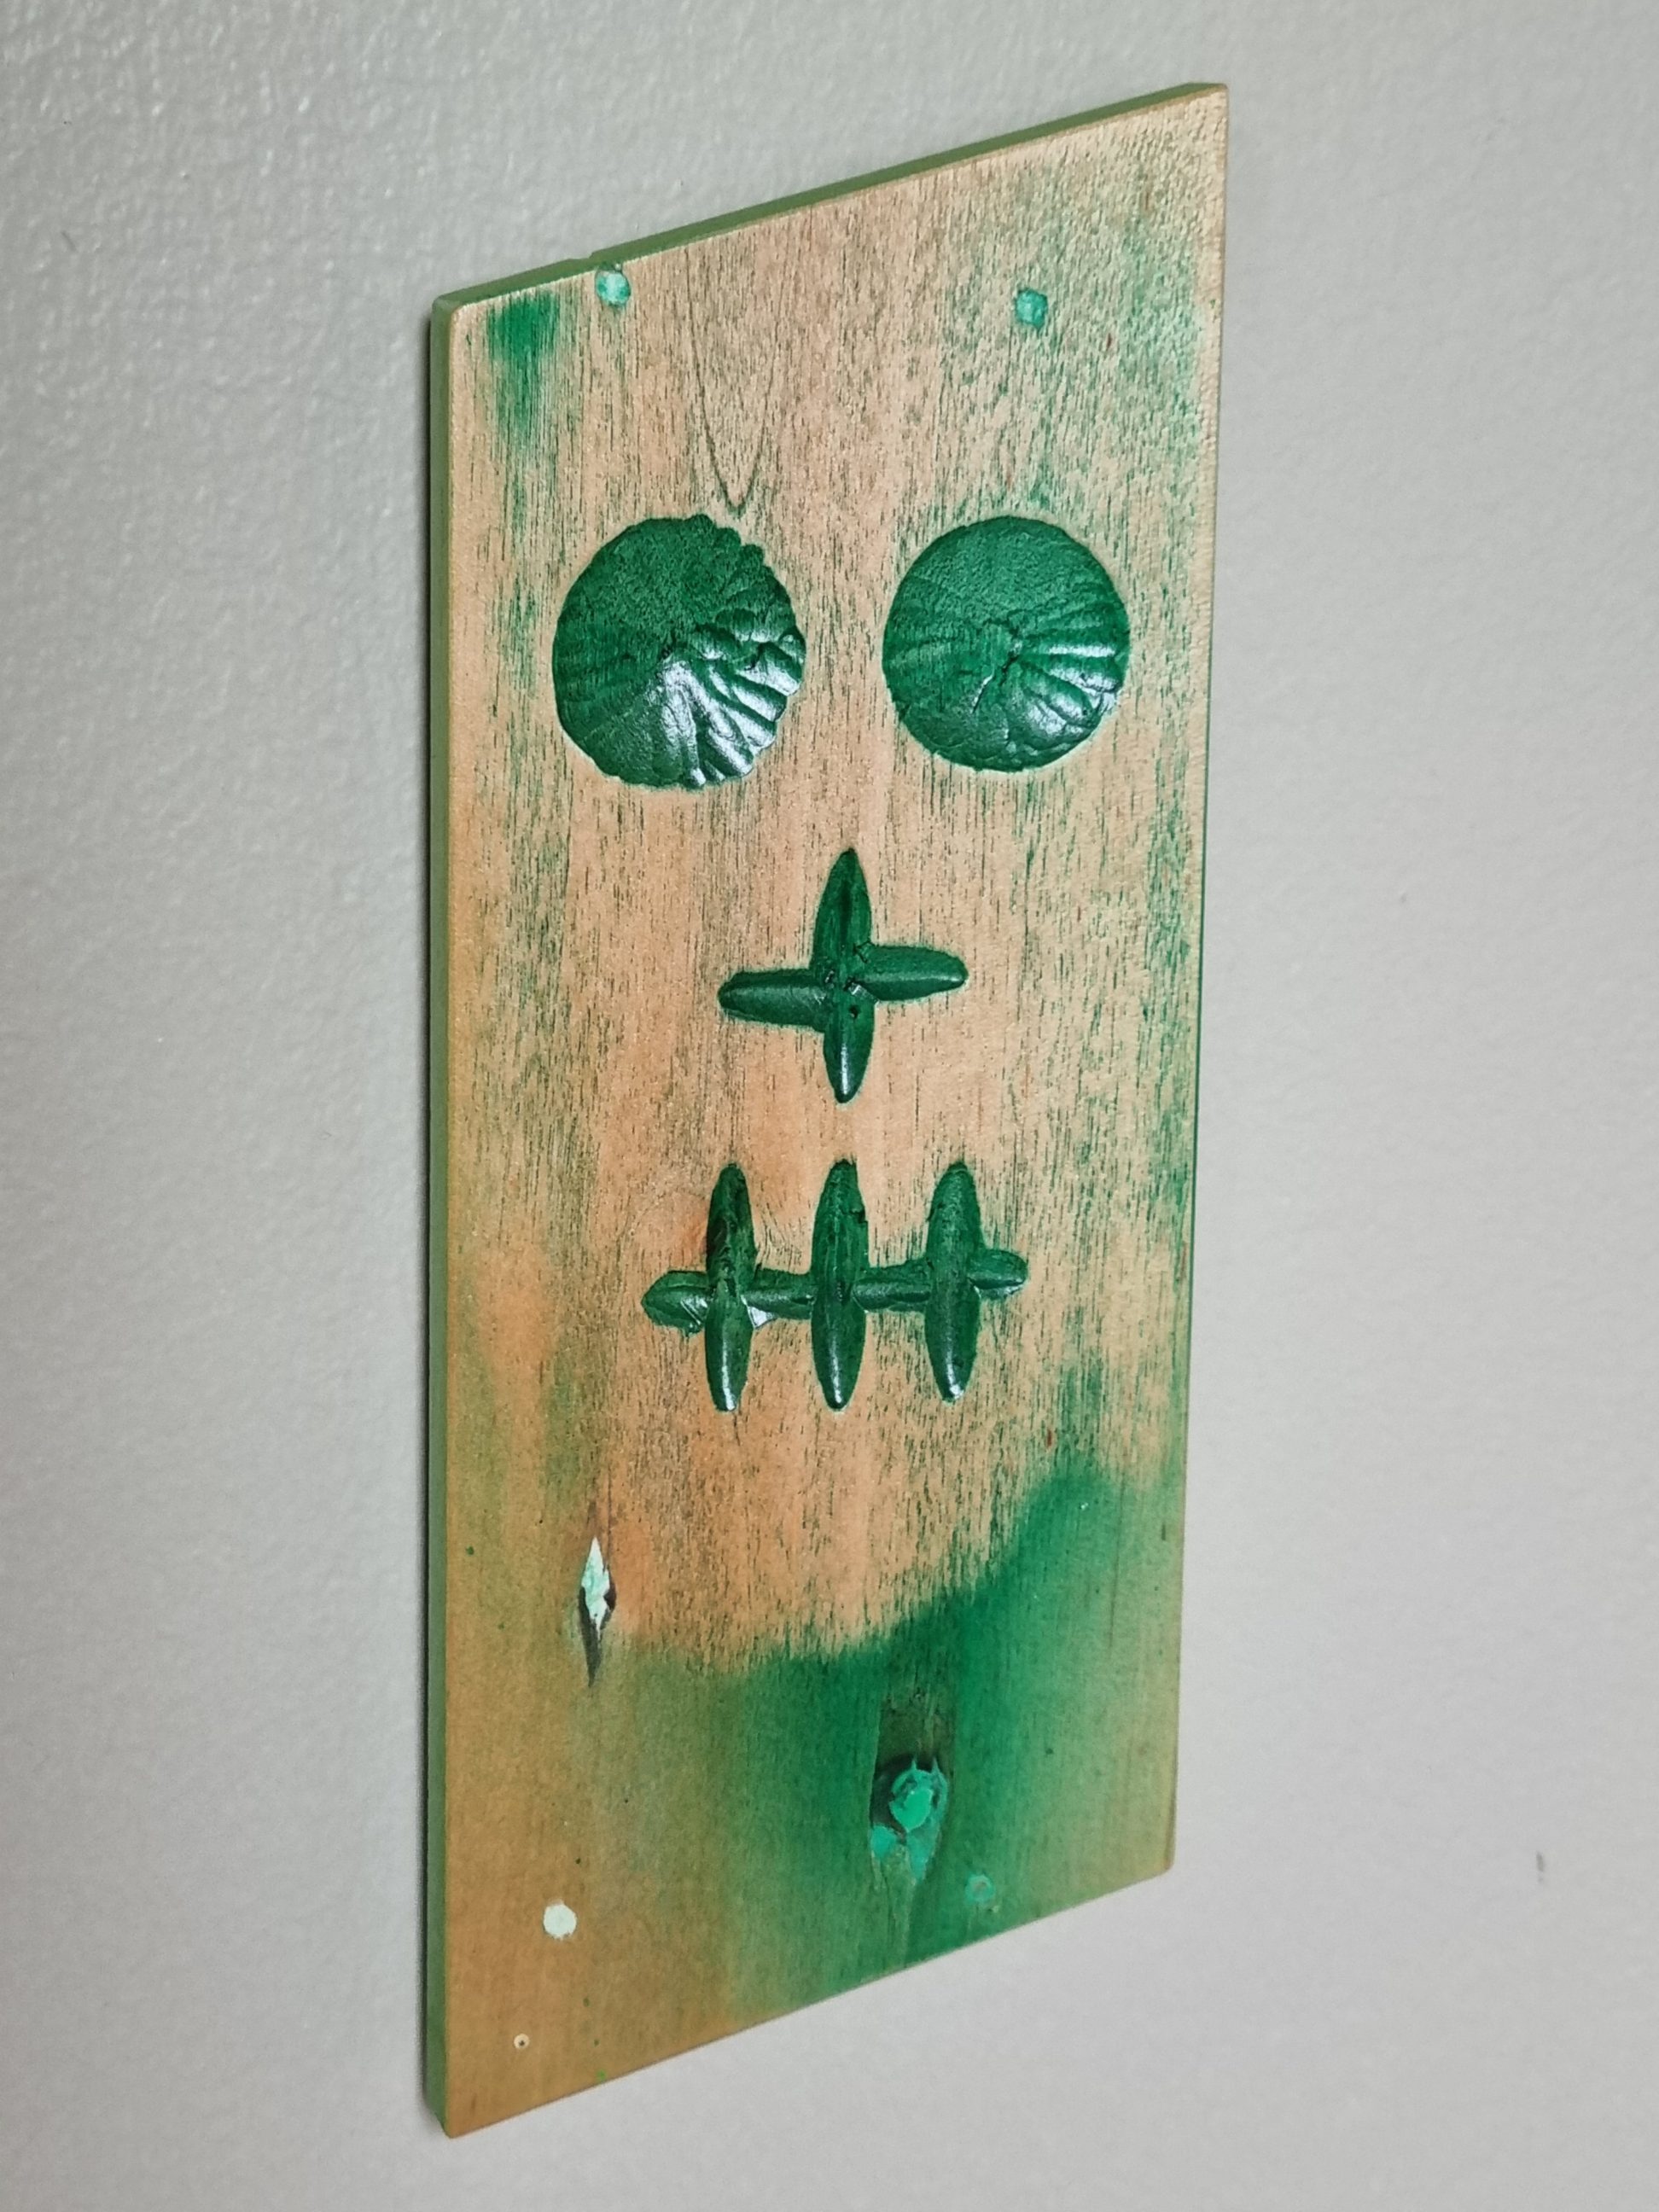
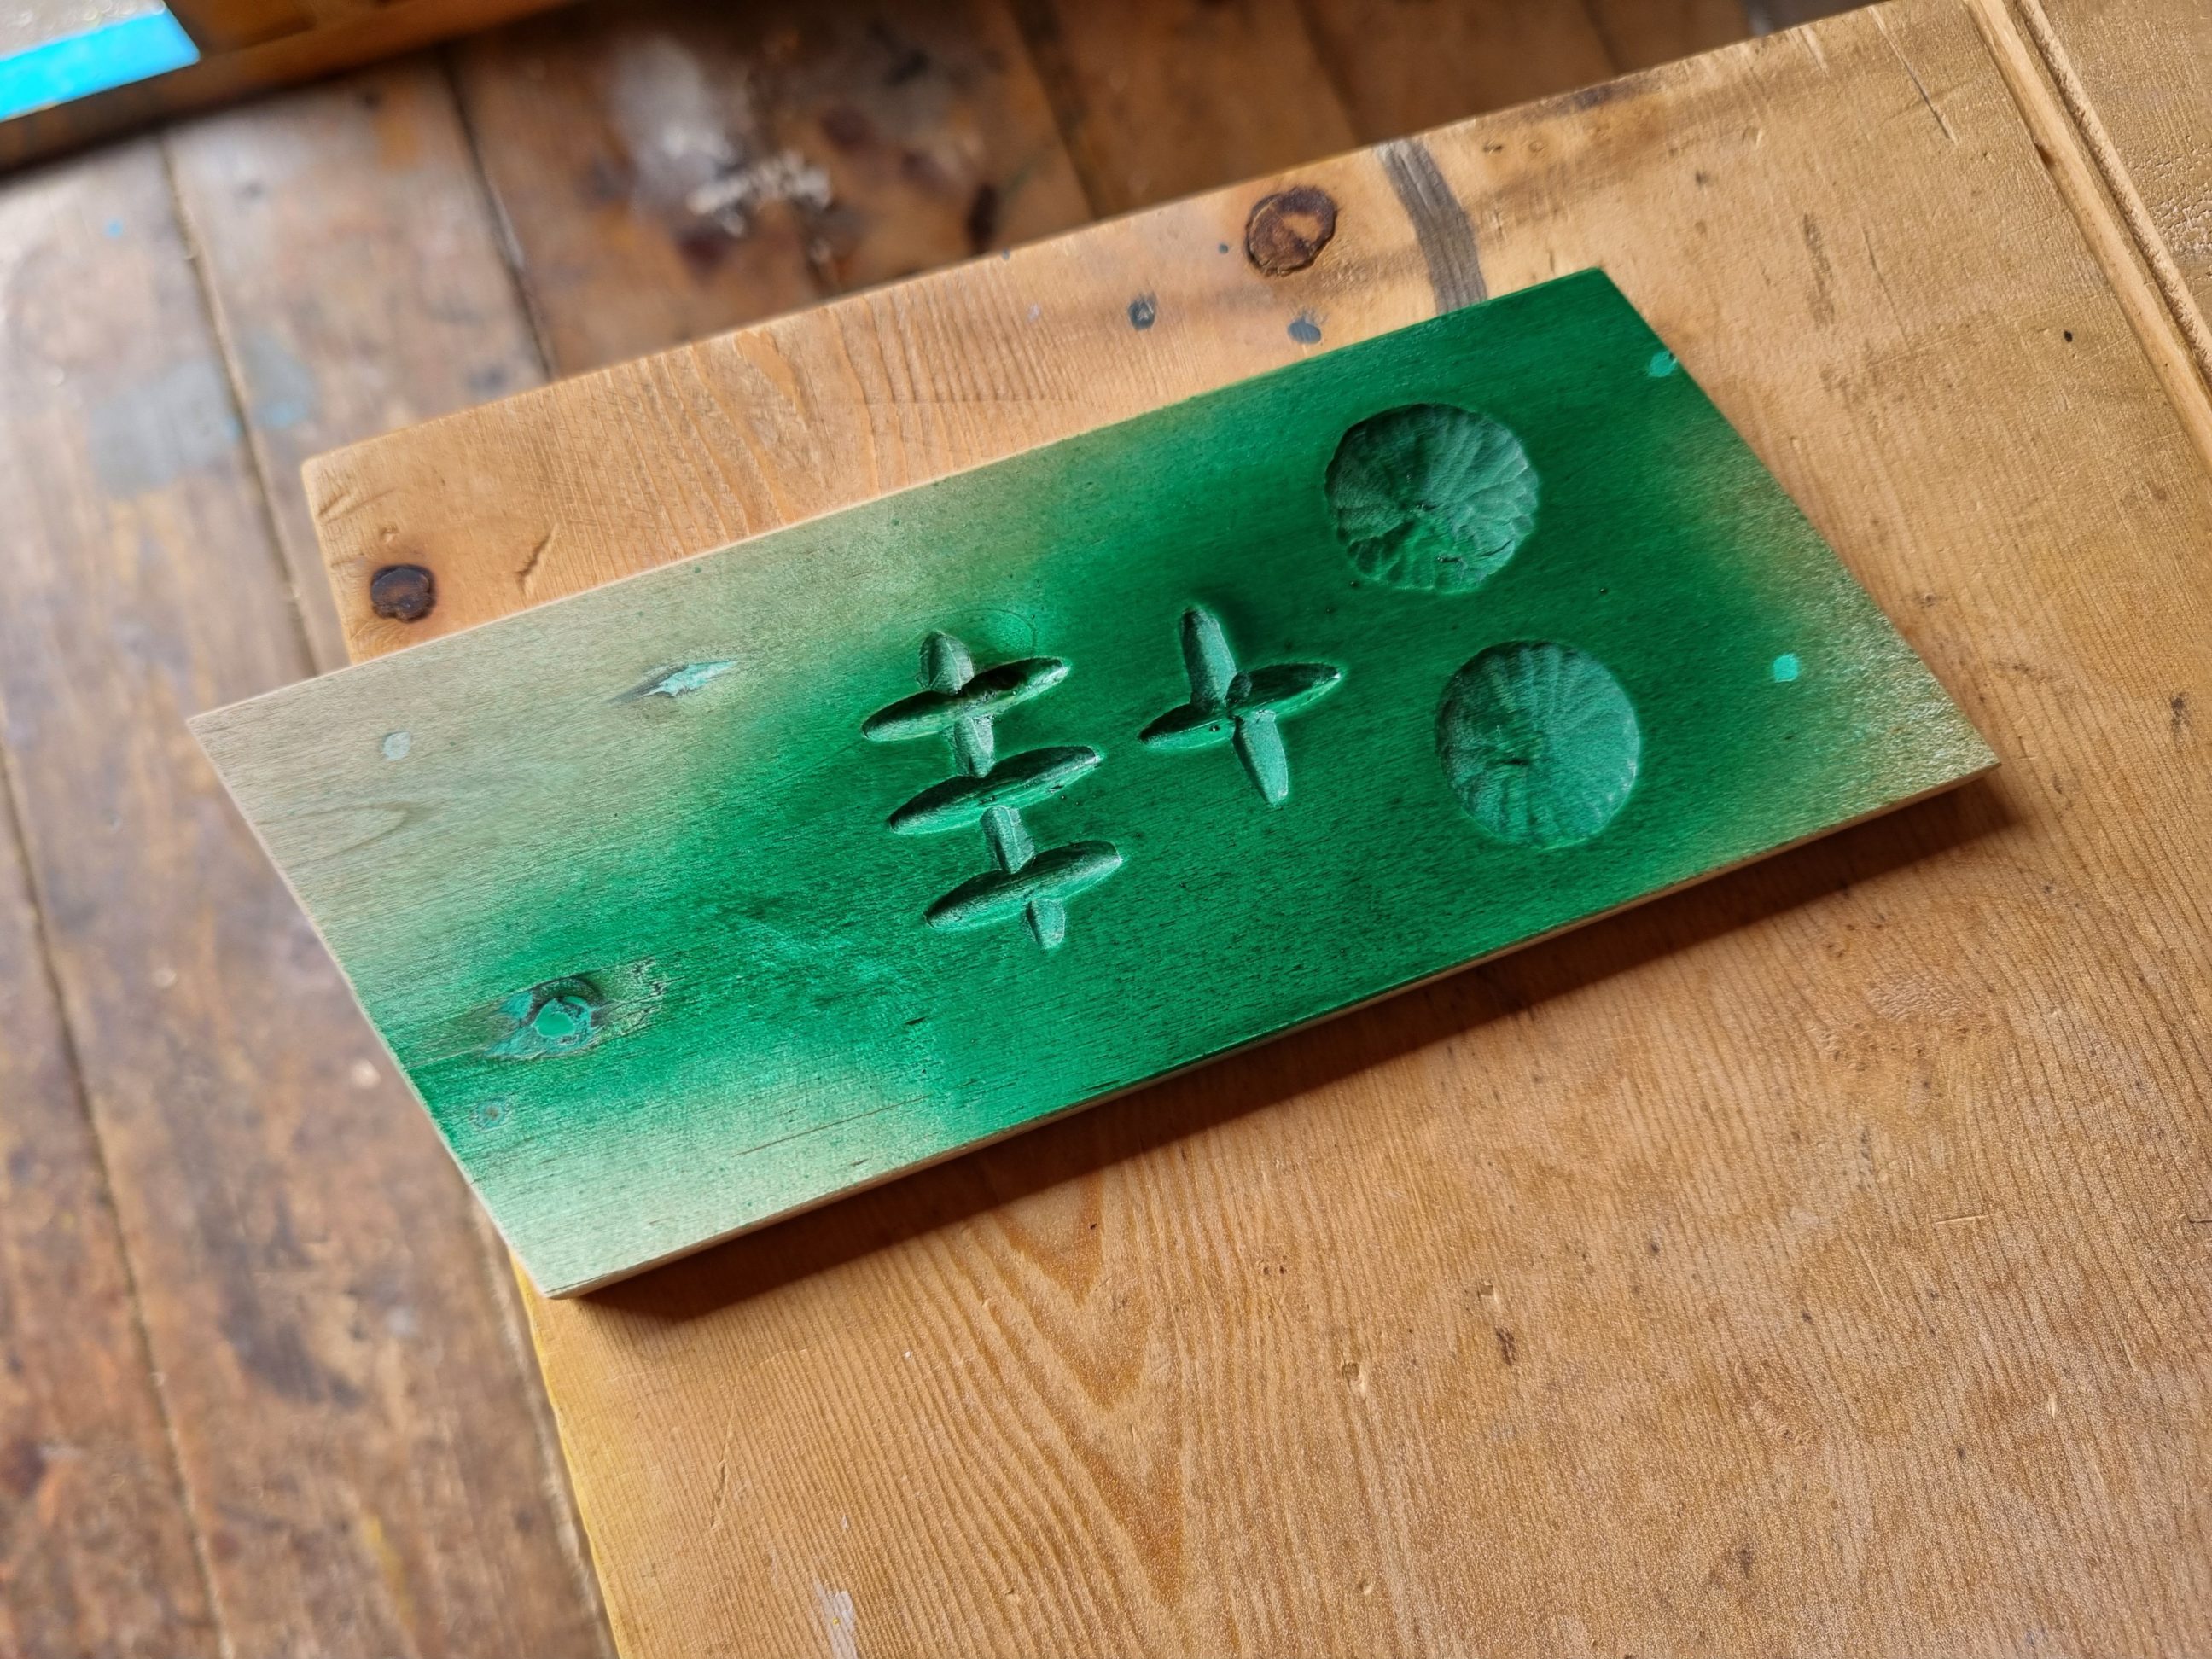
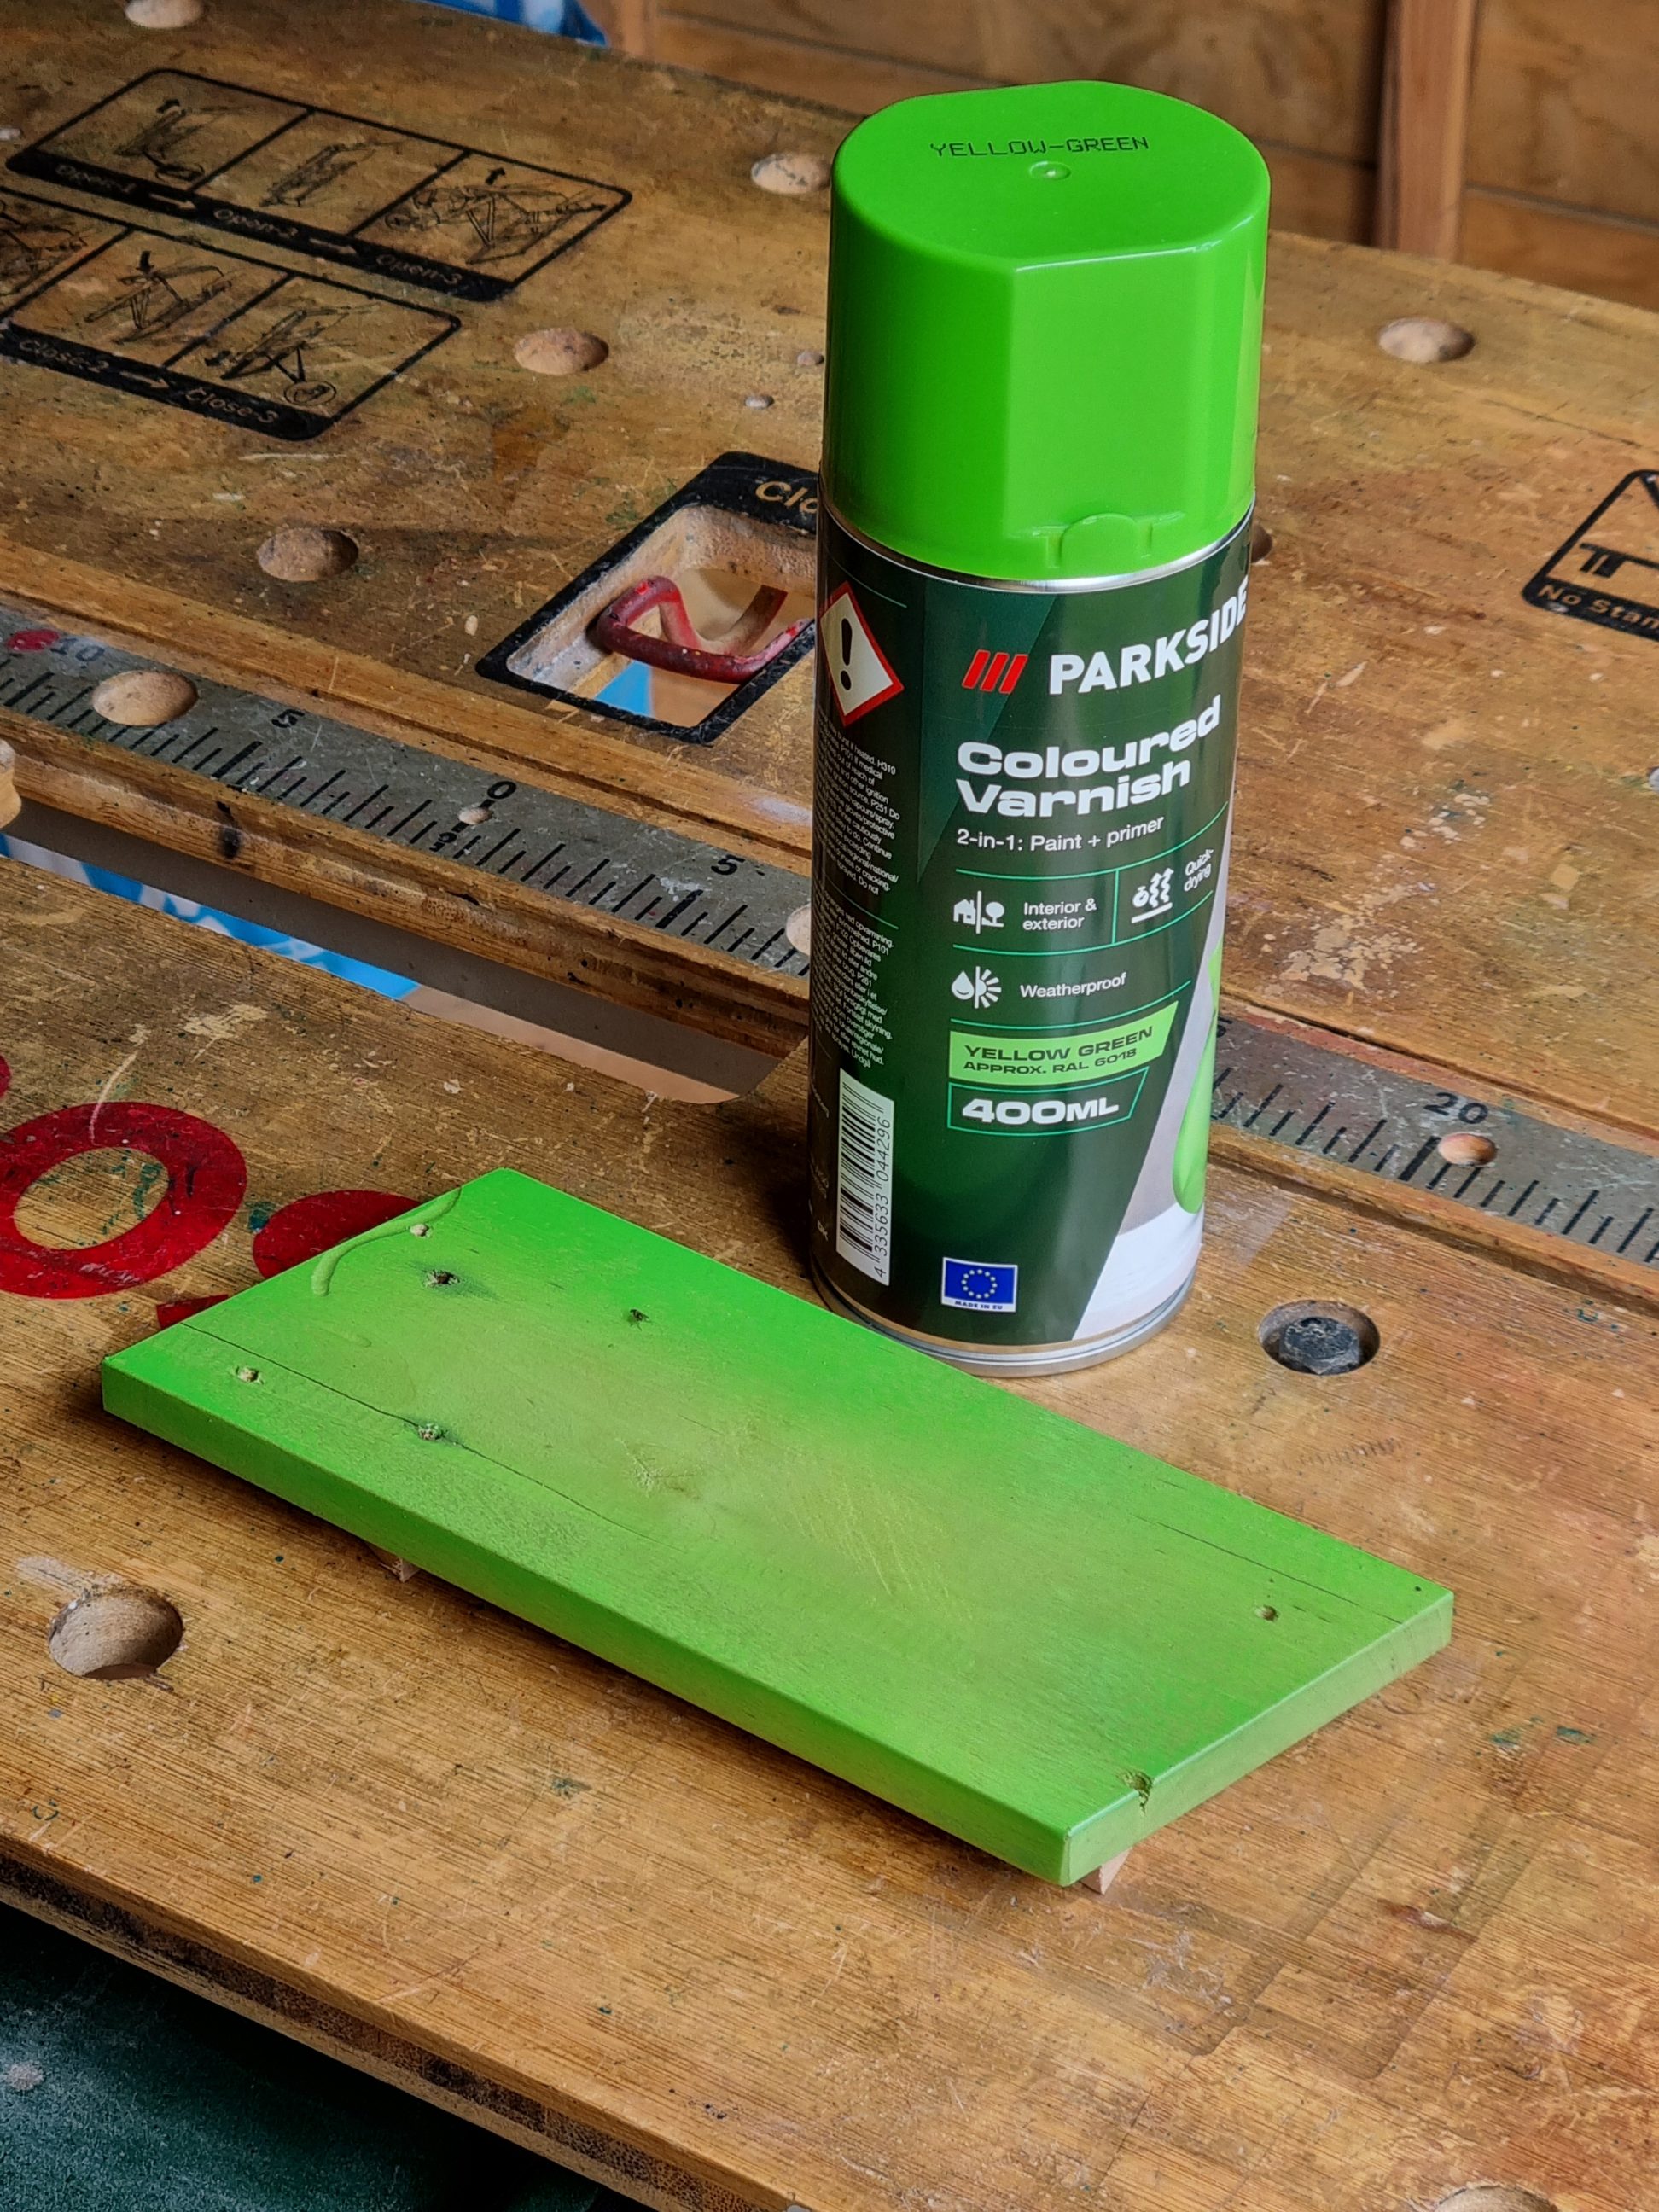
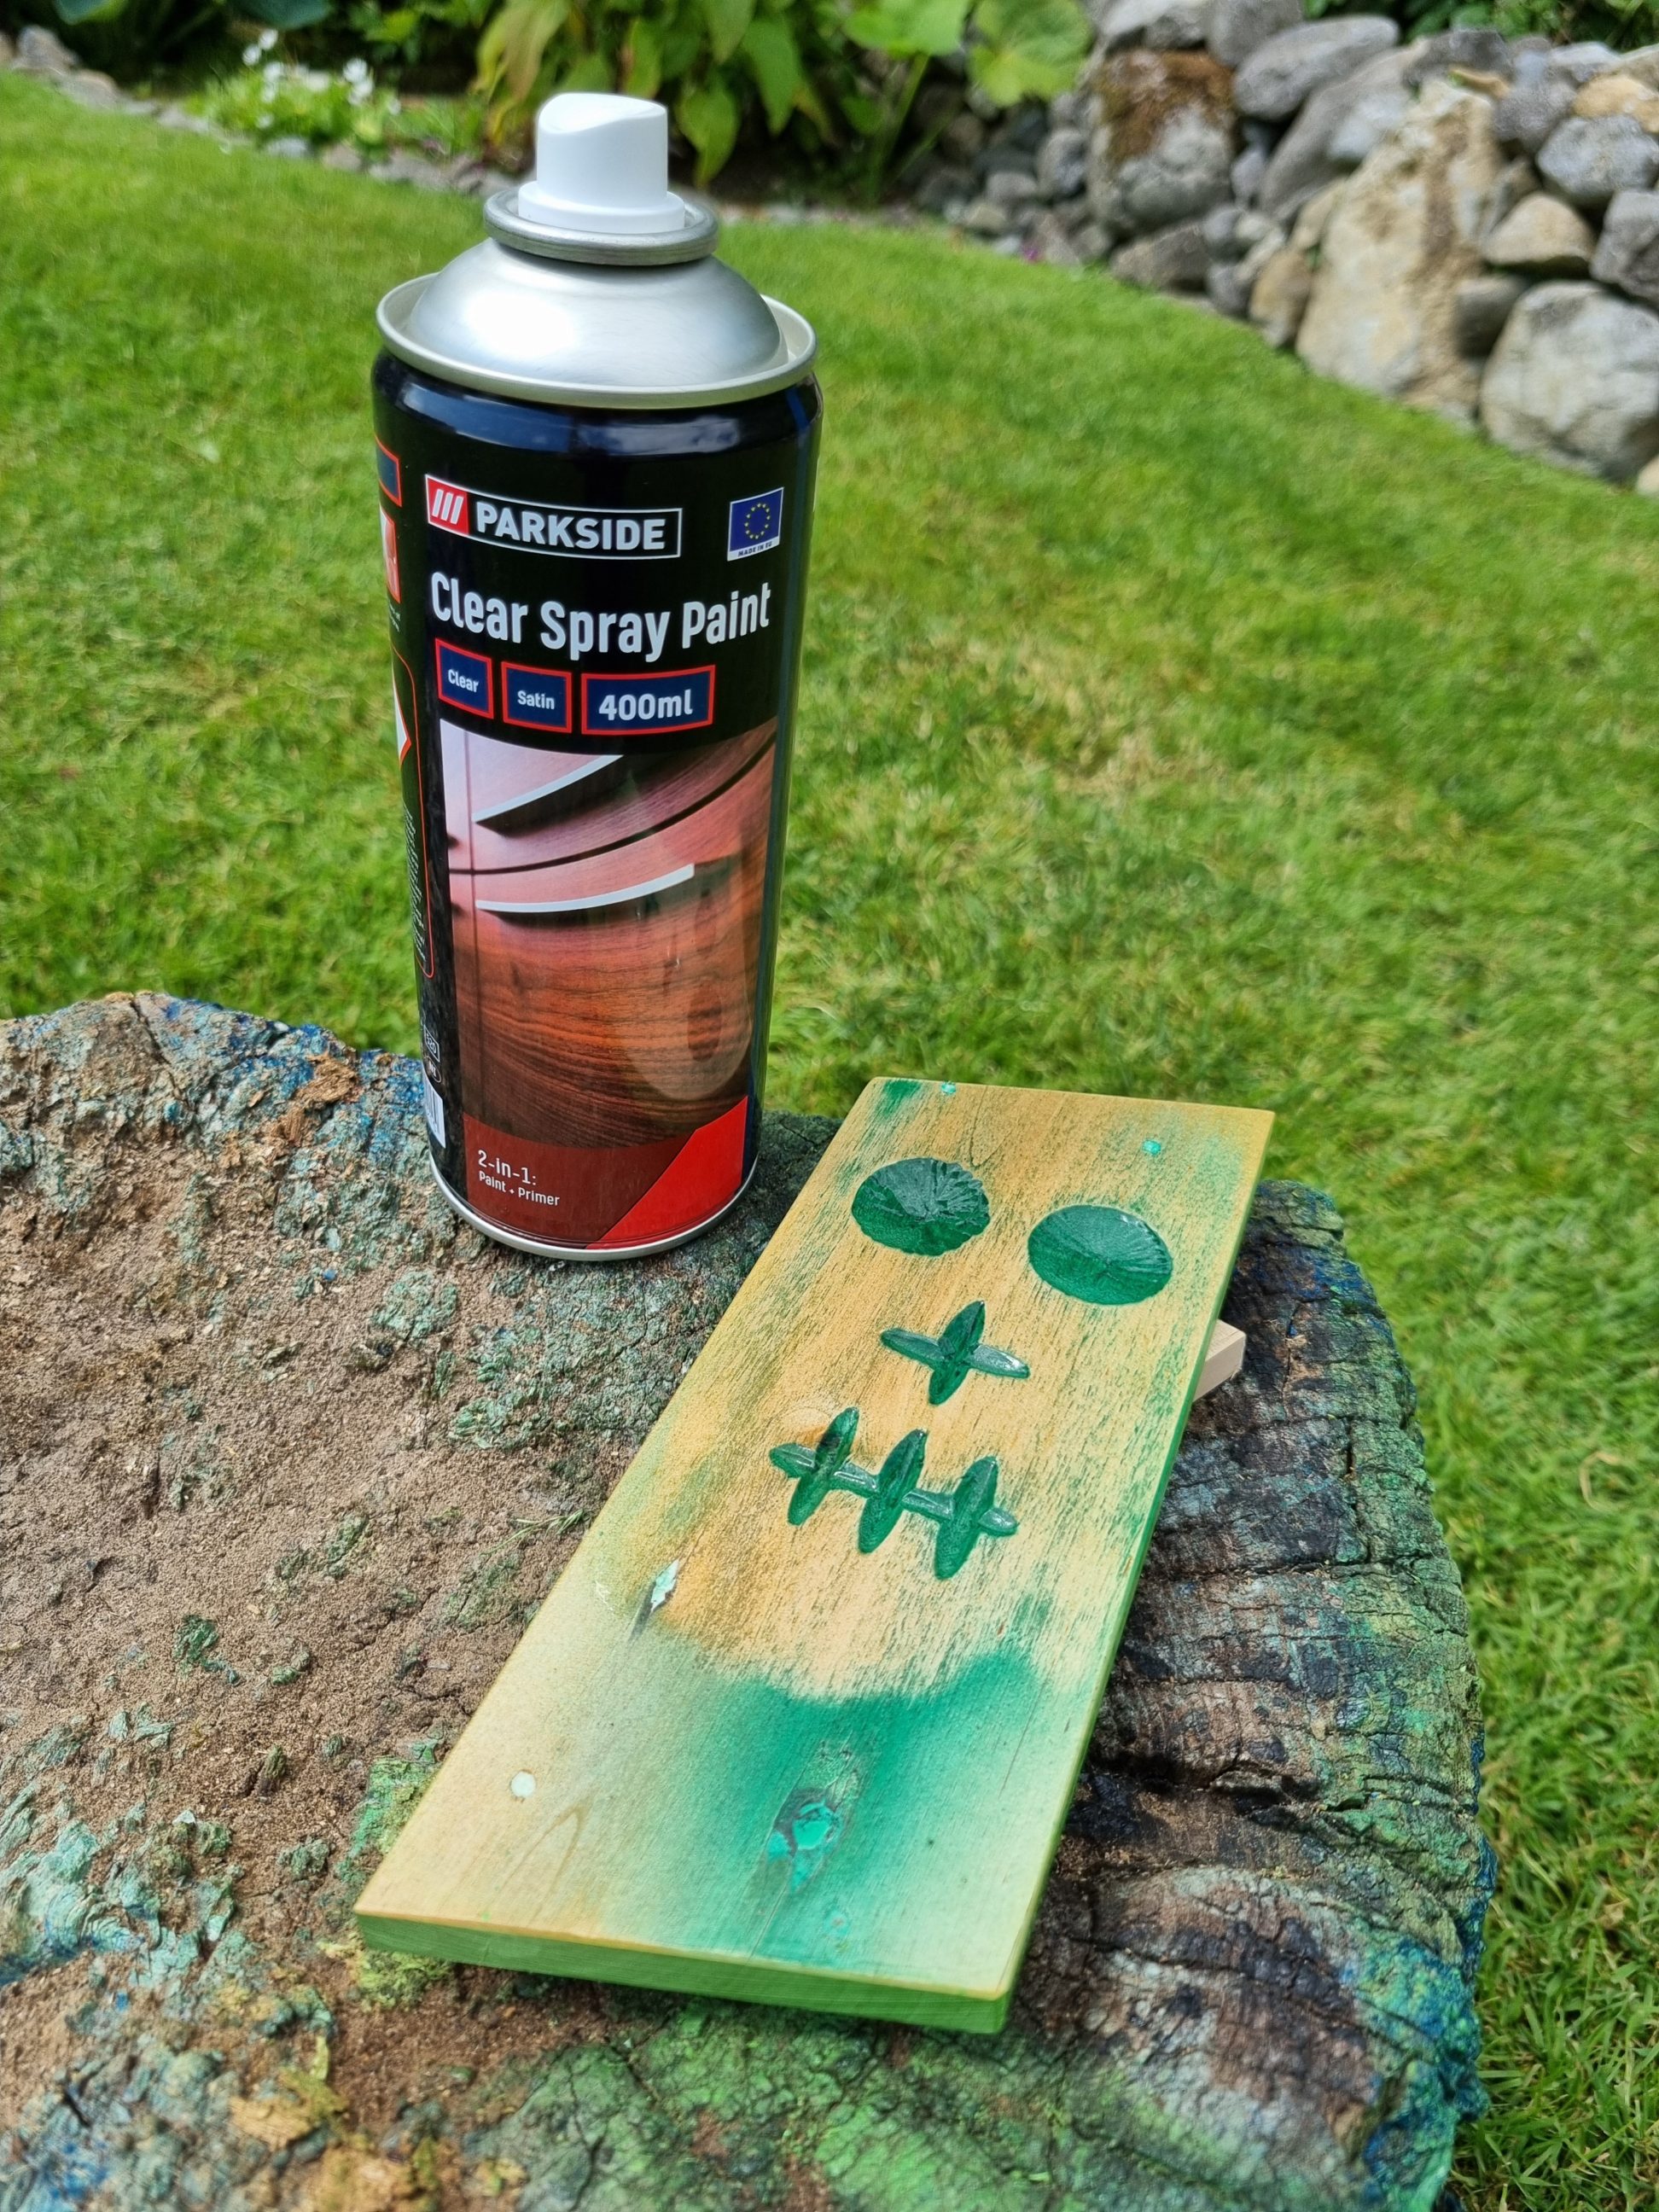
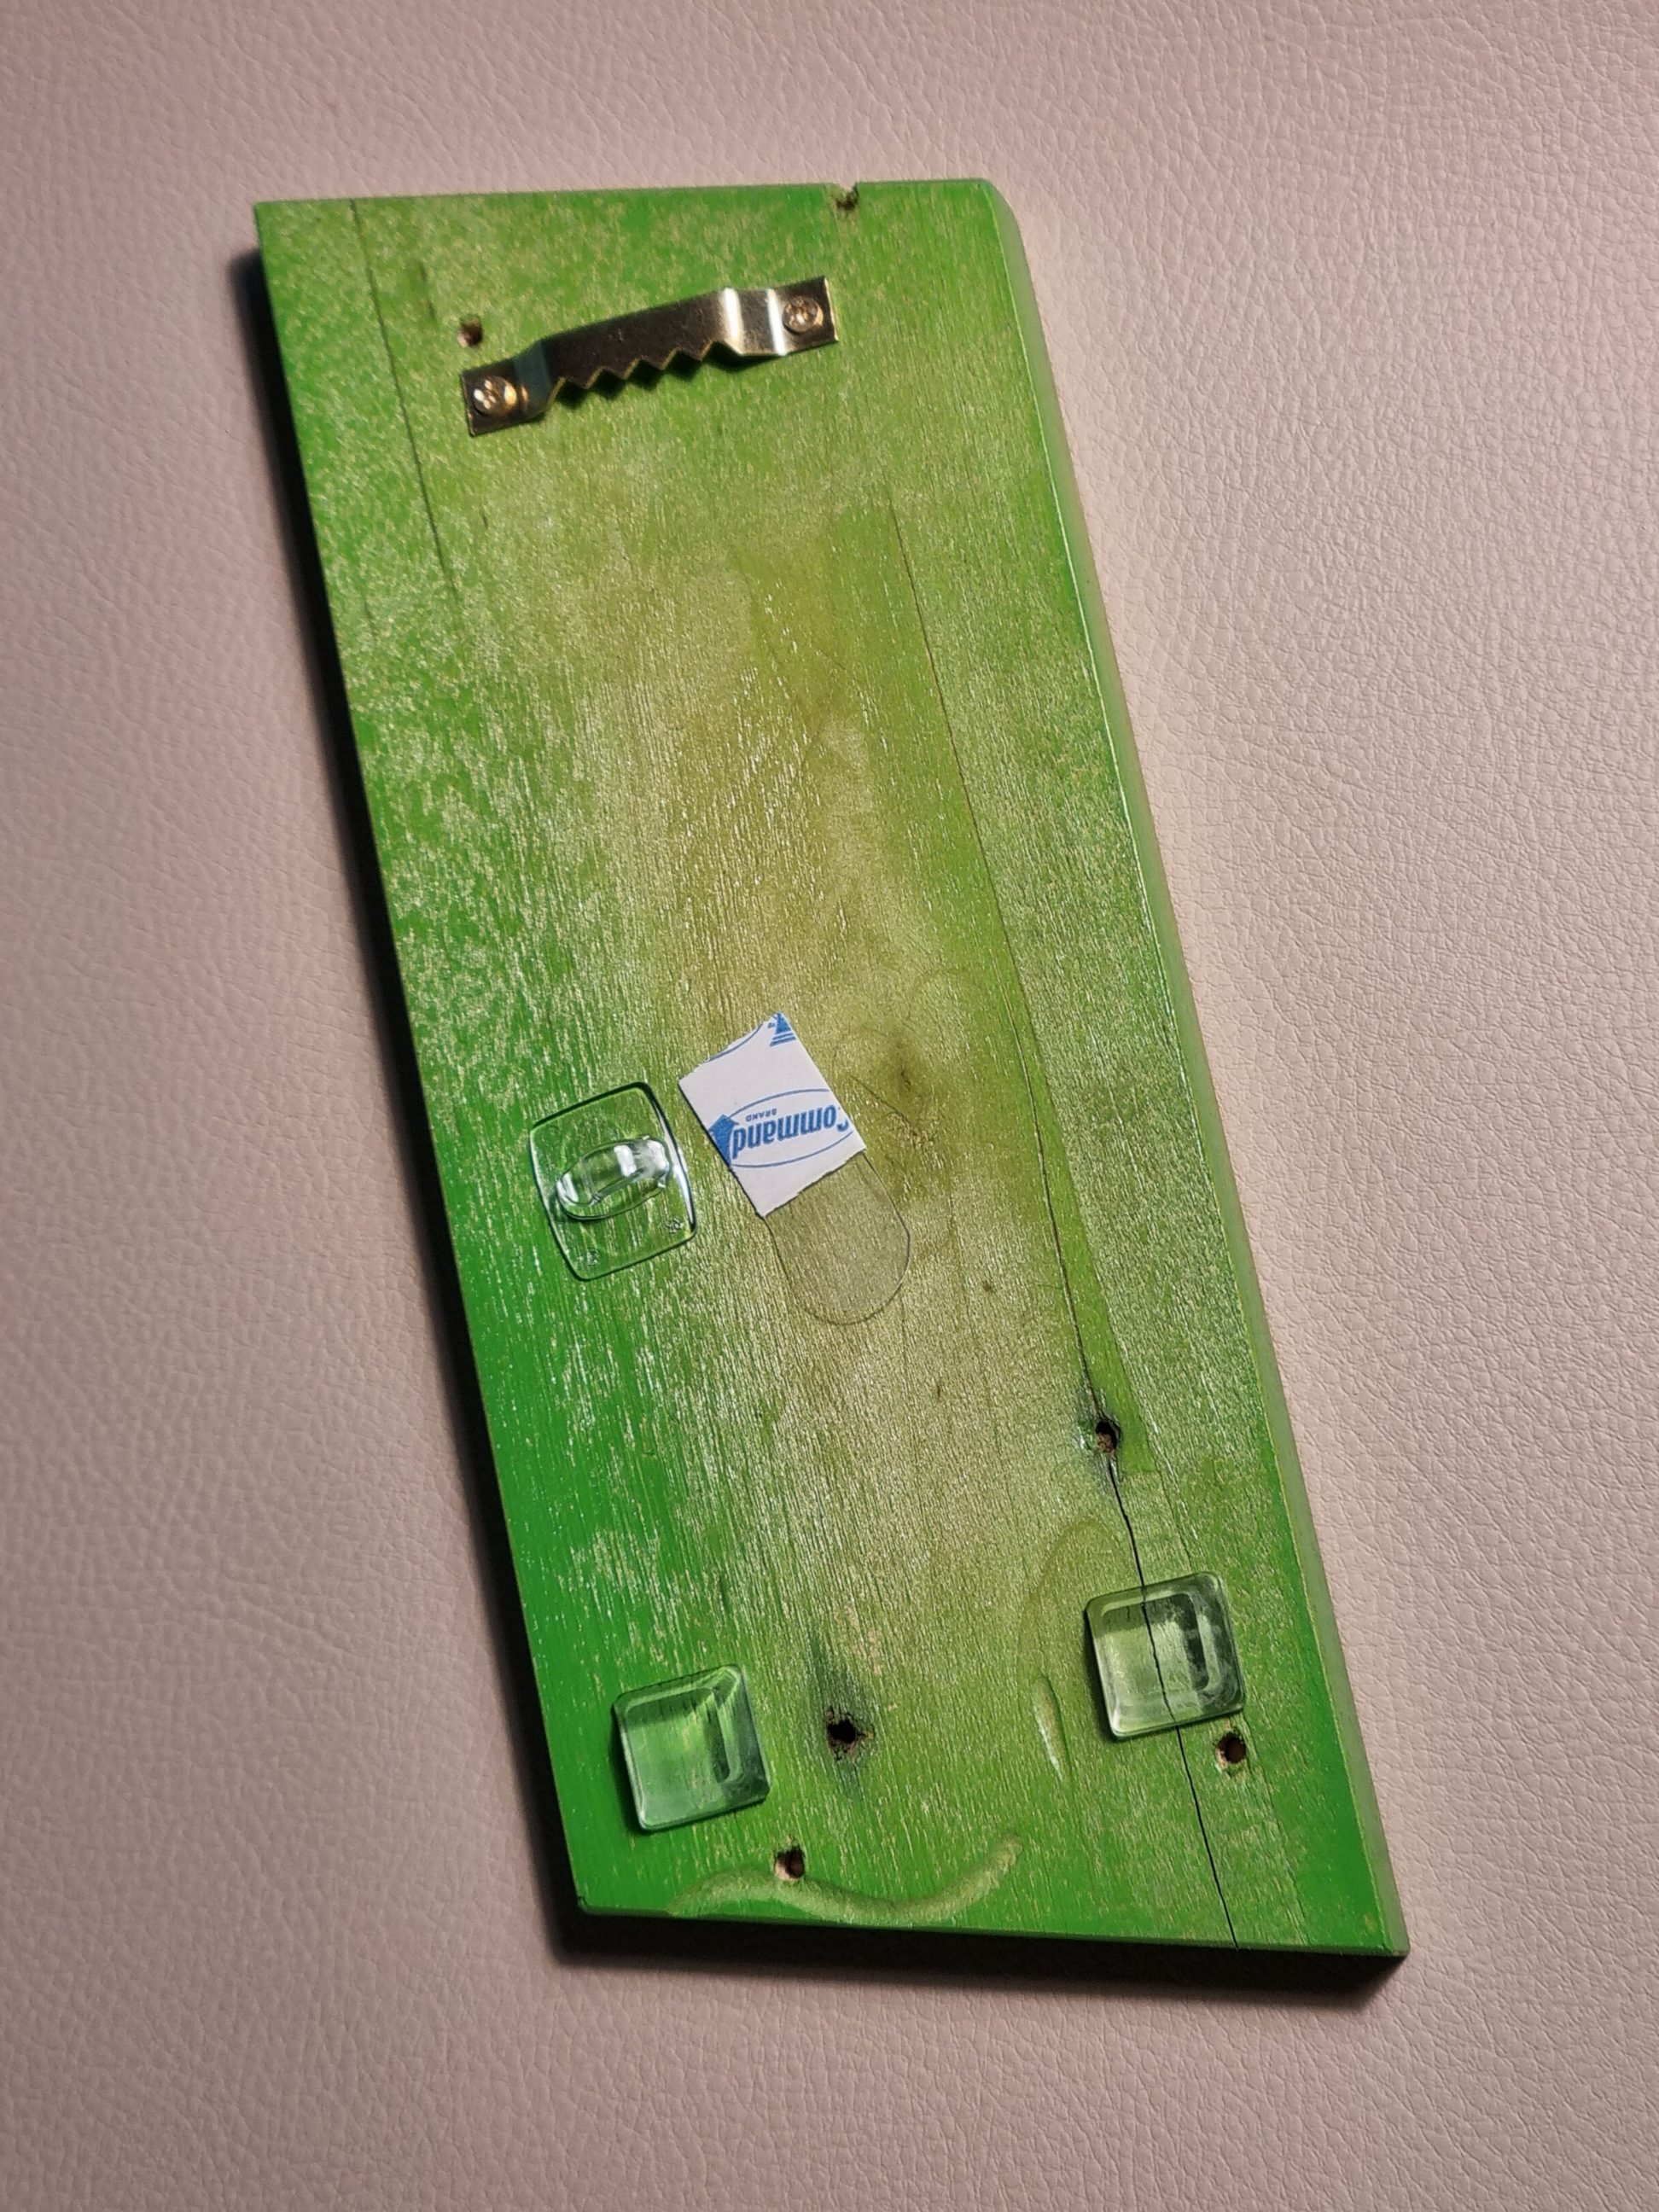
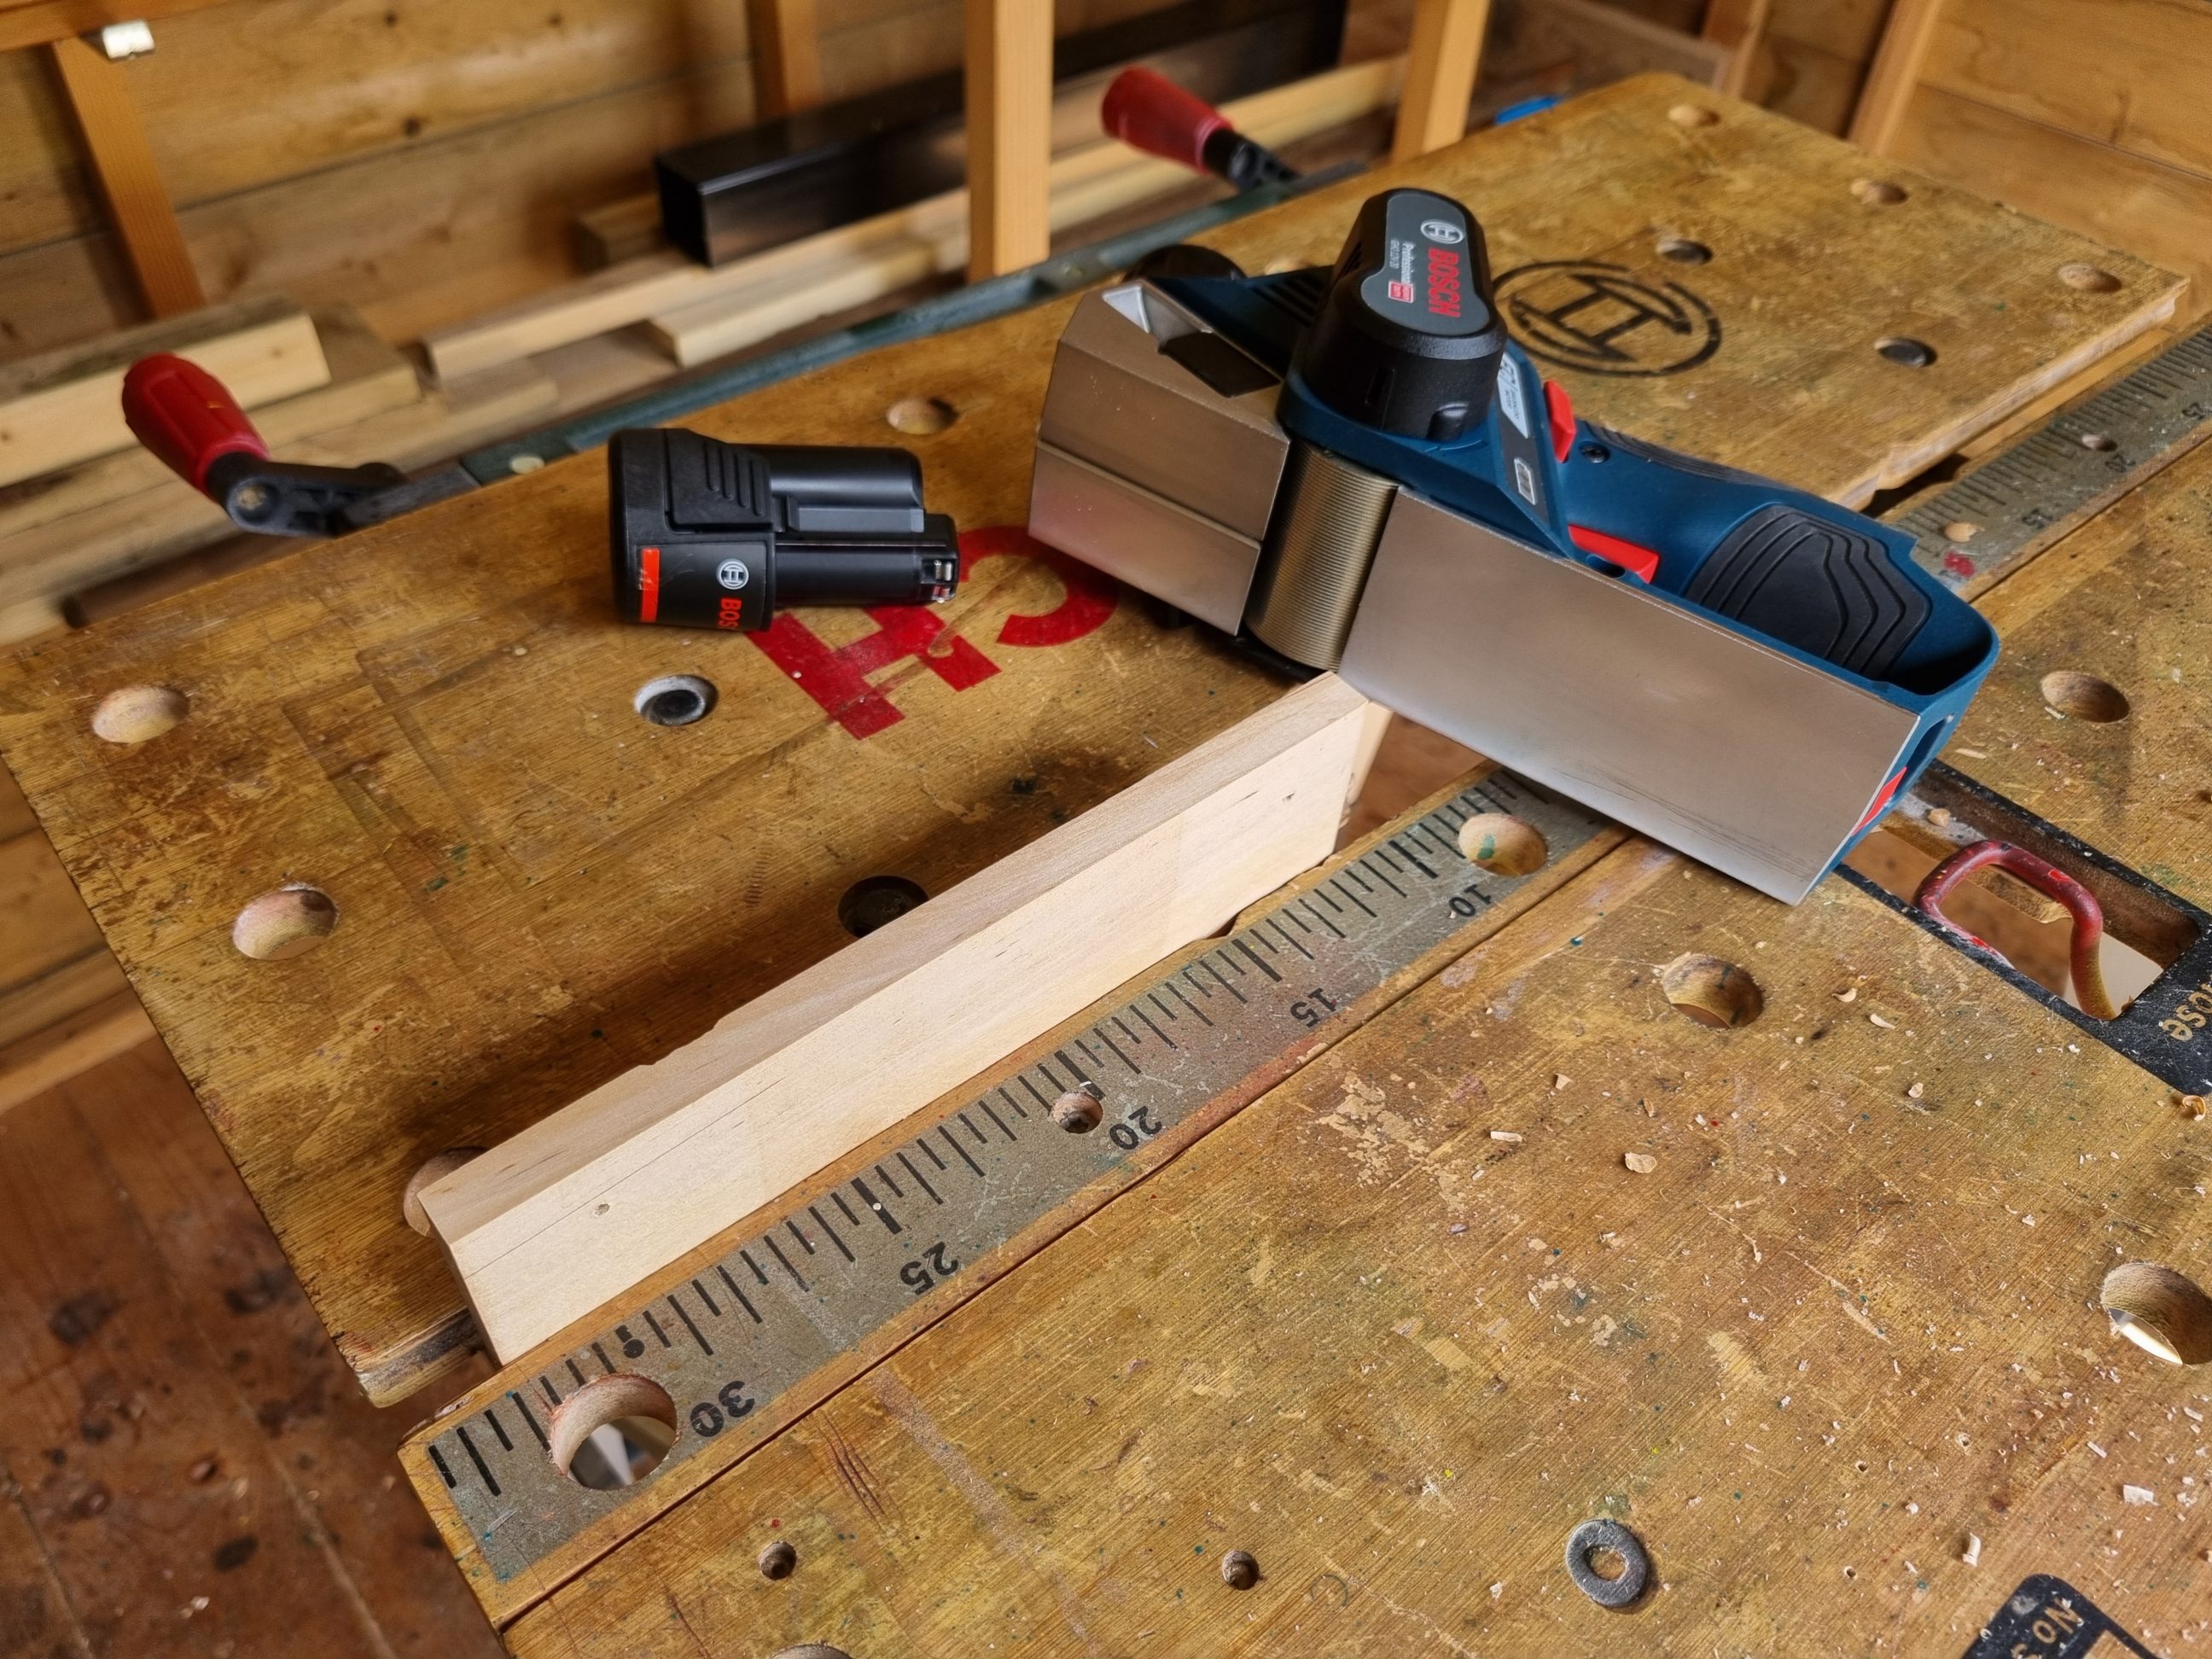
I sanded off the pencil lines and removed the side notch, using my 12-volt planer. Next, I cut the top and the bottom off at an angle of 15º. To bring some depth to the engravings, I decided to use spray paint and then sand off the flat surface. It had to, of course, dry for a day or two, prior to sanding. For some reason, I wanted the sides to be painted and sprayed them with bright green paint. It didn’t bother me that the back was also covered with that colour. Once the coloured varnish dried, I applied 2 coats of clear, satin varnish and mounted the hanger along with a pair of plastic bumpers.
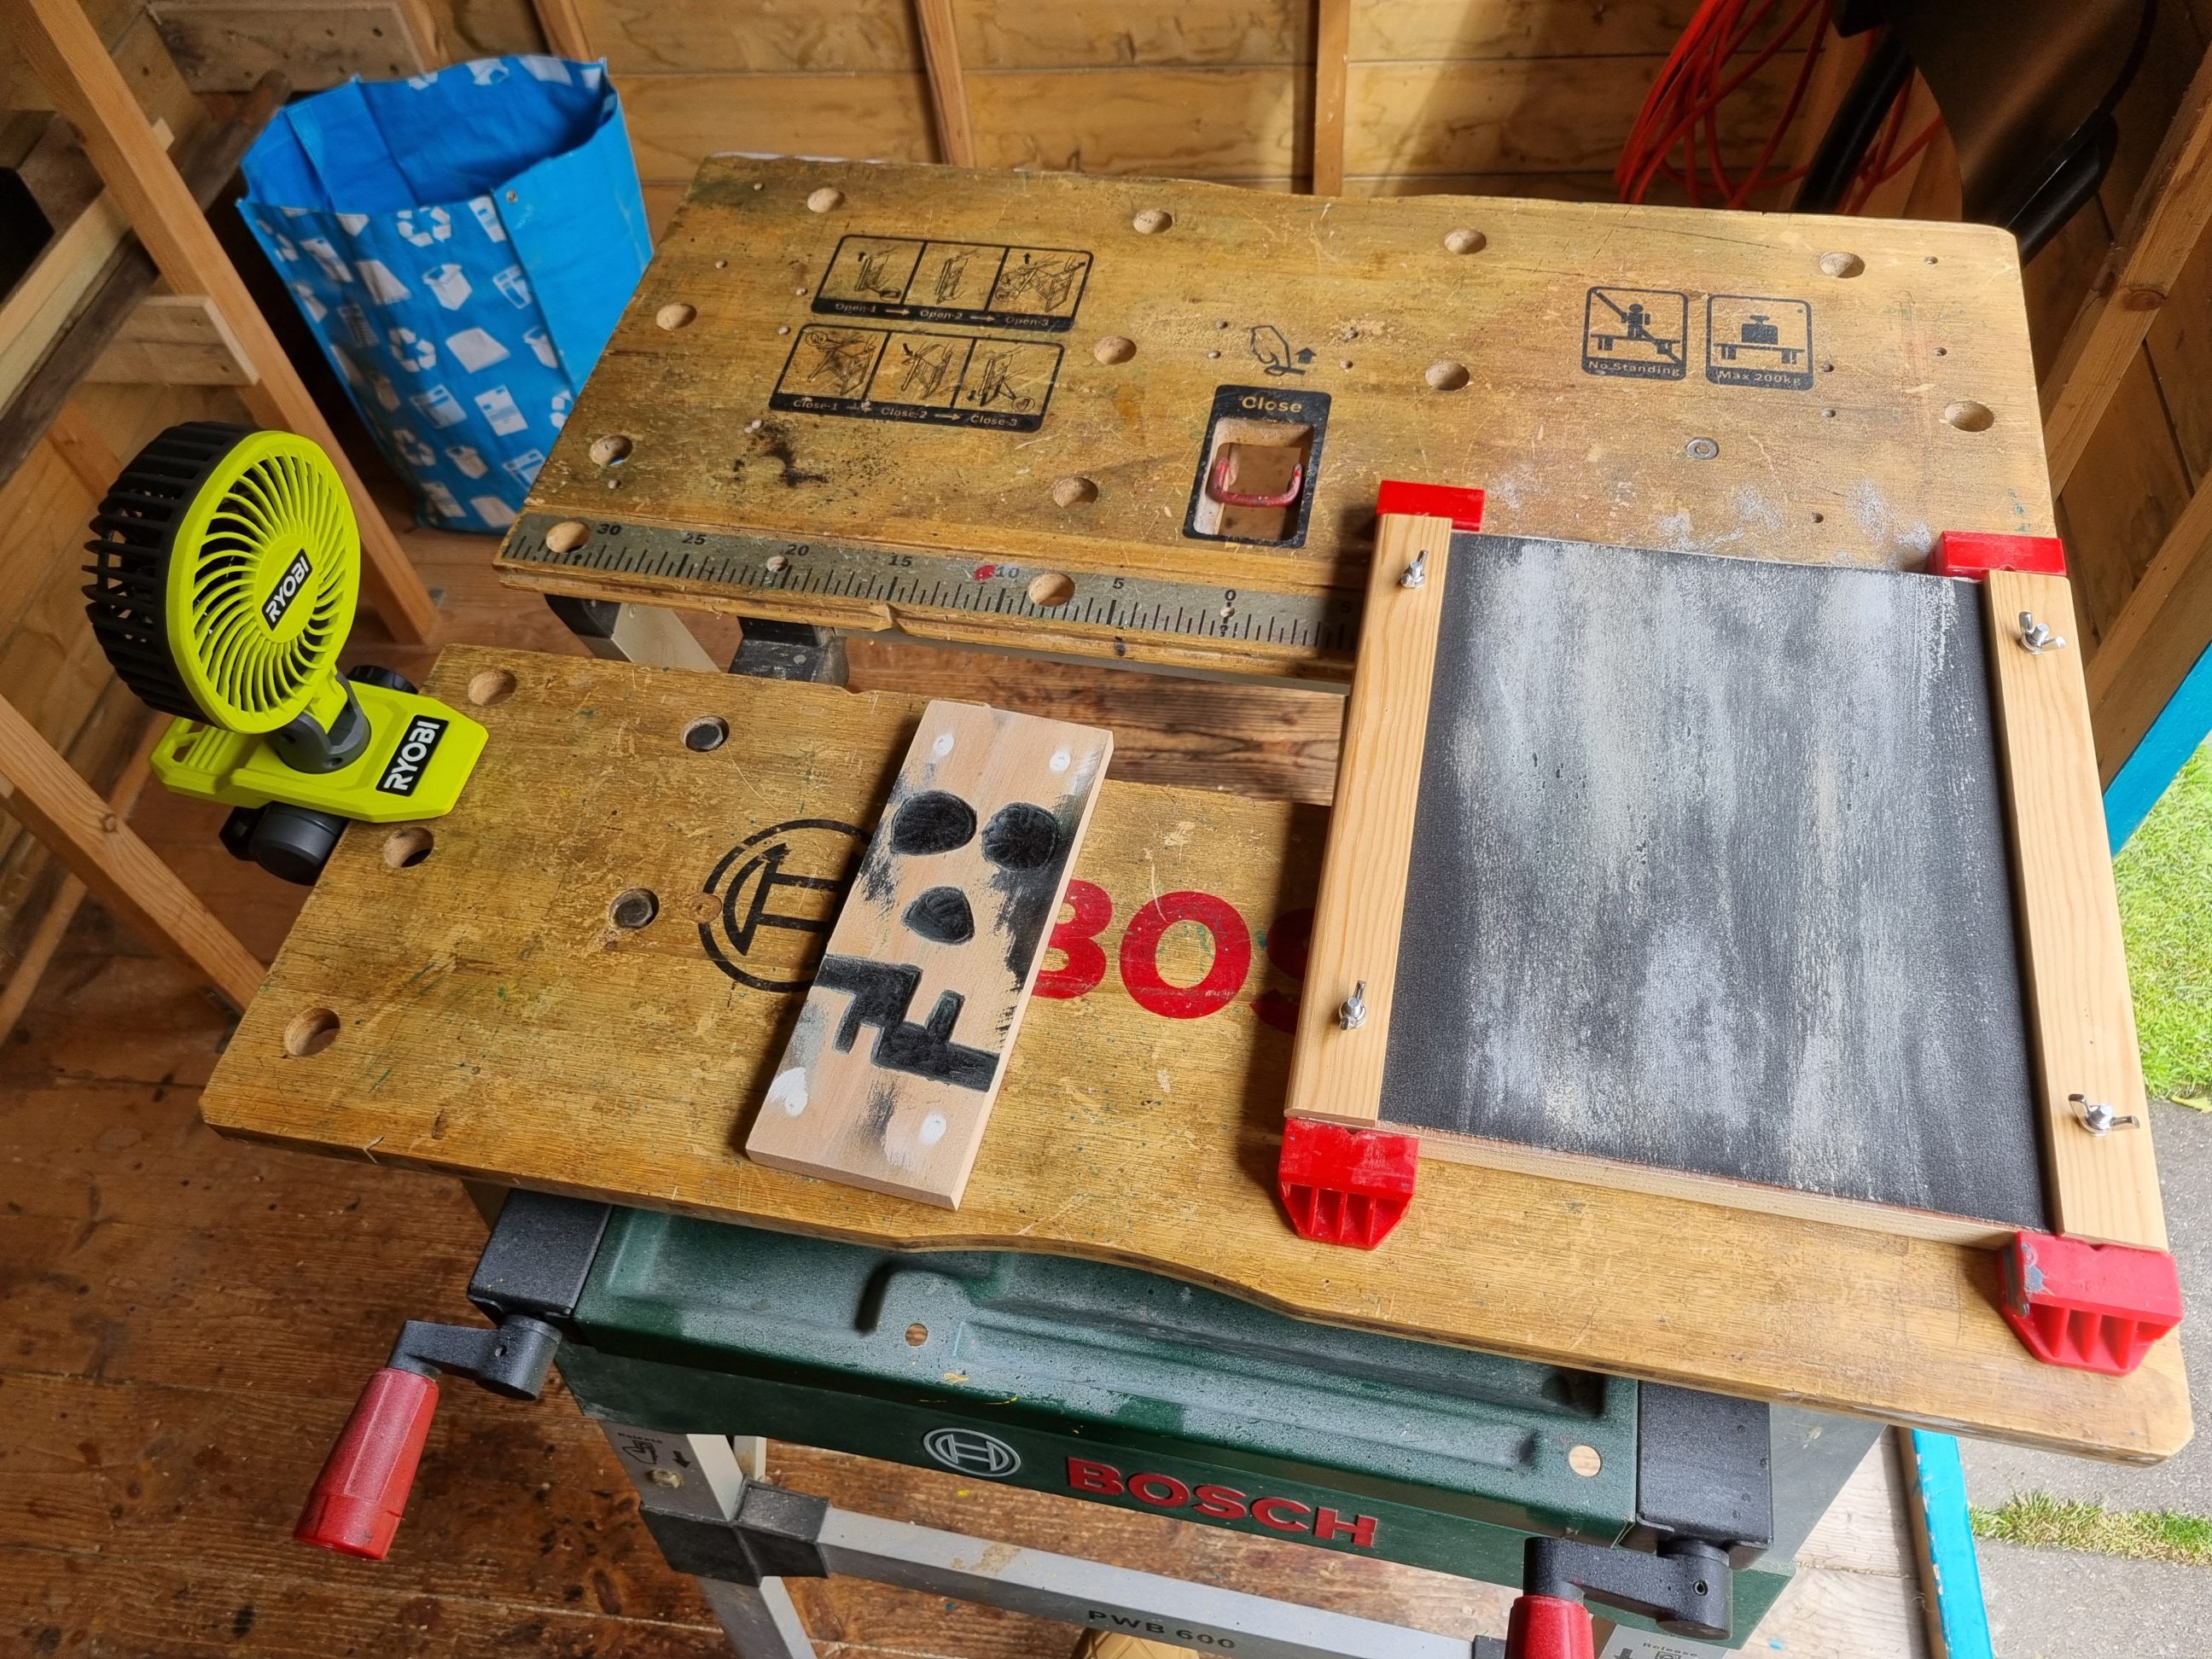
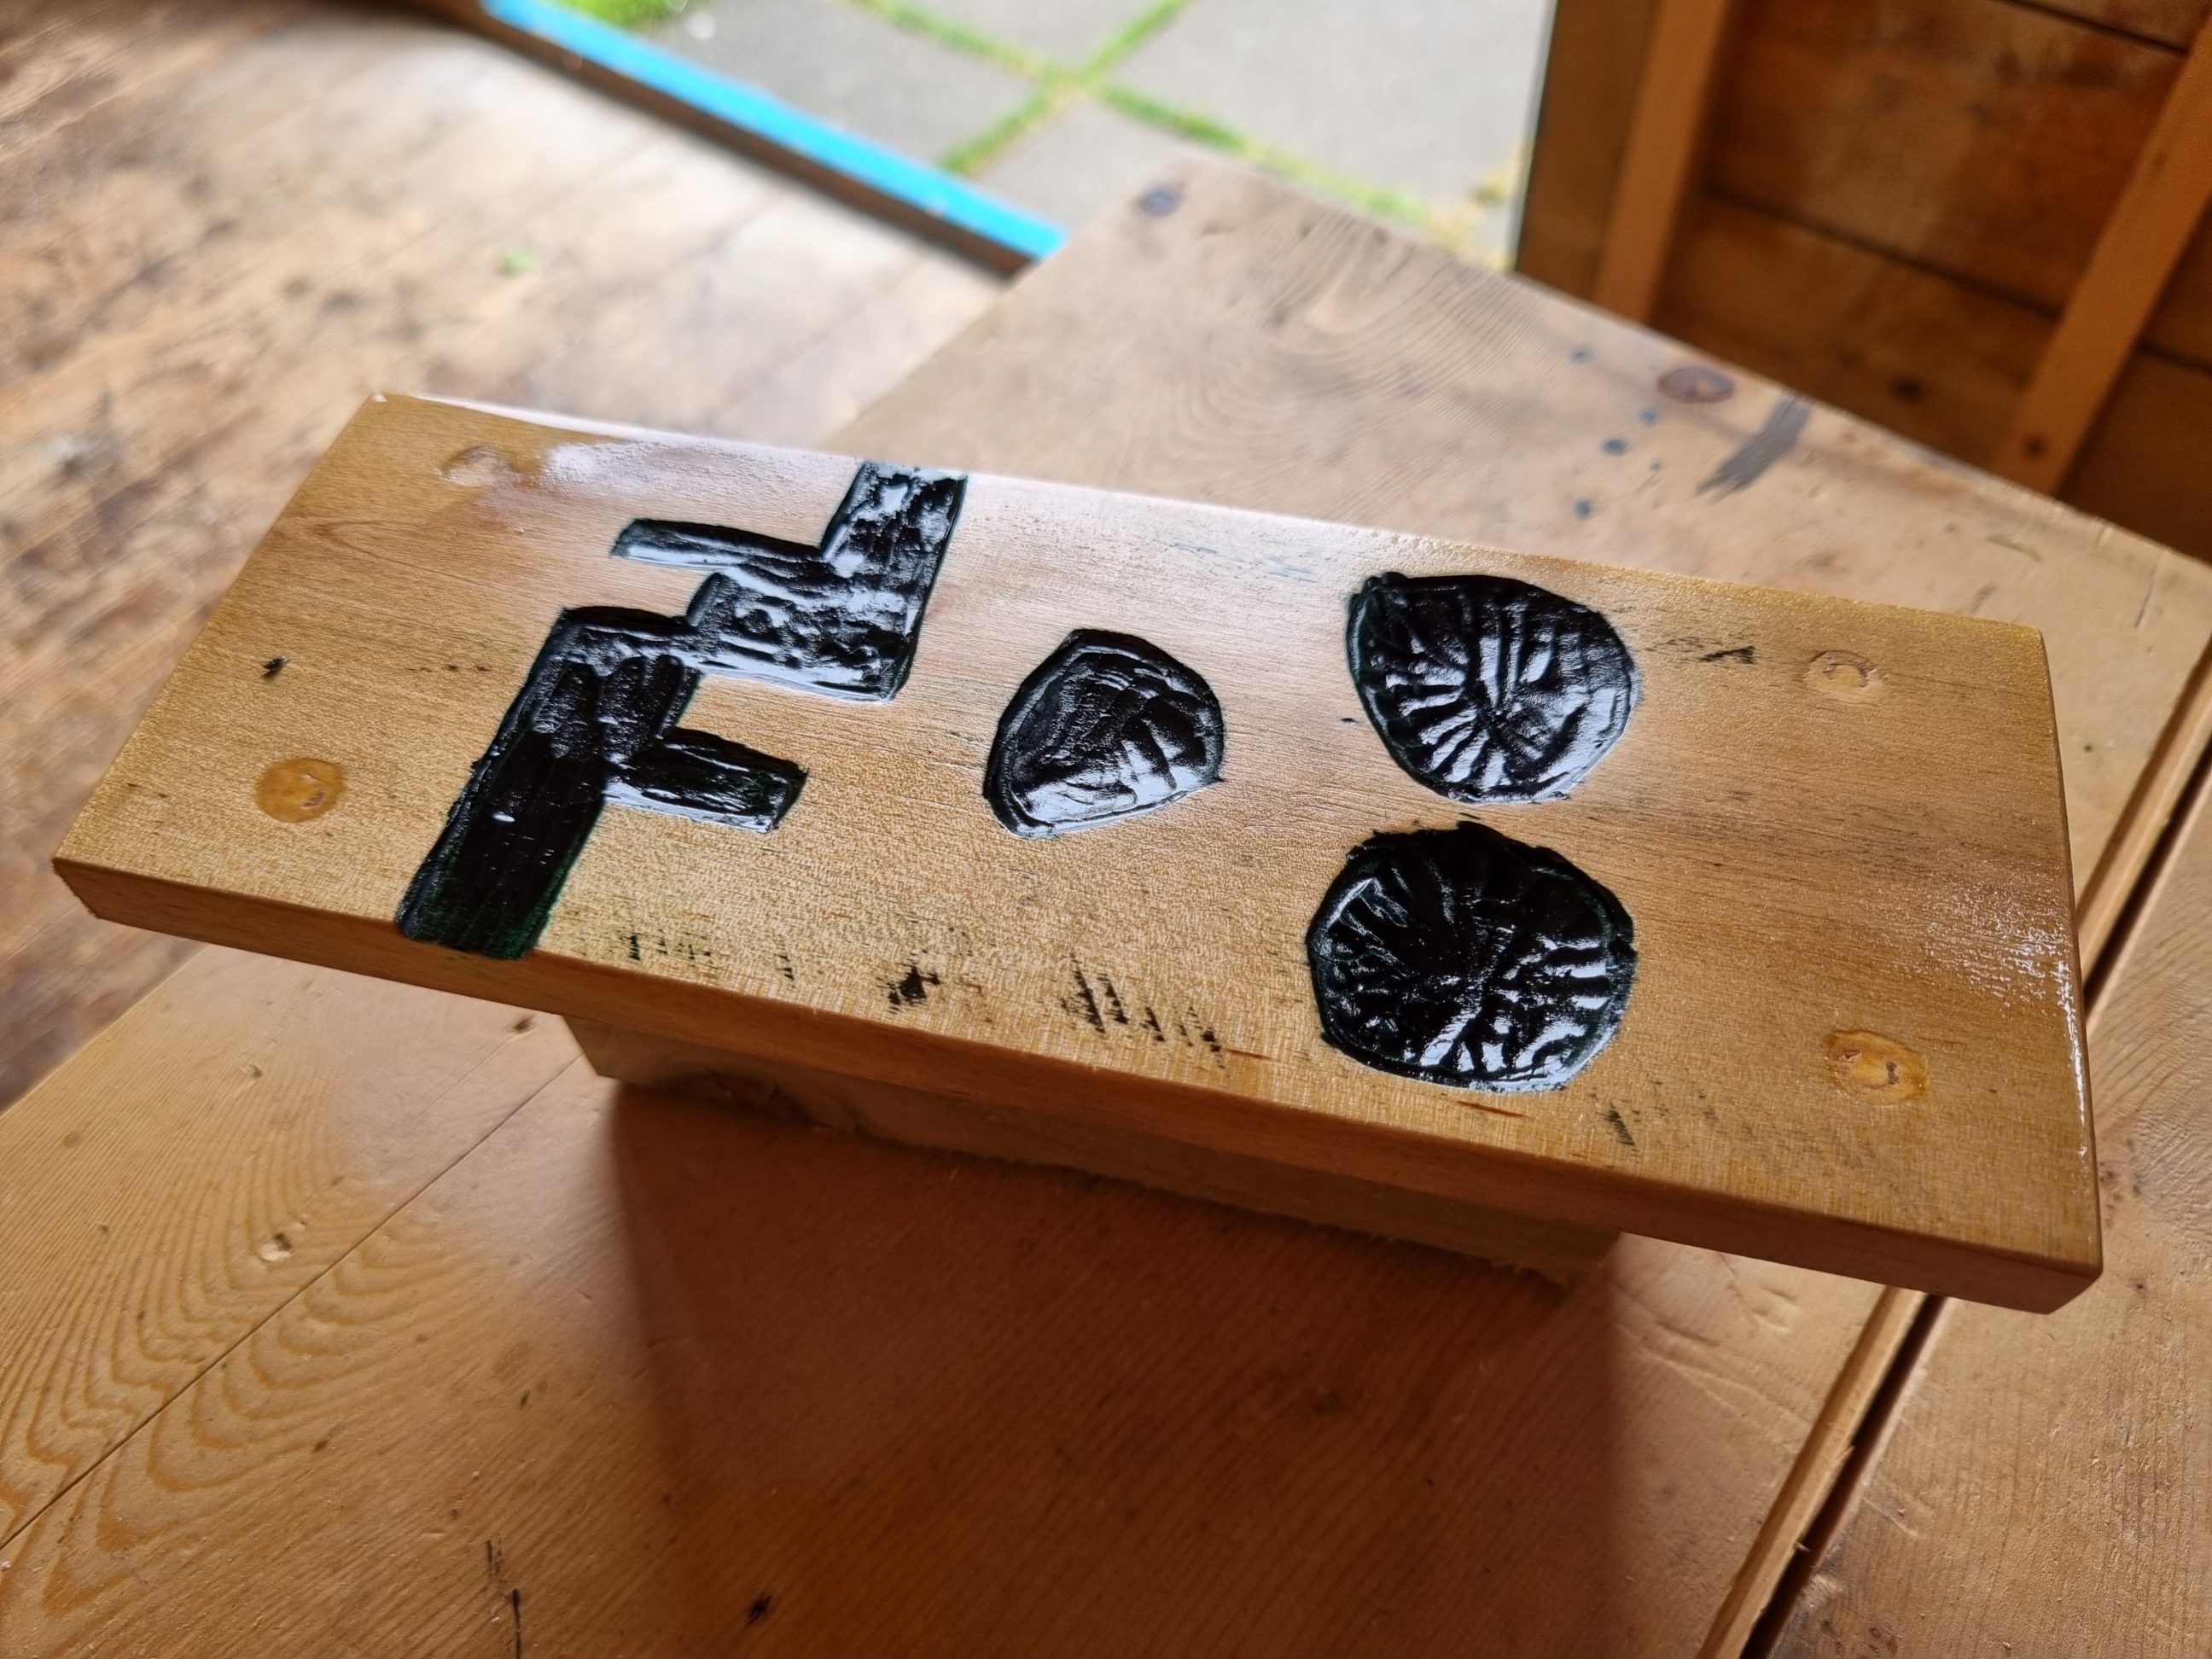
The second piece was done almost exactly the same way. I used the technique from the previous piece, as it seemed to be working just fine. I even tried to use the same racing green paint, but surprisingly the can ran empty. So I used black paint instead. All the existing screw holes were masked with wood filler and then sanded flush.
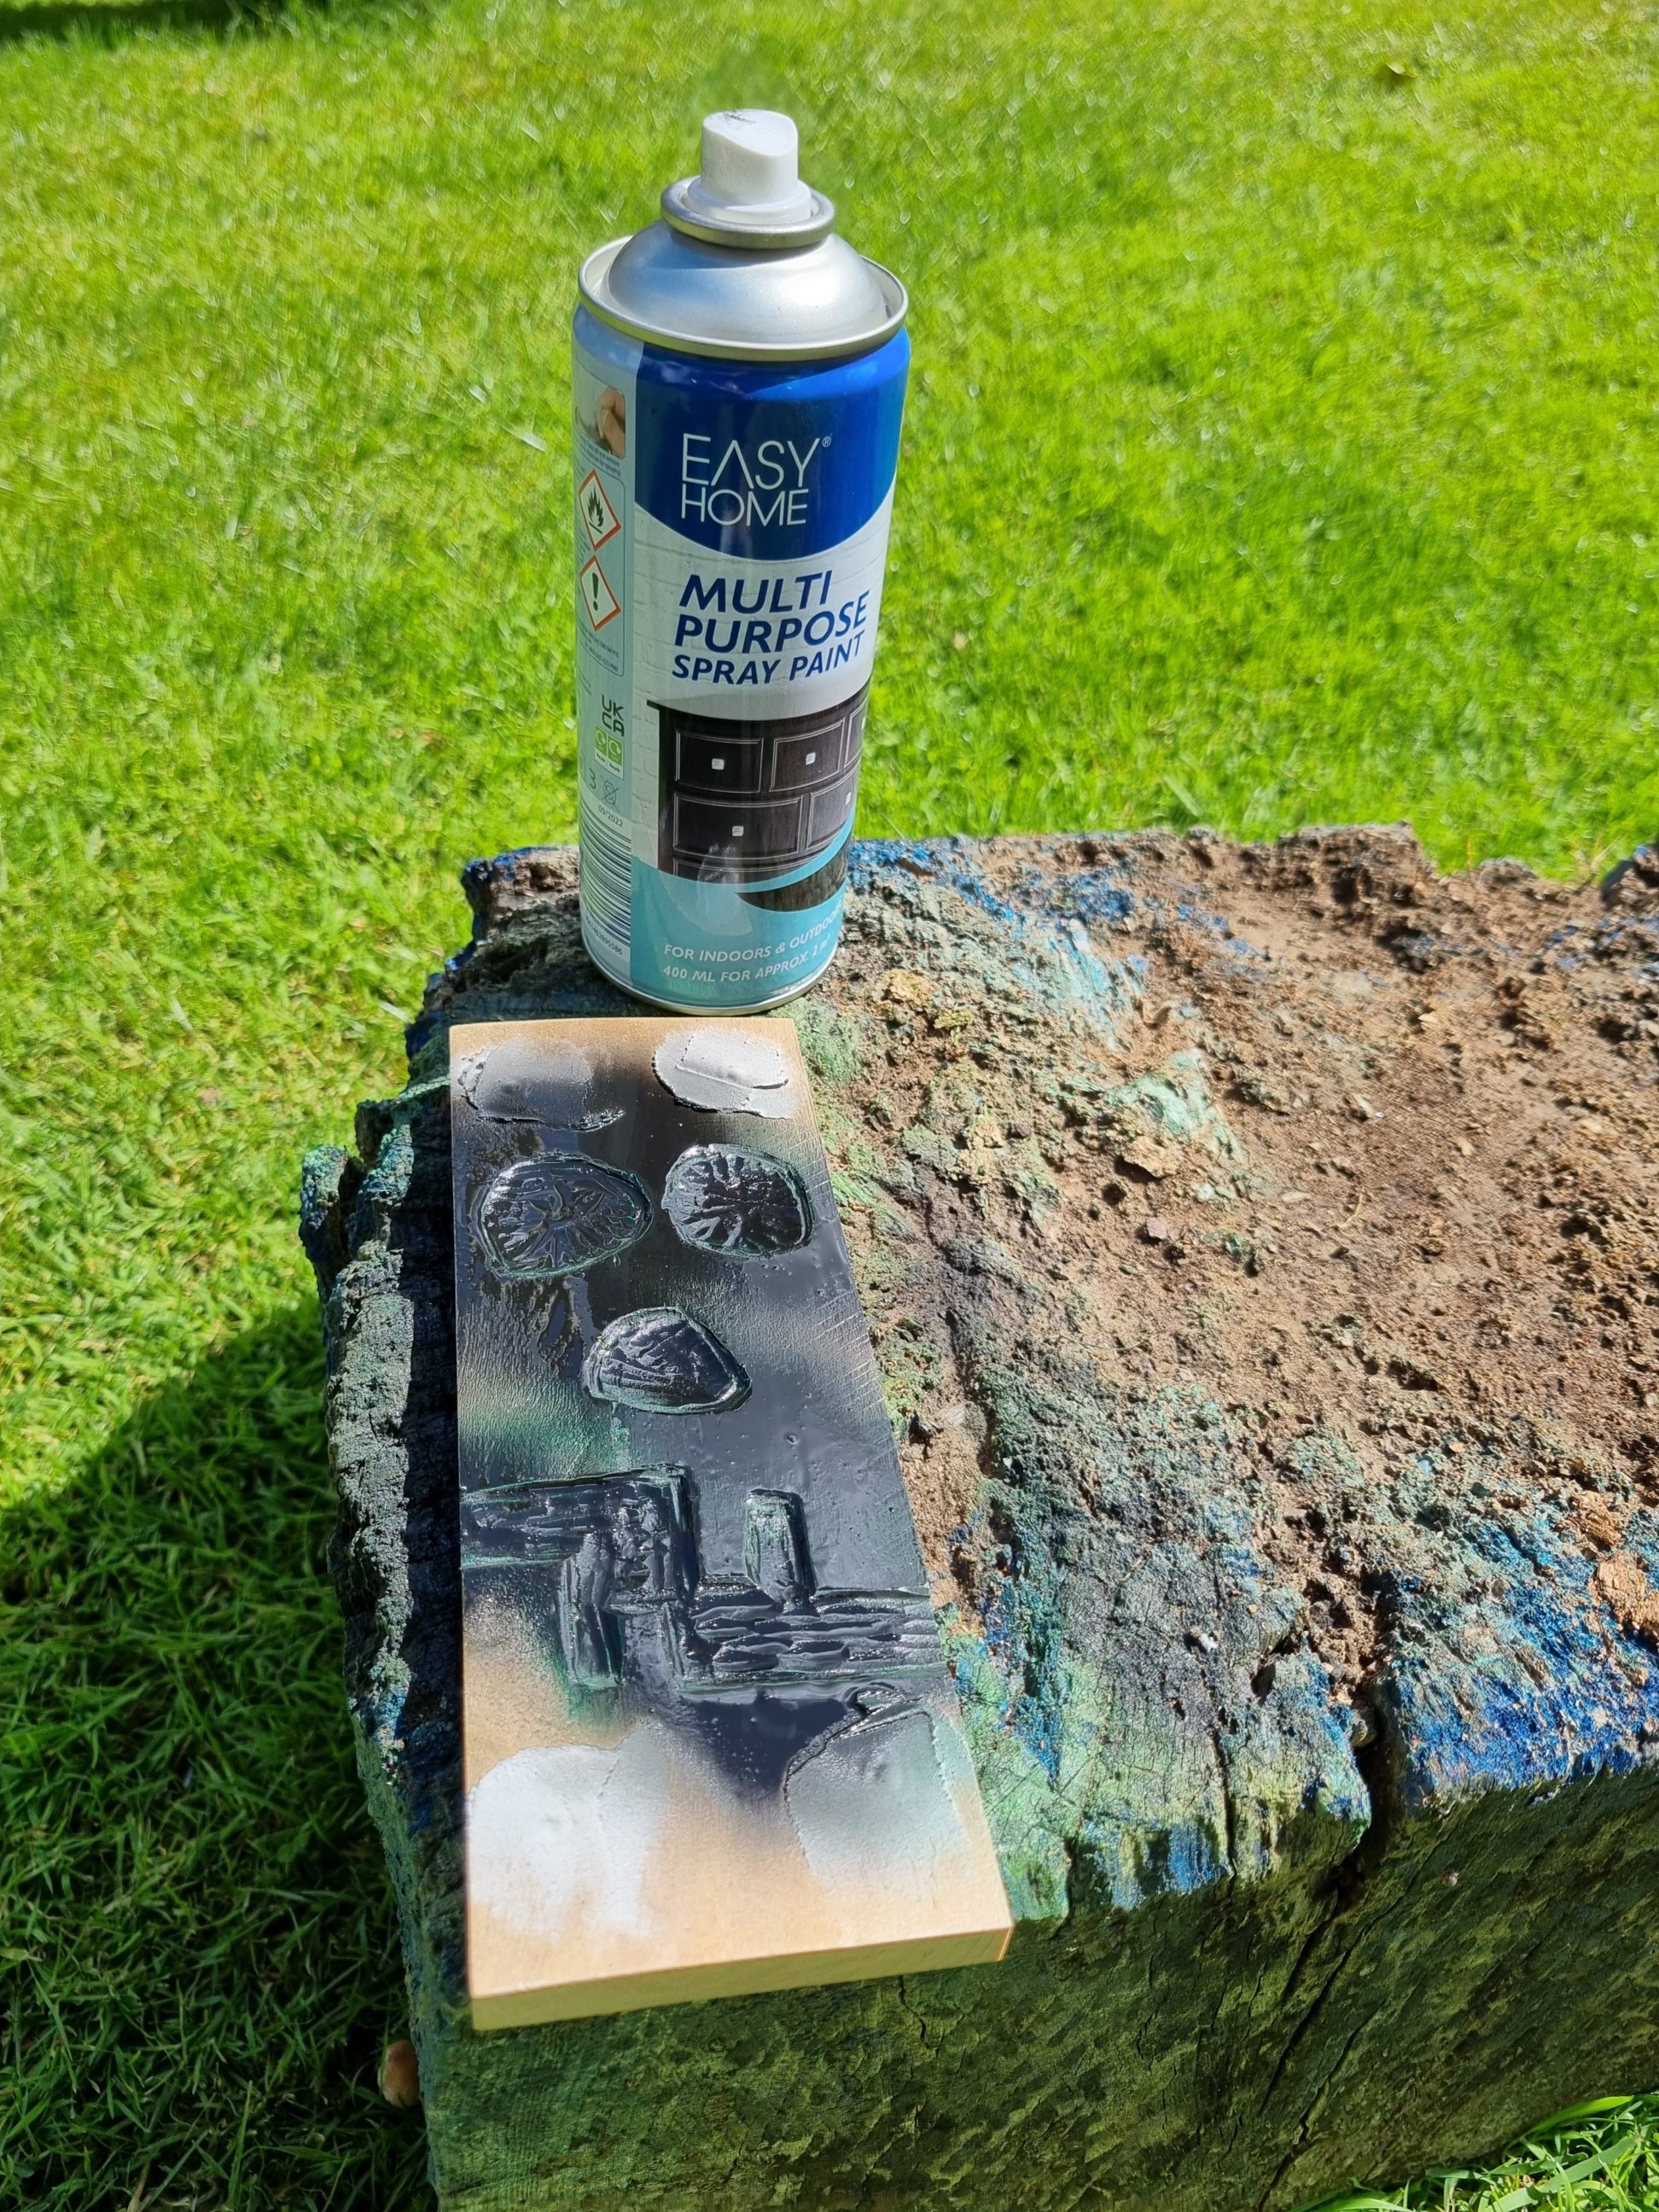
Just like with the previous piece, I deliberately left some paint in the saw marks and other areas, to emphasise the rustic nature of the carvings. It turned out great in the green piece and formed a face-shaped line below the jaw. In the black piece, just the saw marks were highlighted. The amount of paint removed was directly related to the shape of the workpiece, such as whether it was flat, cupped, and so on.
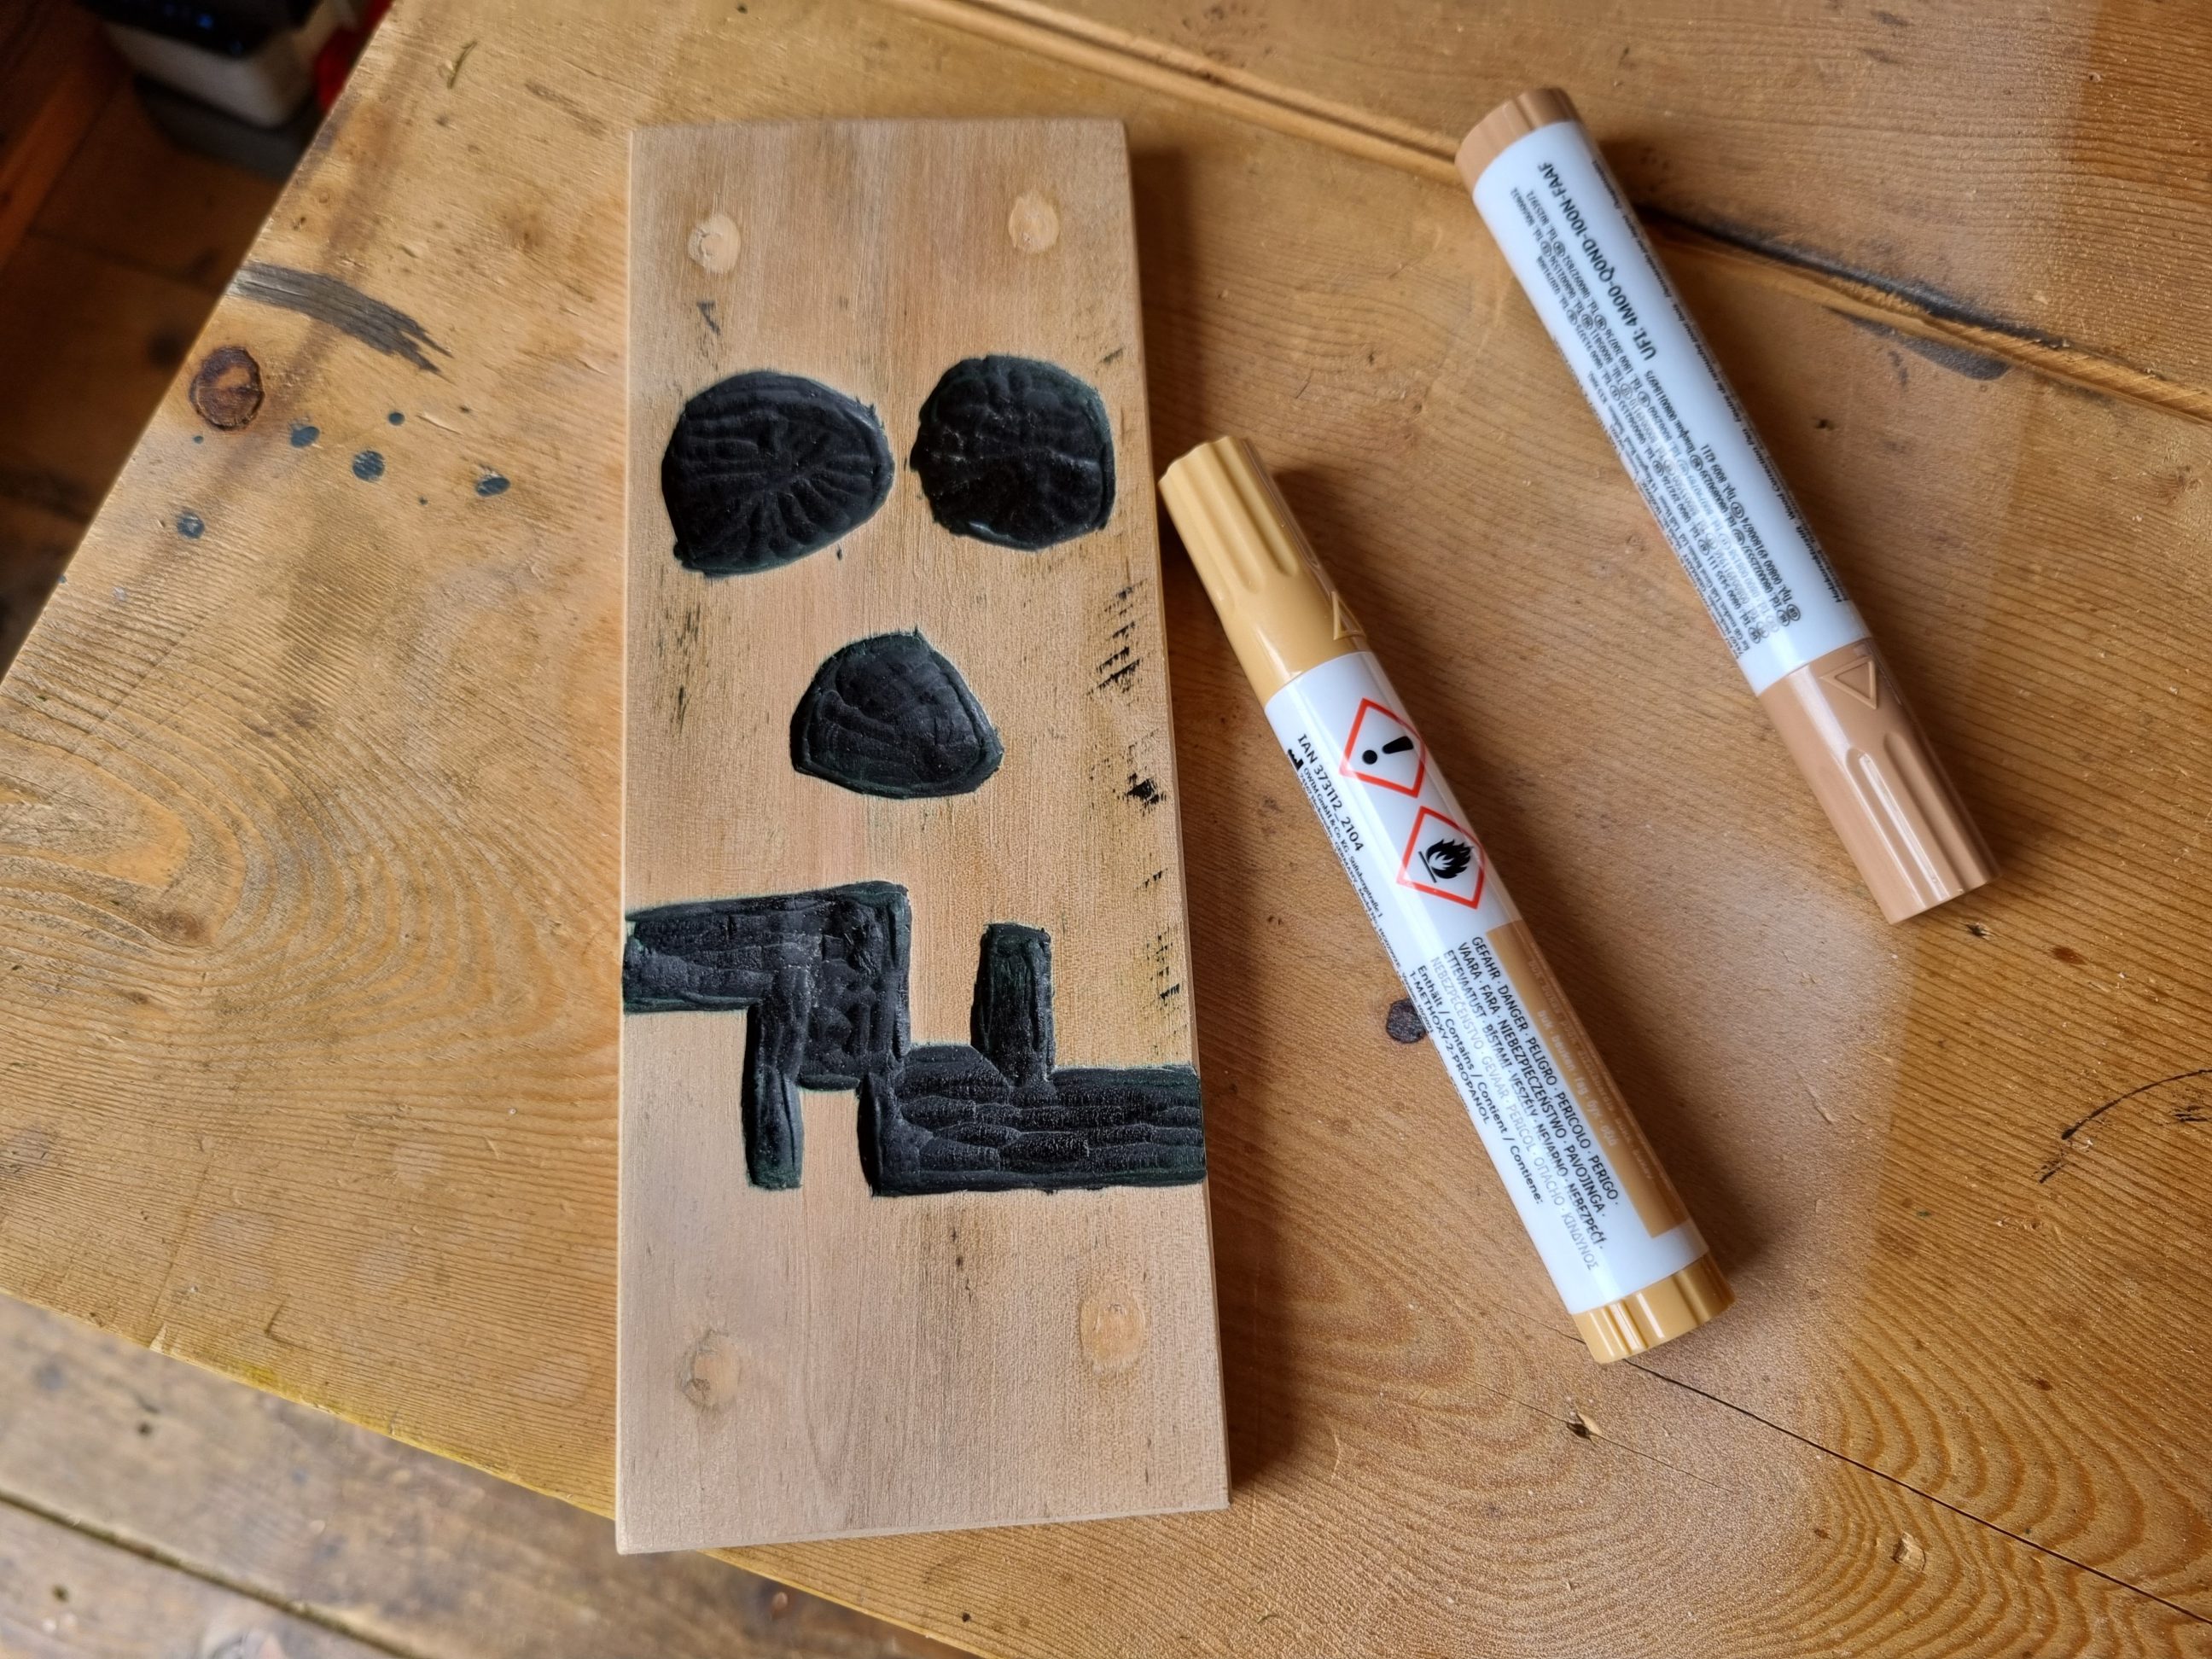
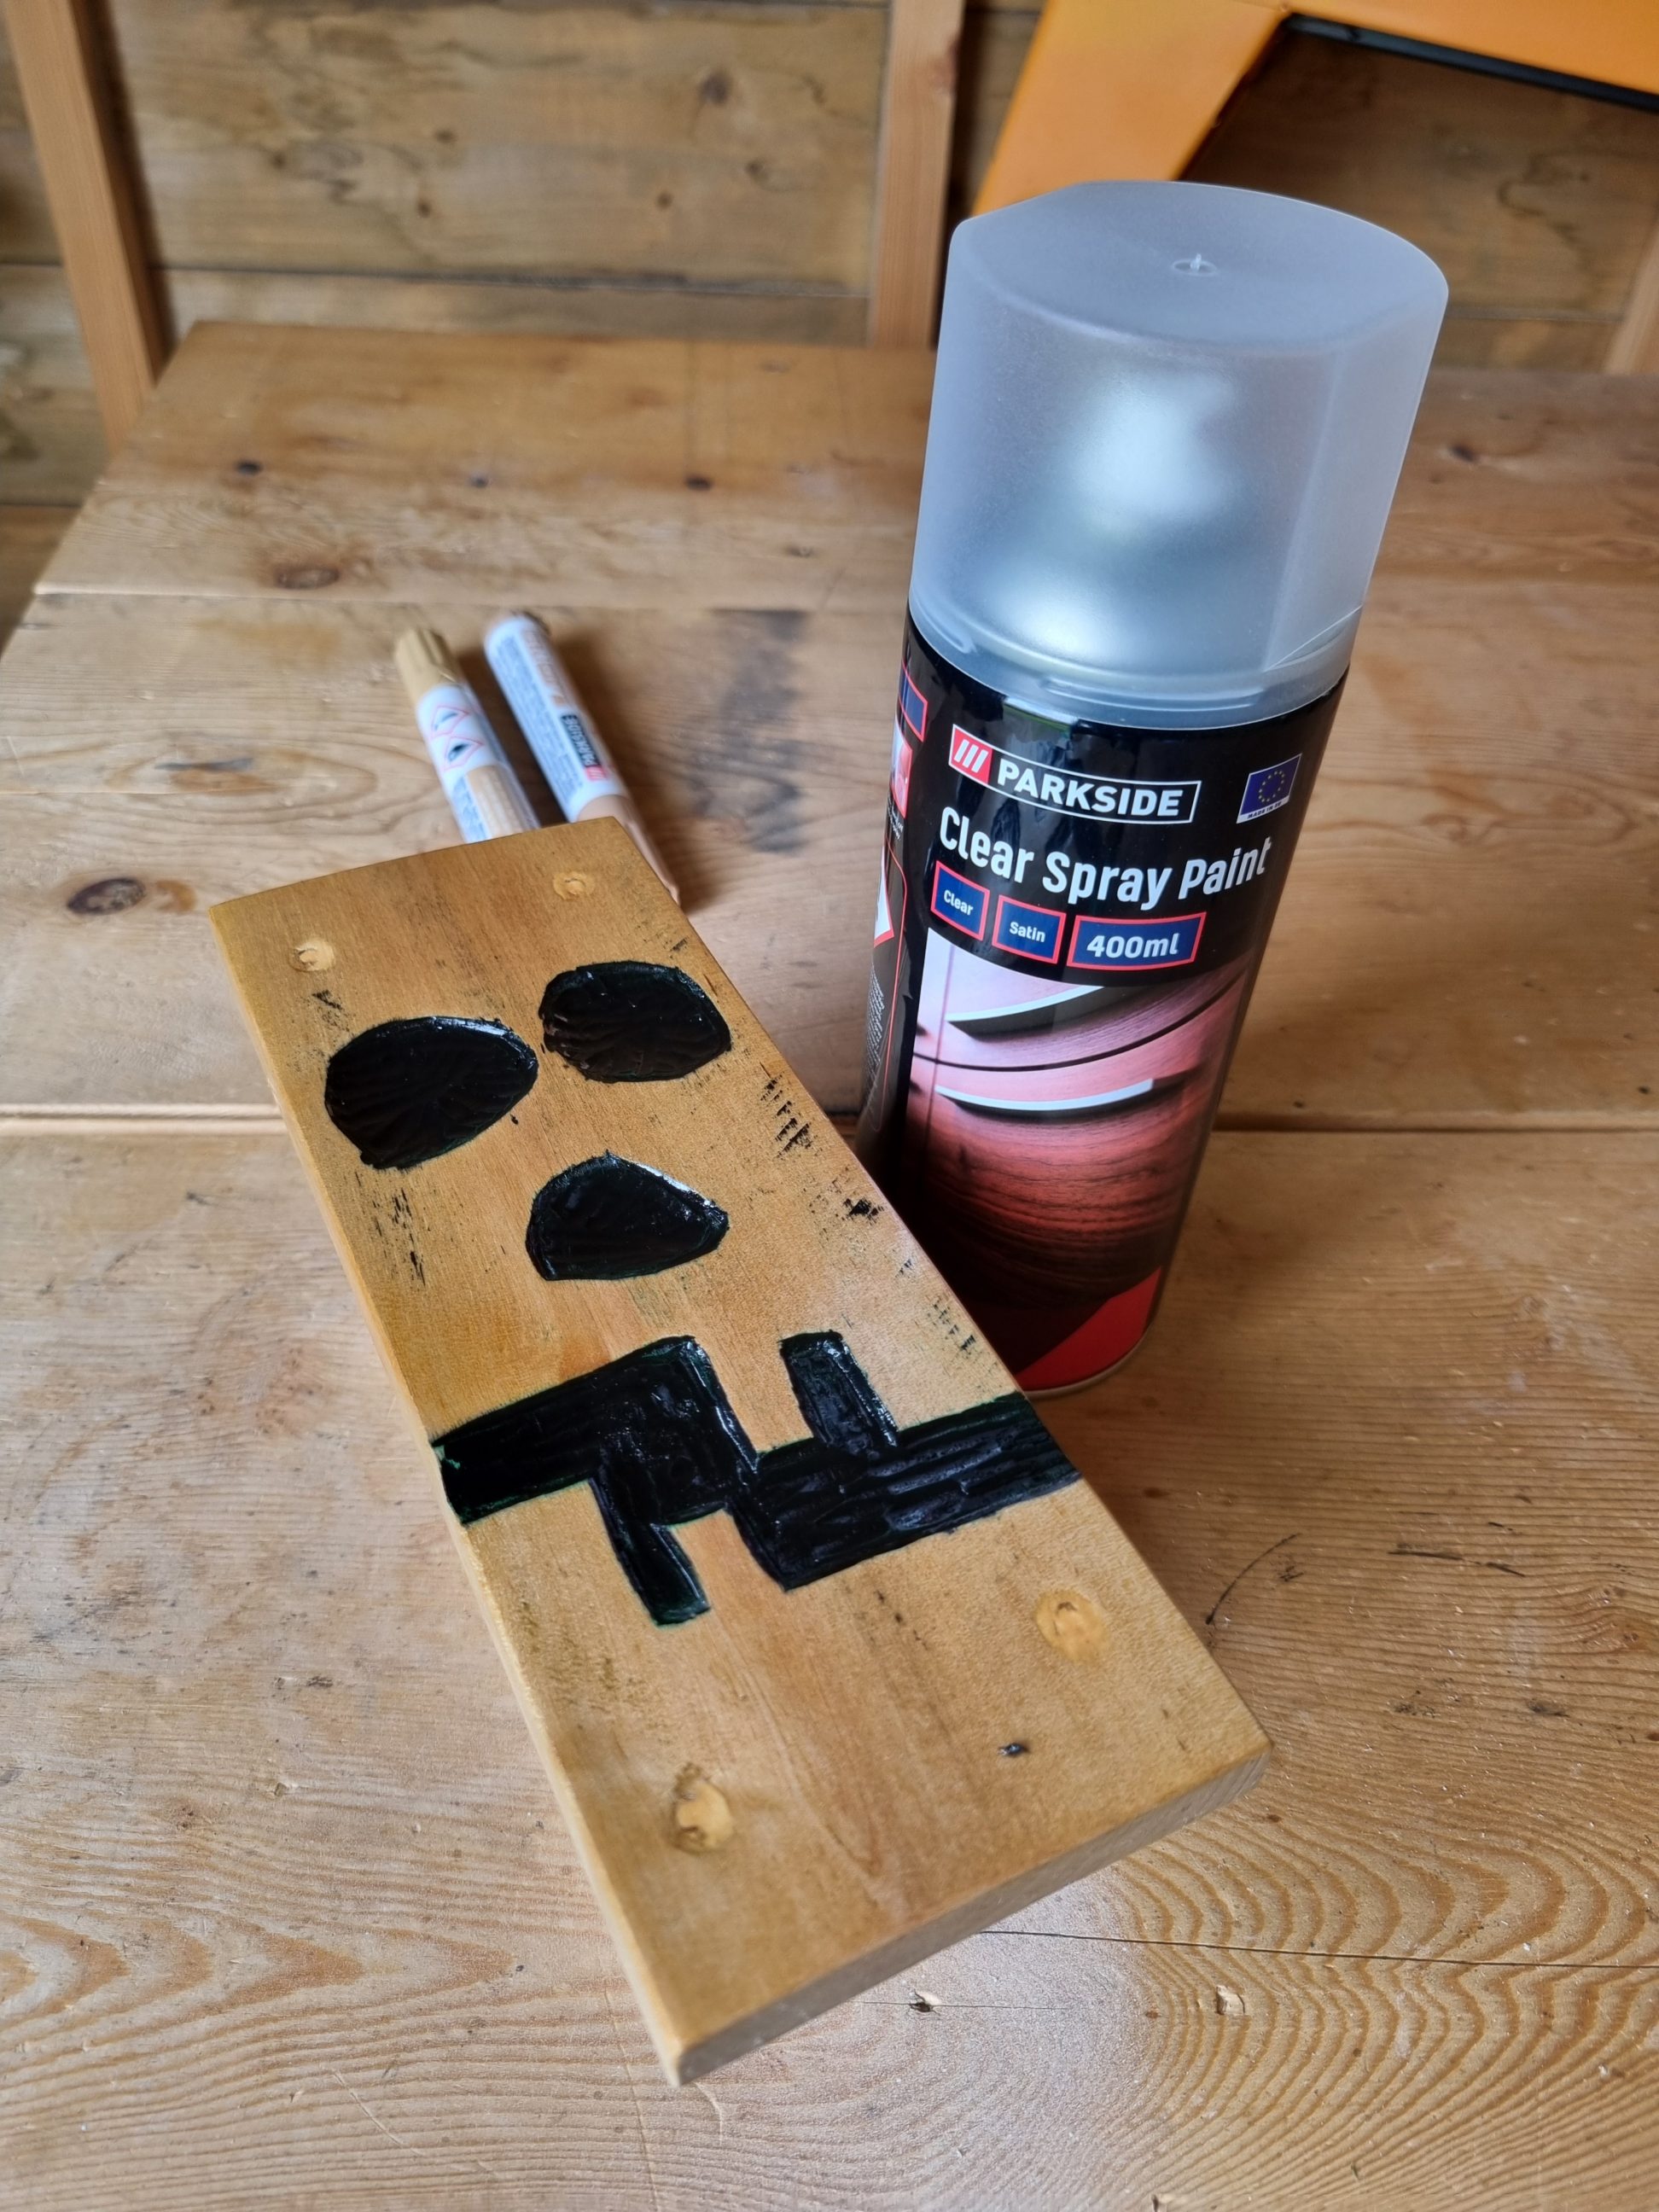
The 4 screw holes were touched up with a marker and then lightly wet-sanded with 600-grit sandpaper to smudge and mix the colour with the rest. That semi-wet-sanding worked well, and the holes disappeared enough for that kind of project. Just like the green piece, this one too, got 2 coats of varnish, a hanging strip and 2 rubber feet, to space it out from the wall and parallel to it. They were hung on the wall using adhesive hooks. While the name of the green one can be easily understood, I have to explain the name of the black one. Bolo is an everyday speech short for Boleslaw, but the last name is 100% genuine and historical. Boleslaw Wrymouth a.k.a. Boleslaus the Wry-mouthed, was the Duke of Poland between 1107 and 1138. There is no similarity in appearances, of course, just the connotation. The project was enjoyable, from crafting the carvings to devising their names. I’m eager to expand the collection with more rustic decorations.