Outdoor planter made with pocket hole joinery
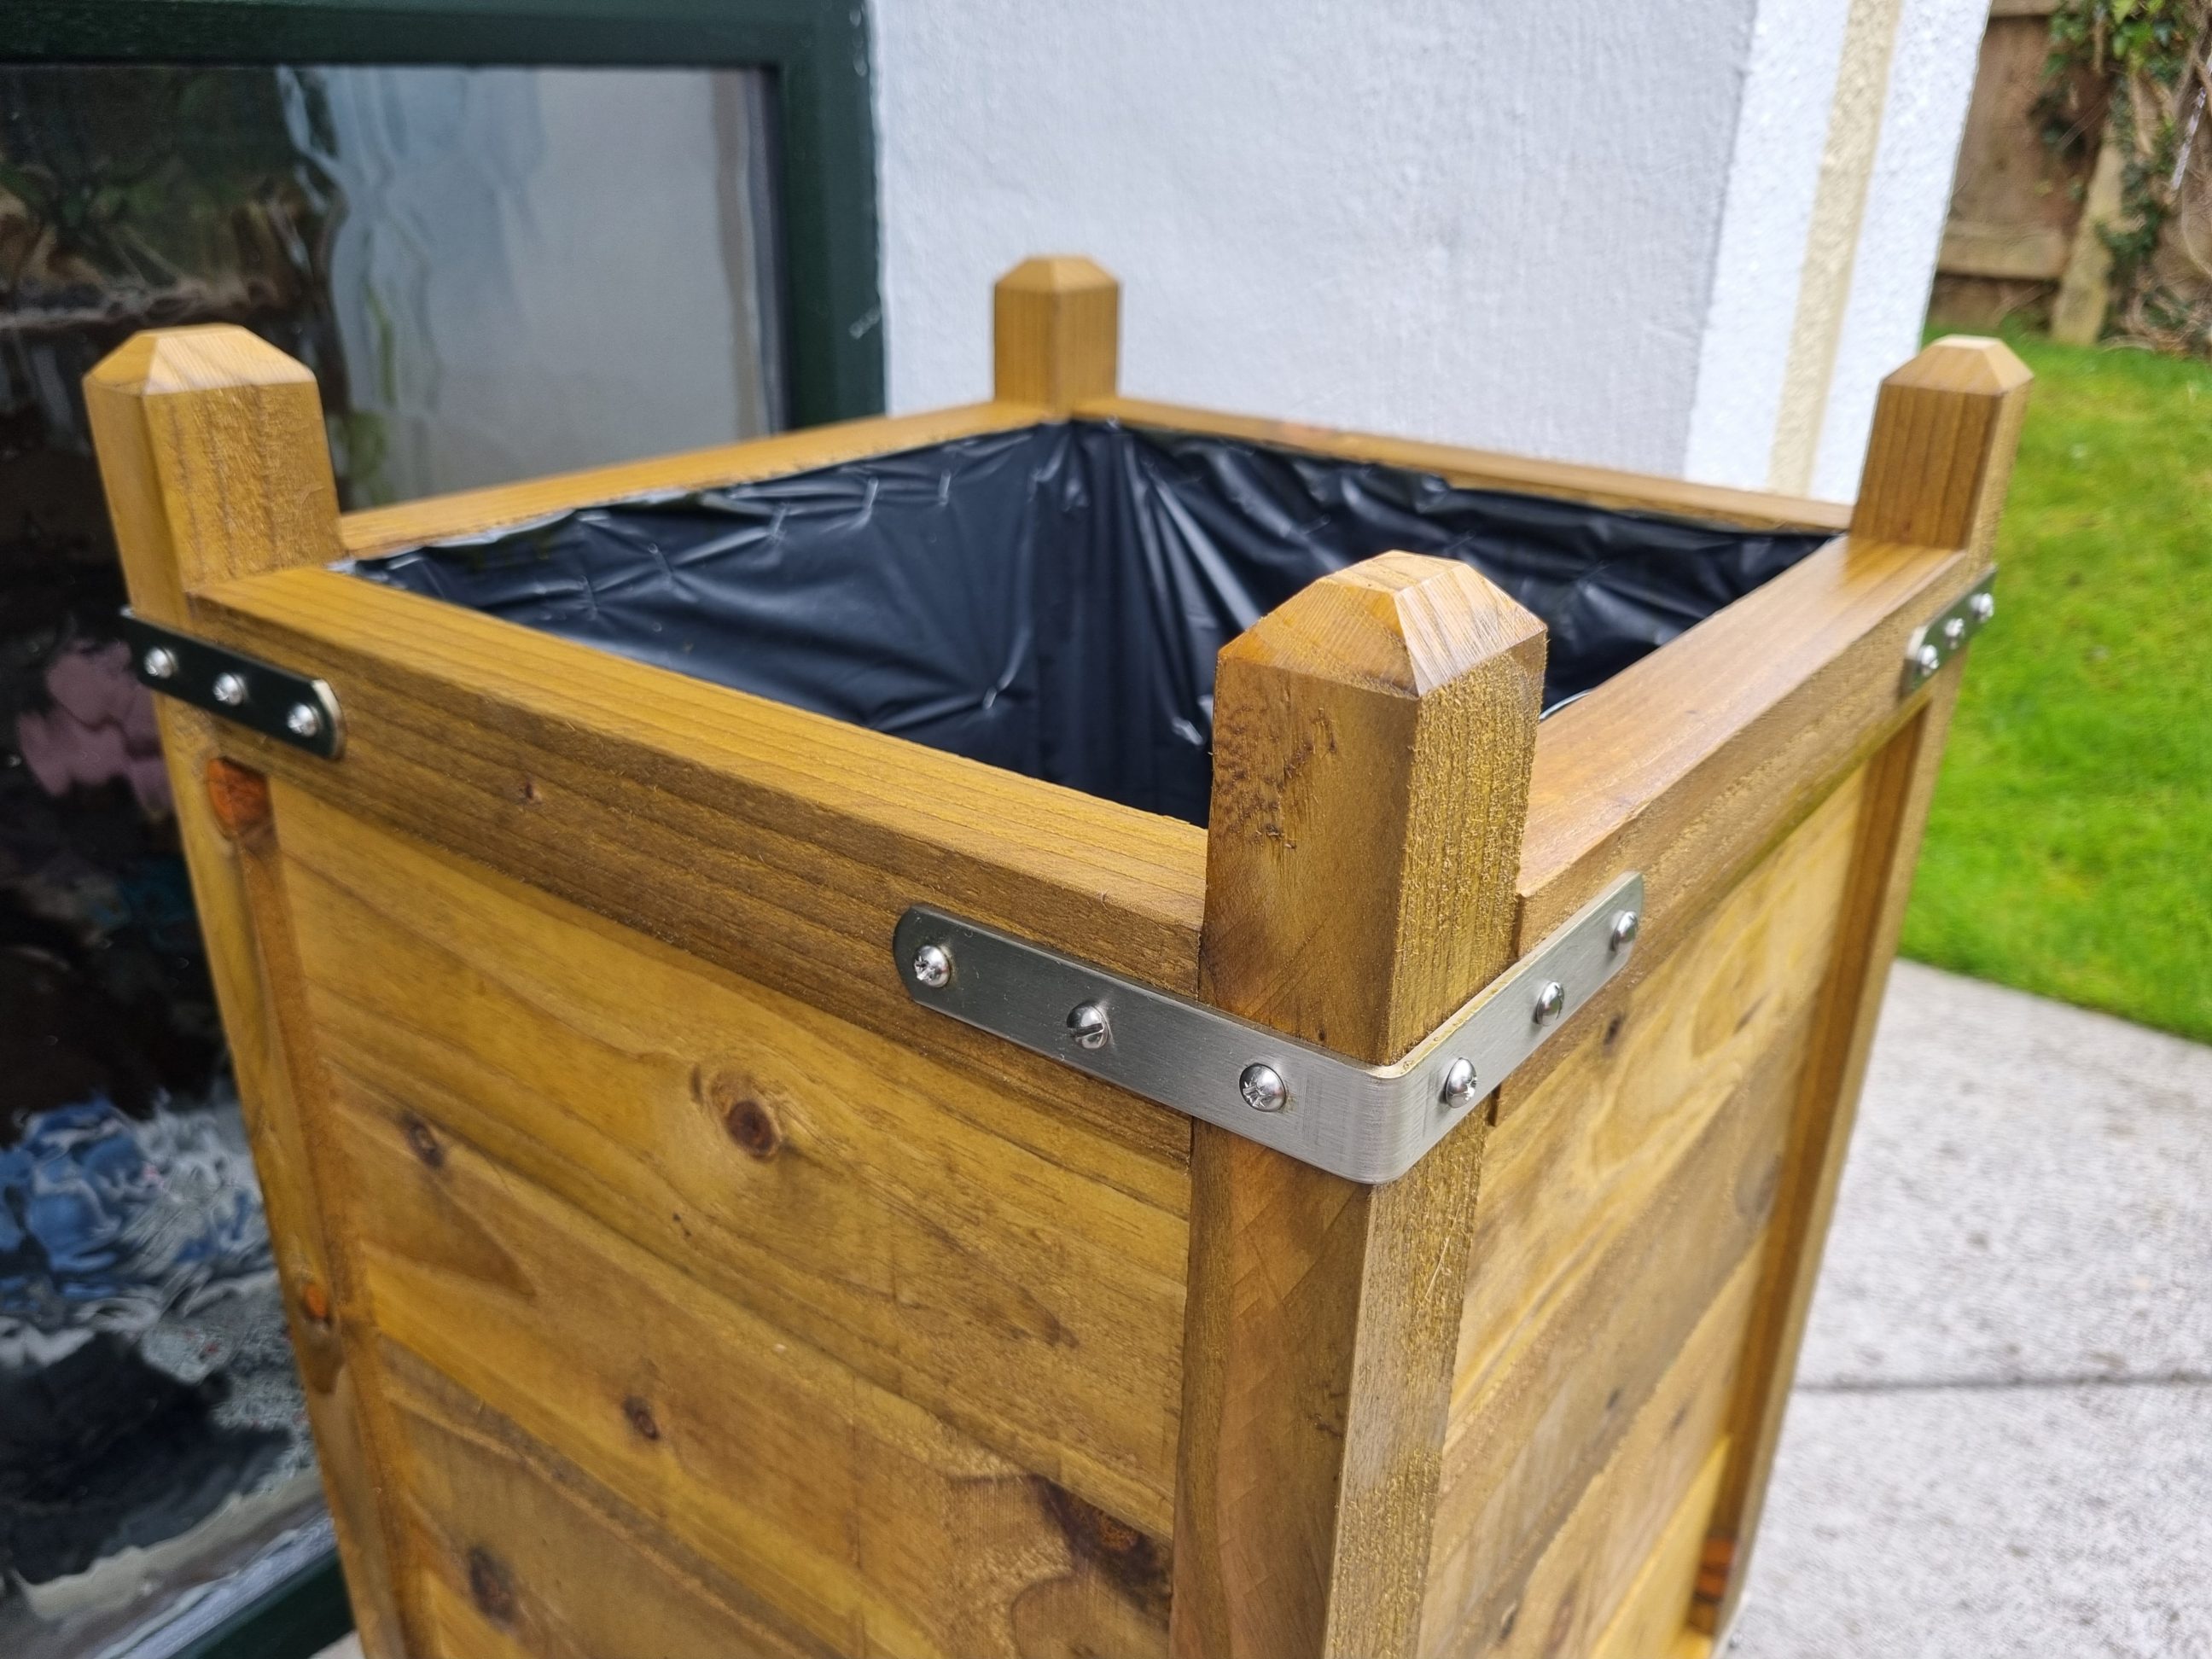
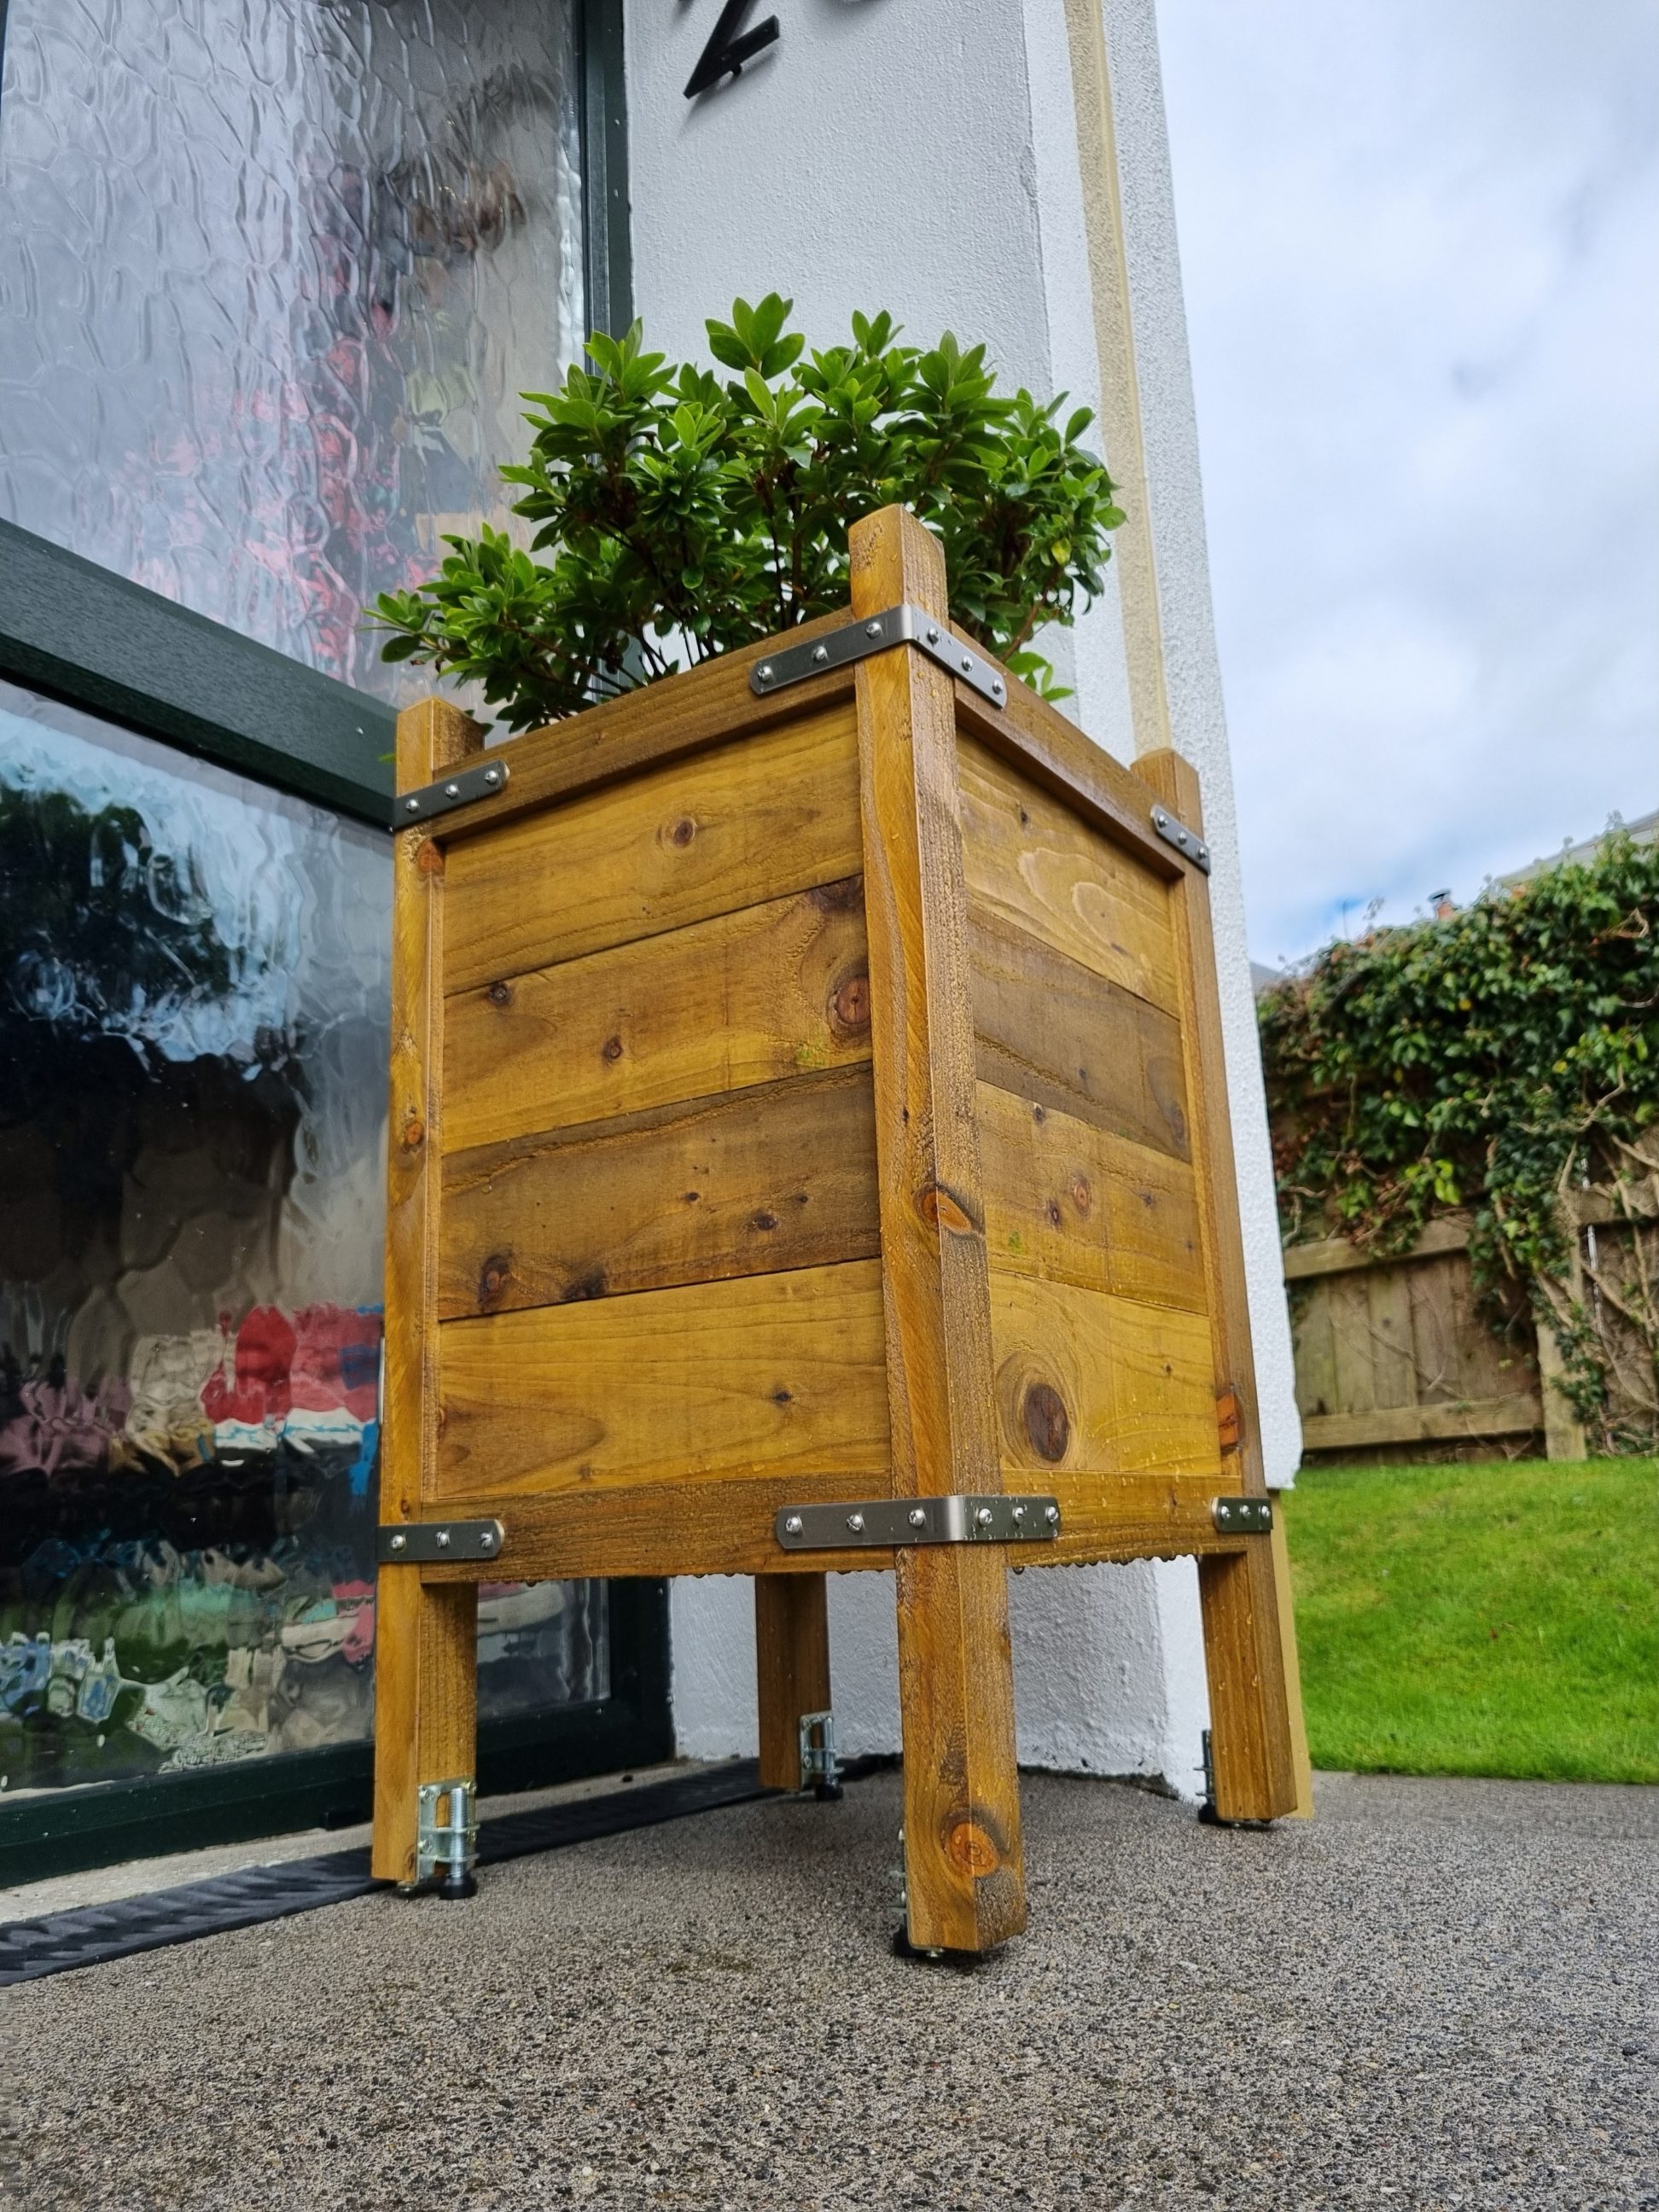
Pocket hole joinery seemed to be an ideal choice for that project, due to the absence of visible fasteners, the strength of the joints, and the simplicity of construction. My new planter had to match the colours with the bench and include several decorative (yet structural) reinforcements, as well as metal feet. The timber I purchased for that project was pressure-treated, 1x4s and 2×1-1/2s (since they didn’t have 2x2s in stock). The corner braces and the pan-head screws were stainless steel, and the adjustable feet were zinc coated. In a project like this, every detail counts as it is displayed by the front door and is somehow representative. A nice shrub in it is also essential.
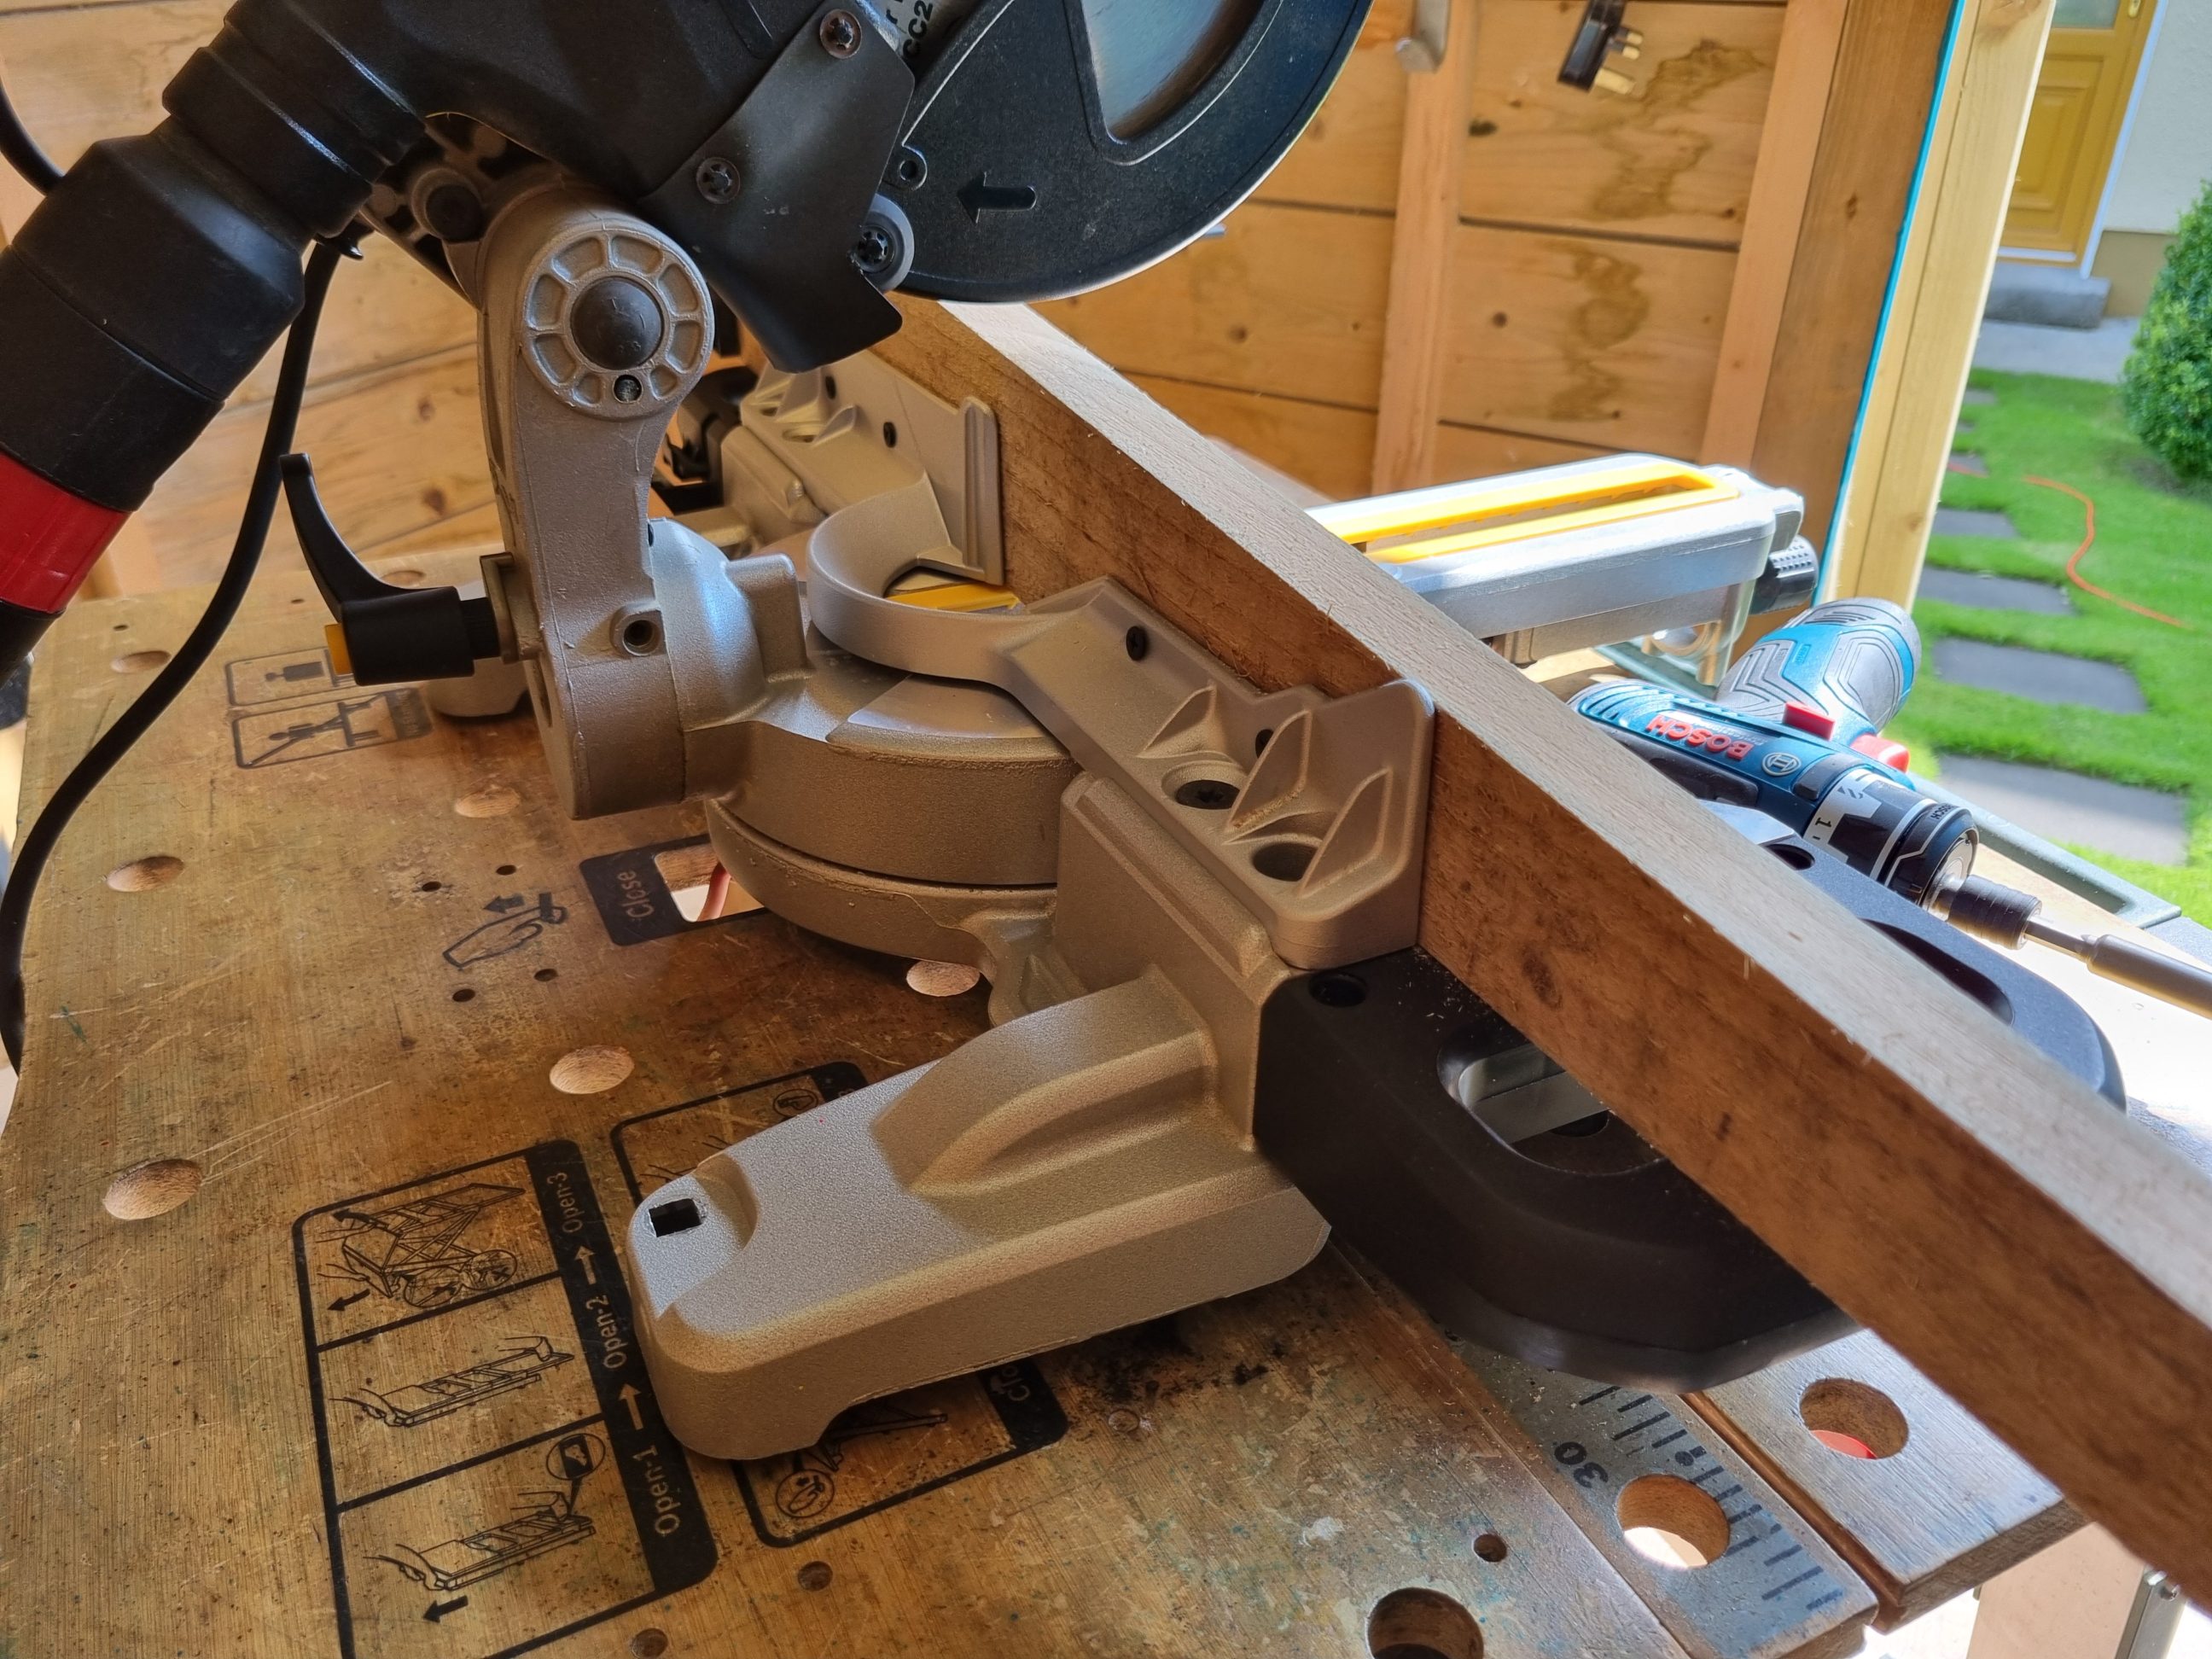

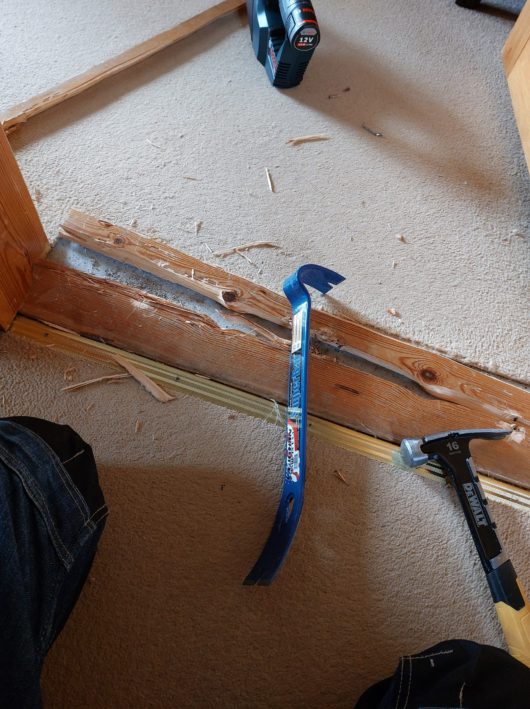
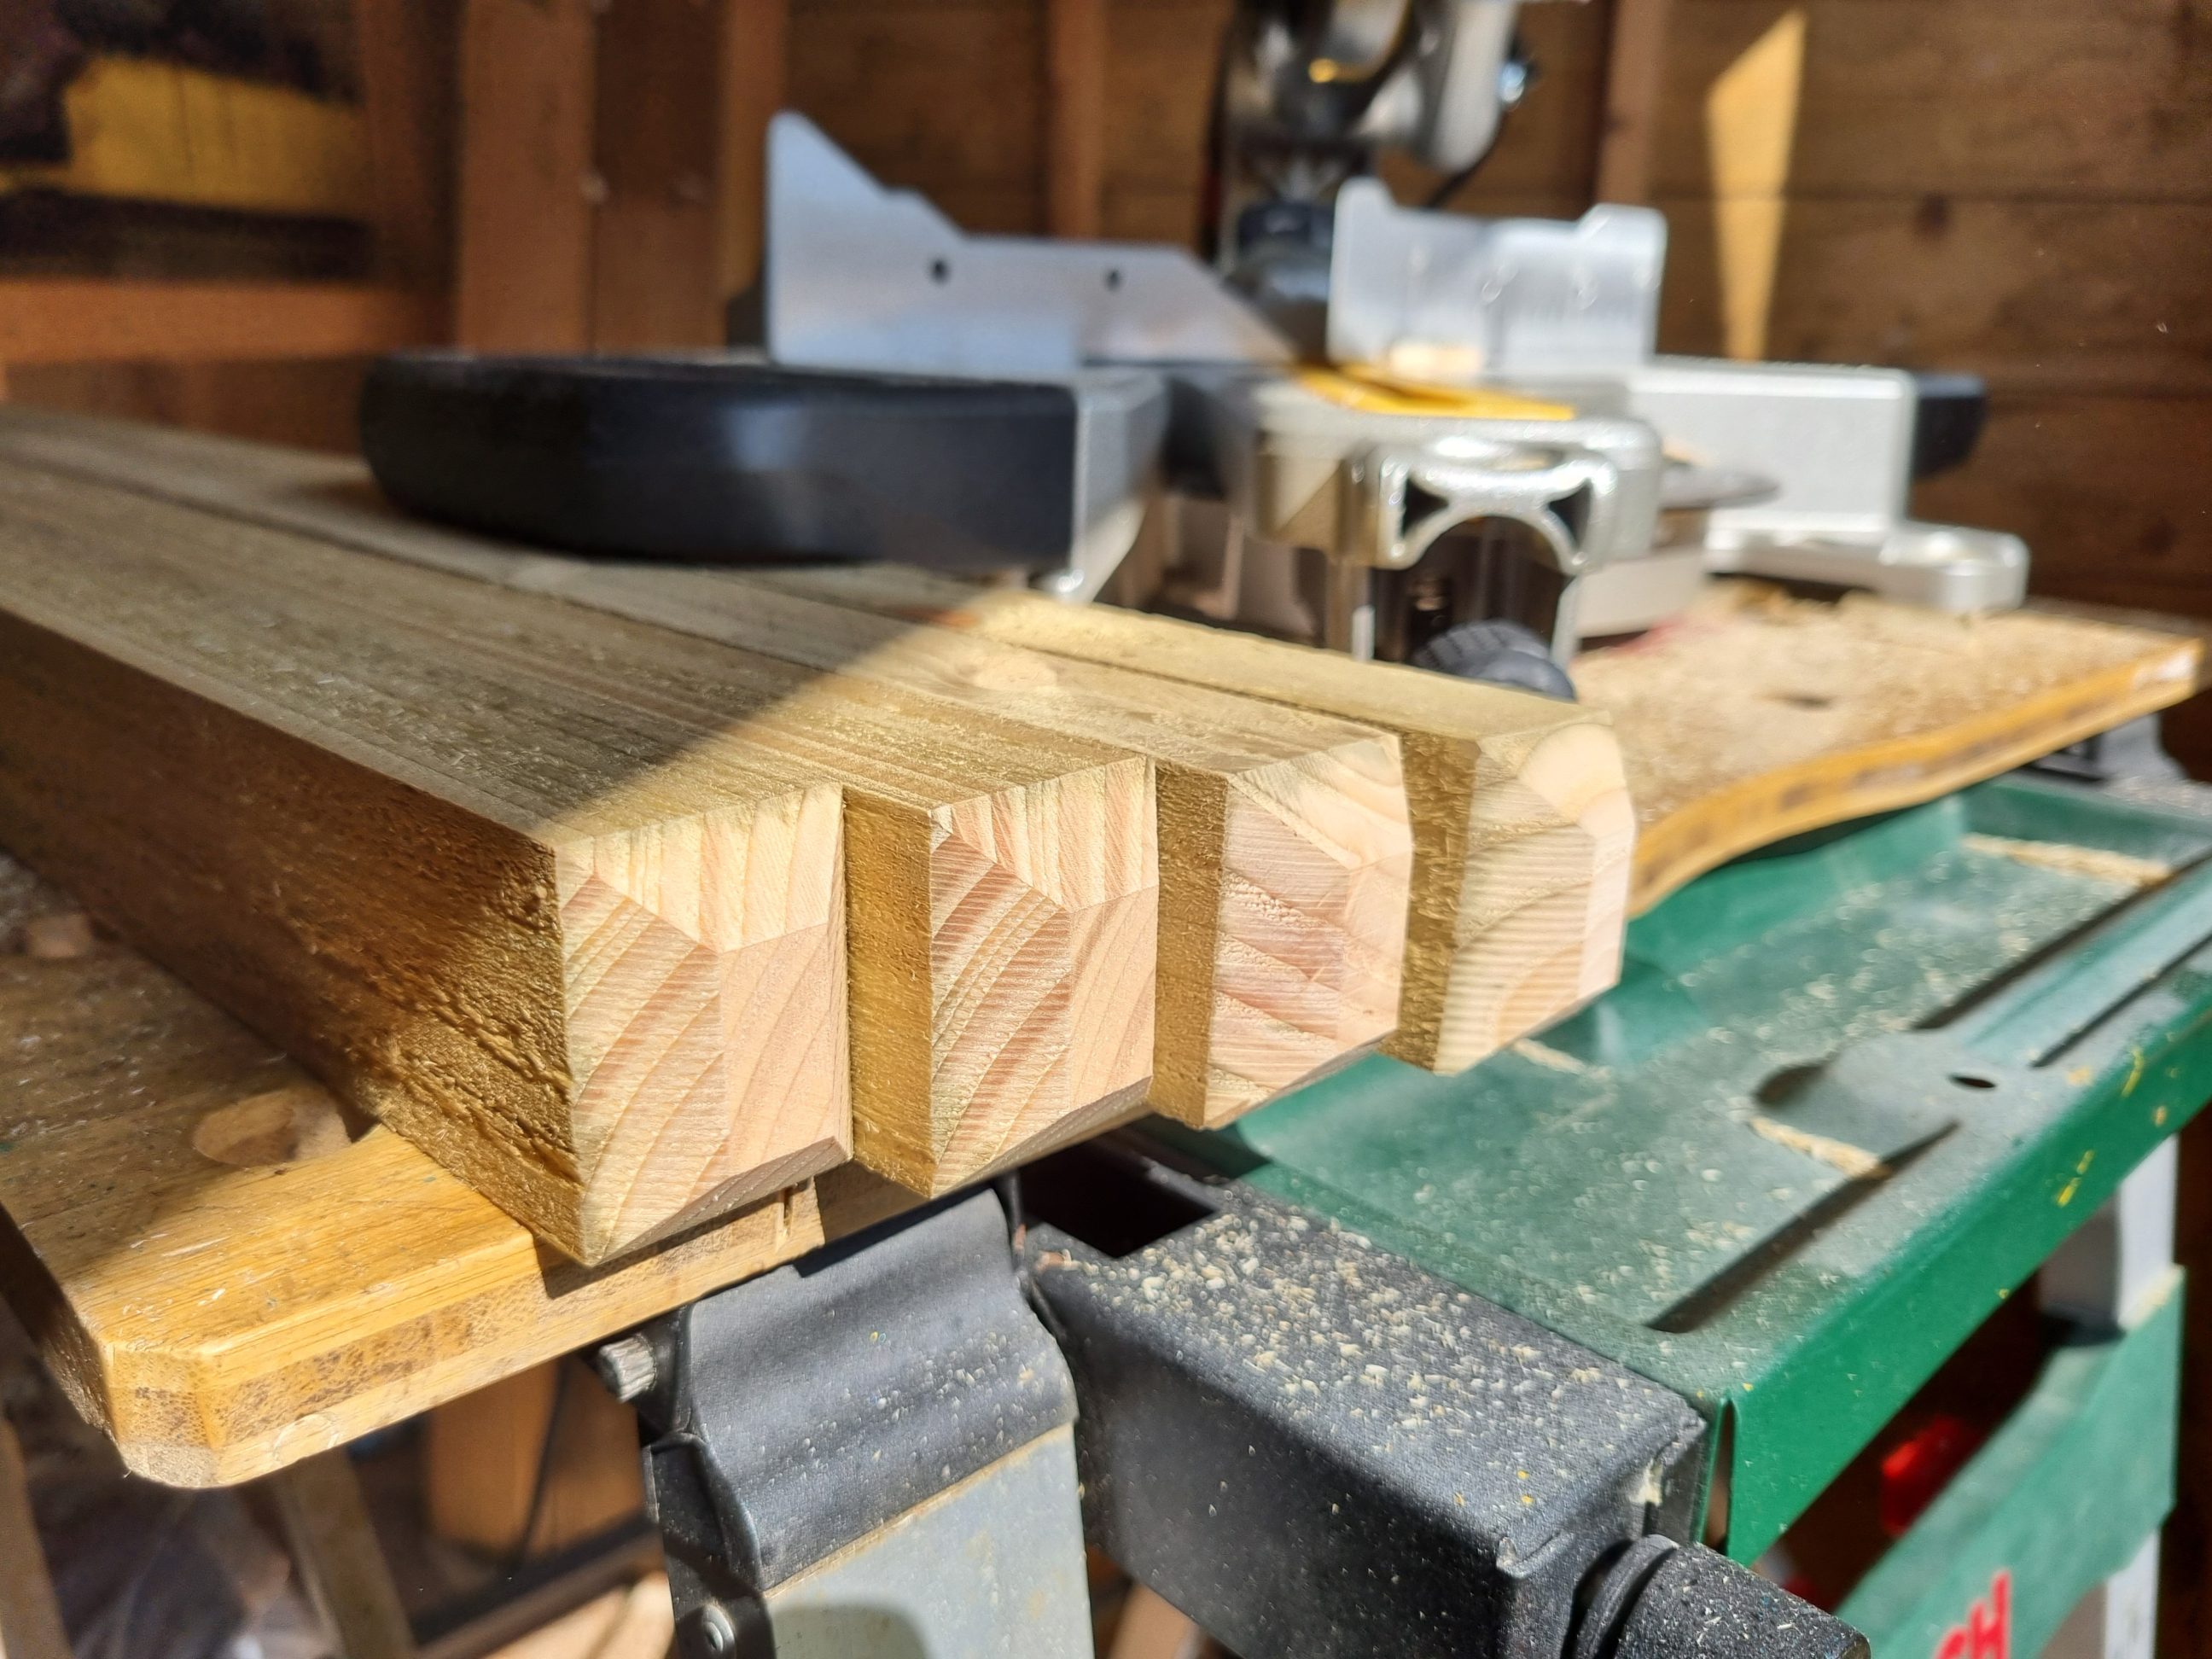
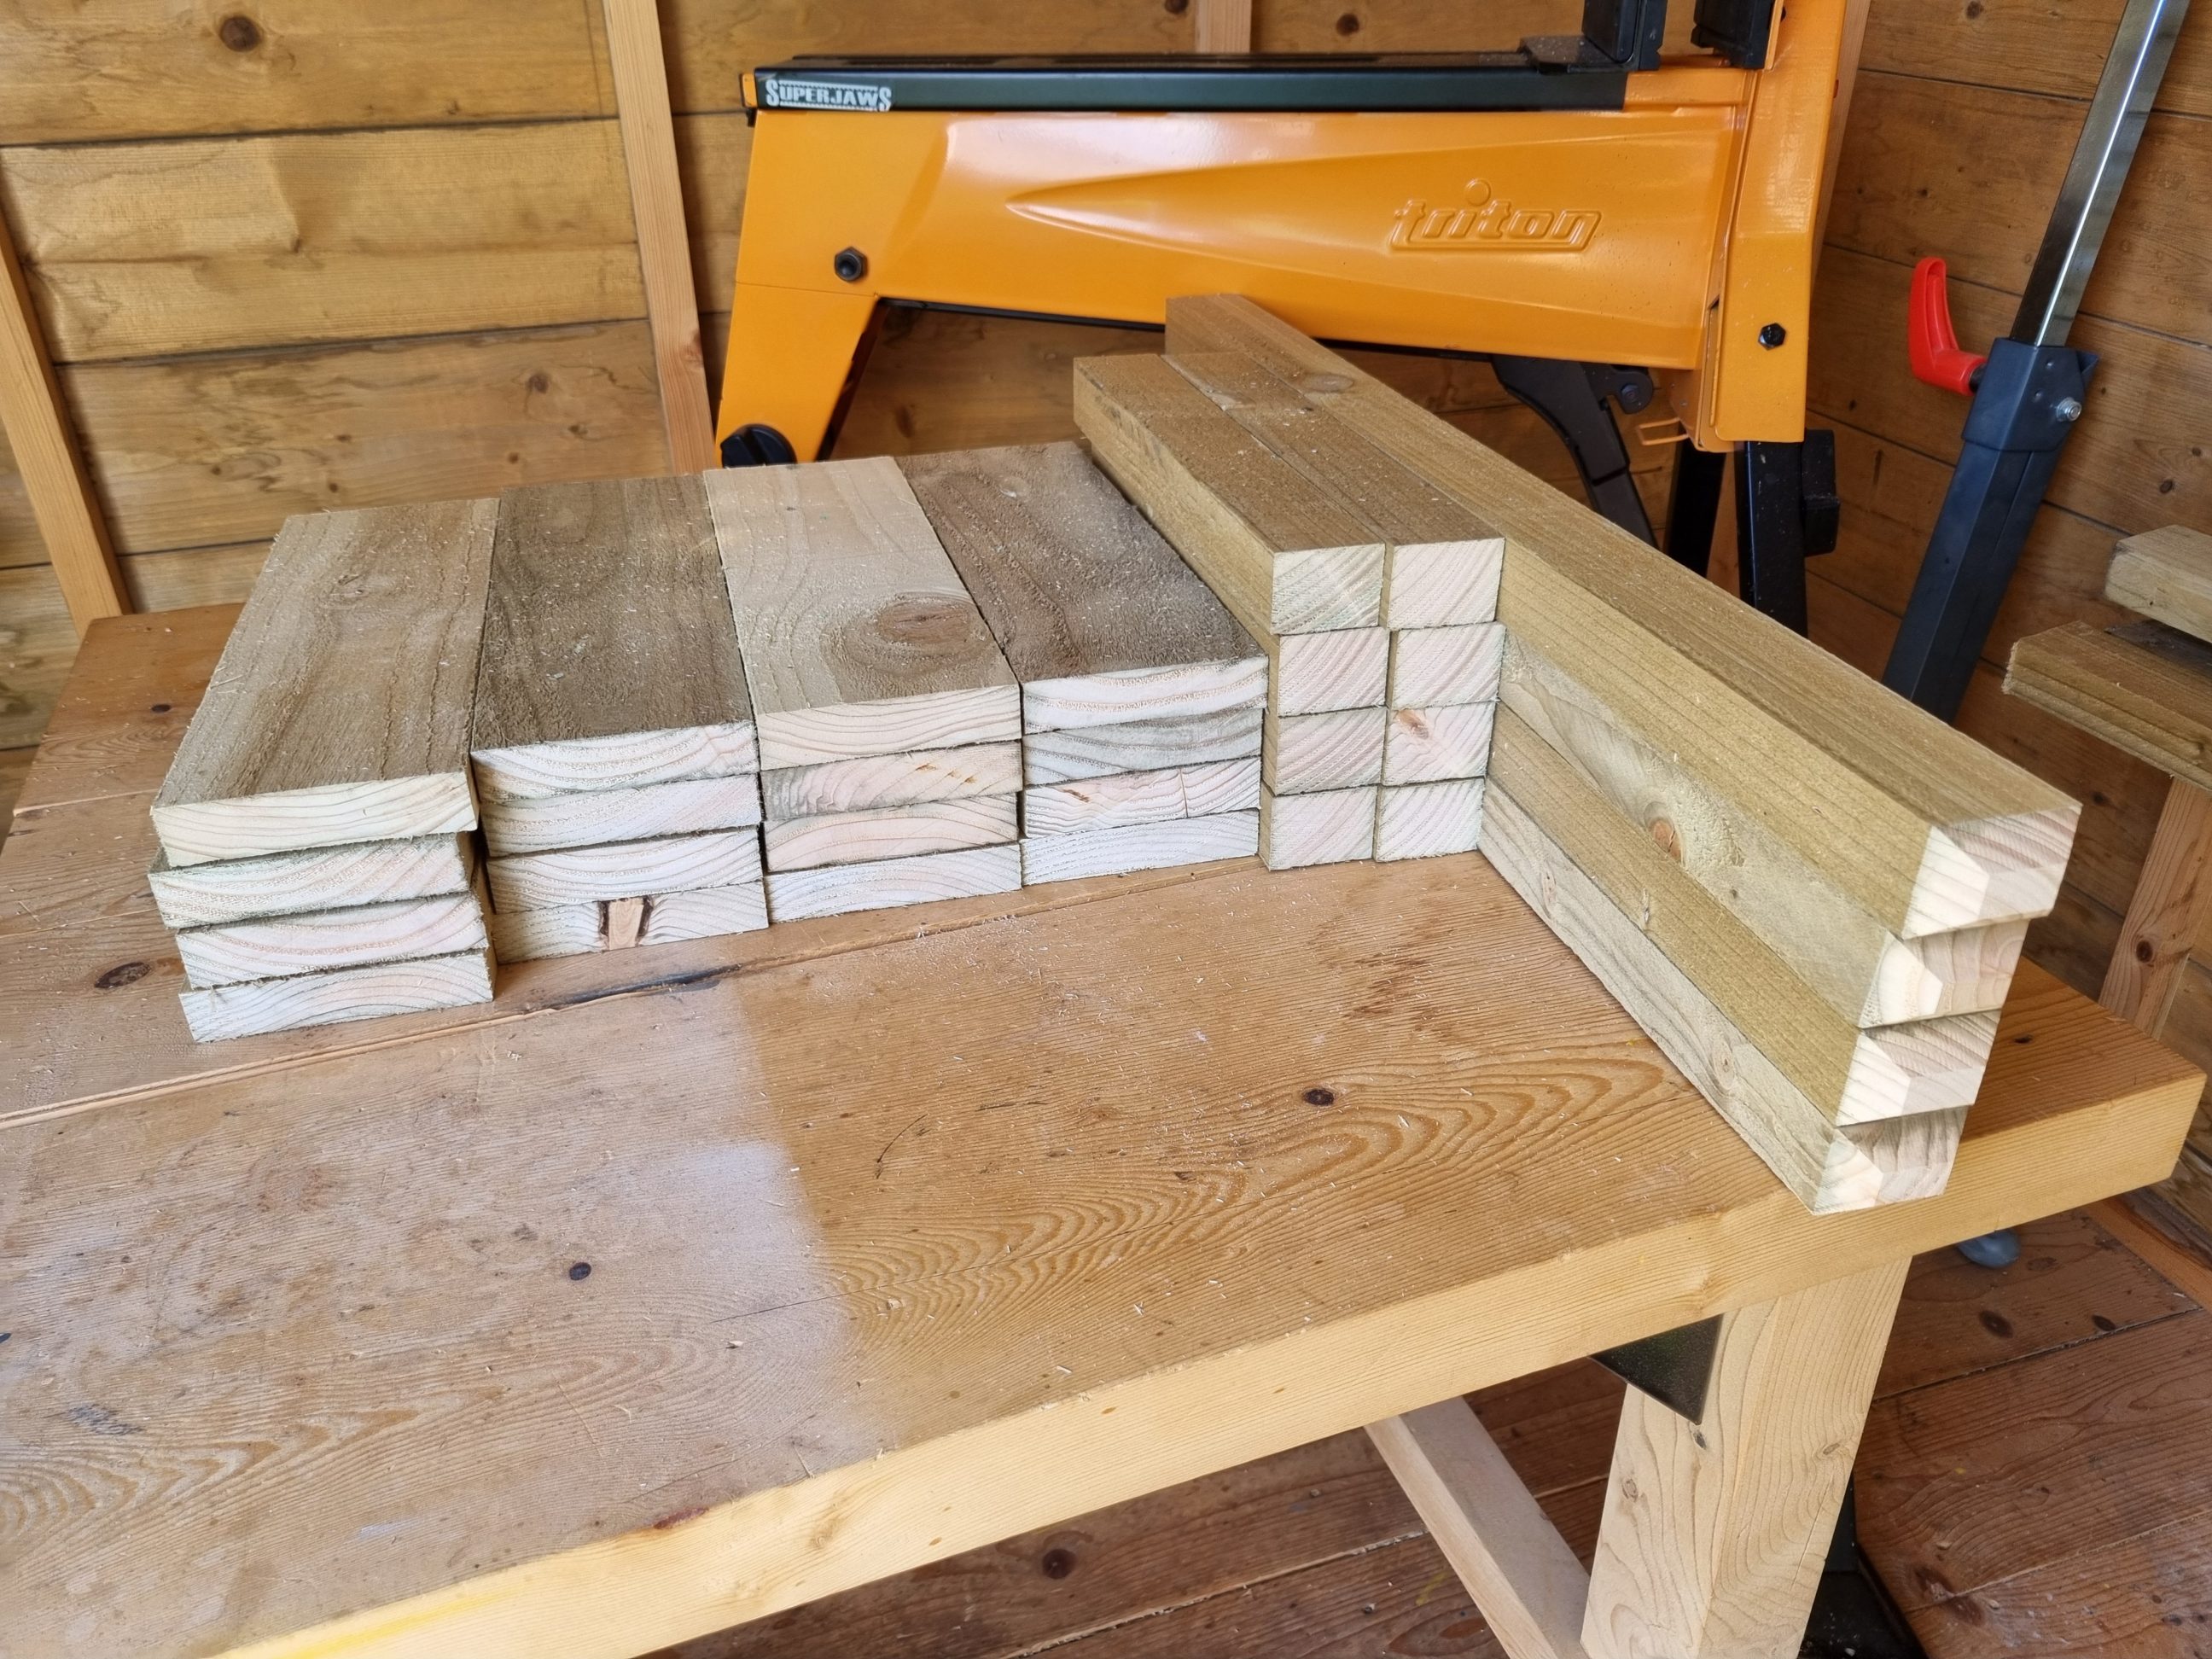
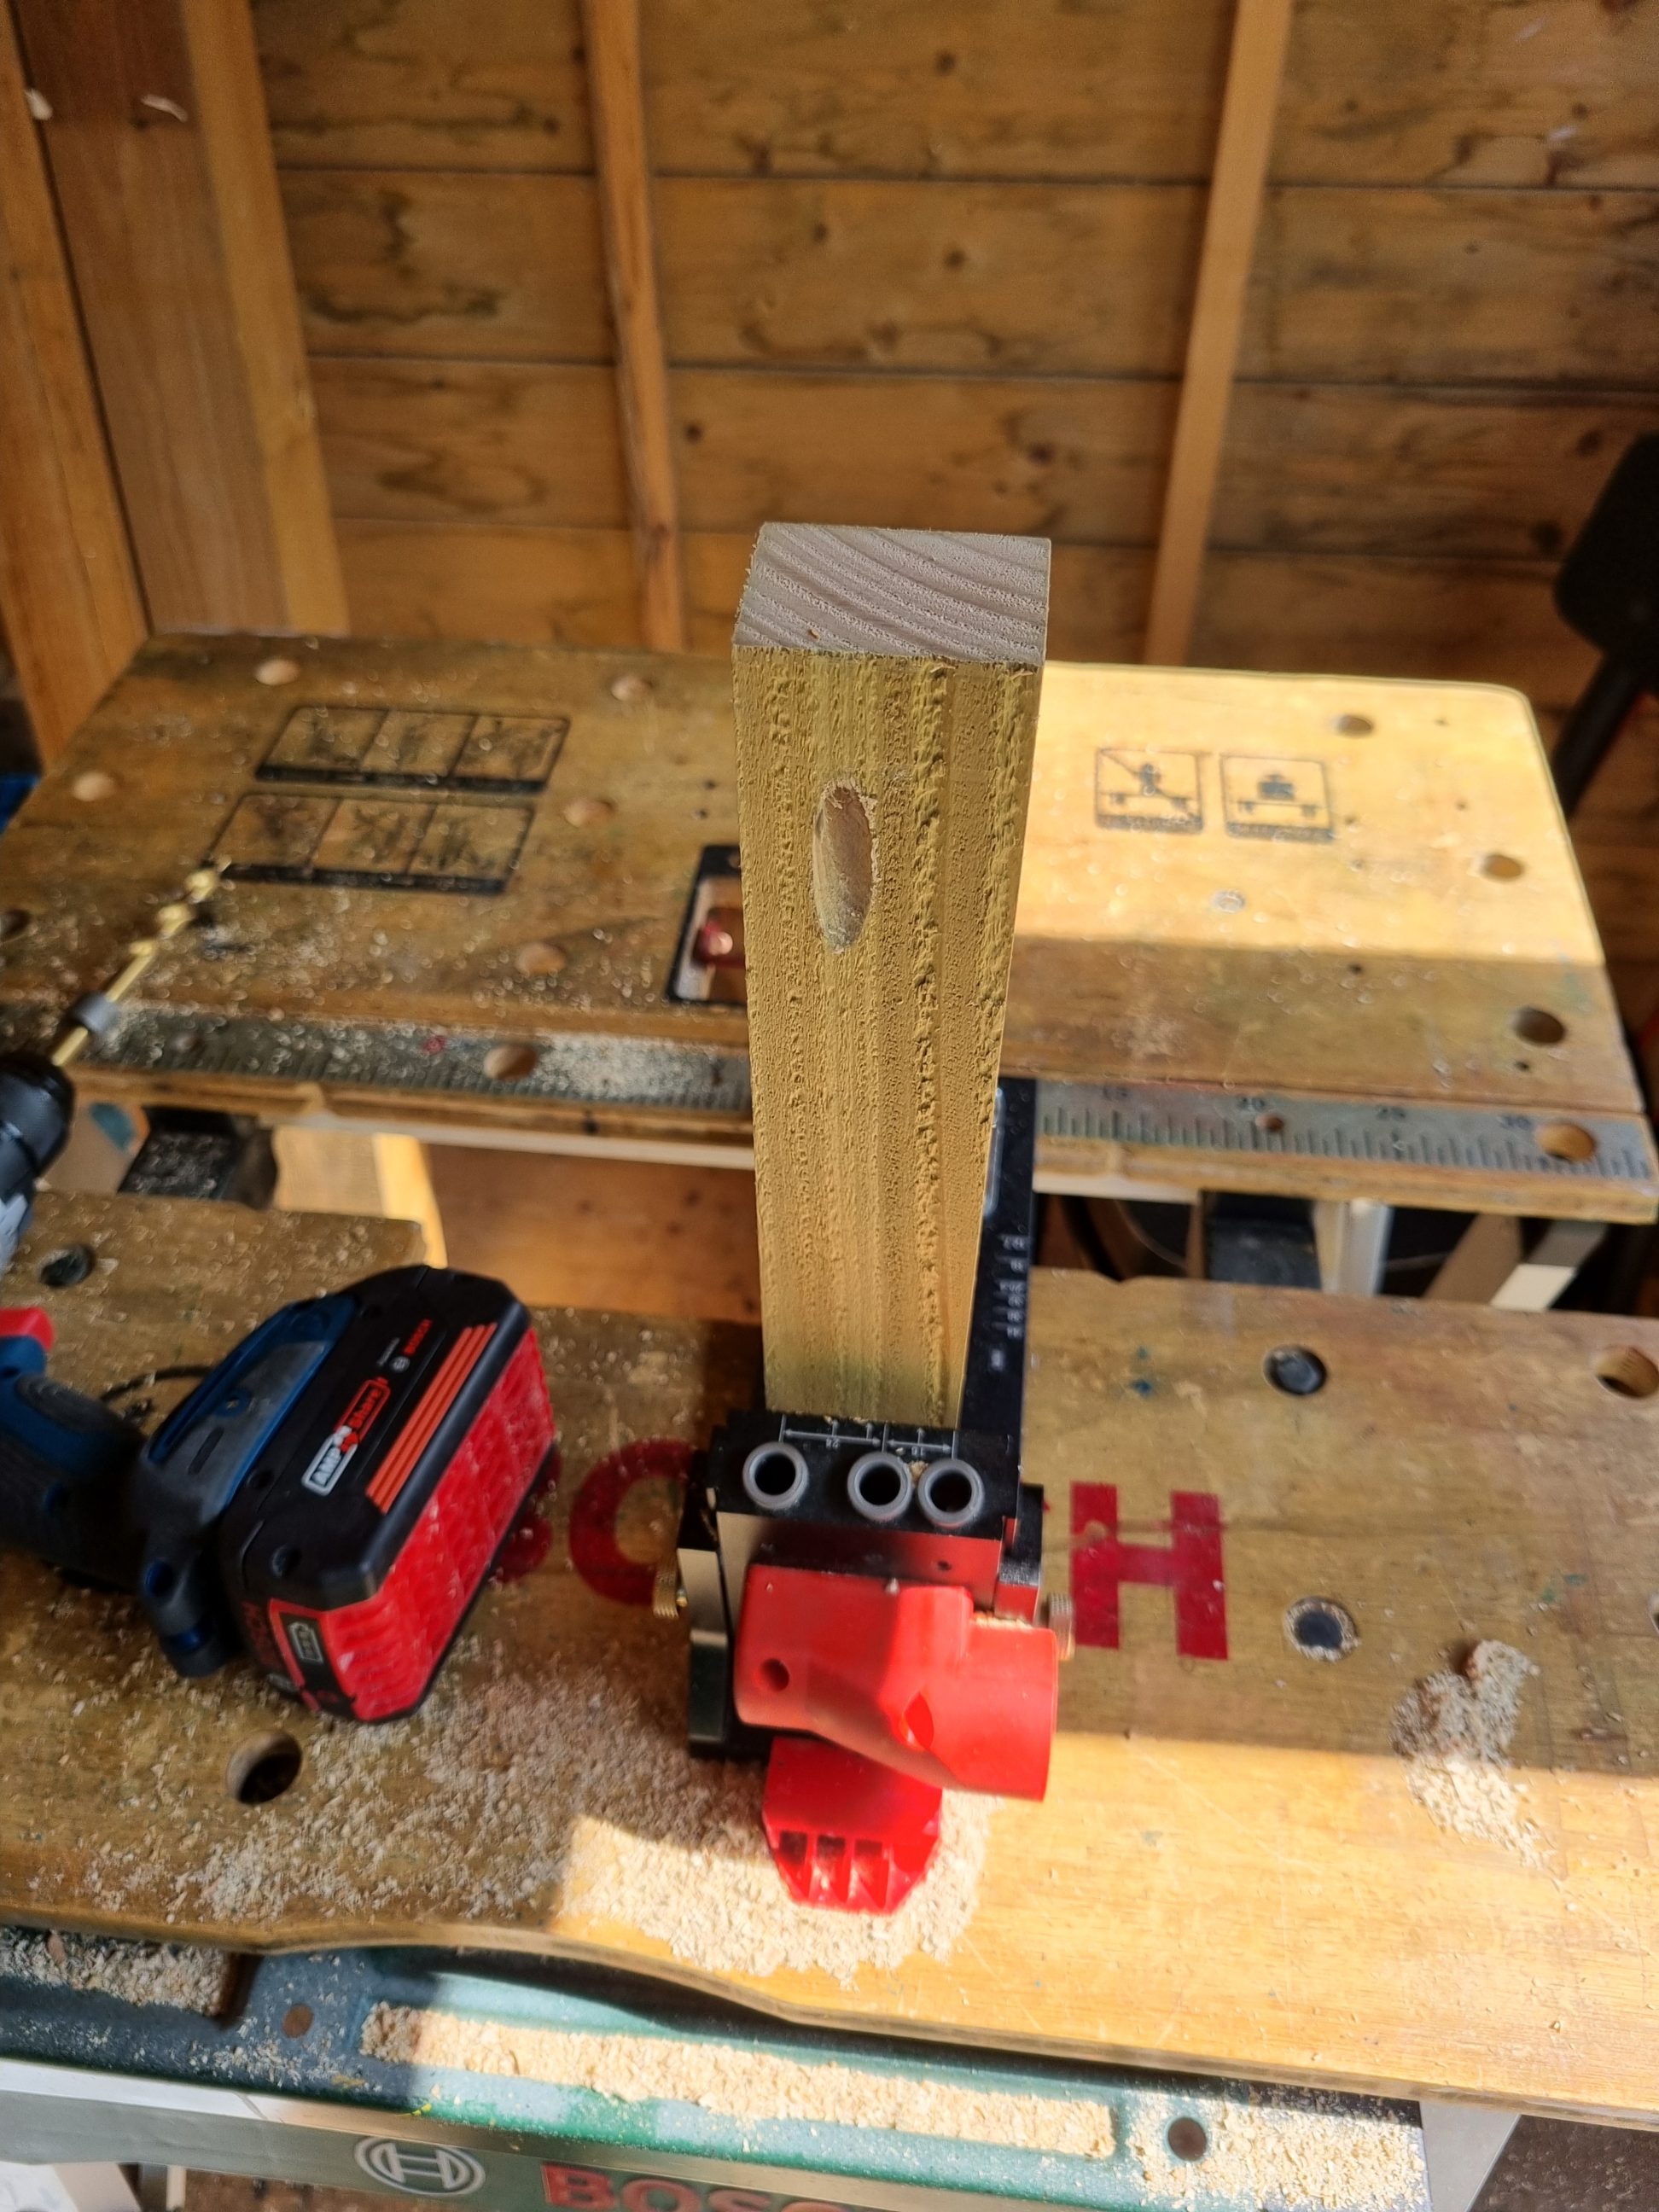
Before proceeding with my cutting list, it was necessary to attach a temporary fence to my mitre saw. That was to secure a stop block, ensuring that all vertical components were cut to the exact same length. After cutting them, I was able to determine the length of the legs. Visually, 700 mm seemed perfect (slightly over 27 1/2 inches). The legs were chamfered at the top, to enhance rainwater runoff and for aesthetic appeal.
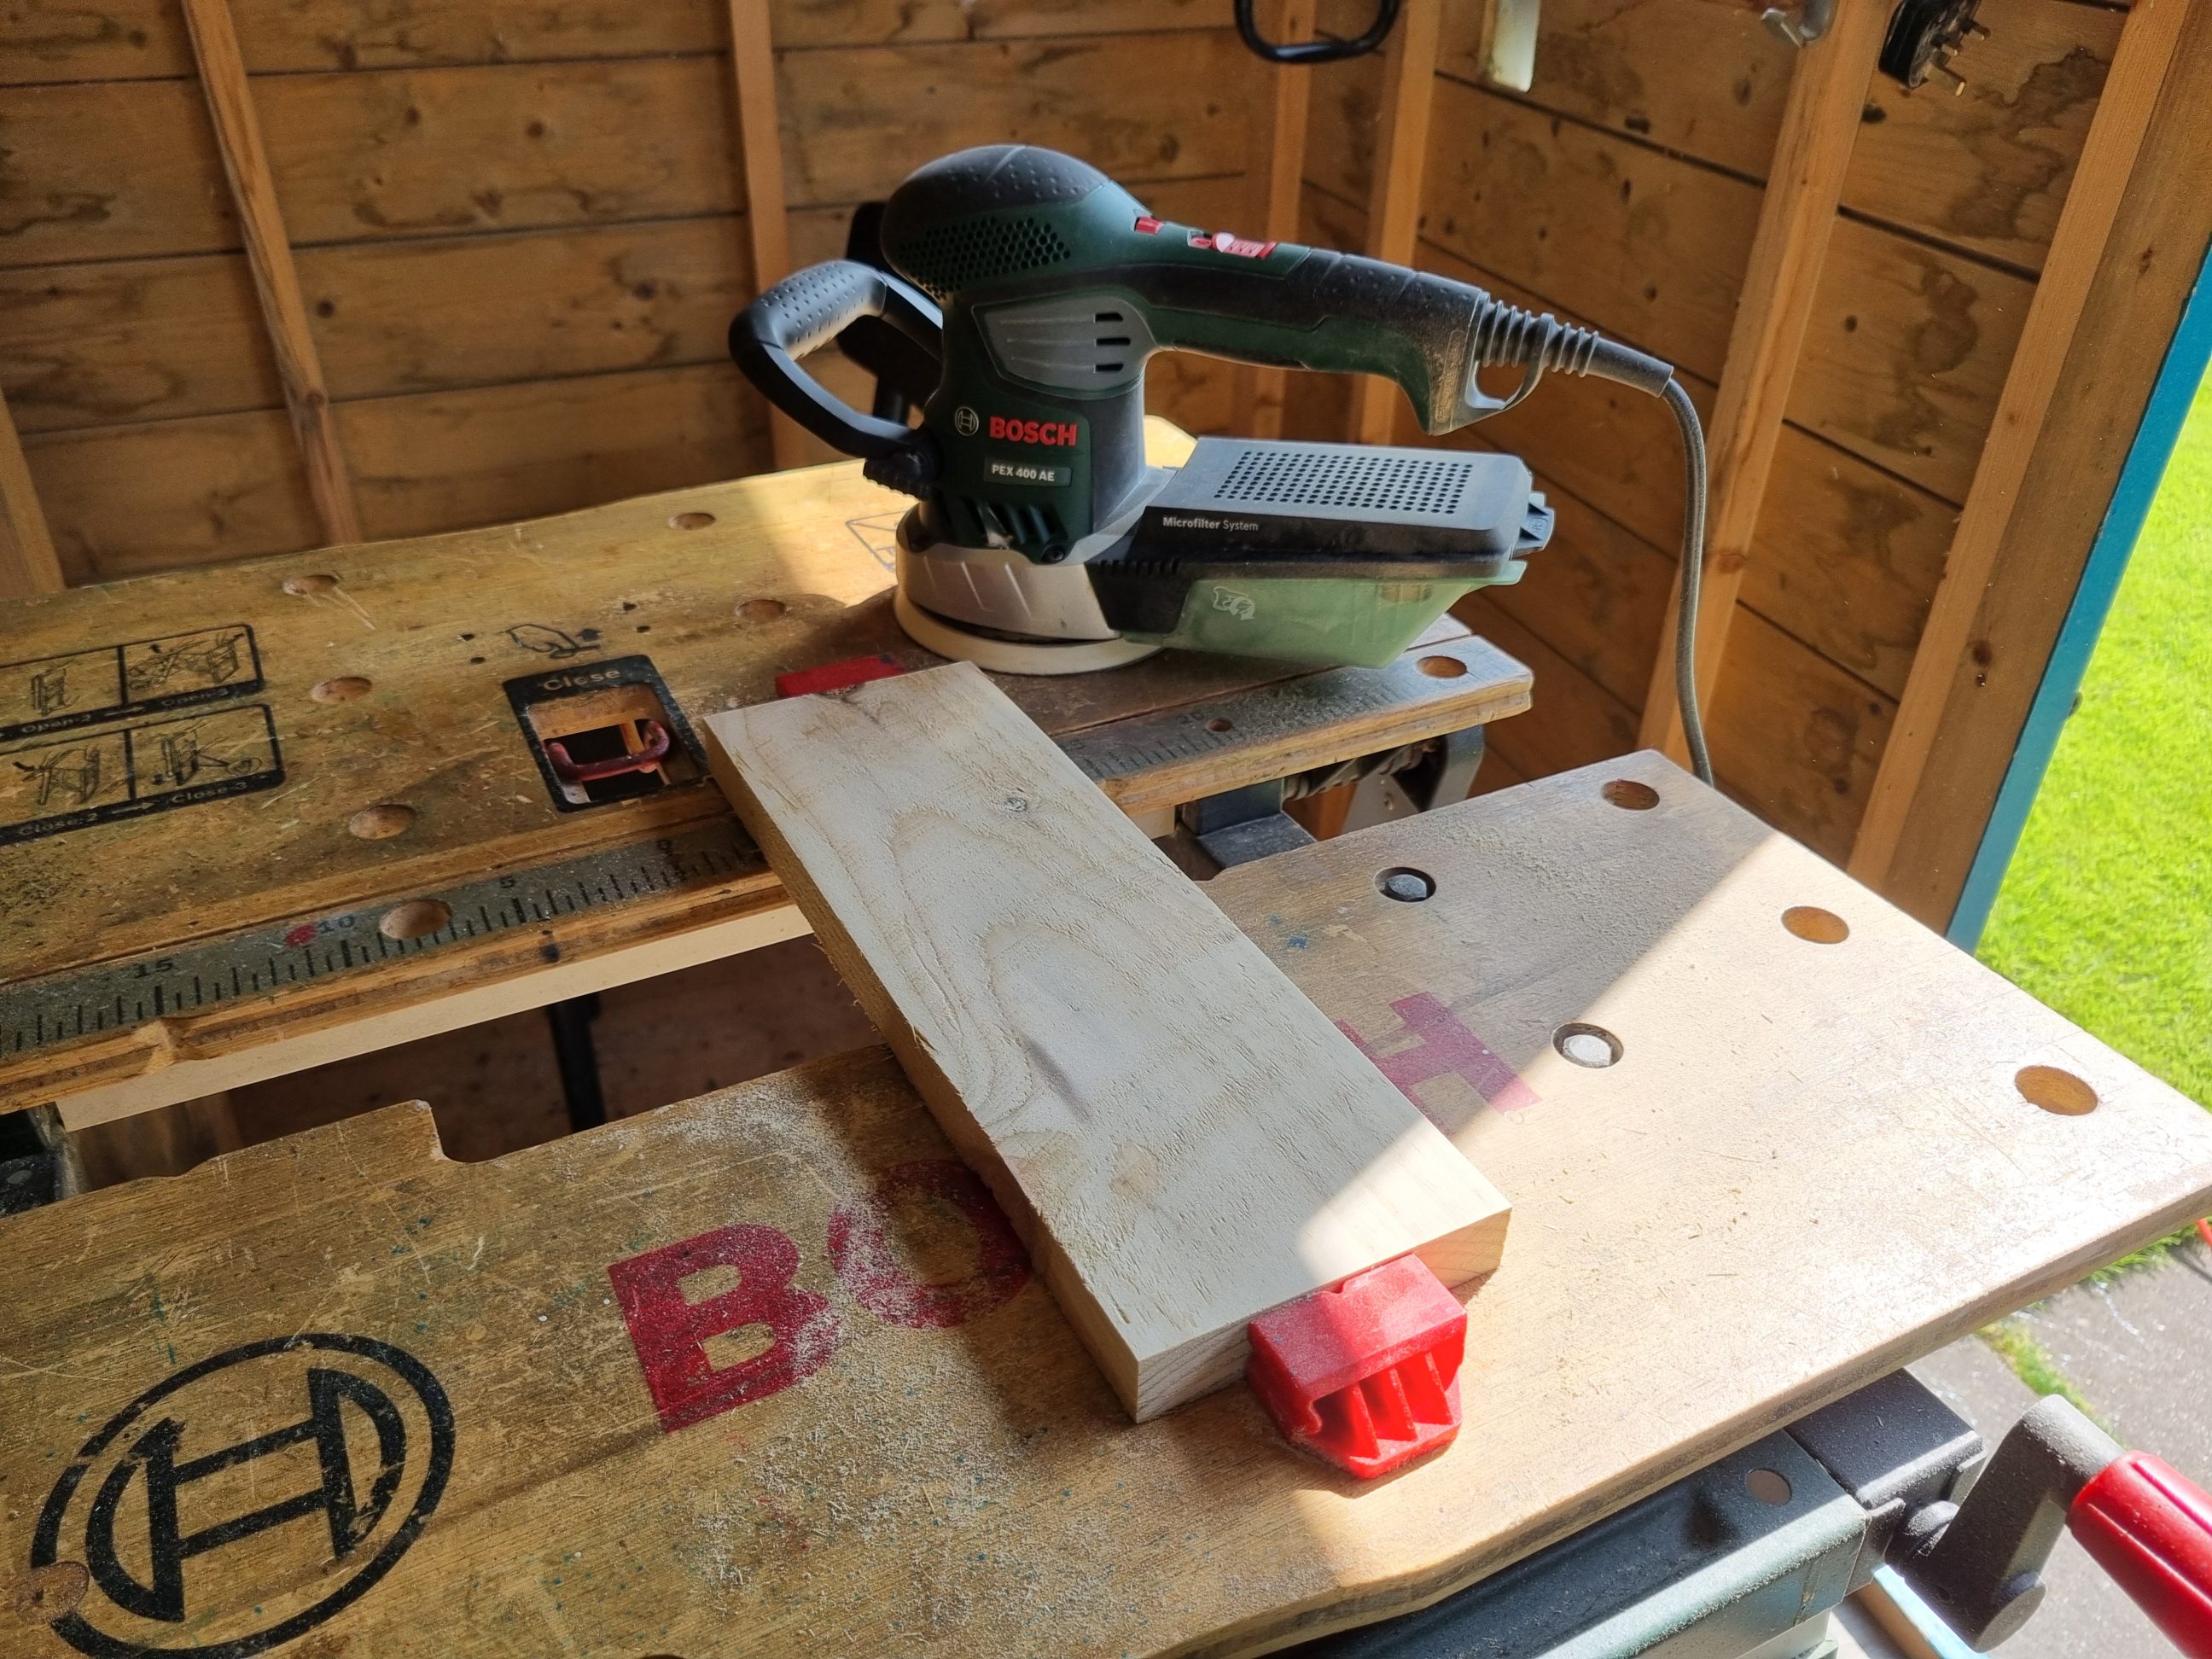
Before drilling the pocket holes, I sanded the outward-facing surfaces. Despite being an outdoor project, I wanted the best possible finish. Hence, I chose hidden fasteners and stainless steel hardware. The planter was designed for the front door, where it would remain for several years before being relocated to a concrete slab measuring 400 x 400 mm (15 3/4 inches) at the back of the house, which justifies the dimensions of the planter.
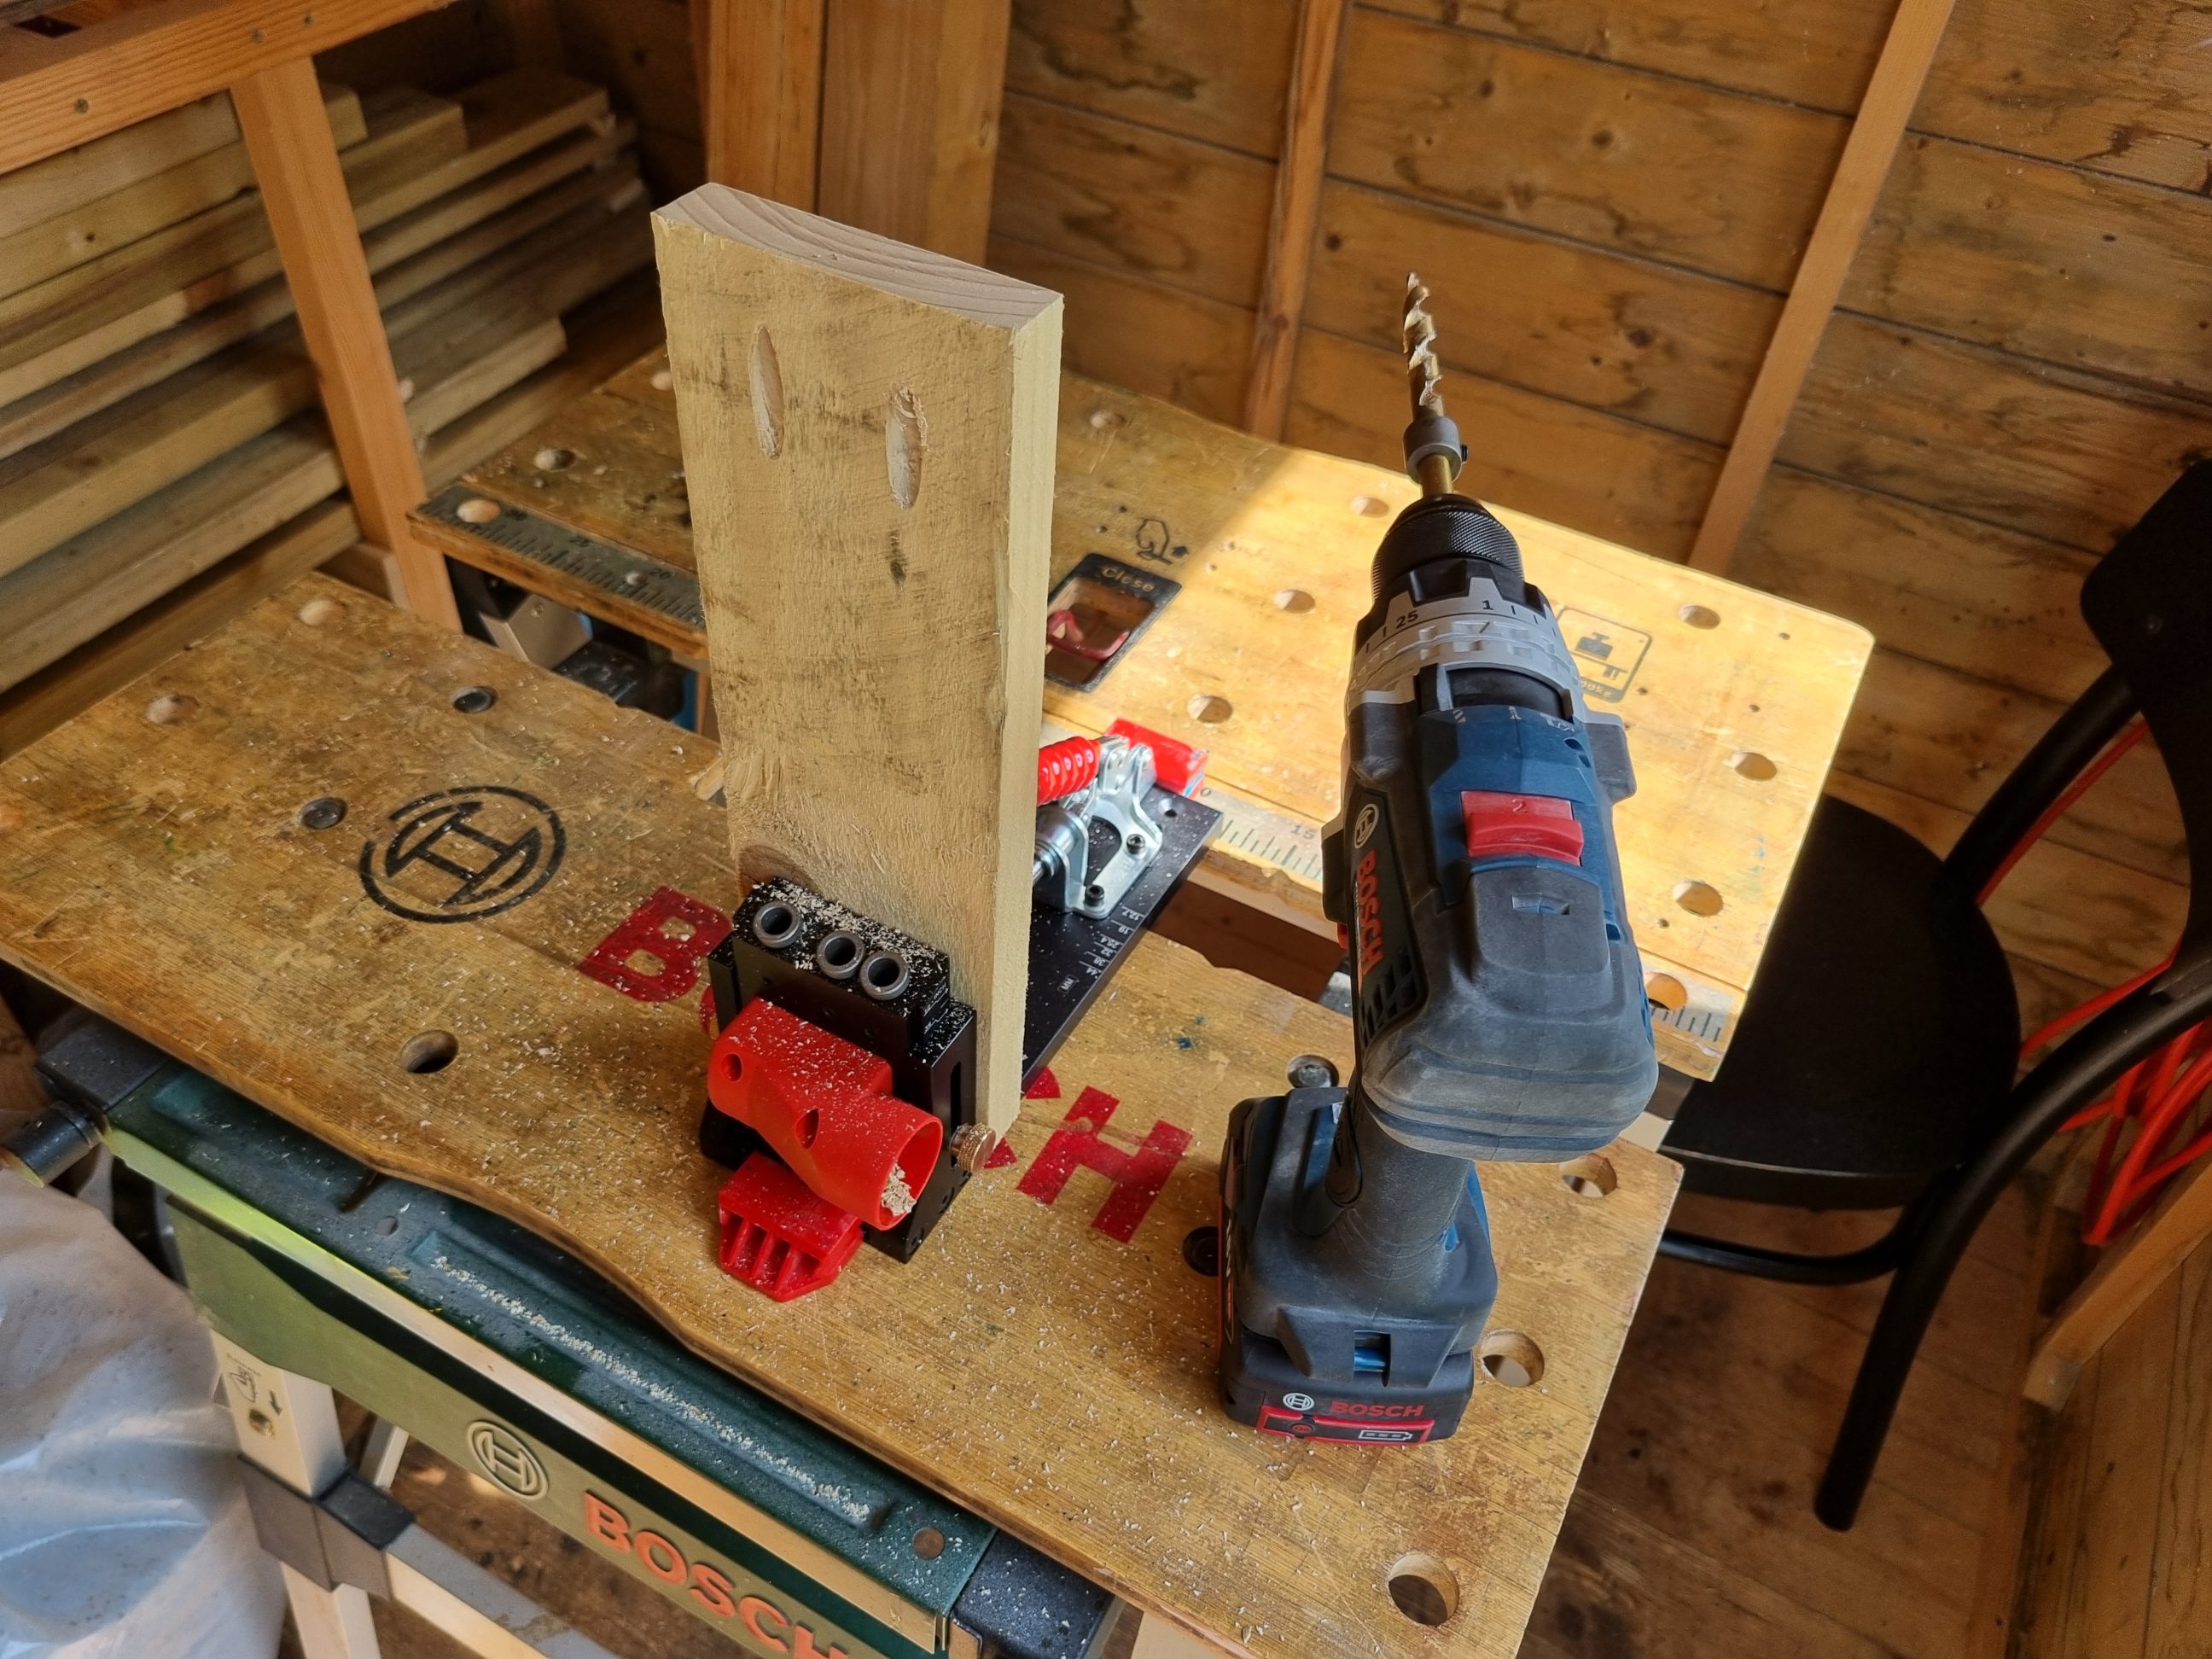
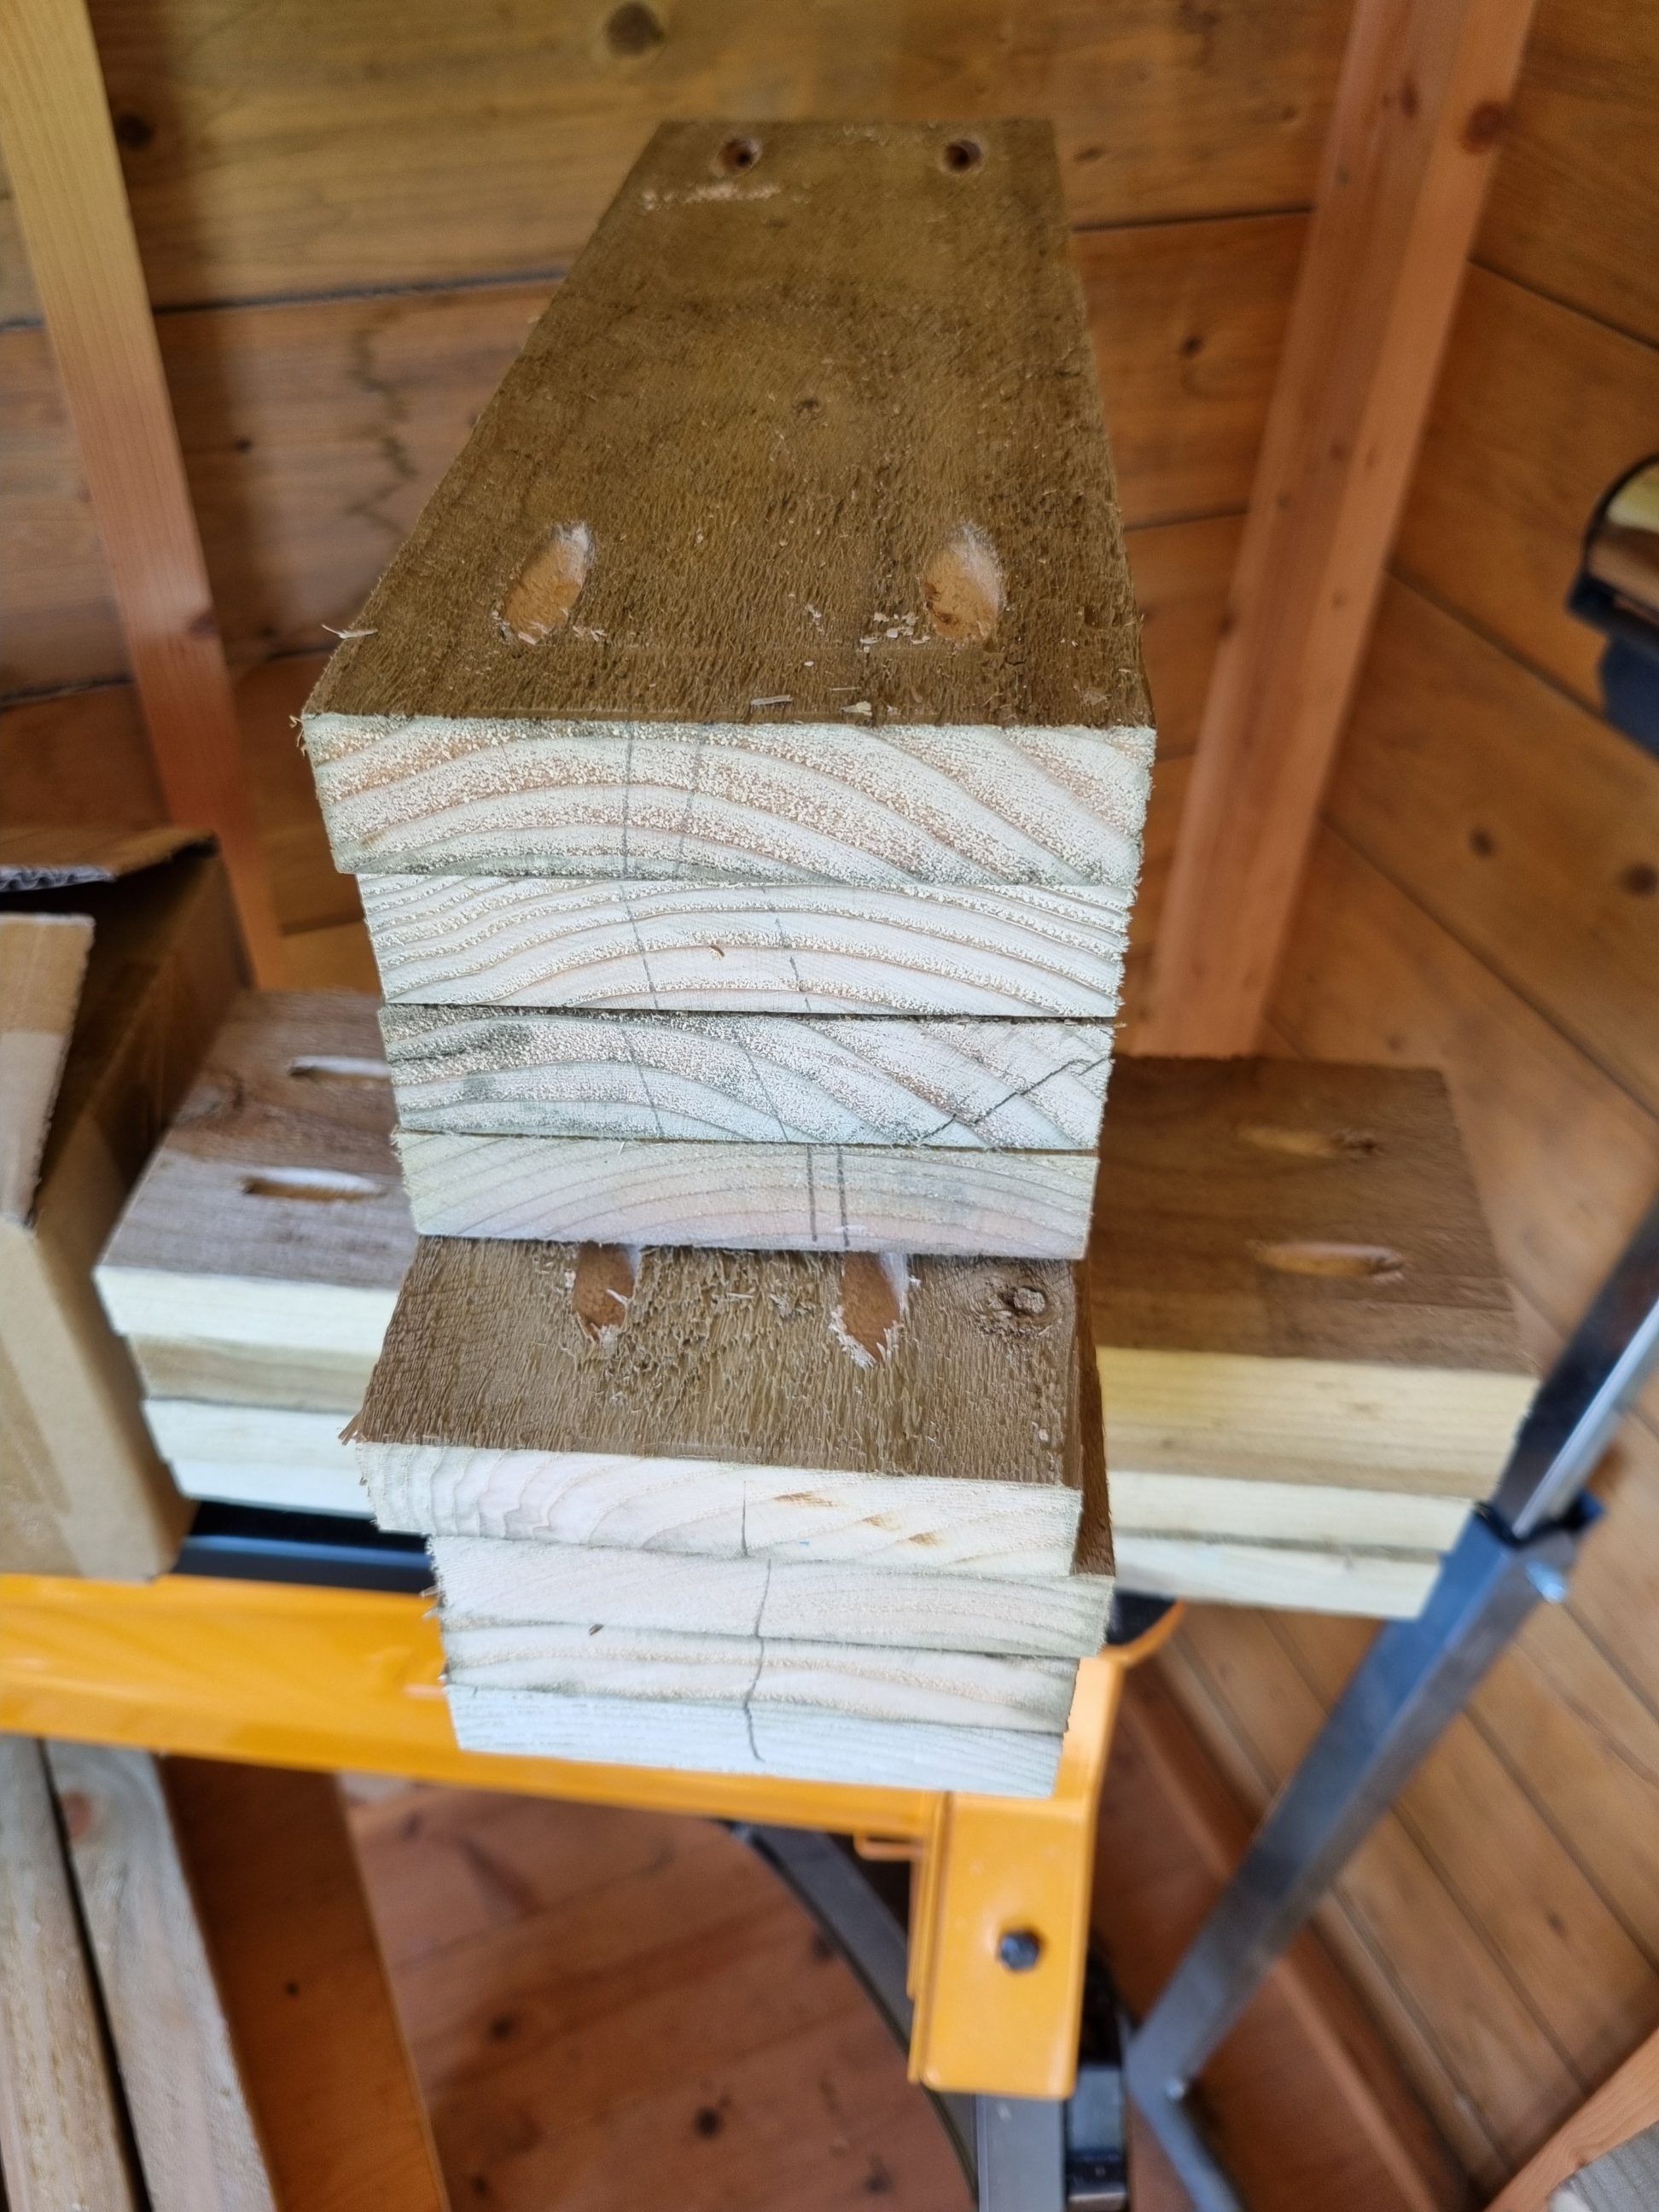
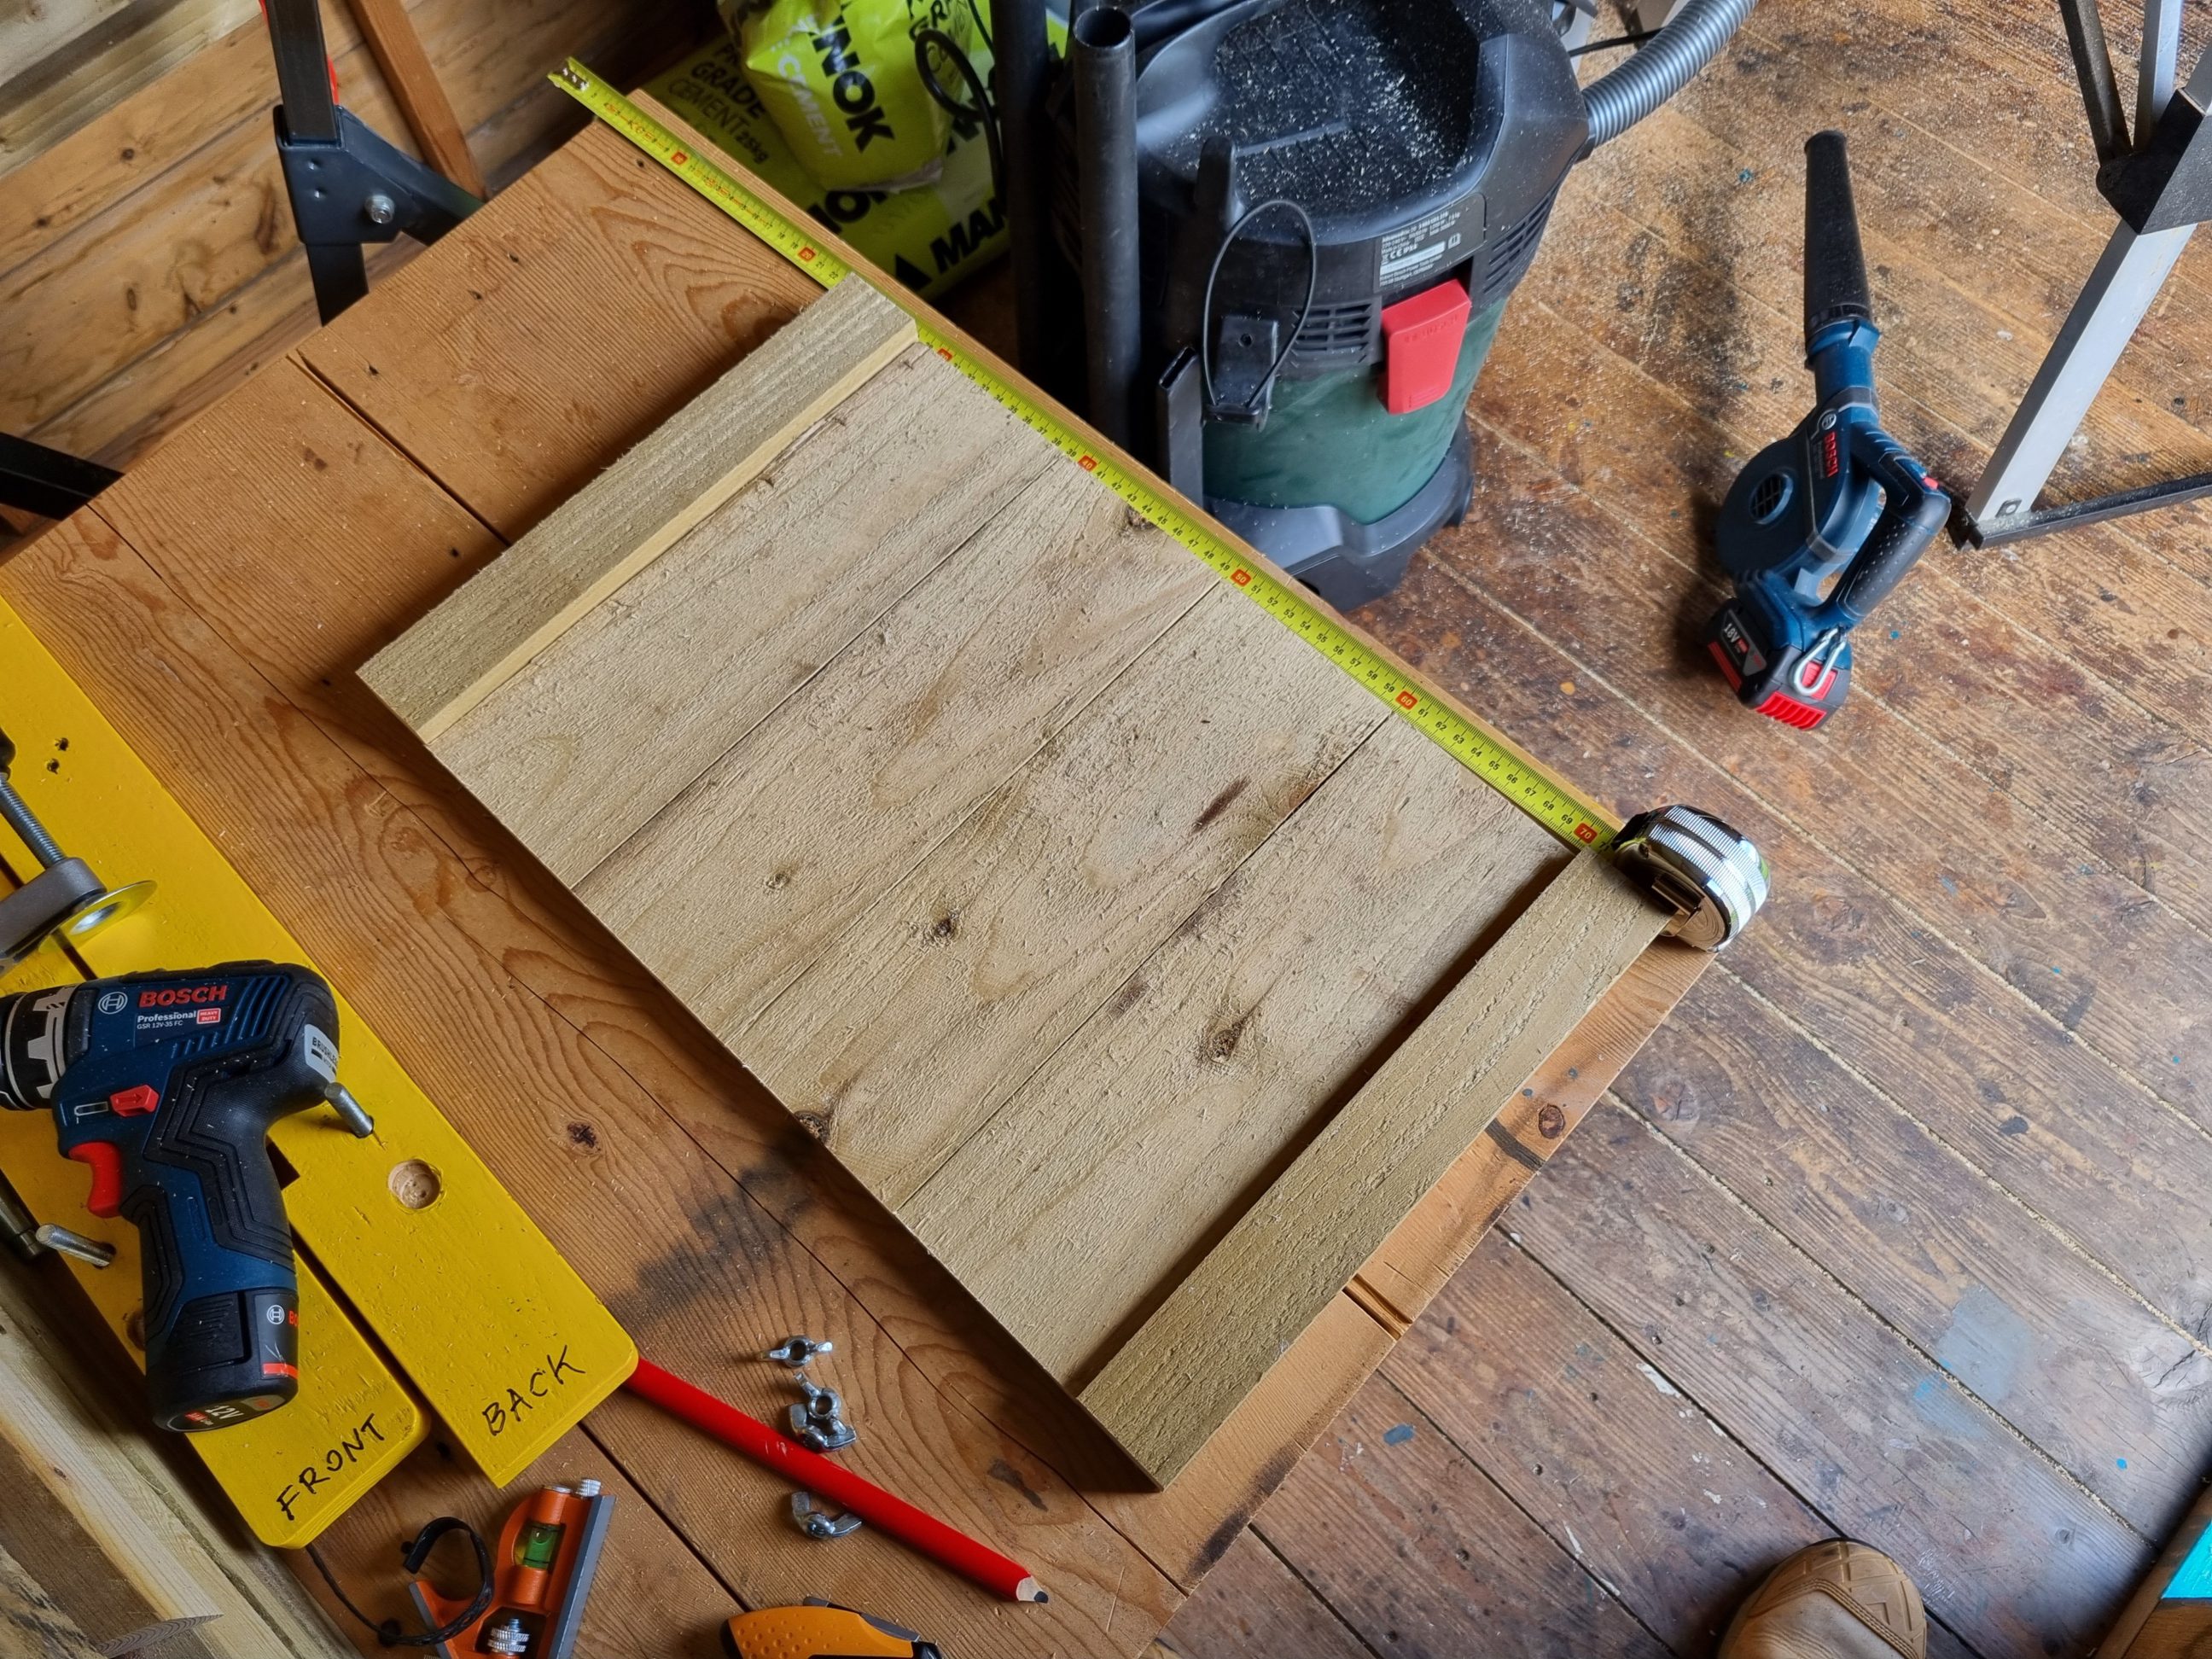
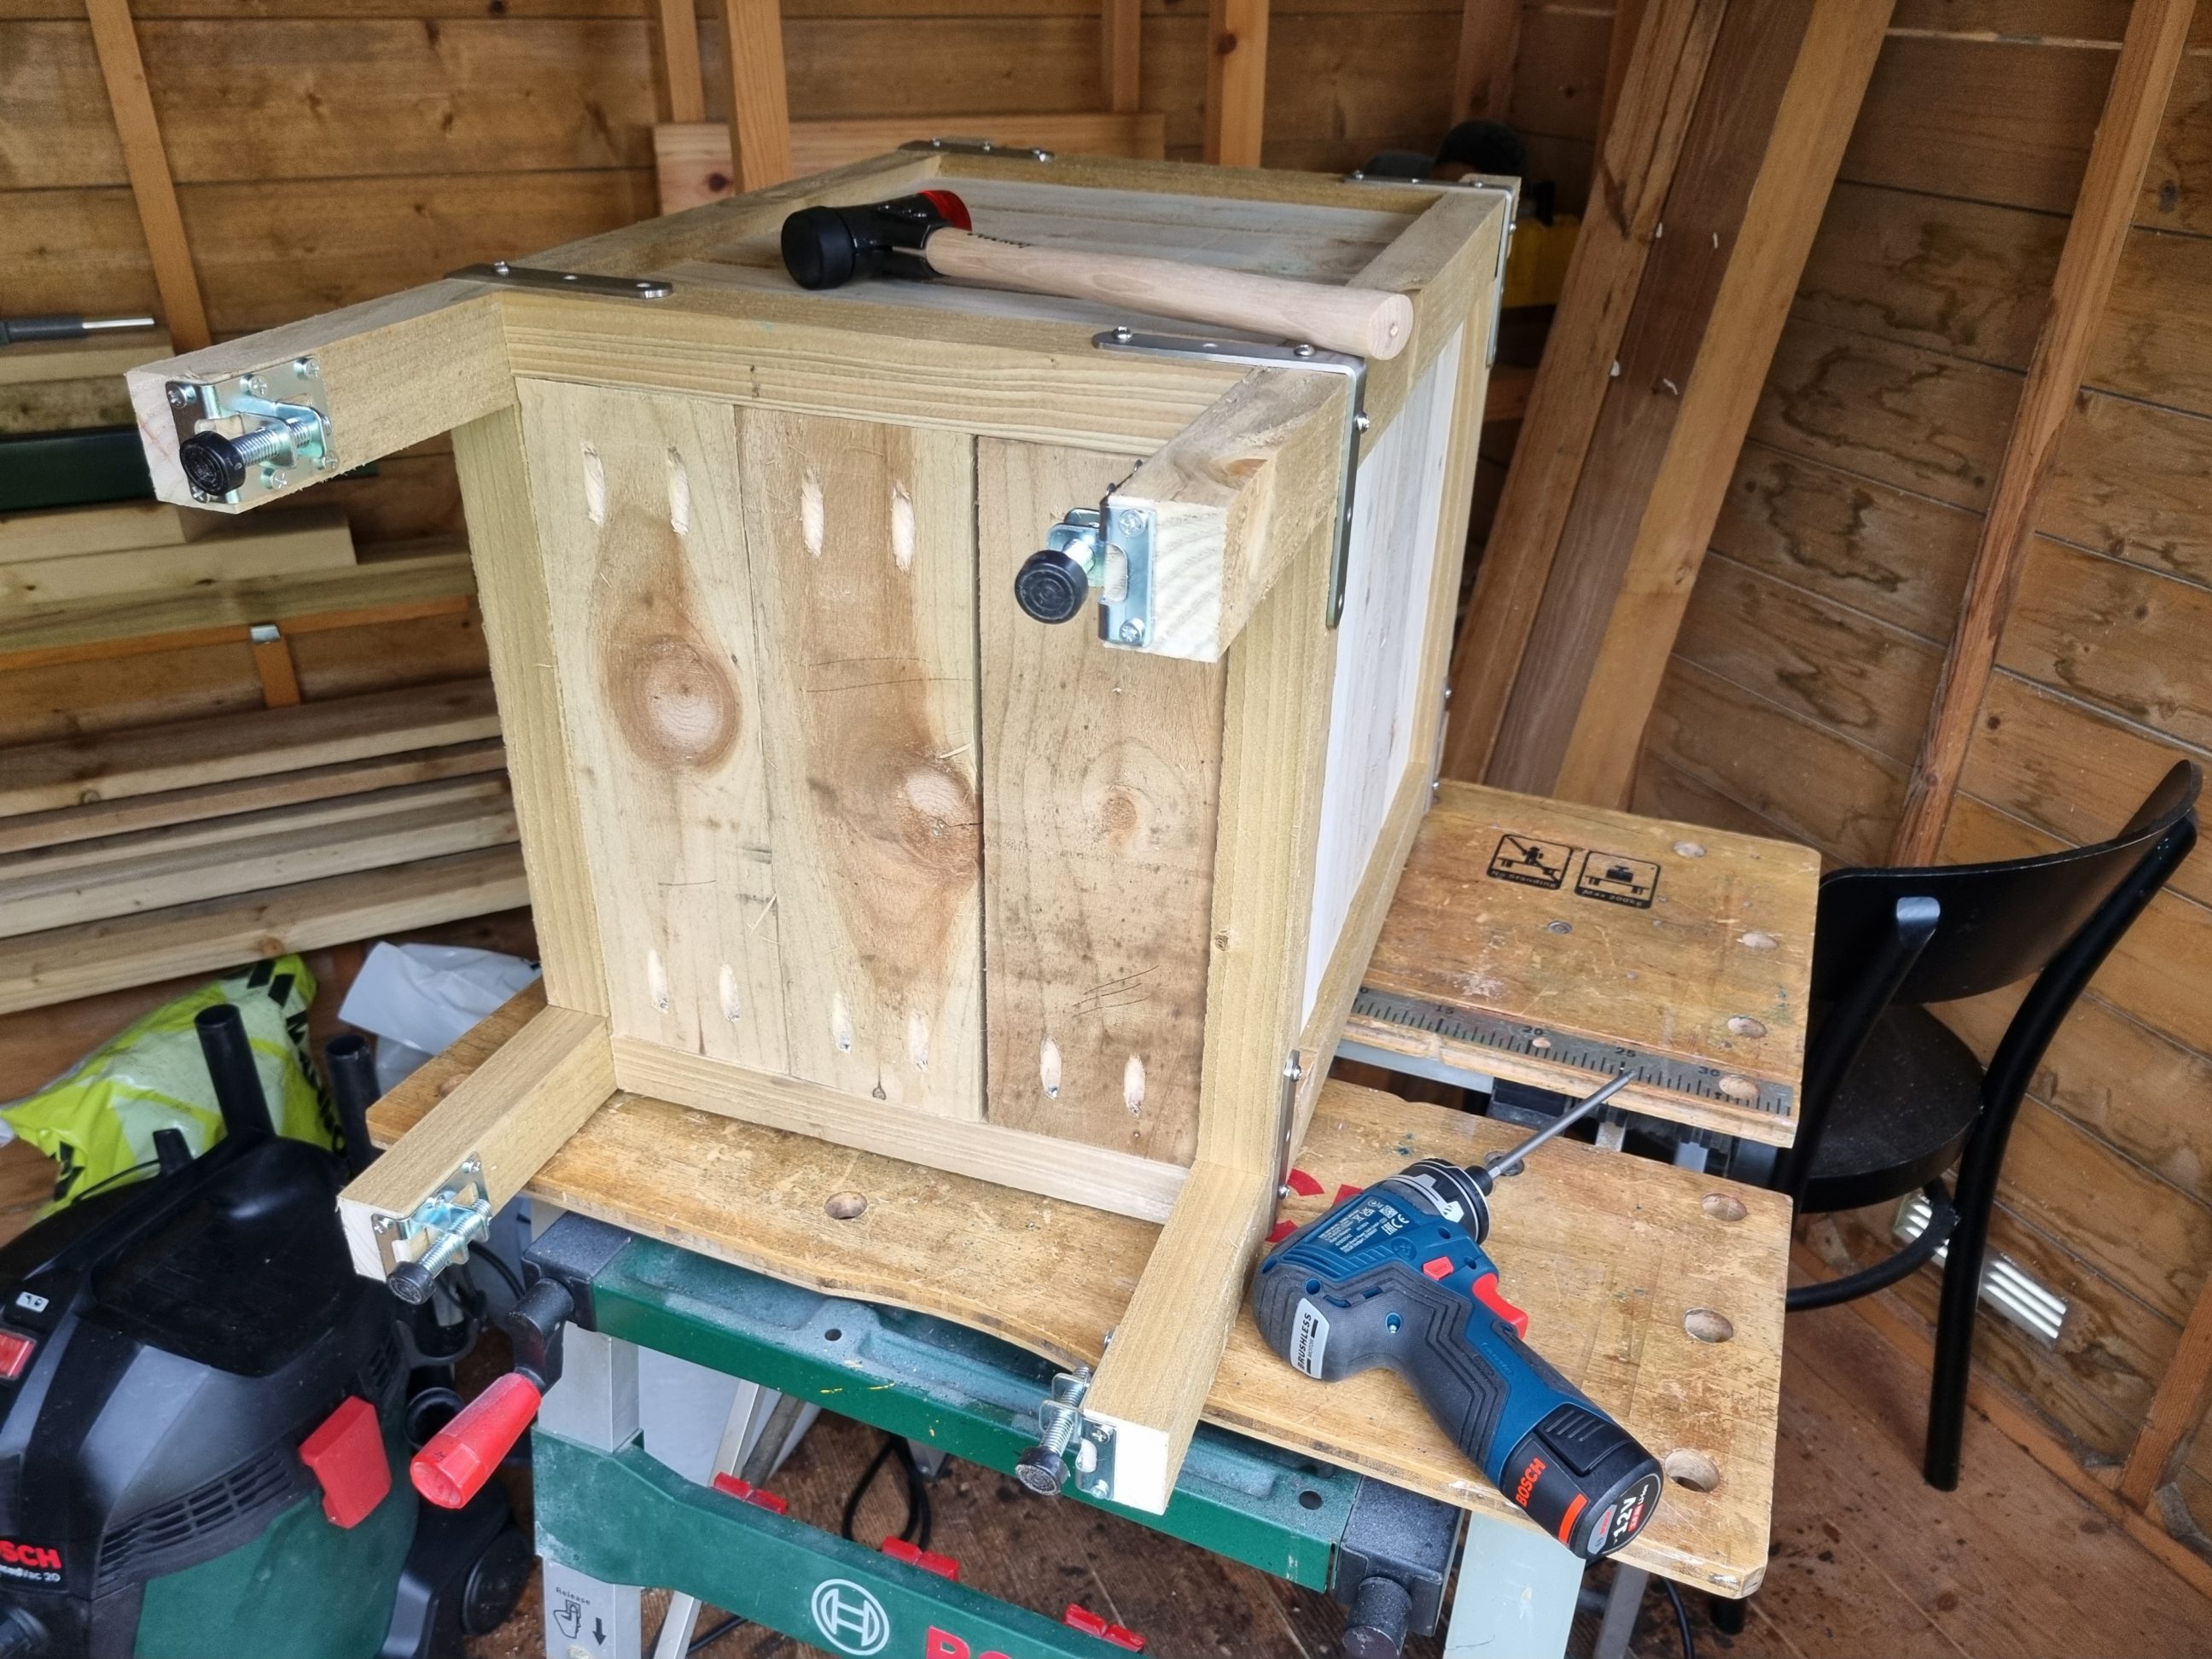
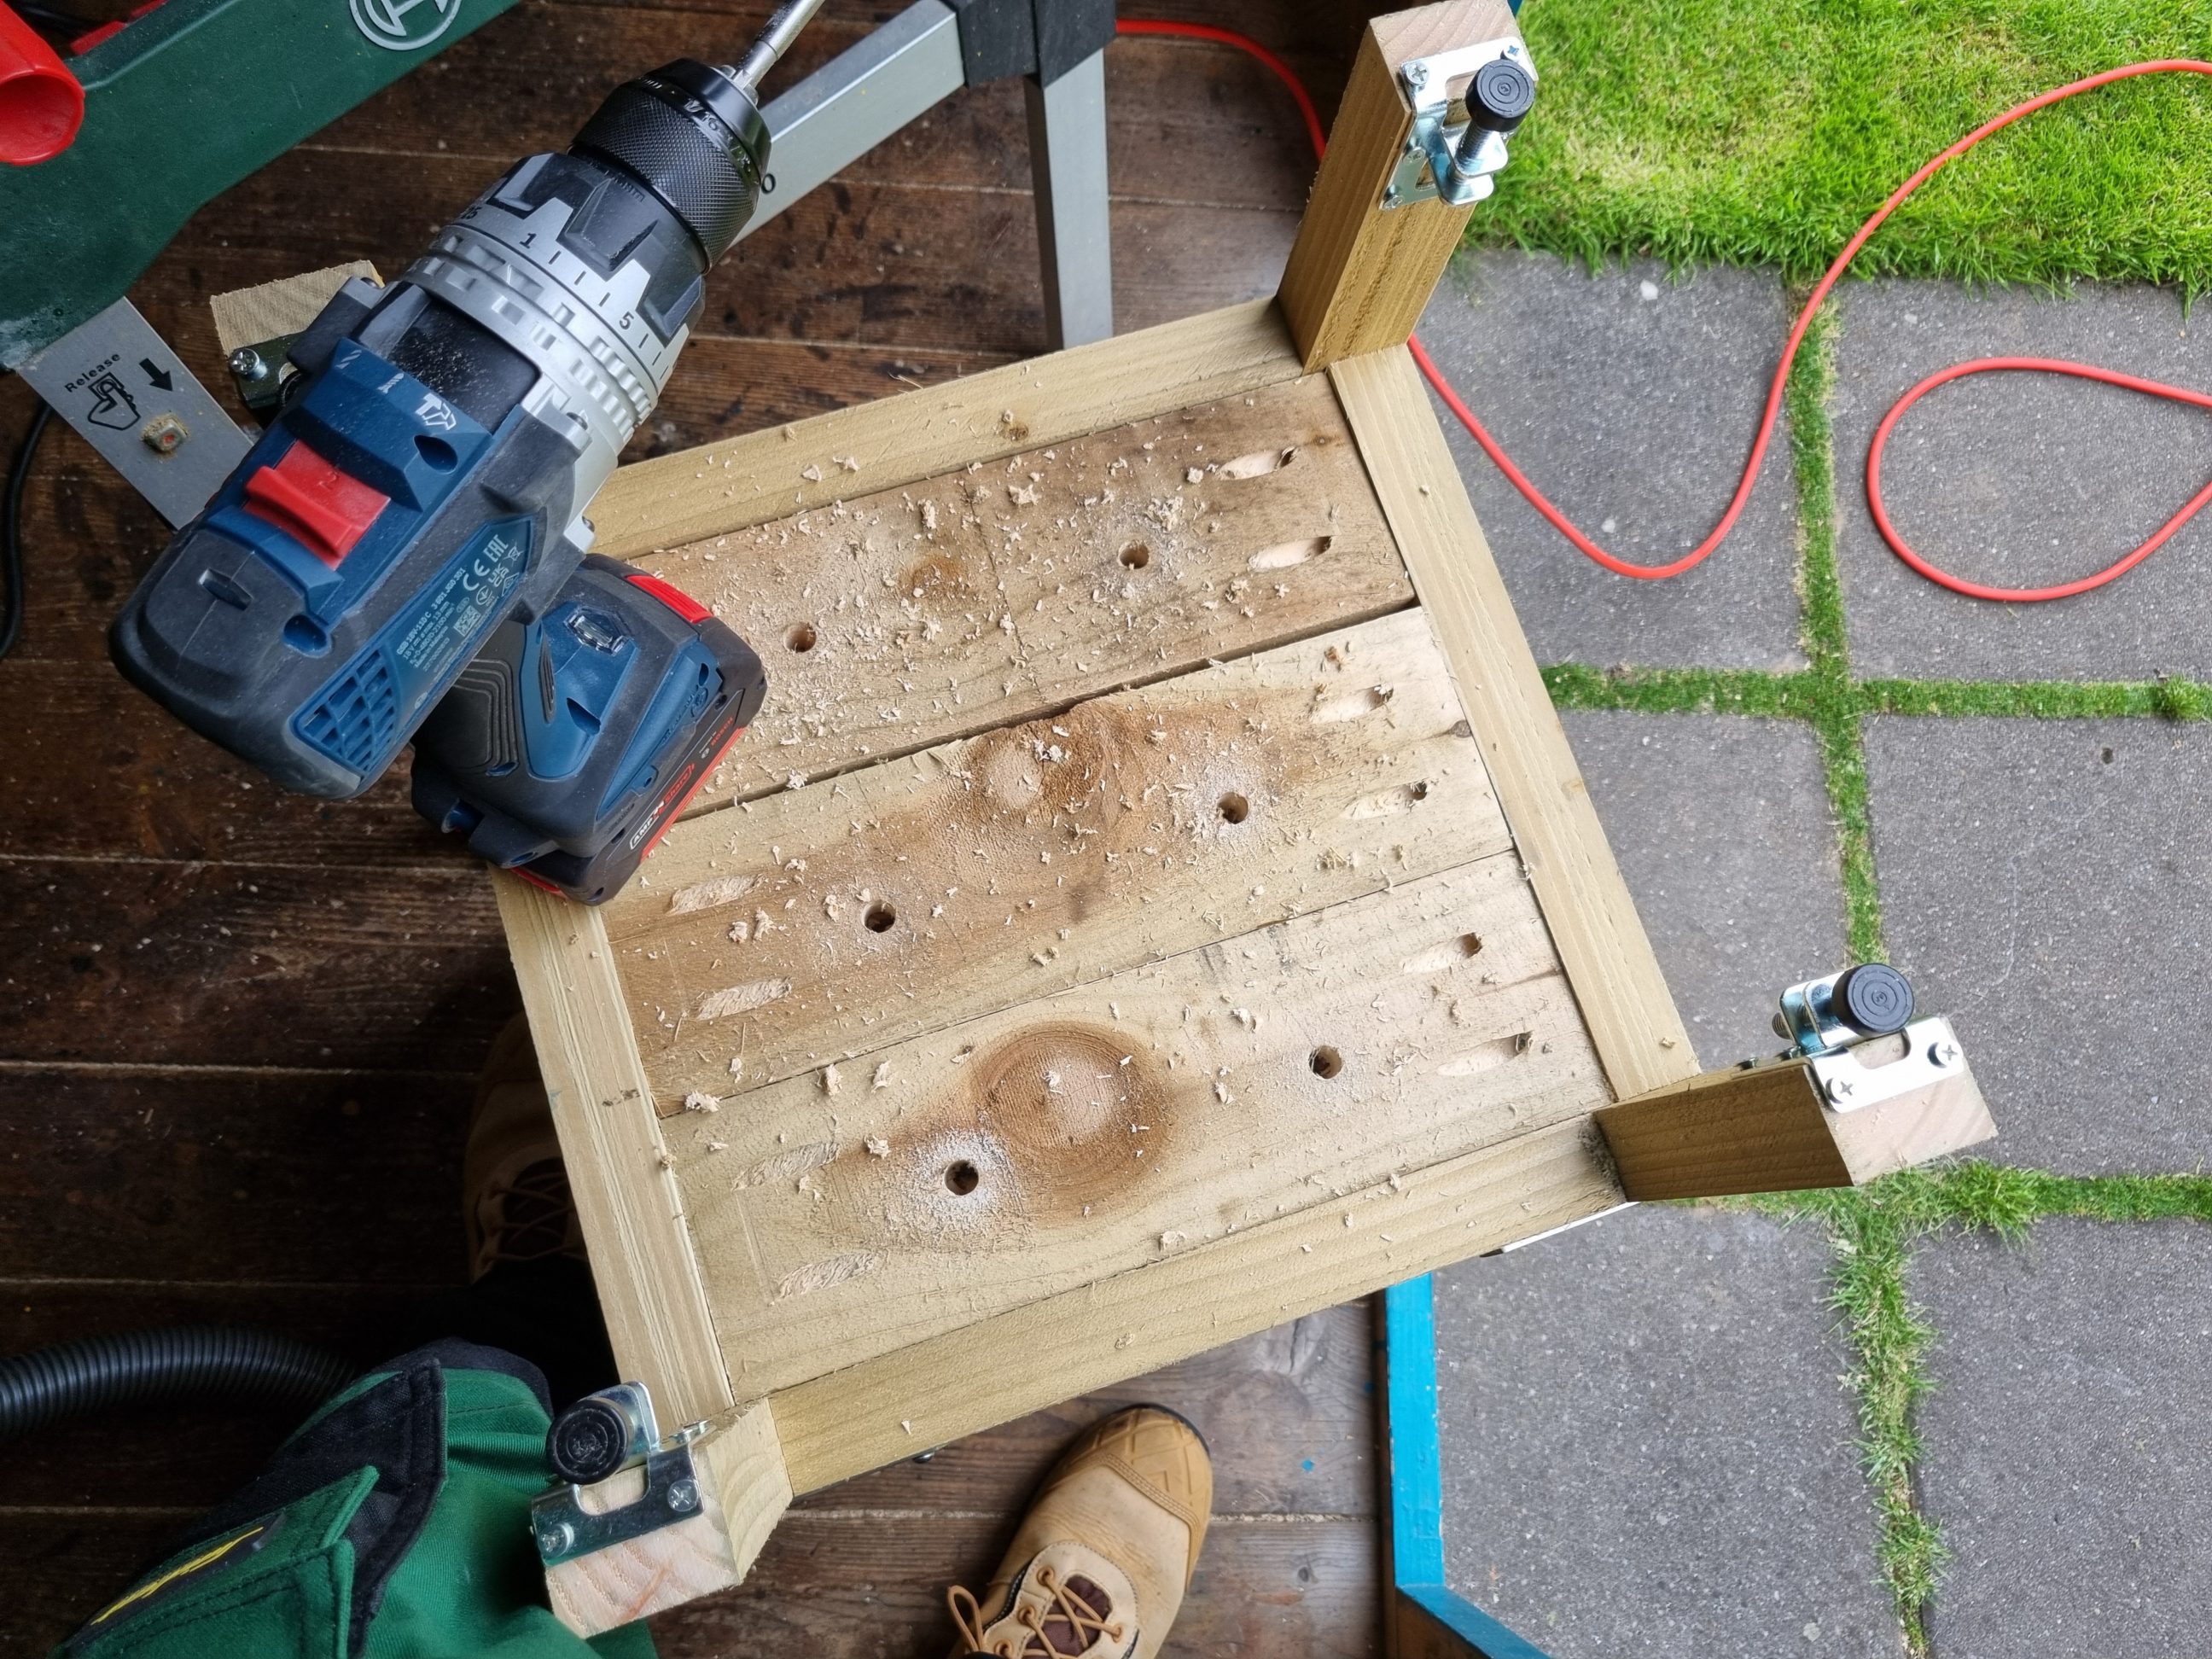
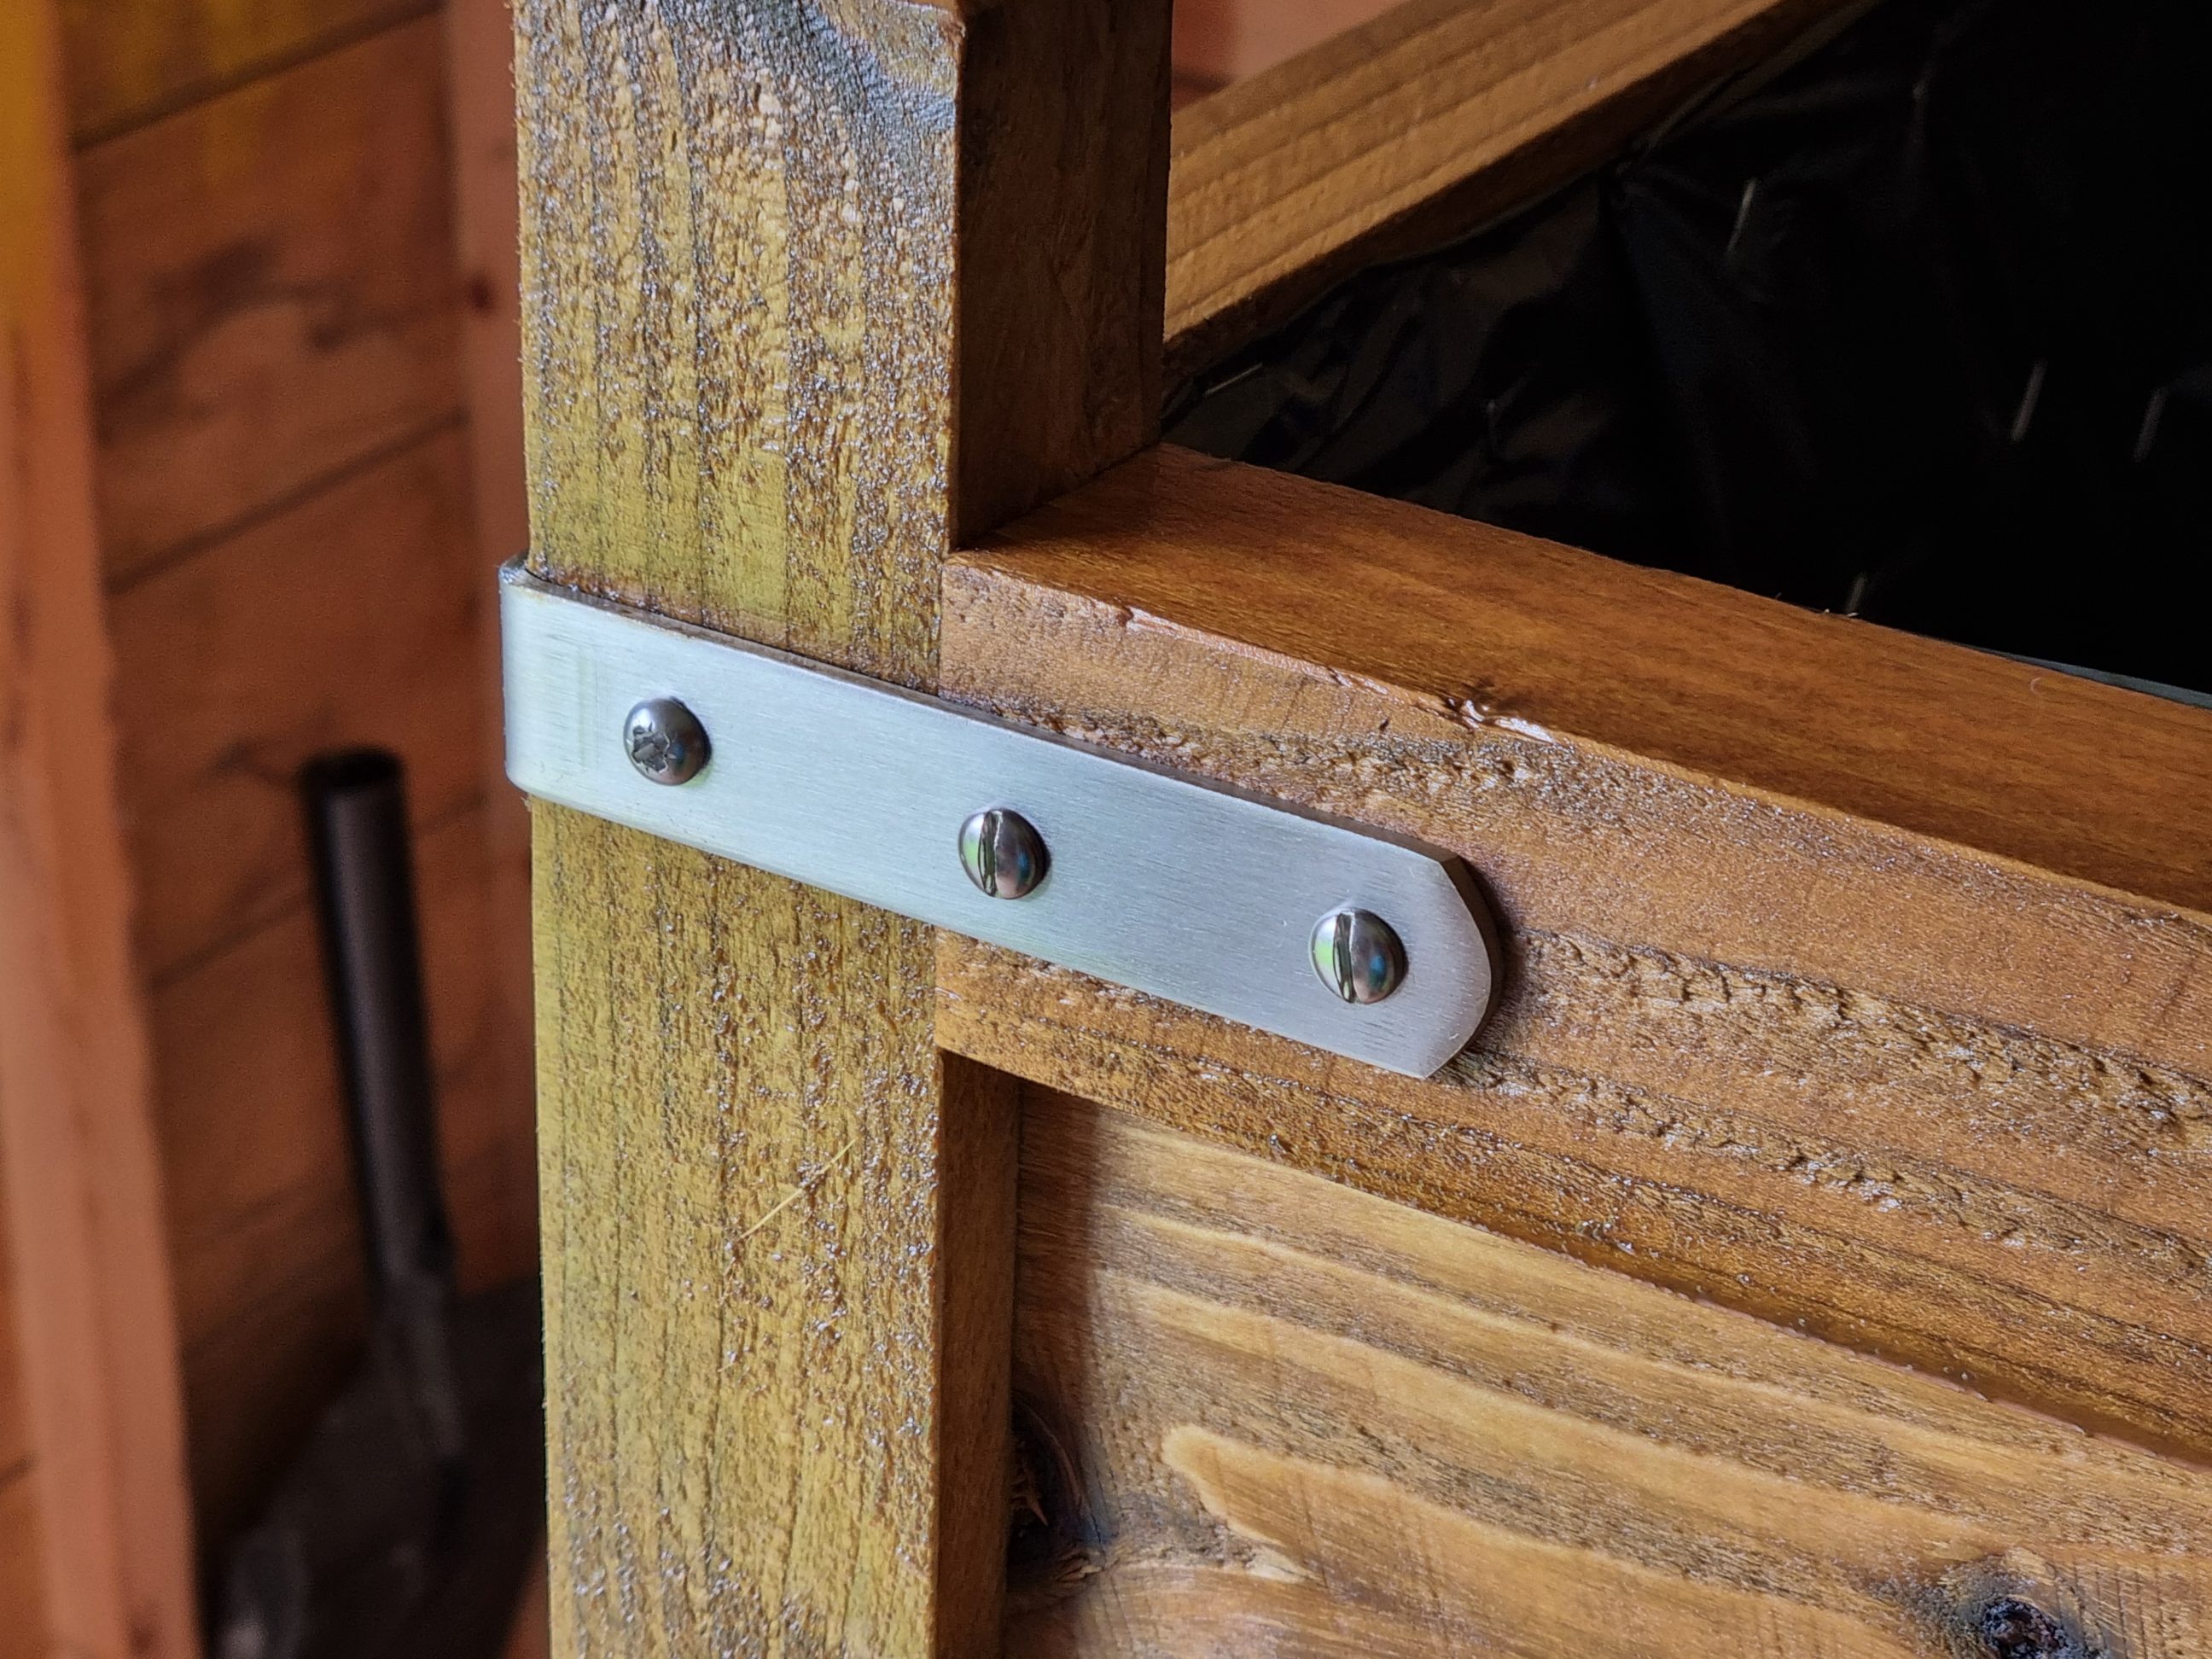
I organised the slats into four little stacks, or rather two pairs, to be more specific. Each pair was marked with either one or two pencil lines. This method allowed me to vary the spacing of the pocket holes for each pair. During assembly, none of the pocket screws interfered with one another. A similar method was applied to the top and bottom strips – the holes were drilled off-centre to accommodate the screws for the corner brackets, which were added later in the assembly process.
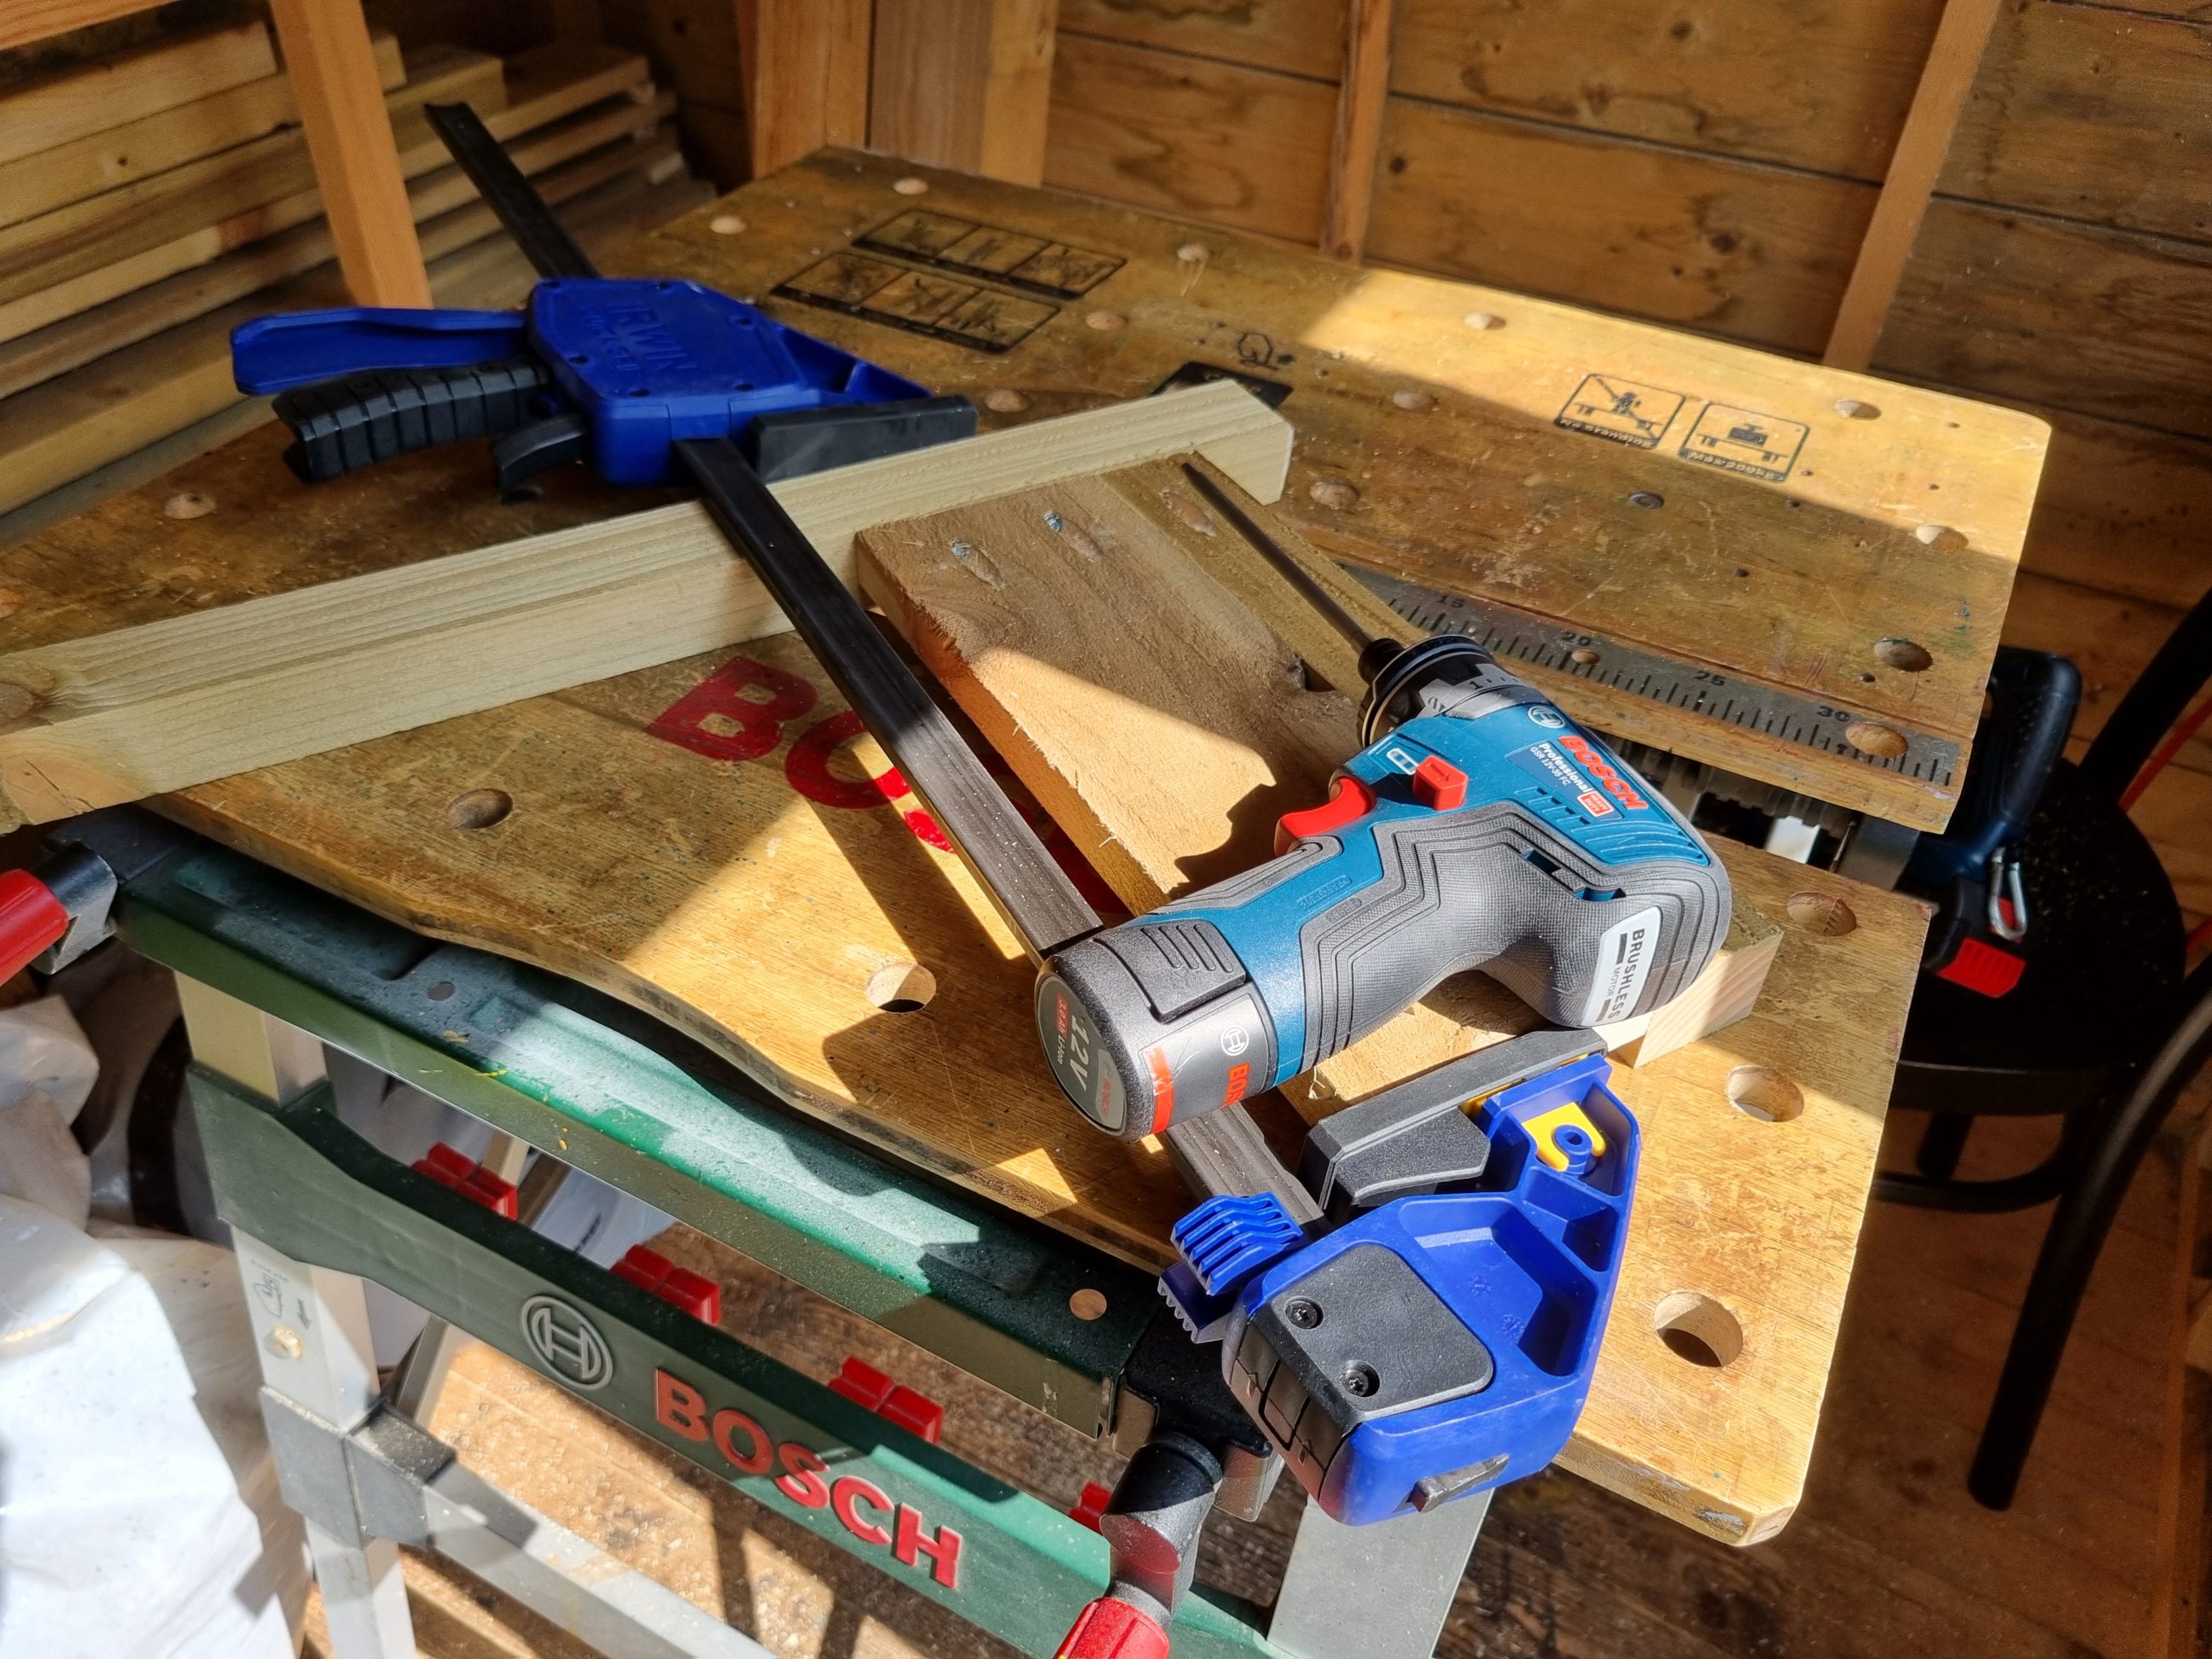
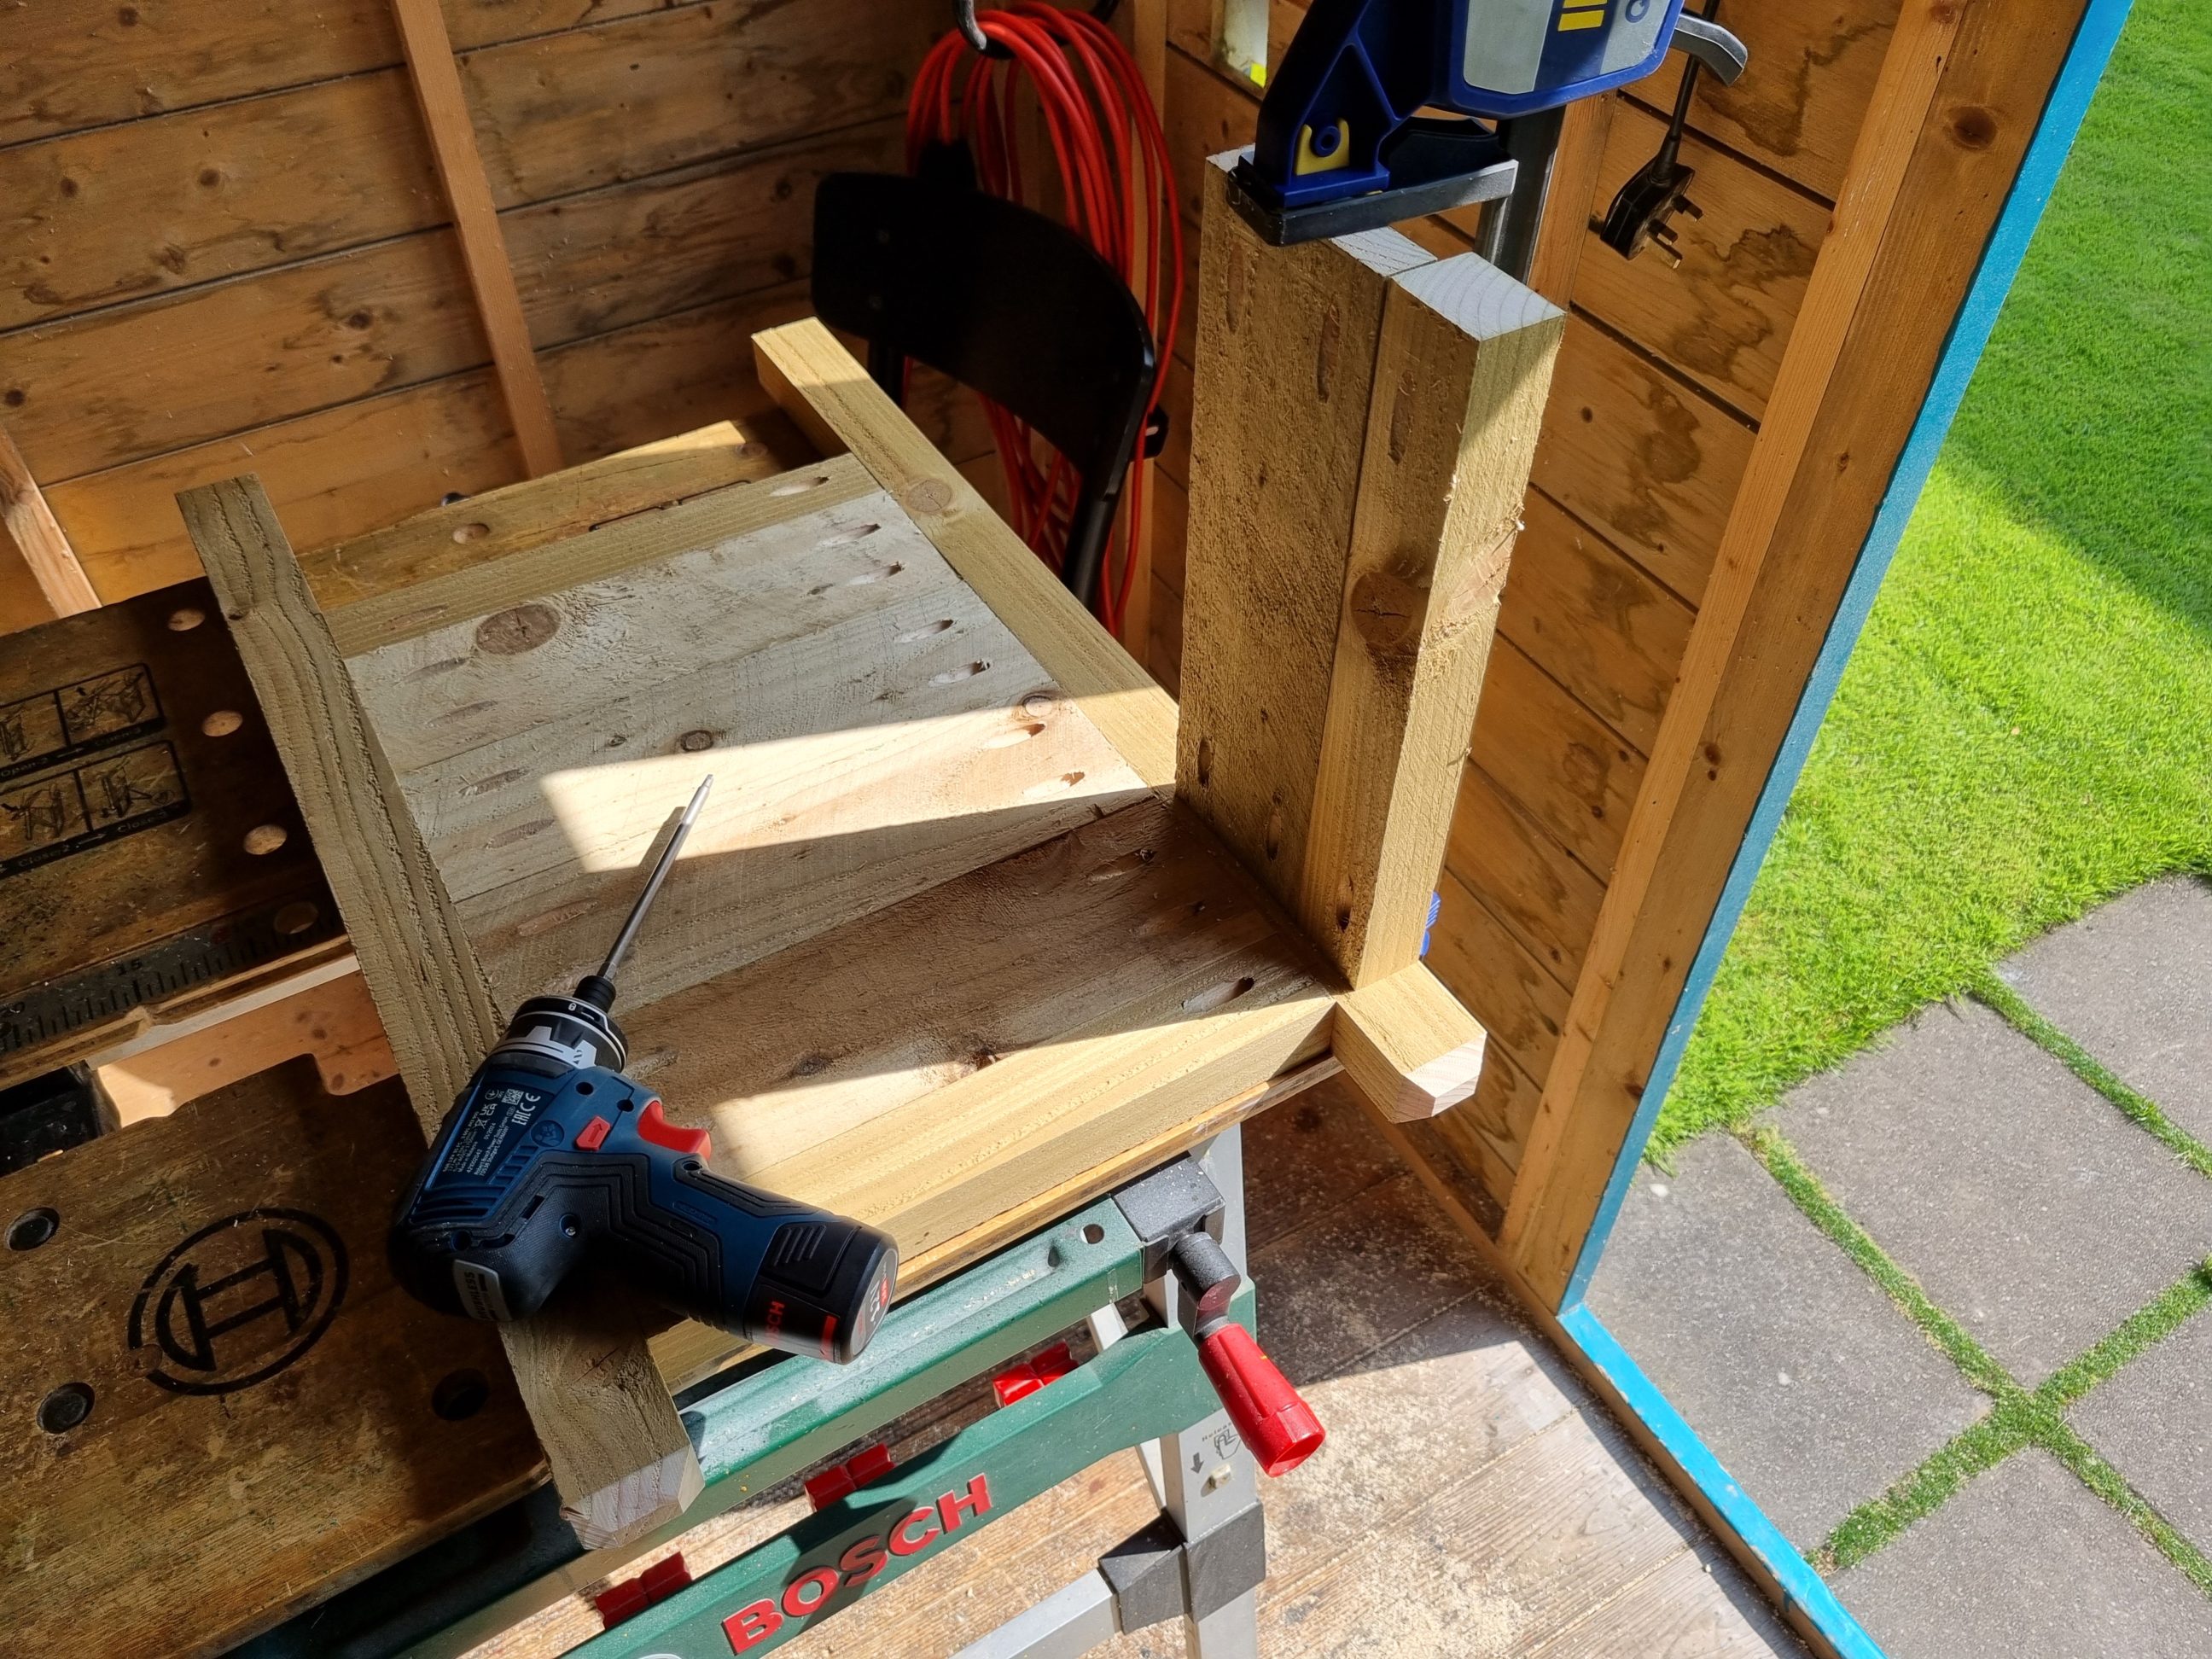
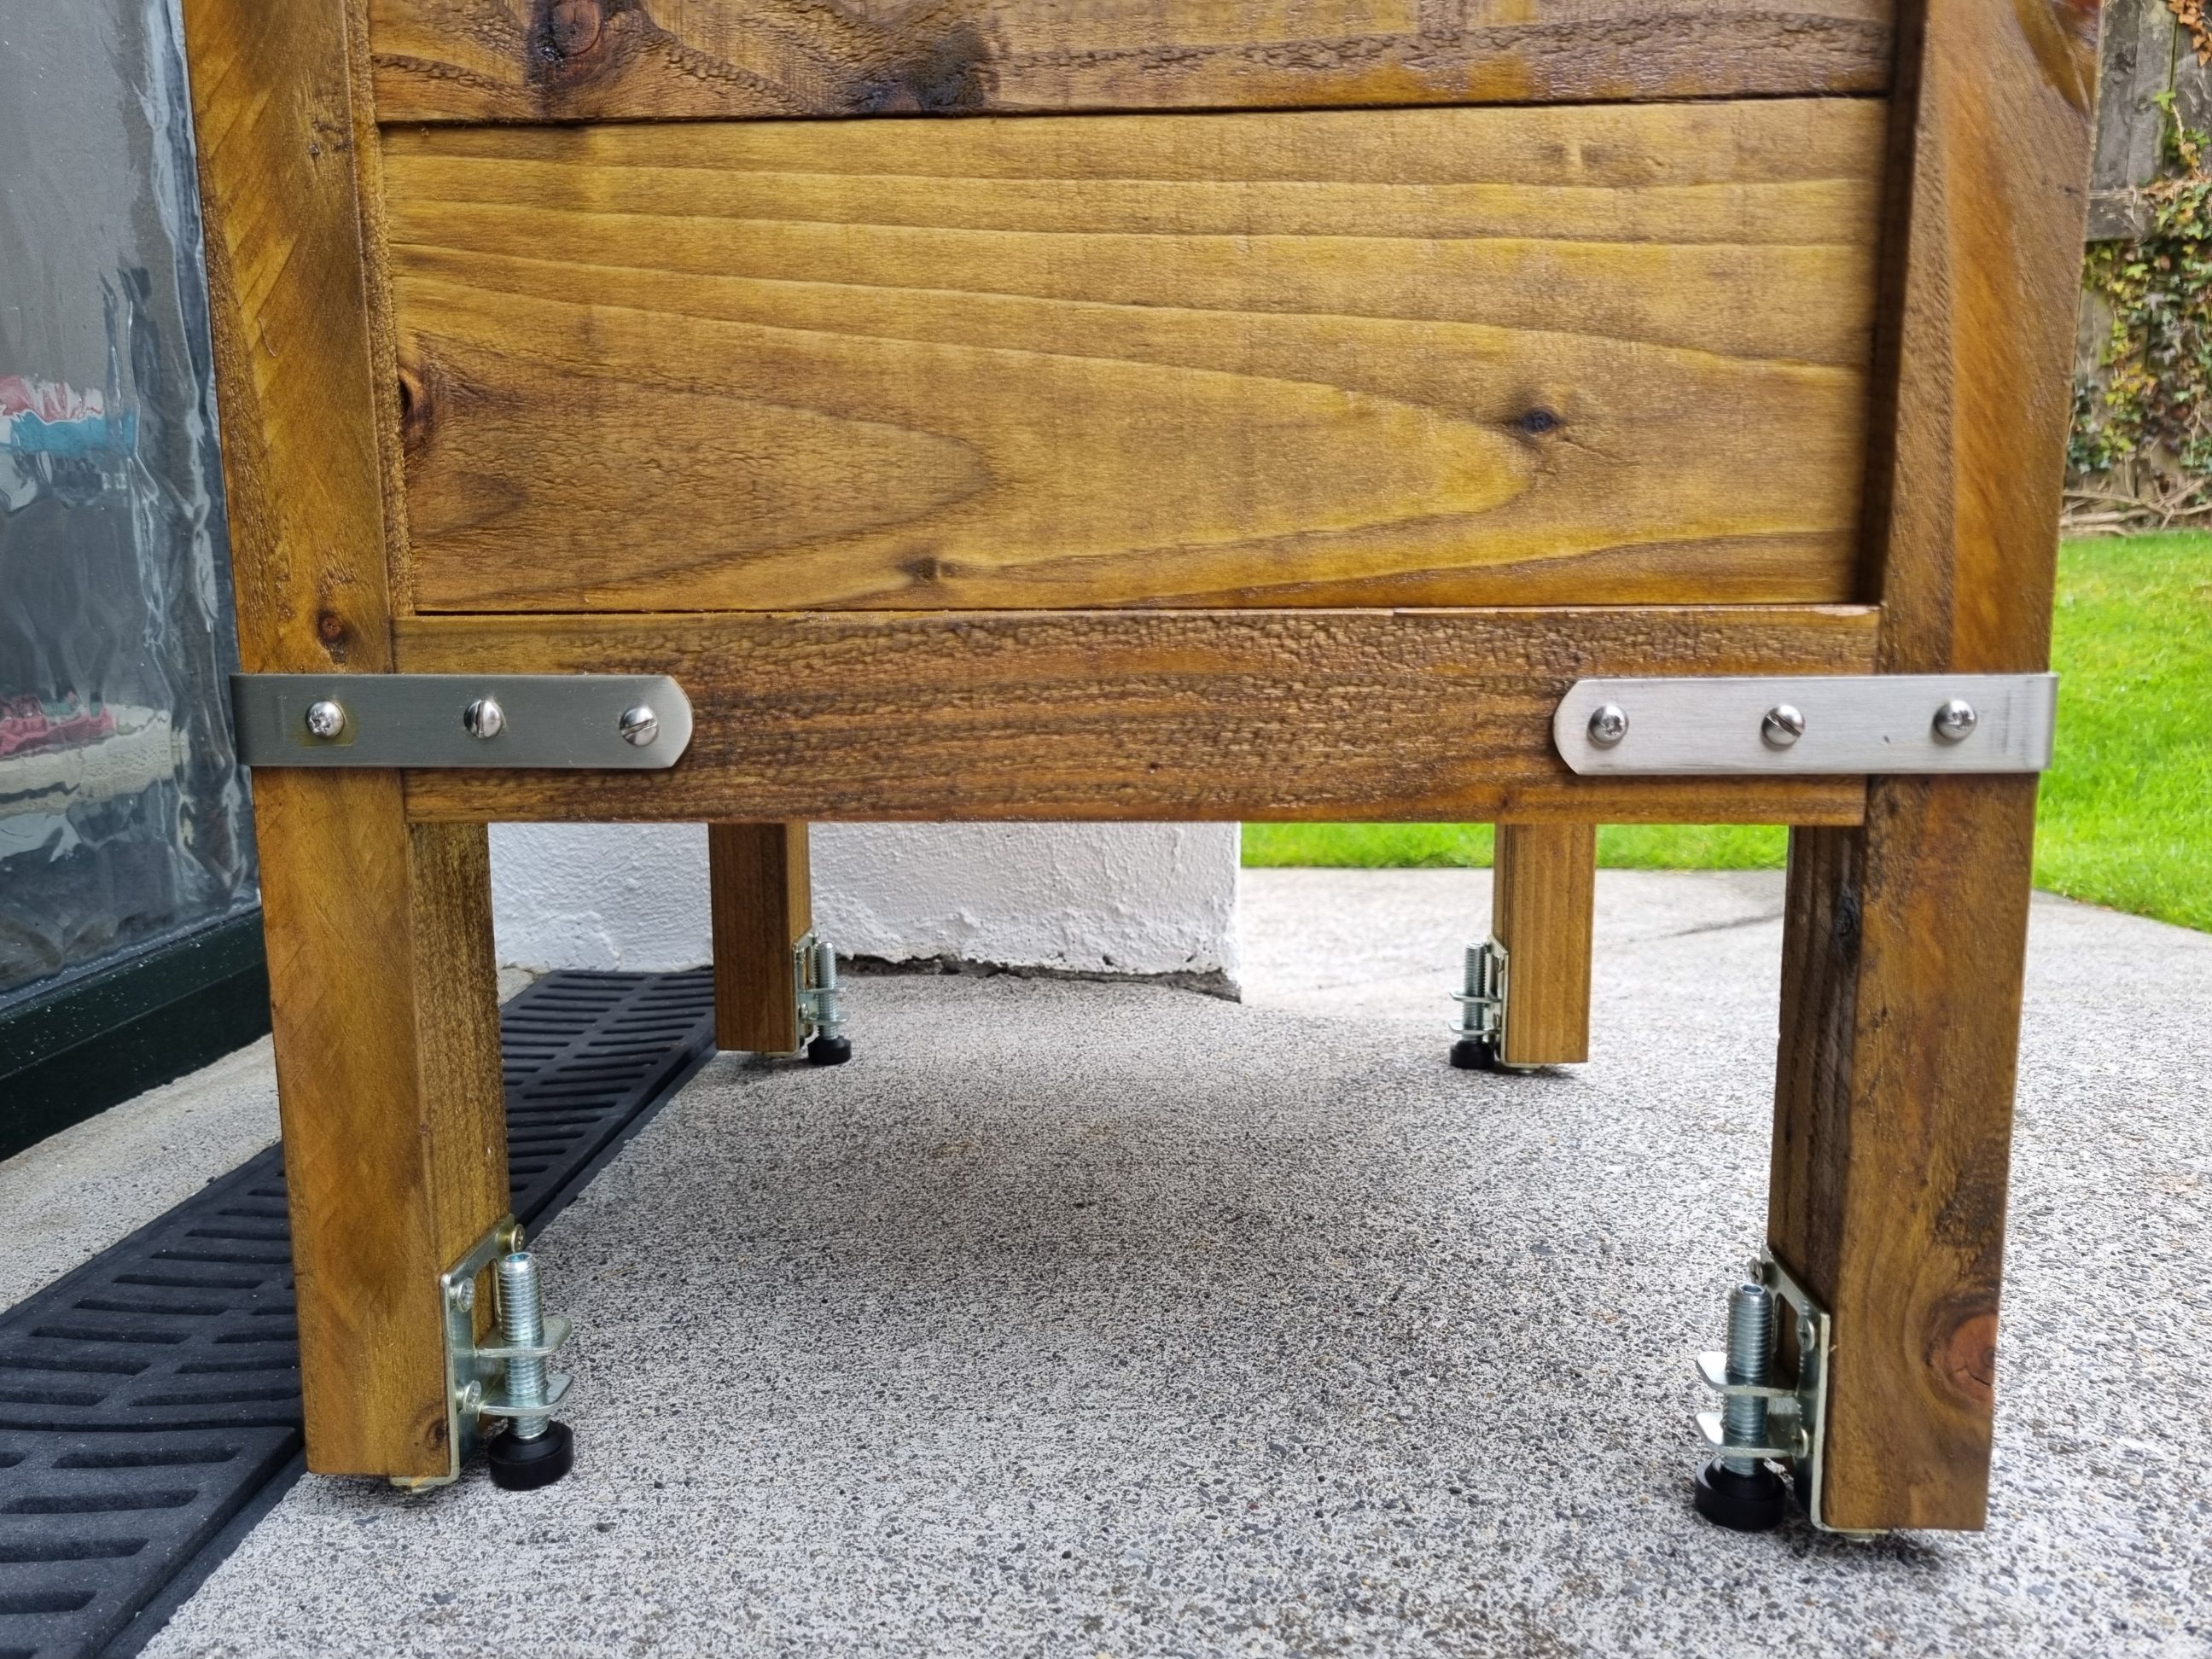
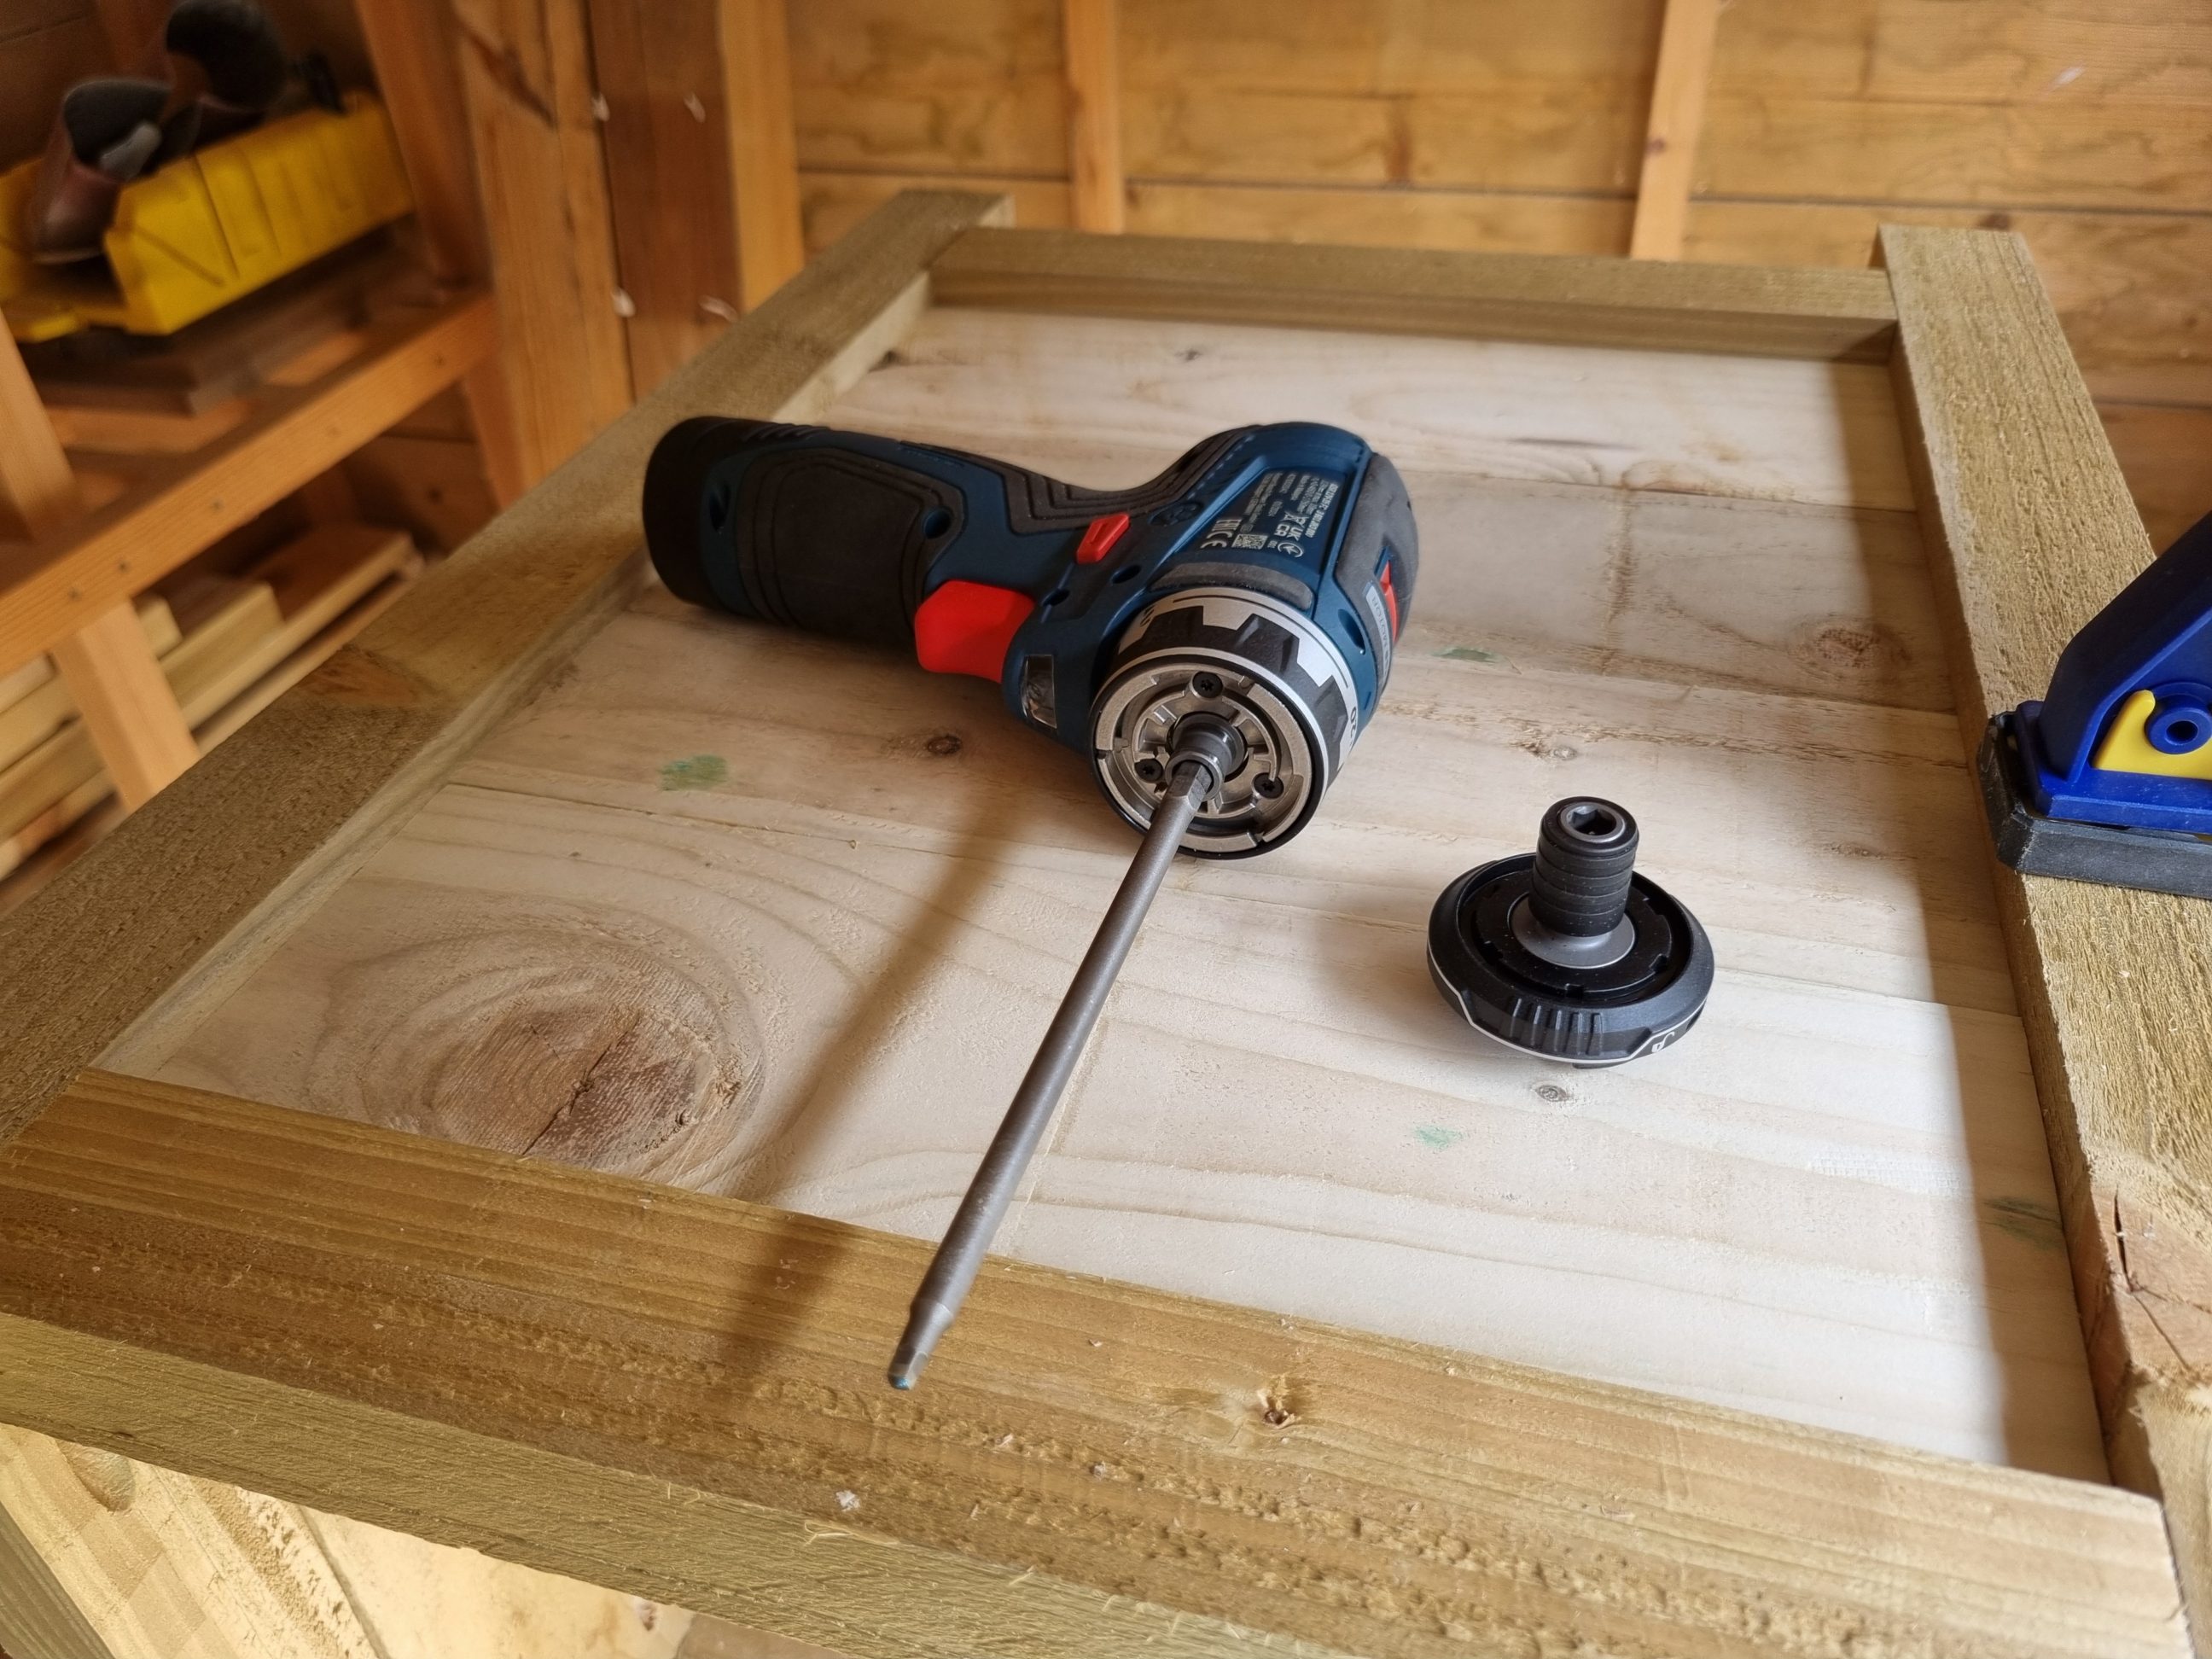
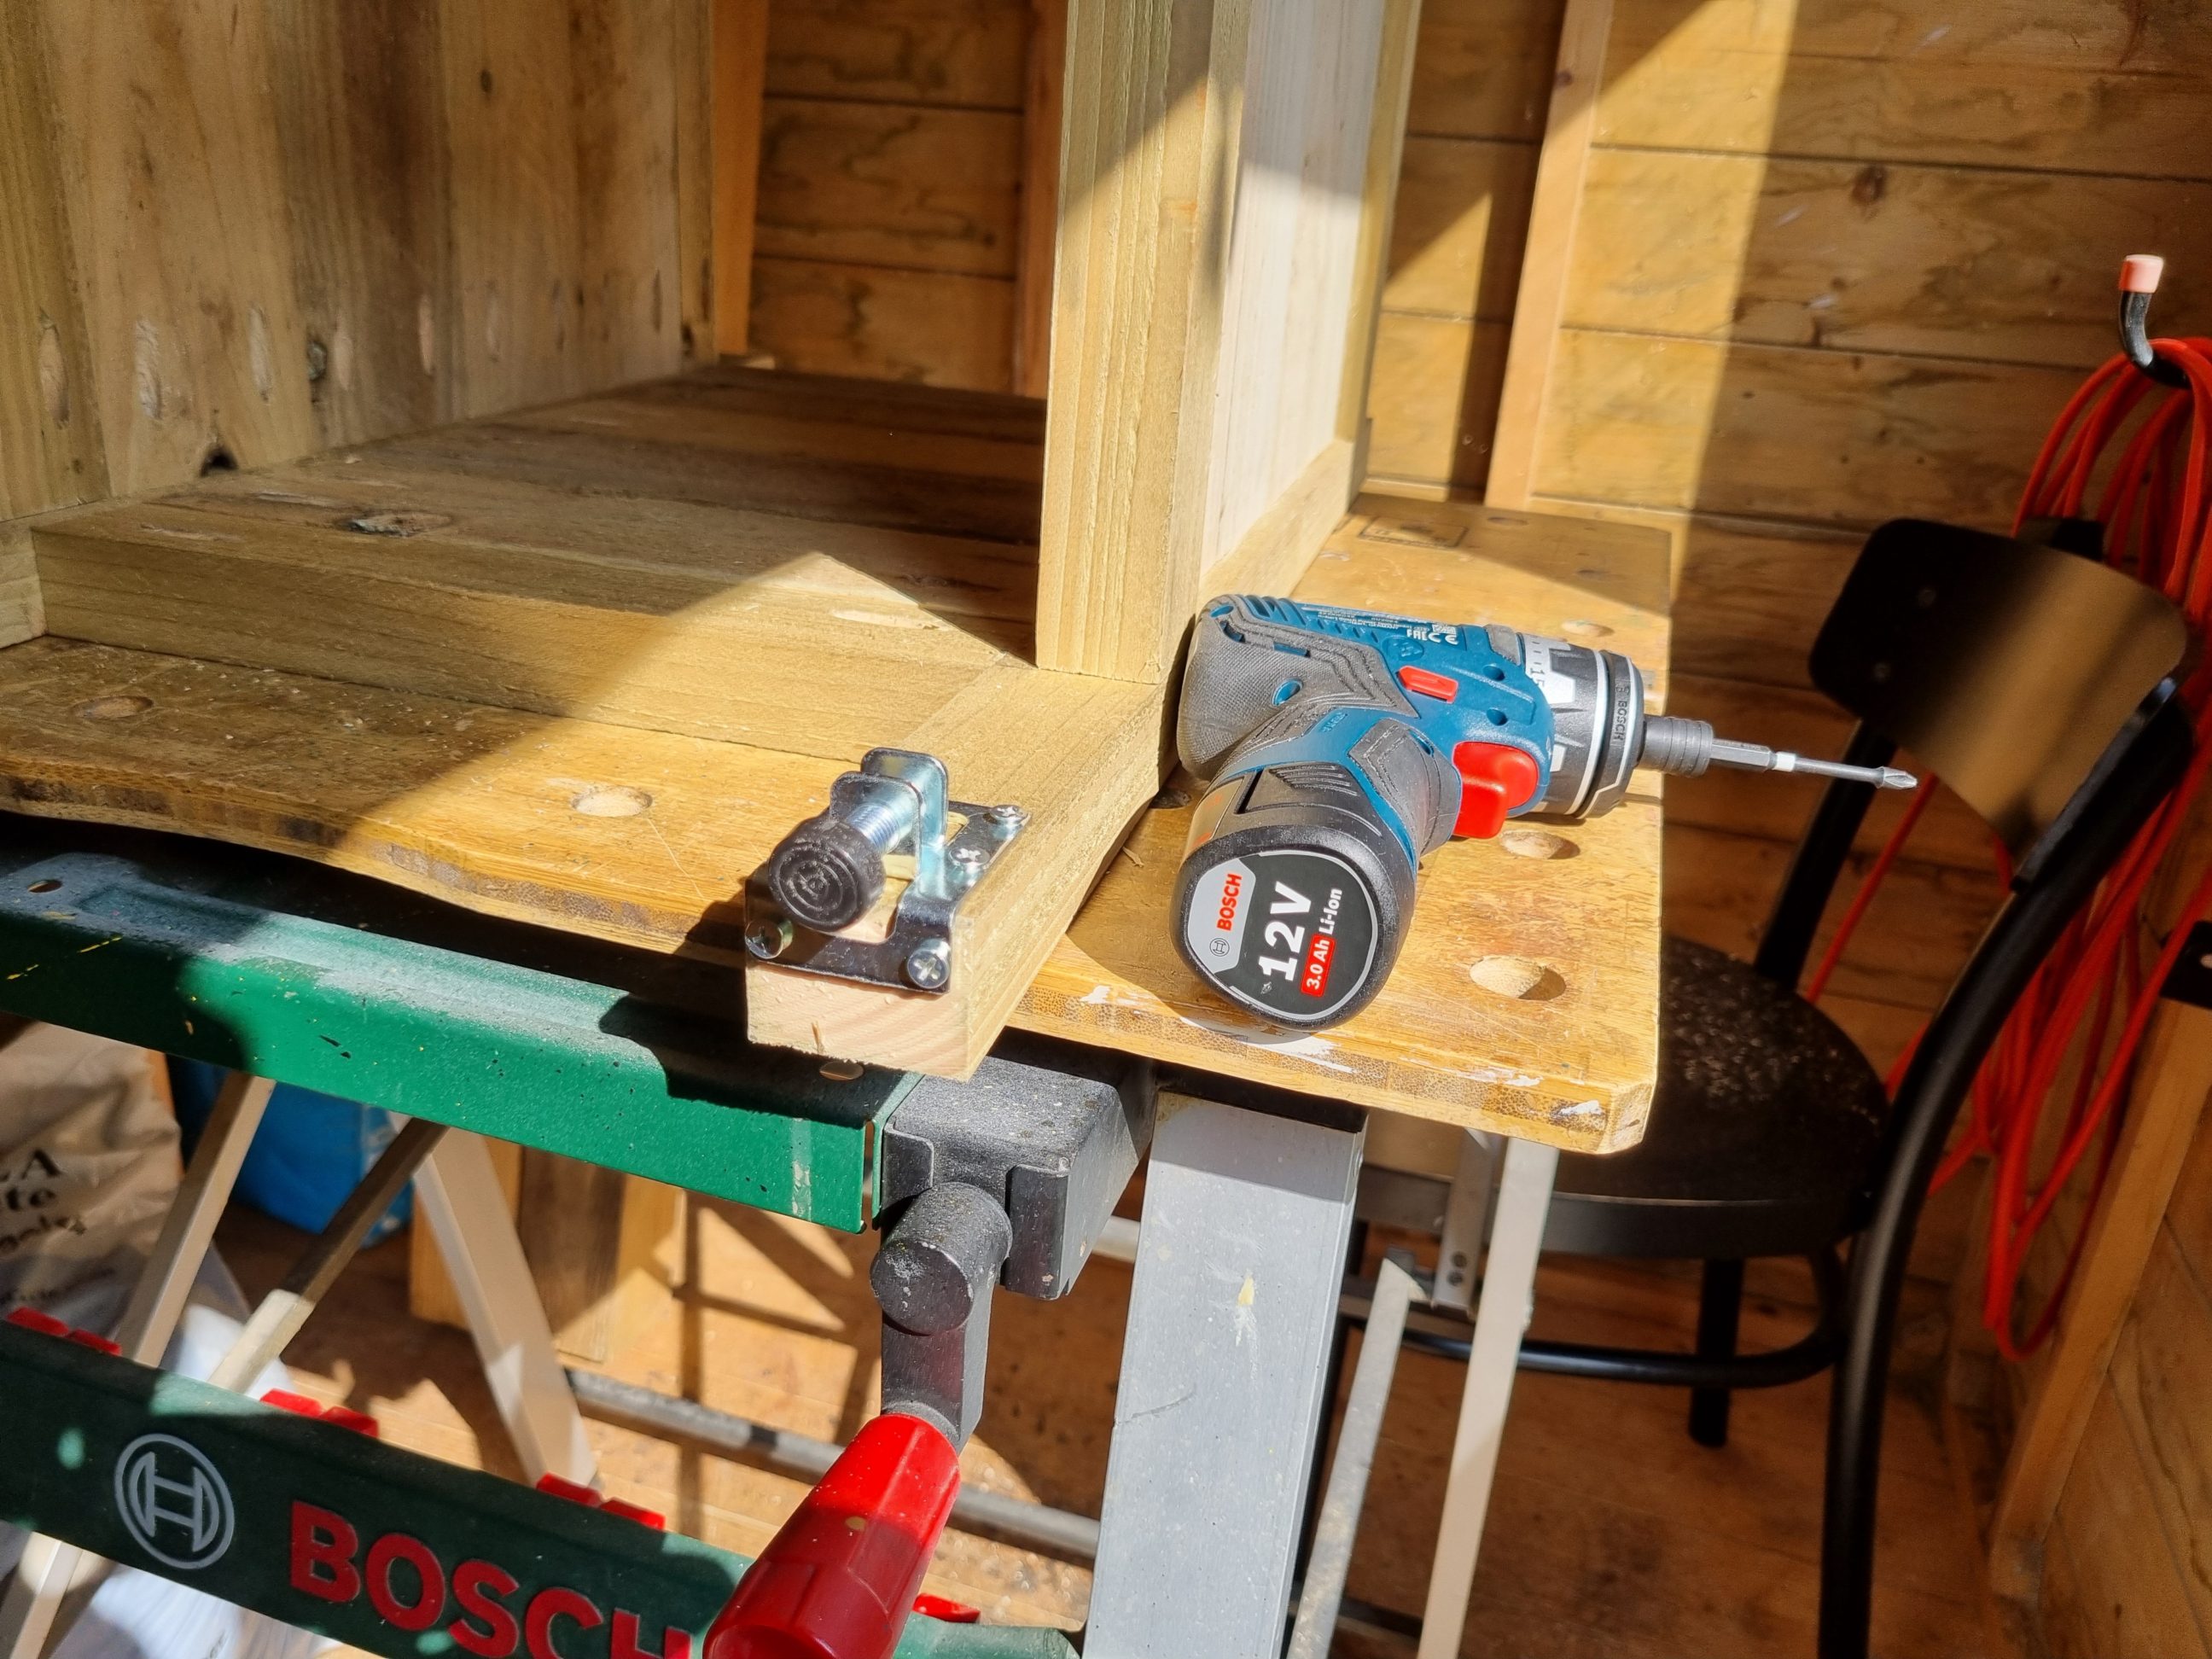
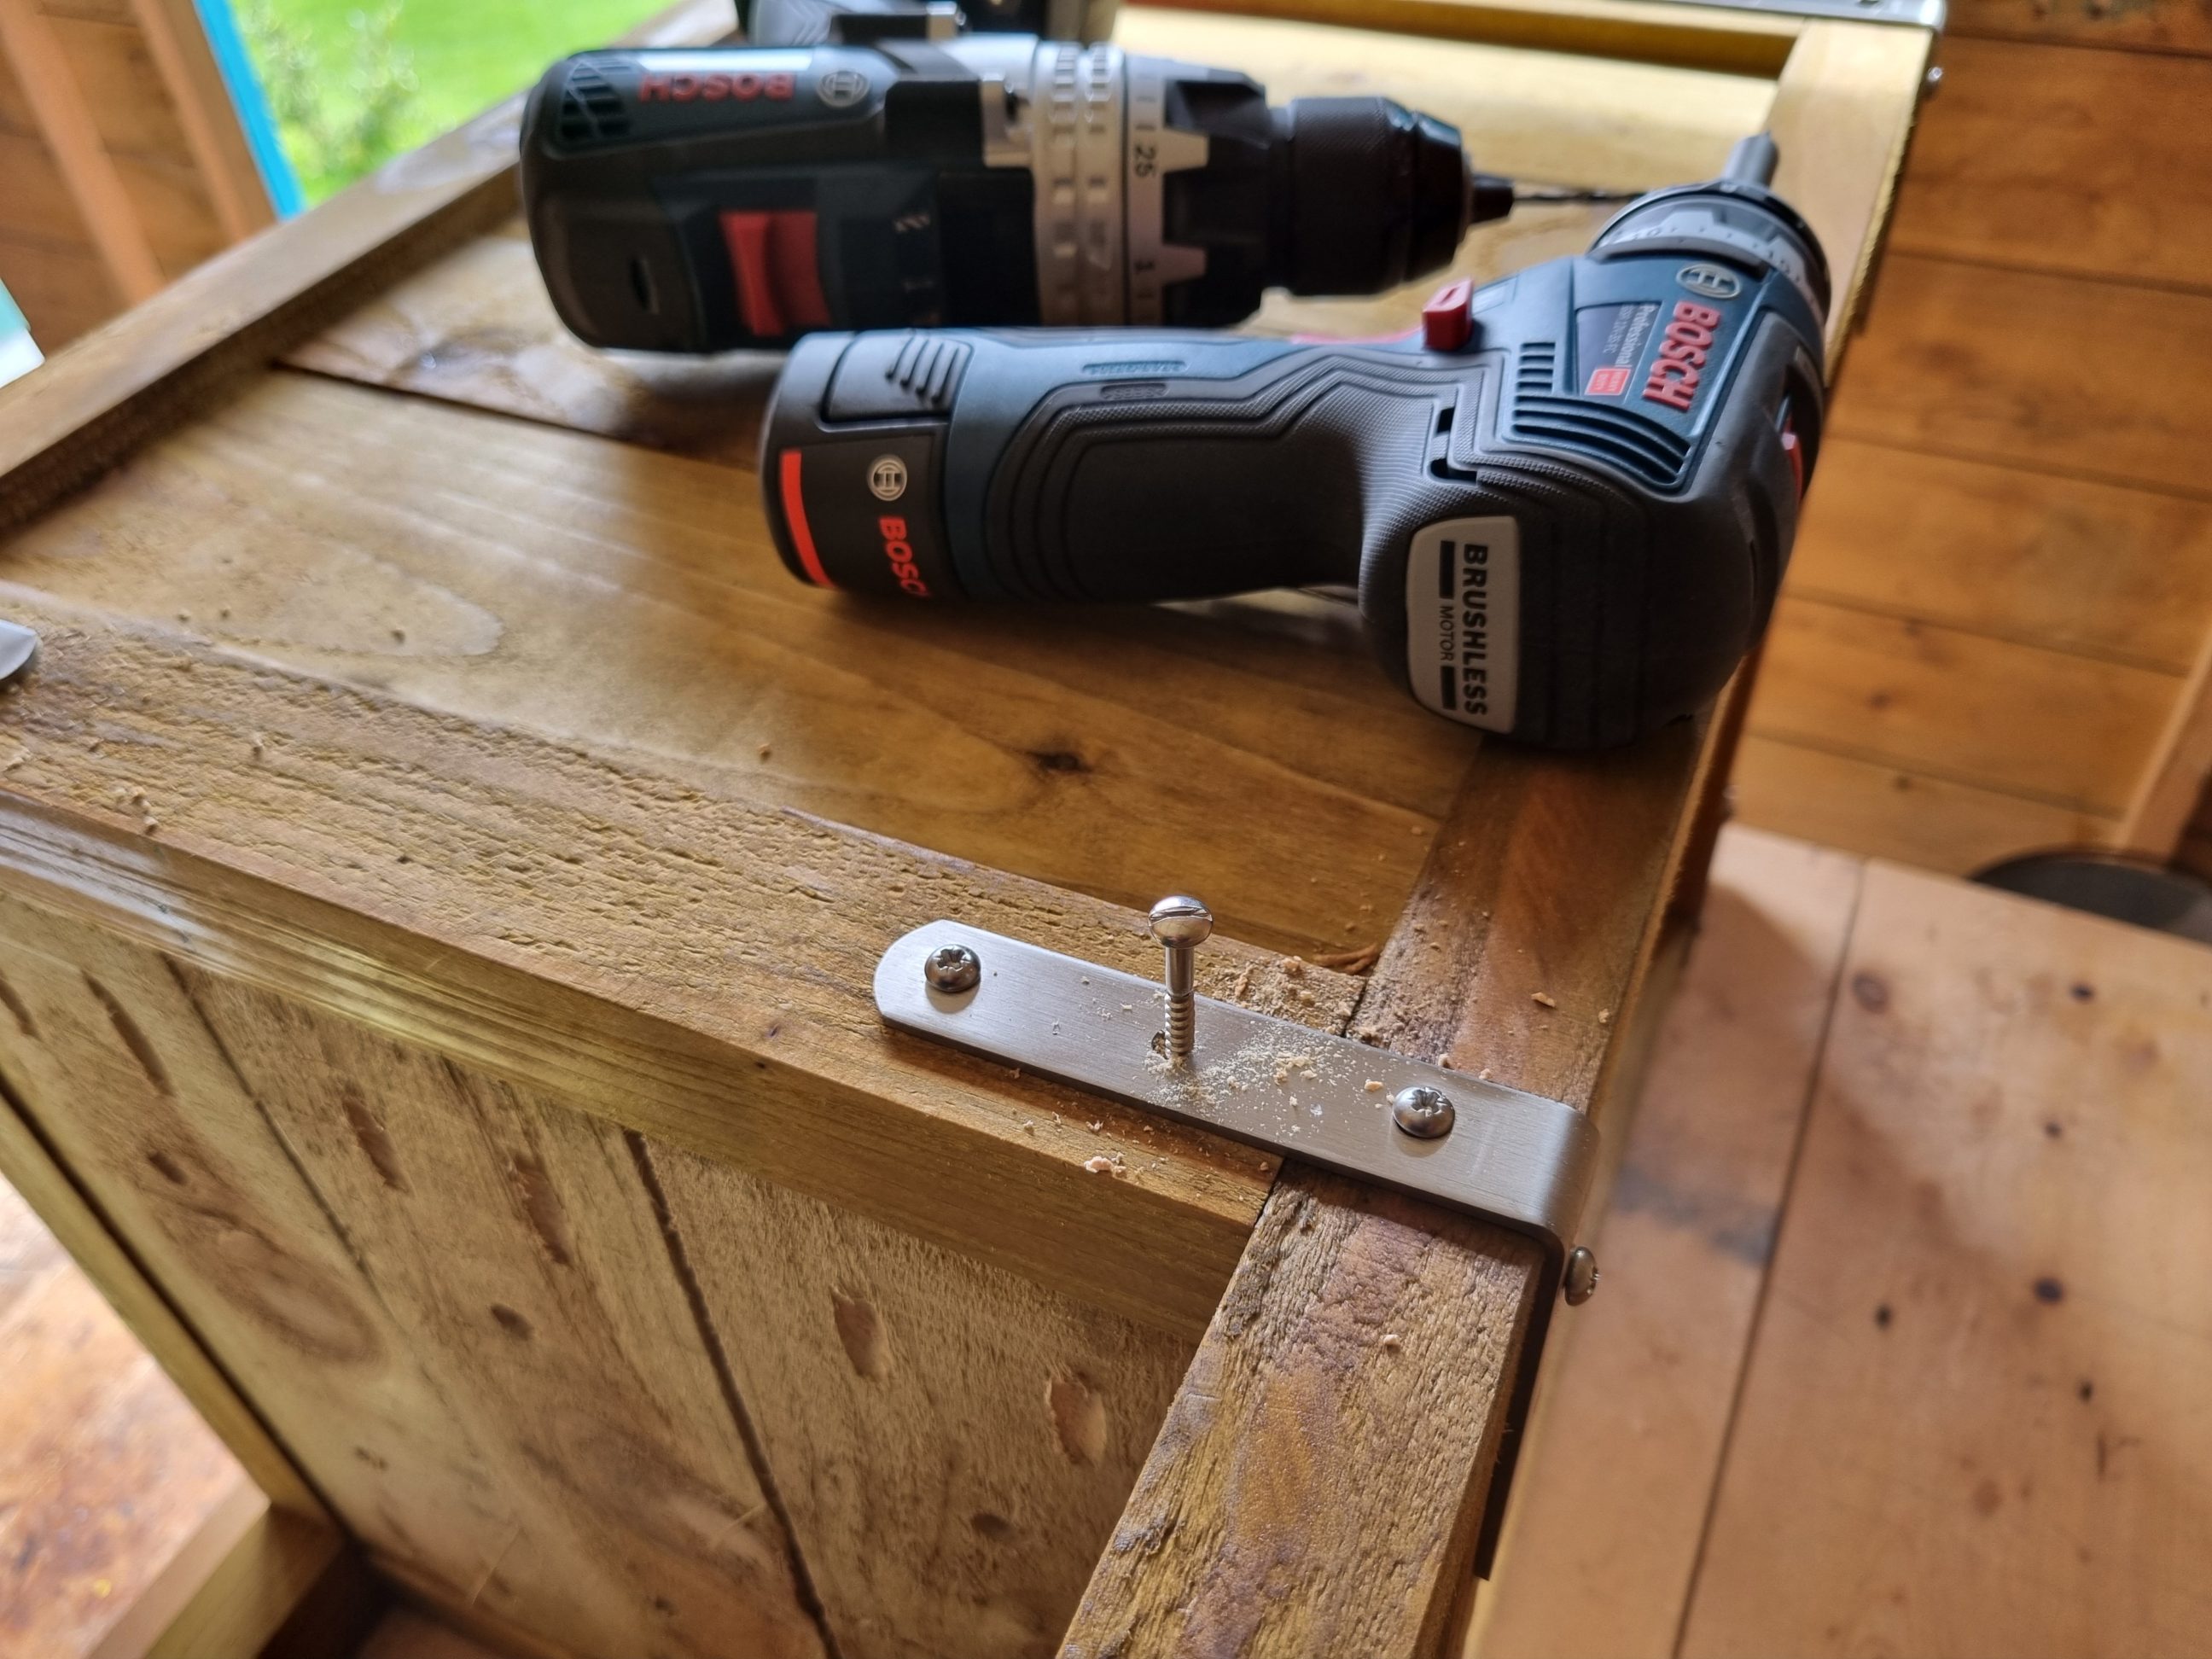
Slat by slat, side by side, I slowly put everything together. For driving screws into tight spaces, I used my 12-volt driver without any attachments, to shorten its length. Although other attachments, such as a right-angle one, or even a different tool were available, I preferred the leverage and control this set offered. I adjusted the driver to a clutch setting of 20 to ensure that none of the screws were over-tightened. Before I called it a day, I quickly installed the levelling feet and tacked the stainless steel brackets with a few screws, to see what it all would look like.
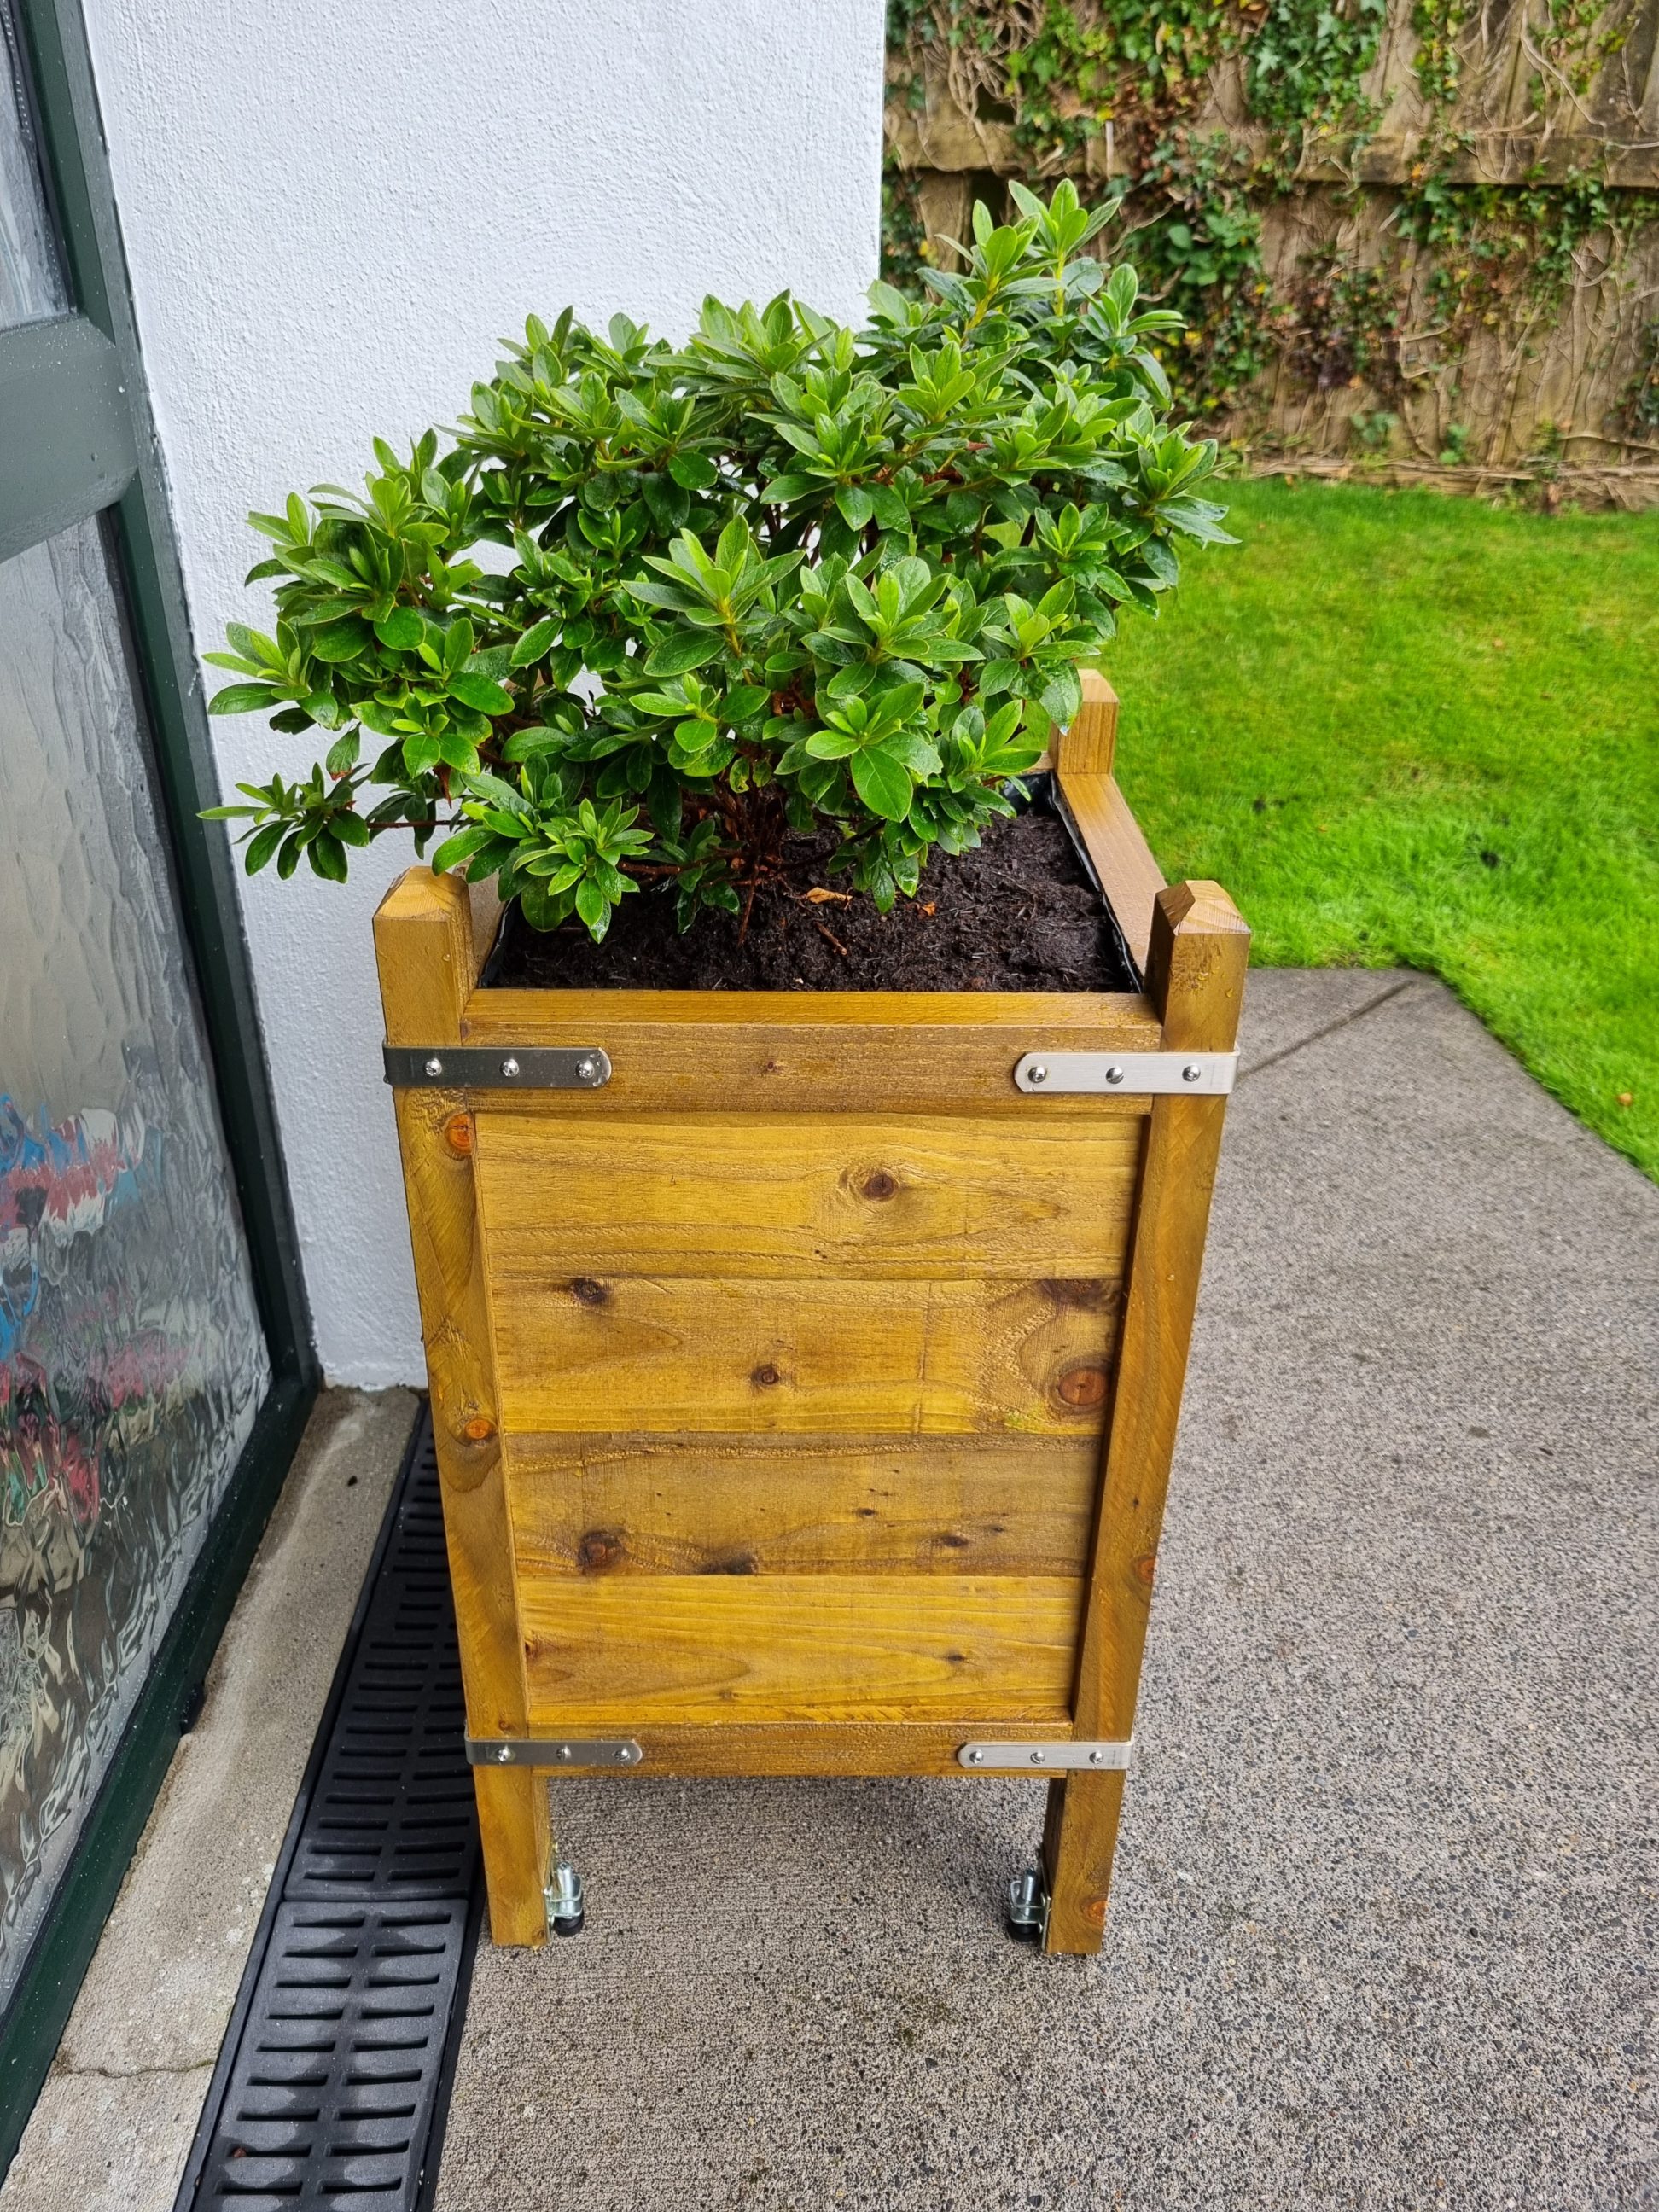
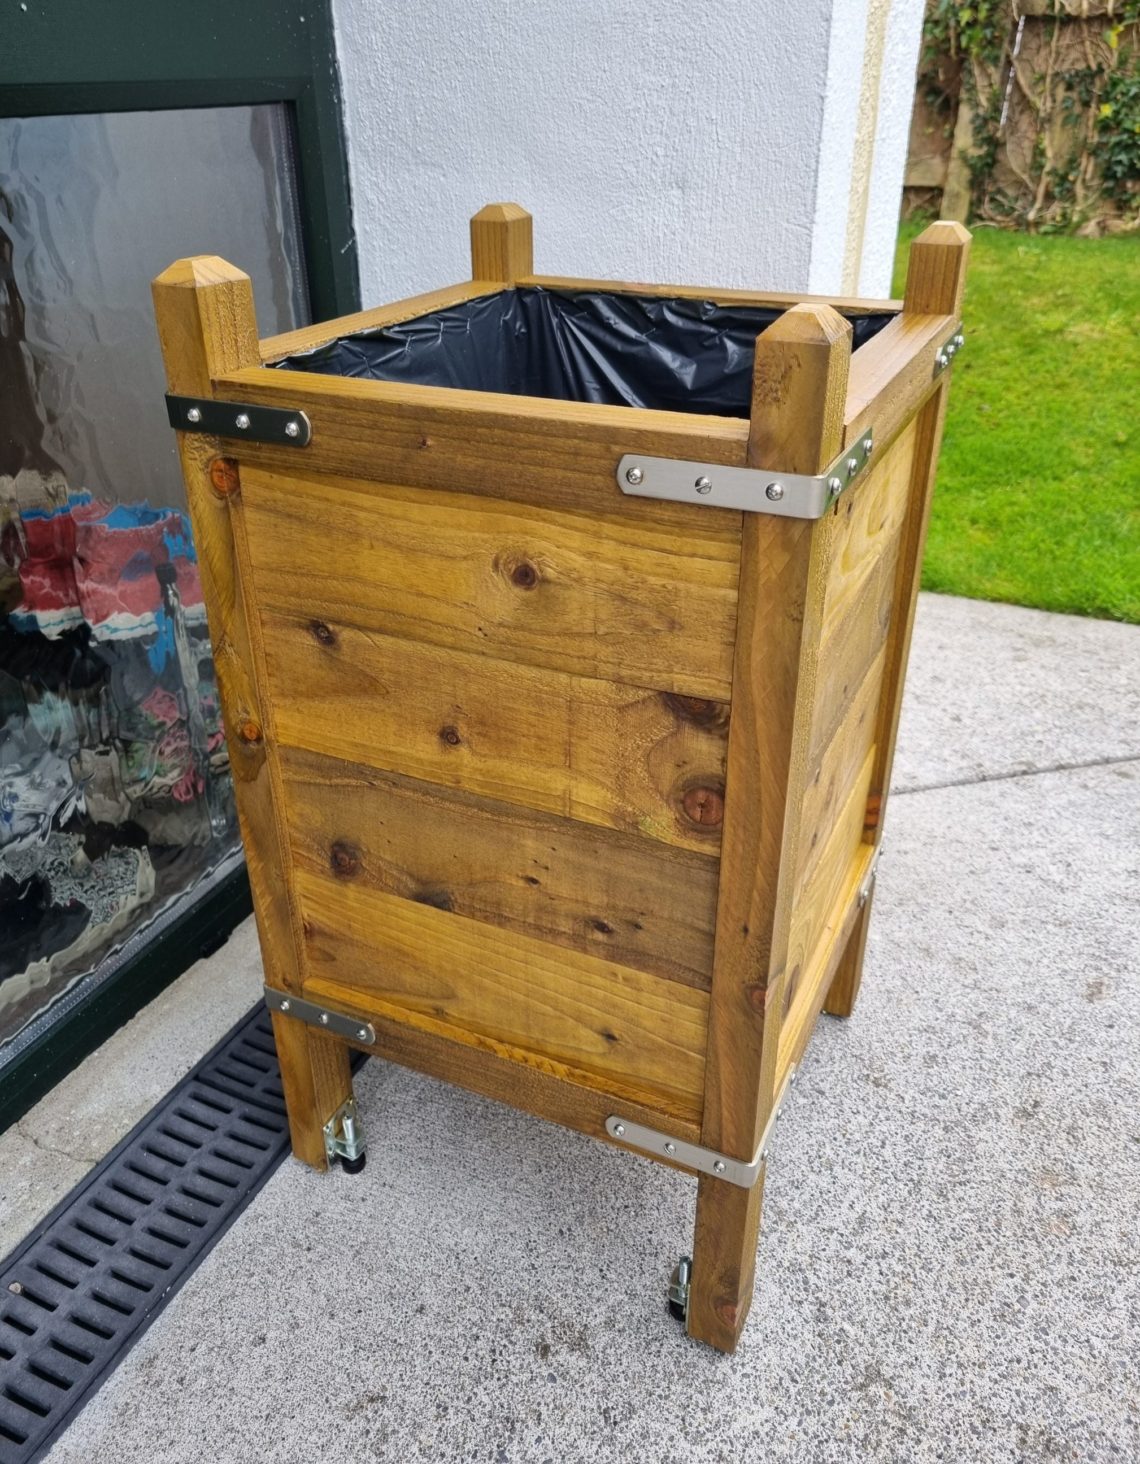
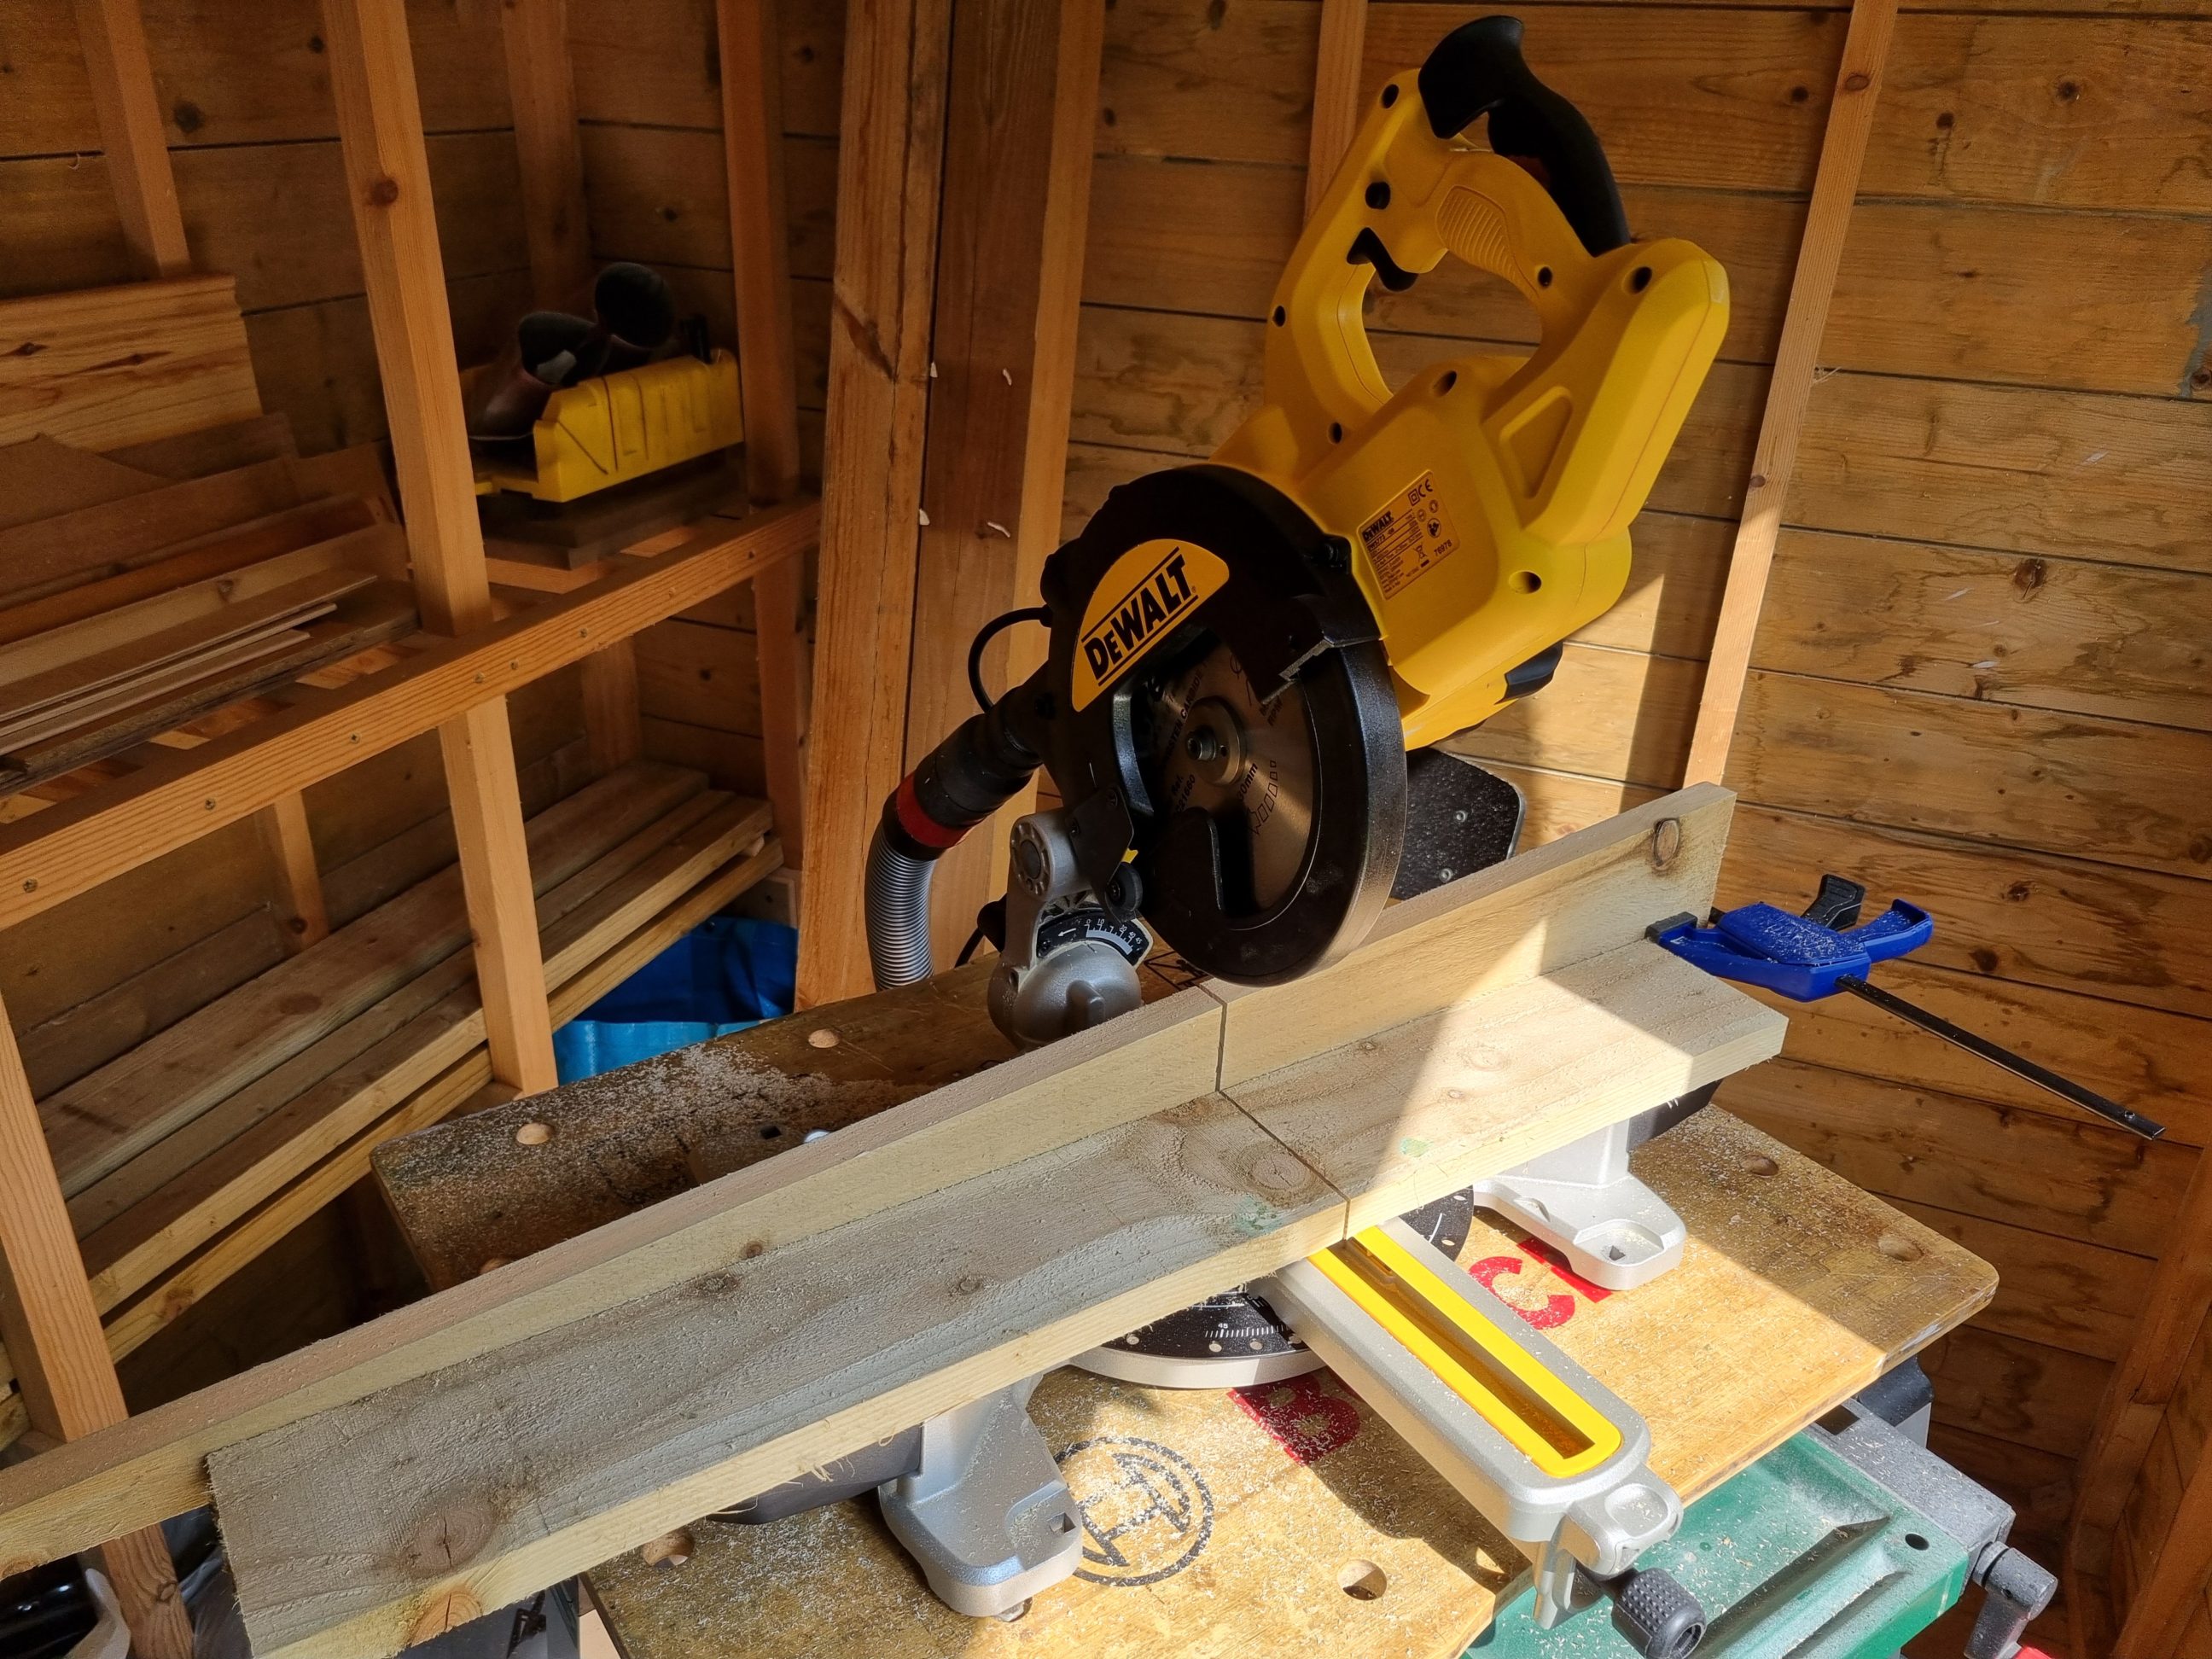
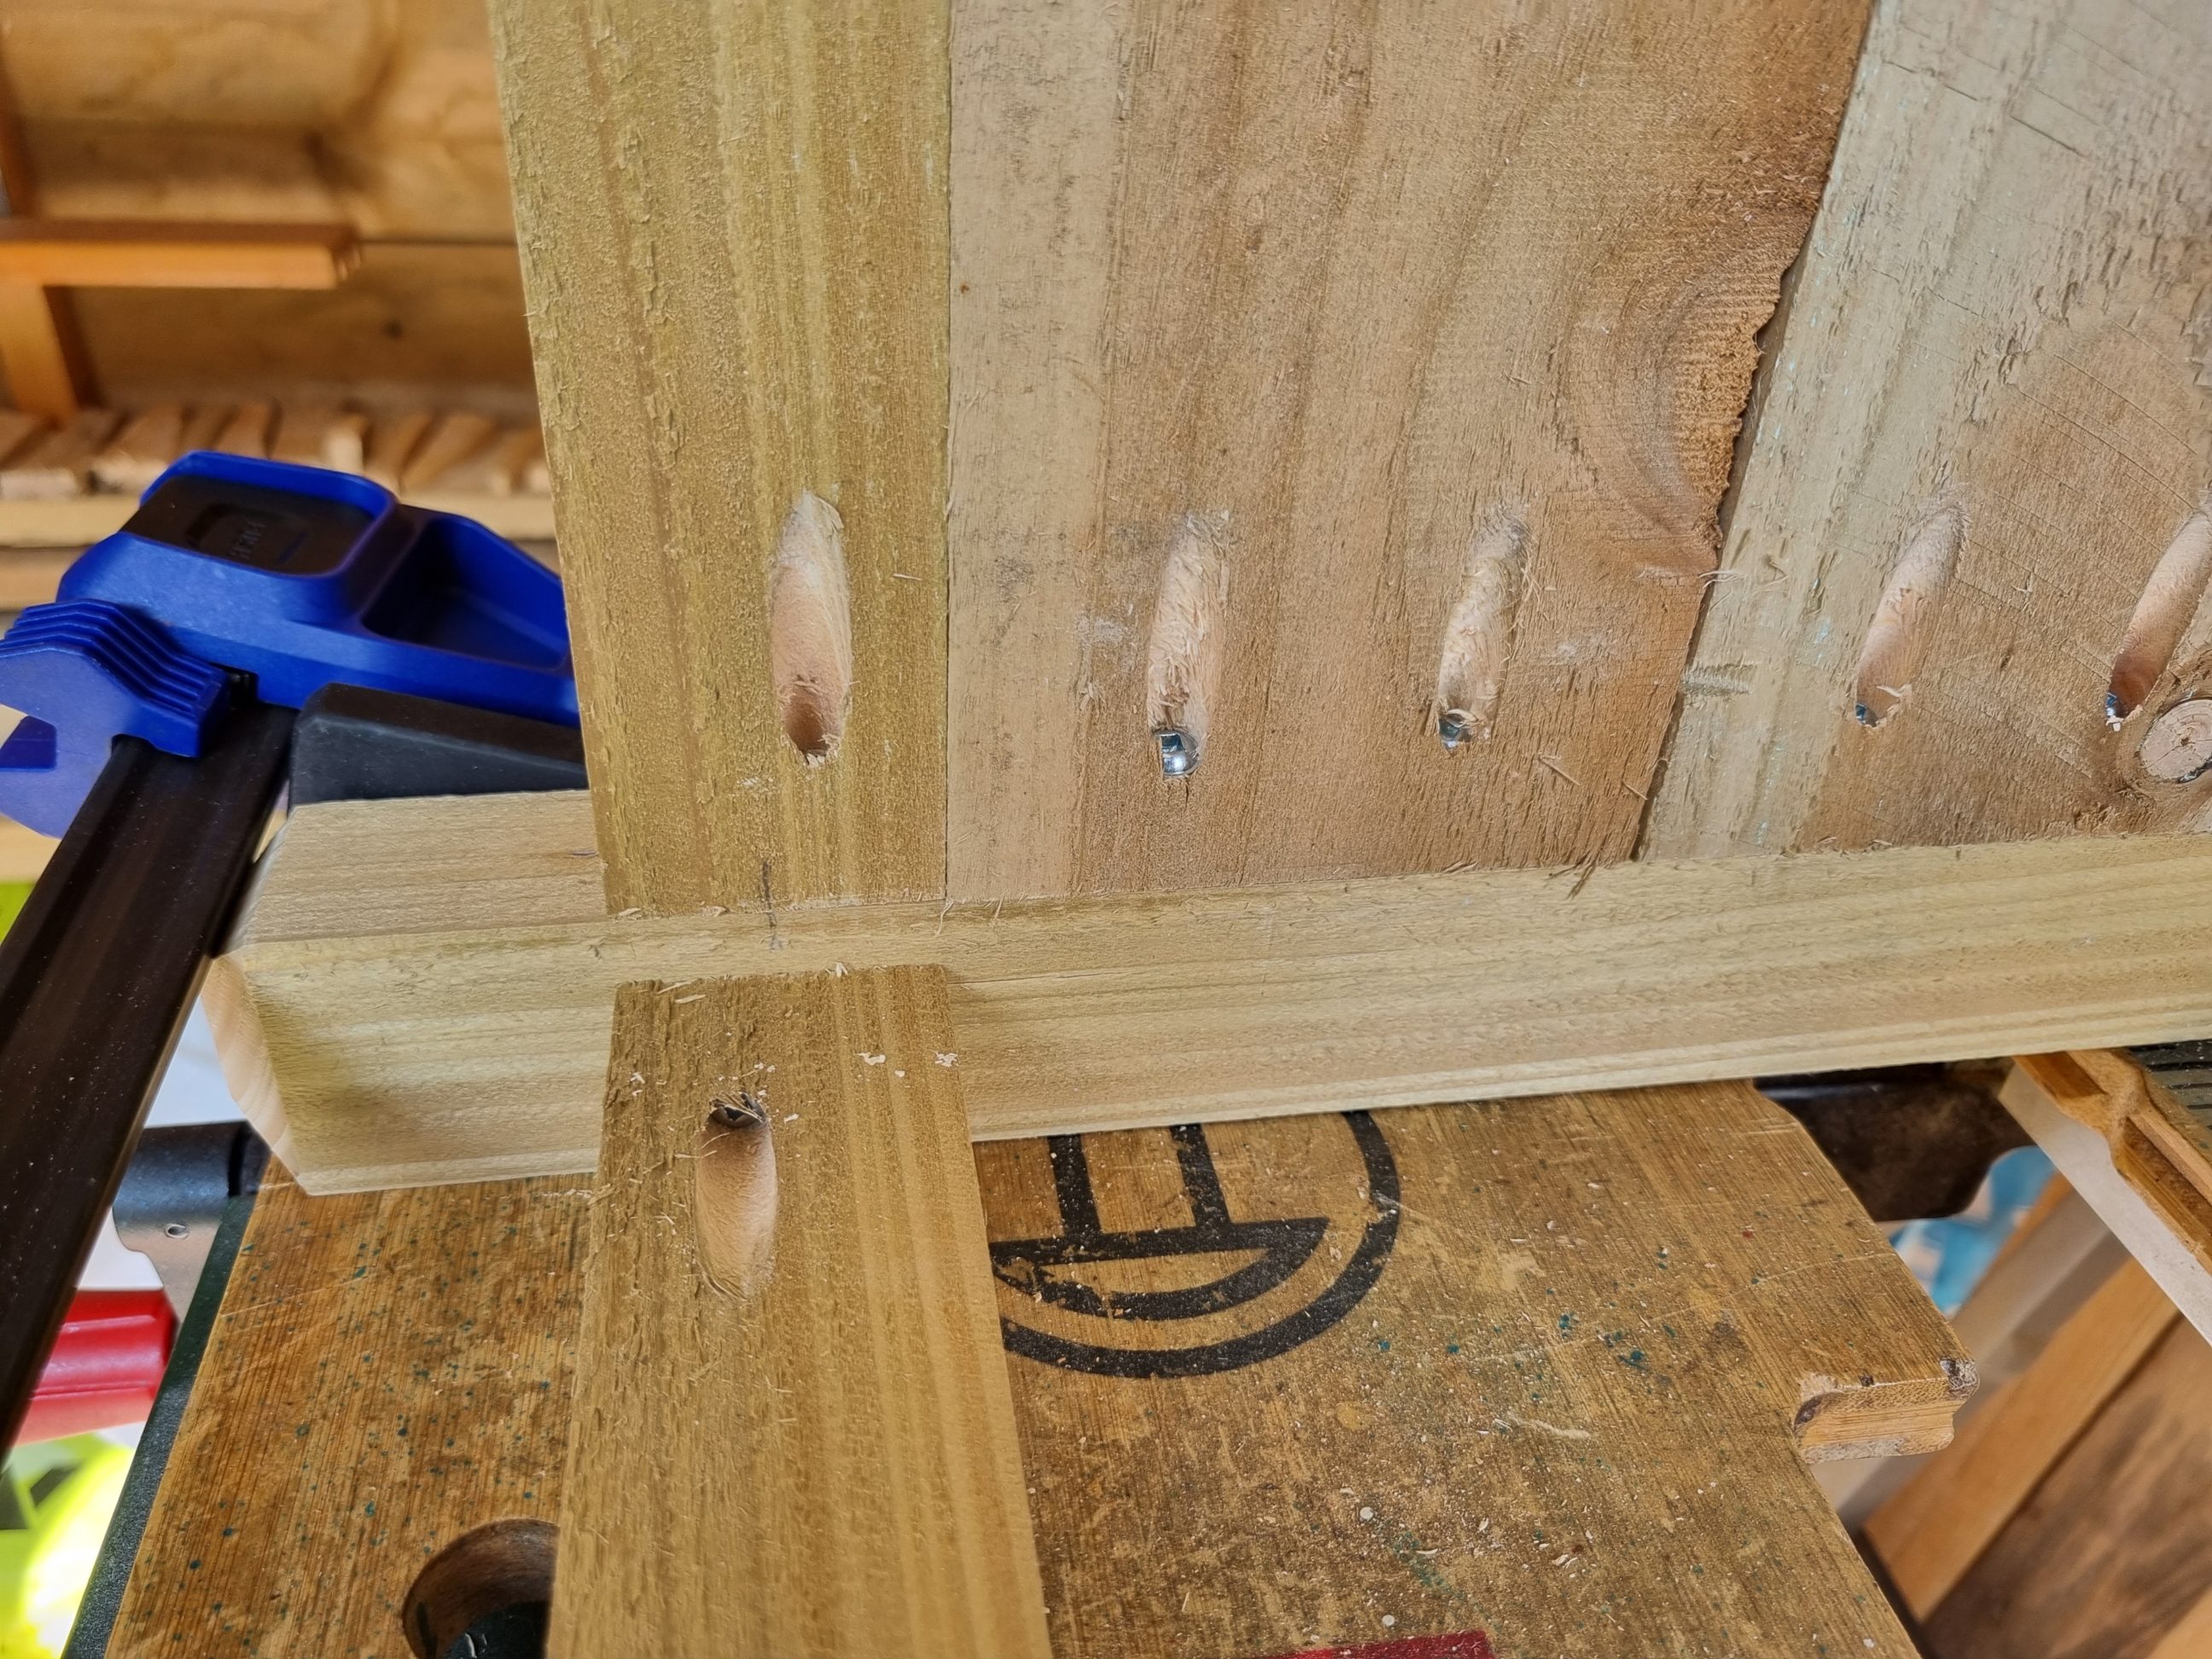
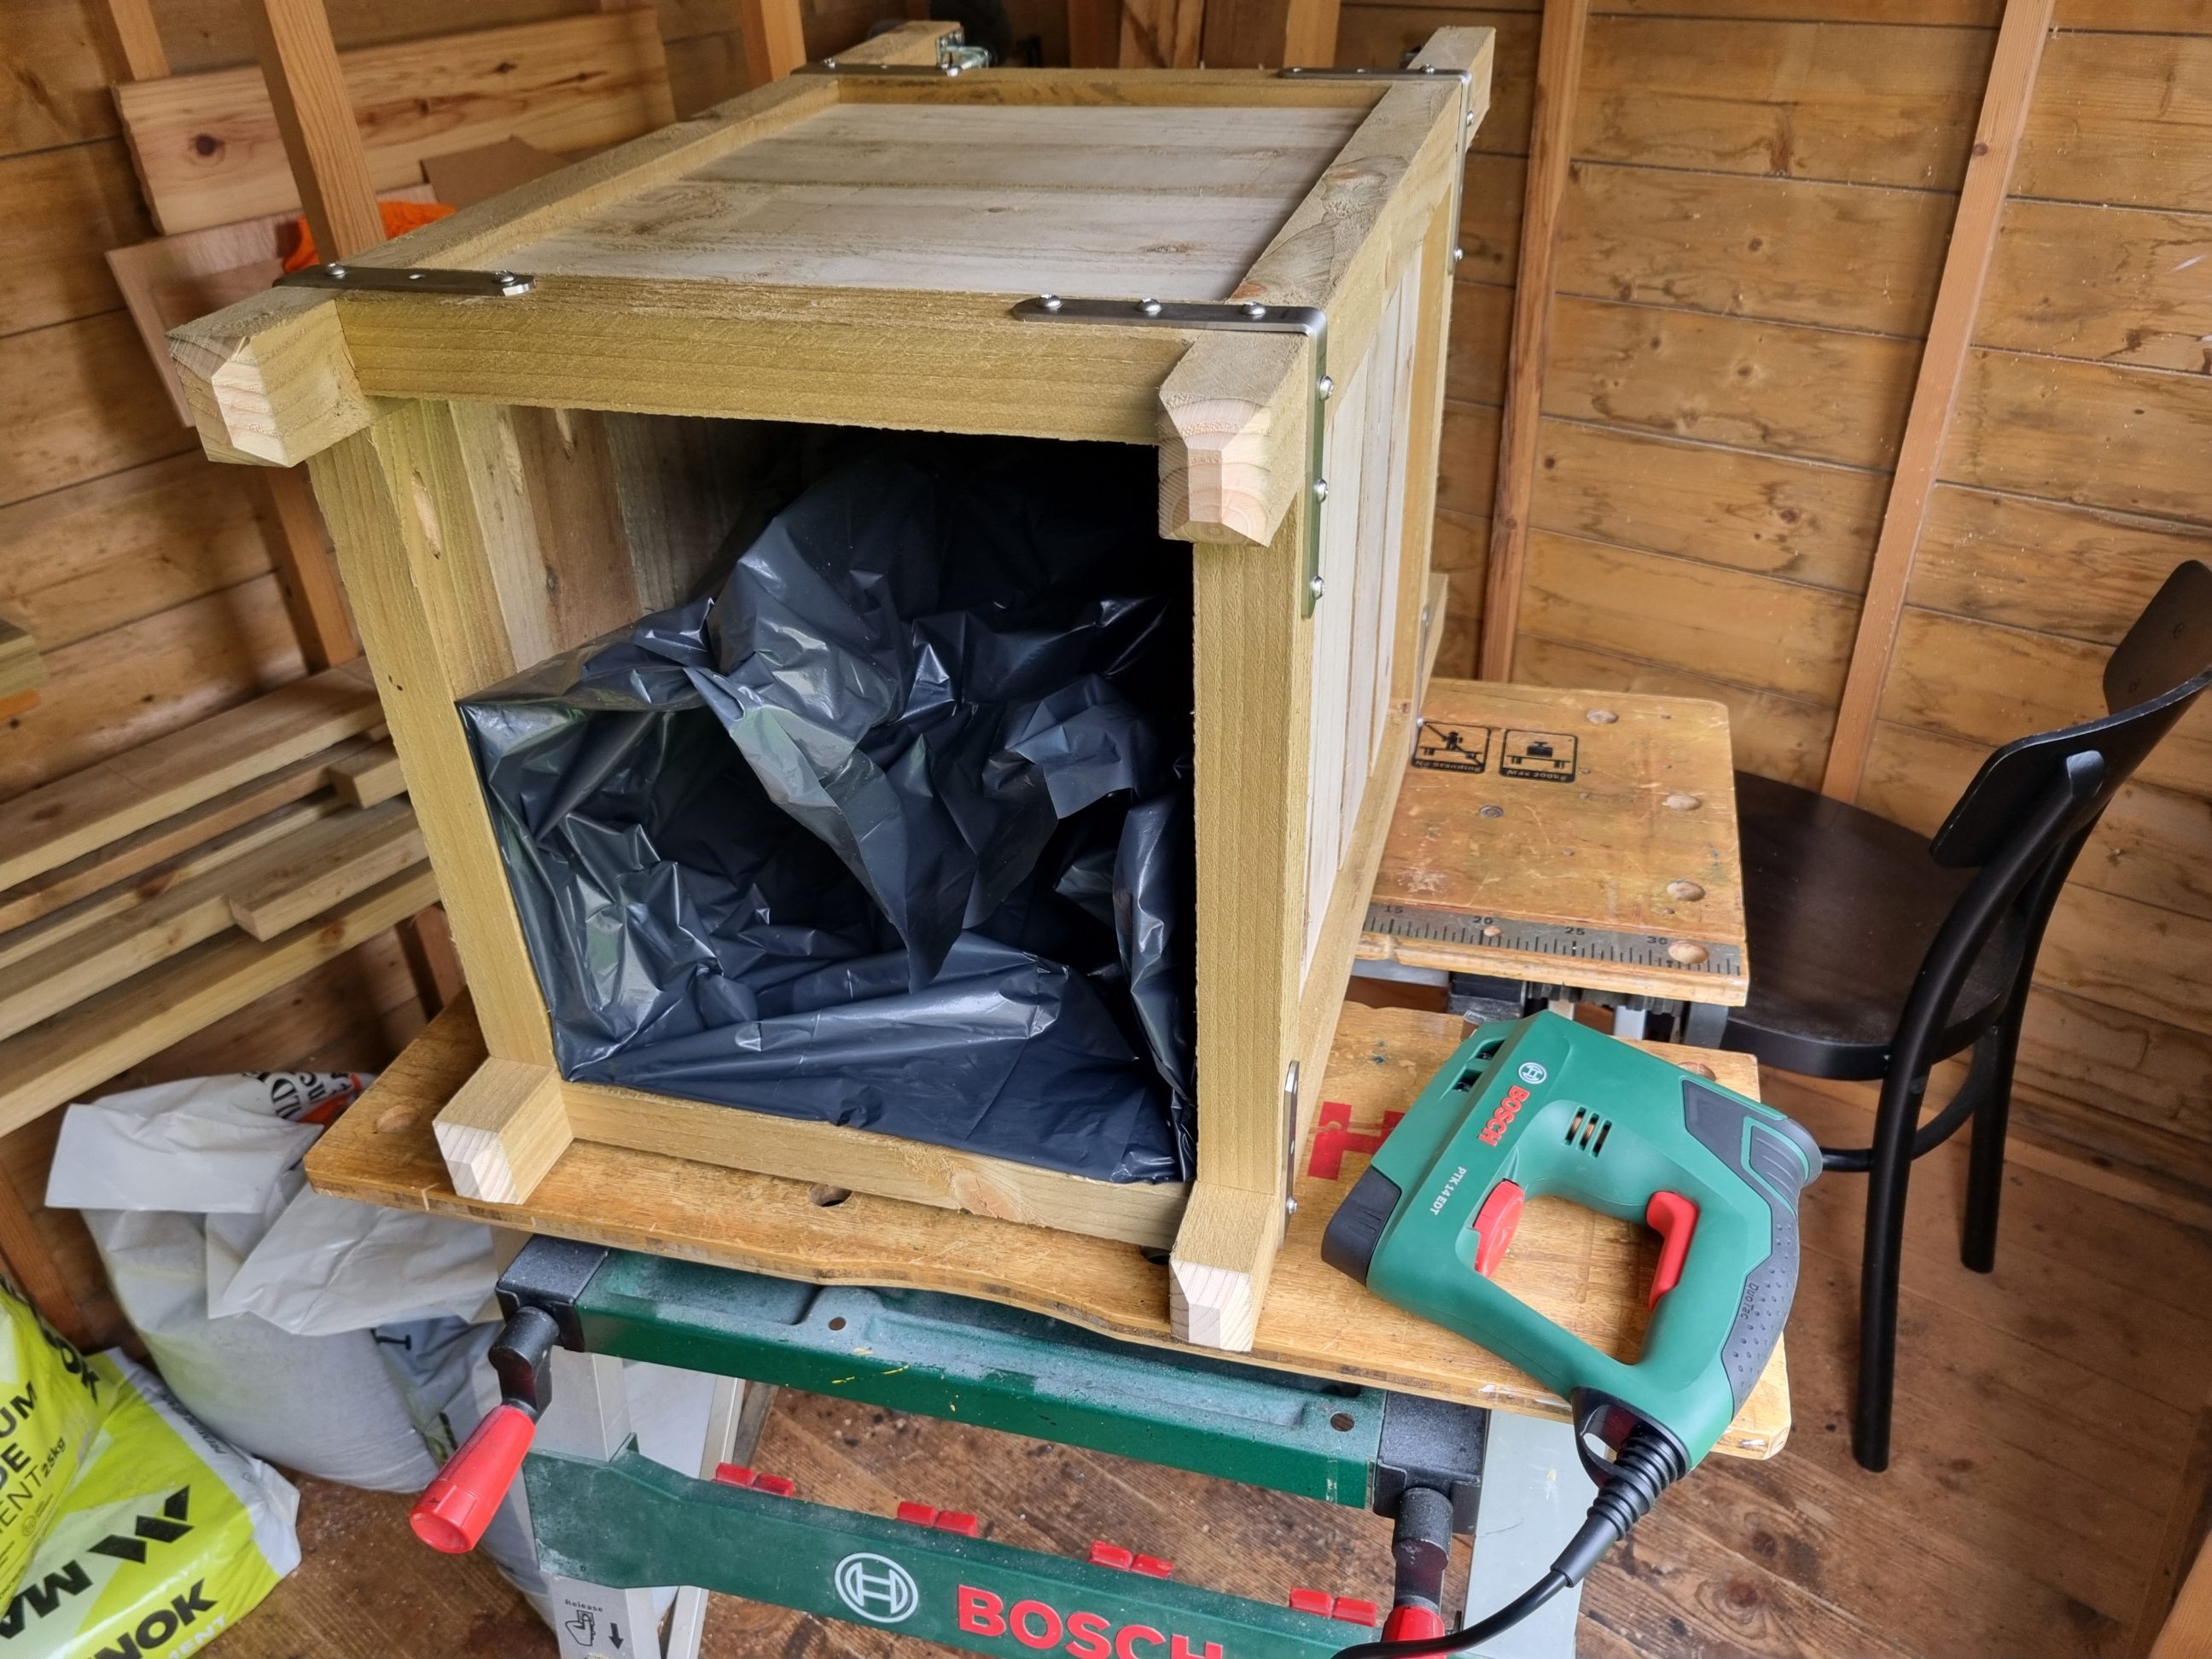
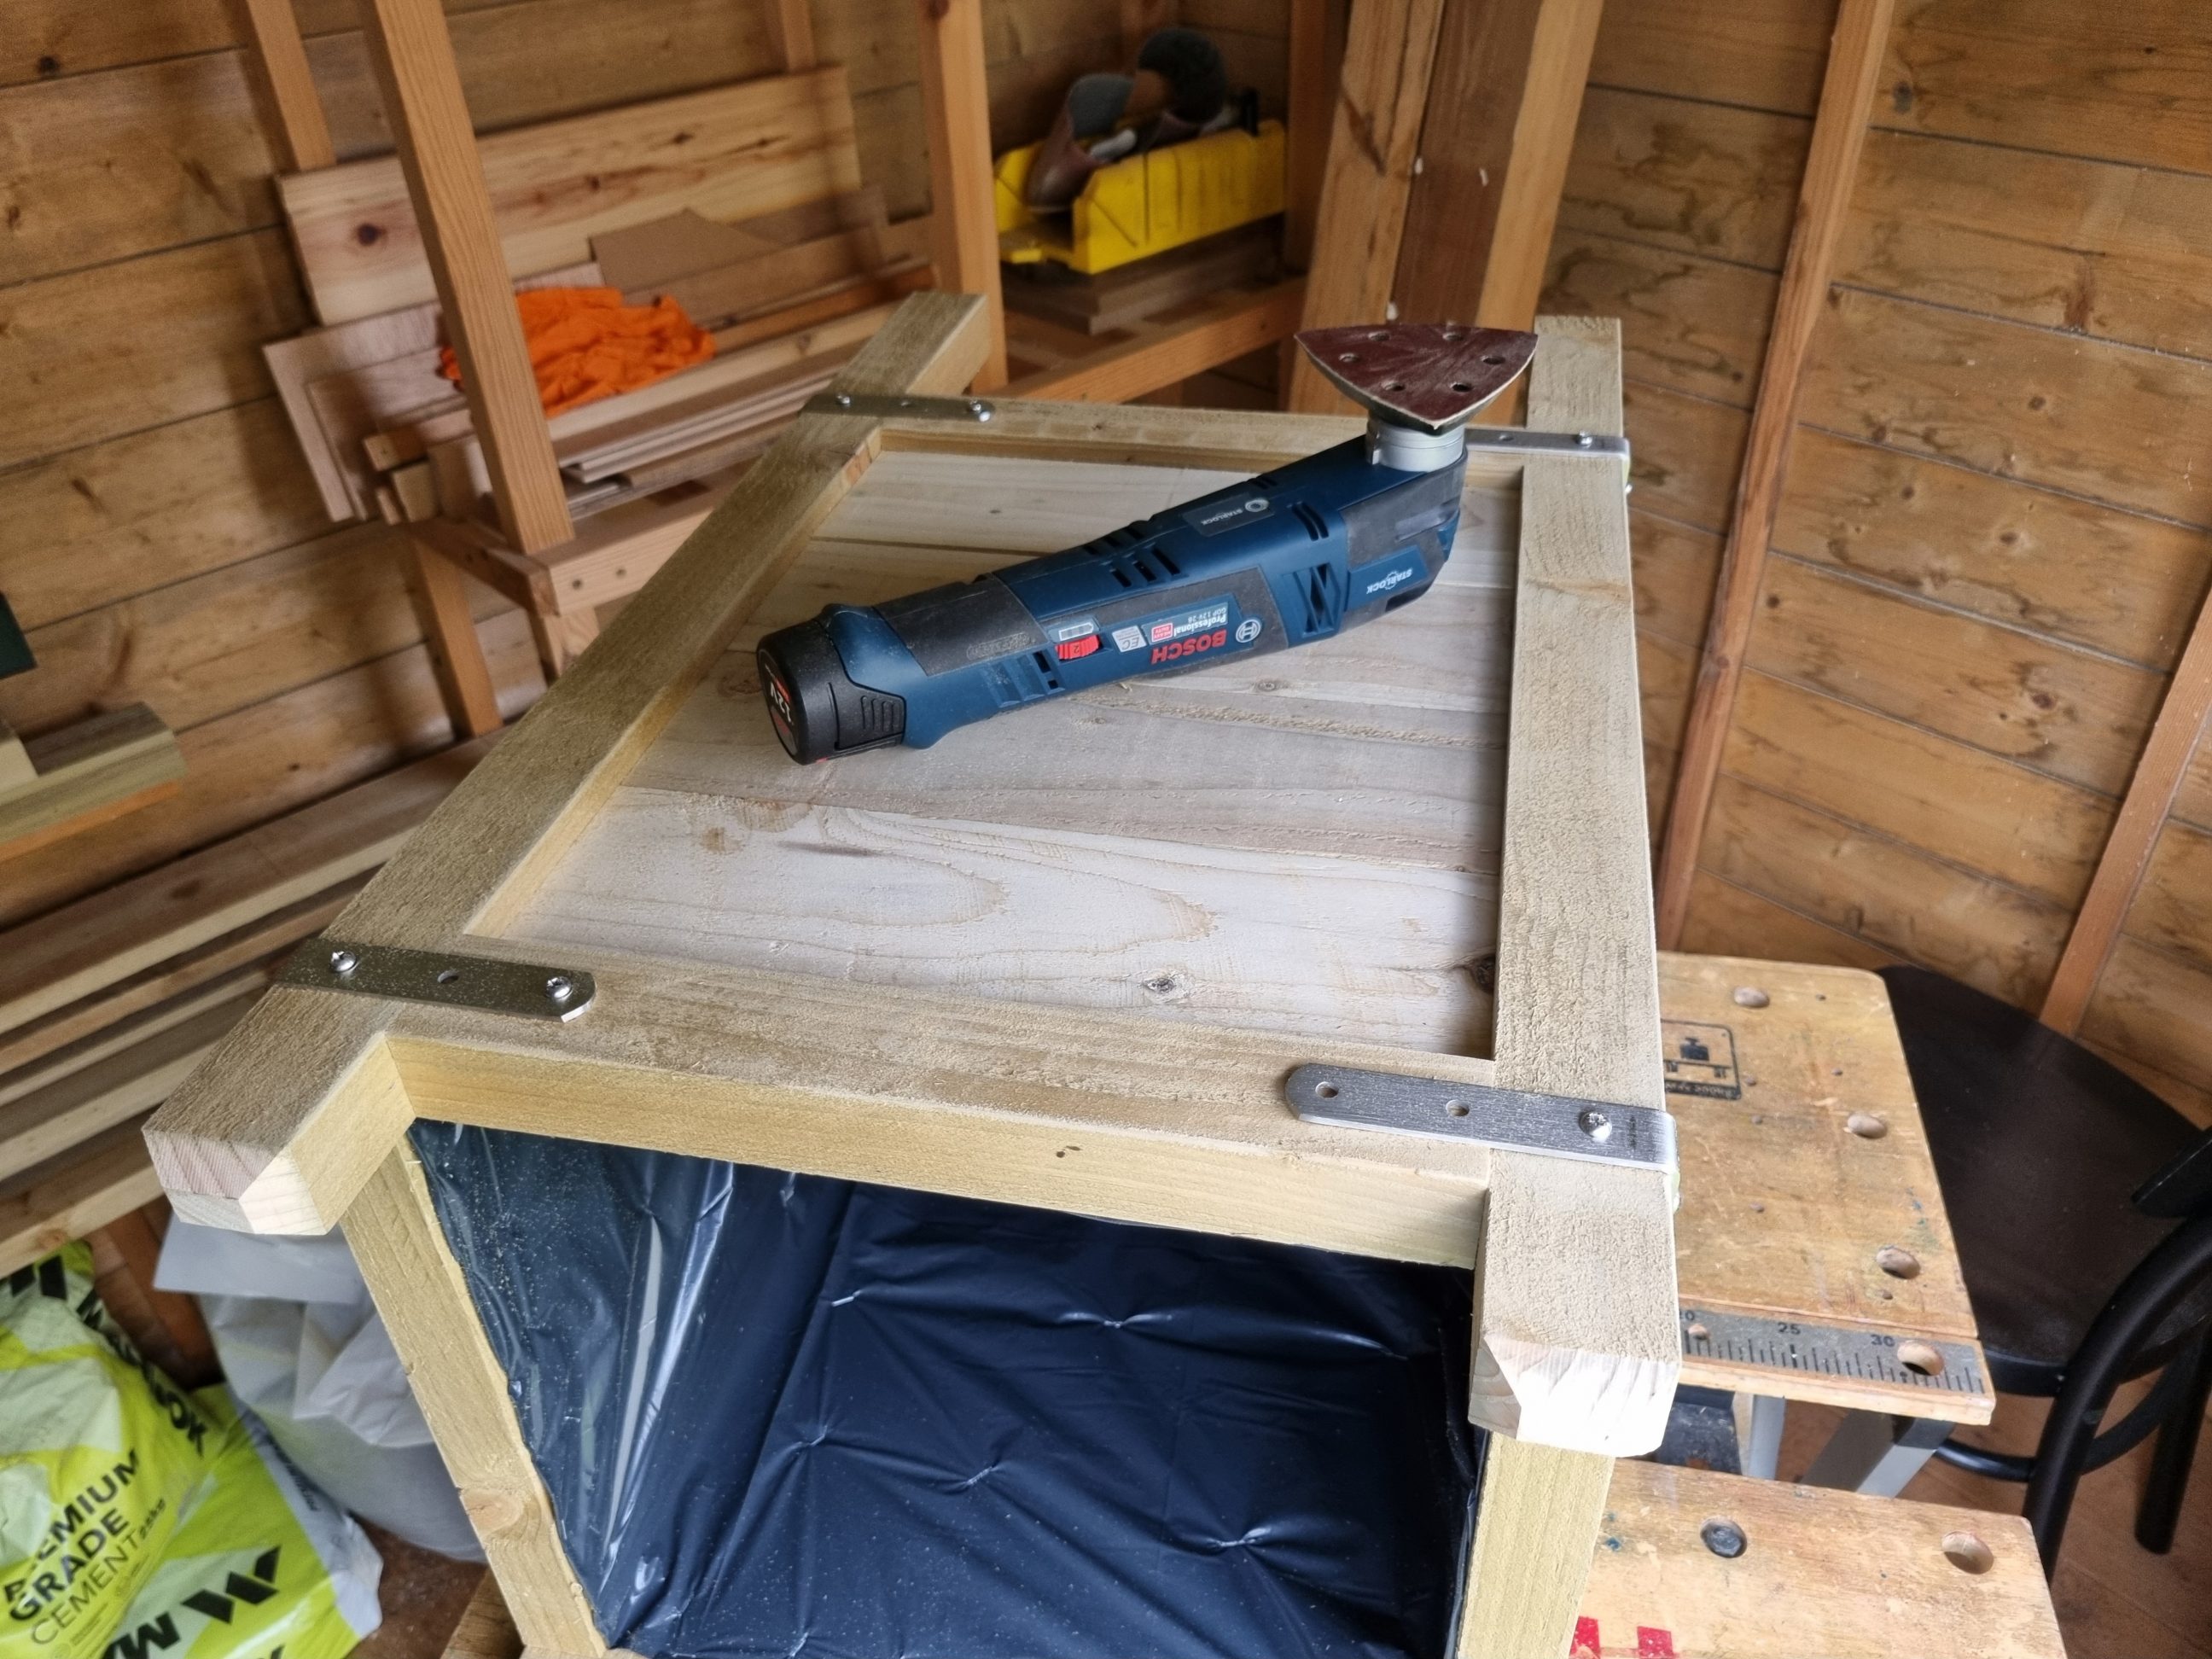
The planter was still missing its bottom, which was the next job to do. I pulled out my mitre saw and cut three pieces from a 1×4. They were secured with pocket screws, and after that, I drilled six drainage holes with a 12 mm spade bit. I then lined the interior of the planter with a plastic bag, securing it with my stapler, particularly along the upper edge where I placed more staples, neatly aligned and evenly spaced. I punctured the drainage holes through the plastic with a sharp tool and proceeded to sand the corner legs. To quickly eliminate any burrs and soften the sharp arrises, I used my oscillating tool and a 120-grit sanding sheet.

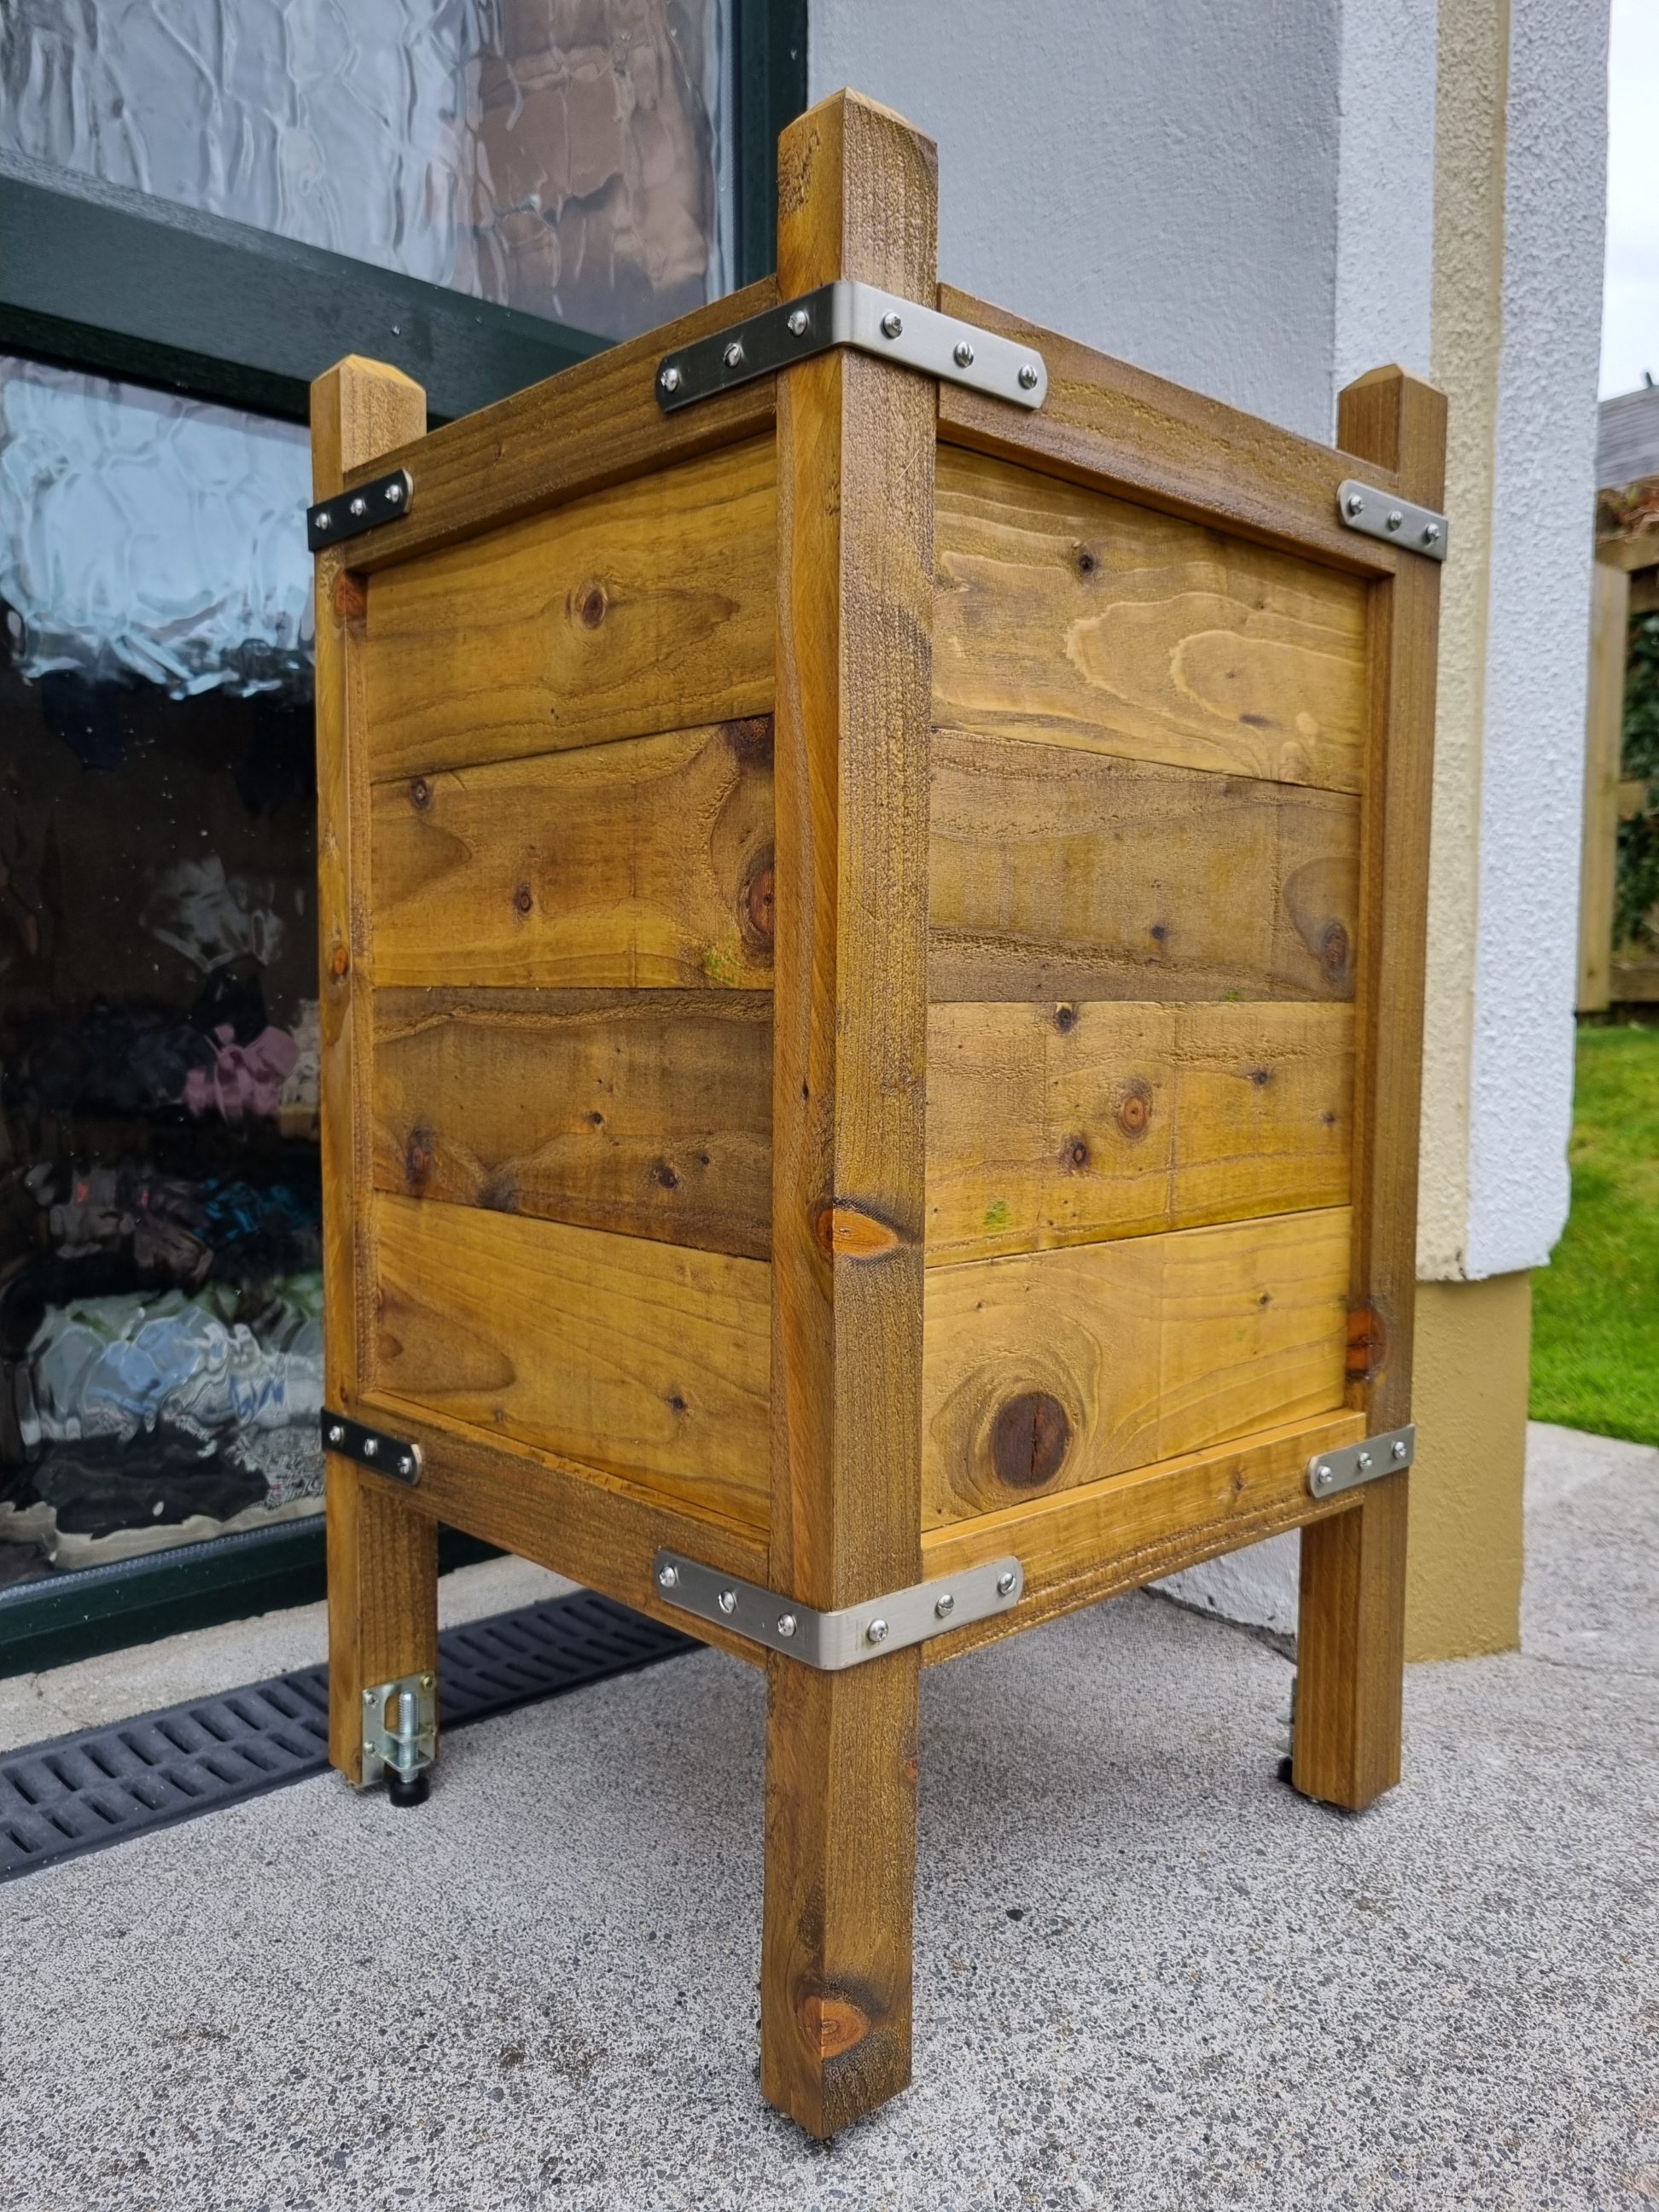
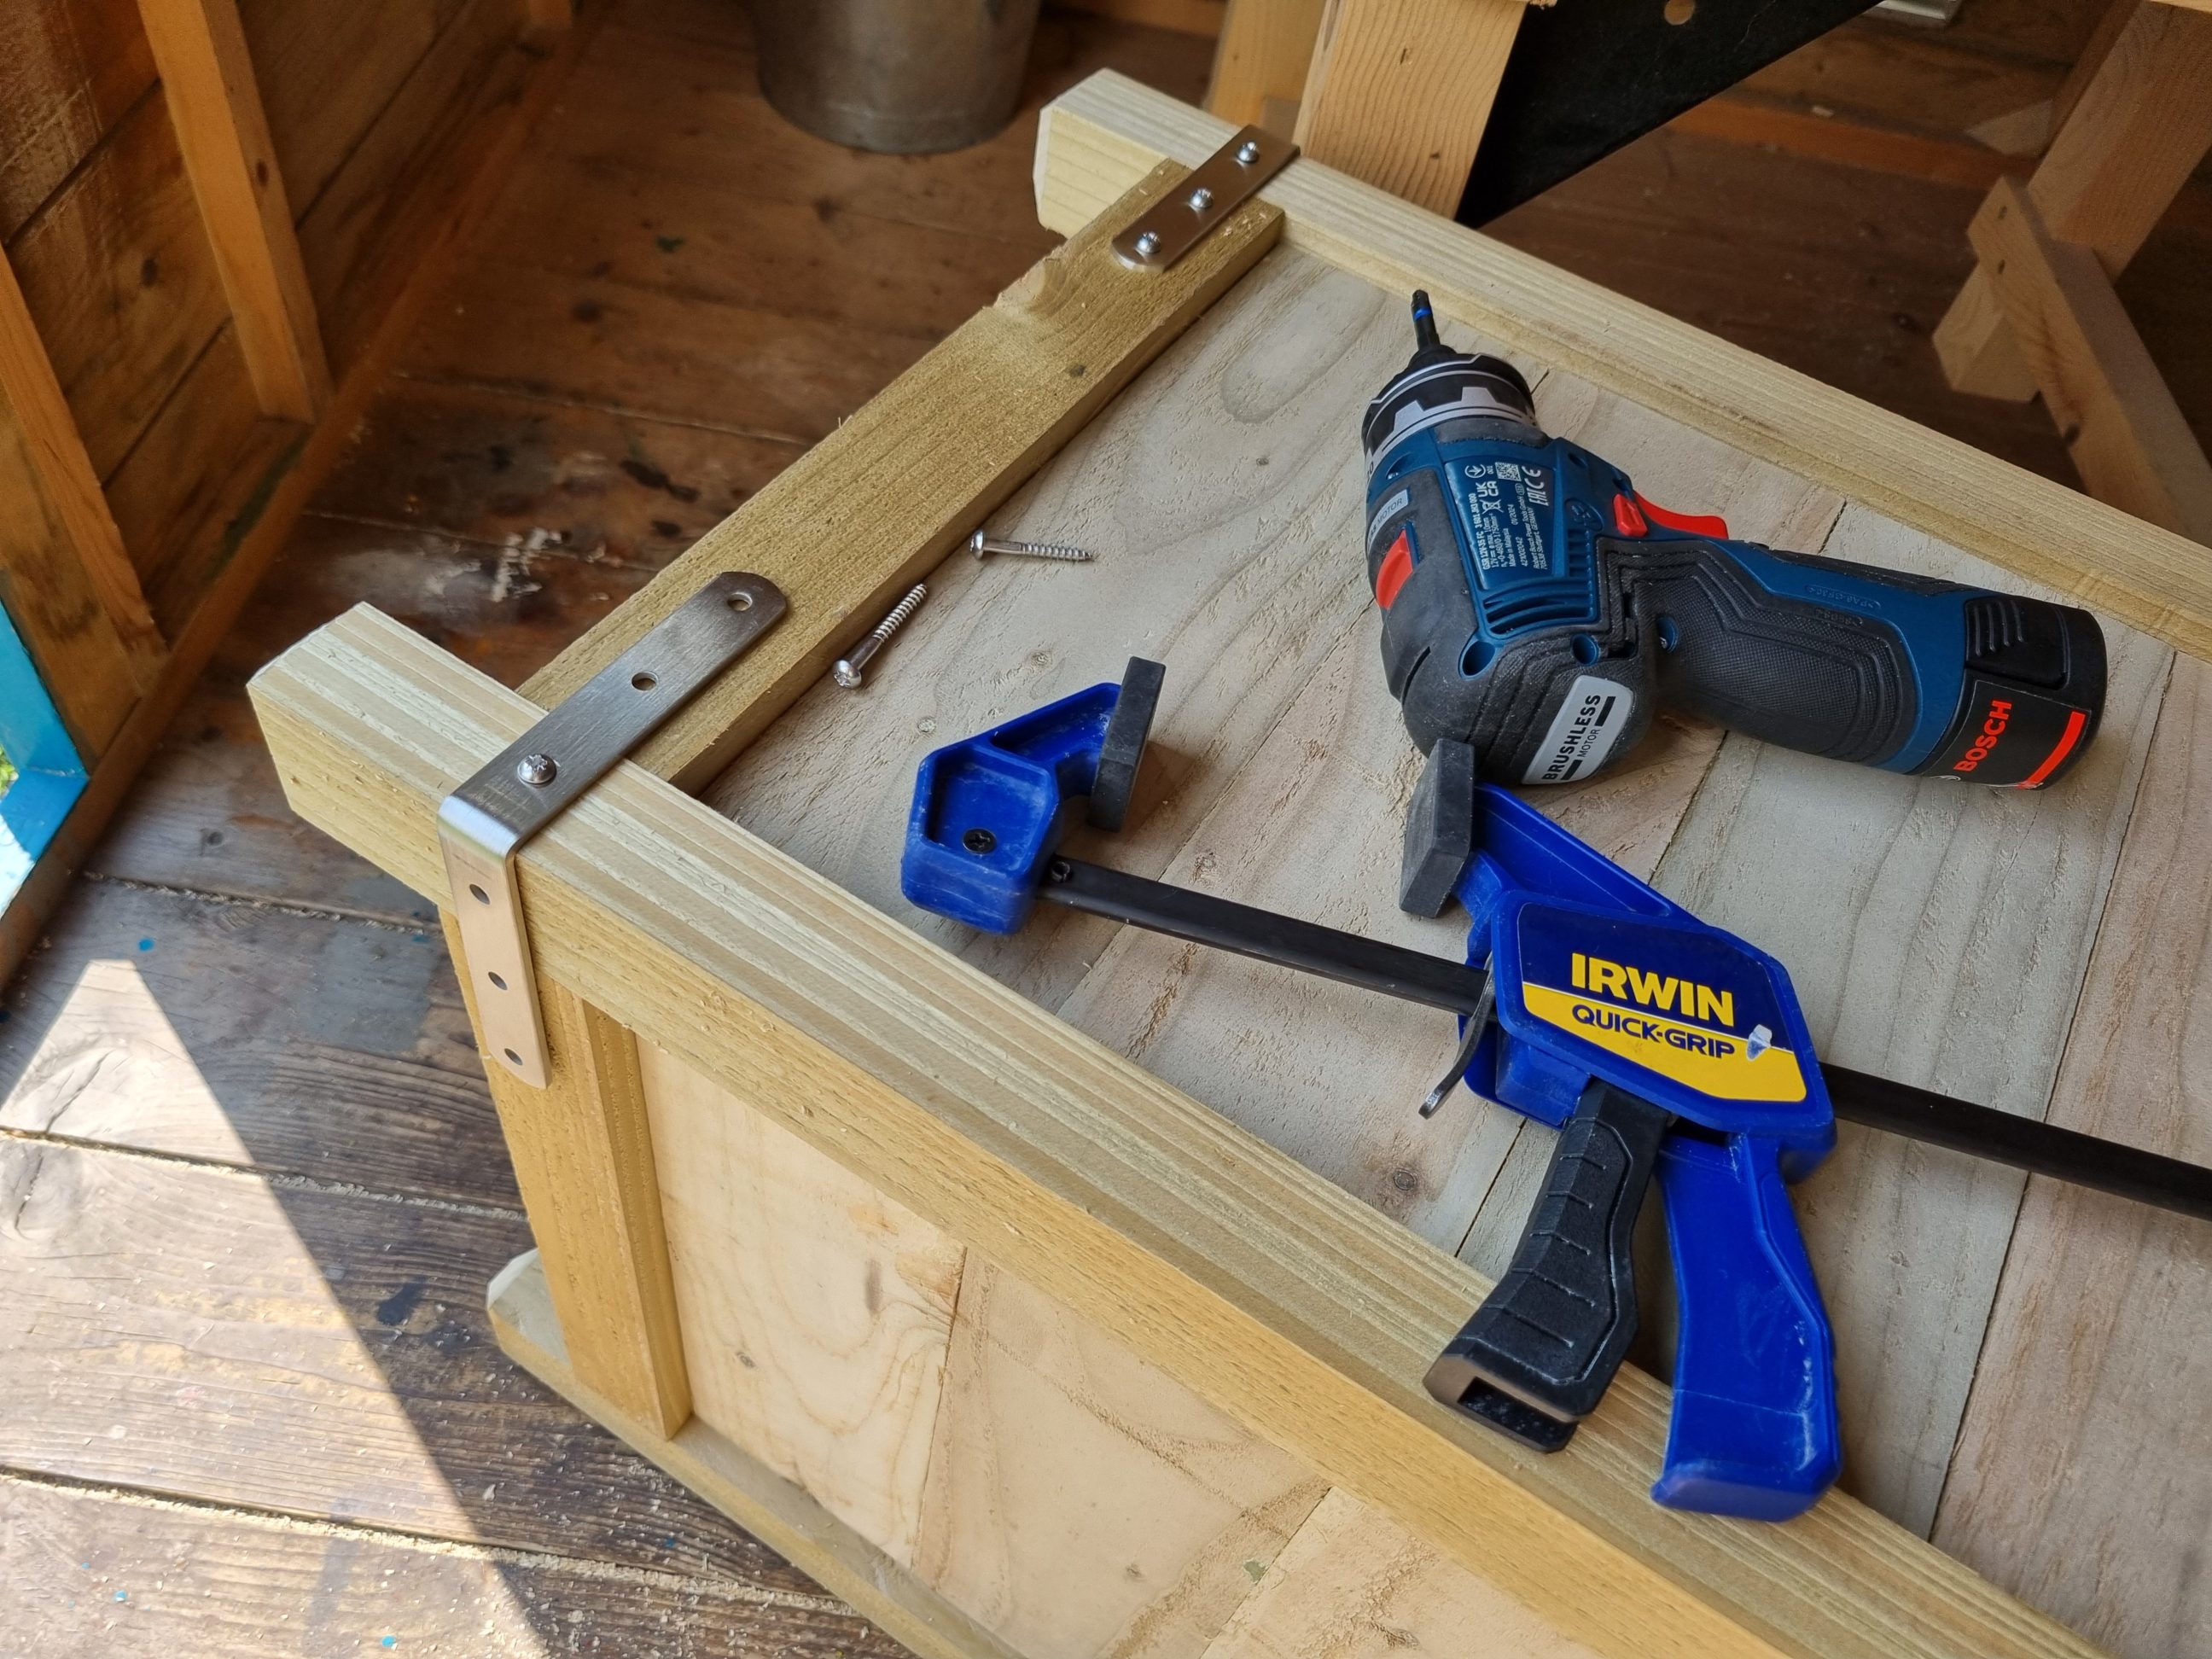
I applied two coats of Danish oil in an antique pine shade to complement the bench, ensuring any excess was promptly removed from the metal hardware using a cloth. Meanwhile, the delivery of the remaining screws allowed me to securely fasten the braces. The second set of screws had slotted heads instead of Phillips – due to limited stock availability. All these screws were stainless steel, designed for outdoor projects, yet they were delicate and intended for single use. They could (and they did once or twice) snap when hitting a knot or have their heads stripped. However, with some persistence, I completed the task. Pre-drilling holes surely helped, and I even used my 12-volt driver with a flat screwdriver bit without hindrance.
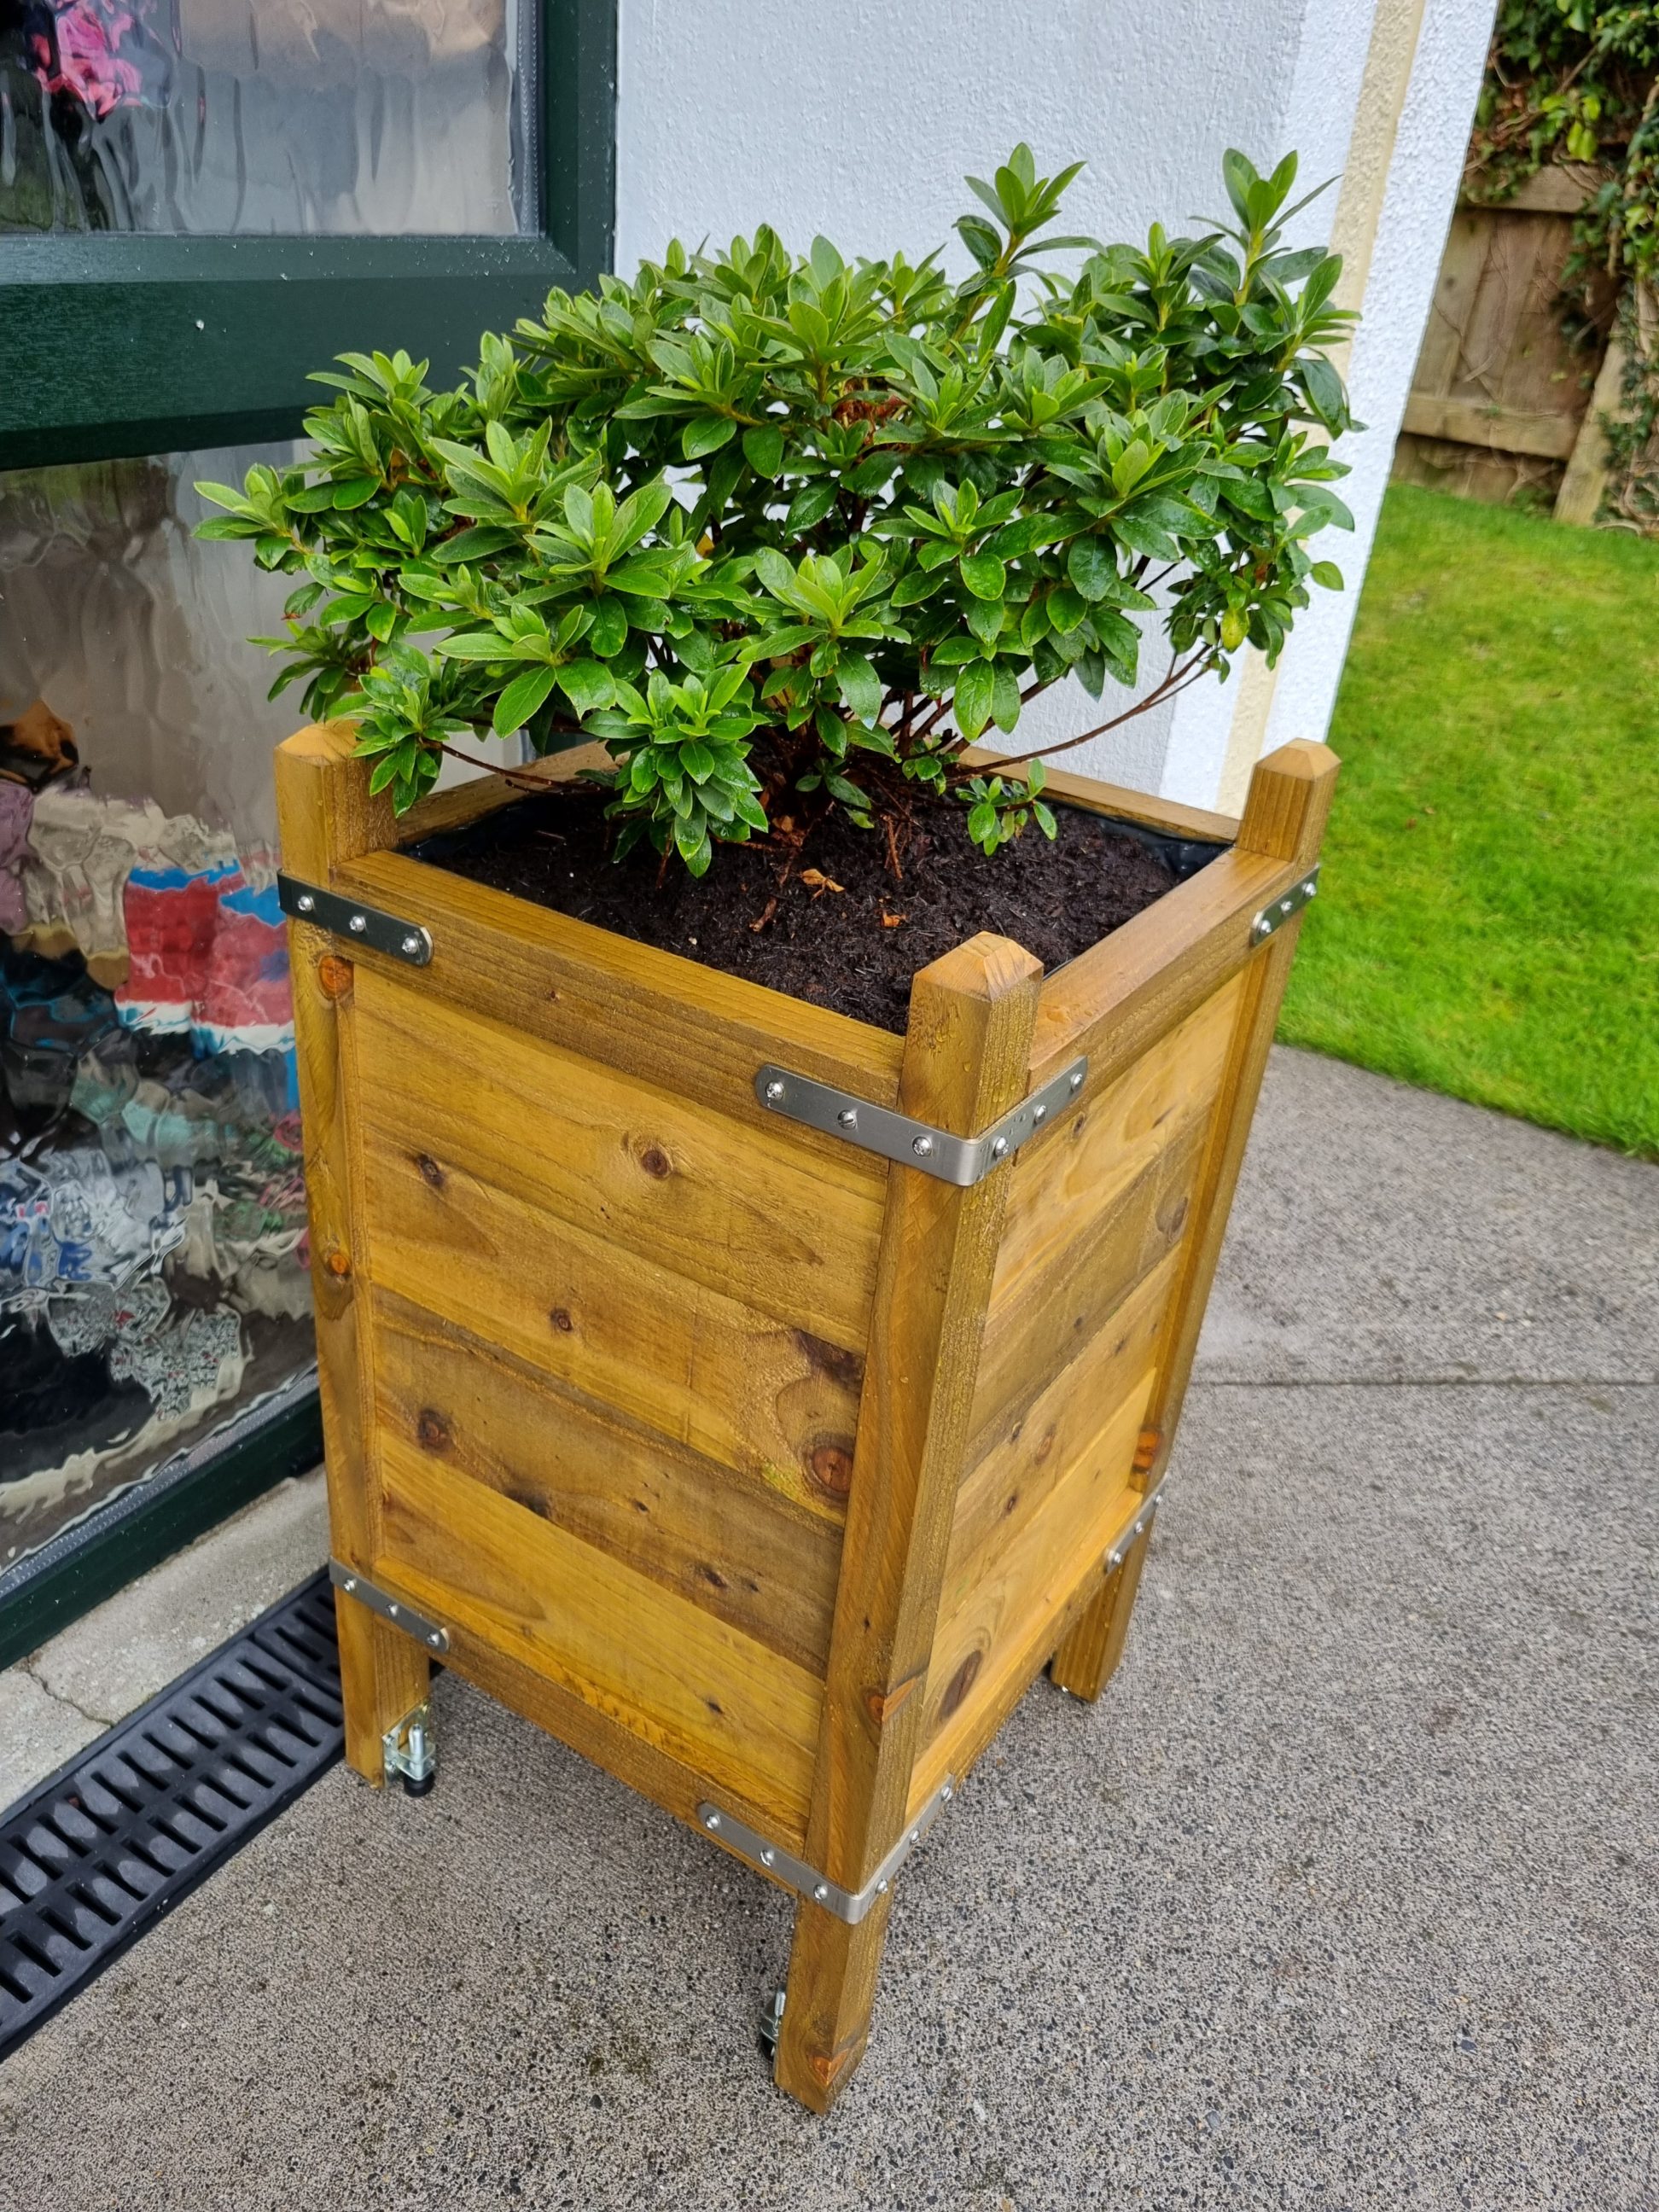
The oil dried quickly, allowing the planter to be used the following day. I filled it with a mix of soil and compost and planted a small shrub. The colour of the planter is slightly darker compared to the bench, yet it still complements the masonry paint on the wall and the PVC door well. The exact number of pocket screws used in the project remains unknown, but it’s substantial. The planter is hefty, appears robust, and is designed for durability. The stainless steel hardware is designed to retain its appearance and be reusable in the future. The finish is high-quality and has excellent properties. Over time, some gaps may form on the sides, but the construction is designed to accommodate seasonal wood movements. The planter presents a professional and costly appearance, yet the timber was not pricey. In fact, the hardware, fixings, and finish were likely more expensive. Every element of this planter serves a function – for instance, the braces are not only ornamental but also add strength to the structure. The elevated corner legs also serve a practical purpose – they should discourage the postman from resting heavy parcels on the edge, which could damage the plant. Larger packages can still be placed behind the planter, sheltered from the rain. A planter like this is essential in that corner, for many reasons but of course, the main reason is and always will be for decoration.