-
Where am I sign
I used an old toilet seat – yes … a toilet seat … to make the sign. The plan was simple: contact adhesive for the print and the smallest router bit for the lettering. Once the routing was finished I removed the paper and used black spray paint to cover the grooves. One, heavy, dripping coat did the job. Once sanded it looked a little better: I used my jigsaw to cut out the arrow shape and then moved to my sanding station to smooth out the edges. I also prepared the aluminium tube which involved cutting, grinding, drilling holes…
-
Coffee table for one
It had to be easy to move and quite small, but big enough to accommodate a cup of coffee and a TV remote. I started up by cutting the timber to length. Then I cut dados using my table saw. Not too deep, as they will only prevent the parts from spinning around. Pocket holes were next. Once drilled, their edges were cleaned with little rasps and sandpaper. Every joint was reinforced with glue. Fixing the last one was a little tricky, I managed by using my ratchet spanner. I also used additional screws for the bottom pieces – having…
-
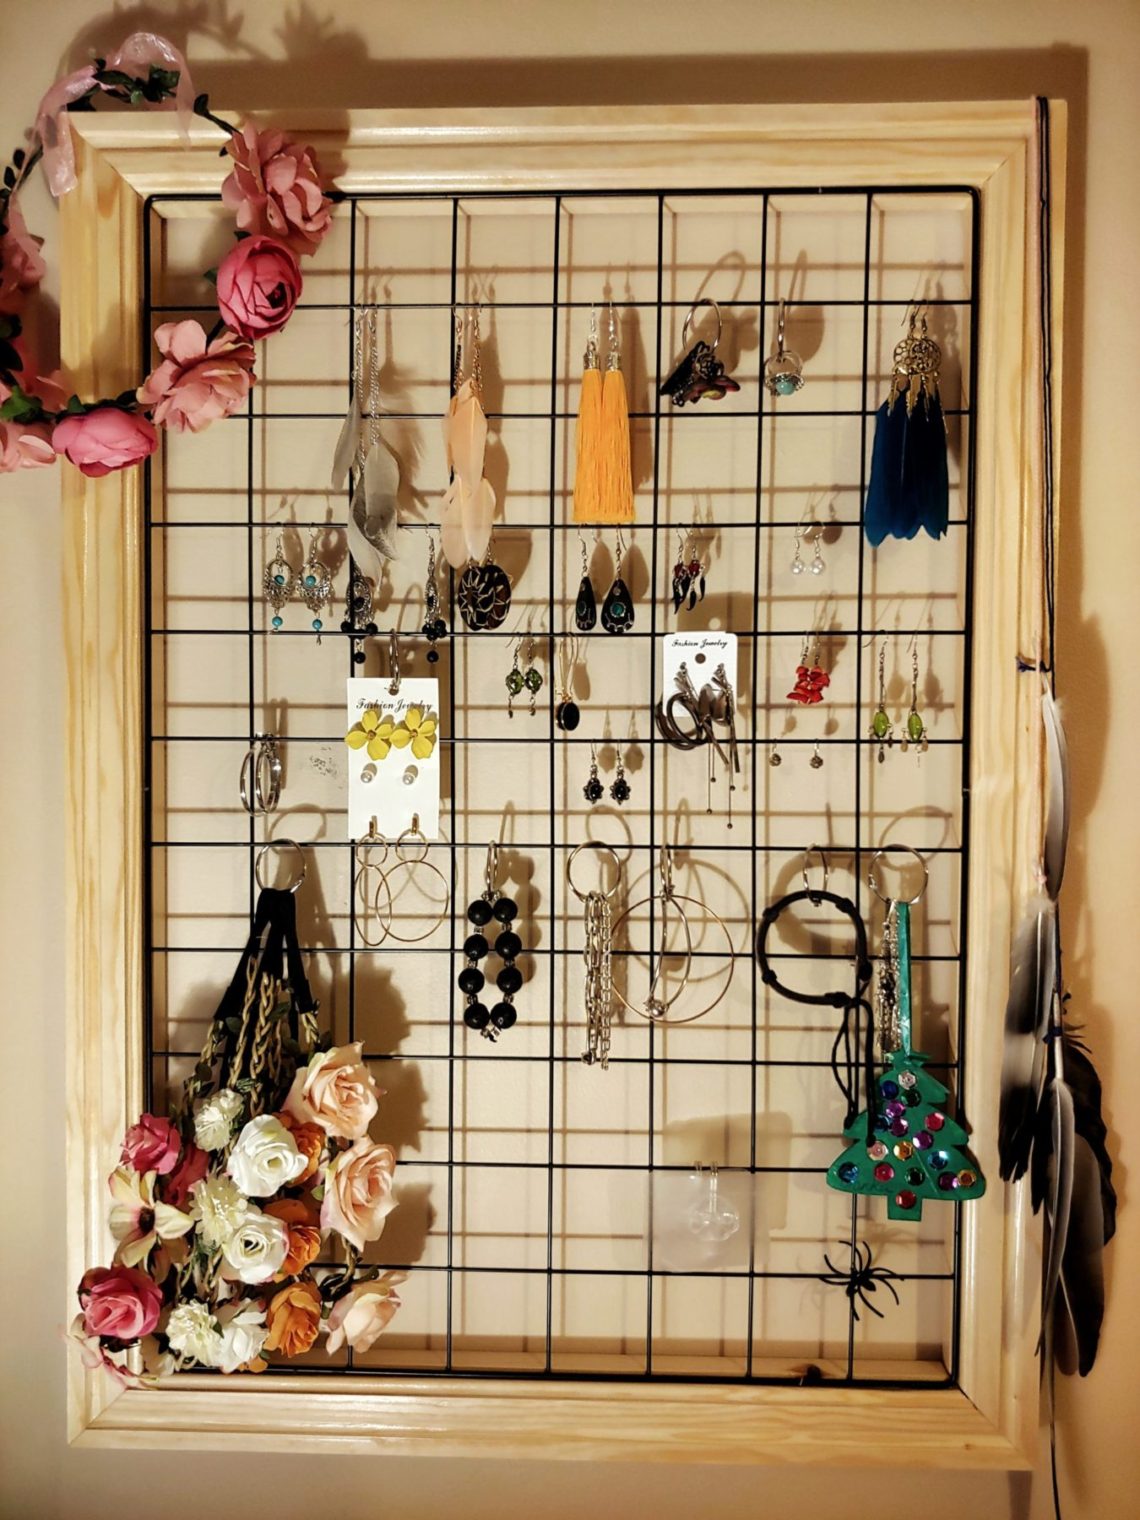
Earring hanger
This one is very like a regular picture frame except that there’s no artwork and its substitute is loaded from the front, not the back. That was the goal, to expose the whole grille and keep all these little squares visually equal. The timber was rough cut to length on a table saw. It was then ready for routing. To complete the task I had to use 4 router bits, a DIY-ed router table-top and a fence (for the bits without a bearing). The last step was to put chamfers on the bottom edges and deepen the recess for the…
-
Coffee wall art
To make the board I used pallet wood. Planks were cut in half, then rip cut to width. The board was cut to length on a table saw and that was followed by sanding. I left some saw marks and a couple of stains. I used a homemade wood dye (vinegar + steel wool) to age the board. Then I used spray paint to darken the edges. Always use the right screwdriver for the job, no matter how small the job or the screwdriver is. PZ1 is small. Cutting MDF with a jigsaw couldn’t be postponed endlessly. It was done…
-
Shed shelves
I needed some place to store my timber and plywood/MDF sheets. Something quite small, to save space in the shed and big enough to accommodate a 4′ x 2′ sheet. All elements were fixed inside the shed except for the one that I started with. I didn’t have an extra hand so I improvised with temporary supports. Once the frame was done I prepared for pocket hole joinery. The lower shelf is built for shorter material (shorter spacing) and the upper one for longer pieces of timber. It has the right size and it’s very sturdy. It will help me…
-
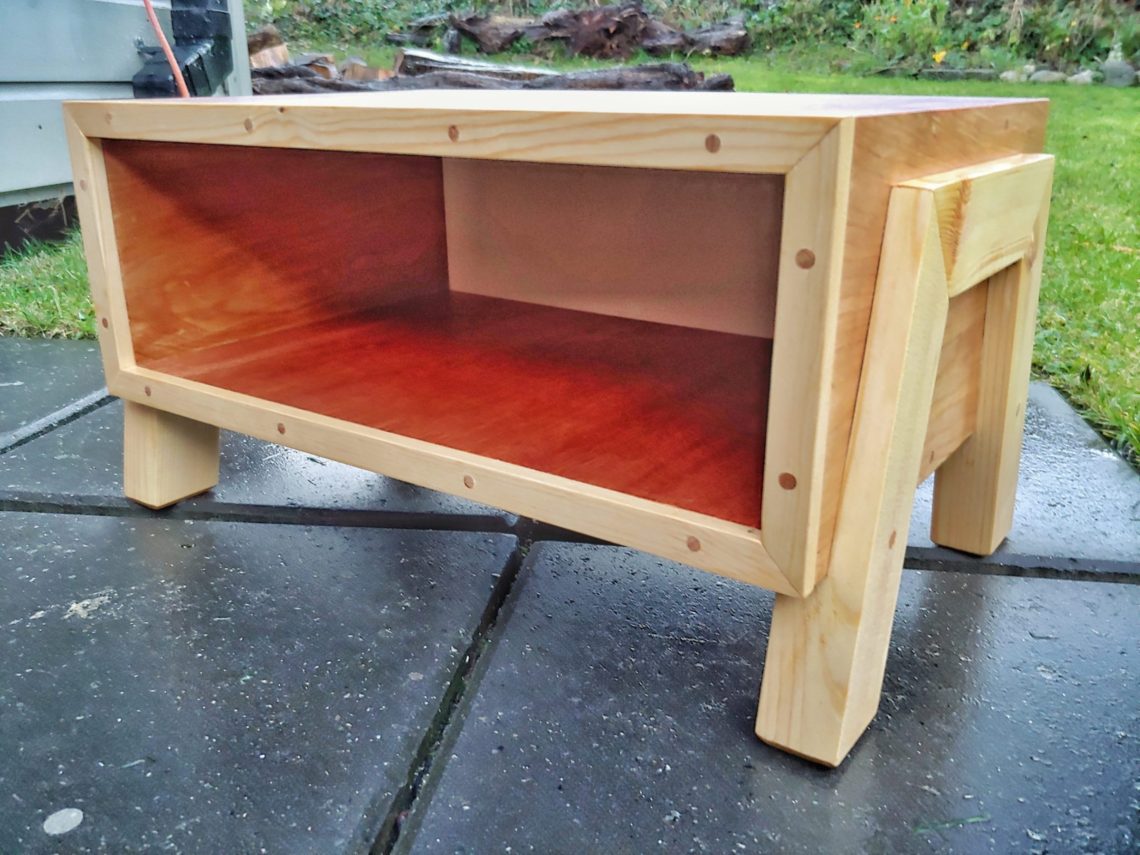
Low stand
Scrap plywood was used to build the box. First I cut everything to width and length. Then I set the blade to 45º and removed the corners from all 4 pieces. The glue-up wasn’t as easy as I expected. My corner clamps were too big for this project and I had to do some overlapping. This seems to be every woodworker’s problem – we all need more clamps! The glue squeeze-out was cleaned with a damp cloth but some hardened glue had to be removed with a chisel. I built a provisional thin strip ripping jig and cut some timber…
-
4 tier shelving unit
I used pallet wood to build the tiers. First I cut it to the width. Then I set the blade to a 45º angle to cut everything to length. I used a stop block to make precision cuts. 25 and 30 cm pieces were cut, 8 of each length. Glued and clamped with my recently build corner clamps. It is perfectly square. I also tried different ways of using my clamps, even better results. Sanding, clamping and cutting a recess for an aluminium corner. Once the frames were done I prepared another batch of pallet wood. Planed down to the…
-
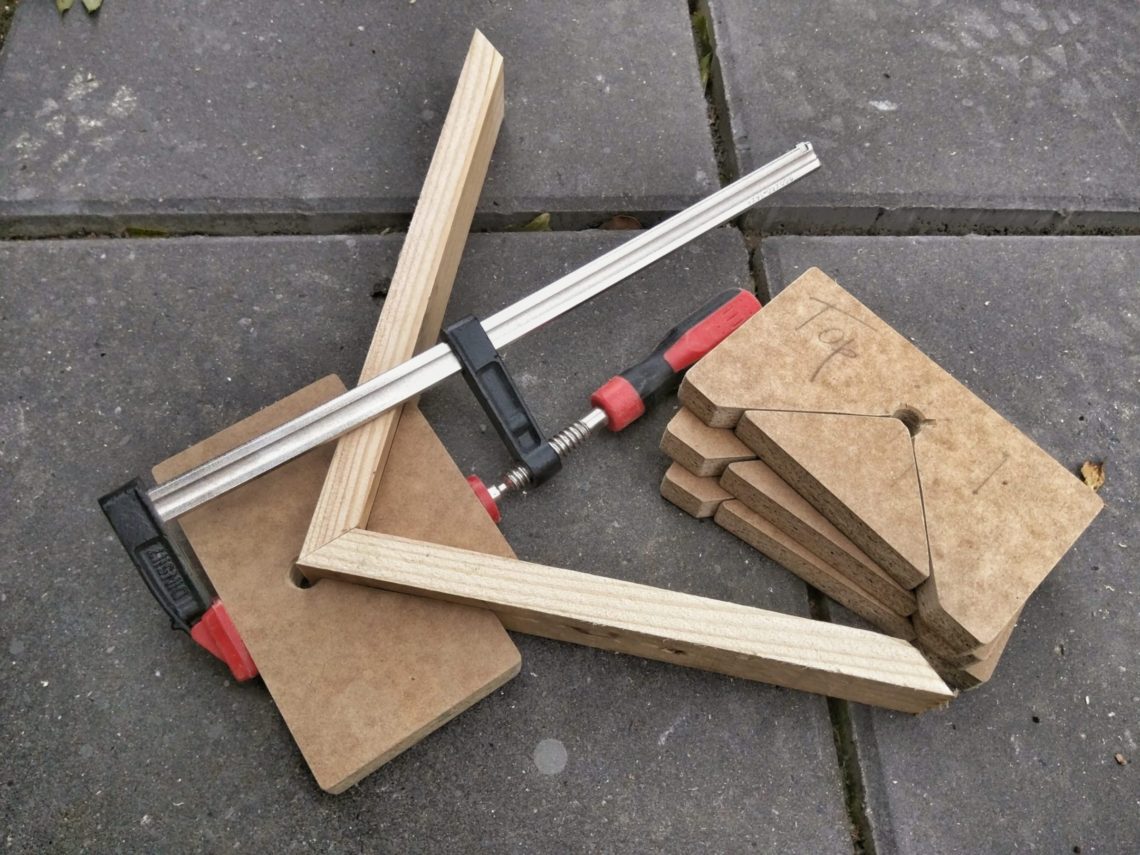
Corner clamps
A chipboard scrap was used to build the project. Once I had an idea of how they would look, I moved to the next step – a table saw. Drilling holes with 12 mm bit. I countersank them – just for fun. Using a table saw – cutting from both sides. A quick sanding and rounding of the corners. 8 pieces make a set of 4 corner clamps, they can be used in different ways.
-
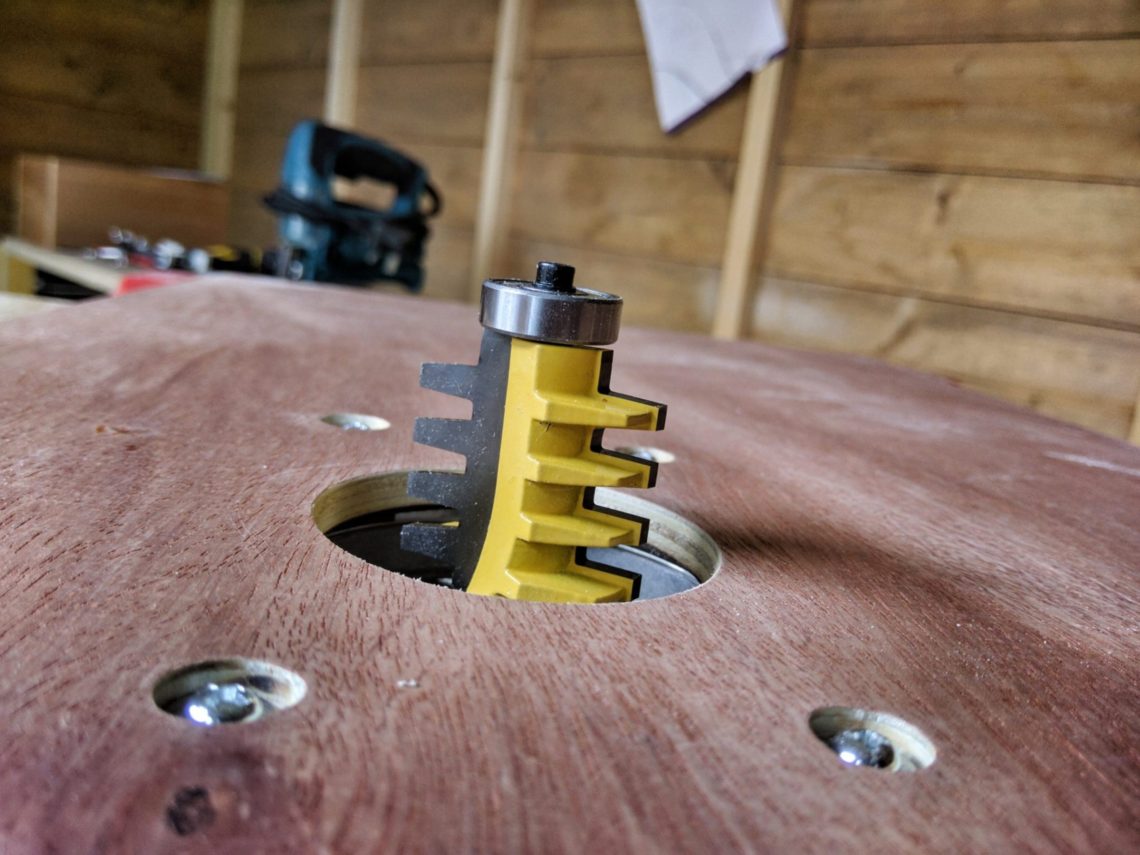
Large bits router table top
I already have a router tabletop, but this one is slightly different. It can be used with large router bits – cutting head of 2 inches in diameter (50 mm). This big cutting head means a different router base. The trimmer base was too small for large bits, luckily the plunge base can handle bits of nearly 64 mm in diameter. Cutting the plywood was the first thing to do. Due to the size of the base I also had to trim the workbench. First with the jigsaw, then with the router. That was the first time I used a…
-
Polish table makeover
The original shape looked a little heavy, especially the legs. I also wasn’t happy with the tabletop mount. These 2 things had to be changed – the shape of leg supports and the position and thickness of tabletop supports. Disassembly was easy with the proper tools. Once completed I set my straight line jig and the table saw. I removed the chamfer from the top and then I cut grooves using my router table fence. Driving 8 large screws was quick and easy, then I sanded down the high spots (both wood and metal) using a belt sander. I made…