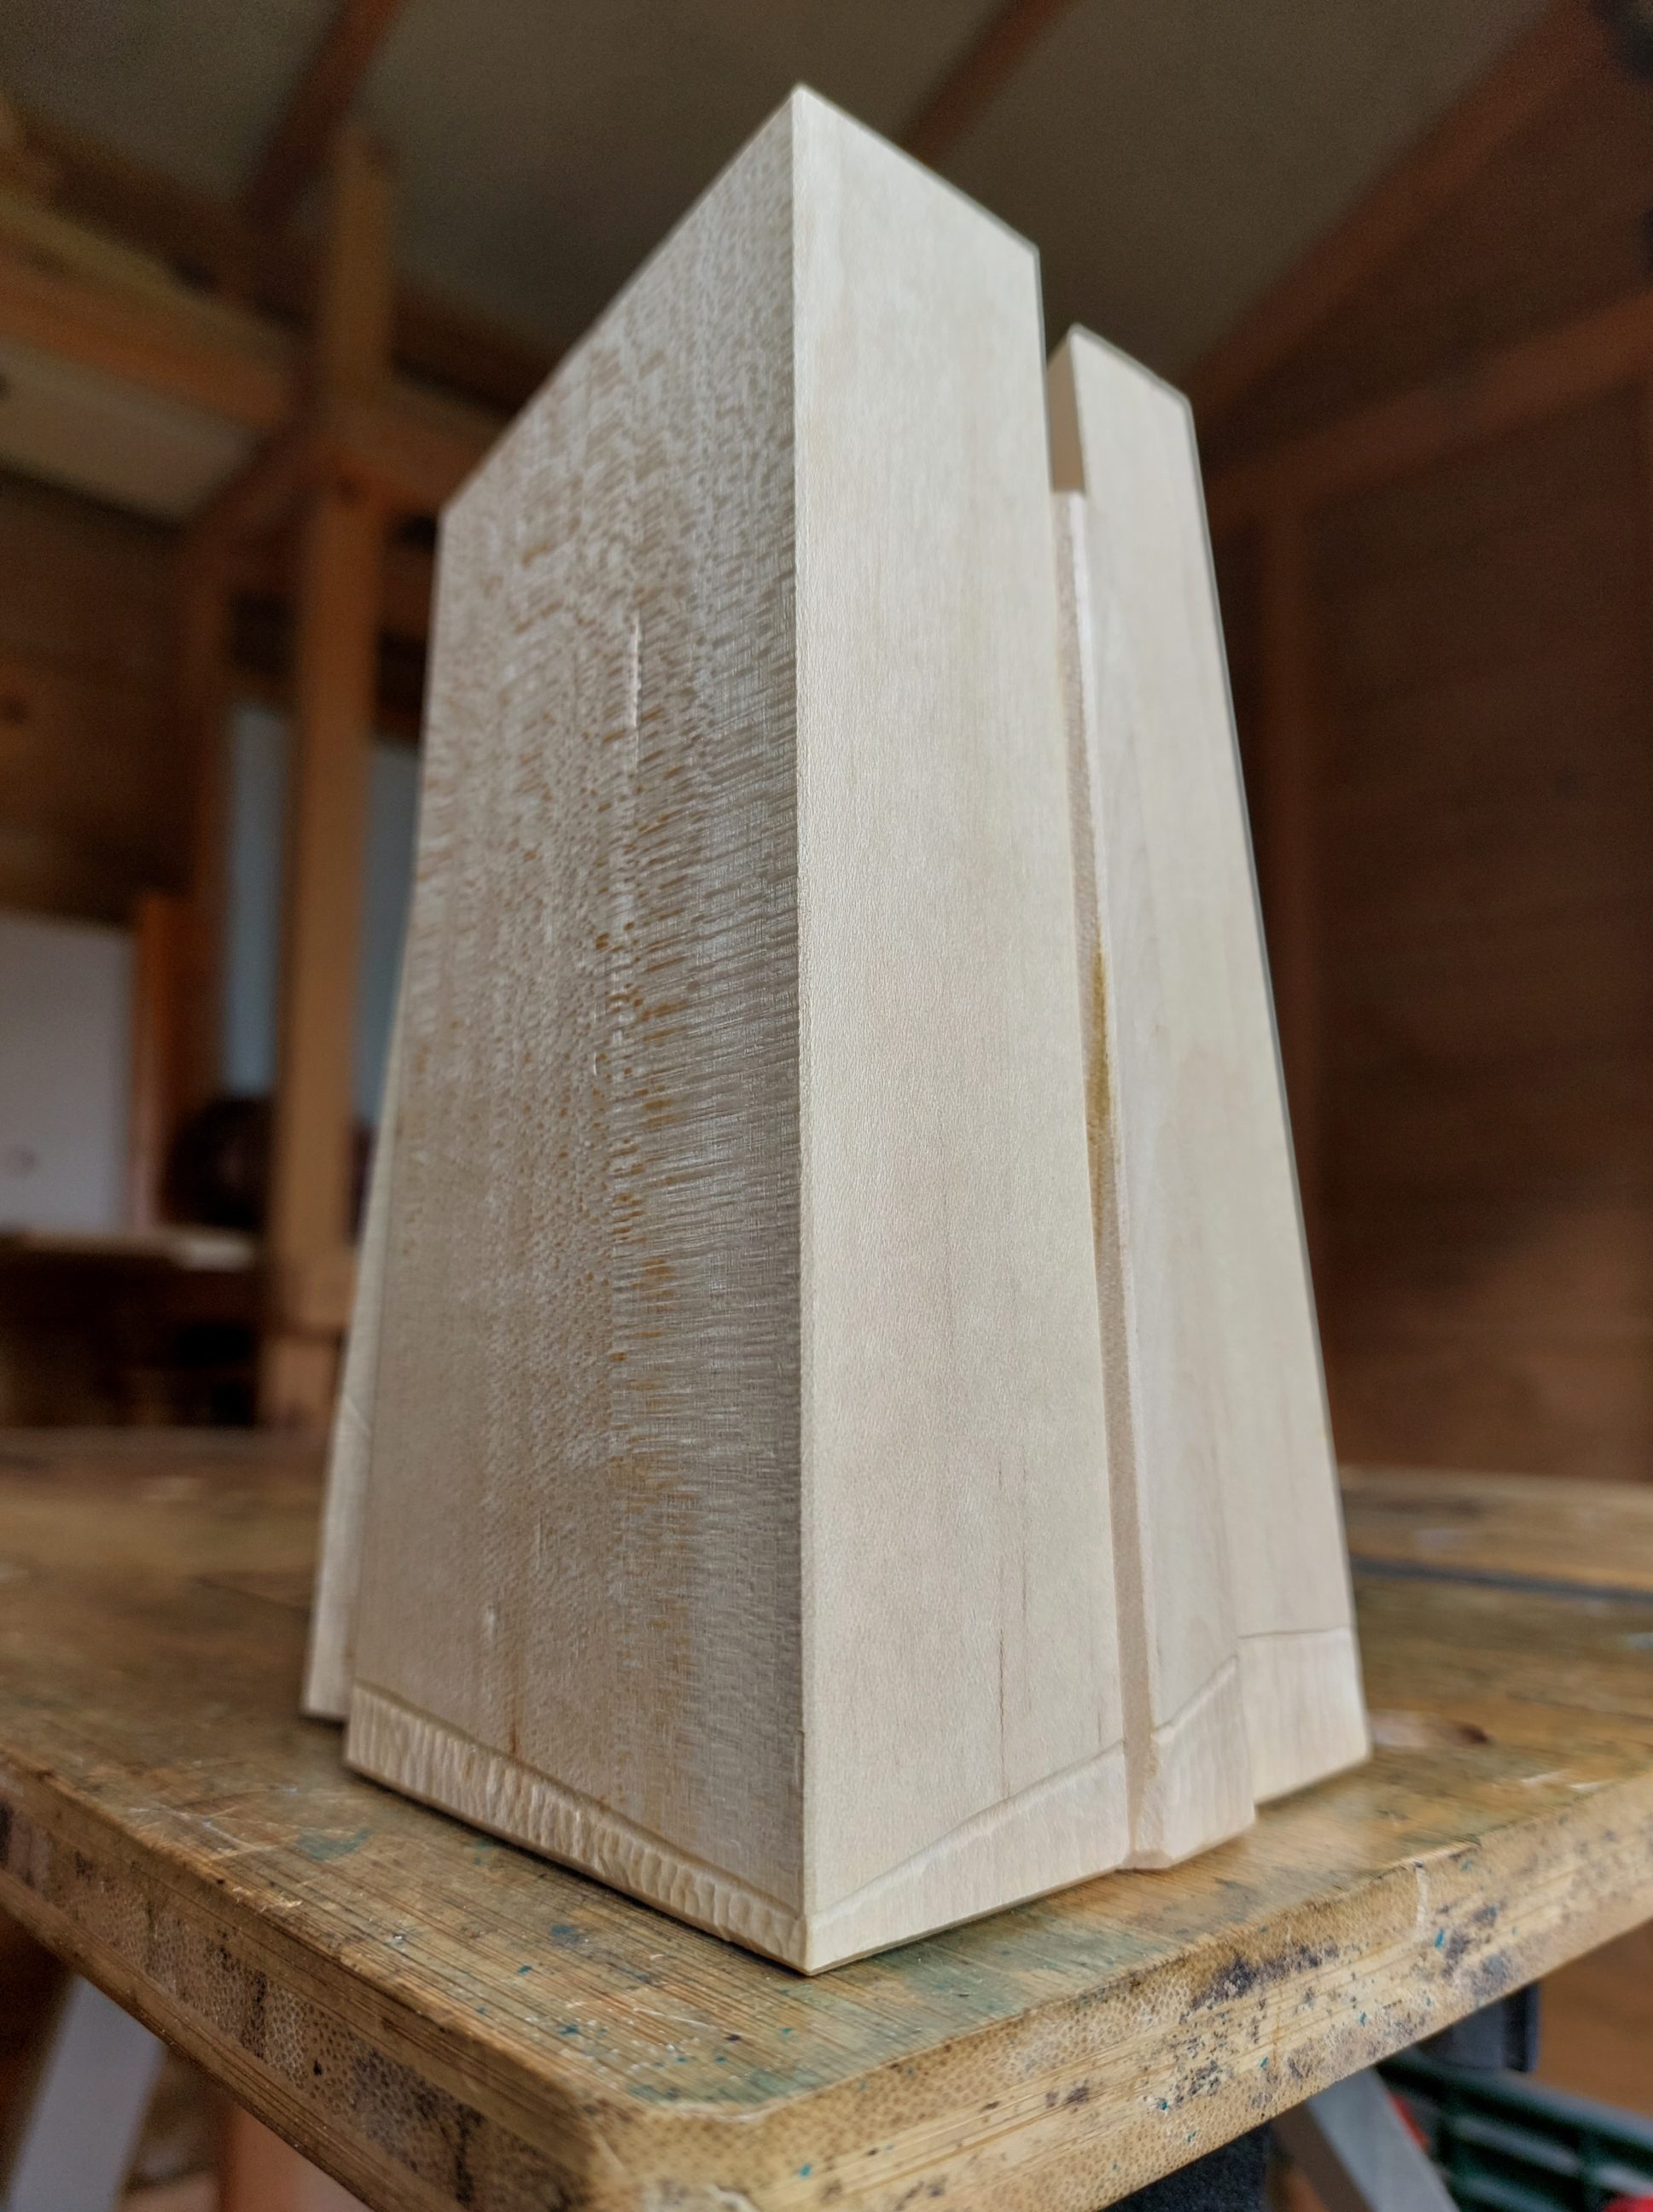
Firewood Mountains, a wooden decoration
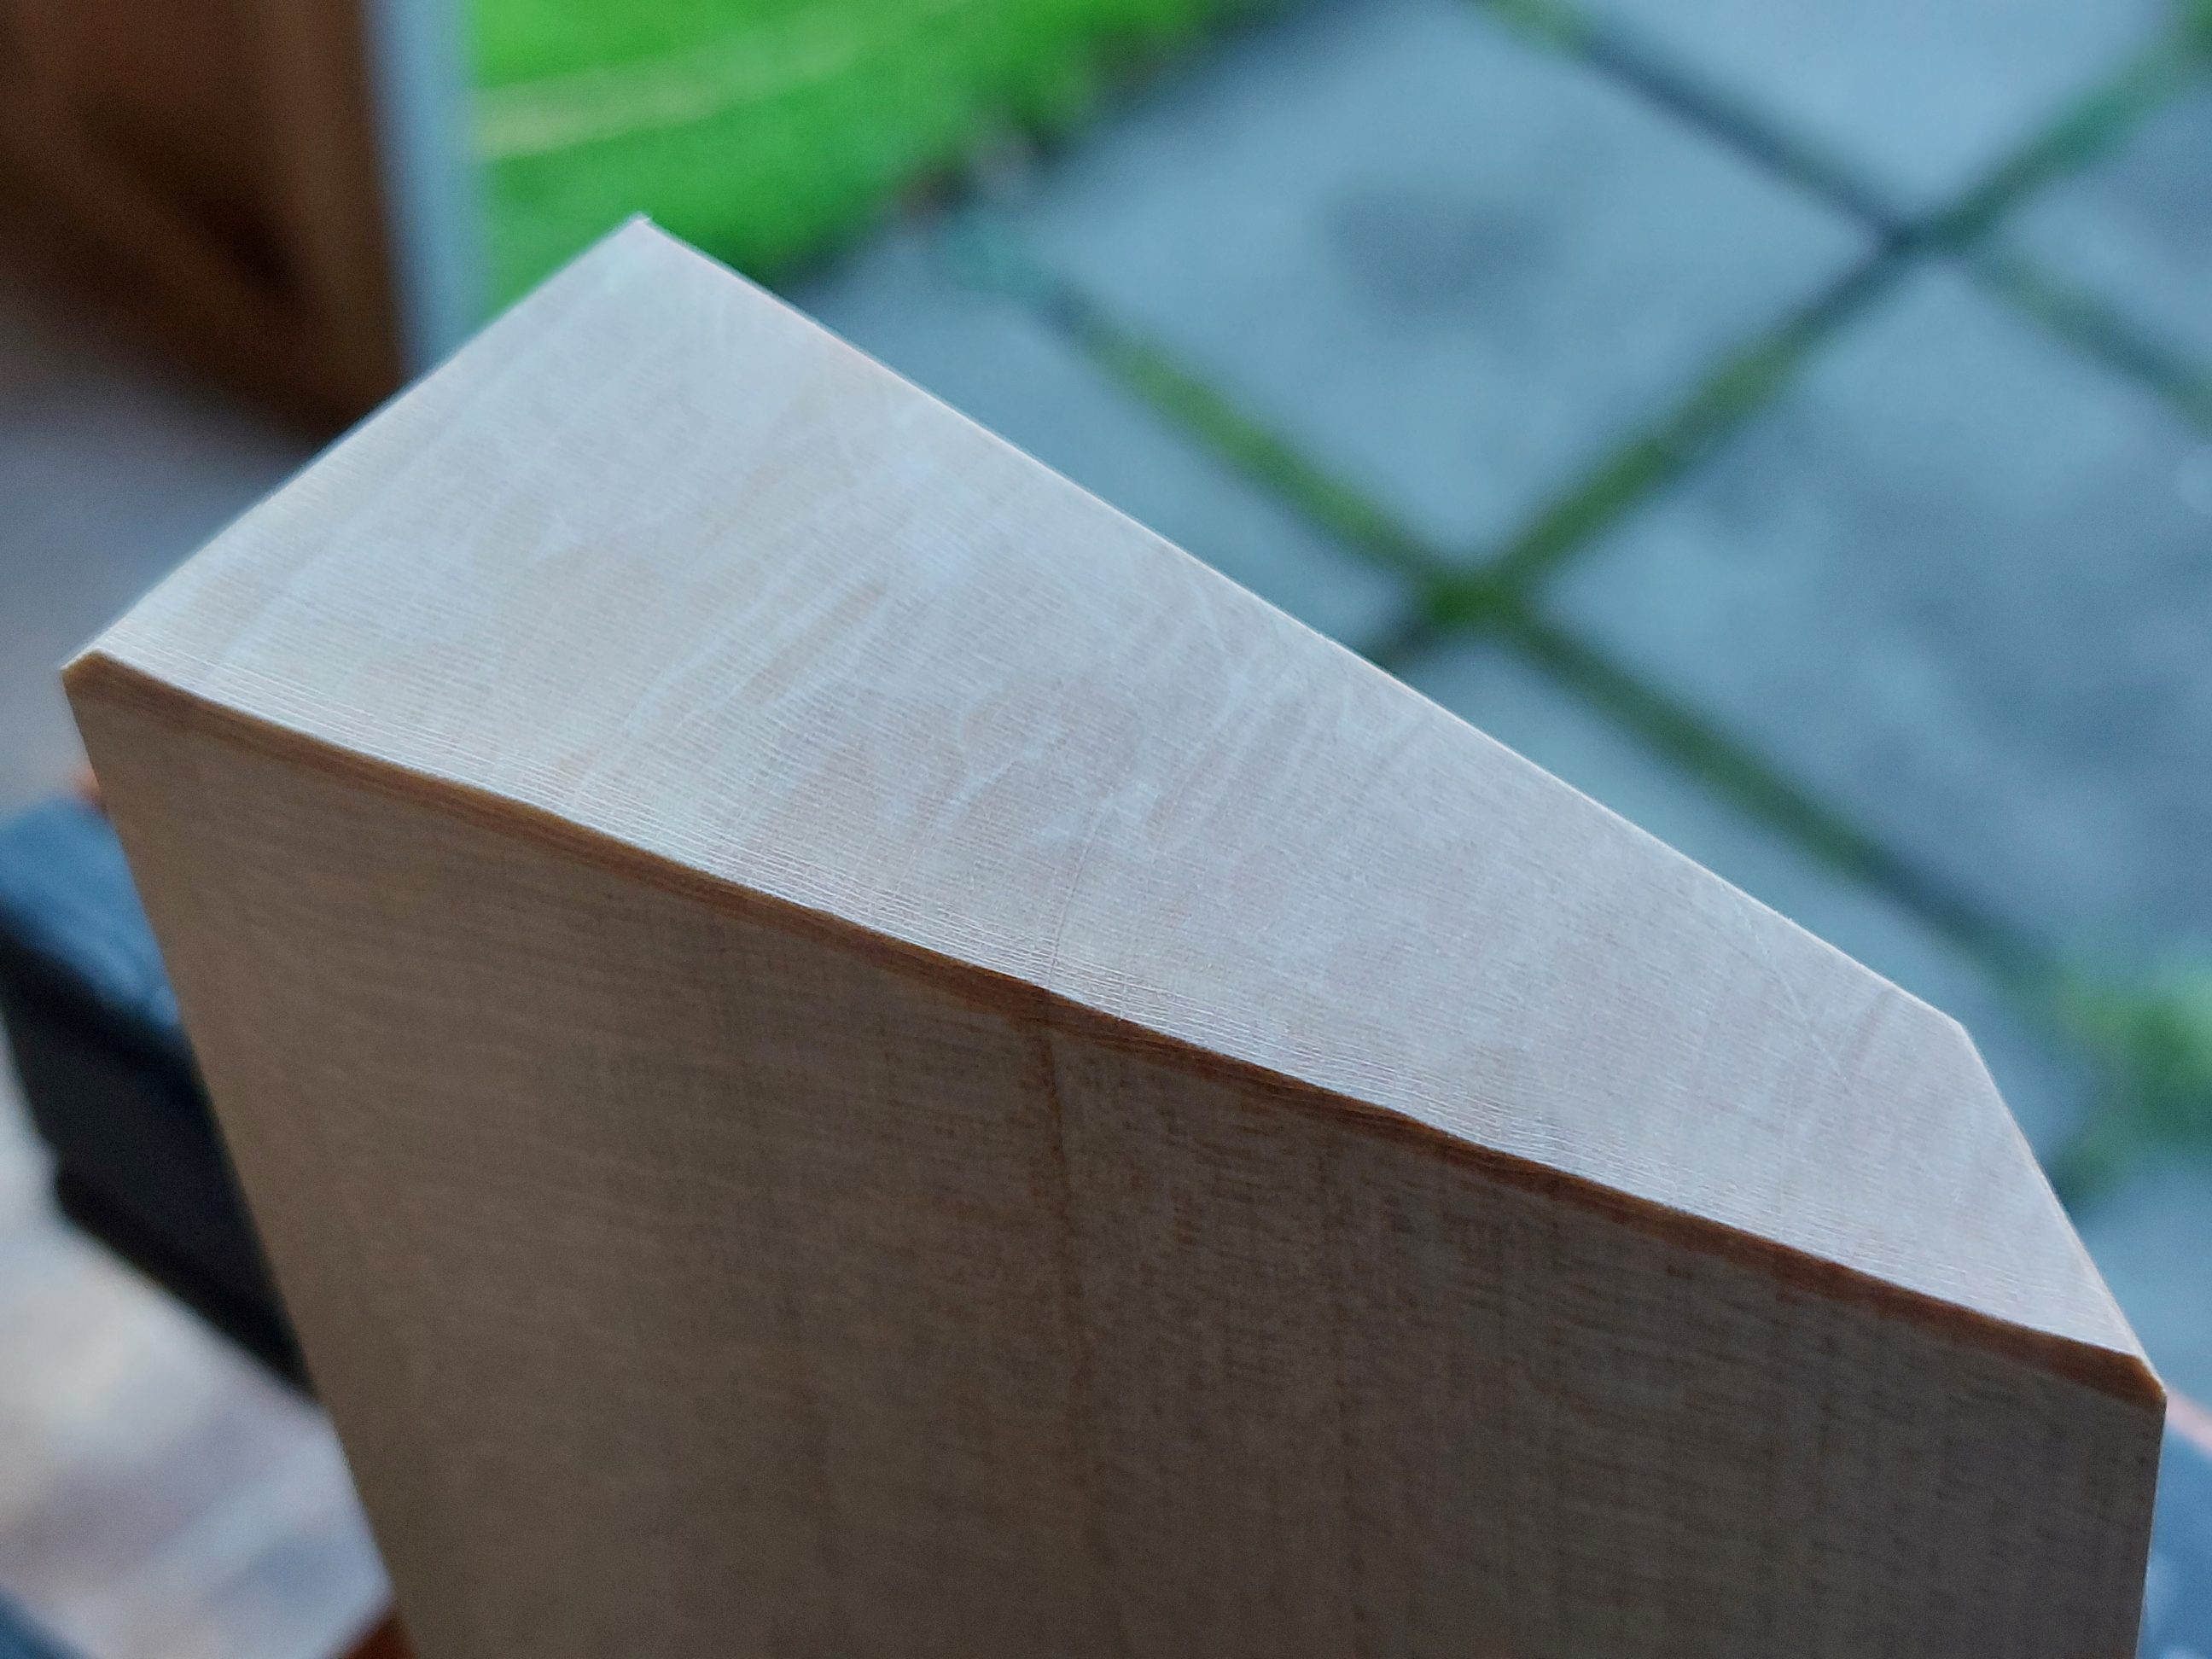
These miniature mountain peaks are made of 3 pieces of sycamore, planed and glued together. Originally, the wedges formed a quarter of a dry firewood log, but it developed some cracks and was split with an axe along these lines. I only flattened each piece as much as it was necessary to glue them up together. Their bottom ends were cut off because they got contaminated with the dirt during splitting and anything embedded in the wood could easily damage my blades. I used my trusty No. 5 plane to smooth out all the walls, including the bark, and to cut chamfers. There was no sanding involved in that step and no other tools besides that plane.


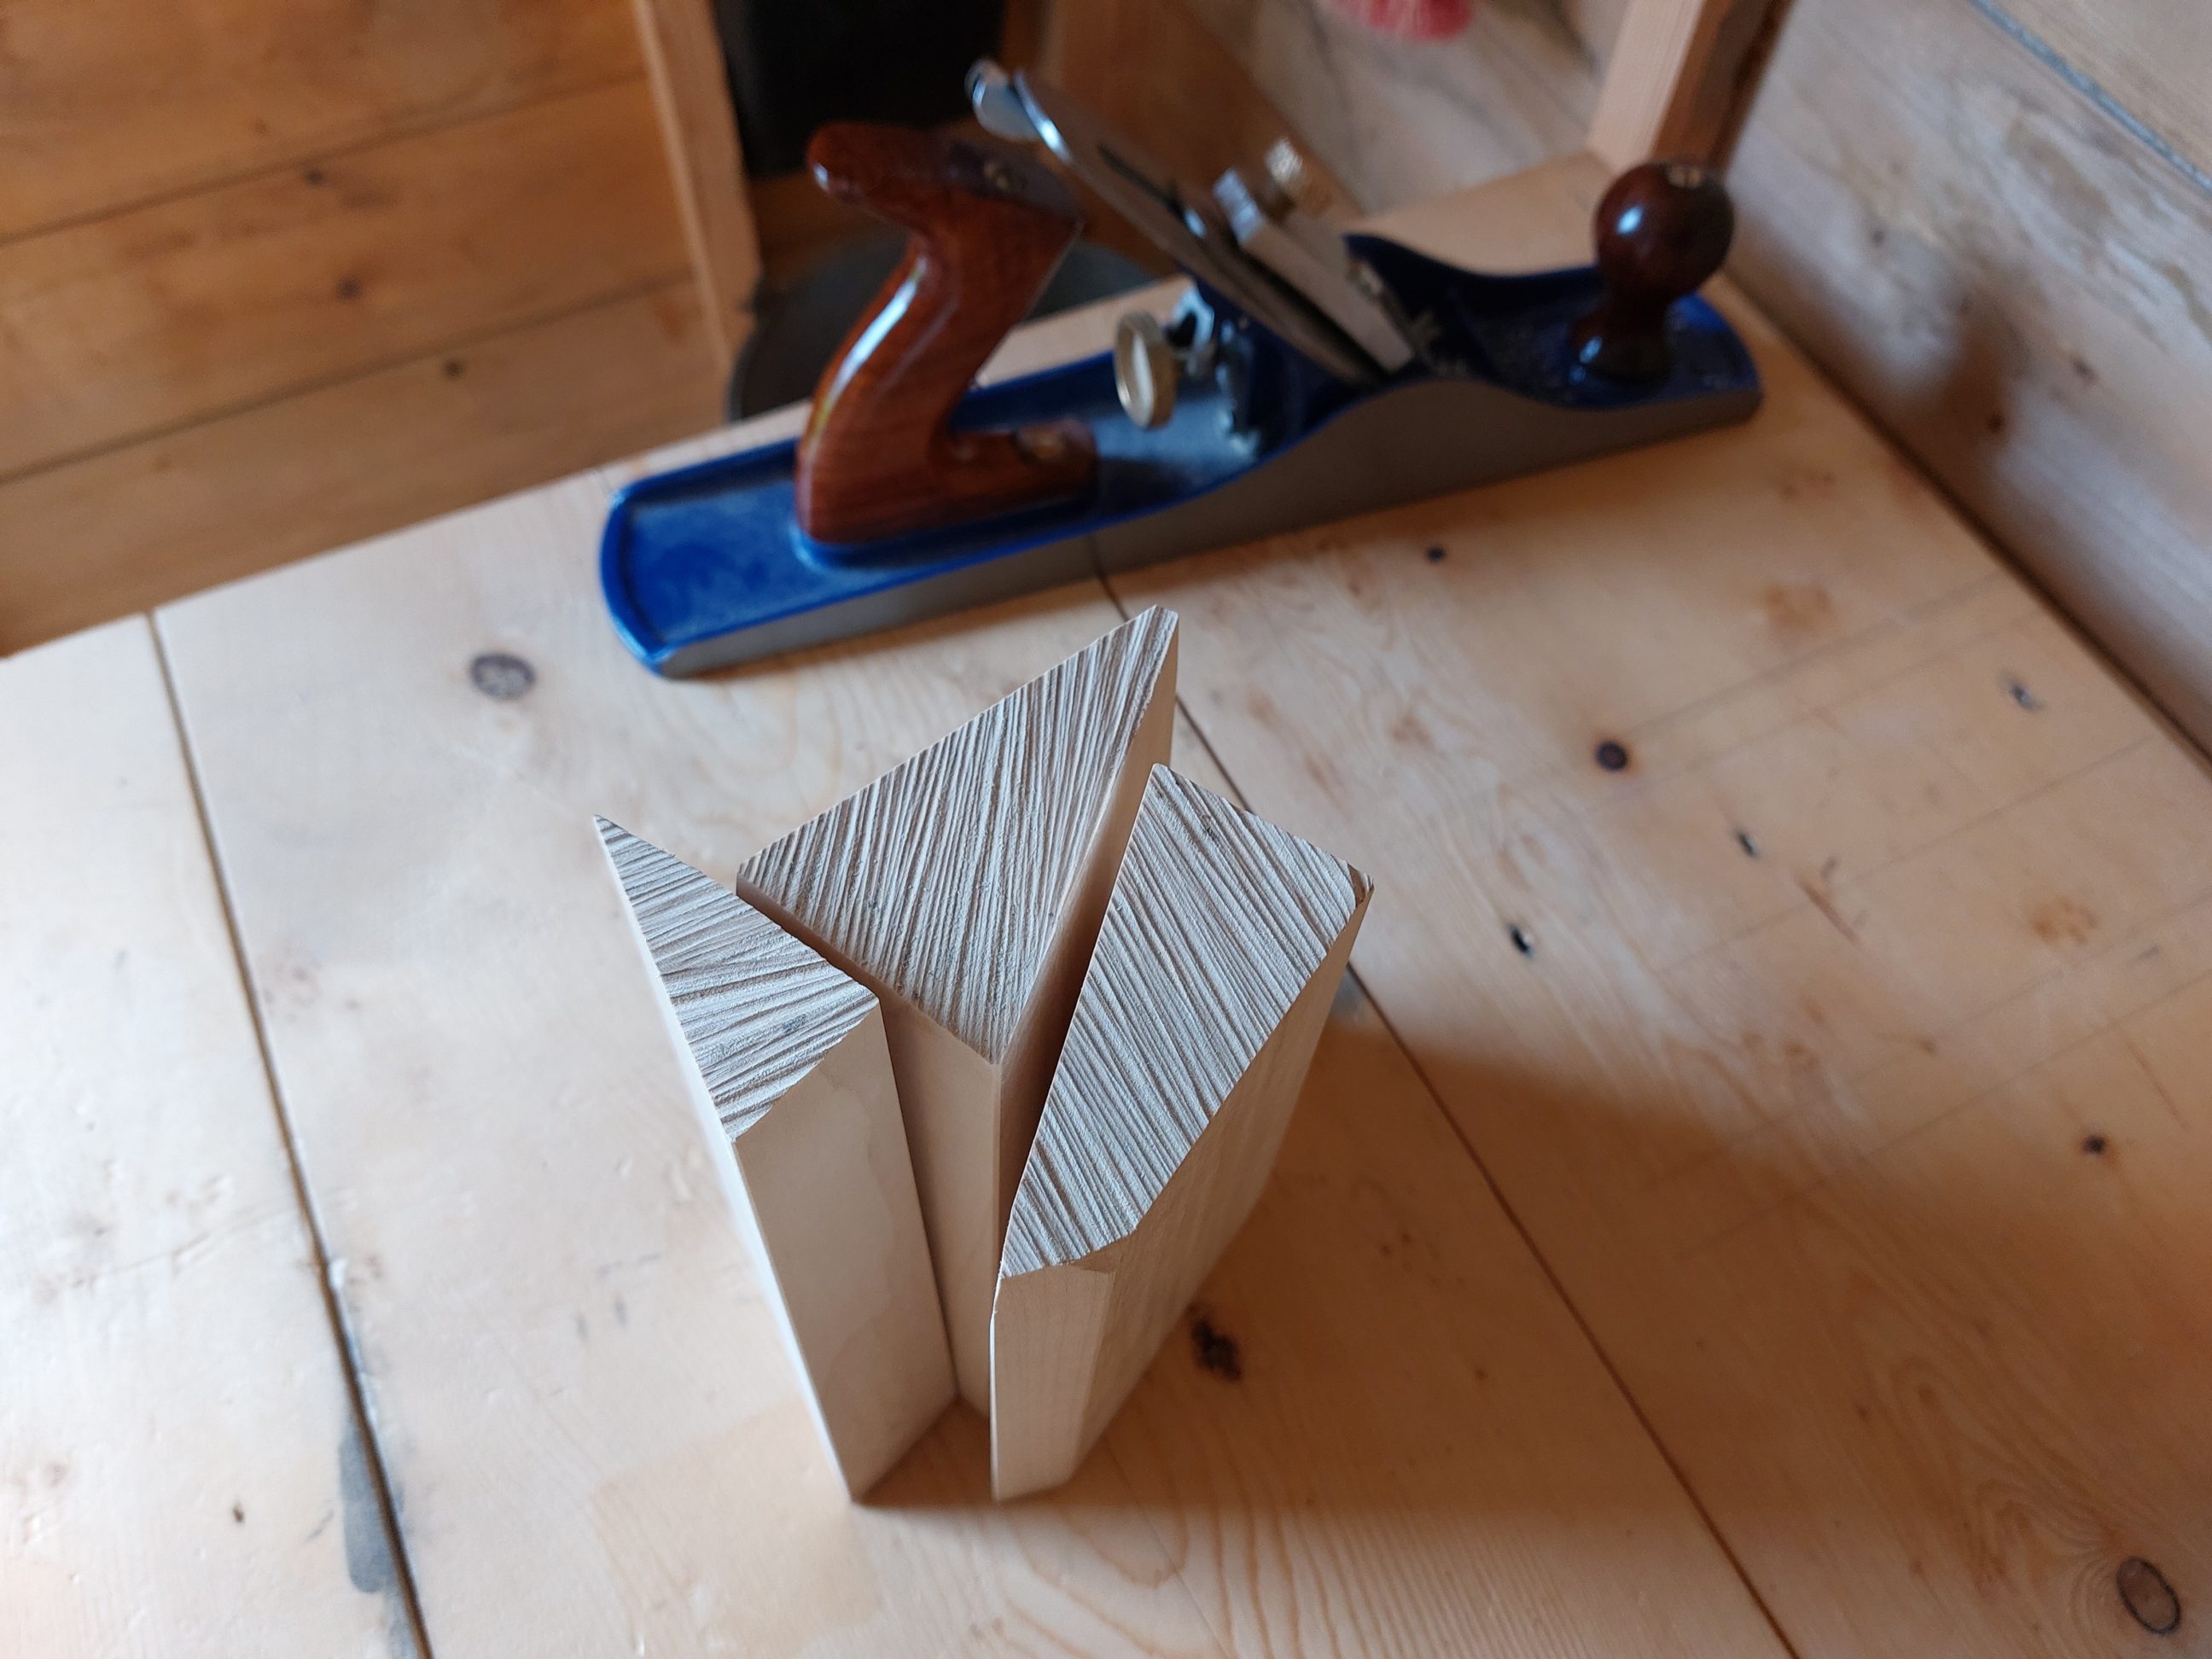
Next, I moved on to the tops. I cut them off at a little steeper angle and planed them down with a flat chisel. I managed not to use any sandpaper and in consequence of that, I ended up with a beautiful engrain popped up at its best. The last piece was tricky, perhaps because it was the largest one, and I had to carve a texture, but still, no sanding was involved.


All 3 parts were glued up, clamped and left overnight to bond permanently – put together again, but in different orientations and after taming. When the glue dried, I levelled off the bottom using my belt sander. That was the only time I sanded anything in that project, but I couldn’t figure out any other way to flatten off the bottom. I equipped the sander with a temporary fence to maintain the same angle during the sanding process and installed an aggressive sanding belt to speed up the process.


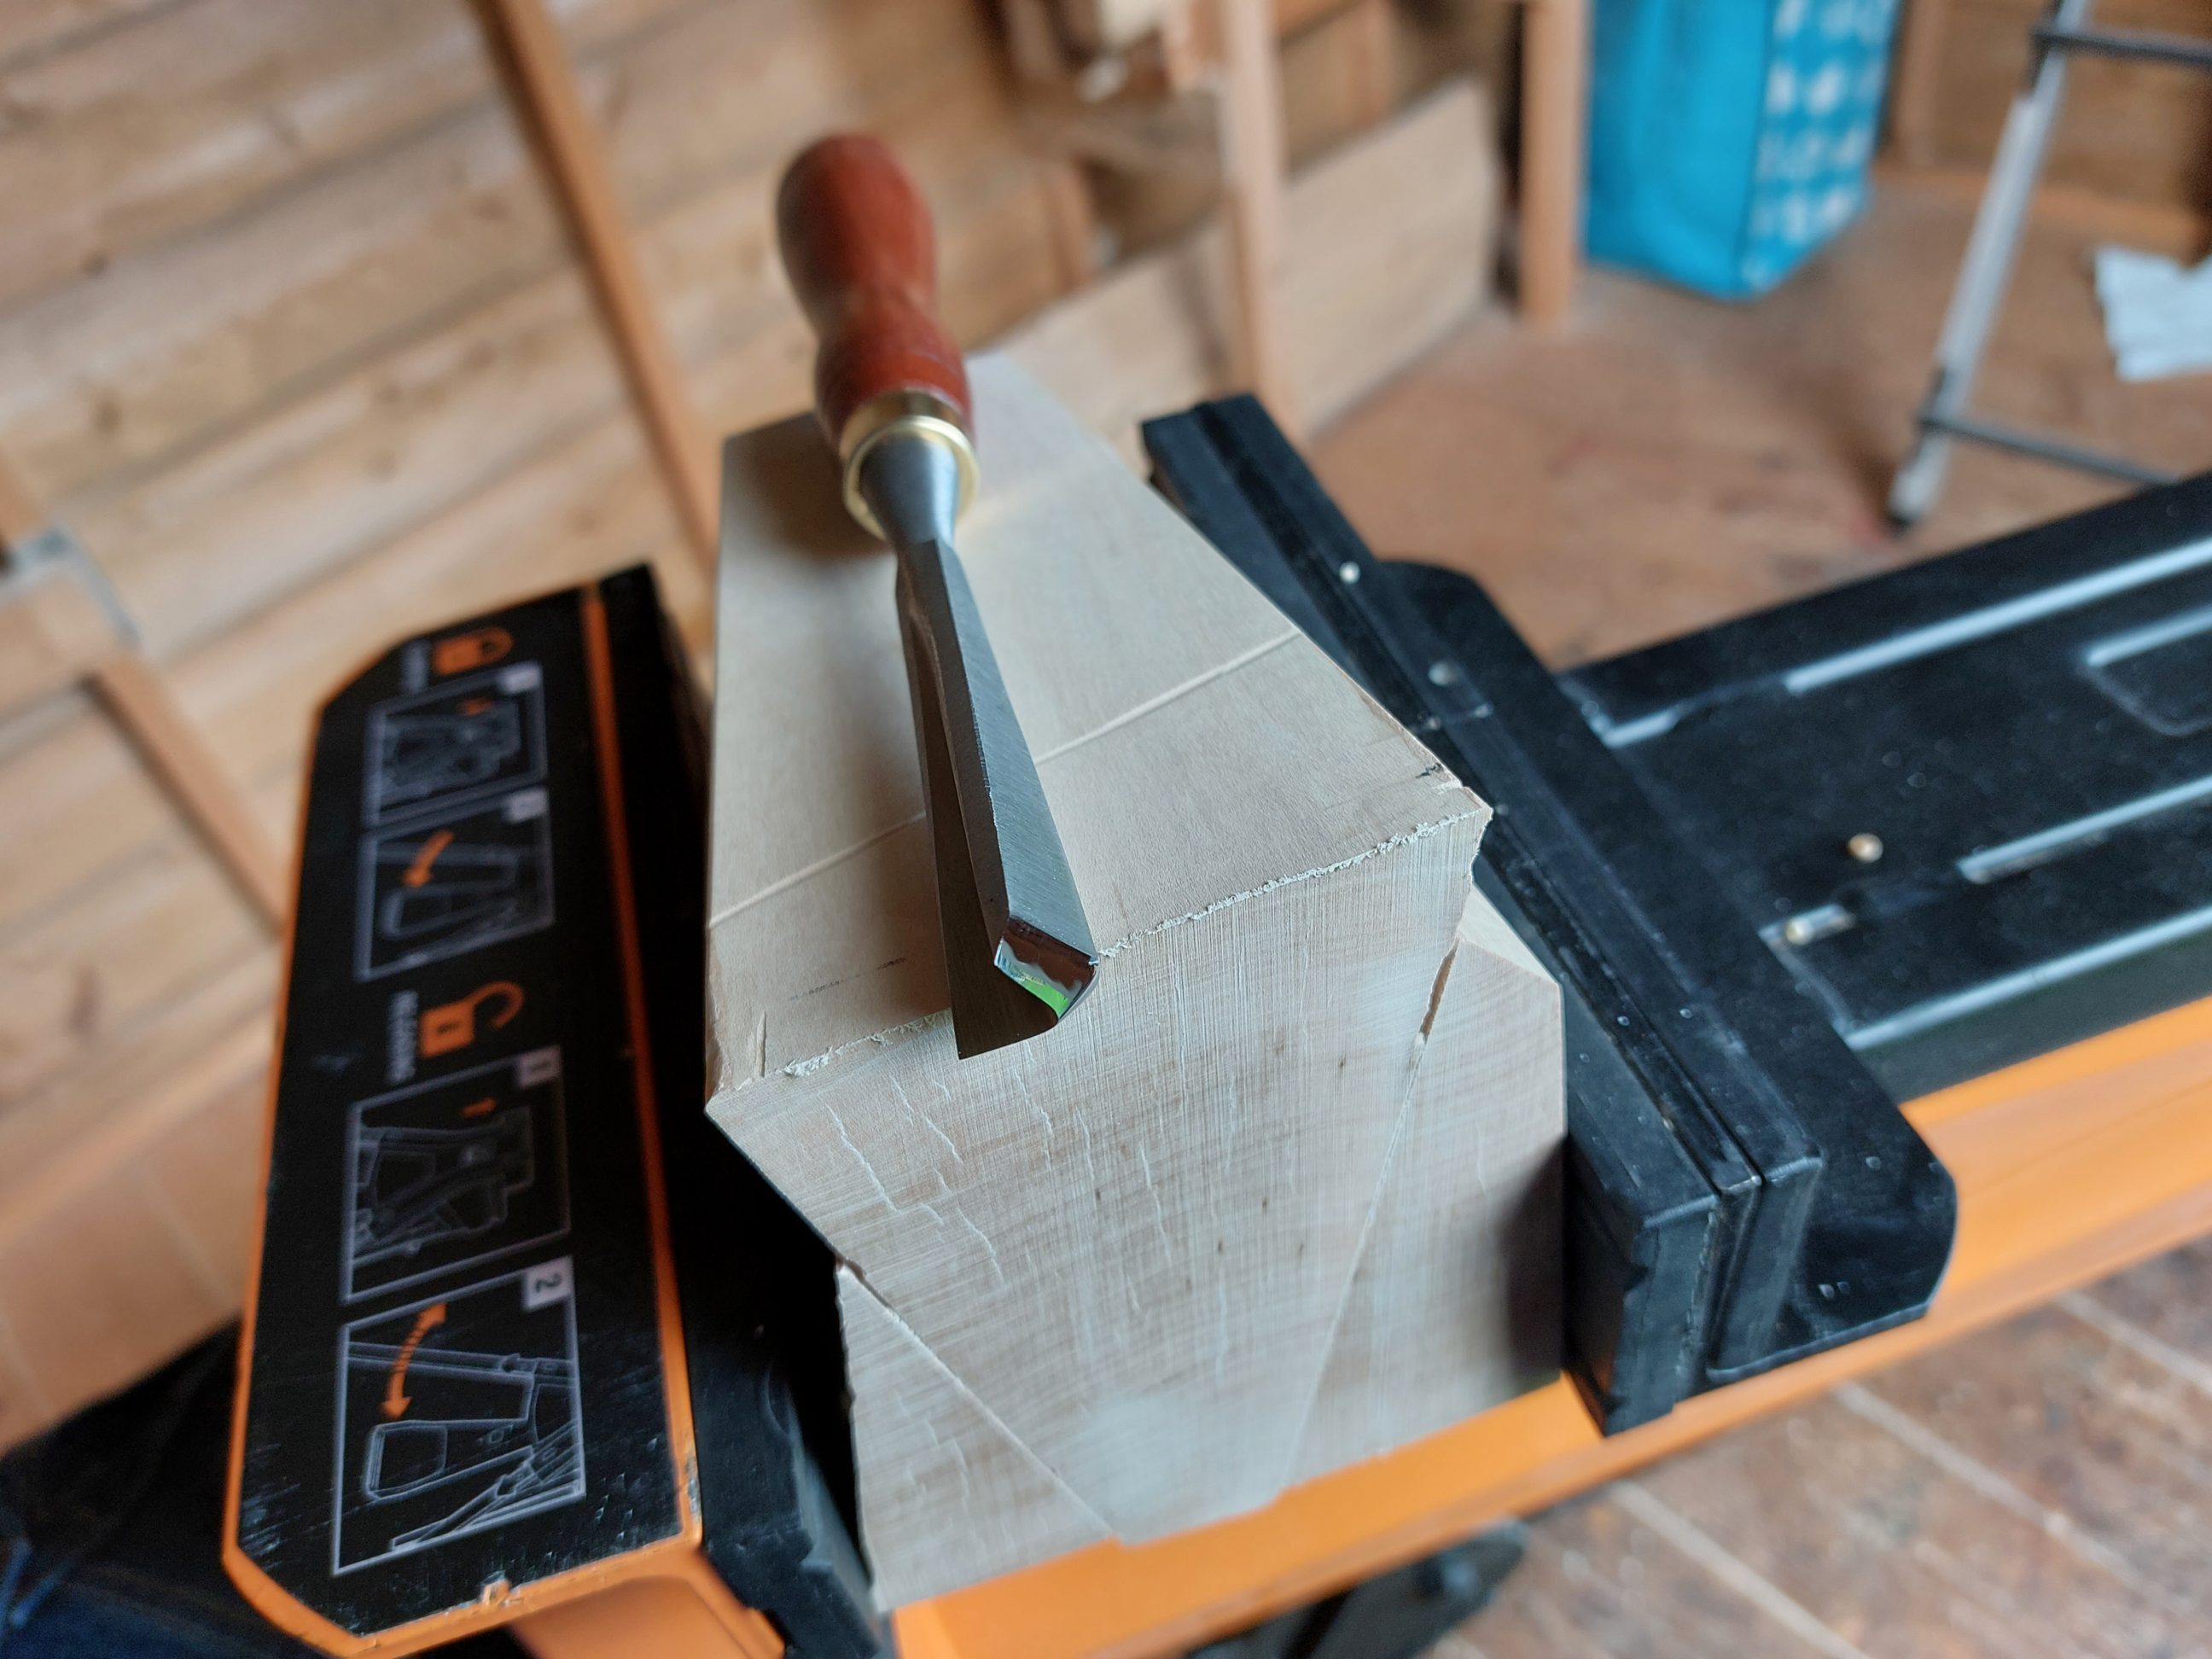
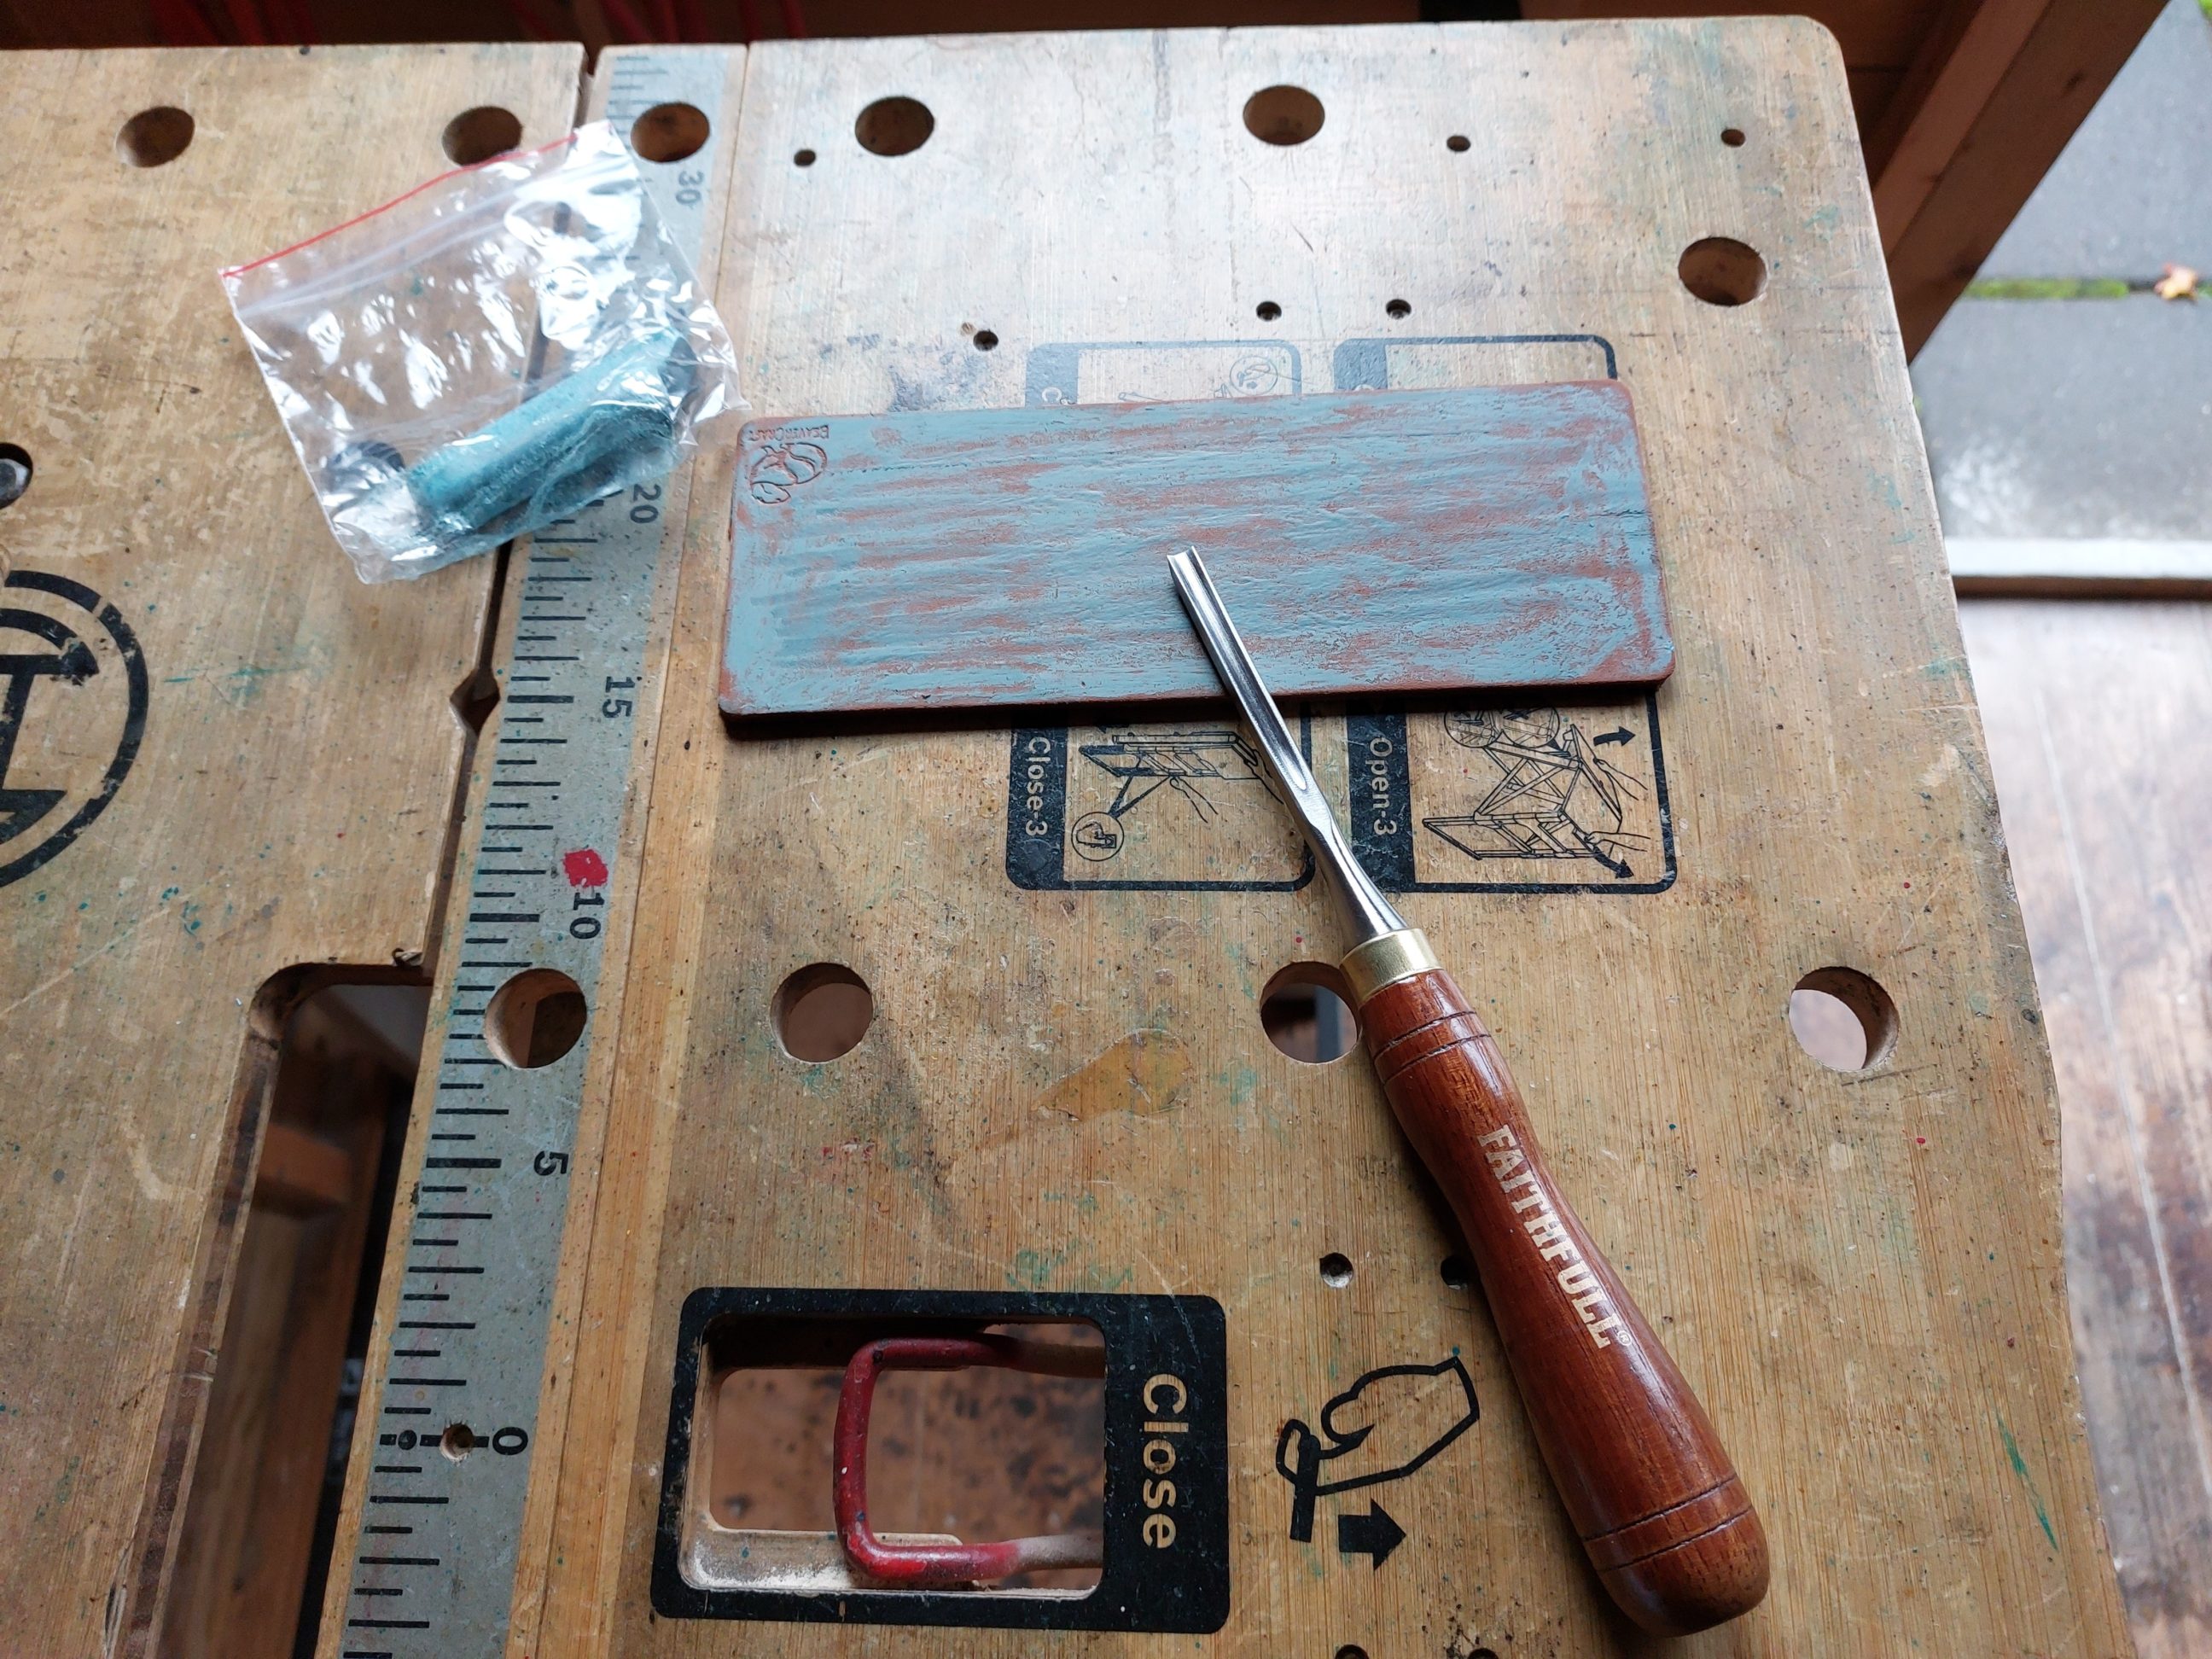
To mask all the imperfections that appeared at the bottom, i.e. chip-outs and bark, I decided to carve a texture separated from the rest by a groove. First, with a V-chisel, I scored lines and then moved on to carving. Little by little, wall by wall, I masked everything with a beautiful texture. Sometimes it worked better when carved from top to bottom, sometimes the other way around. I made sure my tools stayed sharp and strop them every once in a while. All the edges got a chamfer cut at their bottoms and I applied 2 coats of wax, buffed them up and removed any wax from the cracks with a brush.


Every edge of this project, except for the bottom, is not sanded but cut with a sharp tool. Using blades, chisels and gouges let me get the most from both end grains and side grains. It was also a very pleasant experience to work with hand tools, virtually noise and dust free. The wax finish, which is very subtle and almost invisible, gives some little protection but it’s a decoration and doesn’t need more. That sculpture isn’t easy to grab or handle because of its tapered shape. Additionally, it’s quite slippy because their walls and edges are planed ultra smooth and finished with wax which is known for its lubricating properties.