-
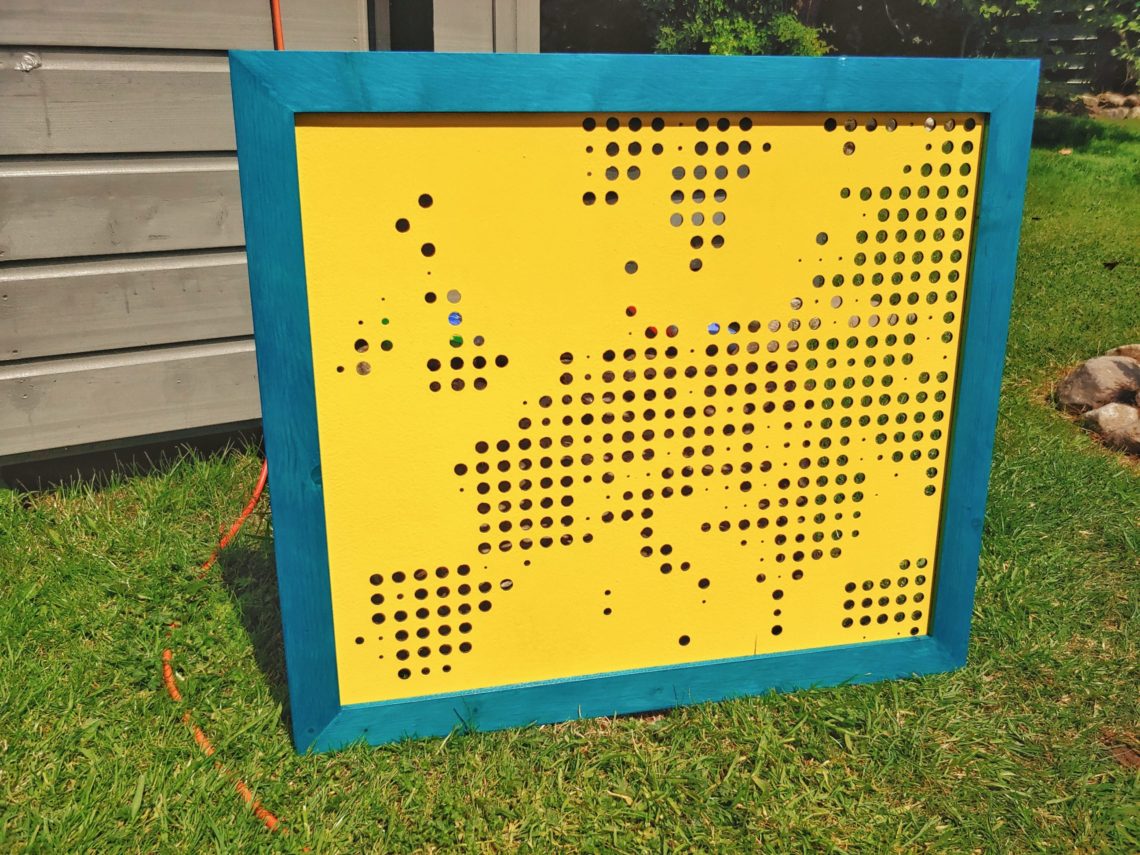
Map of Europe
I’ve always been charmed by the simplicity of halftone images and loved the optical illusion they make. There are many free online tools that you can use to convert any image to a halftone one. I got the best results by converting a low-resolution political map which gave me an inconsistent and irregular sequence of dots. The project was very challenging and drilling holes took 3 days! But I was happy that I finally upcycled that old piece of plastic and had an excuse to make a picture frame featuring very special reinforcements. First I squared the plastic sheet off…
-
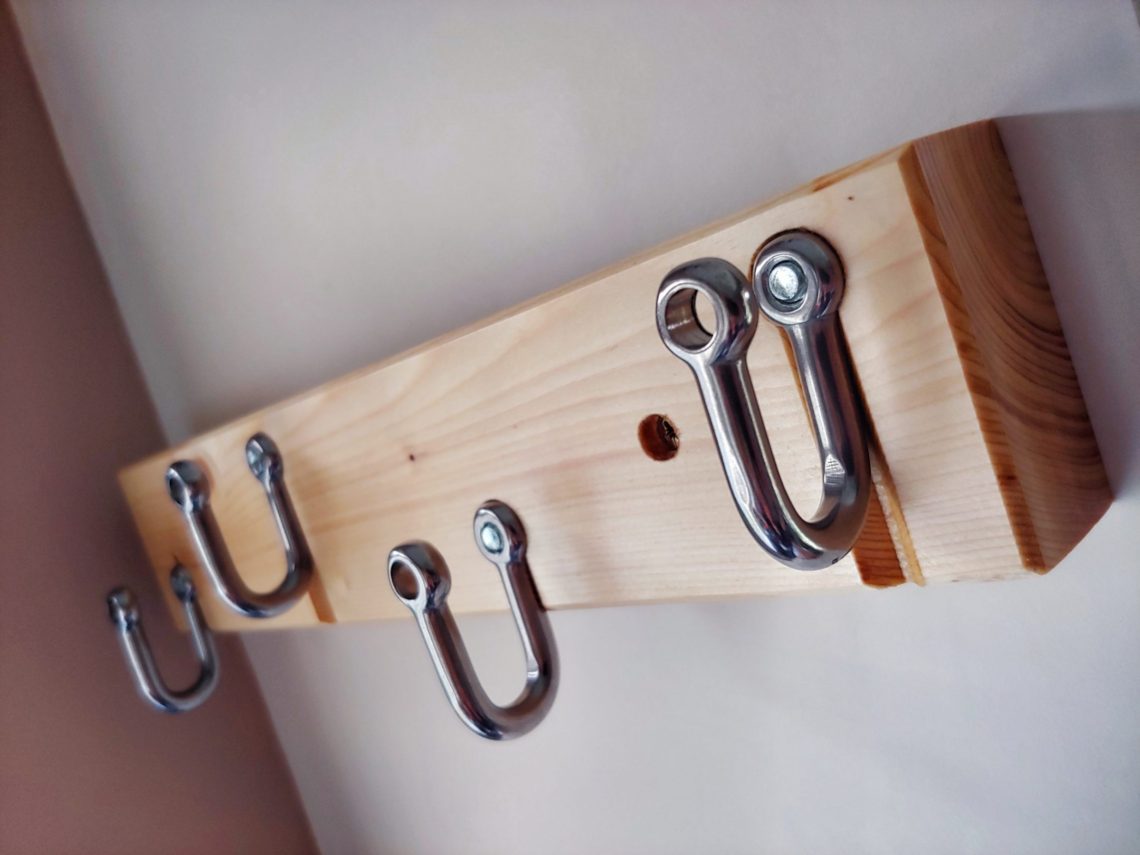
Shackle jacket rack
It is built to only hang 4 working clothes: a jacket, trousers, a hoodie and a T-shirt. Scrap wood and old but never used shackles were used for this project. For some reason the original shackle pin was smaller than the M8 bolt, it was 7.3 mm in diameter whereas the bolt was 7.7 mm. Not a big problem, I cut another thread in no time. Once that was done I set my portable drill stand and drilled some holes with a Forstner bit and then with a regular bit. Each shackle will be held by just one bolt and…
-
Advocaat bottle cut
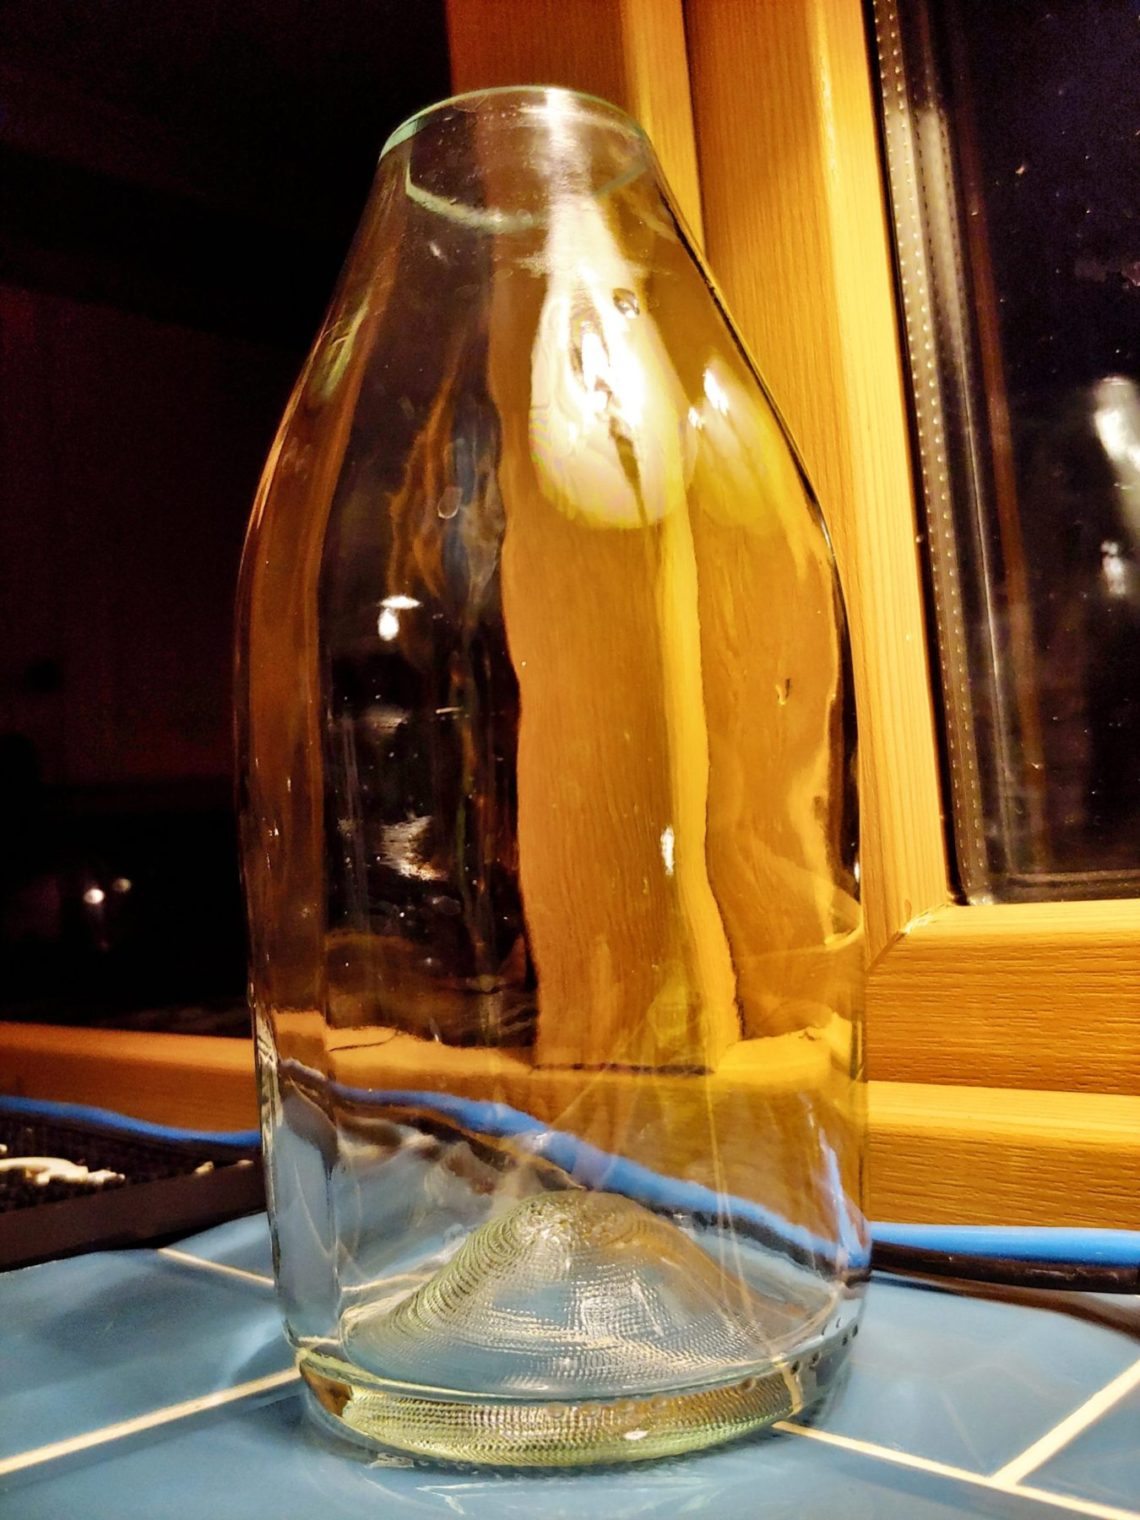
Thick and heavy glass, a perfect addition to my handmade collection. It’s actually the first glass with labels and this makes it so special. After I cracked the bottle with boiling and cold water I had to remove some material with a glass cutter. Then came the sanding – from 40 to 3000 grit. Outside first, inside last, polishing with compound and paste. All steps are shown below: Taking pictures required light so I lowered the lamp to the bench level. Smooth and shiny. Washed straight away with washing-up liquid and ready to serve. As the day was dull I…
-
Vertical sundial
For this project, I used some scrap steel roofing sheets. It only looked bad but in fact, it had a protective film on it. A couple of days prior to that build I printed out the template and tested it. I was very happy with its accuracy. No astronomical knowledge was needed as all the work was done by the script on a website. However, it’s good to know how it works. I glued the template to the sheet with contact adhesive. Using my razor-sharp snips I quickly cut out the shape. Next, I punched some holes and flattened the…
-
Polish vodka bottle cut
This vodka is the best and the most famous Polish vodka. It’s yummy, which is quite unusual! Bittersweet, herbal taste. I remembered to remove the cap during the “glass cracking” part. I must say the first (buying + drinking) and the second part (cutting + cracking) of the project went very smoothly. The cut glass looks nice and it’s symmetrical and round rather than oval and uneven. When I moved to the third part, which was polishing I made a couple of mistakes that had to be reworked. First things first. Sanding with coarse sandpaper was followed by a final…
-
Cut Kahlua bottle
Buying, drinking, cutting and polishing – several steps to get a perfect flower pot. Very unique and rare. A perfect gift for someone you care about. The first thing to do was to score a line with my homemade jig. Then the usual – cold and boiling water to crack the glass. Sanding the outside edges came next. First the top and when I used the 220 grit I sanded the bevel for the first time. Up to the 3000 grit. As always the next step was to install my drum sander. I used 240, 400 and 600-grit sanding bands.…
-
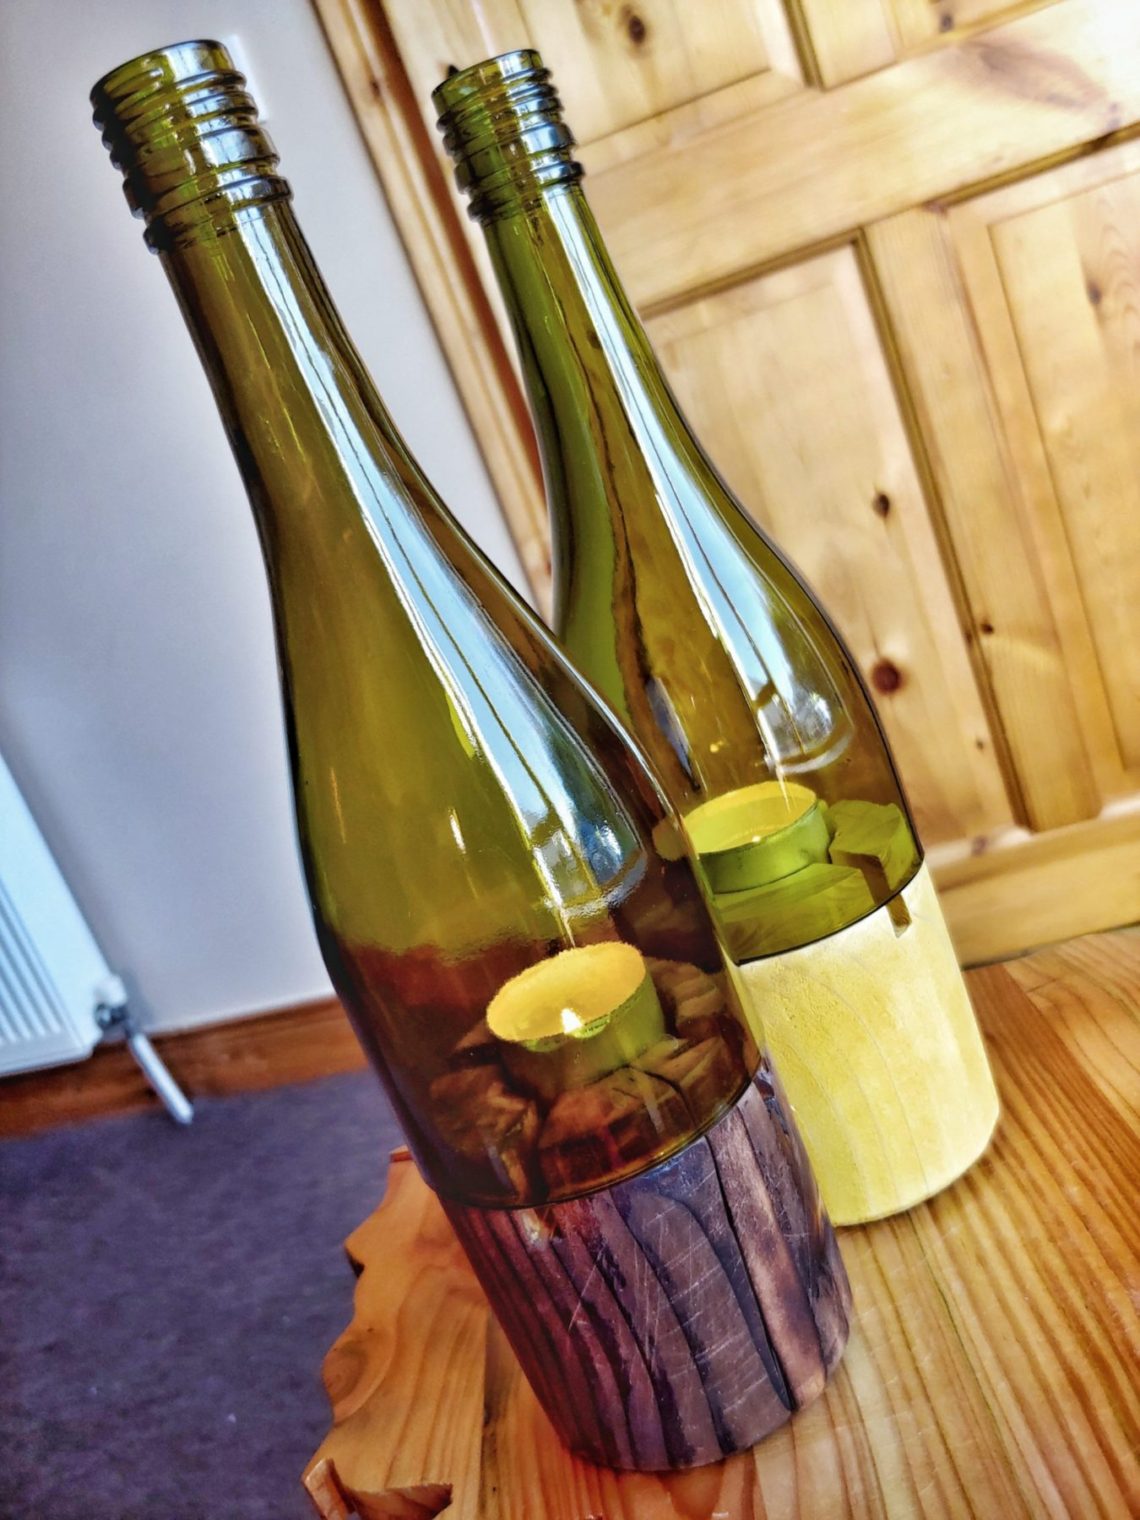
Cylindrical tealight holders
A quite simple project that involved turning an old balustrade post, cracked and riddled and cutting wine bottles. I used my recently built router turning jig to turn one cylinder, slightly bigger in diameter as that was reduced later on by sanding. I noticed that there is actually no need to rotate the piece all the time, and what worked was to route it all the way through, from one end to another and then rotate it clockwise a little bit, do the pass and so on. That didn’t apply to the recesses at both ends. Once it was done…
-
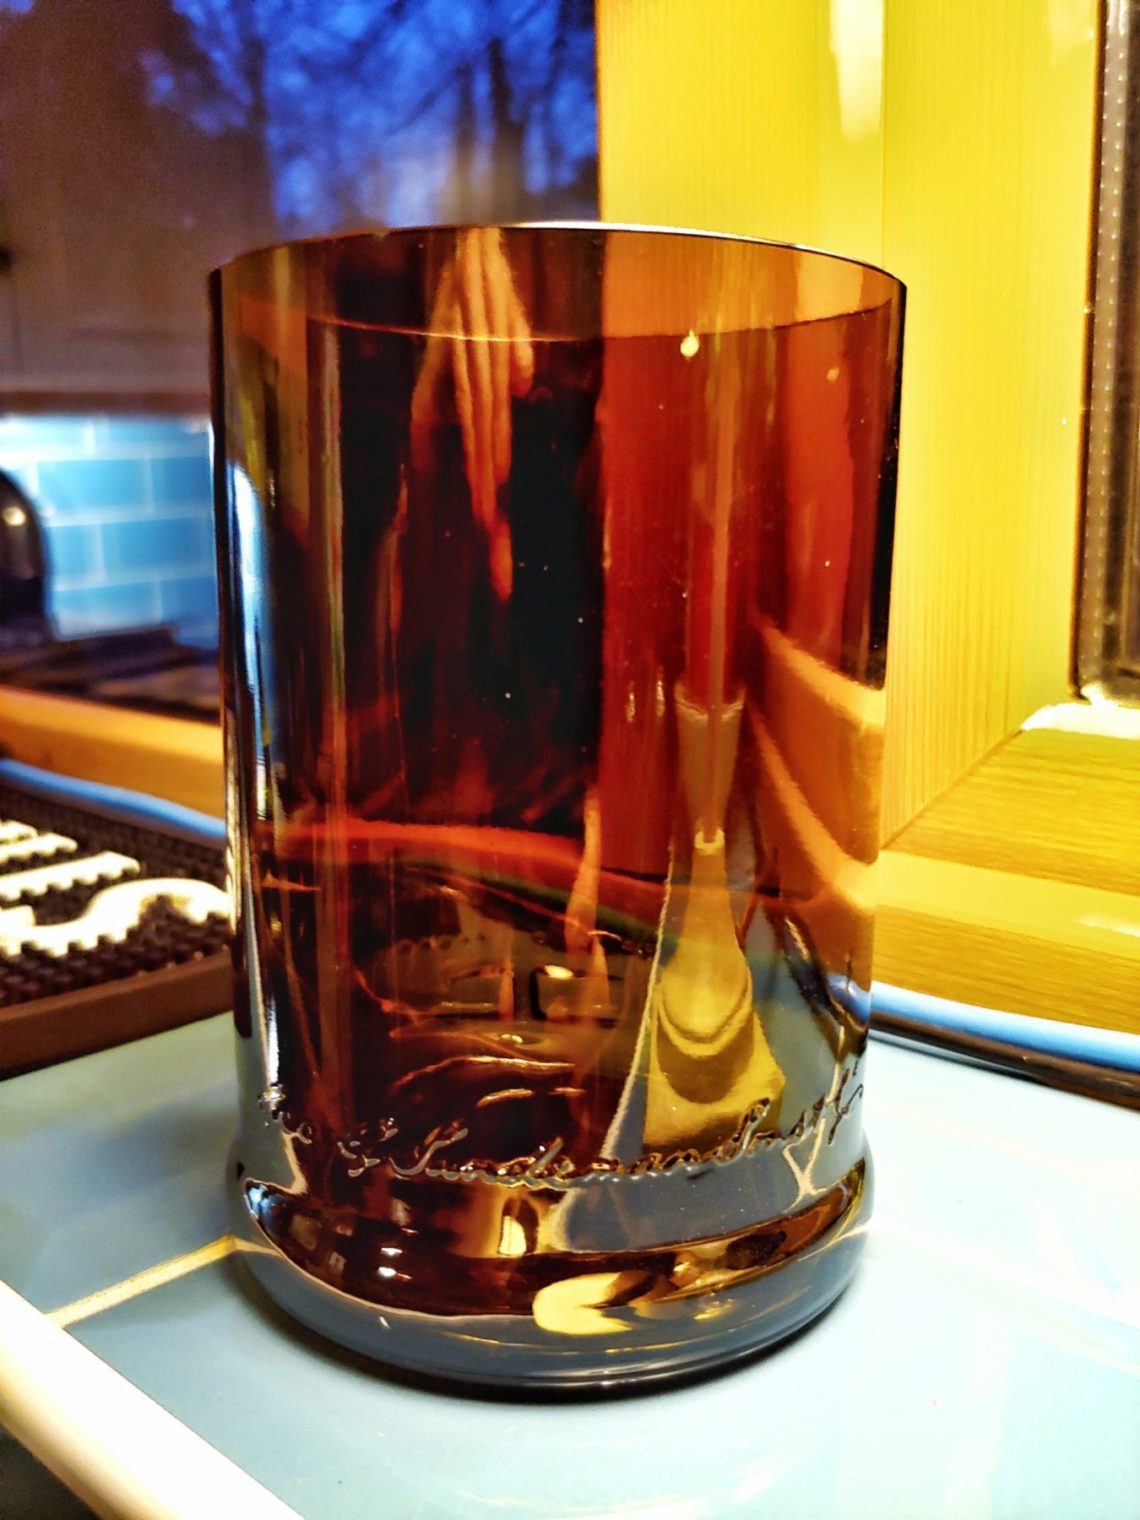
Sandeman glass
It’s another Porto glass – slightly bigger than the last one and dedicated to a different use. Separating the bottom from the top is always a big question mark. It worked this time. The process of making a glass like this involves buying a bottle and emptying it – these steps are very satisfying too! I don’t like to use the word “sanding” for glass, but that’s what it is and it’s working well. Sharp edges from the top were sanded with 60, 80 and 220-grit sandpaper. Then I used 320 for both the top and side edges. Next, –…
-
Bottleneck vessel
In order to cut the bottle I had to set the glass cutter at an angle. That gave me good access to the bottleneck. This jig has many limitations due to the way it’s built and fixed to the wall. Cutting was easy and fast, the bottle cracked as planned and the labels came off easily. Smoothing sharp edges was done in 2 steps, as always – outside first, inside next. This is 40 grit: I finished sanding with 3000 grit for the outside and started sanding the inside. I used 3 grits: 240, 400 and 600. Polishing was next,…
-
Coffee wall art
To make the board I used pallet wood. Planks were cut in half, then rip cut to width. The board was cut to length on a table saw and that was followed by sanding. I left some saw marks and a couple of stains. I used a homemade wood dye (vinegar + steel wool) to age the board. Then I used spray paint to darken the edges. Always use the right screwdriver for the job, no matter how small the job or the screwdriver is. PZ1 is small. Cutting MDF with a jigsaw couldn’t be postponed endlessly. It was done…
