
Cascade shelf
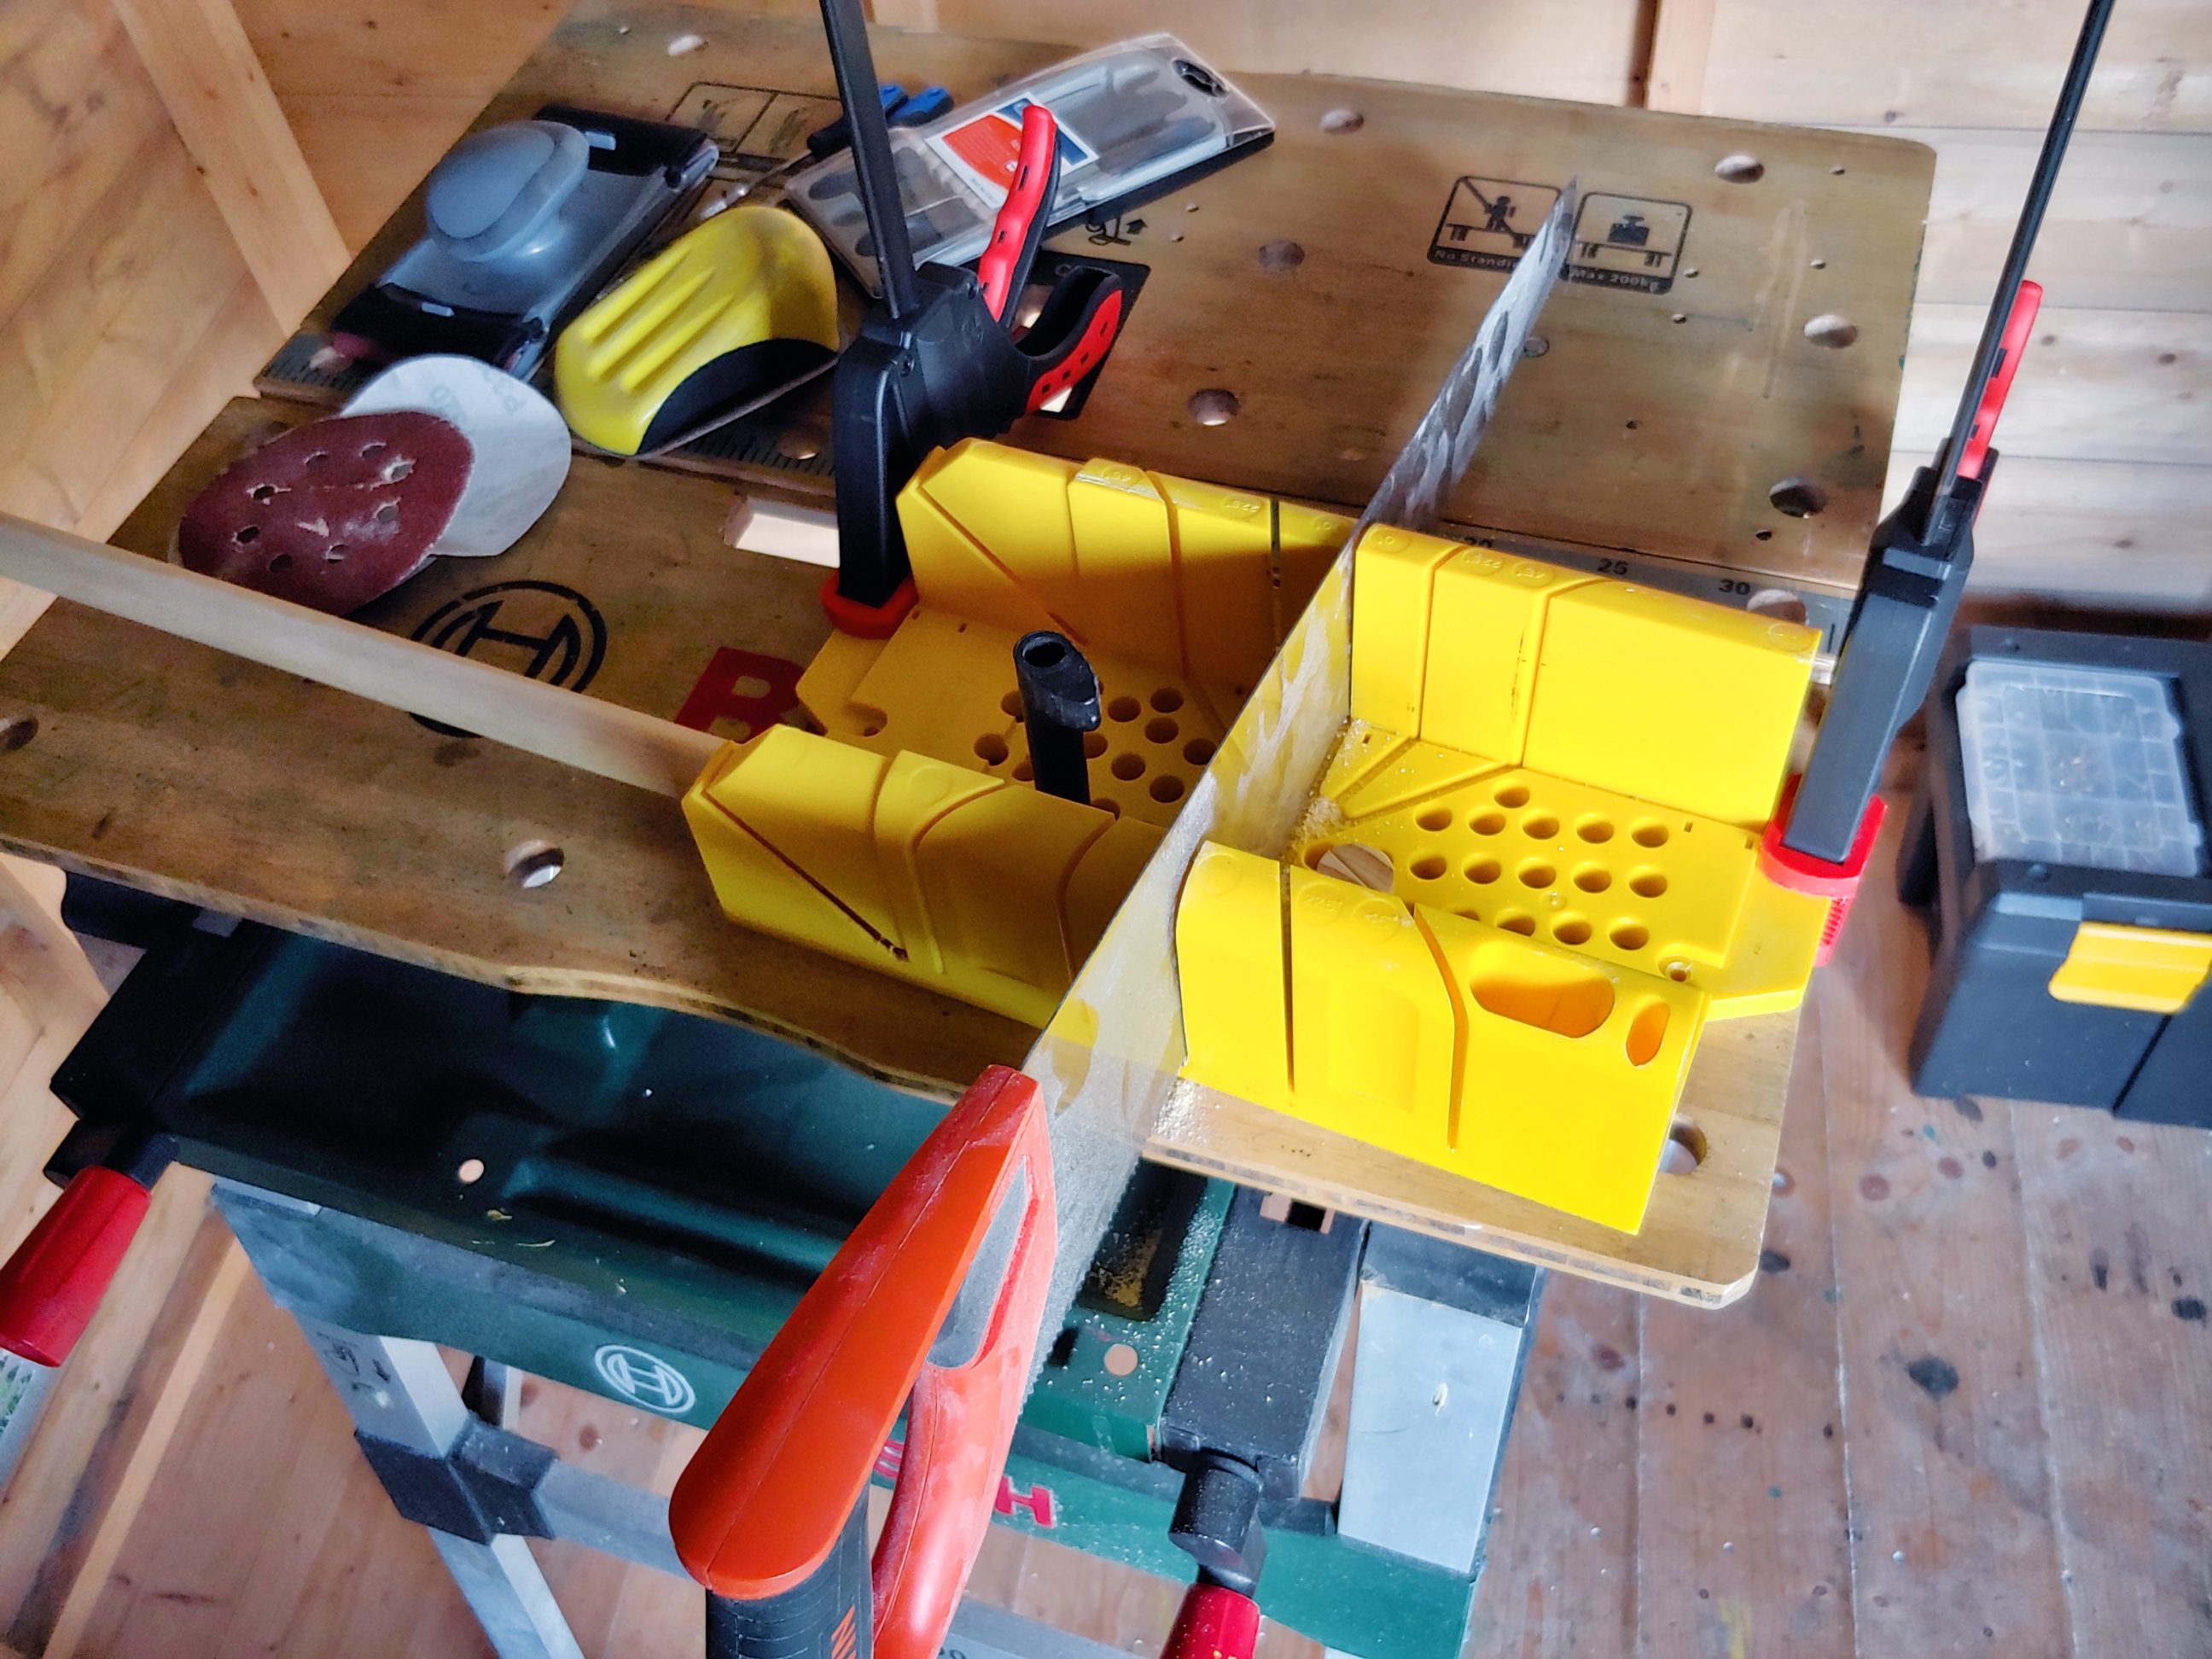
This project is entirely made from scrap material – timber off-cuts I acquired last year and a wooden dowel. The off-cuts had different lengths, from 60 to 90 cm (2 – 3 feet) and I had to get shorter pieces out of them, anything from 10 to 50 cm (4 – 20 inches). I tried not to cut them into 2 identical lengths, also not to produce too short pieces. All that came down to the planning which took much longer than cutting itself. Anyways, eventually I had it done and the next step was to recreate the rounded over edges from all 4 sides.
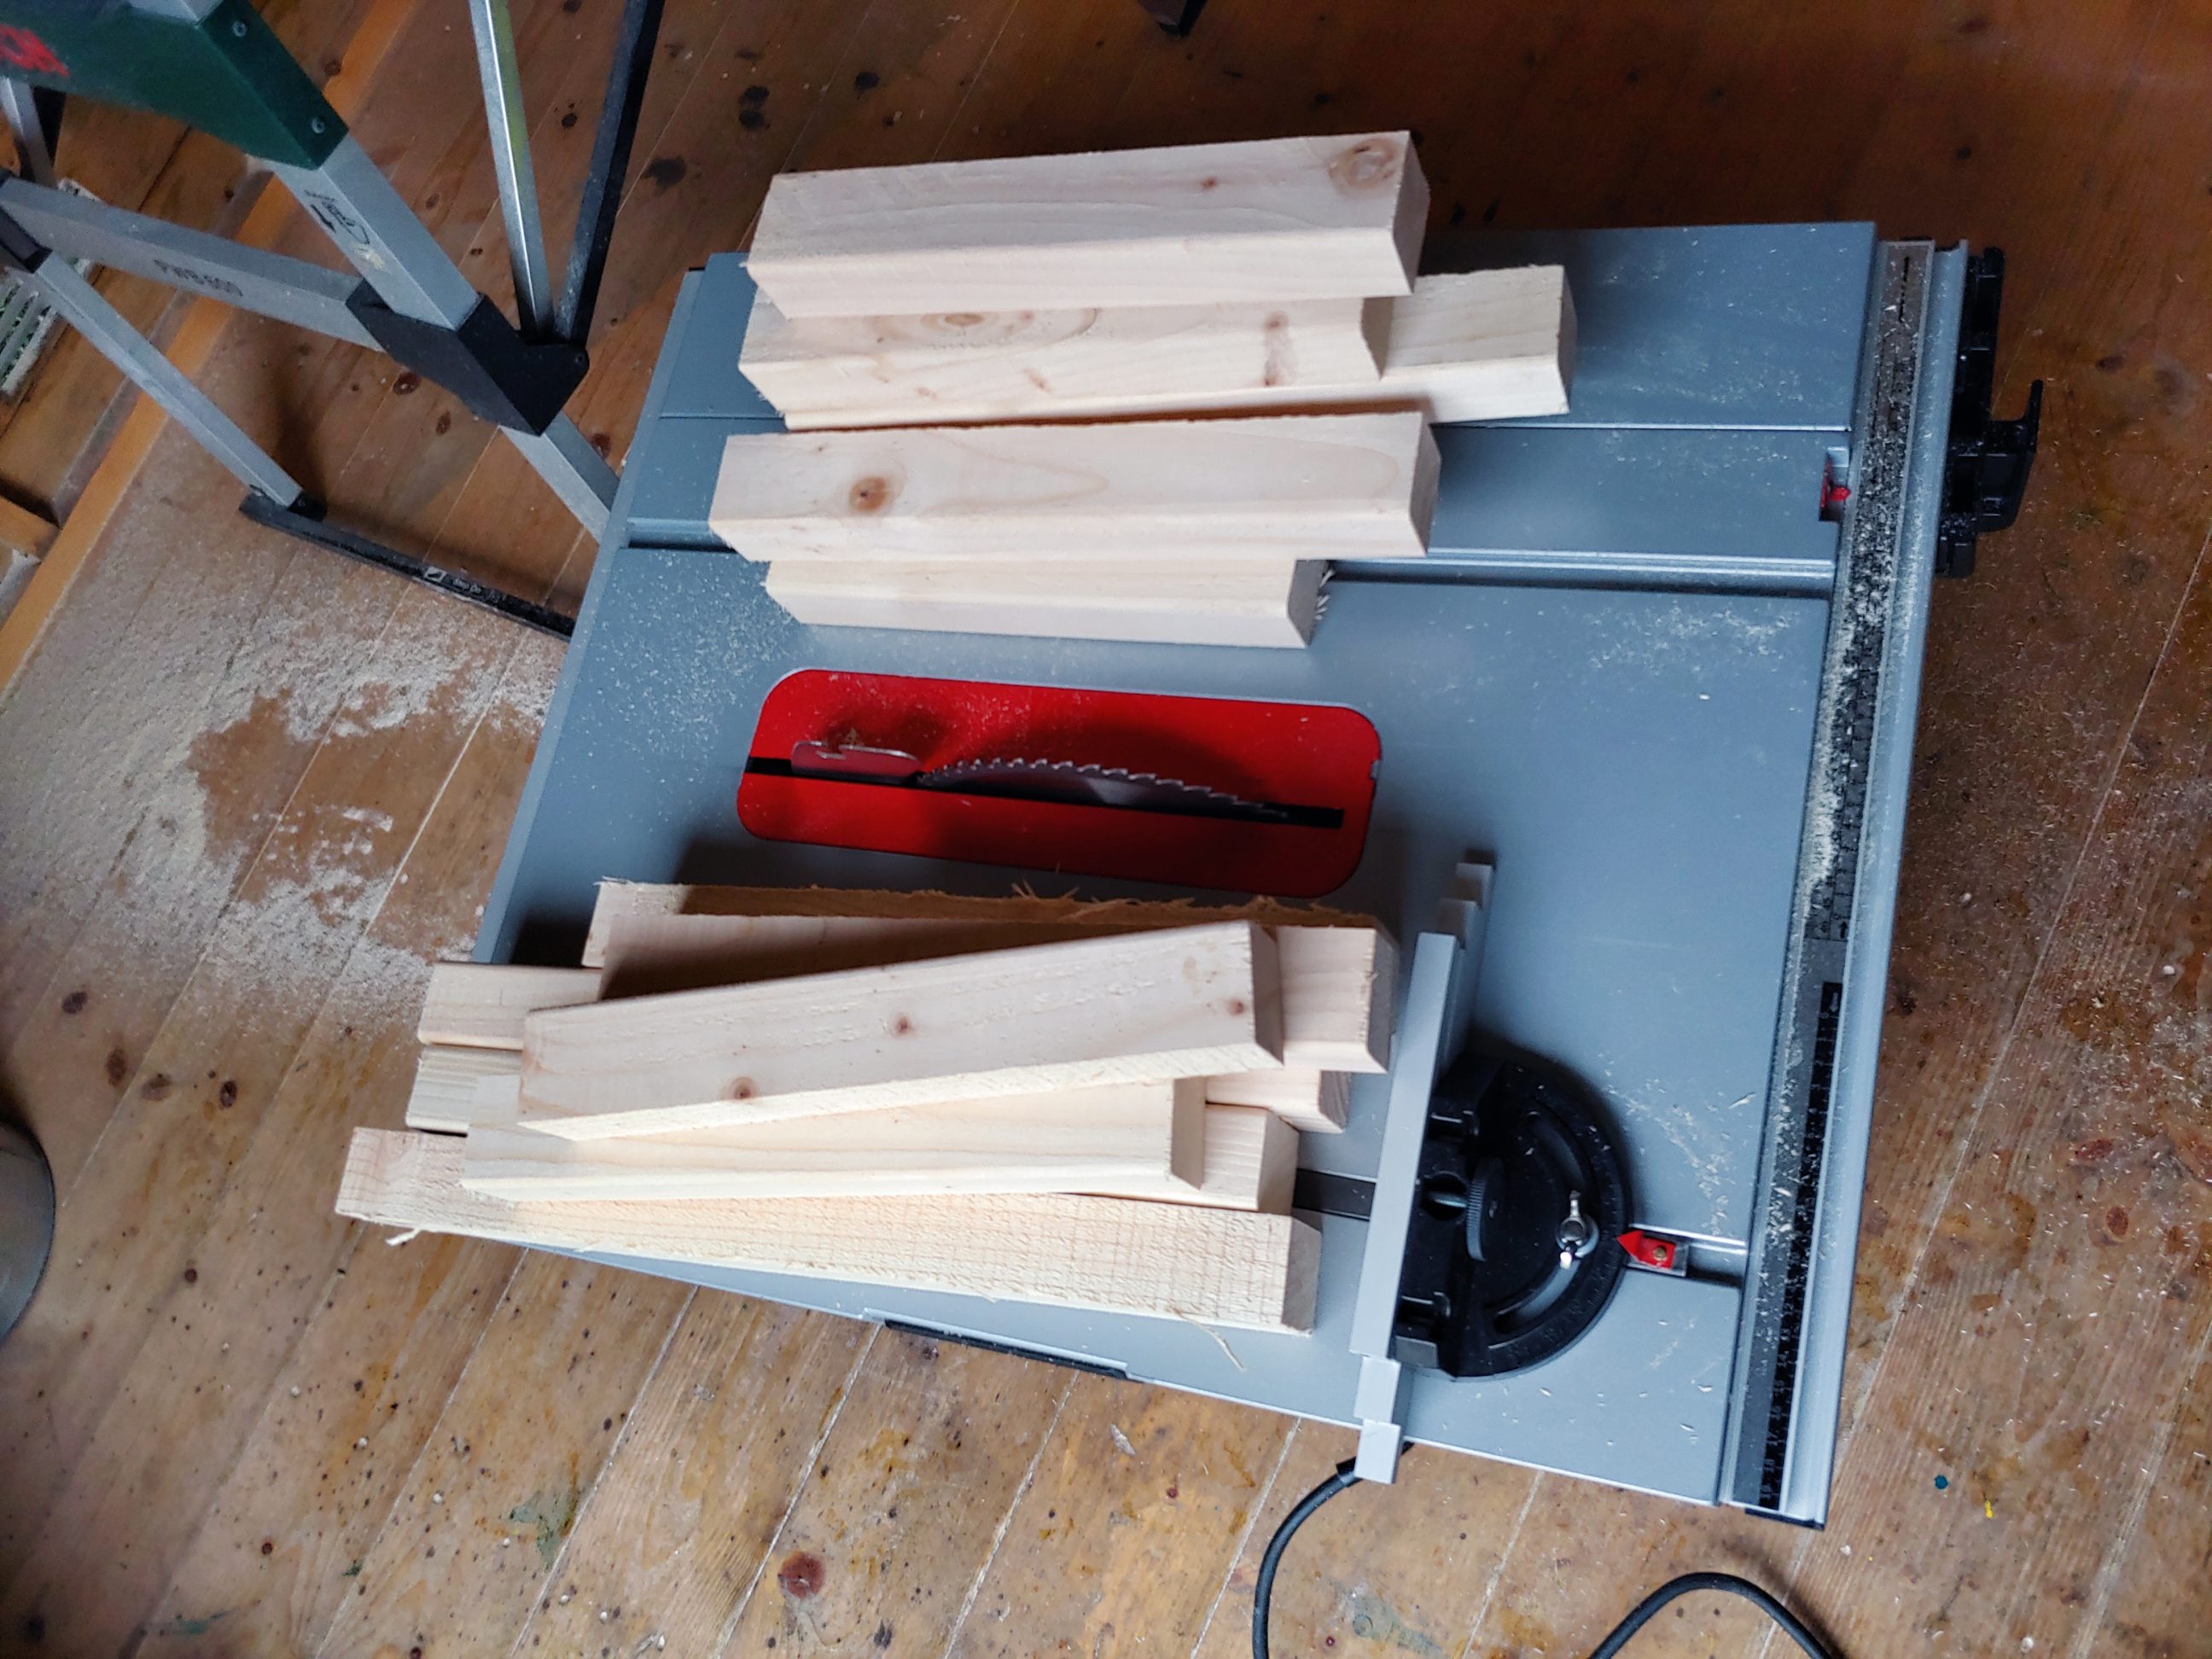


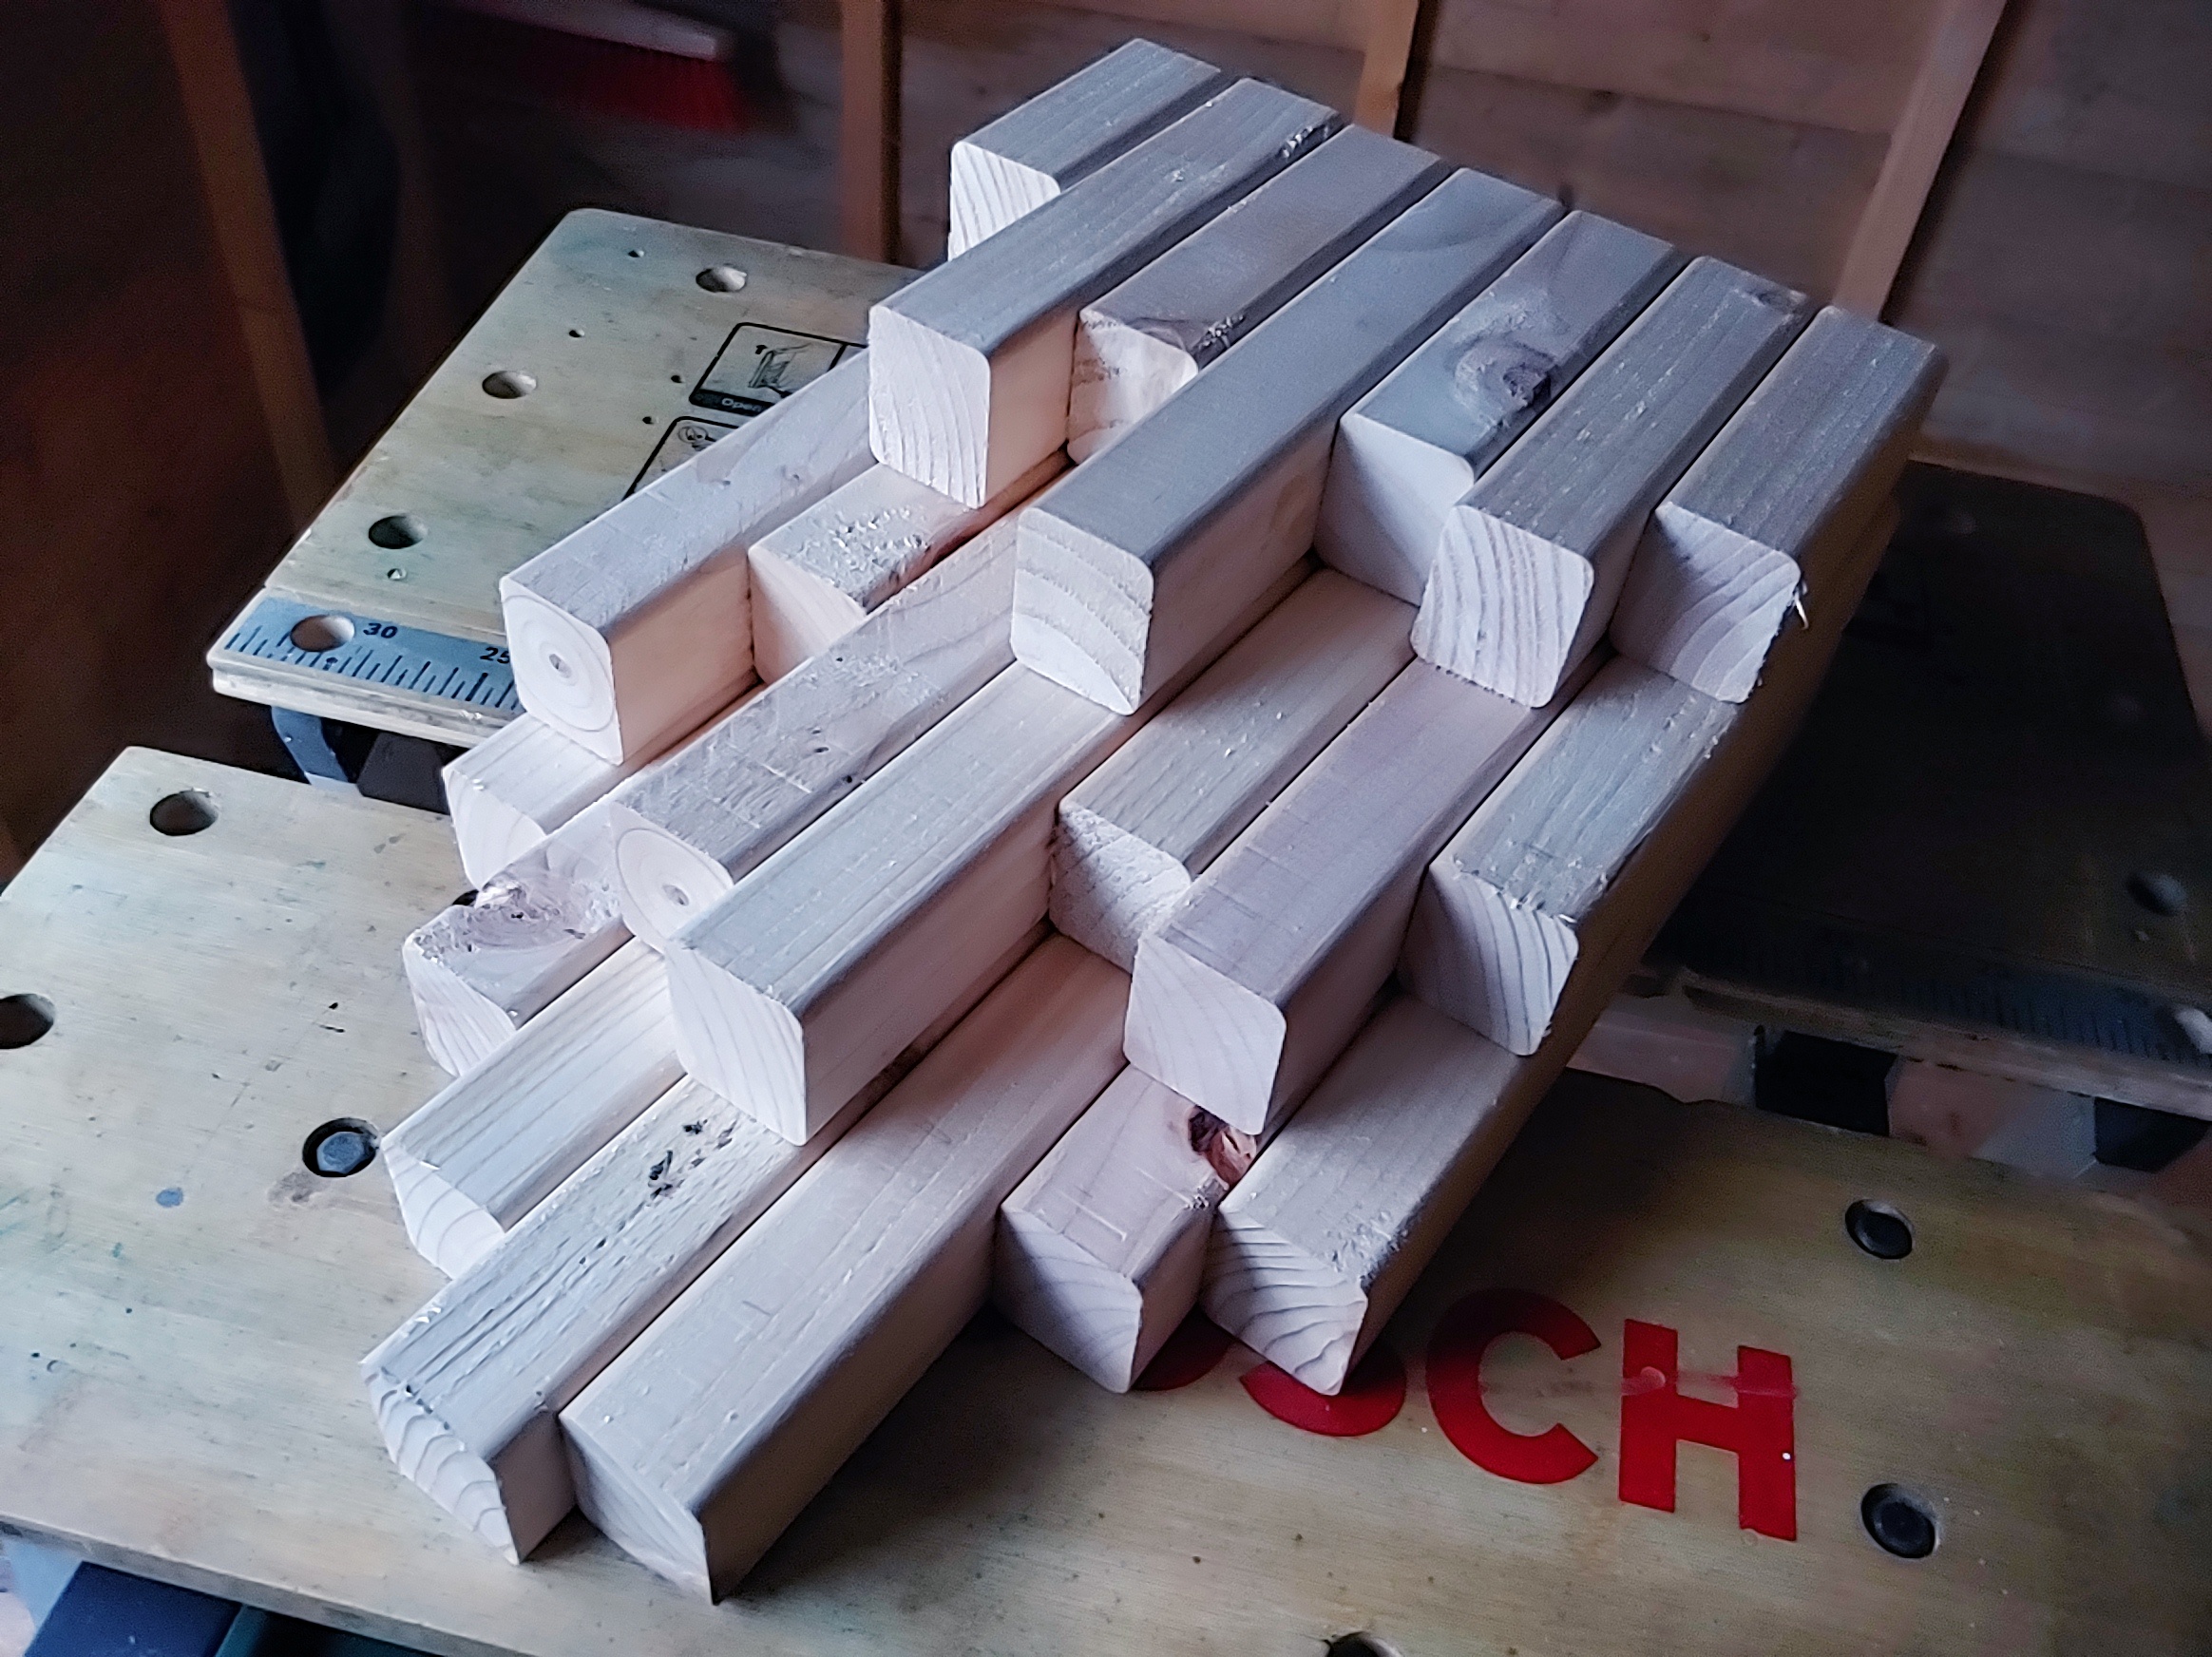
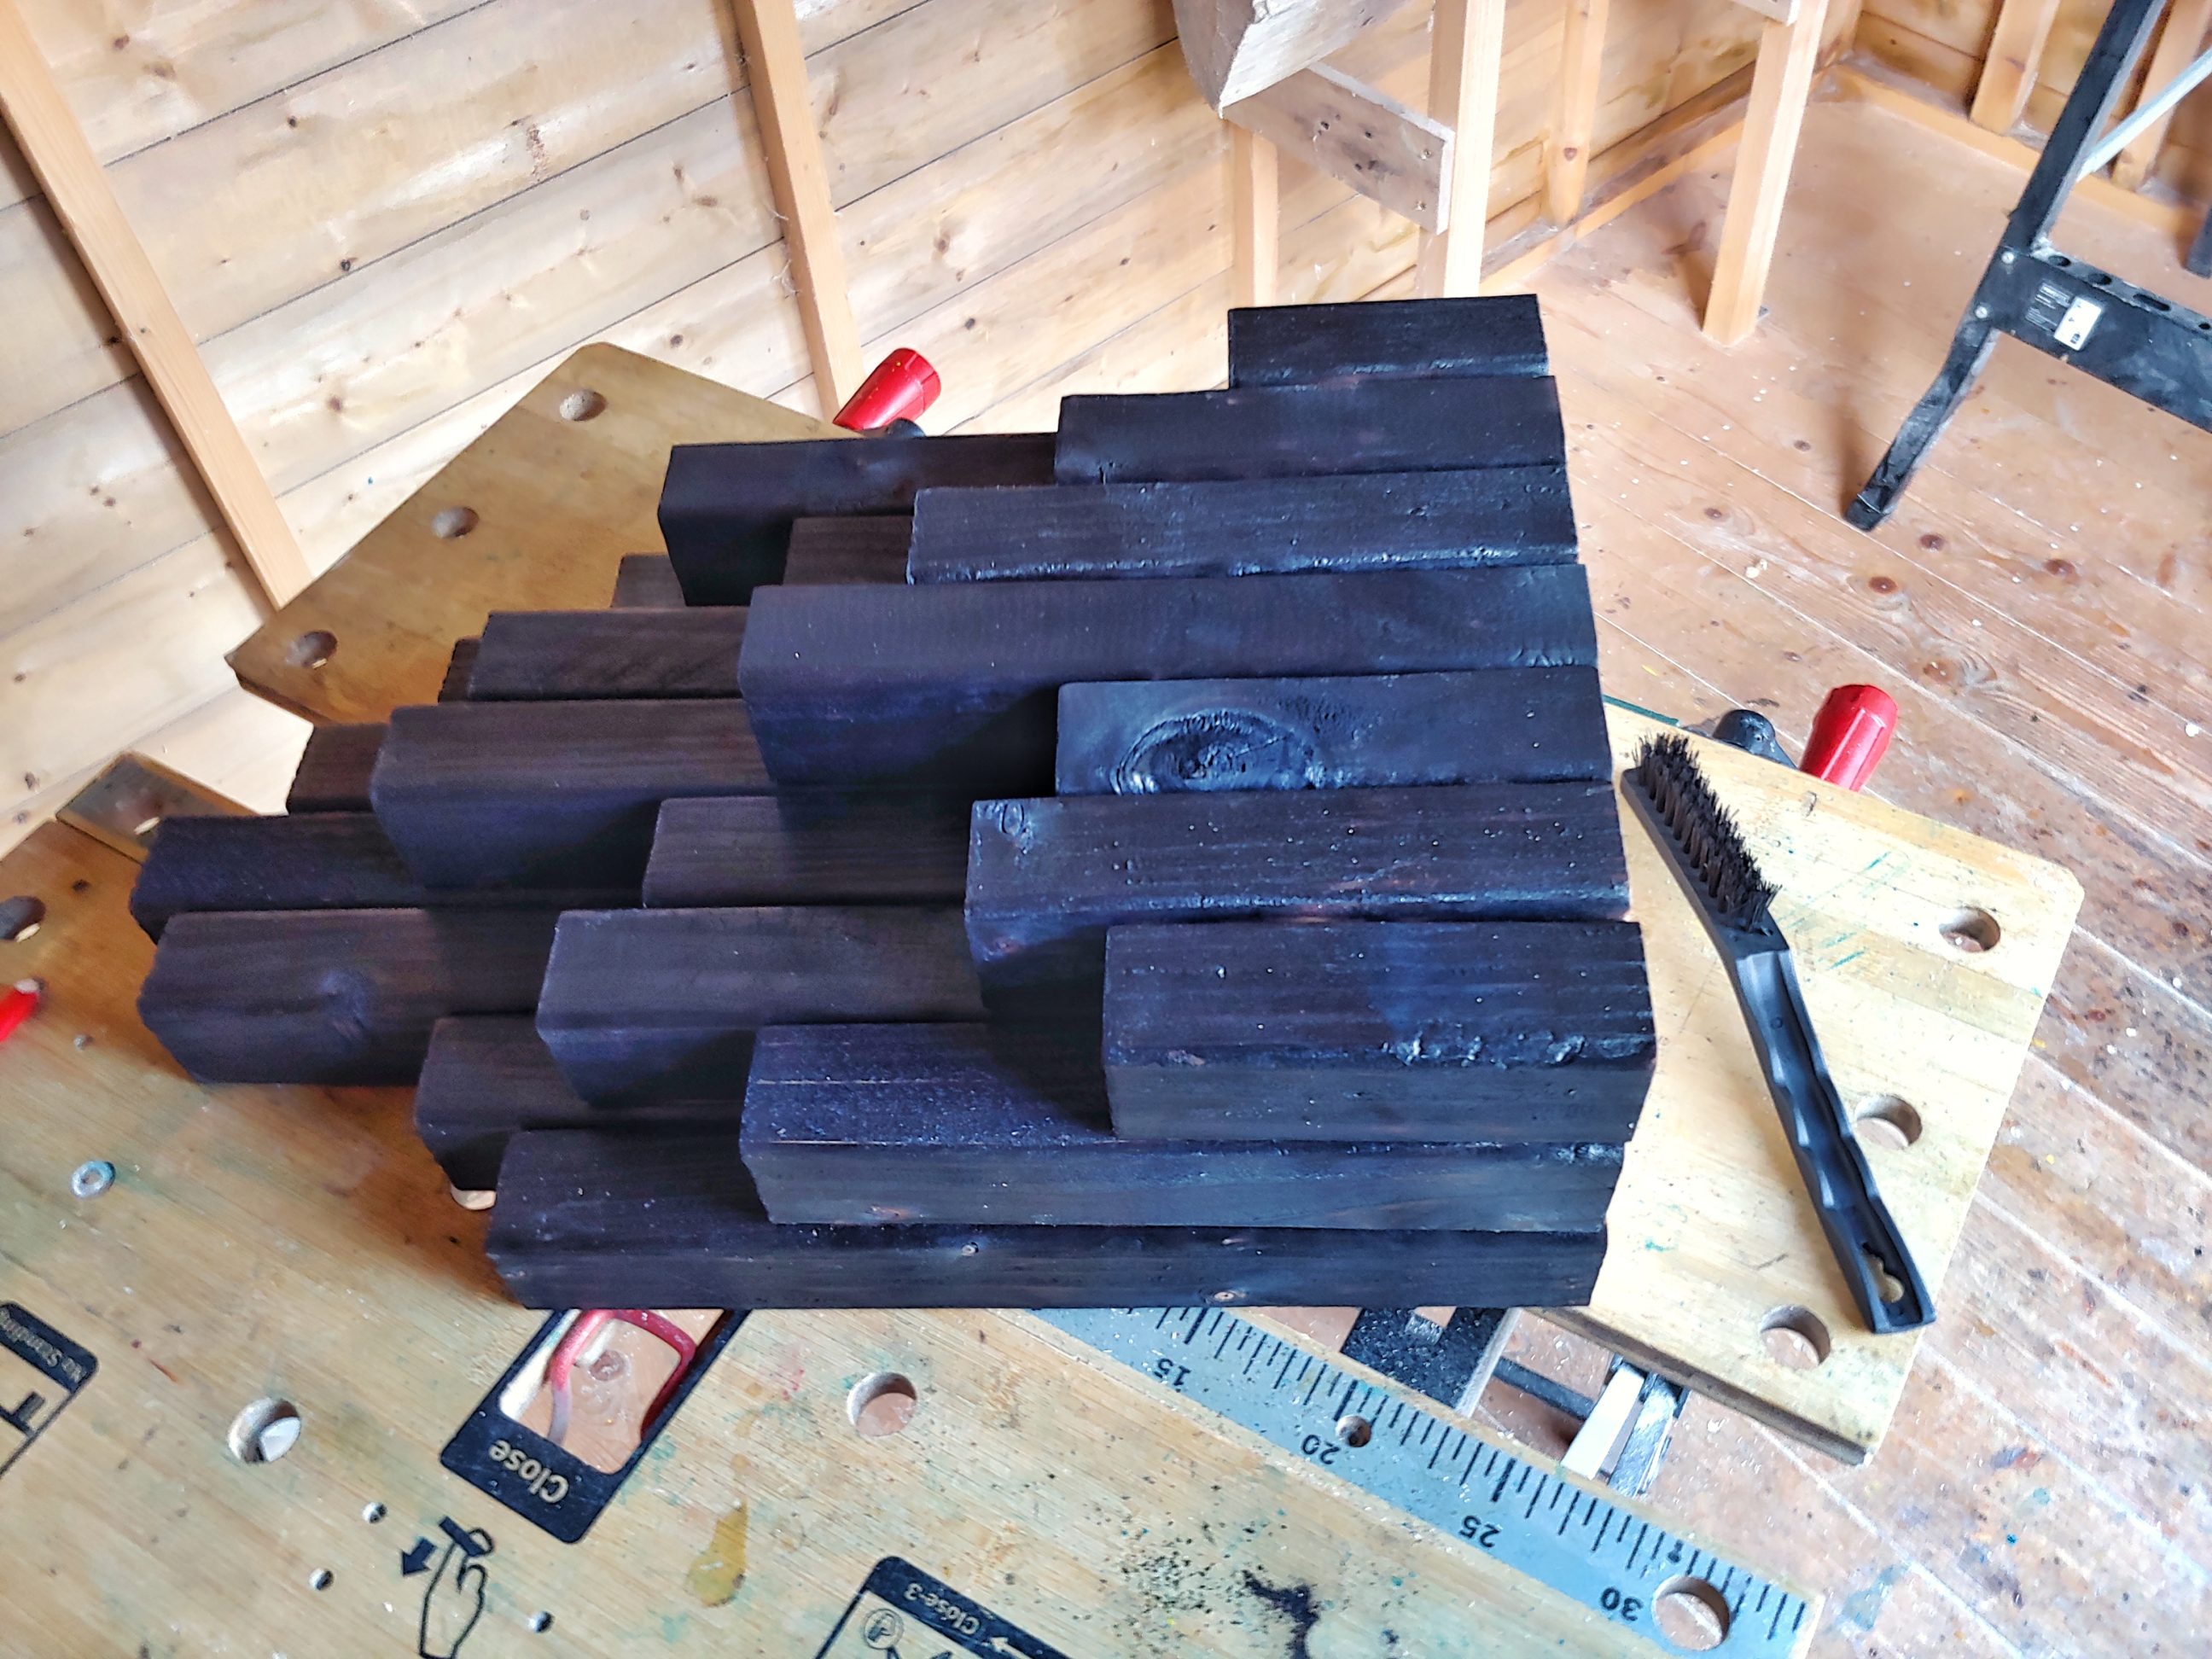
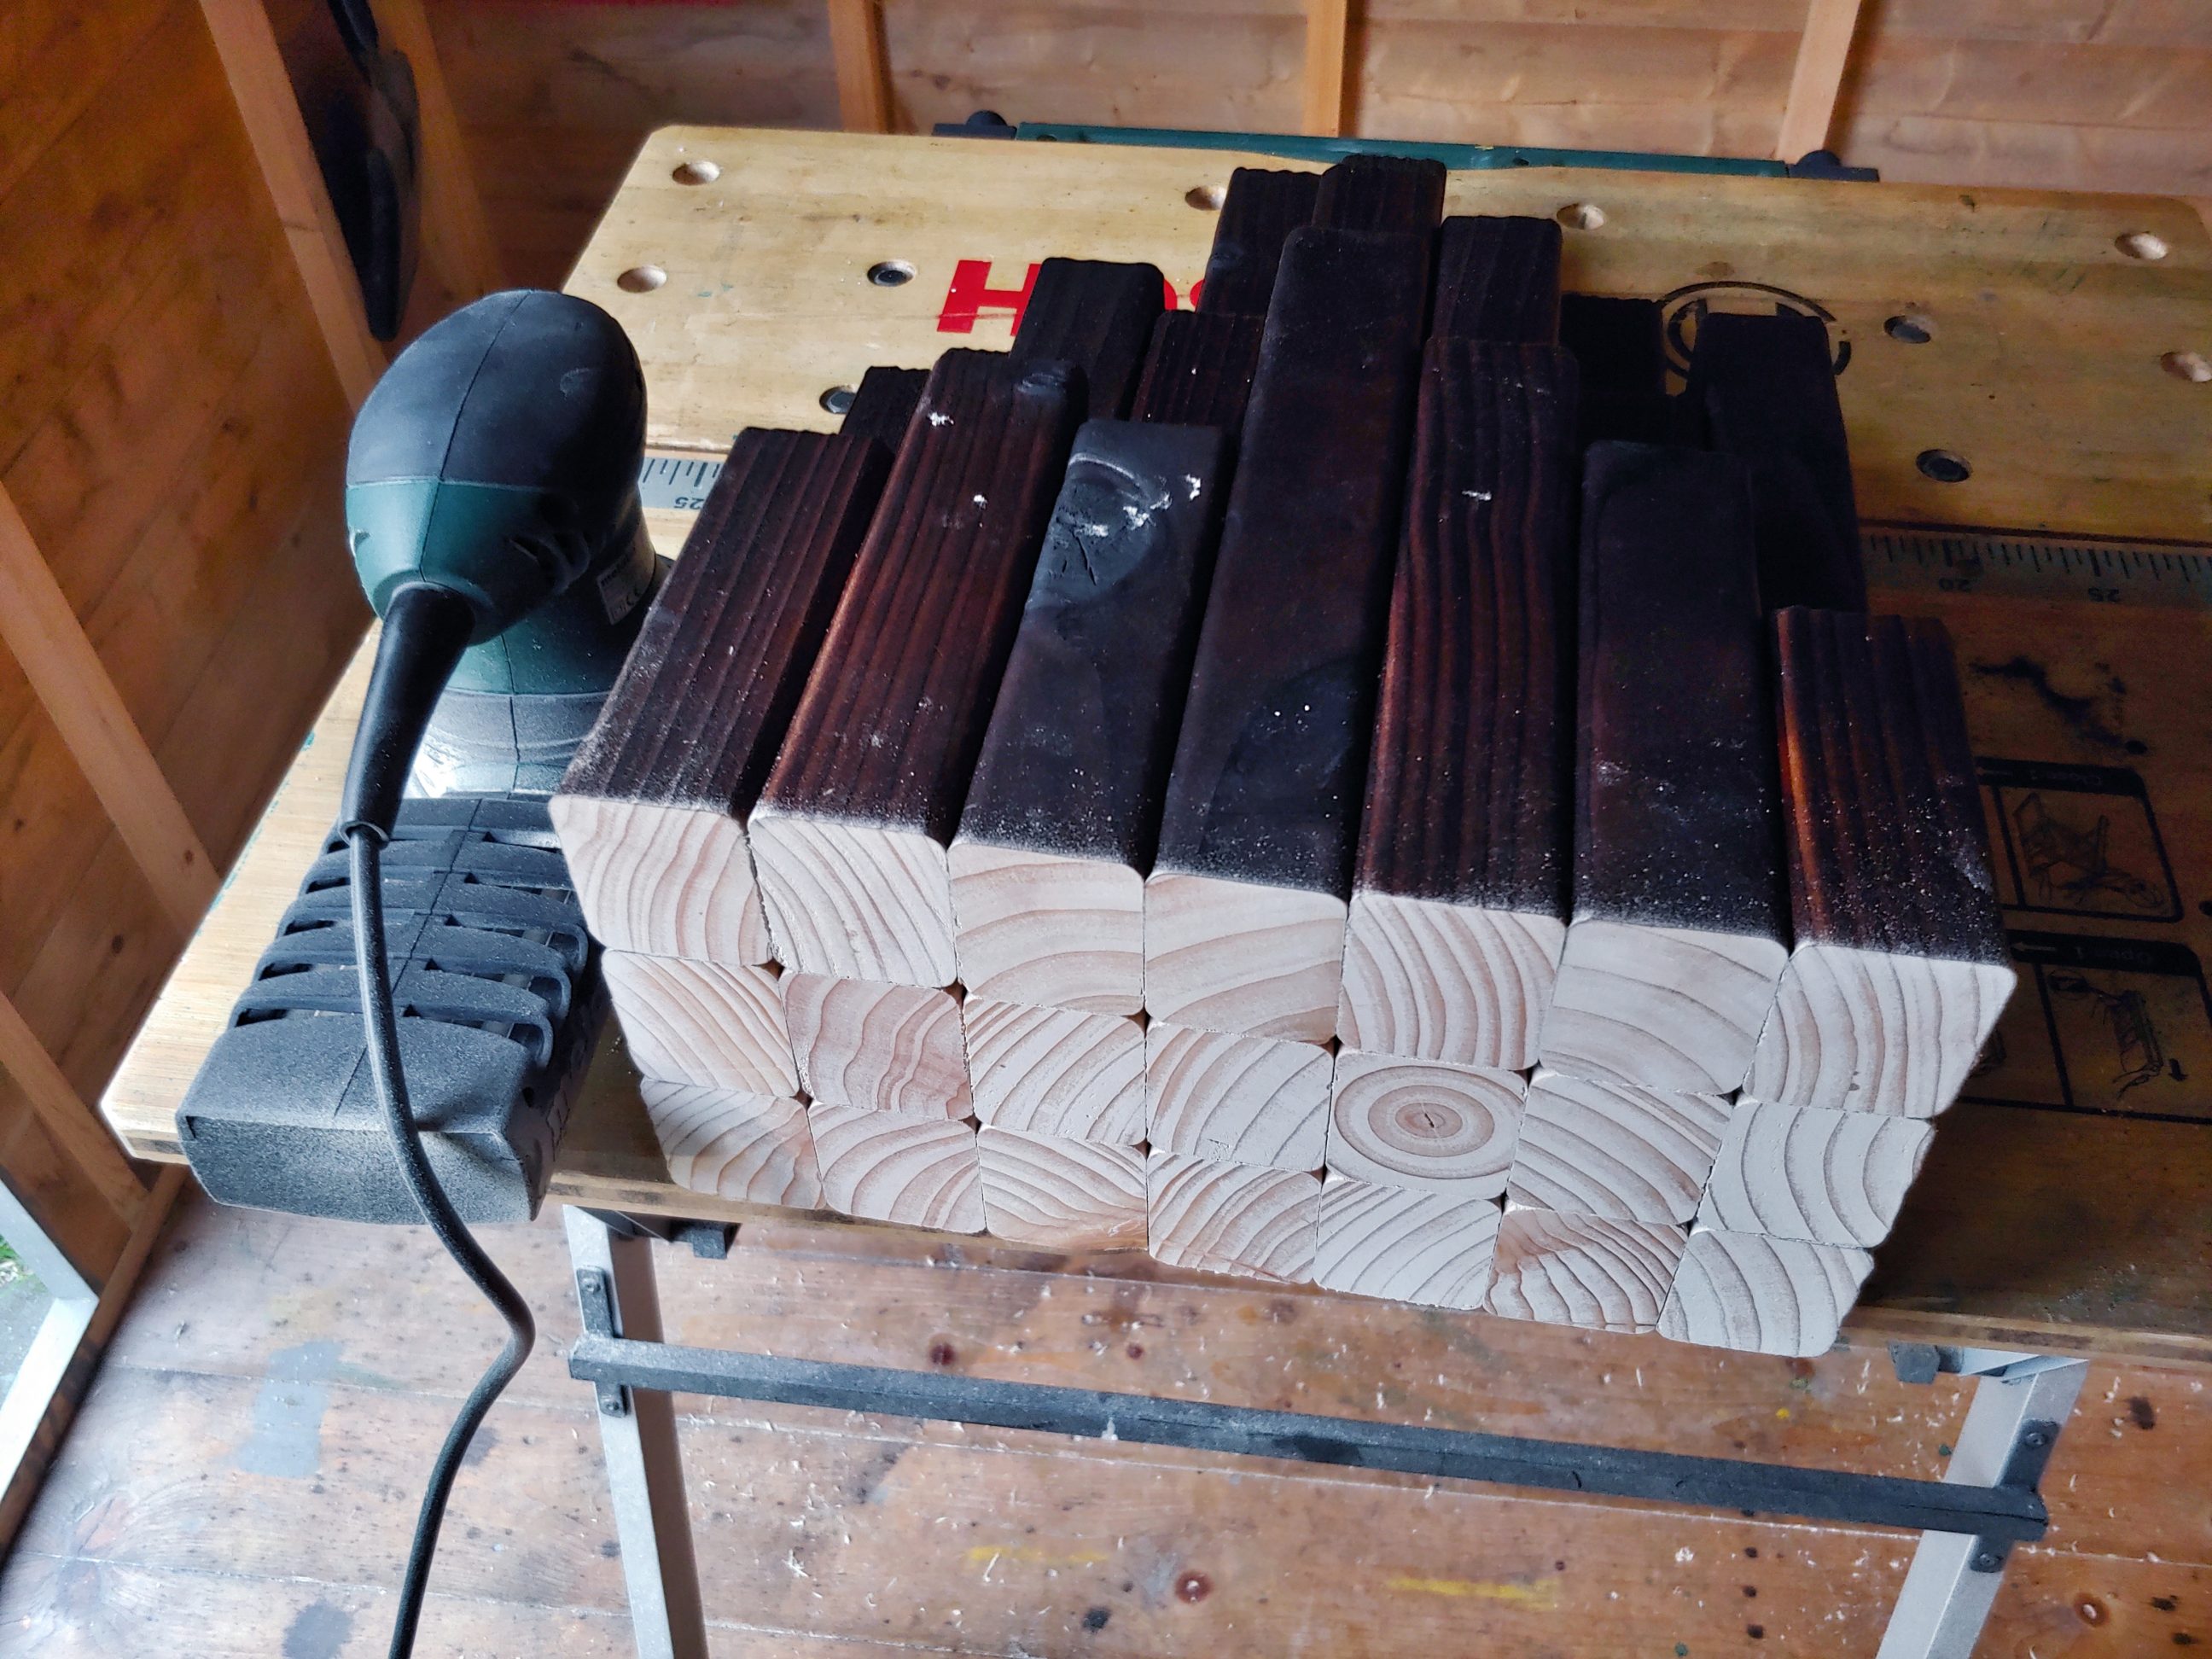
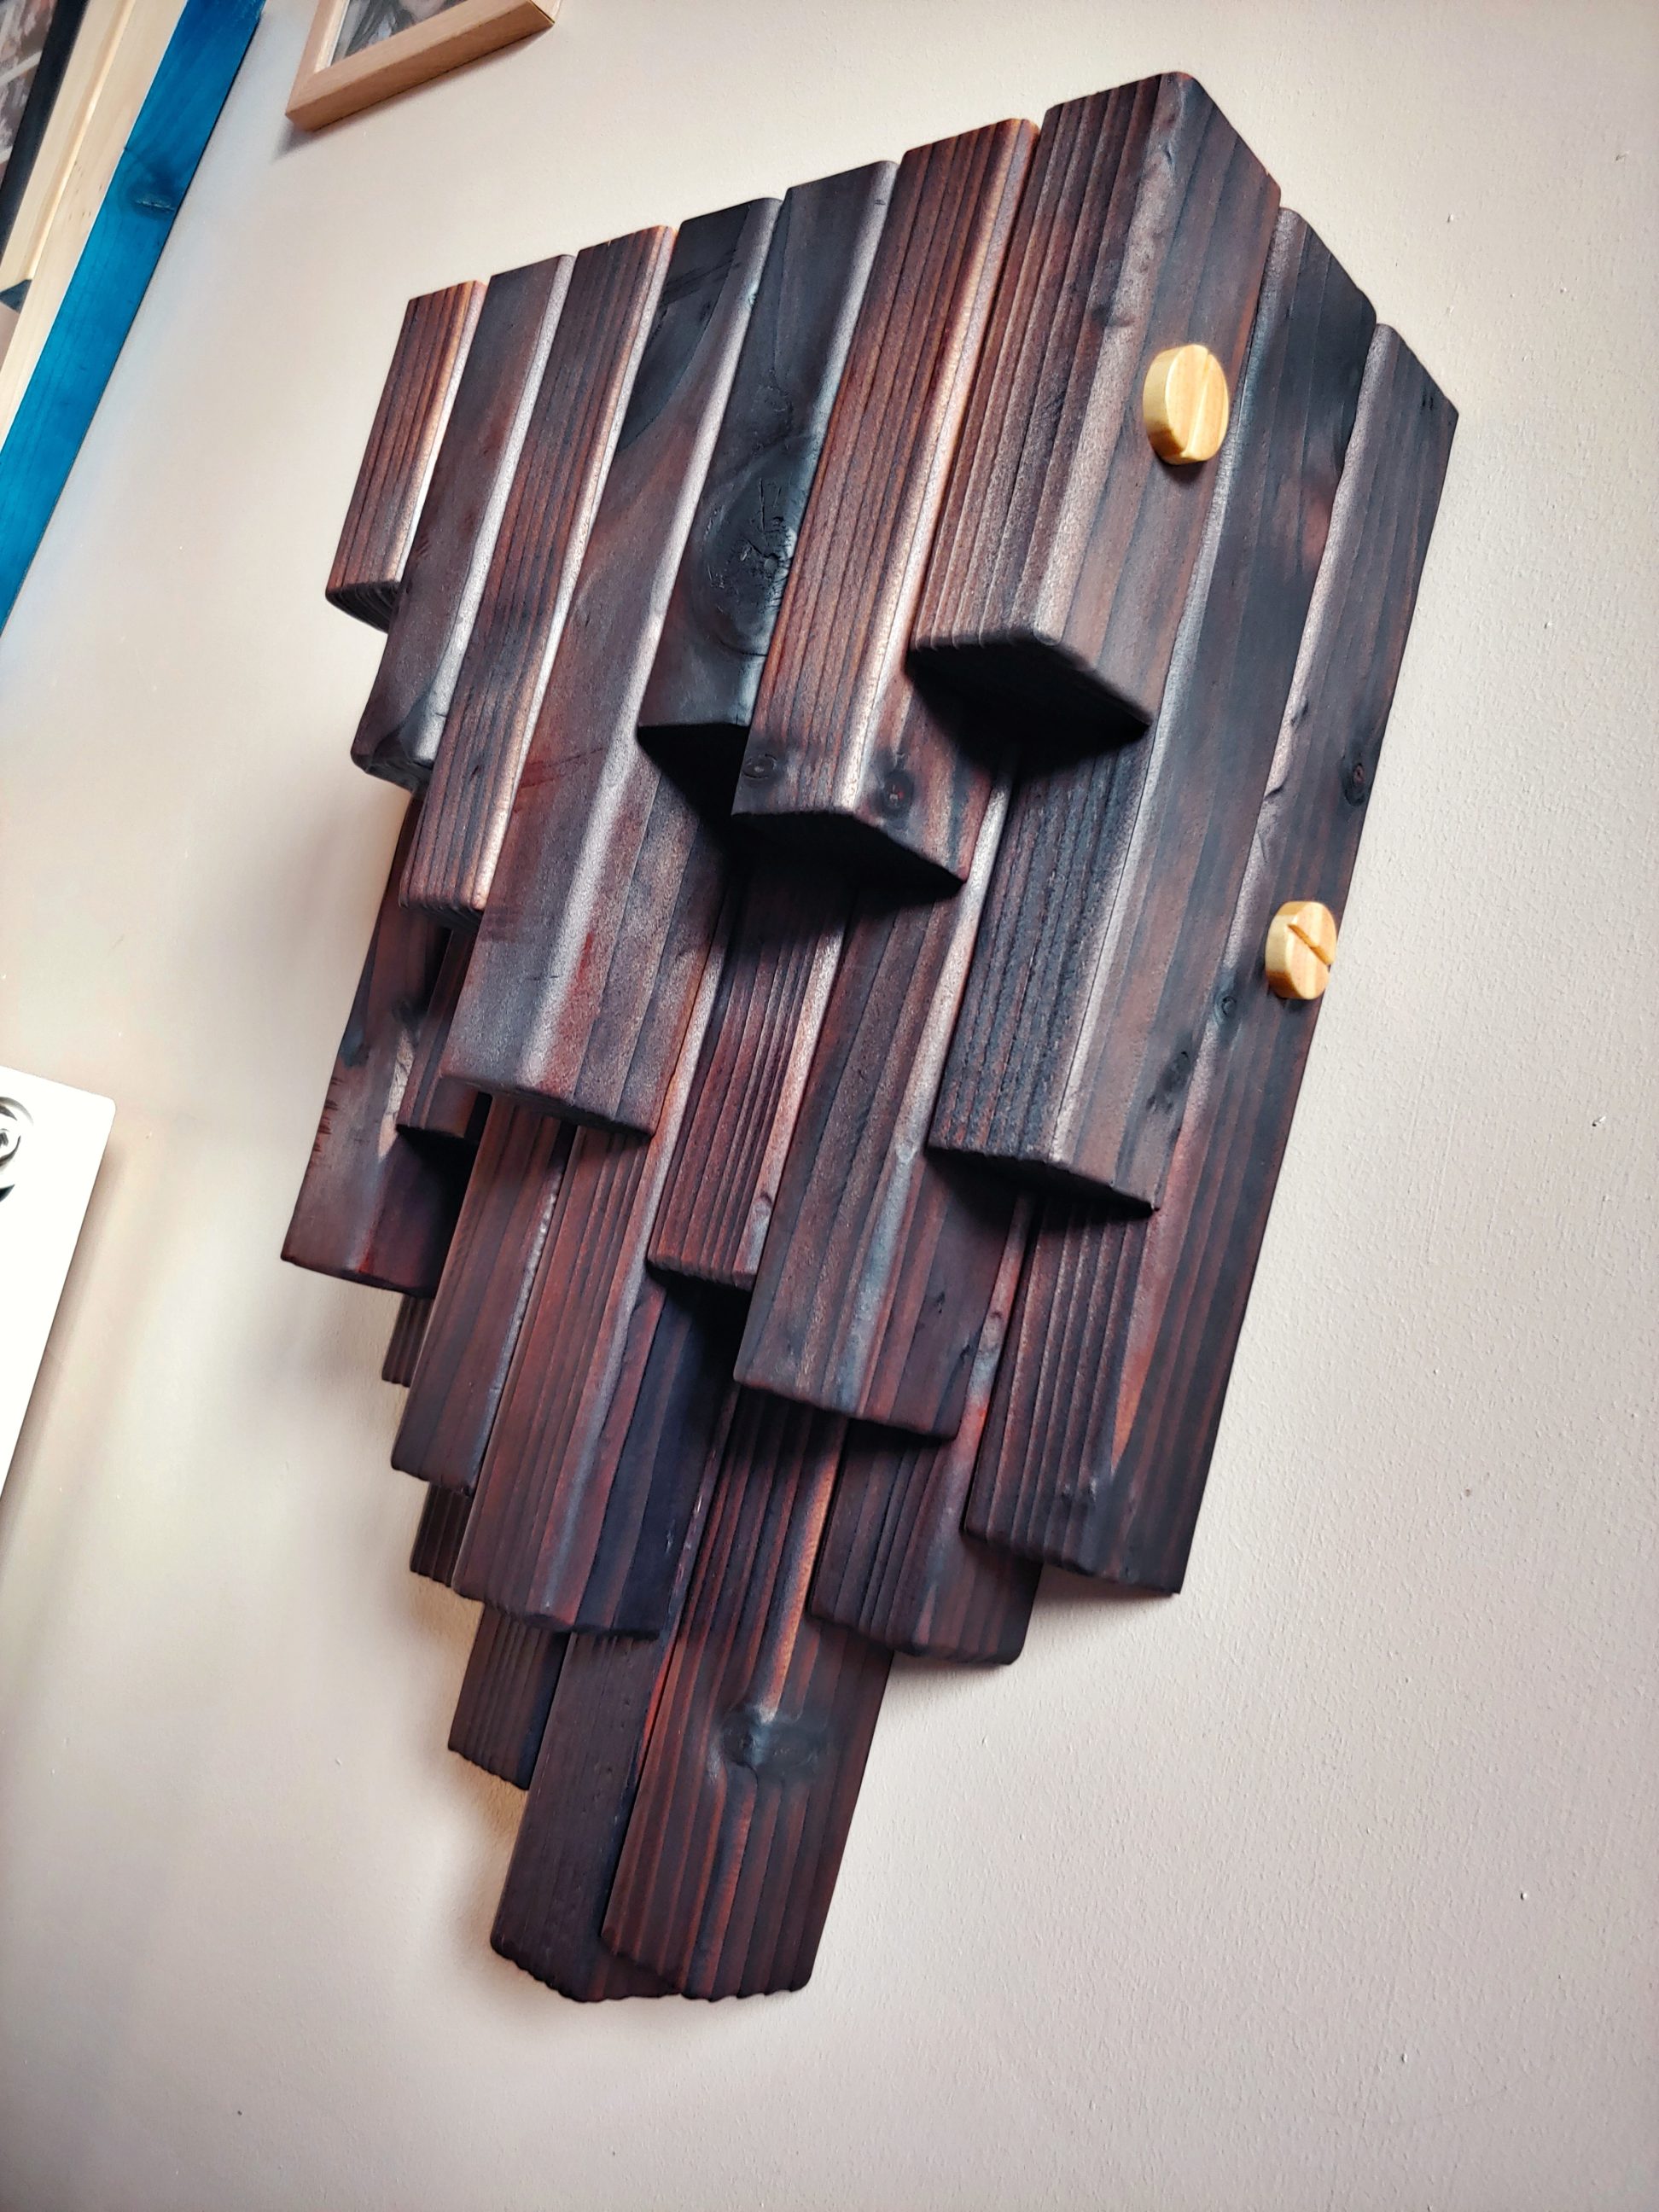
I set the guide flush with the bit bearing and flipped the router over. That way the guide became a fence. Smart! It actually worked very well. It could be done without a fence, but it wouldn’t be as fast and safe as it was with my settings. Once I finished with the router I placed all the pieces together, trying different layouts – vertical and flat, and also moved individual pieces across the assembly. Next, I charred the wood, but only areas that would be visible from the outside.
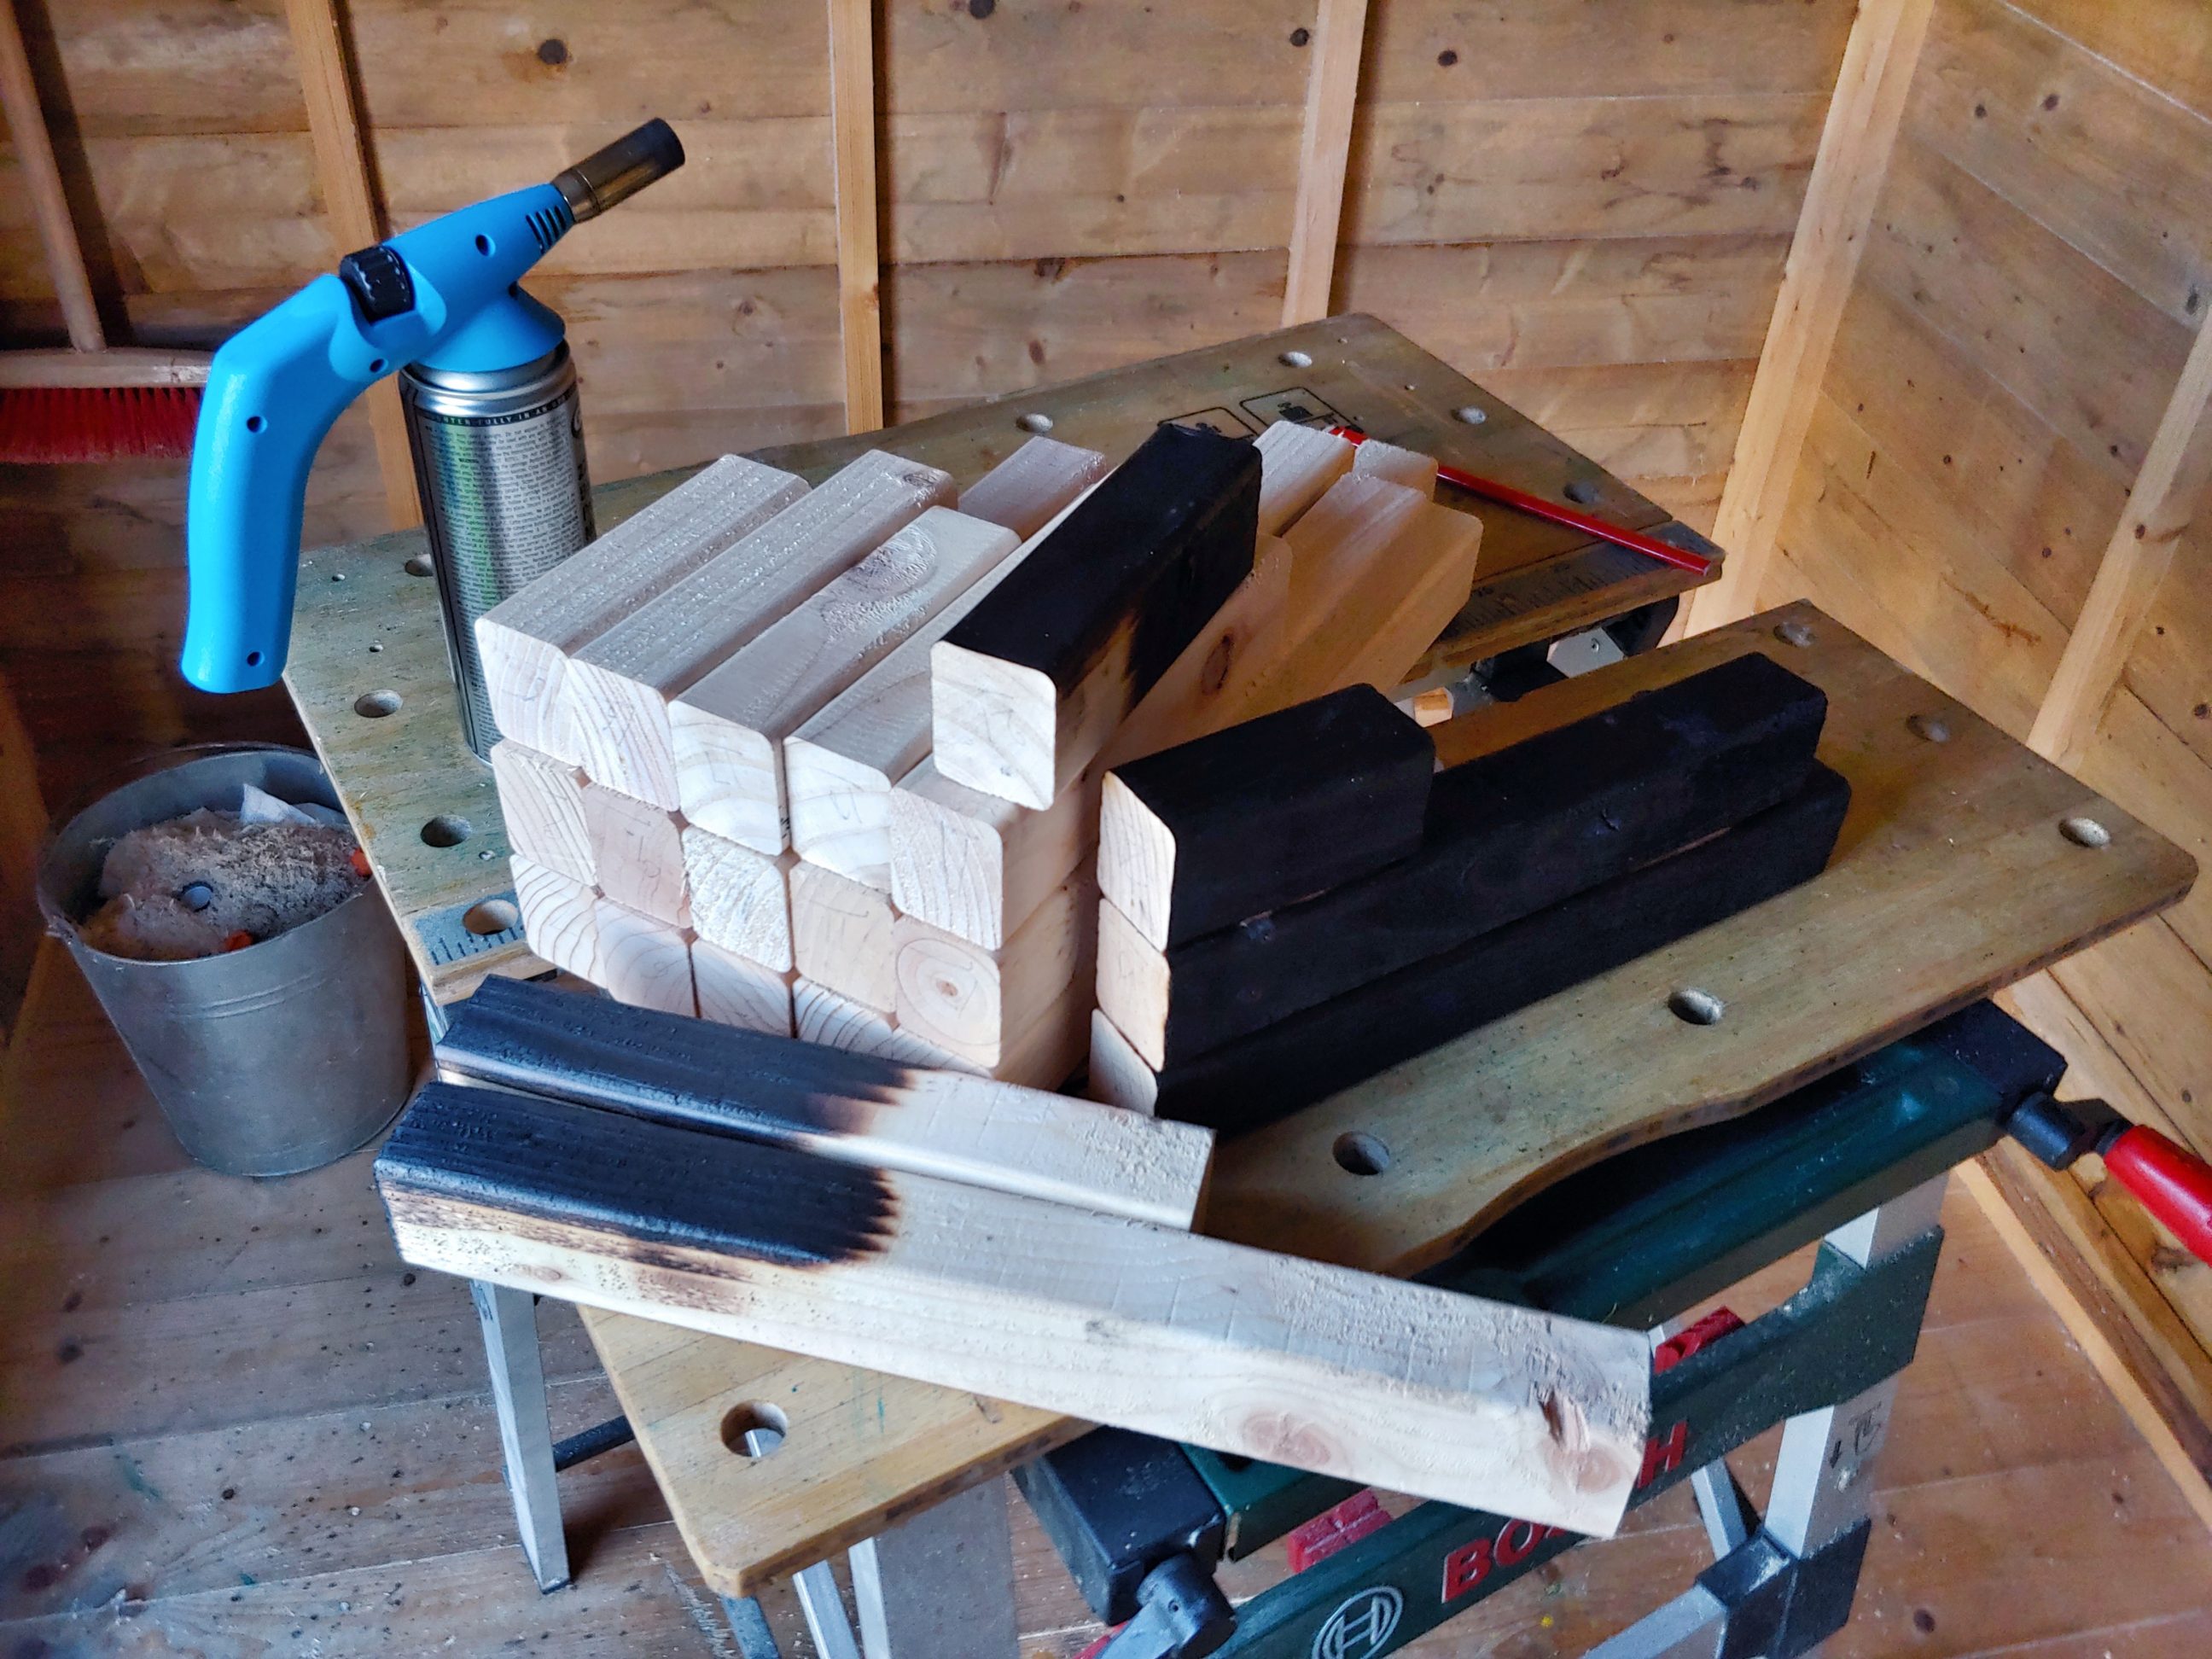
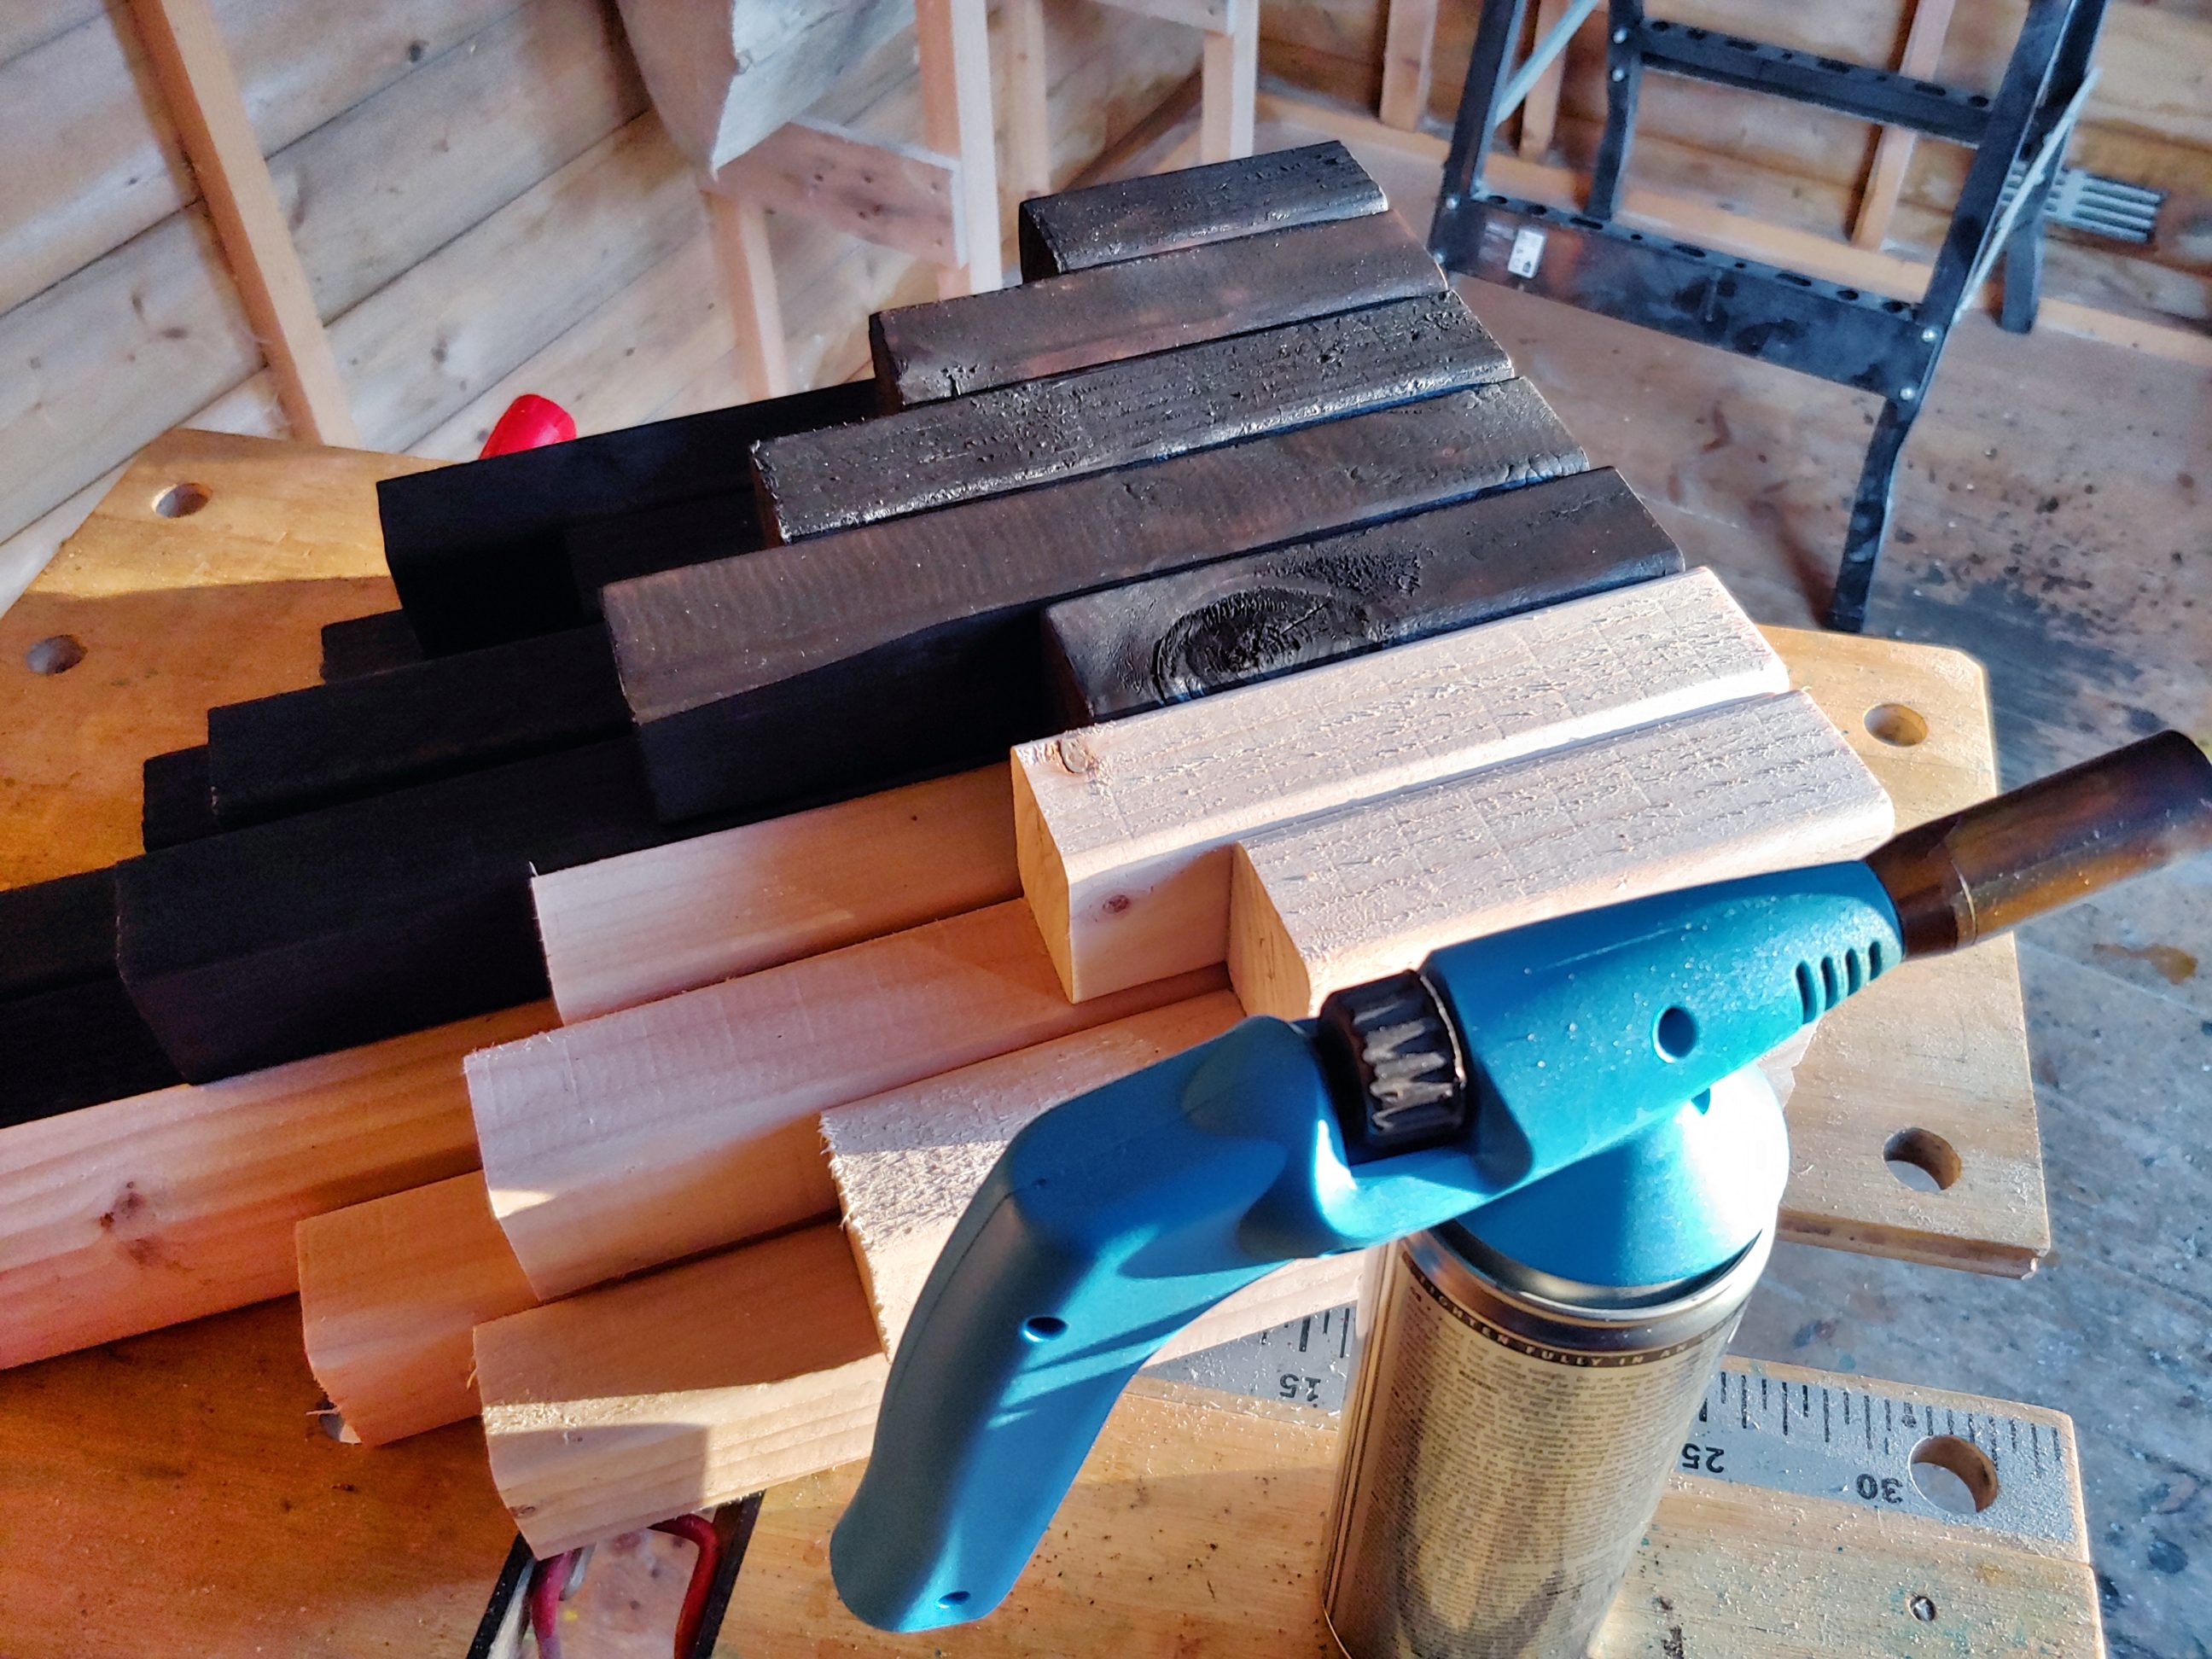
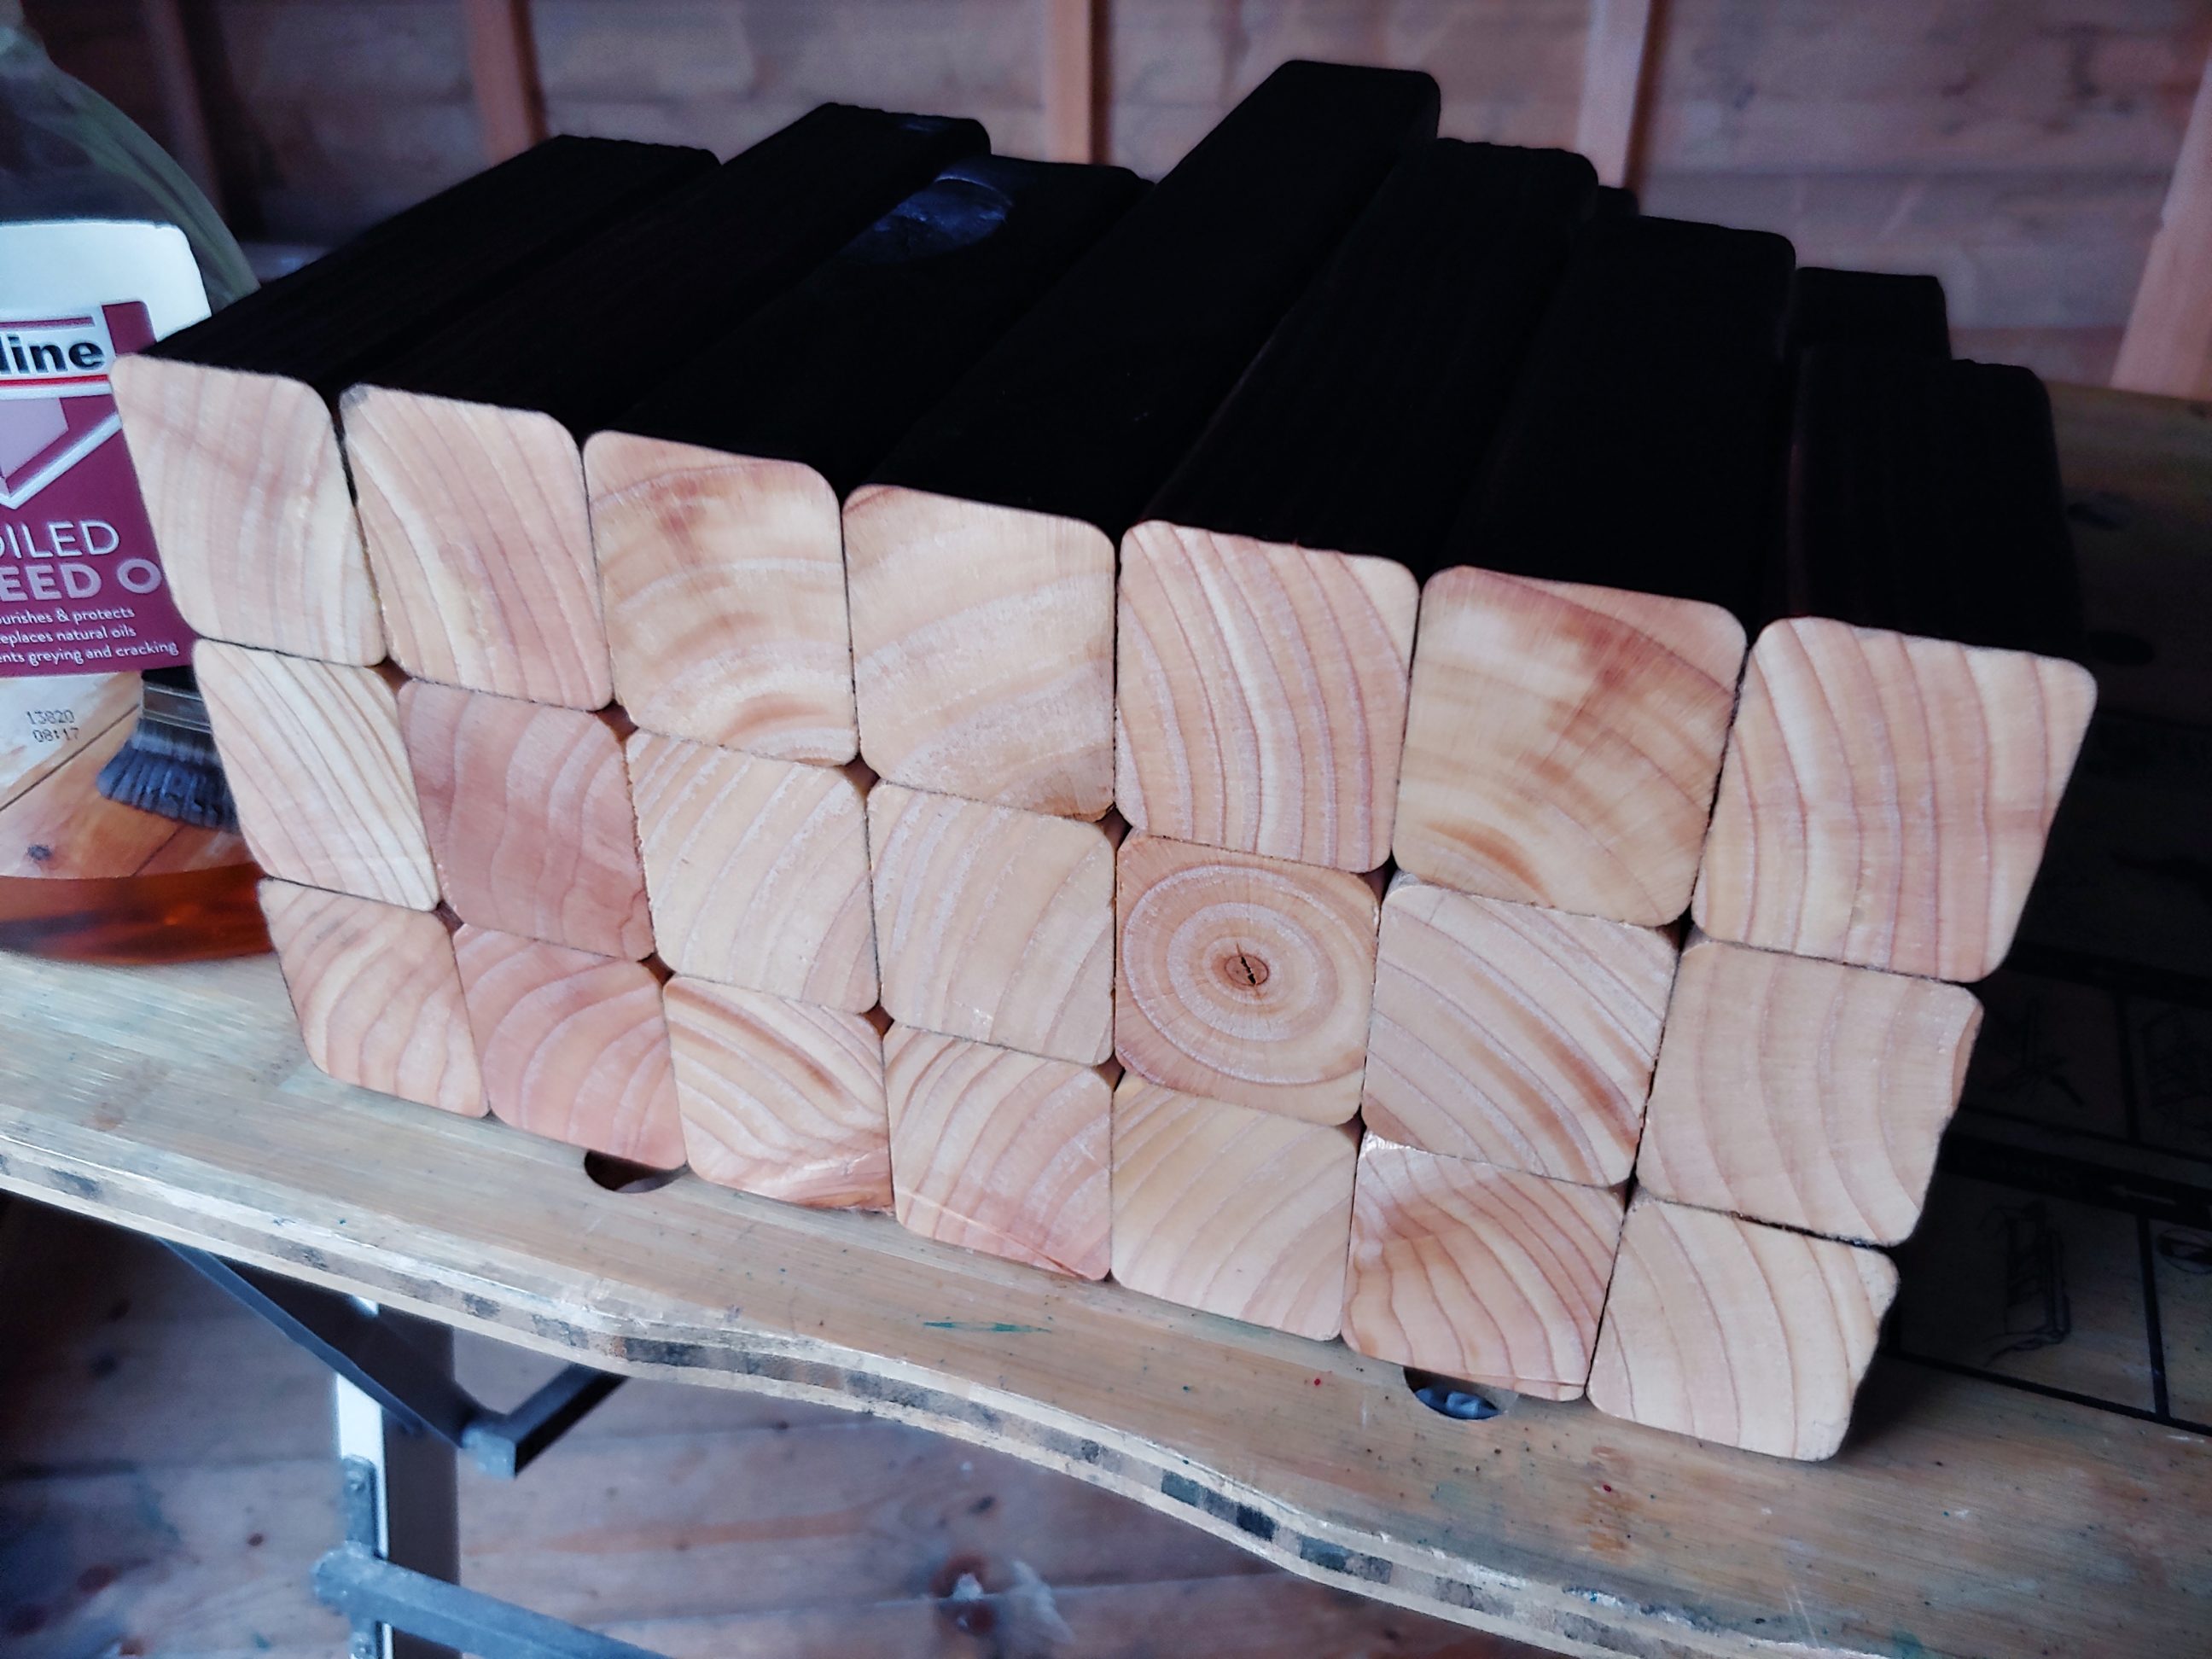
It took me a while to complete, but when that was done I cleaned each part with a soft, nylon brush and then applied a coat of boiled linseed oil.

Normally, I would use dowels and glue to put them together, but due to weather conditions (low temperature outside) I had to use screws. Each group of 3 posts was fixed with 2 shorter screws and 1 long, one that actually had to be cut for that application. I drove it in, but not fully, leaving approx. 10 mm above the surface. That way it cut a nice thread. Next, I removed it, cut the tip off and drove it again, flush with the surface.
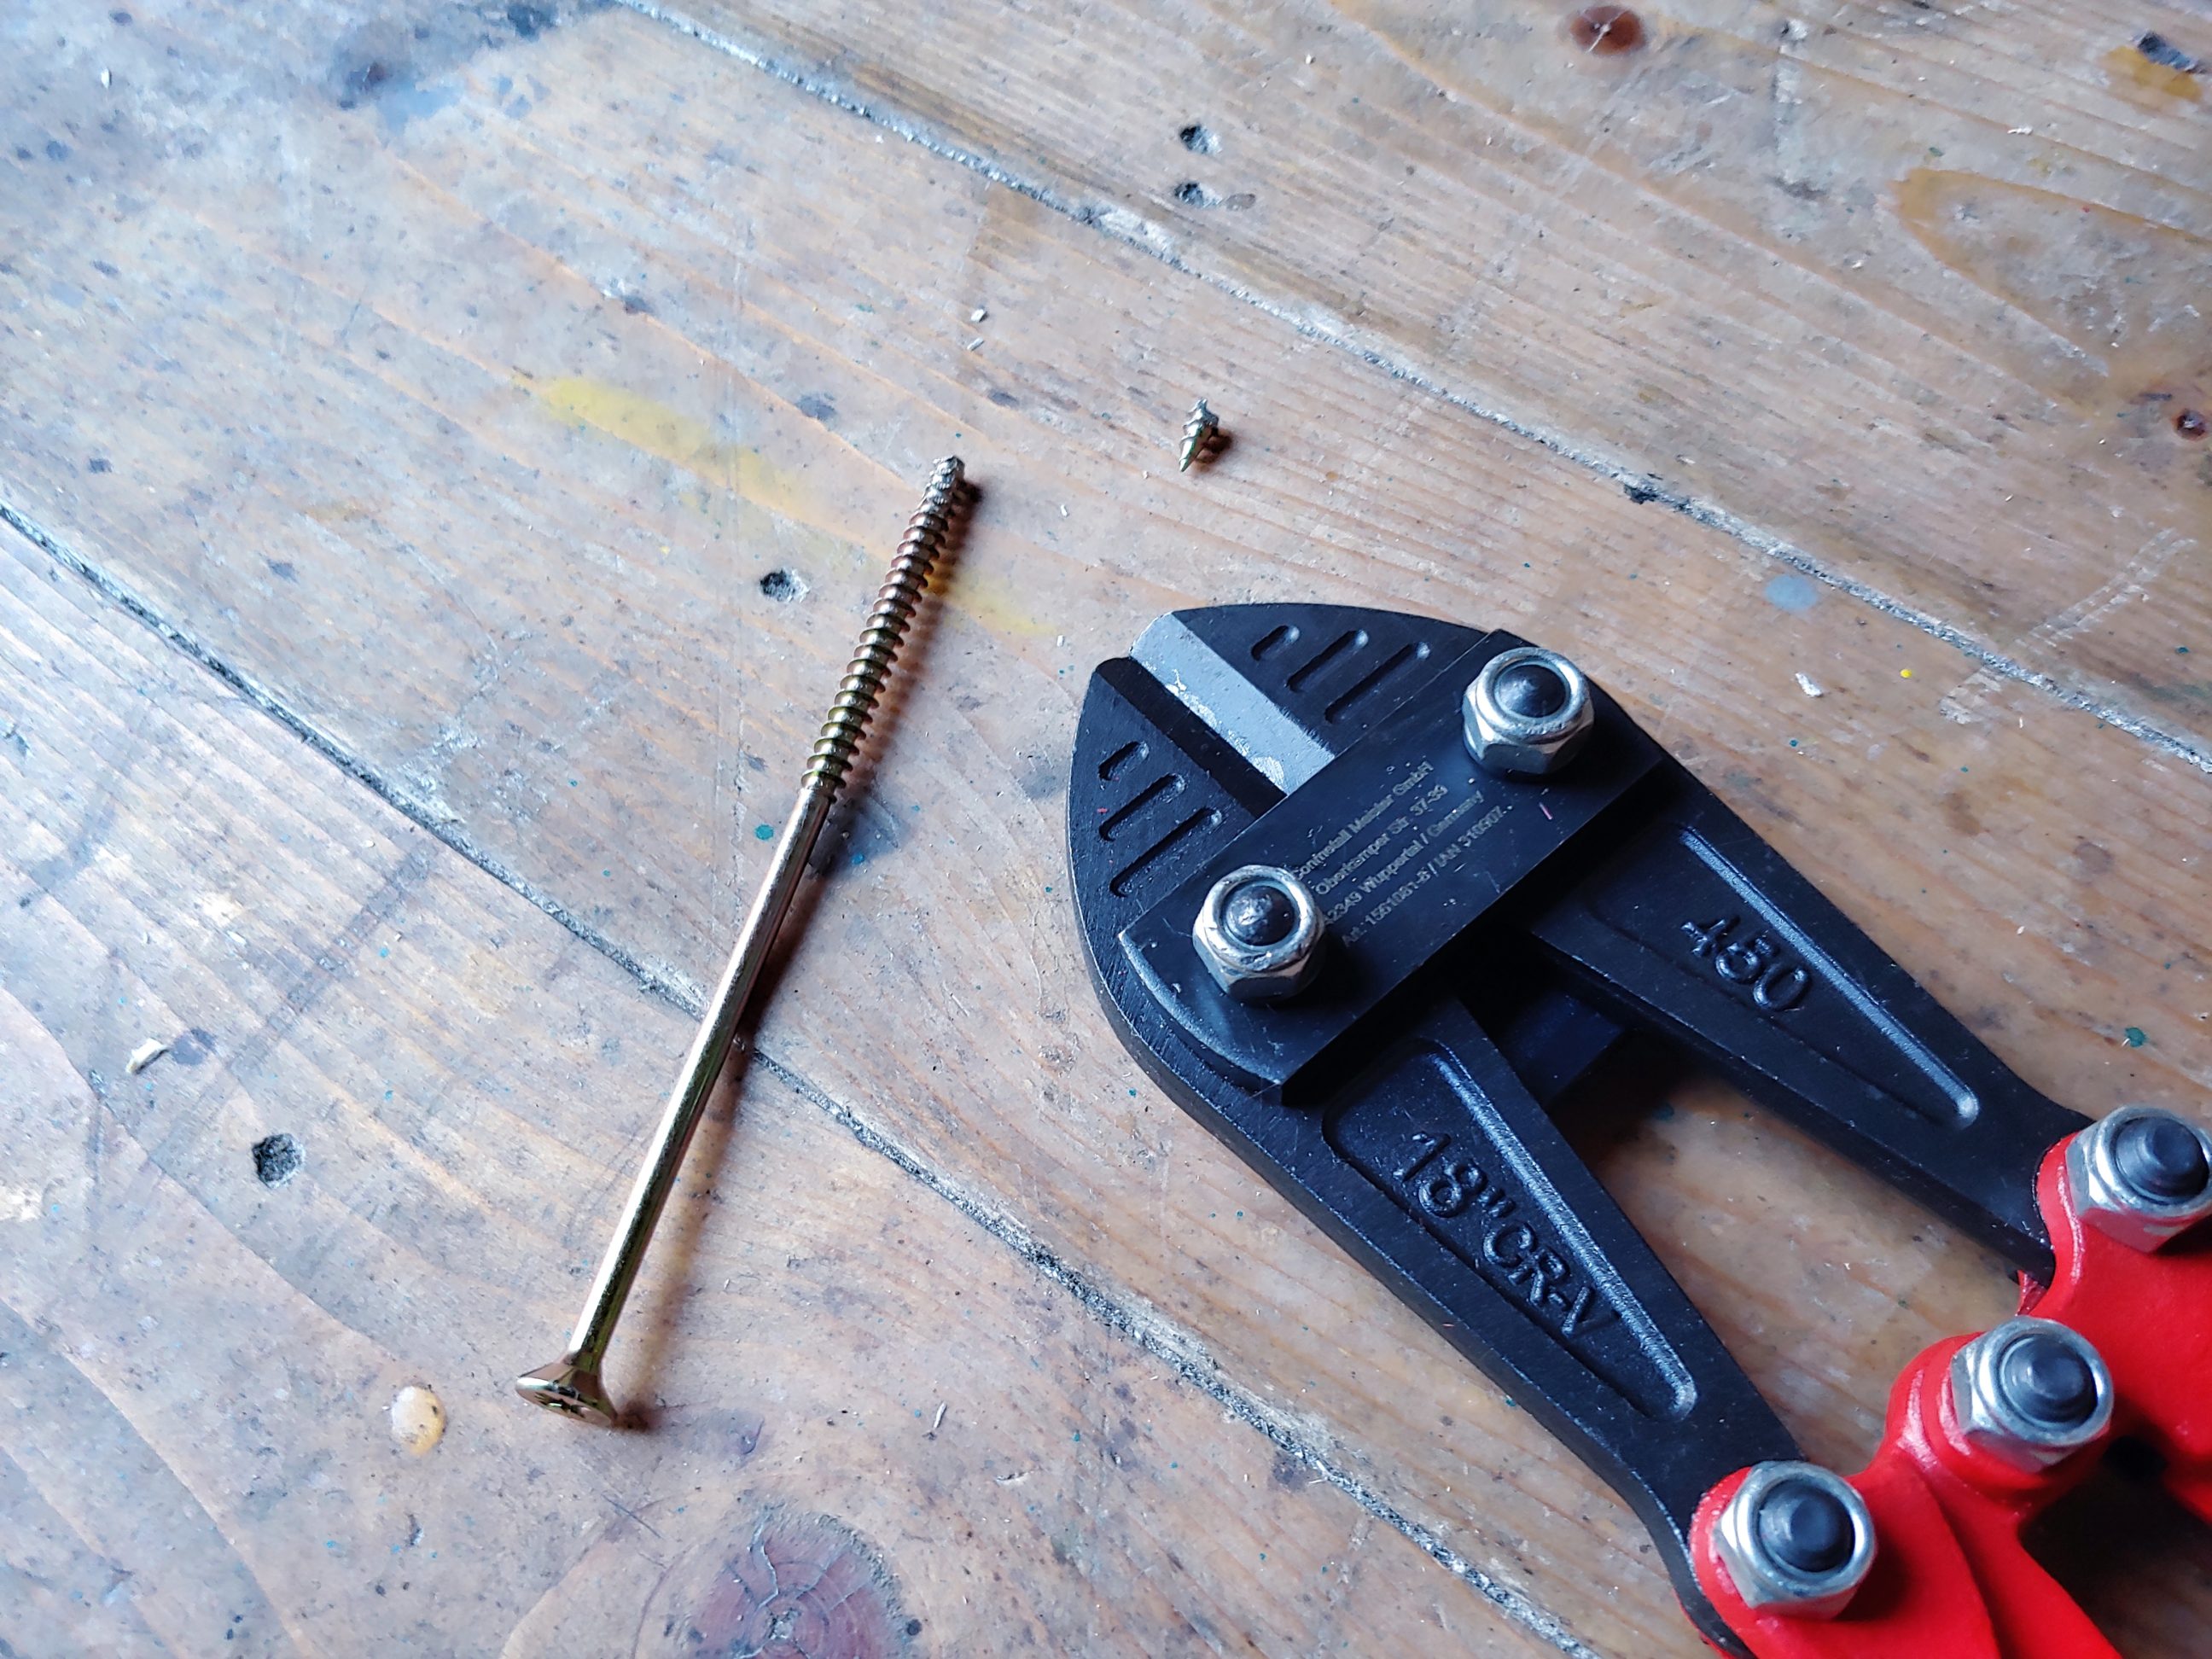
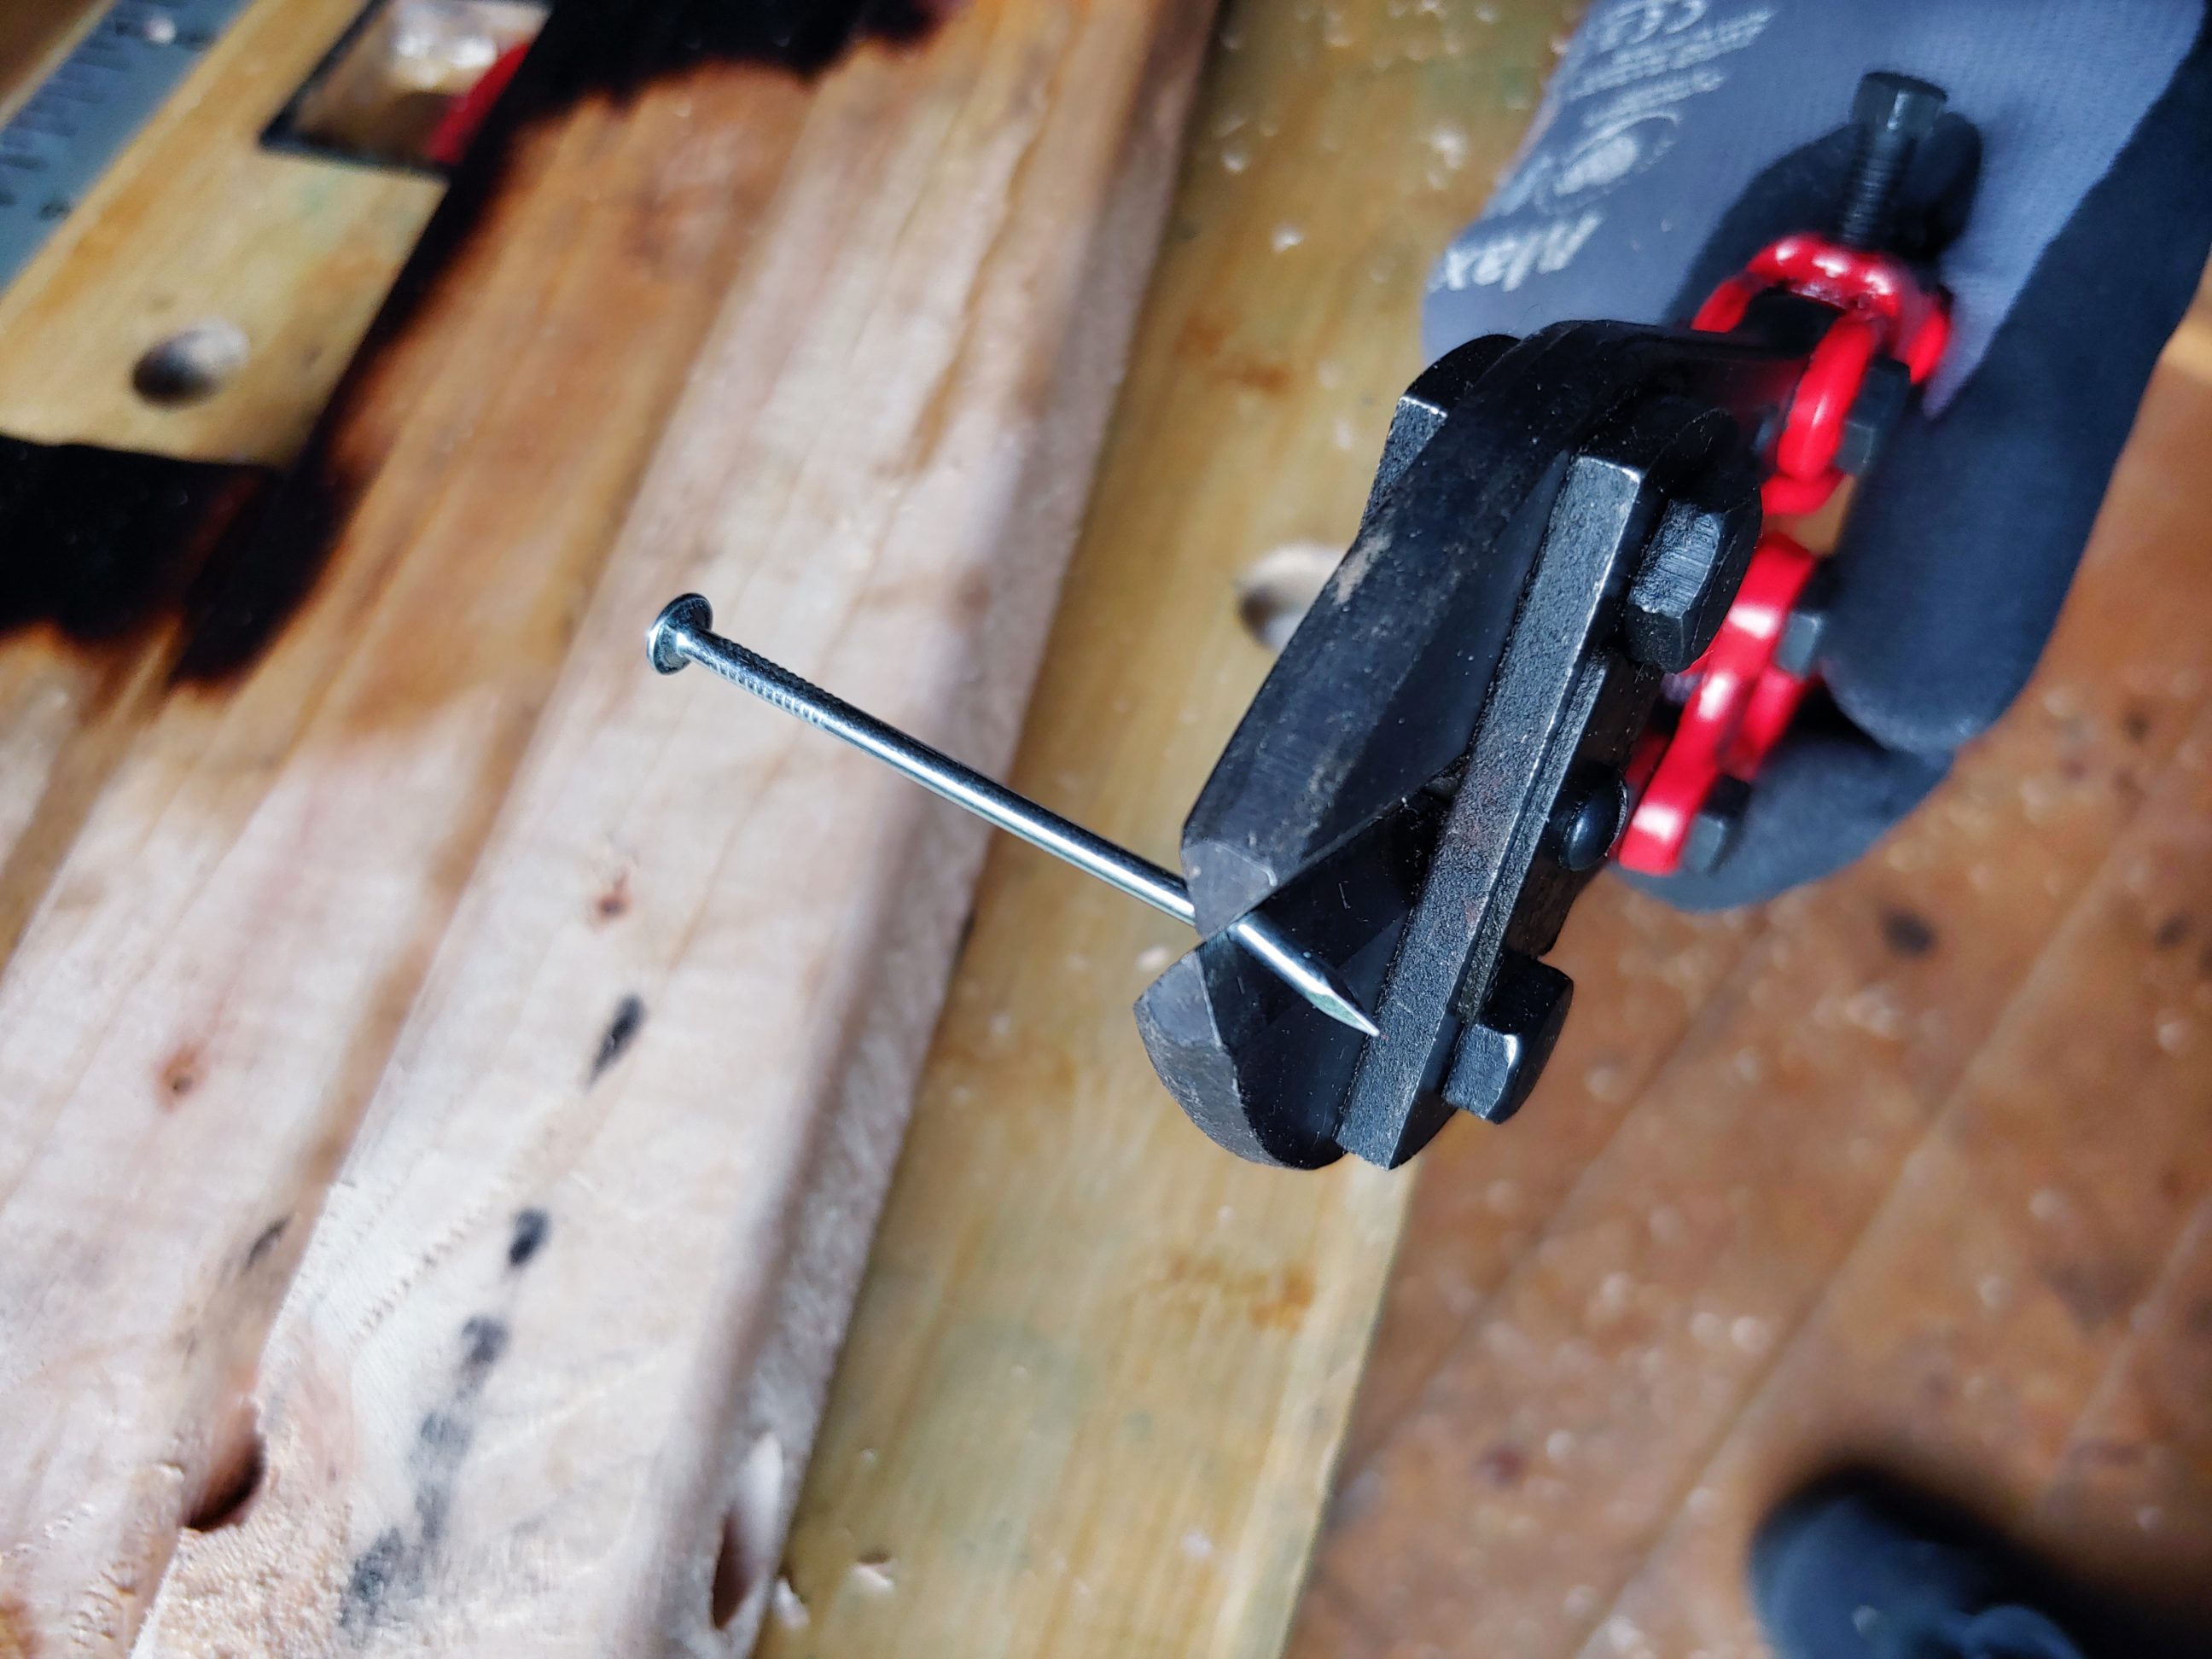
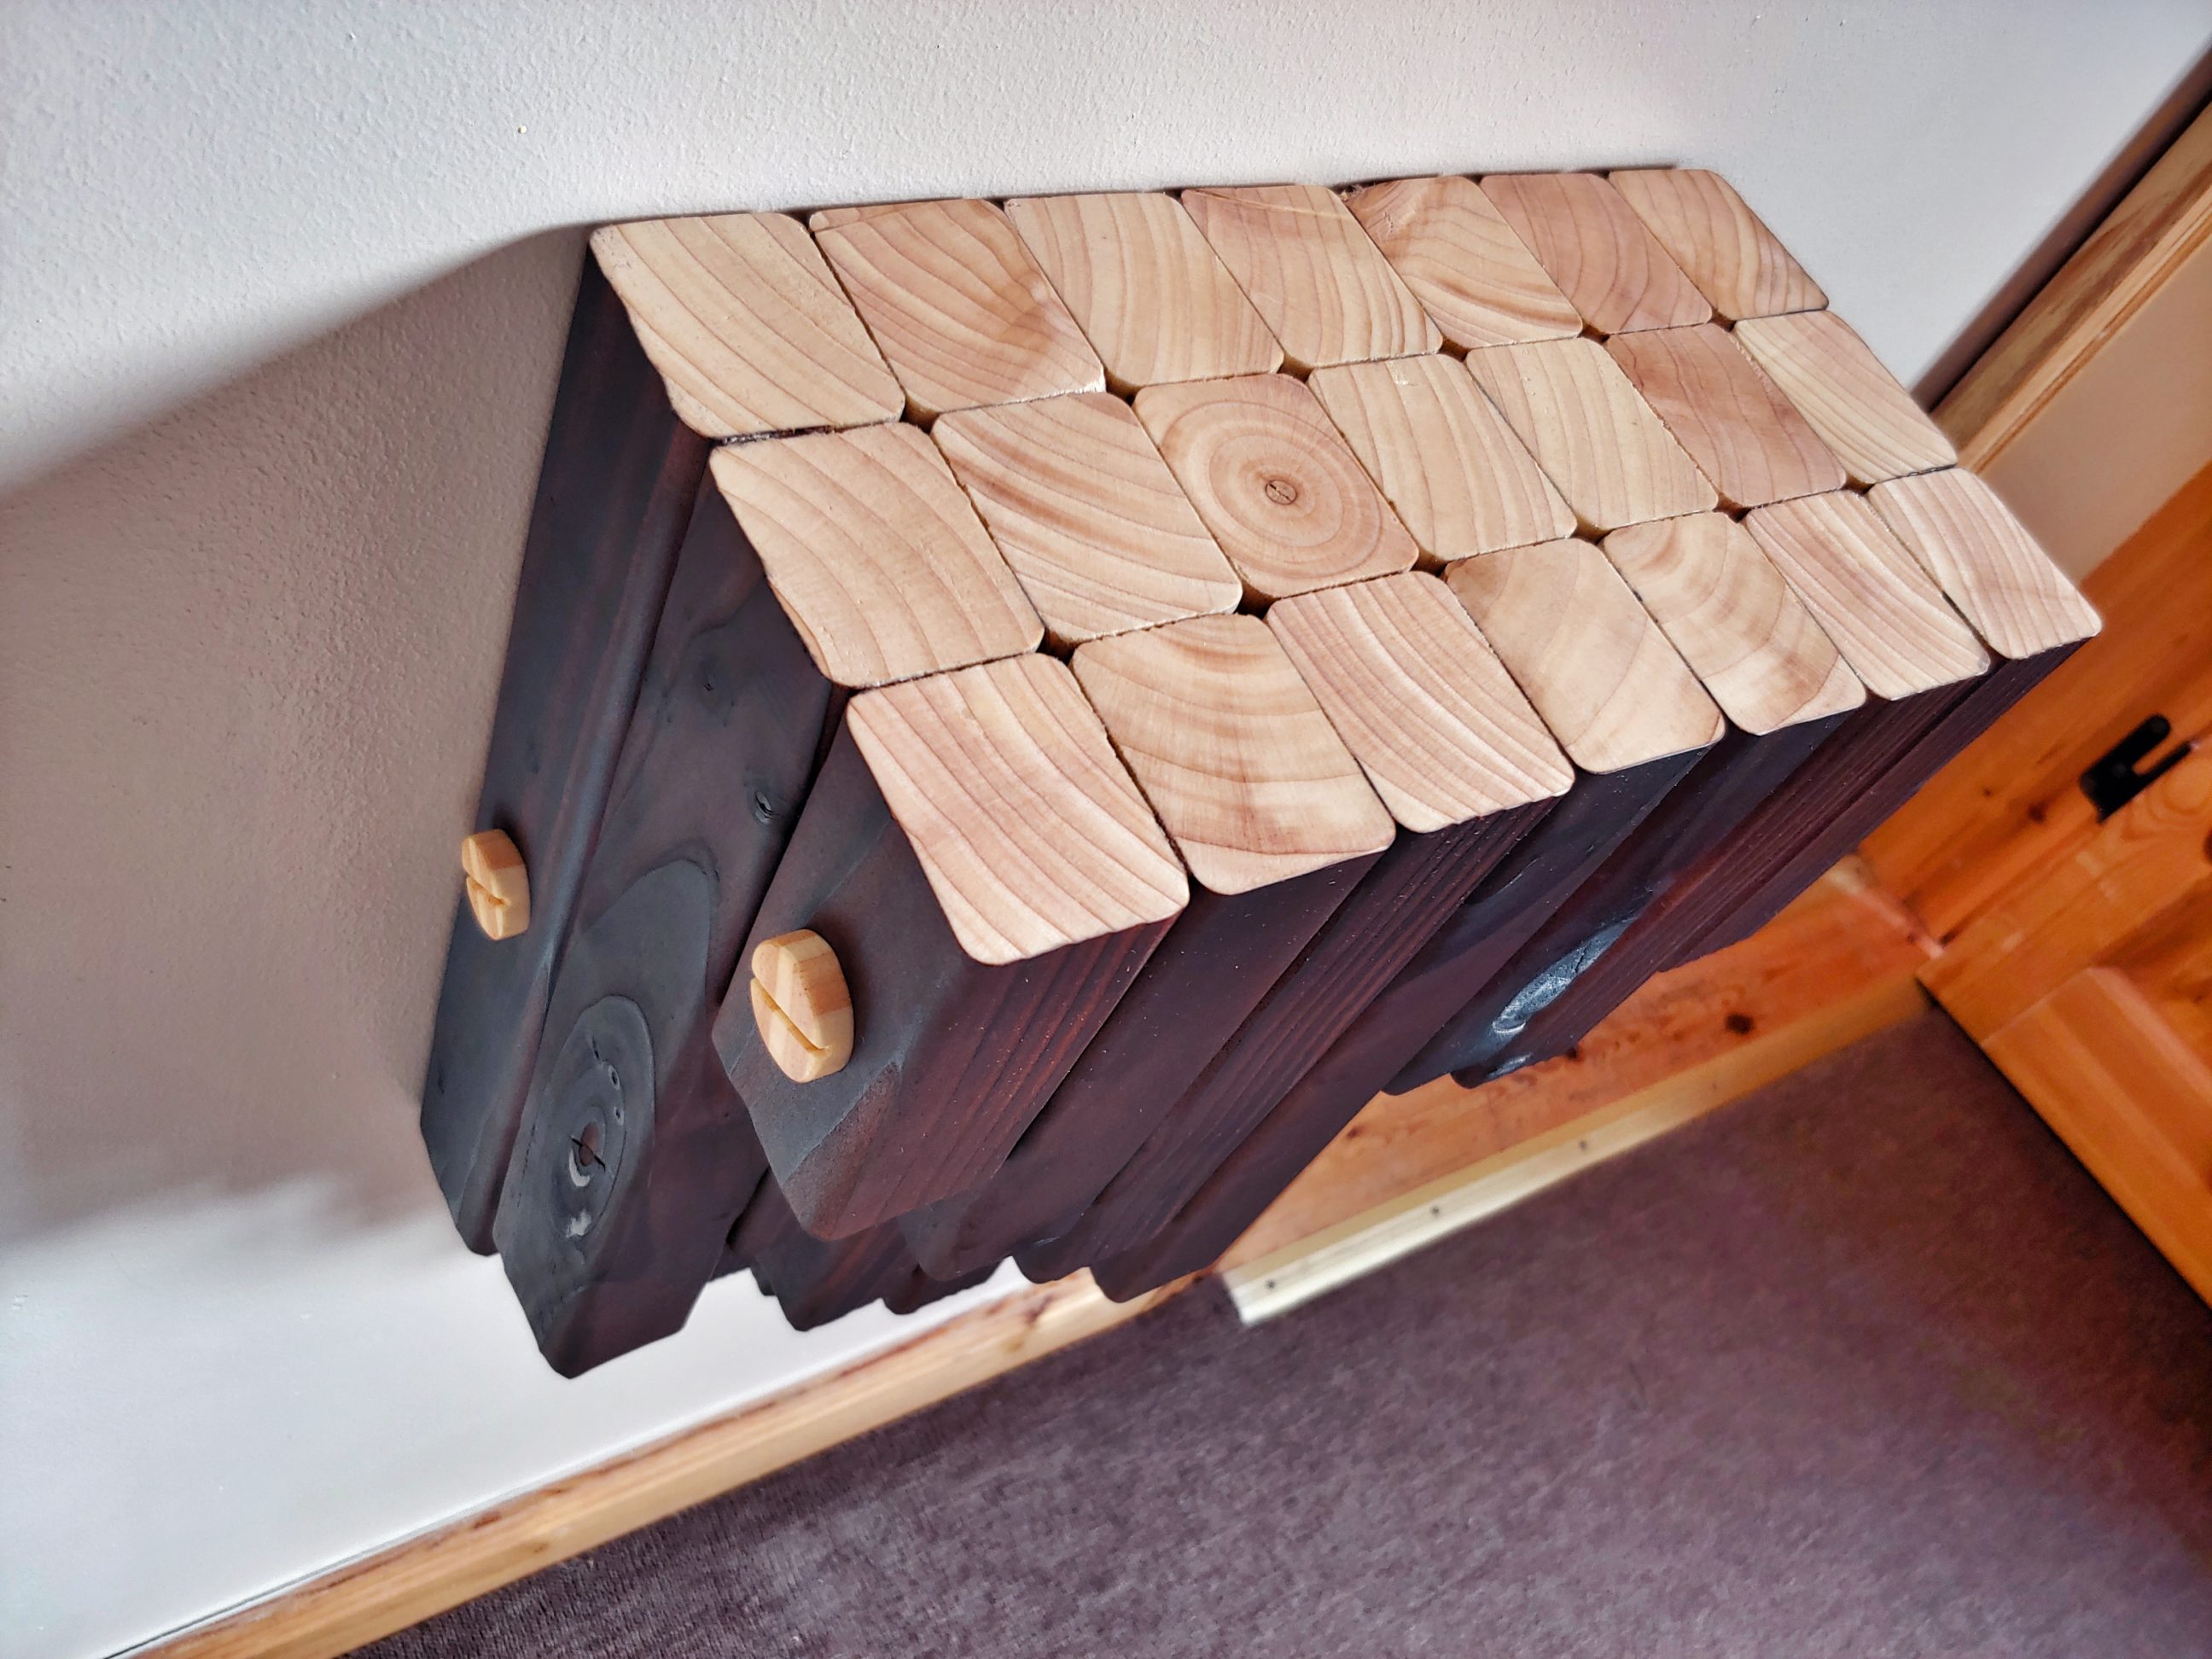
To keep it spaced out from the wall I used recessed felt bumpers, placed in 3 spots. Also, before it was fully assembled, I had to drill holes for the hangers. I cut nails to length and drove them through the holes. The beauty of nails – you can cut them and they still perform well, if not better. I got a cheap yet effective solution for hanging my shelf on the wall.
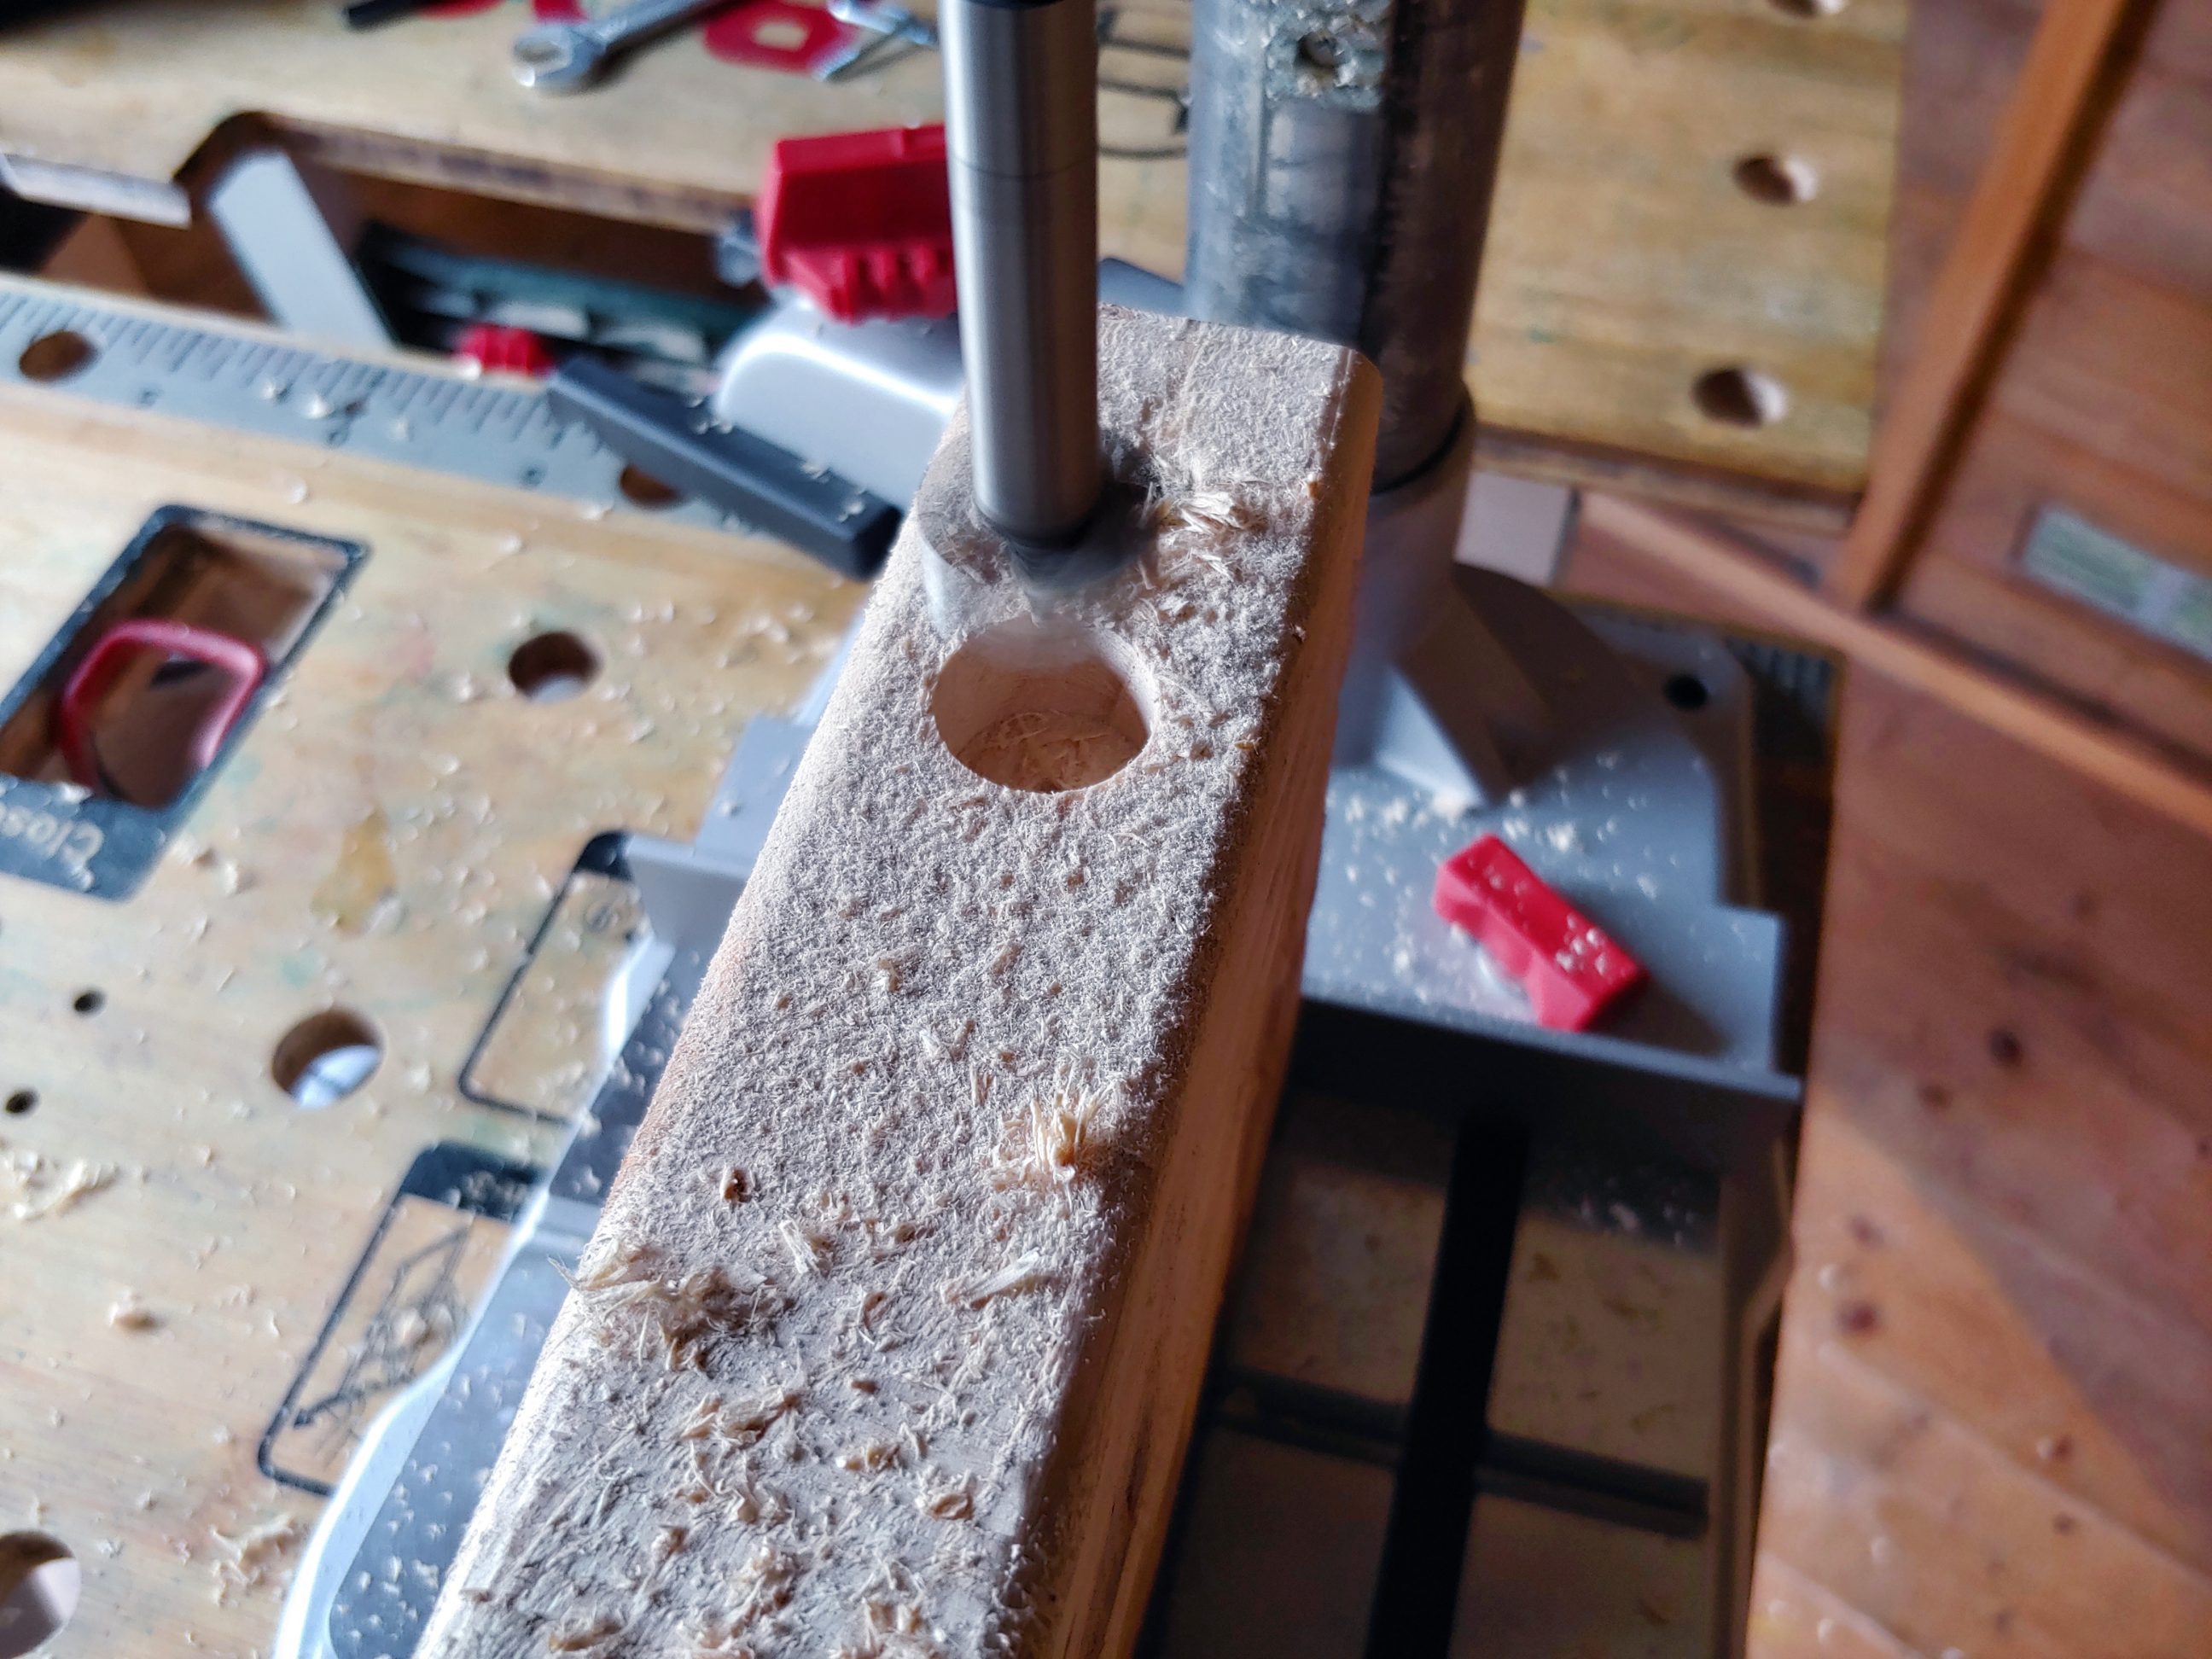

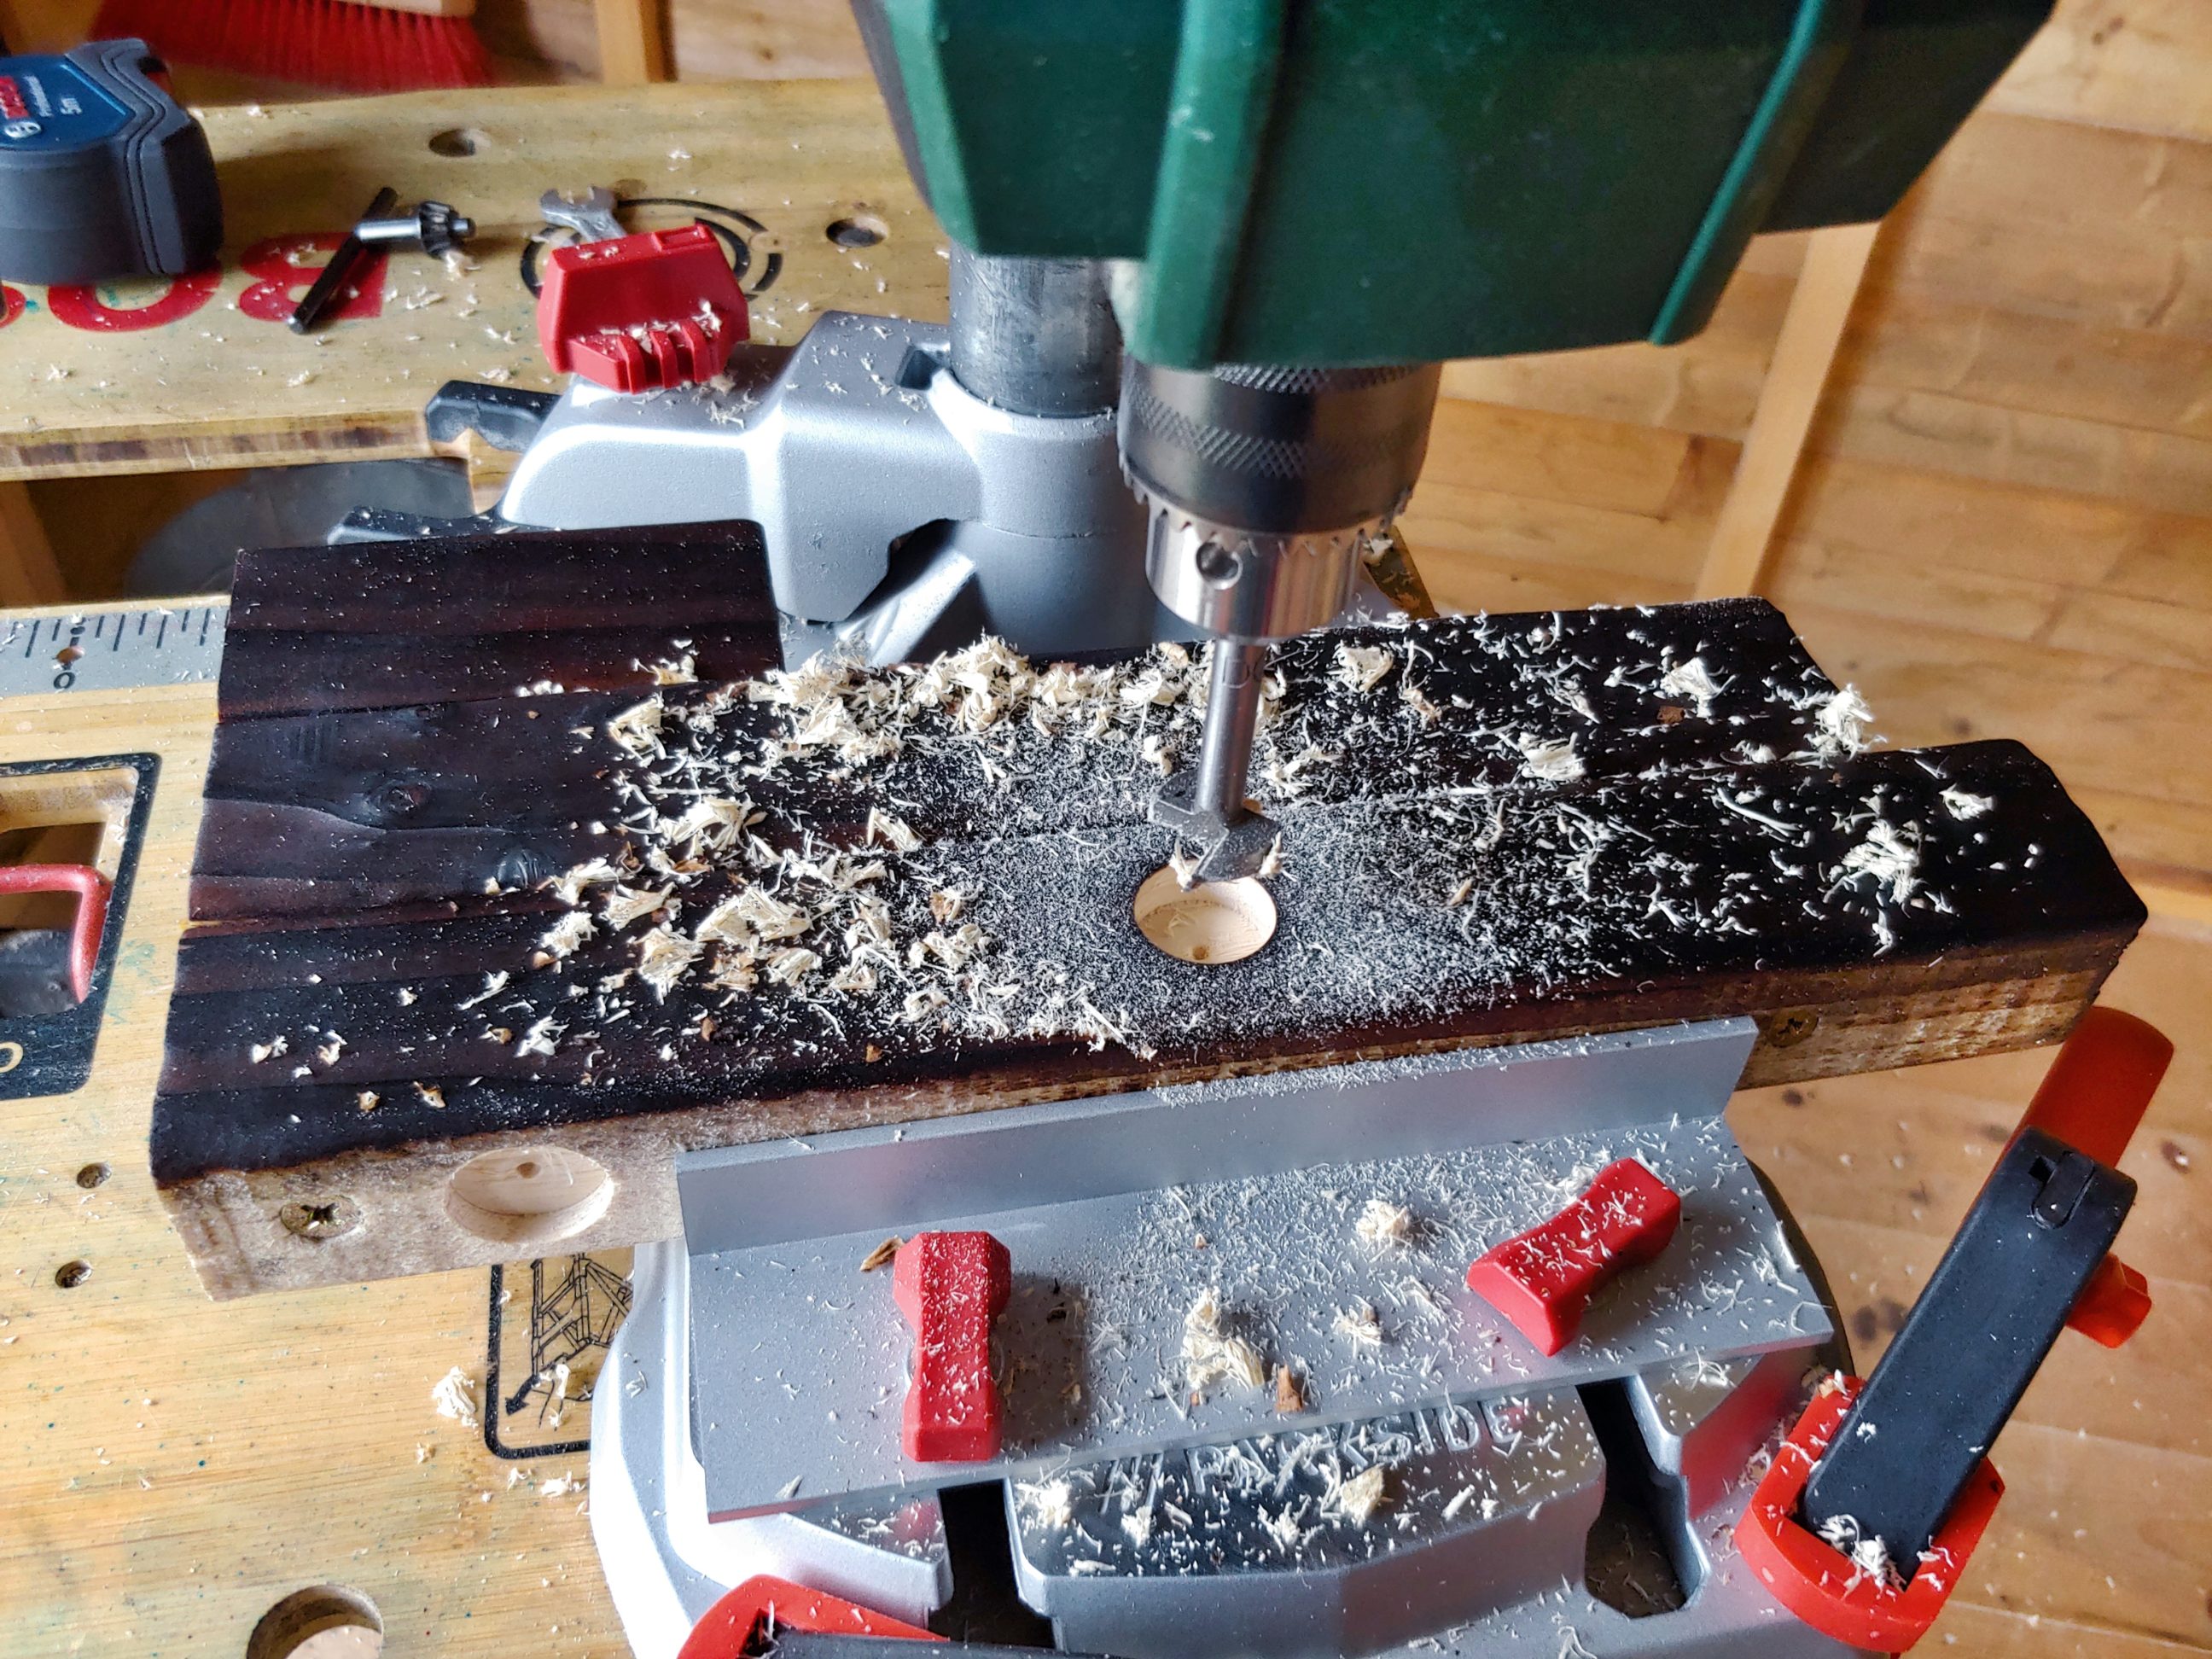
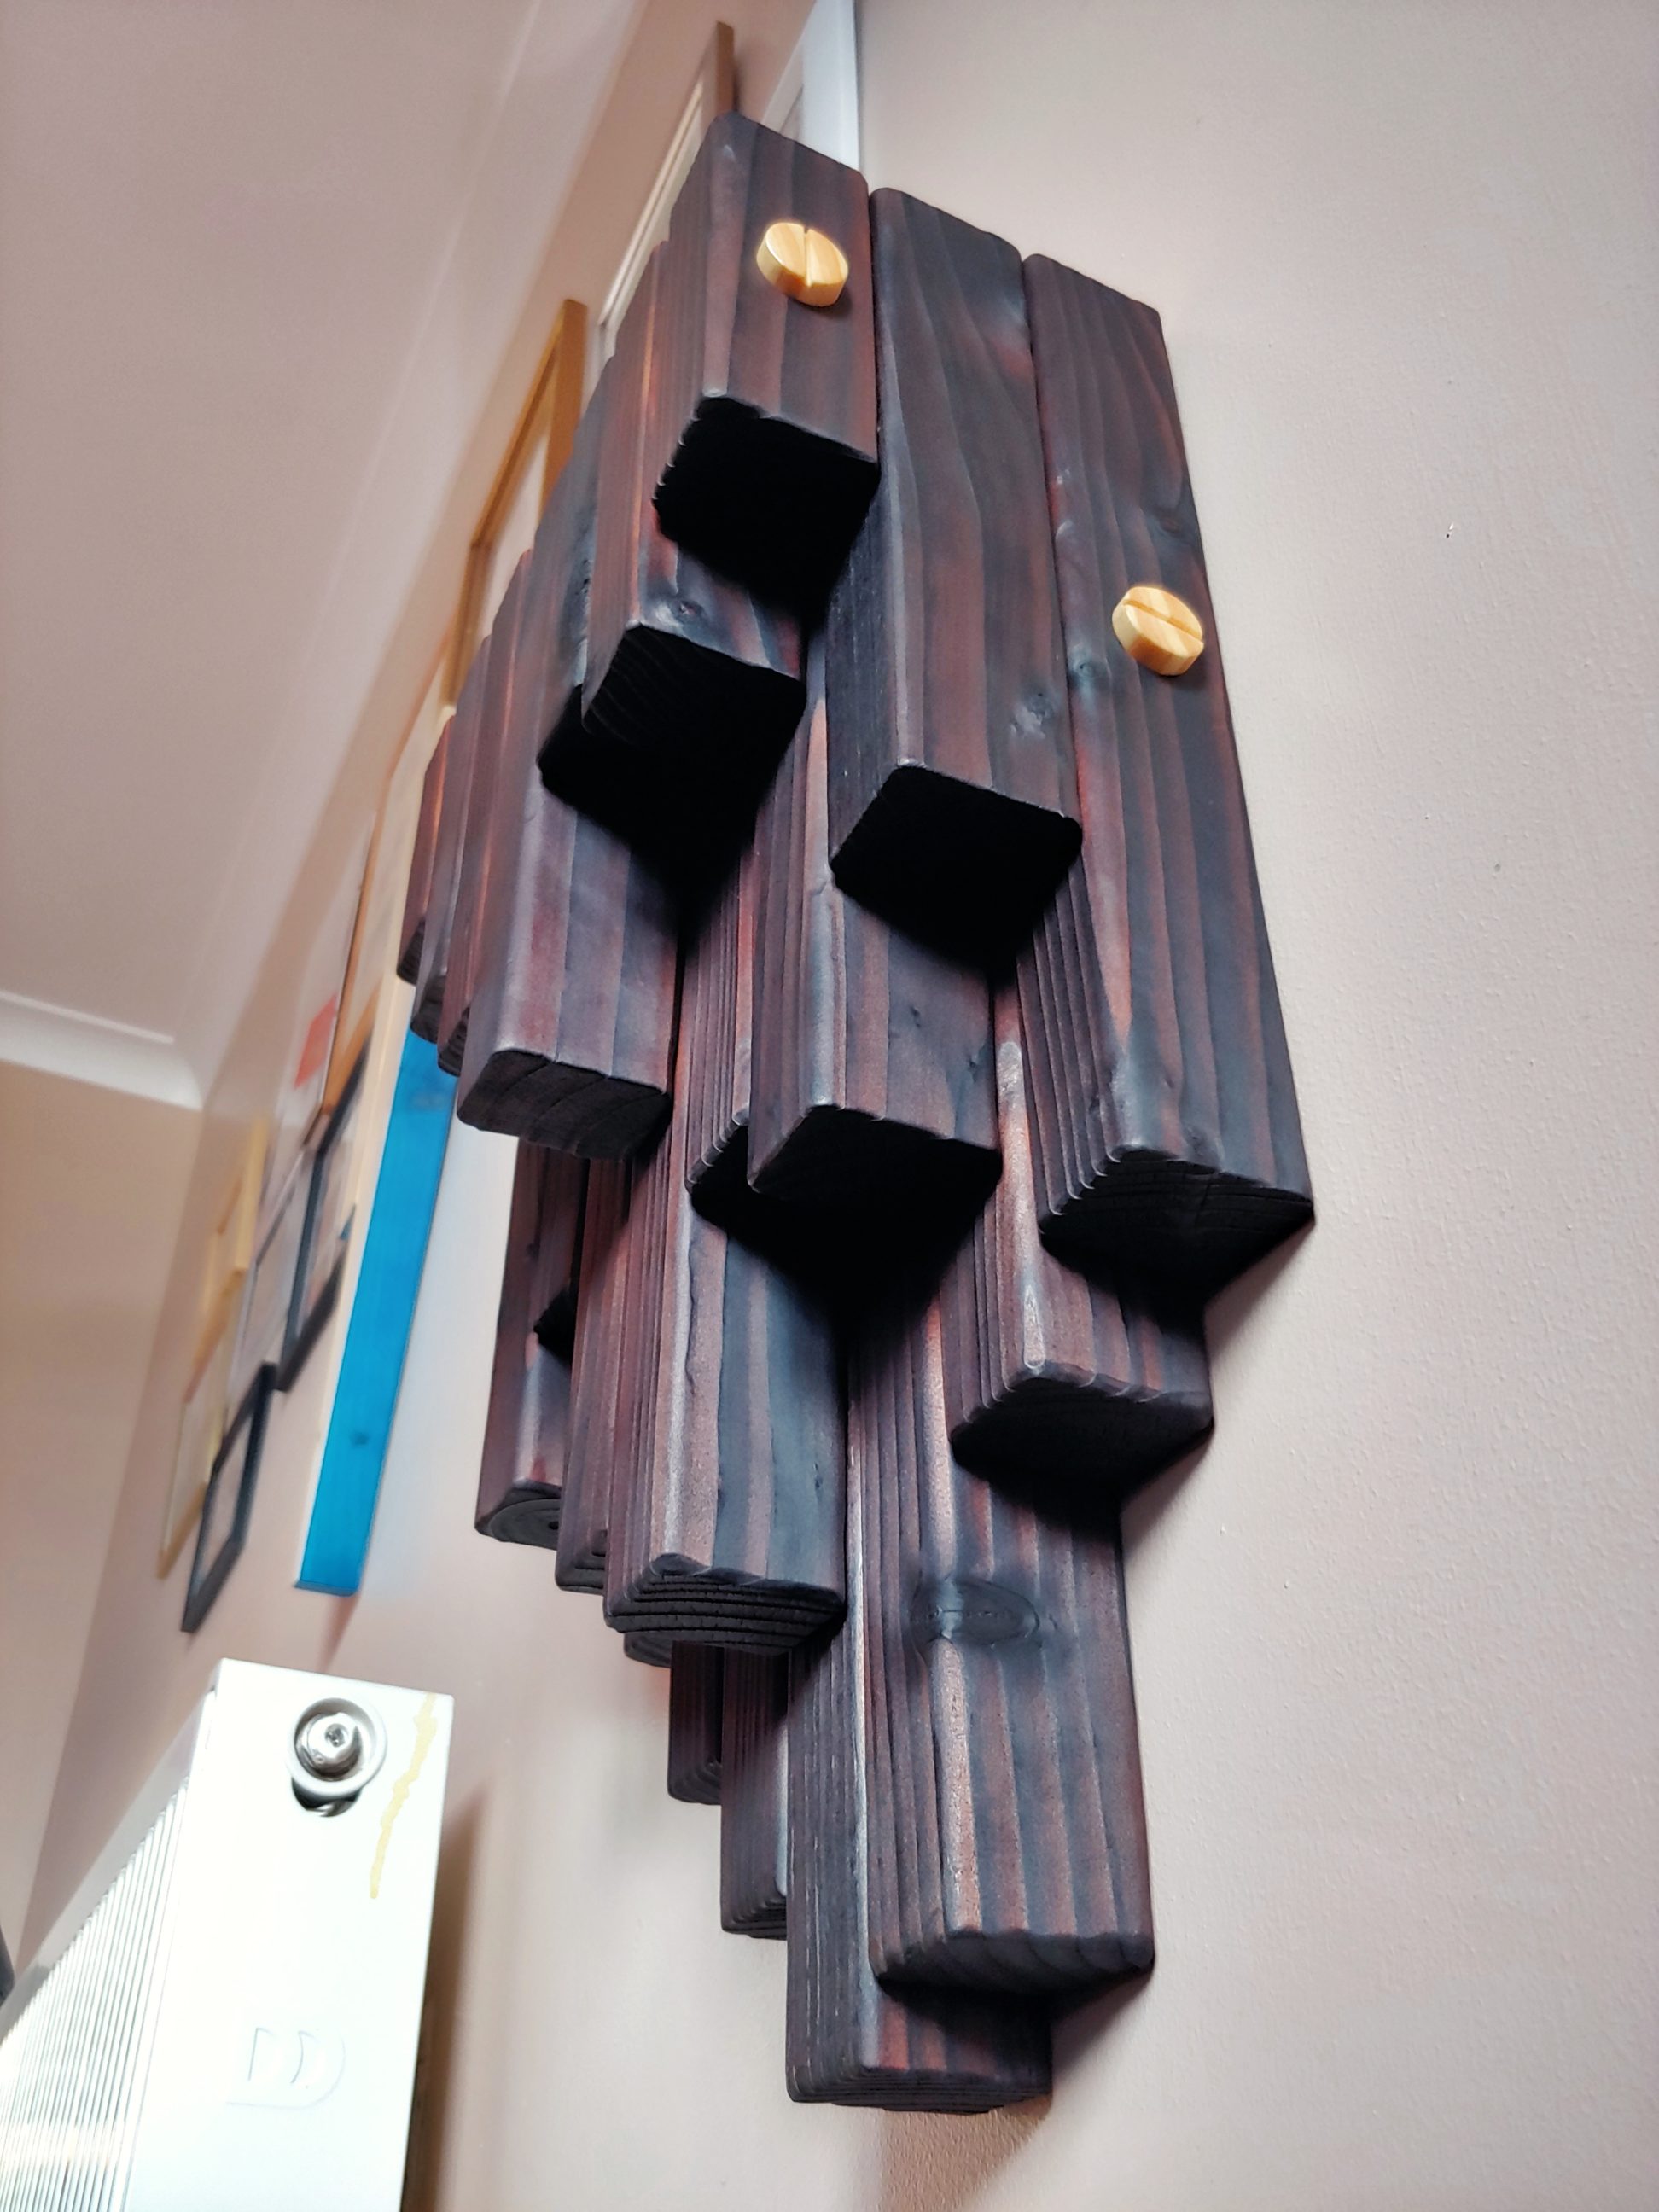
I used 4 extra long (200 mm / 8″) screws for the final assembly. To hide their heads I drilled 24 mm holes, which was the size of the dowel I wanted to use for plugs. As mentioned, the size of 200 mm was about 3/4 of the total width of the shelf, which meant some overlap inside. Those 4 holes were not drilled in exactly corresponding, mirrored spots on both sides, but in the centre of each segment. All segments had different lengths, which helped. That way it looked aesthetically and made the shelf strong.
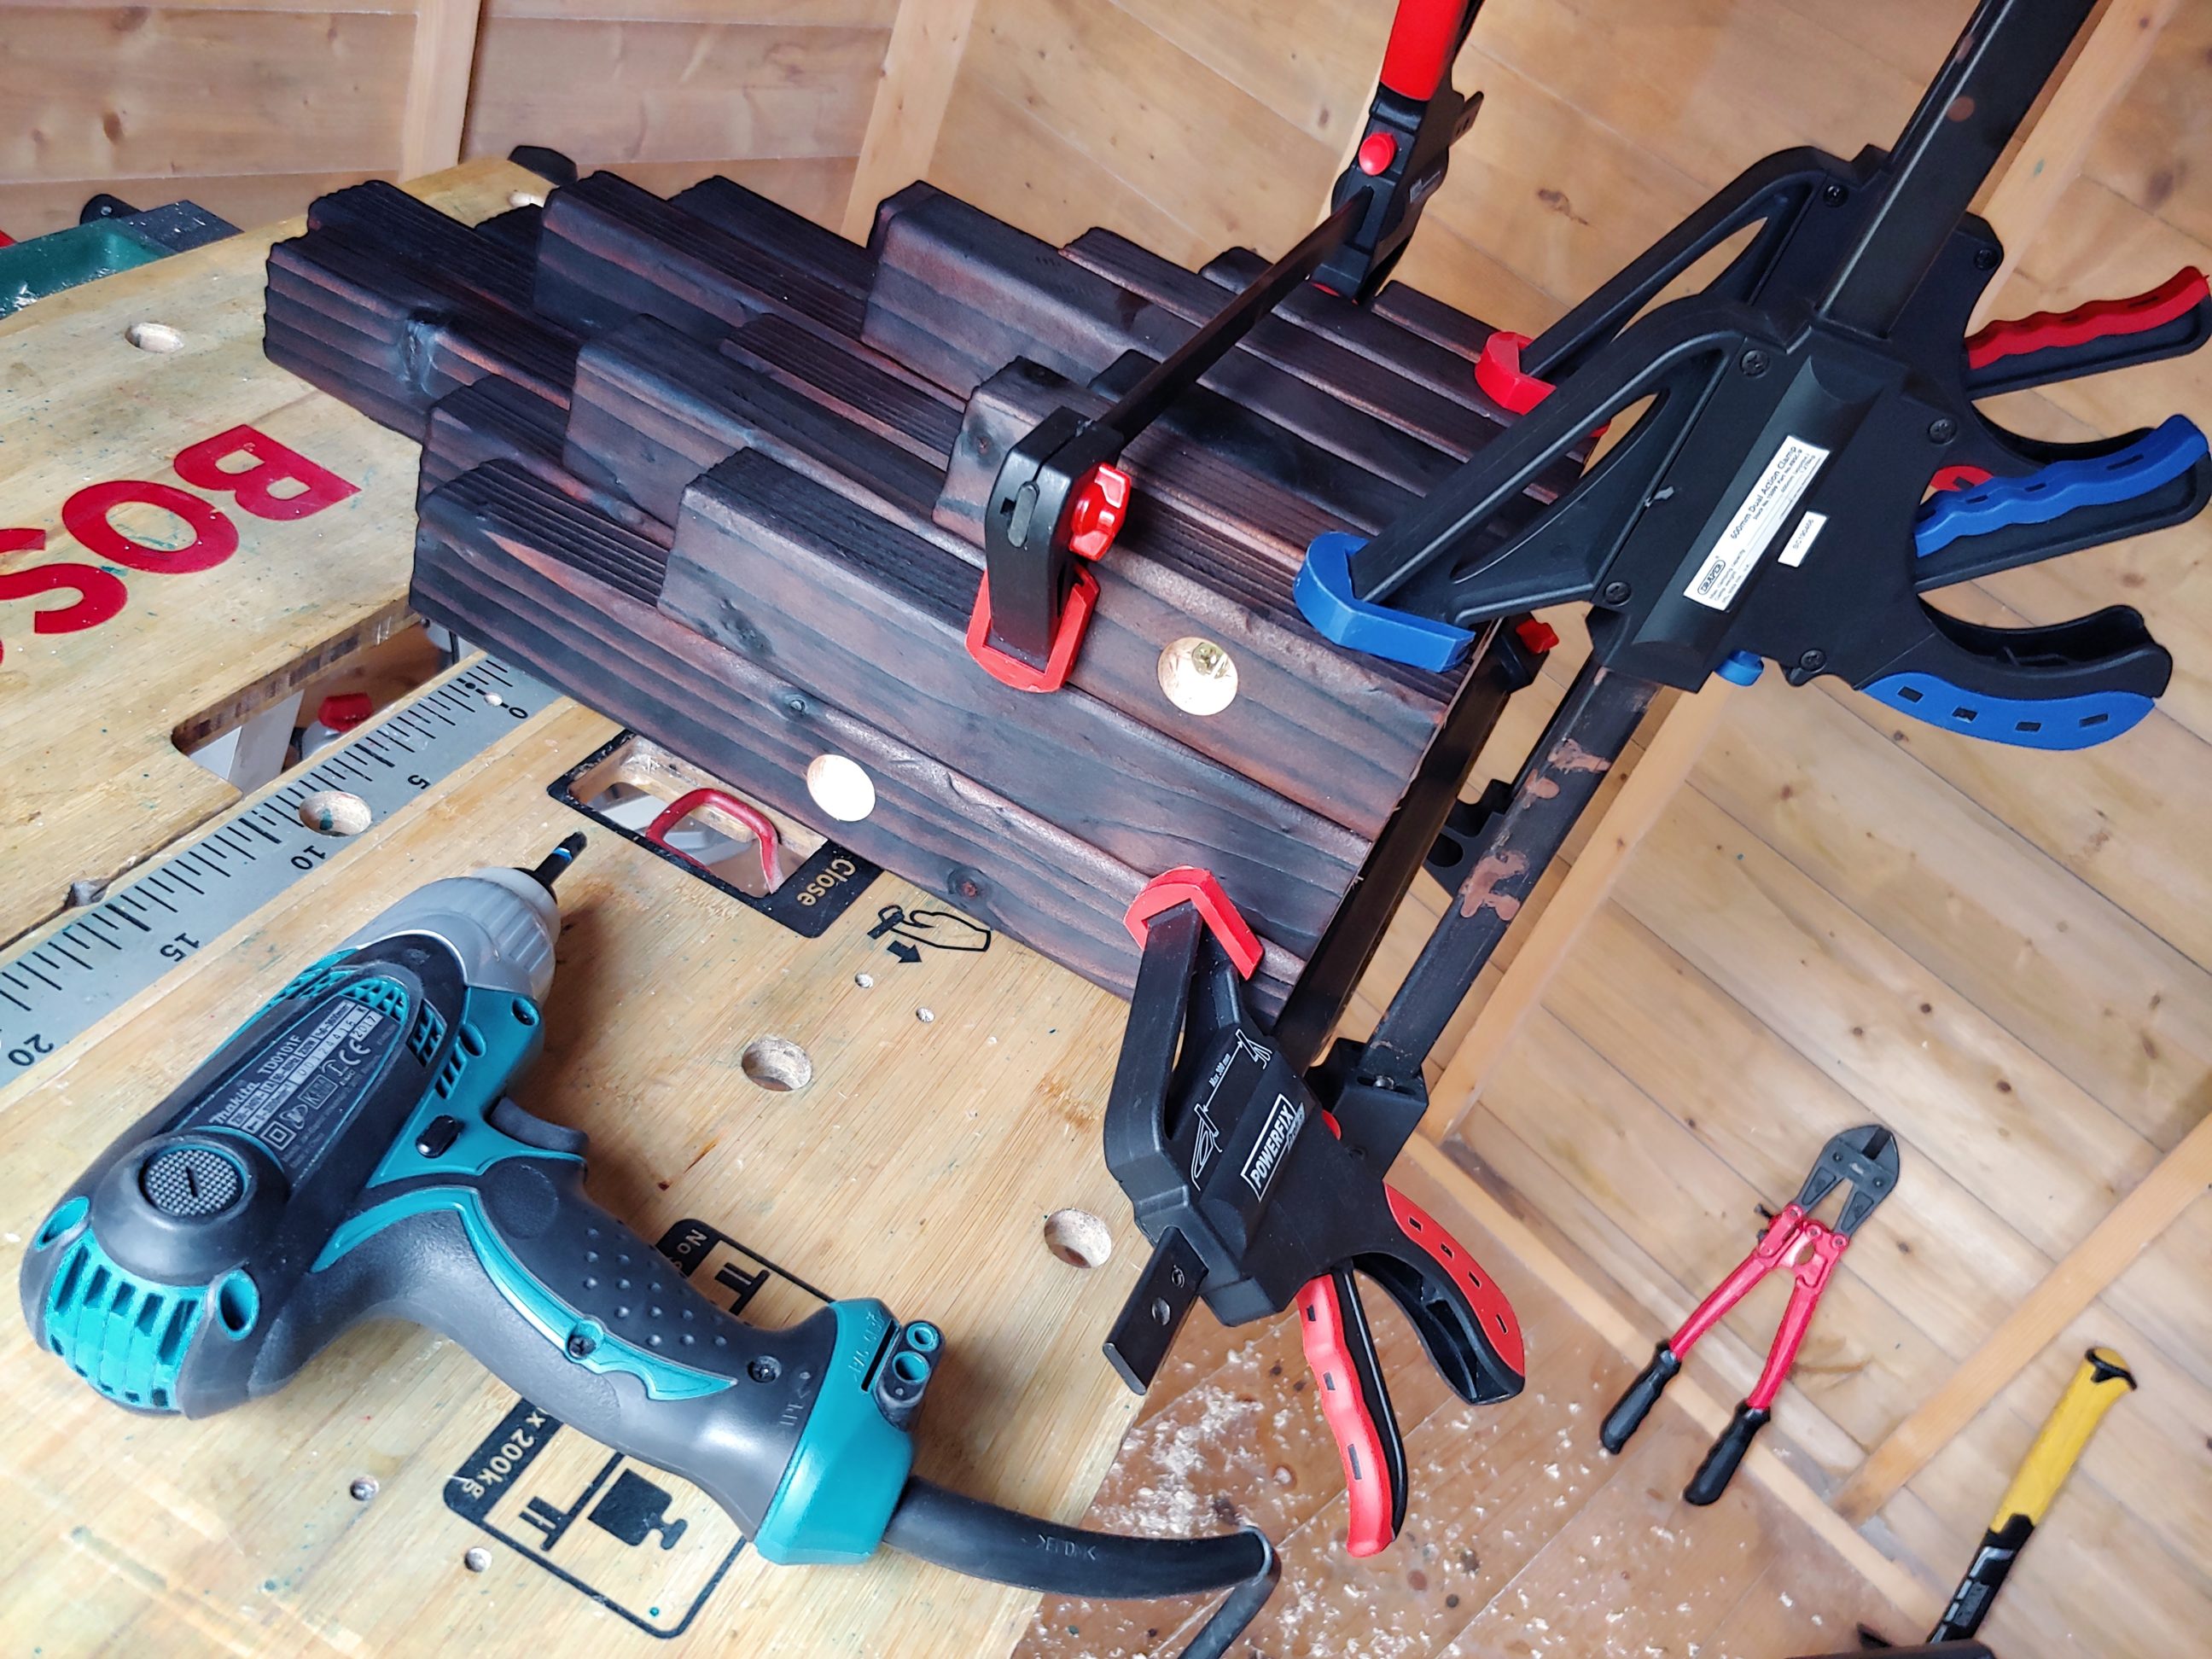
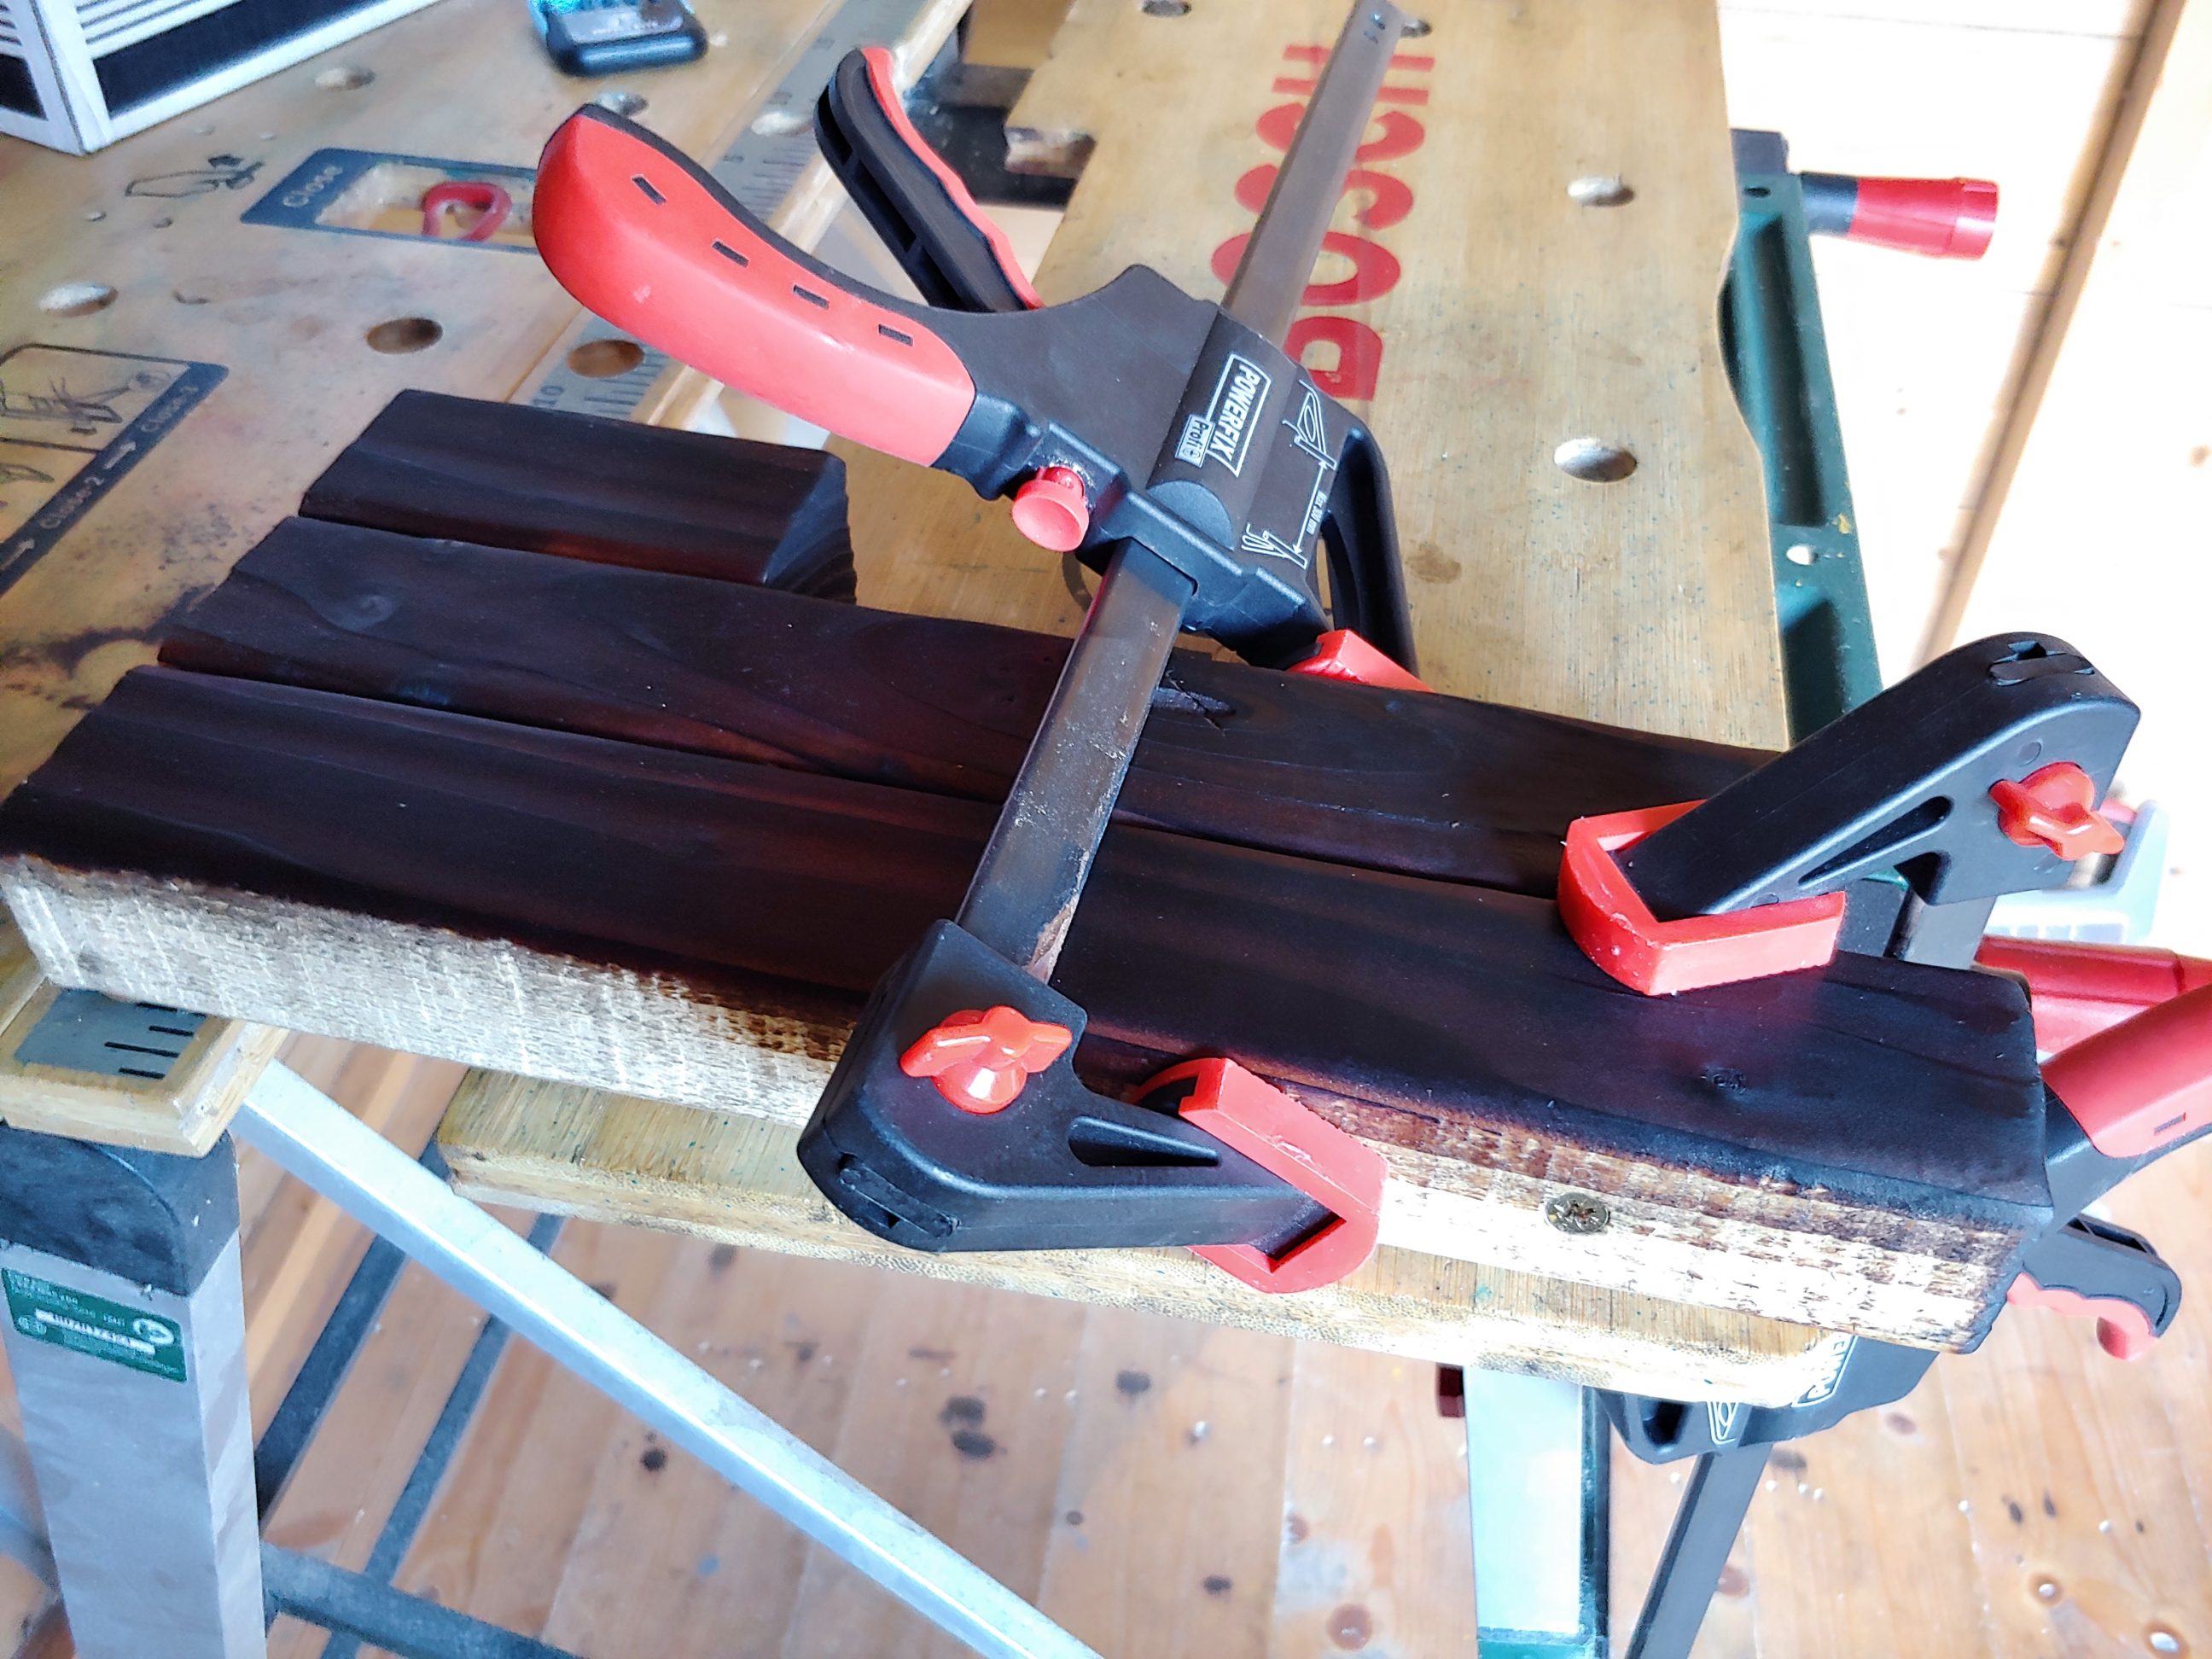
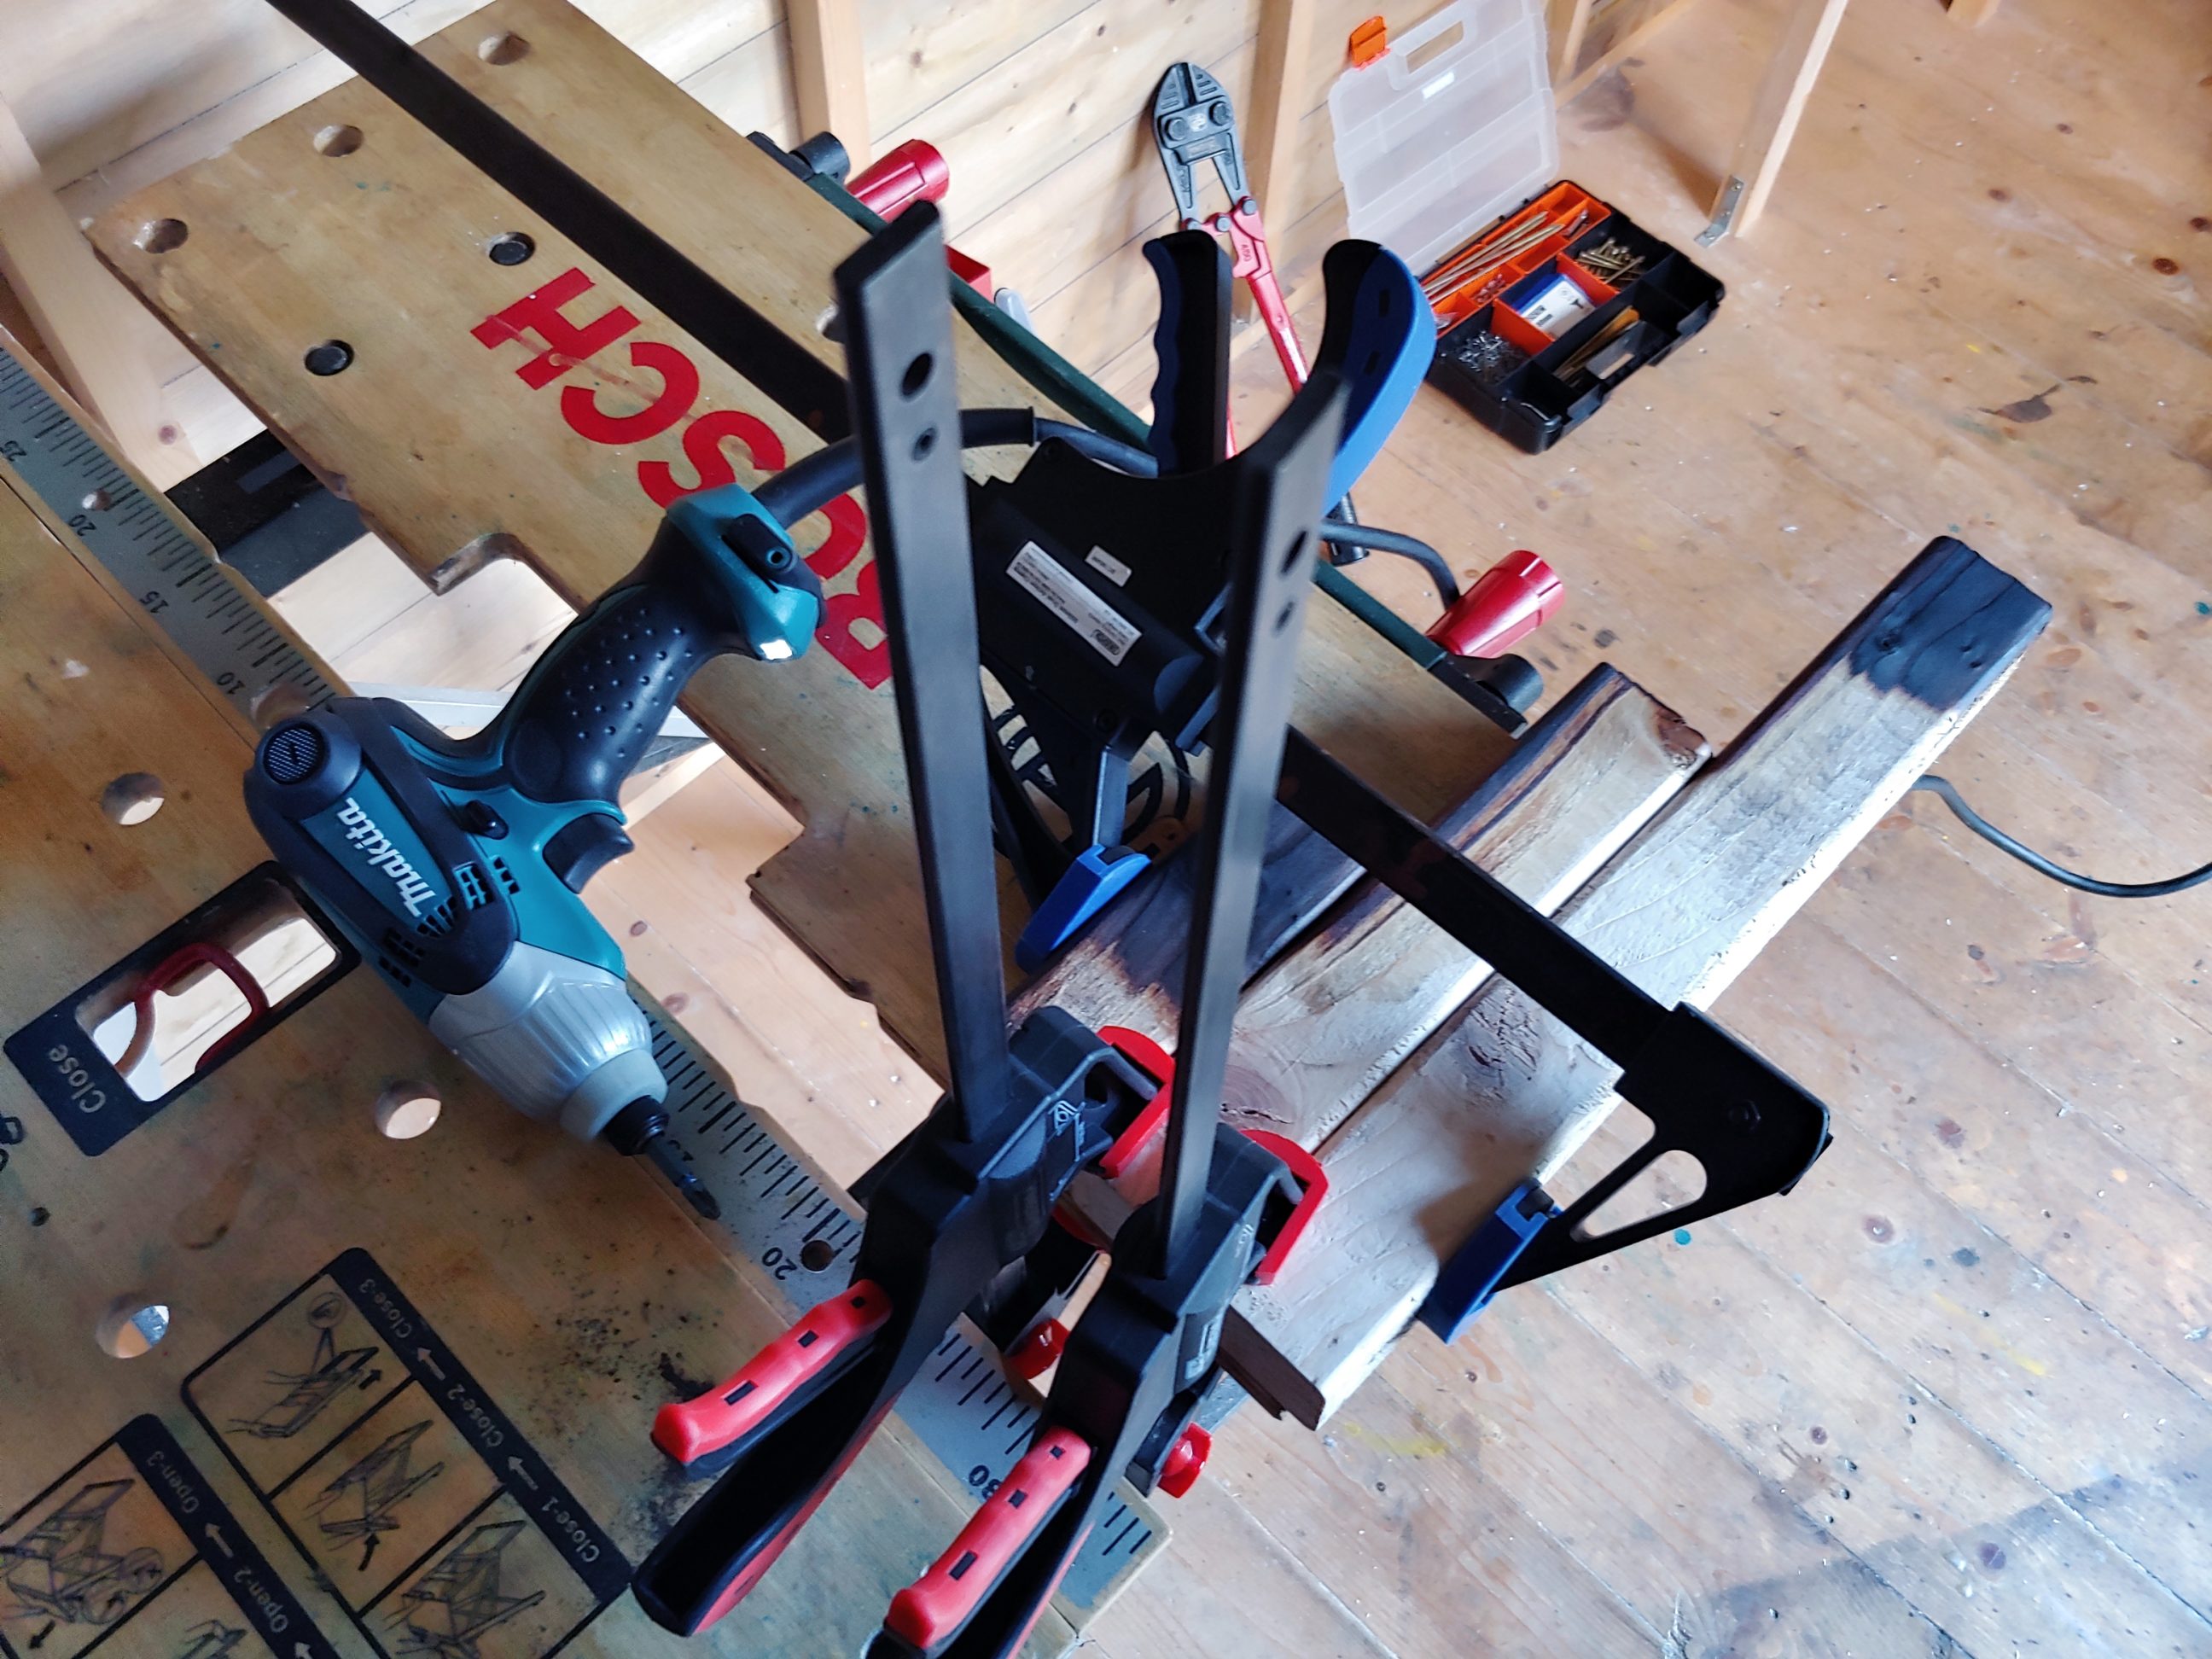
That wasn’t the 1st time I used very long screws. As always, my impact driver helped a lot, I can’t imagine using any other tool for this application. However, it can be seen below, the torque of 100 Nm wasn’t enough at some stage – the screw in the middle hit a knot and I couldn’t even remove it! I had to cut it off with an angle grinder. That made me worried a bit before the final assembly, but luckily there were no problems and it went smoothly. I had to look for a perfect alignment – using clamps in all directions helped and everything came out nice and straight.


Sanding didn’t take long and once finished I applied a coat of boiled linseed oil, drilled holes in the wall, screwed in the hooks and hung the shelf. Next, I prepared the plugs: I cut them with a hand saw, sanded them and applied some oil. Next, I simply pushed them into those 4 exposed holes on both sides, snug fit, with no need for glue.

The top of the shelf is very smooth and nice to the touch. Its colour corresponds to the plugs and beautifully contrasts with the dark sides. I used boiled linseed oil to finish it, recently this is my choice for charred wood. It’s more versatile than wax just because it can be coated with other finishes and they will still adhere. I believe that once completely dried and cured – which can take weeks or even months – it’ll eventually be coated with spray lacquer. But for now, I call it done. It serves as a car key shelf. Very happy with the way it came out!


3 Comments
Pingback:
Pingback:
Pingback: