
Improved circular saw jig
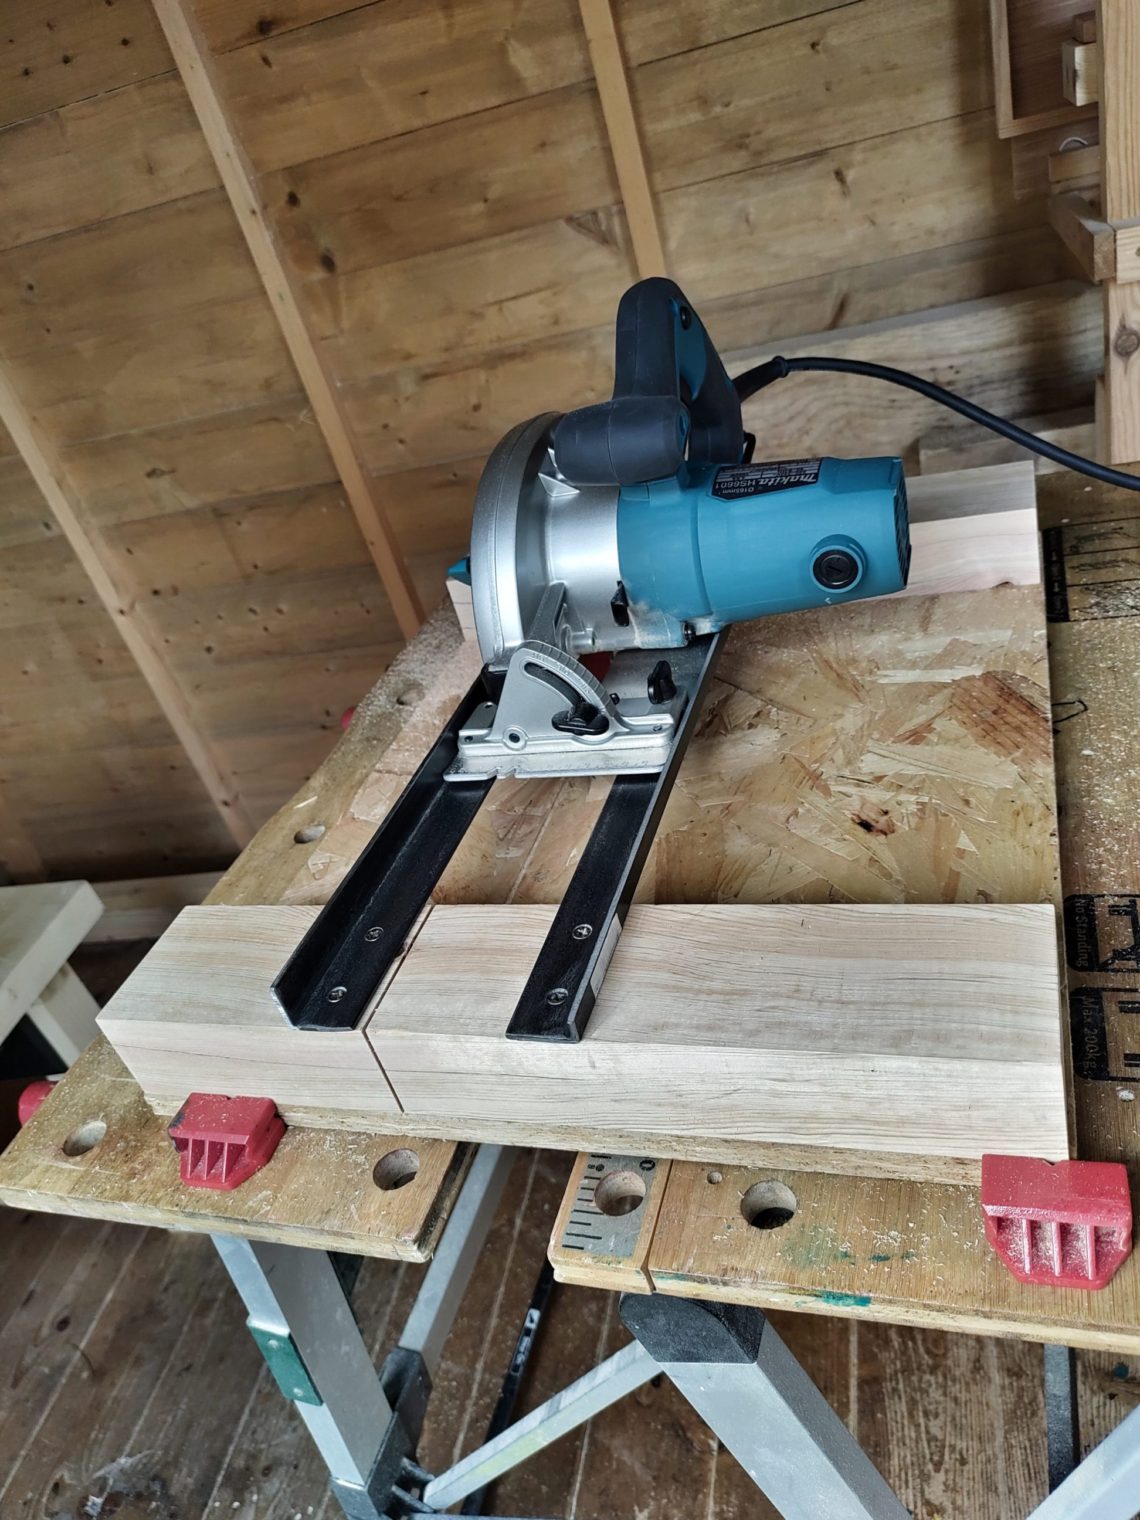
It’s based on the previous version, but the capacity and functionality are improved. The front and the back pairs of blocks are replaced by longer risers. This is specifically important for the front, where there is no big gap now, and I can cut shorter pieces. Both ends of the workpiece are always supported with the left and right side of the jig and that increases accuracy too. The capacity is also bigger, and it’s been increased from about 34 to 50 mm (about 1 1/2 to 2 inches). This is the maximum blade position at the same time if the blade is not tilted. The jig will be mostly used for making square cuts, but just in case there is room for the blade tilted to 45º. Unfortunately, none of the angle cuts will go through the workpiece if no additional insert is used, and I mean anything that could raise up the workpiece by 19 mm – a scrap of timber or a dedicated jig sub-base with a thickness of 3/4″. I still call the jig improved, as the only 45º cuts I’ve made were the ones during the making of the old jig. I usually cut timber at a 90º angle, and a capacity of 34 mm wasn’t enough for me any more. The jig had to be rebuilt for one of my projects. Everything that could be reused from the old version, even the screws, was used in the new one, I only made new risers, reworked one of the steel bars and added a hold-down clamp.
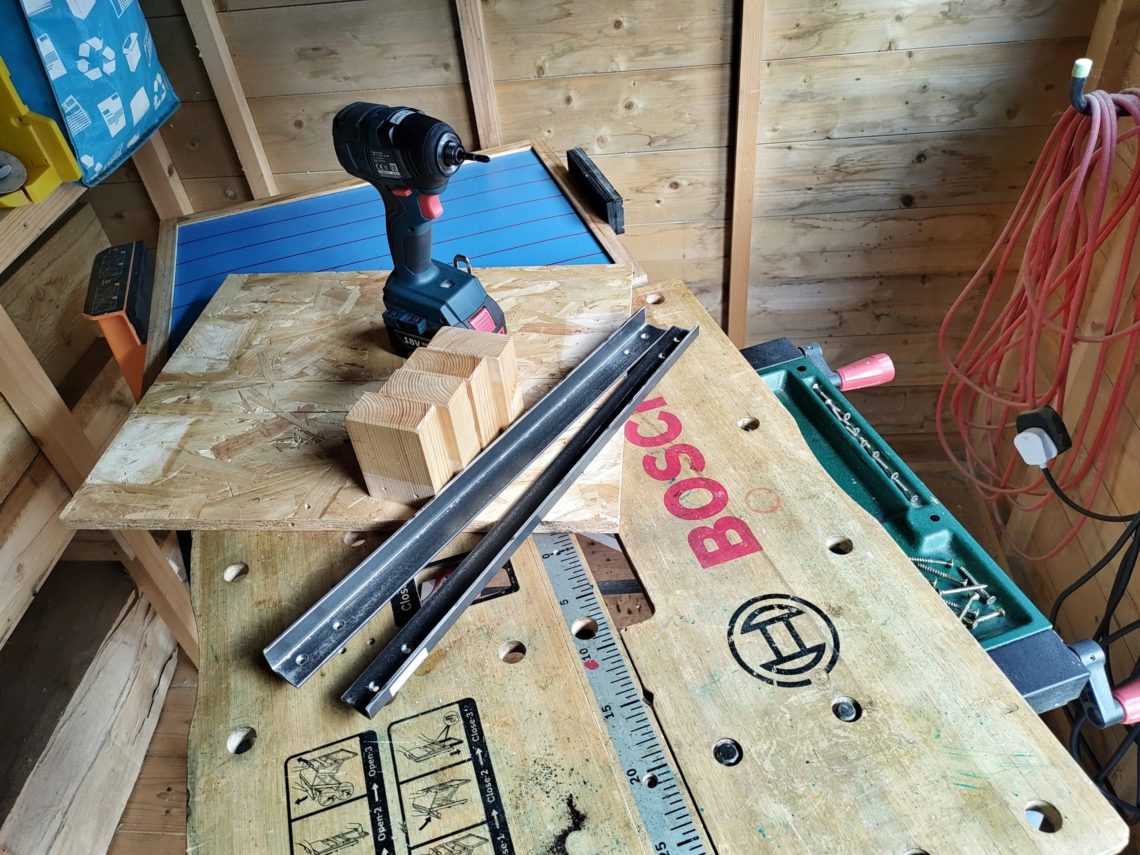
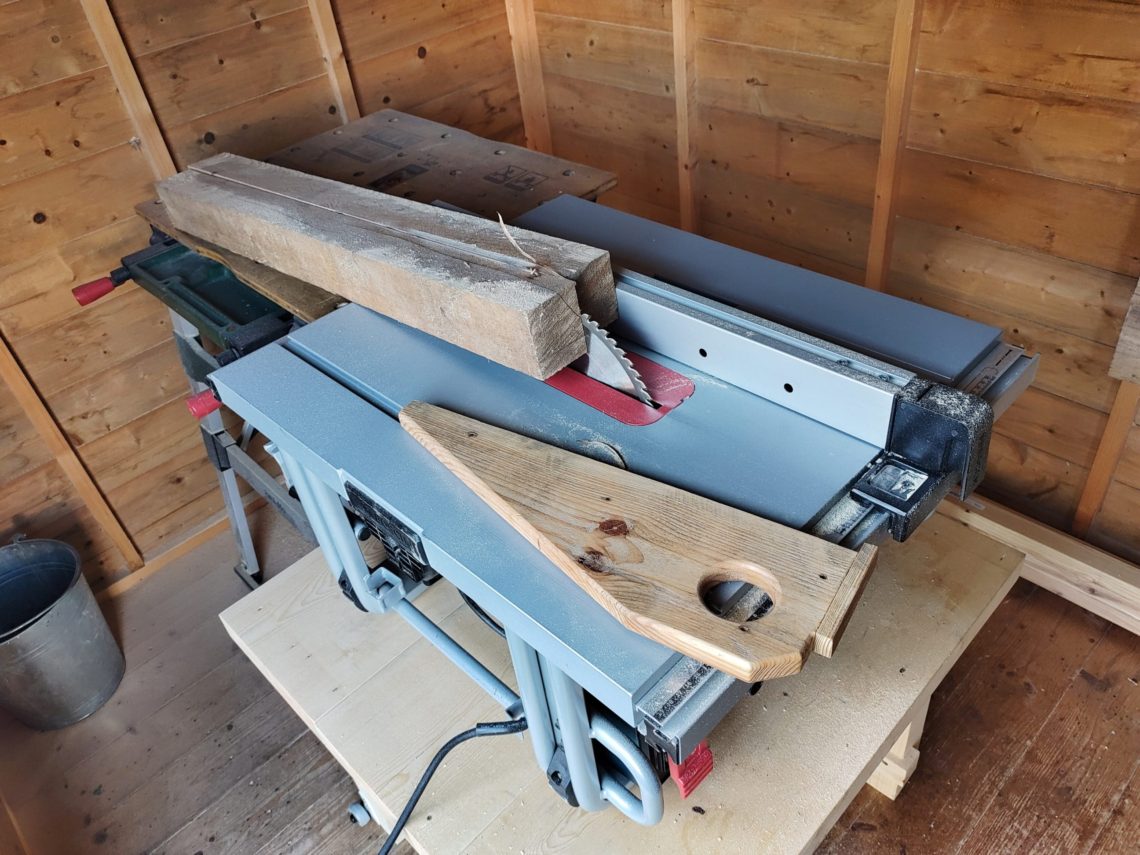
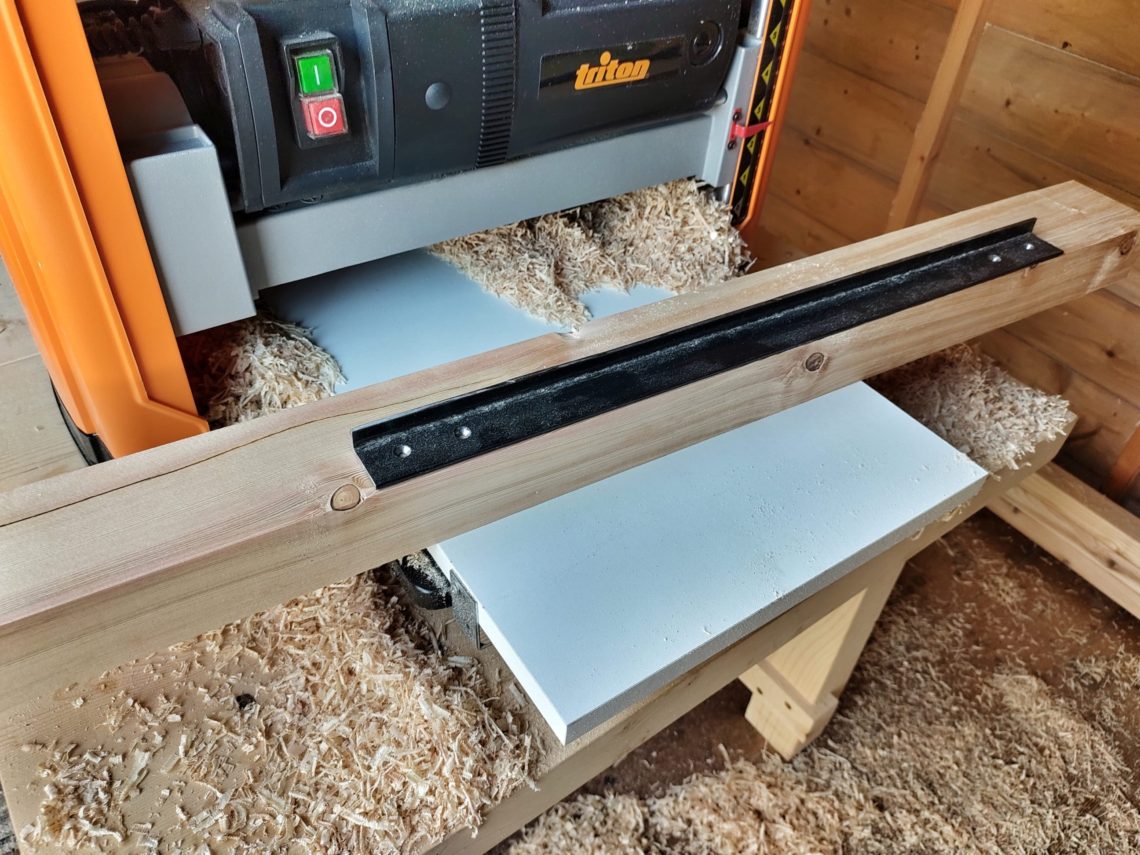
First, I needed to disassemble the old jig and make the new risers. I rip-cut a massive piece of timber in half, cutting at a 90º angle and making a reference face for the next step – planing down to the exact thickness. I ended up with a perfectly square and smooth log that only needed to be cut in half and get its ends trimmed off.
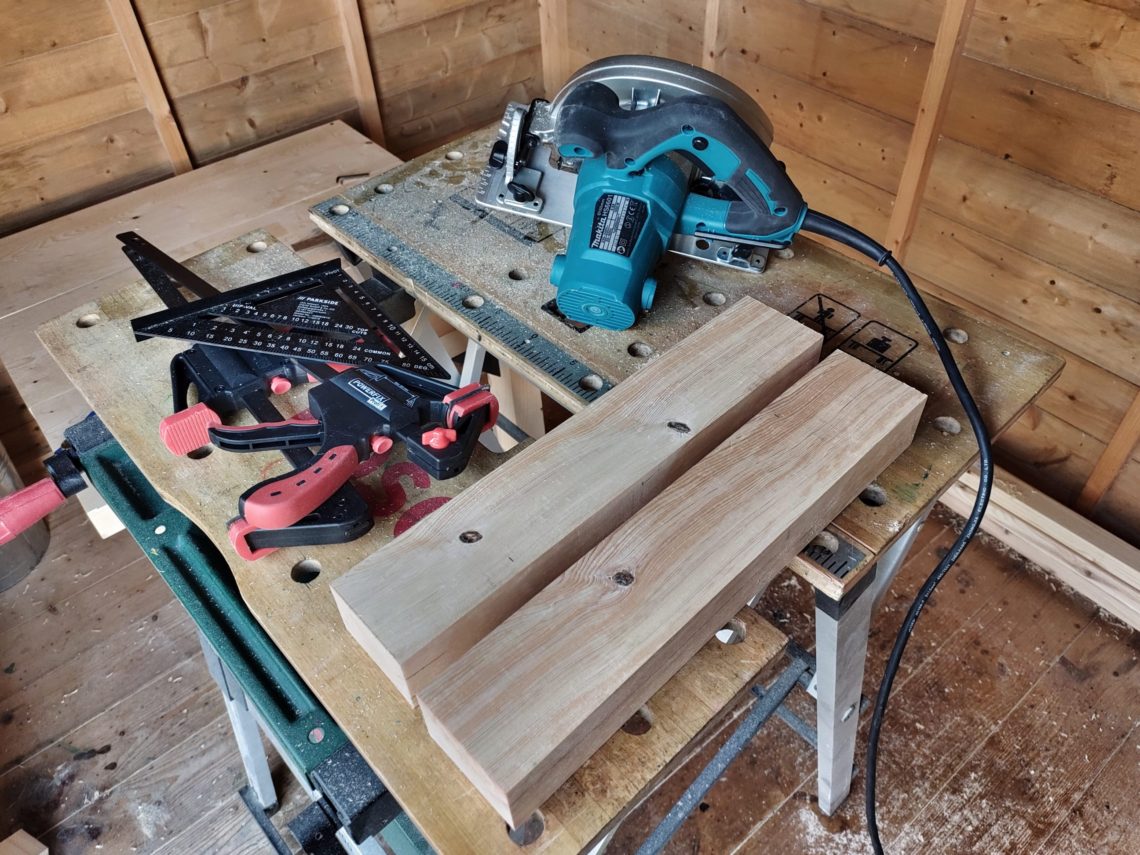
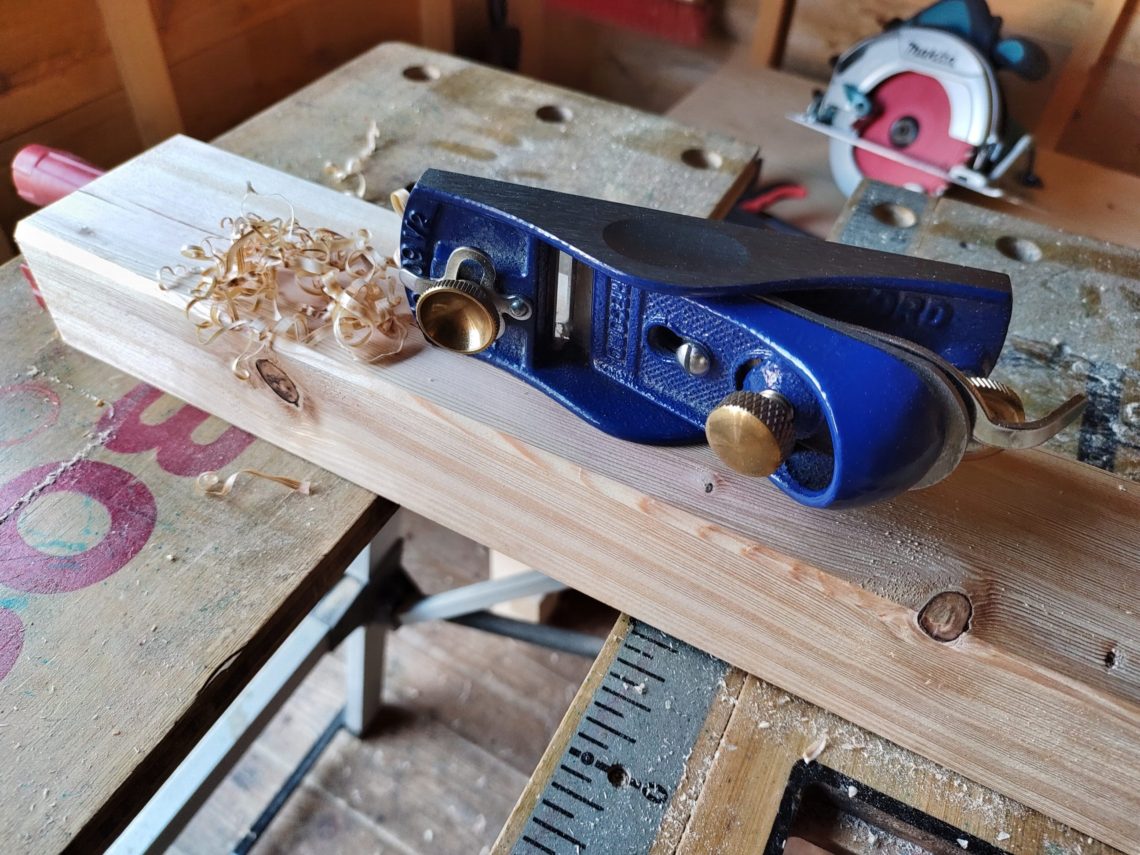
With a block plane, I chamfered one of the edges to make room for sawdust that builds up during use. Next, I drilled 4 new holes in the OSB and attached the back riser to it.
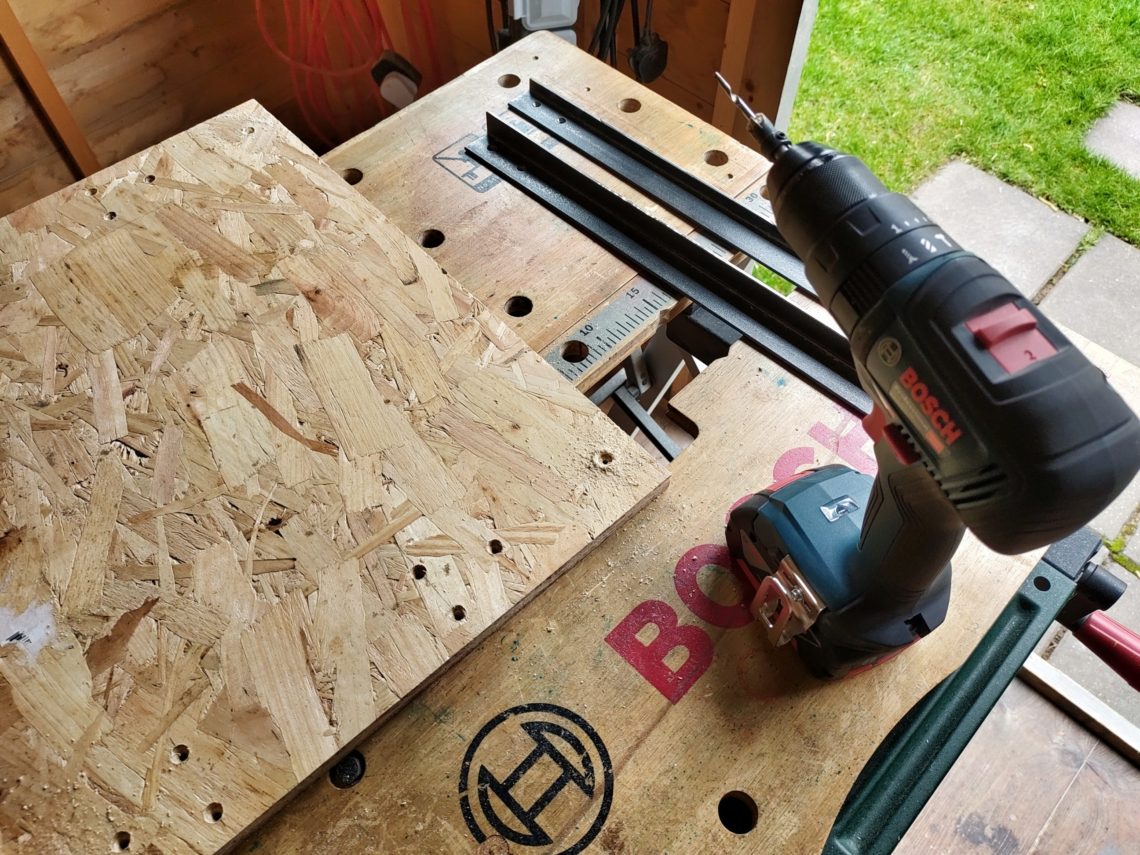
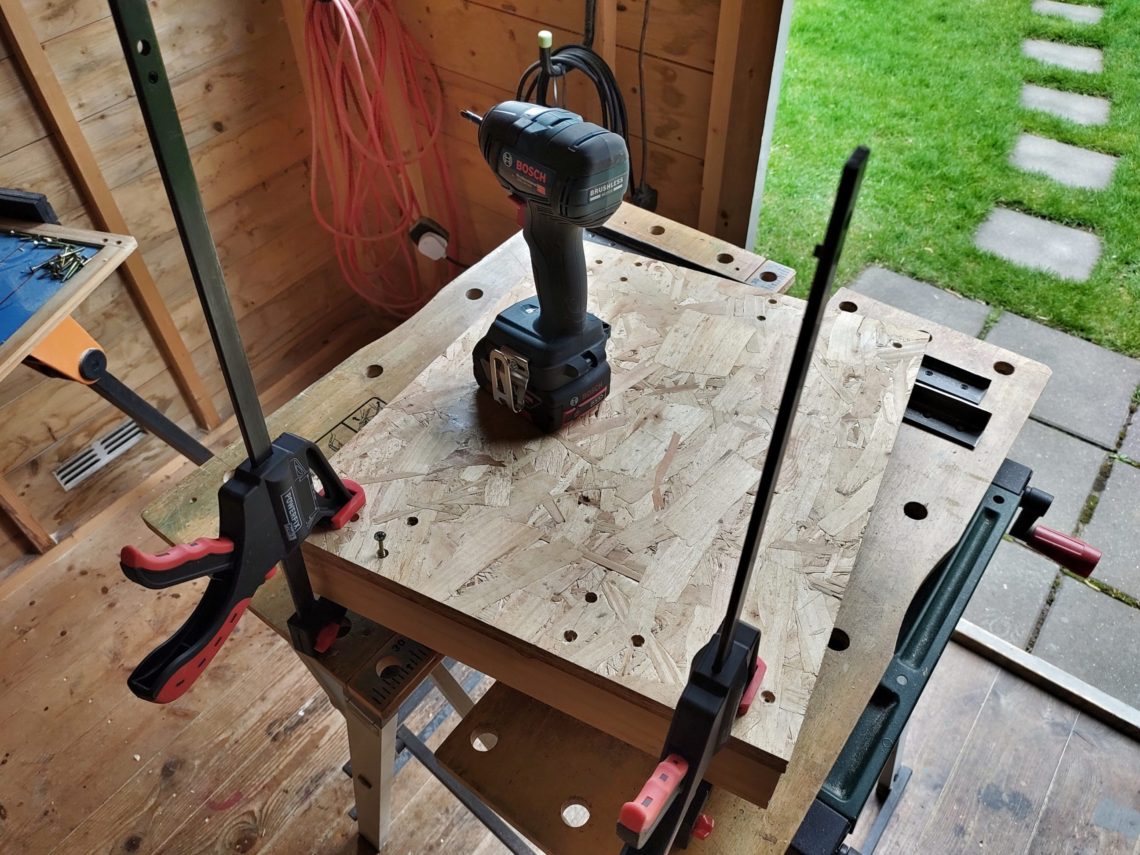
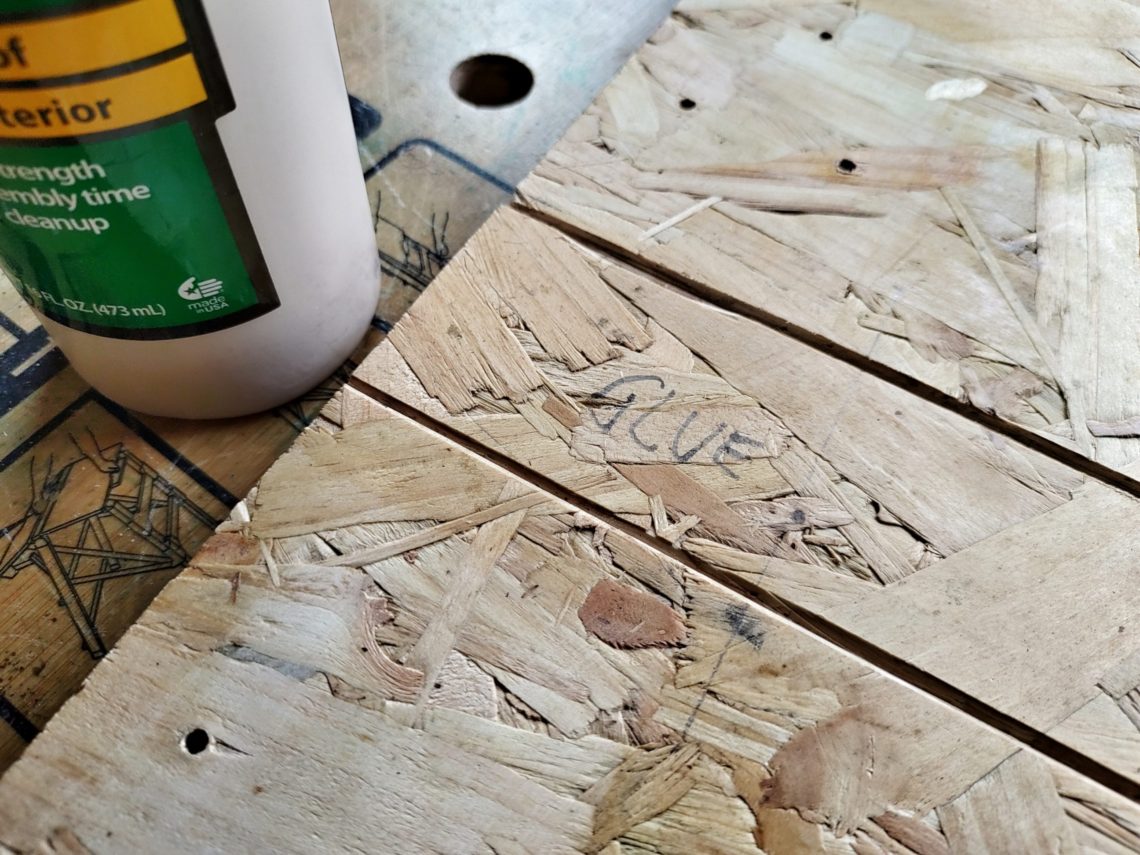
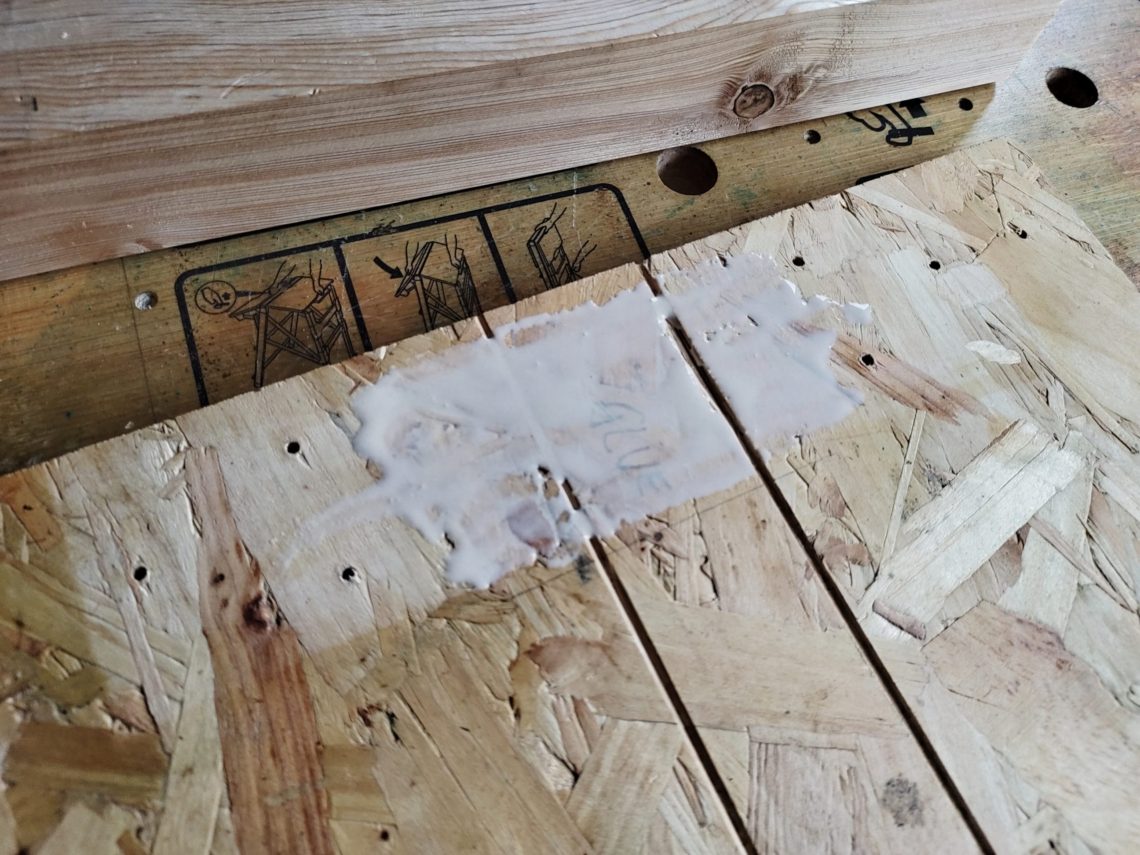
The front had to be screwed in very accurately, but first I applied some glue in the middle to stiffen up the jig. It only looked like that step could be skipped because all the angle cuts would never go through the front all the way down and cut a triangle-shaped piece off. I did it for another reason – if I replace my saw and the new one is not cutting in the same spot, it would create a loose piece of the fence. It was easier to prevent that from happening rather than reattaching it later. Cutting in a different spot can happen if the saw baseplate has different dimensions or the saw is left/right-handed. My new jig can be quite easy modified by repositioning just one of the steel runners.
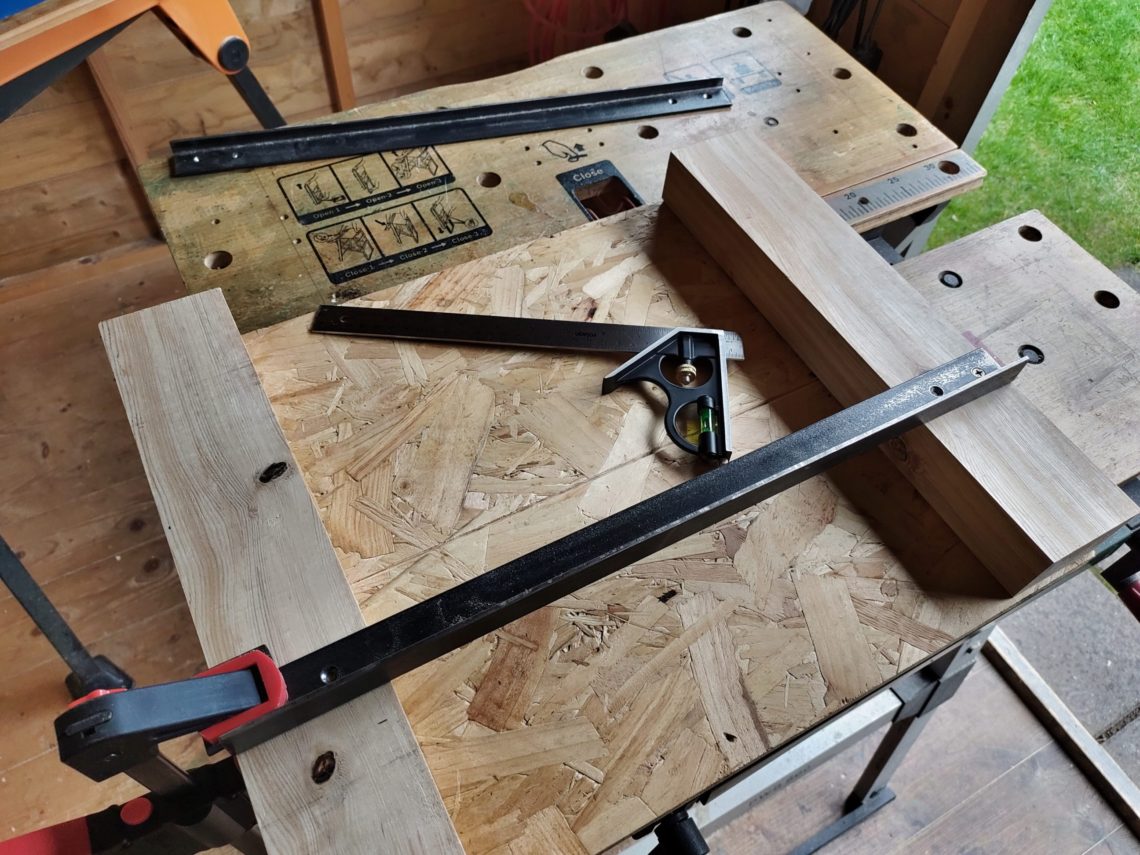
Next, it was time to precisely fix the runners. I placed them in the exact position as before and that way no additional grooves in the base had to be scored. The angle of 90º was checked 10 times before the final assembly, and I screwed both runners to the risers.
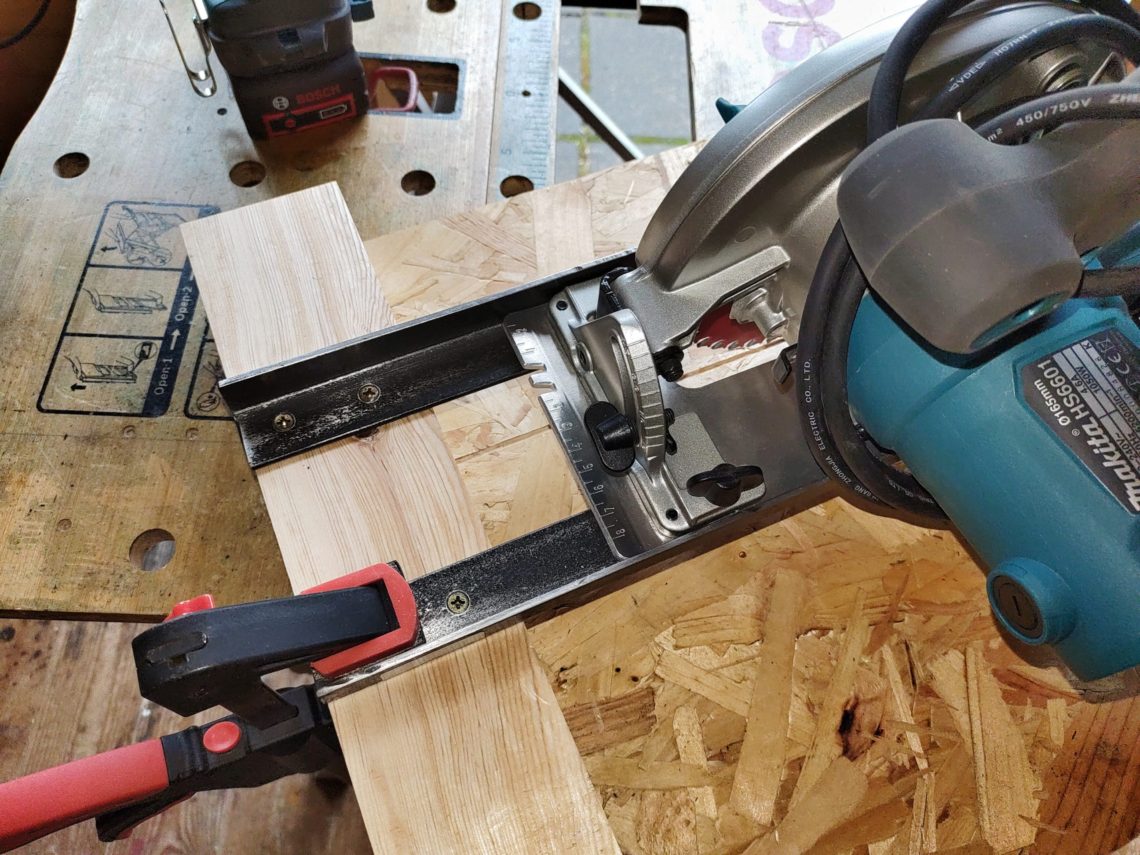
One issue needed a fix – I had to grind off some metal edges. One of the runners was too high by just a few millimetres. I used my angle grinder, belt sander, files and sandpaper to remove the edge and smooth out any burrs. I finished up with a factory-like steel profile, that was looking much better than the old one.
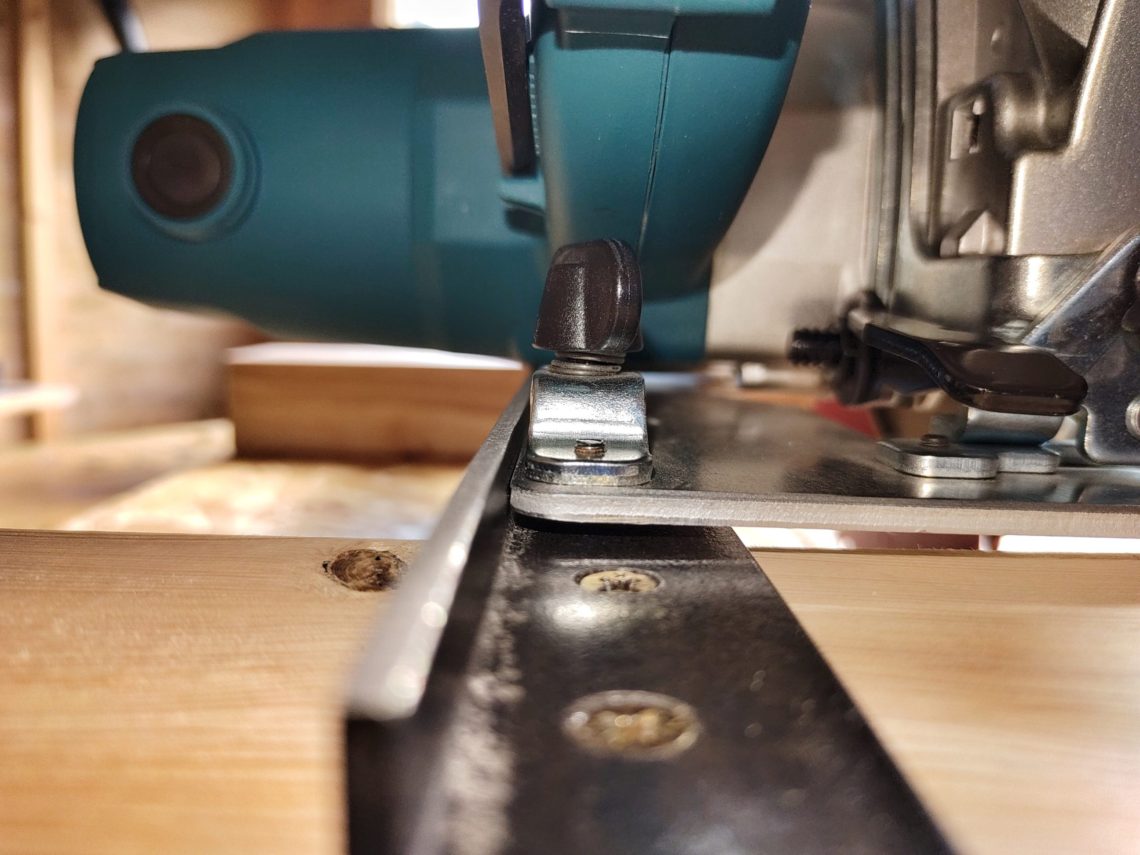
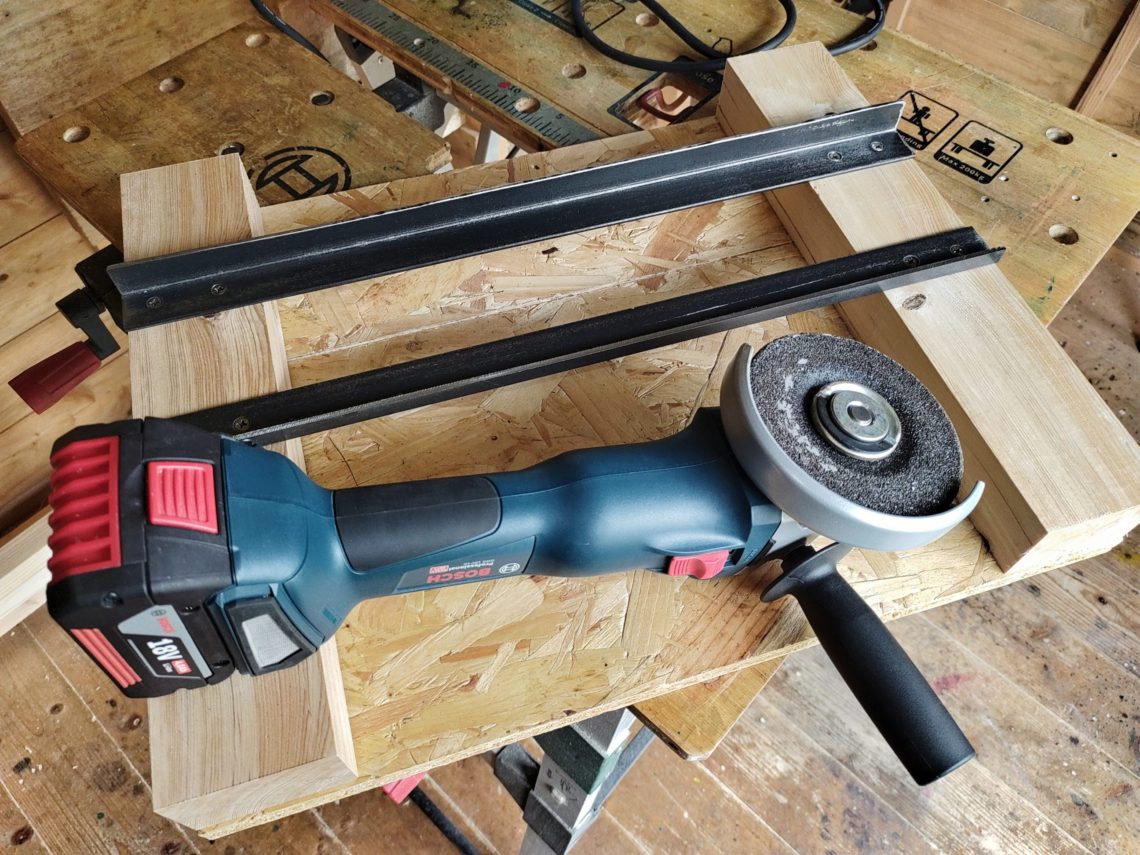
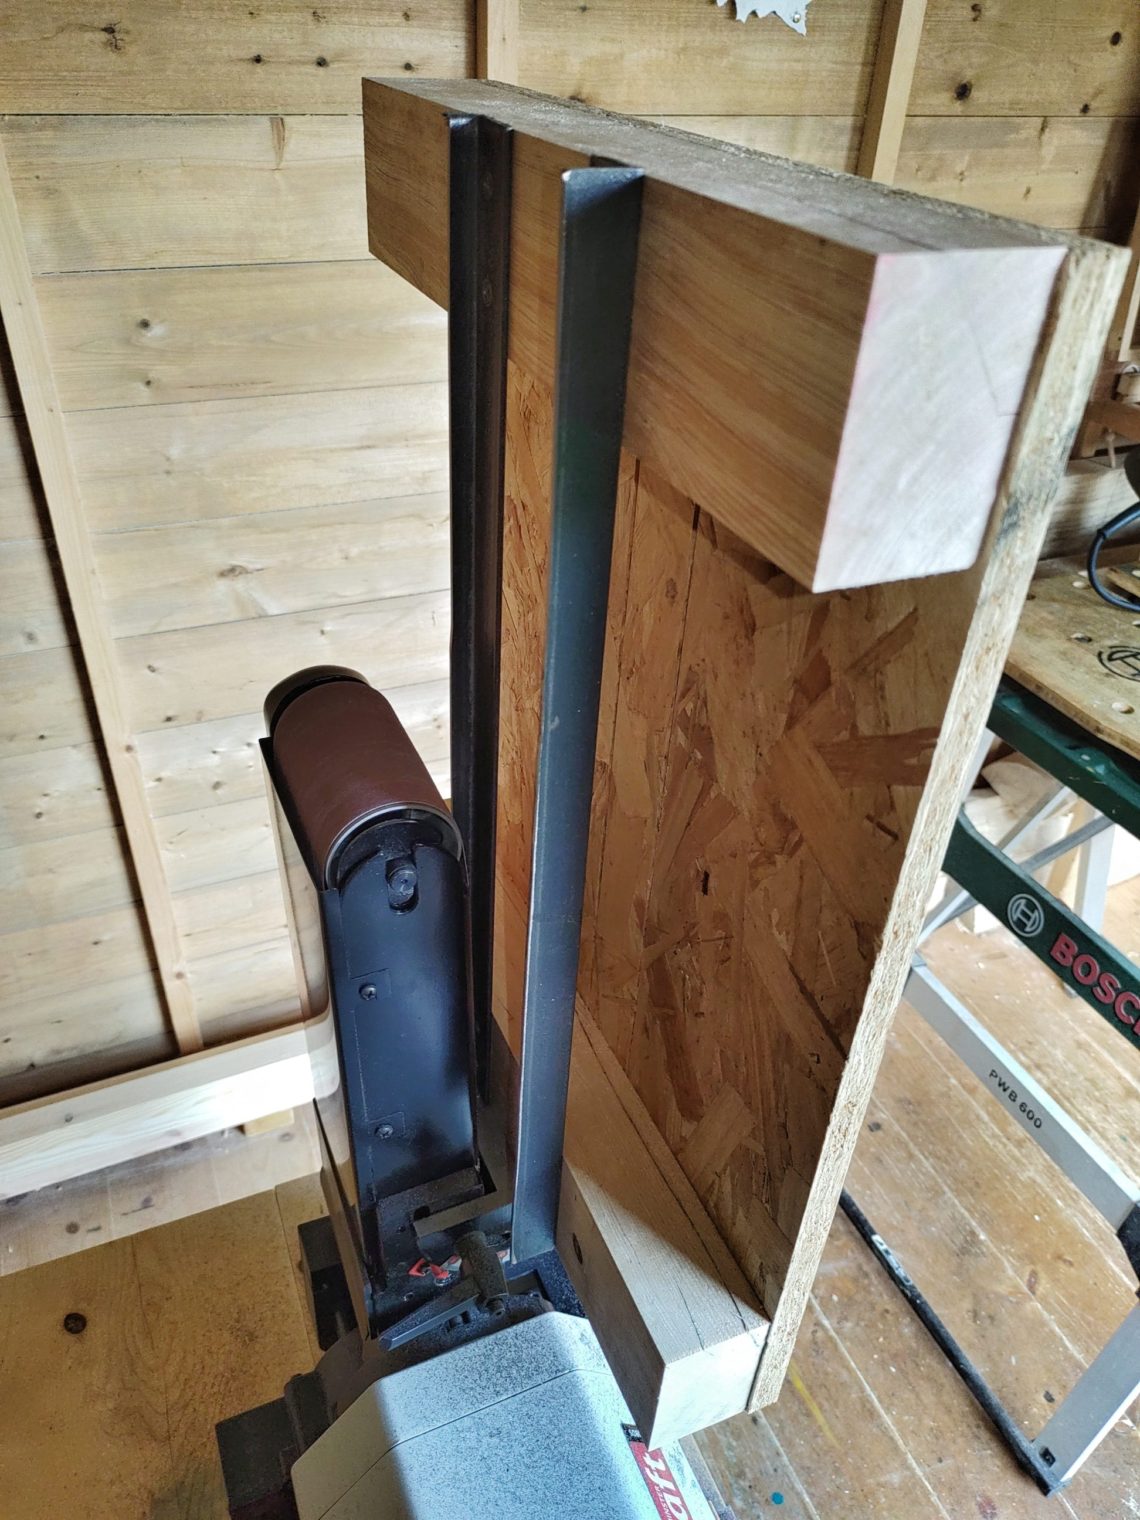
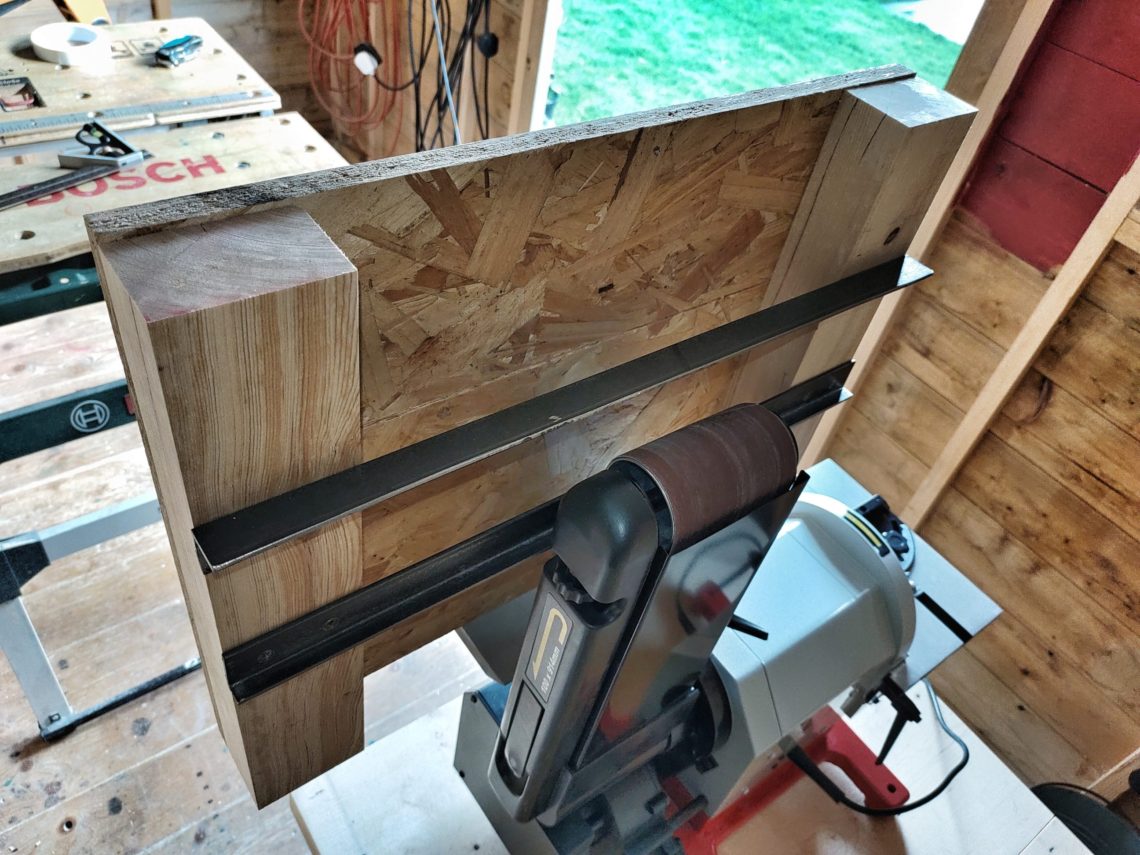
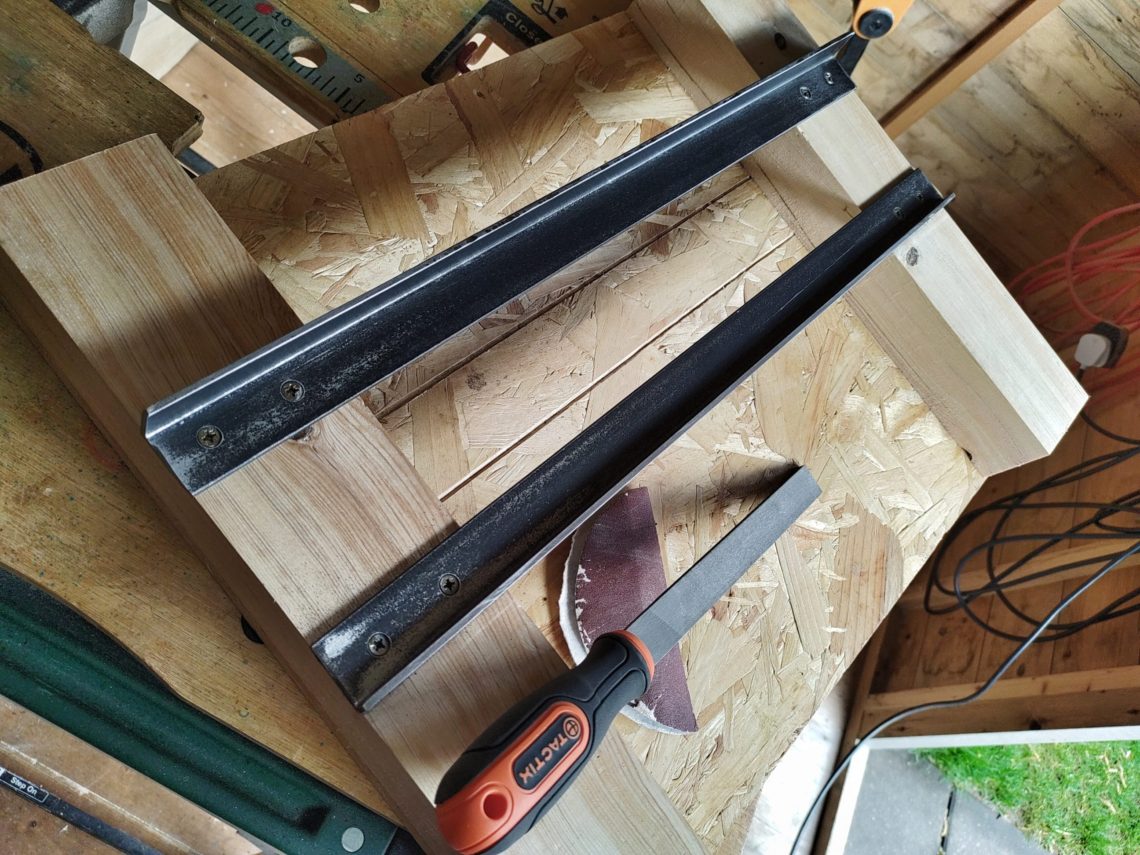
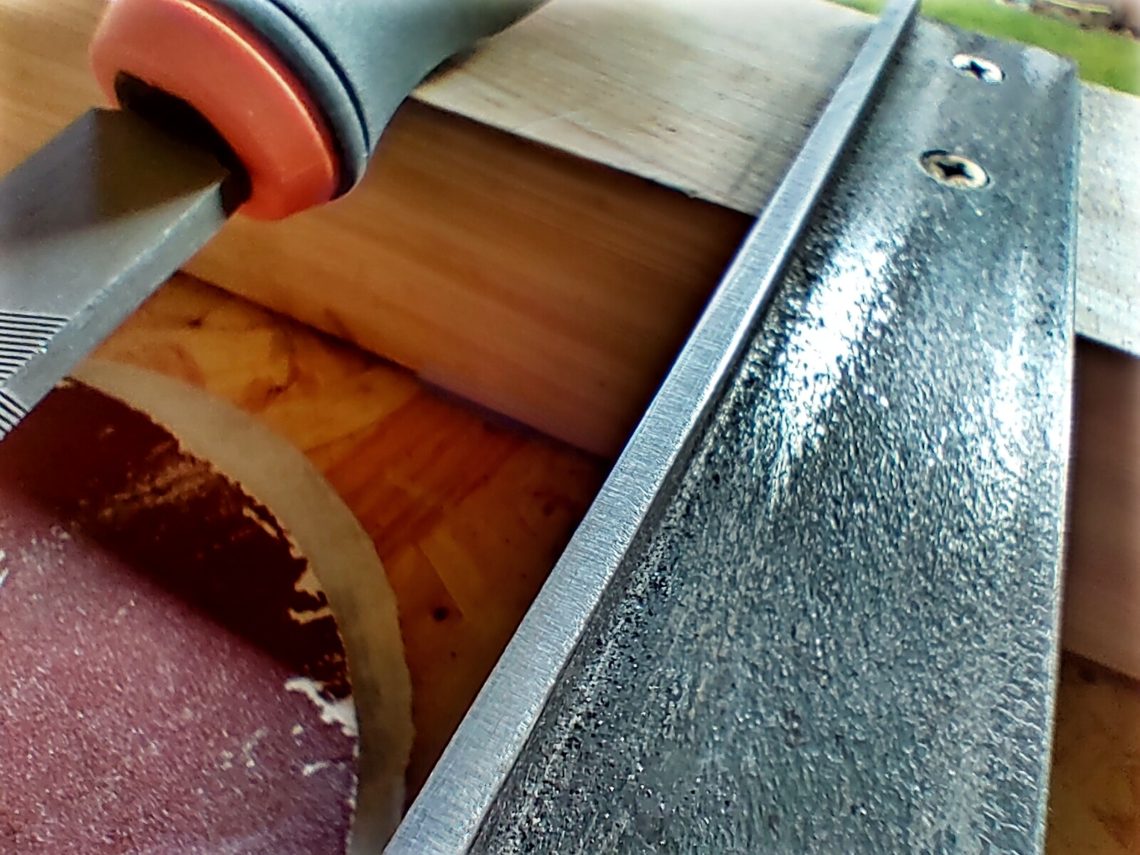
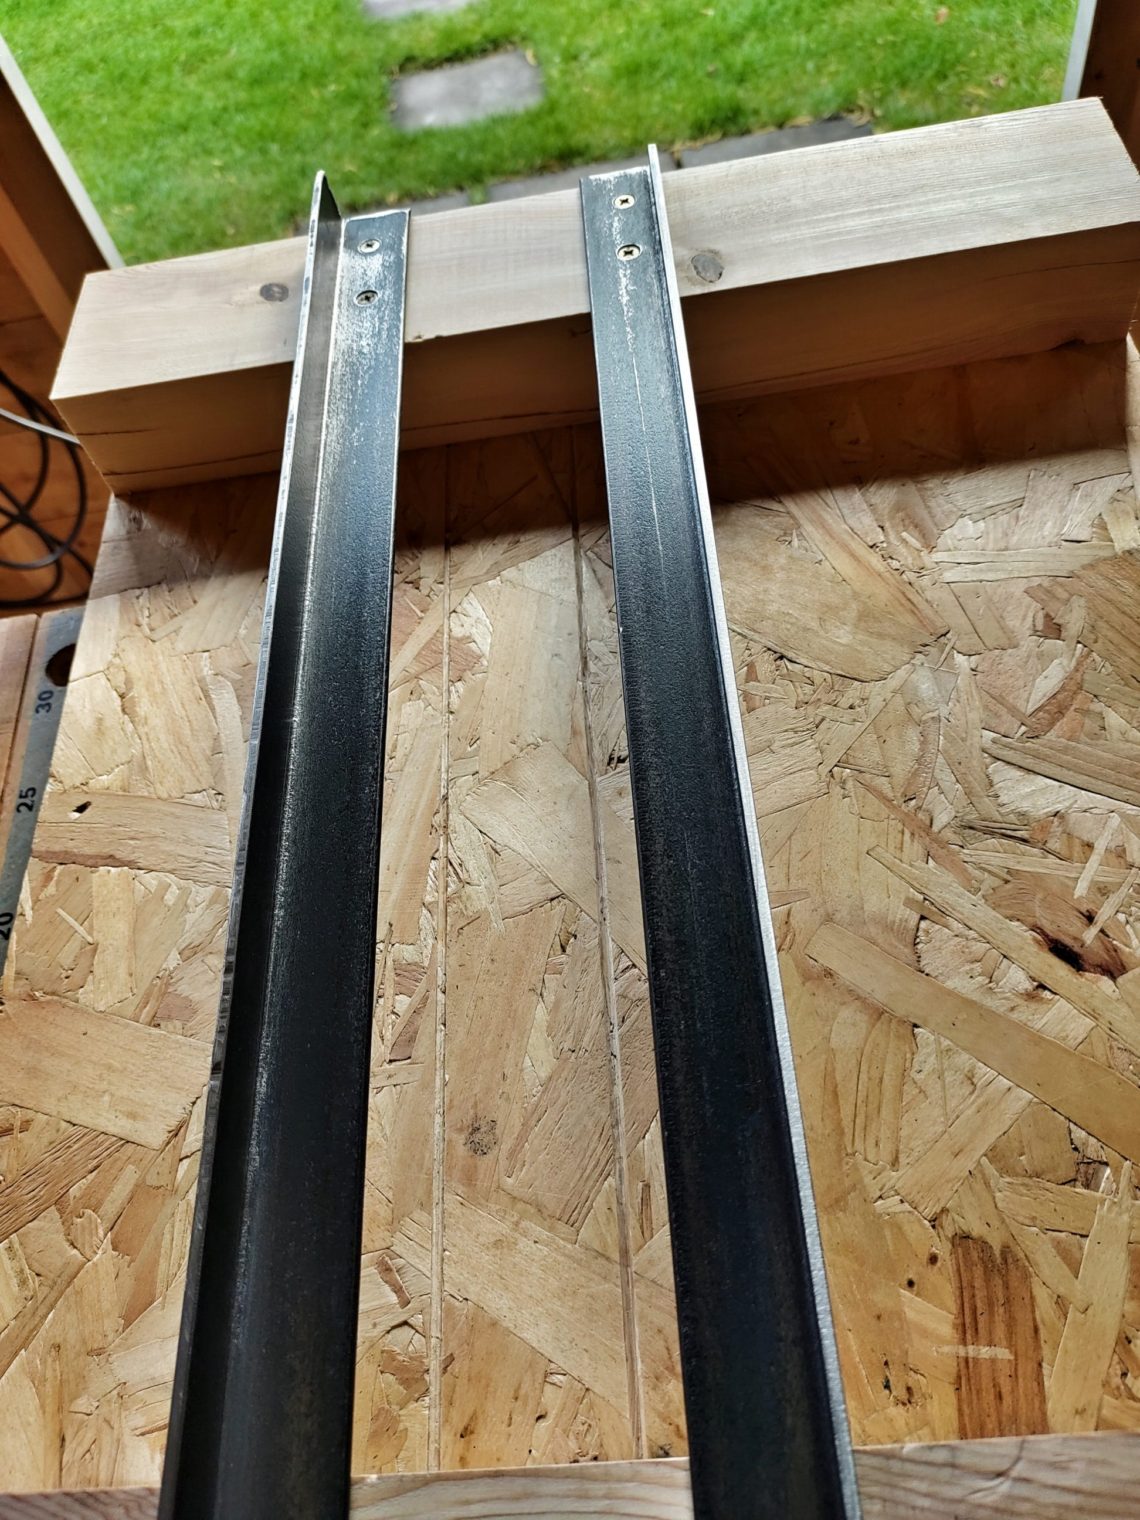
Here are the before and after shots, no gap in the first photo and a 2 mm (1/16+ inch) gap after grinding. The stiffness of the rail remained the same or almost the same. Just a quick sanding of the new wooden parts and the jig was ready for its first cut.
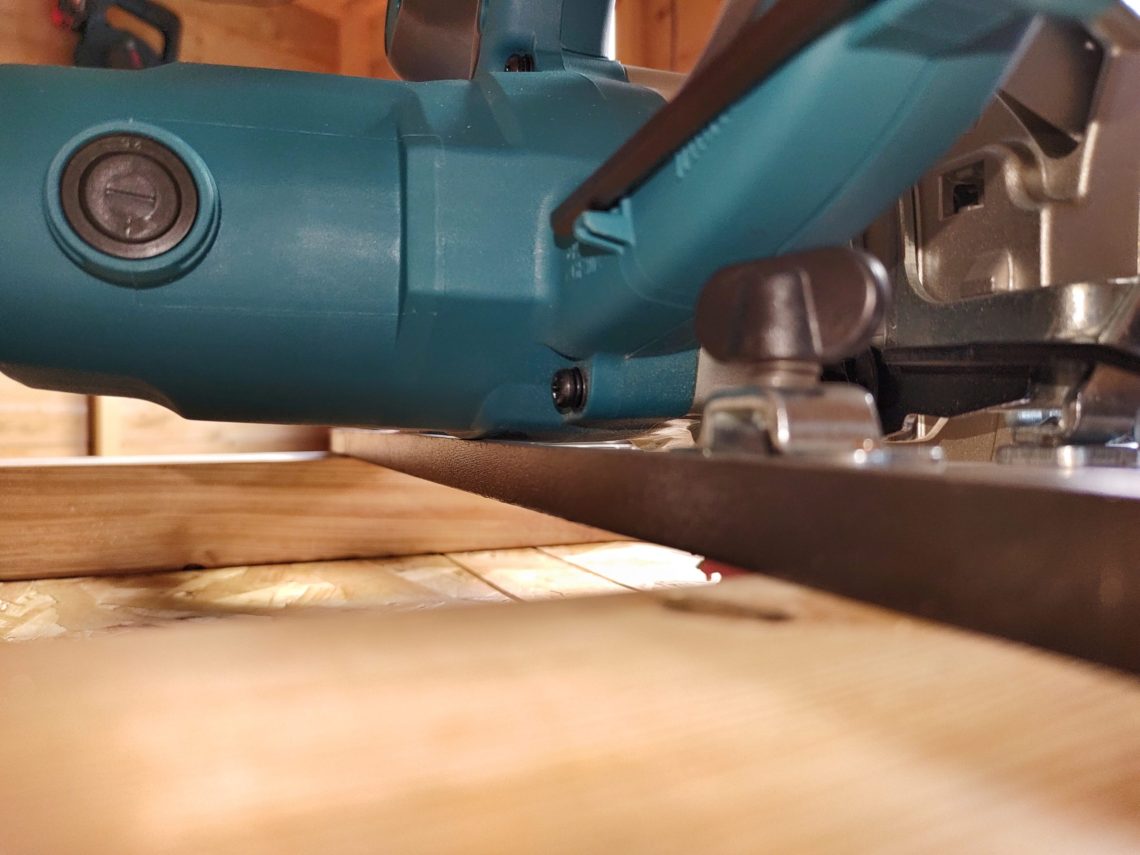
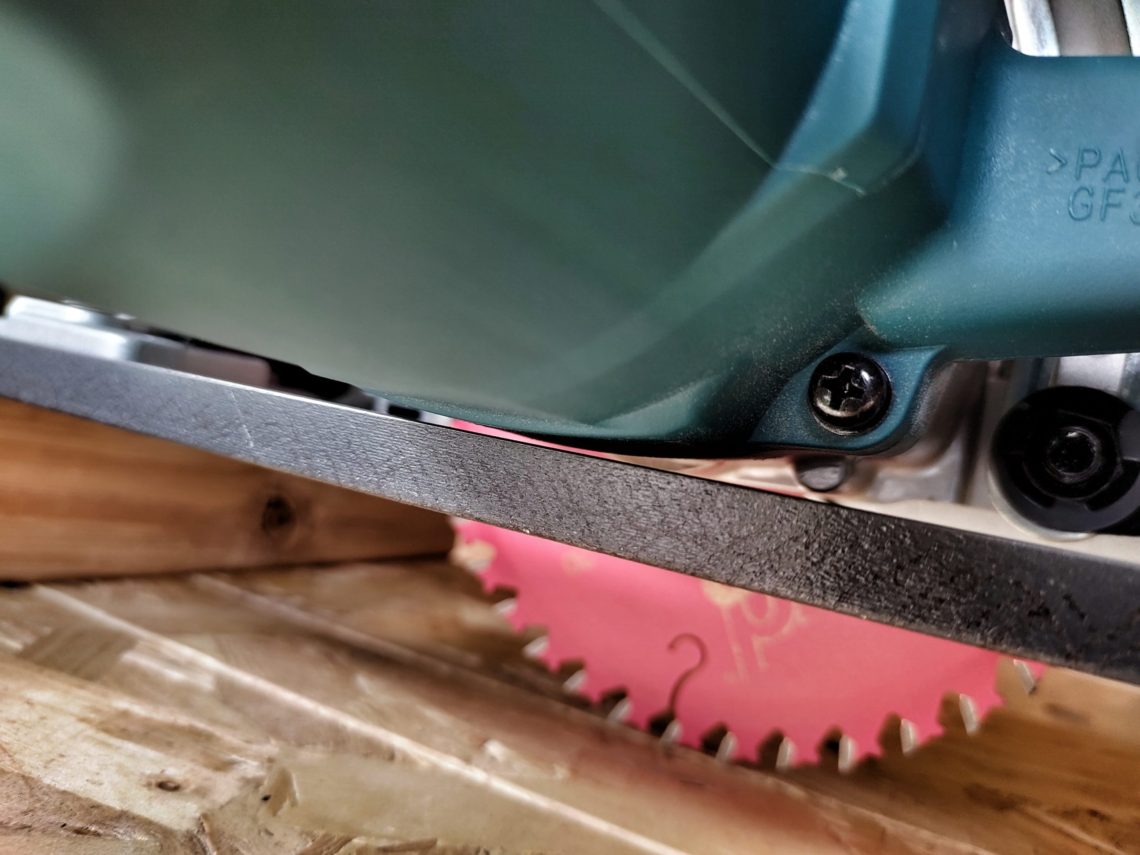
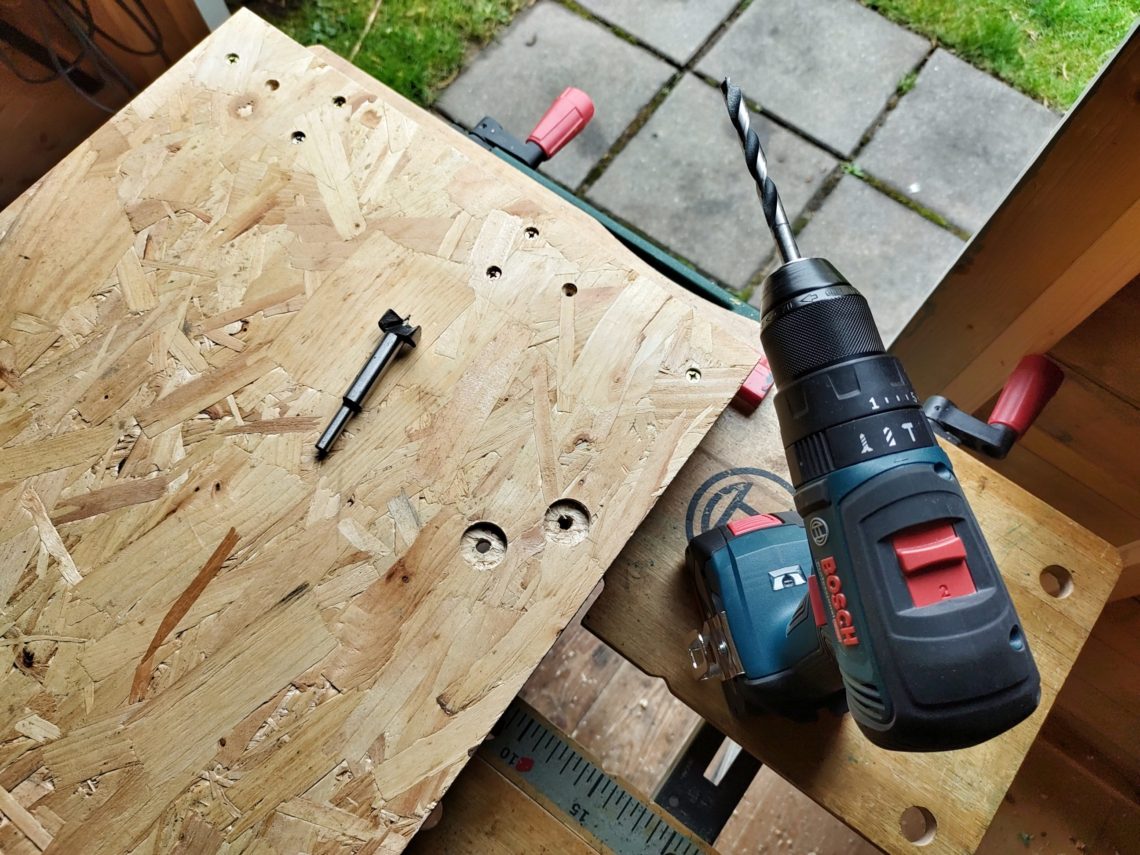
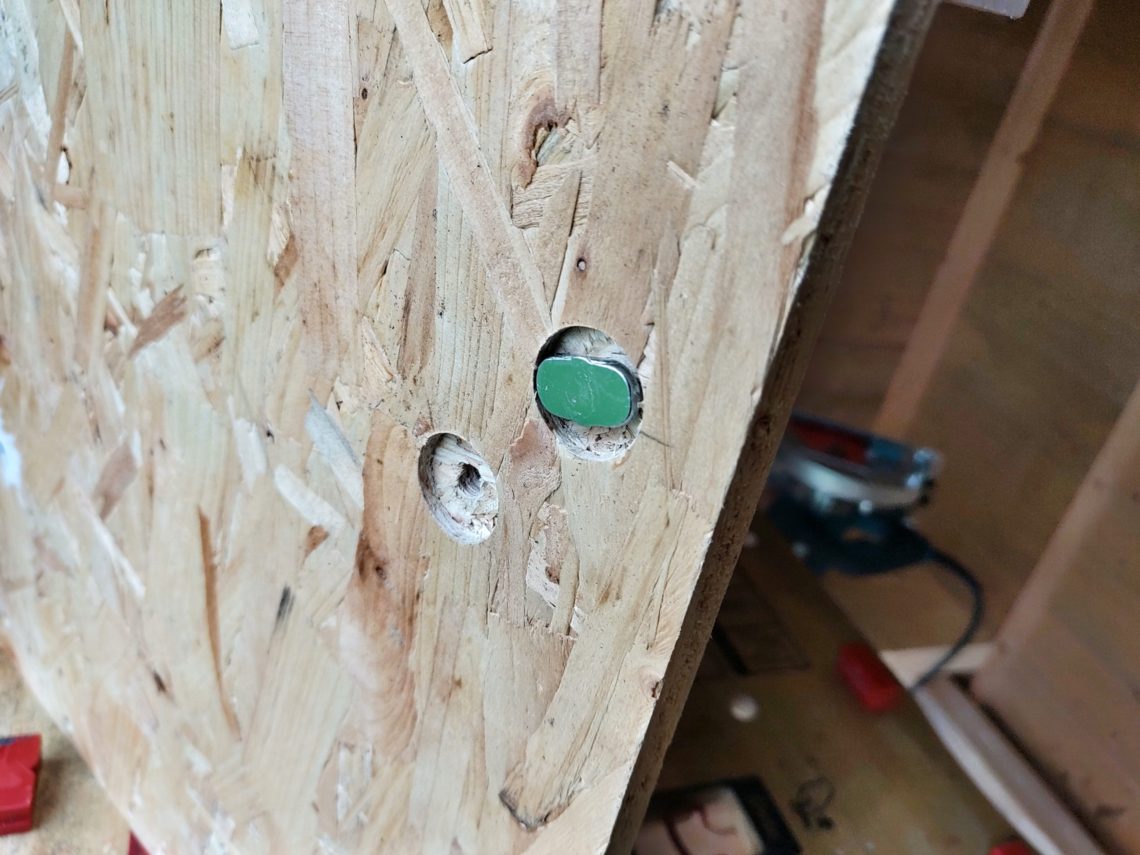
I applied some wax to the runners and made the cut, just through the front, the back remained in one piece. I drilled a couple of holes for the onboard hold-down clamp using a 25 mm Forstner bit first (1 inch) and next an 8 mm bit that went through the board. Probably these mounting points won’t be the only holes in the base, and I’ll need to drill more for different projects, but if you’re not using a T-track you have to manage to fix the clamp somehow.
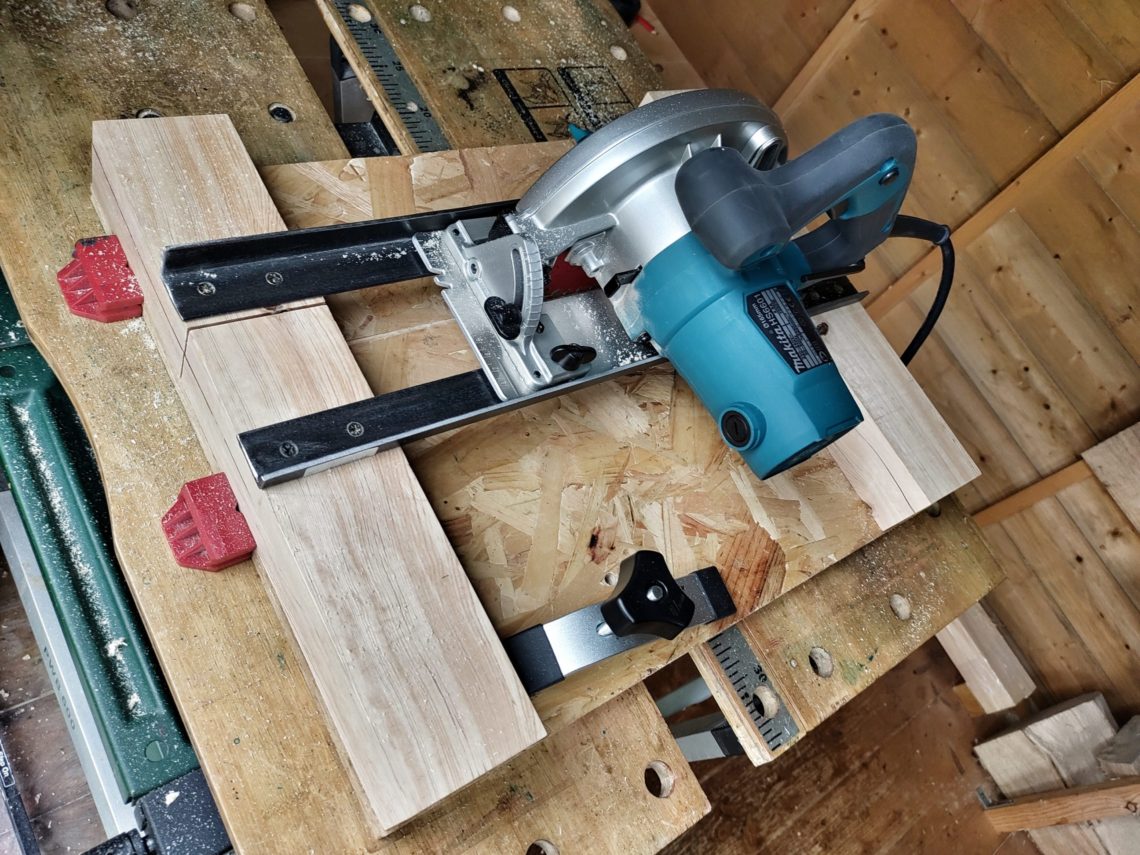
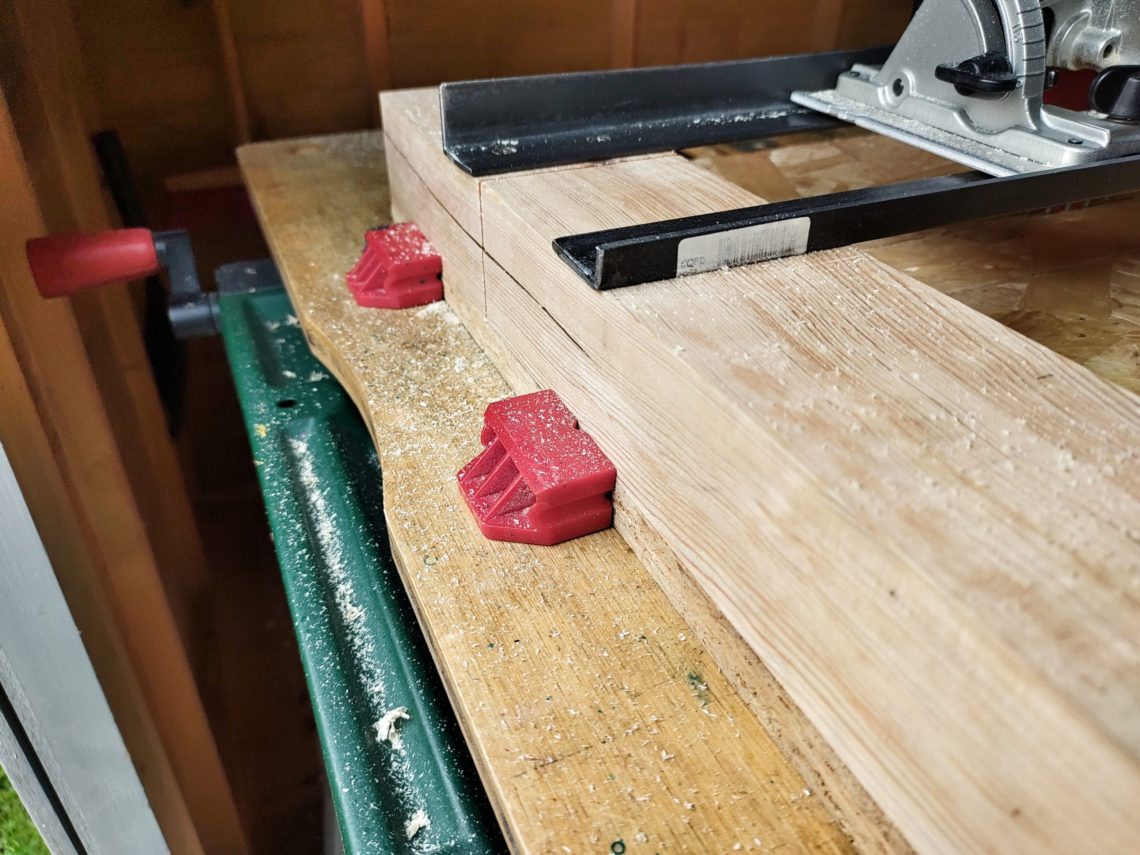
The jig itself can be mounted to my workbench using red bench dogs, in 2 orientations – secured from both ends to prevent lifting or simply just from the front to stop it from being pushed away from the workbench. I checked the jig’s accuracy and capability straight away – no problems whatsoever and everything worked fine and as expected. There is still room for future upgrades, like adding a T-track and a mentioned earlier dedicated sub-base, but for now, the jig is being used to build some urgent projects and any further improvements have to be postponed.


5 Comments
Pingback:
Pingback:
Pingback:
Pingback:
Pingback: