-
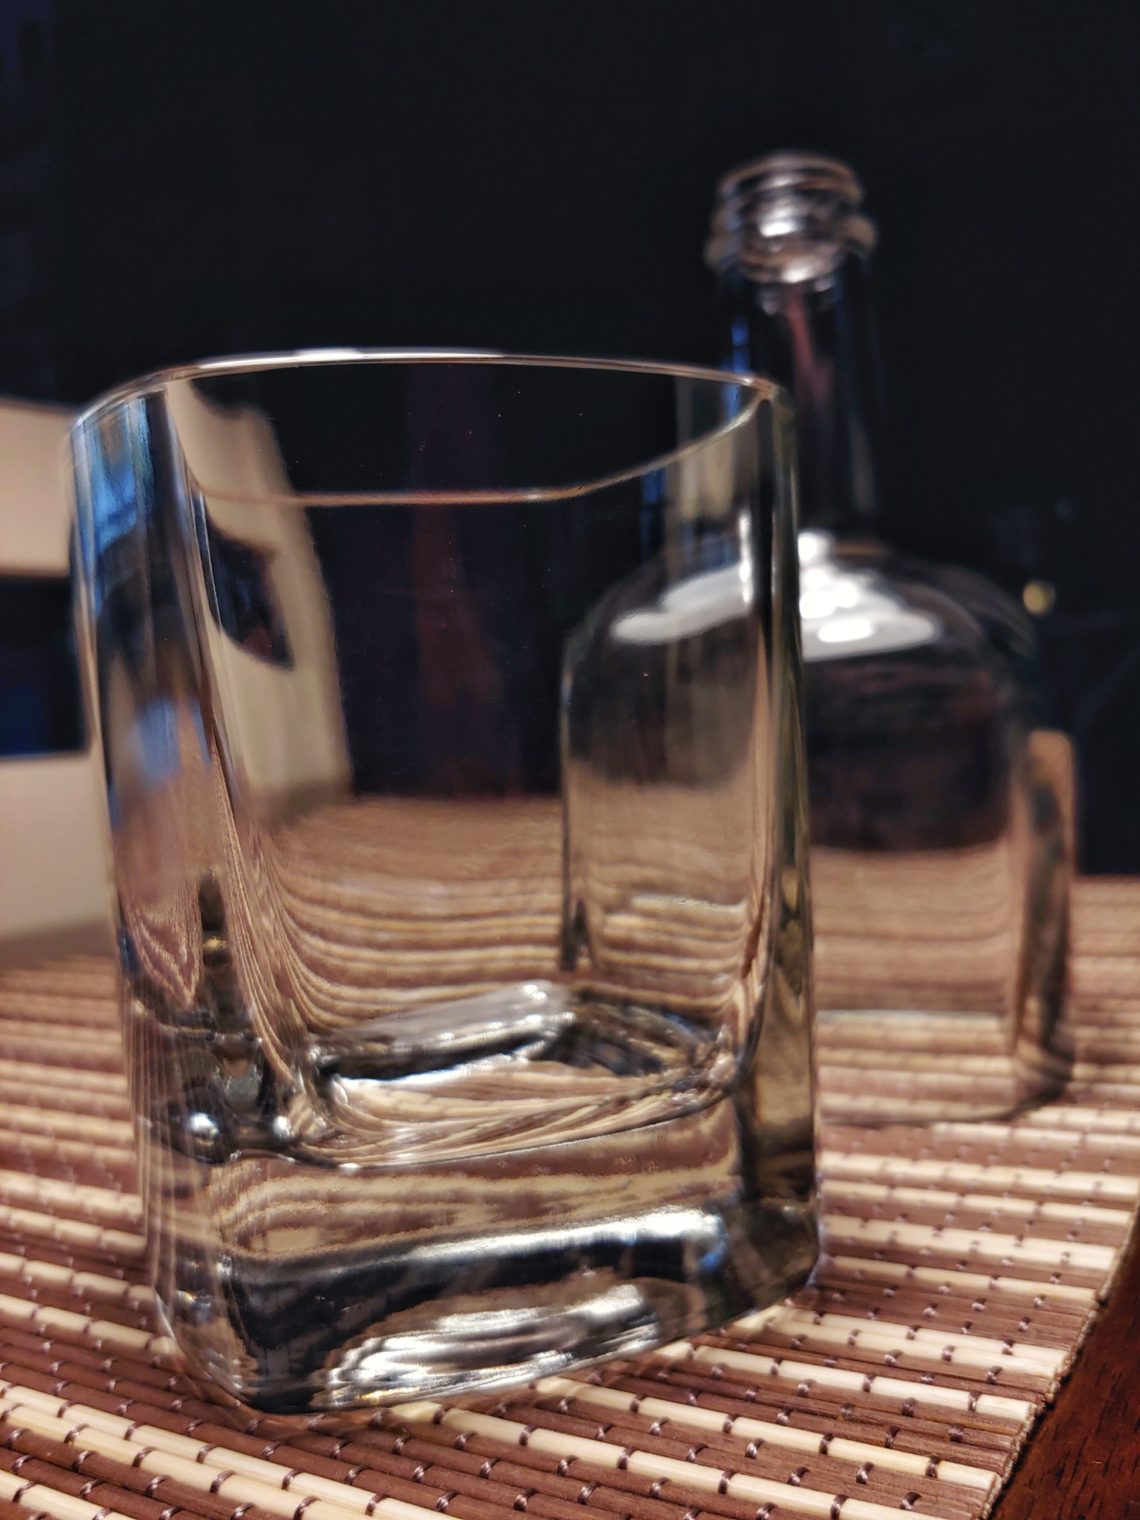
Square gin bottle cut
Rhubarb gin, very tasty if I may say so, in a bottle that could be used for a few projects. I was lucky with this one as it cracked as planned and gave me 2 parts, the bottom one could be a drinking glass and the top one, probably be some decorative lighting with a wooden base. Thick walls, clear glass, flat bottom. It would be way easier to process it if the bottle was round, but that project was a little more challenging and time-consuming, more rewarding though. As always it was done step by step: removing the labels,…
-
USB LED lamp
This lamp replaced my x-mas lights in a bottle one, as it simply burned out after 2 ½ years of use. The project involved cutting a new bottle and making a wooden base for it. The old bottle finished its life in a recycling bin, it was time to try alternative methods and approaches to making bottle lamps. The challenge was always about inserting a wire through the glass or placing it into the glass (bottle) in a nice and only way, which was from the bottom. There were no safety features to be concerned with because it was using…
-
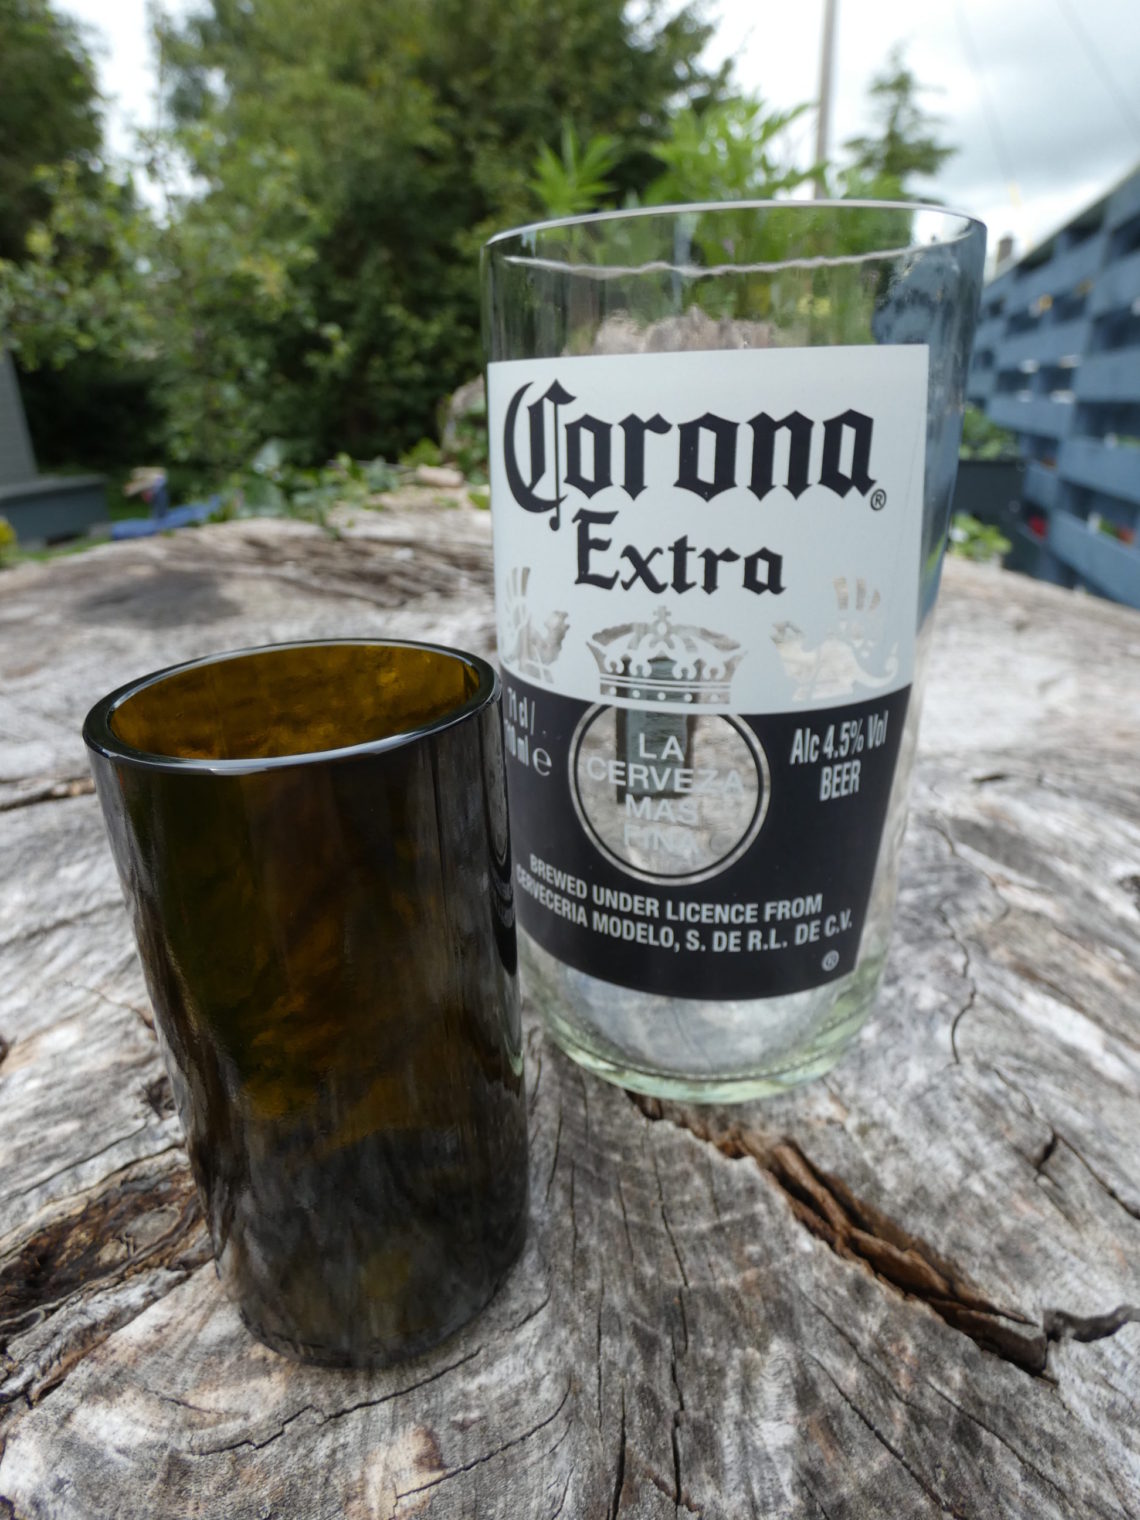
Refreshment glasses
The 710 ml Corona beer bottle and the oil bottle were quite easy to cut and they cracked exactly along the scored lines. After they were cut in half I could say that their walls were uniformly thick and it looked like an easy project. I set up my drill press and started the sanding process, as always using all the grits from 40 to 3000. Of course, I set the drill press at a comfortable height and locked it in that position. I was holding the workpieces in my hands, pressing them against the rotating tools and not the…
-
Advocaat bottle cut
Thick and heavy glass, a perfect addition to my handmade collection. It’s actually the first glass with labels and this makes it so special. After I cracked the bottle with boiling and cold water I had to remove some material with a glass cutter. Then came the sanding – from 40 to 3000 grit. Outside first, inside last, polishing with compound and paste. All steps are shown below: Taking pictures required light so I lowered the lamp to the bench level. Smooth and shiny. Washed straight away with washing-up liquid and ready to serve. As the day was dull I…
-
Polish vodka bottle cut
This vodka is the best and the most famous Polish vodka. It’s yummy, which is quite unusual! Bittersweet, herbal taste. I remembered to remove the cap during the “glass cracking” part. I must say the first (buying + drinking) and the second part (cutting + cracking) of the project went very smoothly. The cut glass looks nice and it’s symmetrical and round rather than oval and uneven. When I moved to the third part, which was polishing I made a couple of mistakes that had to be reworked. First things first. Sanding with coarse sandpaper was followed by a final…
-
Cut Kahlua bottle
Buying, drinking, cutting and polishing – several steps to get a perfect flower pot. Very unique and rare. A perfect gift for someone you care about. The first thing to do was to score a line with my homemade jig. Then the usual – cold and boiling water to crack the glass. Sanding the outside edges came next. First the top and when I used the 220 grit I sanded the bevel for the first time. Up to the 3000 grit. As always the next step was to install my drum sander. I used 240, 400 and 600-grit sanding bands.…
-
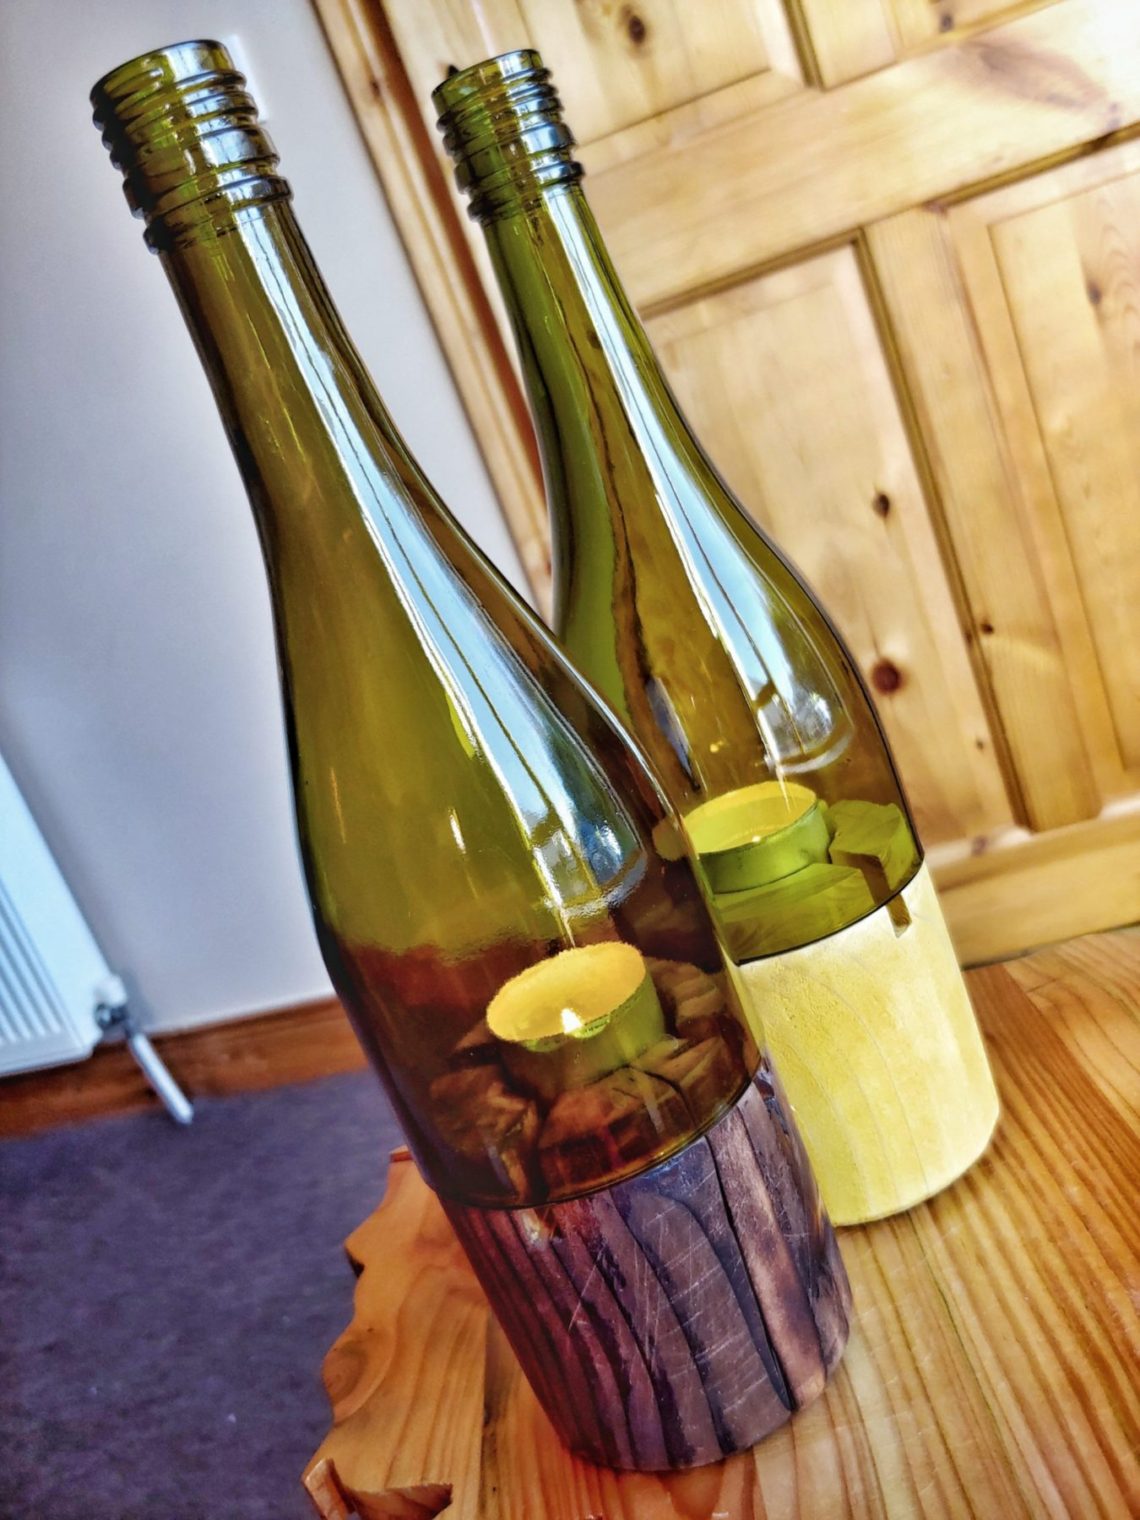
Cylindrical tealight holders
A quite simple project that involved turning an old balustrade post, cracked and riddled and cutting wine bottles. I used my recently built router turning jig to turn one cylinder, slightly bigger in diameter as that was reduced later on by sanding. I noticed that there is actually no need to rotate the piece all the time, and what worked was to route it all the way through, from one end to another and then rotate it clockwise a little bit, do the pass and so on. That didn’t apply to the recesses at both ends. Once it was done…
-
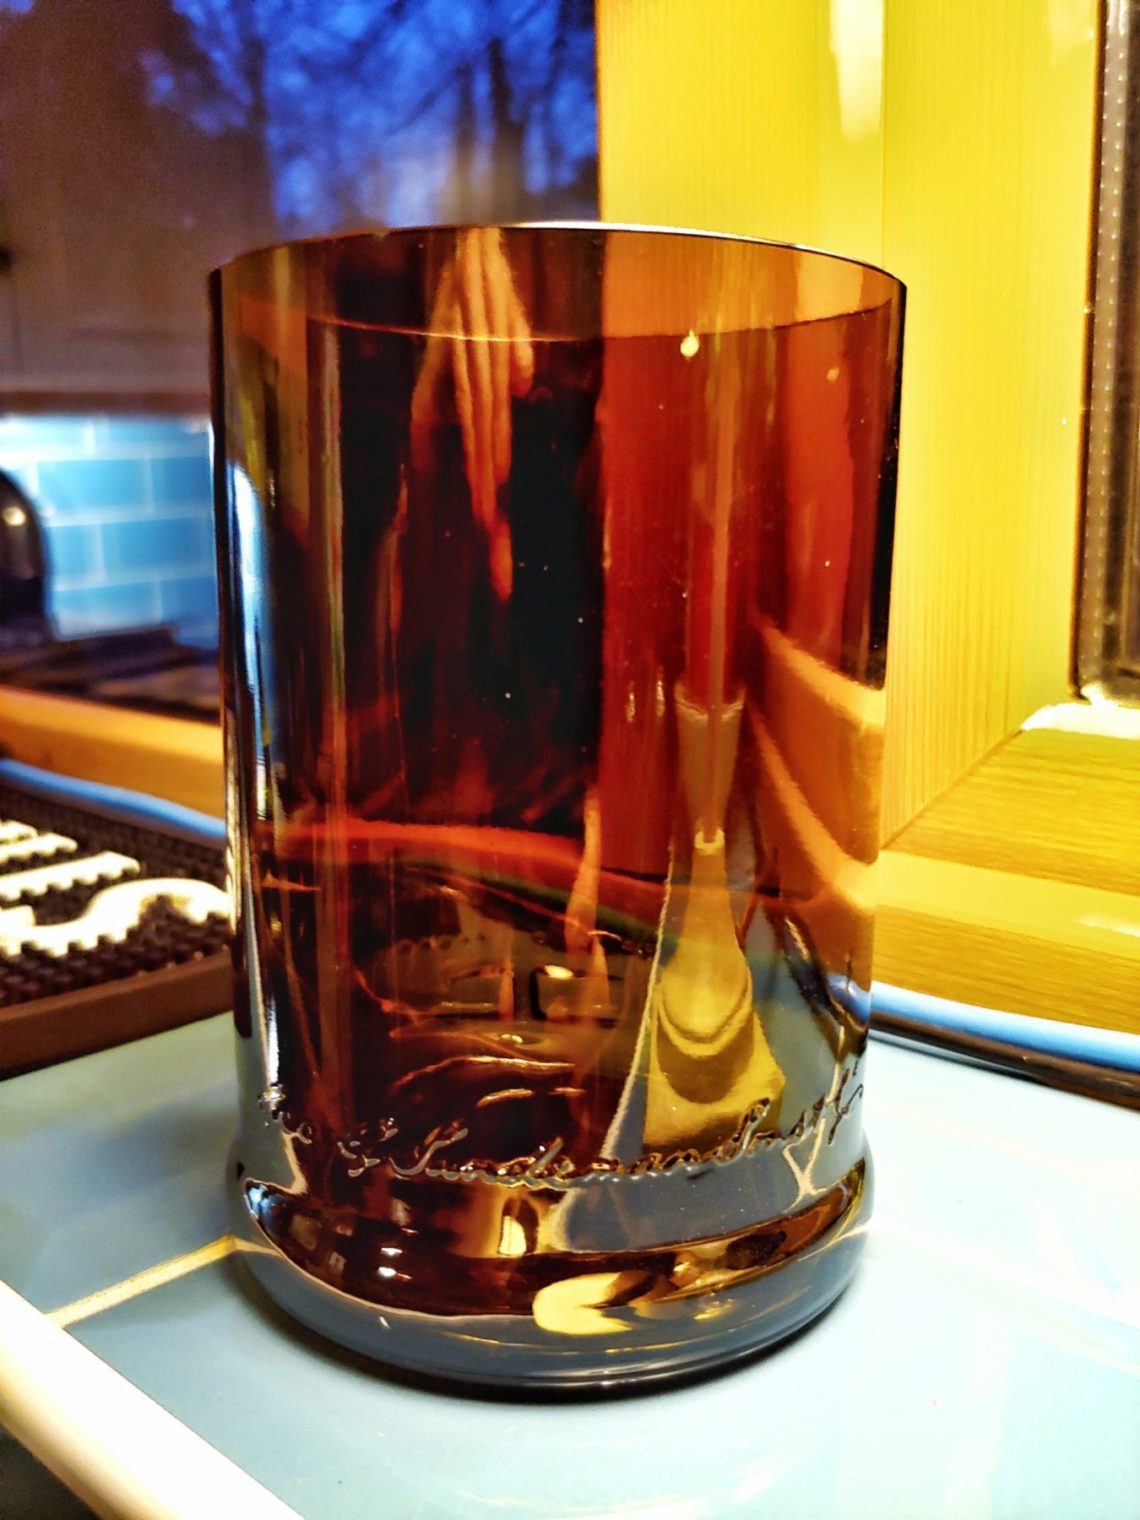
Sandeman glass
It’s another Porto glass – slightly bigger than the last one and dedicated to a different use. Separating the bottom from the top is always a big question mark. It worked this time. The process of making a glass like this involves buying a bottle and emptying it – these steps are very satisfying too! I don’t like to use the word “sanding” for glass, but that’s what it is and it’s working well. Sharp edges from the top were sanded with 60, 80 and 220-grit sandpaper. Then I used 320 for both the top and side edges. Next, –…
-
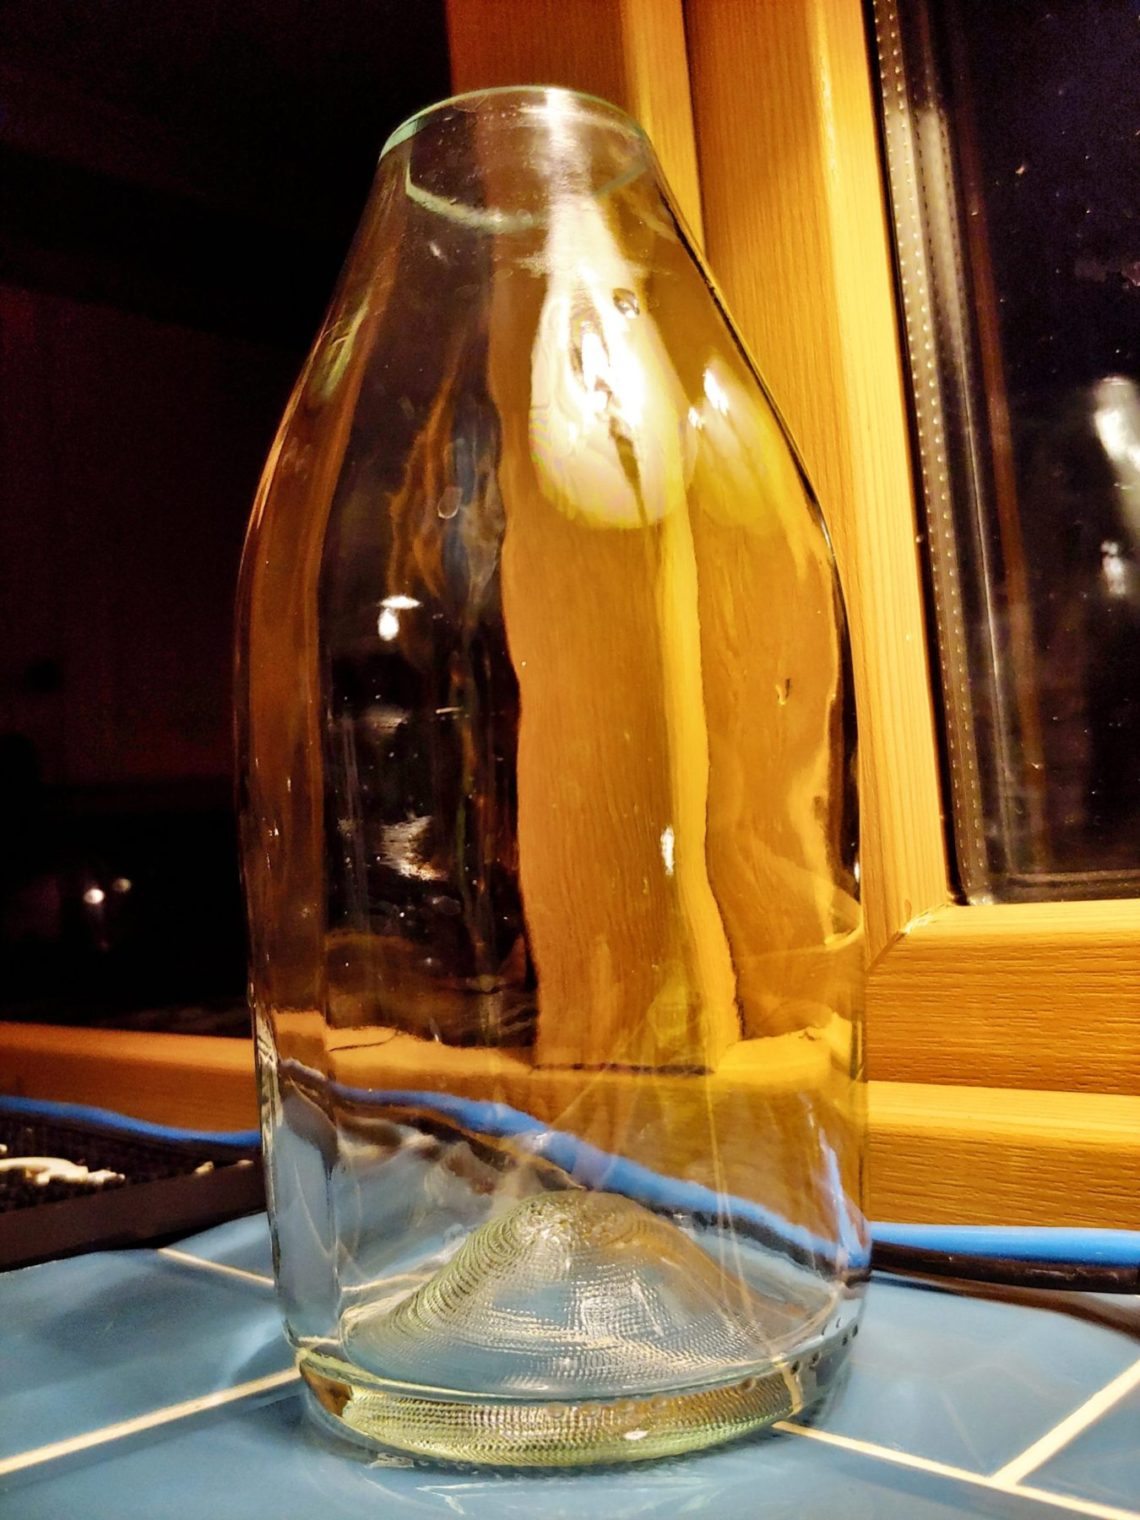
Bottleneck vessel
In order to cut the bottle I had to set the glass cutter at an angle. That gave me good access to the bottleneck. This jig has many limitations due to the way it’s built and fixed to the wall. Cutting was easy and fast, the bottle cracked as planned and the labels came off easily. Smoothing sharp edges was done in 2 steps, as always – outside first, inside next. This is 40 grit: I finished sanding with 3000 grit for the outside and started sanding the inside. I used 3 grits: 240, 400 and 600. Polishing was next,…
-
Cognac glass
Cutting the bottle was easy and fast. Additionally, when I was cracking the bottle with boiling and cold water, the labels came off themselves. Didn’t expect that. Sanding with 40-grit sandpaper was next. It was a good idea to clean the sandpaper with a little brush. Rough edges were slowly transformed into smooth and shiny ones. Sanding drums took over and finished the sanding step. A polishing compound was applied to the spinning felt wheel. Buffing and cleaning with white spirit. The glass has these little details that highlight its character. Unusual bottom with a number, a date and a…