-
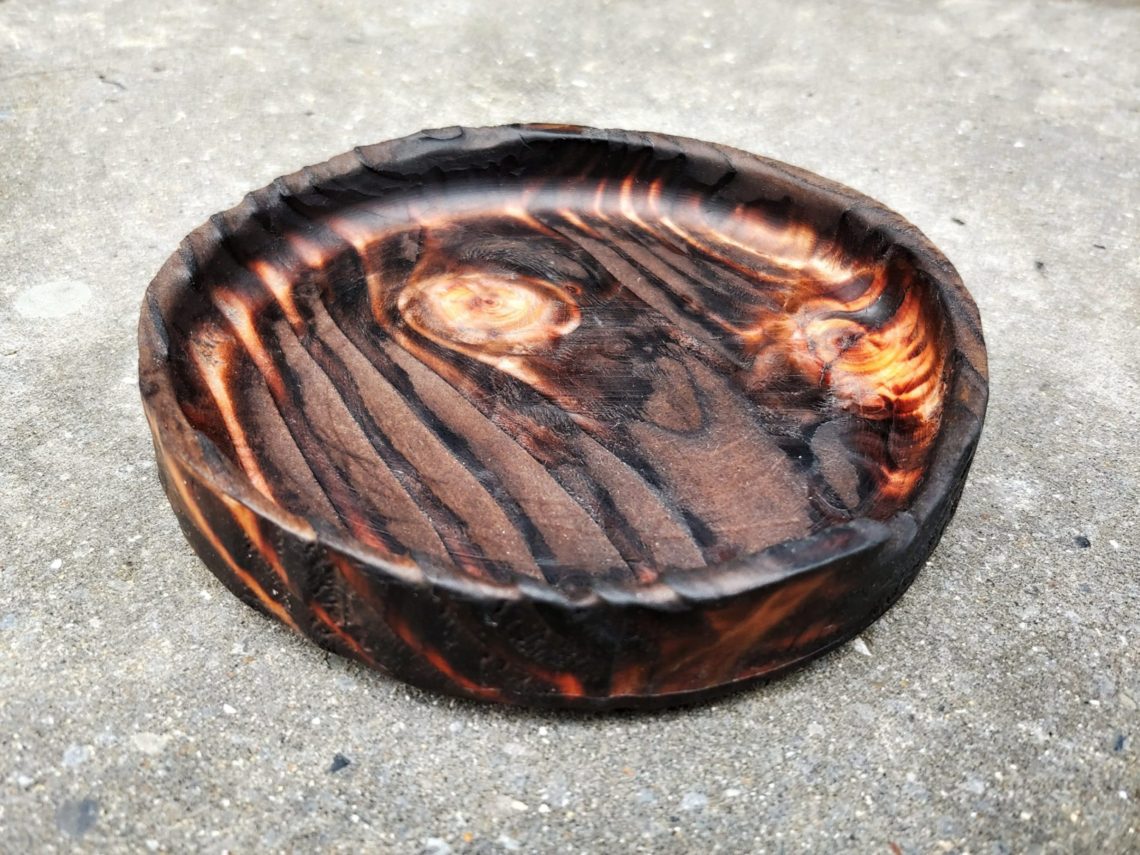
Quick bowl
To cut out the disc I used 1 flush trim router bit, 2 base plates and reversed parallel fence. The first cut was done halfway through to prepare the groove for the bearing, which was obviously the same size as the bit. Once I had the disc done I reversed the parallel fence to its original setup, I swapped the base plates and installed my bowl router bit. I took a couple of passes for the outside groove and then I used my plunge base to remove the centrepiece. I flipped the bowl over and used a round-over bit for…
-
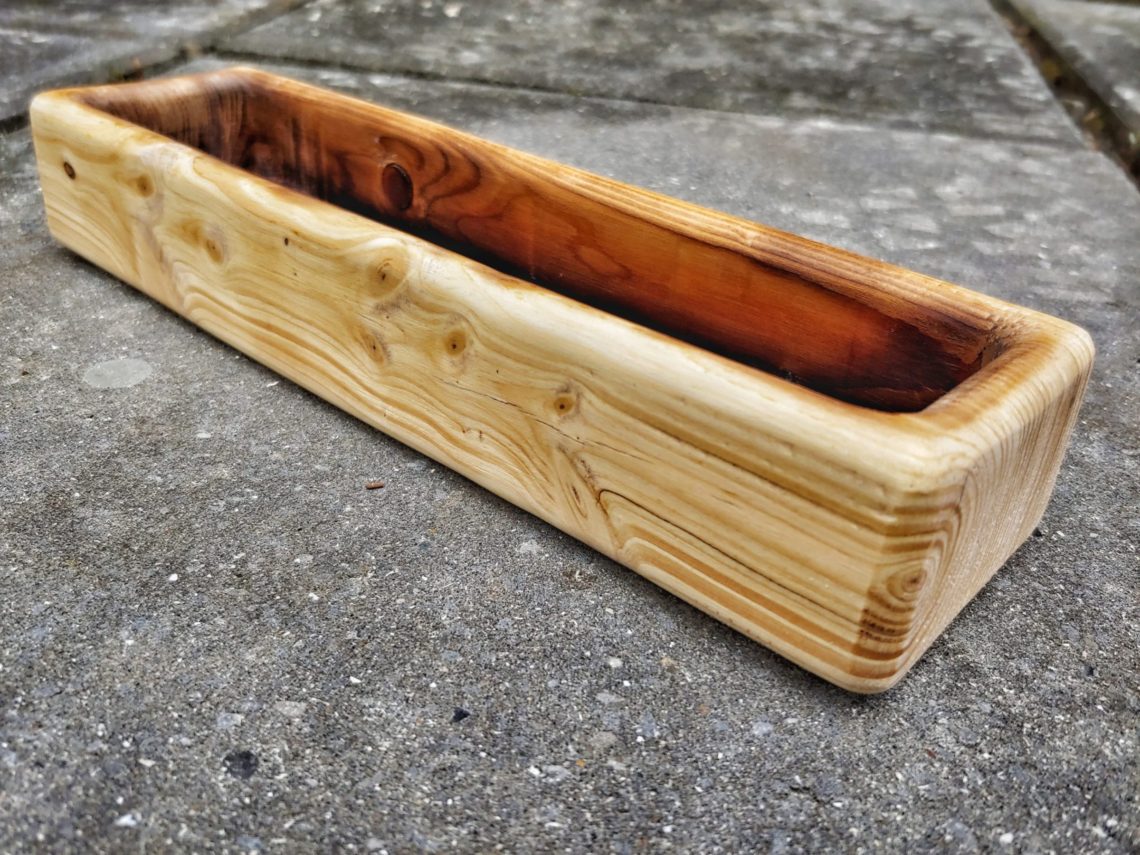
Burnt tote box
A piece of scrap wood was cut to size on my table saw. I then prepared the router table and the system of fences. It actually worked very well, but it was only set for a shallow, first pass, to route the recess for future processing. I then clamped the piece down and used another flush trim bit to deepen the groove. It looked quite nice at that stage, but I decided to round off all the edges with my round-over bit. It looked rudely before sanding, quite bad and I had second thoughts… But after sanding it got a…
-
Router turning jig
Buying a lathe is not very expensive, but it takes space to store. That was the reason to build that jig. It’s easy to store, and it uses my router tabletop. The square log pictured below was another reason that I built this jig. I started with the metal elements. Cutting to length, drilling holes and countersinking them. 2 types of screws were used as this jig is fixed on one side and can be adjusted on the other side in the future. Larger screws had too big heads for this project, so I resized them down with some grinding.…
-
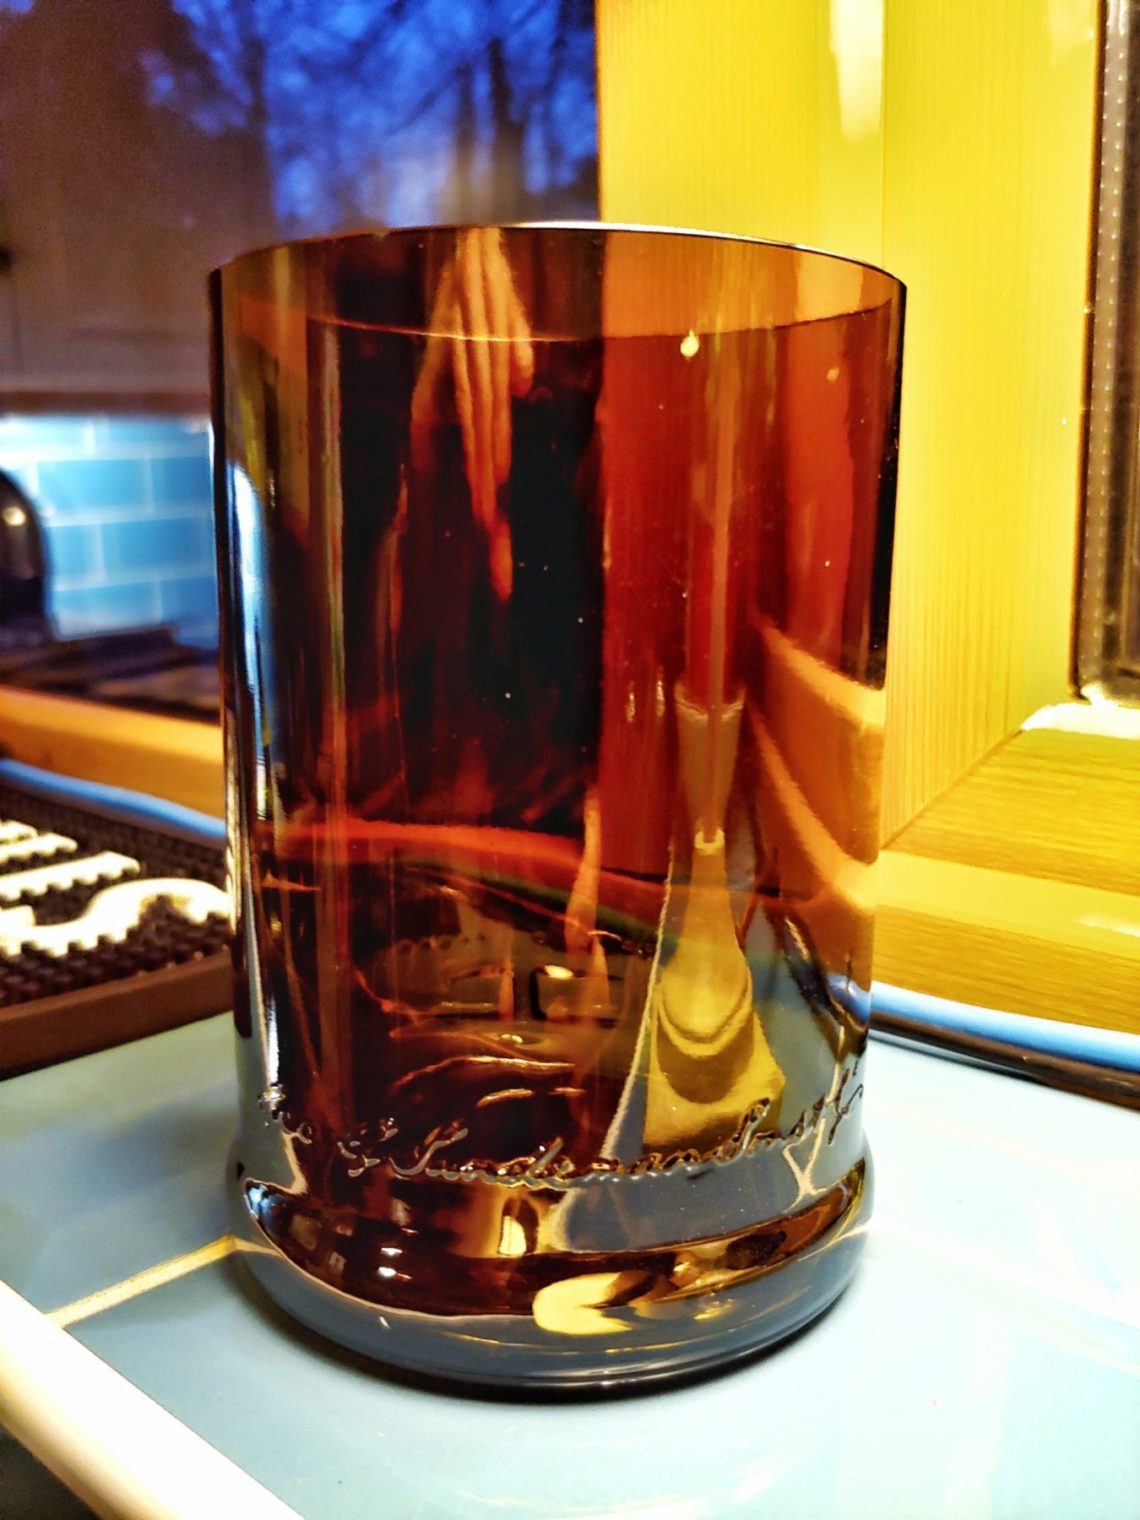
Sandeman glass
It’s another Porto glass – slightly bigger than the last one and dedicated to a different use. Separating the bottom from the top is always a big question mark. It worked this time. The process of making a glass like this involves buying a bottle and emptying it – these steps are very satisfying too! I don’t like to use the word “sanding” for glass, but that’s what it is and it’s working well. Sharp edges from the top were sanded with 60, 80 and 220-grit sandpaper. Then I used 320 for both the top and side edges. Next, –…
-
Where am I sign
I used an old toilet seat – yes … a toilet seat … to make the sign. The plan was simple: contact adhesive for the print and the smallest router bit for the lettering. Once the routing was finished I removed the paper and used black spray paint to cover the grooves. One, heavy, dripping coat did the job. Once sanded it looked a little better: I used my jigsaw to cut out the arrow shape and then moved to my sanding station to smooth out the edges. I also prepared the aluminium tube which involved cutting, grinding, drilling holes…
-
Coffee table for one
It had to be easy to move and quite small, but big enough to accommodate a cup of coffee and a TV remote. I started up by cutting the timber to length. Then I cut dados using my table saw. Not too deep, as they will only prevent the parts from spinning around. Pocket holes were next. Once drilled, their edges were cleaned with little rasps and sandpaper. Every joint was reinforced with glue. Fixing the last one was a little tricky, I managed by using my ratchet spanner. I also used additional screws for the bottom pieces – having…
-
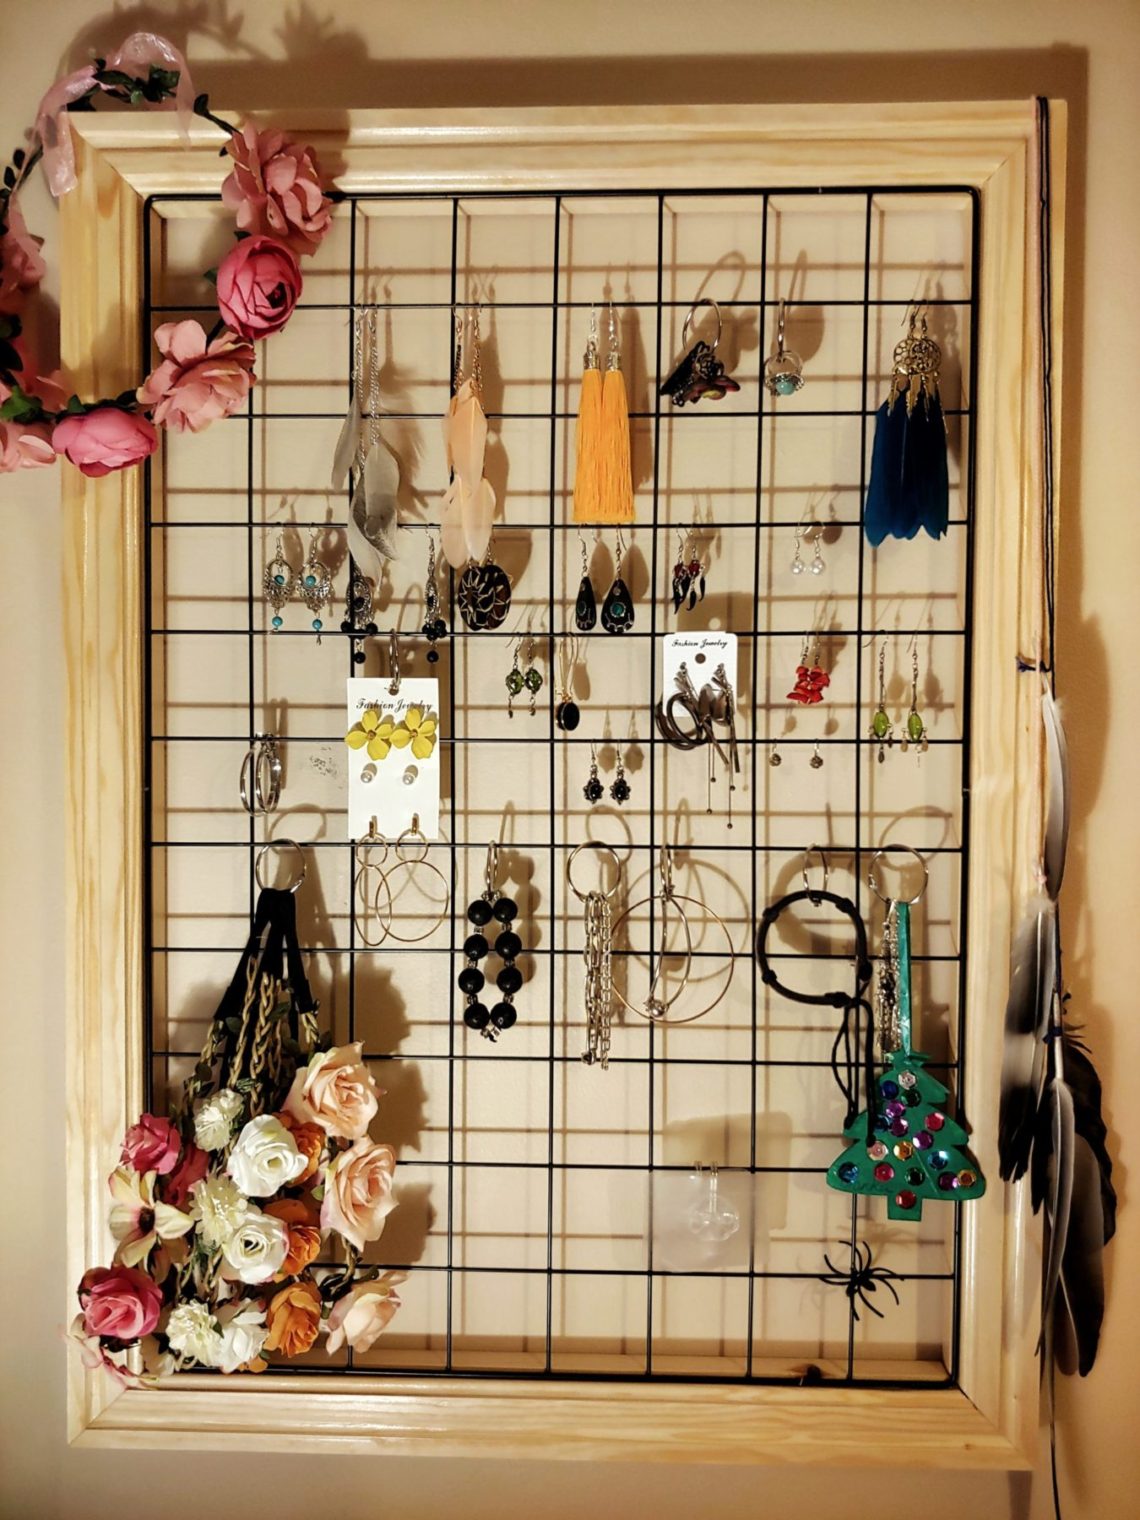
Earring hanger
This one is very like a regular picture frame except that there’s no artwork and its substitute is loaded from the front, not the back. That was the goal, to expose the whole grille and keep all these little squares visually equal. The timber was rough cut to length on a table saw. It was then ready for routing. To complete the task I had to use 4 router bits, a DIY-ed router table-top and a fence (for the bits without a bearing). The last step was to put chamfers on the bottom edges and deepen the recess for the…
-
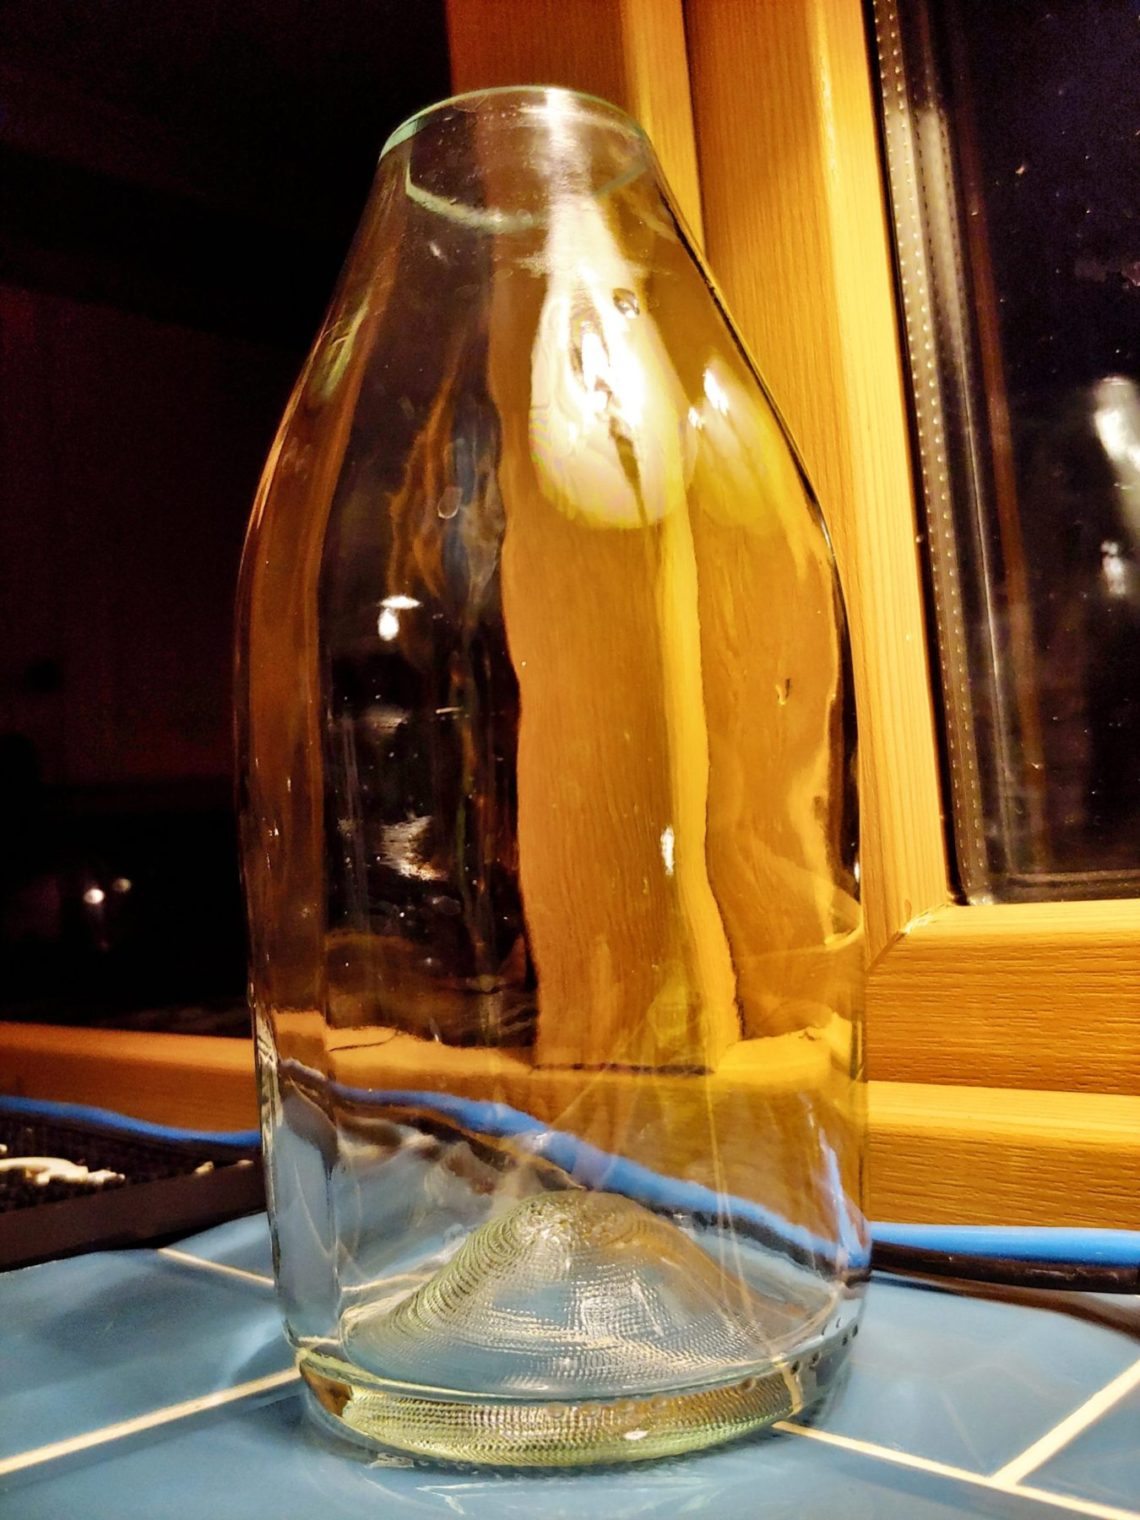
Bottleneck vessel
In order to cut the bottle I had to set the glass cutter at an angle. That gave me good access to the bottleneck. This jig has many limitations due to the way it’s built and fixed to the wall. Cutting was easy and fast, the bottle cracked as planned and the labels came off easily. Smoothing sharp edges was done in 2 steps, as always – outside first, inside next. This is 40 grit: I finished sanding with 3000 grit for the outside and started sanding the inside. I used 3 grits: 240, 400 and 600. Polishing was next,…
-
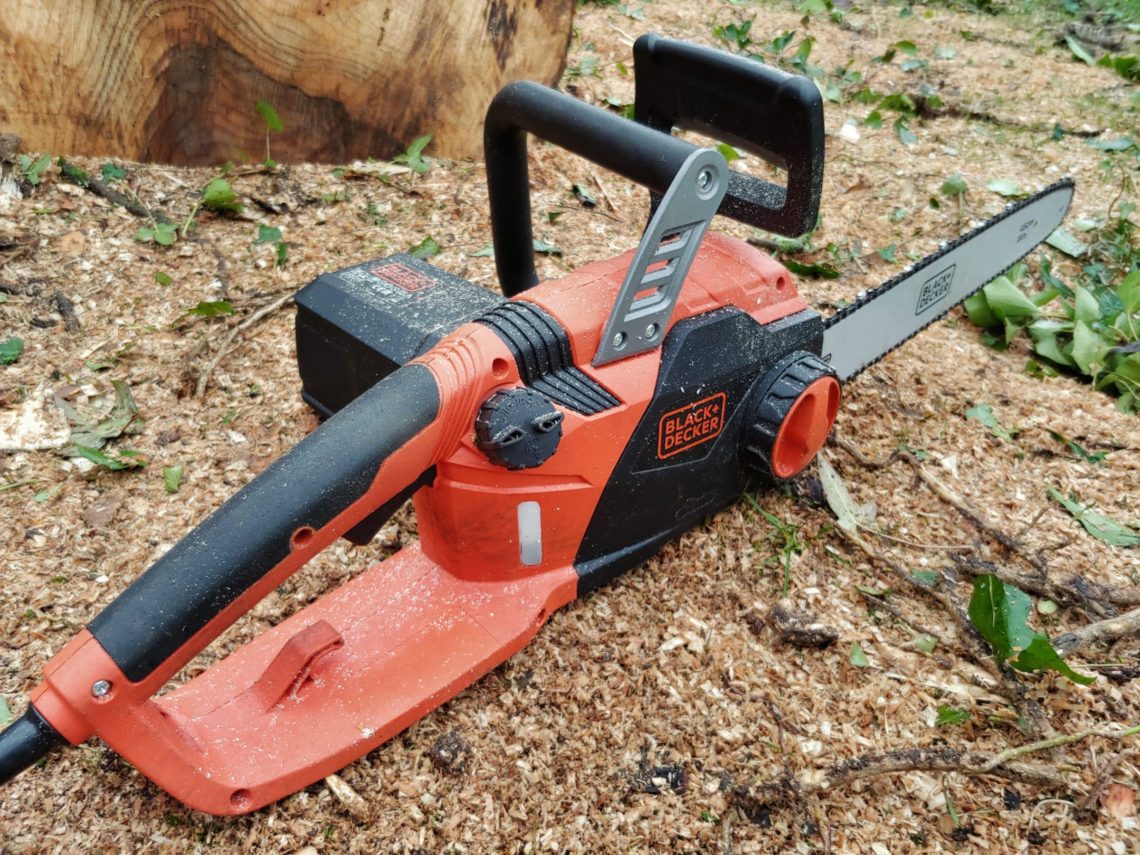
X-mas tools, edition 2018
Fiskars X21 (splitting) and Fiskars X7 (universal) axes have fibreglass-reinforced plastic handles which are stronger than wooden handles. They can keep going without any problems. The axe heads are integrated into the handles and will not come off. Additionally, the handles absorb vibrations and increase grip and comfort during use. The quality is great and the axes are covered by a lifetime warranty. Each axe comes with a plastic protective case that can be used to carry or hang up the axe. Axes can handle a lot of abuse and once properly sharpened will stay sharp for a long period…
-
Coffee wall art
To make the board I used pallet wood. Planks were cut in half, then rip cut to width. The board was cut to length on a table saw and that was followed by sanding. I left some saw marks and a couple of stains. I used a homemade wood dye (vinegar + steel wool) to age the board. Then I used spray paint to darken the edges. Always use the right screwdriver for the job, no matter how small the job or the screwdriver is. PZ1 is small. Cutting MDF with a jigsaw couldn’t be postponed endlessly. It was done…